|
|
|---|
| Home | About | Assignments | Final Project |
|---|
| DIY Vacuum Forming Machine |
|---|
We don't have a vacuum forming machine in Fab Lab Egypt, and i believe it's a very important one to have it in your own fablab. |
|---|
|
|
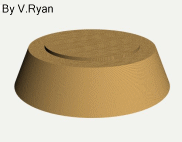
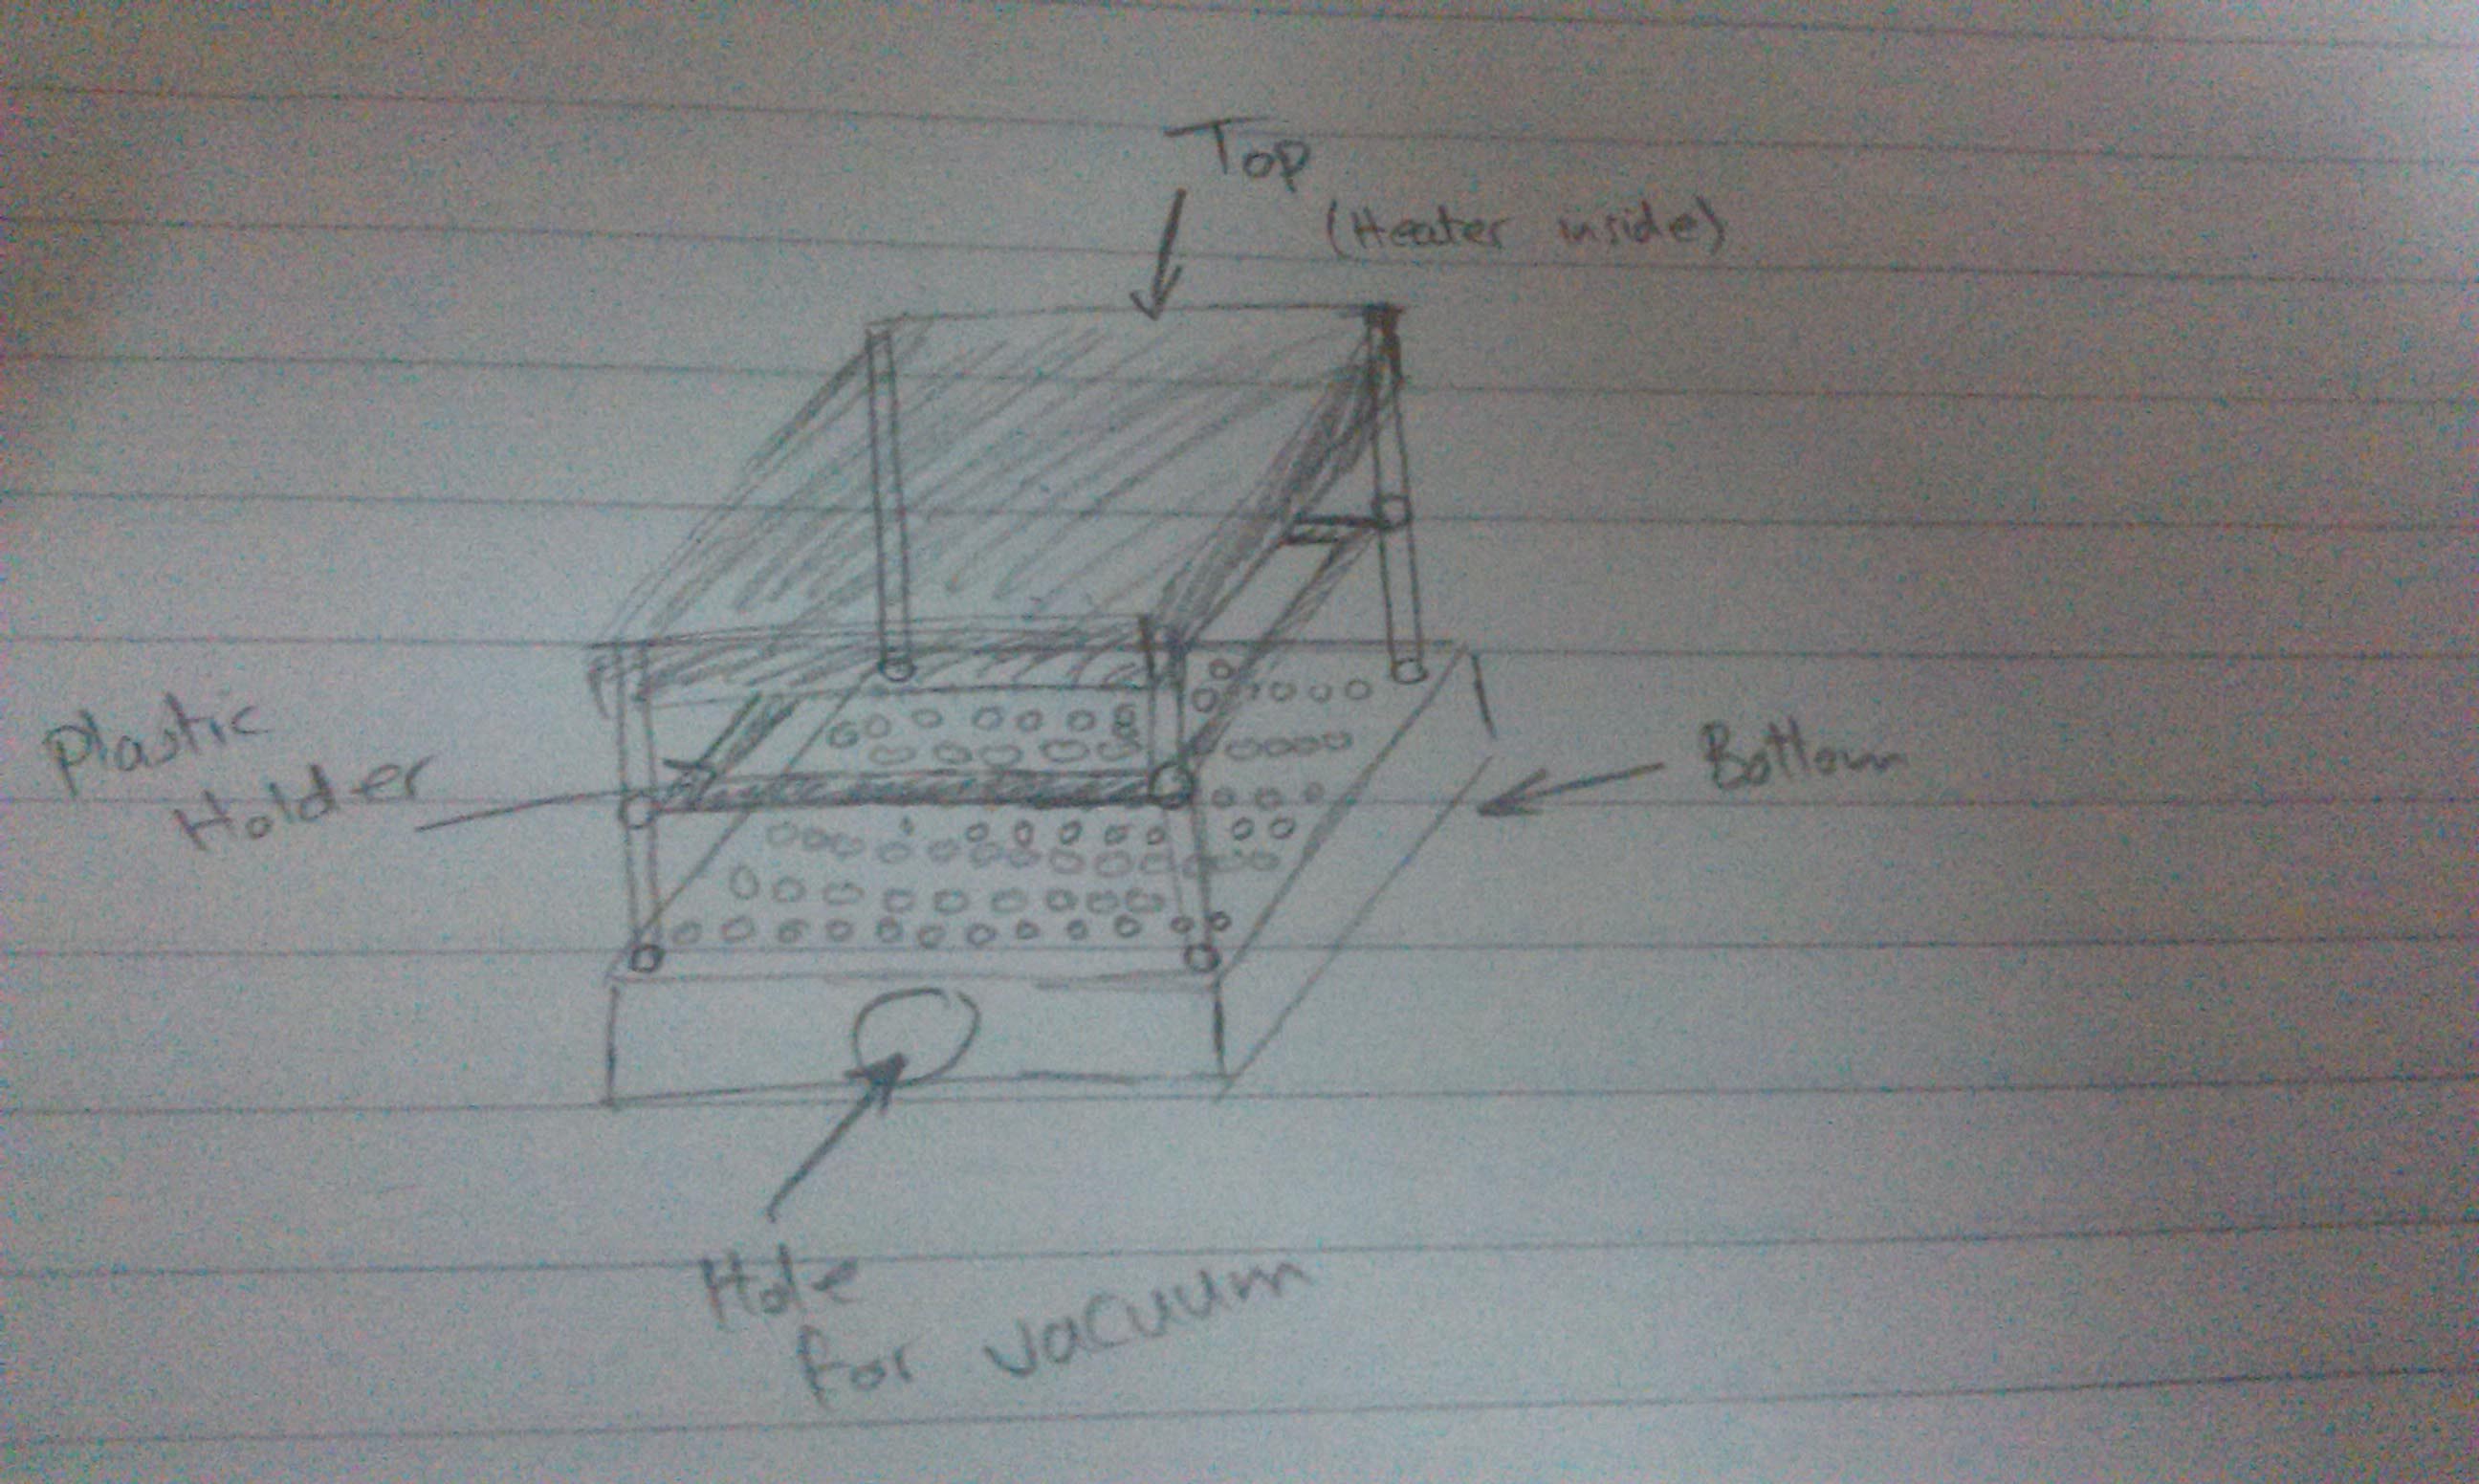
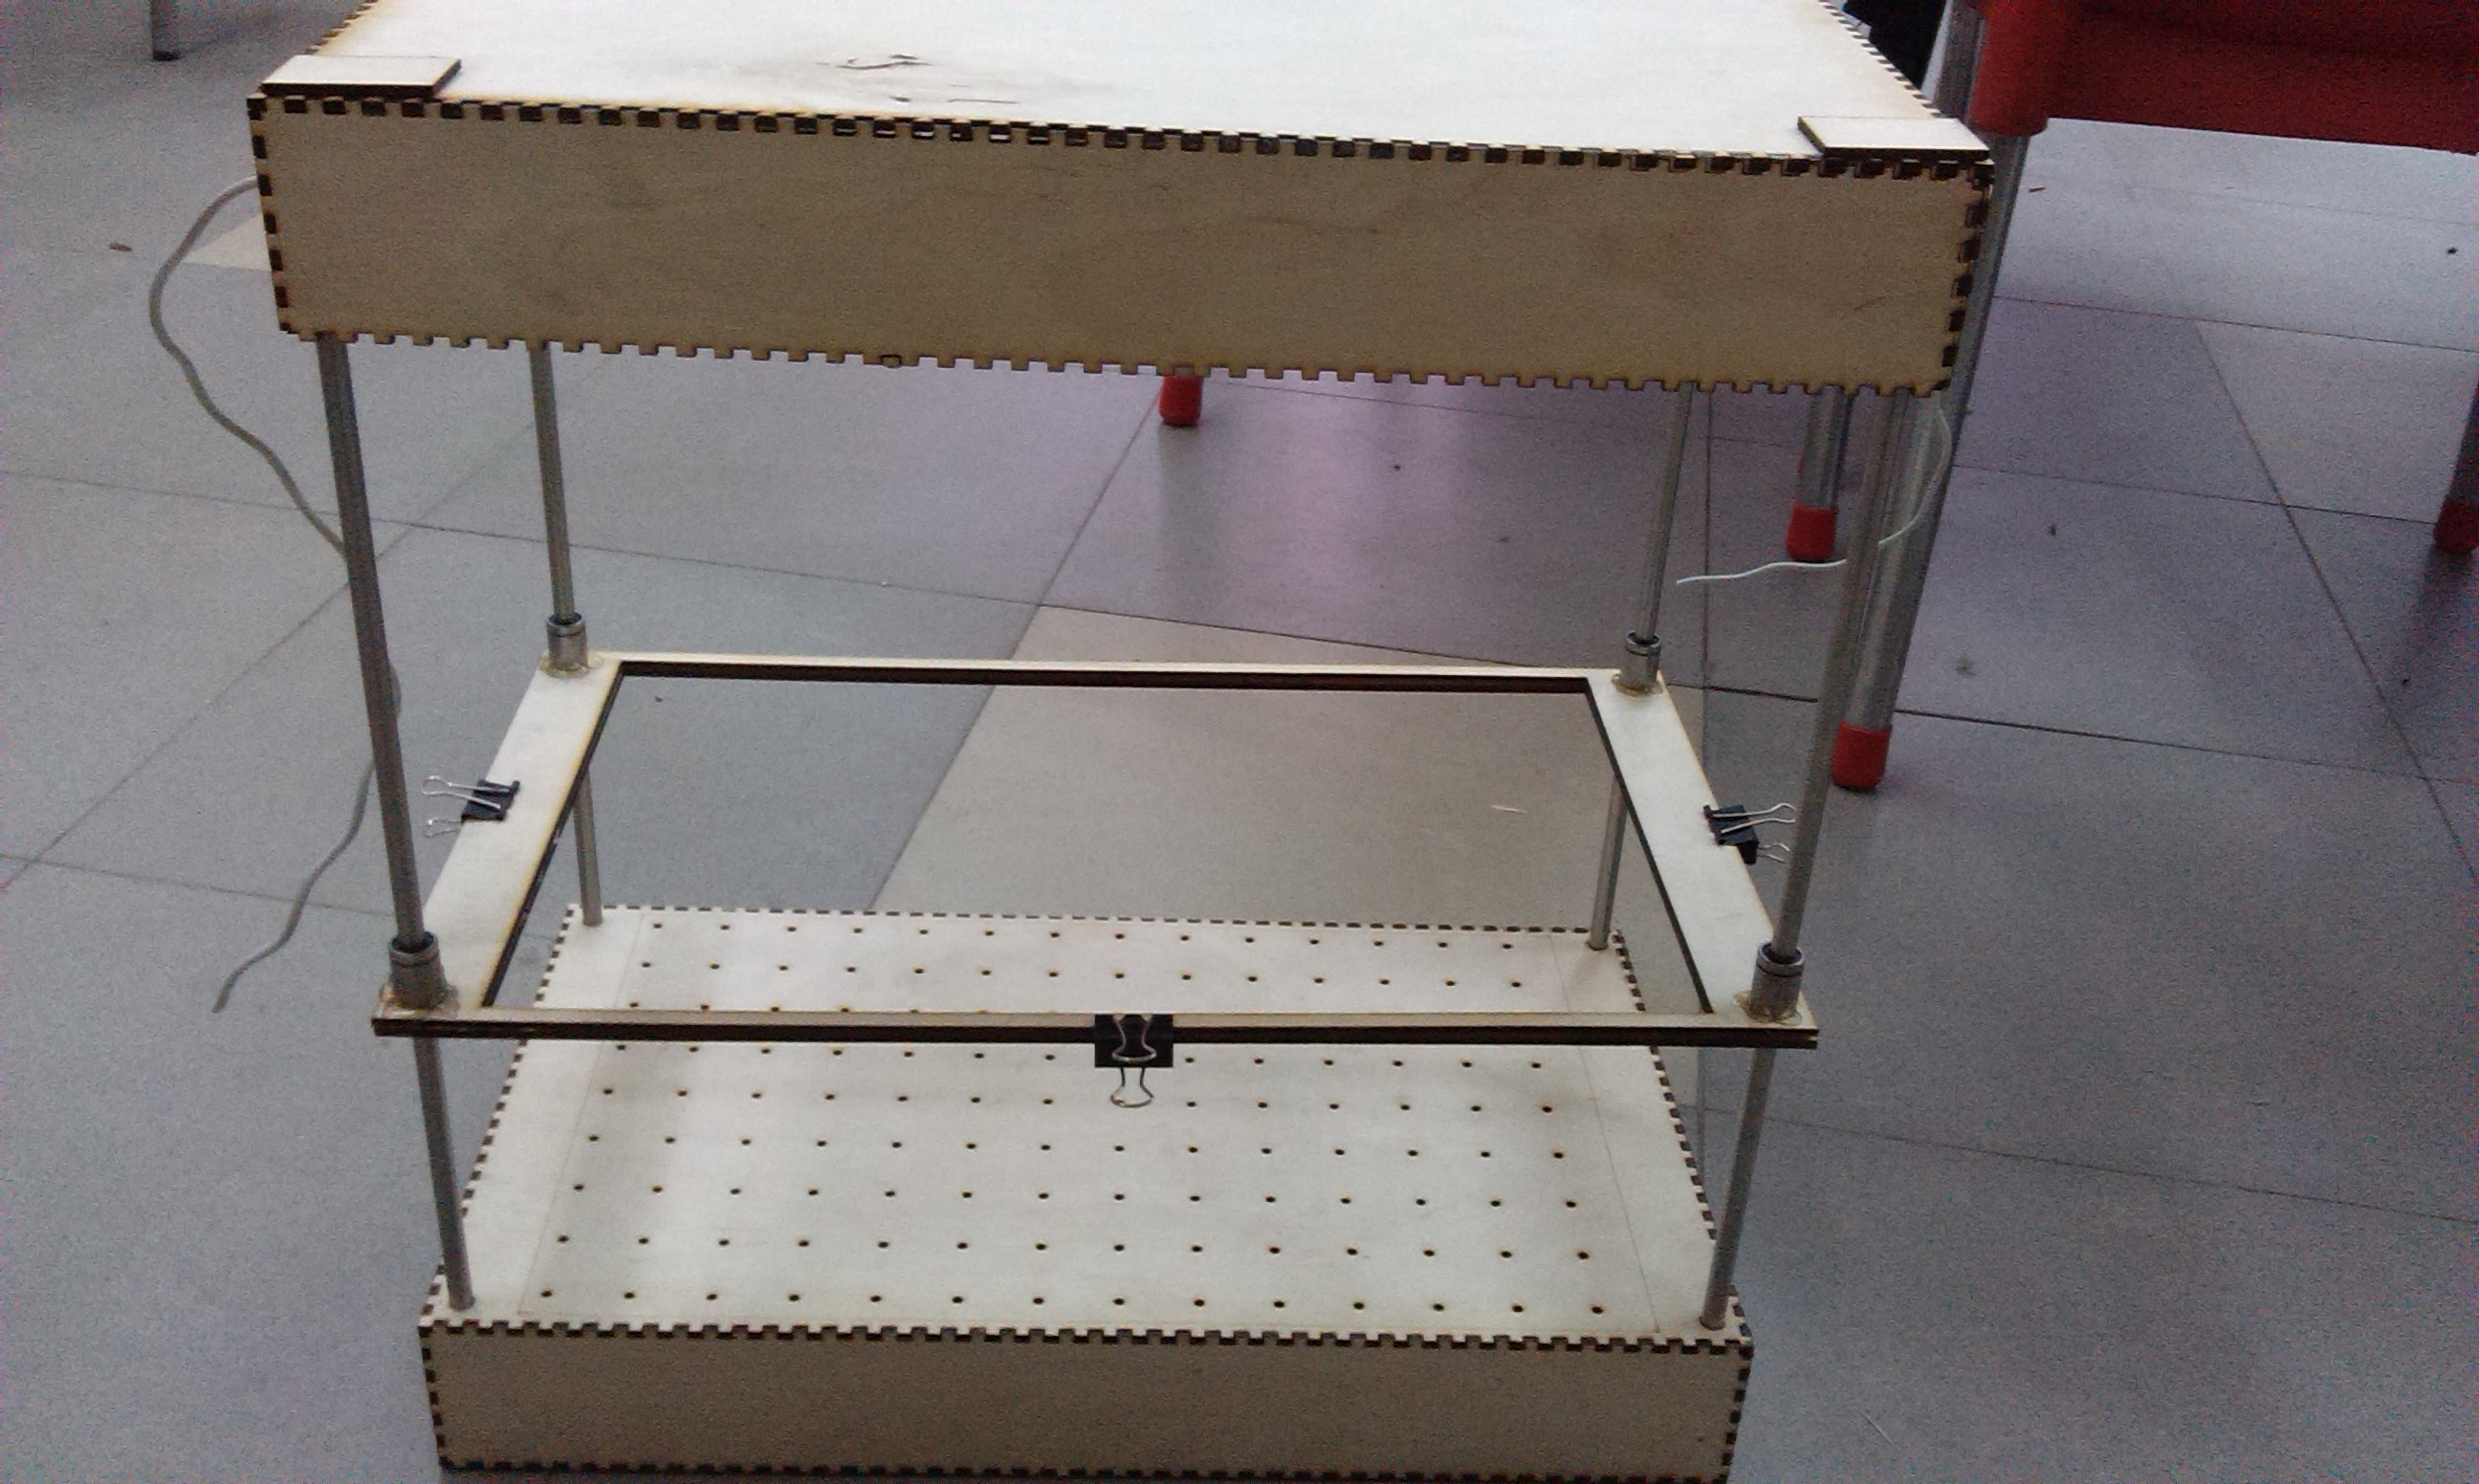
1. First, a former is made from a material such as a soft wood. The edges or sides are shaped at an angle so that when the plastic is formed over it, the former can be removed easily. |
|
|
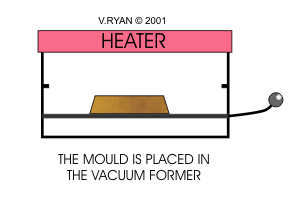
2. The former is placed in a vacuum former. |
|
|
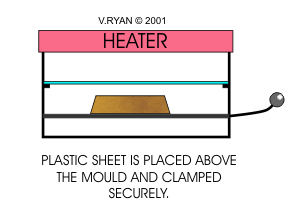
3. A sheet of plastic (for example, compressed polystyrene) is clamped in position above the mould. |
|
|
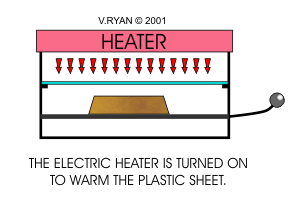
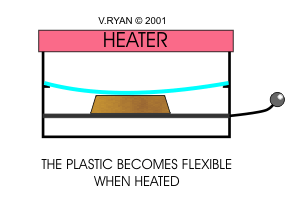
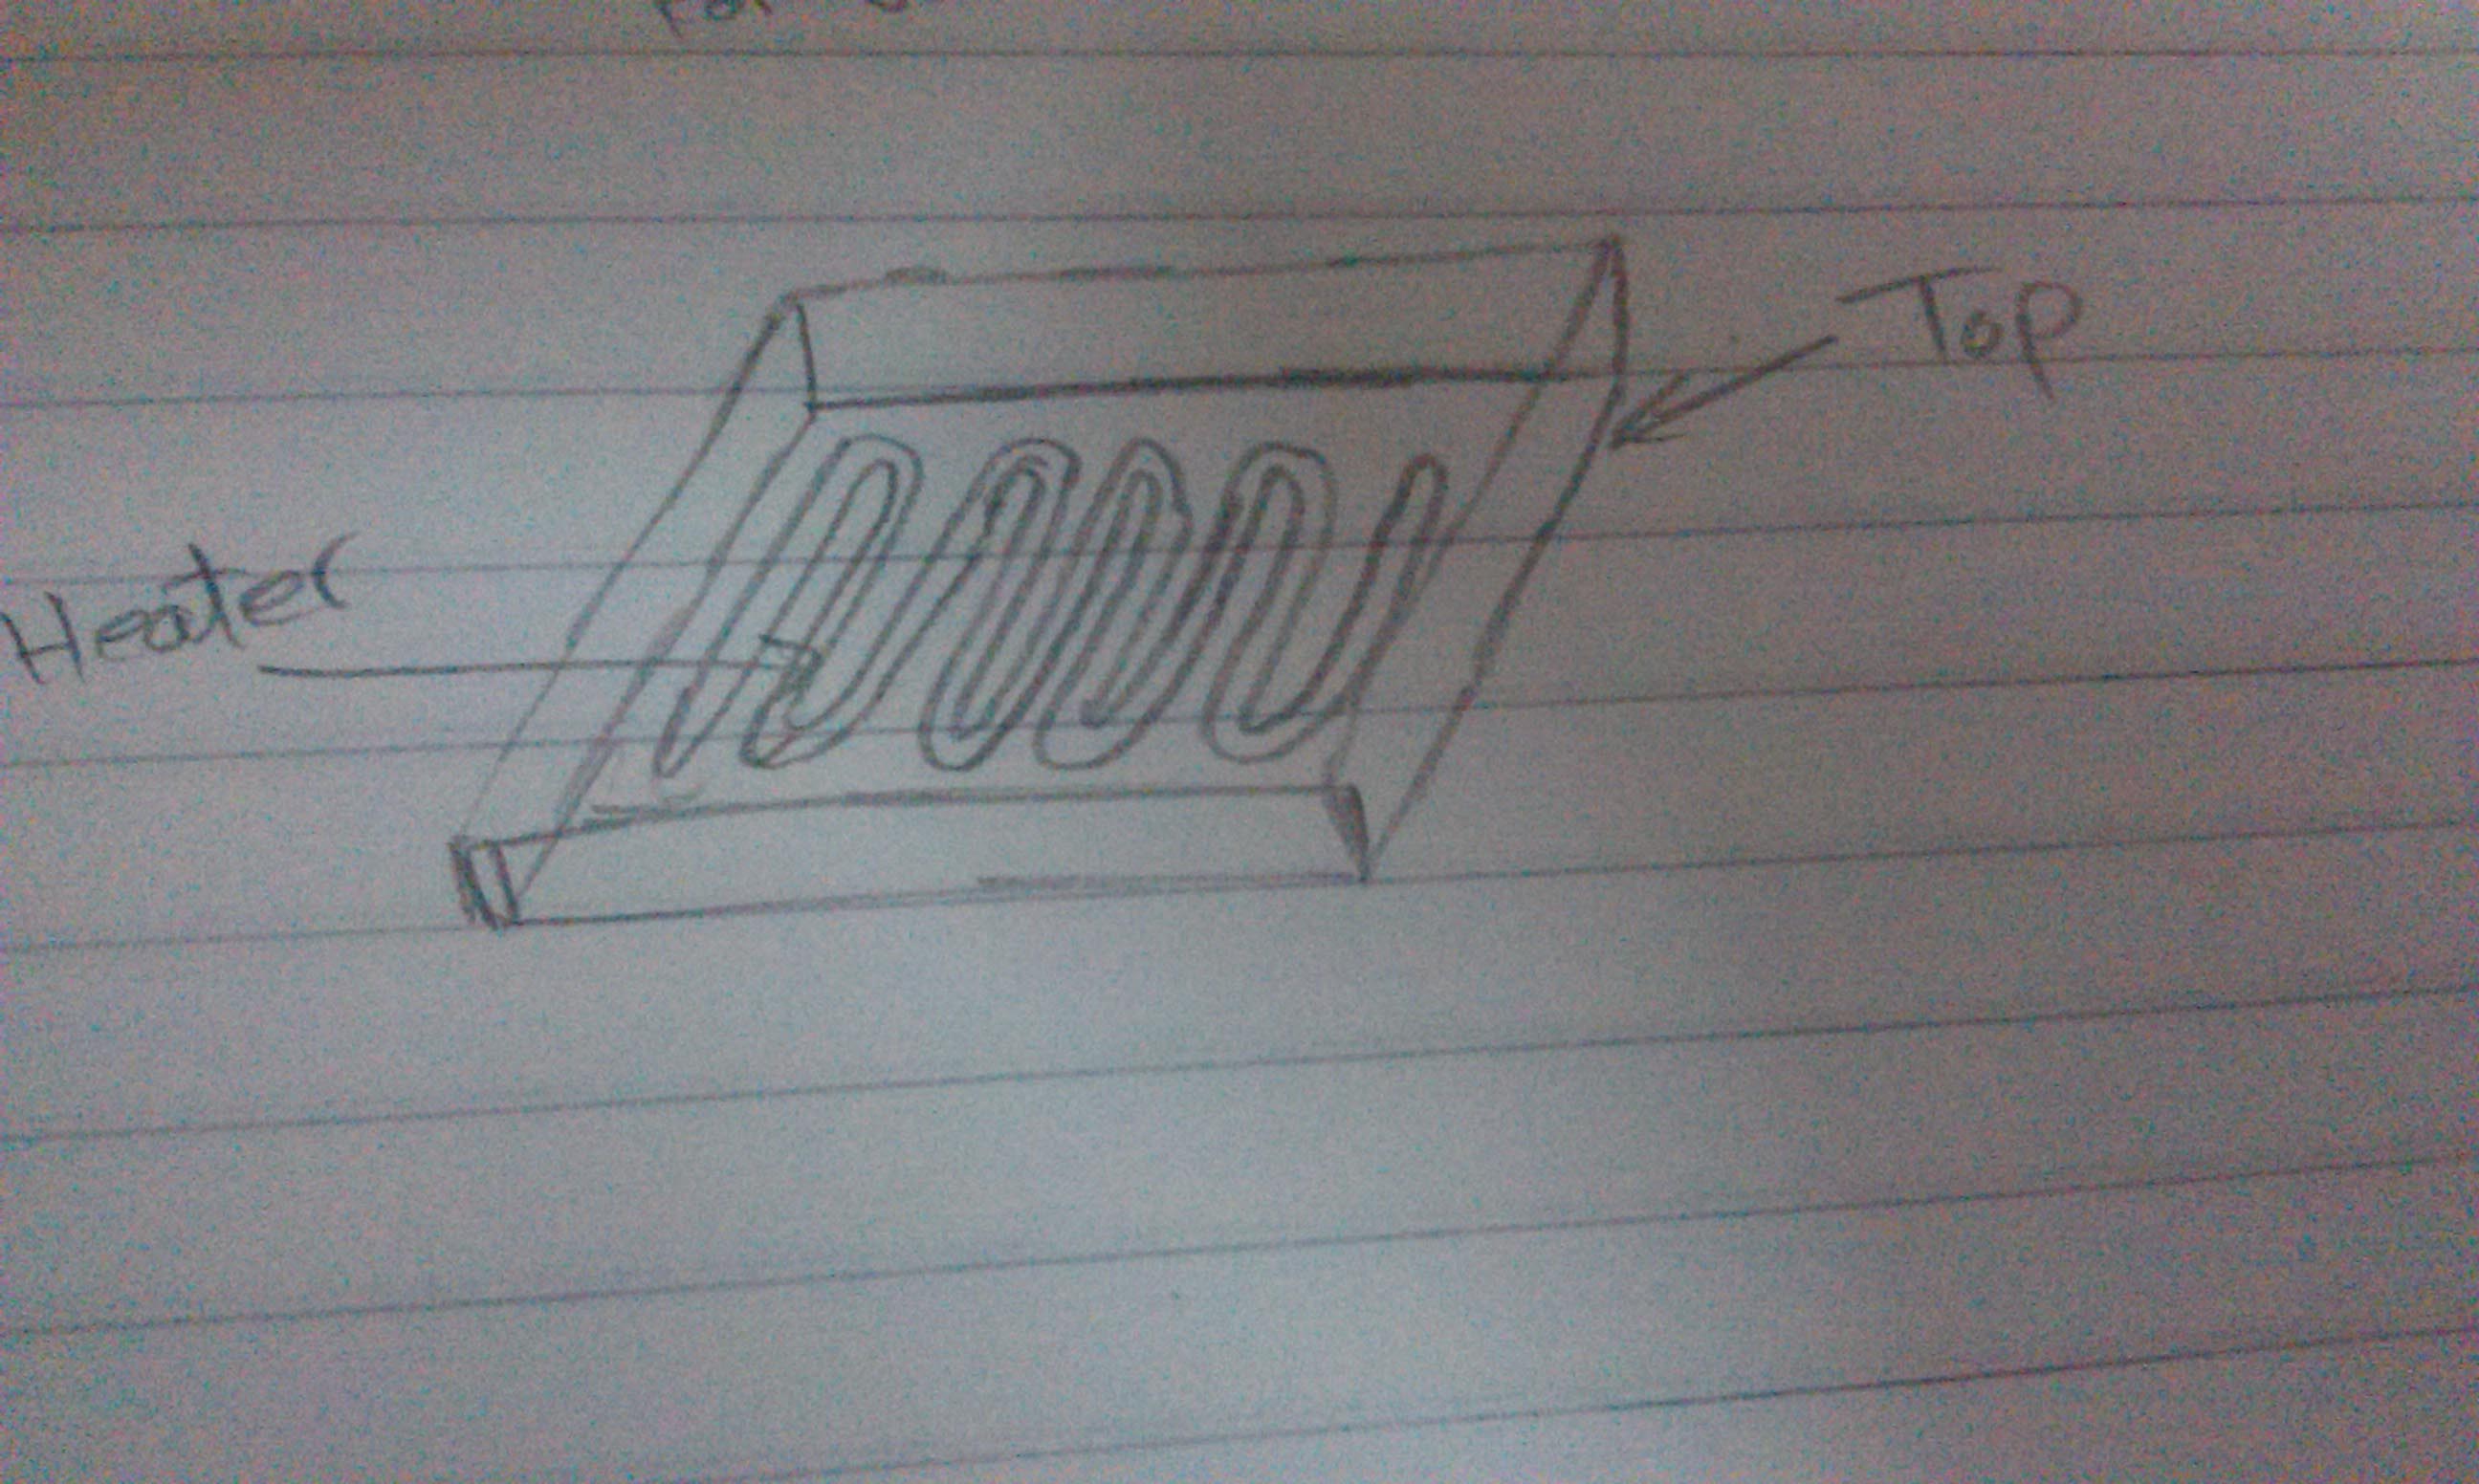
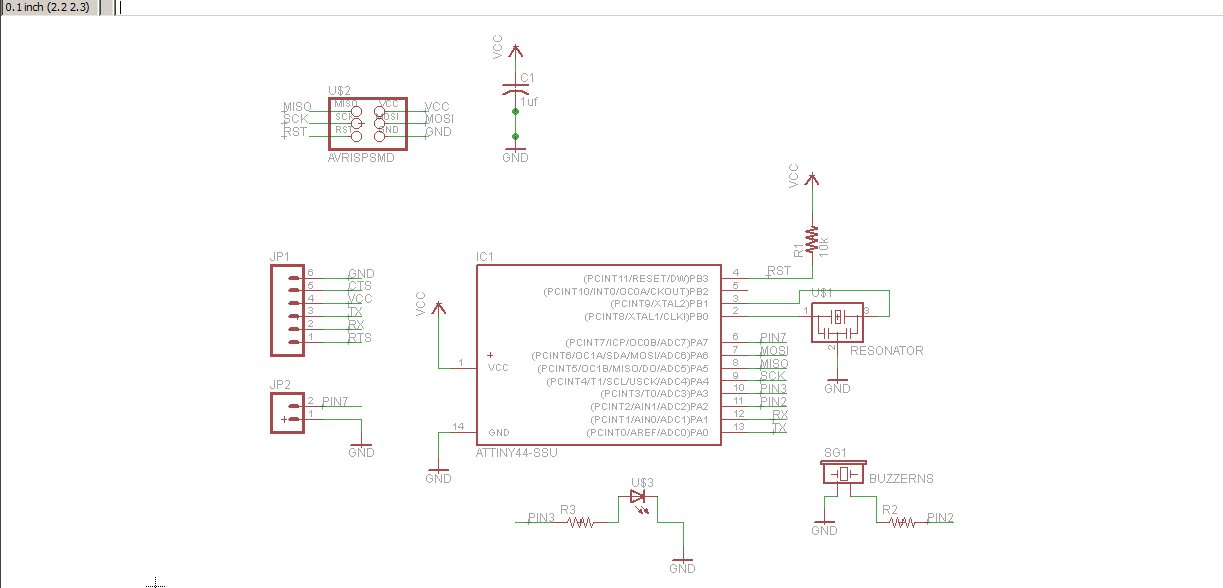
4. The heater is then turned on and the plastic slowly becomes soft and pliable as it heats up. The plastic can be seen to 'warp' and 'distort' as the surface expands. |
|
|
5. After a few minutes the plastic is ready for ‘forming’ as it becomes very flexible. |
|
|
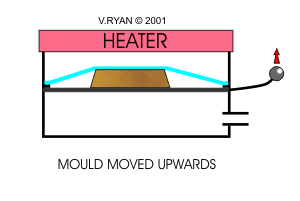
6. The heater is turned off and the mould is moved upwards by lifting the lever until it locks in position. |
|
|
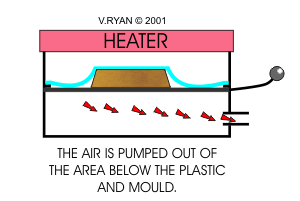
7. The 'vacuum' is turned on and this pumps out all the air beneath the plastic sheet. Atmospheric pressure above the plastic sheet pushes it down on the mould. At this stage the shape of the mould can be clearly seen through the plastic sheet. When the plastic has cooled sufficiently the vacuum pump is switched off. |
|
|
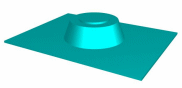
8. The plastic sheet is removed from the vacuum former. The sheet has the shape of the former pressed into its surface.
|
|
|
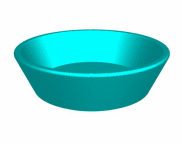
9. The excess plastic is trimmed so that only the plastic bowl remains - the completed item. An enlarged view of the final dish is seen opposite.
|
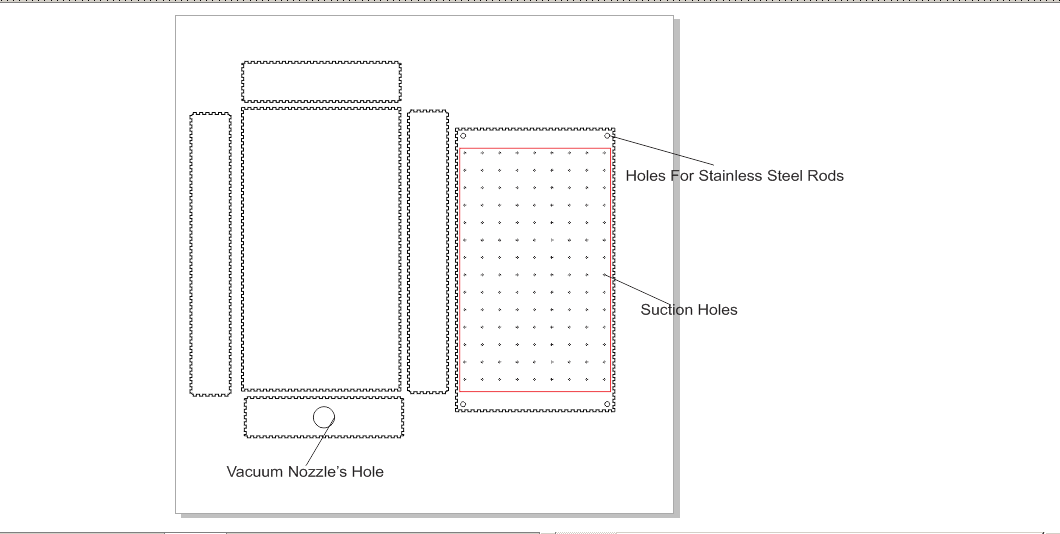
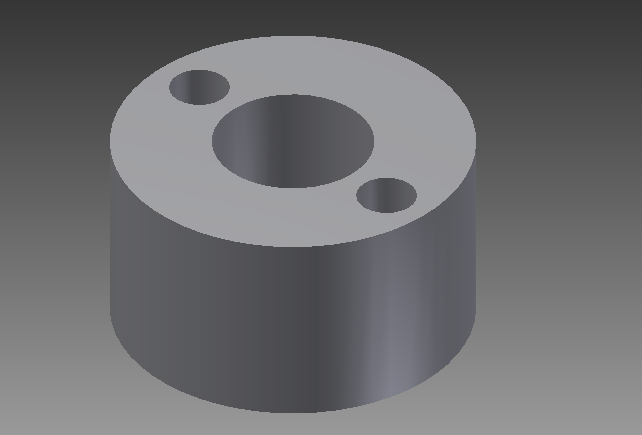
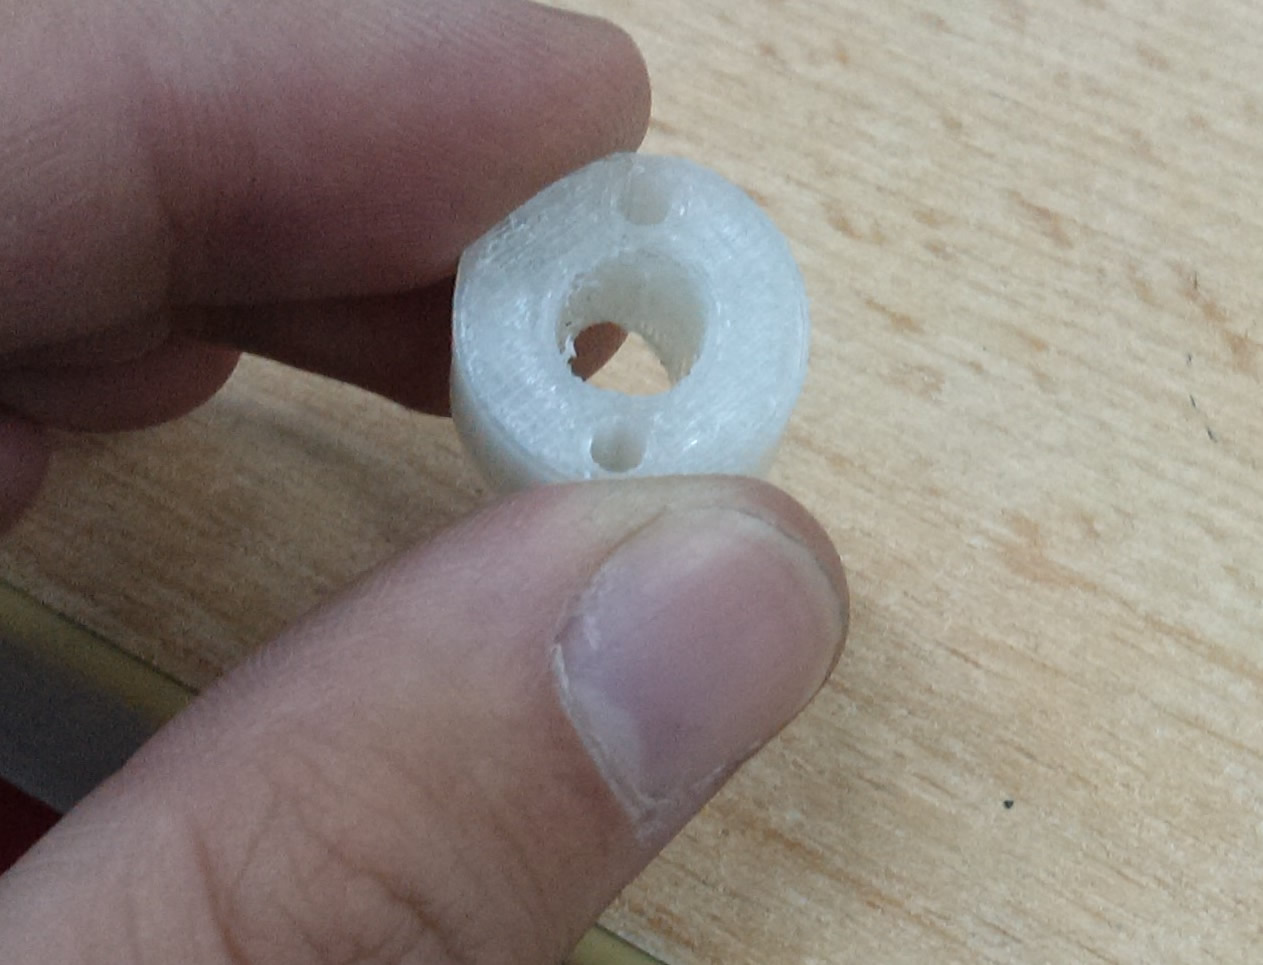
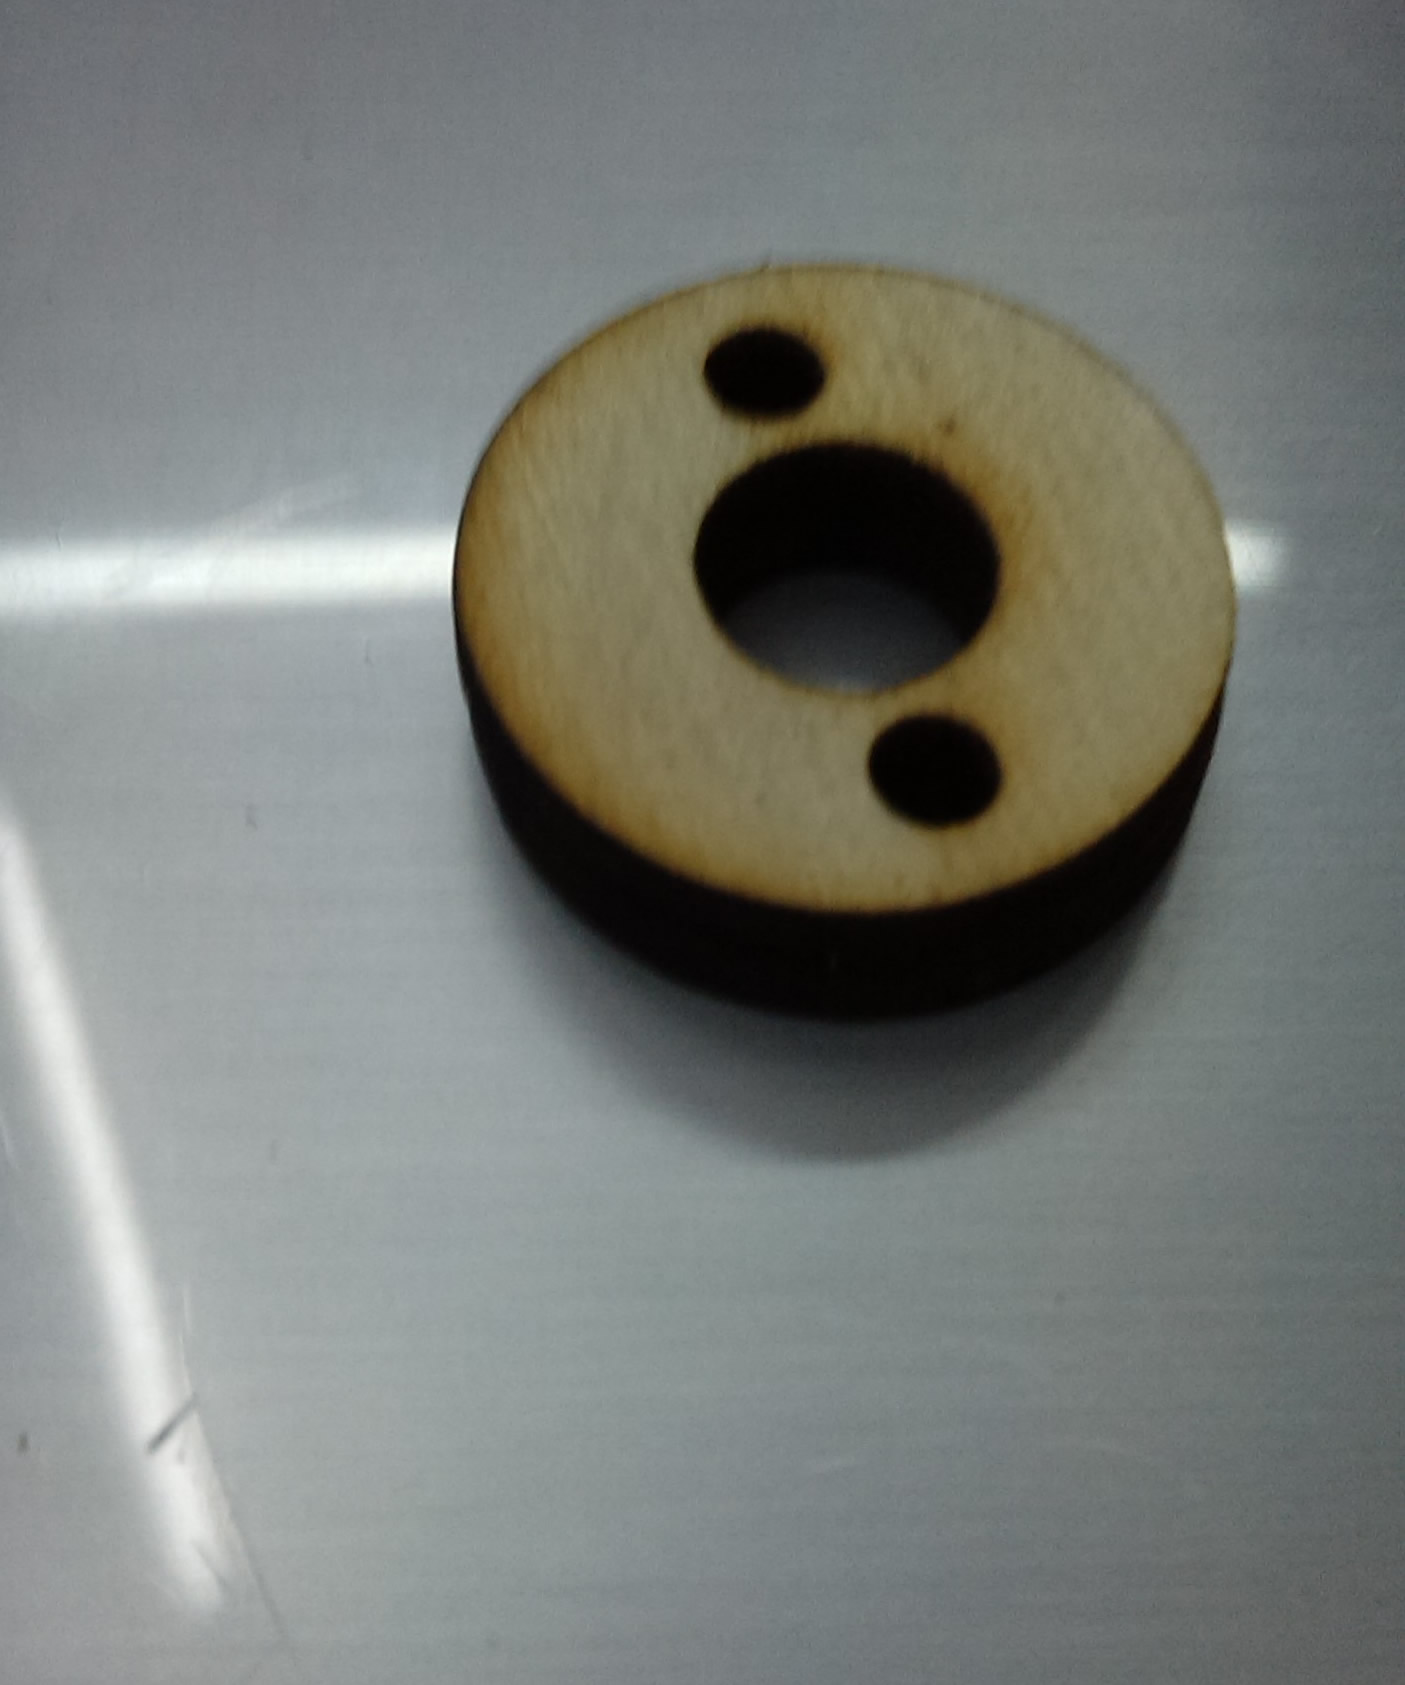
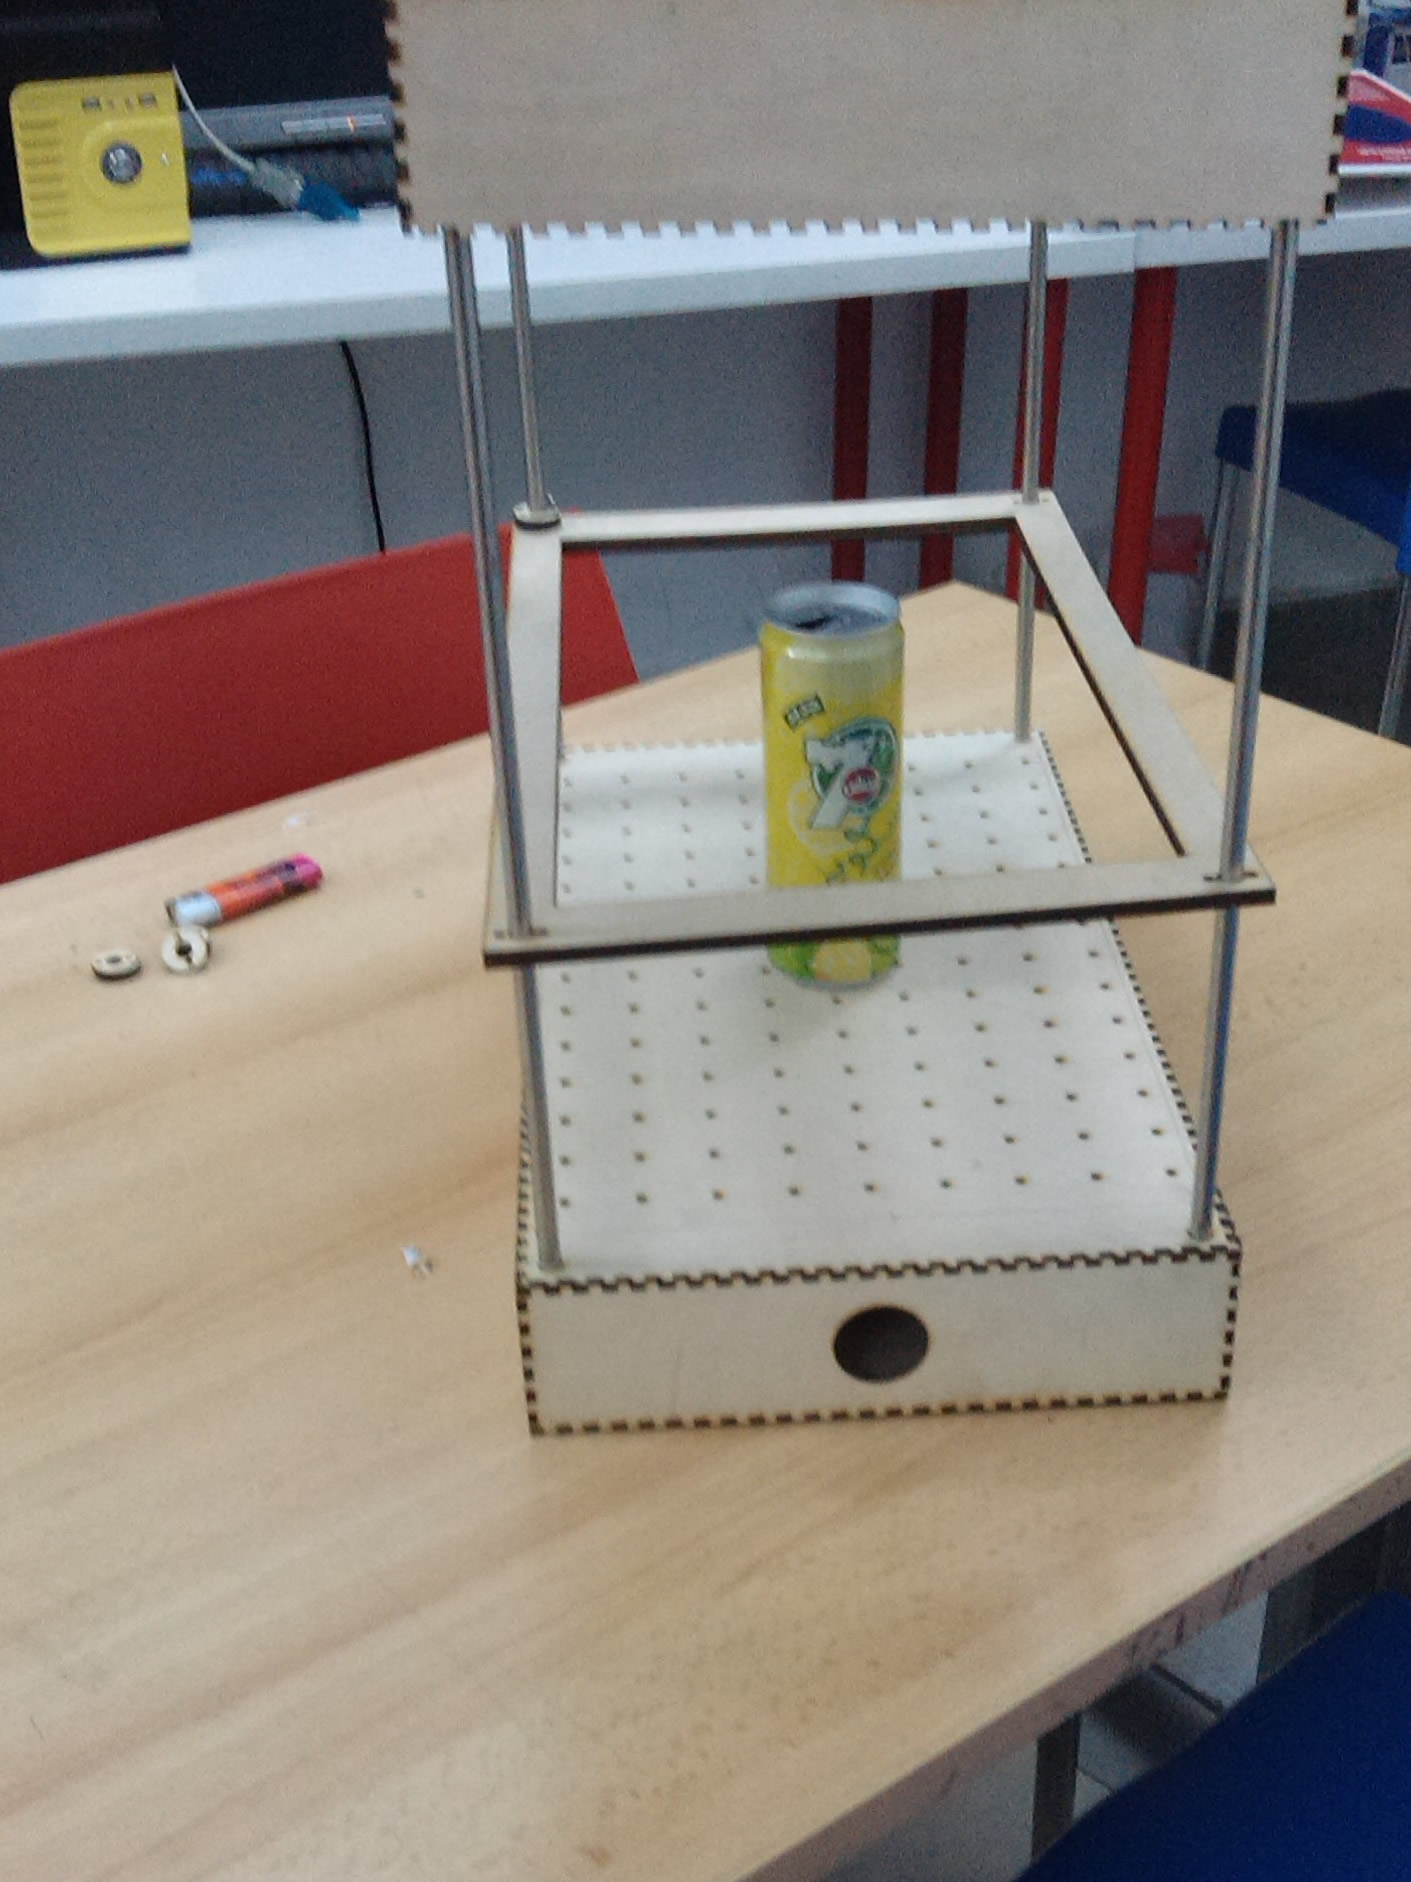
| Single Hole Diameter | 3mm |
| Distance Between Holes | 25mm |
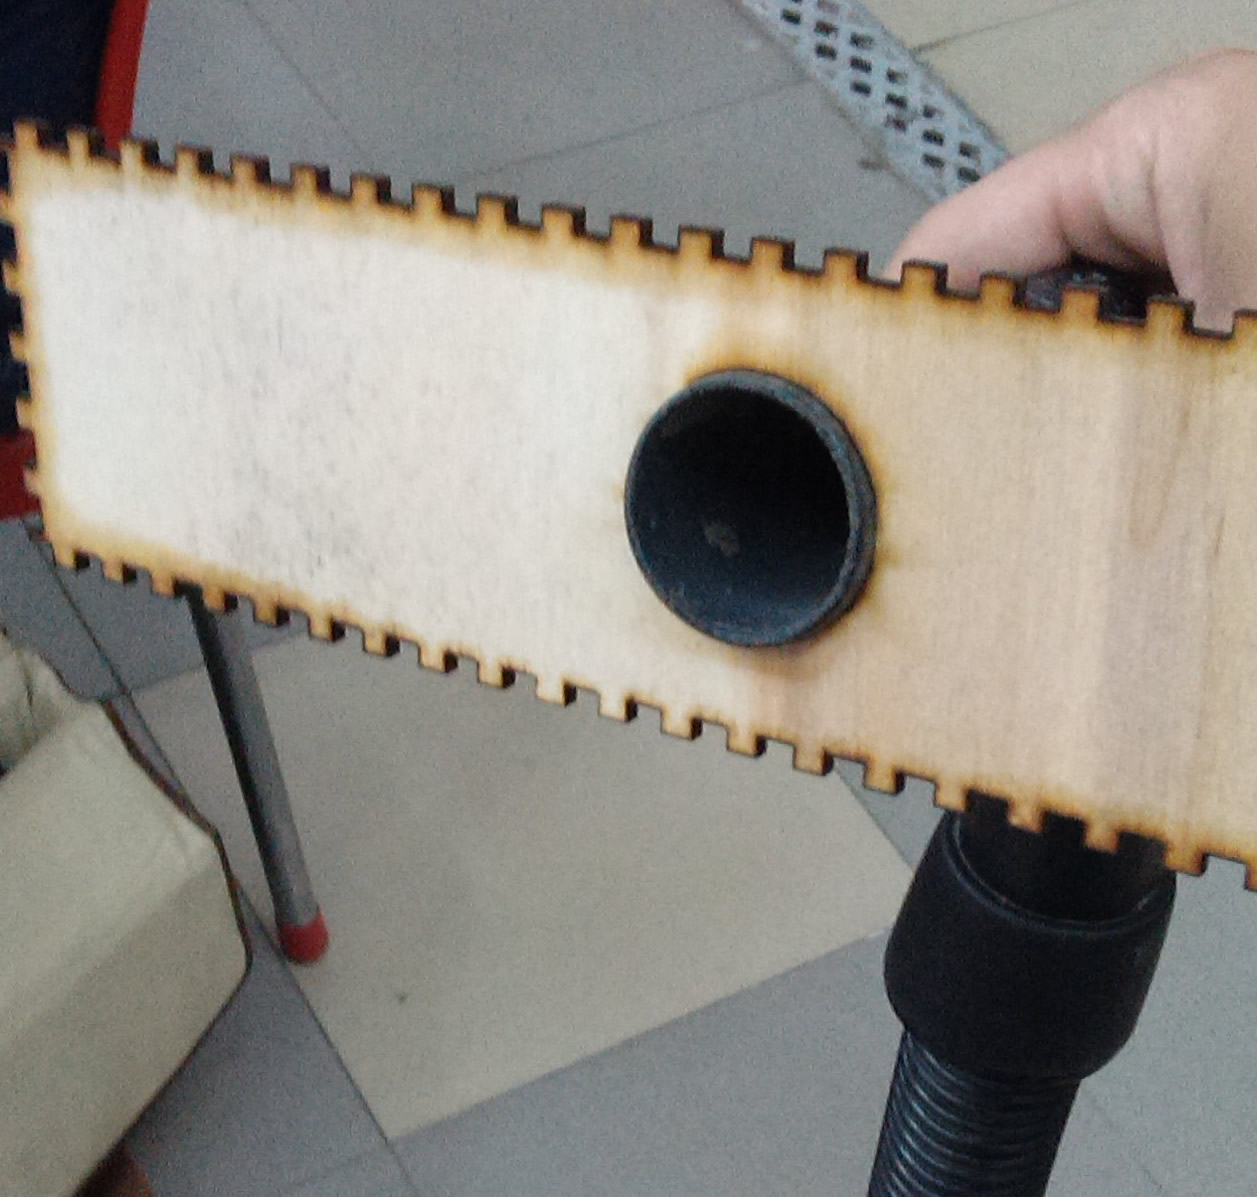
| Vacuum Nozzle | 335mm |
| Screw's Head | 5mm |
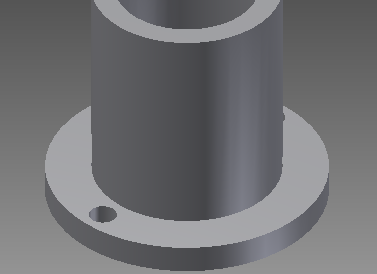
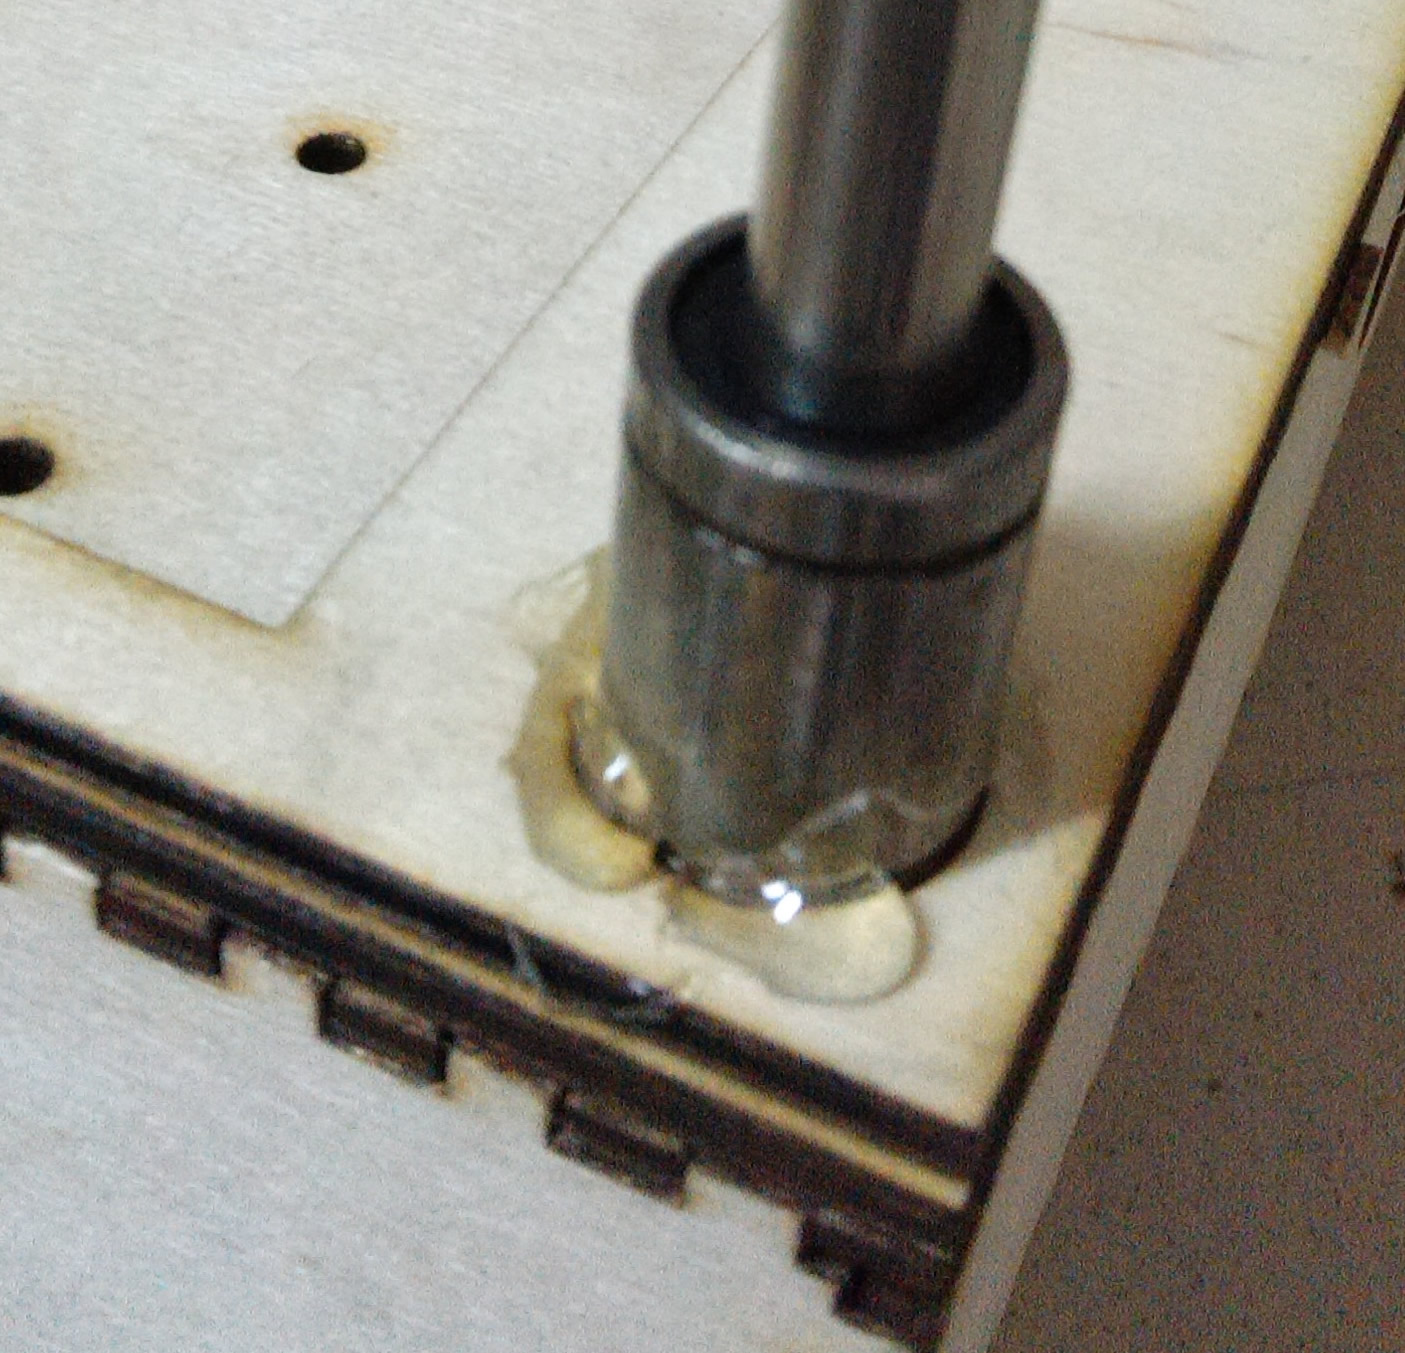
| Stainless Steel Rods' Diameter | 8mm |


 DOWNLOAD FILES