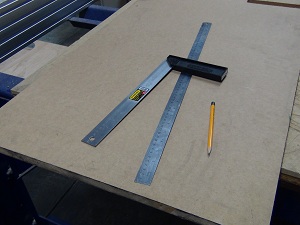
Materials & Tools
For Mold
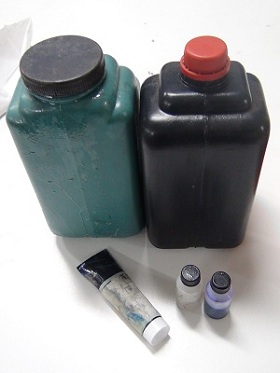
For Casting
Mold Design
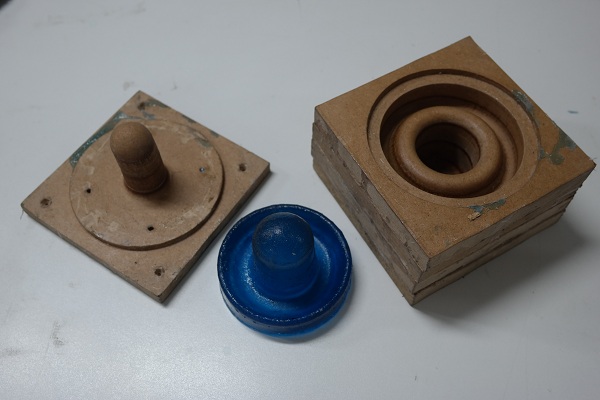
In this assignment I made a split mold, to create mallets for the air hockey table (for my Final Project). It's a very simple piece only need a revolve operation. Of course the unmolding angles are considered in the CAD draw.
 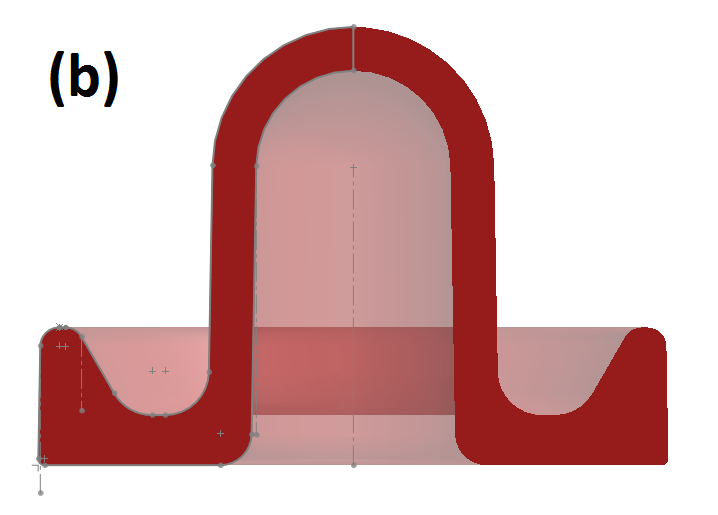 |  (a) Draw dimentions (b) Section view (c) Render |
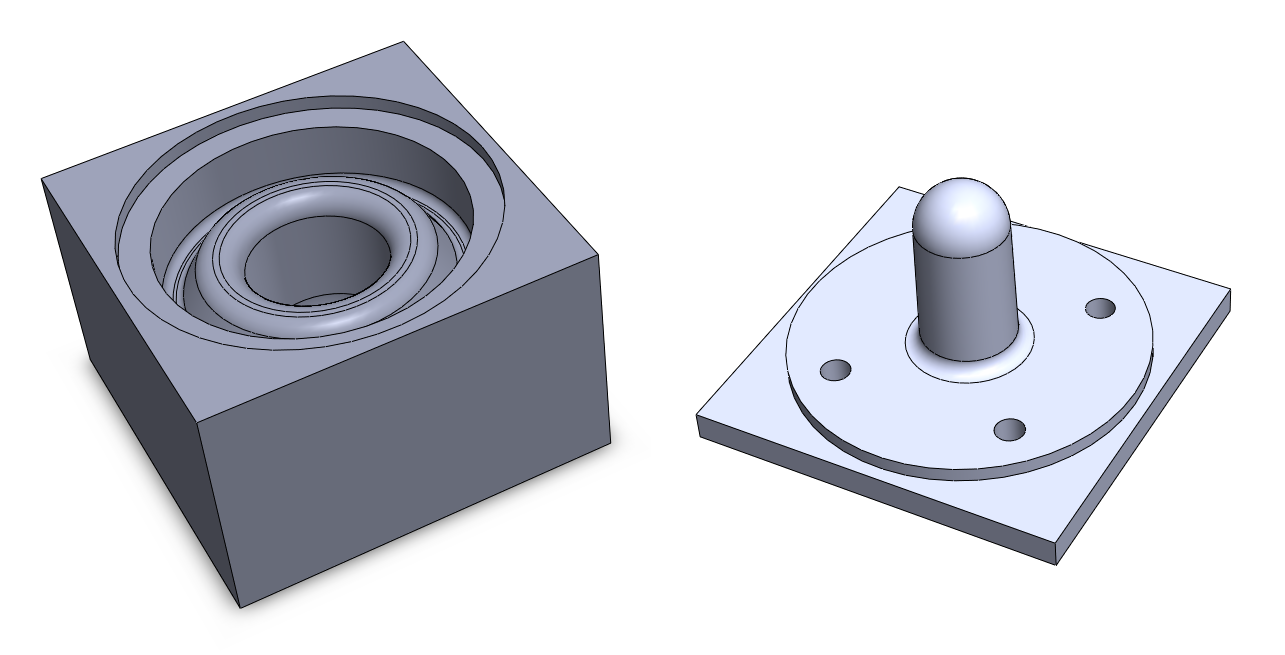
Then create the mold cavity and the mold core CAD draw. The mold core have over flow holes Finally save it in .stl format.[.STL Files]
Mold Manufacture
| Step 01.-If you have a wood block you can jump this step. To create a wood block, cut several pieces of MDF board, and then paste it together and press it with the vises. In this case I used four 20mm layers to create a block of 80mm of height. | 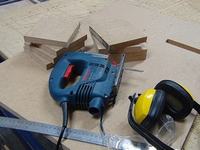 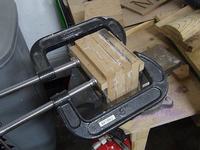 |
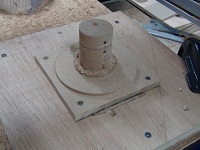
| Step 02.-Screw the block of cavity mold to a piece of board. Take care and screw where the mill wouldn't pass inside de mold cavity. Then screw the piece of board on the Shopbot bed. | 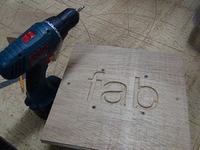 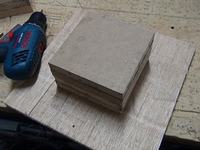 |
| Step 03.-Start the milling process. Personally I used 3 types of mills (¼" and ½" Ball point and ¼" Flat Point end mill) and 2 softwares to create the 3D paths(PartWorks and PartWorks-3D) | 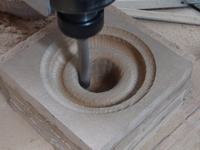 Ball point ½" end mill Ball point ½" end mill (Rough Cut-PW3D) |
 Ball point ½" end mill Ball point ½" end mill (Fine Cut-PW3D) |
 Ball point ¼" end mill Ball point ¼" end mill(Rough Cut-PW3D) |
 Ball point ¼" end mill Ball point ¼" end mill (Fine Cut-PW3D) |
 Flat point ¼" end mill Flat point ¼" end mill(Profile Cut-PW) |
| Step 04.-To fix the other part of the mold screw the MDF more than normal (introduce the head of the screw inside the MDF). For this part I use ¼" Flat Point end mill with long shaft and PartWorks to create a pocket around the cilinder to create a gross profile for the 3D milling process. |  |
 |
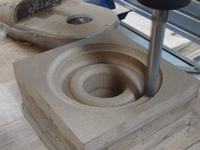
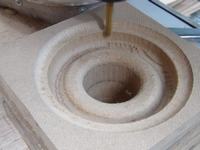
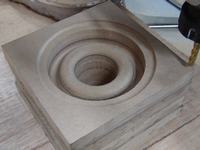
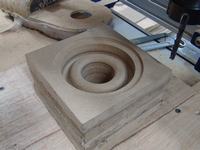
| Step 05.-Star the 3D milling of the center protude, y use for these process the Ball point ½" end mill. | 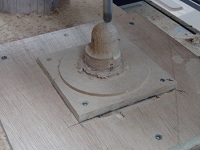 Rough Cut-PW3D Rough Cut-PW3D |
 Fine Cut-PW3D Fine Cut-PW3D |
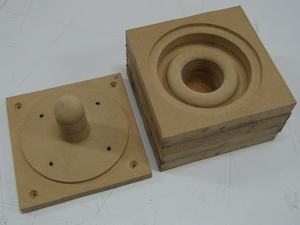
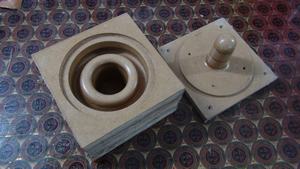
The Result is like the photos below:
 |
 |
Casting
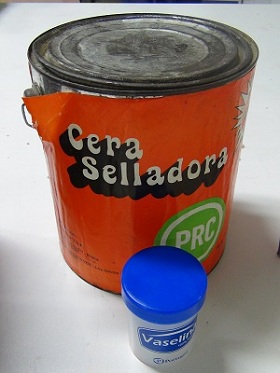
First spread the vaseline in all the mold surface, If you use floor wax you need to spread, at least 6 layers of wax.
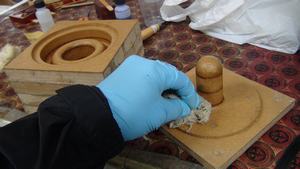 Spreading the wax Spreading the wax |
 The result The result |
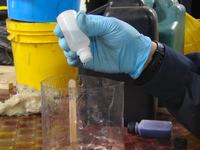
For Casting, the process is too simple, only mix all the components in the correct proportion (Activator 1.5% and Catalyst 0.5%). The Monostyrene is for dilute an get the correct viscosity to reach all the parts of the mold.
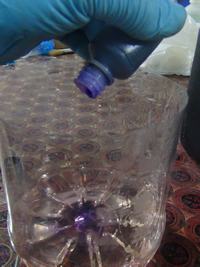 Adding the activator Adding the activator |
 Adding the catalyst Adding the catalyst |
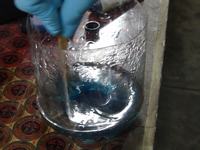 Mixing (also I add blue dye) Mixing (also I add blue dye) |
Final pour the resin in the mold and close the mold until you see the resine exits the overflow holes.
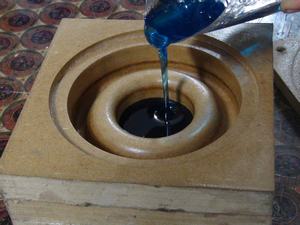 Pouring in the mold Pouring in the mold |
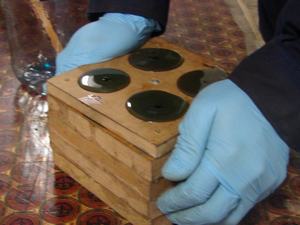 Covering and pressing Covering and pressing |
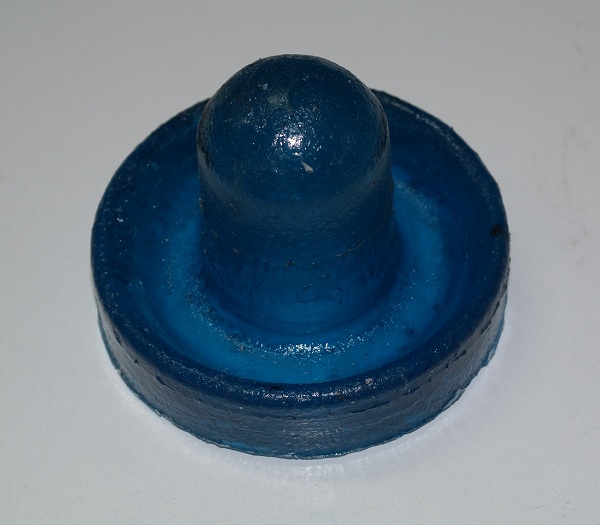
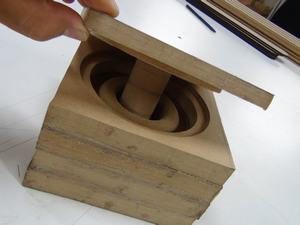
If all the process was correct you can unmold in a couple of hours, depende of the temperature of the ambience (coolest take more time).