3D scanning and printing
Lesson 5
This week's assignment is to 3D scan an object and to design and 3D print an object.
This week's assignment is to 3D scan an object and to design and 3D print an object.
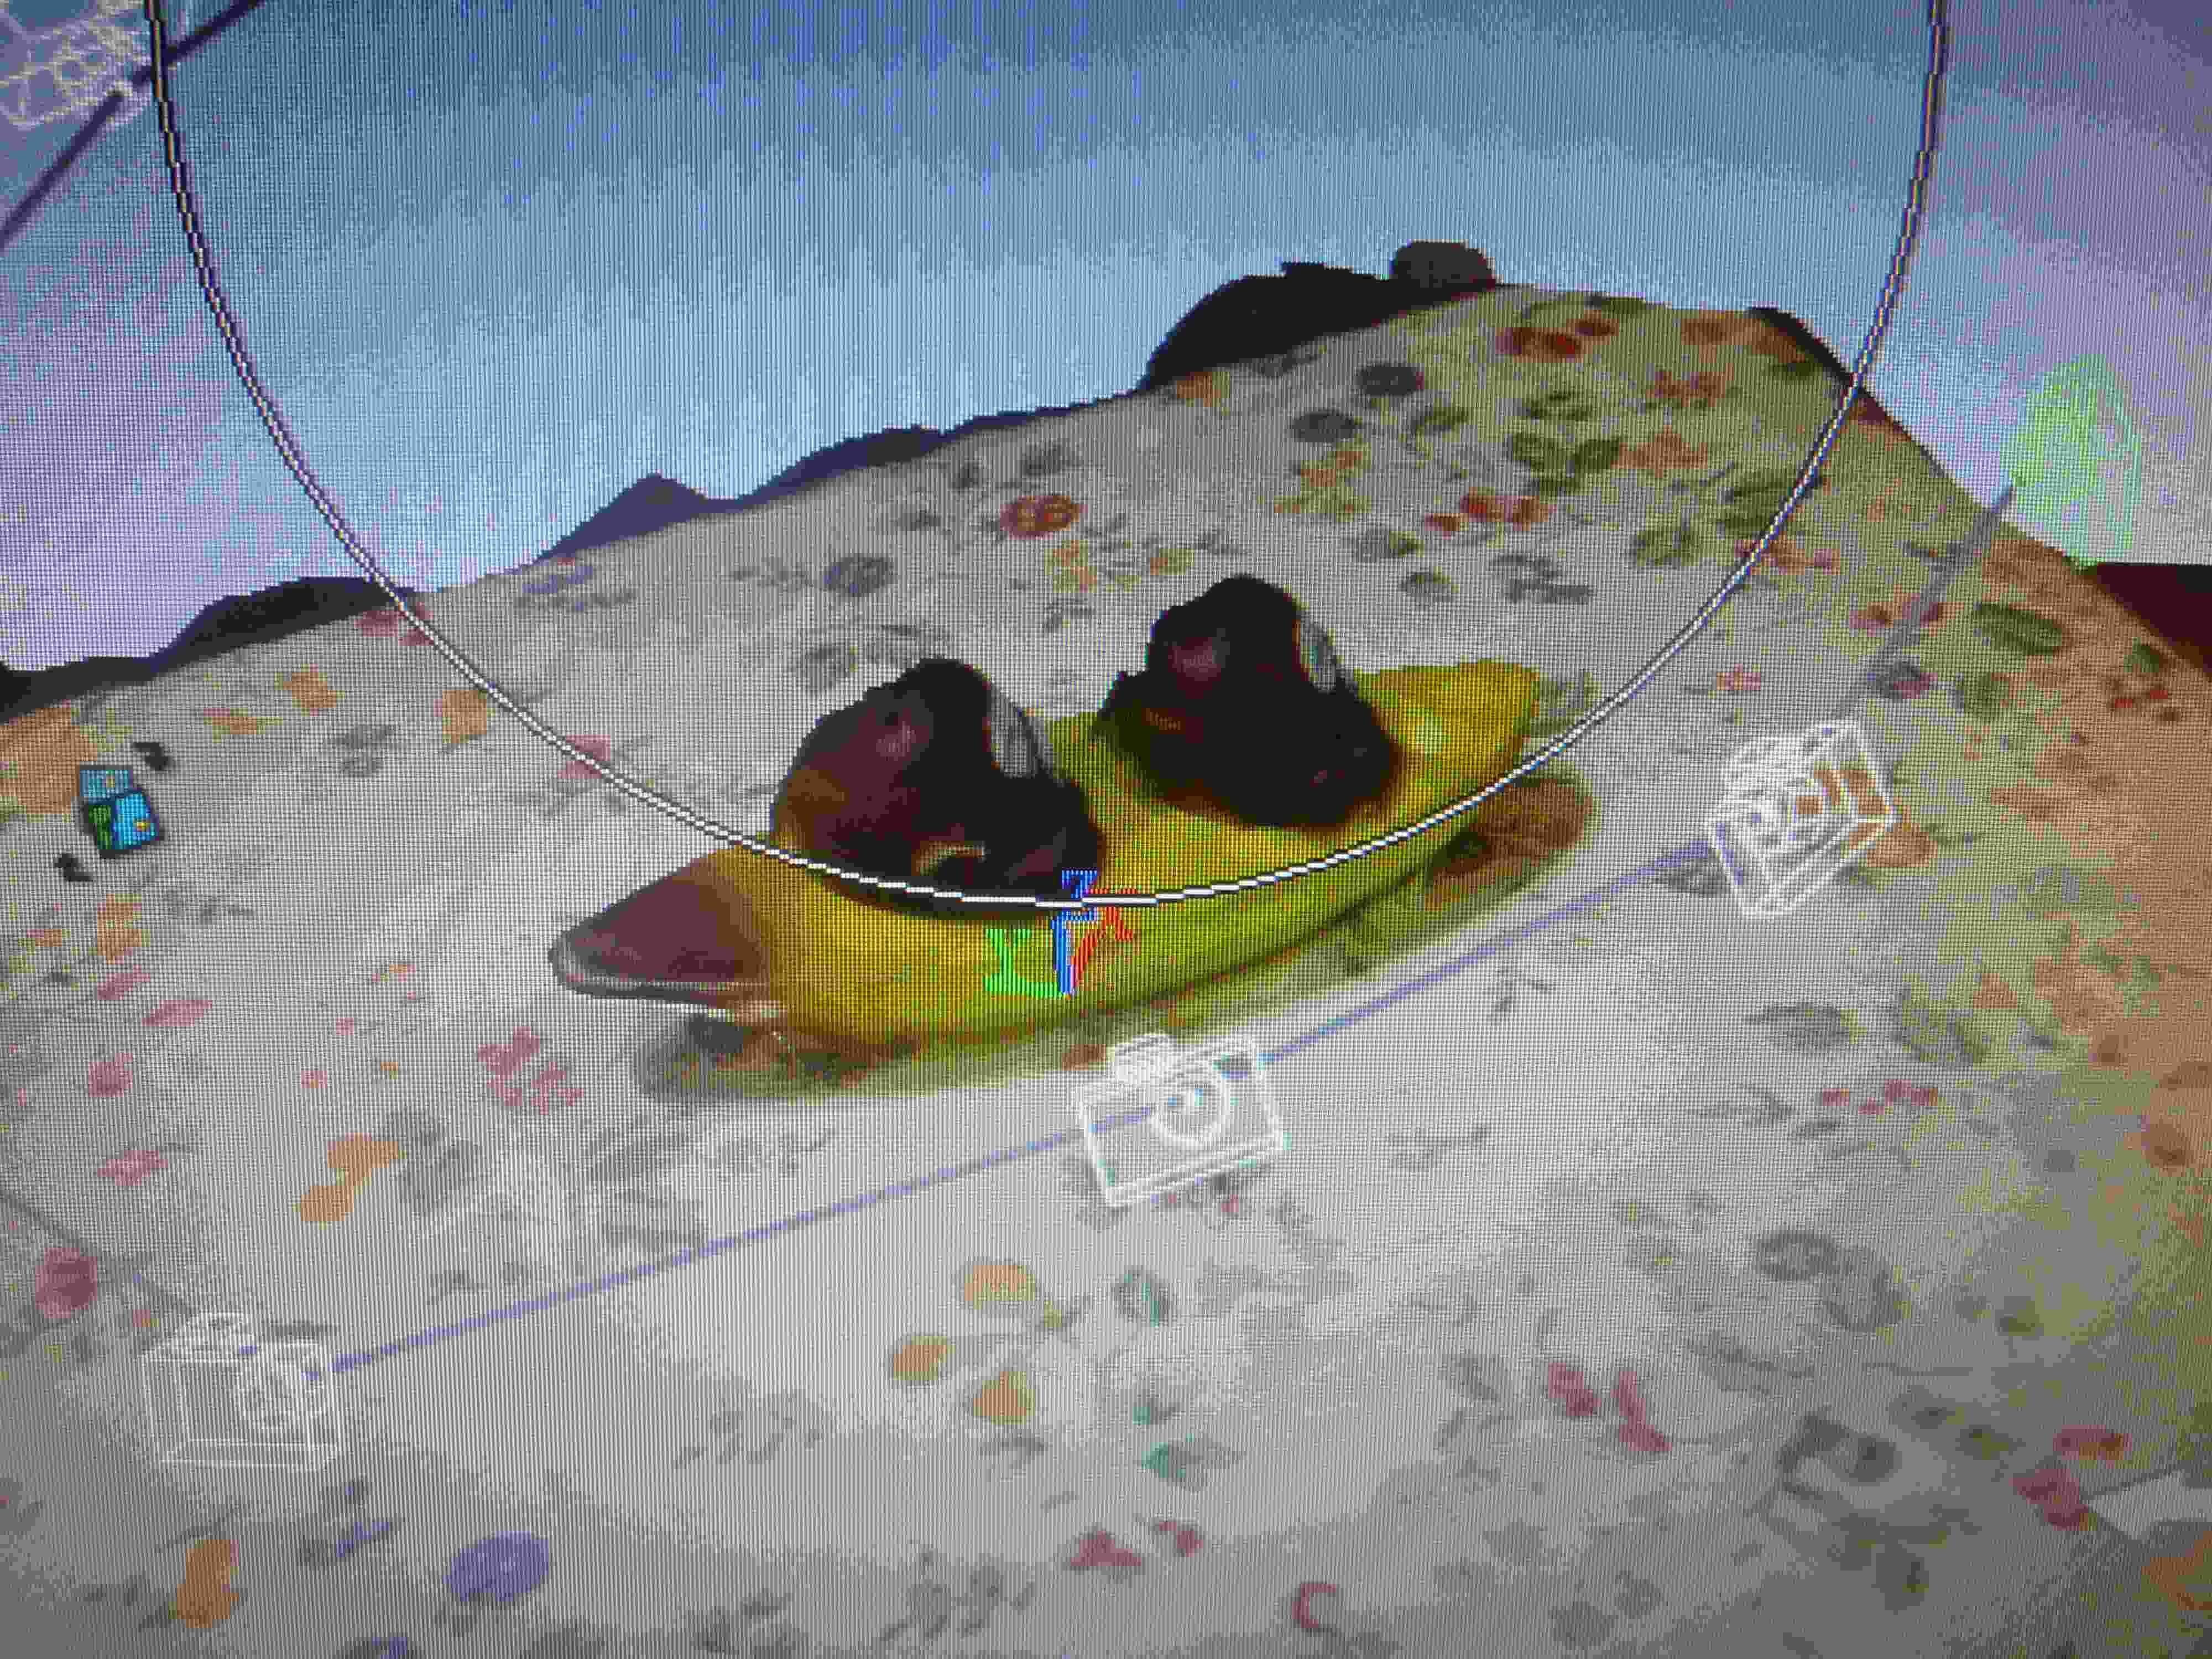
To scan my 3D object I used 123D catch which enables you to take pictures around an object and send it to the 123D cloud where they match the individual photographs into one 3d object. I started off making pictures of two monkeys in a boat on a flower table cloth and started experimenting as I had never done this before. The pictures below are a small selection of all the pictures I sent to the server.
 |
I was surprised by the result and it seemed that it had worked relatively well. There were some holes in the heads of the monkeys and not everything was nicely closed, but overall it looked relatively alright. When I look at this shot, after having gone through this learning experience, I realized that the lighting/shadows and flower patterns on the table cloth and the contrast between the table cloth and the two monkeys made this a good first try.
 |
 |
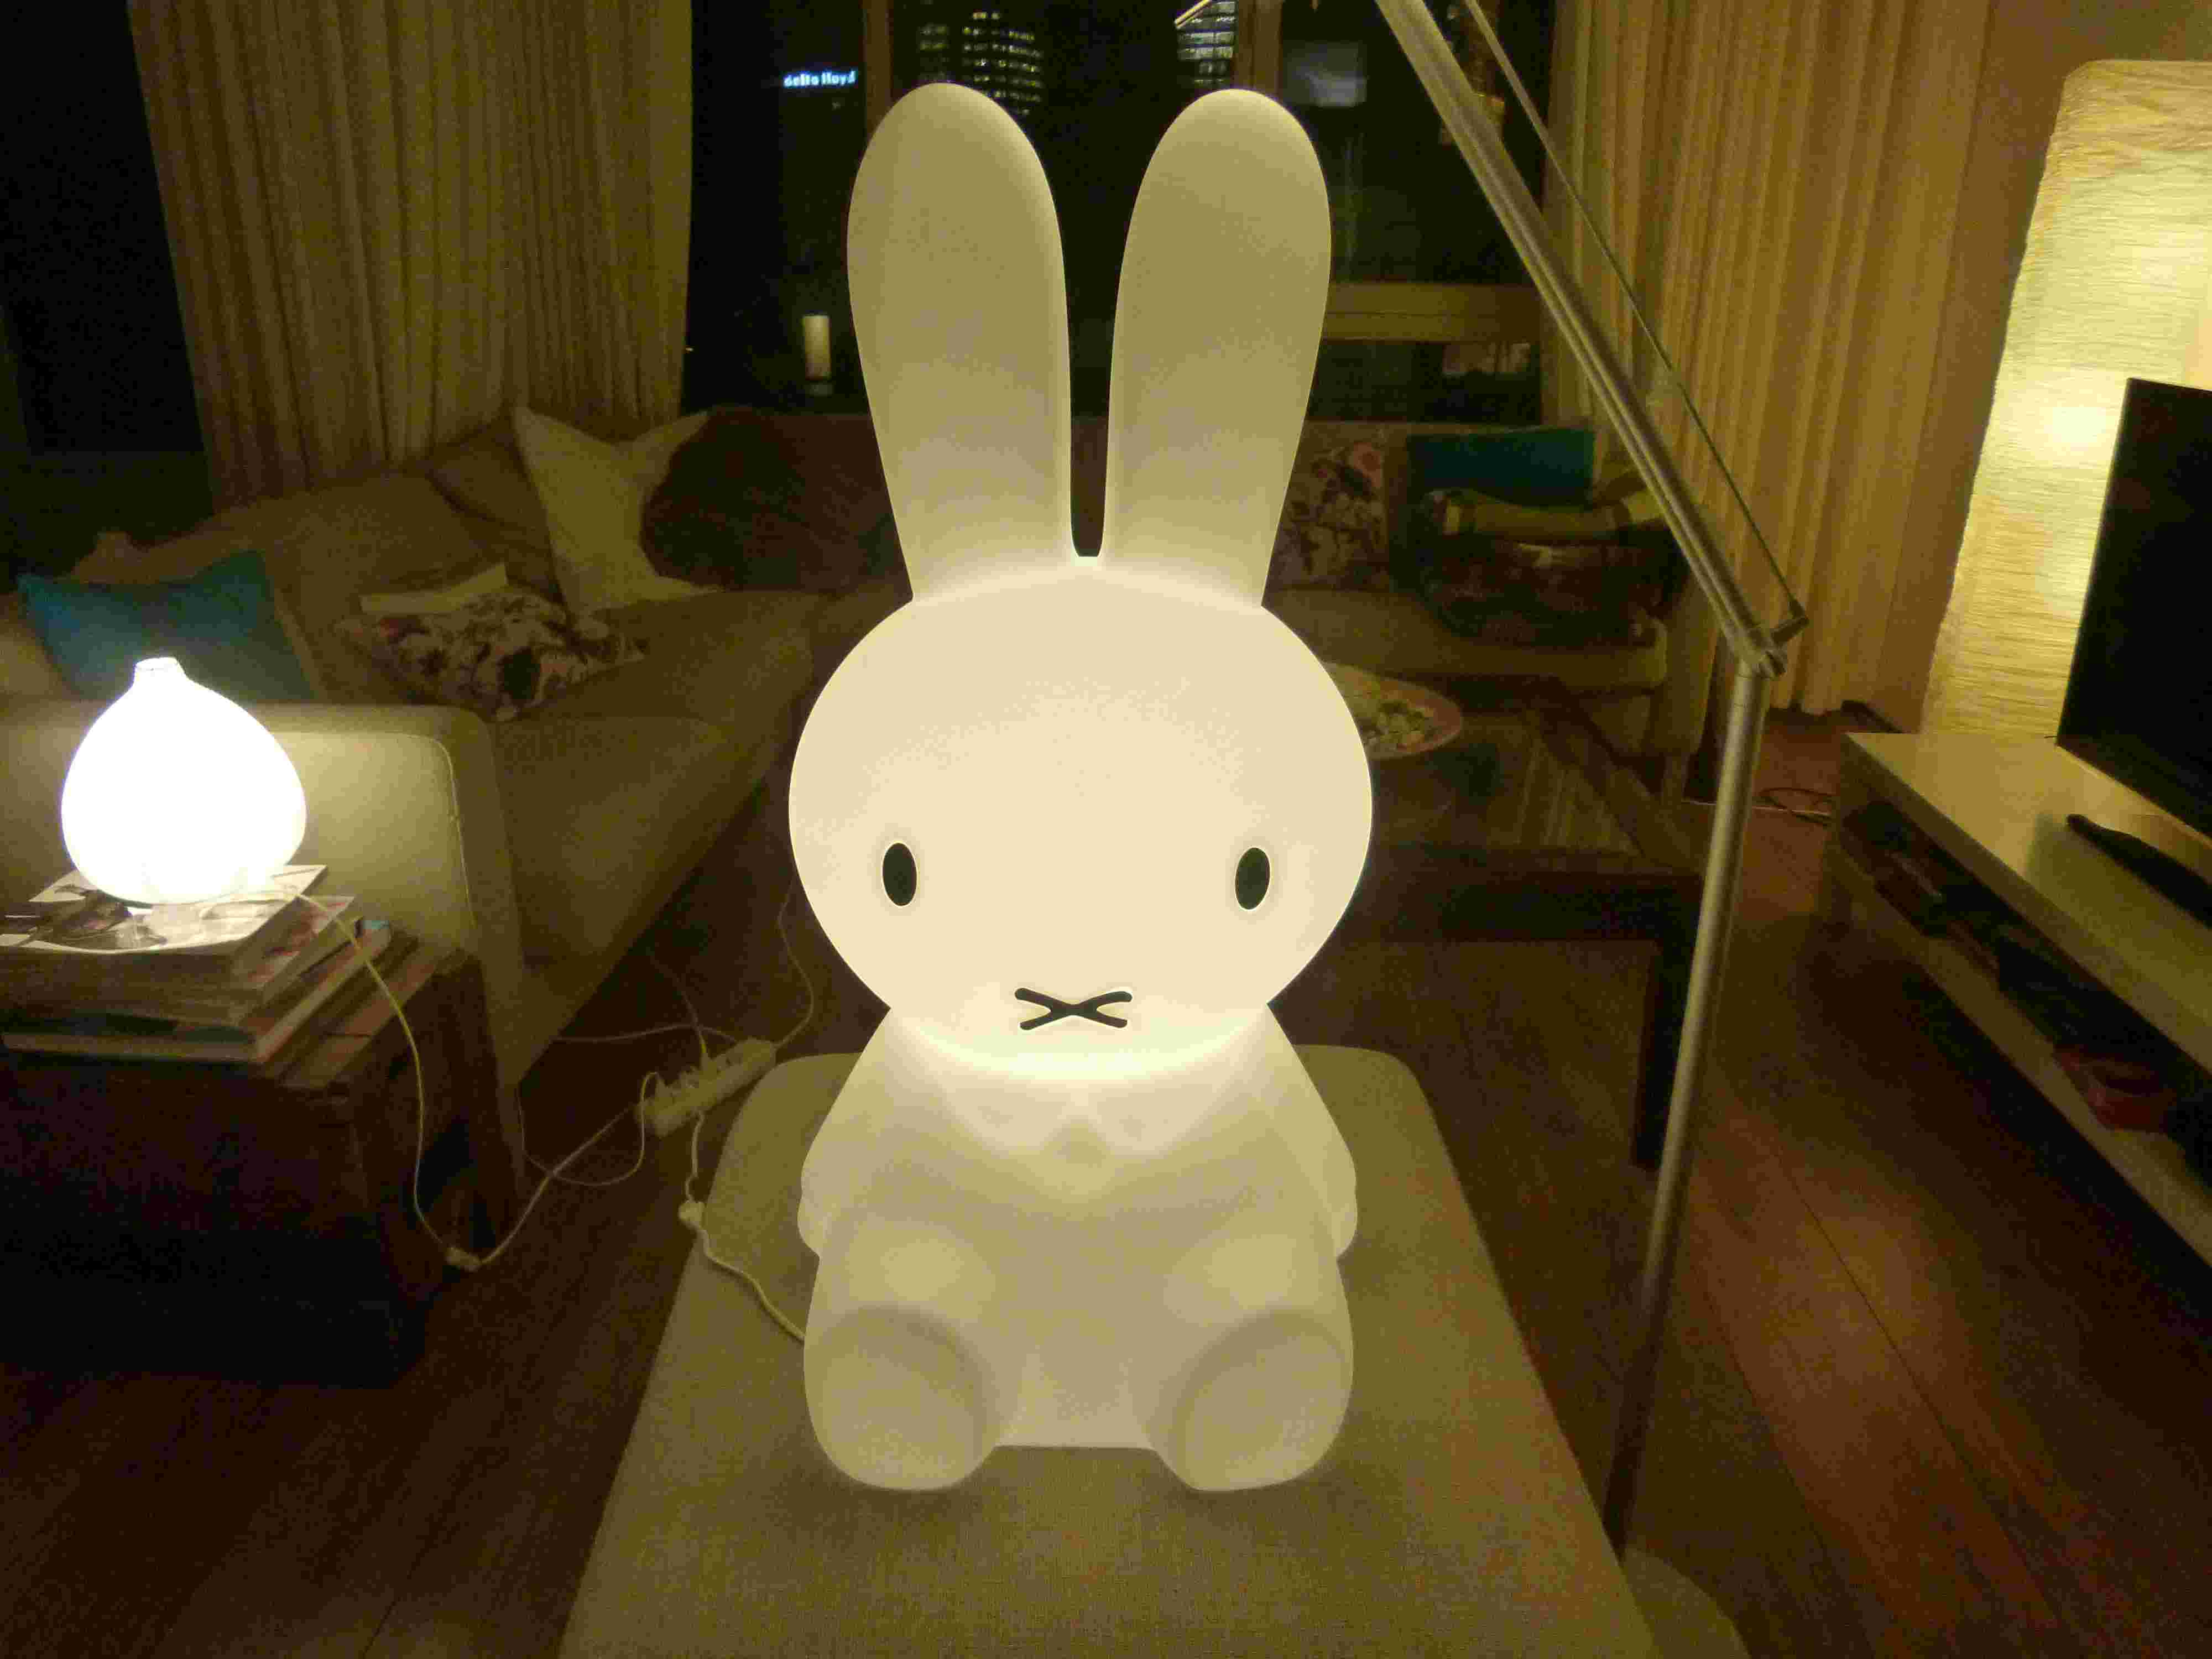
I experimented with all kind of photos, but the results did not improve and it was only in the end that I realized that I what I did in the beginning was the right approach. I had laughed at my wife that she had bought a 200 euro "nijntje" lamp and I was determined to 3D scan and print it.
 |
 |
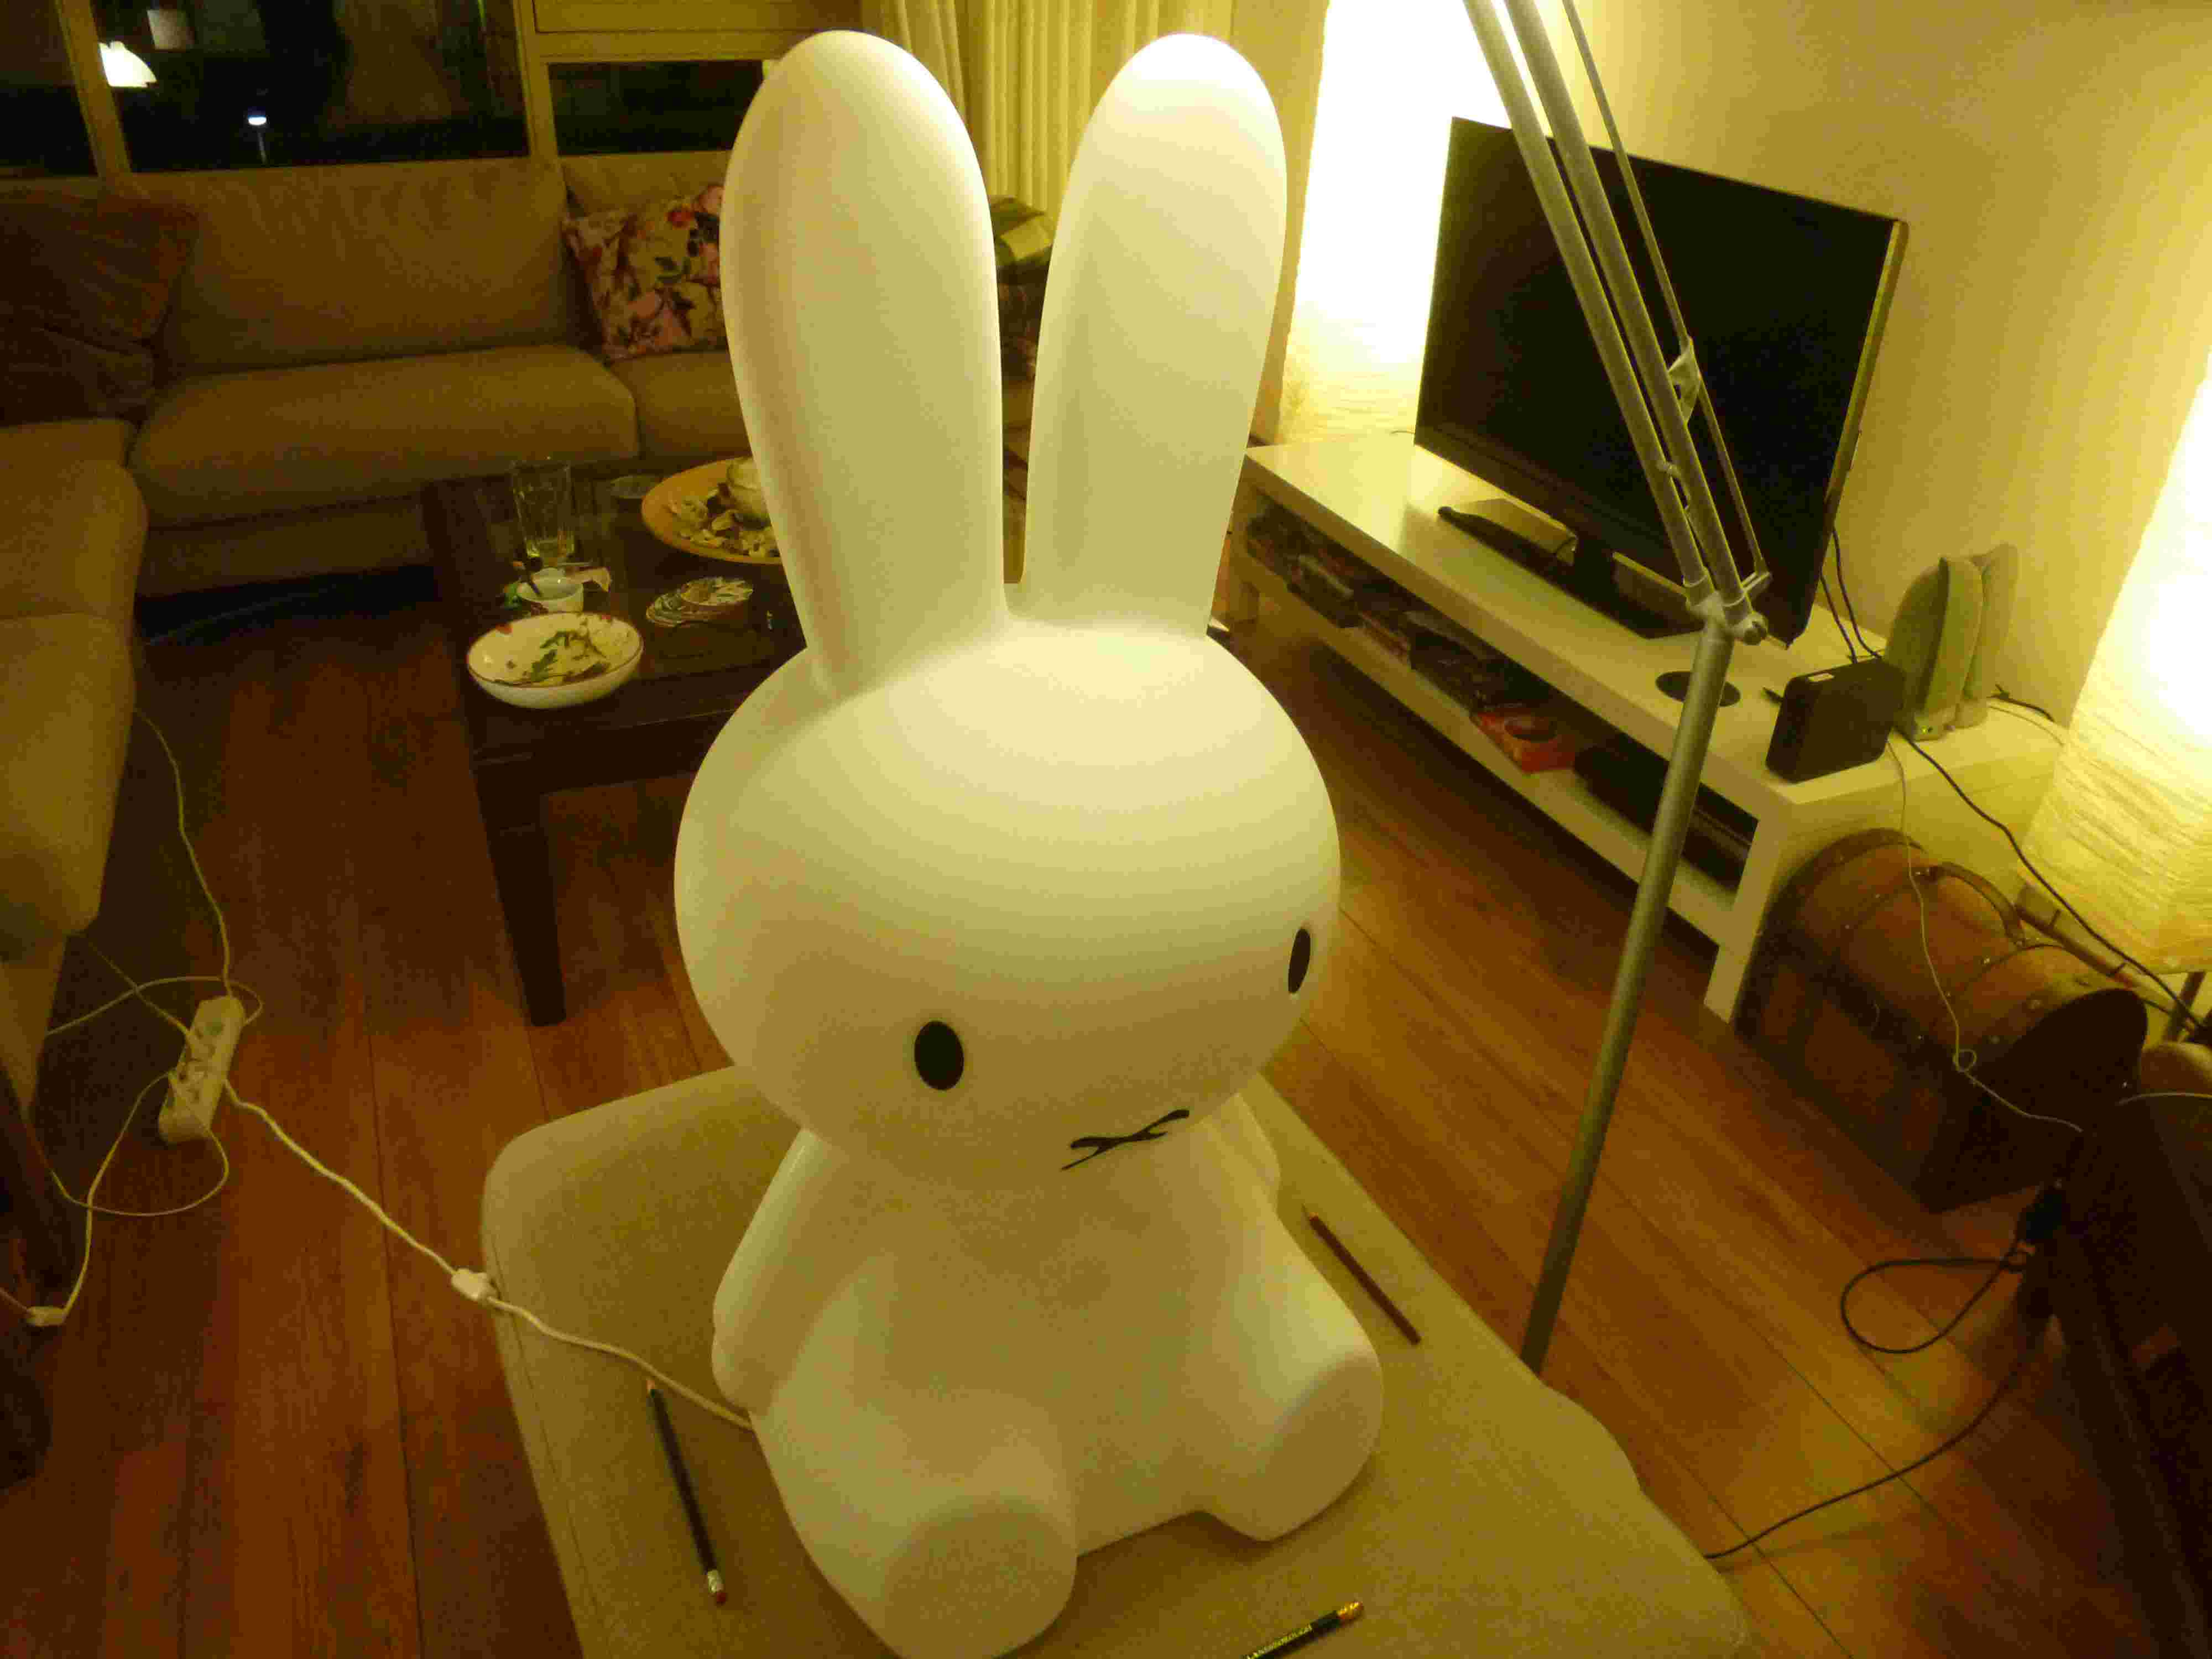 |
The result was disappointing and after several tries (in daylight, at night, with "nijntje" lamp on and lamp off), I had to admit that she was right to buy it. The problem with the "nijntje" lamp was that the computer could not stitch the smooth surface of the lamp correctly as the lamp is completely white with no clear markers on it. I also realized that the quality of the pictures taken in the direction of the sun, makes it hard to get a good and complete 3d object. I read later that 123d catch works best with diffuse light. I tried to improve the stitching by putting different color pencils around the "nijntje" model, so it would help the computer to decide where it need to stitch the pictures together. This did not make a difference for the quality of the pictures.
 |
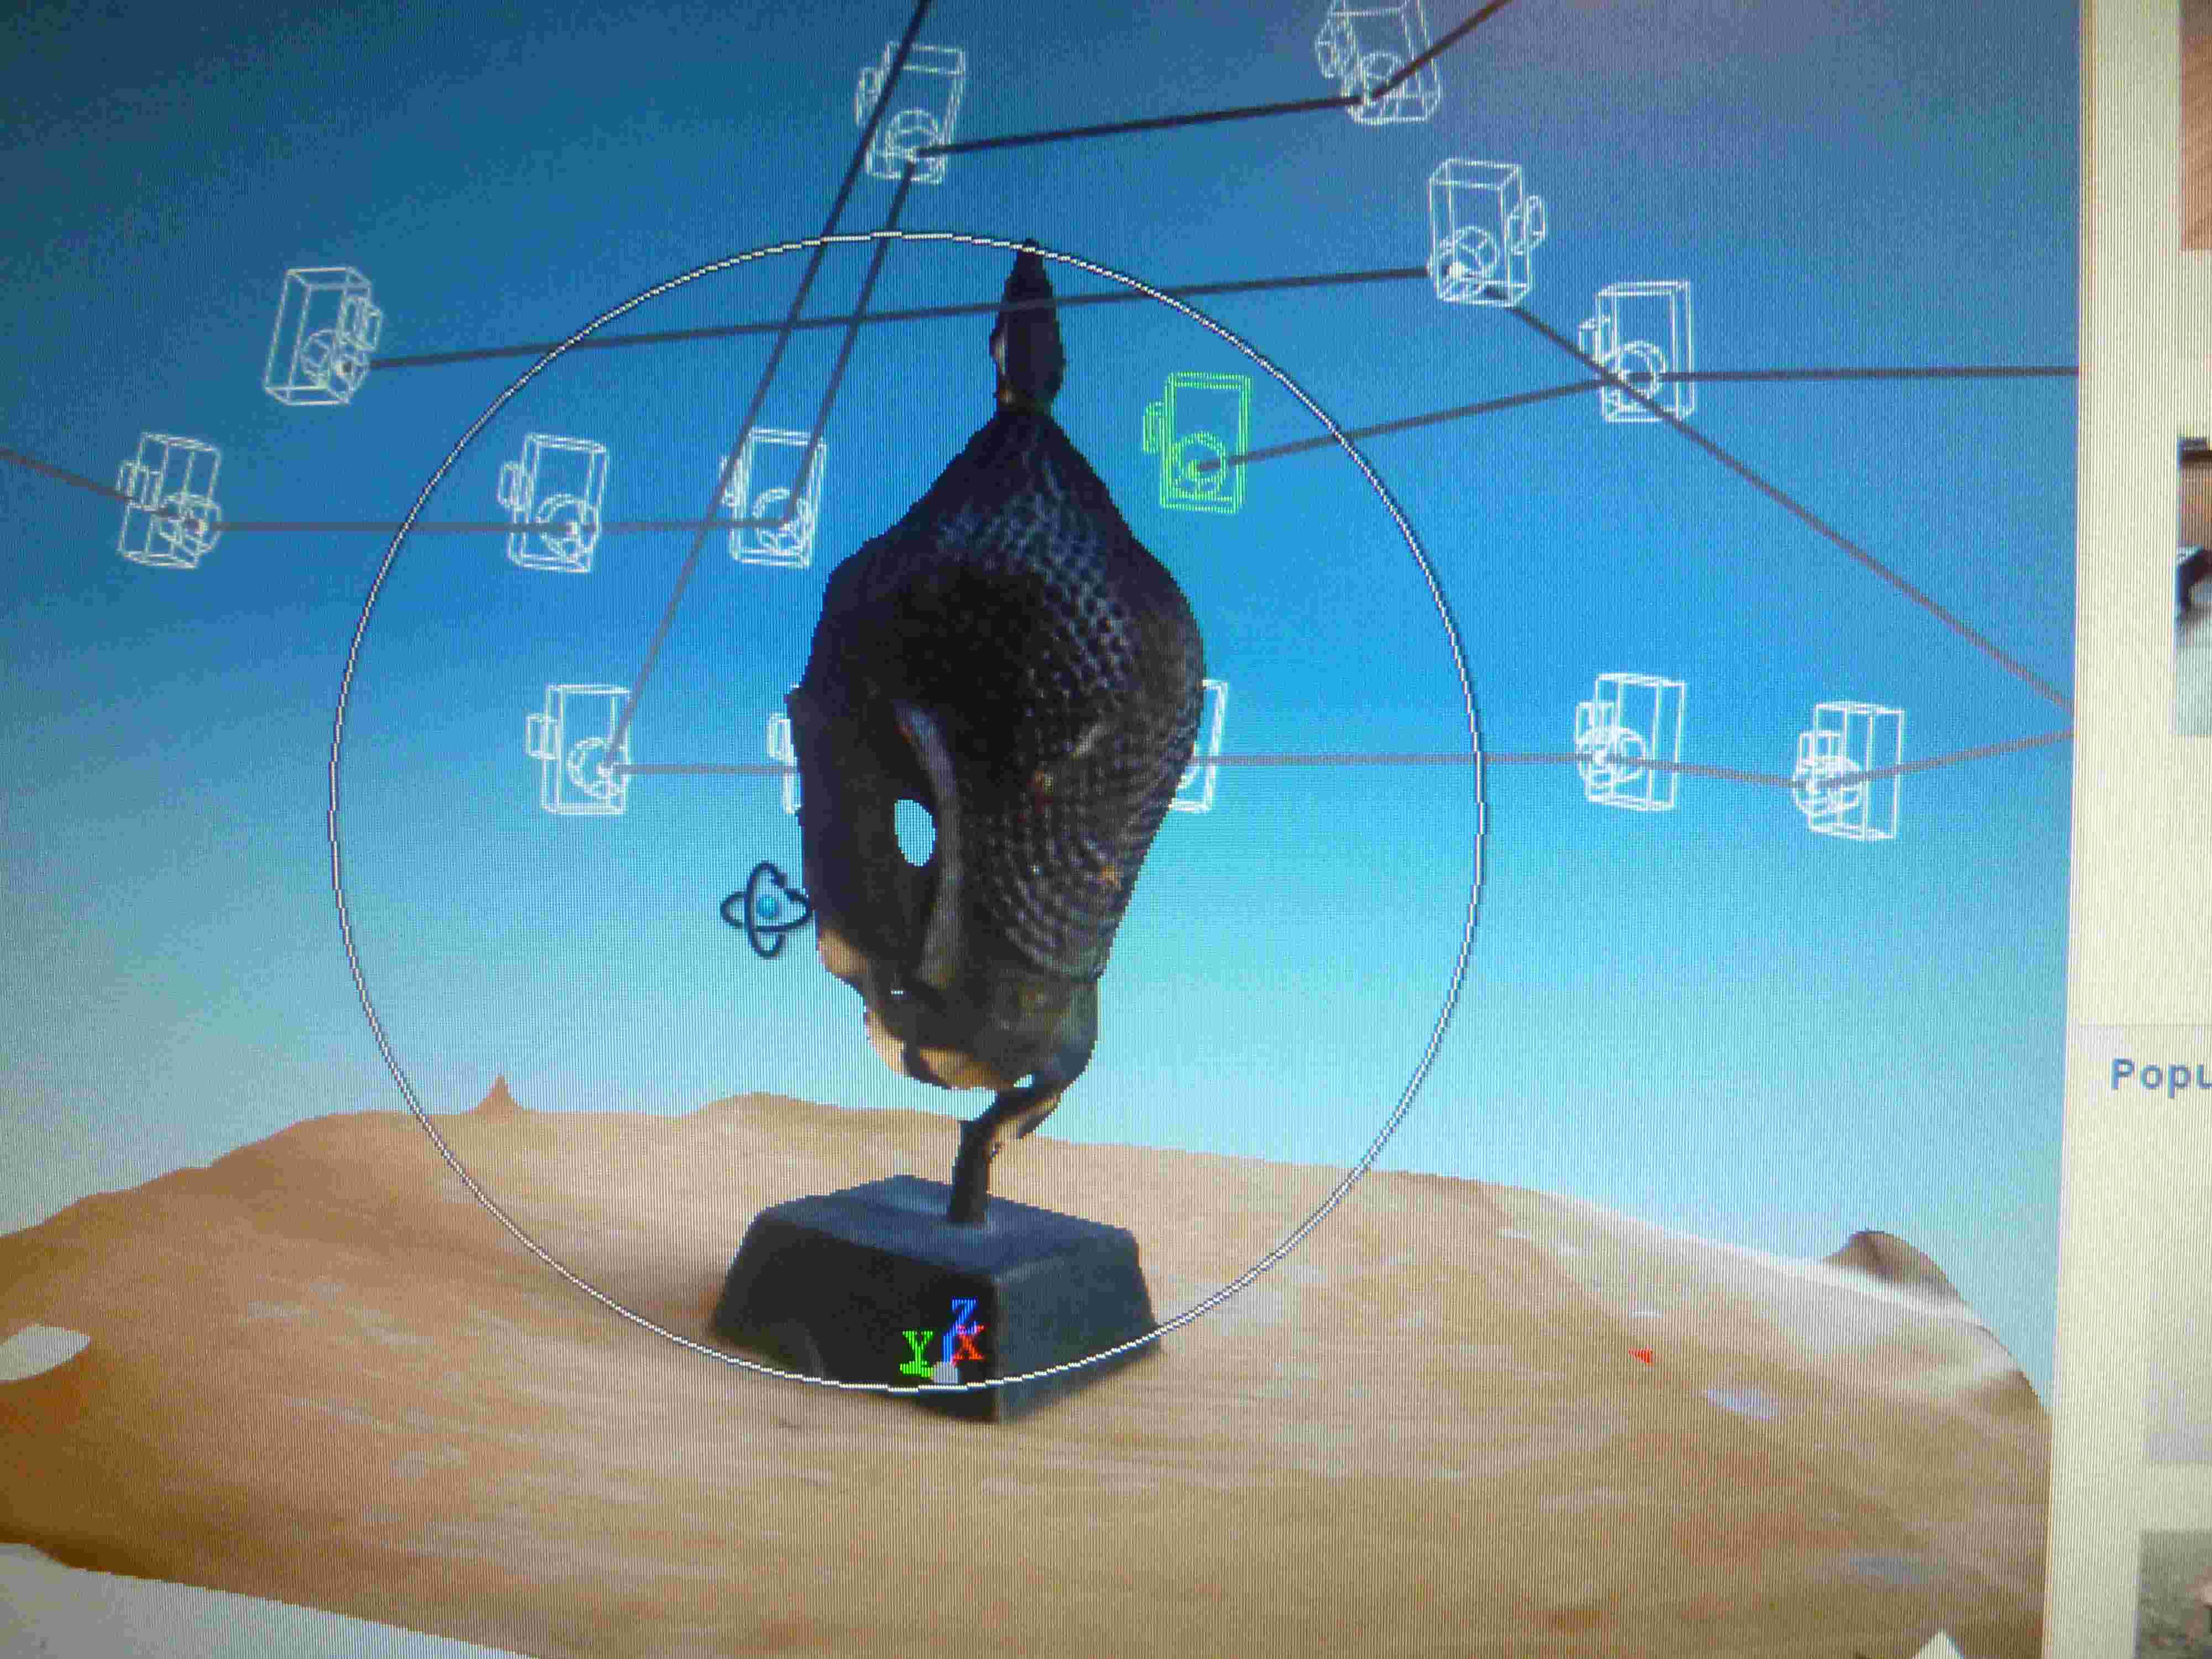
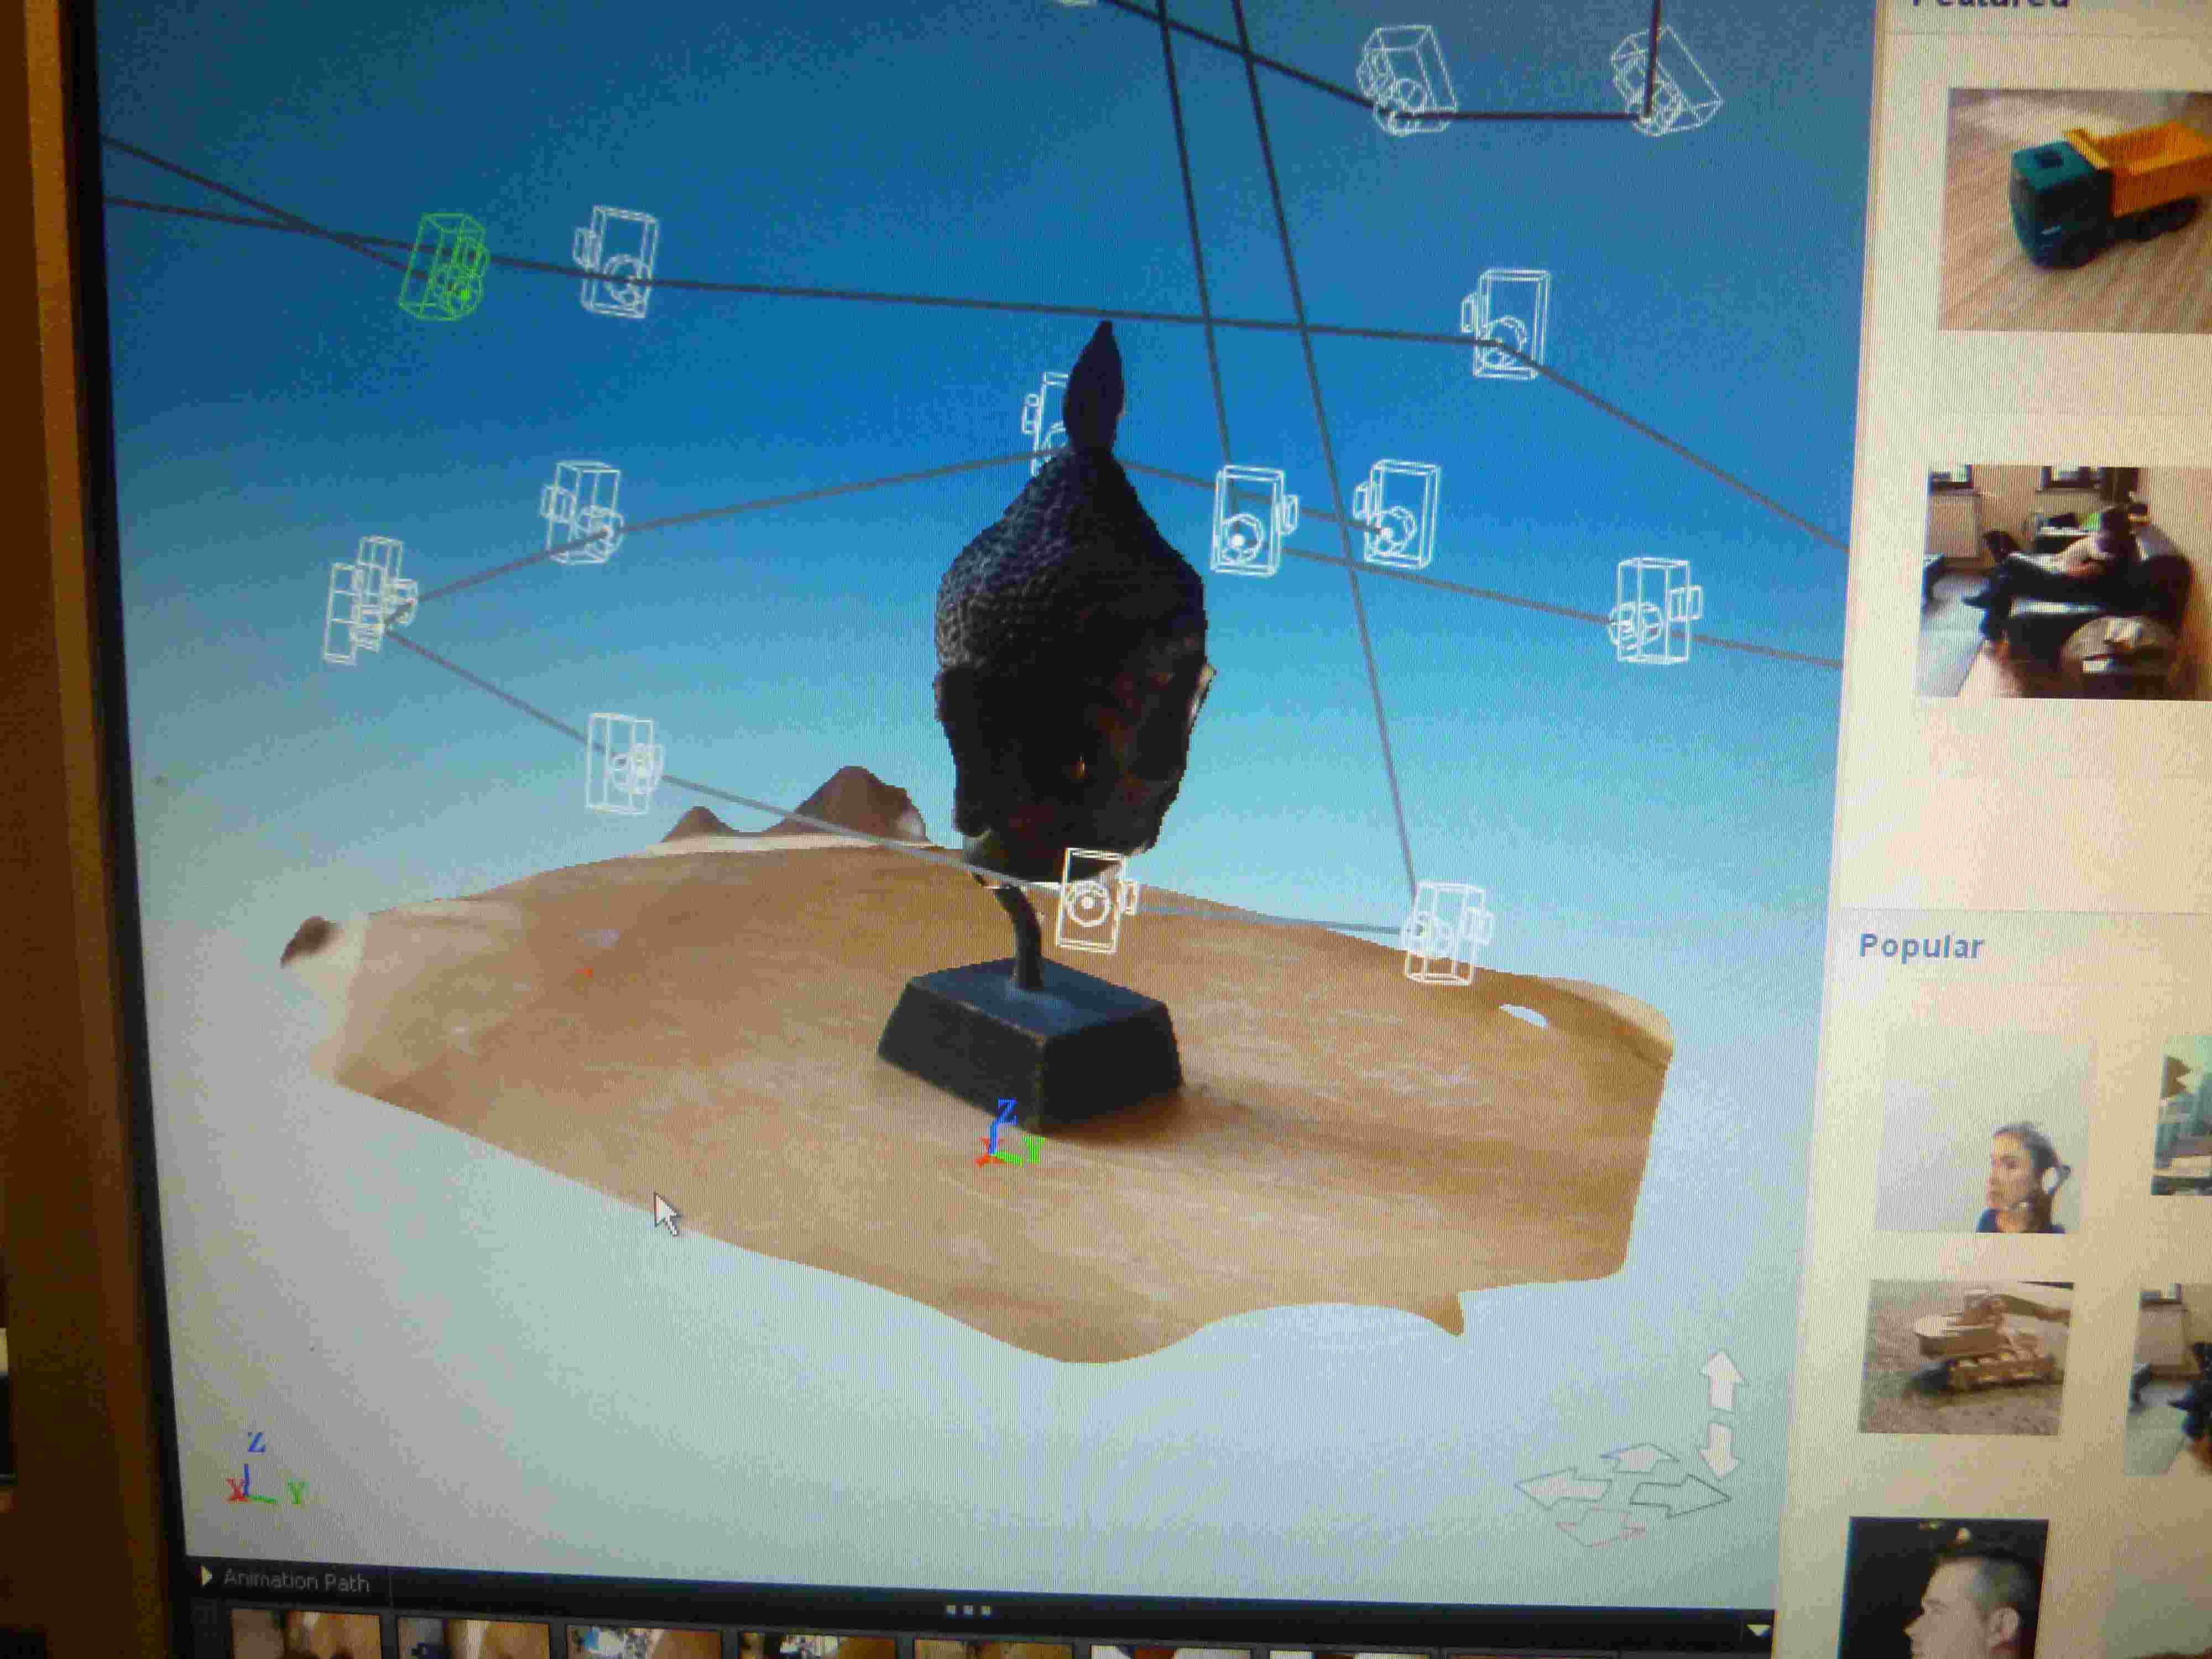
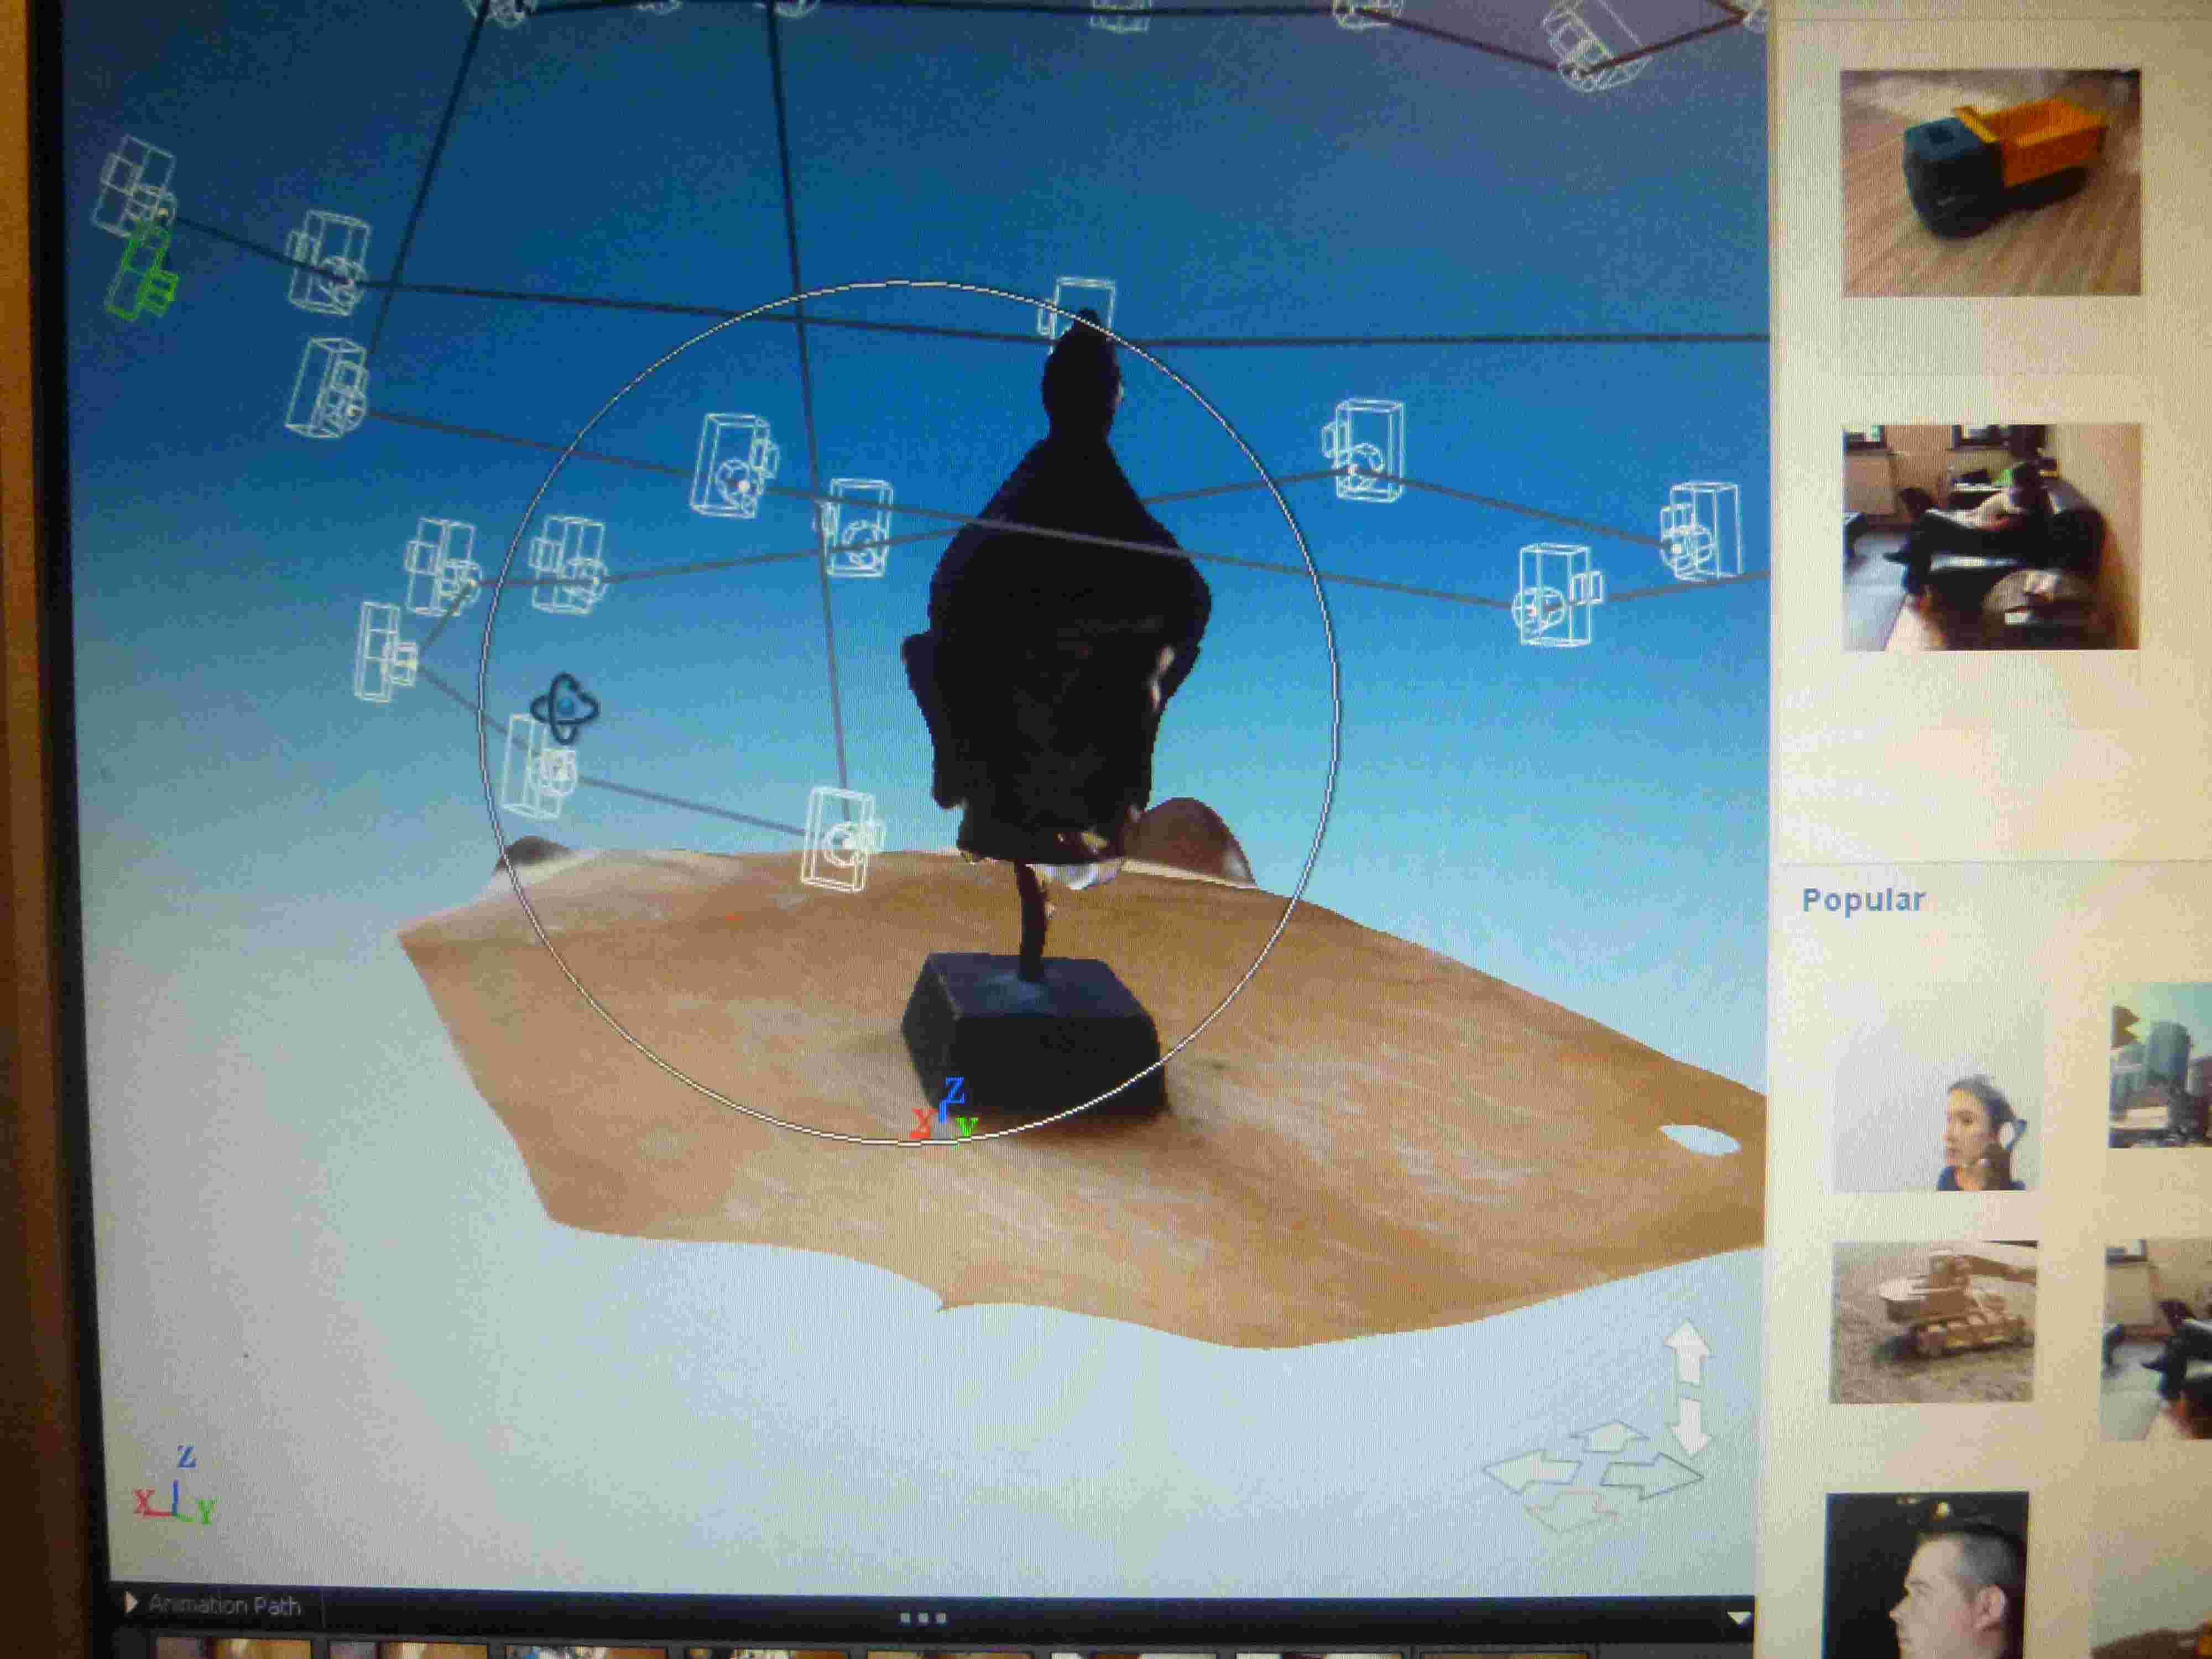
At fablab Amsterdam, I made some pictures from a Buddha head, which would eventually become my printed 3d model. I put it on a little stool, so I had easy access all around it and place the stool between two windows, so when I would shoot into the light it would not harm my 3d model.
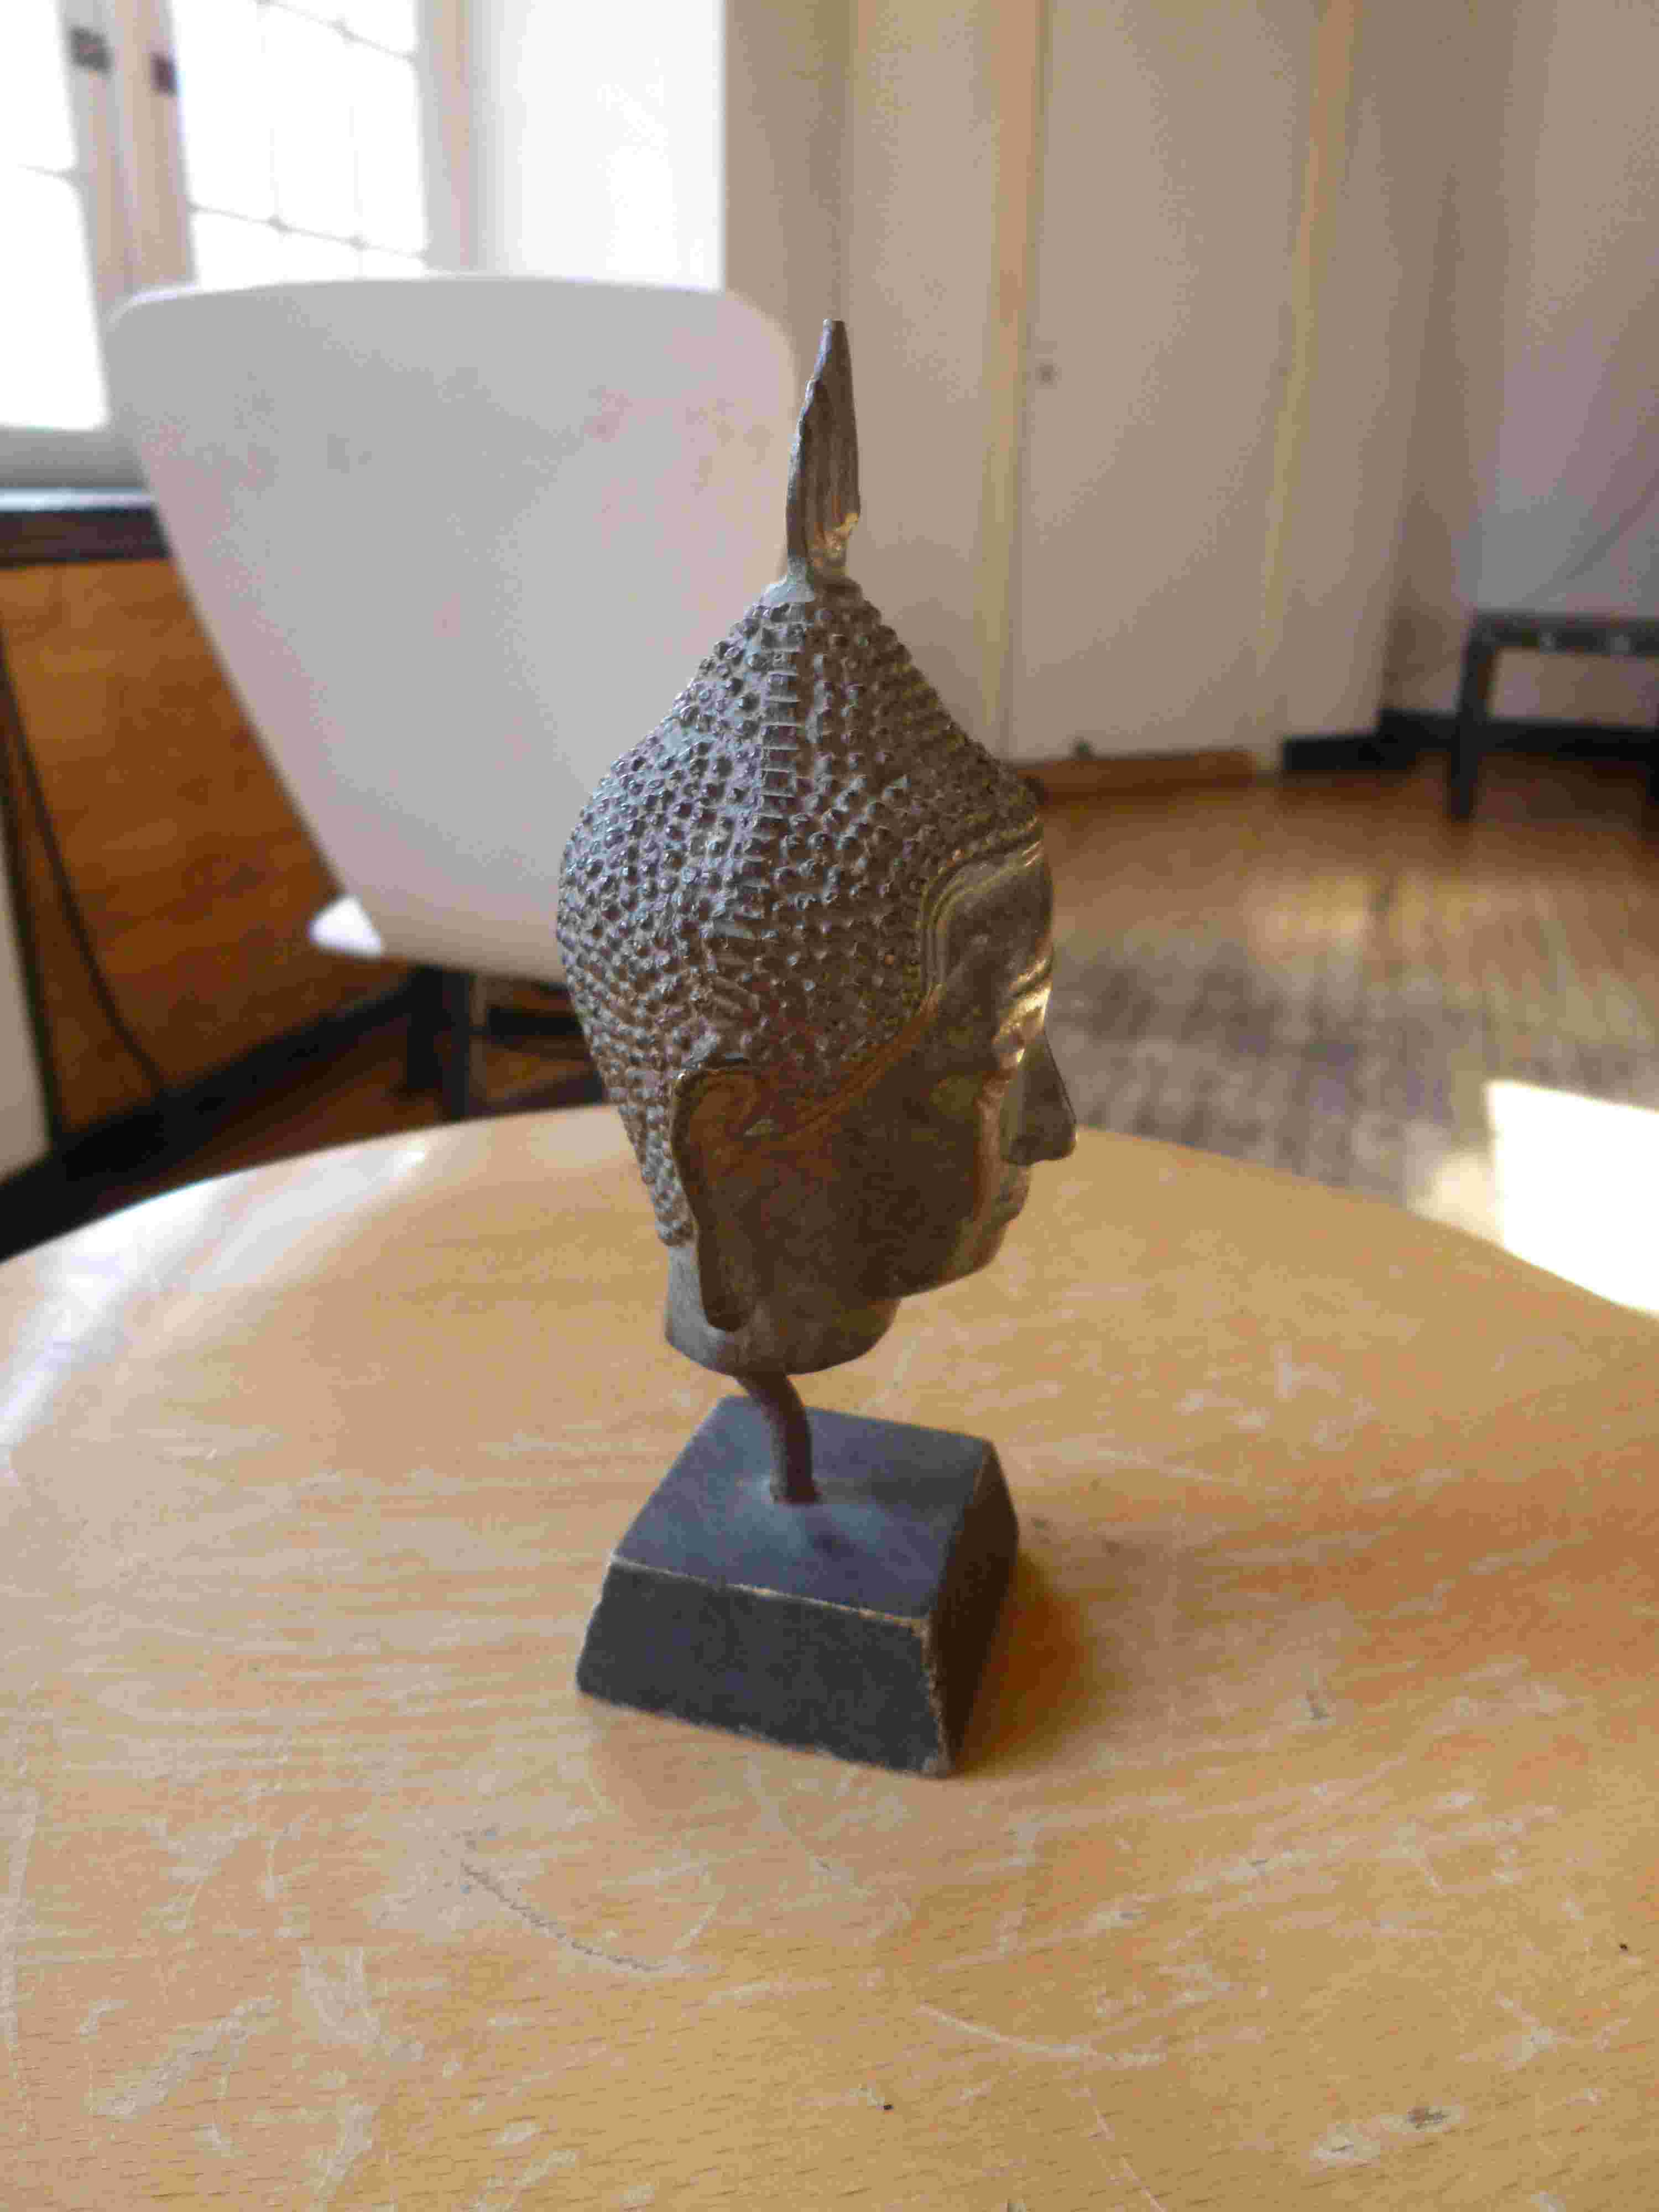 |
The result was surprisingly good, but there were some holes in the model, which I would later repair with meshmixer.
 |
 |
 |
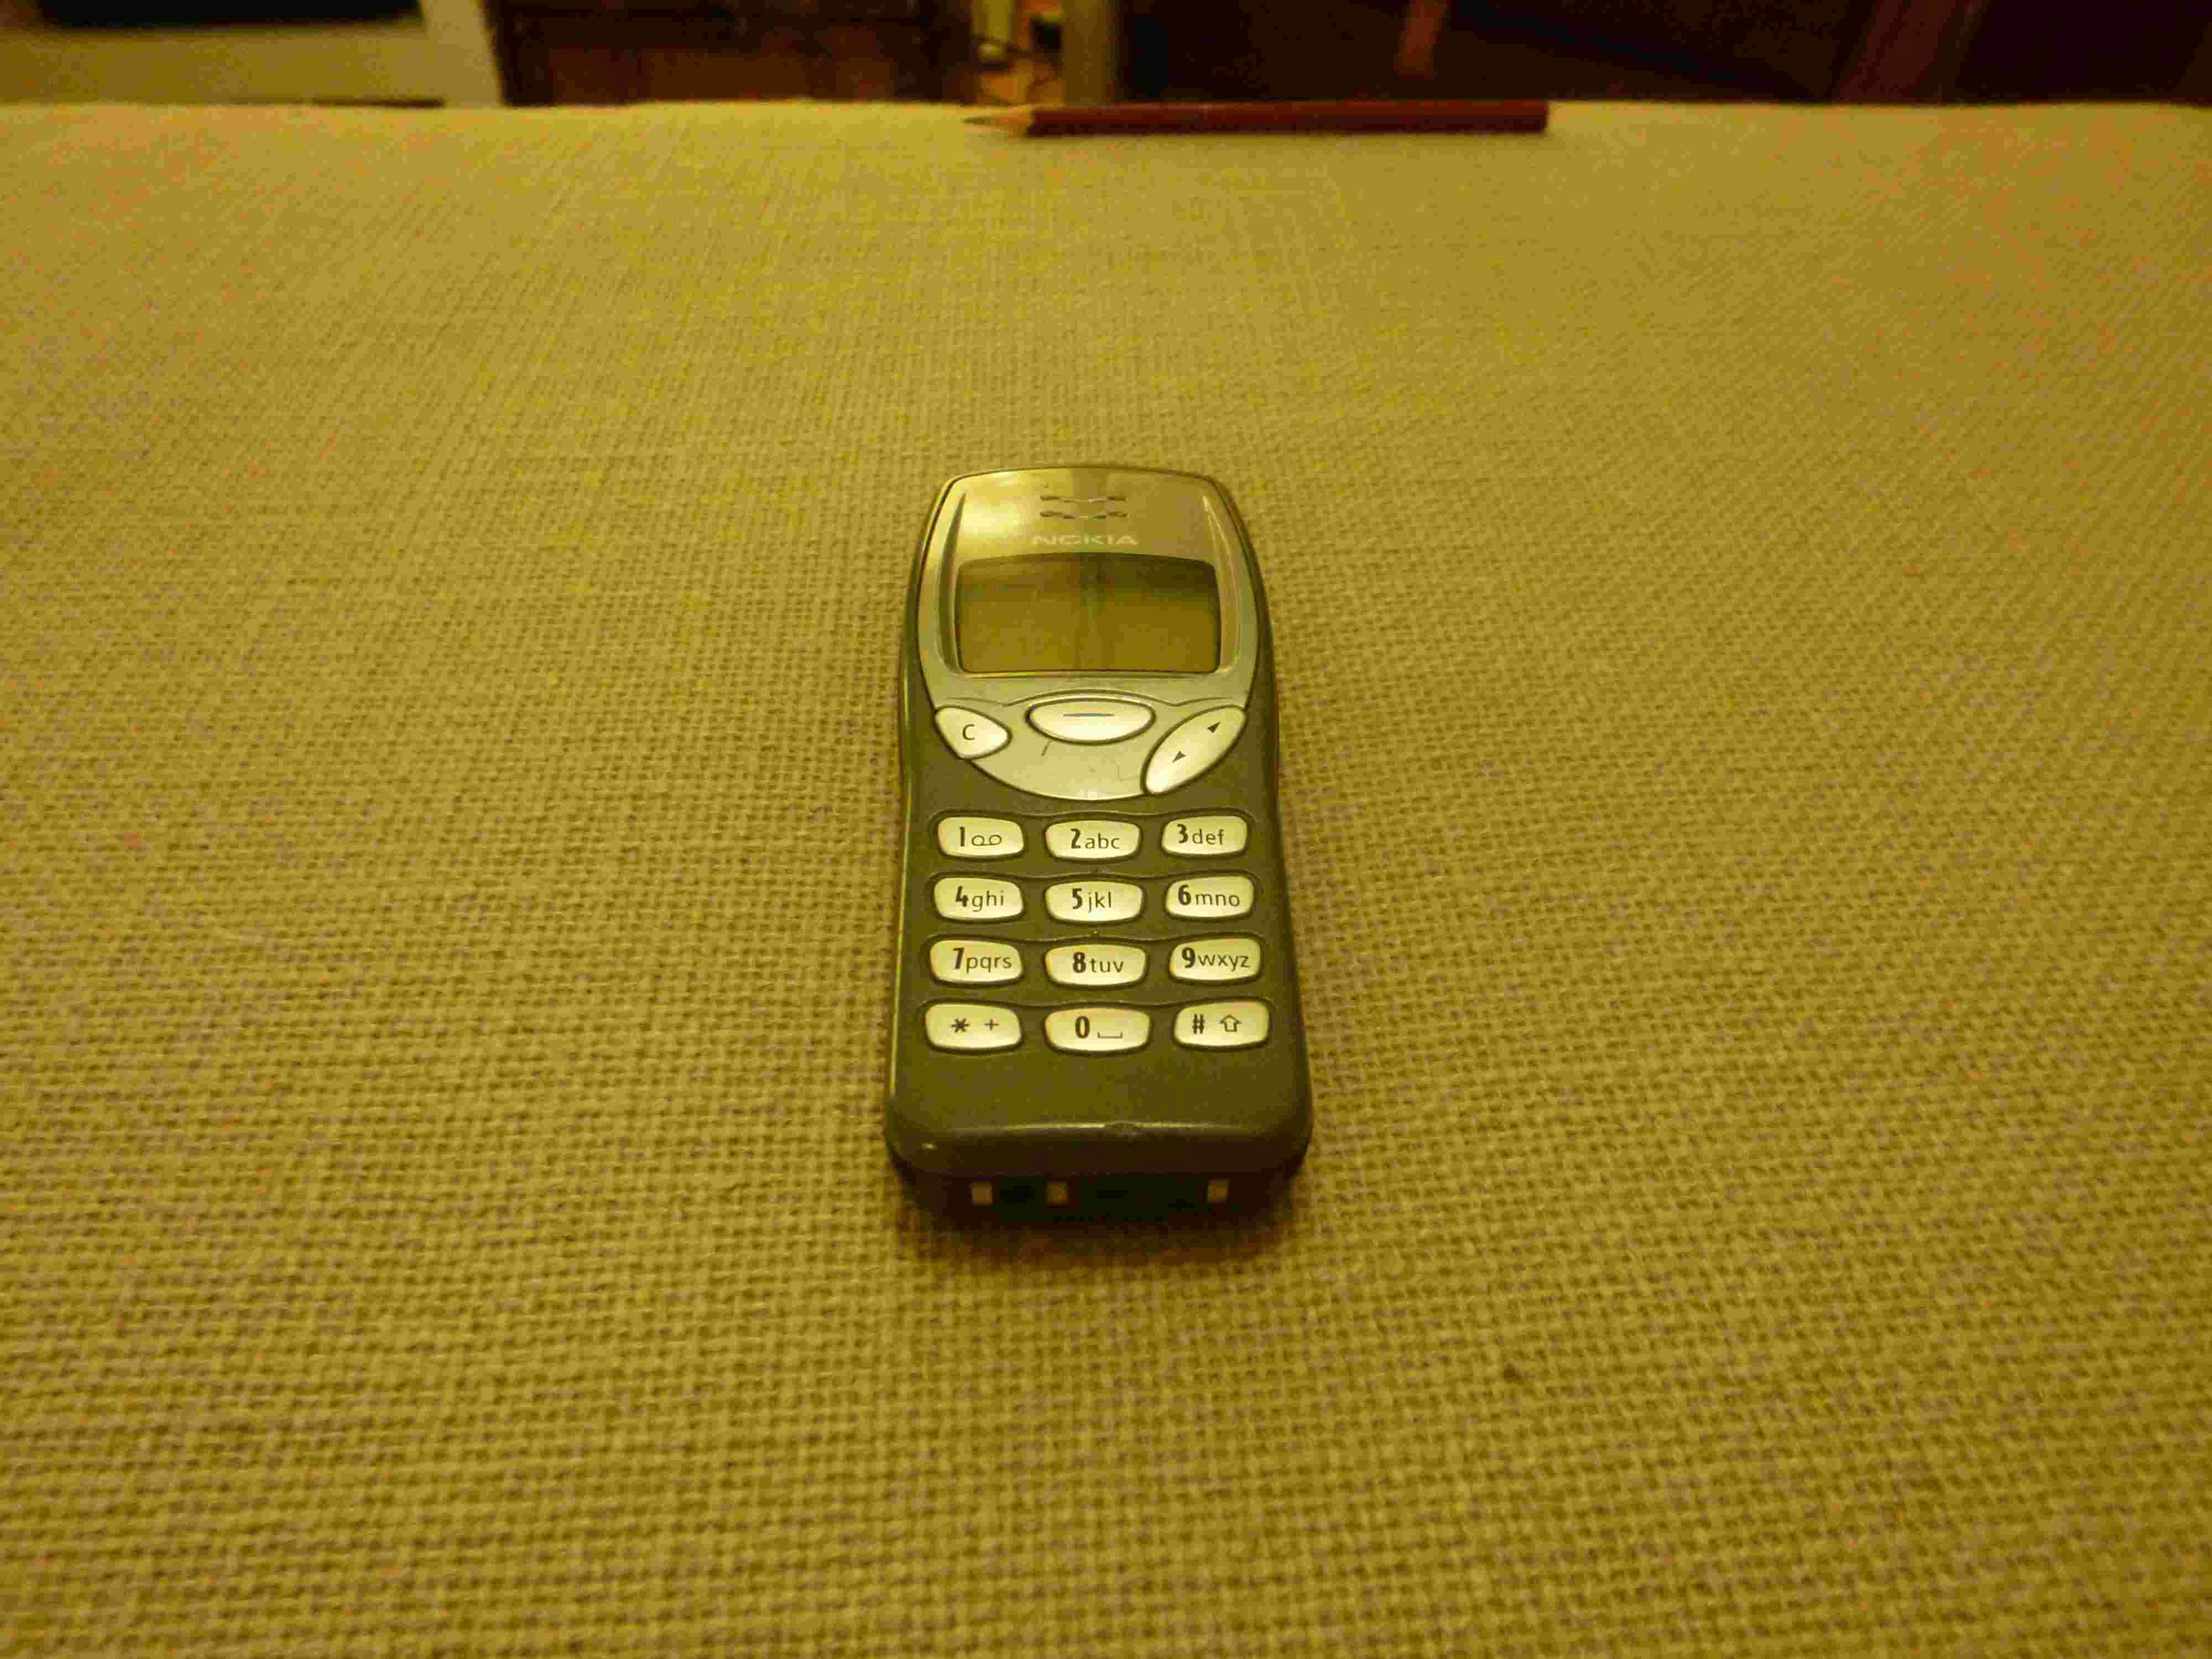
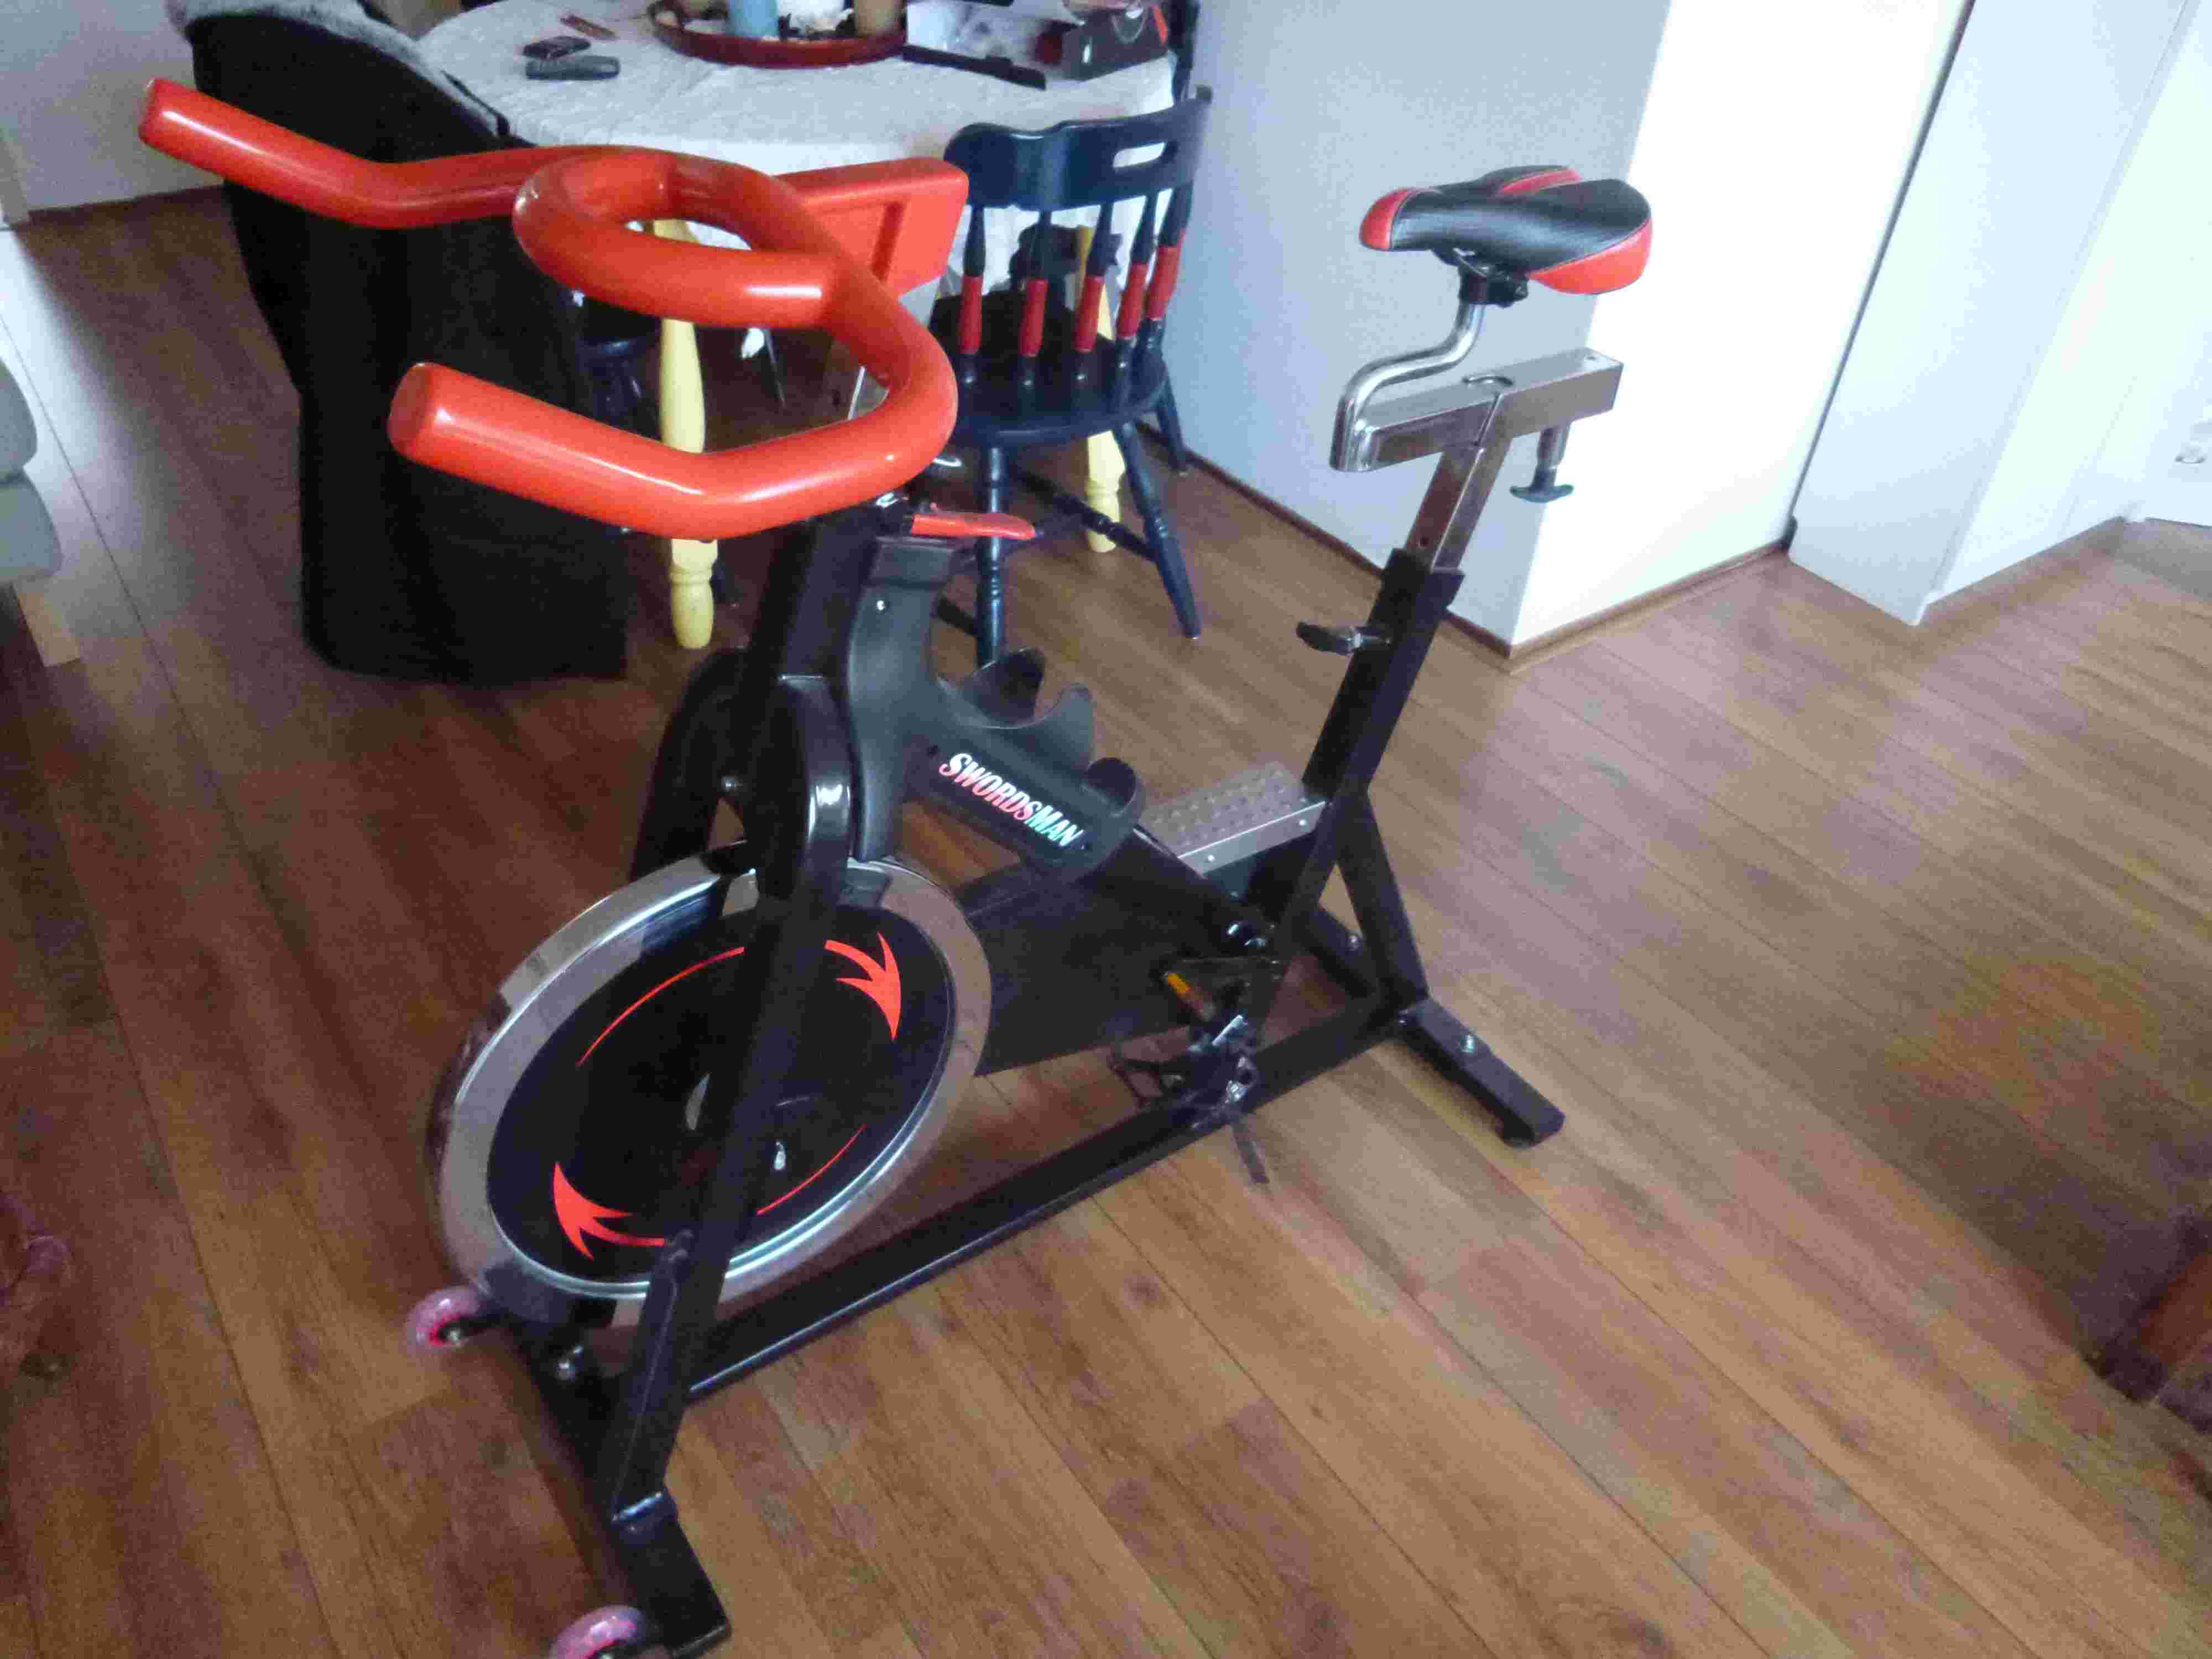
I tried to upload other models like a nokia phone, Samsung netbook, a spinning bike and sunglasses, but all four failed for what I believe various reasons. I had taken to little photos of the Nokia phone and there is no shadow or patterns around the phone to help the stitching software. The Samsung netbook was better, but the reflective screen of the computer made big hole in the model. The spinning had to many small and thin parts, so it would not get the entire bike correctly and would show the model in separate pieces. The cluttered background might not have a good effect on the 3d modeling either.The glasses failed, because of the reflective glasses and I think the floor might have been to shiny.
 |
 |
 |
 |
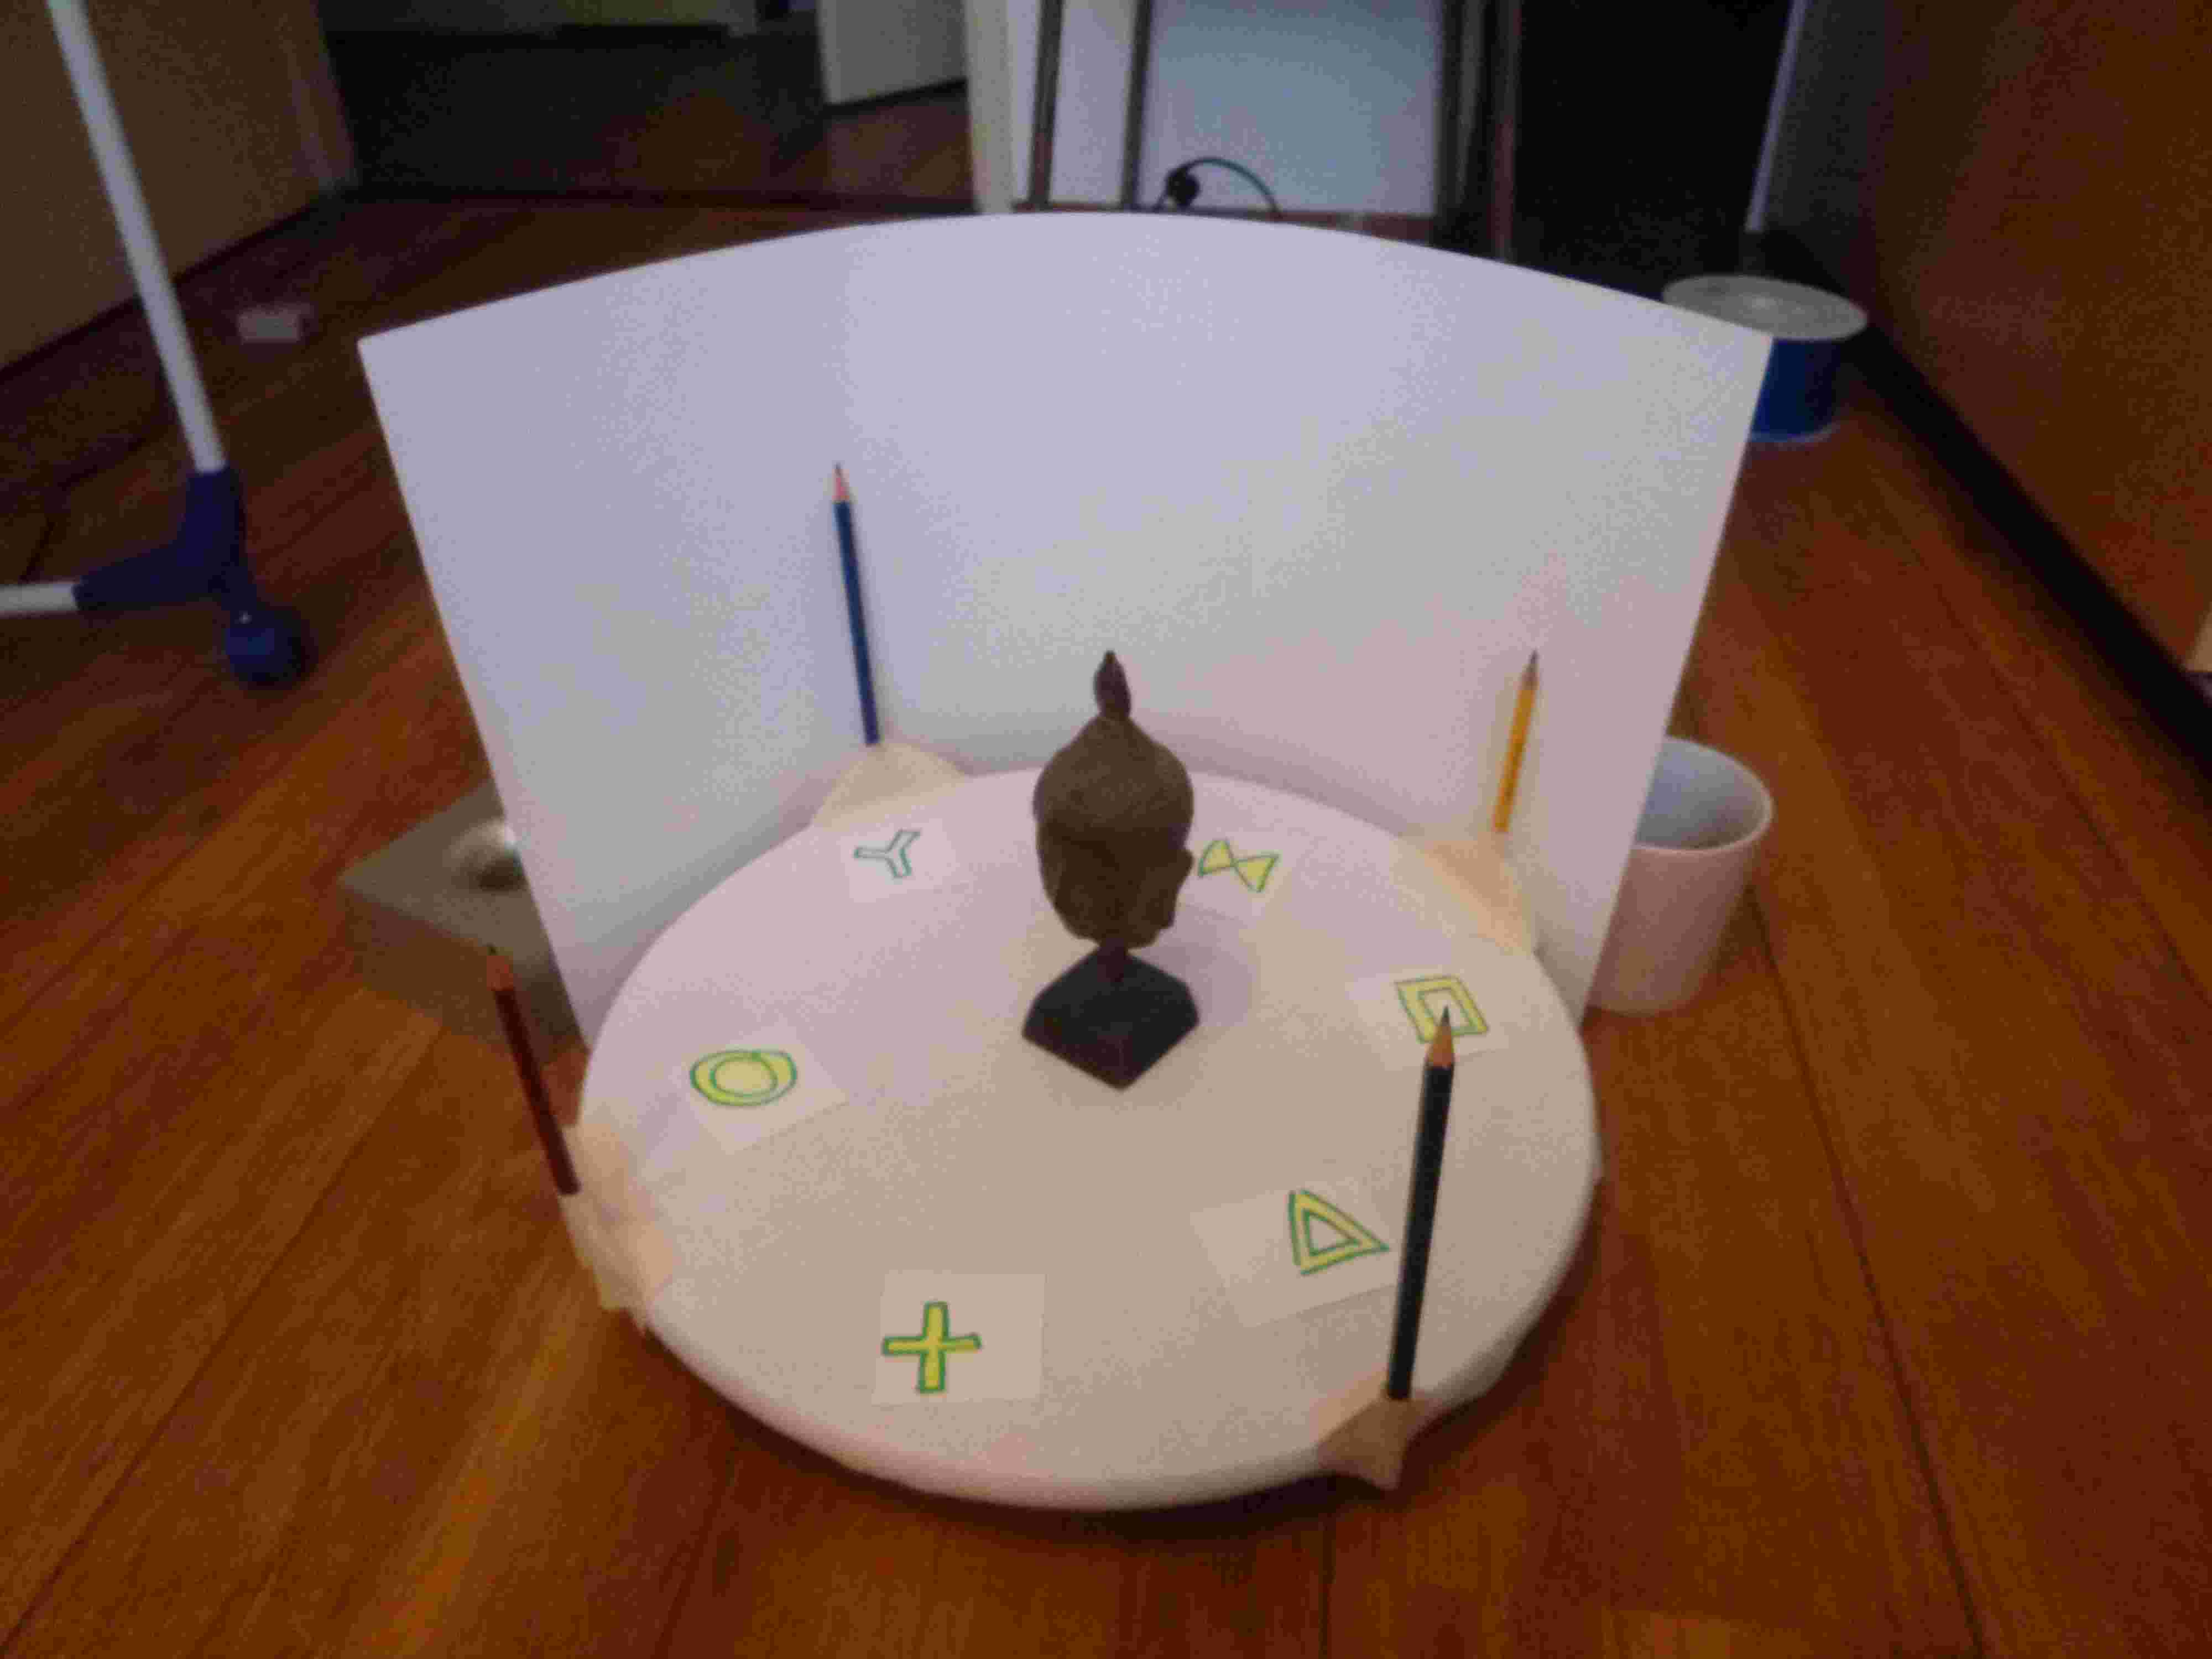
I experimented with putting markers around the Buddha object to see if that would improve the results and after many testing,
 |
I had the impression that it really makes a difference, but that shadow is more important. I cannot support this claim that with any hard data.
I got a little lazy after making so many photo's that I decided to make a turning platform from a cheese platter with a white wall behind it. Around the cheese platter I attached some colored pencils, so the software would think the plate is turning. I got some mixed success with this approach.
 |
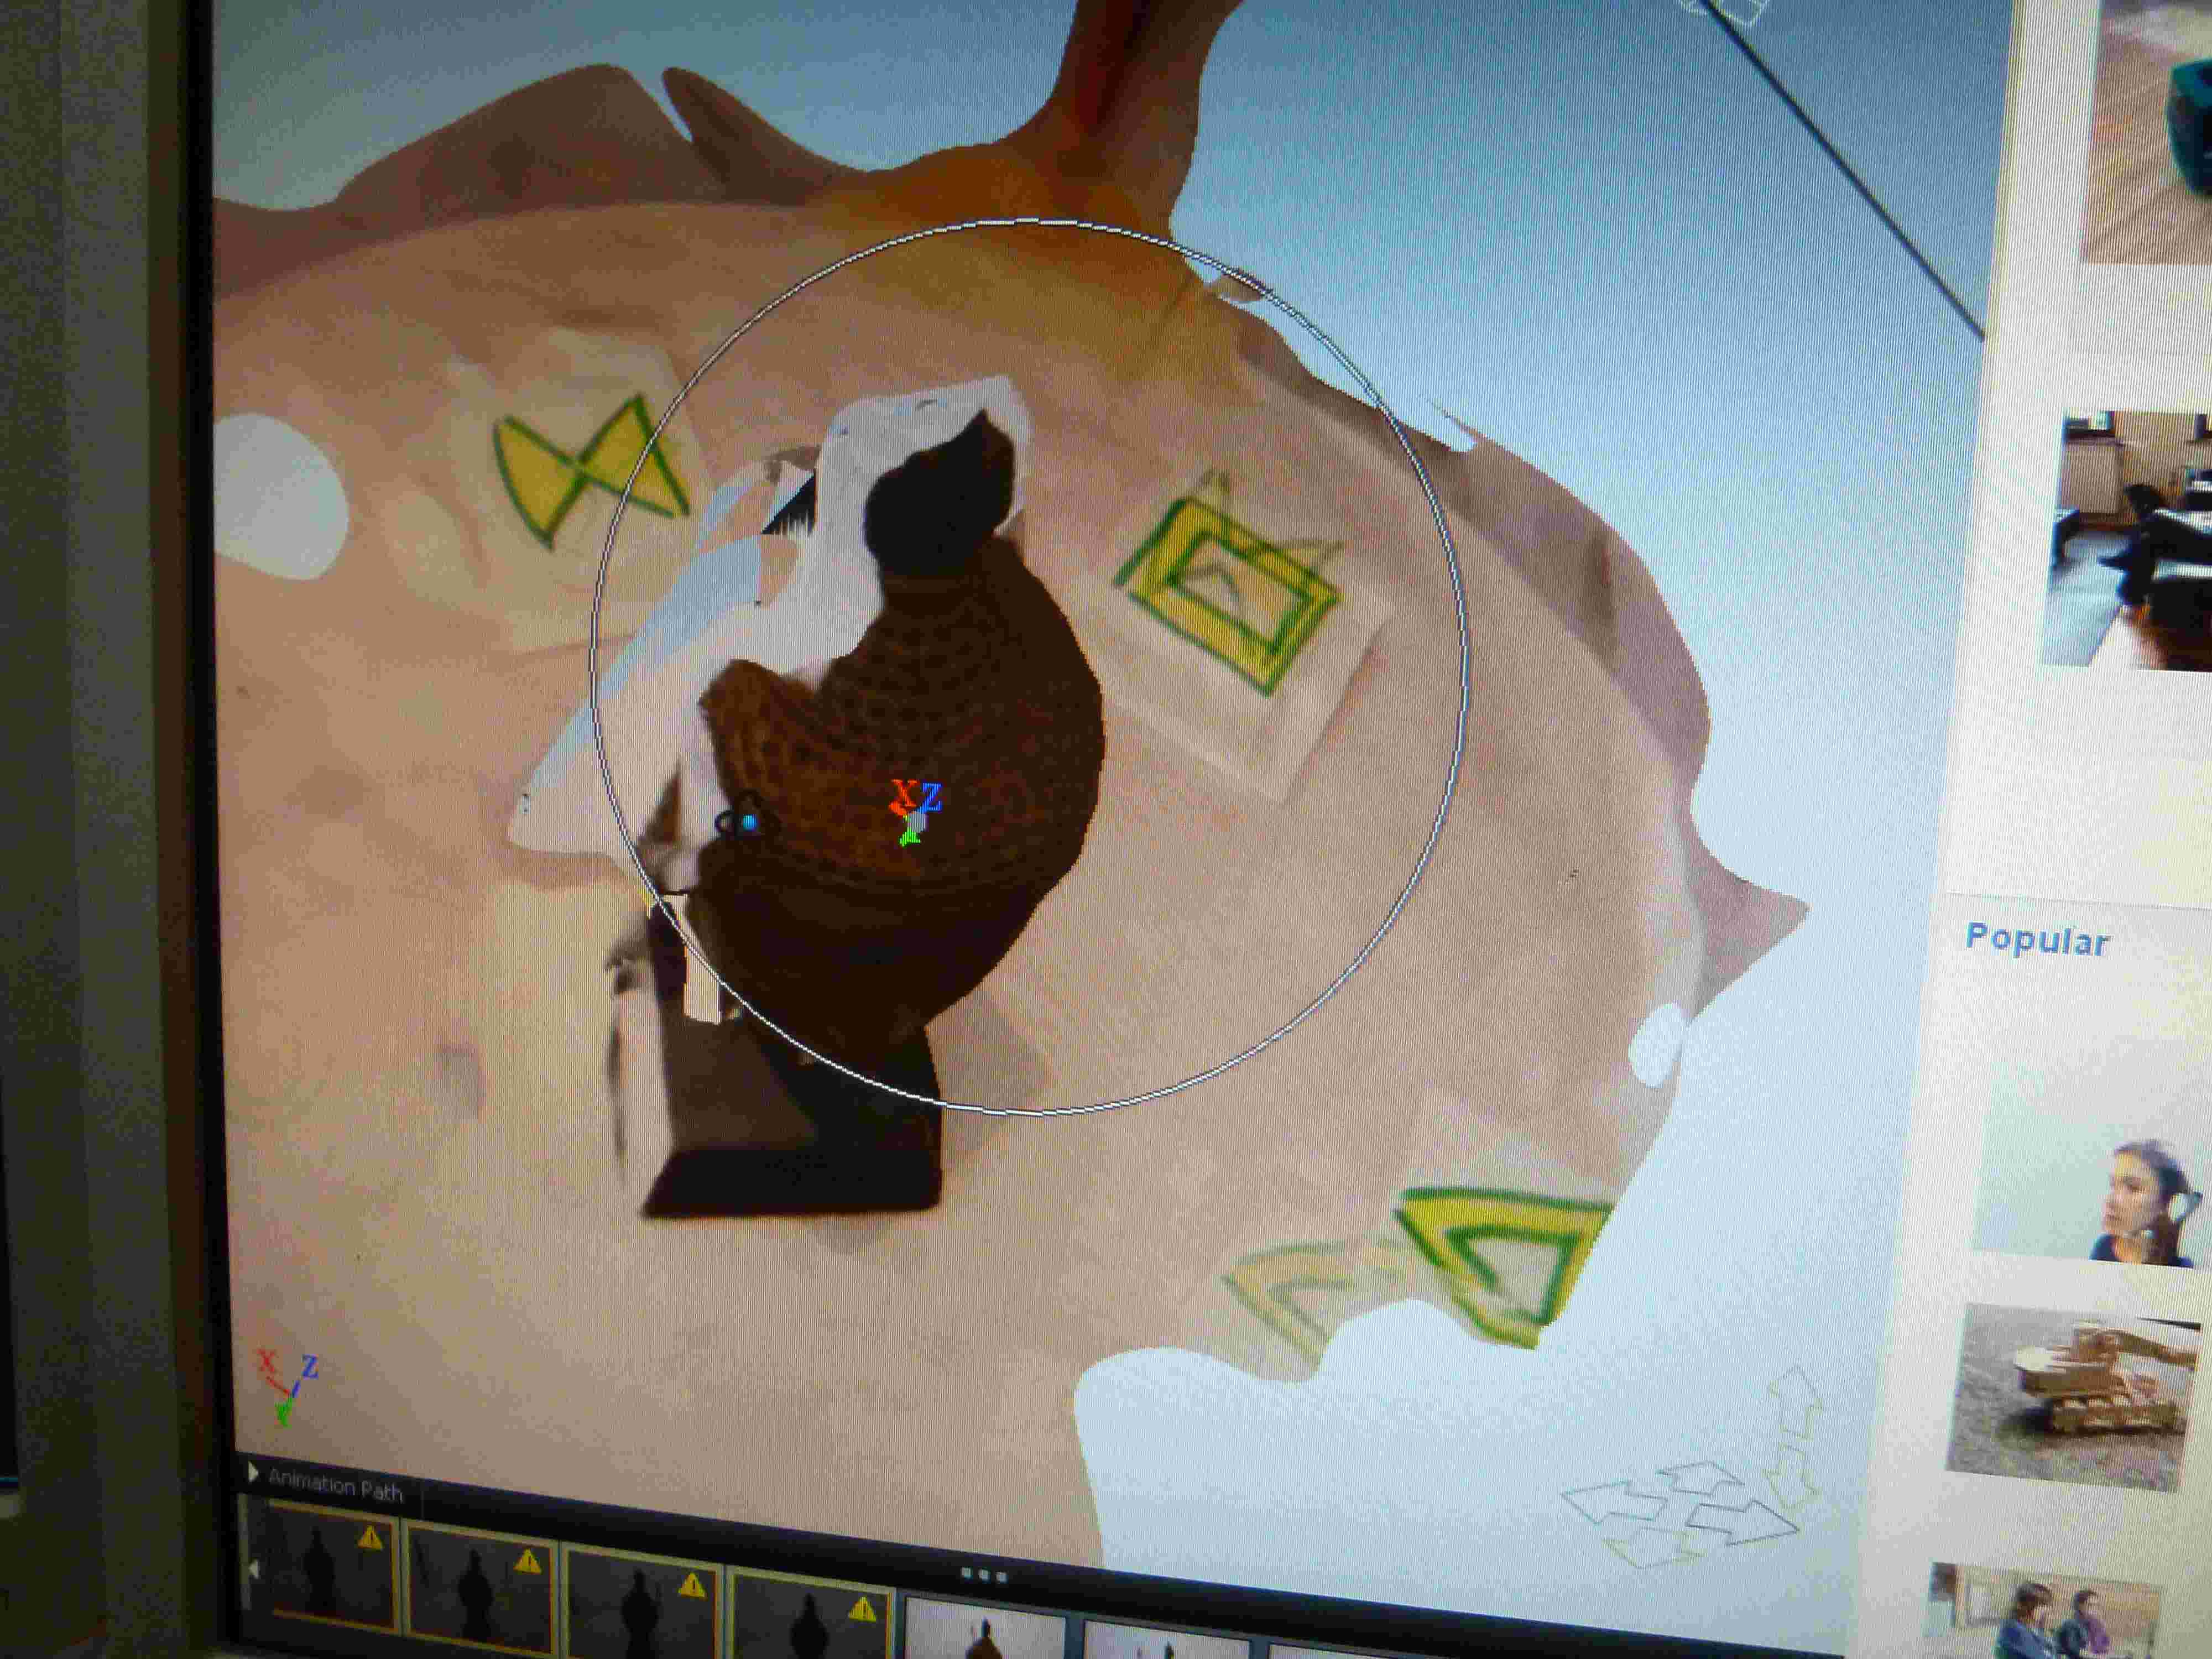
I wanted the shadow to have as little impact as possible on this installation, so I attached a lamp right above the installation. I was disappointed to see that the computer did not align the markers correctly.
 |
 |
When I took away the lamp and used diffuse light, the results improved. However, the computer still had problems stitching some pictures in this contraption, which made some big holes in the models.
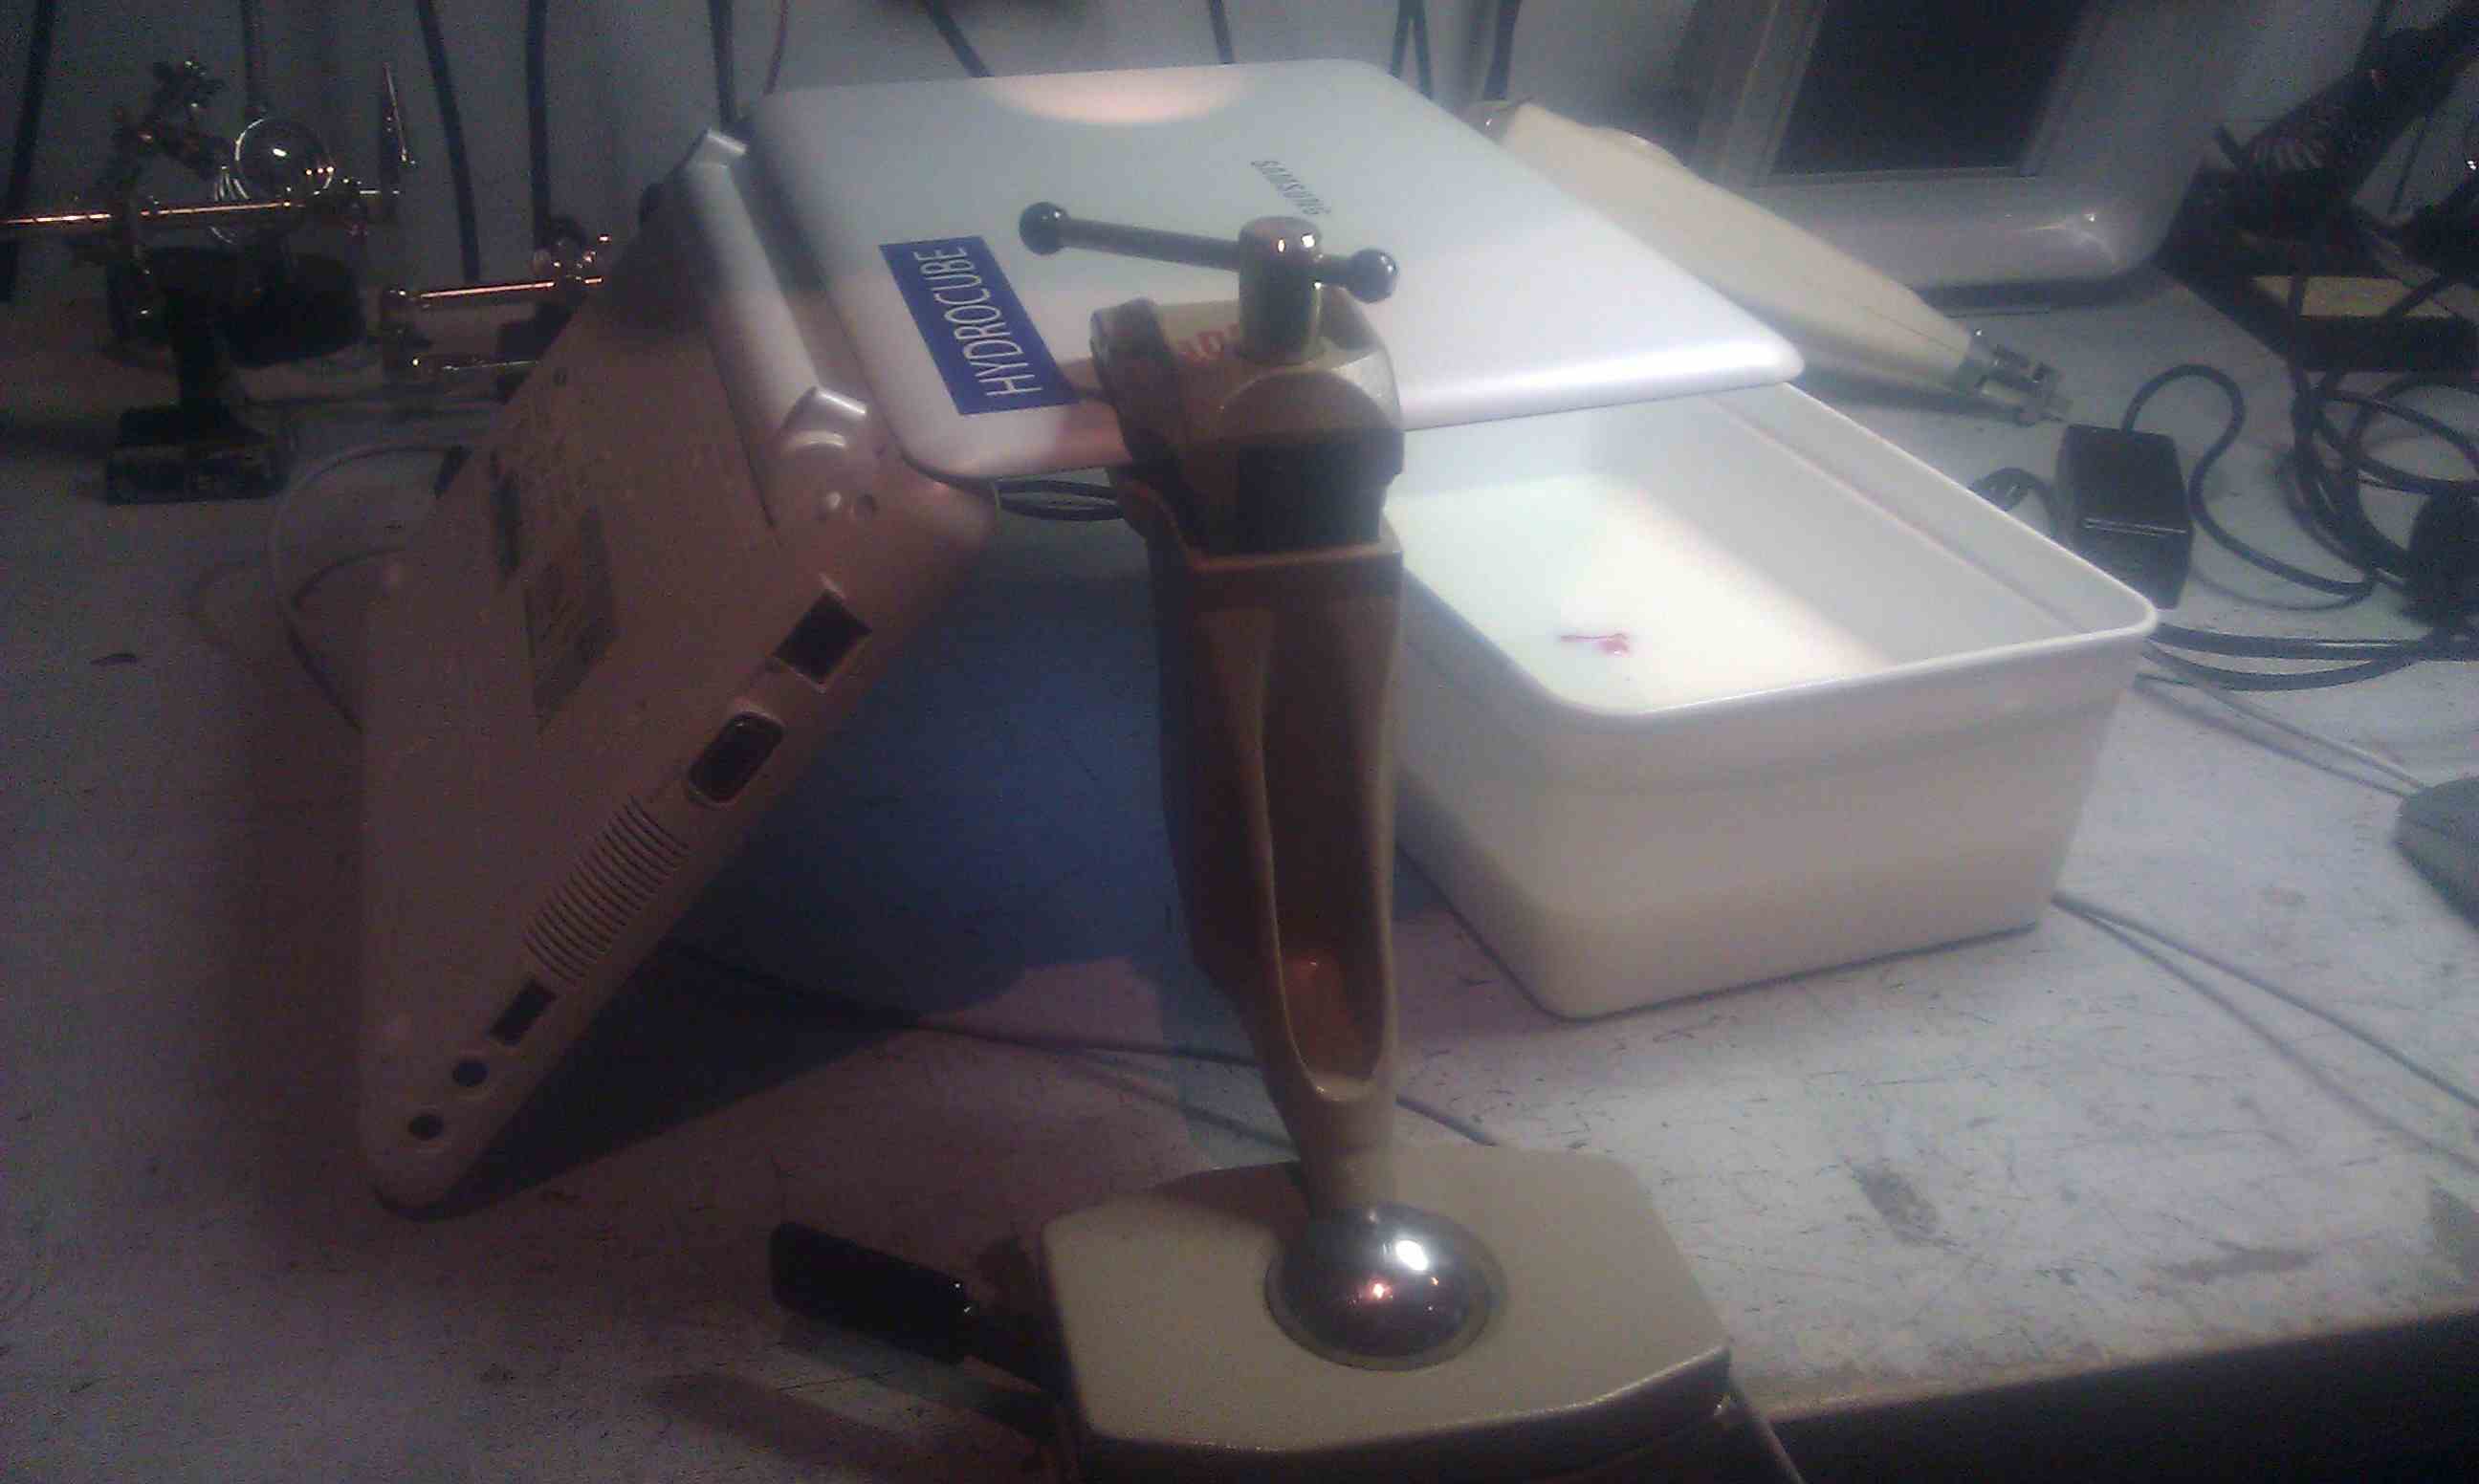
Together with Mio Kato we set up a 3d milkscanner using the camera of the netbook, while holding it in a mechanized arm. We used milkscanner software, which is very basic and has little documentation. Setting it up was not that hard, but you will have to find a way to keep the camera steady. The rest of the process is very easy. Put the object to be scanned in a Tupperware container and put it in sight of the camera, open the milkscanner software, press the spacebar to record and fill the Tupperware container with milk until the object is completely submerged, press spacebar again to stop the recording and then press F to make a file. Then it becomes tricky as the software generates an xml file. There is almost no documentation on this an unfortunately we had to stop this project here. The documentation talks about making a displacement map, but we could not get it to work.
 |
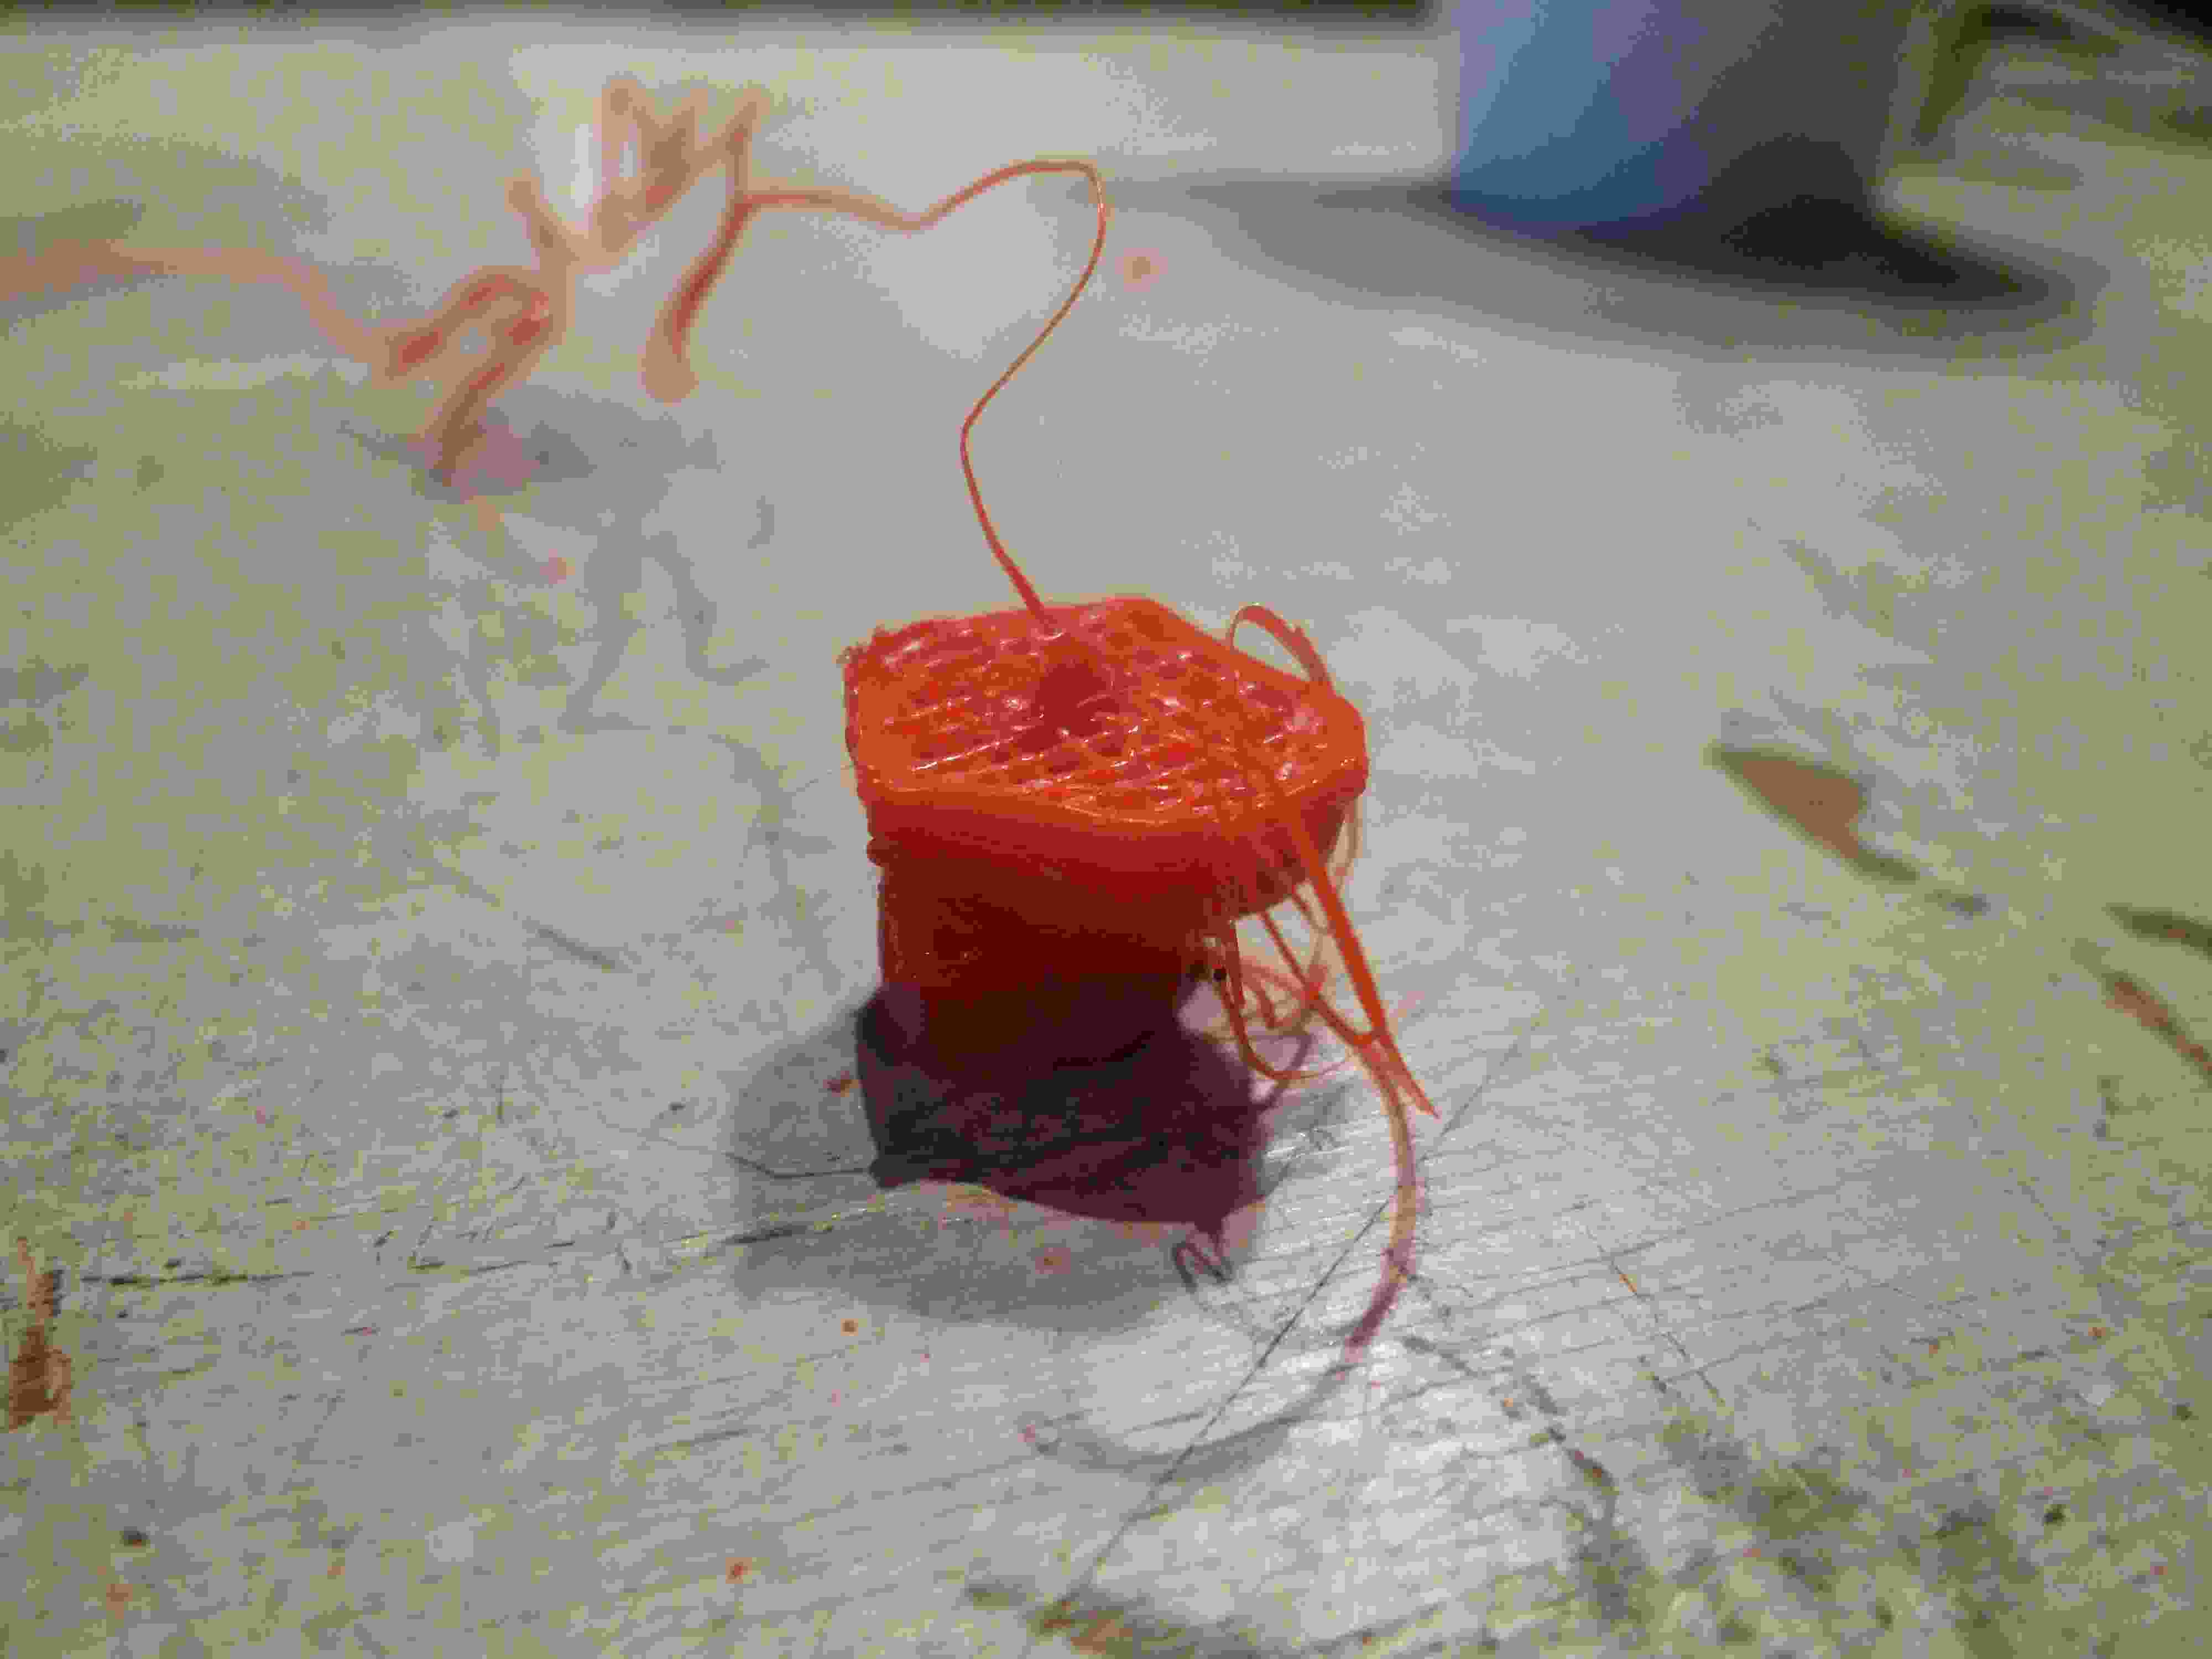
I used the Buddha head as the model to 3D print. There were some hole in this model, so I used meshmixer to close them. The process is relatively easy and did not take that much time. Meshmixer has an inspector and it will find the holes in the model. You can autocorrect all or you can manually click on the holes you want to fill. I had two holes to close in my model. One hole was relatively small and the other was the bottom of the model, which was a little bit harder to arrange. I found a way on youtube and followed his instructions, but the first time I printed out my model it appeared that the bottom of my model was not completely straight, so half way the printing job it fell over and I had to start over.
 |
 |
 |
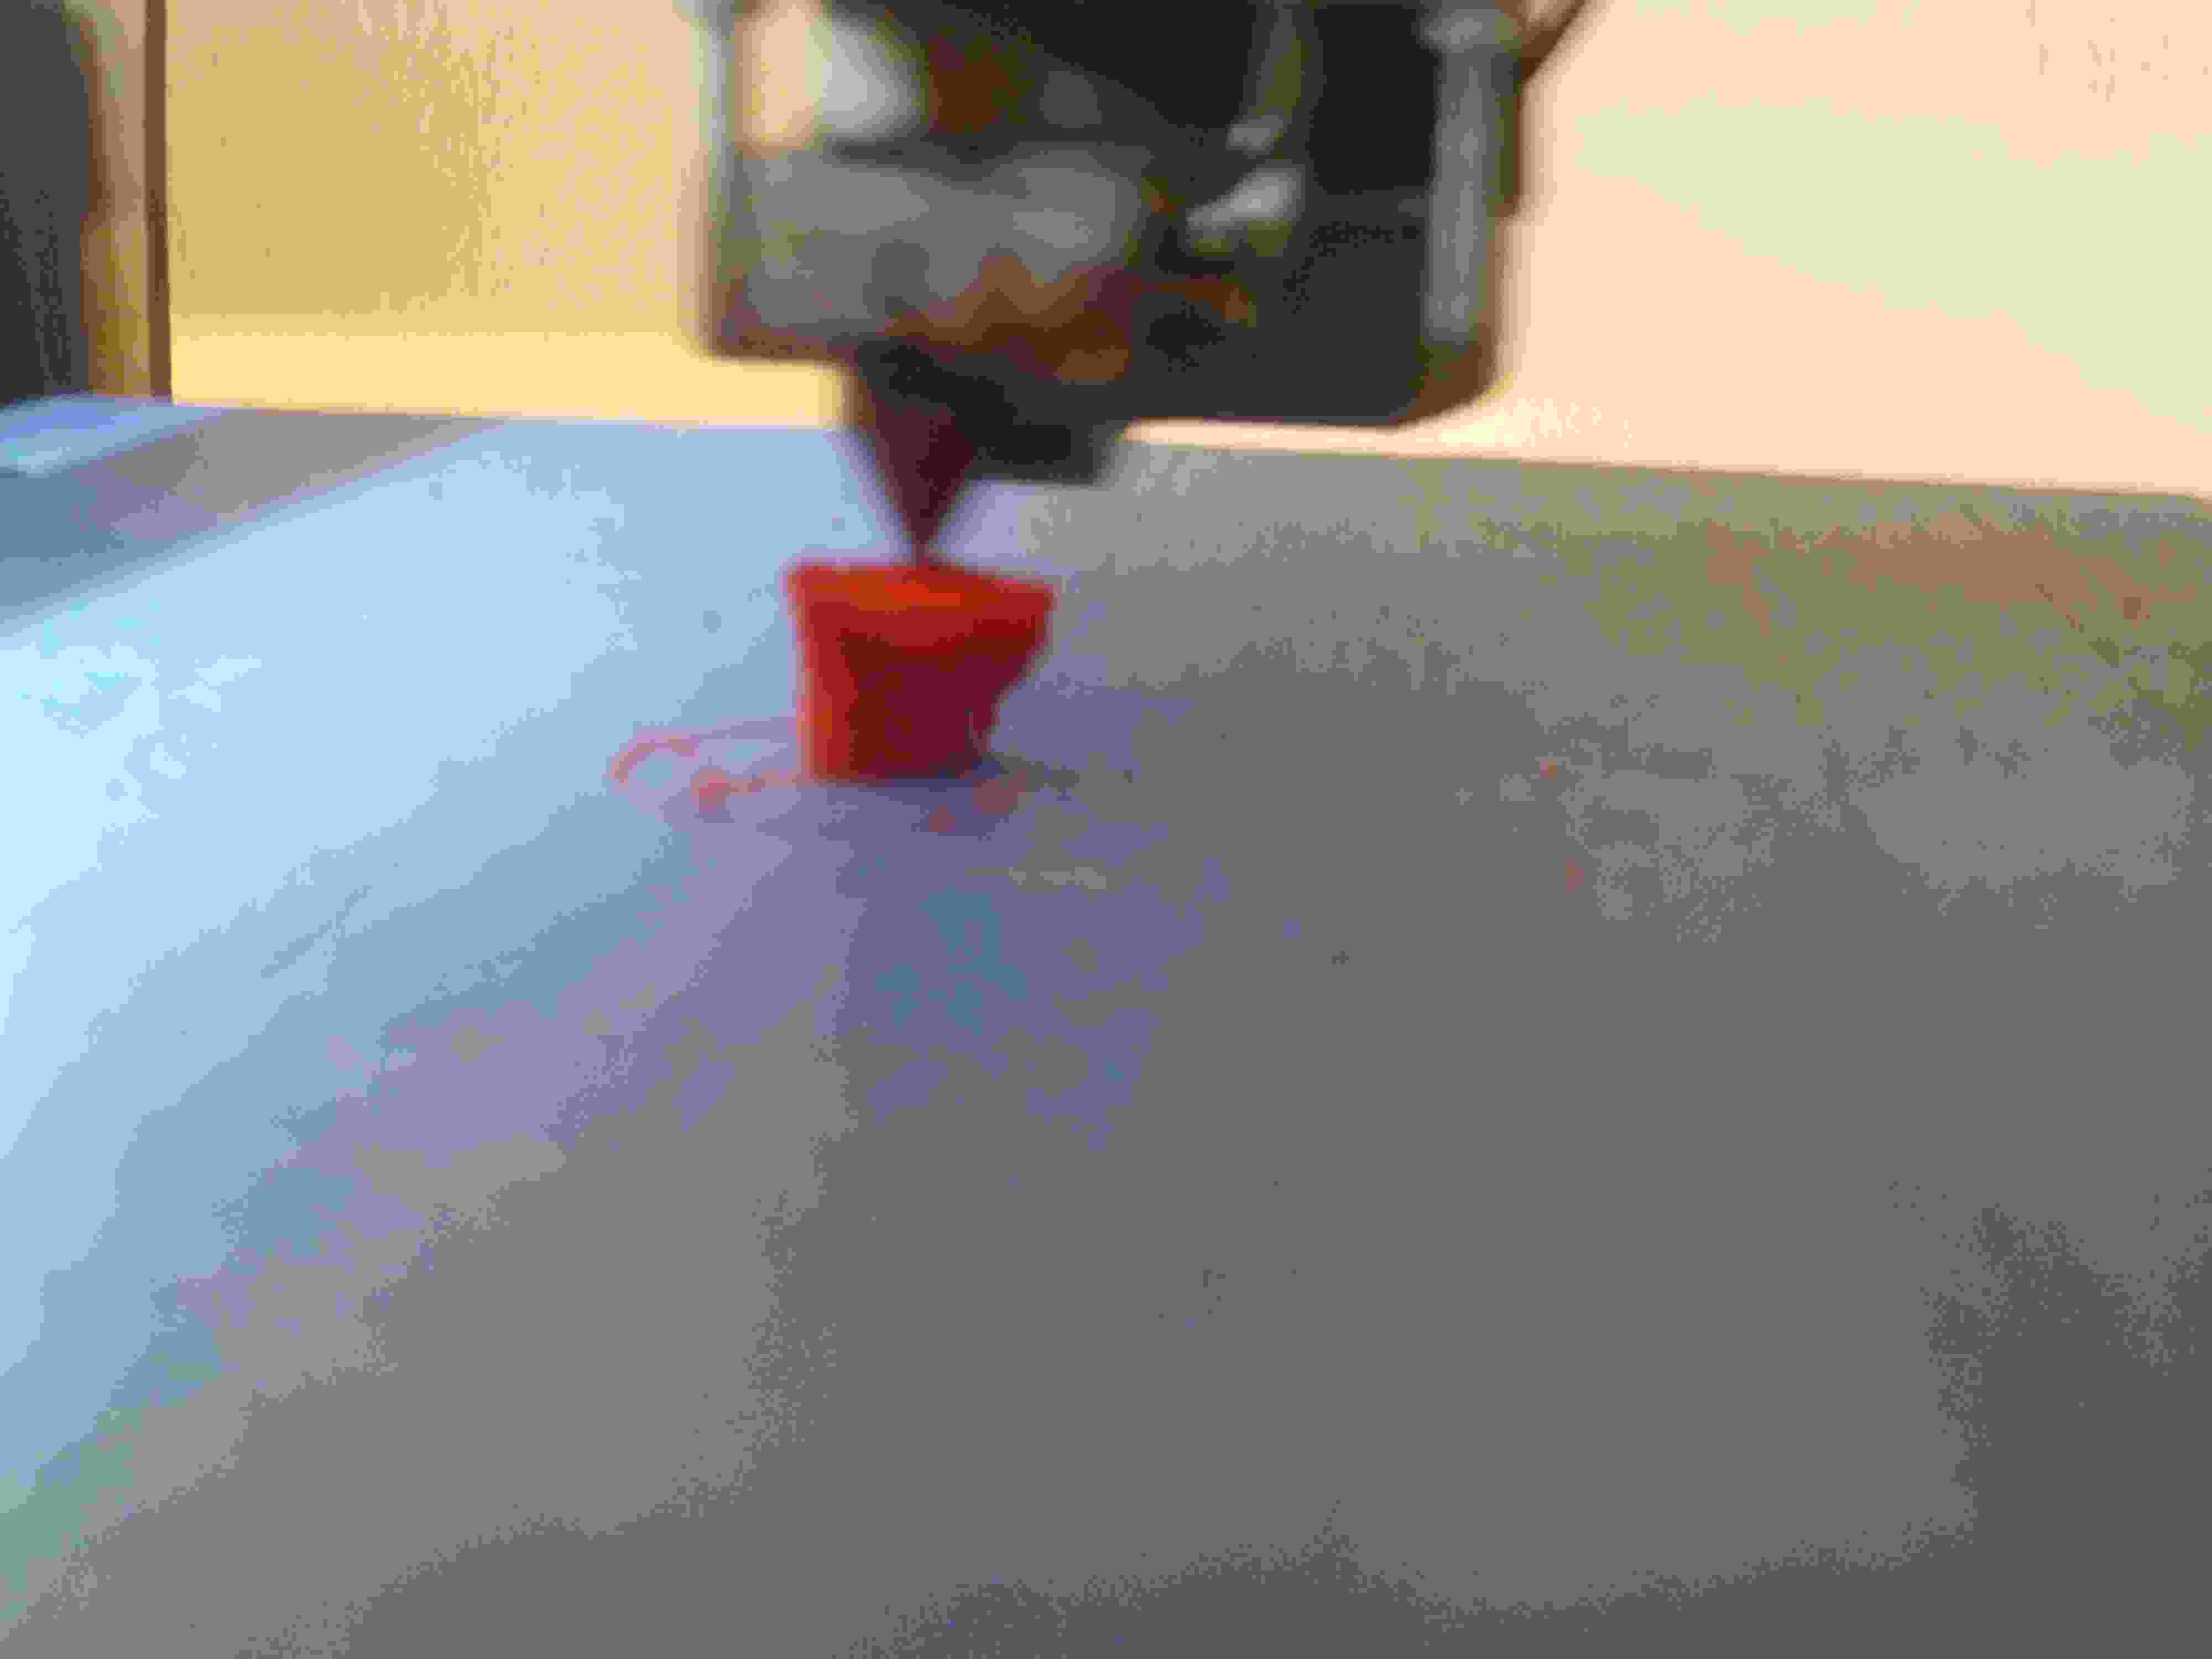
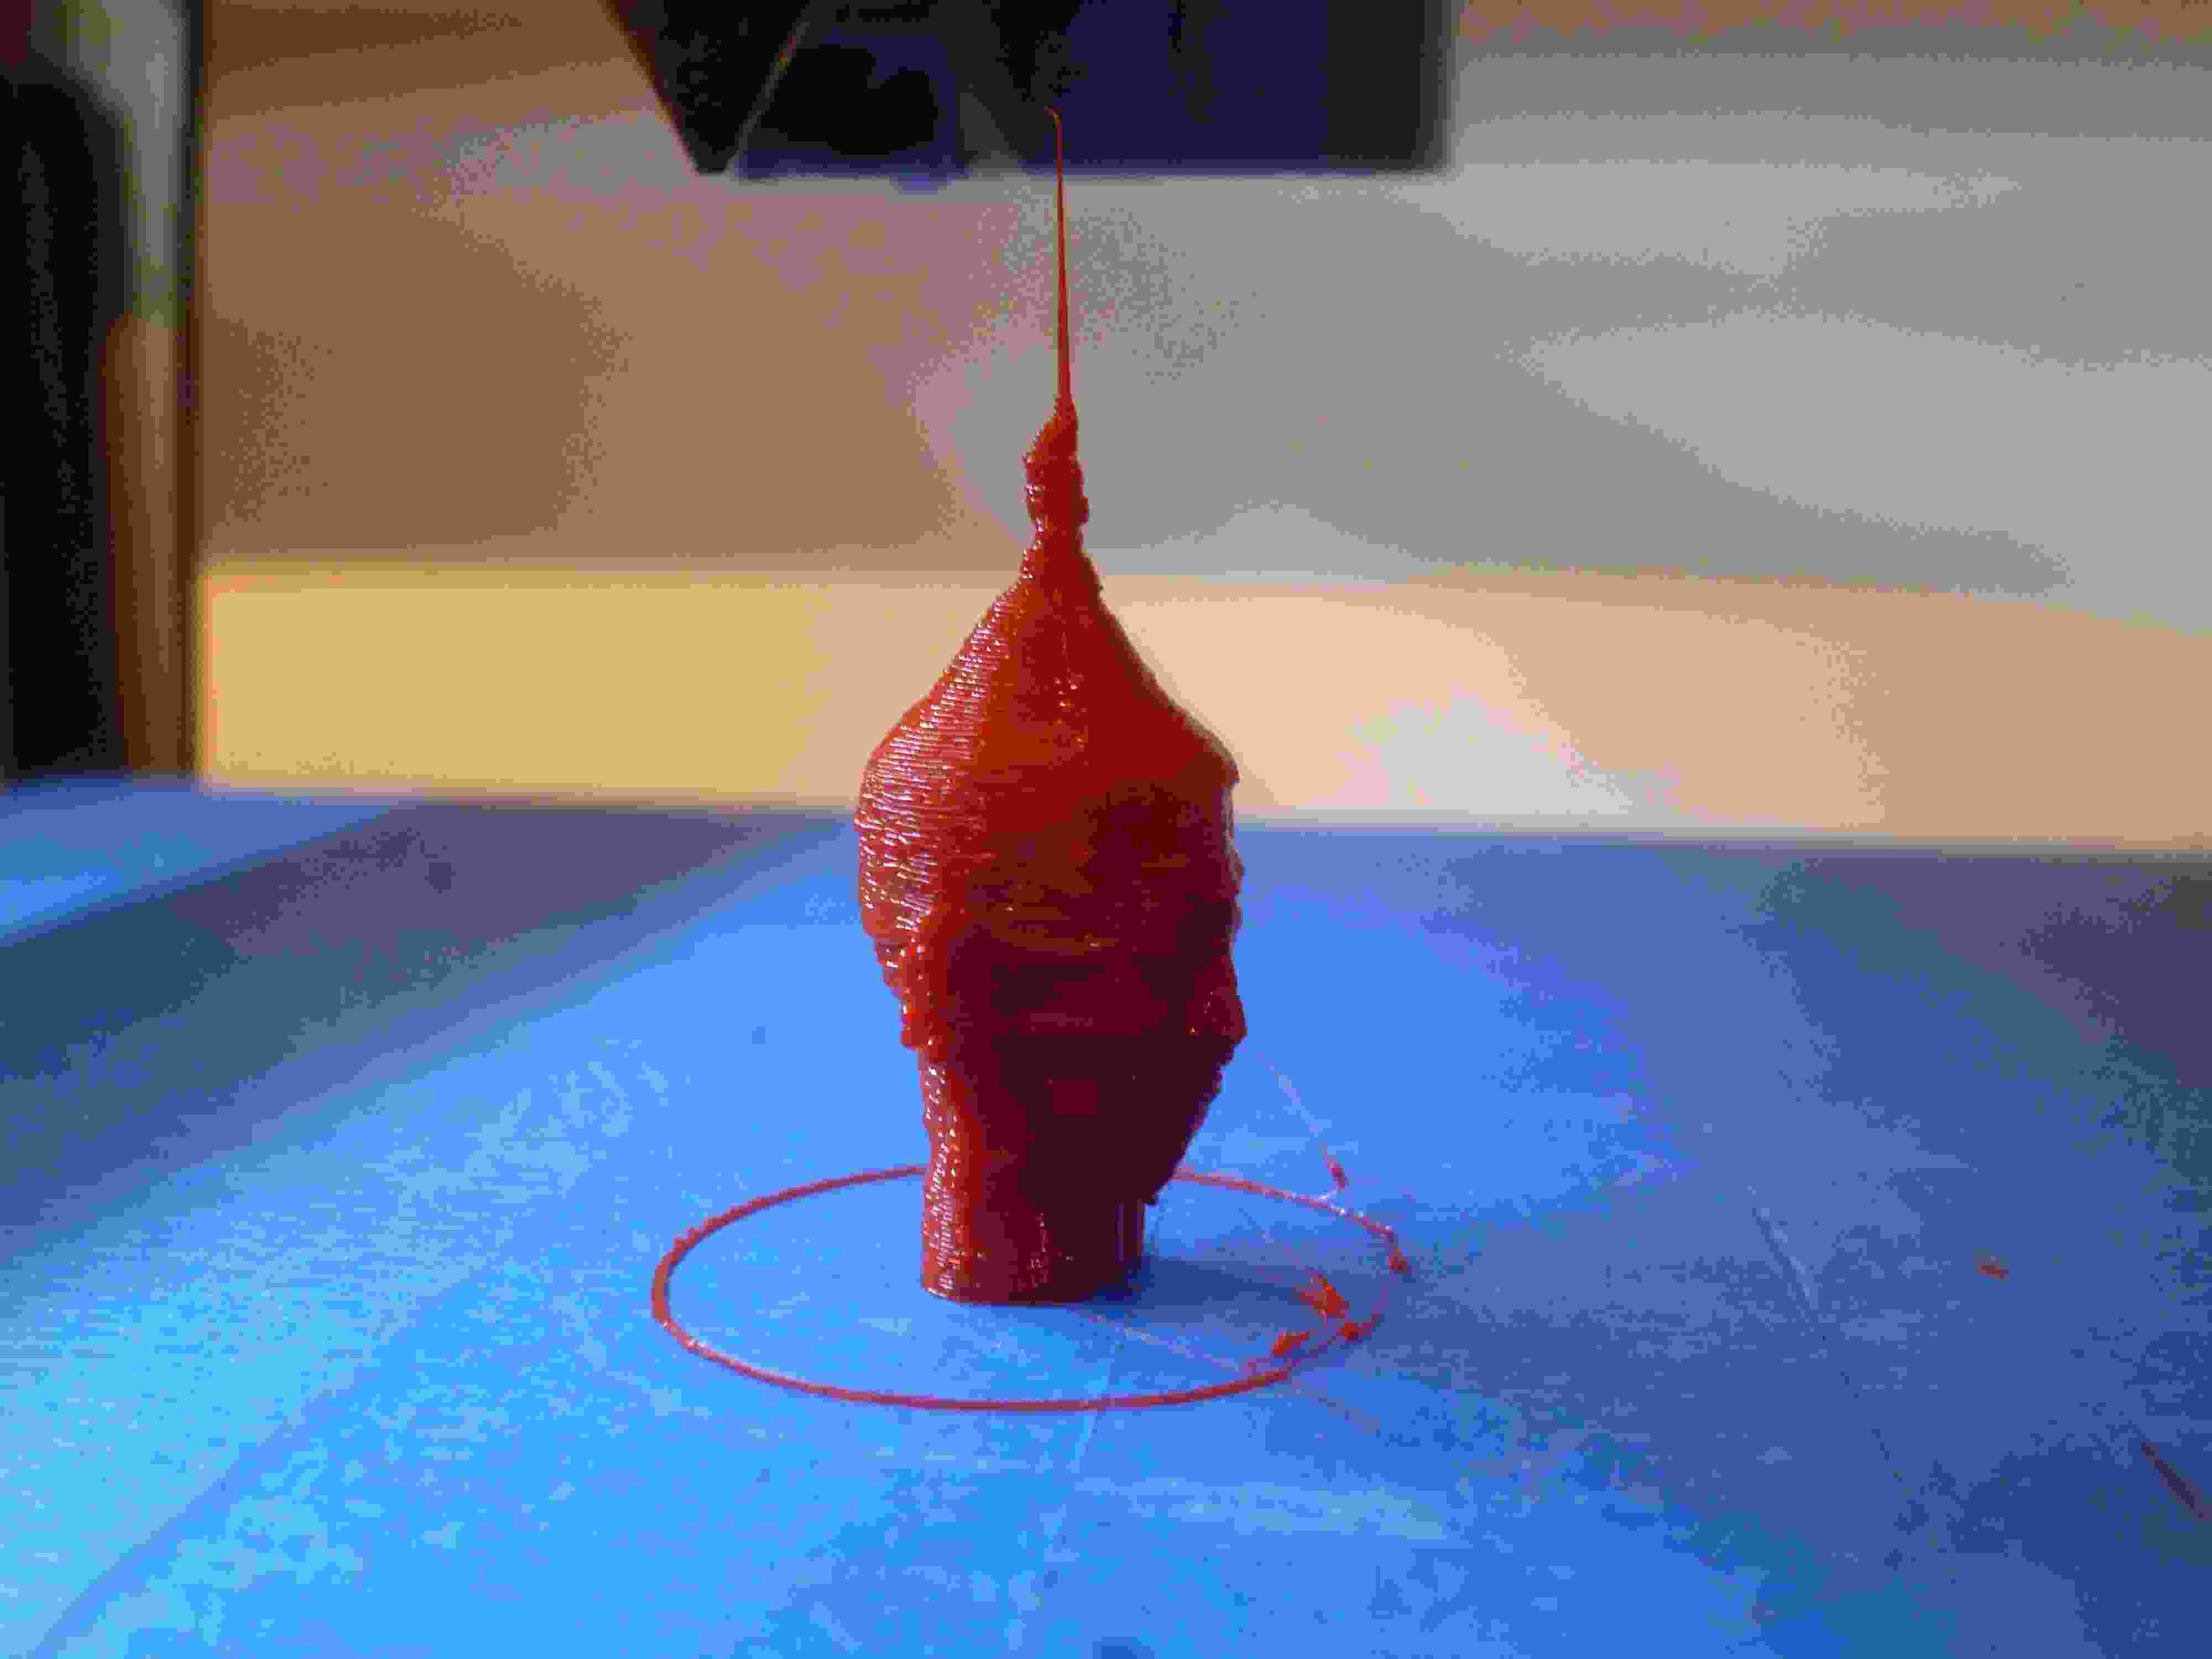
The second time, I managed to get the bottom really straight and then it printed without any problems. Before we could print the model we need to create a gcode of course and then send it to the printer, where we had to wait for the nozzle of the printer to get to 230 degrees. We used PLA for the model and before we actually started printed we extruded some material.
 |