Composites
Lesson 11
This week's assignment is design and make a 3D mold, and produce a fiber composite part in it.
I have finished my composite assignment in the final project while making a water container for the hydroponics system. This assigment was done in several steps:
- step 1: designing the container
- step 2: milling the mold on the shopbot
- step 3: preparing the mold
- step 4: making the composite
I designed the container in openscad. Bas recommended that i round the corners as it's harder to get the composite from straigth corners. Furthermore, i added some watering canals to route the water to the drainage. The code for this container can be found here. When you open this file in openscad, you will see model below.
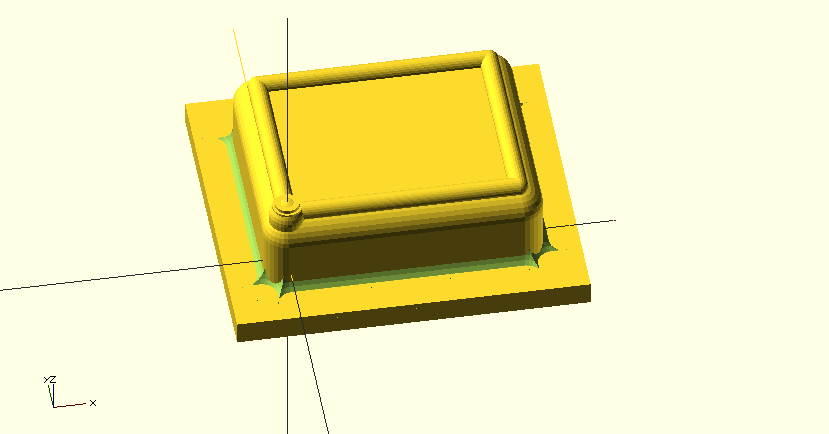 |
The next step was to mill the model on the shopbot in foam. I set the stepover too large, so the model was too rough and you could clearly see where the 1/2 inch drill had cut. Pressed for time and being unsure if this would work, i continued and did not make a new finer mold. Below, you can see the shopbot in action, while milling out the model in foam.
Next stop, was to paint the mold with gesso. This was to prevent the foamy mold to soak up all the composite. I needed to paint it two times with an drying interval of 3 hours between each paint job.
 |
The last part, was to put the layers of garment and smoothcast 330 intermittently over the model. For this composite, I used different kind of garments with varying qualities. I needed to cut away some garment at the edges of the model, as the excess garment caused the composite to bulge at the corners. When i started putting the layers on top of the mold, the stiff garment did not stick on the mold, so i used needles to stick the garment tightly onto the mold while i covered it with smoothcast.
 |
The smootcast made the garment stick to the mold and then needles could be removed. We had bought a vacuumbag, as our expirements of making our own vacuumbag failed. After repeating the process putting garment and smoothcast on the model for four times, i put the still wet model into the vacuumbag. After closing the vacuumbag and connecting the vacuumcleaner to the opening of the vacuumbag, all the air was sucked out of the bag.
 |
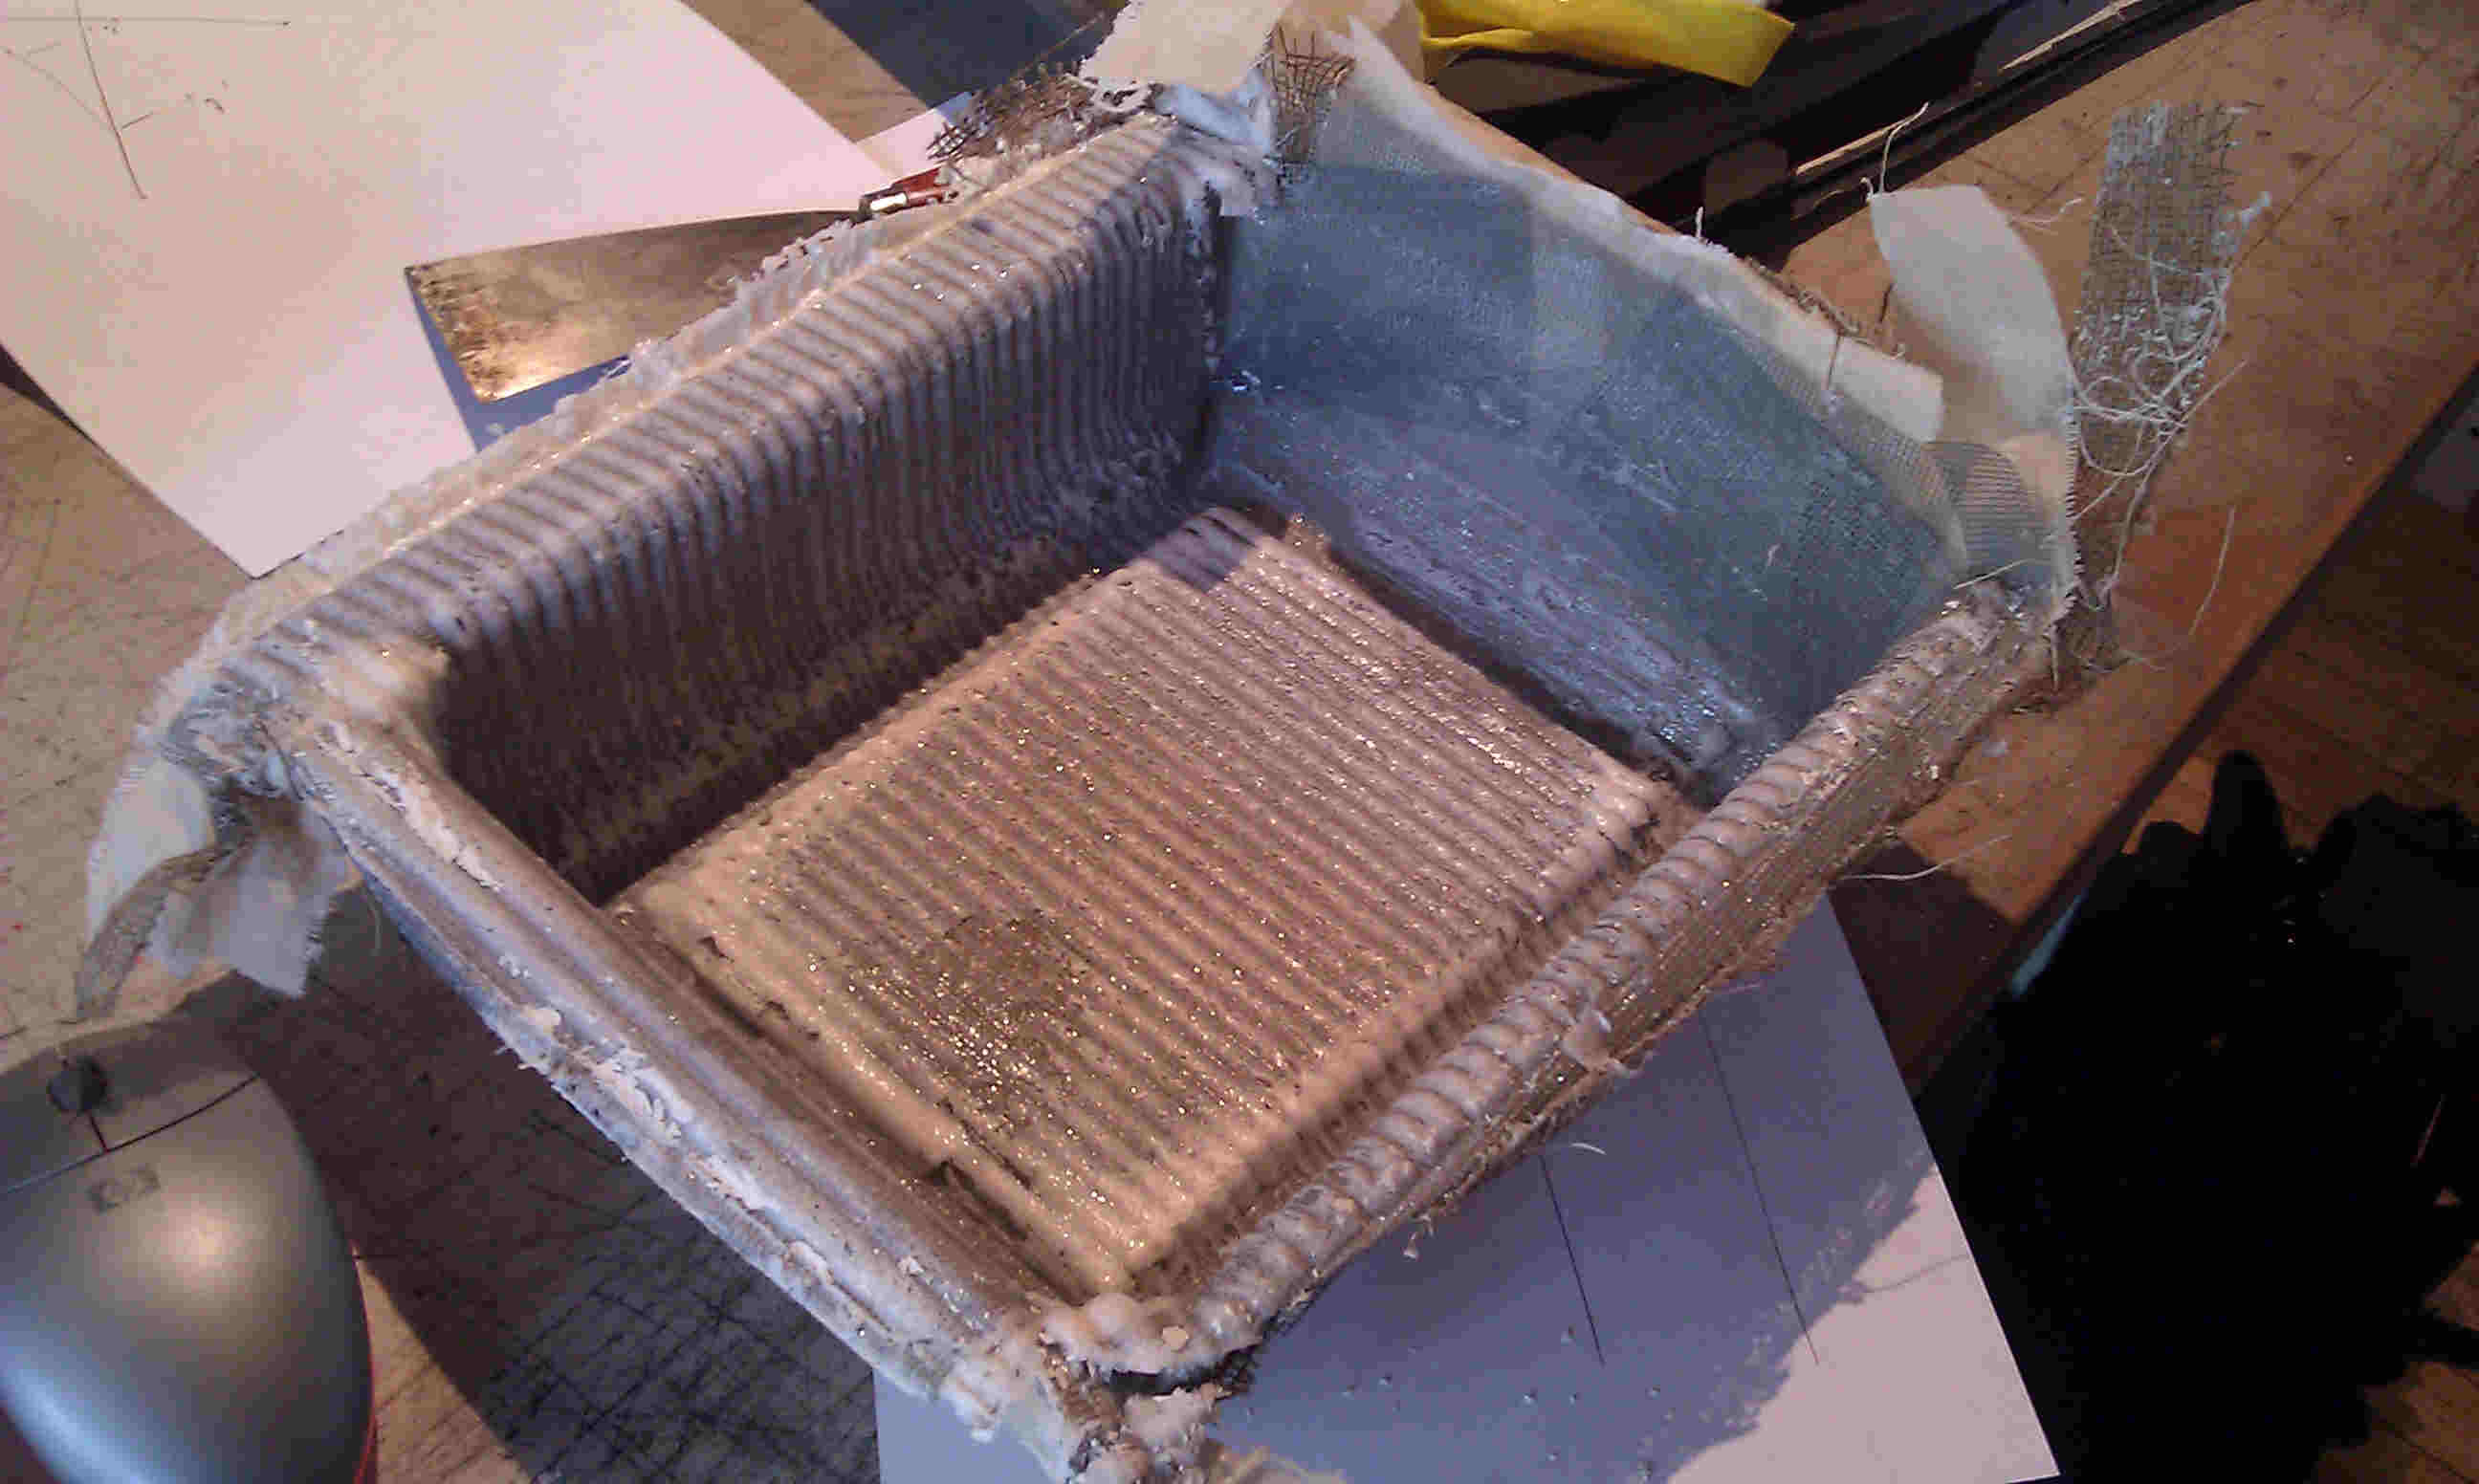
Smoothcast has a drying time of 30 minutes, so i left the vacuumcleaner on for this period. I realised that i made a mistake when vacuuming the model. As you can see on the picture below, is the opening of the vacuumbag clearly visible on the mold. Much of smoothcast concentrate around this opening of the bag. What i should have done, was to put the mold further into the bag and leave the opening of the vacuumbag clear.
The last step was to take the composite out and let it dry for a couple of hours. There were no problems getting it of the mold. The composite was strong, but not watertight. I think that i should have used more smoothcast, but i am unsure if that would have helped. Pressed for time in my final project, i decided not to pursue this any further and continued make an acrylic container. Futhermore, i did not take into account the obvious that the putting layers on top of the mold makes the composite bigger than you expect.
 |
We did not succeed in making a mold ourselves, so i used an ordinary vacuumbag to make my composite for my final project. Please click this link for my final project composite.