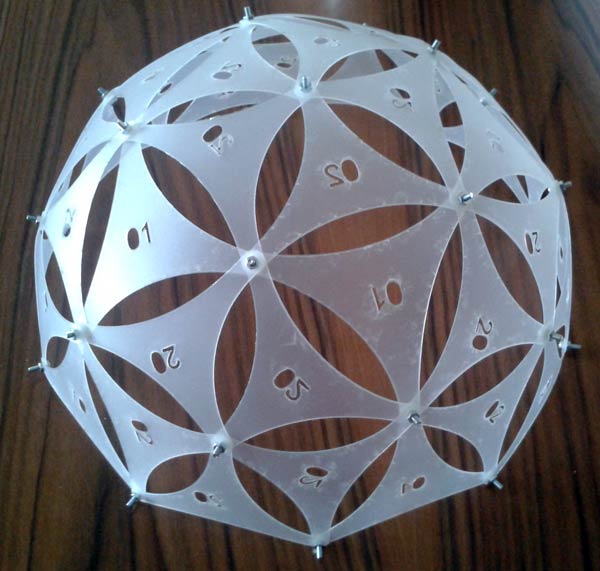
Icosahedron is one of the five Platonic Solids with twenty equilateral triangular faces. It’s dual is Dodecahedron, which has pentagonal faces. Here, Icosahedron is constructed by using pentagons. Assuming we’ve created a regular pentagon, we should find the “tip” point of the Icosahedron by intersecting spheres from at least three of the corner points with a radius of pentagon’s edges, which lies at a certain equal distance from three other points.
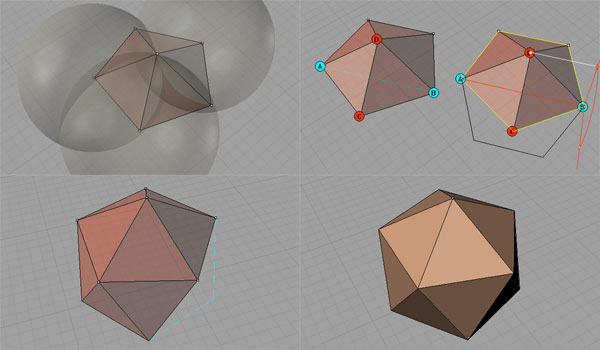
After we finish, this’ll actually give us the angle of rotation between the triangles, that keeps continuing as five of them meets at every corner point. These pentagons should also be equal at every part of the Icosahedron. As it is a Platonic Solid, Icosahedron has topological similarities with sphere, such as it’s non-orientable (no top or bottom, every vertice is equal). The trick here is to 3d rotate copy the pentagon (sum of five equilateral triangles) in order to create the neighboring pentagon. We do this by rotating the pentagon using an axis of any two corners (A and B here) which are NOT neighbors. The angle is given by the corner in between them (C here), and the “tip” point we’ve created earlier (D here). Here is the link for the rhino and 3ds file.
Now, as we’ve found the universal angle and distance of rotation, it’s easy to repeat the process to complete the whole object by creating all 20 triangular faces.
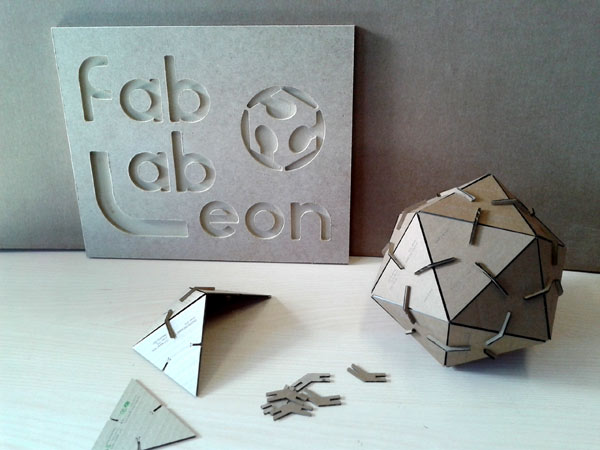
To build this Icosahedron out of cardboard, is necessary to cut 20 equilateral triangles and join them with a regular angle, wich is 138,19 degrees. There are several ways to achieve this, I decided to build a press fit piece, placed in the middle of each edge with the mentioned angle.
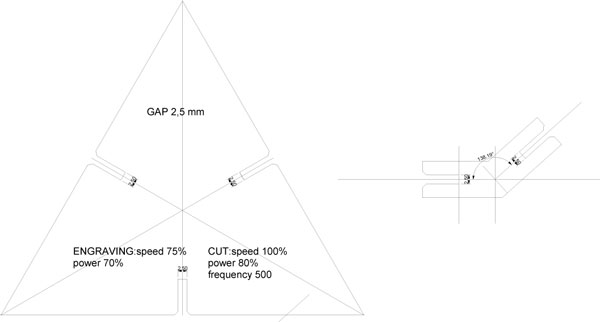
This is the link for the pdf files.
It is a very simple way to build this solid, since the press fit piece guides you in the assembly. I used 3mm thick cardboard and the press fit is 2,5mm; so that they pressure each other and make an stable joint. I also chamfered the triangle to make easier the assembly and not break the cardboard.
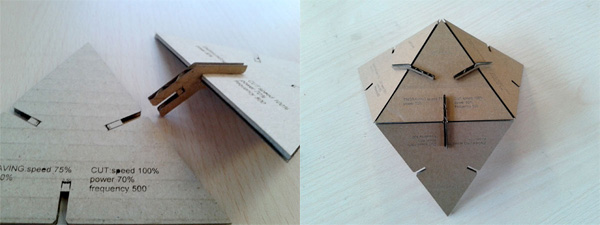
And the final model built here in FabLab León.
Not all of them, but when you get the idea, you’ll see there are lots of different alternatives in creating Fuller’s famous Geodesic Domes (Although in fact, he is not the inventor of it). Taking a regular Icosahedron (which is the most popular Geodesic dome starter), and dividing it, as Fuller’s notation, Class I-2V. This is the simplest form of a Geodesic subdivision, creating two kinds of struts (not all of the struts are equal), rather an economic method if you plan to build one. It all starts with the regular Icosahedron shape, in other words, equally divided tessellation of a sphere. Then, faces are triangulated and normalized (pulled on to the bounding sphere). Here is a snapshot of this process:
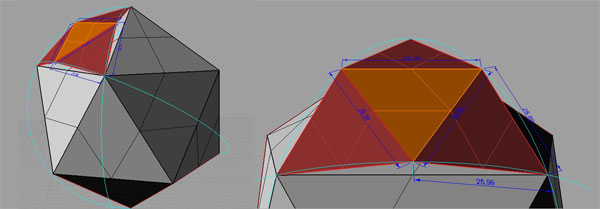
Once you apply this geodesic geometry to one triangle. you have to repeat the same process for all the triangles of the icosahedron to get a geodesic sphere.
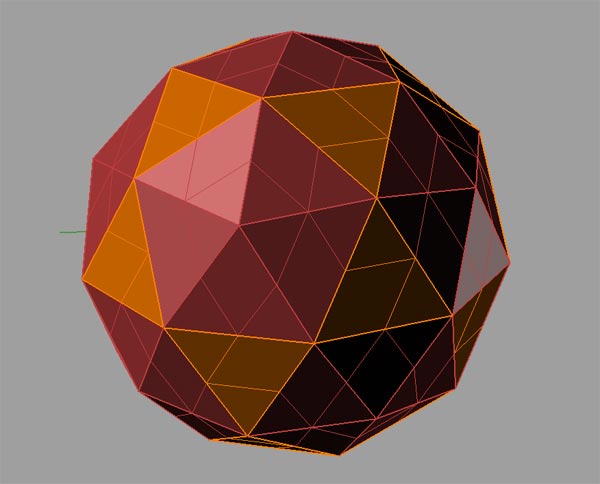
This is the link for the rhino and 3ds files.
The whole sphere is made out of two triangles, red and orange in the picture. To build this, I decided to use polypropylene sheet as a flexible material, to achieve the curvature of the sphere.
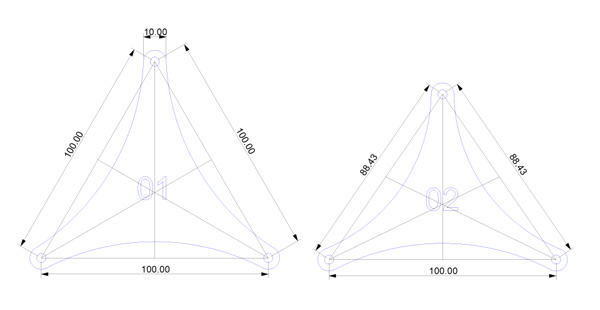
This is the link for the pdf files.
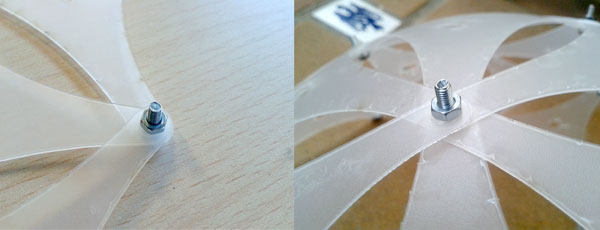
In this case I decided to offset the outline of the triangle so that they overlap in the vertex and make the joint in this point with a metal screw as shown in the picture:

And the final result:
