John O'Keefe
Week 14 - Mechanical Design
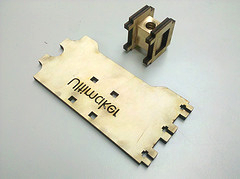
Ultimaker Drive Nut Assembly
 The drive nut for the build platform carriage that the Ultimaker BOM (bill of materials) specified was hard to come by. We decided to adapt the design by using two standard nuts sandwiched together, stacked horizontally rather than pinned vertically.
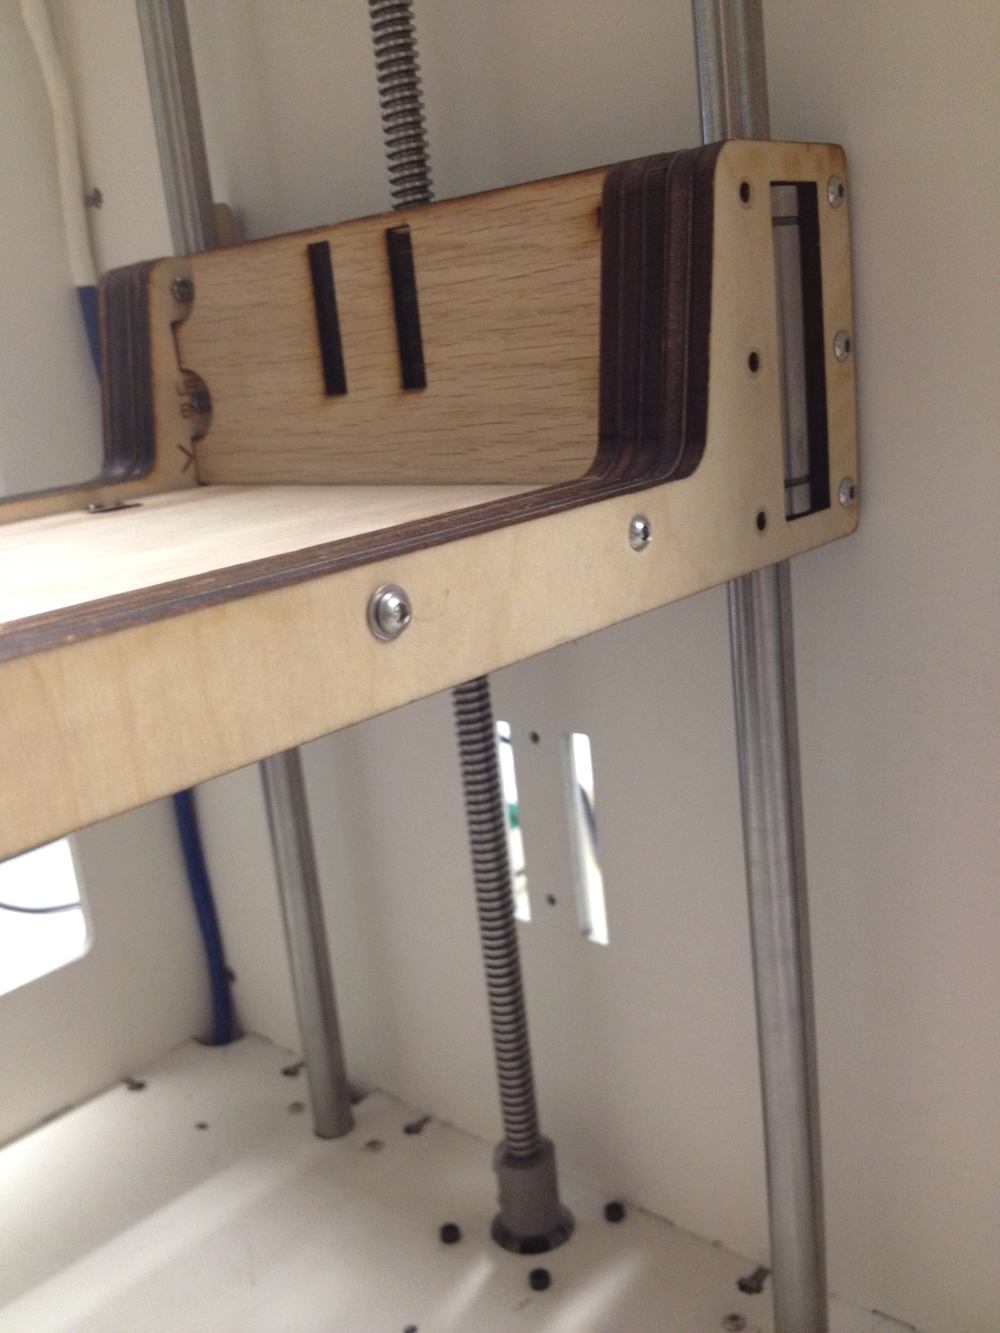
Drive Nut Assembly Modification Nuts were sandwiched in laser-cut plywood slices. Sheet thickness was approximately half nut-height. Cap pieces and a spacer with smaller diameter (just bigger than the screw) were used to sandwich the nuts in place.
Threading Build Platform Drive Shaft with Drive Nut Assembly
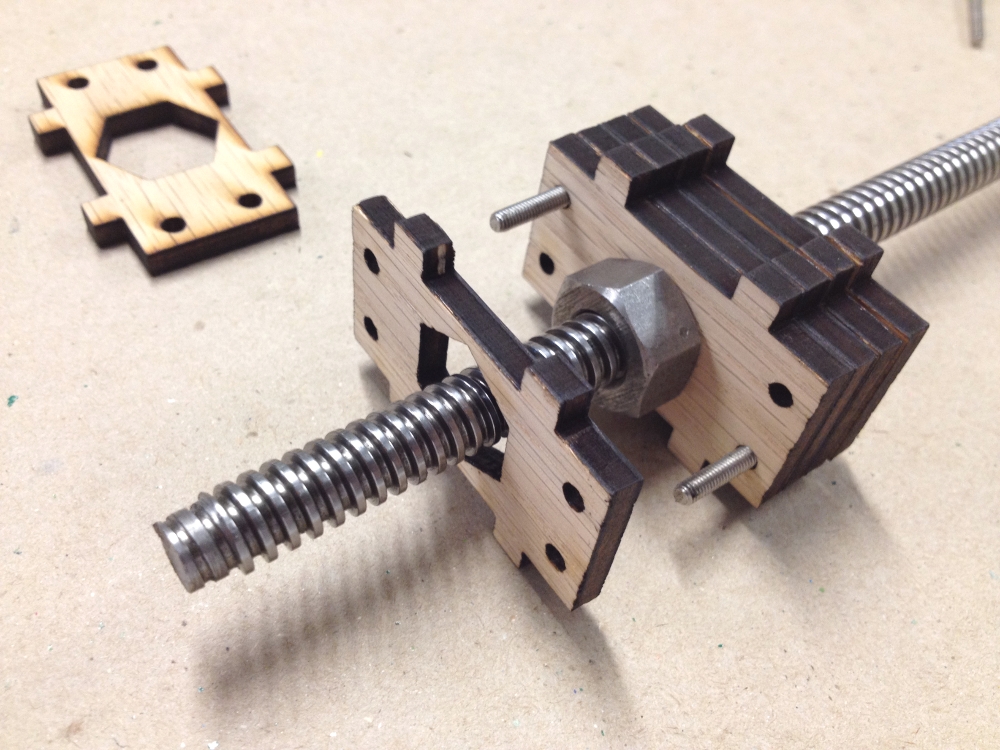 Drive nut assembly needed to be threaded one screw at a time to make sure both threads lined up/were oriented in the same direction. Once nuts were in place in the block, assembly was tightened down. Modified drive nut should move up and down screw with very little resistance.
Assembling Build Platform Carriage Around Modififed Drive Nut
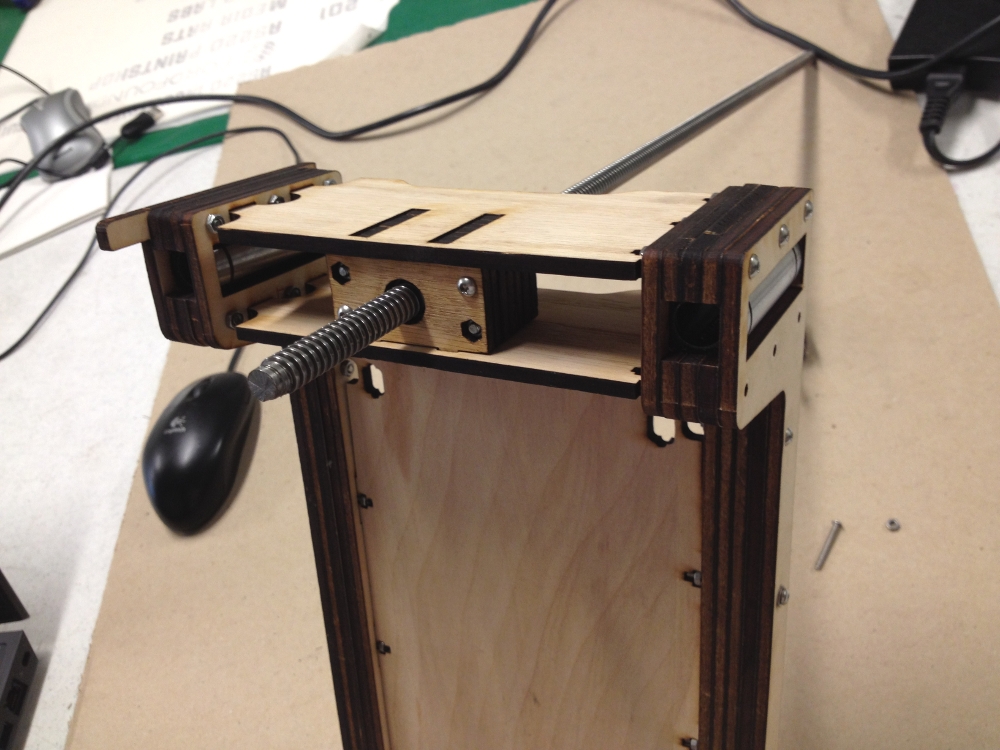 Slots that hold drive nut assembly in place were modified (made vertical) to accomodate stacked block.
Screw Set-screwed Into 'Z' Motor
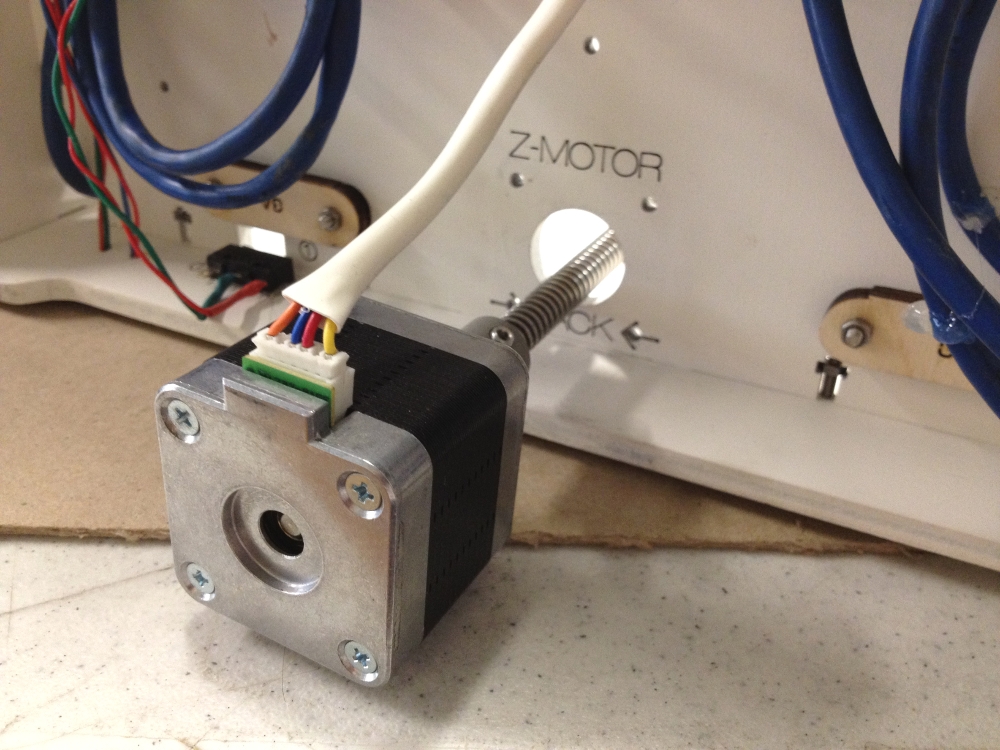 To fit carriage assembly and screw into Ultimaker box, 'Z' stepper motor could not be attached. Laid box on its back and put carriage and screw through side opening, then pushed screw through hole at bottom base of box. Once set-screwed into 'Z' motor, motor could be positioned with other end put into bearing above.
Drive Nut/Build Platform Carriage in Place
 Carriage held in postion by support rods on linear bearings.