Ian Henderson

Week 12 - Interface And Application Programming


Click for Lecture Video

Week 12 - Interface And Application Programming

16 April 2012 13:35 Monday

This week's assignment is to write an application that interfaces with the input device you make in week 11 - input devices. Use the Processing programming language to visualize the data from the sensor on your input device board.

I'm going to skip this section for now and work on it at home so I can do the soldering and troubleshooting necessary for week 13: Output devices"

14 June 2012 7:30 am
I have started the 1st processing tutorial located here: http://processing.org/learning/gettingstarted/

And immediately ran into problems as soon as I tried even the most basic command: ellipse(50, 50, 80, 80);

when I run this command, it does in fact bring up the expected result, but it also brings up a string of error messages:

Jun 14 07:38:30 c-24-147-168-116.hsd1.ma.comcast.net java[399] : CGContextGetCTM: invalid context 0x0
Jun 14 07:38:30 c-24-147-168-116.hsd1.ma.comcast.net java[399] : CGContextSetBaseCTM: invalid context 0x0
Jun 14 07:38:30 c-24-147-168-116.hsd1.ma.comcast.net java[399] : CGContextGetCTM: invalid context 0x0
Jun 14 07:38:30 c-24-147-168-116.hsd1.ma.comcast.net java[399] : CGContextSetBaseCTM: invalid context 0x0


Doesn't bode well. I guess I'll just press on and see what else happens.

Okay, I'm already noticing something about Processing which makes me wonder whether it's actually worth taking the time to learn. Everything is case-sensitive. There's no good reason for this that I can think of and the only thing I've been able to find online explaining it is that Processing is based on Java, which is also case-sensitive. I don't know much about how these languages are made, so possibly that's all the answer anyone needs, in which case I will tell myself that the reason for Processing being case-sensitive is because the creators were incapable of making it case-insensitive.

If there is any other reason, I'd like to know it. Given that Processing is supposed to be an "easy" language for beginners to use, there is no valid design-based excuse for deliberately making the system case-sensitive, since this makes typing slower and more complex, and virtually guarantees a whole bunch of errors will crop up even if all of the programming logic is otherwise correct. There's just not enough of an advantage to being able to have a command for both "Potato" and "potato" and "potatO" that justifies all of the errors that will inherently emerge from a few misplaced uses of the shift key. I should also note that many of the commands so far consist of words like "mousePressed" and "mouseX", etc, which indicates to me that the designers of this language actually think case-sensitivity is a good idea. Which is troubling, because it leads me to believe that while they may be brilliant in other ways, as designers they are morons; lacking in human empathy.

Processing is referred to in the Overview as a scripting language, as opposed to a programming language, which basically means that it is not compiled and runs inside of a parent program called an Integrated Development Environment or IDE. This is the Program that you do your programming inside of. The program is called the Processing Development Environment or PDE.

14 Jun 20120 10am
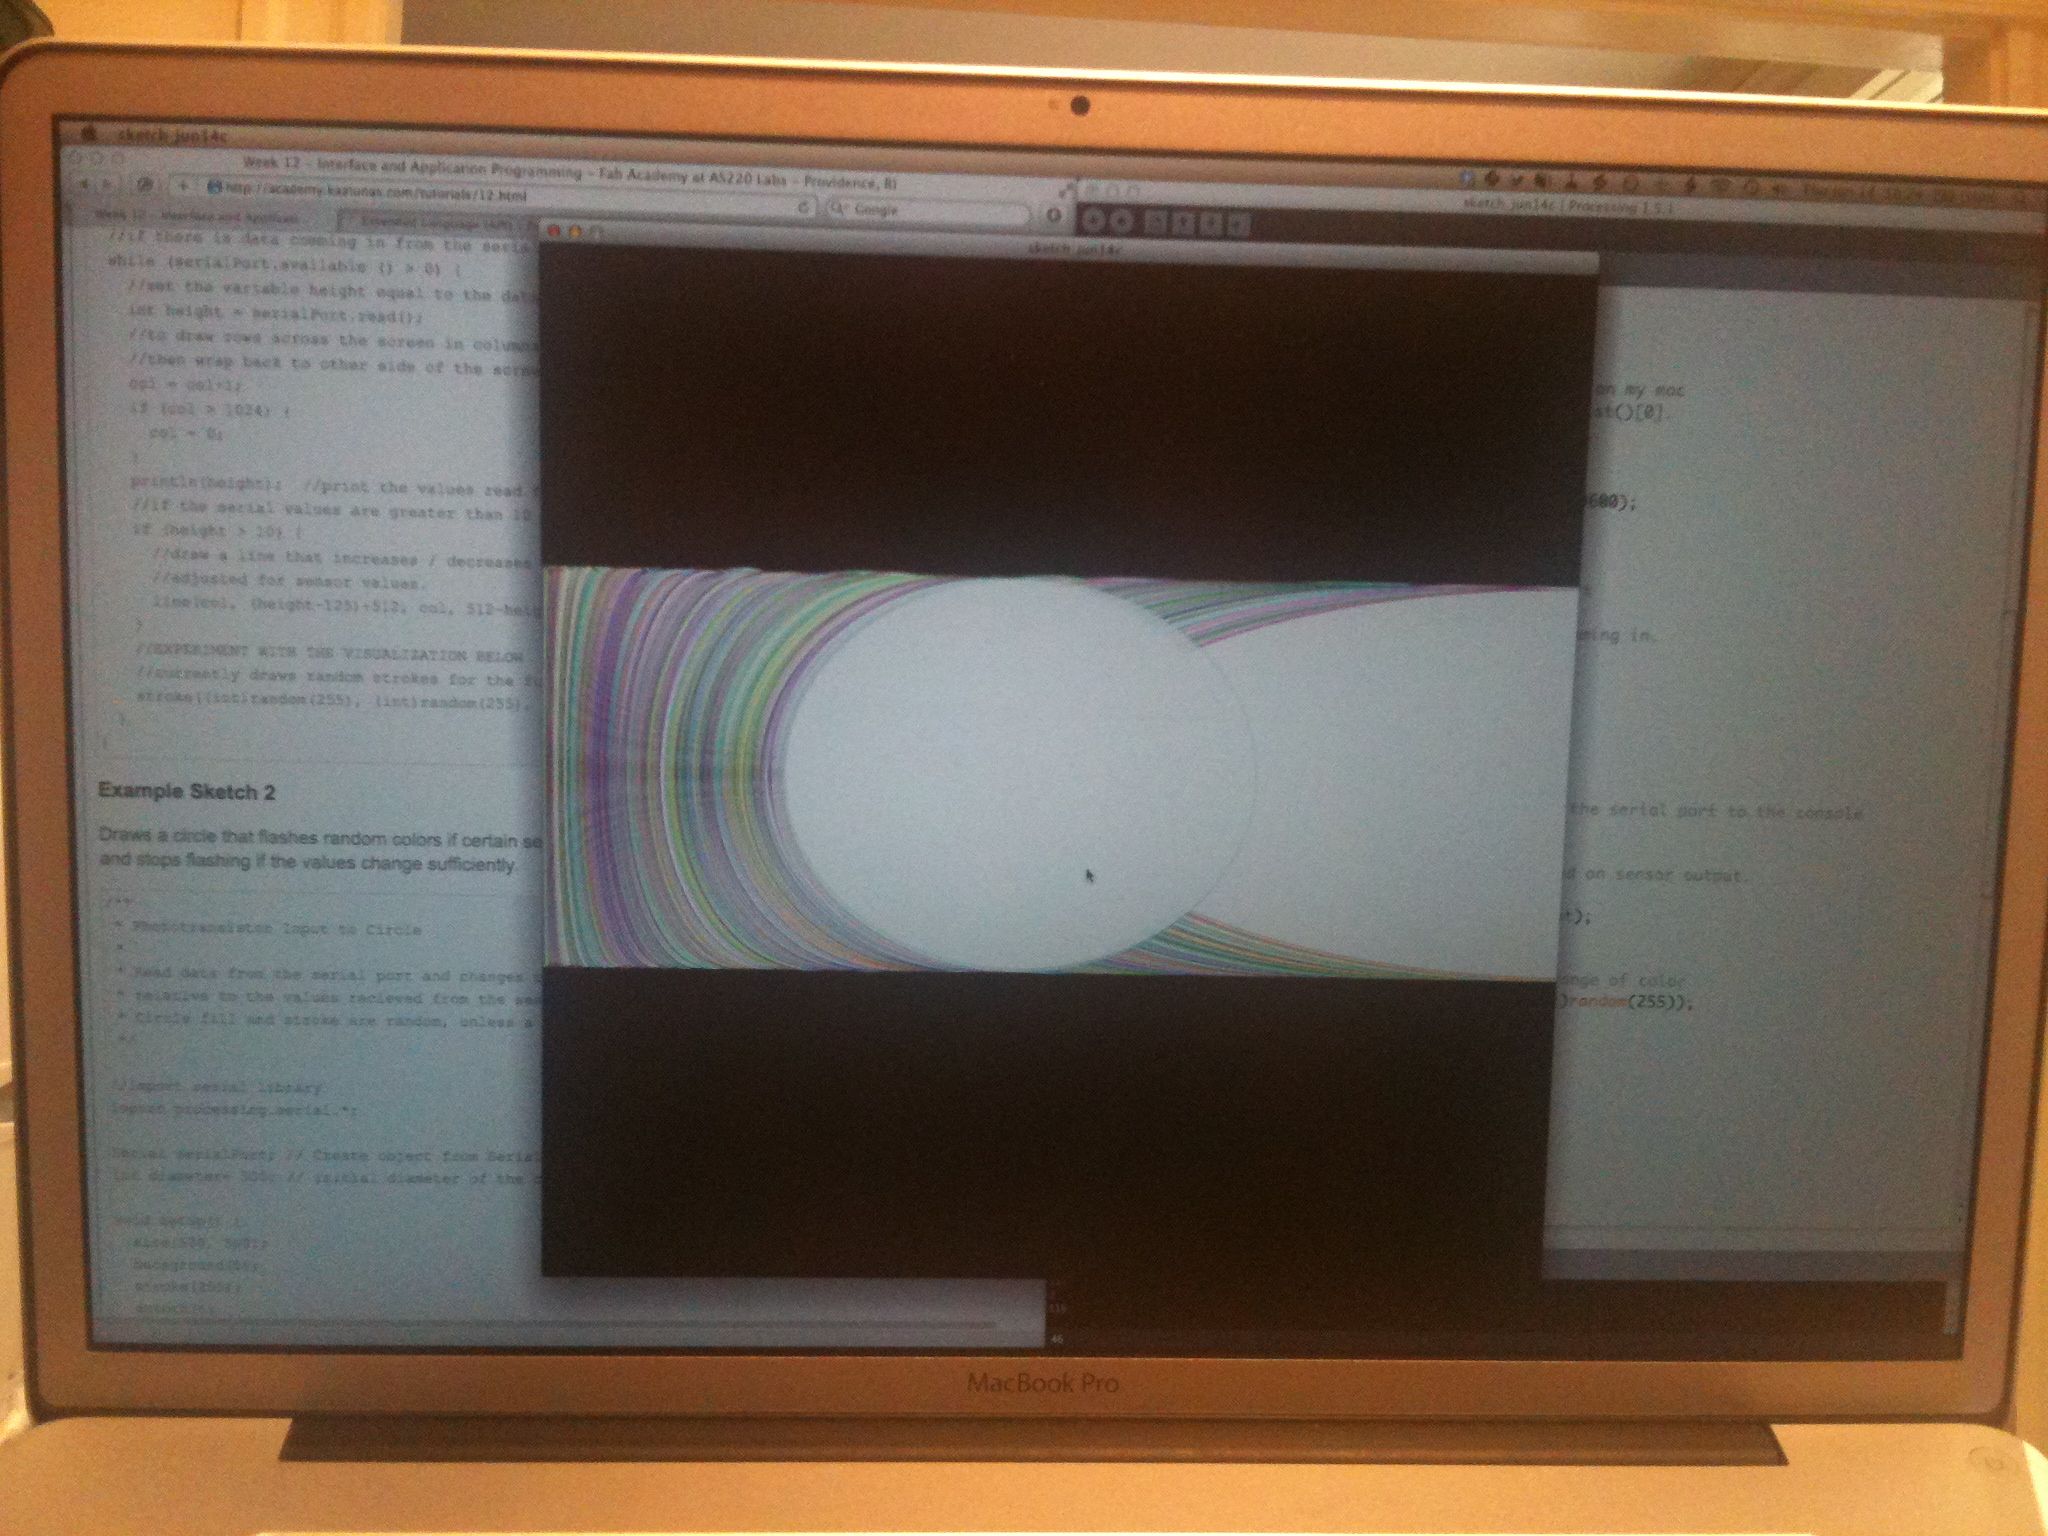
After reading the introductory articles on the processing site and fiddling around with example commands and things, I went ahead and cut/pasted some visualization code from the Anna's Fab Academy tutorial pages

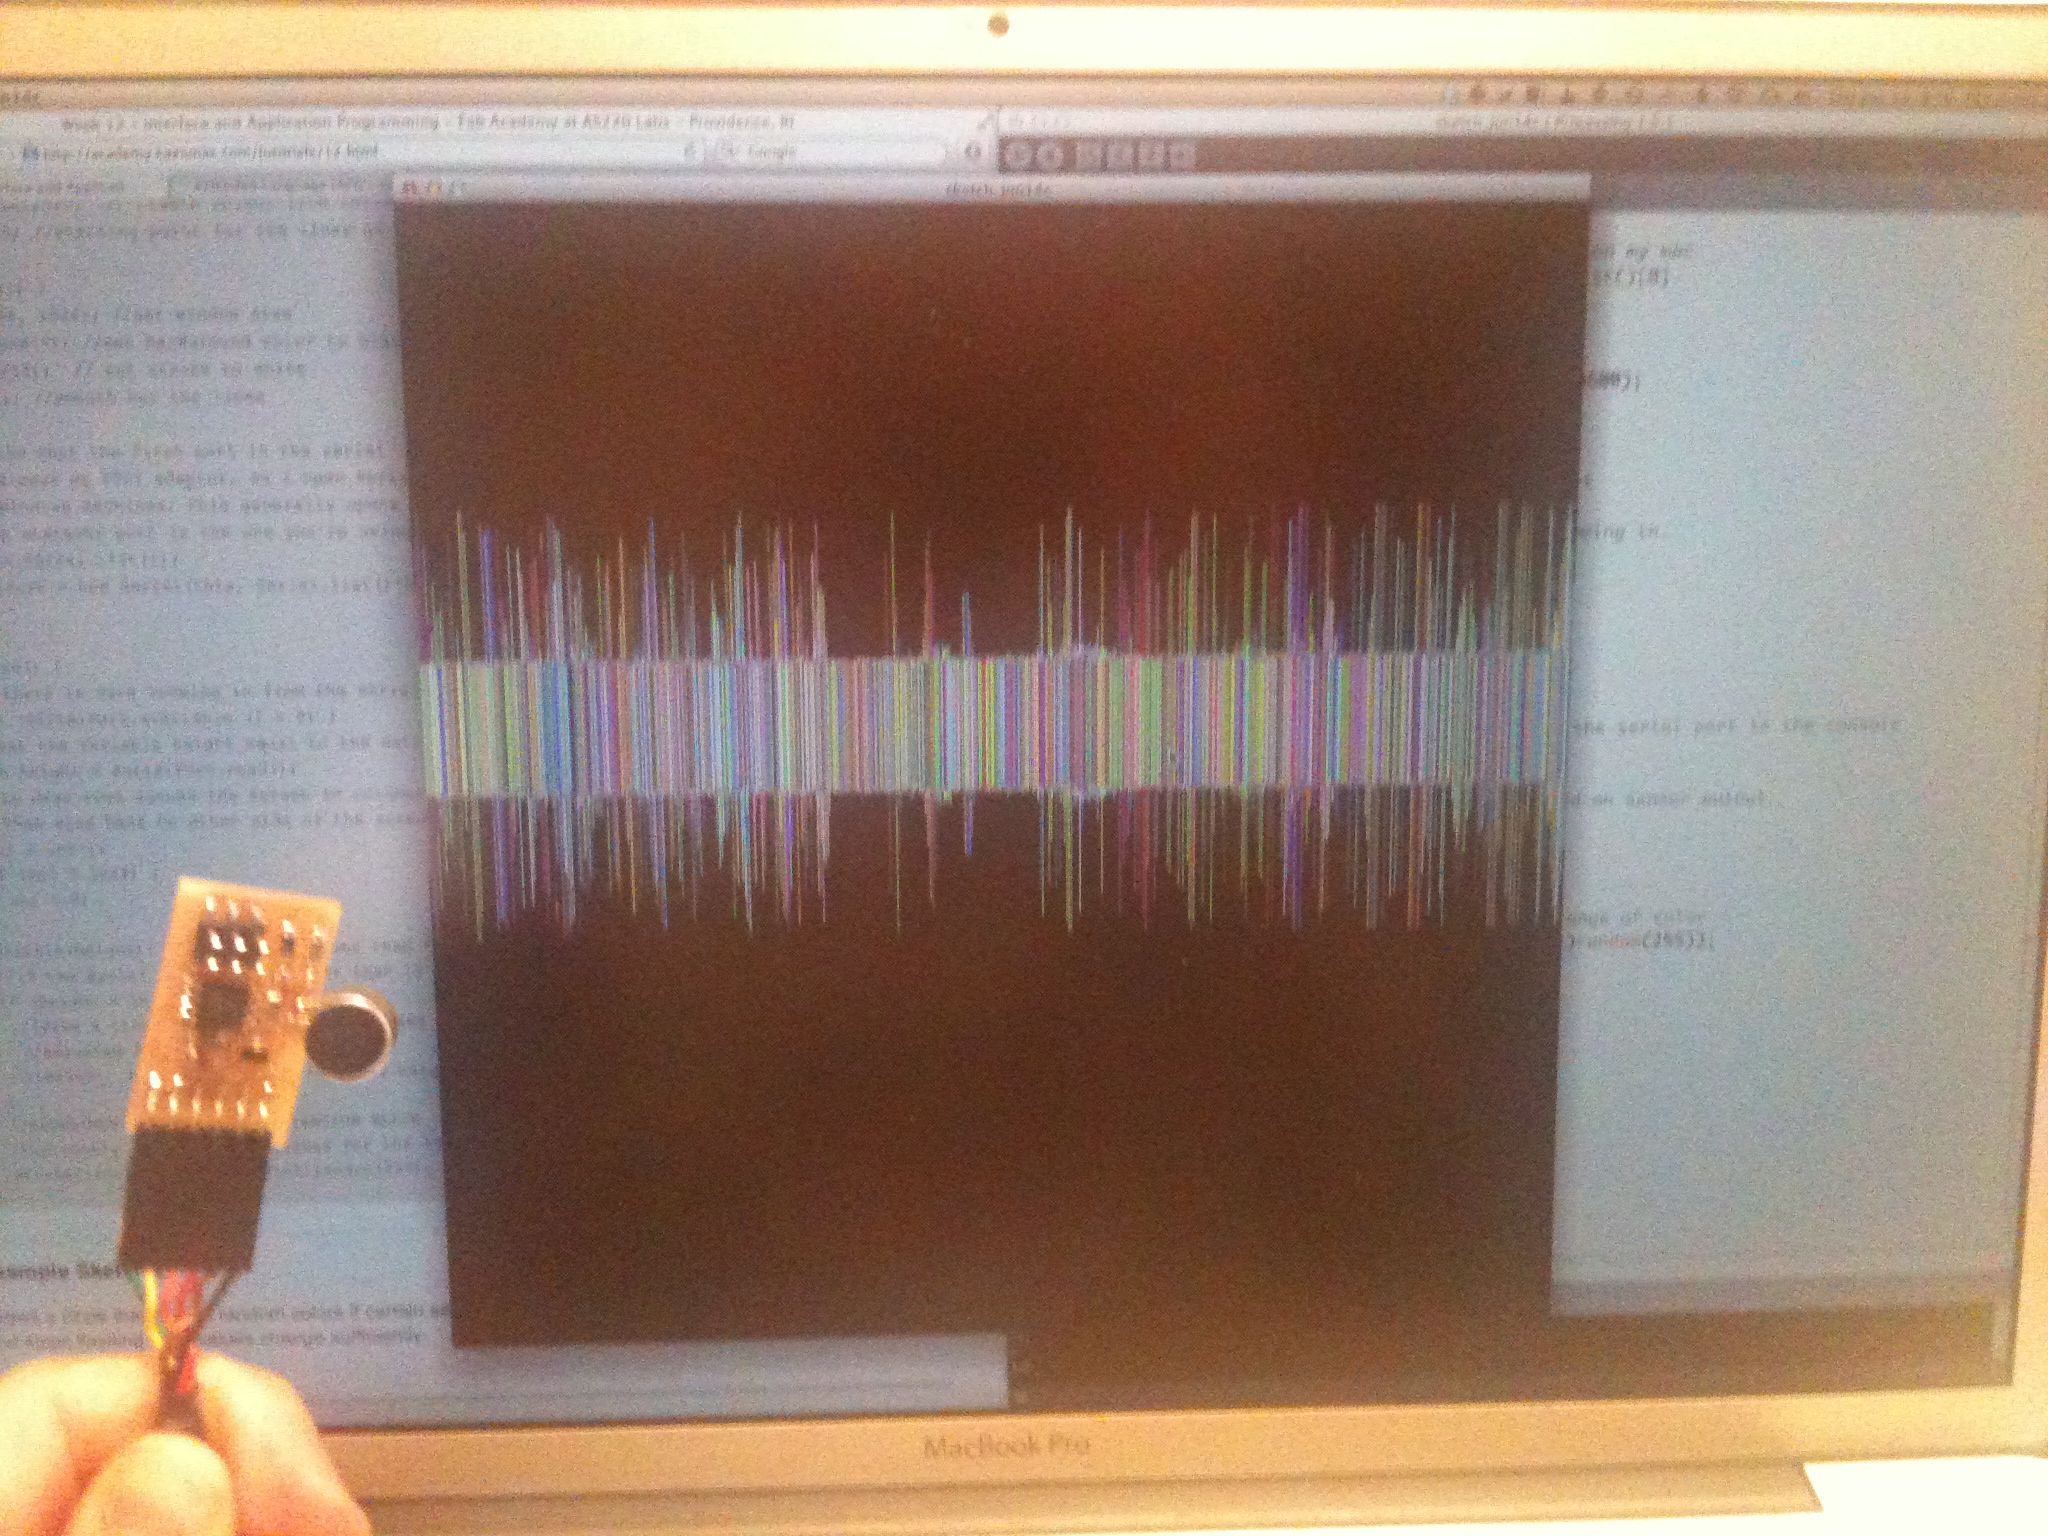
I then hooked up my microphone board made earlier, and ran the script. It actually worked, and the lines onscreen changed size in relation to how noisily I shouted into the microphone. So, cool. Things sometimes work.

I'm going to fiddle around with some variables and see if I can't come up with a more fun visualization. Here is the code in its original form:
/**
 * Serial Input to Randomly Colored Lines
 * 
 * Read data from the serial port and changes the color of a lines drawing across the screen
 * the height of the lines changes relative to the values recieved from the sensor.
 *
 * written by Shawn Wallace
	* updated / commented by Anna Kaziunas France
 */

import processing.serial.*;

Serial serialPort;  // Create object from Serial class
int col = 0; //starting point for the lines on the screen

void setup() {
  size(1024, 1024); //set window size
  background(0); //set background color to black
  stroke(255);  // set stroke to white 
  smooth(); //smooth out the lines

  // I know that the first port in the serial list on my mac
  // is always my FTDI adaptor, so I open Serial.list()[0].
  // On Windows machines, this generally opens COM1.
  // Open whatever port is the one you're using.
  println(Serial.list());
  serialPort = new Serial(this, Serial.list()[0], 9600);
}

void draw() {
  //if there is data comming in from the serial port
  while (serialPort.available () > 0) {
    //set the variable height equal to the data comming in.
    int height = serialPort.read(); 
    //to draw rows across the screen in columns
    //then wrap back to other side of the screen 
    col = col+1;
    if (col > 1024) {
      col = 0;
    }
    println(height);  //print the values read from the serial port to the console
    //if the serial values are greater than 10
    if (height > 10) {
      //draw a line that increases / decreases based on sensor output.
      //adjusted for sensor values.
      line(col, (height-125)+512, col, 512-height);
    }
    //EXPERIMENT WITH THE VISUALIZATION BELOW
    //currently draws random strokes for the full range of color
  stroke((int)random(255), (int)random(255), (int)random(3*tall));
fill((int)random(255), (int)random(10), (int)random(255), 60);
  }
}

14 Jun 2012 10:50 am
I have retooled Anna's visualization program in the following ways:
• changed the name of variable "height" to "tall". I did this because "height" is already an actual command within processing, and it's a useful command especially if you want to draw things on screen using relative sizing rather than pixel coordinates. So this frees me up to use the "height" command.
• Changed the vertical lines to an ellipse. I had to shuffle some of the variables around a little to make this work because the sequence of 4 numbers are interpreted differently here.
• changed the vertical position of the row to be a relative "height/2" rather than an integer "+512". This makes it easier to change screen sizes and still have things work properly.
• added a bit of code so that you can clear the screen by clicking the mouse.
• changed some of the fill and stroke values for the elipses. Added an alpha channel to the fill, so that the elipses are translucent, which makes the visual effect more interesting.
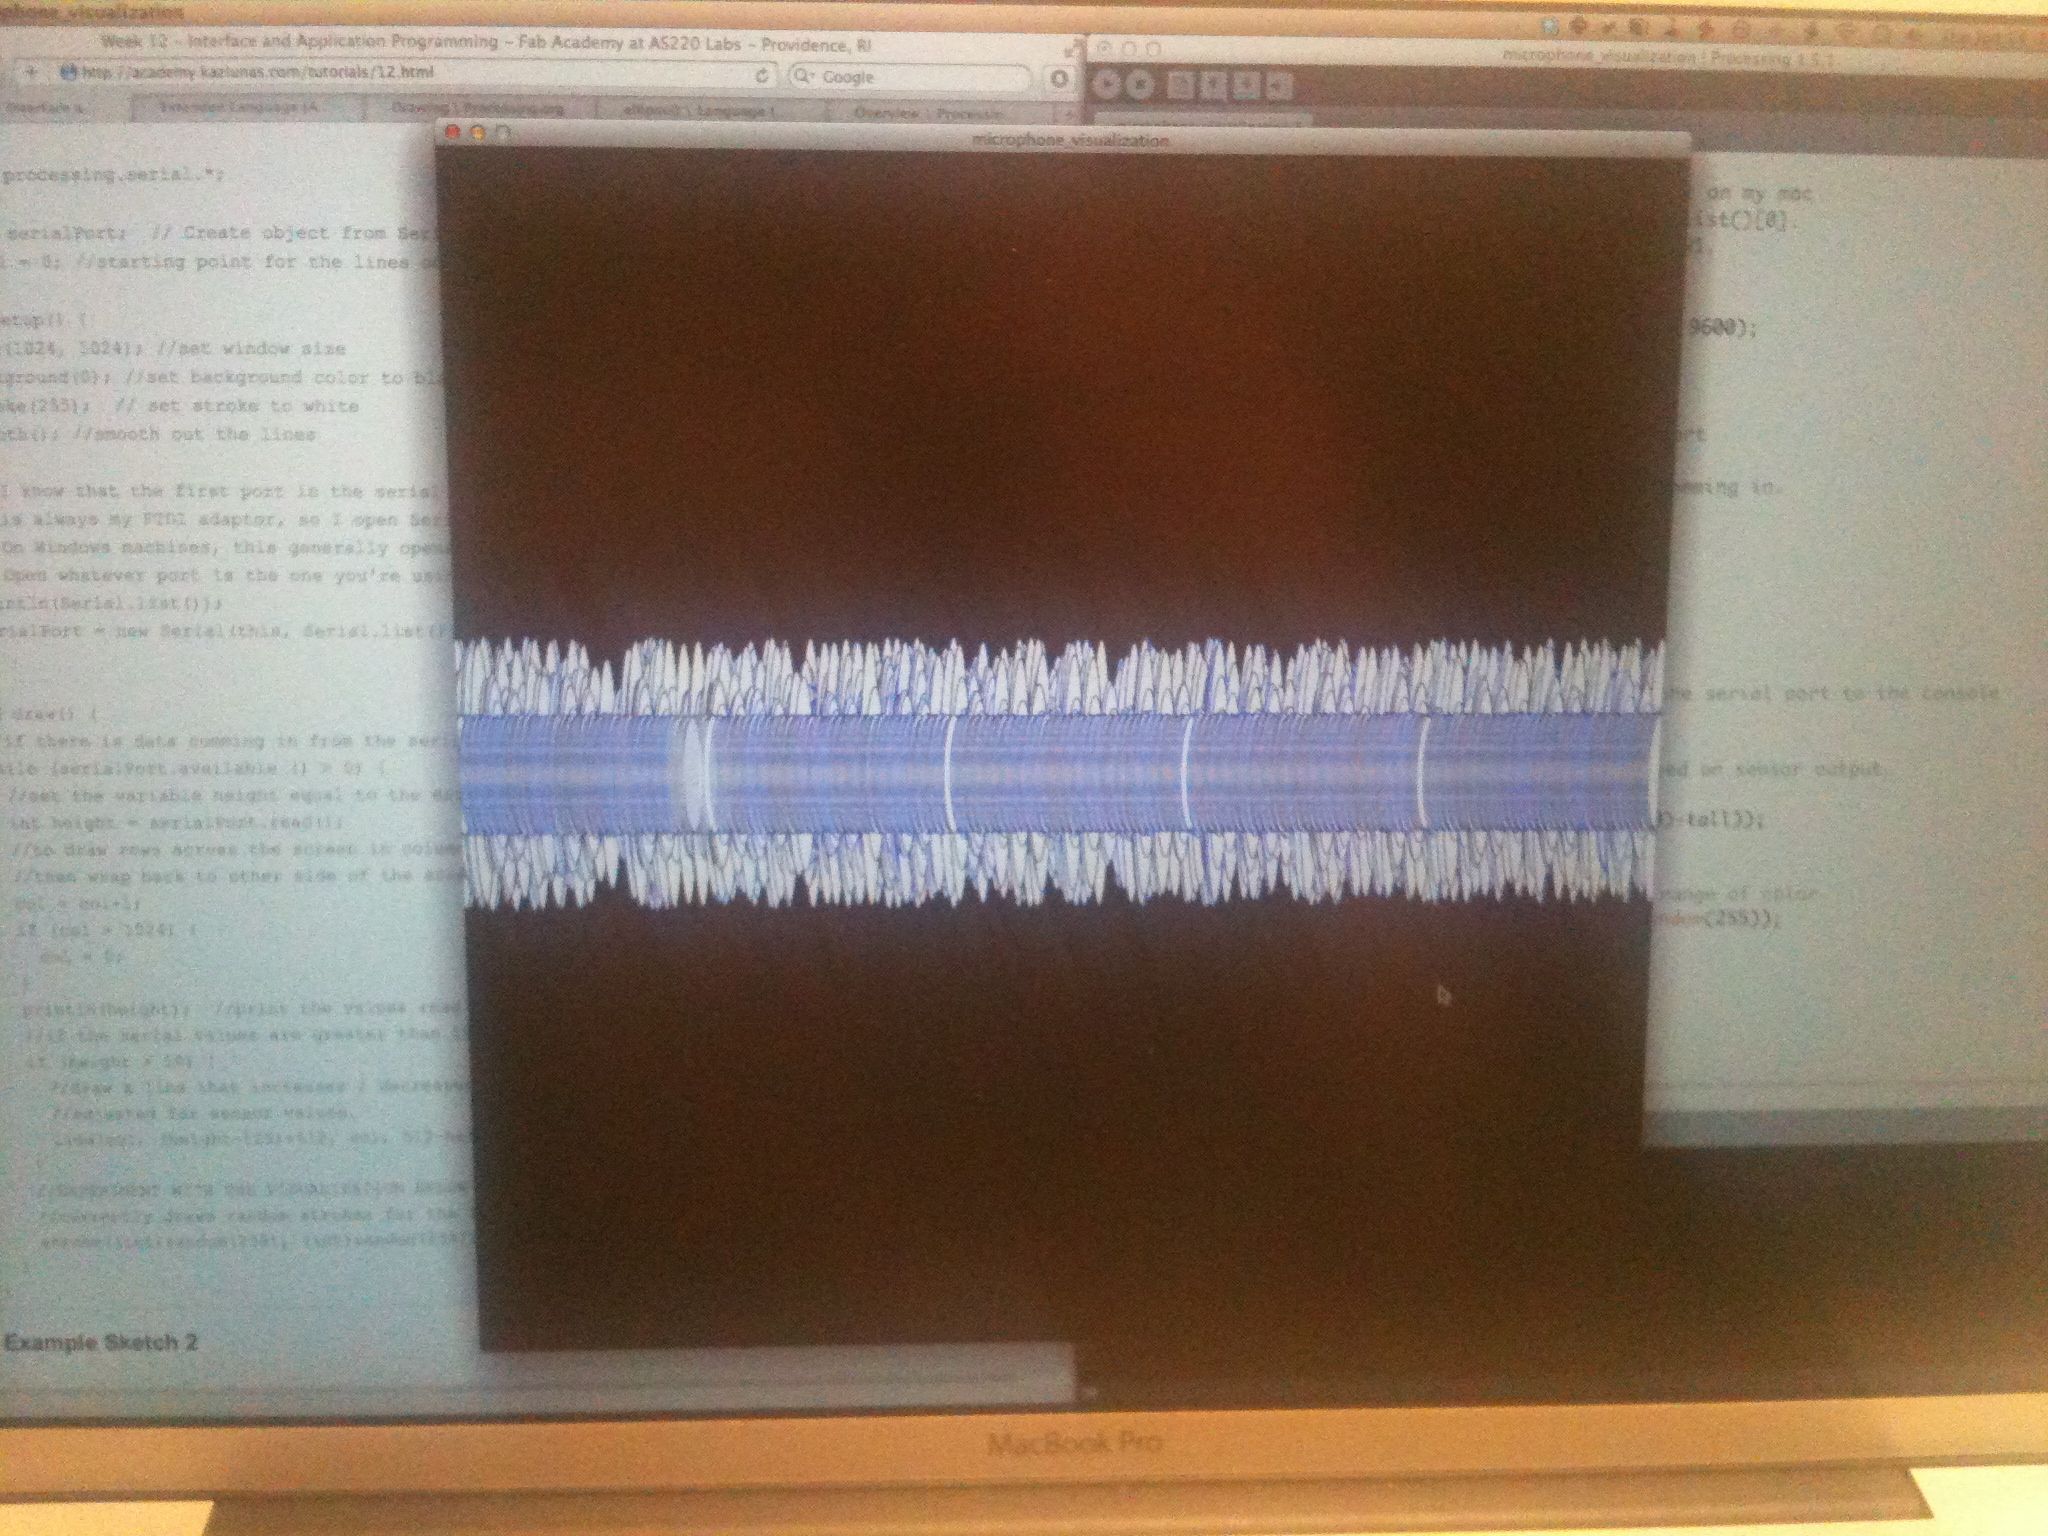
This is what the new visualization looks like:

ellipse wavelength visualization picture
I WILL INSERT A VIDEO LINK WHEN I FIGURE THAT OUT (maybe never)

Here is what the new code looks like:

/**
 * Serial Input to Randomly Colored Lines
 * 
 * Read data from the serial port and changes the color of a lines drawing across the screen
 * the height of the lines changes relative to the values recieved from the sensor.
 *
 * written by Shawn Wallace
	* updated / commented by Anna Kaziunas France
 */

import processing.serial.*;

Serial serialPort;  // Create object from Serial class
int col = 0; //starting point for the lines on the screen

void setup() {
  size(1024, 1024); //set window size
  background(0); //set background color to black
  stroke(255);  // set stroke to white 
  smooth(); //smooth out the lines

  // I know that the first port in the serial list on my mac
  // is always my FTDI adaptor, so I open Serial.list()[0].
  // On Windows machines, this generally opens COM1.
  // Open whatever port is the one you're using.
  println(Serial.list());
  serialPort = new Serial(this, Serial.list()[0], 9600);
}

void draw() {
  //if there is data comming in from the serial port
  while (serialPort.available () > 0) {
    //set the variable height equal to the data comming in.
    int tall = serialPort.read(); 
    //to draw rows across the screen in columns
    //then wrap back to other side of the screen 
    col = col+1;
    if (col > 1024) {
      col = 0;
    }
    println(tall);  //print the values read from the serial port to the console
    //if the serial values are greater than 10
    if (tall > 10) {
      //draw a line that increases / decreases based on sensor output.
      //adjusted for sensor values.
      ellipse(col, height/2, width/60, ((height/50)-tall));
    }
    //EXPERIMENT WITH THE VISUALIZATION BELOW
    //currently draws random strokes for the full range of color
    stroke((int)random(255), (int)random(255), (int)random(255-tall));
    fill((int)random(255), (int)random(255), (int)random(255), 60);
  }
}

void mousePressed() {
  background(0);
}

Oh yeah, I forgot to mention: Processing crashes every time I stop running this script. A OSX "problem report" window pops up every time. Here's what it says:

microphone_visualization quit unexpectedly while using the librxtxSerial.jnilib plugin. Click Reopen to opne the application again. This report will be sent to Apple automatically. And I'm not going to post the "Problem Details and System Configuration", because it's really long and I'm too scared to share that much information about my computer on the Internet.

I believe that takes care of my assignment for this week. That's it for now. I'd like to experiment some more with this, but I probably won't bother documenting it because the process is so annoying. It is, however, fun to play with code! Sometimes! ALT NAME OF IMAGE