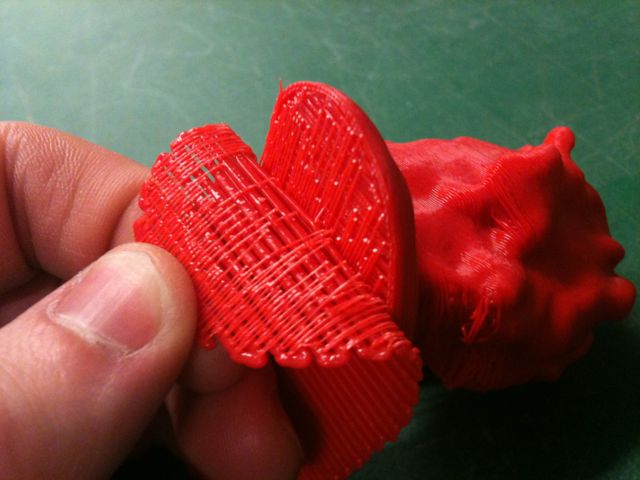
The big secret that I've learned so far for the MakerBot: set your layer density to .27 instead of .3. I have no idea what this means yet. All I know is that every single 3d print I've seen come out of the MakerBot since the start of this class has had wierd irregularities to it and otherwise looked like shit.
Yesterday Anna brought in a plastic bust of her husband which she had scanned using a hacked Xbox360 Kinect camera, and then printed on her own MakerBot at home. The print quality was pretty decent. It wasn't smooth or anything, it still had the ugly striations of all makerbot output, but there were no visible errors or random loose strings of plastic. I overheard another student ask her why hers looks good and she explained about the .27 setting. She went on to tell us that .27 takes much longer to print than .3, which is why the MakerBot at Fab Academy is set to .3 by default and why they recommend most people use the .3 setting.
So there you have it: you can set your Makerbot to .27 and have the 3d print actually work, or you can set your Makerbot to .3 and have it output worthless garbage, but hey - it's faster.
22 mar 2012 19:22
Anna brought in her Kinect and helped us generate 3d scans of our heads today. The way it worked is she would hold the kinect and run the software while I sat in a swiveling office chair and slowly rotated myself so that all sides could be read into the kinect scanner.
After the file is generated, it must be cleaned up in a number of ways. The 3d scan is imperfect and has "holes" in it at any spot where one thing overlaps (and thus visually obscures) another. For example my chin obstructs the view of part of my neck and so the kinect cannot "see" that area and so the 3d model has a hole there. Because my hair is kind of wavy and all over the place, the scan also didn't capture all of my head and so there were some holes in the model there as well.
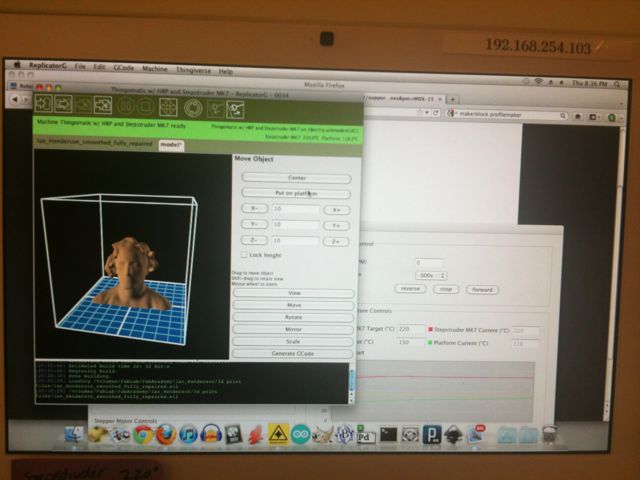
Here's the model:
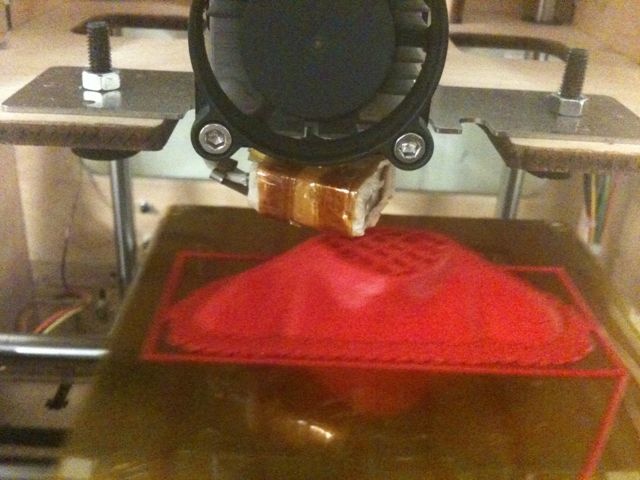
Here's the 3d Printer (Makerbot) in action:
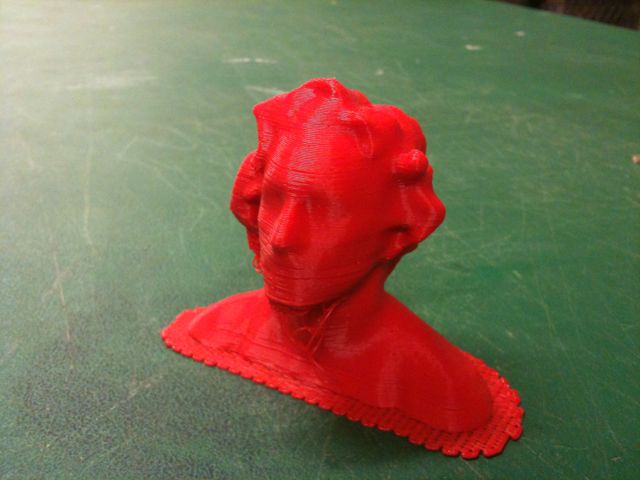
The finished model:
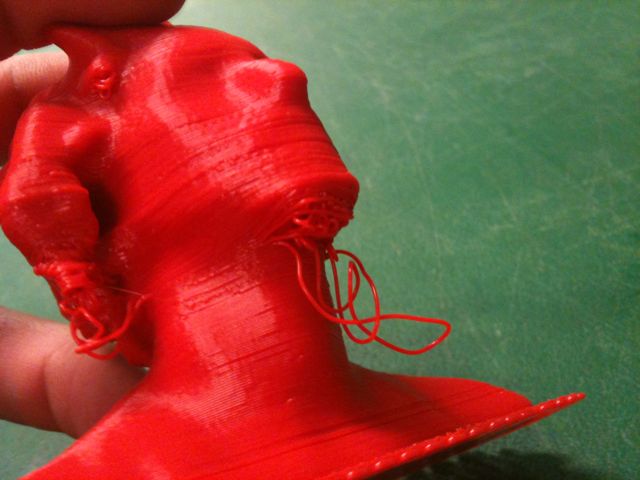
Flaws inherent in the printing process:
This is the "raft" which you have to pull off the bottom of the print when it's done:
