The process
Group assignment — clay 3D printer
This week was about designing a machine. We had two weeks to complete it, and the main challenge remained being a remote student joining the team in Saudi Arabia from Kuwait. We split the work between us: I built the mechanical 3D-printing base and bed — which moves up / down via worm gears and rotates 360° — while my colleagues at the VujaDé Lab worked on the X / Y mechanics and the end-effector for the clay-printer head.
Full team write-up is here: Open the team's Group Assignment on Notion ↗
My contribution — printer bed: Z-axis + rotation
After consulting the FabLab instructors at Global Hours, I chose to contribute by adapting one of my previous projects — the multi-gear / worm-gear assembly shared on Week 02. The mechanism converts a single central motor into synchronised Z-axis motion on four corner pillars (so the bed stays level as it rises) plus a separate rotation drive (so the bed can spin 360° clockwise and counter-clockwise).
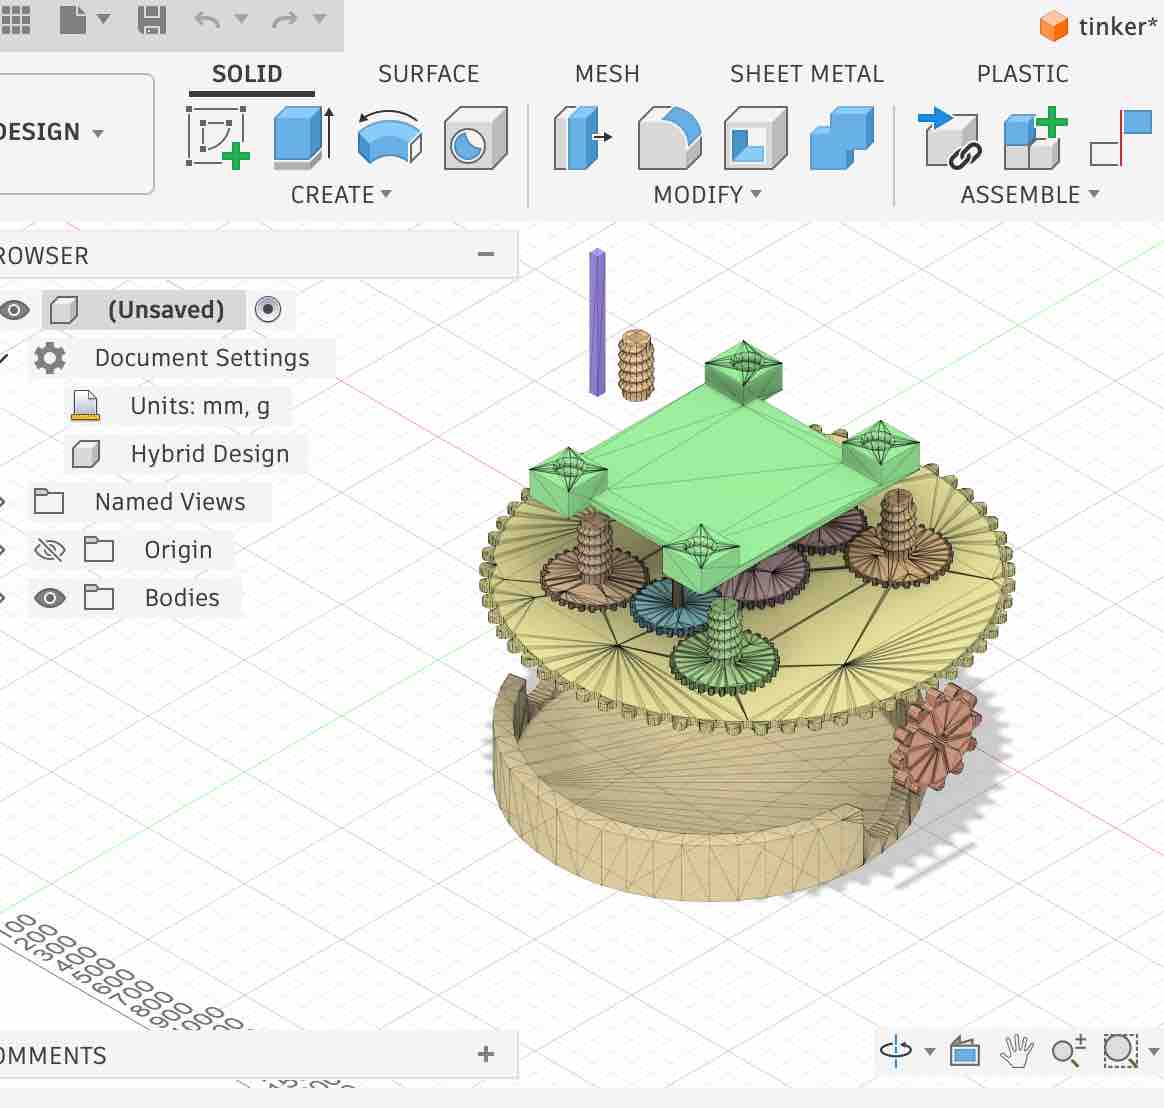
01 | This is the prototype I designed shared on Week 02 — Computer-Aided Design (original file: Gears.zip) with multiple gears and worm gears. I'm reusing it here as the basis for the printer-bed drive.
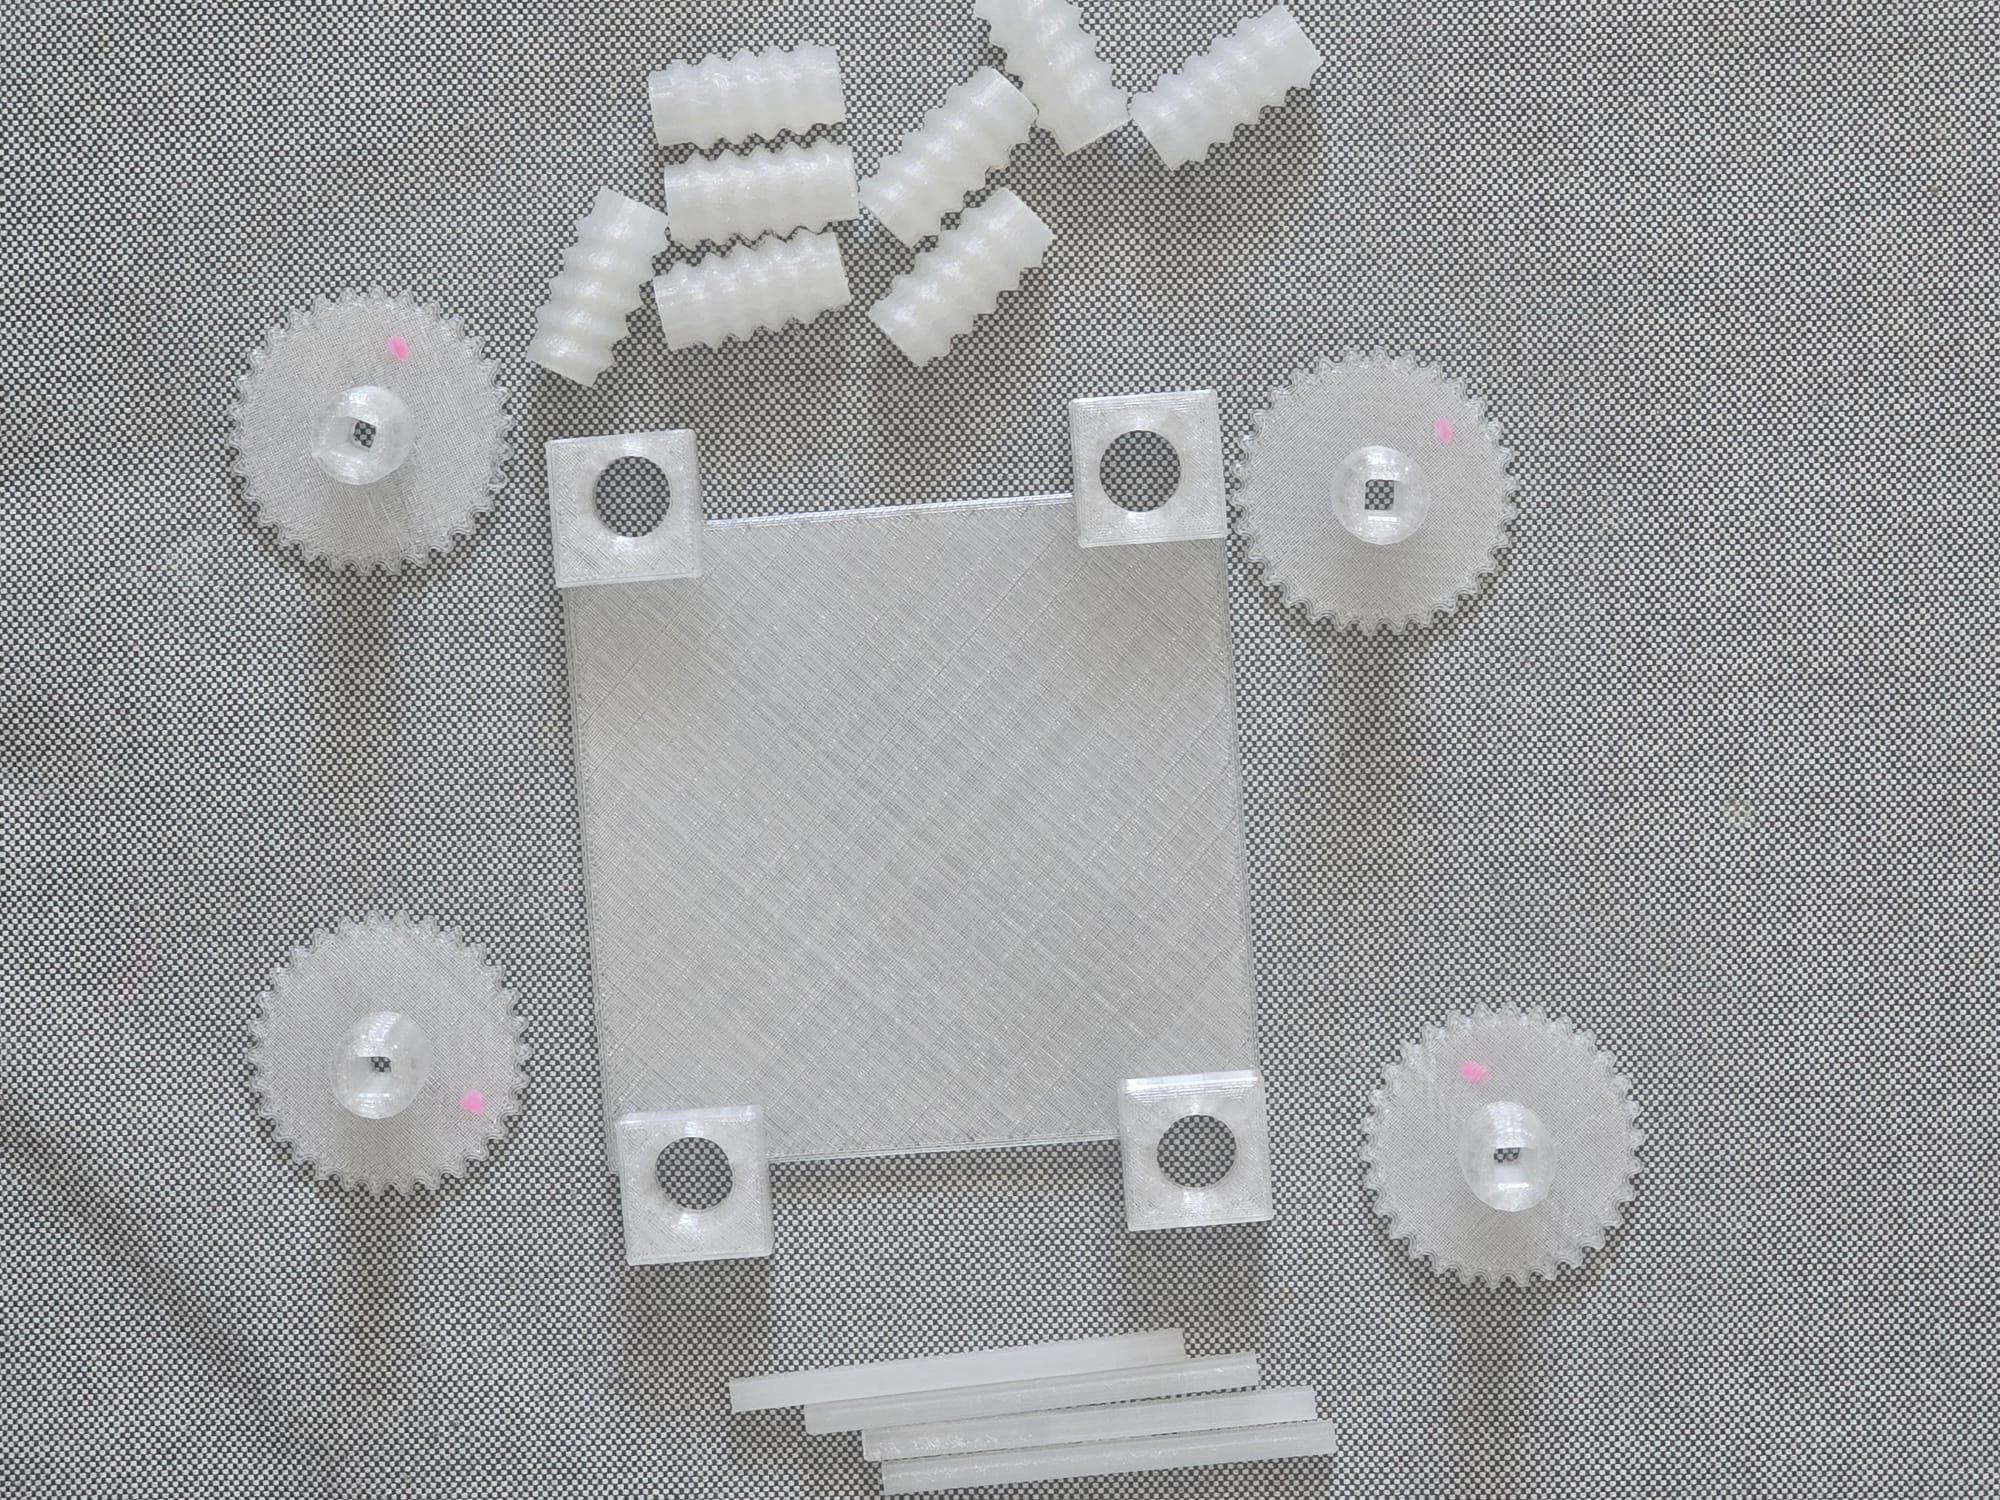
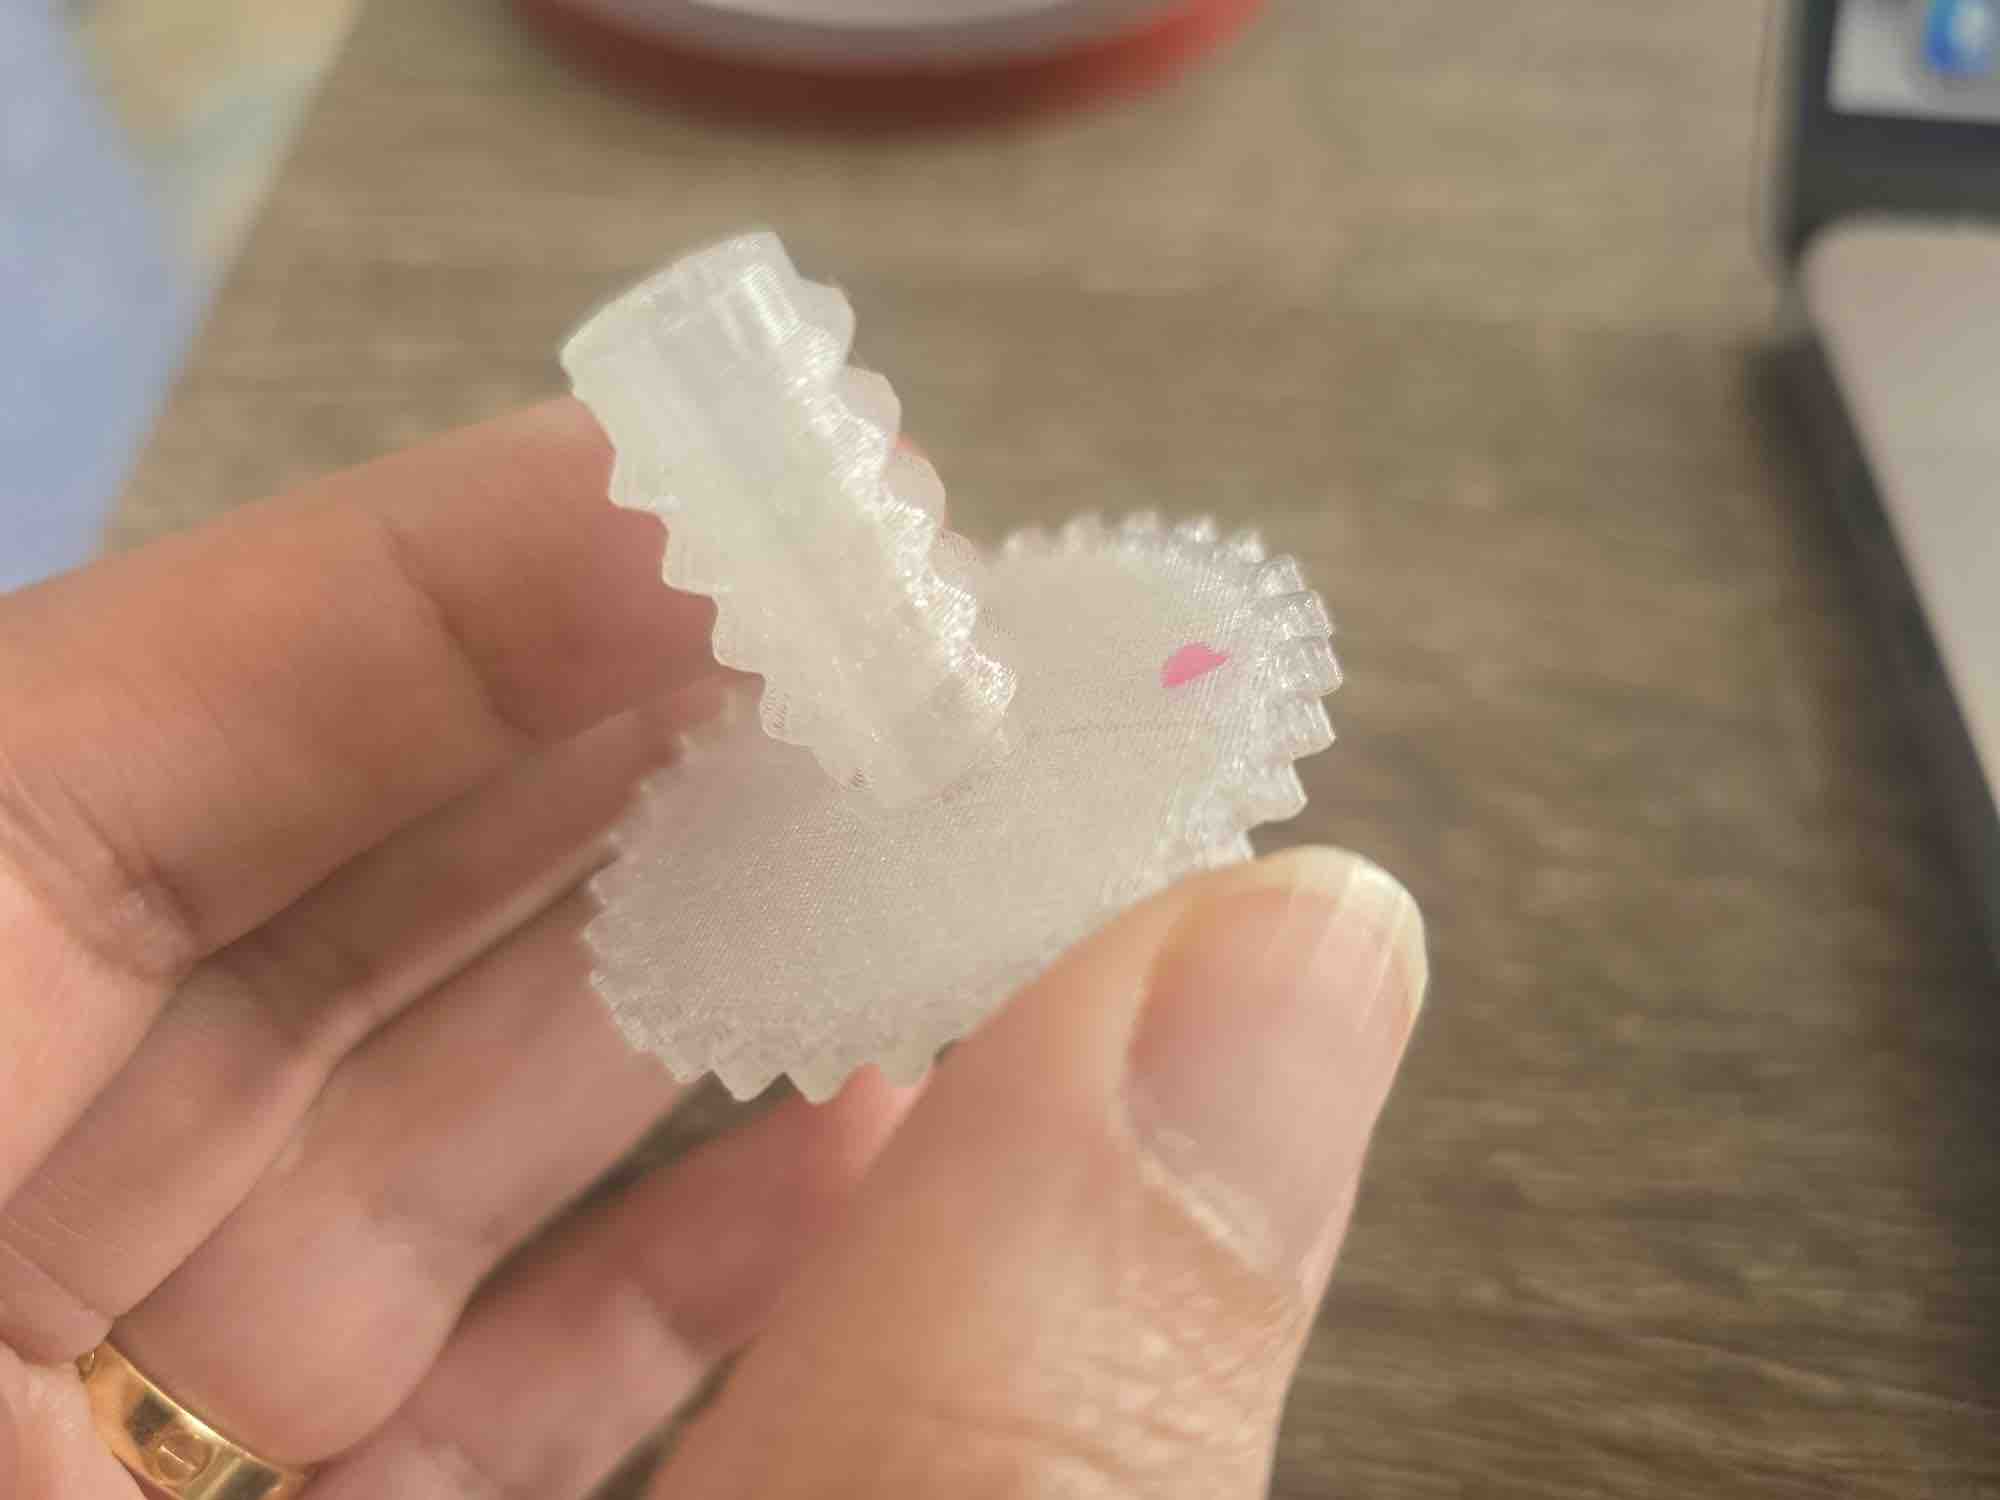
02 | These are the printer's worm gears, the four stabilising pillars, and the bed plate that will hold the print. The main reason for using worm gears is more precise vertical movement — although they could be even more precise with a tighter tooth pitch, the current pitch is enough for clay-print layer heights.
03 | In the design phase, I attached one of the worm gears to the gear responsible for that pillar's movement, then duplicated the same assembly for all four pillars to guarantee identical motion — so the bed rises and lowers without tilting.
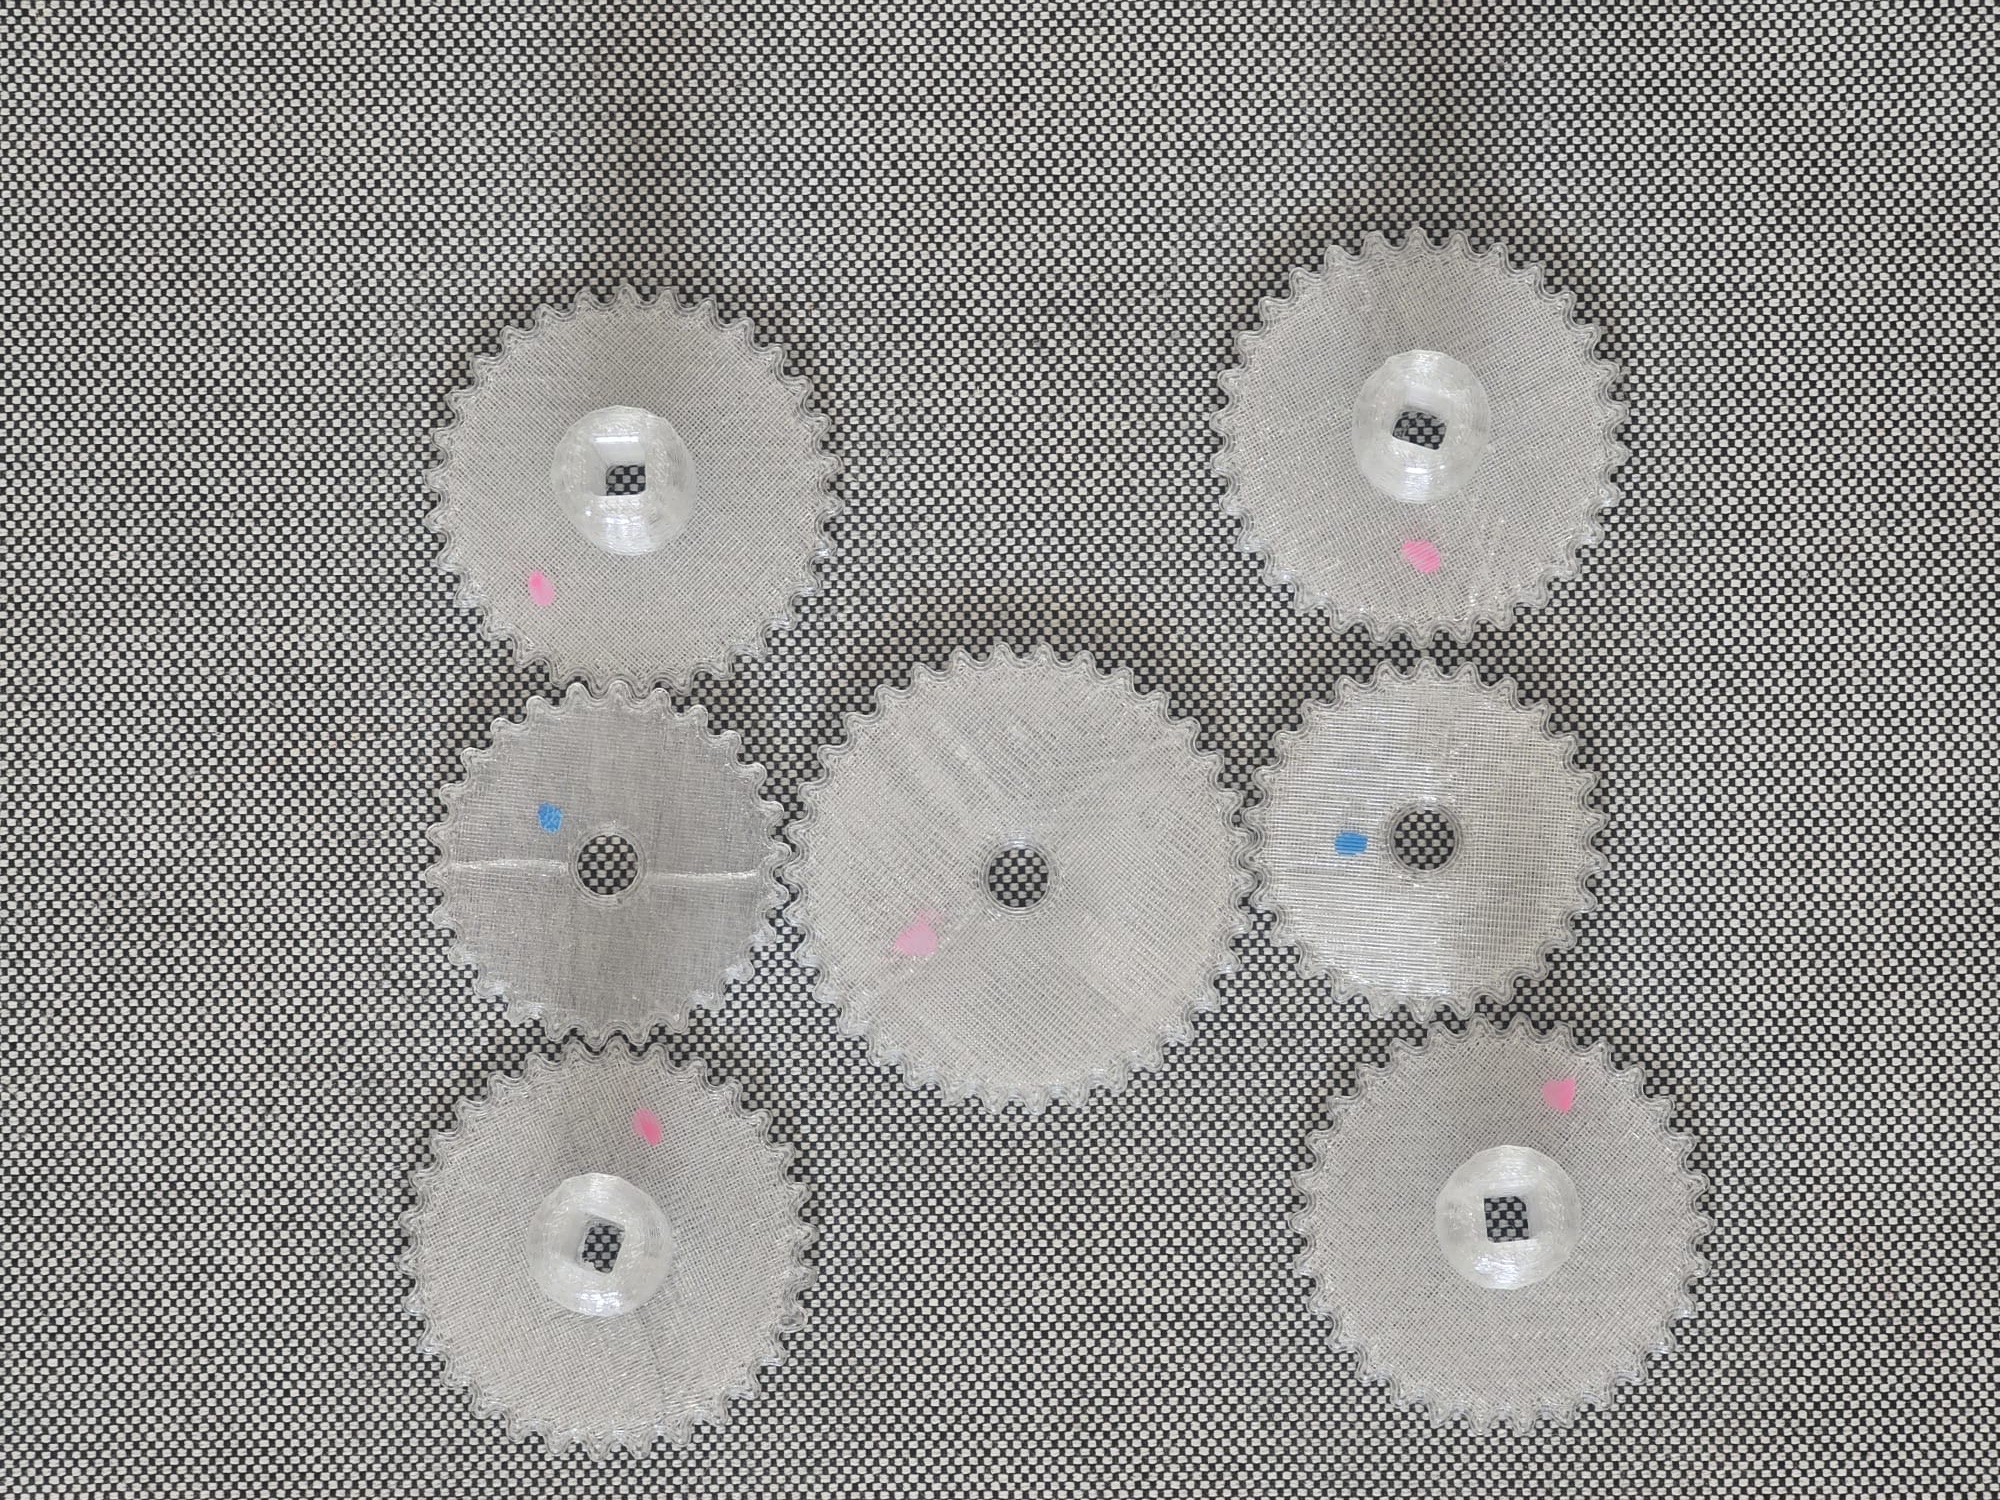
04 | These are the main gears that turn the four pillar worm gears, raising and lowering the print bed together. I've marked the ones that rotate in the same direction in matching colours (pink, blue). The gear sizes are chosen so all four pillars turn in the same direction and at the same speed. The blue gears mainly act as idlers — they fill the spatial gap between the central motor-driven gear in the middle and the four outer pillar gears.
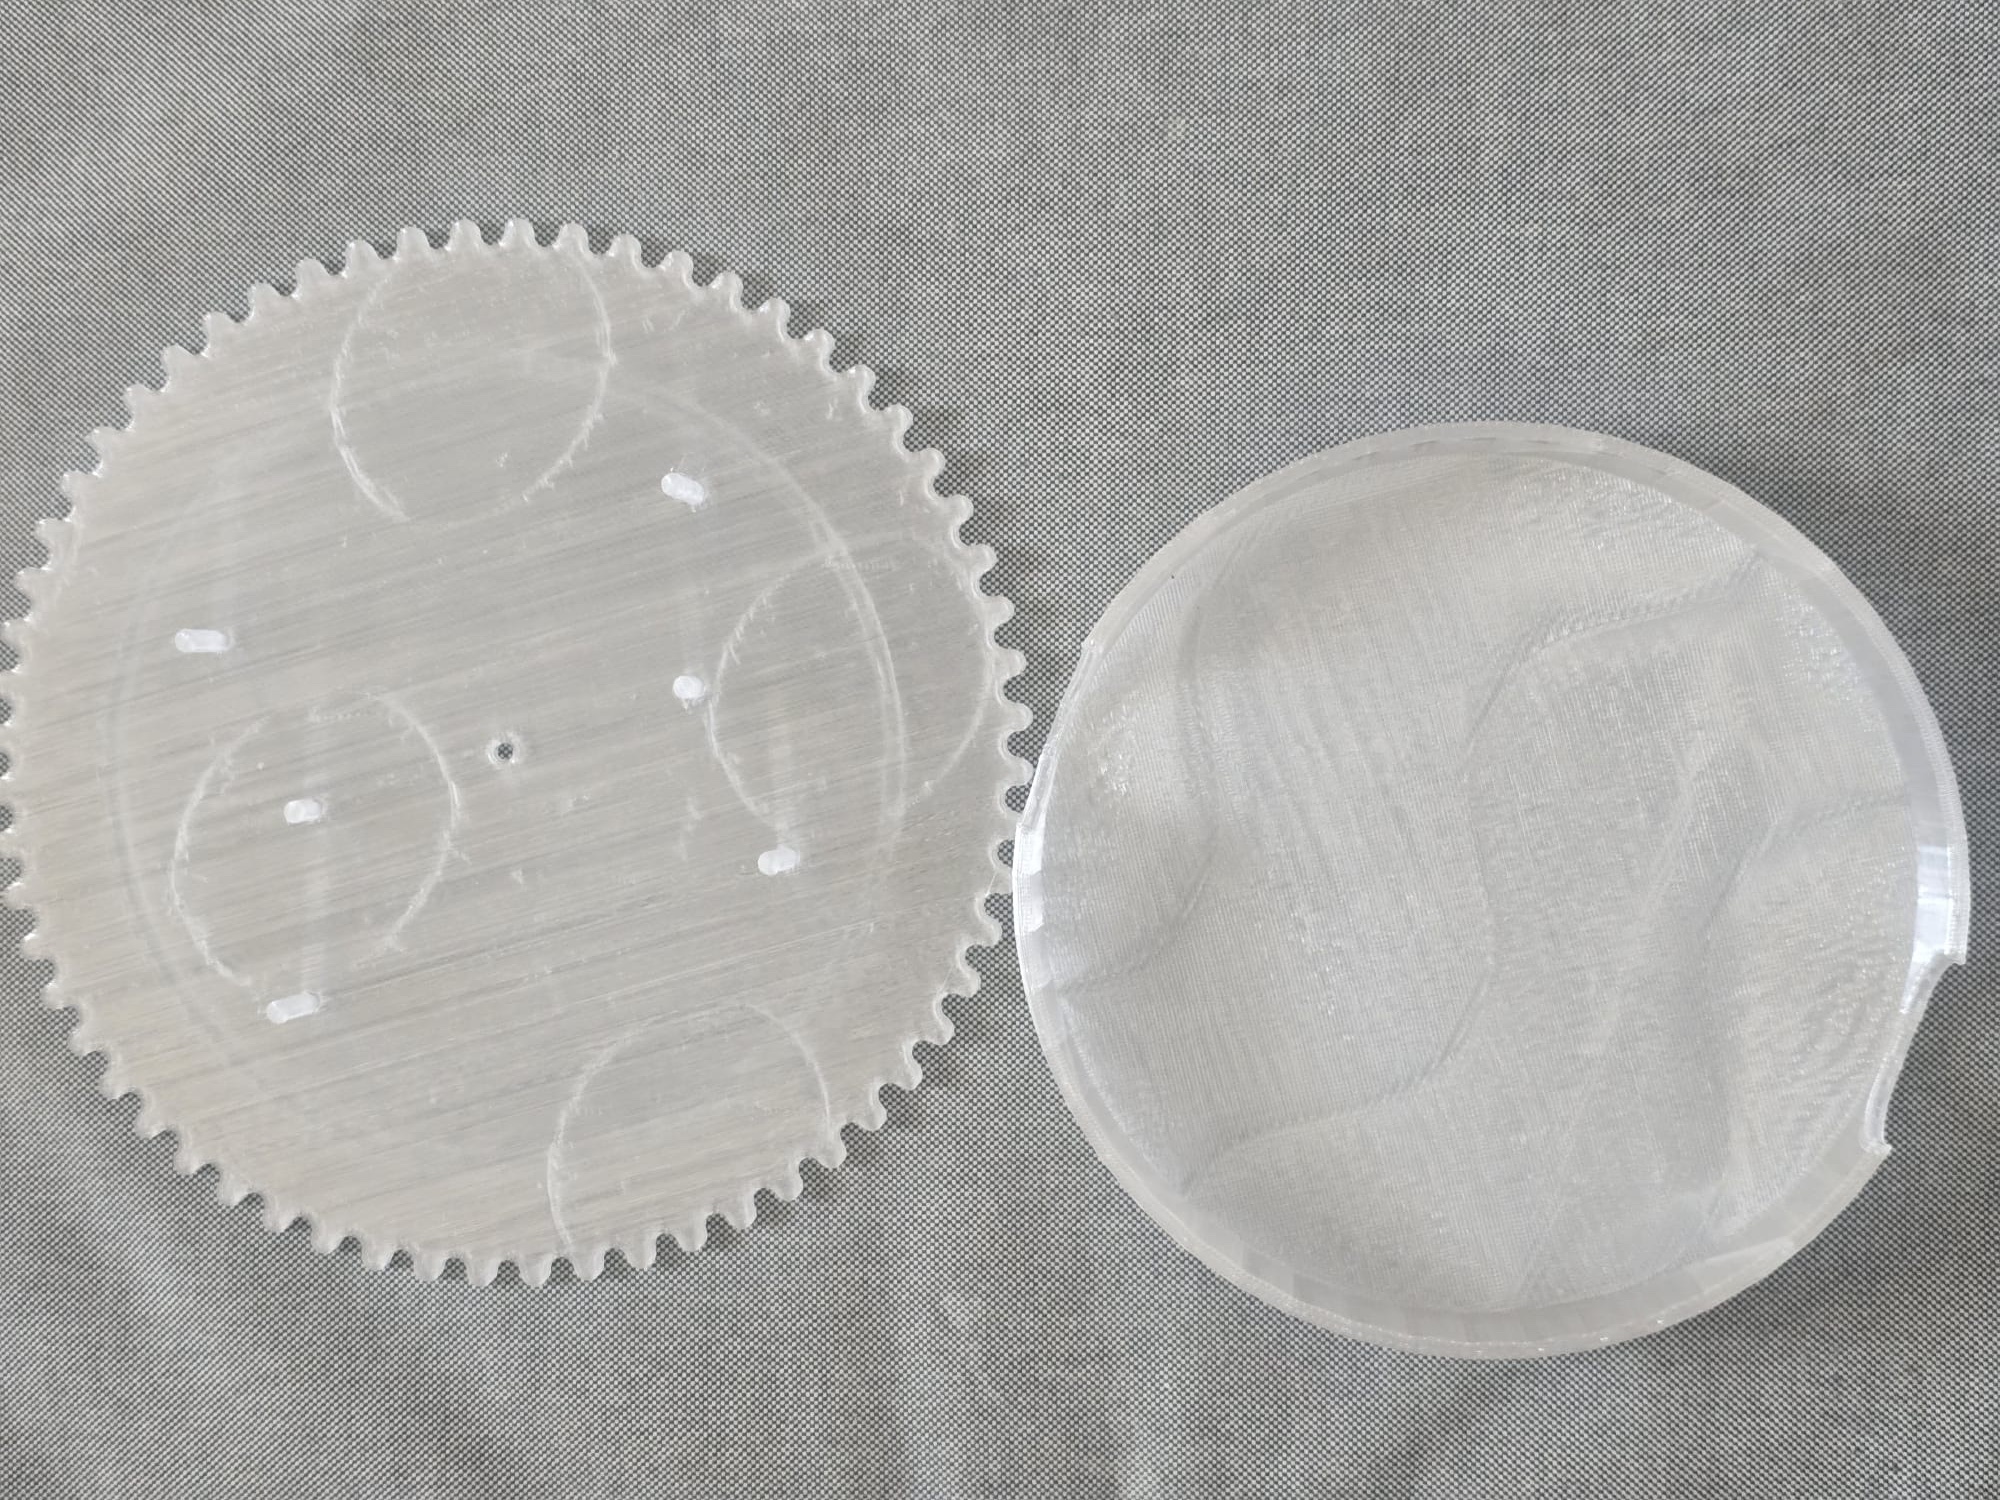
05 | This is the base plate that holds the motor and the wires inside, plus the main gears that drive the bed up and down. The bed also has a ring gear on its side that connects to a second motor for 360° rotation — both clockwise and counter-clockwise.
- Feedback: It wasn't an easy week, but contributing a real mechanical sub-assembly — Z-axis drive + rotation — to a clay 3D printer that I couldn't physically touch. I learned a lot from how my VujaDé Lab colleagues handled the X / Y mechanics and the end-effector side.
- Challenge: Being a virtual student to the lab is not easy — even when I joined online, the hands-on learning experience isn't the same as being on the bench. I'm looking forward to setting up my own lab in Kuwait so future remote weeks aren't this constrained.Musaed was not able to help with his part getting the motors on and programing them.