Assignment 1:- Principles and Practices
Idea project 1 :-Problem Statement
Shewanti (Chrysanthemum) need the right light, nutrients, pH, Oxygen, and temperature to grow and flower properly. this project is about making an automated indoor system that gives these condition so the plant can grow healthy in any season.
Abstract
Shewanti (Chrysanthemum) is seasonal outdoor plant, short day flowring plant, thats blooms only when its recevives the correct amount of light and proper growing condition. its needs careful control of pH, nutrients, oxygen, temperature, and light during to grow well and produce healthy flowers. In traditional farming, these conditions are difficult to maintain all the time, which affects flower quality and limits production to certain seasons. This project focuses on developing an automated indoor system that continuously monitors and controls these factors. By using sensors and automation, the system creates a stable growing environment. This helps achieve healthy plant growth and reliable flower production throughout the year.
Objective
To maintain the correct nutrient concentration for Shewanti plants.
To prevent nutrient deficiency or excess in the hydroponic solution.
To automate nutrient dosing using sensors and pumps.
To support steady growth and better flowering quality.
To reduce manual checking and improve system reliability.
Idea project 2 :-Problem Statement
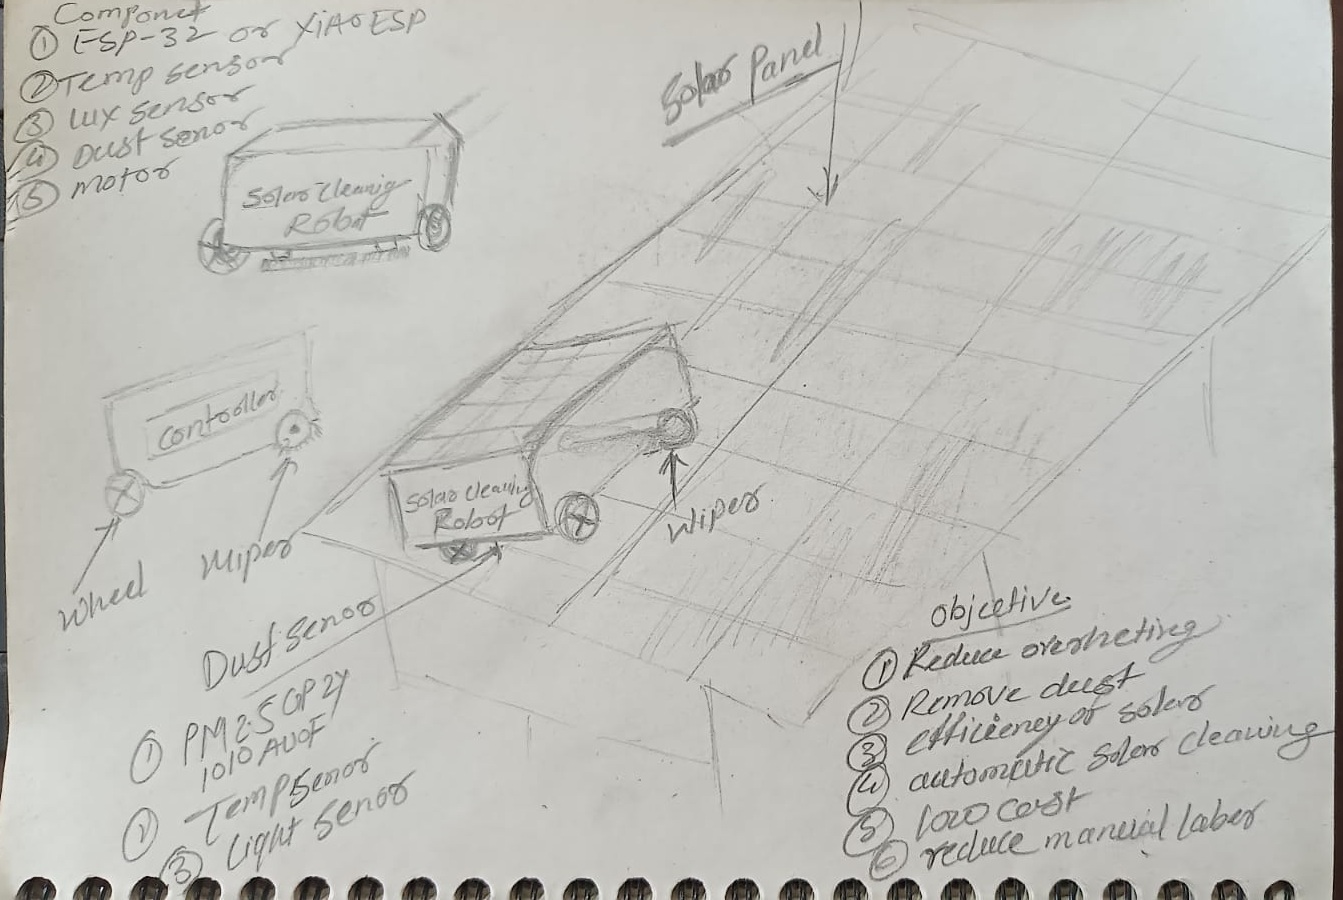
Solar panels generate clean electricity, but dust and heat reduce their efficiency and output. An automatic, low-cost cleaning system is needed to remove dirt and keep panels working efficiently and safely.
Abstract
Solar panels are used to produce clean electricity, but their performance decreases when dust and dirt collect on the surface. Dust blocks sunlight and makes the panel hot, which reduces electricity production and can affect the life of the panel. In many rural and industrial areas, cleaning solar panels by hand is difficult, takes time, and may be unsafe. So, there is a need for a low-cost automatic solar cleaning machine that can remove dust and keep the panel working efficiently.
Objective
To design and make an automatic solar panel cleaning machine.
To clean dust and dirt from the panel surface regularly.
To help reduce panel overheating by keeping it clean.
To increase the efficiency and electricity output of solar panels.
To reduce manual work and maintenance cost.
To develop a low-cost, energy-saving, and easy-to-use system.
Final project skech
Project Mangement.
This was my first session of Fab Academy, conducted by Neil Gershenfeld, where he explained the overall overview of the Fab Academy course. He explained how we will learn step by step during the course and showed final projects from previous Fab Academy students. The best part of this session was understanding the importance of documentation. We were guided to document every small detail of our work, including what we learned, what worked well, and where we faced difficulties. This session helped me understand that proper documentation is as important as making the project itself.
Web development
For documentation, the first step was to build my website. Through this, I learned the basics of web development, including HTML structure, CSS styling, and how to organize content clearly for Fab Academy documentation. In this assignment, I started learning basic HTML using W3Schools as a learning resource. I practiced different HTML elements such as headings, paragraphs, lists, and links directly on the W3Schools online editor. This helped me understand how HTML structure works and how to build simple web pages for documentation.
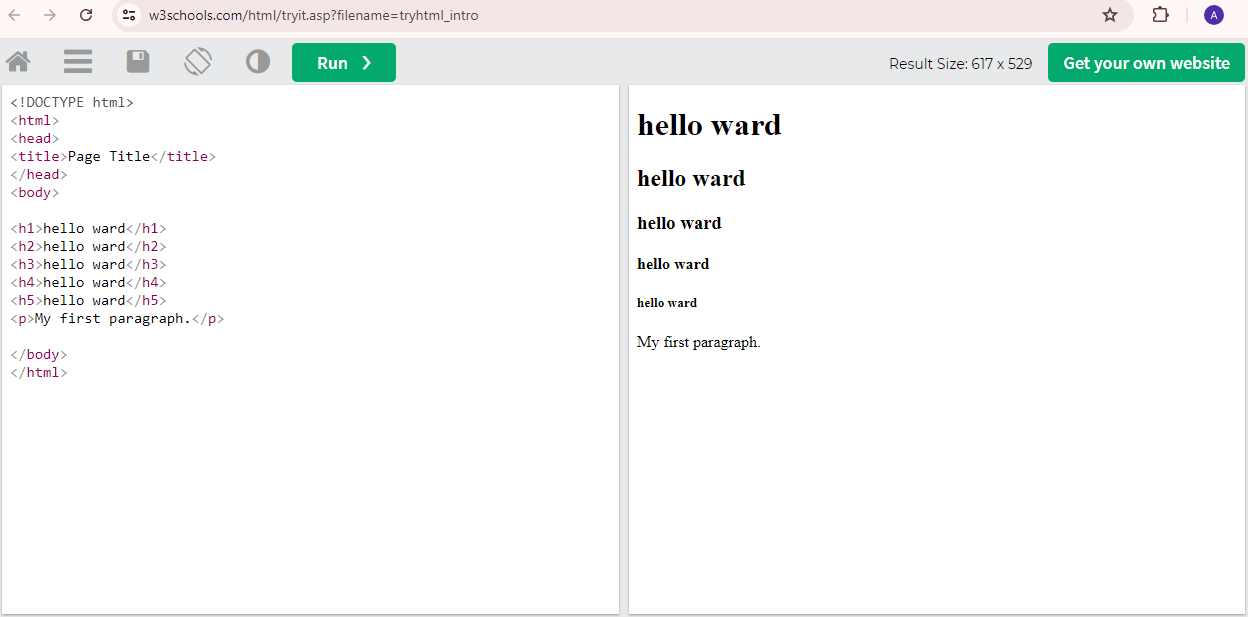
In this image, the basic structure of HTML is shown. I learned about some common HTML tags and tried using them in my practice code.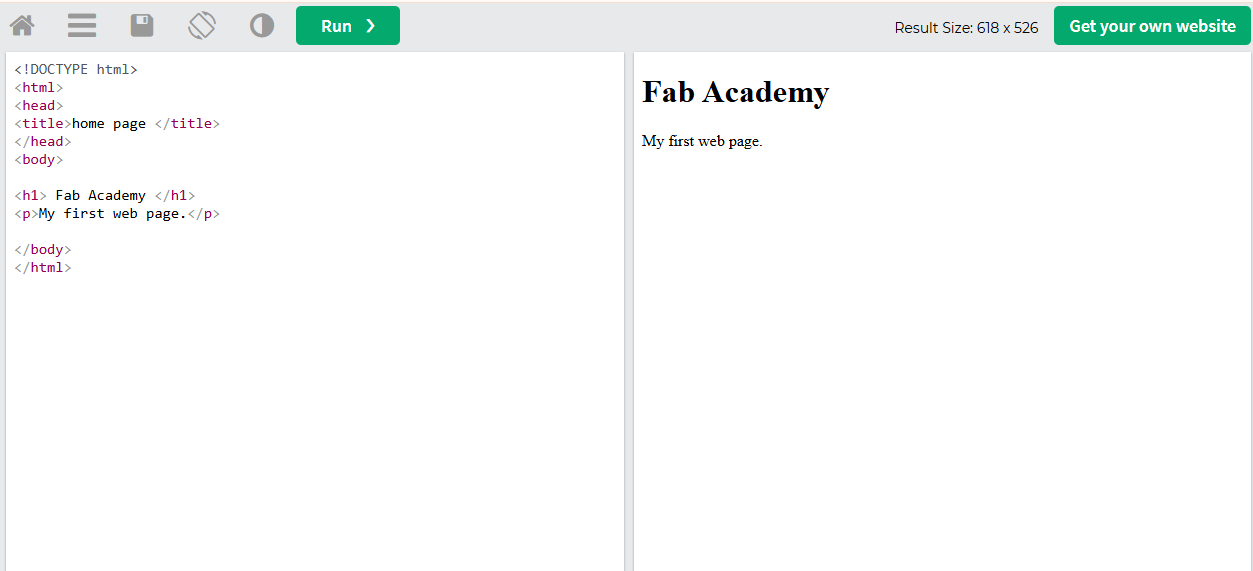
In this, I used h1 to h5 heading tags to change the size of the text and used the p tag to write paragraphs.
In the next image, it shows how to create a link using words by using this tag.

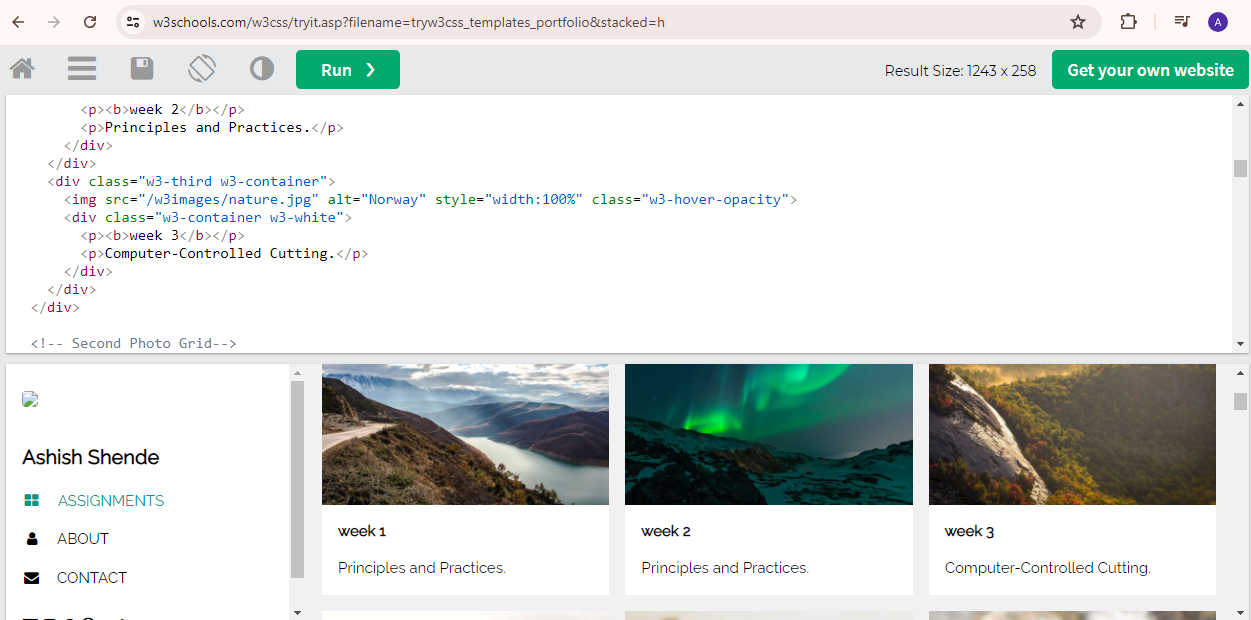
W3Schools provides some templates for practicing HTML. I tried using these templates, and the result helped me understand
how the HTML structure works and how the output is displayed in the browser.As you can see,
I changed some words in the template and added my details such as my name, about section, assignments, and final project pages.
After that, I updated all the section names according to the respective assignment titles to keep the documentation organized.
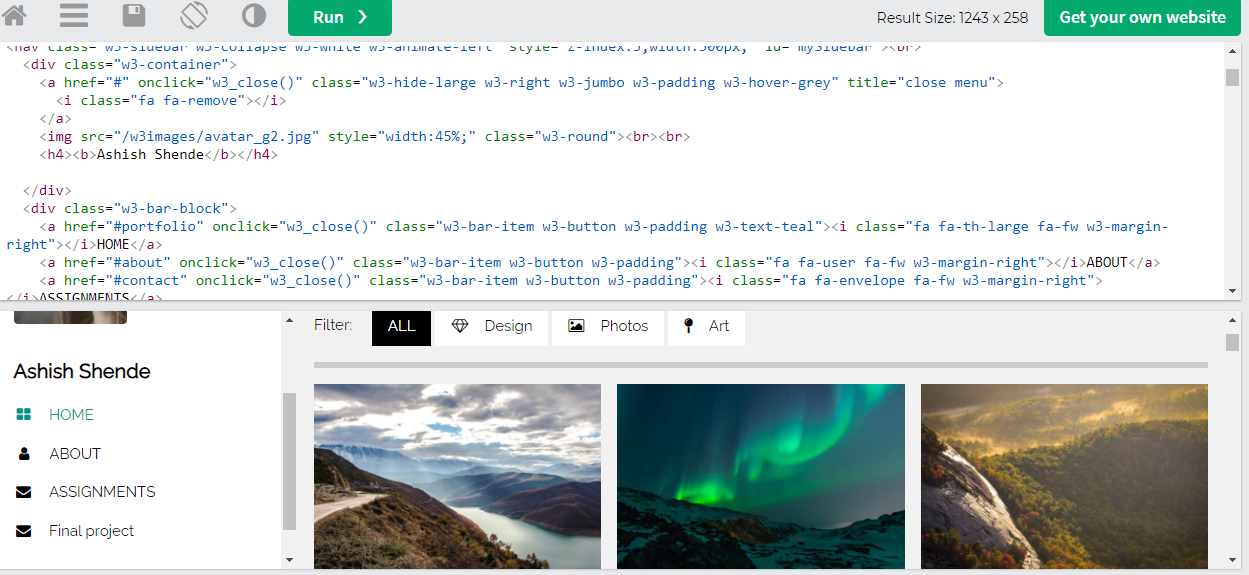
After practicing HTML and CSS, I searched for some HTML–CSS templates.
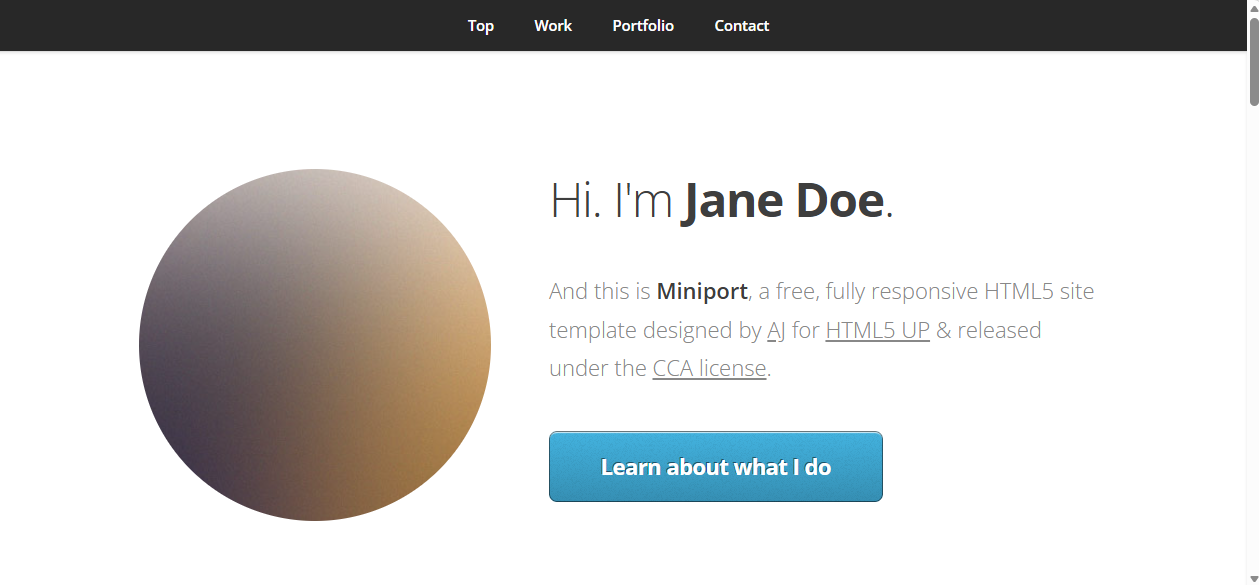
I found the website HTML5 UP and selected the Miniport template.
I downloaded this template and used it as the base for my Fab Academy documentation website.
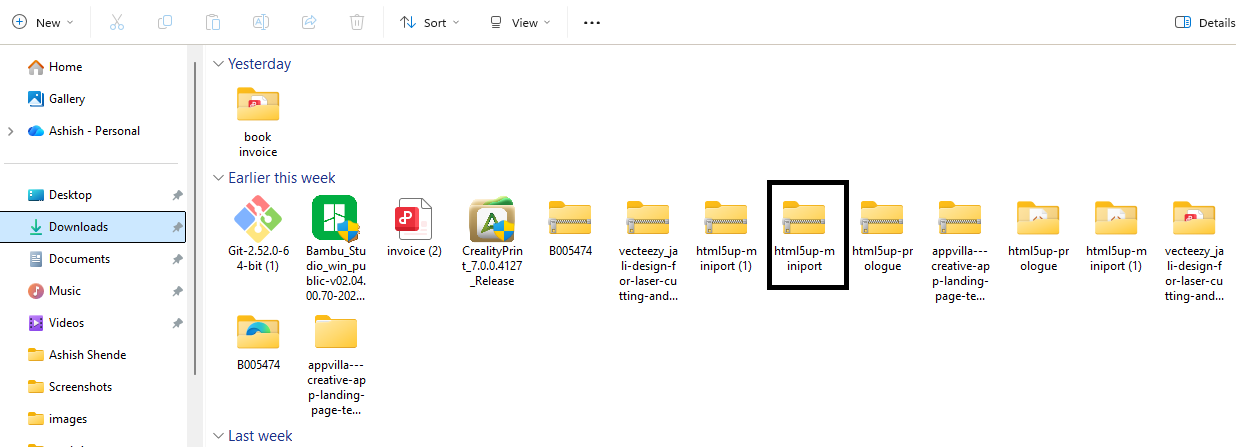
After downloading the template, I right-clicked using the mouse and extracted all the files. I then created a folder with the appropriate name,
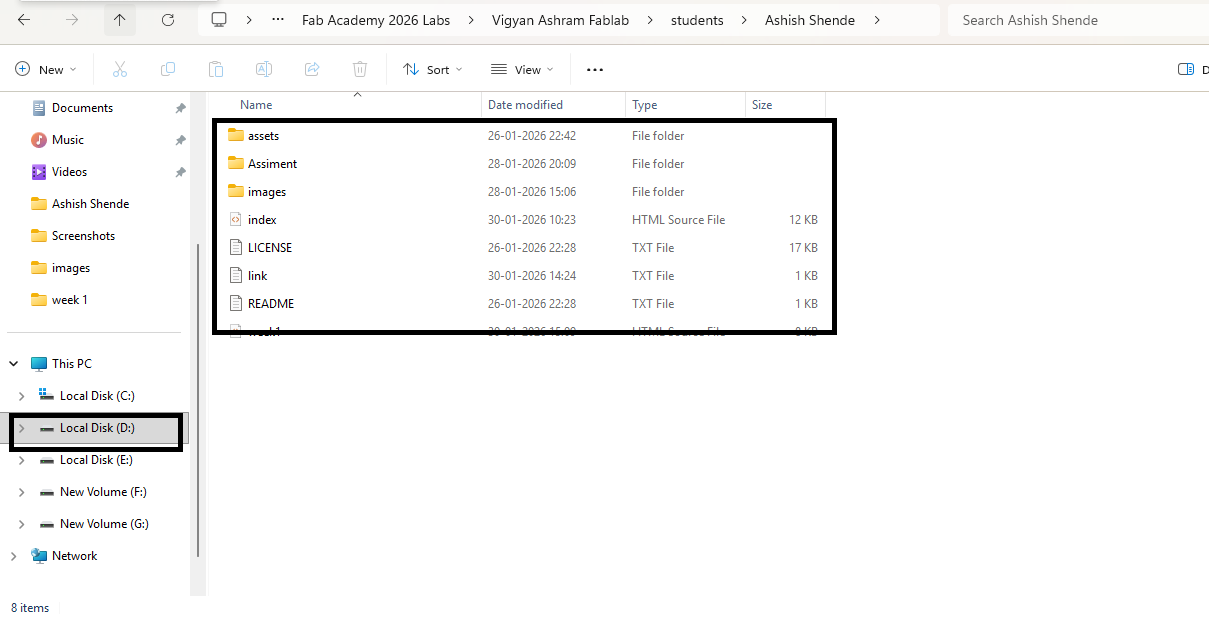
changed the folder name as required, and saved it on my system drive.I saved all the project files in my D drive on my system.
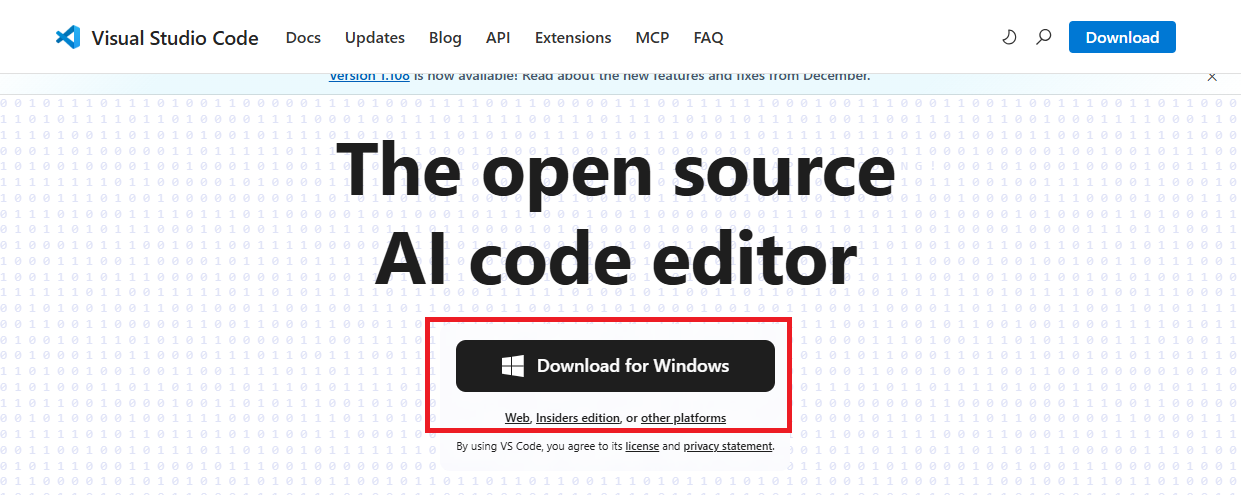
Installing VS Studio
To edit the files, we need a code editor. I used Visual Studio Code for editing my project files. I downloaded Visual Studio Code from the official website. Here is the link:
https://code.visualstudio.com I am using a Windows system, so I downloaded the Windows version of Visual Studio Code.
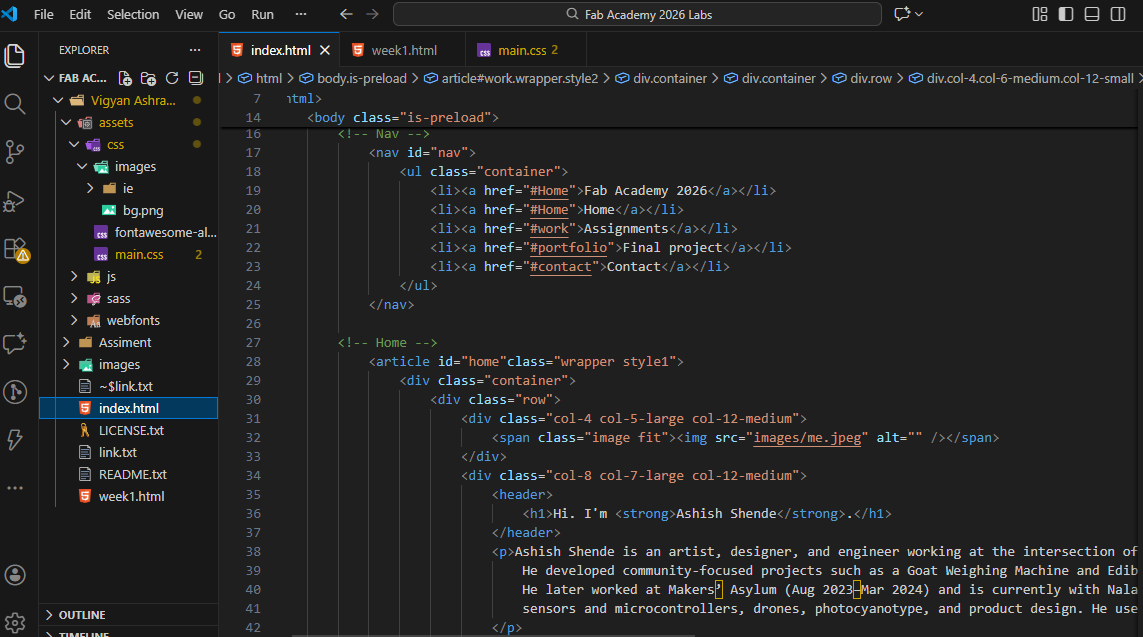
After installing Visual Studio Code, I went to the File menu and selected Open Folder. The folder opened on the left side in Visual Studio Code, showing all the project files.
I right-clicked in Visual Studio Code and selected the Open with Live Server option. This allowed me to view my code in the web browser and see how the webpage looks in real time.
Next, I started changing the code according to my website requirements, such as updating my name, about section, assignments, and final project pages. First,
I changed my profile photo. After that, I reviewed the entire code and removed the parts that were not useful for my website by deleting them from the source code.
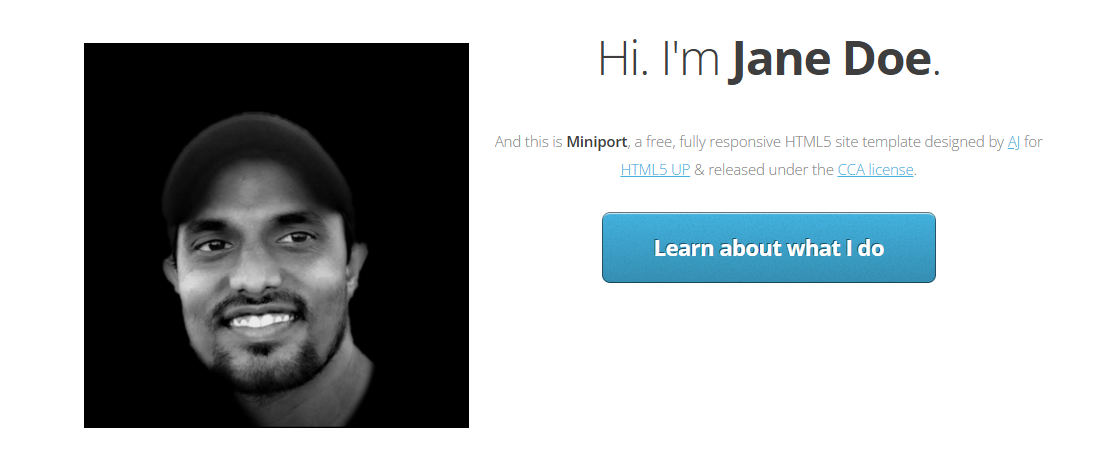
In the next step, I added my introduction and updated the navigation bar according to my website sections in code.
After making all the changes, the website was successfully updated with my introduction, modified navigation bar, and customized content.
The webpage displayed correctly in the browser using Live Server, and the layout matched my documentation requirements.
In the next step, I created buttons for all the assignments using images so that each assignment page can be accessed easily.
The webpage displayed correctly in the browser using Live Server
When inserting names and images, some images were not aligned properly. To fix this,
I changed the image dimensions and set the same pixel size for all images using Paint, so they aligned correctly.

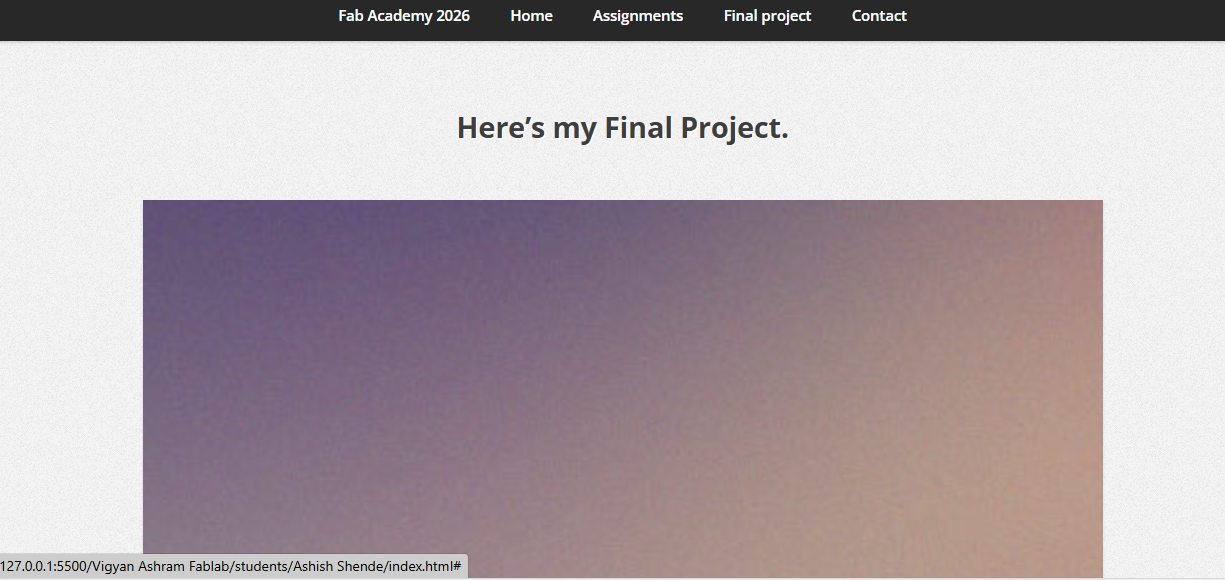
After creating the assignment buttons, I added the final project image and created a button to access the final project page.
preview
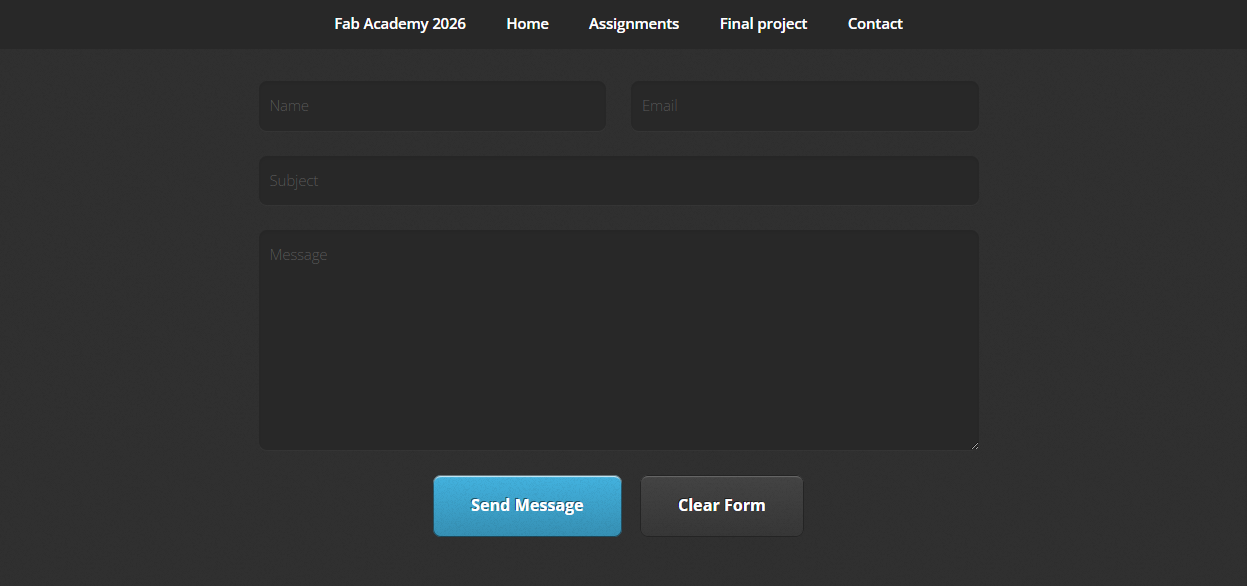
In the last step, I created a contact page for the website.
Finally, I checked the website using Live Server to verify that all pages and links were working correctly.
GIT installation
After completing my website, I wanted to publish it online. For publishing, a cloud platform is required.
Fab Academy provides a GitLab repository for hosting and managing the website source files.
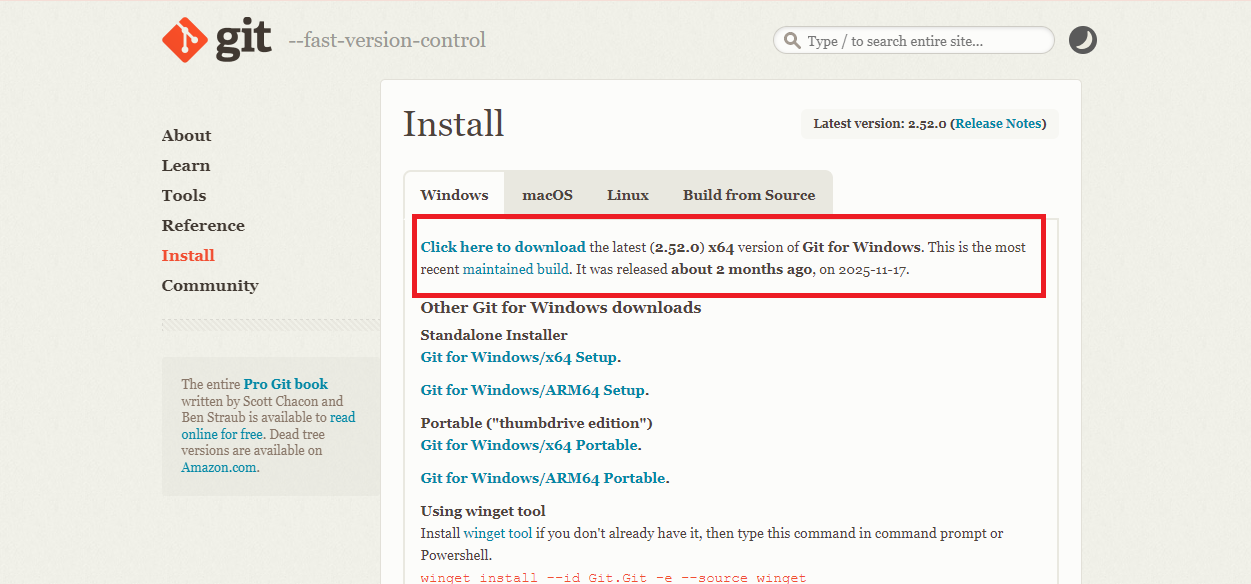
Then, I went to the Git website to check the installation process for Git. To download Git, I visited the official Git website. Here is the link:
https://git-scm.com
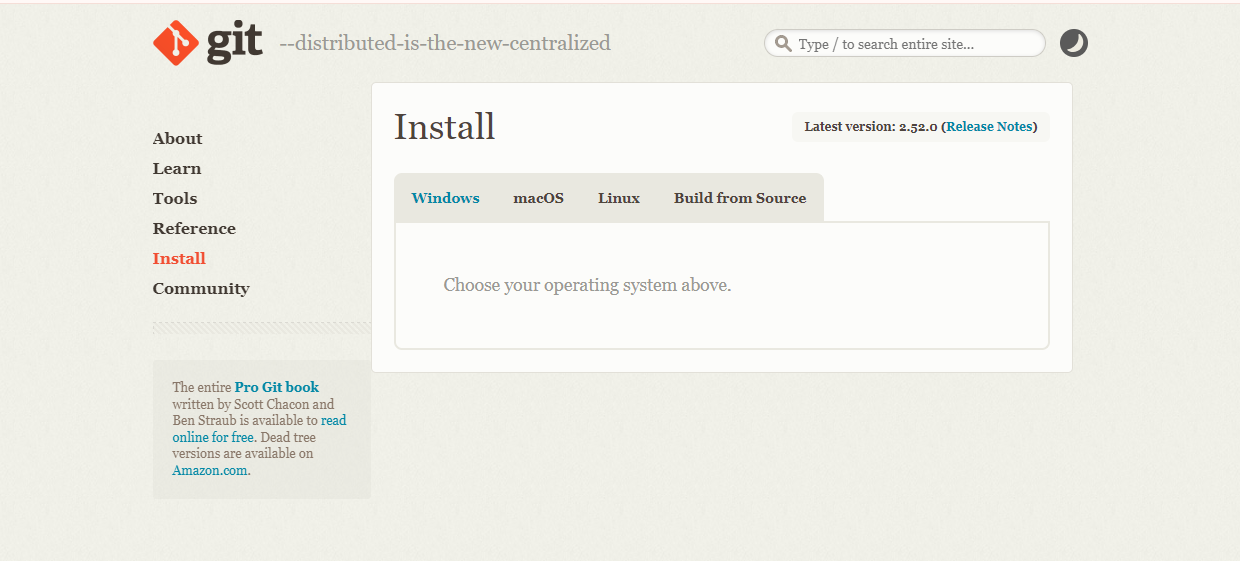
According to the available options, I selected the version suitable for my system. Since I am using Windows, I downloaded the Windows version of Git.
After downloading the file, I checked it on my system and start the installation process.
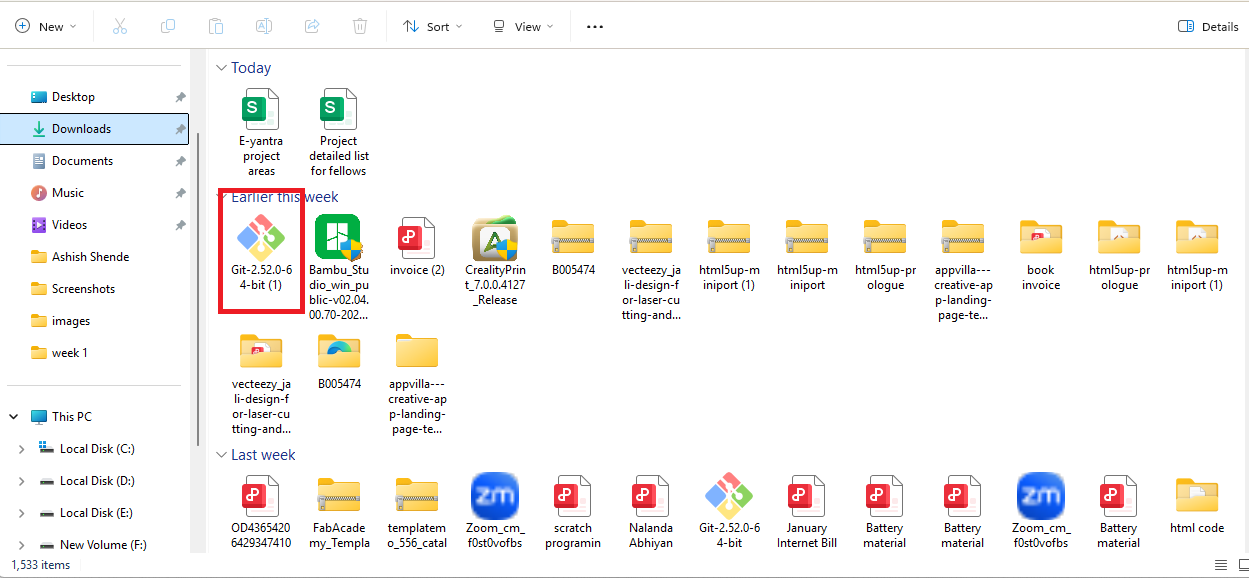
After the file was downloaded, it appeared in my system. I double-clicked on the file, and a new window opened.
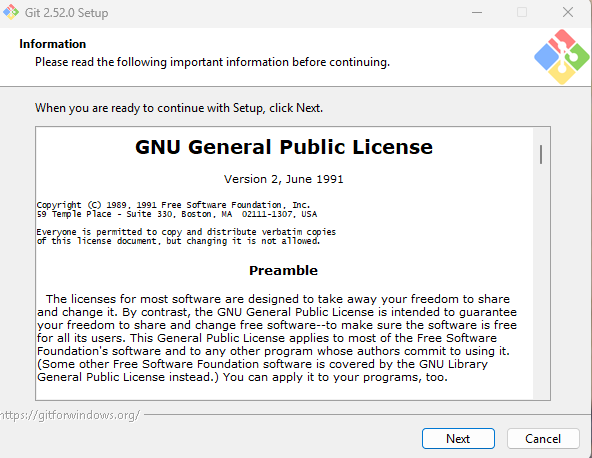
I then clicked the Yes button to allow the setup to run on my system.After that, I clicked on the Next button to continue the installation process.
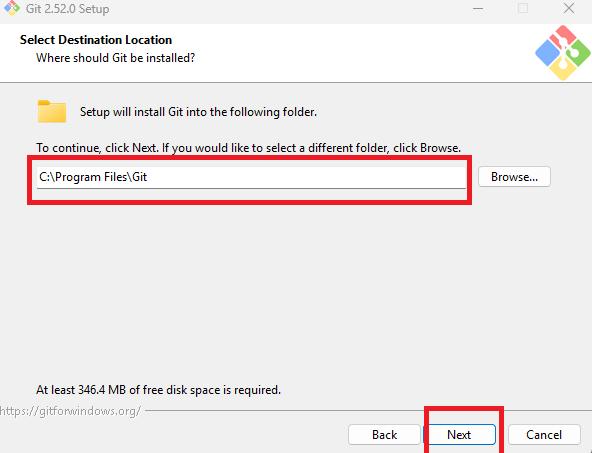
In the next step, it asked which folder to install the software in. I selected the C drive as the installation location click next.
I kept the default options selected and clicked on the Next button to continue.
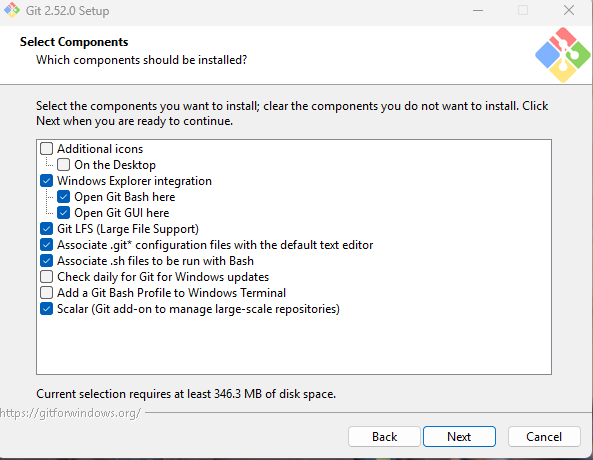
During the installation, the process took about 5 minutes. I waited for it to complete.

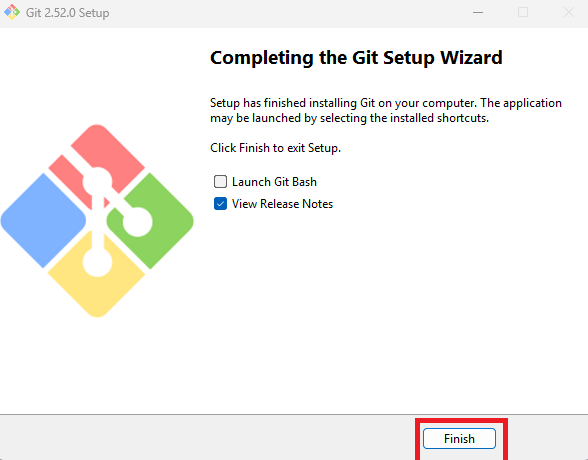
After the installation was completed, a new window opened. I clicked on it to finish the installation process.
In the next stage, I wanted to connect my GitLab account to Git Bash. For this, I needed to generate an SSH key.
i use this command ssh-keygen -t rsa -C "ashish.shende25@gmail.com" -b 4096
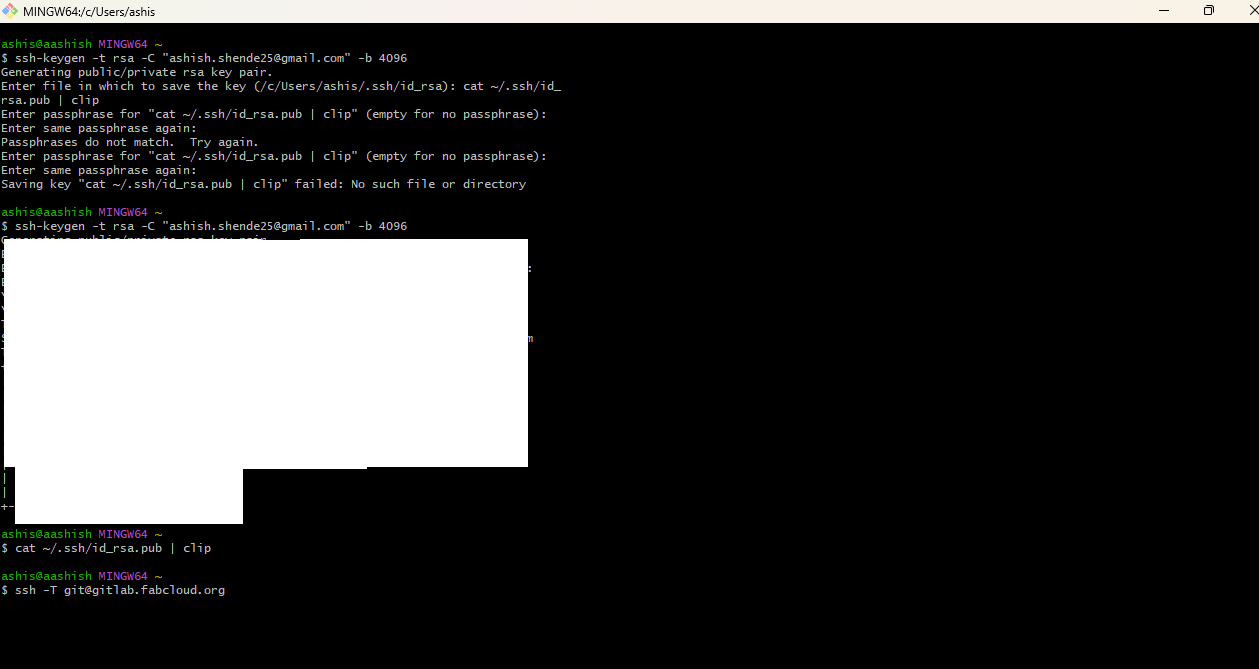
I completed this connection process in five steps to successfully link Git Bash with my GitLab account
I generated an SSH key and pasted it into my GitLab profile to connect my system with GitLab.
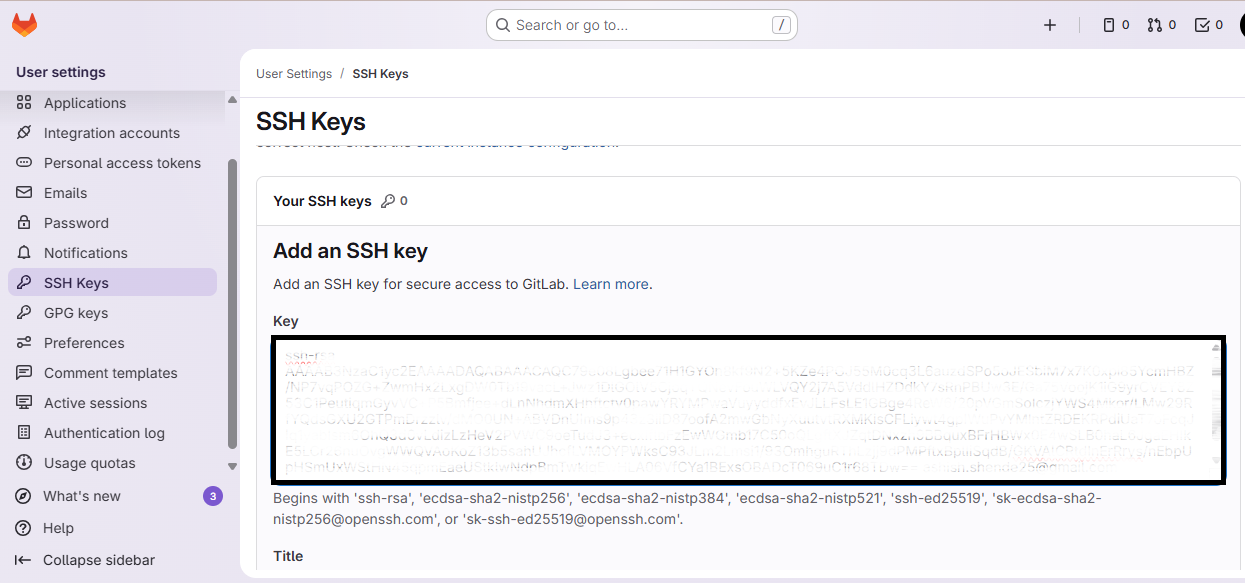
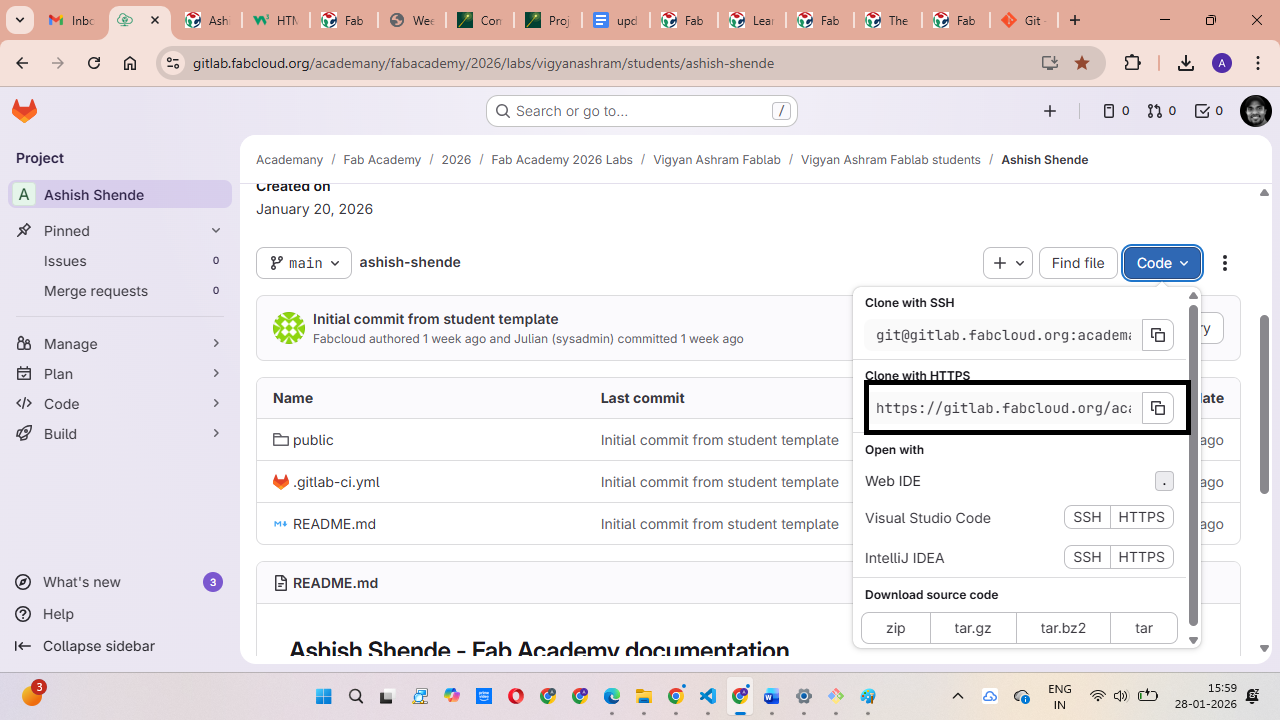
To clone my repository from GitLab, I went to my GitLab profile, copied the repository path https://gitlab.fabcloud.org/academany/fabacademy/2026/labs/vigyanashram/students/ashish-shende.git, and pasted it into Git Bash.
To work inside the cloned folder, I used the cd command, and to update the repository with the latest changes, I used the git pull command.
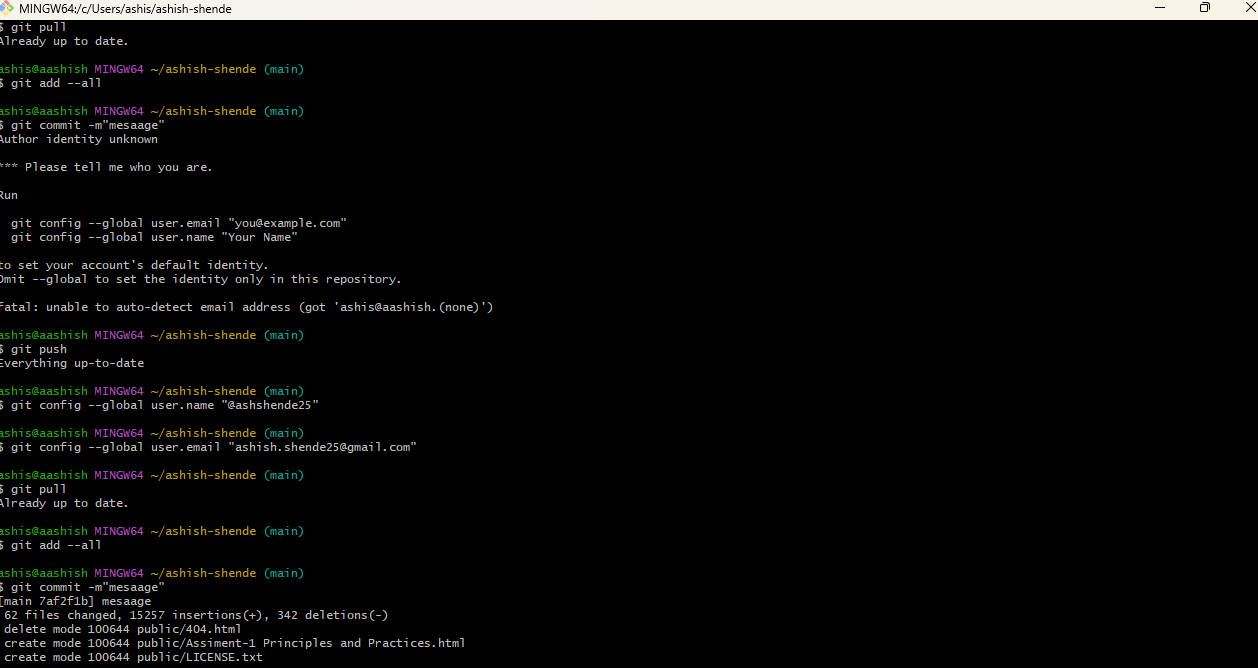
As the last command, I used git push to upload my changes to the GitLab repository.
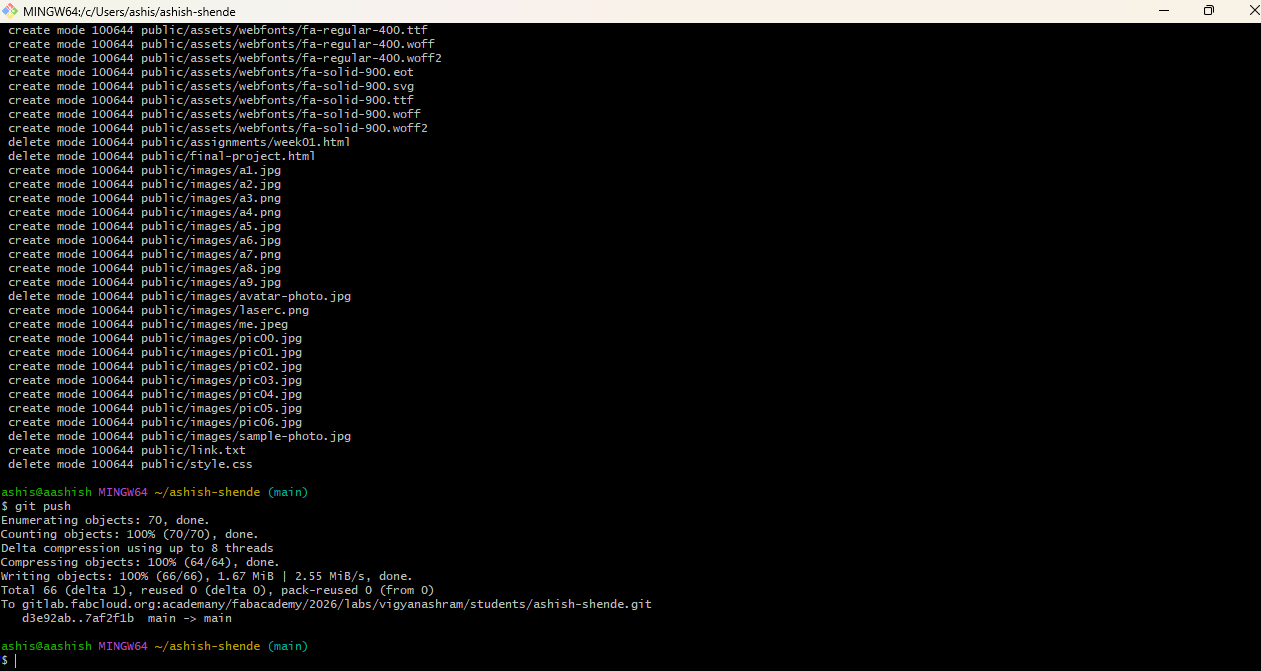
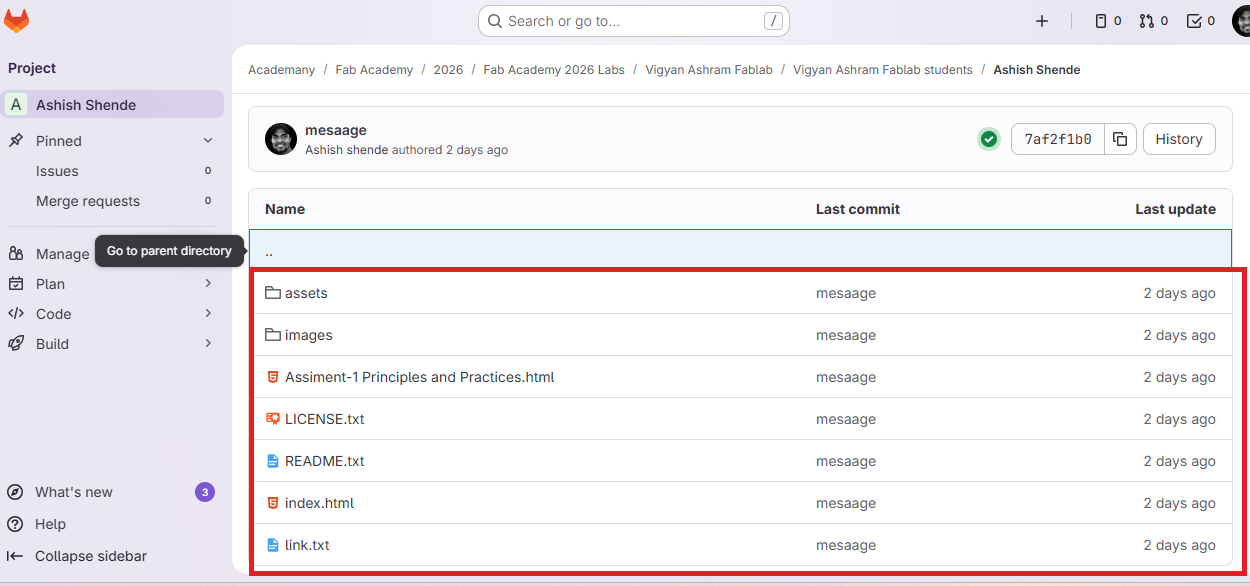
After pushing the files, all my project files were successfully visible on the GitLab cloud repository.
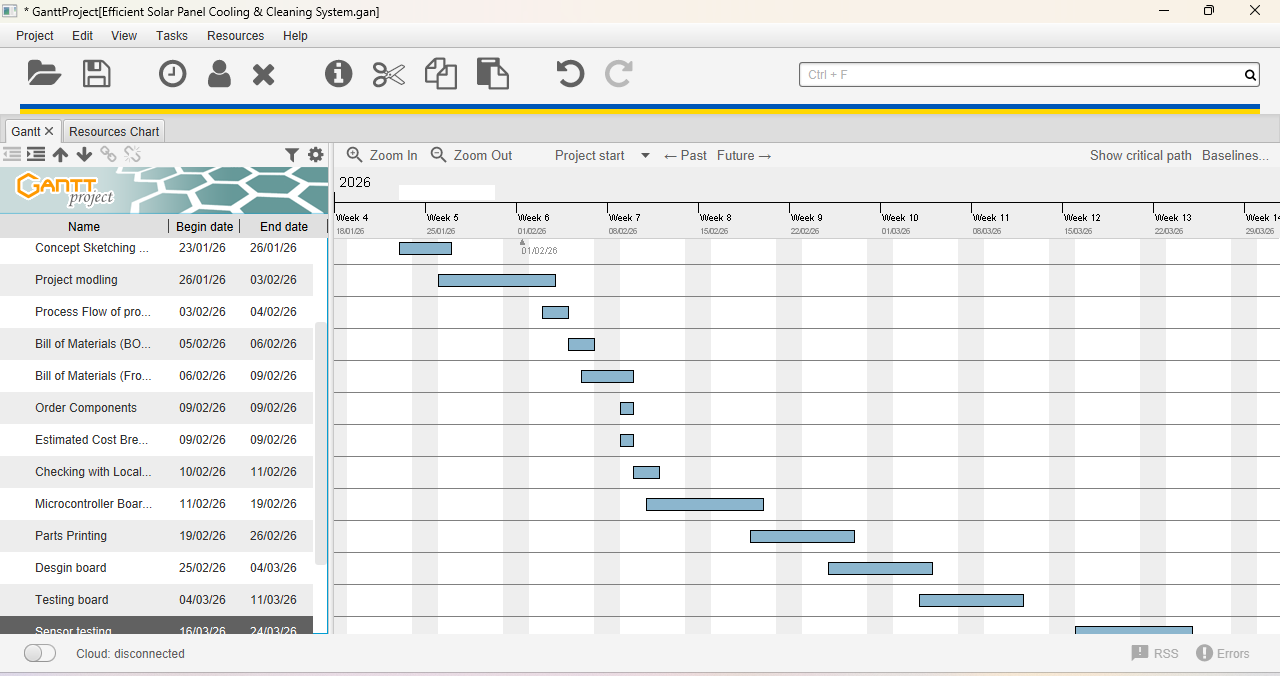
Gantt Chart
For project development, I used a Gantt chart. I downloaded a Gantt chart template from an official website. In this chart, I planned all my tasks according to my timeline and tracked each task until completion. The chart clearly shows how my work progressed over time.
Student agreement
The Fab Academy is responsible for:
Teaching principles and practices of digital fabrication.
Arranging lectures, recitations, meetings, and events for the class.
Evaluating and providing feedback on student work.
Offering clear standards for completing assignments.
Certifying and archiving student progress.
Supervising class preparation.
Reviewing prospective students, instructors, and labs.
Providing central staff and infrastructure for students, instructors, and labs.
Fund-raising for costs not covered by student tuition.
Managing and reporting on the program's finances, results, and impacts.
Publicizing the program.
Promoting a respectful environment free of harassment and discrimination.
I am a Fab Academy student, responsible for
Attending class lectures and participating in reviews.
Developing and documenting projects assigned to introduce and demonstrate skills.
Honestly reporting on my work, and appropriately attributing the work of others.
Working safely.
Leaving workspaces in the same (or better) condition than I found them.
Participating in the upkeep of my lab.
Ensuring that my tuition to cover local and central class costs is covered.
Promoting a respectful environment free of harassment and discrimination.
Signed by committing this file in my repository,
Ashish Shende