Section 1: GUI Tool Comparison
MIT App Inventor vs Python + Tkinter
Micaela compared two fundamental approaches to GUI development: visual block-based programming (MIT App Inventor) and text-based scripting (Python + Tkinter). Each platform serves different purposes and skill levels.
MIT App Inventor is a visual, block-based programming environment specifically designed for creating Android mobile applications. Its logic mirrors Scratch, making it intuitive for those familiar with puzzle-piece programming.
- Drag-and-drop design — zero code writing
- Ideal for rapid mobile visualization
- Built-in blocks for Bluetooth, GPS, sensors
- QR code testing on real devices instantly
- Limited to predefined components
- Android platform only
- Limited AI integration capabilities
- Complex USB serial workflows difficult
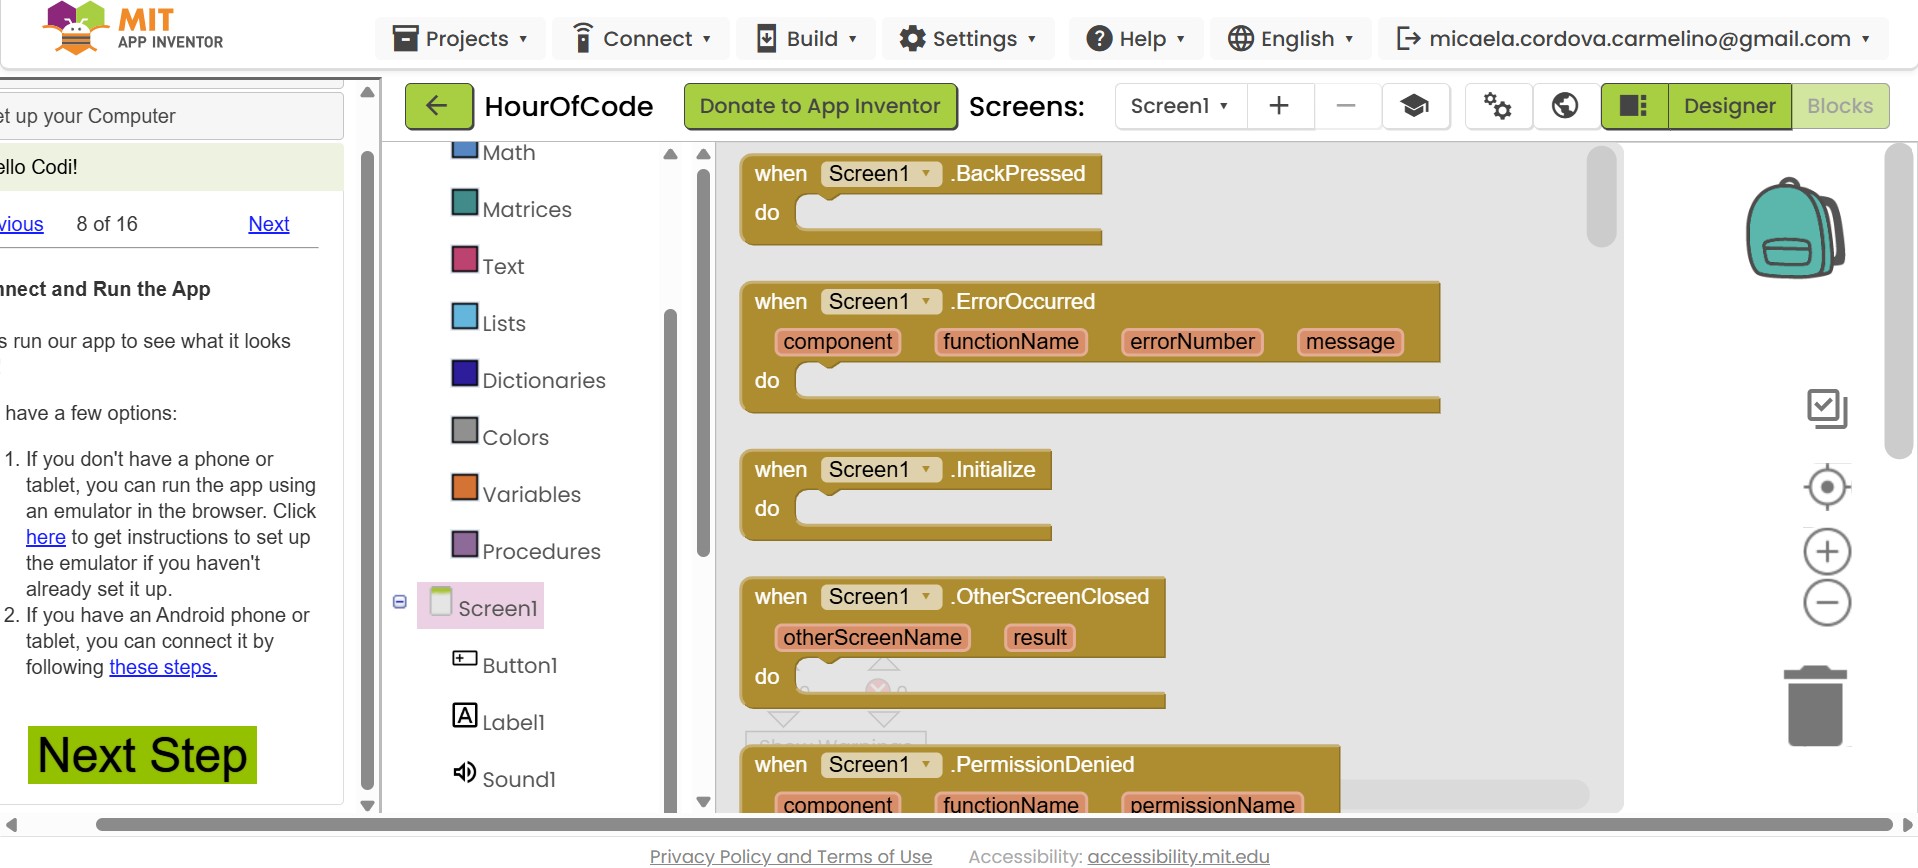
First Experience: "Hello Codi!" App
Following a tutorial, Micaela created a simple app where touching a bee triggers a sound effect. This demonstrated App Inventor's object-oriented approach and event-driven programming model.
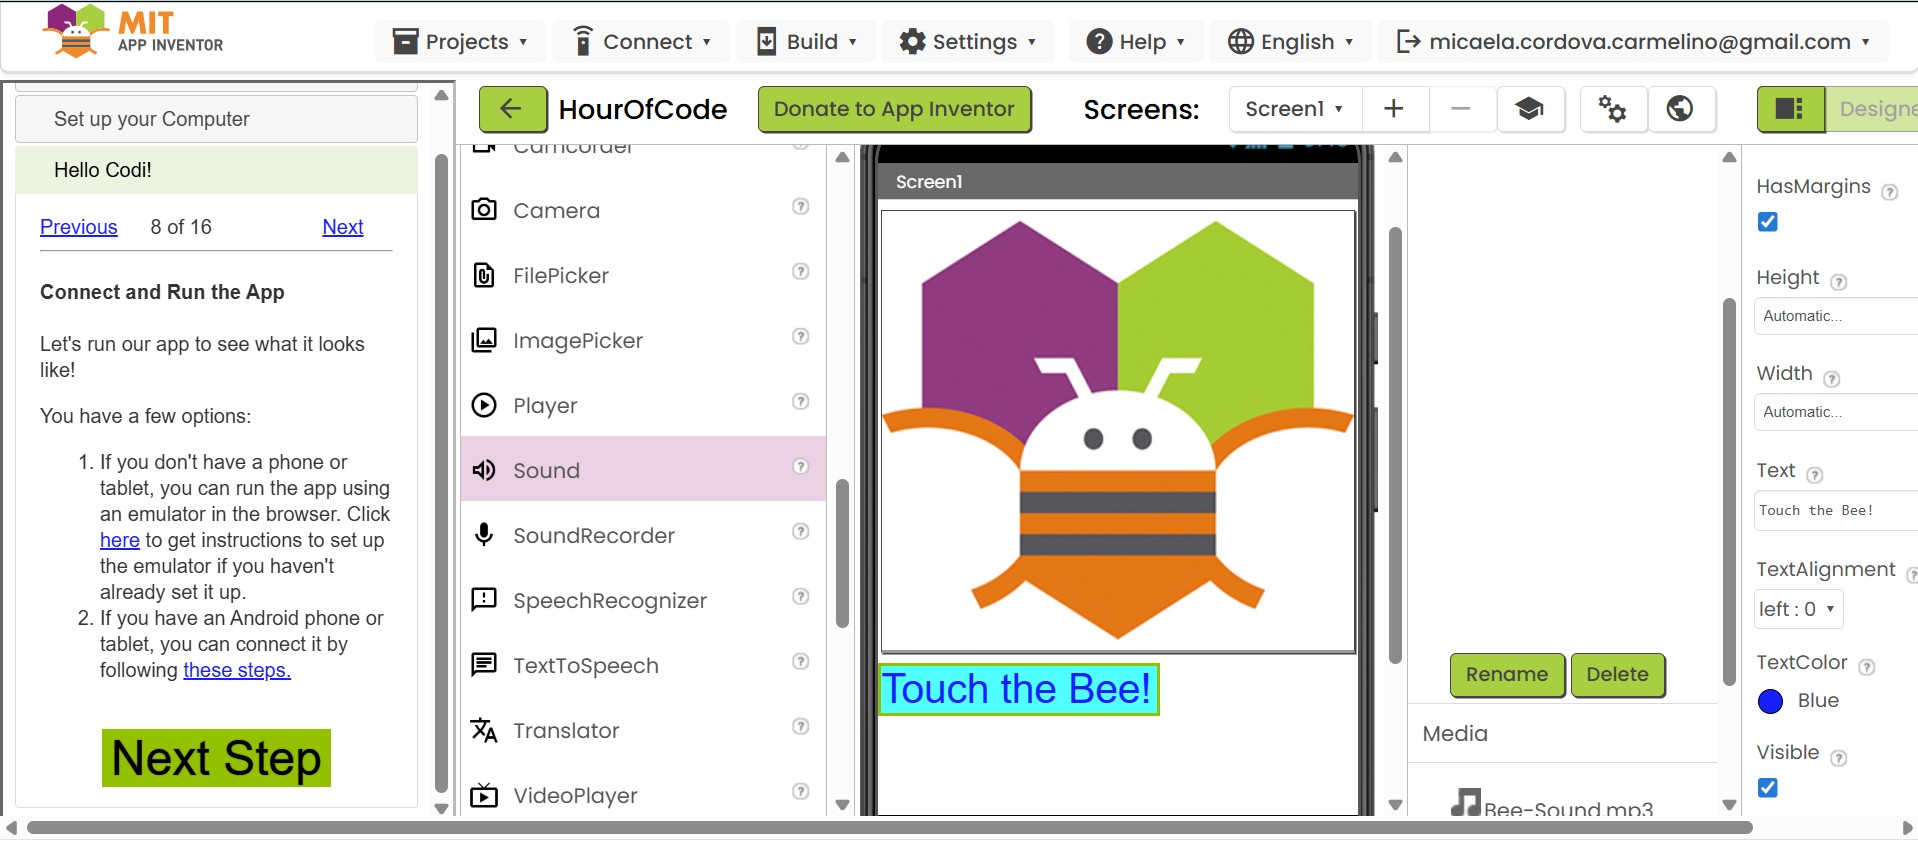
Every element (Button, Sound, Label) is an independent object with customizable properties — similar to modern UI frameworks.
Logic managed through action blocks like when Button1.Click — without writing manual code.
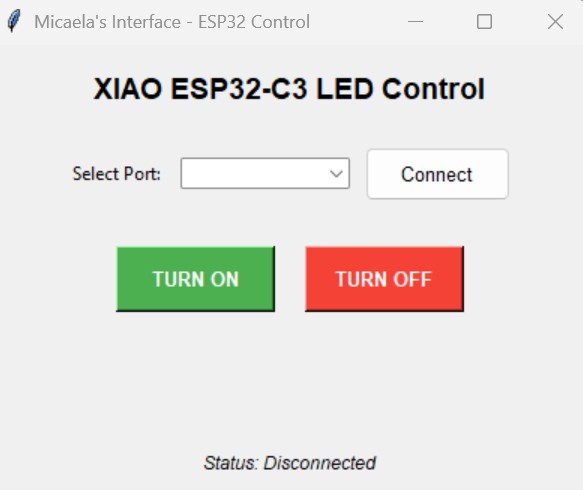
Python is a high-level language and Tkinter is its standard library for creating desktop graphical user interfaces. This combination provides total control over logic, appearance, and advanced library integration.
- Total control over logic and appearance
- AI-friendly — code generation with Gemini/ChatGPT
- Cross-platform: Windows, macOS, Linux
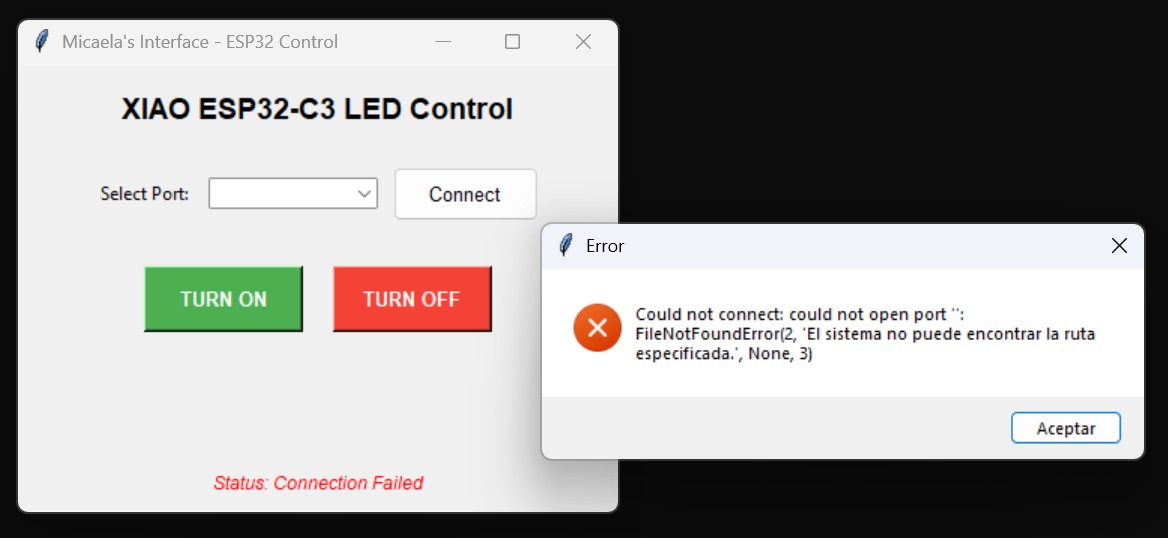
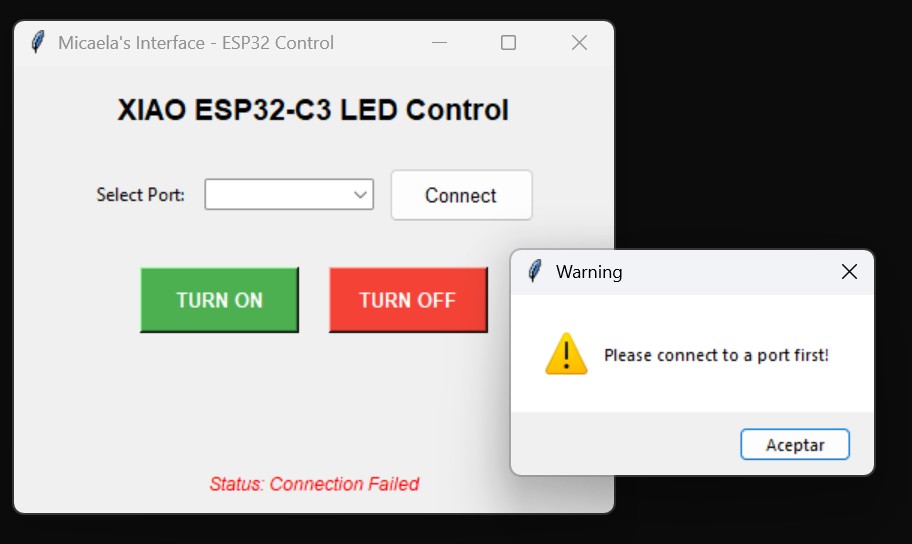
- Robust USB Serial integration via pySerial
- Requires programming syntax knowledge
- Layout coding slower than drag-and-drop
- Desktop-only (no mobile support)
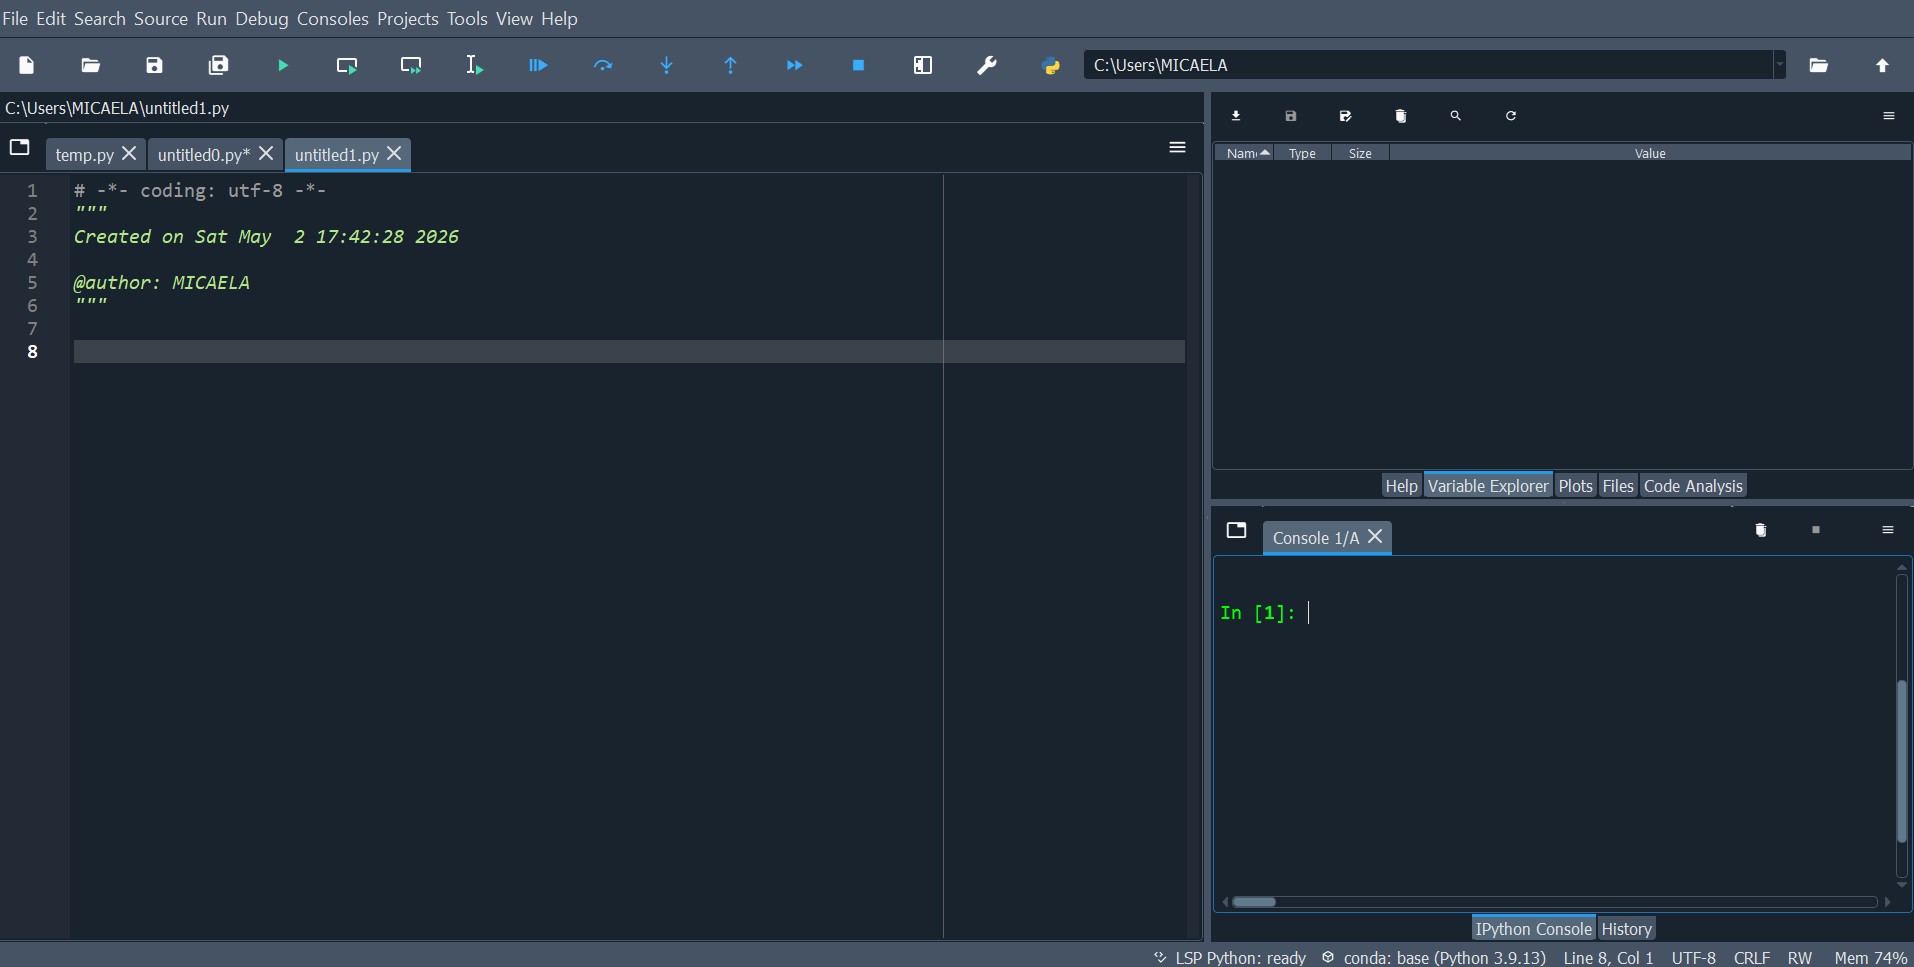
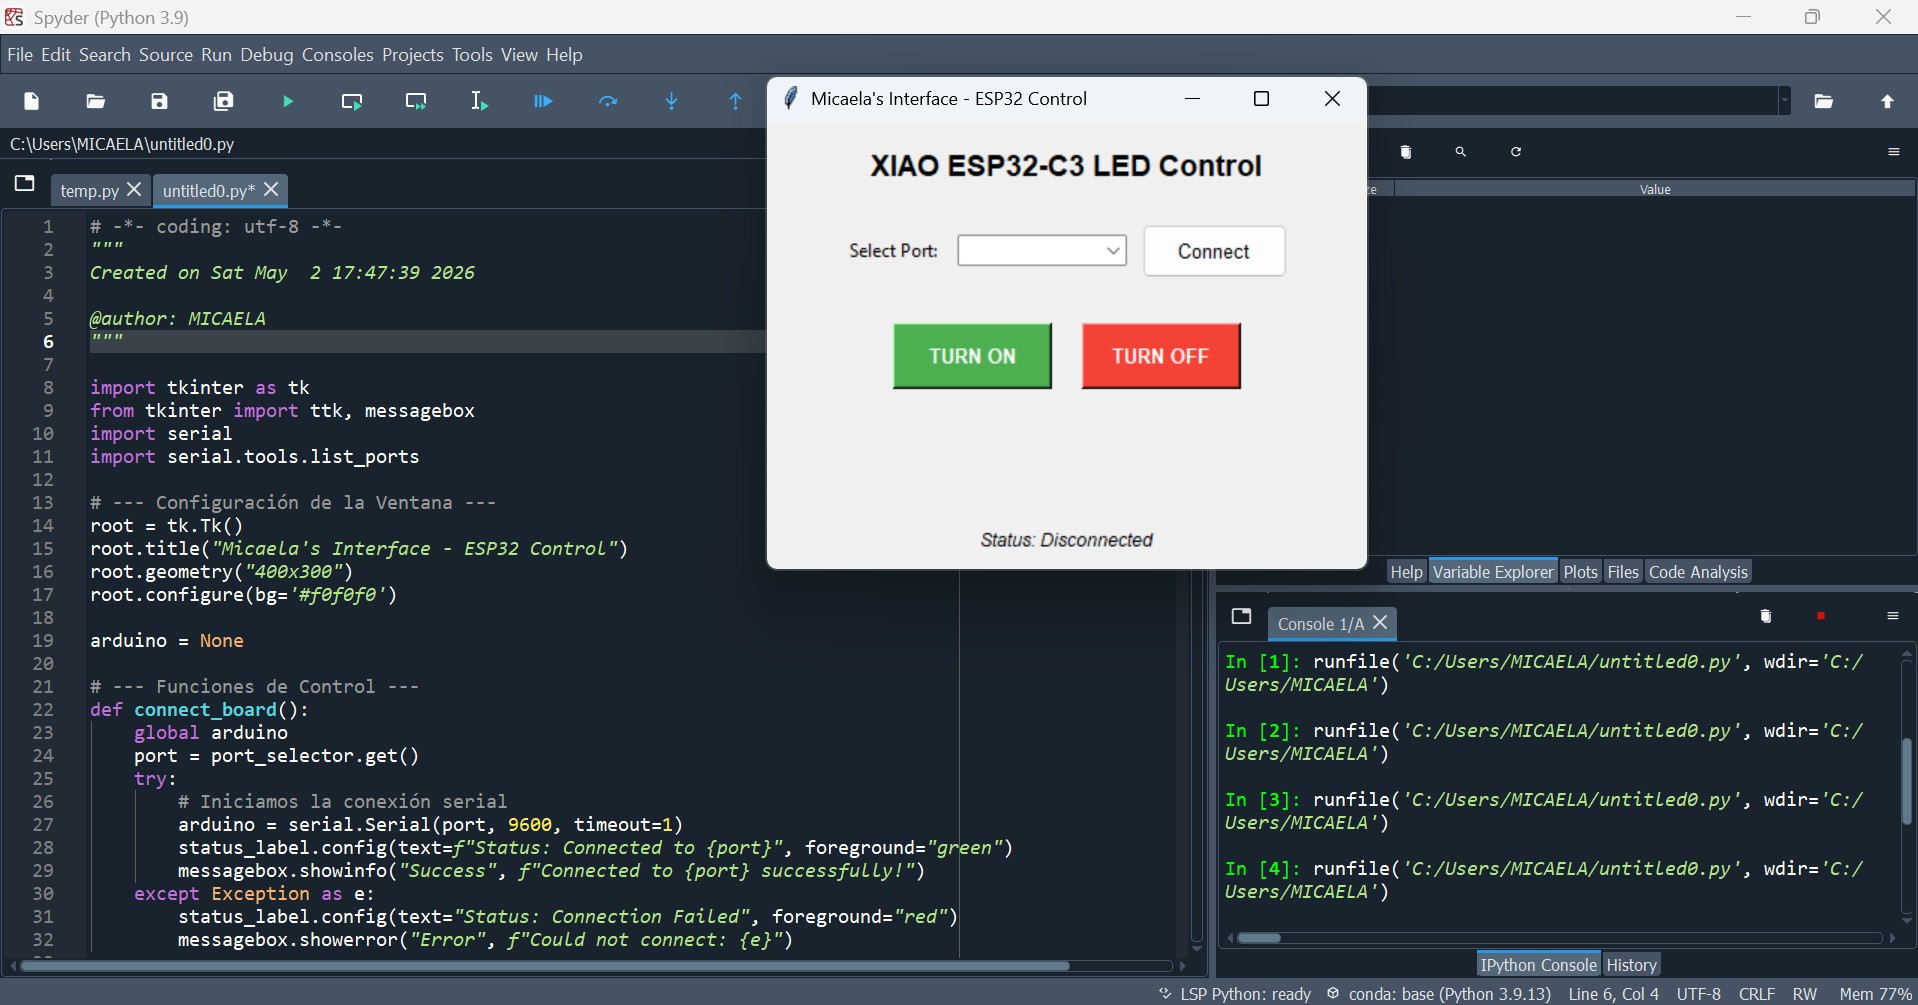
Development Workflow
Spyder IDE showing the complete development environment: Python code editor, Tkinter GUI interface, and console output for debugging
Start with import statements for tkinter, pySerial, and other required modules.
Use grid() or pack() geometry managers to define window structure and component placement.
Write callback functions for serial communication, data processing, UI updates.
Run the Python script — window opens instantly with full functionality.
| Feature | MIT App Inventor | Python (Tkinter) |
|---|---|---|
| Logic Style | Block-based (like Scratch) | Text-based scripting |
| Primary Target | Mobile users (Android) | Desktop users (Win/Mac/Linux) |
| Hardware Link | Bluetooth / Wi-Fi | USB Serial (COM ports) |
| AI Integration | Limited (manual block mapping) | High (copy/paste code logic) |
| Learning Curve | Very low — drag and drop | Medium — syntax knowledge required |
| Customization | Limited to built-in components | Unlimited control |
| Best For | Quick mobile prototyping | Robust desktop + serial projects |