
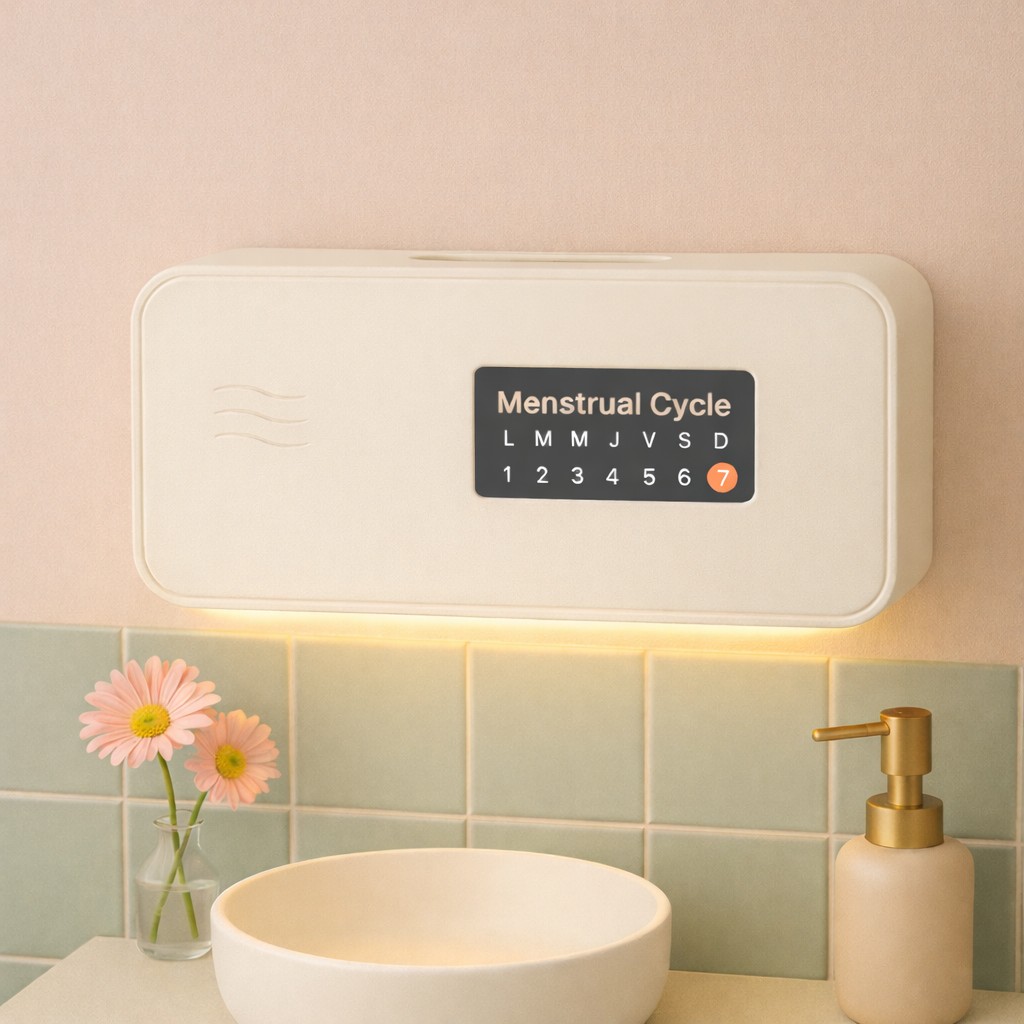
Final Project Concept
A smart sanitary pad dispenser designed to improve accessibility, privacy, and menstrual care awareness. HigiBox automatically dispenses sanitary pads through a touchless system, monitors stock levels in real time, tracks battery status, and provides menstrual cycle information through an integrated display.
The system adapts to the user's daily routine by combining sensor technology, automation, and a user-friendly interface into a single device.
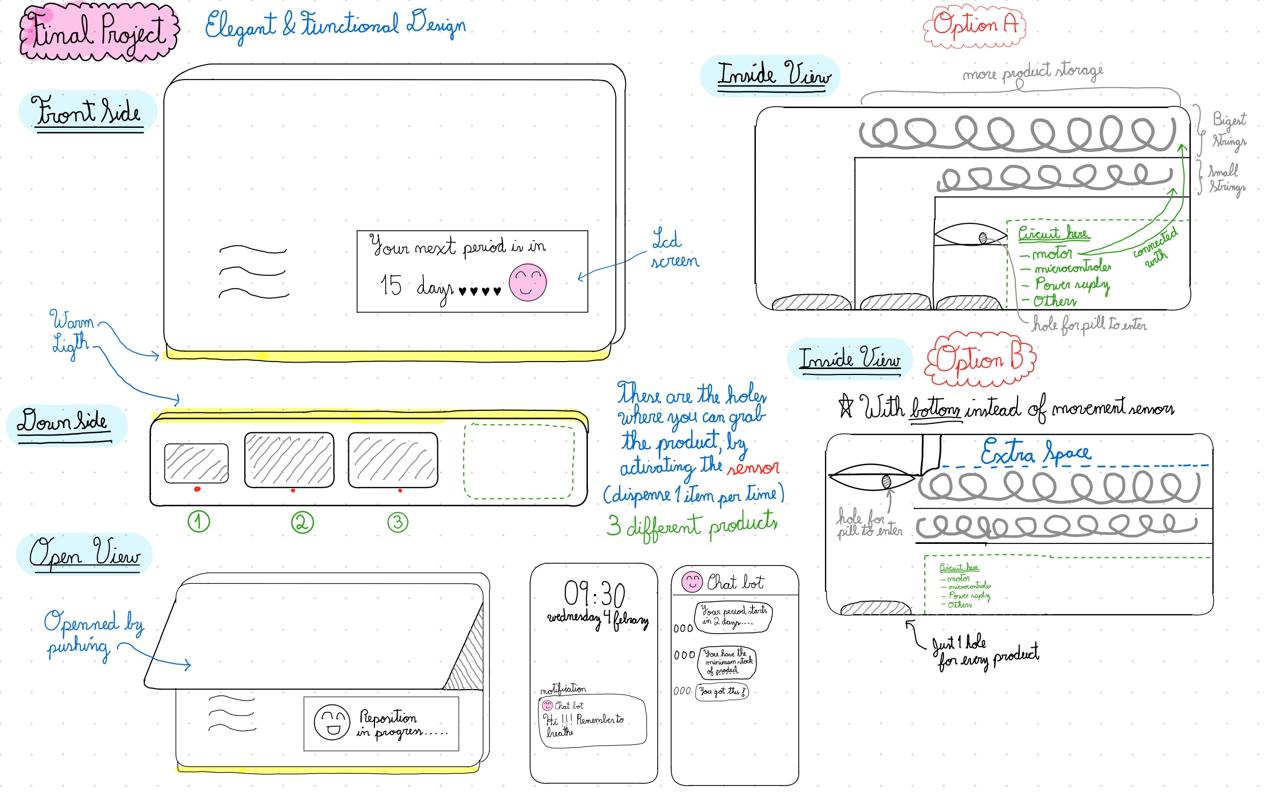
Looking for Inspiration
From the beginning, I had a clear vision for my final project. Before starting the design process, I researched existing sanitary pad vending machines and similar dispensing systems to understand their mechanisms and identify ideas that could be adapted to a personal device.
Commercial Vending Machines
I began by studying commercial sanitary napkin vending machines. Since HigiBox is essentially a personal adaptation of this concept, understanding how these systems store and dispense products became essential.
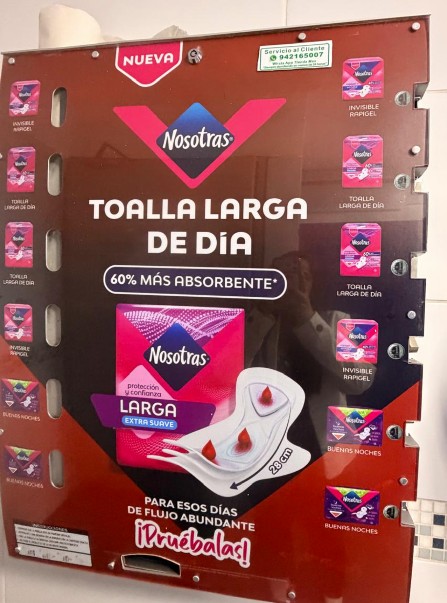
Industrial sanitary napkin vending machine located in the women's restroom at Universidad del Pacífico.
One of the most valuable references was the video "Manual Sanitary Napkin Vending Machine", which shows the internal structure of a commercial dispenser.
Link: https://www.youtube.com/watch?v=4jGwnDMB4SI
This video became one of the most important references for my project because its internal organization was surprisingly similar to the solution I eventually developed. I particularly liked the large empty compartment in the lower section, which inspired me to reserve a dedicated space for electronics inside my enclosure.
By studying this machine, I learned how sanitary products can be stored vertically and moved forward using a rotating spiral mechanism. I also realized that the spiral must be connected to a coupling system that transfers the motor's rotation.
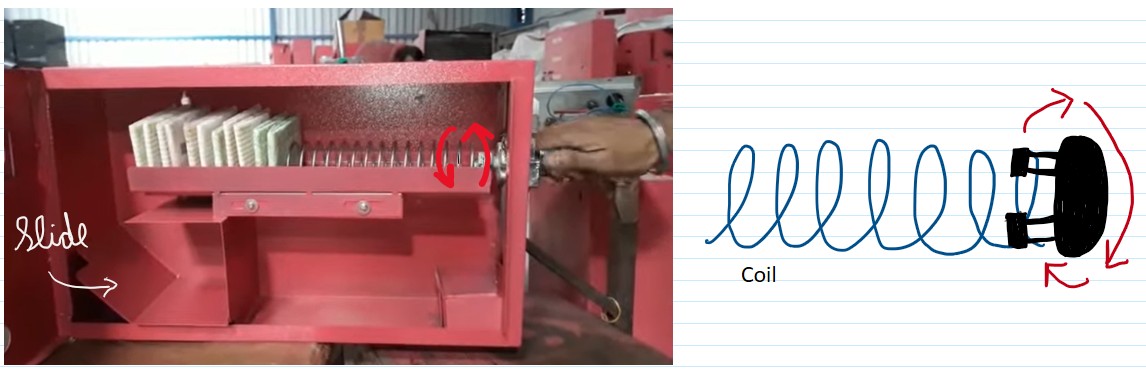
First base design connected to the spiral mechanism
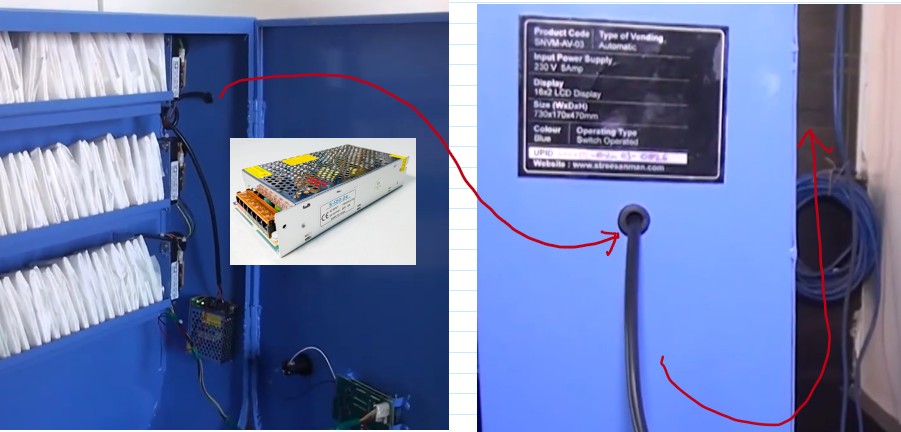
Another useful reference was the "Stree Sanman Free Sanitary Napkin Vending Machine." This project confirmed that the motor driving the spiral requires only a small vertical space, leaving more room for product storage. It also introduced me to the idea of using a 12 V power supply.
Arduino-Based Vending Machines
Next, I explored Arduino-based vending machines to understand how makers integrated motors, sensors, buttons, and control systems.
One of the most useful examples was "Venduino, Arduino Vending Machine."
Link: https://www.instructables.com/Venduino-Arduino-Vending-Machine/
This project introduced me to specialized vending machine spiral motors. These motors use a circular coupler with slots that allow the spiral coil to be inserted and locked in place, transmitting the motor's rotation directly to the spiral.
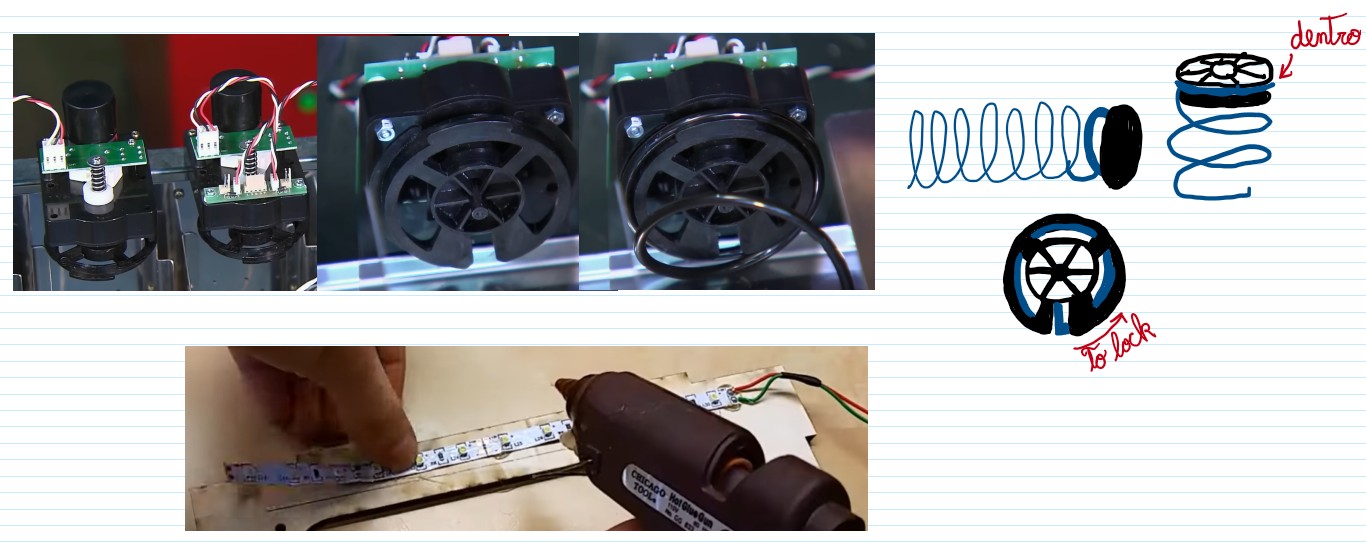
Although this solution was very similar to what I wanted for HigiBox, I could not find these motors from local suppliers. As a result, I decided to design my own custom coupling system between the motor and the spiral. I also noticed the use of LED lighting, which created a warmer and more attractive appearance, inspiring me to incorporate visual warmth into my own design.
Another important reference was a full-size modular vending machine on MakerWorld.
Link: https://makerworld.com/en/models/2380835-full-size-modular-vending-machine
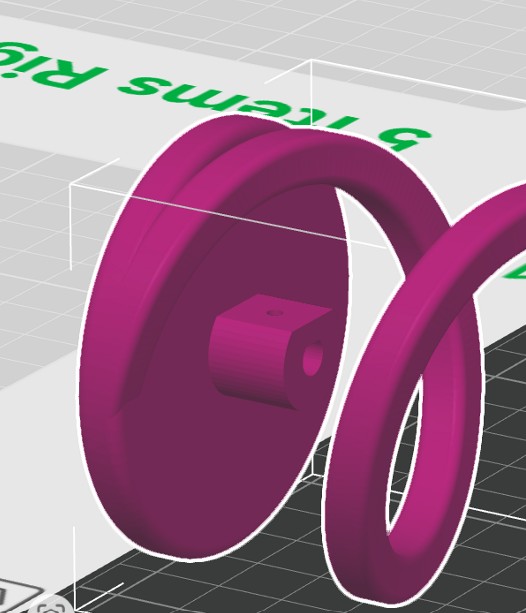
This project featured spiral mechanisms of different sizes, all connected to their motors through a custom central connector. This reinforced my idea of designing a custom motor-to-spiral coupling.
Finally, I studied "Venderoo, an Arduino-Based Vending Machine."
Link: https://www.instructables.com/Venderoo-an-Arduino-Based-Vending-Machine/
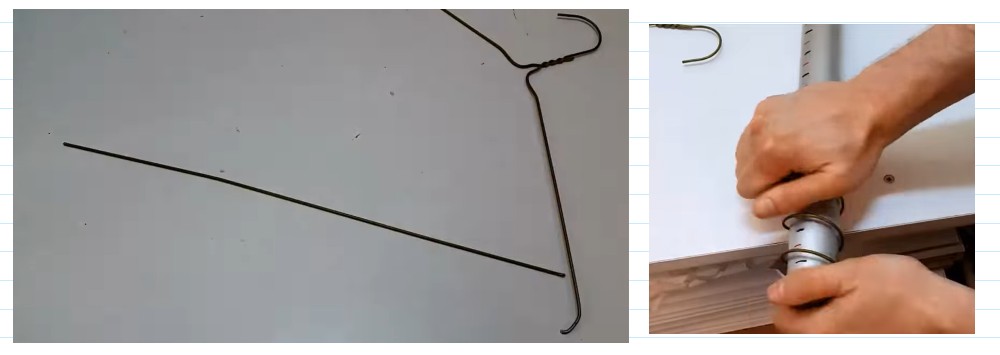
From this project, I learned how spiral mechanisms can be fabricated using stainless steel wire and the spring mandrel technique, where wire is wrapped around a cylindrical mold. I also learned that the spiral pitch and diameter must match the product dimensions, and that products should be slightly tilted backward rather than forward to prevent them from falling or being damaged during dispensing.
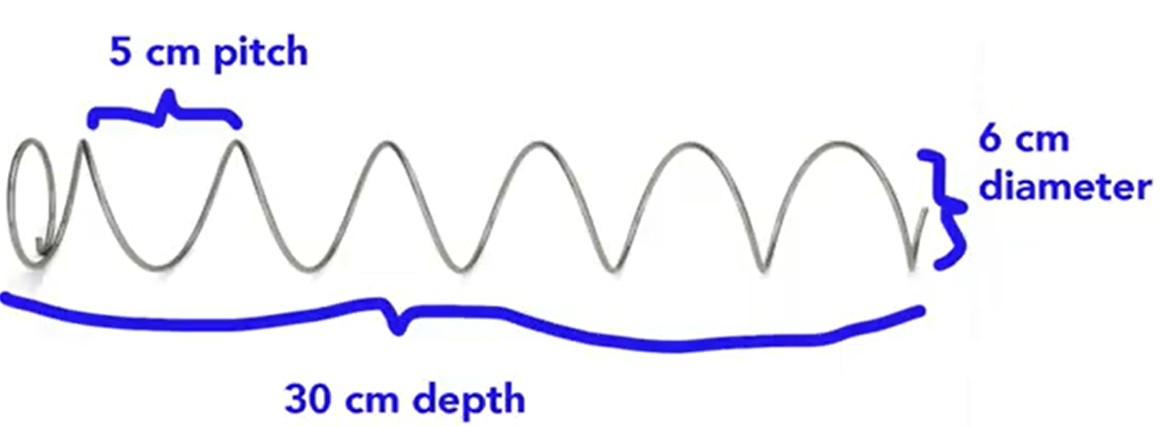
Idea and Design Strategy
By Week 3, I knew that if I wanted the dispenser to be rigid, durable, and capable of supporting the internal mechanism, the enclosure would need to be made from a strong material such as acrylic, MDF, or wood. These materials are widely used in digital fabrication and can be precisely manufactured using a laser cutter.
At this stage, my focus was not only on the electronics but also on designing a robust structure that could safely hold the dispensing mechanism, electronics, and sanitary products. Since laser cutting allows fast prototyping and accurate assembly, it became the most suitable manufacturing process for developing the enclosure of my final project.
Component Selection
Based on my initial research and the videos I reviewed, I started purchasing components that could potentially be useful for HigiBox. At this stage, the final design was still evolving, so the objective was to explore different options and test possible solutions.
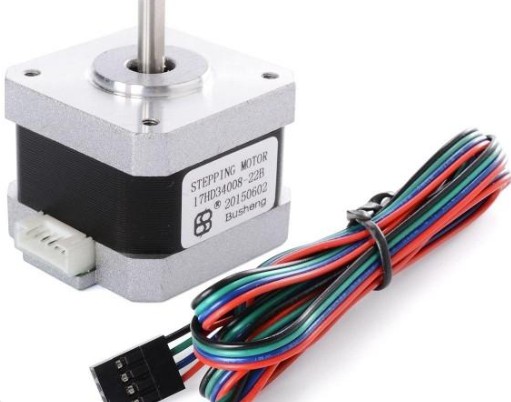
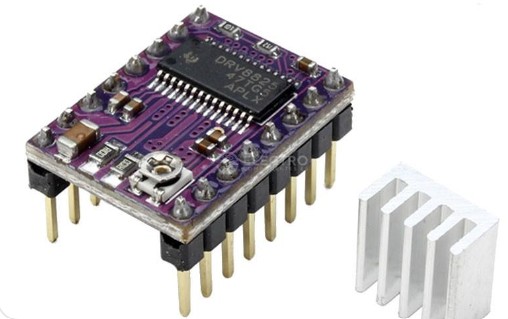
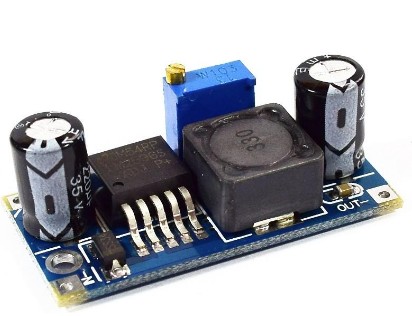
NEMA 17 stepper motor with DRV8825 driver and LM2596 step-down converter for safe 12V operation.
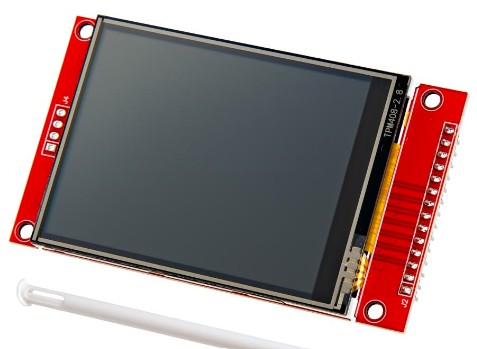
2.8-inch TFT touchscreen for displaying stock status, battery level, and menstrual cycle data.
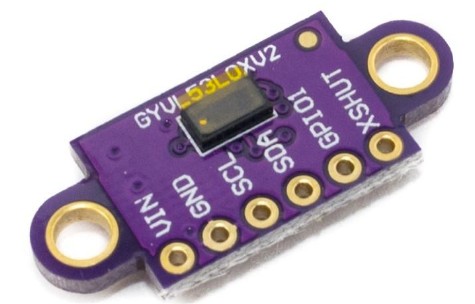
VL53L0X distance sensor for detecting product availability and user proximity.
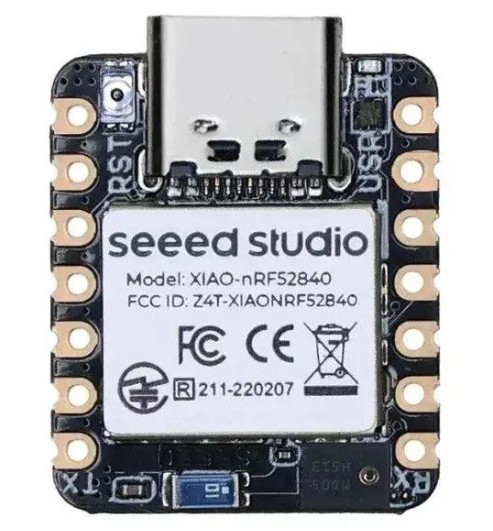
Seeed Studio XIAO nRF52840 for its compact size, low power consumption, and Bluetooth capabilities.
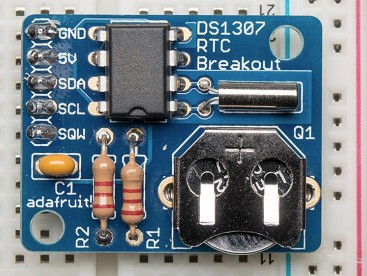
Electronics for Pill Dispensing (Optional Feature)
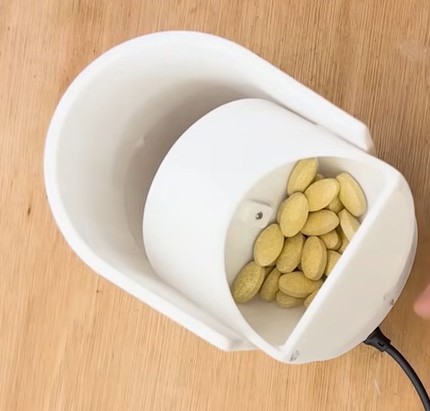
One of my initial objectives was for the dispenser to also provide pills for menstrual cramps. To explore this idea, I researched automatic pill dispenser projects.
Link: https://www.youtube.com/watch?v=1kCoDDYpgkE
This reference helped me understand the type of electronics that could be used to detect whether a pill had actually been dispensed.
Key Component: Piezo Disc Sensor
A piezo disc sensor can detect vibrations, impacts, or small drops by converting mechanical stress into an electrical signal. In the context of a pill dispenser, the piezo sensor could be placed near the dispensing area to detect the impact of a pill falling, confirming that the dispensing action was completed.
Next Tasks & Schedule
During the Midterm Review, many aspects of HigiBox were still in the ideation stage. I had a general concept and several possible components, but the final mechanism, circuit, materials, and internal layout still needed to be tested and defined.
Tasks to Be Completed
Project Timeline — Interactive Gantt Diagram
A realistic project timeline with parallel activities, dependencies, and actual fabrication workflows. Click any bar for details.
- Parallel Work: Component search runs throughout (7+ weeks), allowing procurement while design progresses.
- Design-First Approach: 3D modeling for enclosure and parts completed before manufacturing begins.
- Manufacturing Overlap: Laser cutting, 3D printing, and PCB milling happen simultaneously (W17-W18).
- Late-Stage Integration: Electronics assembly and testing occur after mechanical assembly is complete.
- Continuous Documentation: Final documentation overlaps with testing to capture real results and failures.