Week 2 Progress Checklist
| Status | Task |
|---|---|
| ✓ | Modelled experimental objects/part of a possible final project in 2D and/or 3D software |
| ✓ | Shown how you did it with words/images/screenshots |
| ✓ | Documented how you compressed your image and video files |
| ✓ | Included your original design files |
Computer-Aided Design
Software 2D
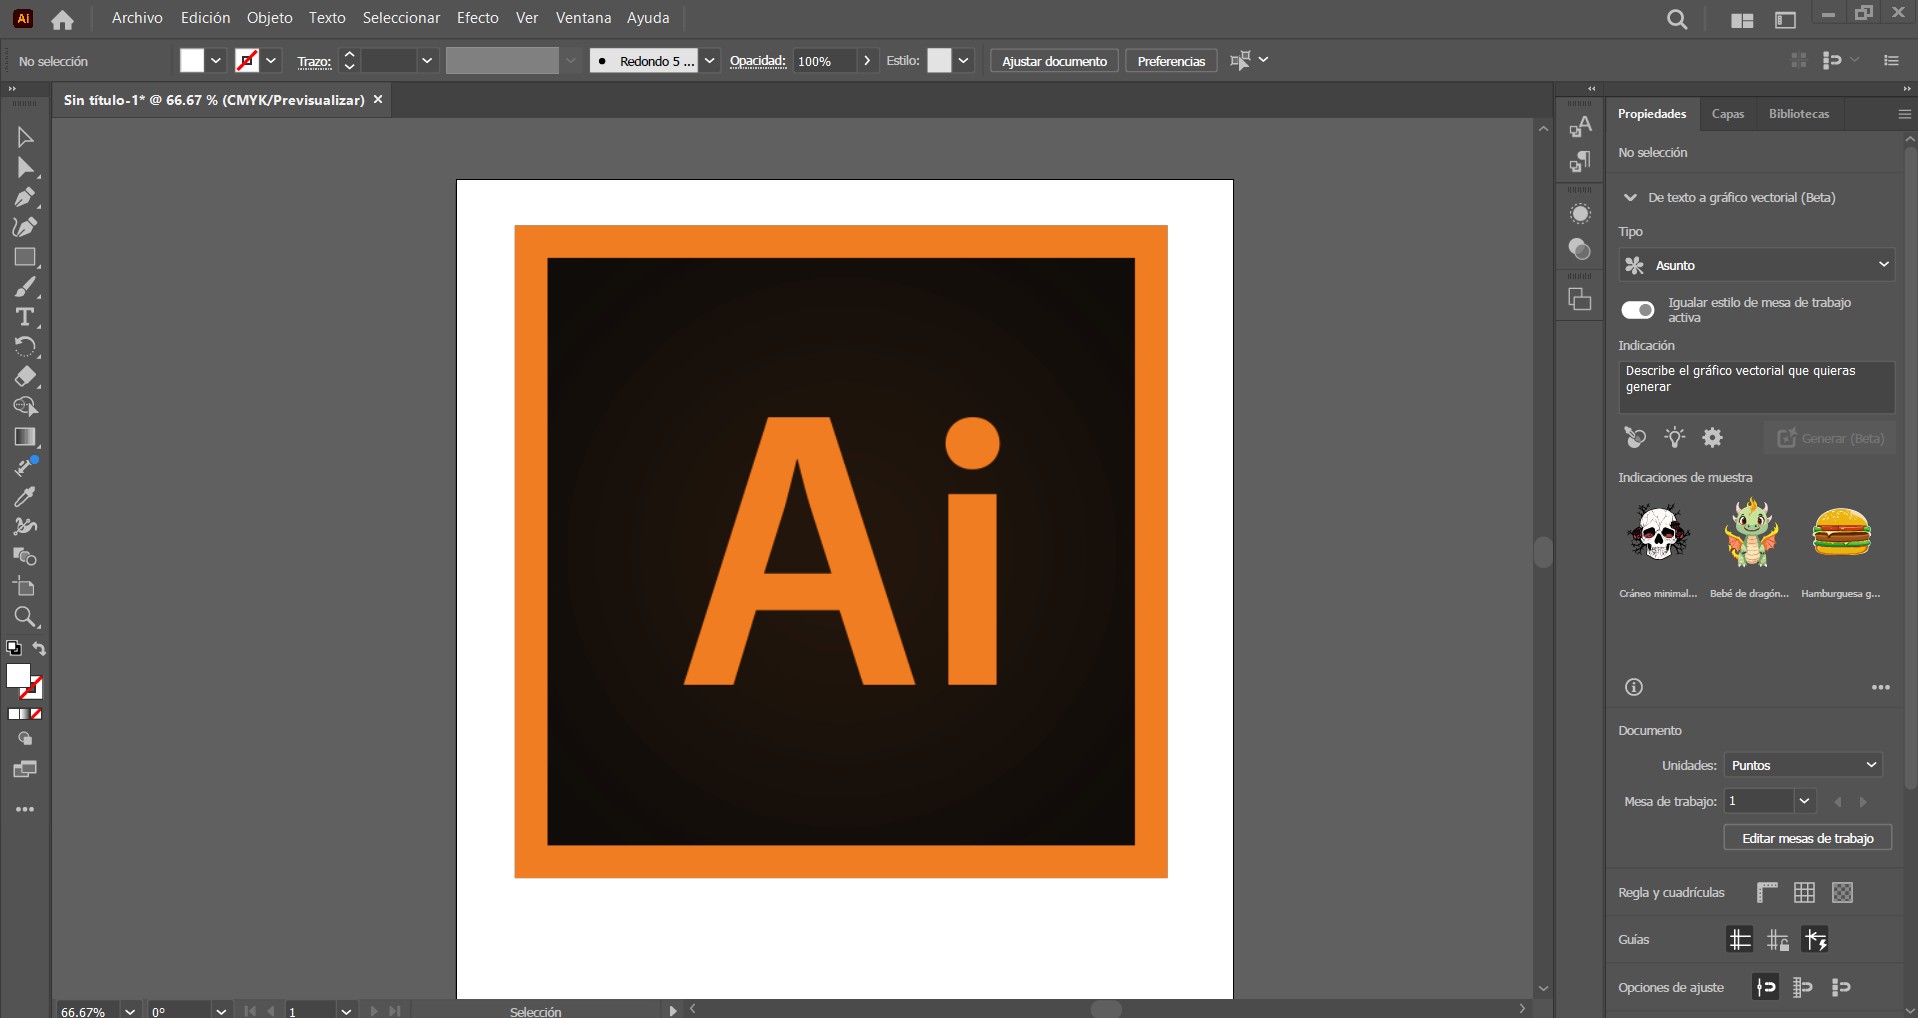
1. Adobe Illustrator
Adobe Illustrator is probably one of the best tools out there for working with vectors. For that reason, I am willing to give this software a try. This software is not free, but I believe it offers good value.
You can download Adobe Illustrator from the official website: https://www.adobe.com/products/illustrator.html
To test this software, I plan to create the logo for my final project, since I believe every project should have a personal signature.
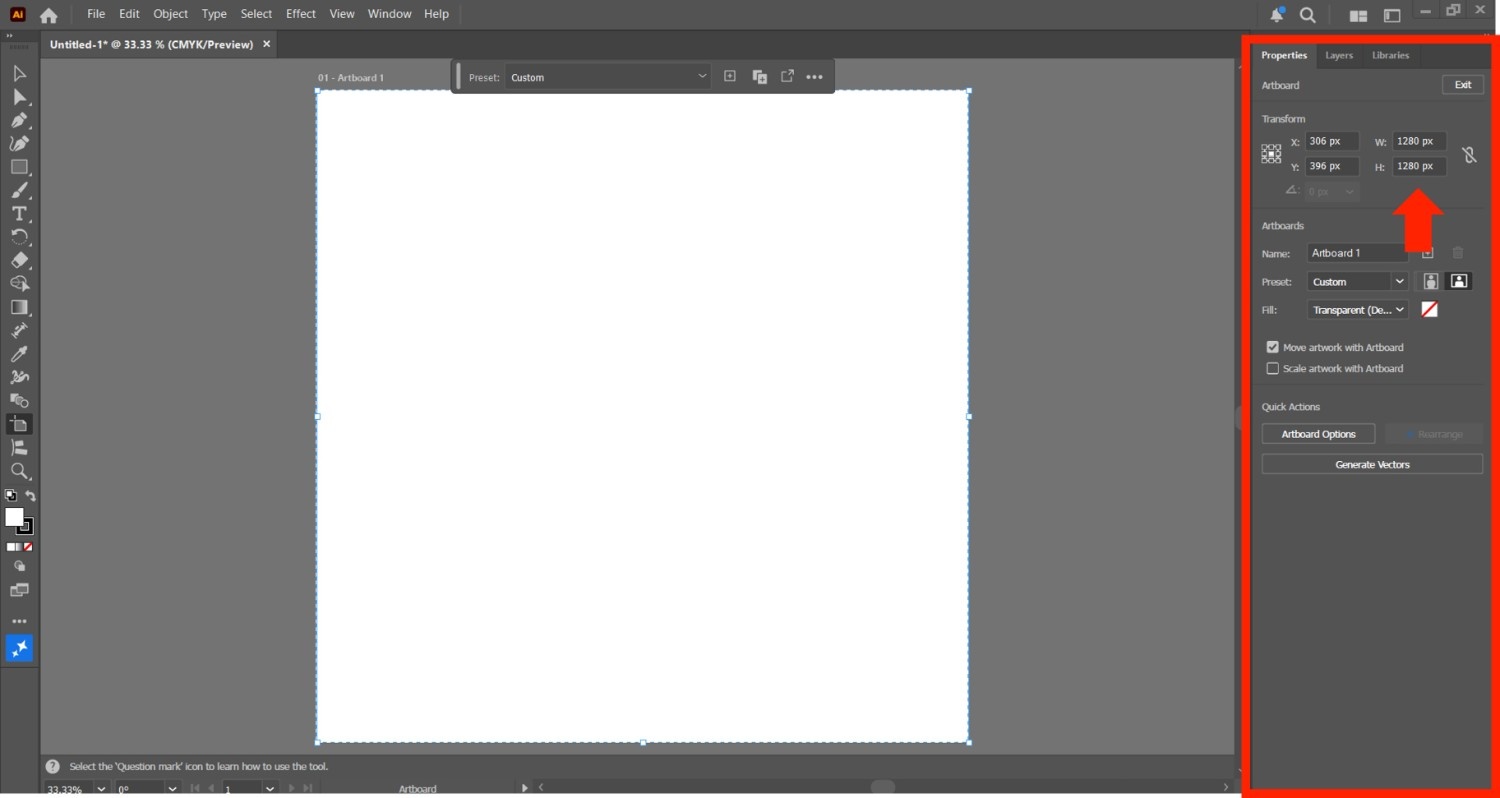
First, after sketching my logo on paper, I scanned it and imported it into the Illustrator workspace.
It is also necessary to set up the page dimensions for the work area. I used 1280 × 1280 px, which is more than enough.
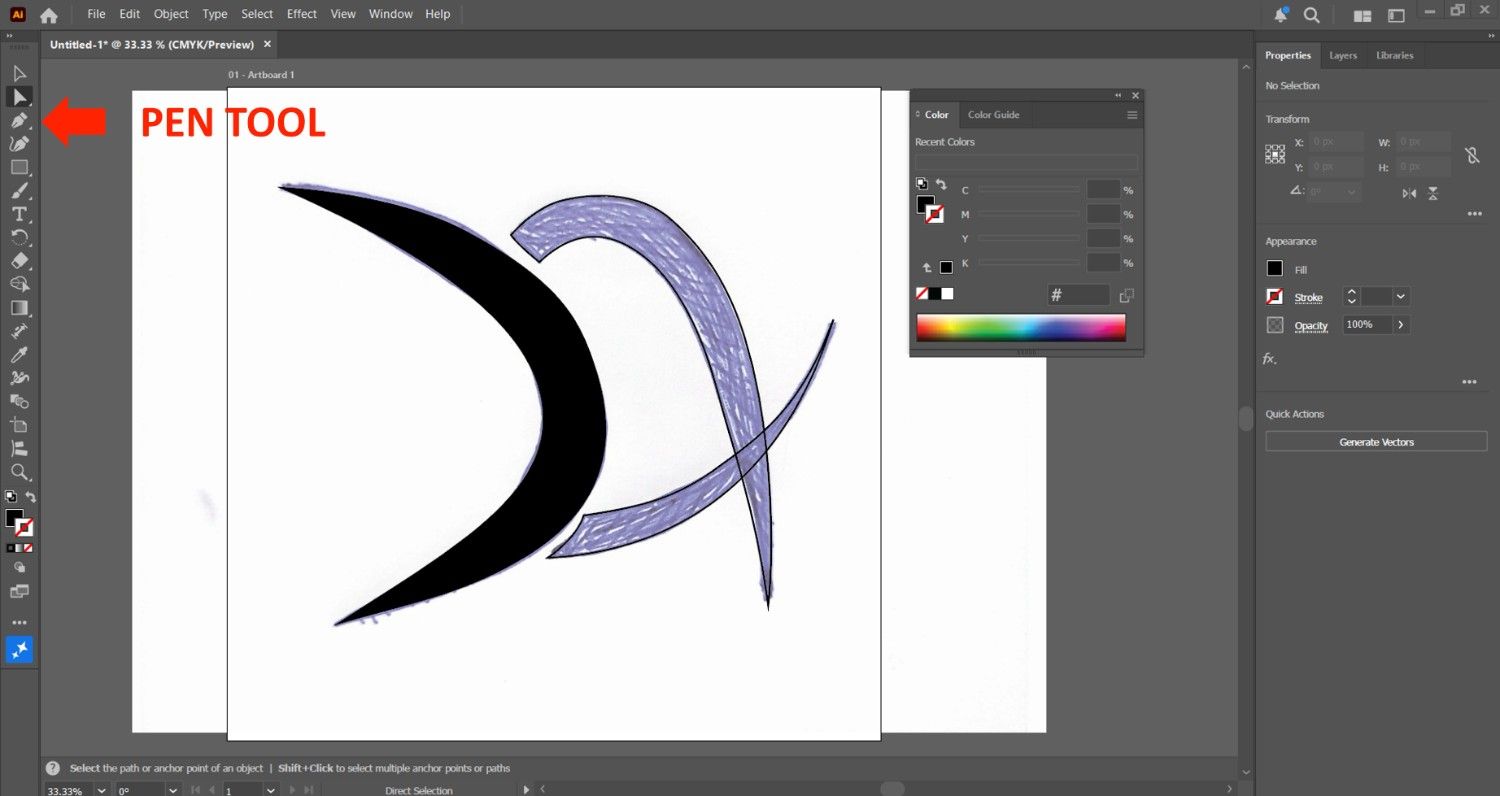
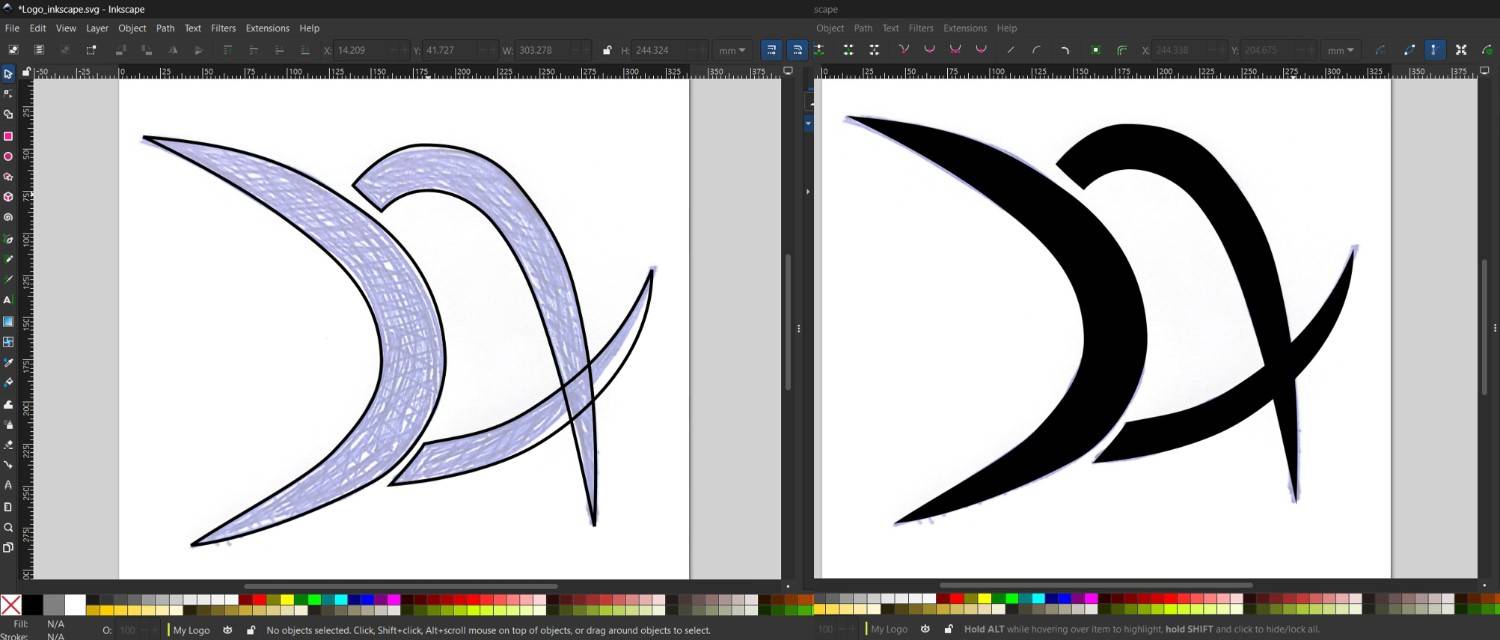
Next, I used the Pen Tool to trace the sketch and create the vector version of the logo. I created different layers to separate the elements and make it easier to work on each part individually.
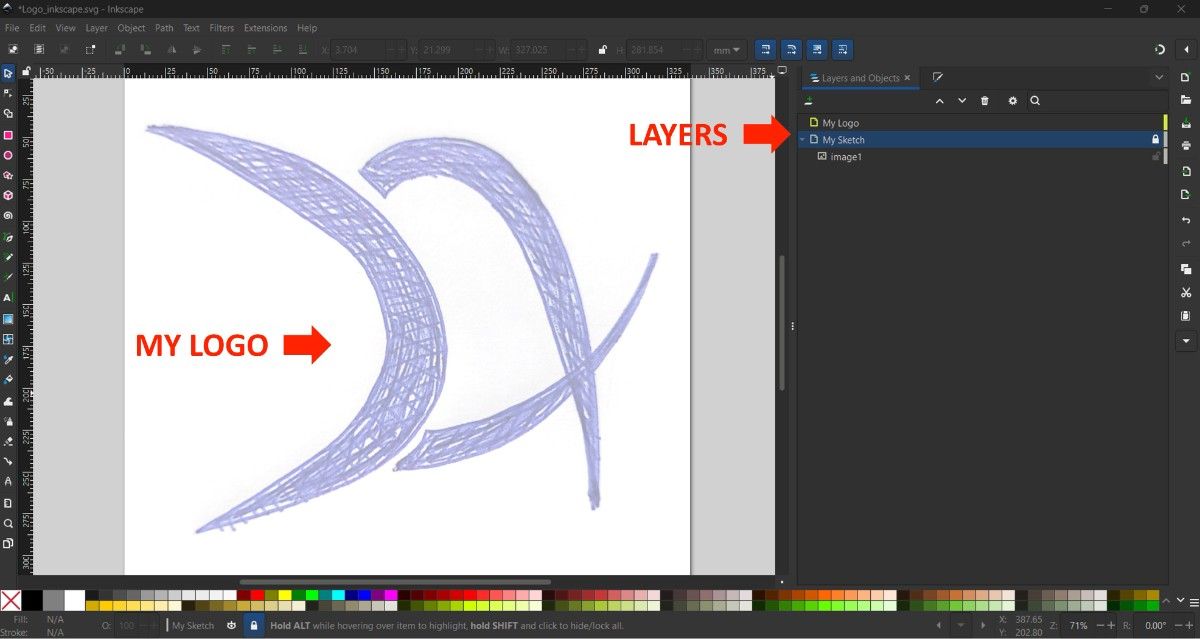
2. Inkscape
Inkscape is an open-source vector graphics editor, similar in capabilities to programs such as Adobe Illustrator, CorelDraw, and Xara X. The main difference is that Inkscape is free and can be modified under the GNU General Public License. It uses the Scalable Vector Graphics (SVG) file format, which is a W3C standard, and supports advanced SVG features. Its interface is designed to be simple and easy to use, while still being powerful, offering a wide range of tools for creative professionals.
You can download Inkscape from the official website: https://inkscape.org/
After downloading, simply click on the installer file, follow the installation steps, and you will have a working version of Inkscape.
The first thing we need to do is set up the working area. To do this, go to File → Document Properties.

Now I am ready to place my logo sketch in order to vectorize it. I created two layers: one for the original image and another for the vectorized result. I also decreased the opacity of the original image to make it easier to trace.
The final result is a vectorized logo that maintains the quality of the original sketch while being scalable without loss of resolution.
3. Comparation between Adobe Illustrator & Inkscape
3.1. Price and License
Adobe Illustrator: Paid software. Requires a monthly or yearly subscription.
Inkscape: Free and open-source.
3.2. User Interface
Adobe Illustrator: Professional and highly polished interface.
Inkscape: Simple and functional, but less modern.
3.3. Tools and Features
Adobe Illustrator: Offers advanced tools for illustration, typography, branding, and layout.
Inkscape: Provides essential vector tools suitable for basic to intermediate design work.
3.4. File Compatibility
Adobe Illustrator: Uses AI format and supports many file types (PDF, EPS, SVG).
Inkscape: Uses SVG as its main format and supports PDF, EPS, and others.
4. Conclusion About 2D Software
In conclusion, I will use Adobe Illustrator because it offers more advanced tools, better performance, and professional features that help me create high-quality designs efficiently.
Software 3D
5. Solidworks
Solidworks is a powerful 3D CAD software used for designing and simulating mechanical parts and assemblies. It is widely used in engineering and manufacturing industries for creating detailed 3D models.
You can download Solidworks from the official website: https://www.solidworks.com/
For my final project, I am going to use a Raspberry Pi, and I will design and build a case for the board. The dimensions of a Raspberry Pi 5 with a case are 93 × 62 × 30 mm.

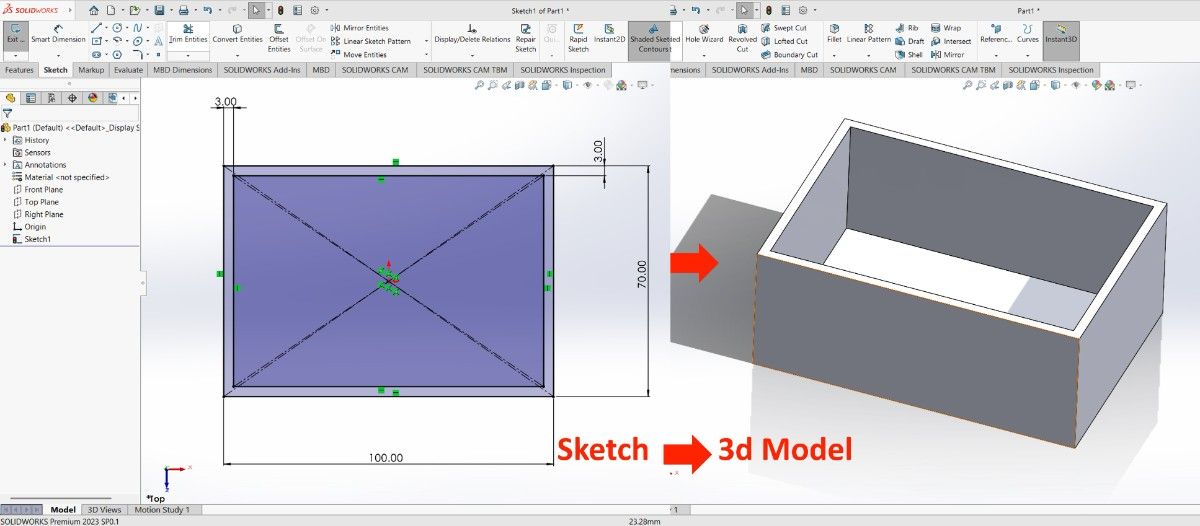
Finally, I created a 3D model in SolidWorks based on a 2D sketch.
6. Onshape
Onshape is a cloud-based 3D CAD software that allows users to design, collaborate, and simulate mechanical parts and assemblies in real-time. It is accessible from any device with an internet connection.
You can access to Onshape: https://www.onshape.com/
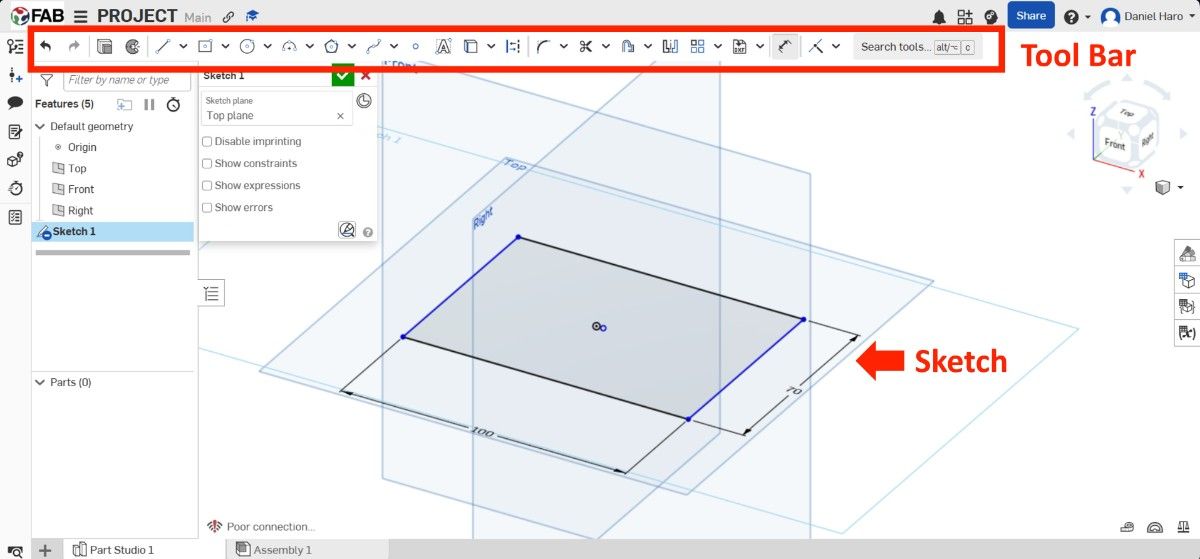
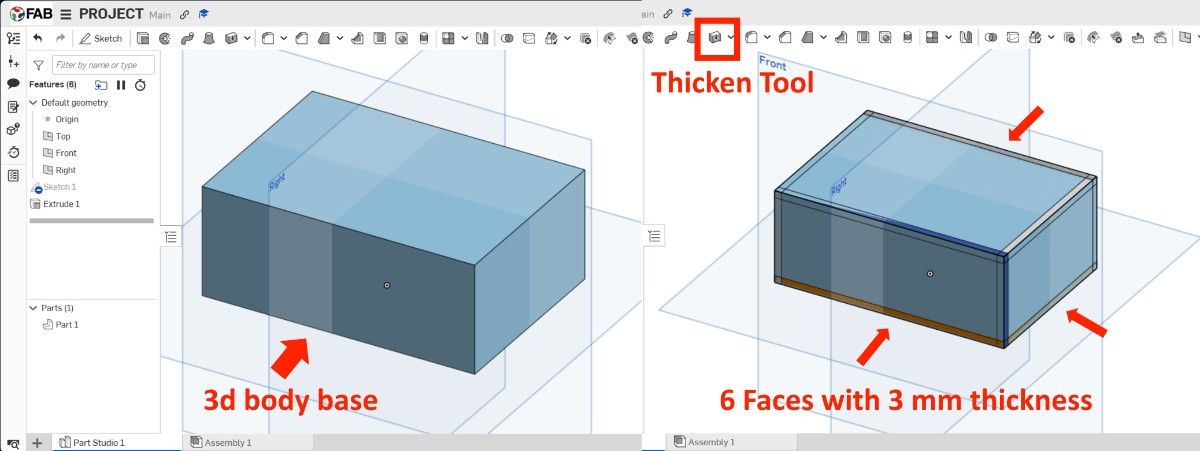
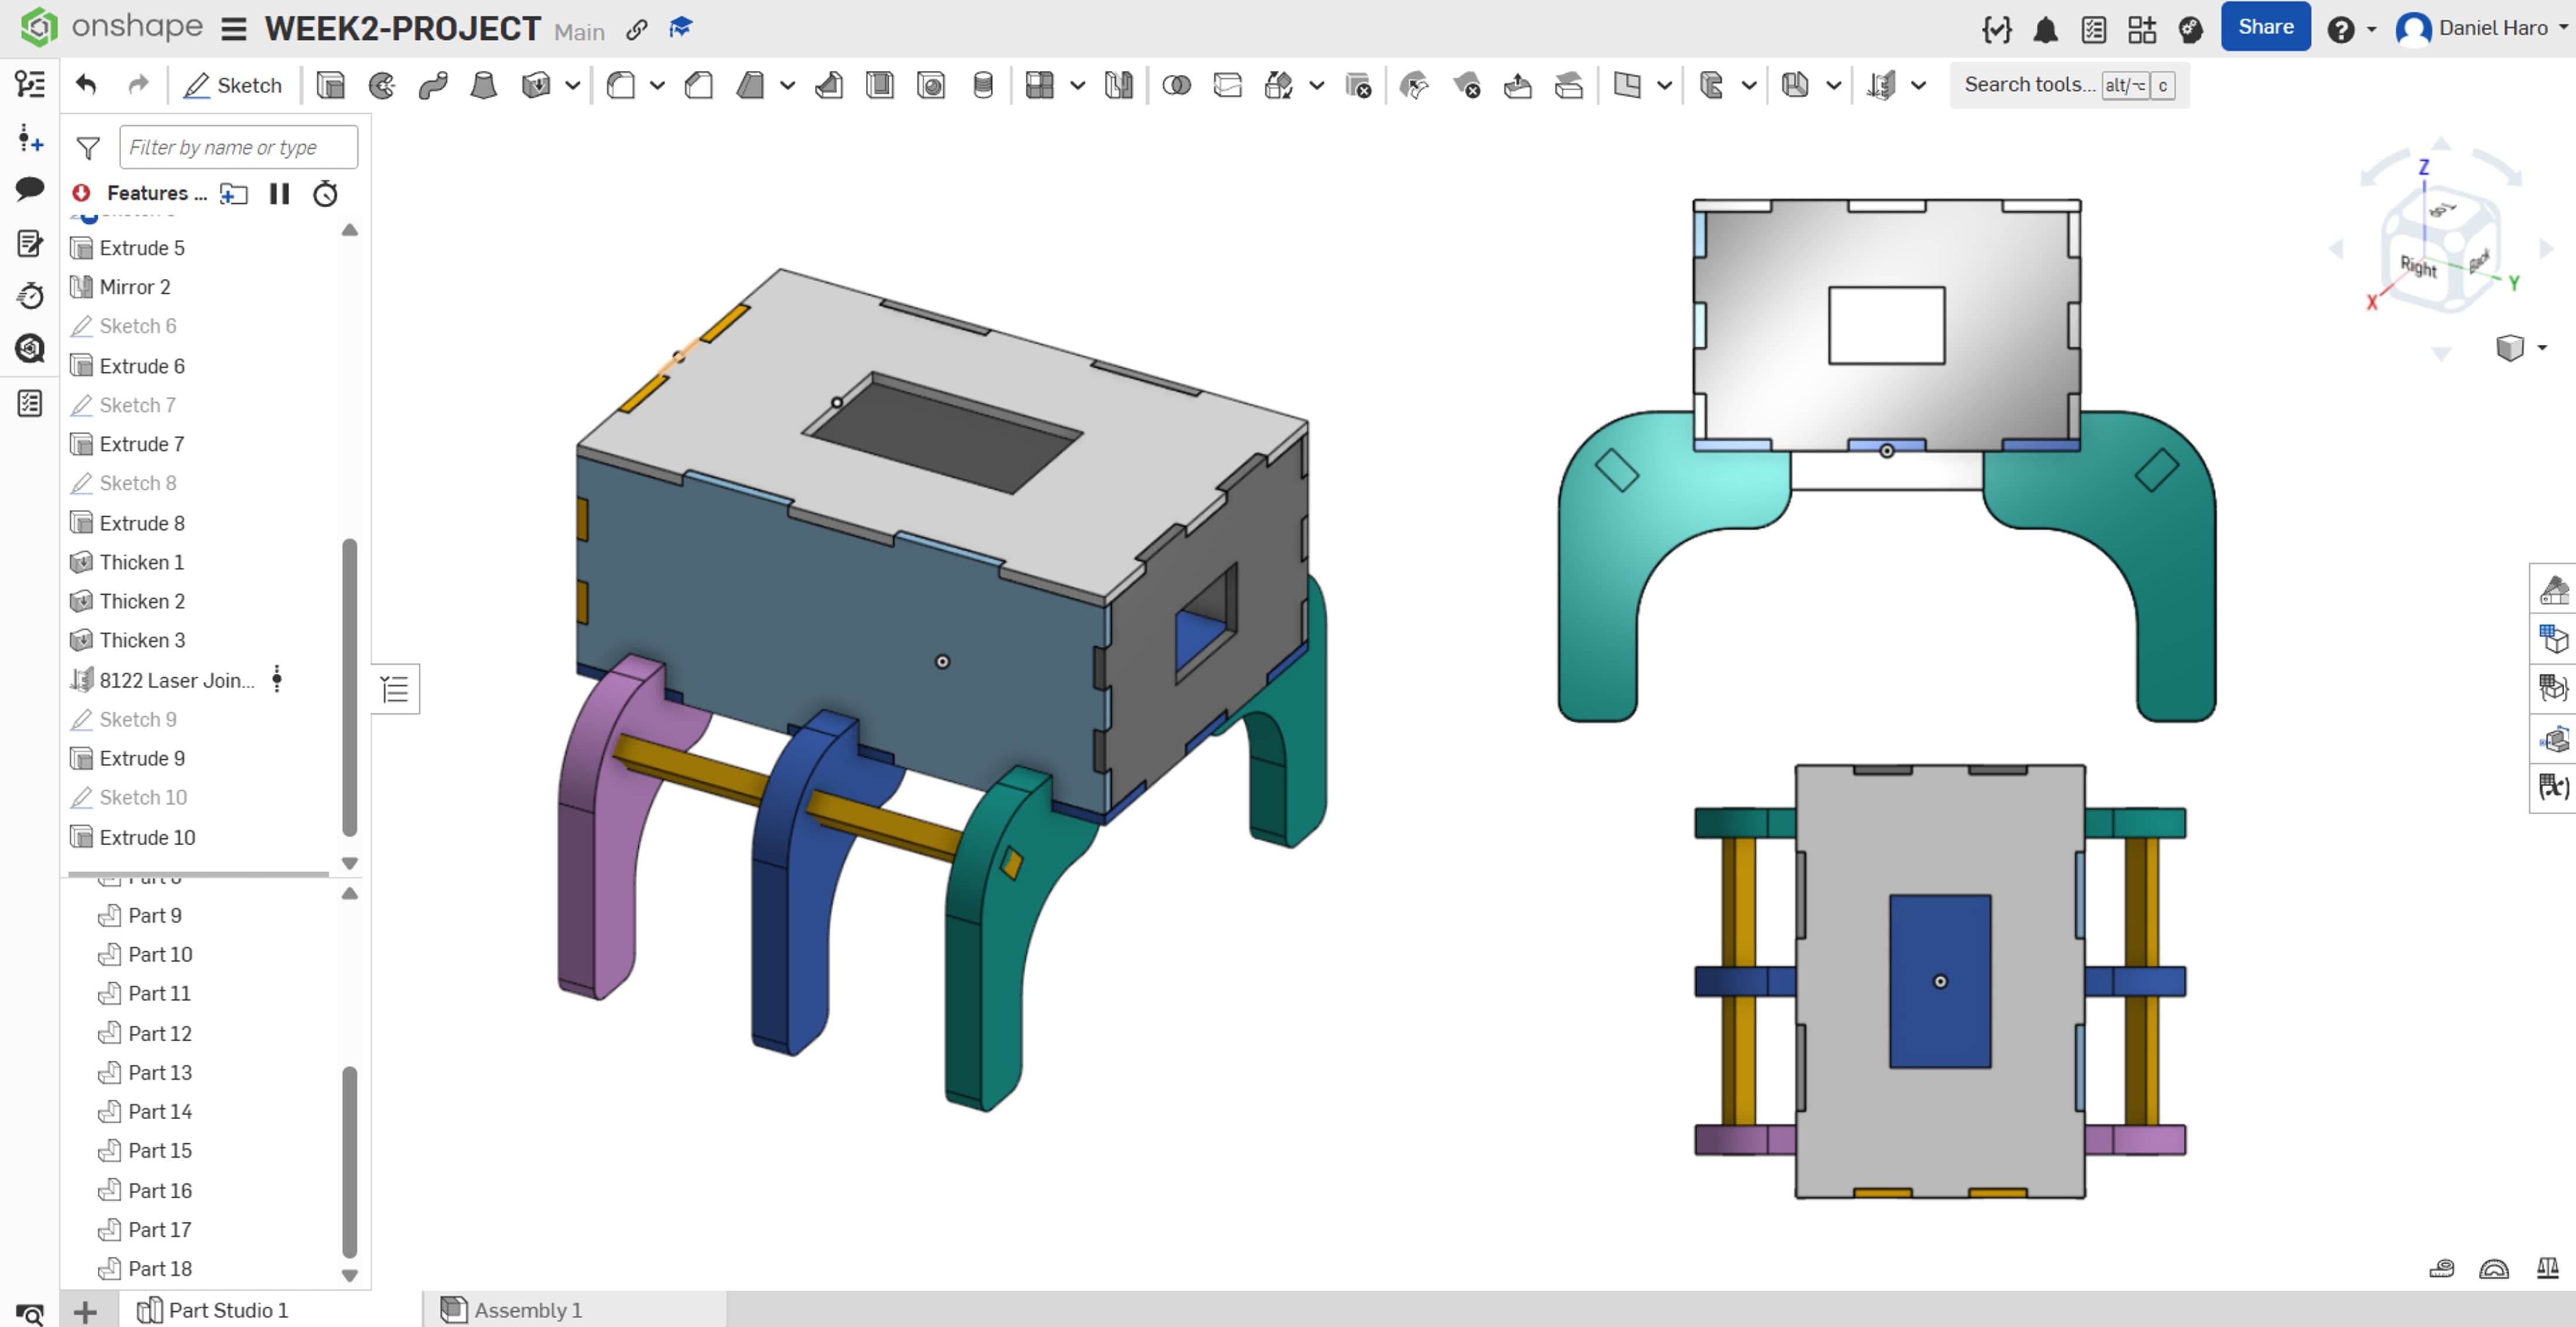
I tried to create the model in Onshape so that I could later cut it with a laser on MDF. First, I created the base and gave it the corresponding height.
After creating the main body, I used the Thicken tool to generate six separate parts from each side of the body, setting the thickness to 3 mm.
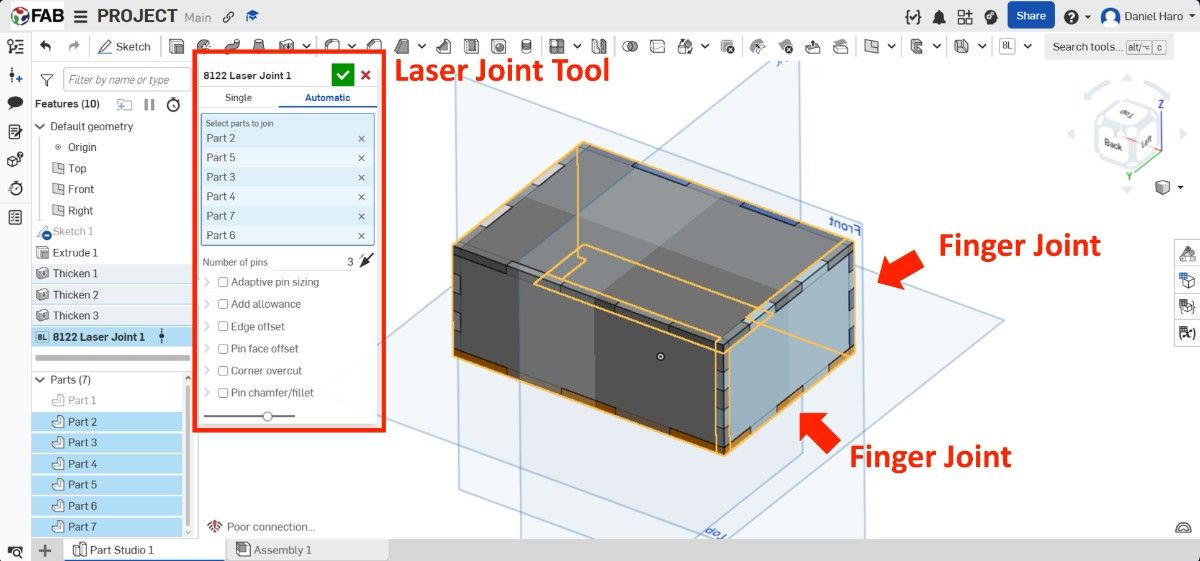
After that I used the Features Script, Laser Joint so to make the parts compatible for laser cutting.
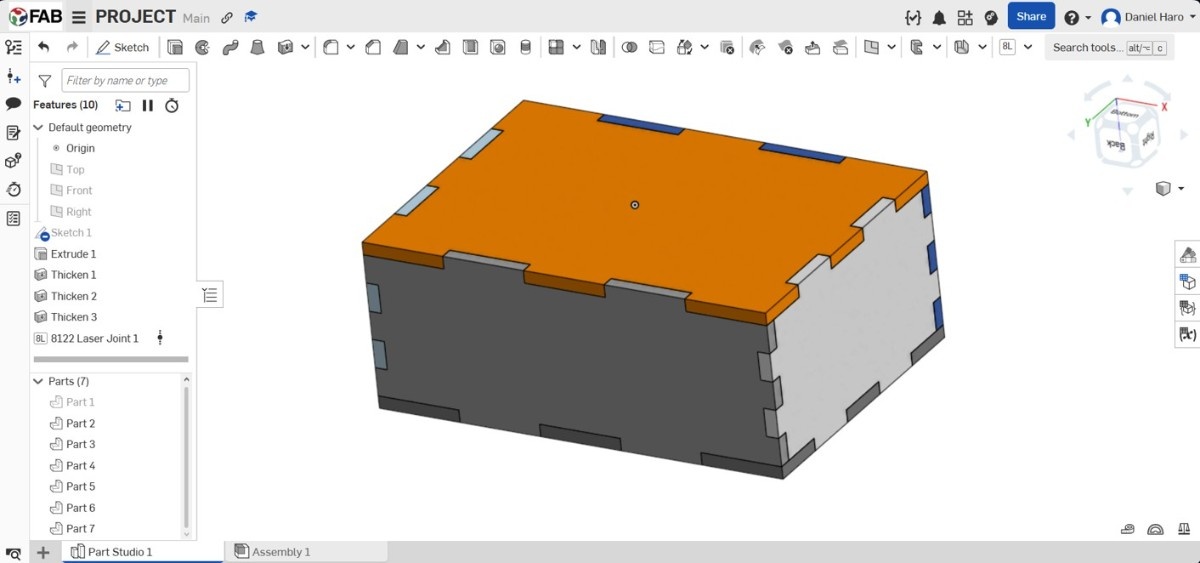
So here it is , the final model ready for laser cutting.
7. Animation
For the animation, I used Blender, which is software for creating 3D animations and visual effects. One of its main advantages is that it is 100% free and open source.
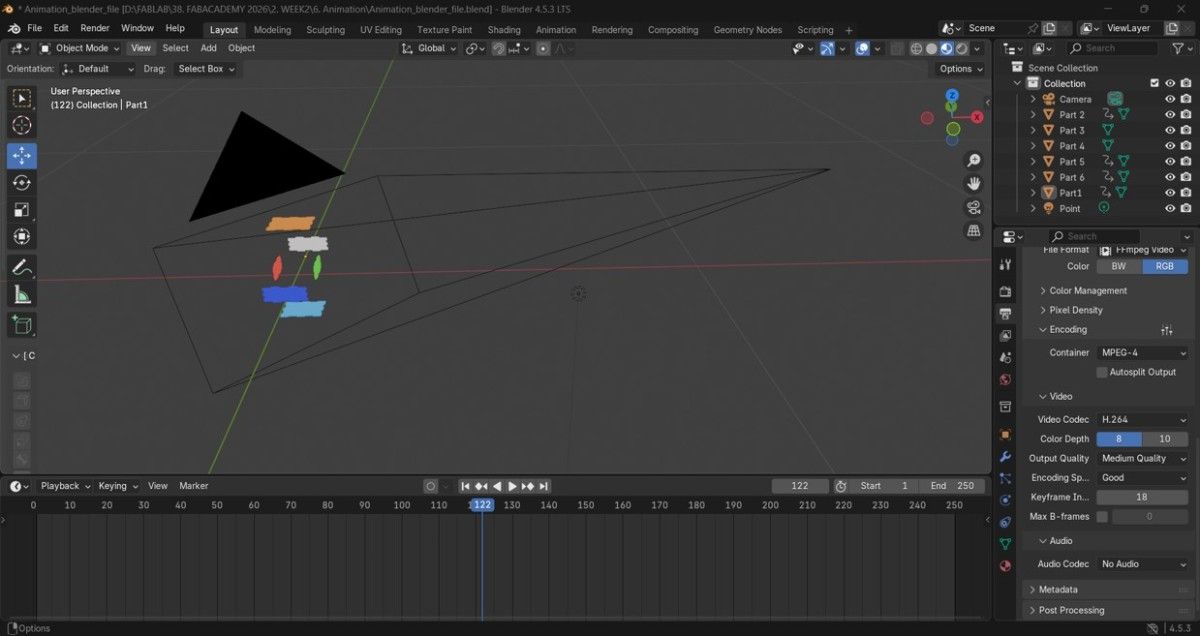
And here is the resulting animation video.
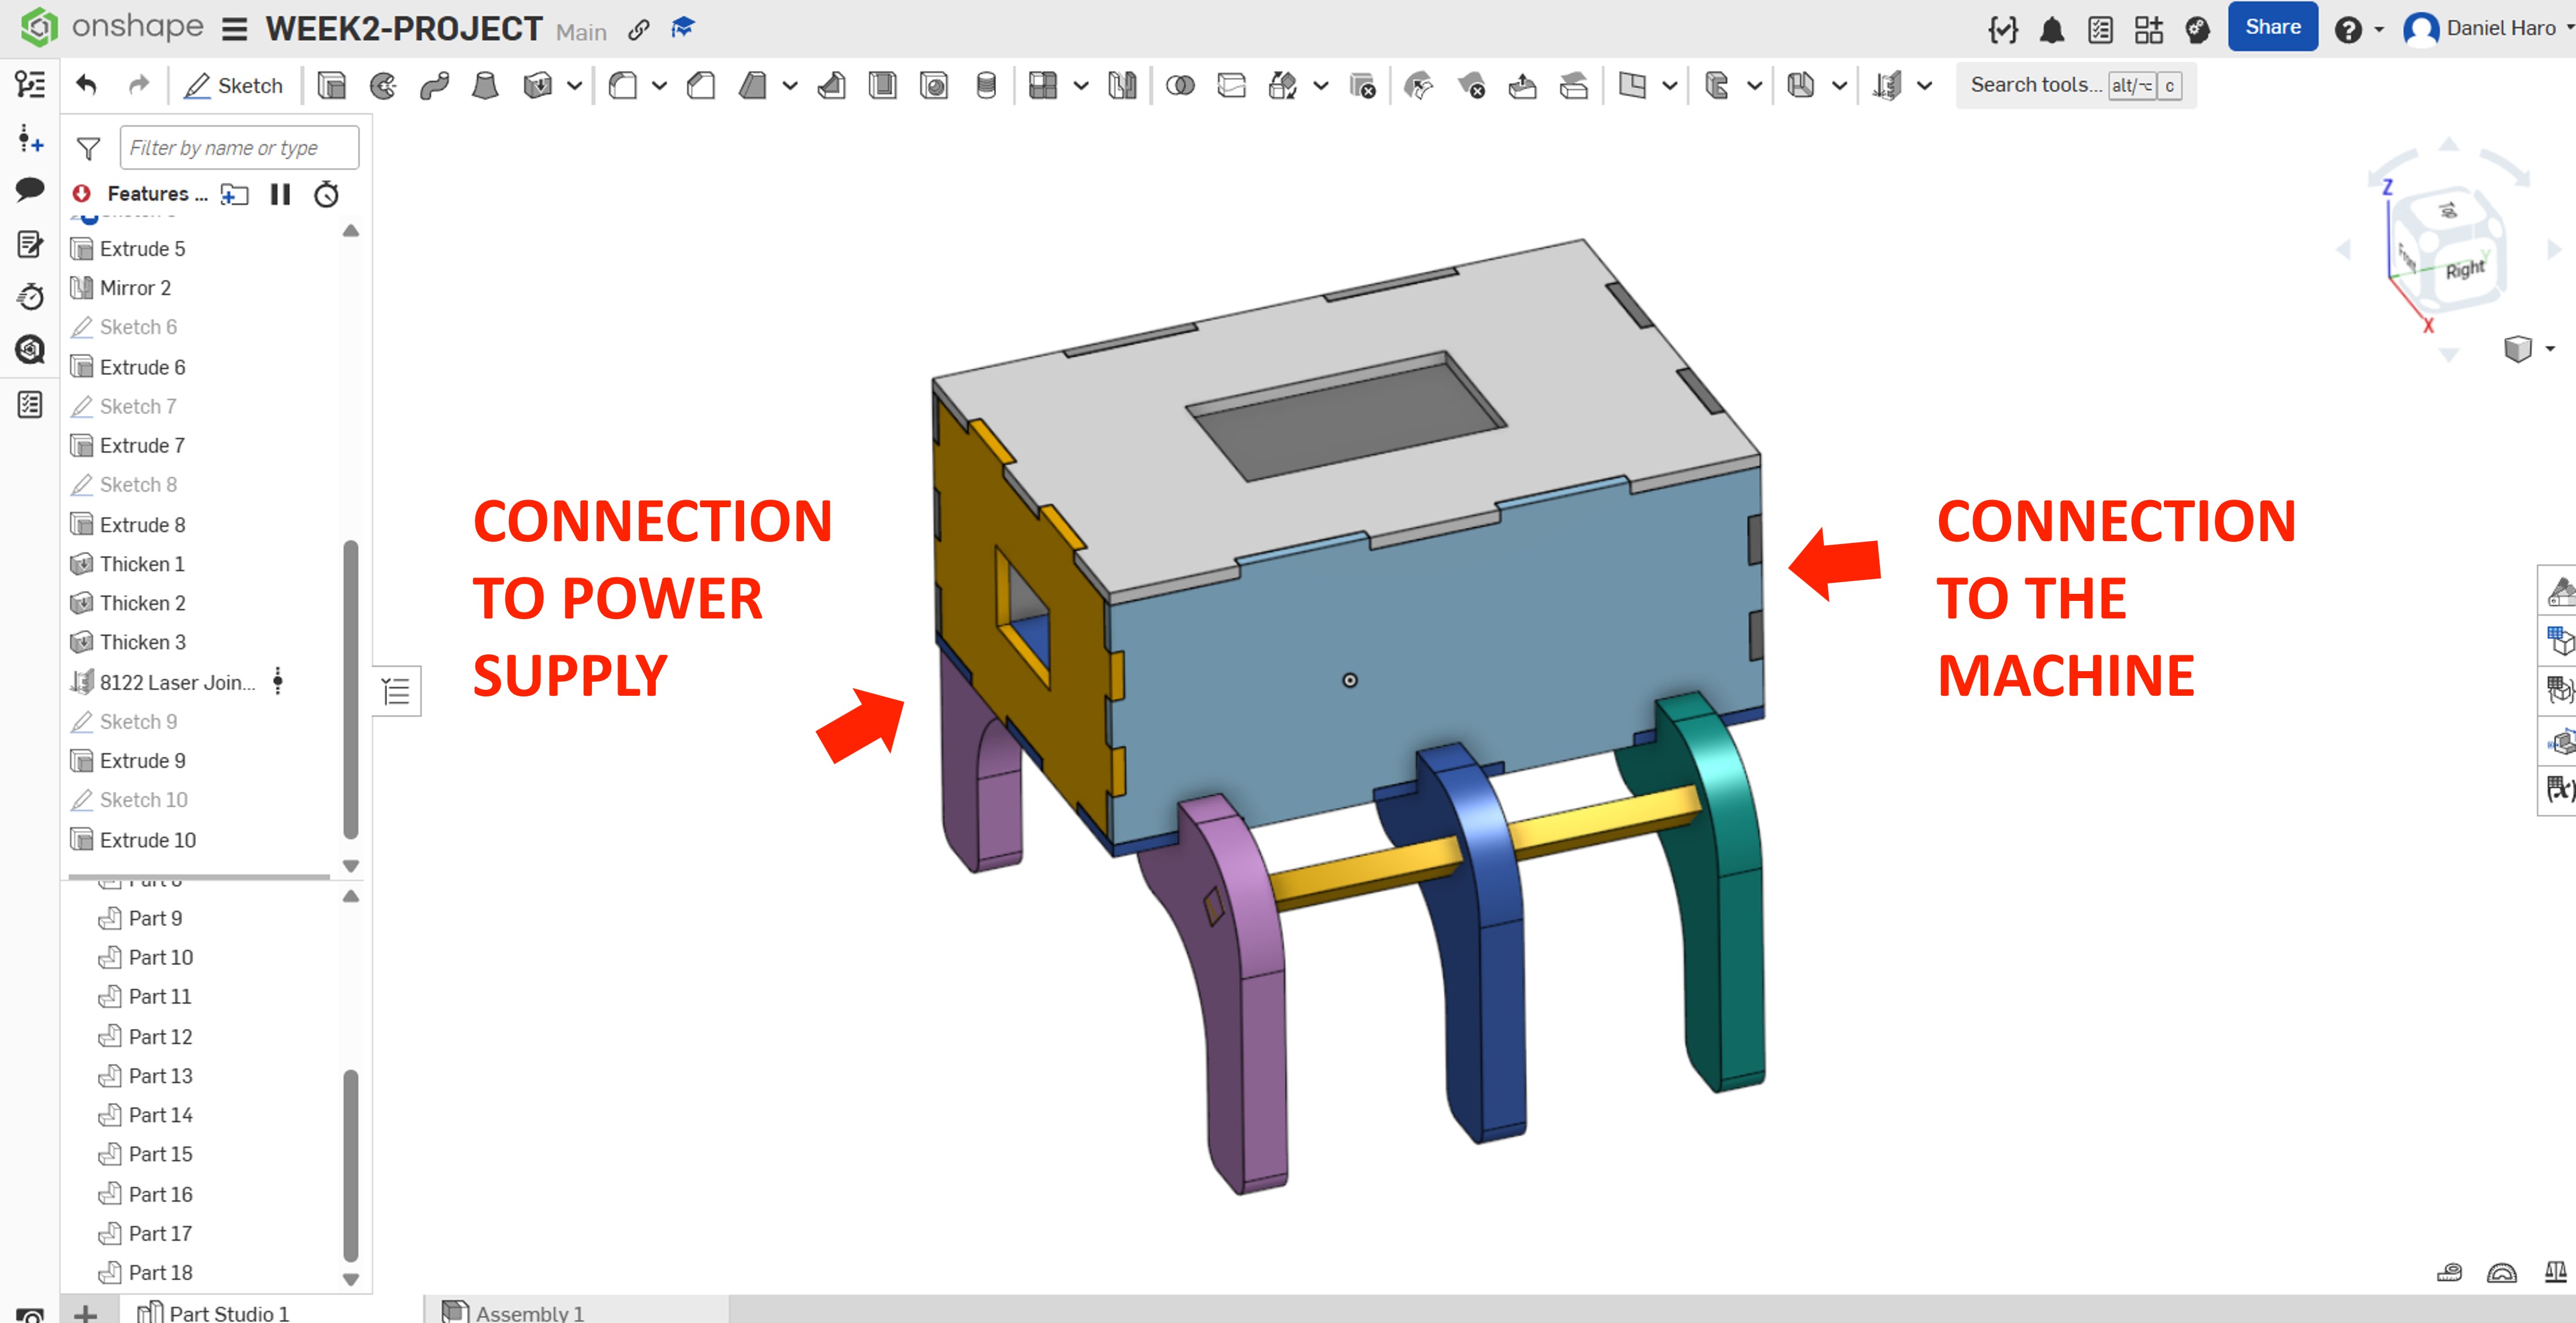
8. Design for Final Project
For my final project, I designed an enclosure for the circuit, which integrates a solid-state relay and a microcontroller responsible for controlling the activation and deactivation of the machine’s power supply.
The enclosure must include open sides to facilitate the connection of the power supply cable and the interface with the machine.
9 . Files
Here are the files available for download.