Week 14 Progress Checklist
| Status | Task |
|---|---|
| ✓ | Linked to the group assignment page and reflected on your individual page what you have learned |
| ✓ | Reviewed the safety data sheets for each of your molding and casting materials, then made and compared test casts with each of them |
| ✓ | Documented how you designed and created your 3D mold, including machine settings |
| ✓ | Ensured your mold has smooth surface finish, that does not show the production process (by postprocessing if necessary) |
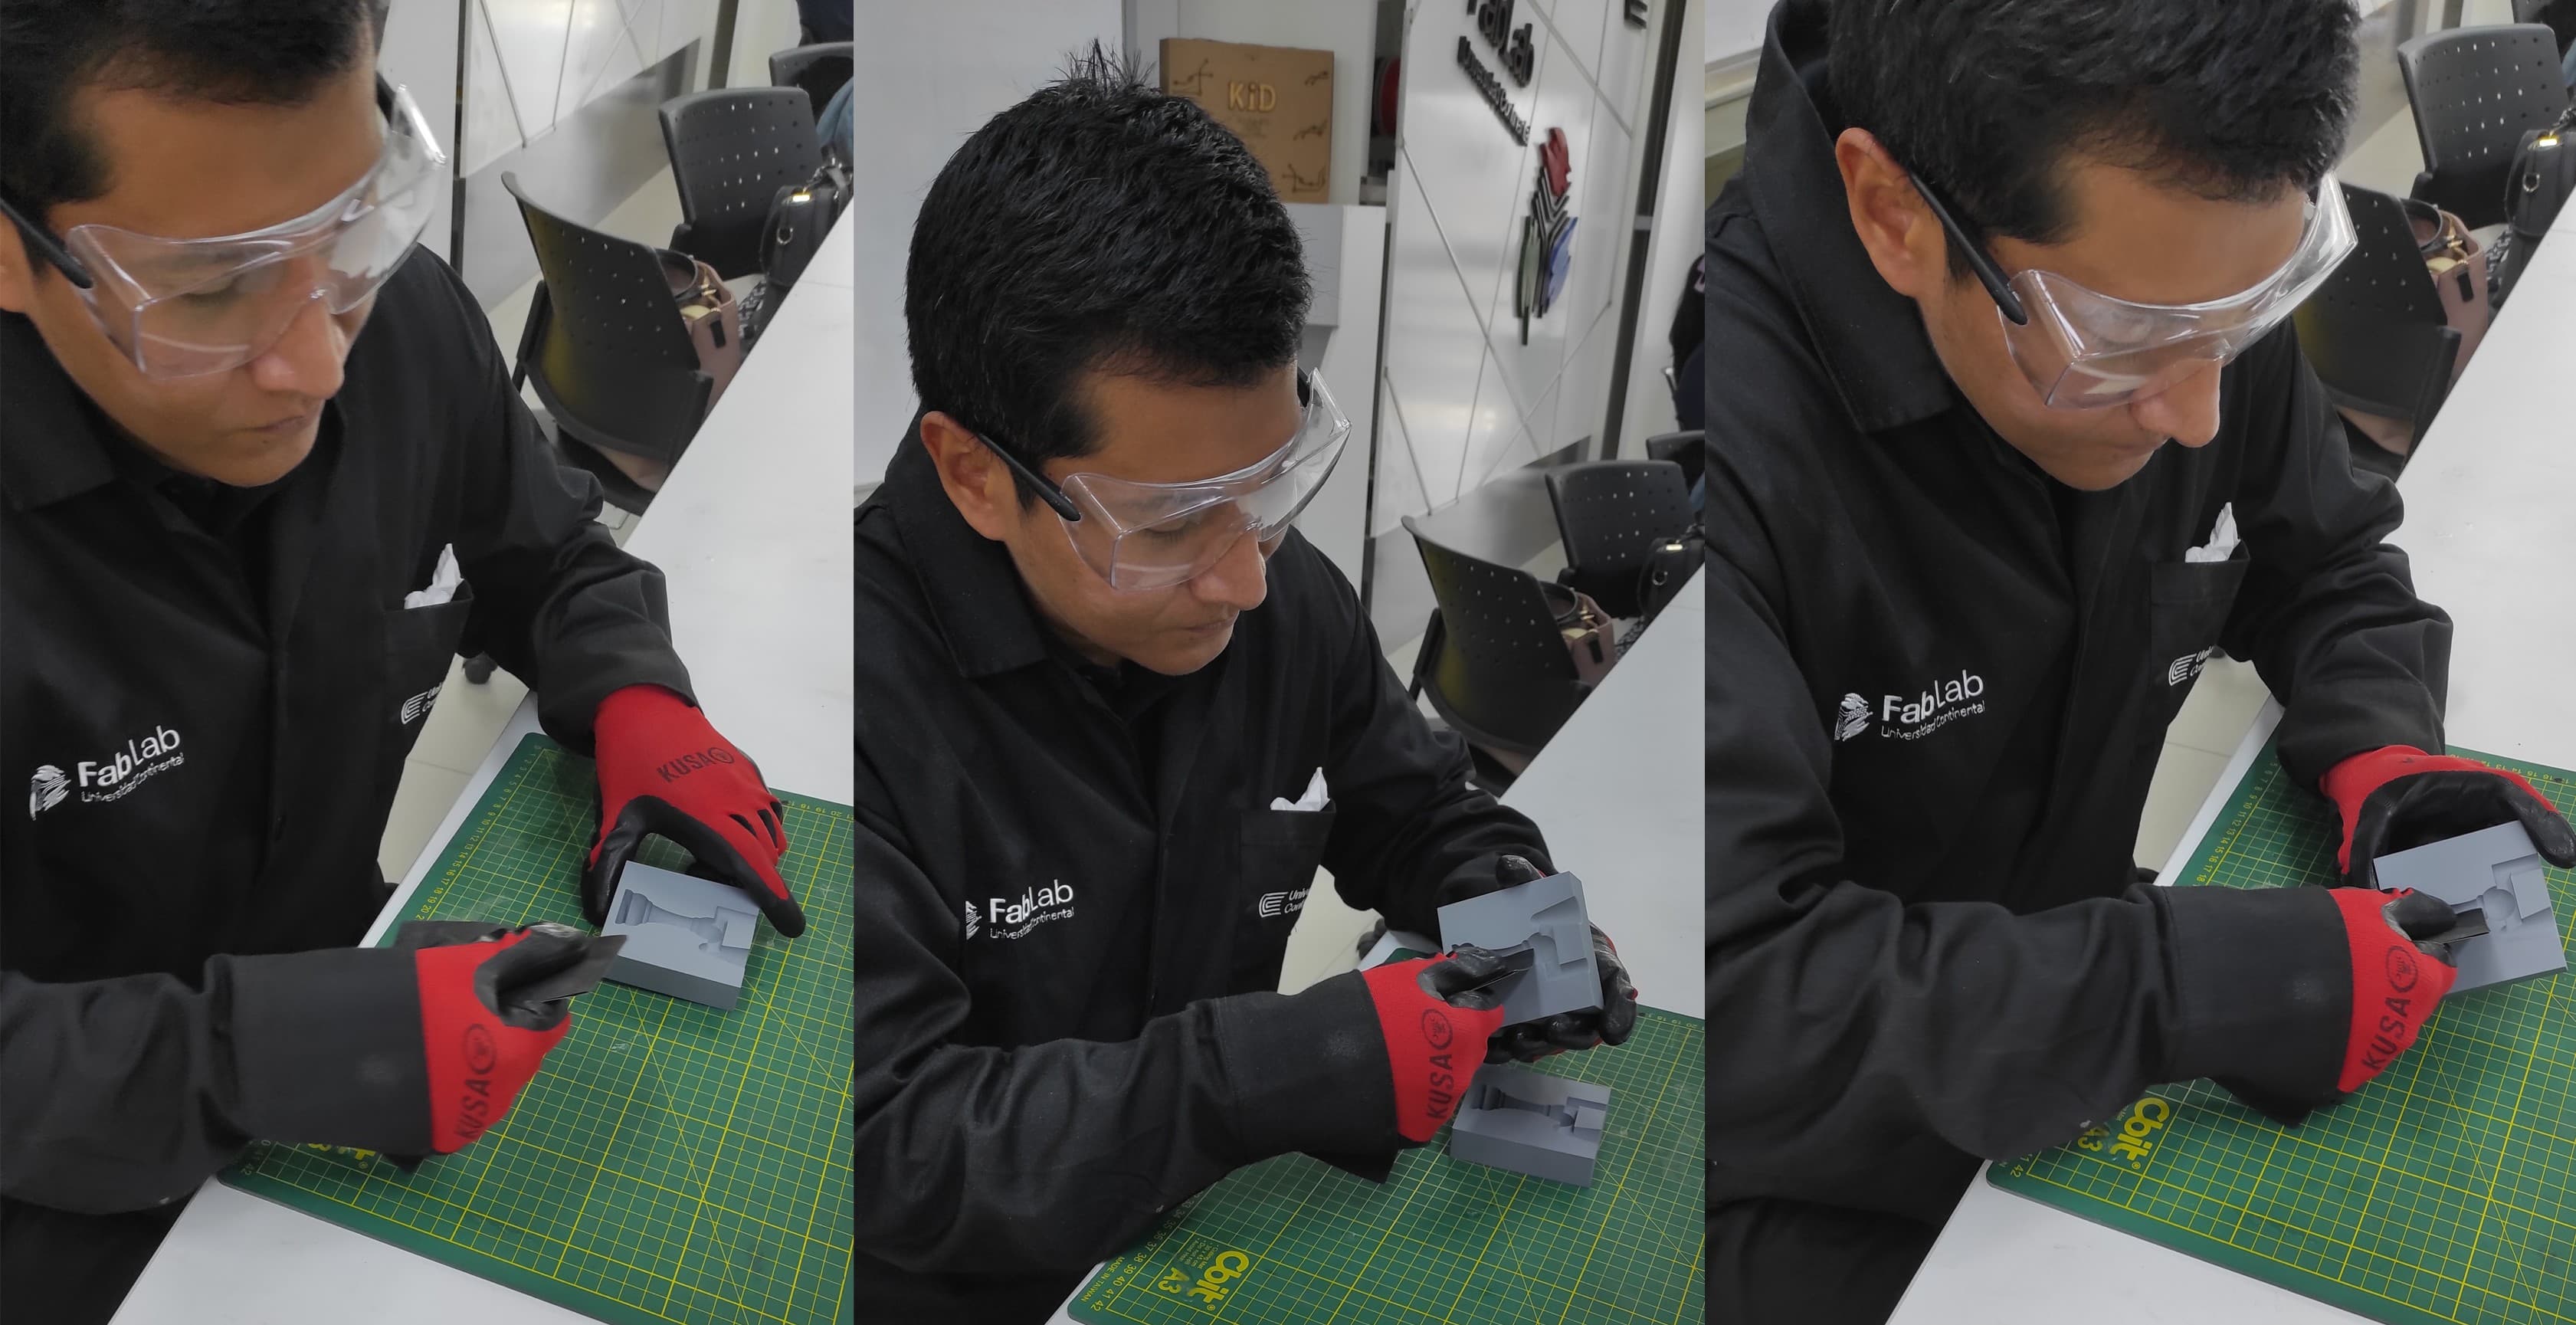
| ✓ | Shown how you safely made your mold and cast the parts |
| ✓ | Described problems and how you fixed them |
| ✓ | Included your design files and ‘hero shot’ of the mold and the final object |
Moulding and Casting
Group Assignment
1. Molding and Casting
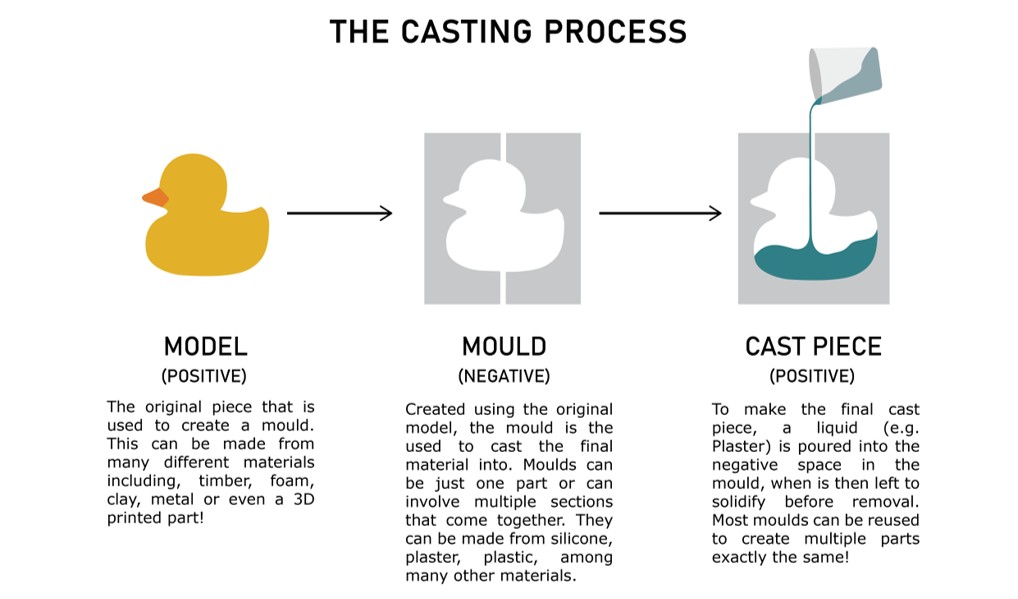
Molding and casting is a manufacturing process used to copy shapes by using a mold.
Molding: making a negative shape (the mold) from an original object.
Casting: pouring a material into that mold to create a copy.
Molding and casting is a replication process:
- A mold = negative geometry
- A cast = positive reproduction
2. Materials
Molding and casting uses three main groups of materials. First, machinable materials like wax, foam, or MDF are used to mill the initial mold shape with a CNC machine. Second, flexible mold materials, mainly silicone rubber (such as products from Smooth-On), are poured over that shape to create a detailed and reusable negative mold. Finally, casting materials—like polyurethane resin, epoxy, plaster, or concrete—are poured into the mold to produce the final object. Each material is selected based on properties such as flexibility, curing time, strength, and ability to capture fine details.
|
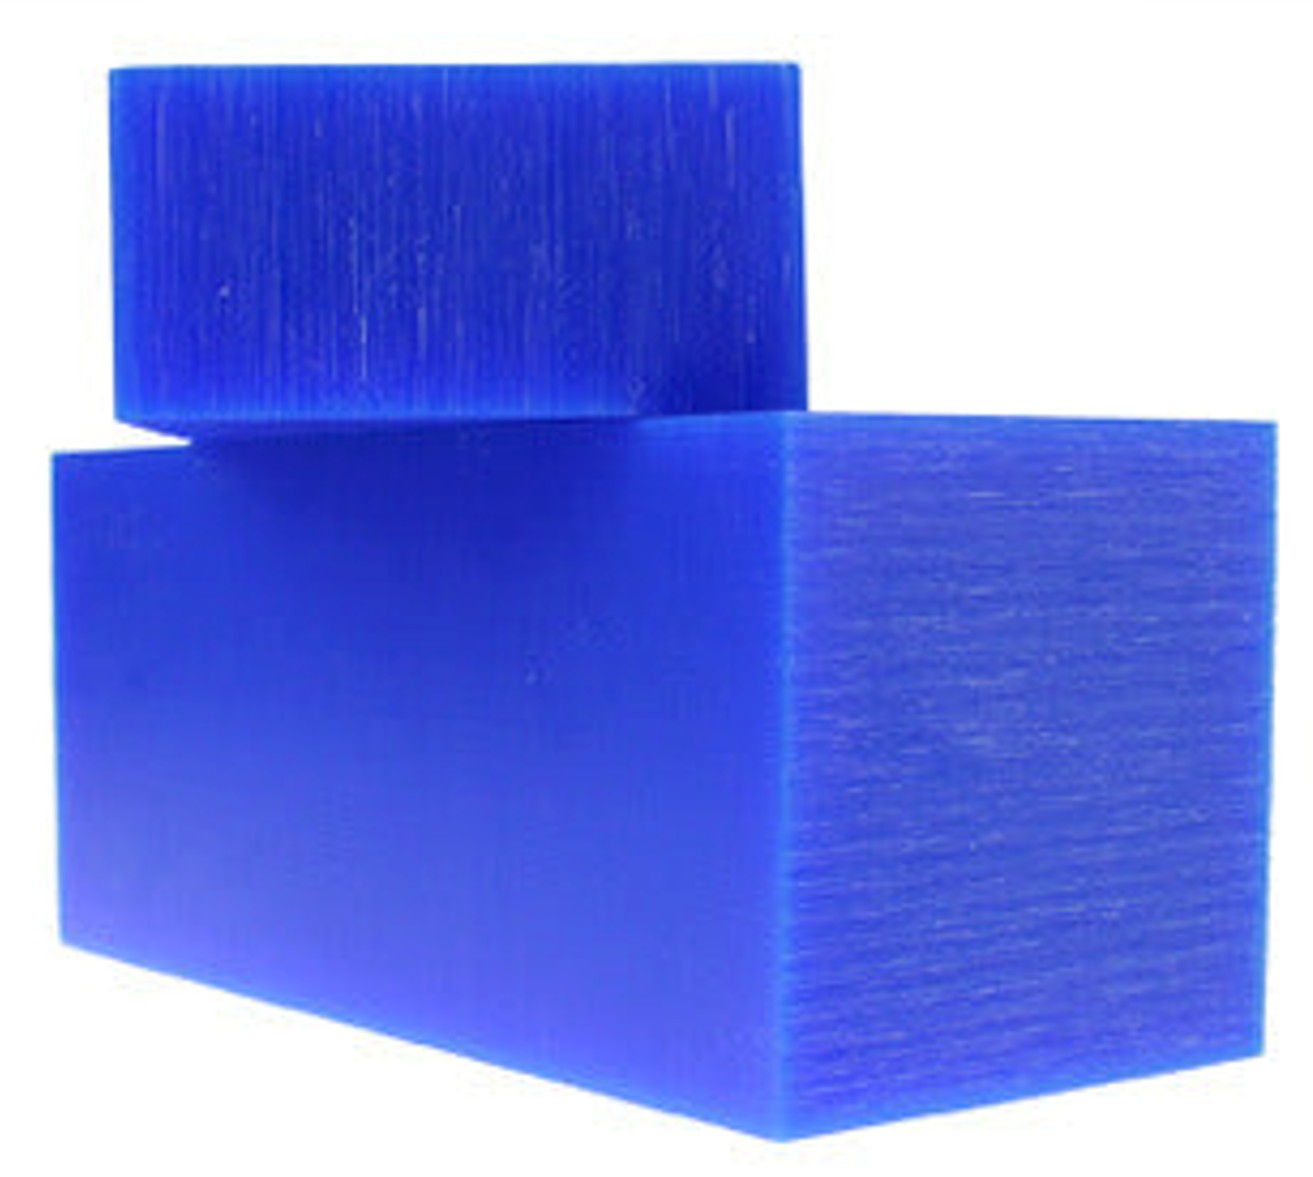
Machinable wax Easy to cut, smooth finish Reusable (can be melted and recycled) Ideal for precise molds |
|
|
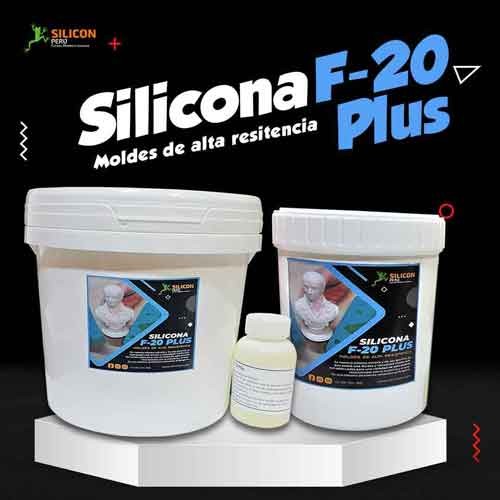
RTV F-20 Plus Silicone RTV F-20 Plus is a room-temperature curing silicone with medium hardness and viscosity, offering high tear resistance. |
|
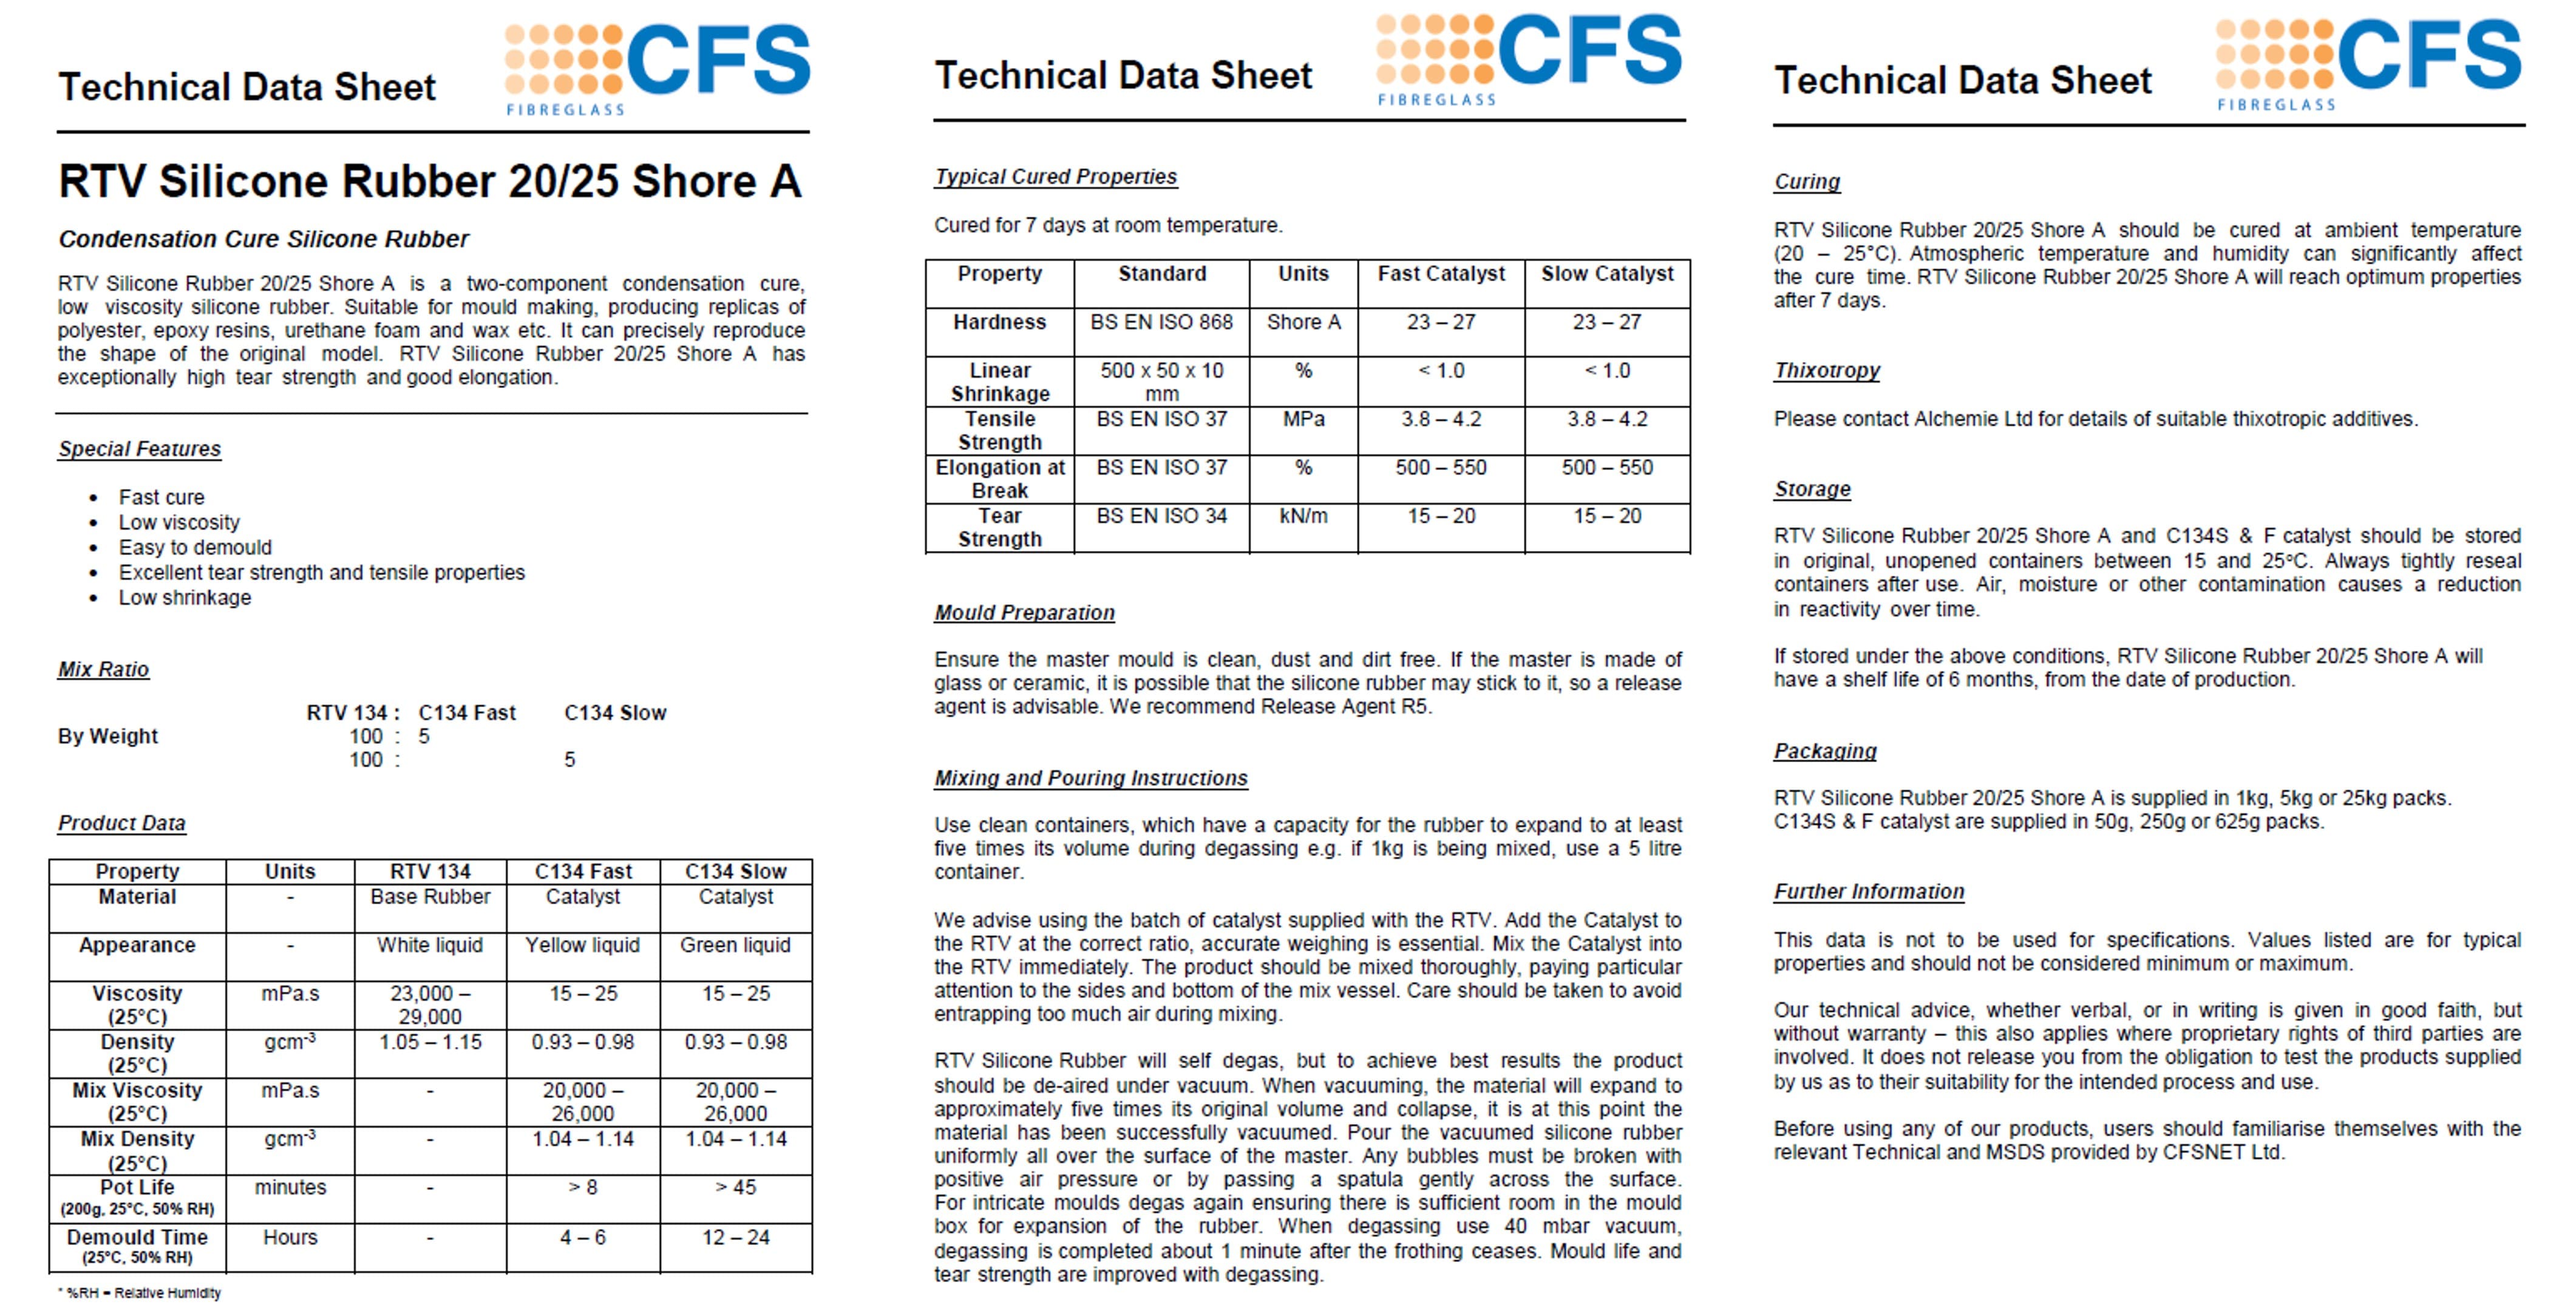
RTV F-20 Plus Silicone Data Sheet
I reviewed the silicone’s data sheet to understand its key properties and safety requirements. This helped me determine important parameters such as the correct mixing ratio, curing time, and working time (pot life), which are essential for a successful casting process. Additionally, the data sheet provided safety guidelines, including proper handling, recommended protective equipment, and ventilation requirements. Taking these factors into account ensured that the process was both safe and efficient, while also improving the quality and reliability of the final result.
Individual Assignment
3. Mold Design
I decided to design a pawn since it’s a standard 3D model, so I used Onshape for the design as well.
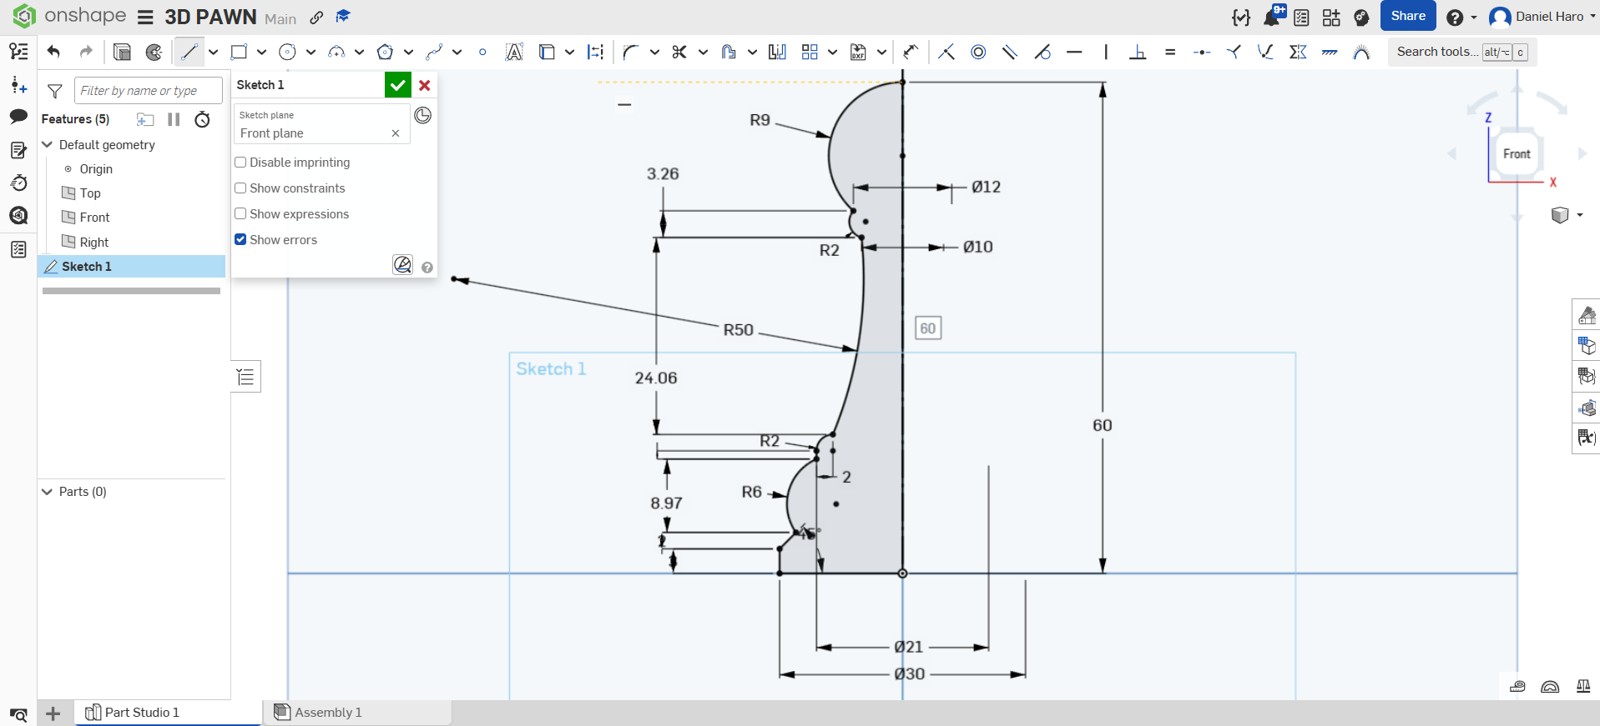
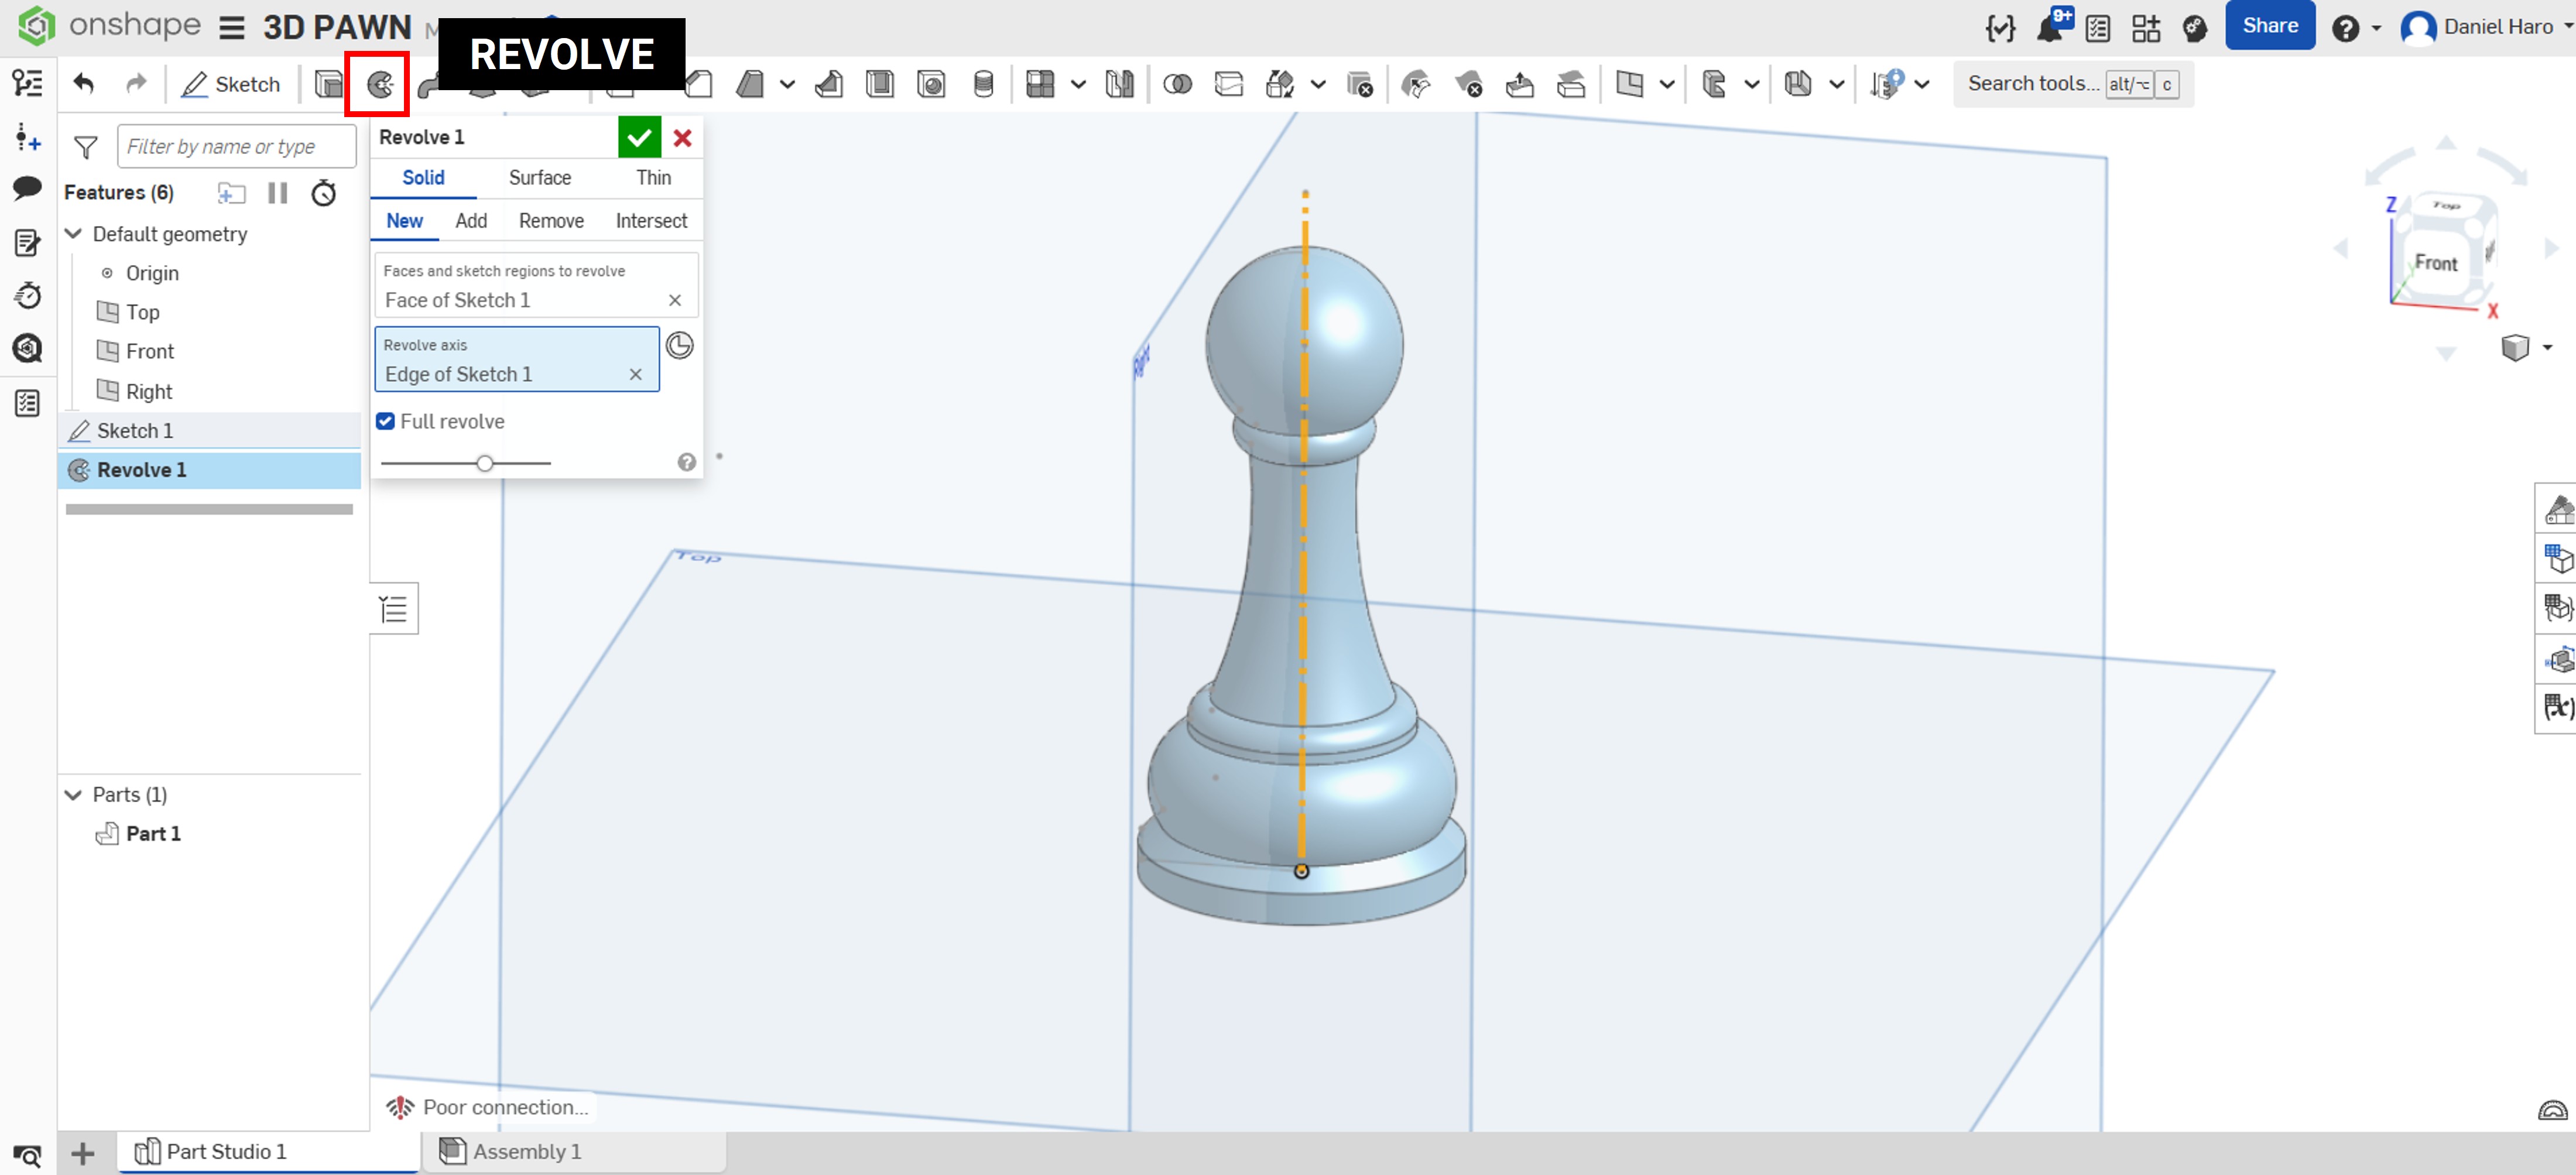
After completing the sketch, I used the revolve tool to create the pawn model.
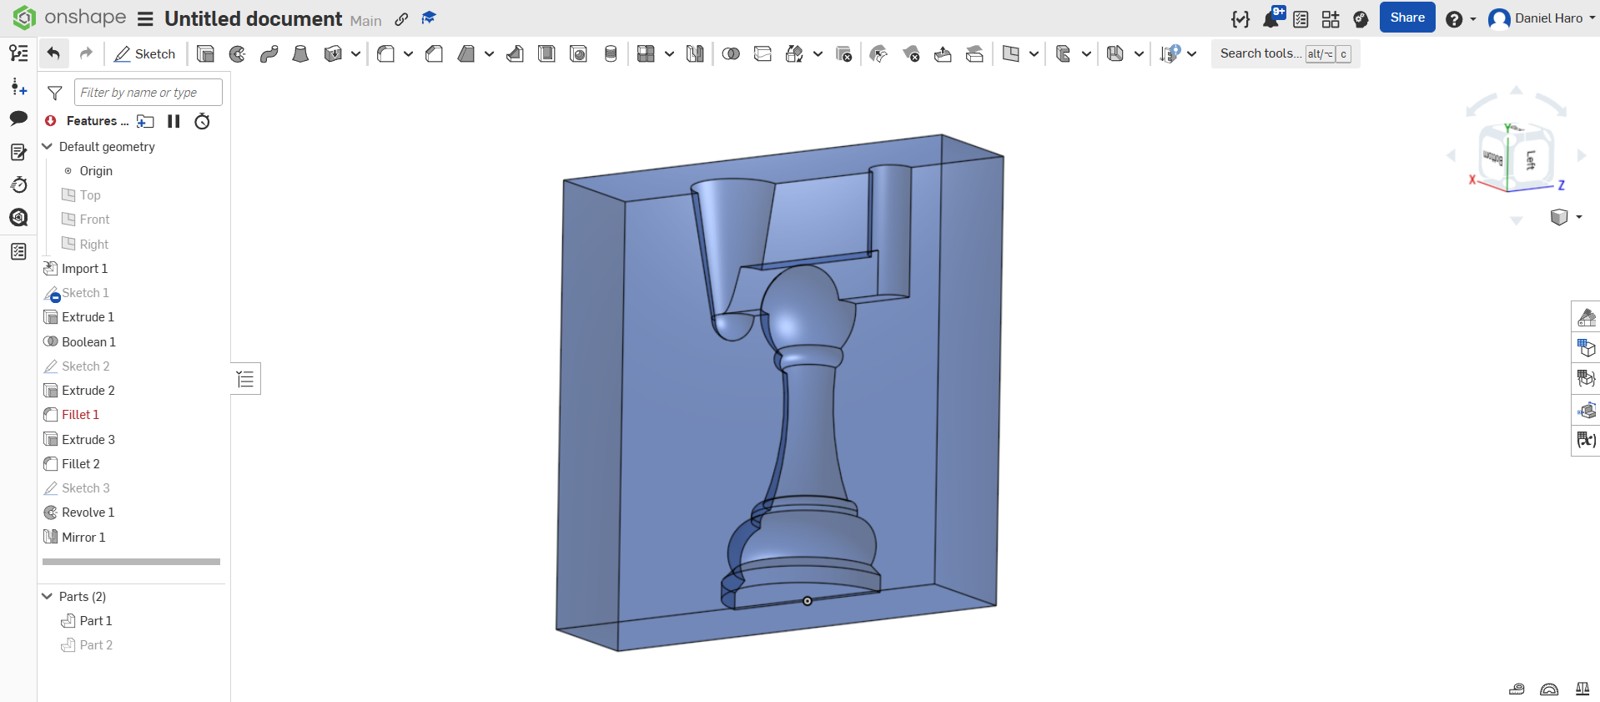
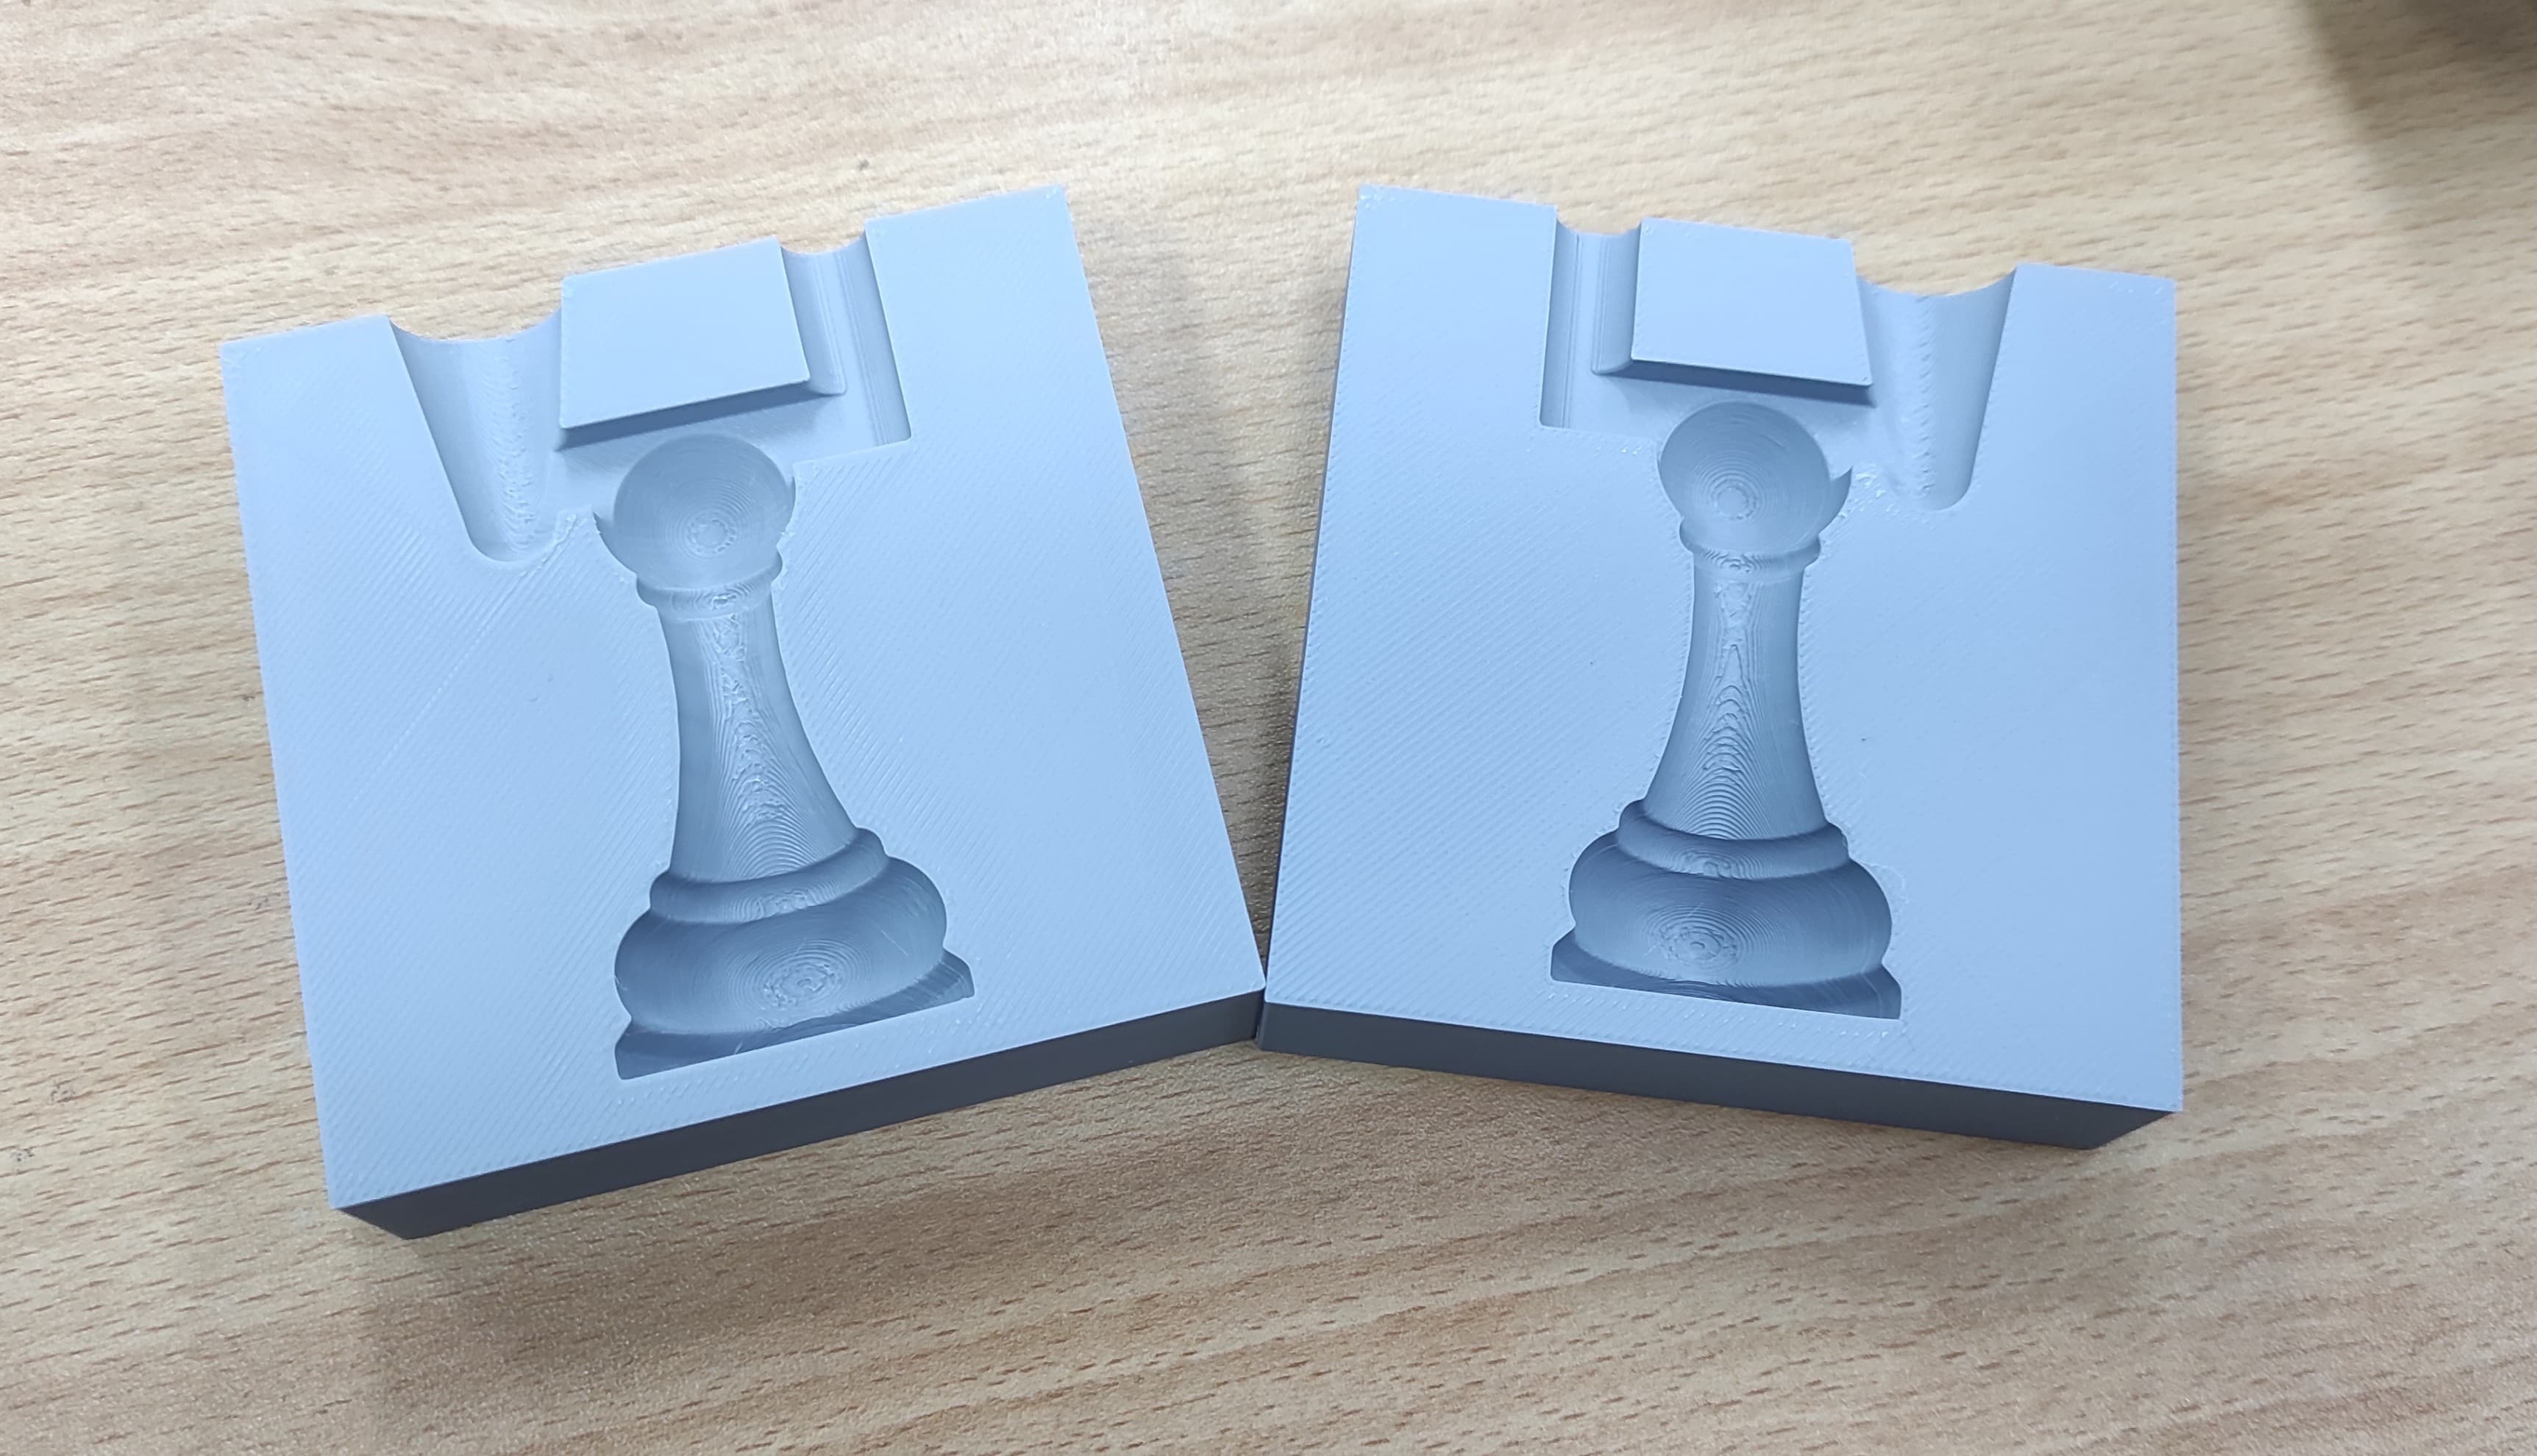
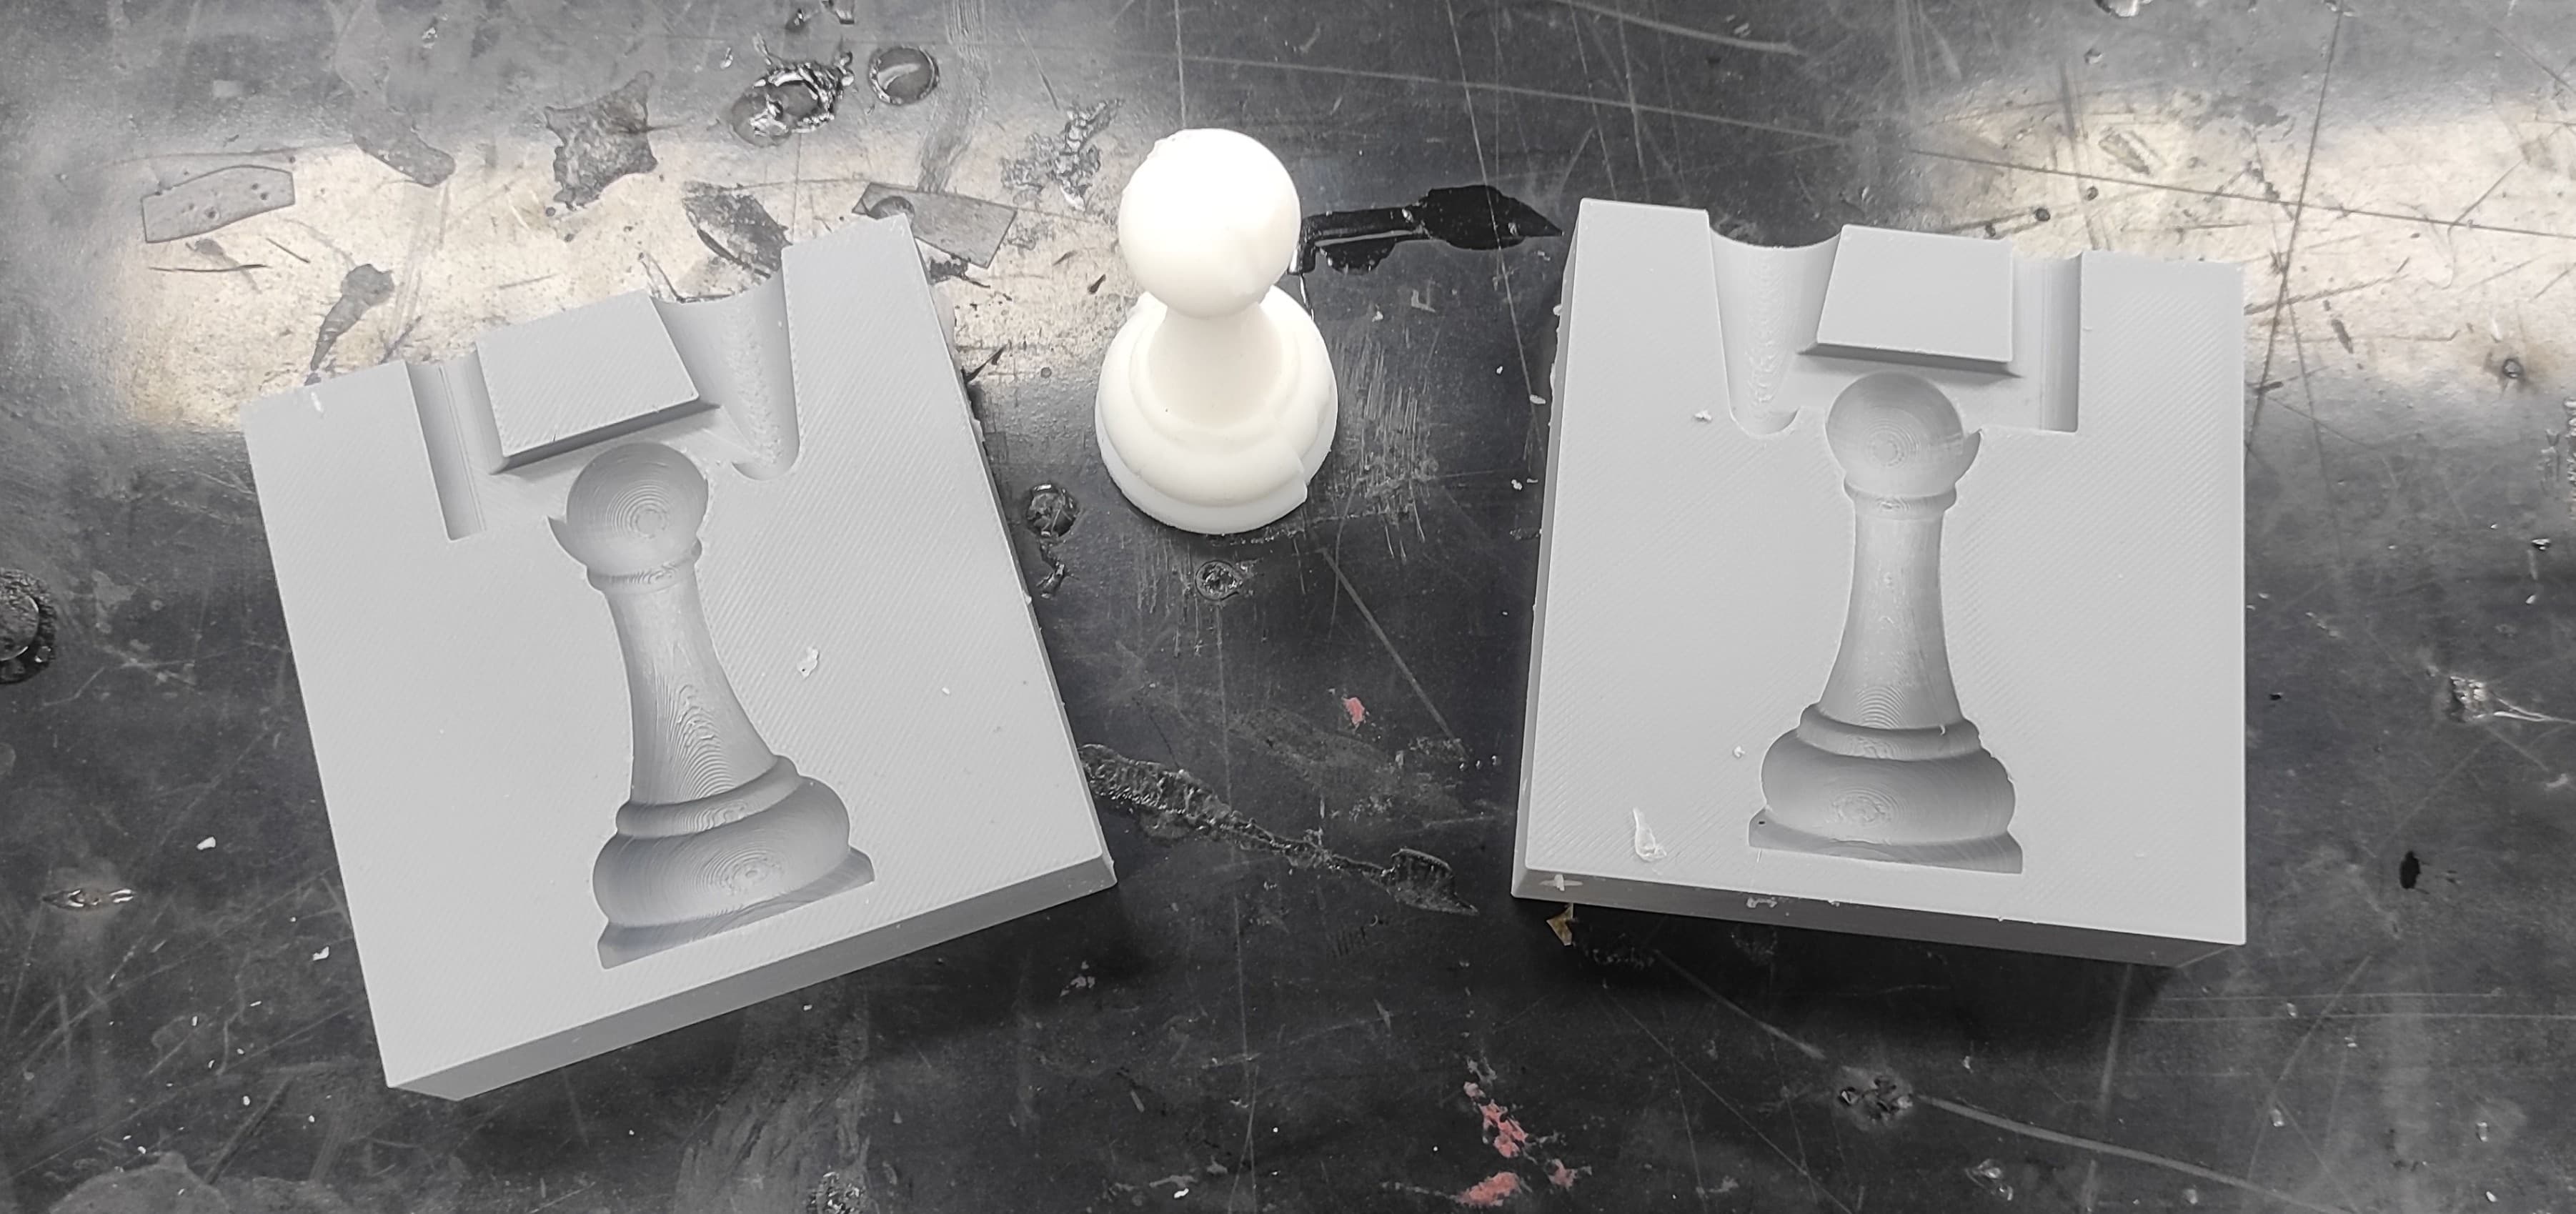
I created two solid blocks and used the subtract tool in Onshape to generate the mold cavity.

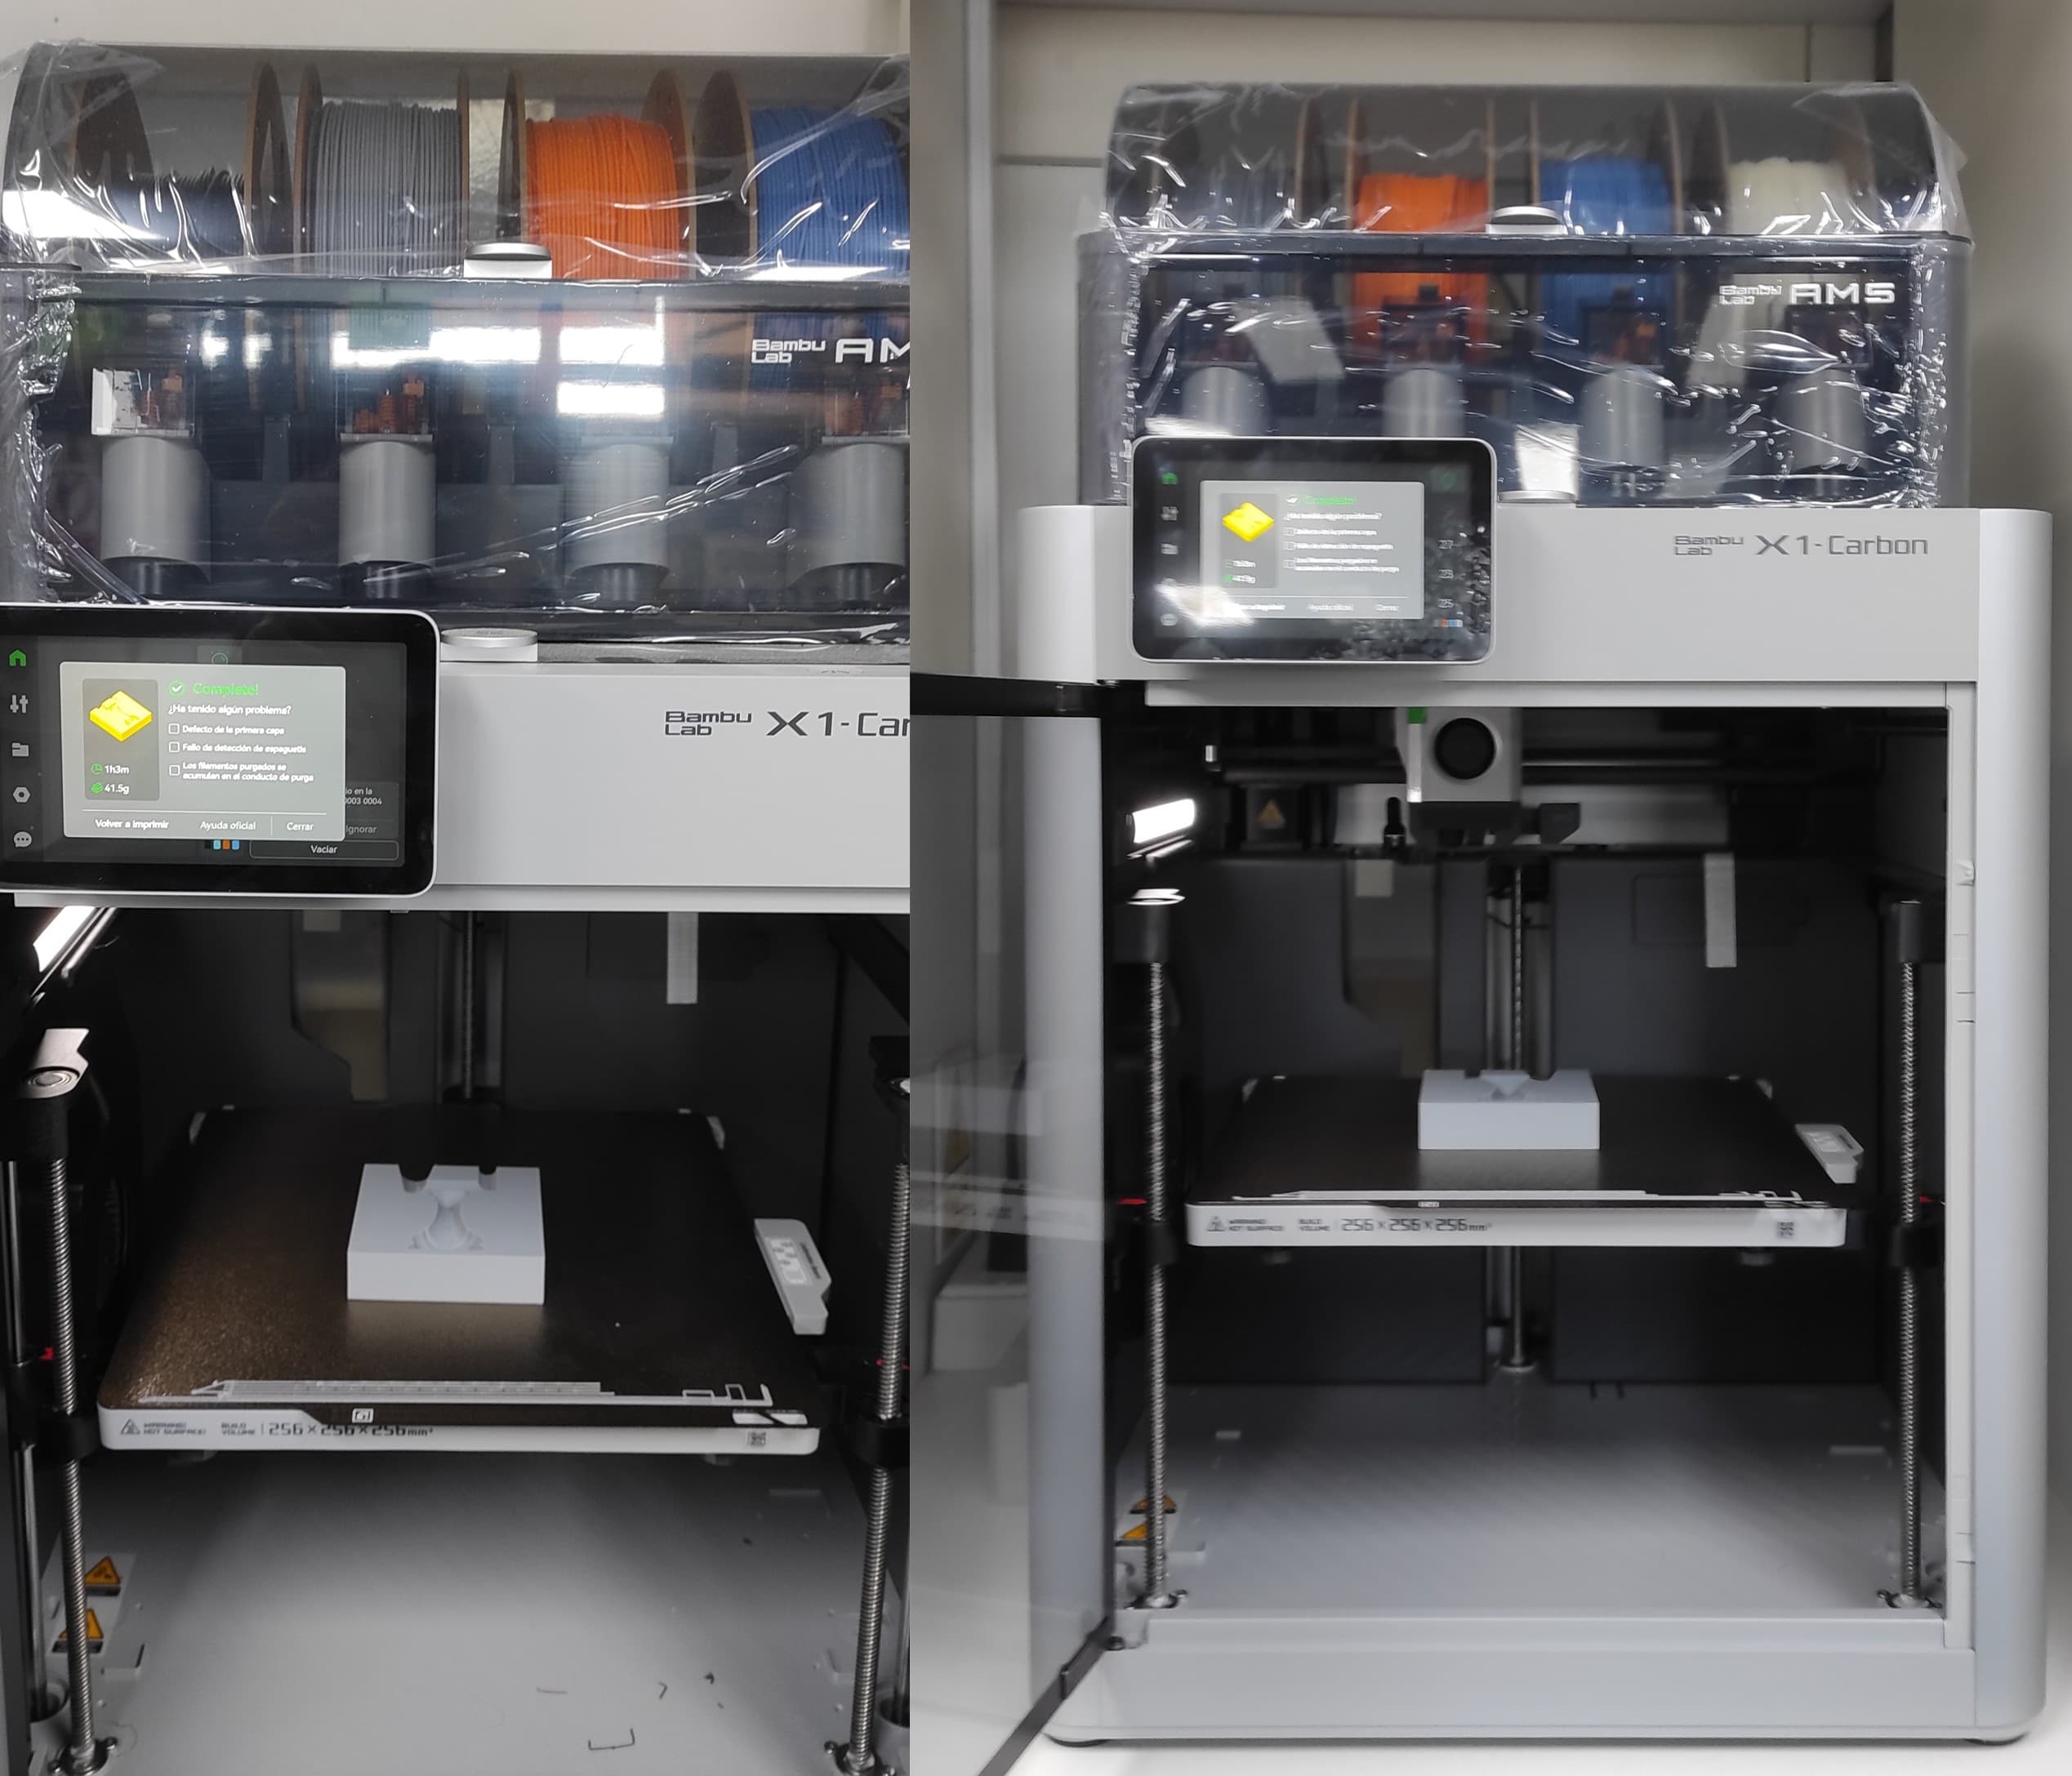
4. Mold Printing
I printed both sides in order to get a complete mold.
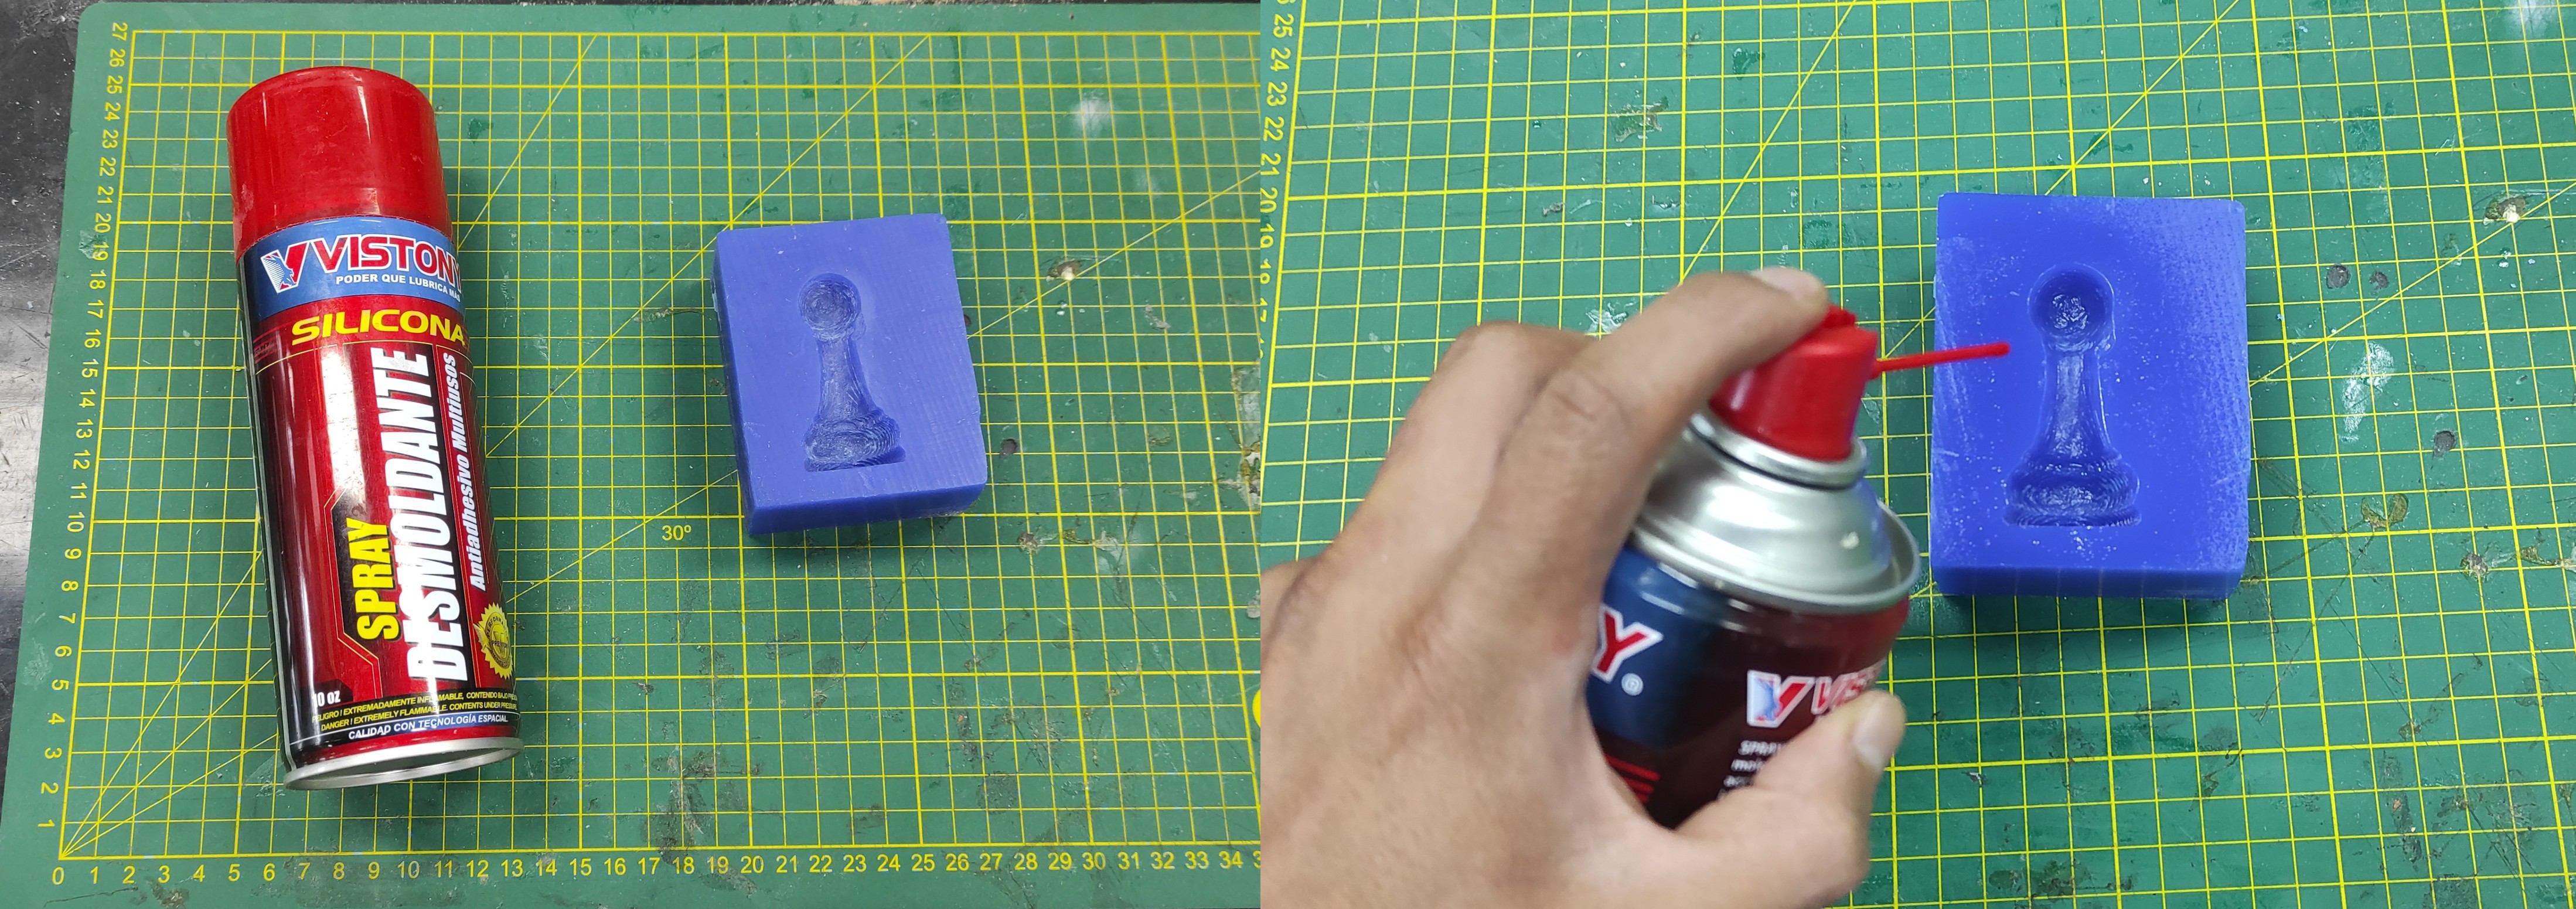
5. Preparation for Casting
After printing the mold, I organized the workspace and gathered all the materials needed for the casting process.
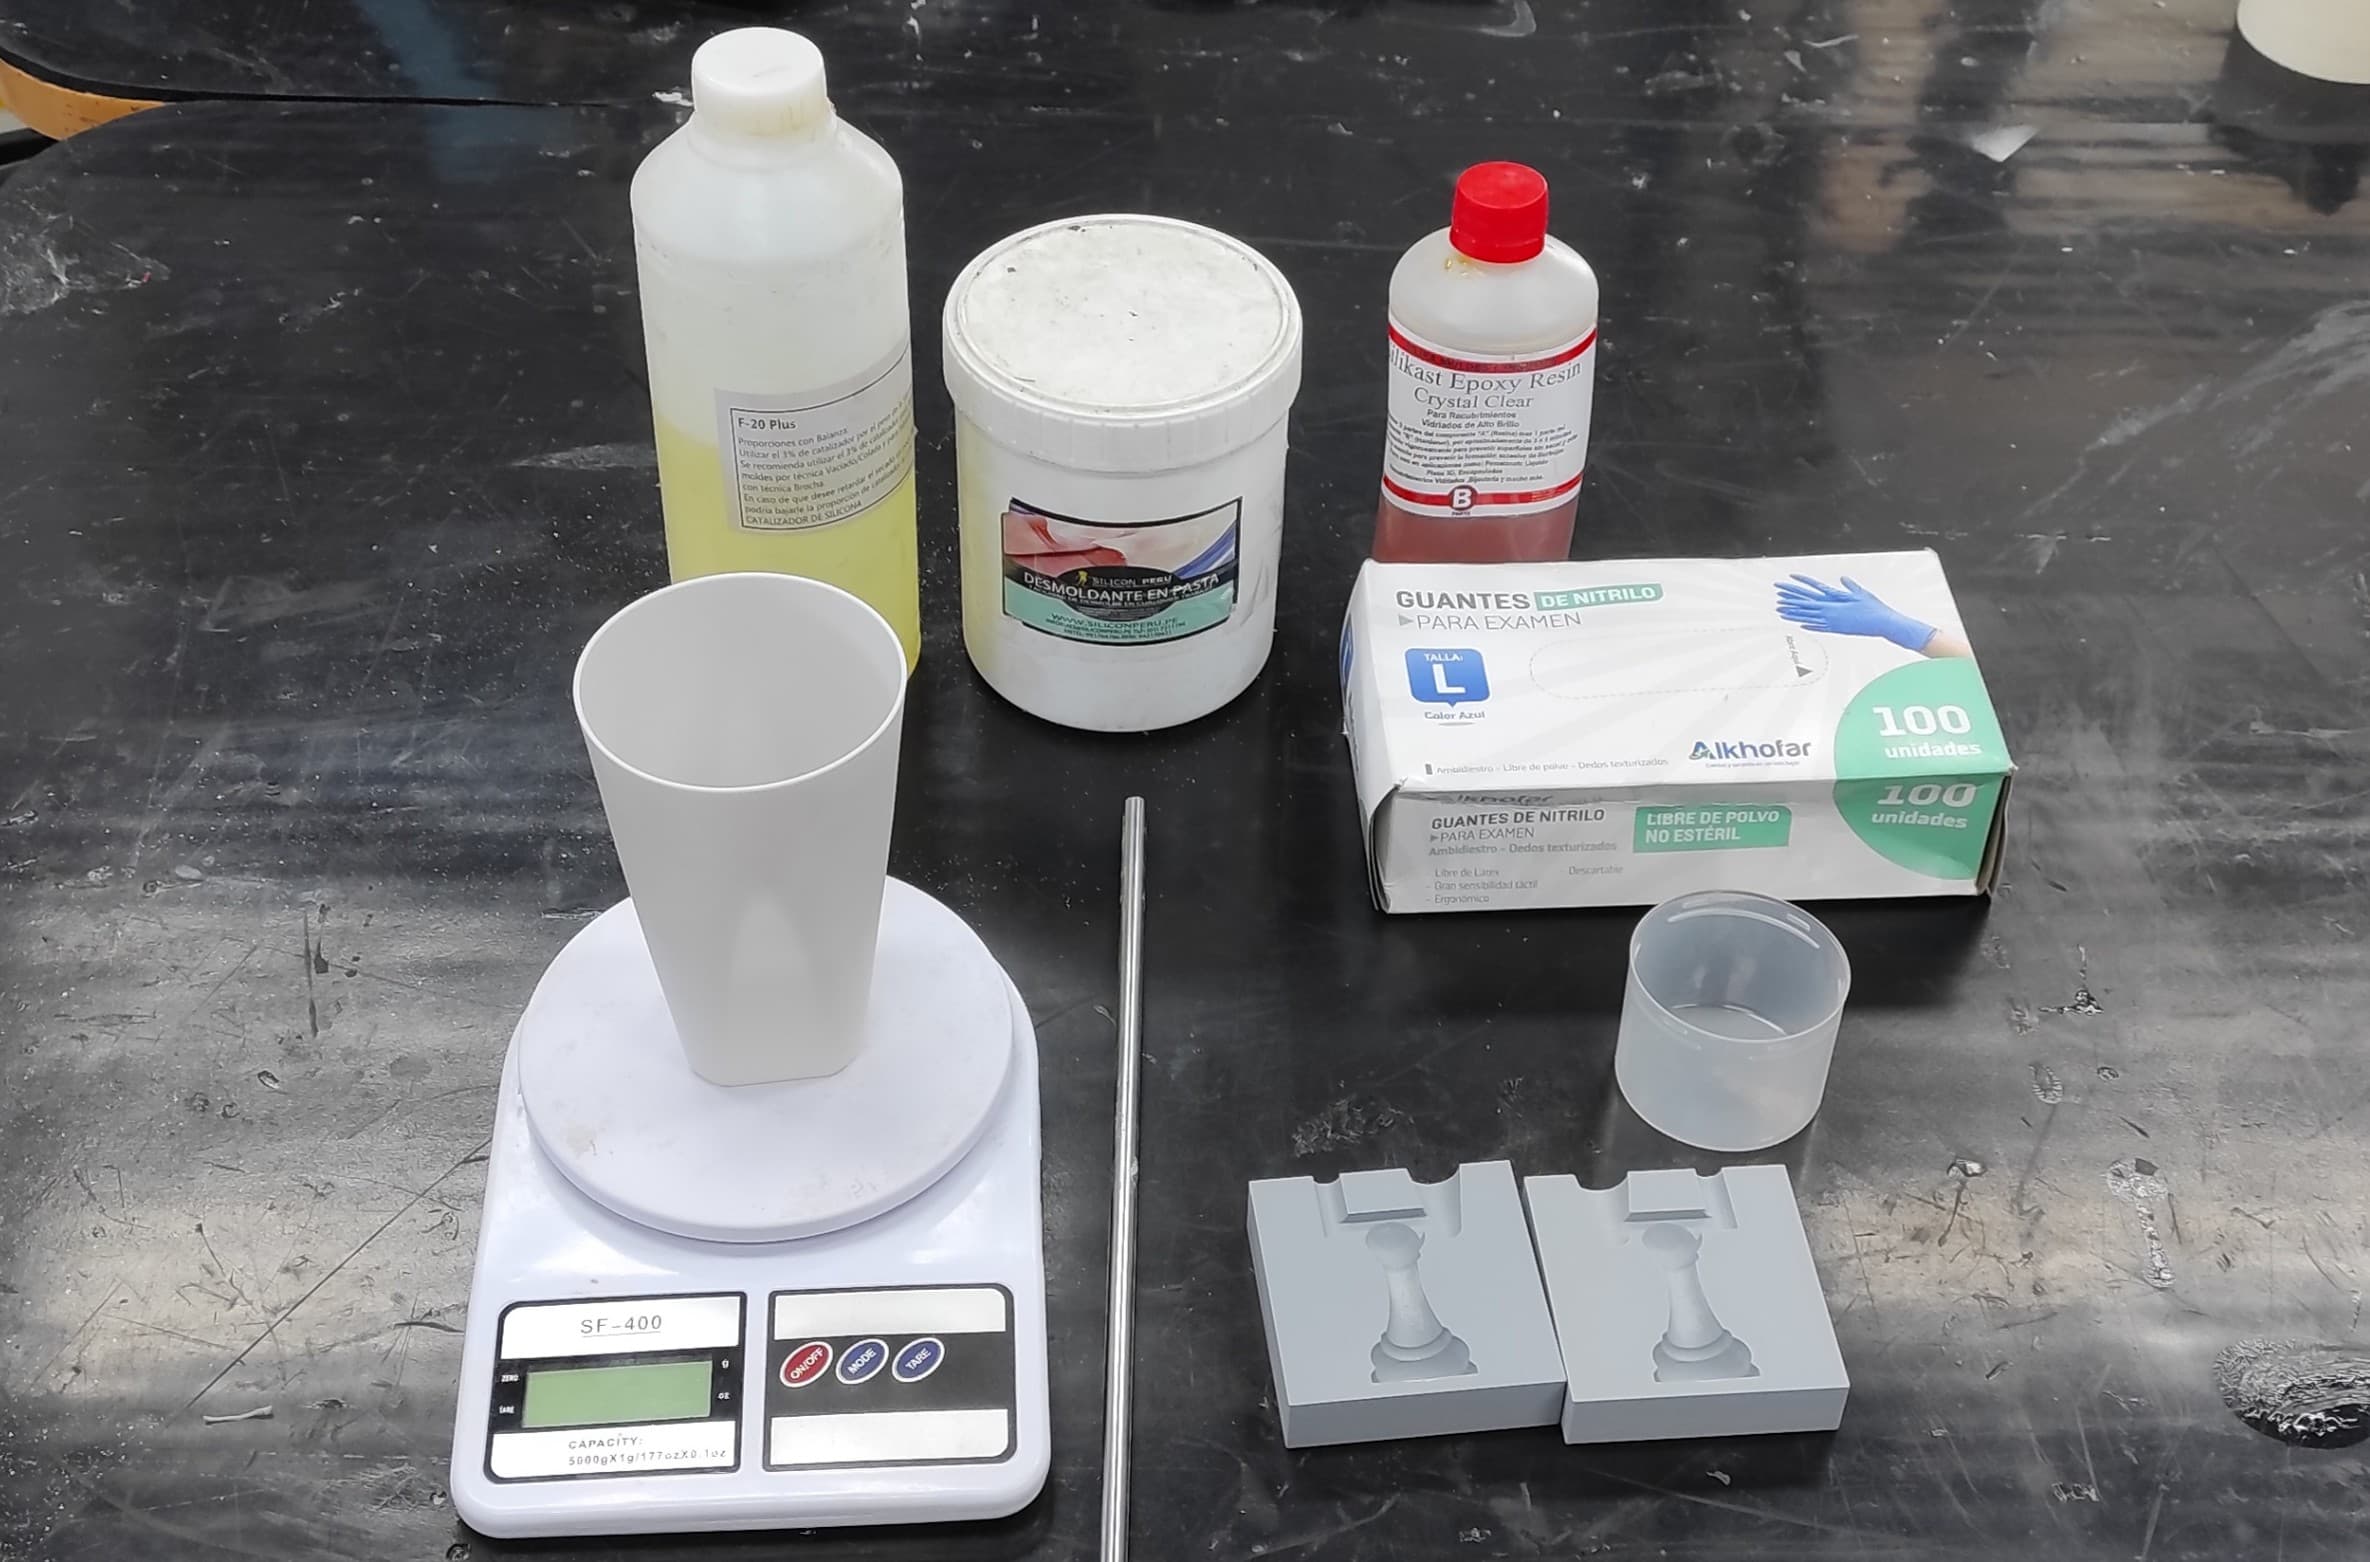
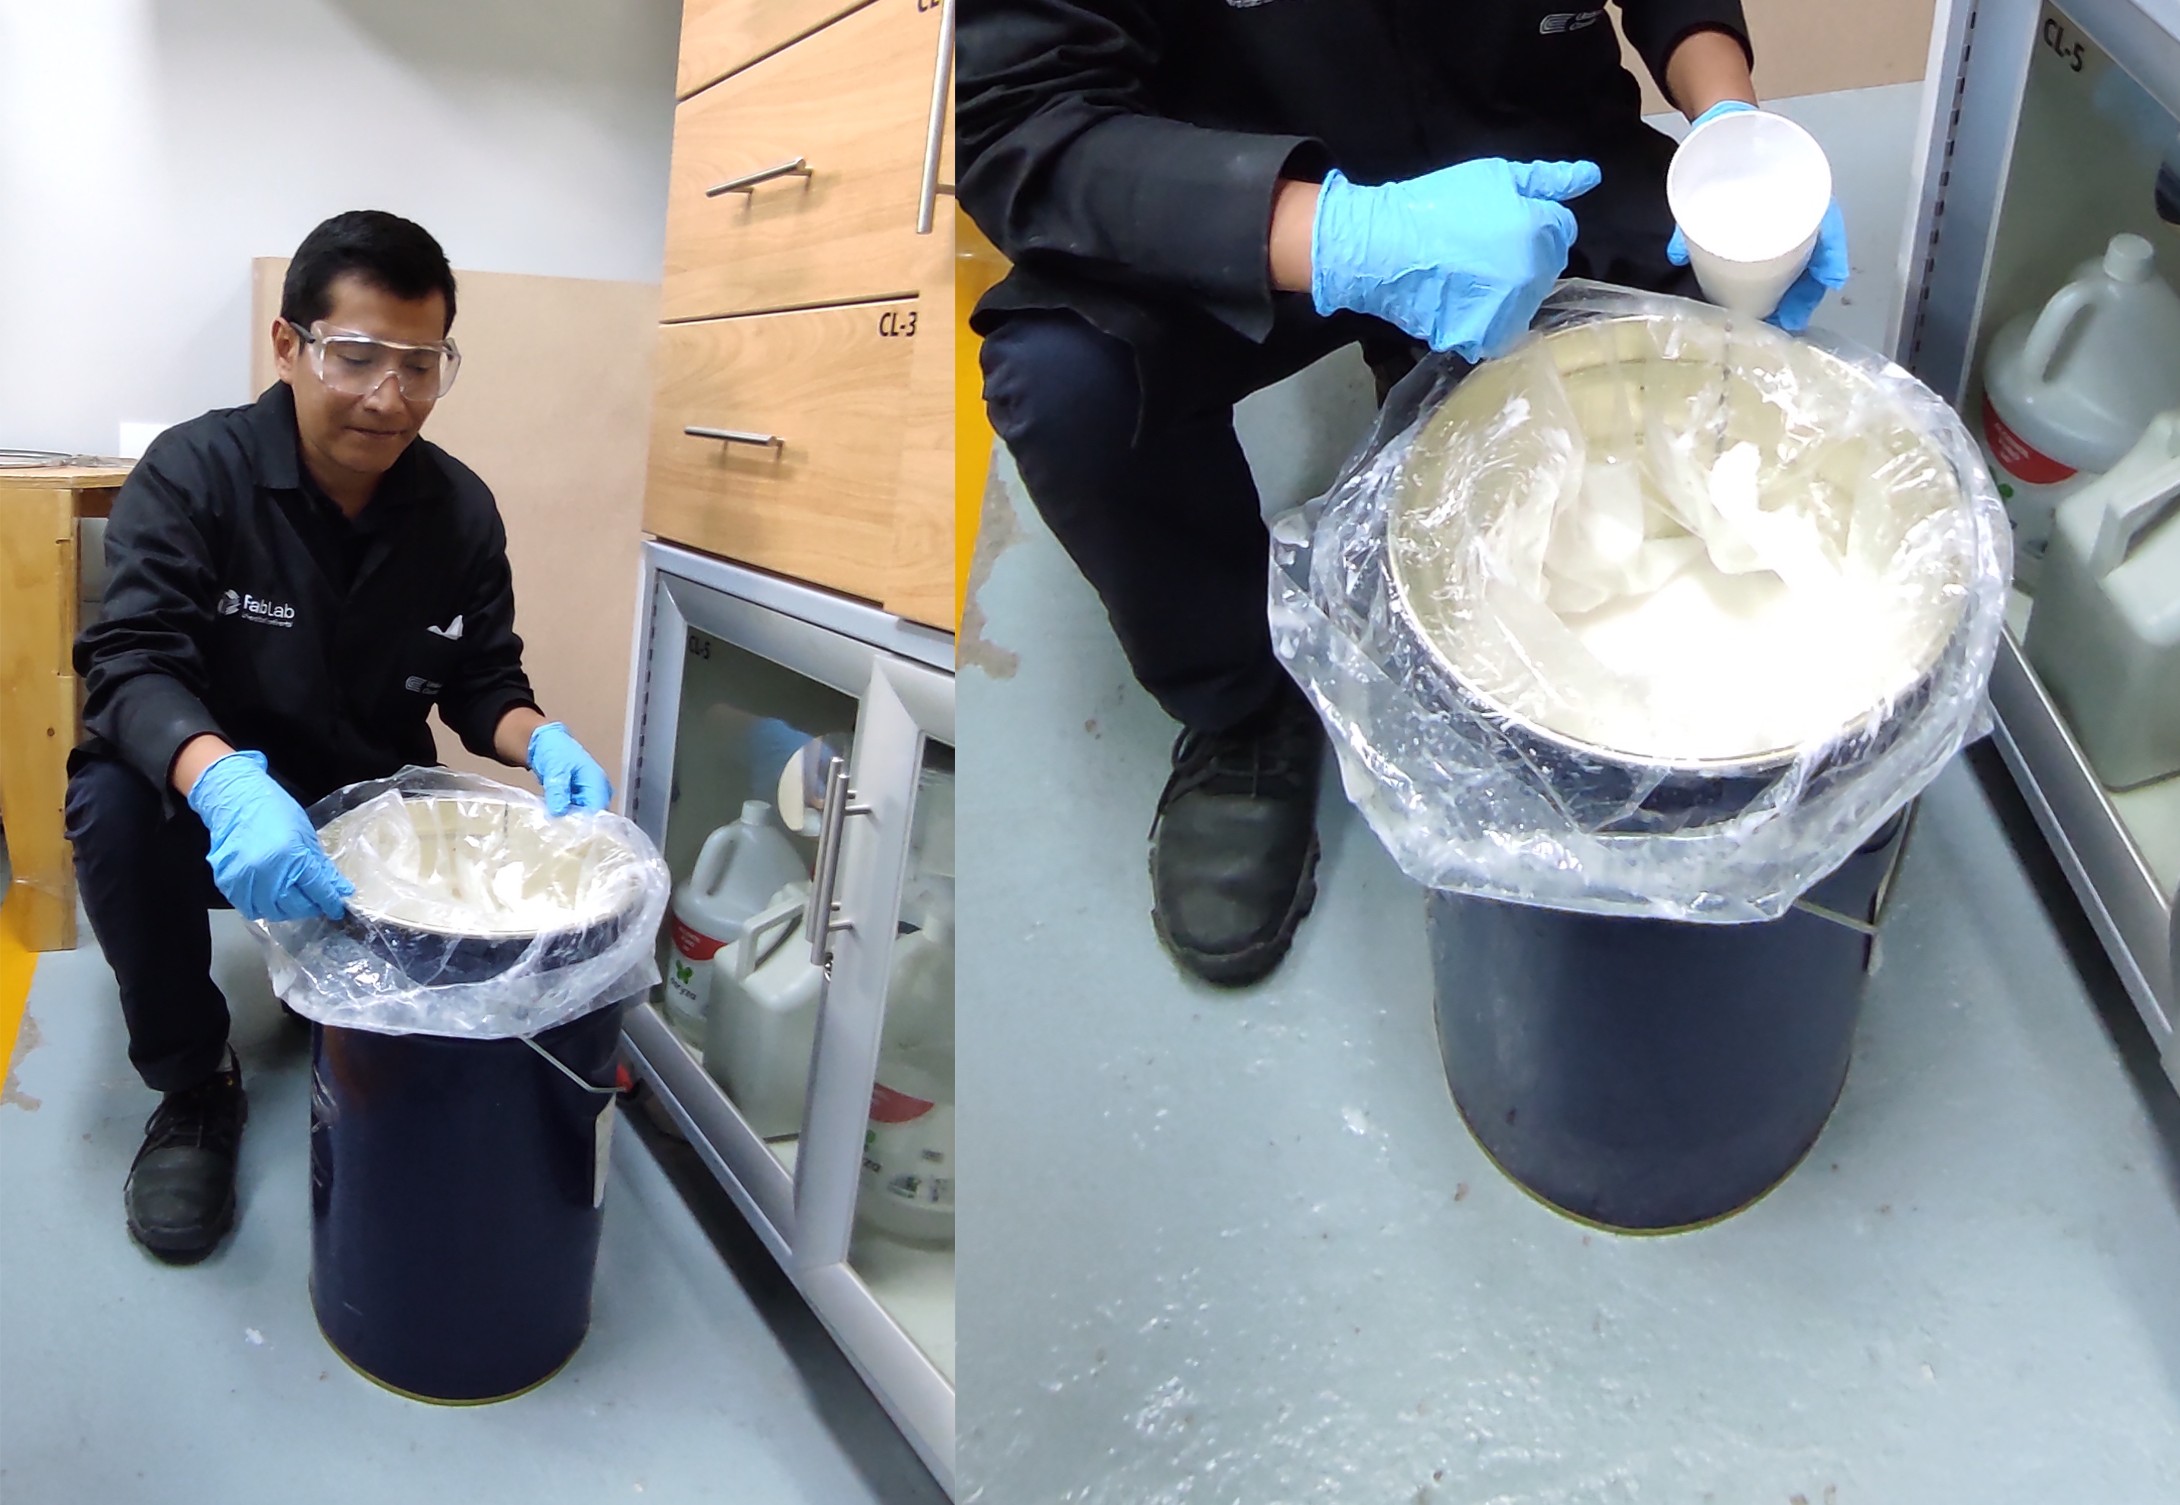
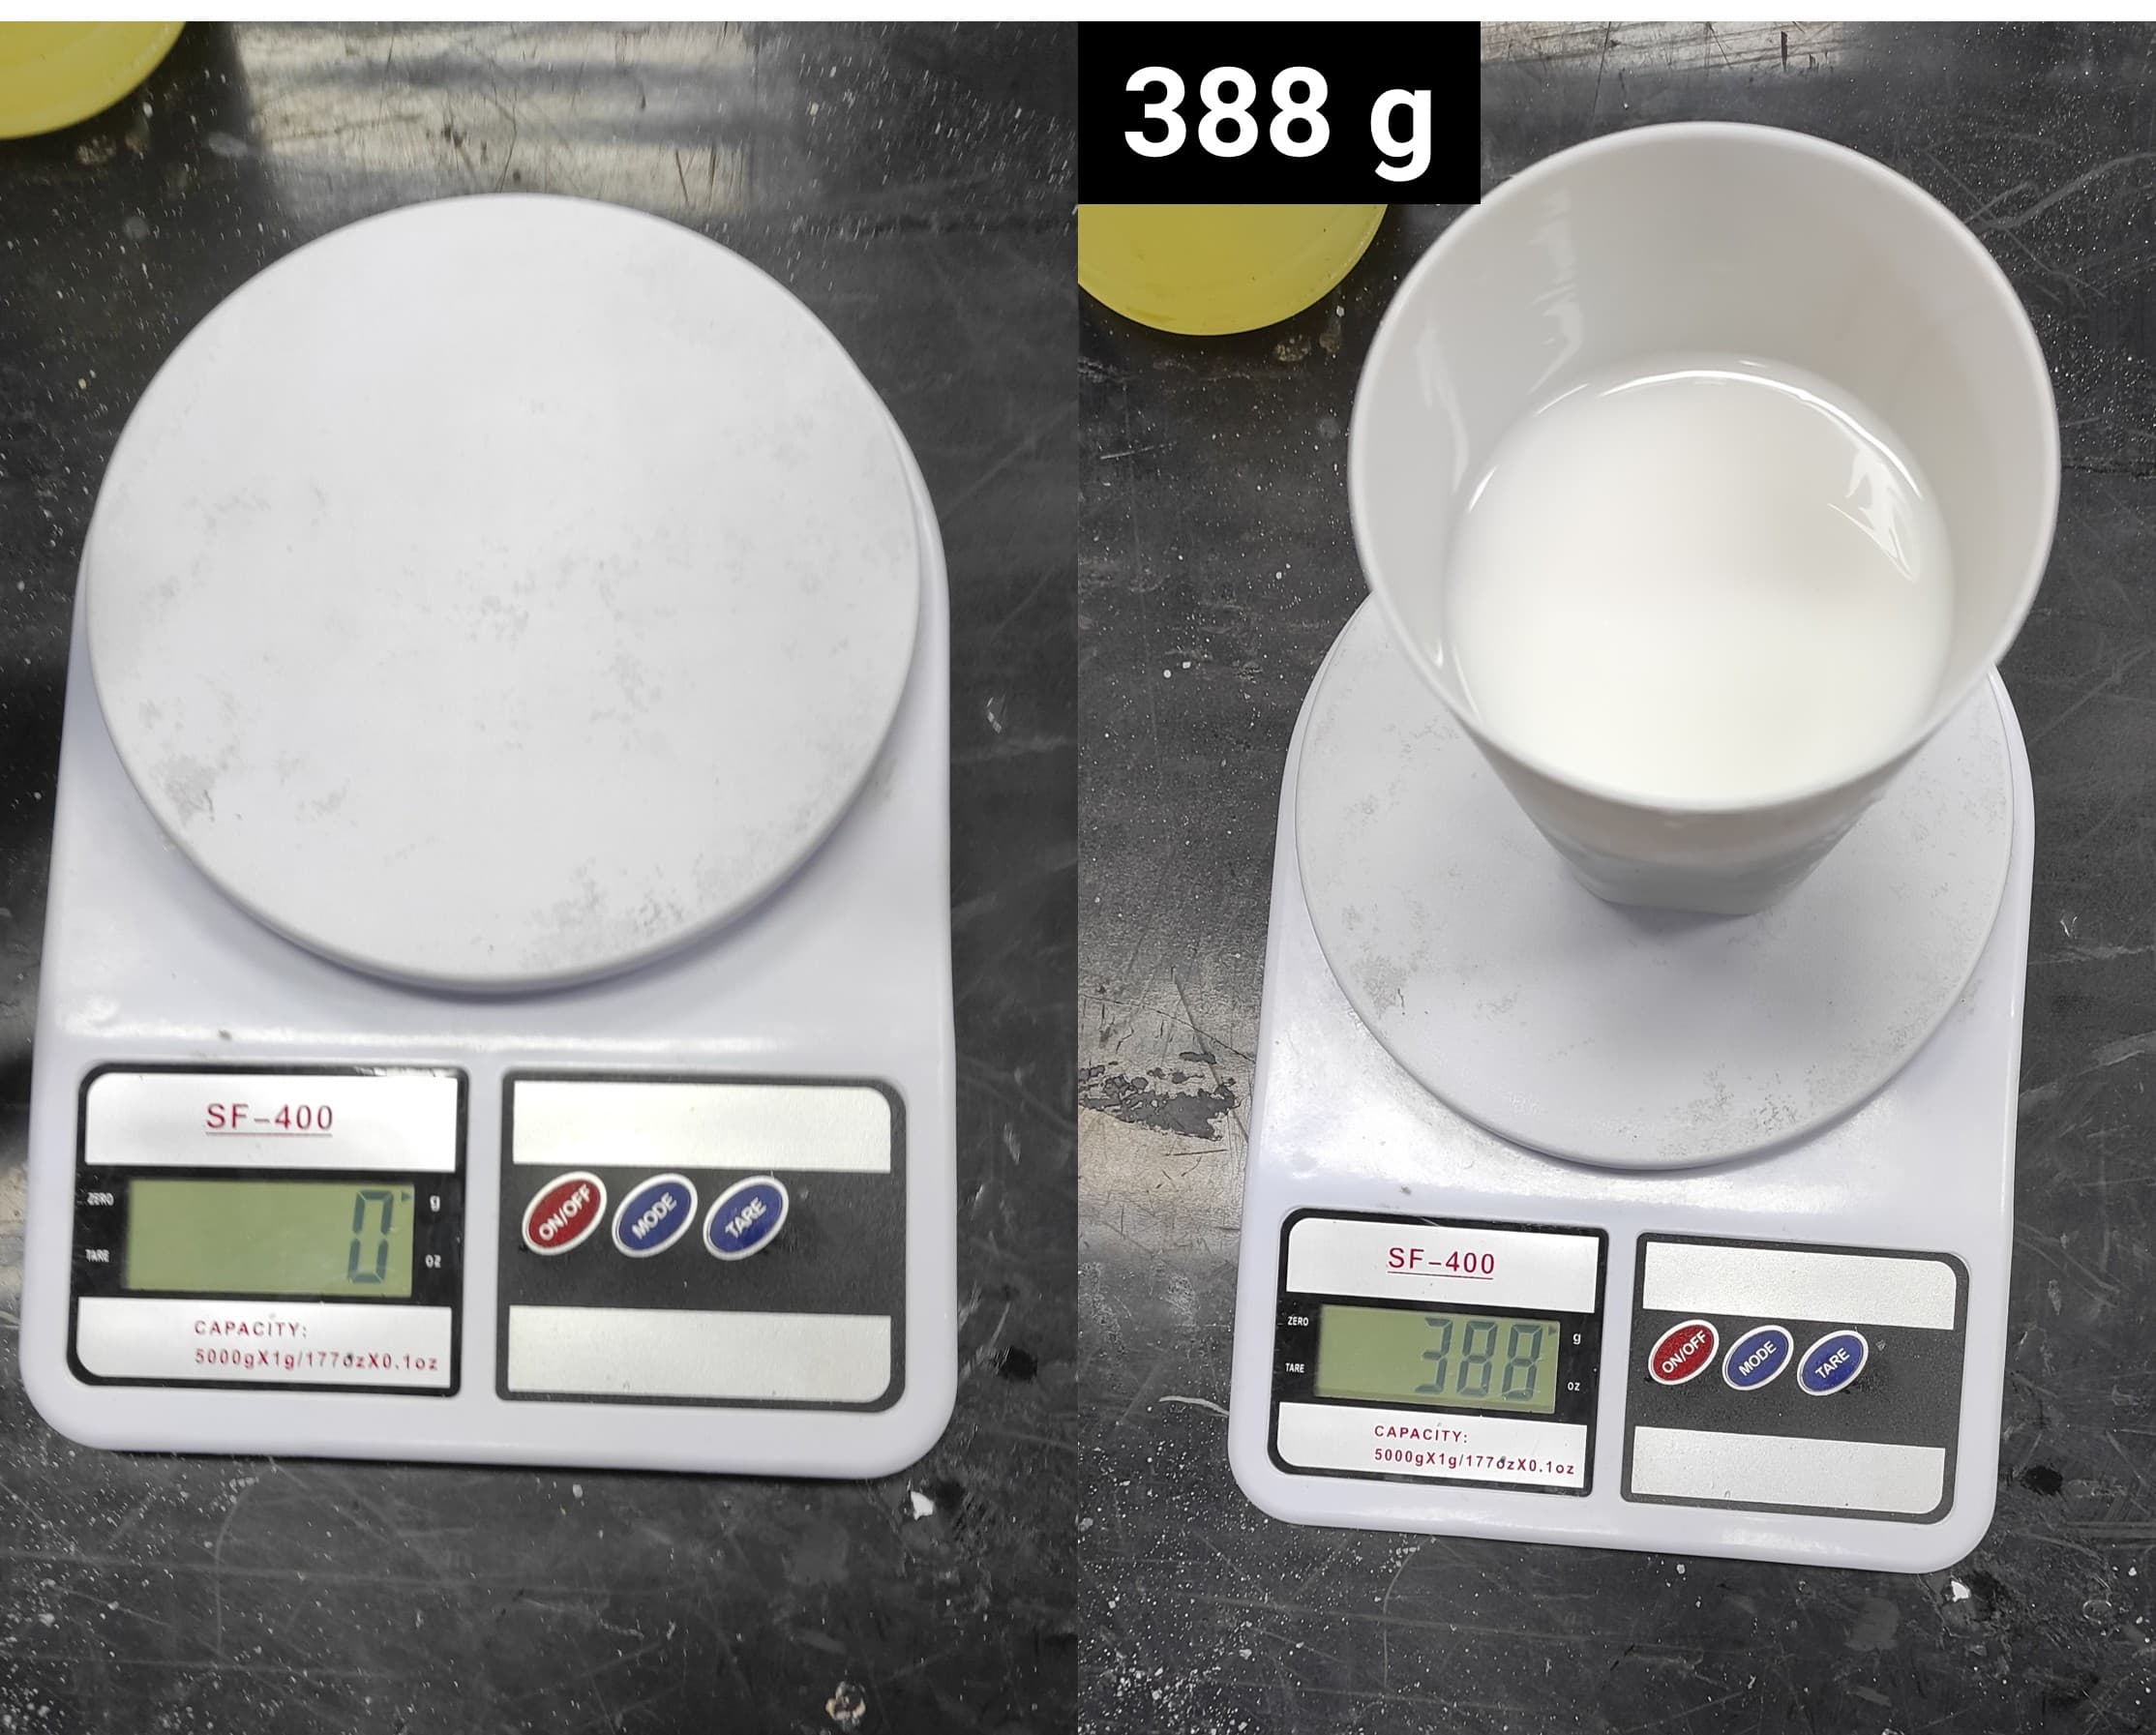
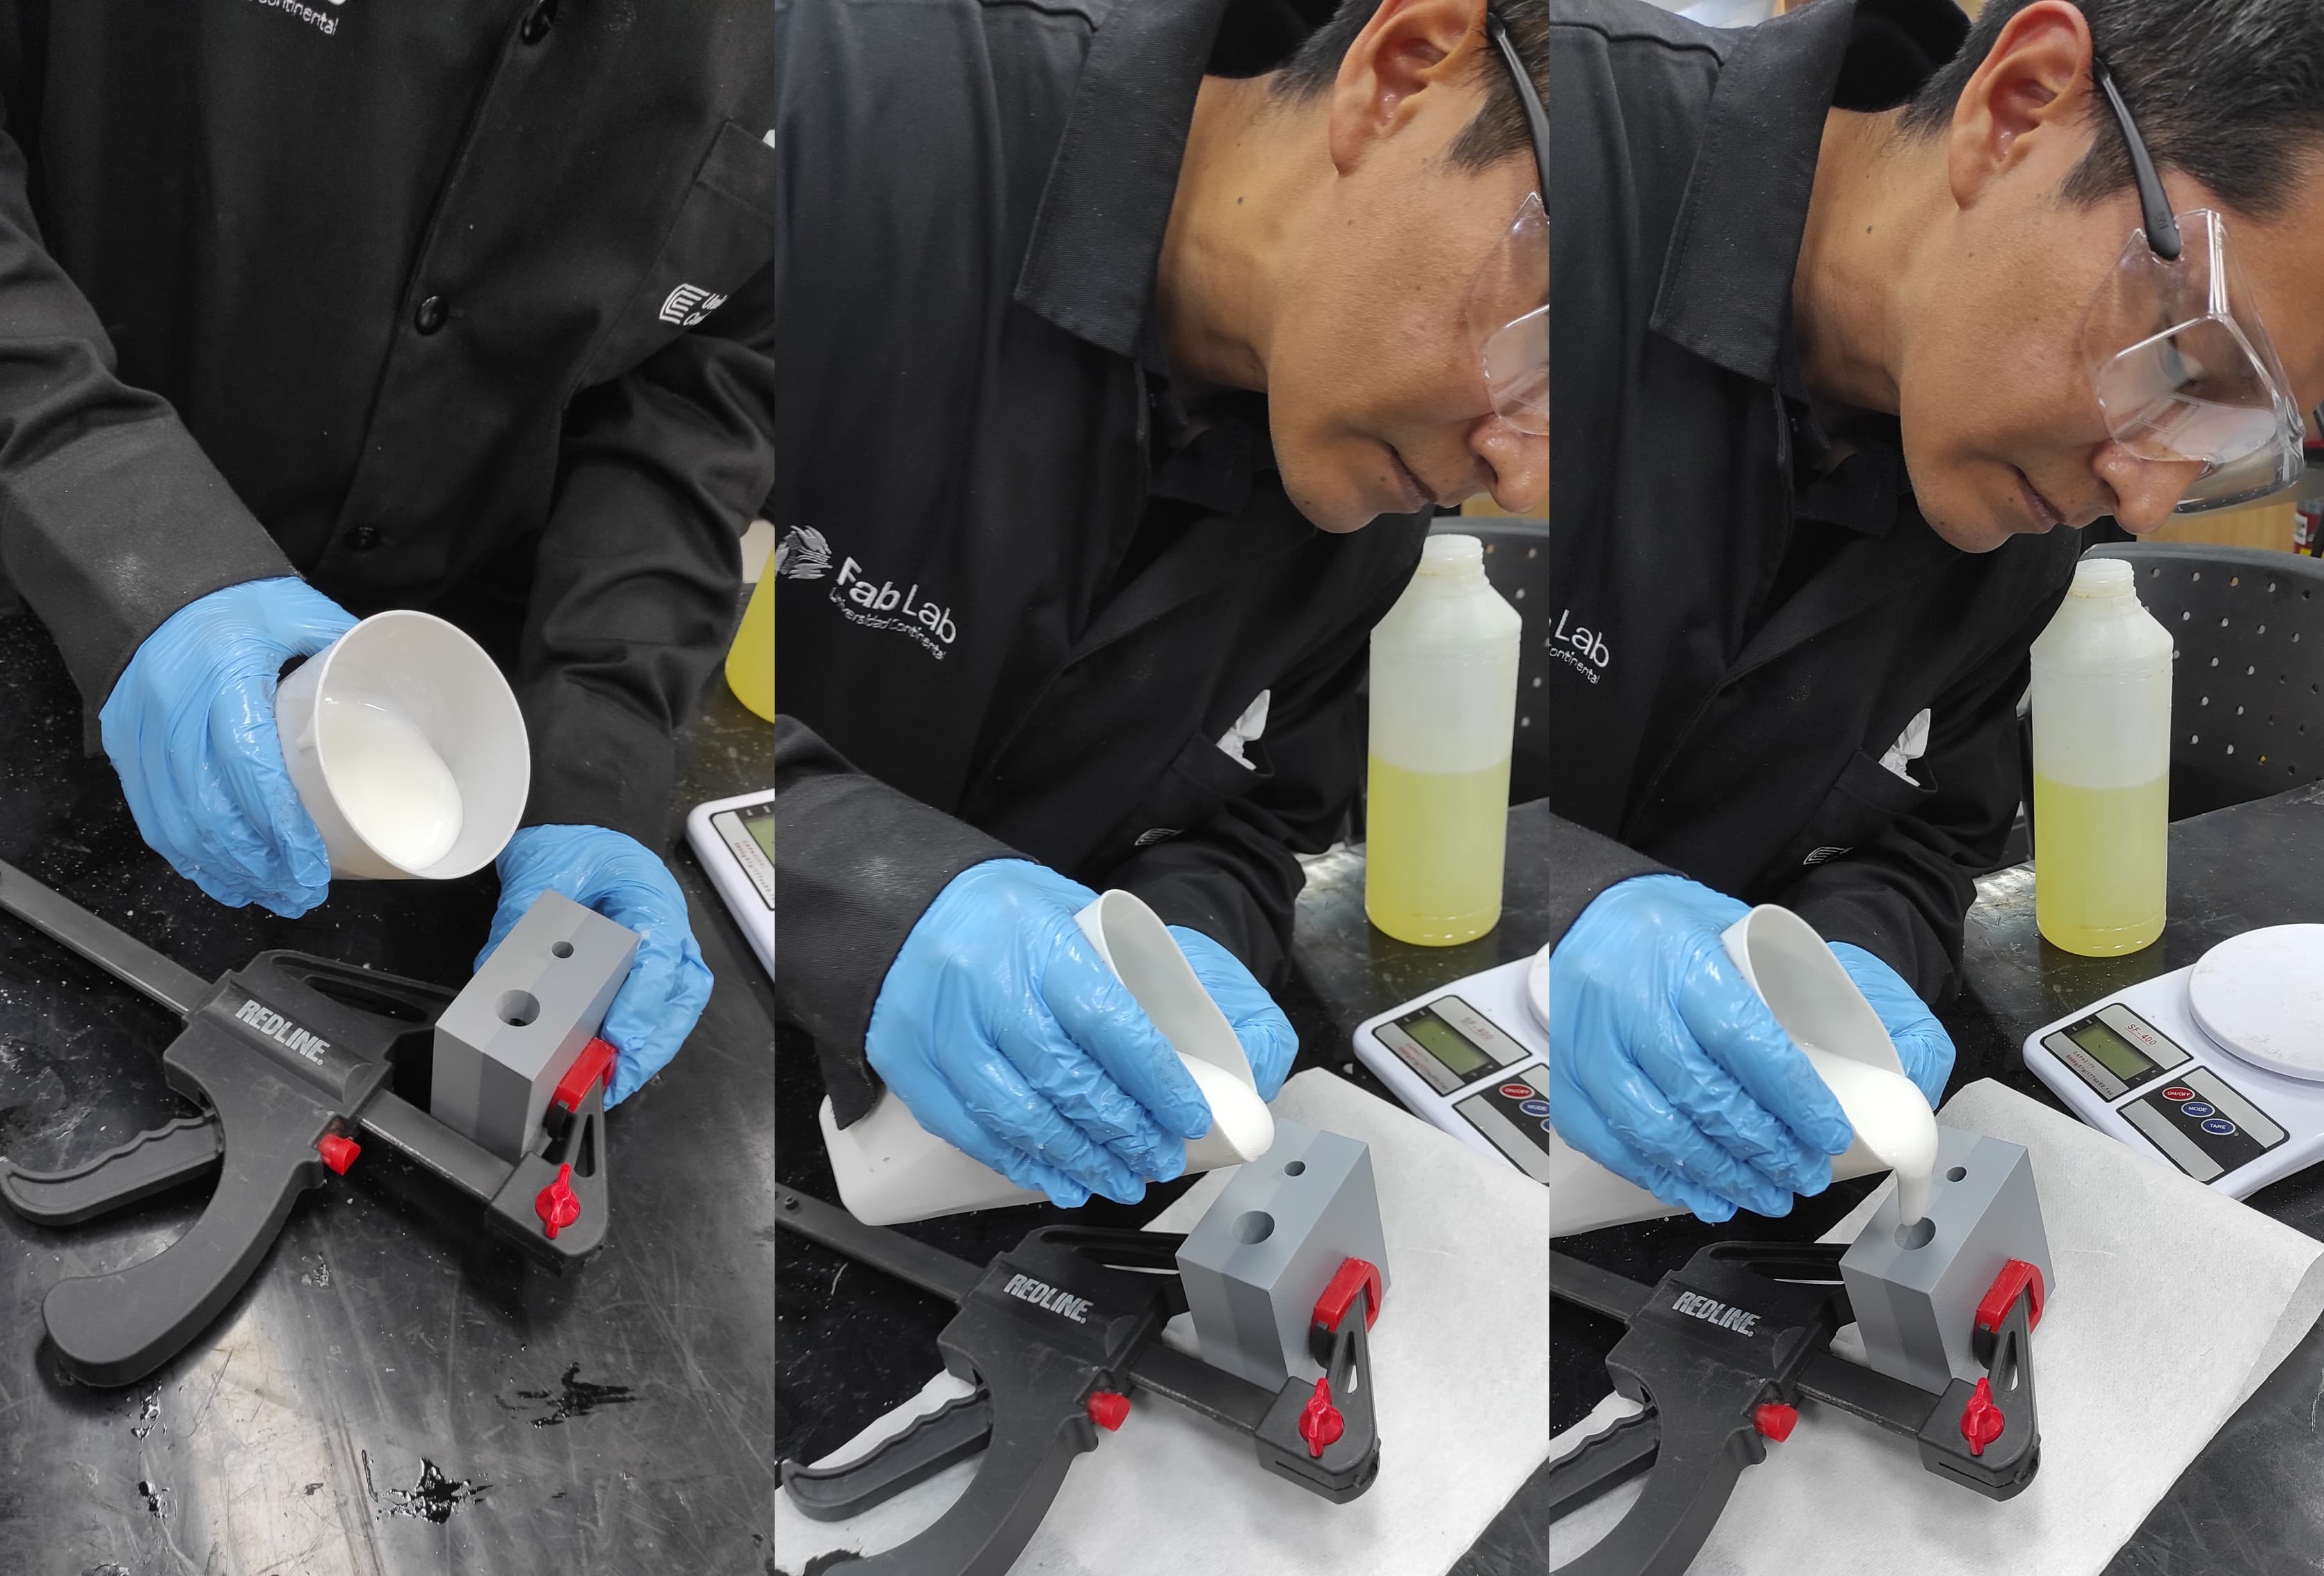
I poured a sufficient amount of RTV F-20 Plus silicone into a glass container, enough to fill the entire mold cavity.
I used a balance to measure the correct proportion of silicone; as shown in the picture below, it weighs 388 grams.
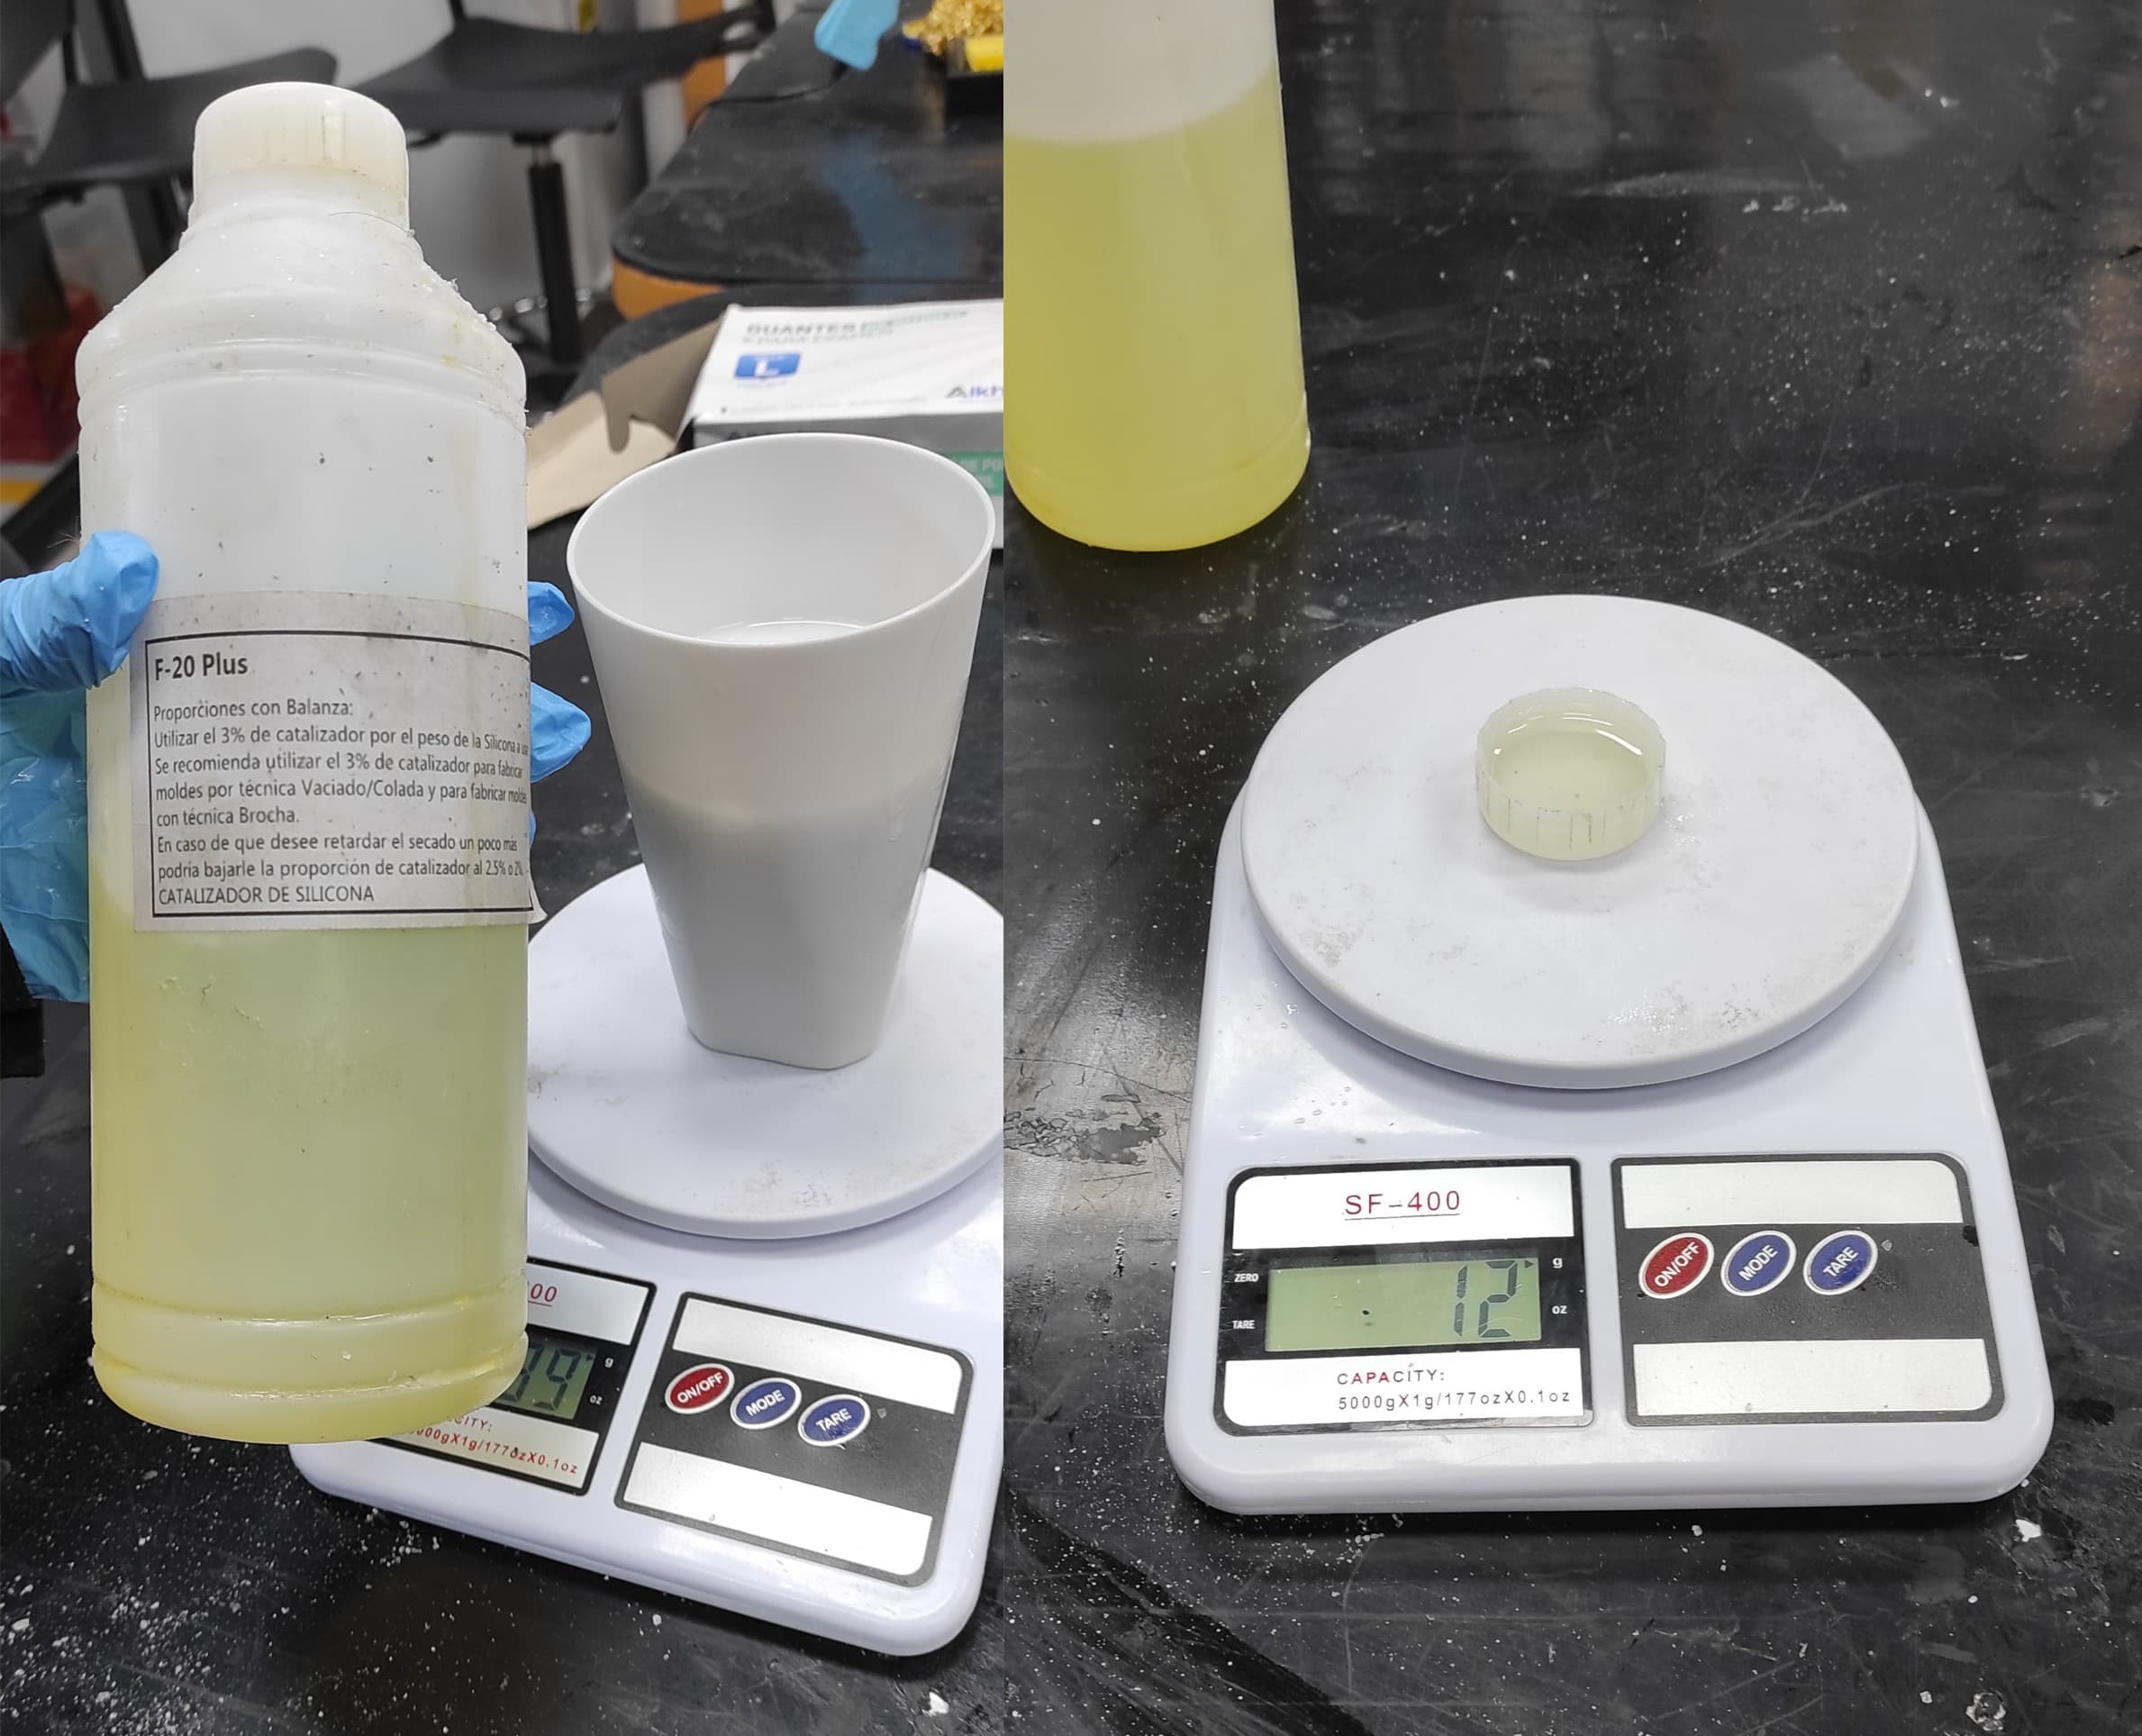
According to the instructions, we need to add a catalyst equal to 3% of the silicone’s weight.That corresponds to approximately 11.64 grams of catalyst.
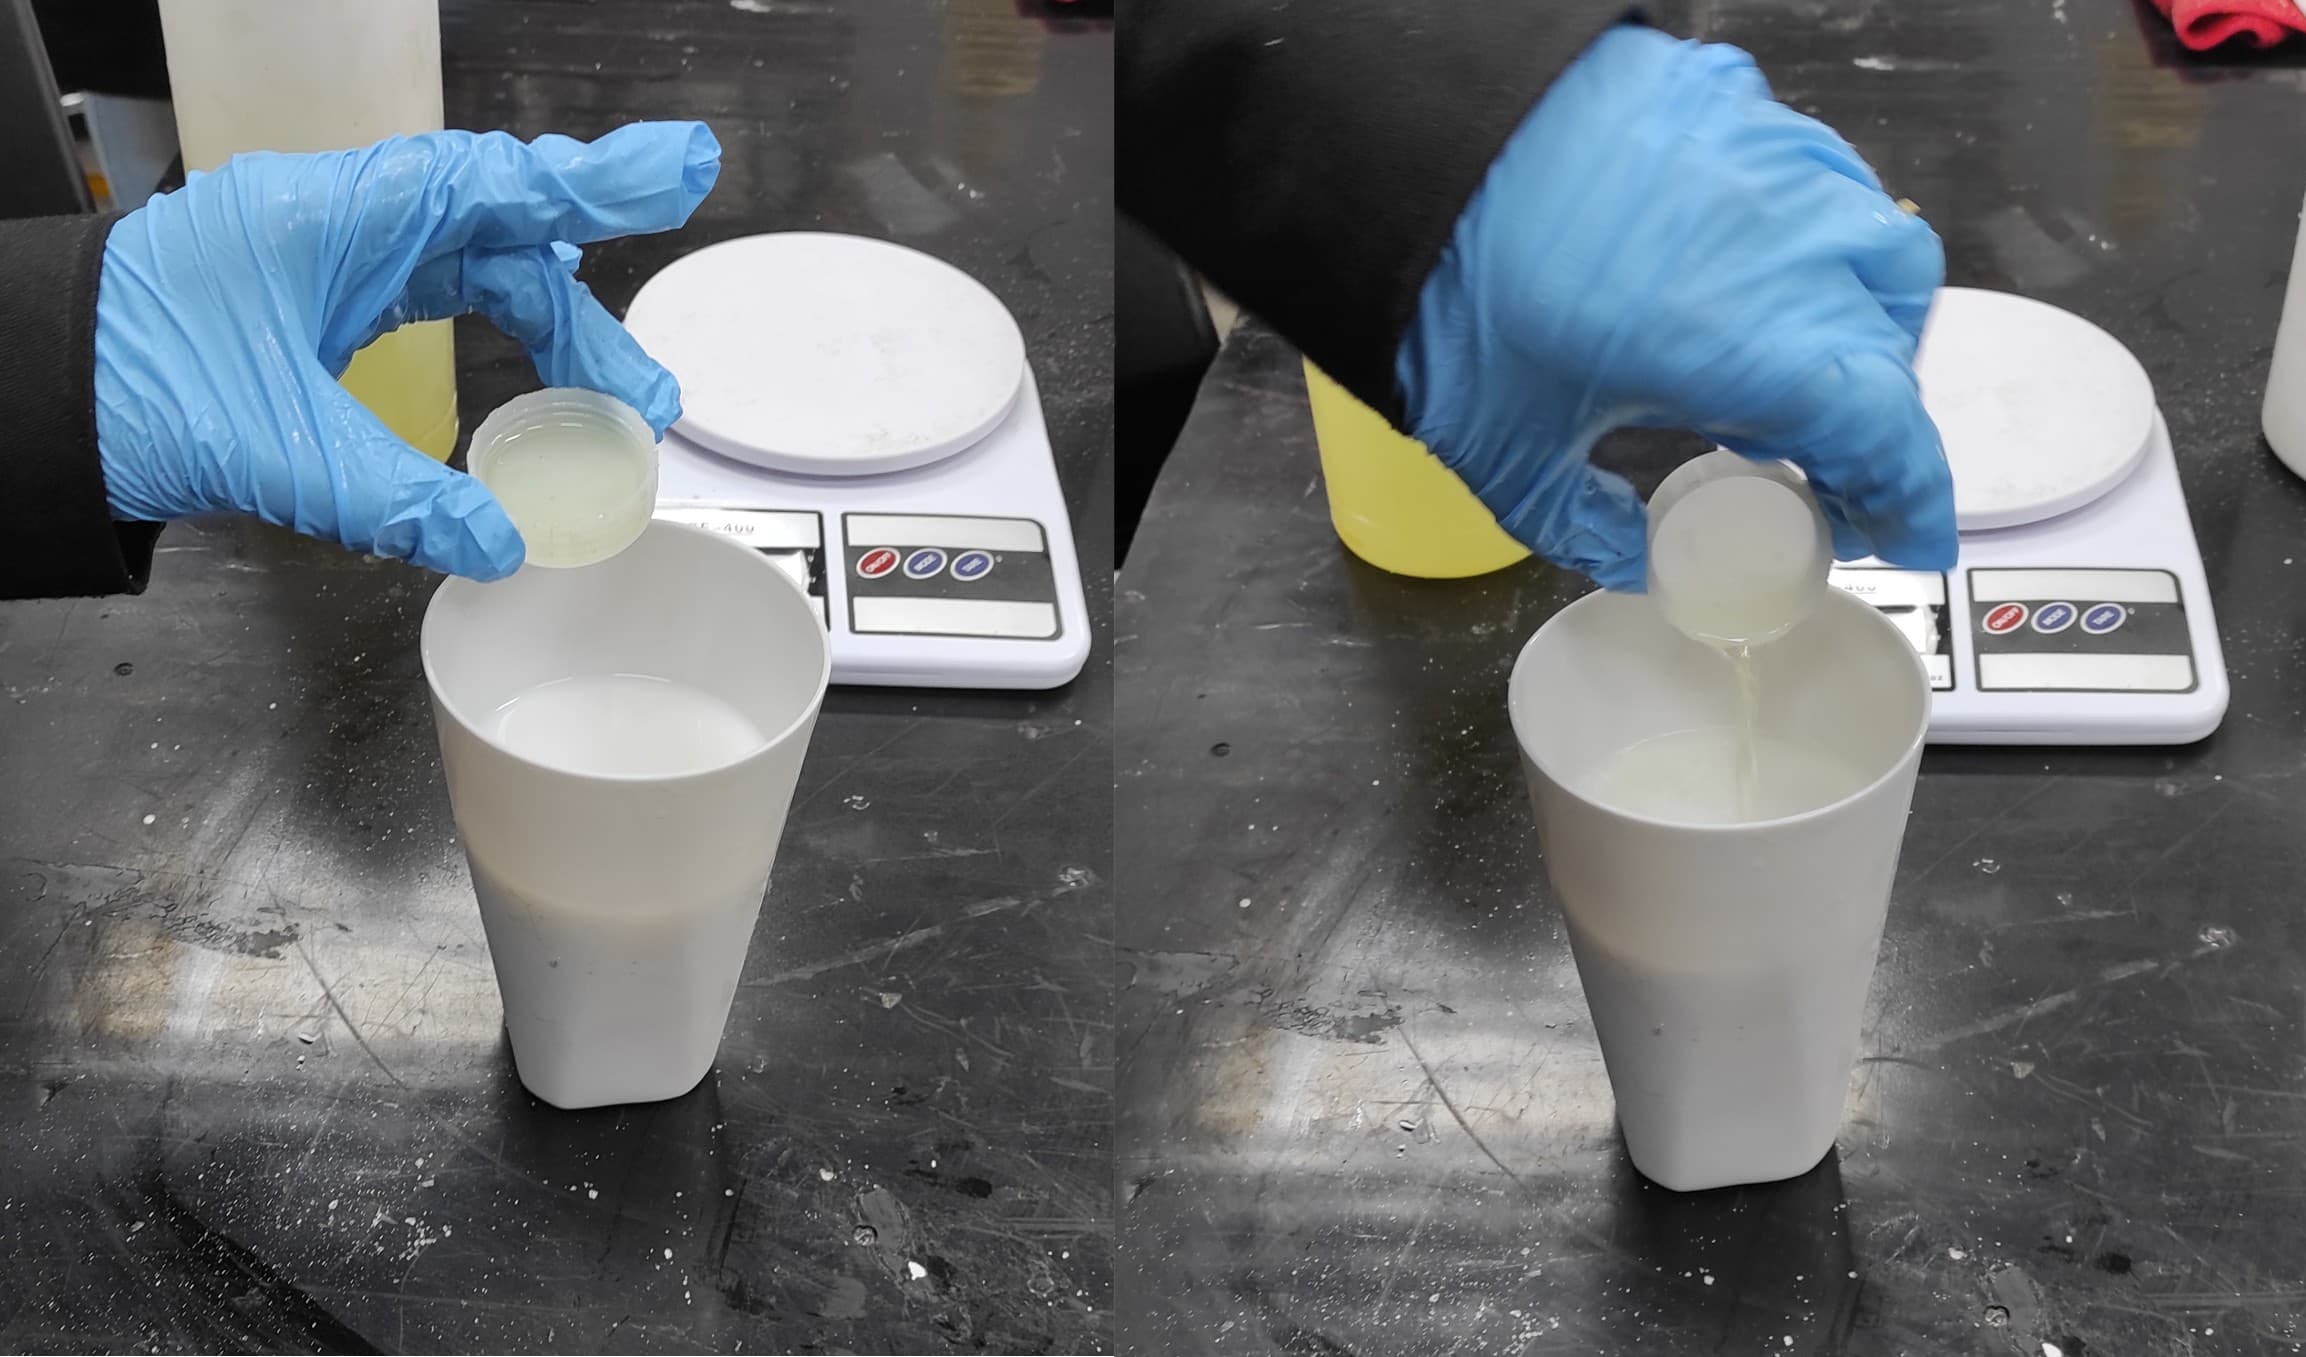
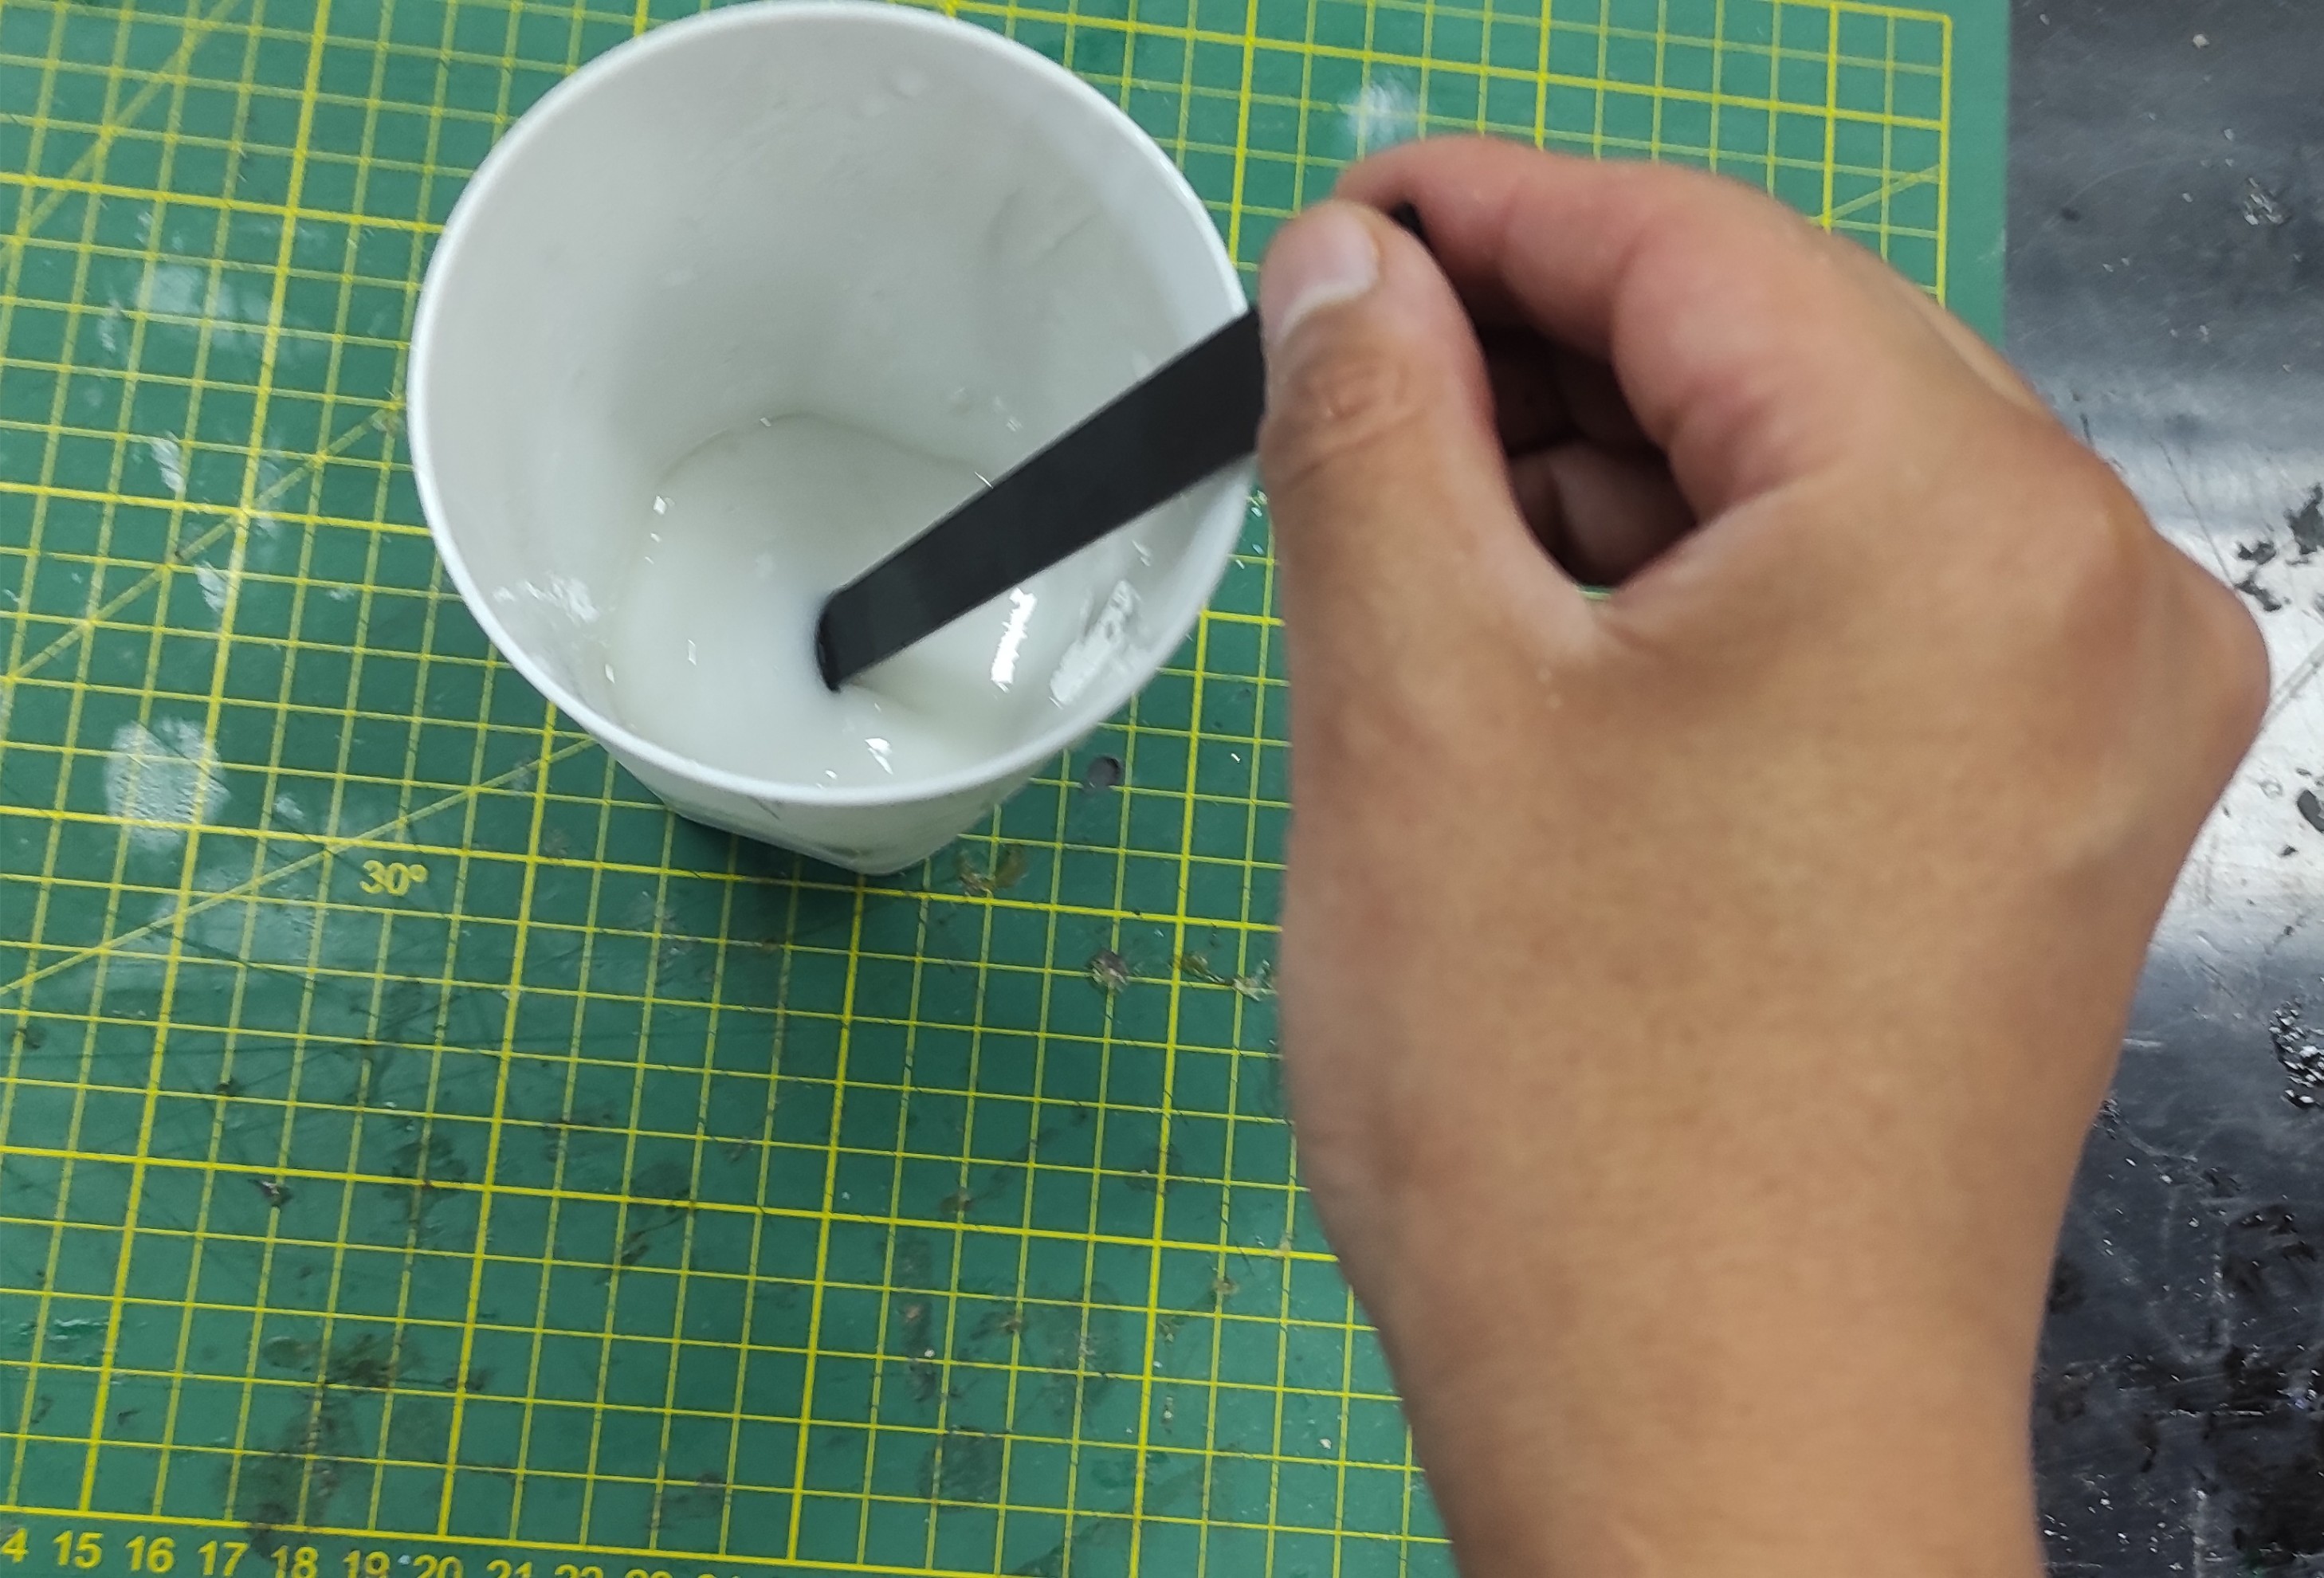
I added the catalyst to the silicone and mixed thoroughly to ensure it was evenly distributed.
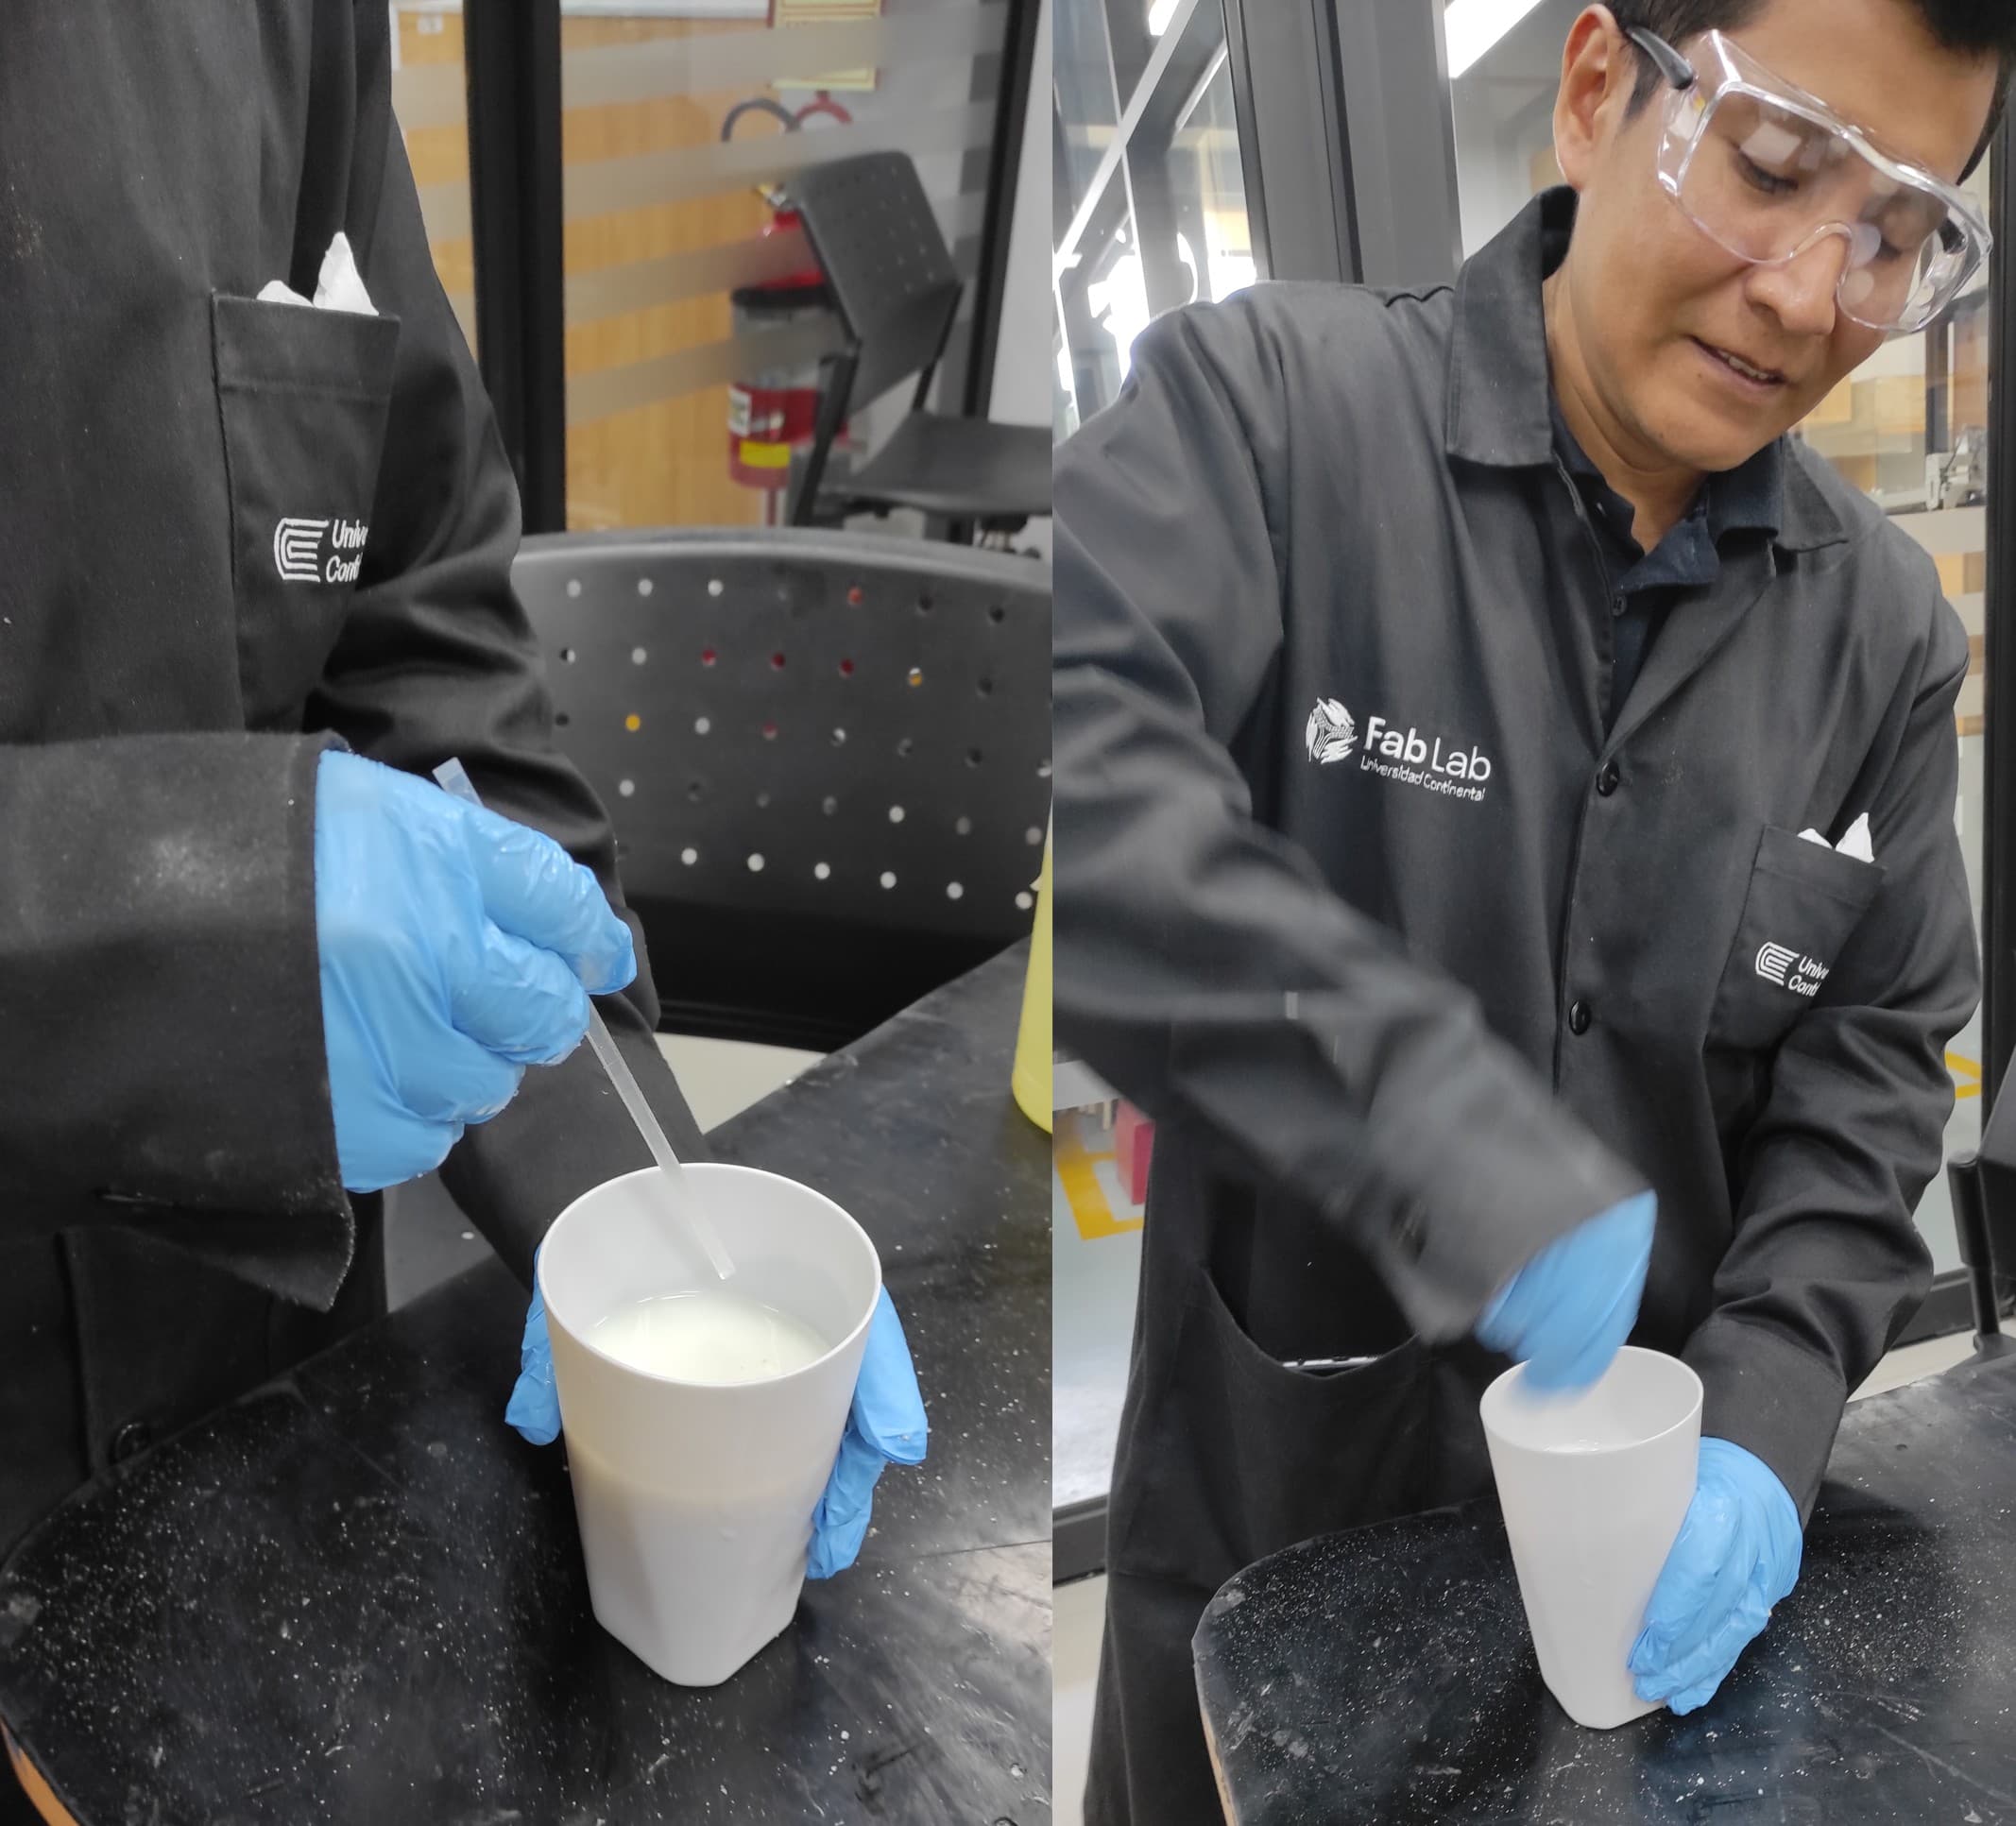
We need to mix the silicone and catalyst thoroughly to ensure even distribution.
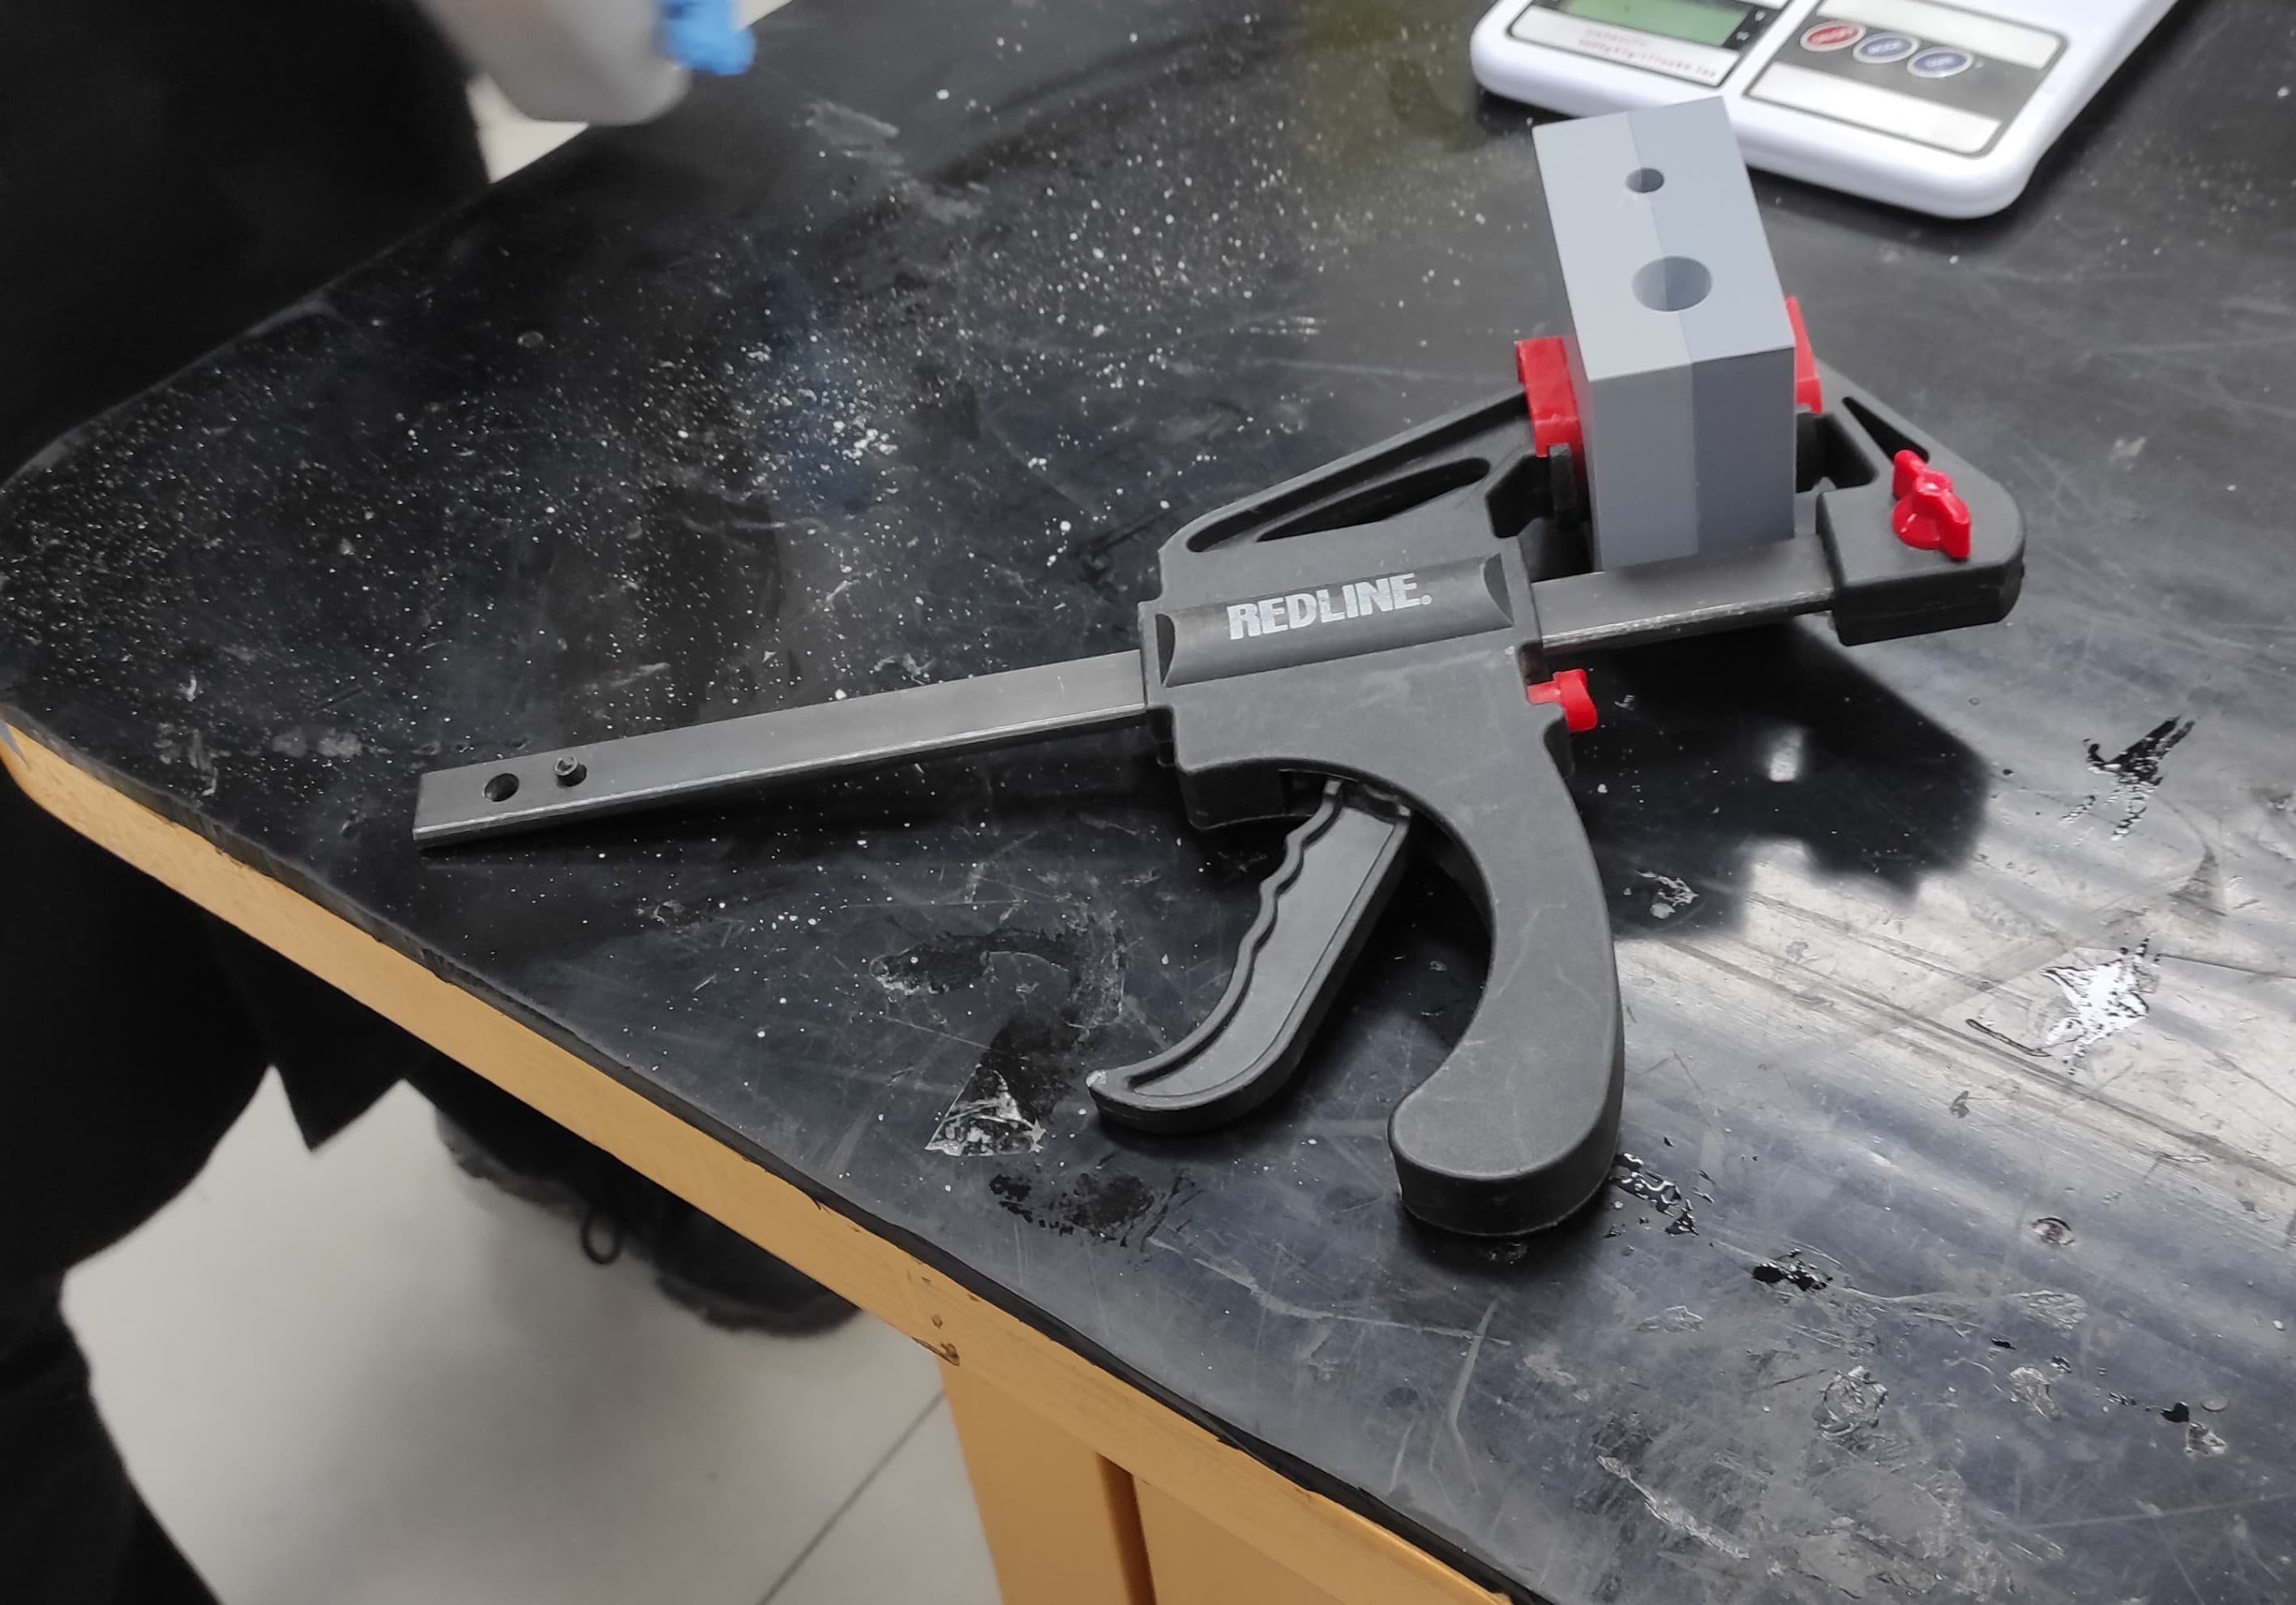
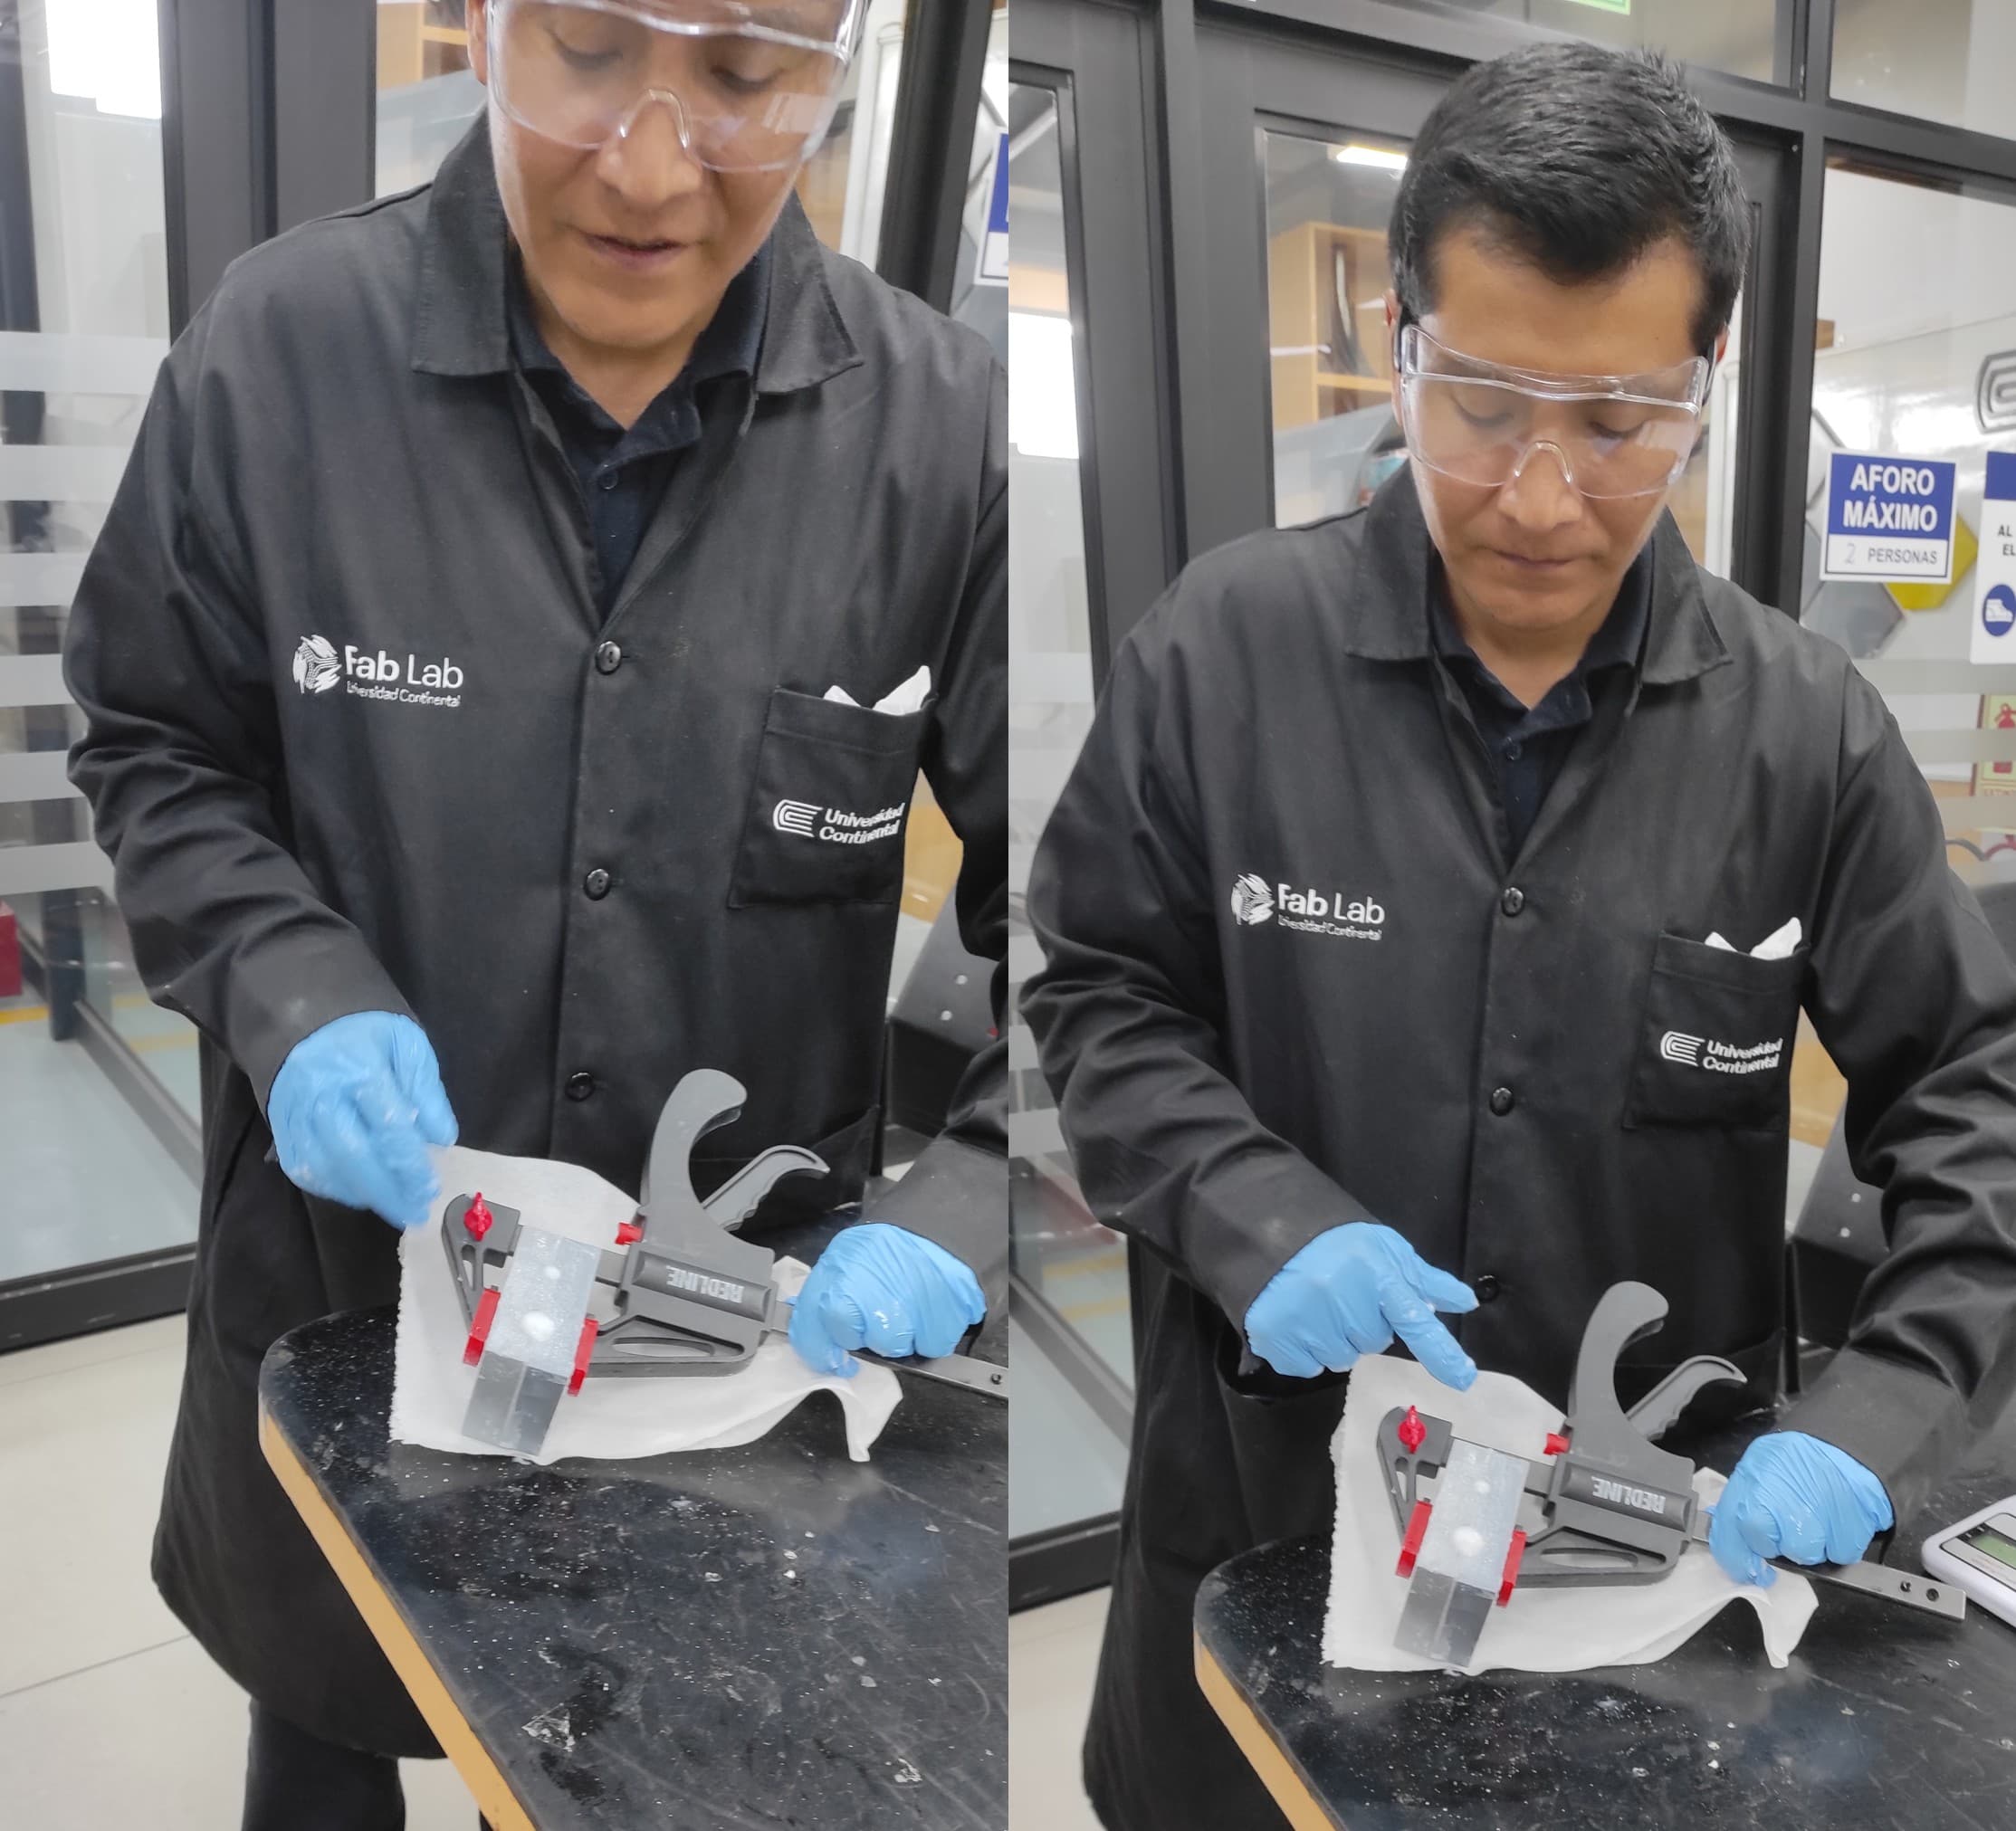
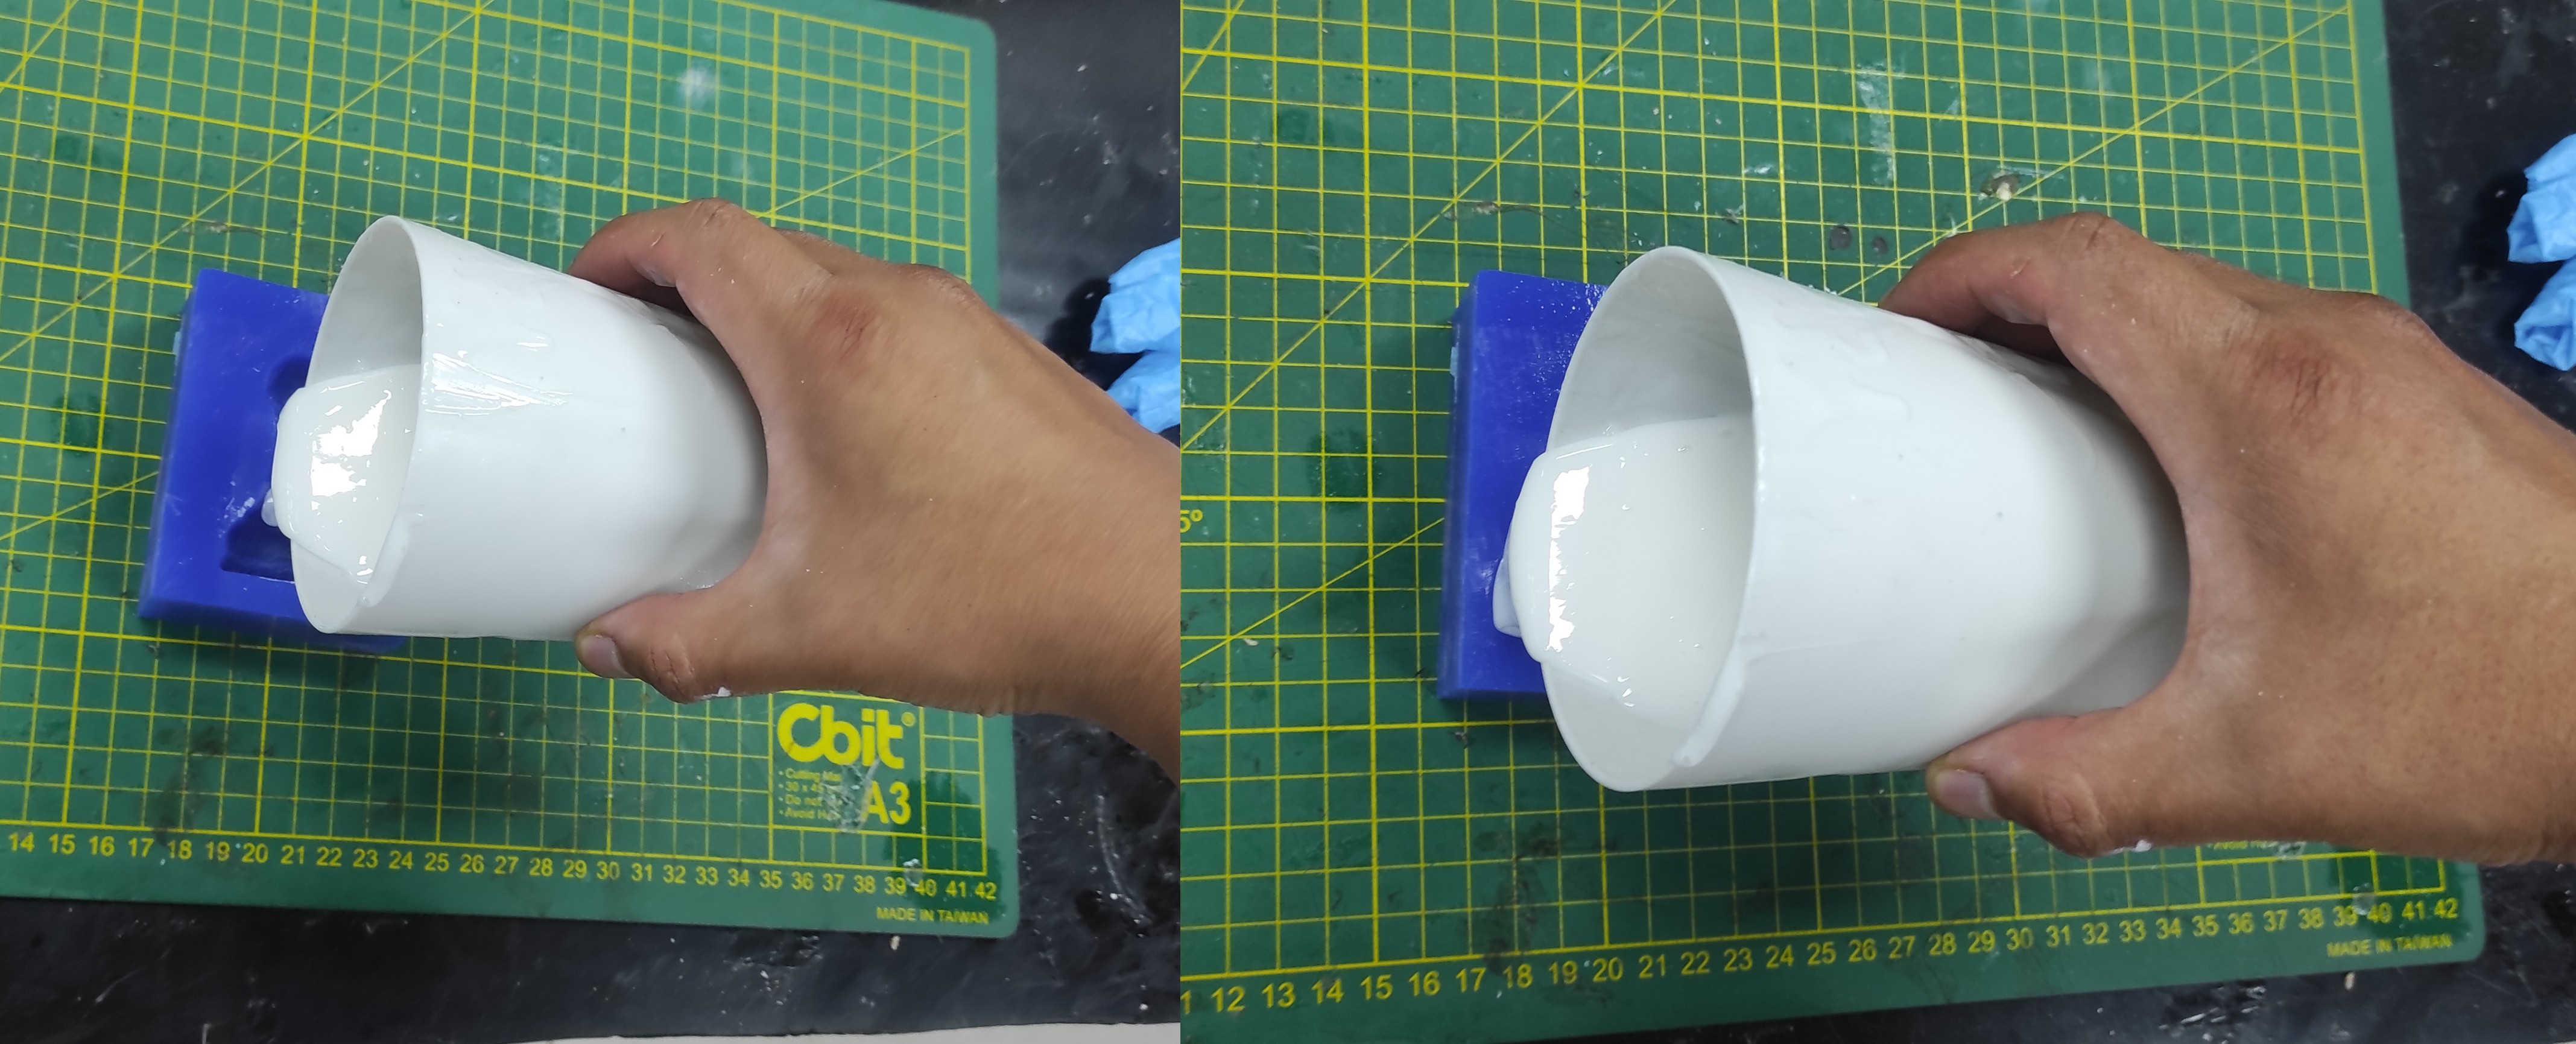
After that, I assembled the previously printed mold pieces and secured them with a clamp to hold the joint in place.
Finally, I poured the mixed silicone into the mold cavity, ensuring it filled all areas and avoiding air bubbles.
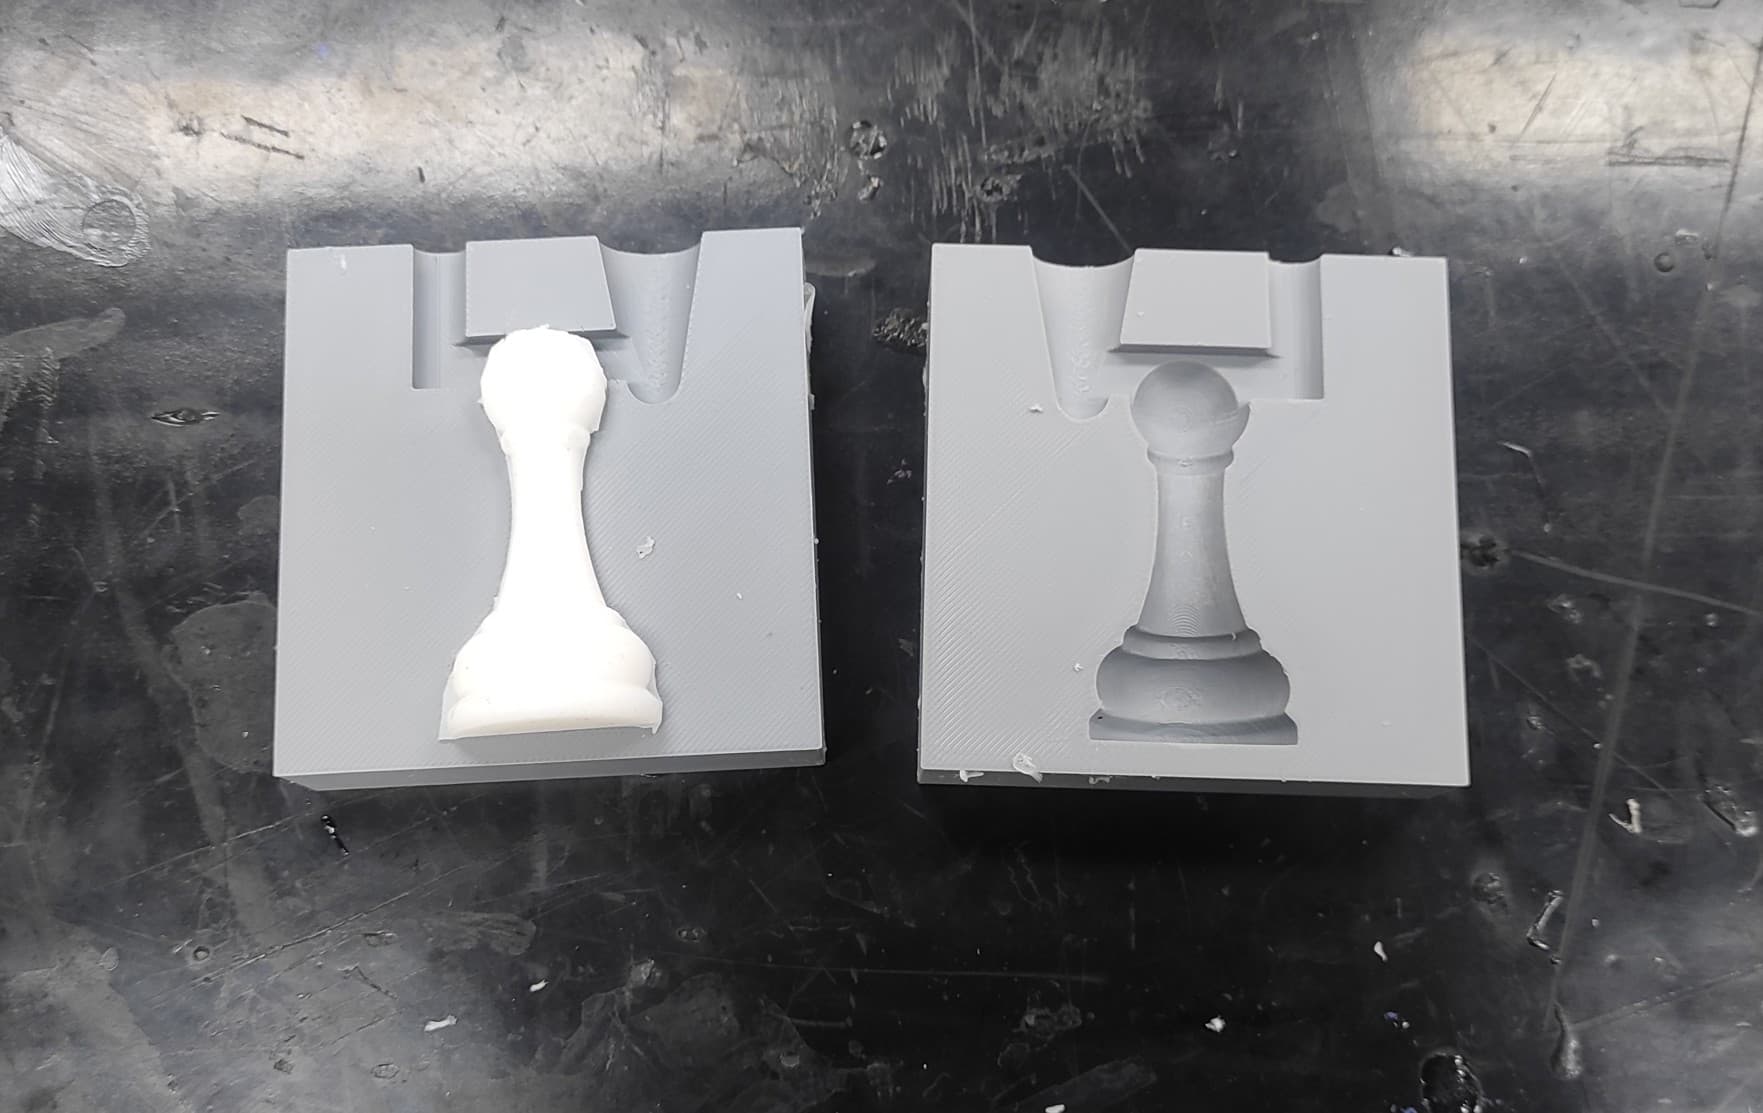
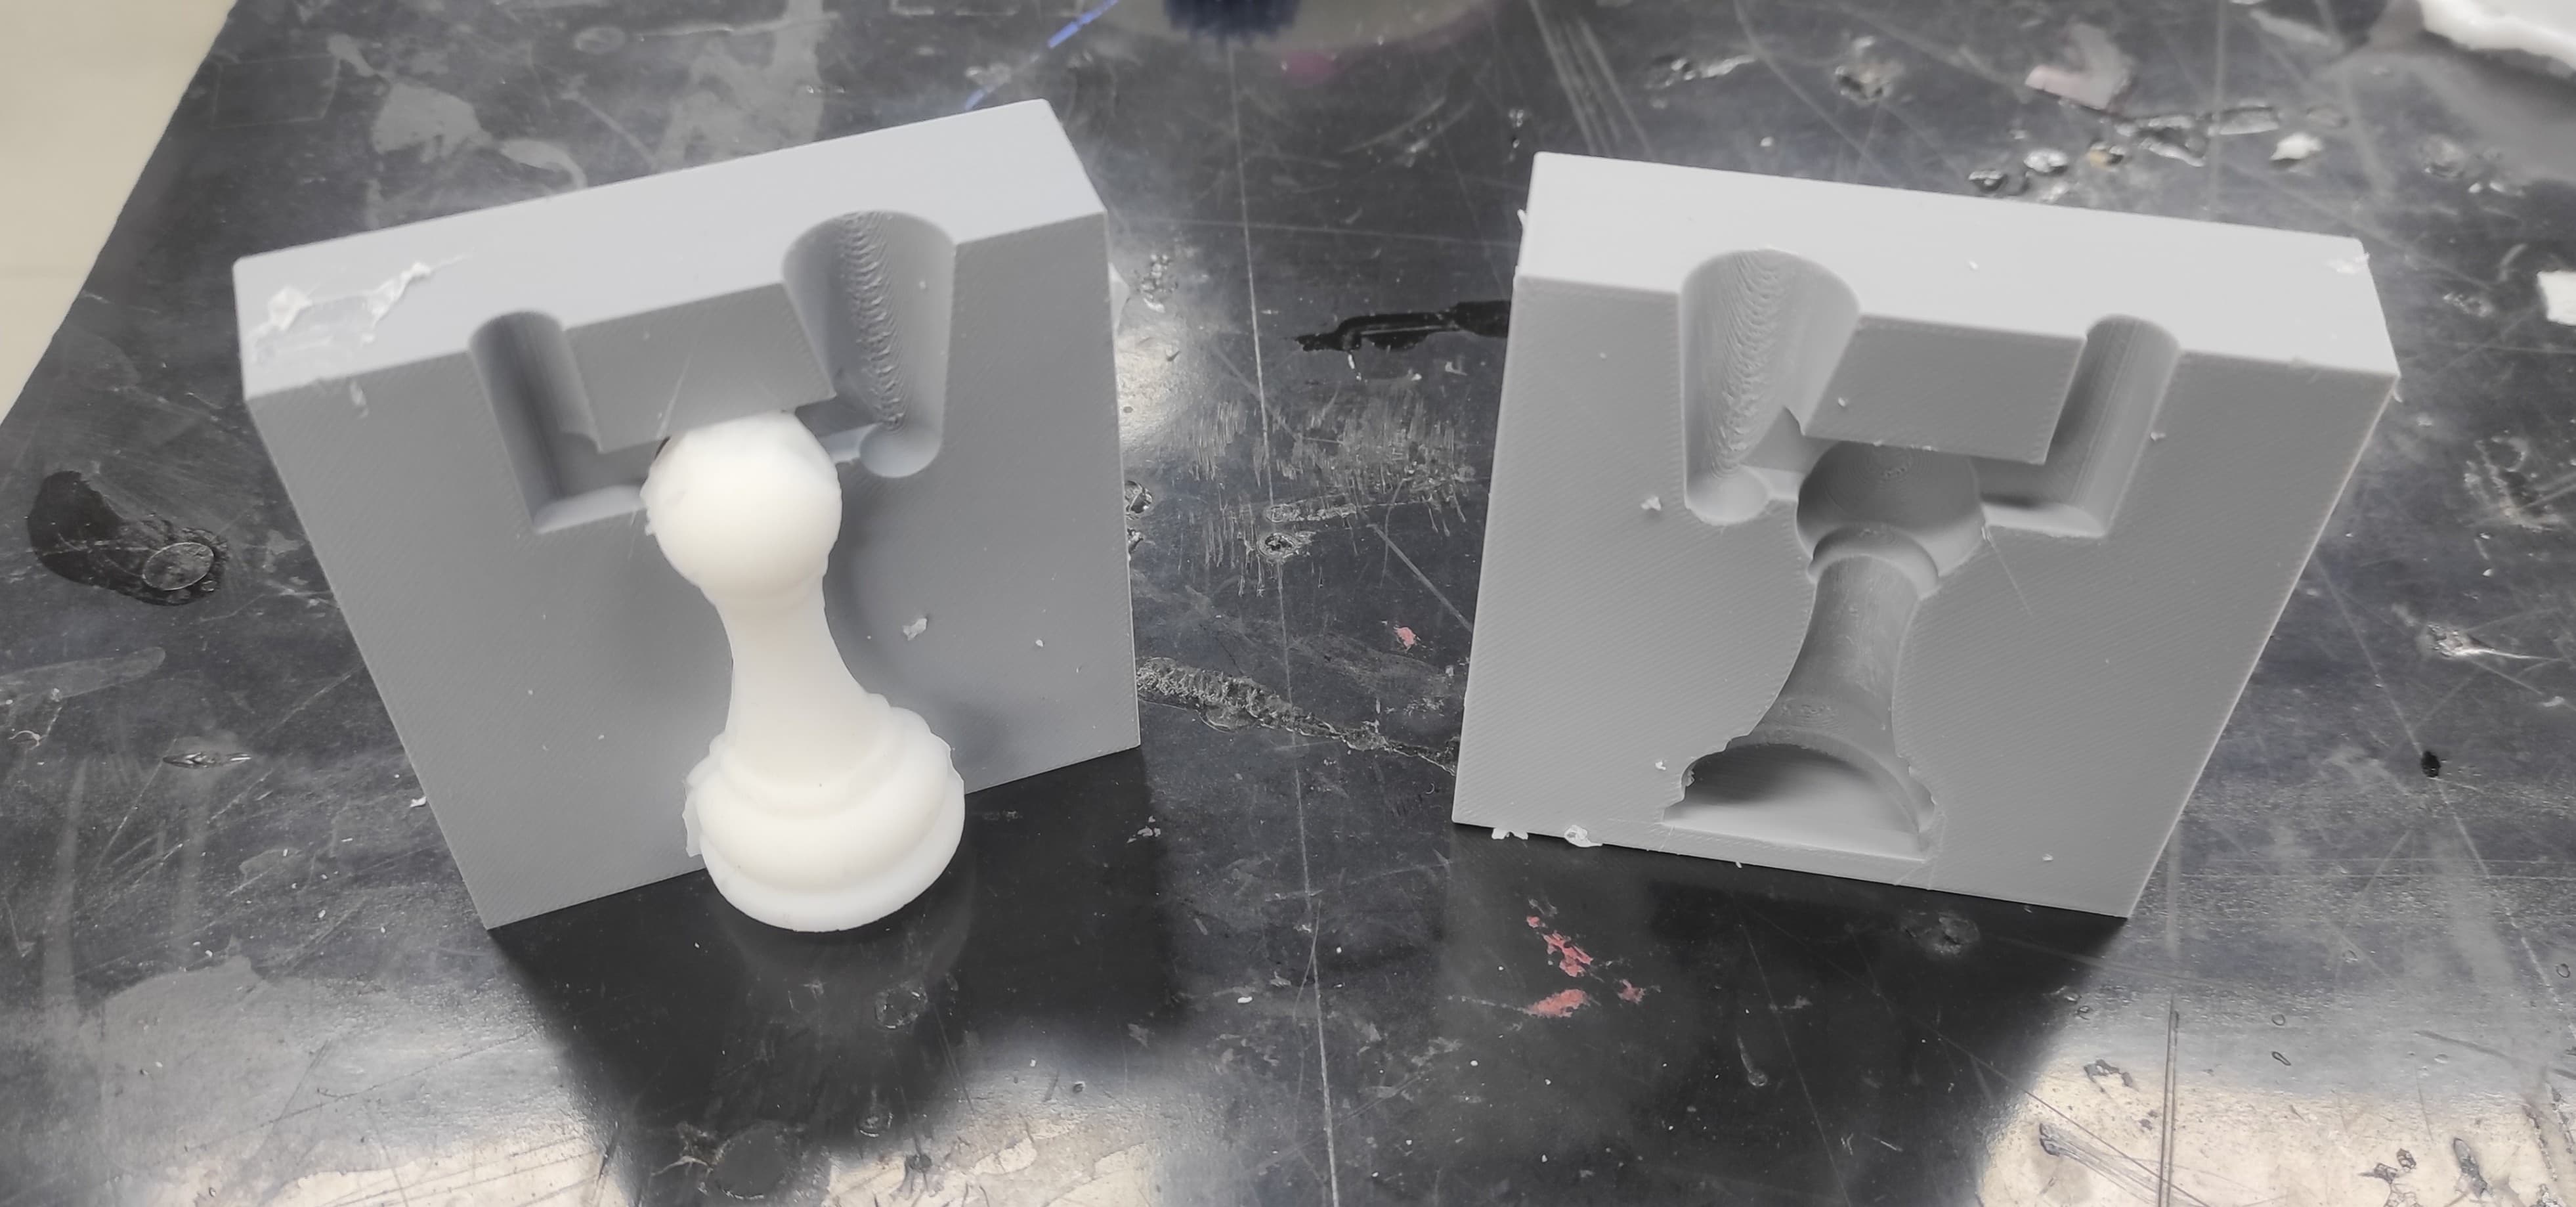
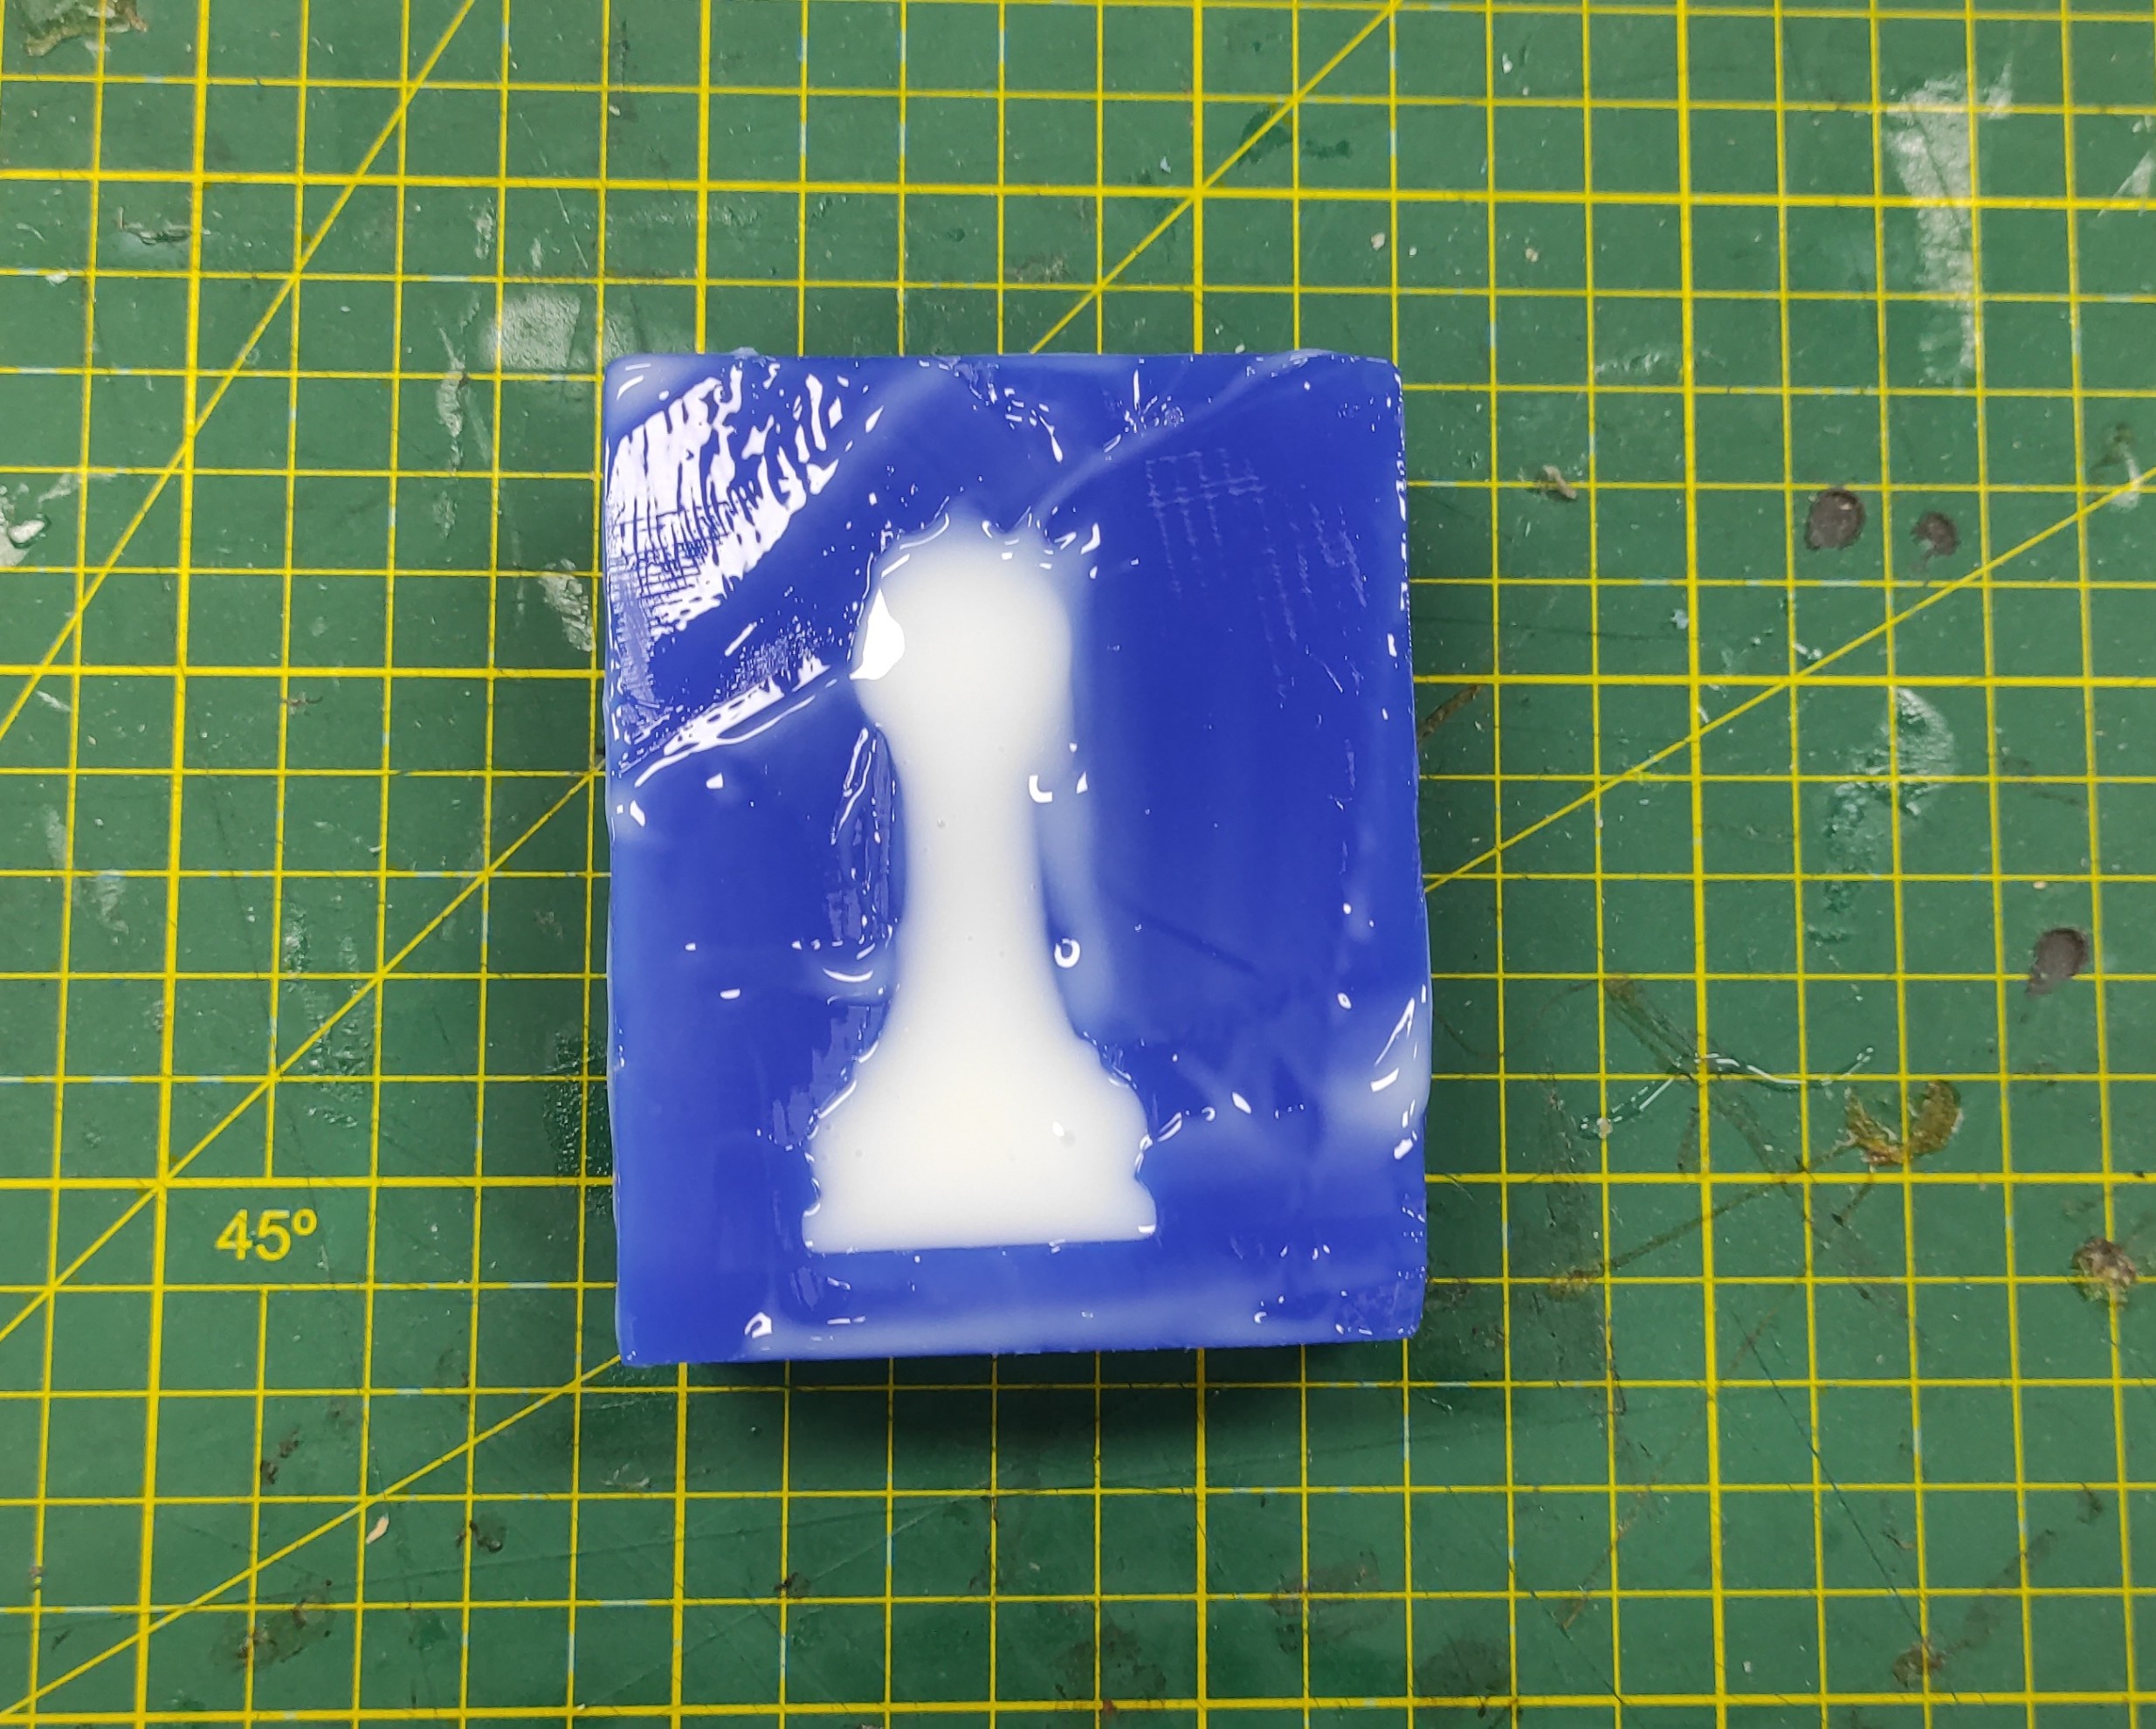
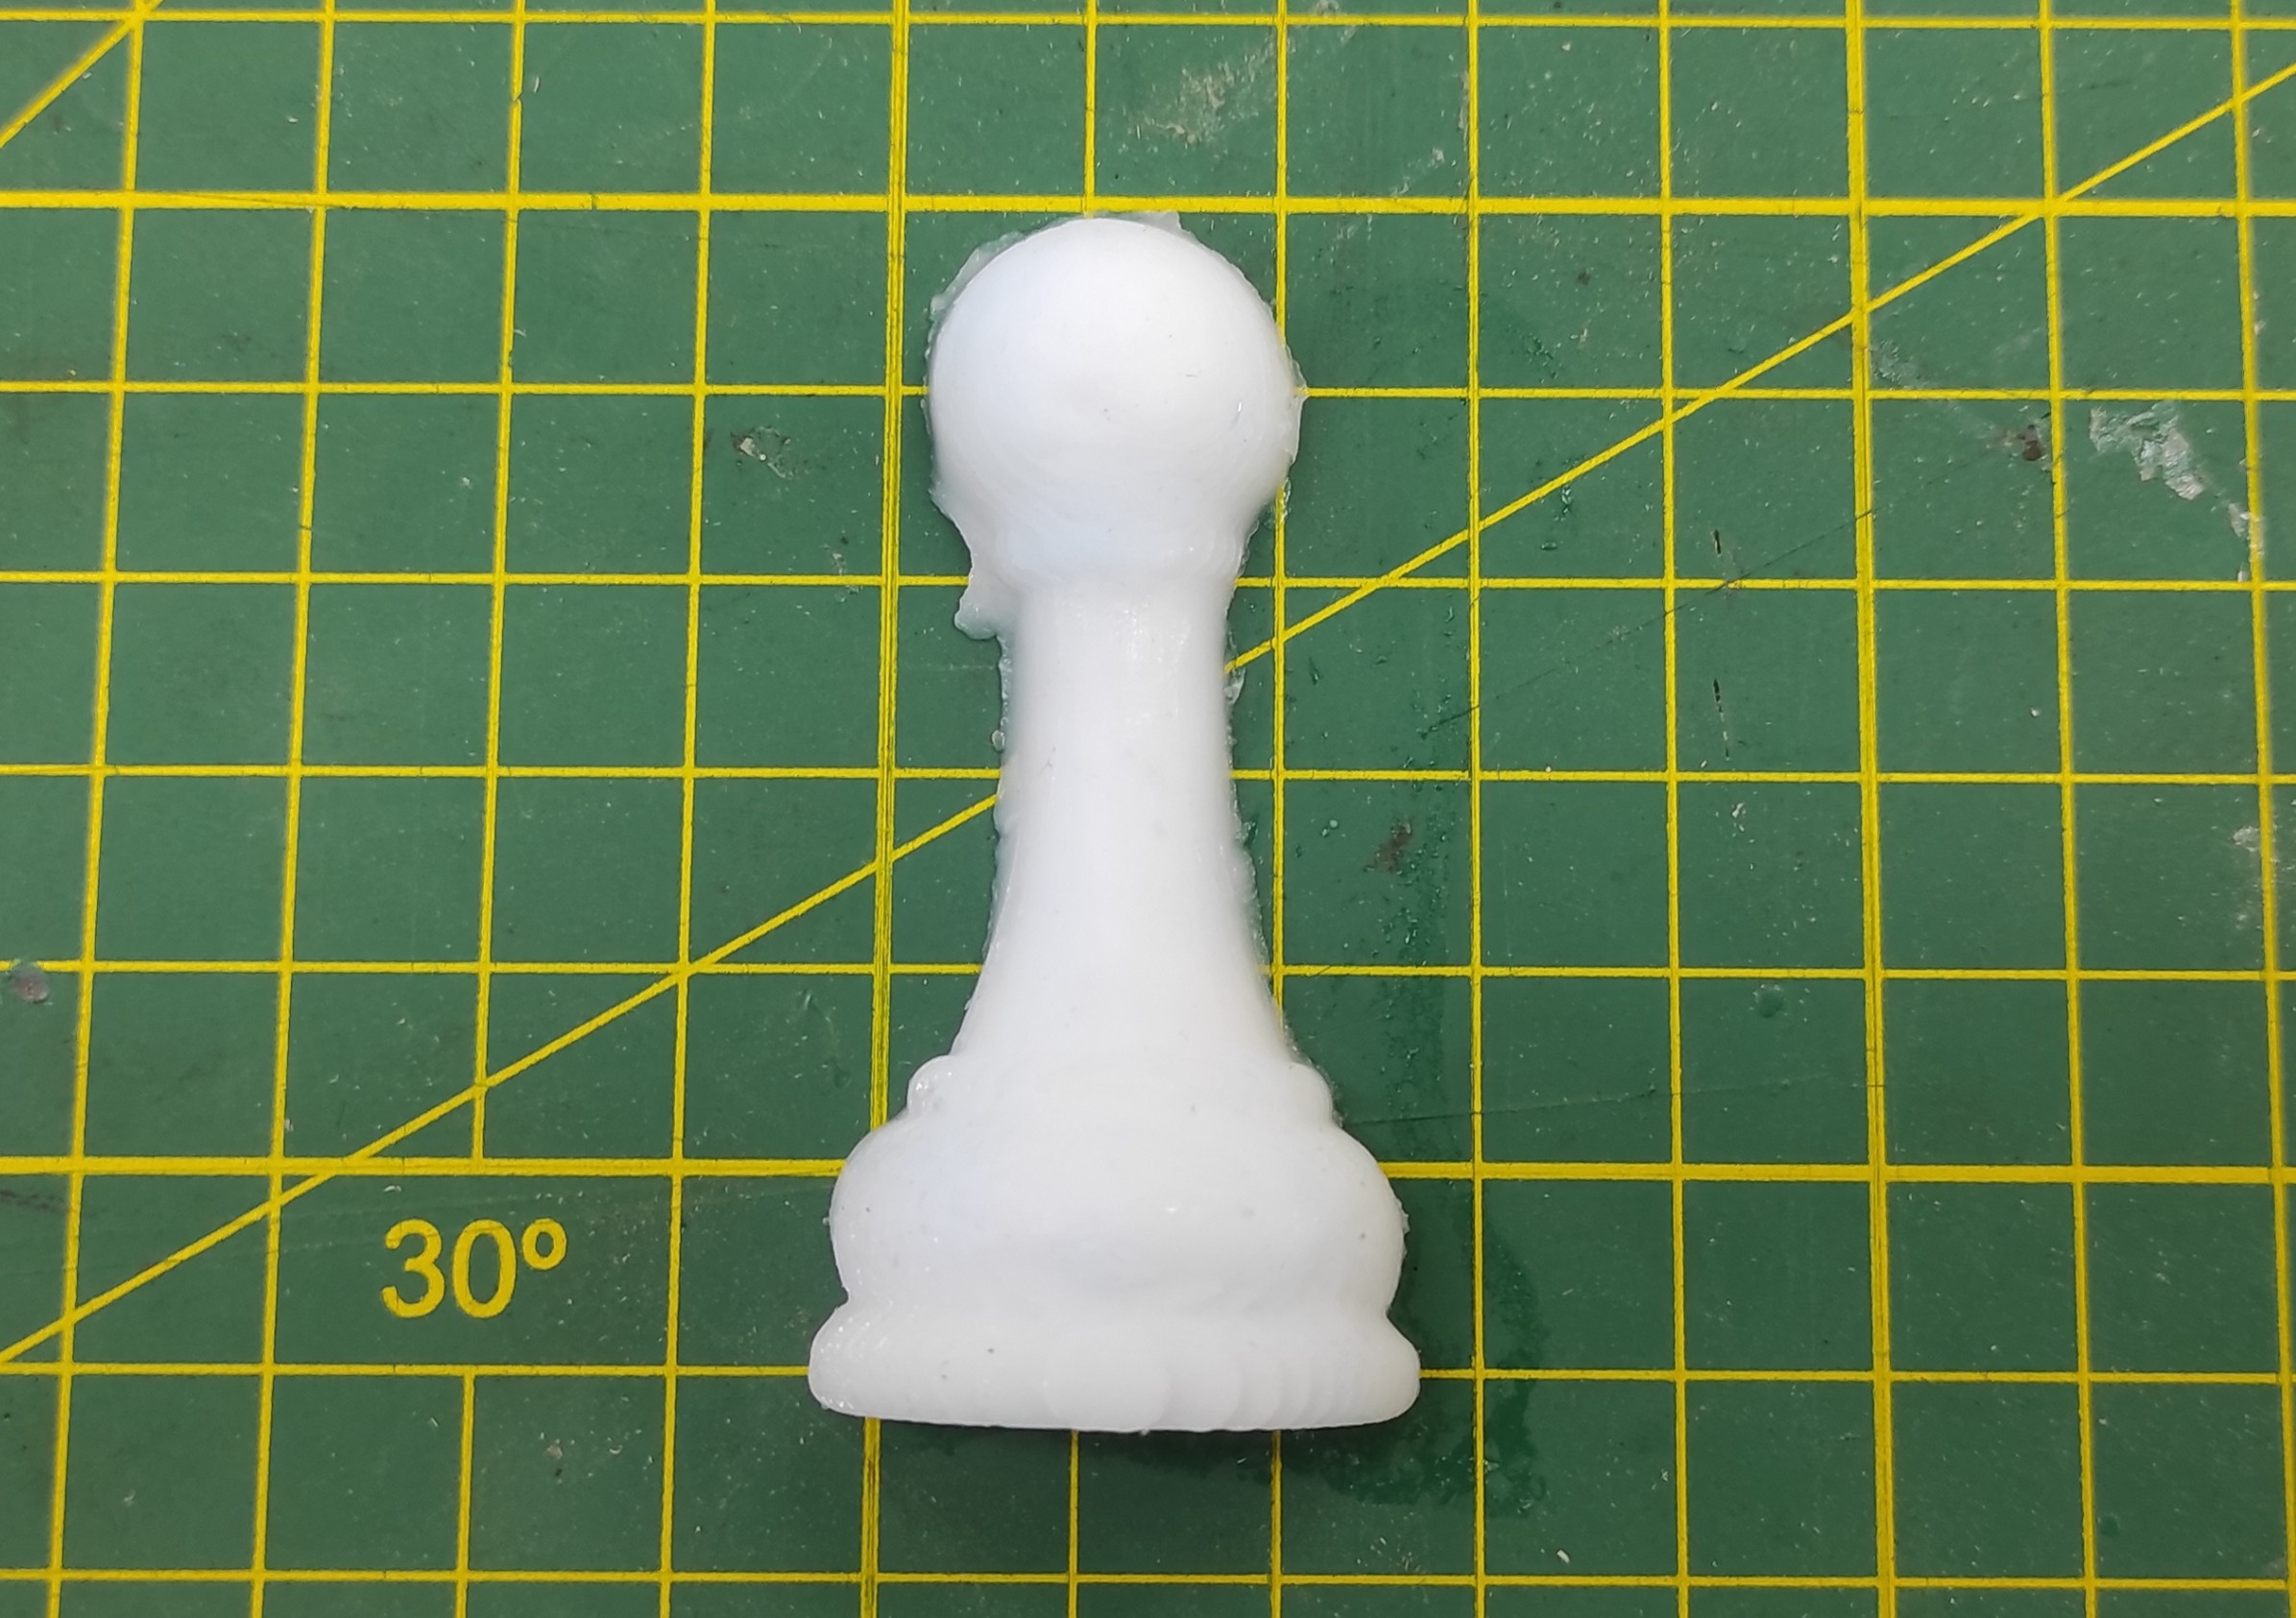
After allowing the silicone to cure and confirming it had set properly, I opened the mold and removed the finished part.
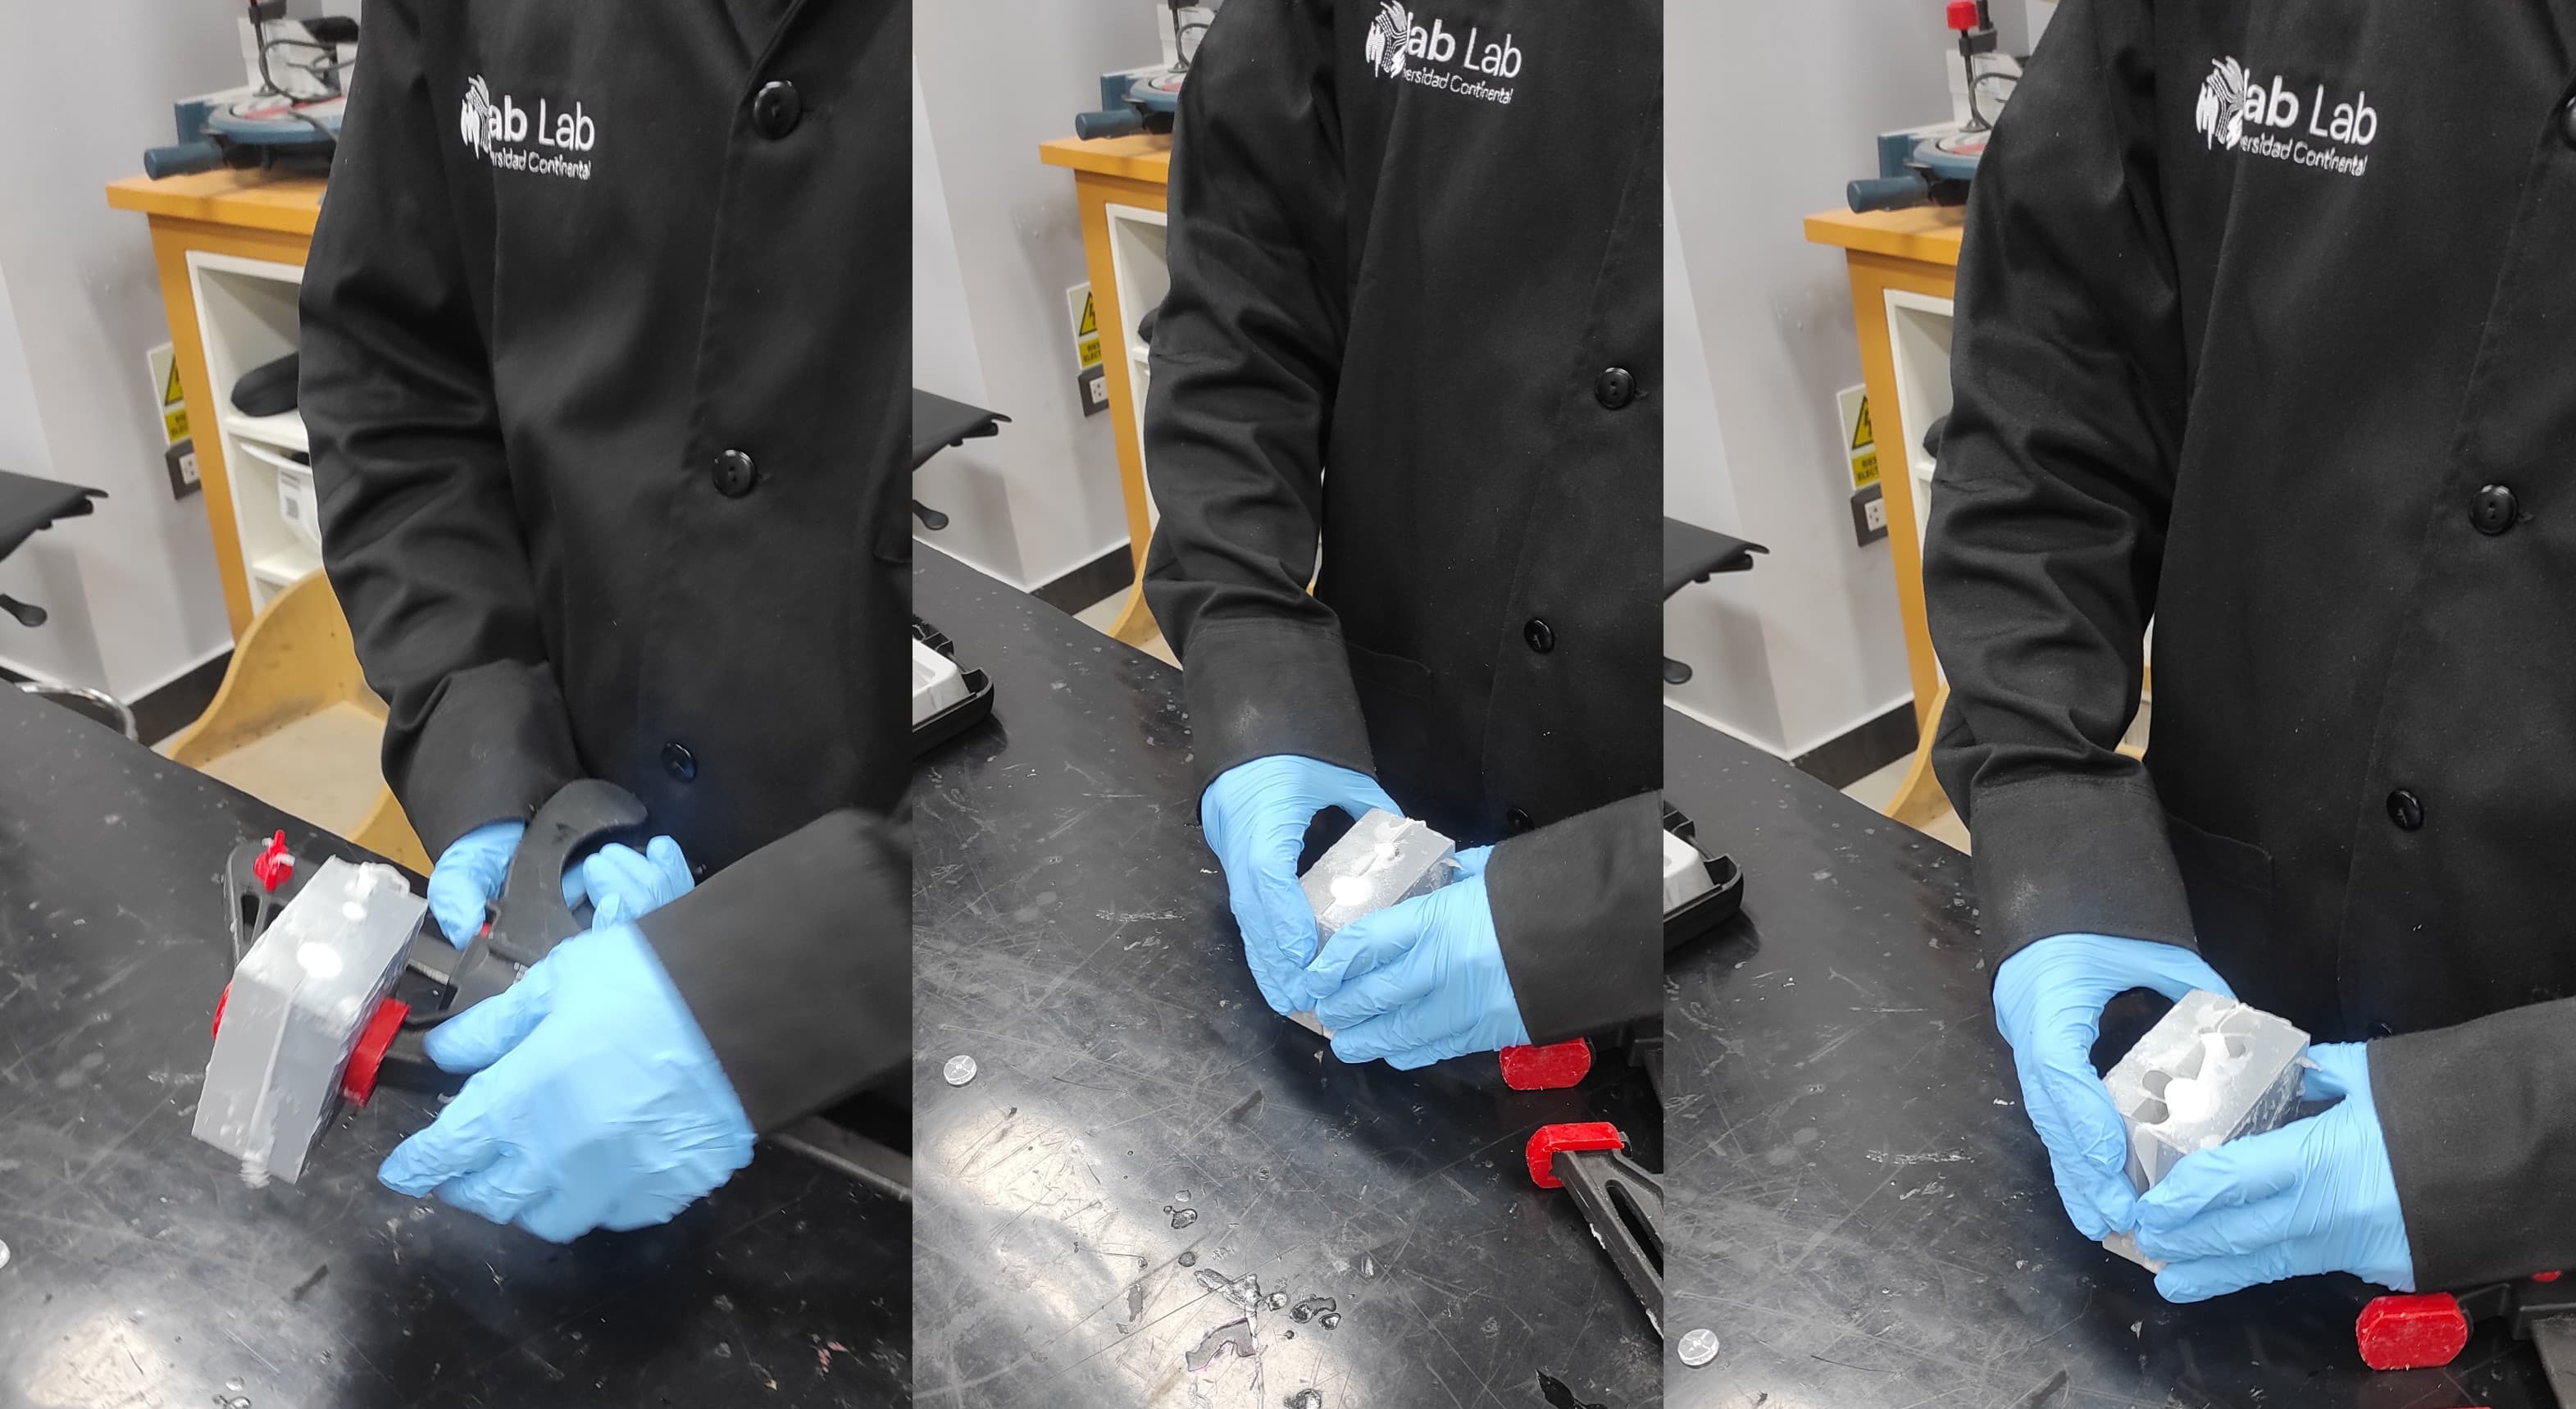
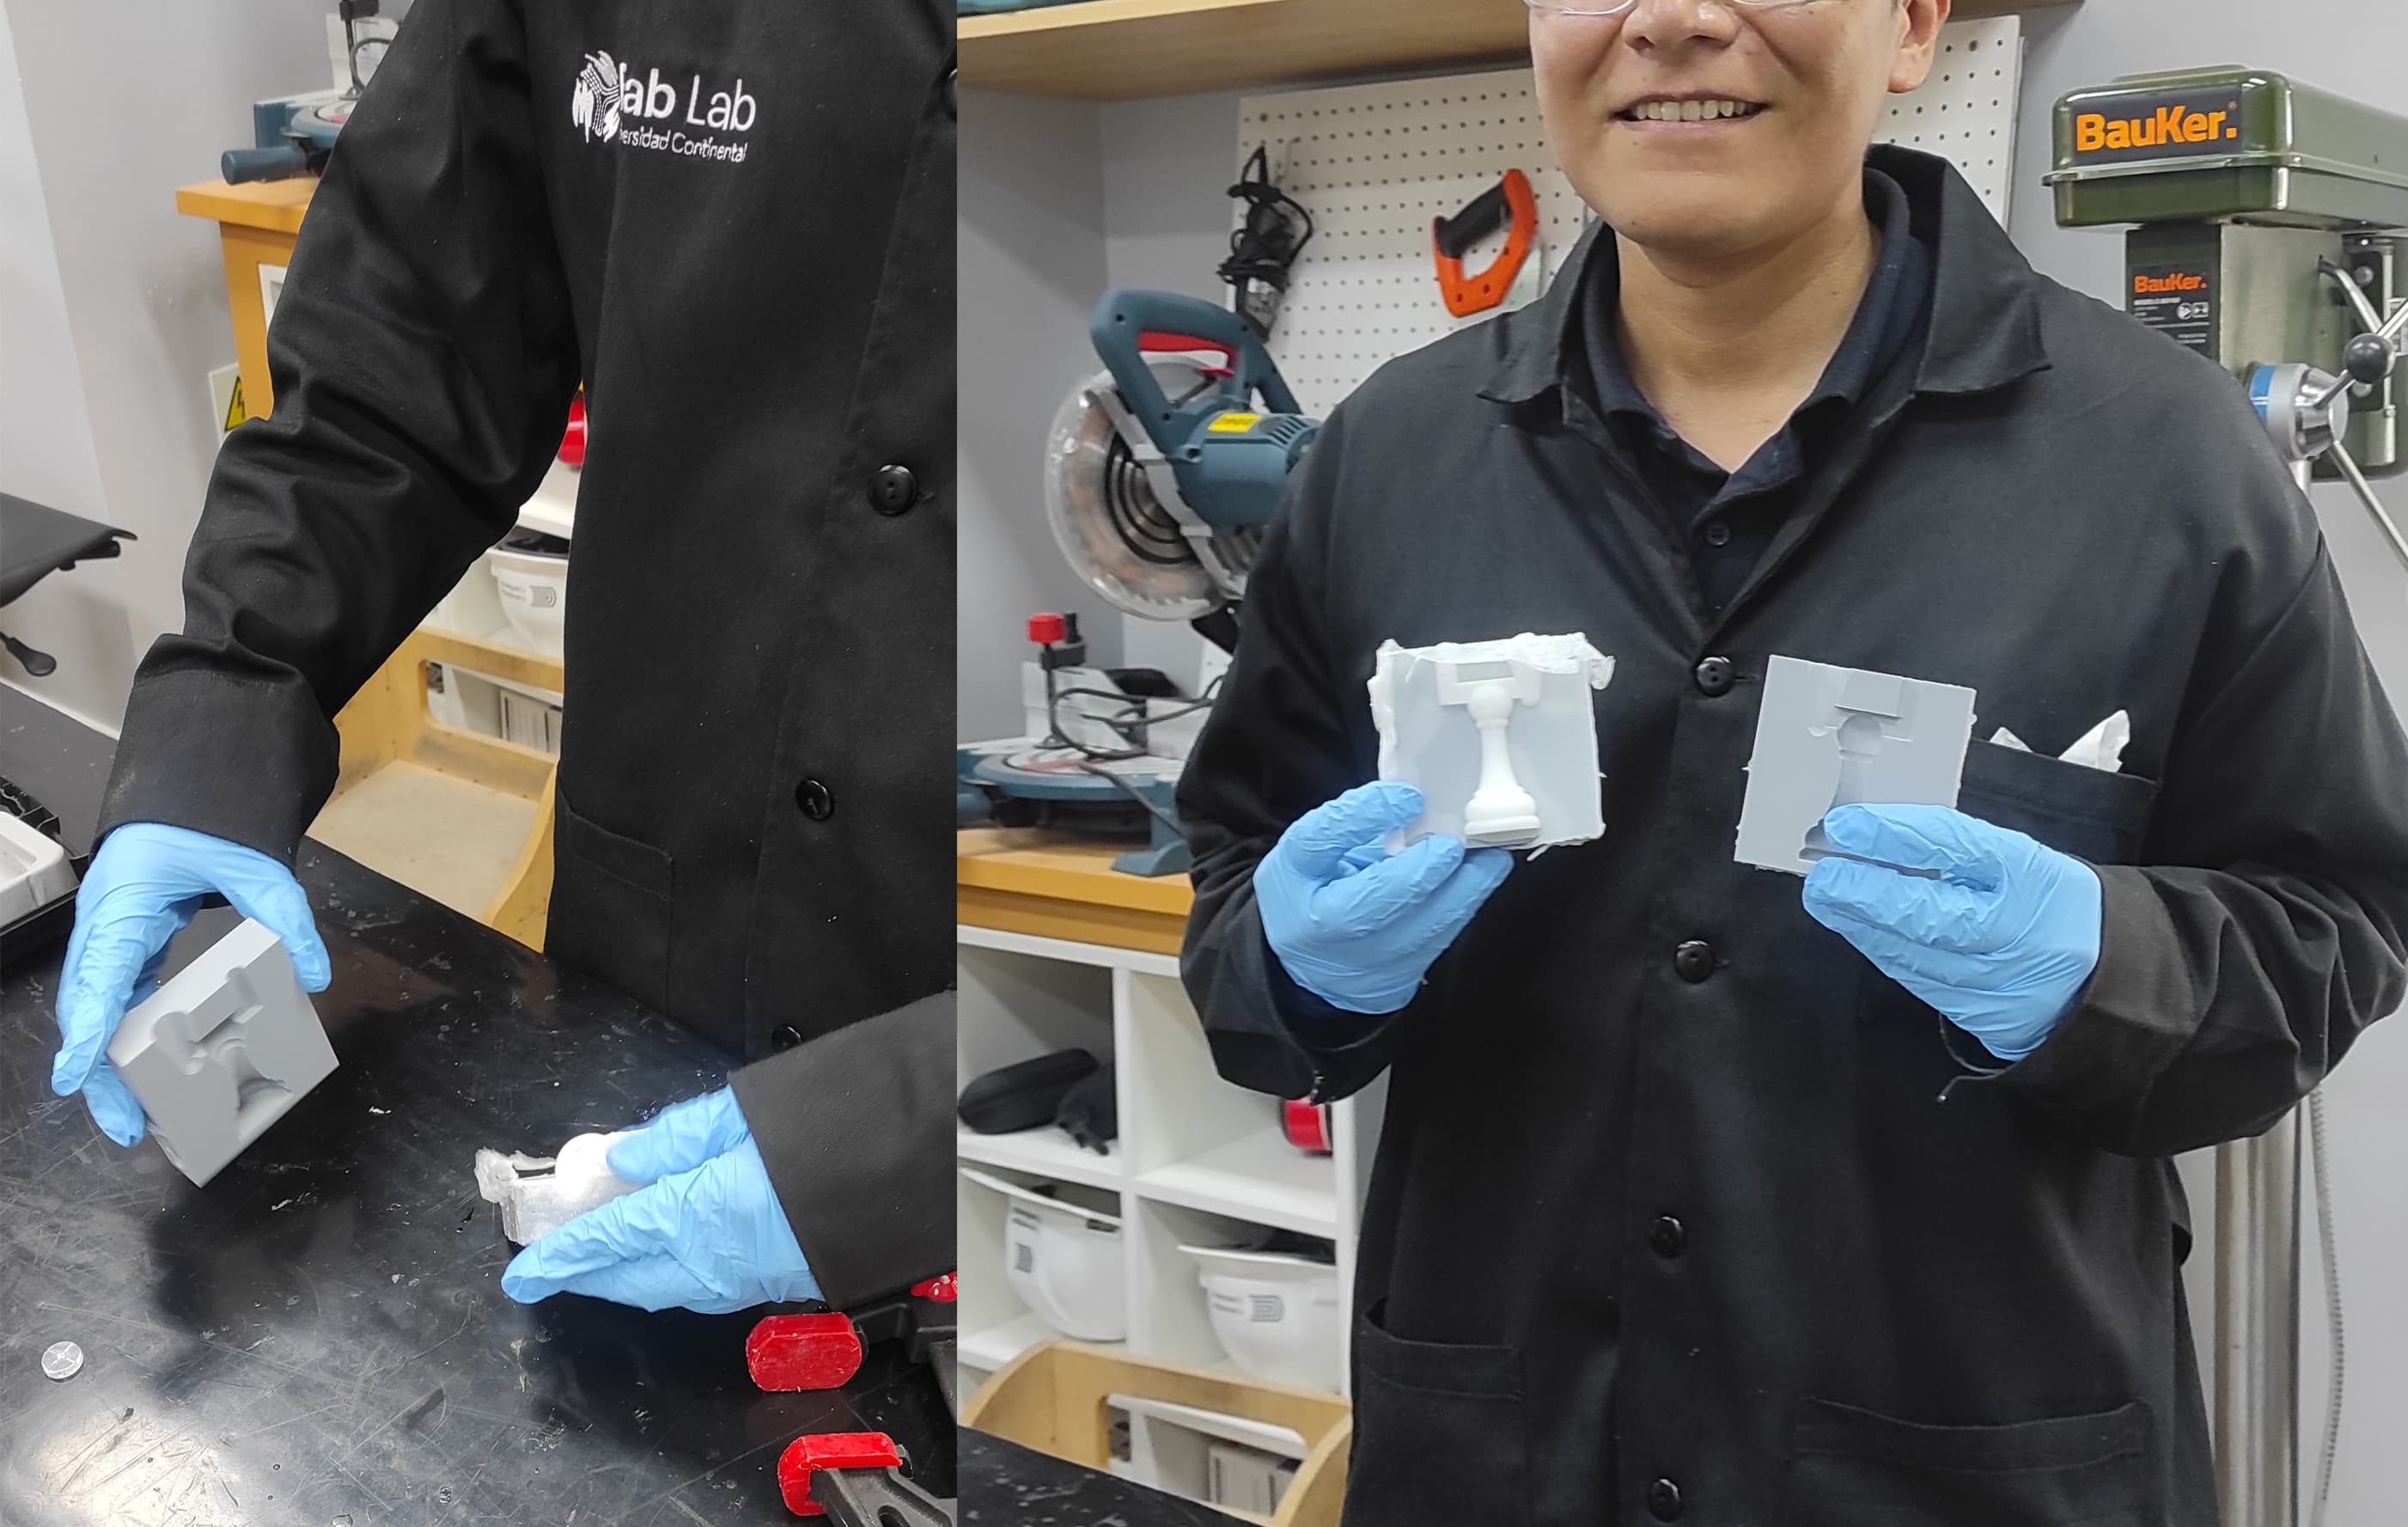
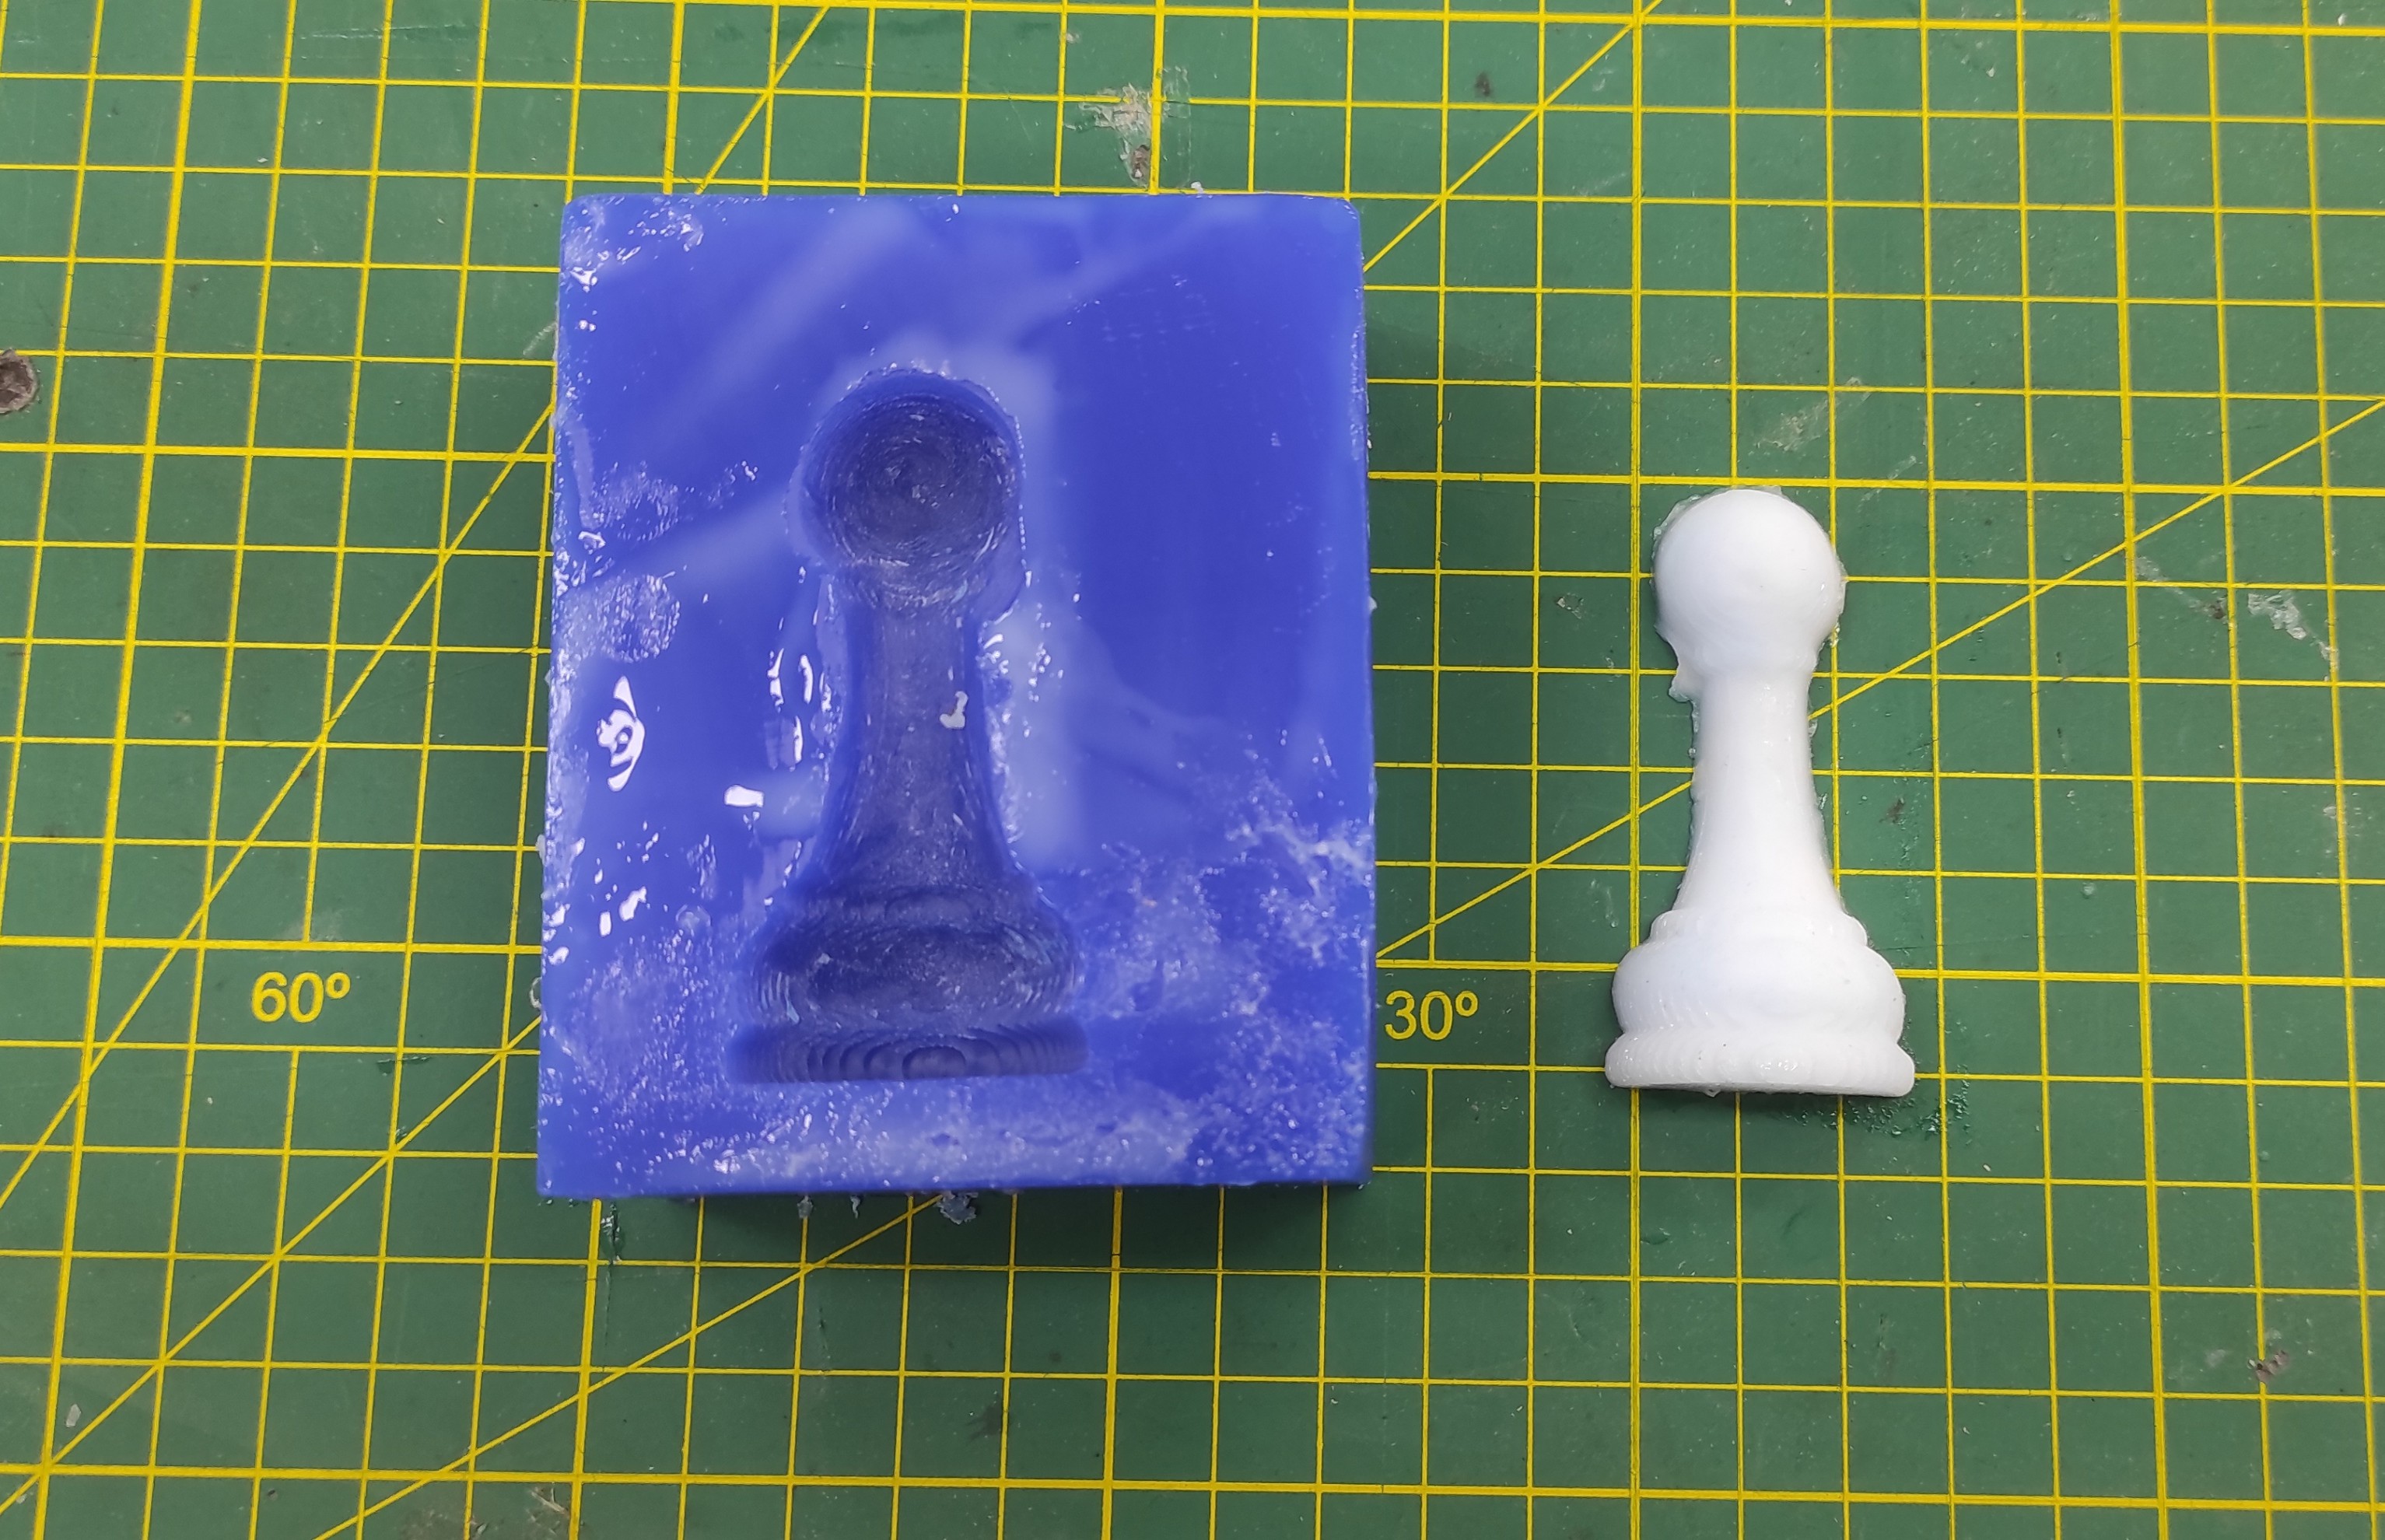
Next, I demolded the part and examined the result—it was very uniform with a smooth, high-quality surface.
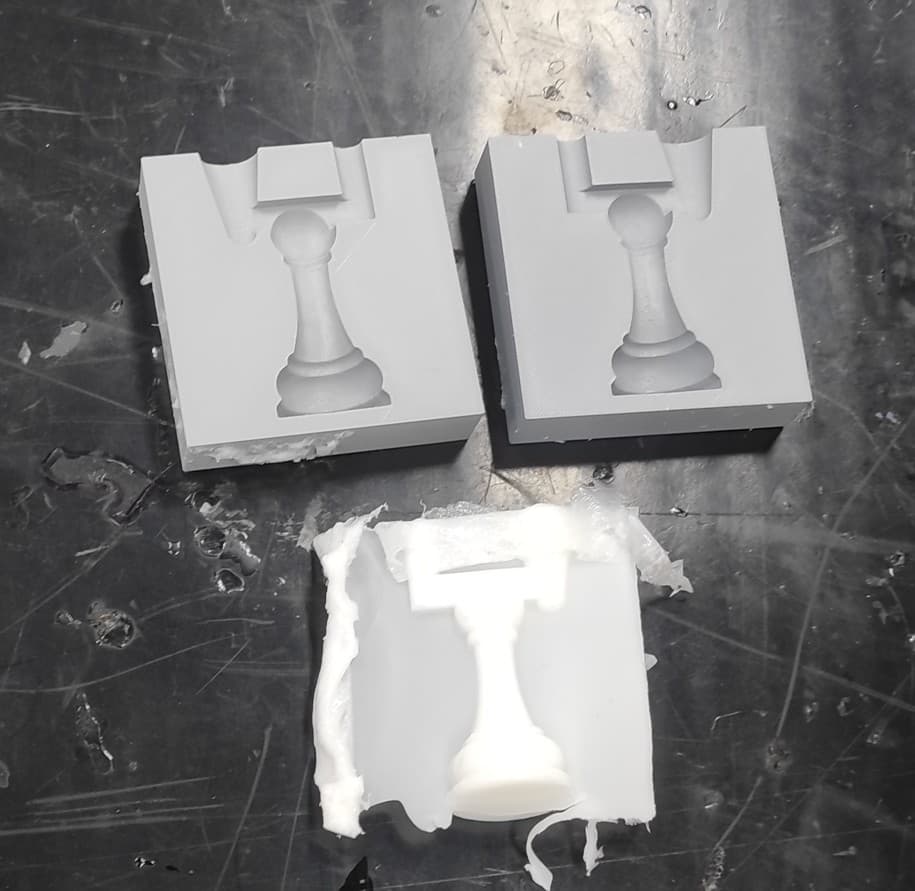
After trimming and cleaning off the excess material, I obtained the final product.
6. Machinable Wax Mold
I am also going to make a wax mold to better understand the manufacturing process and to obtain the necessary design parameters and specifications.
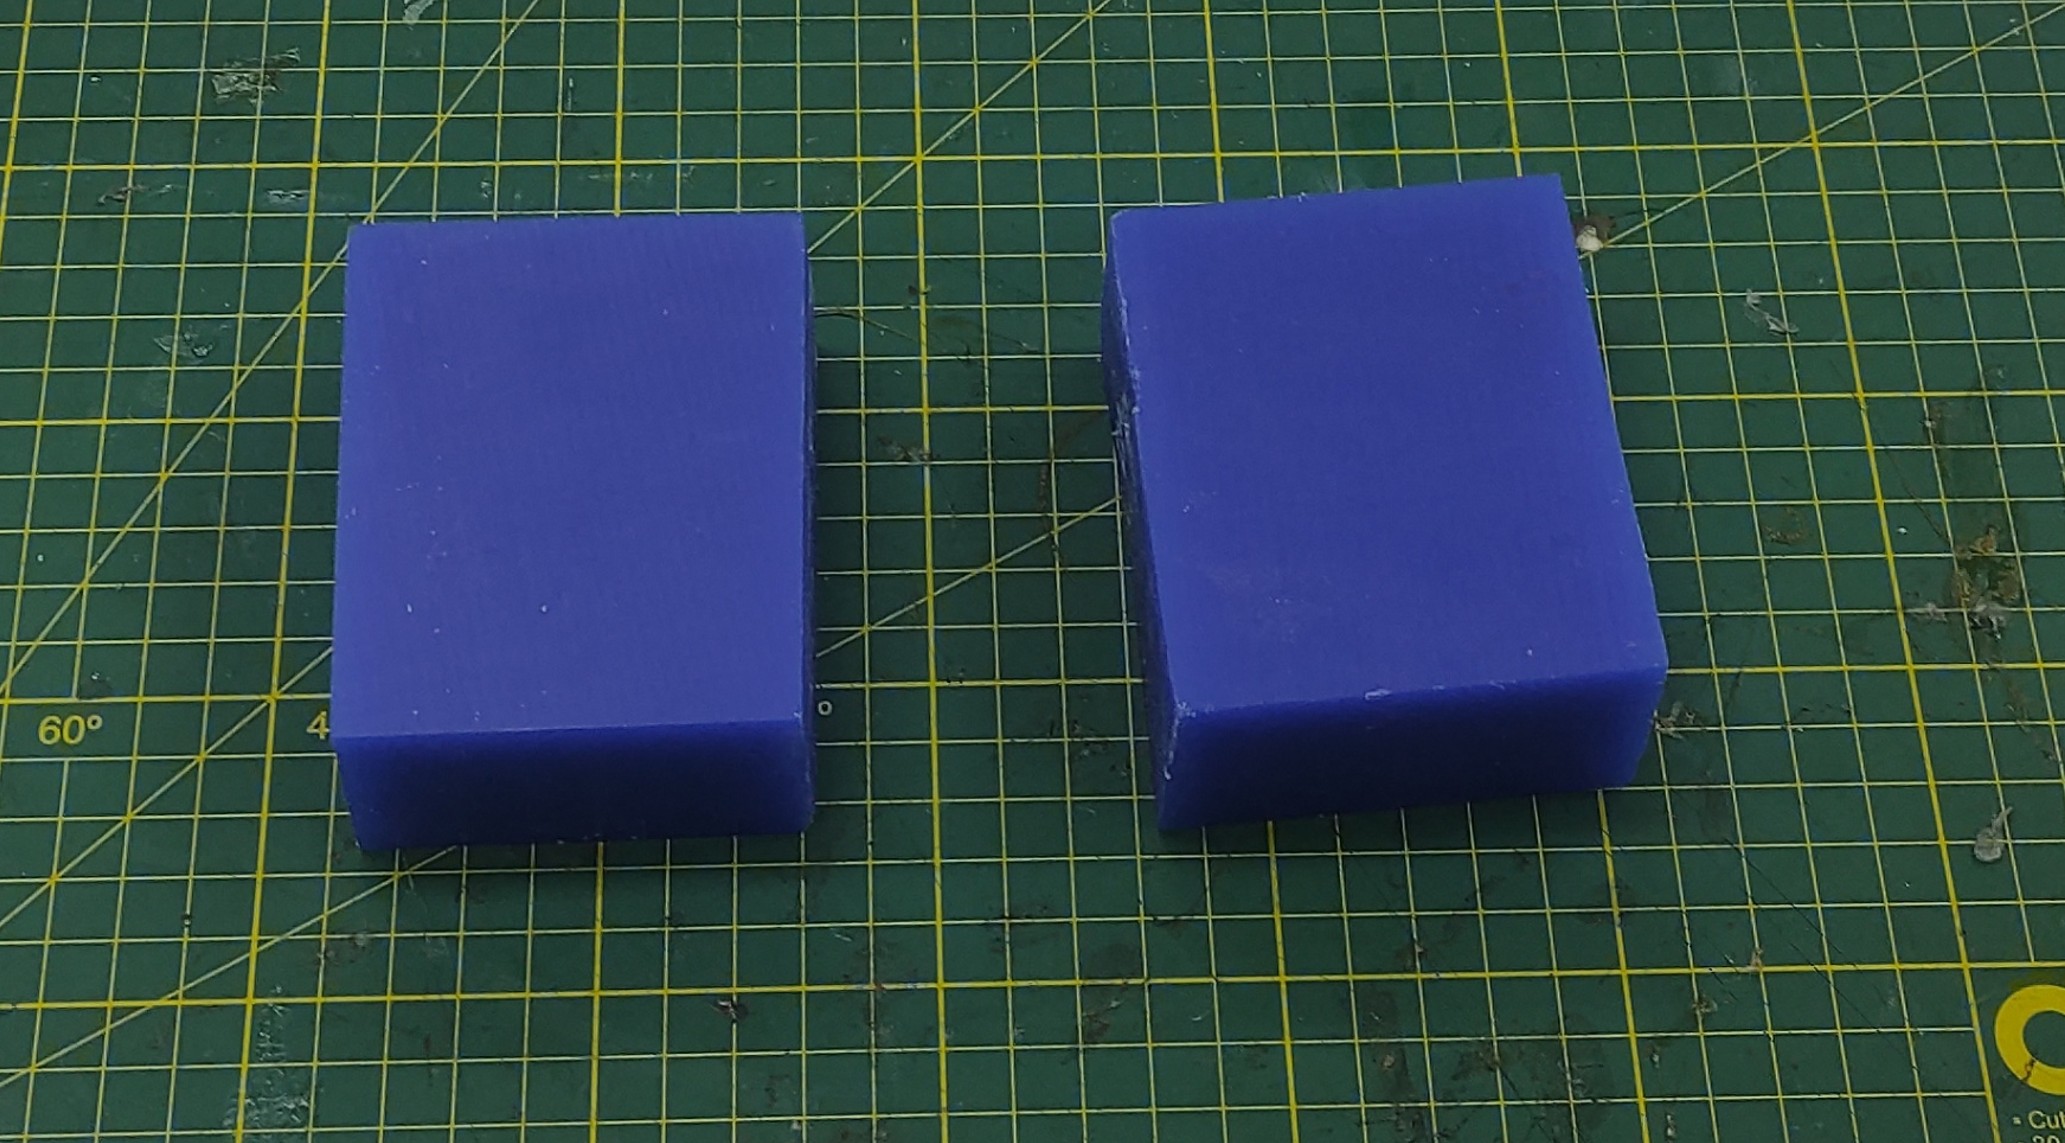
To manufacture the wax mold, a machinable wax block measuring 75 mm × 87.5 mm × 37 mm is being used.
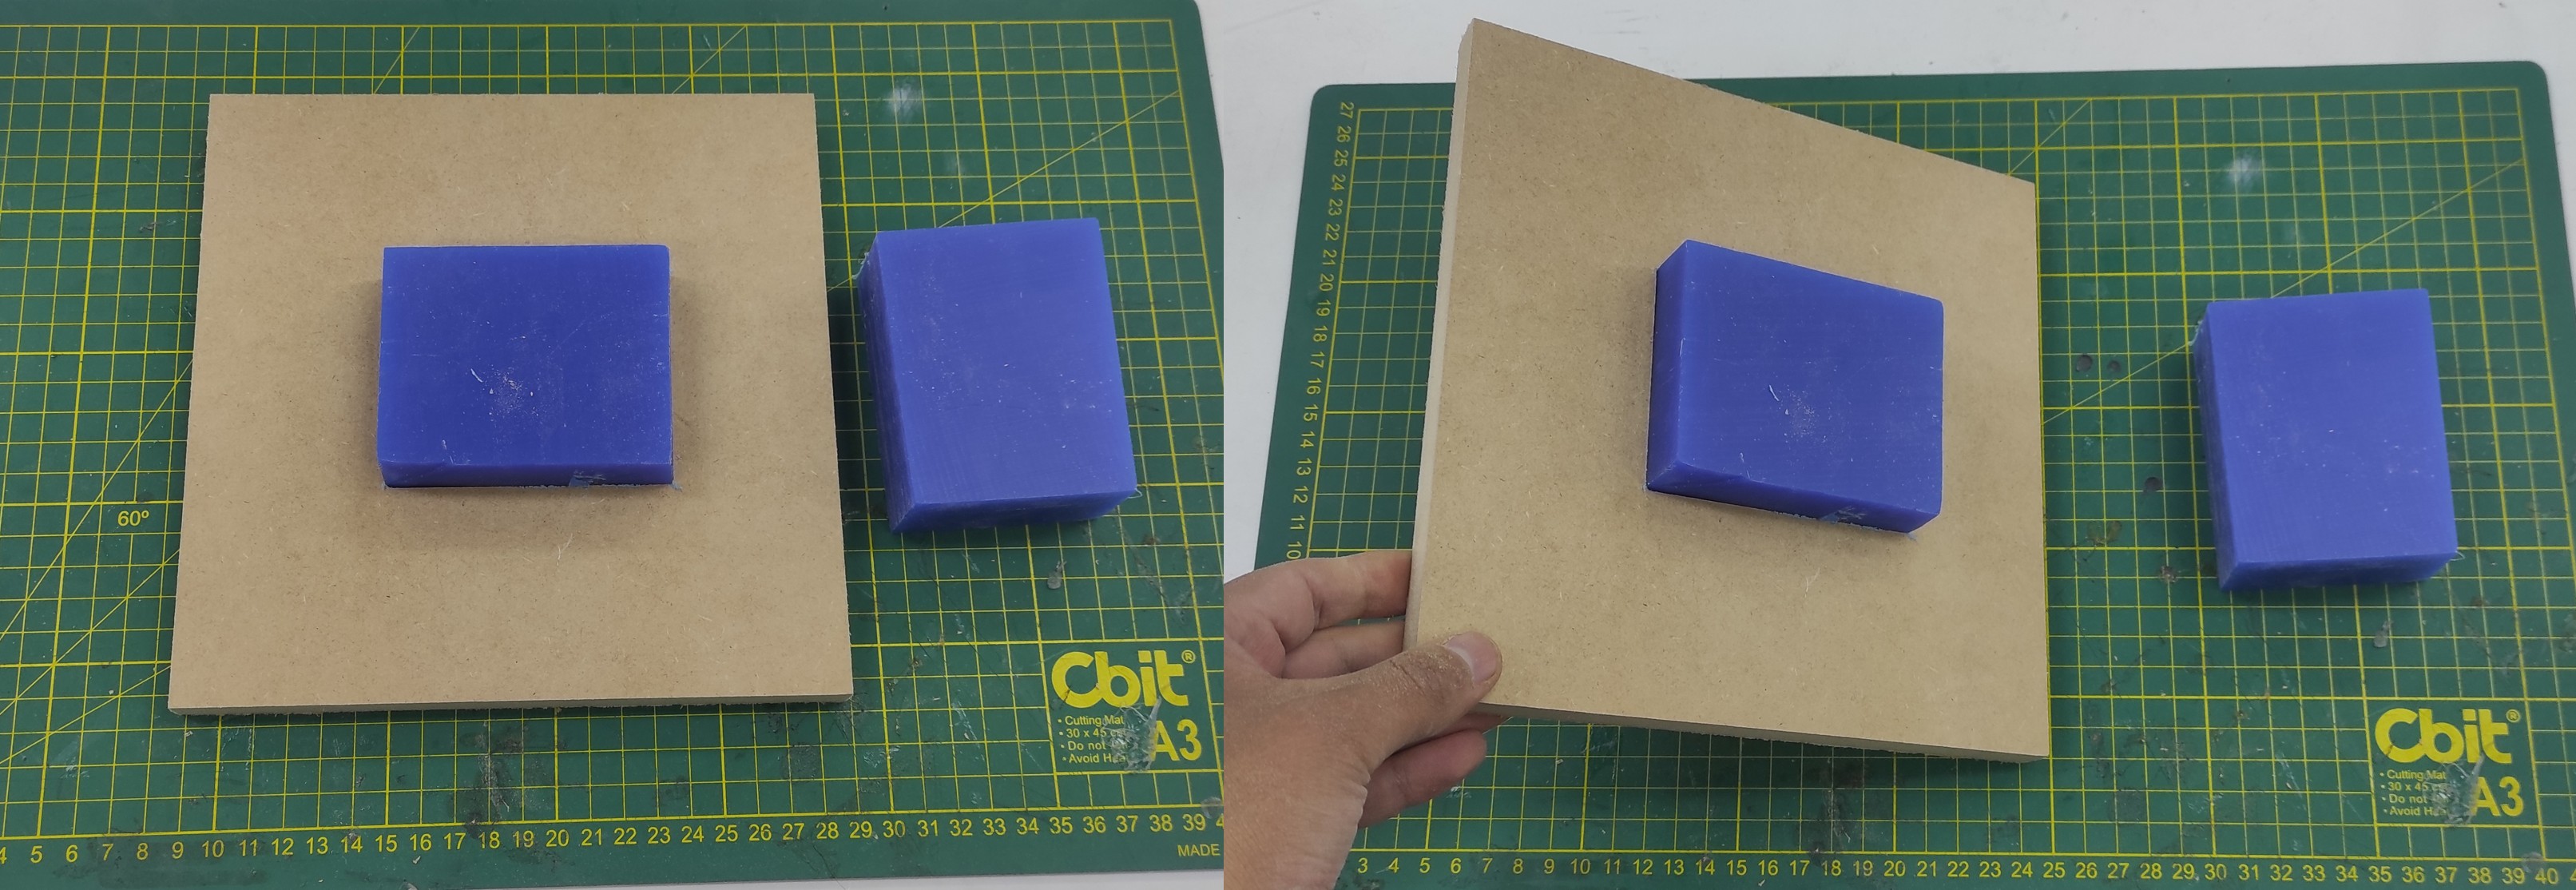
To hold the wax block securely, I mounted it in a 16 mm MDF board with a hole machined to the same dimensions as the wax block.
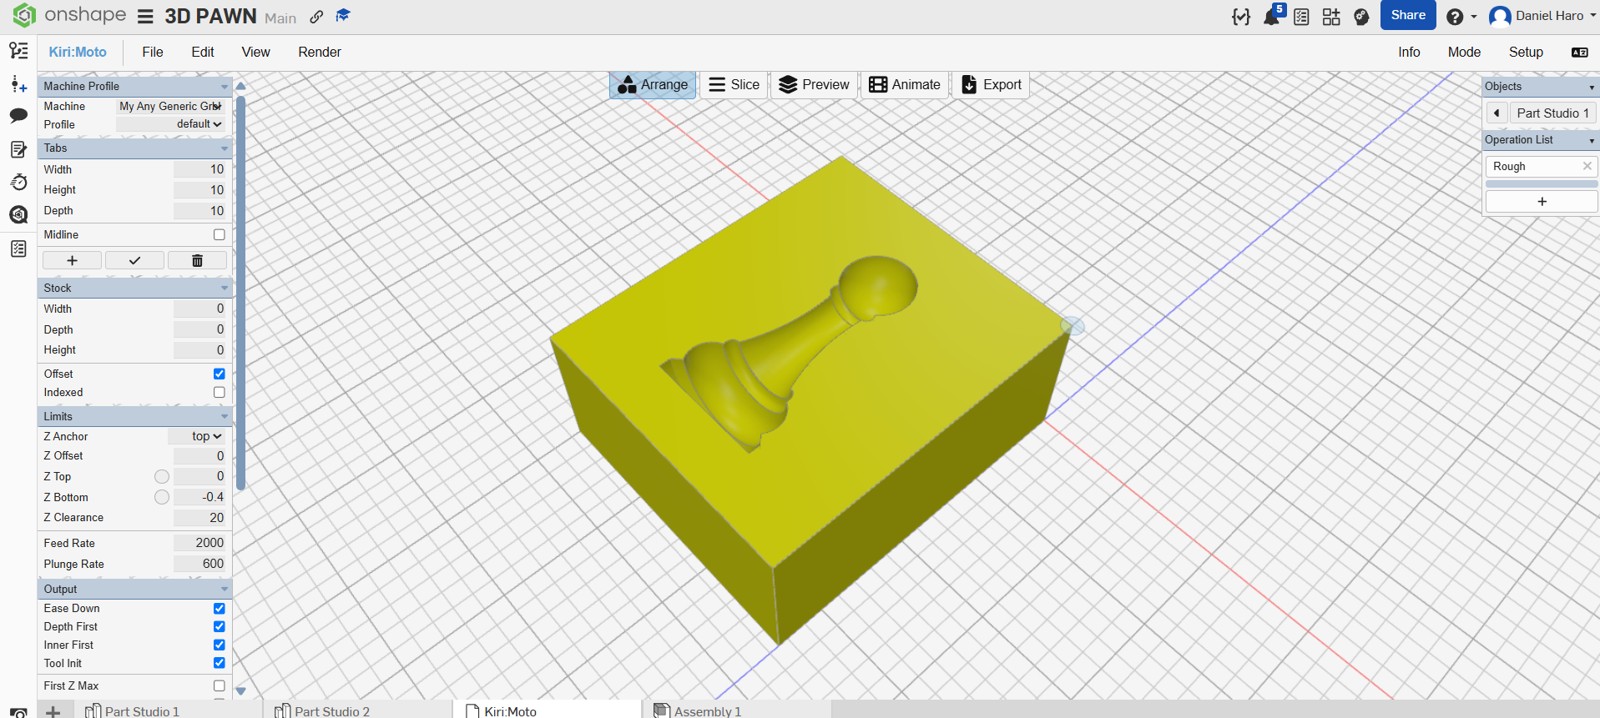
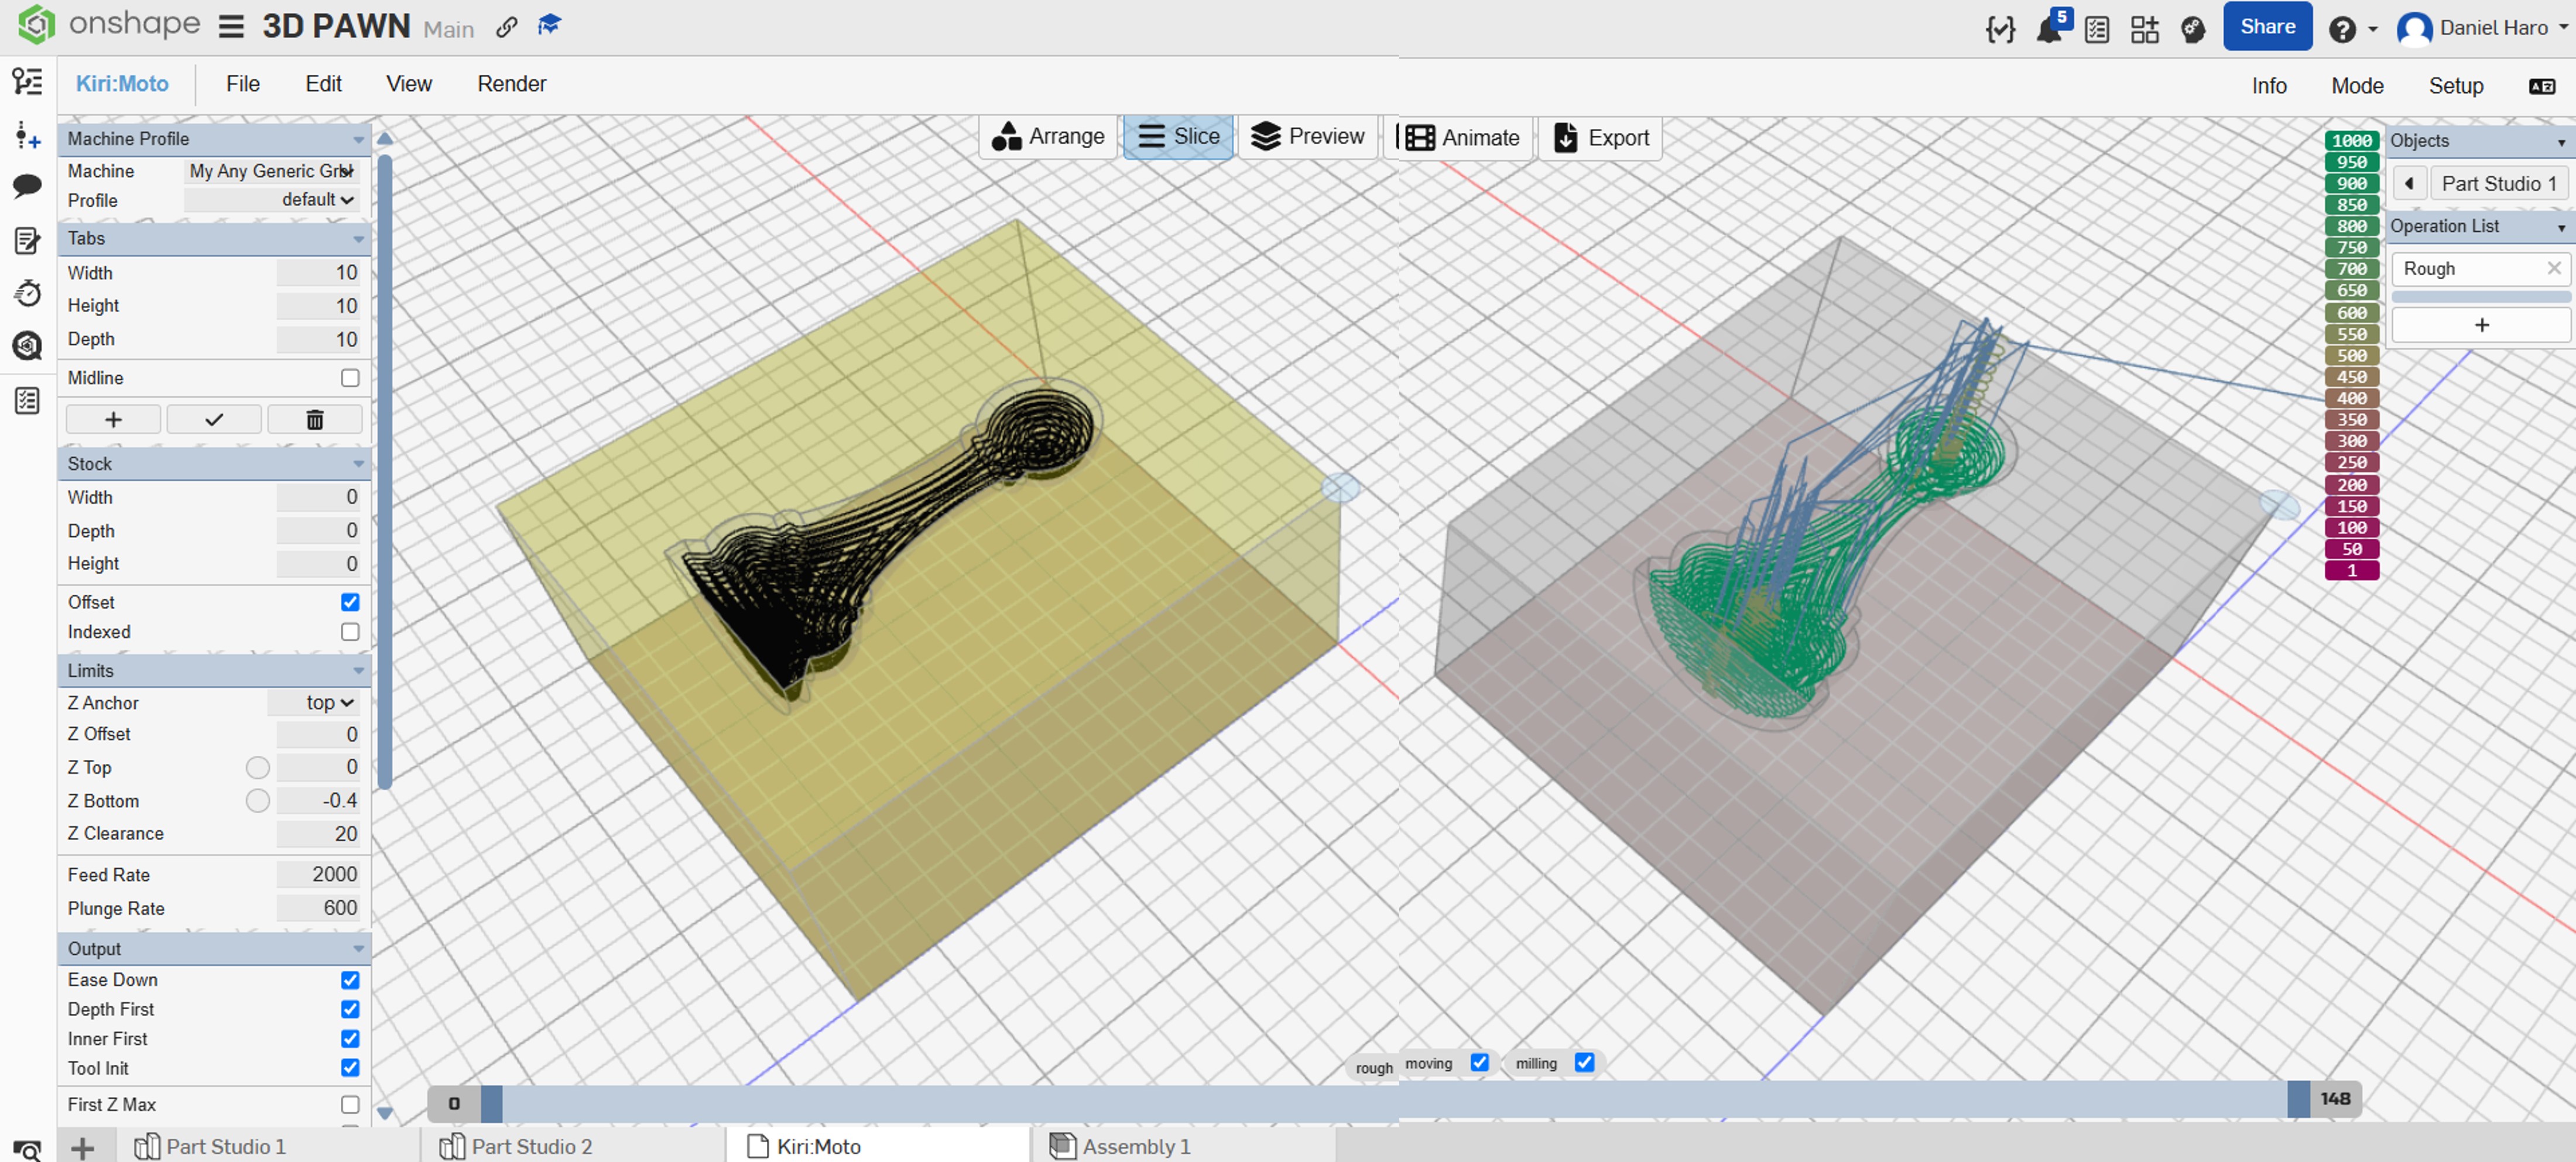
I prepared the CNC file for the 3D machining operation using Kiri:Moto. For the roughing stage, I selected a 2 mm end mill to remove the bulk of the material efficiently.
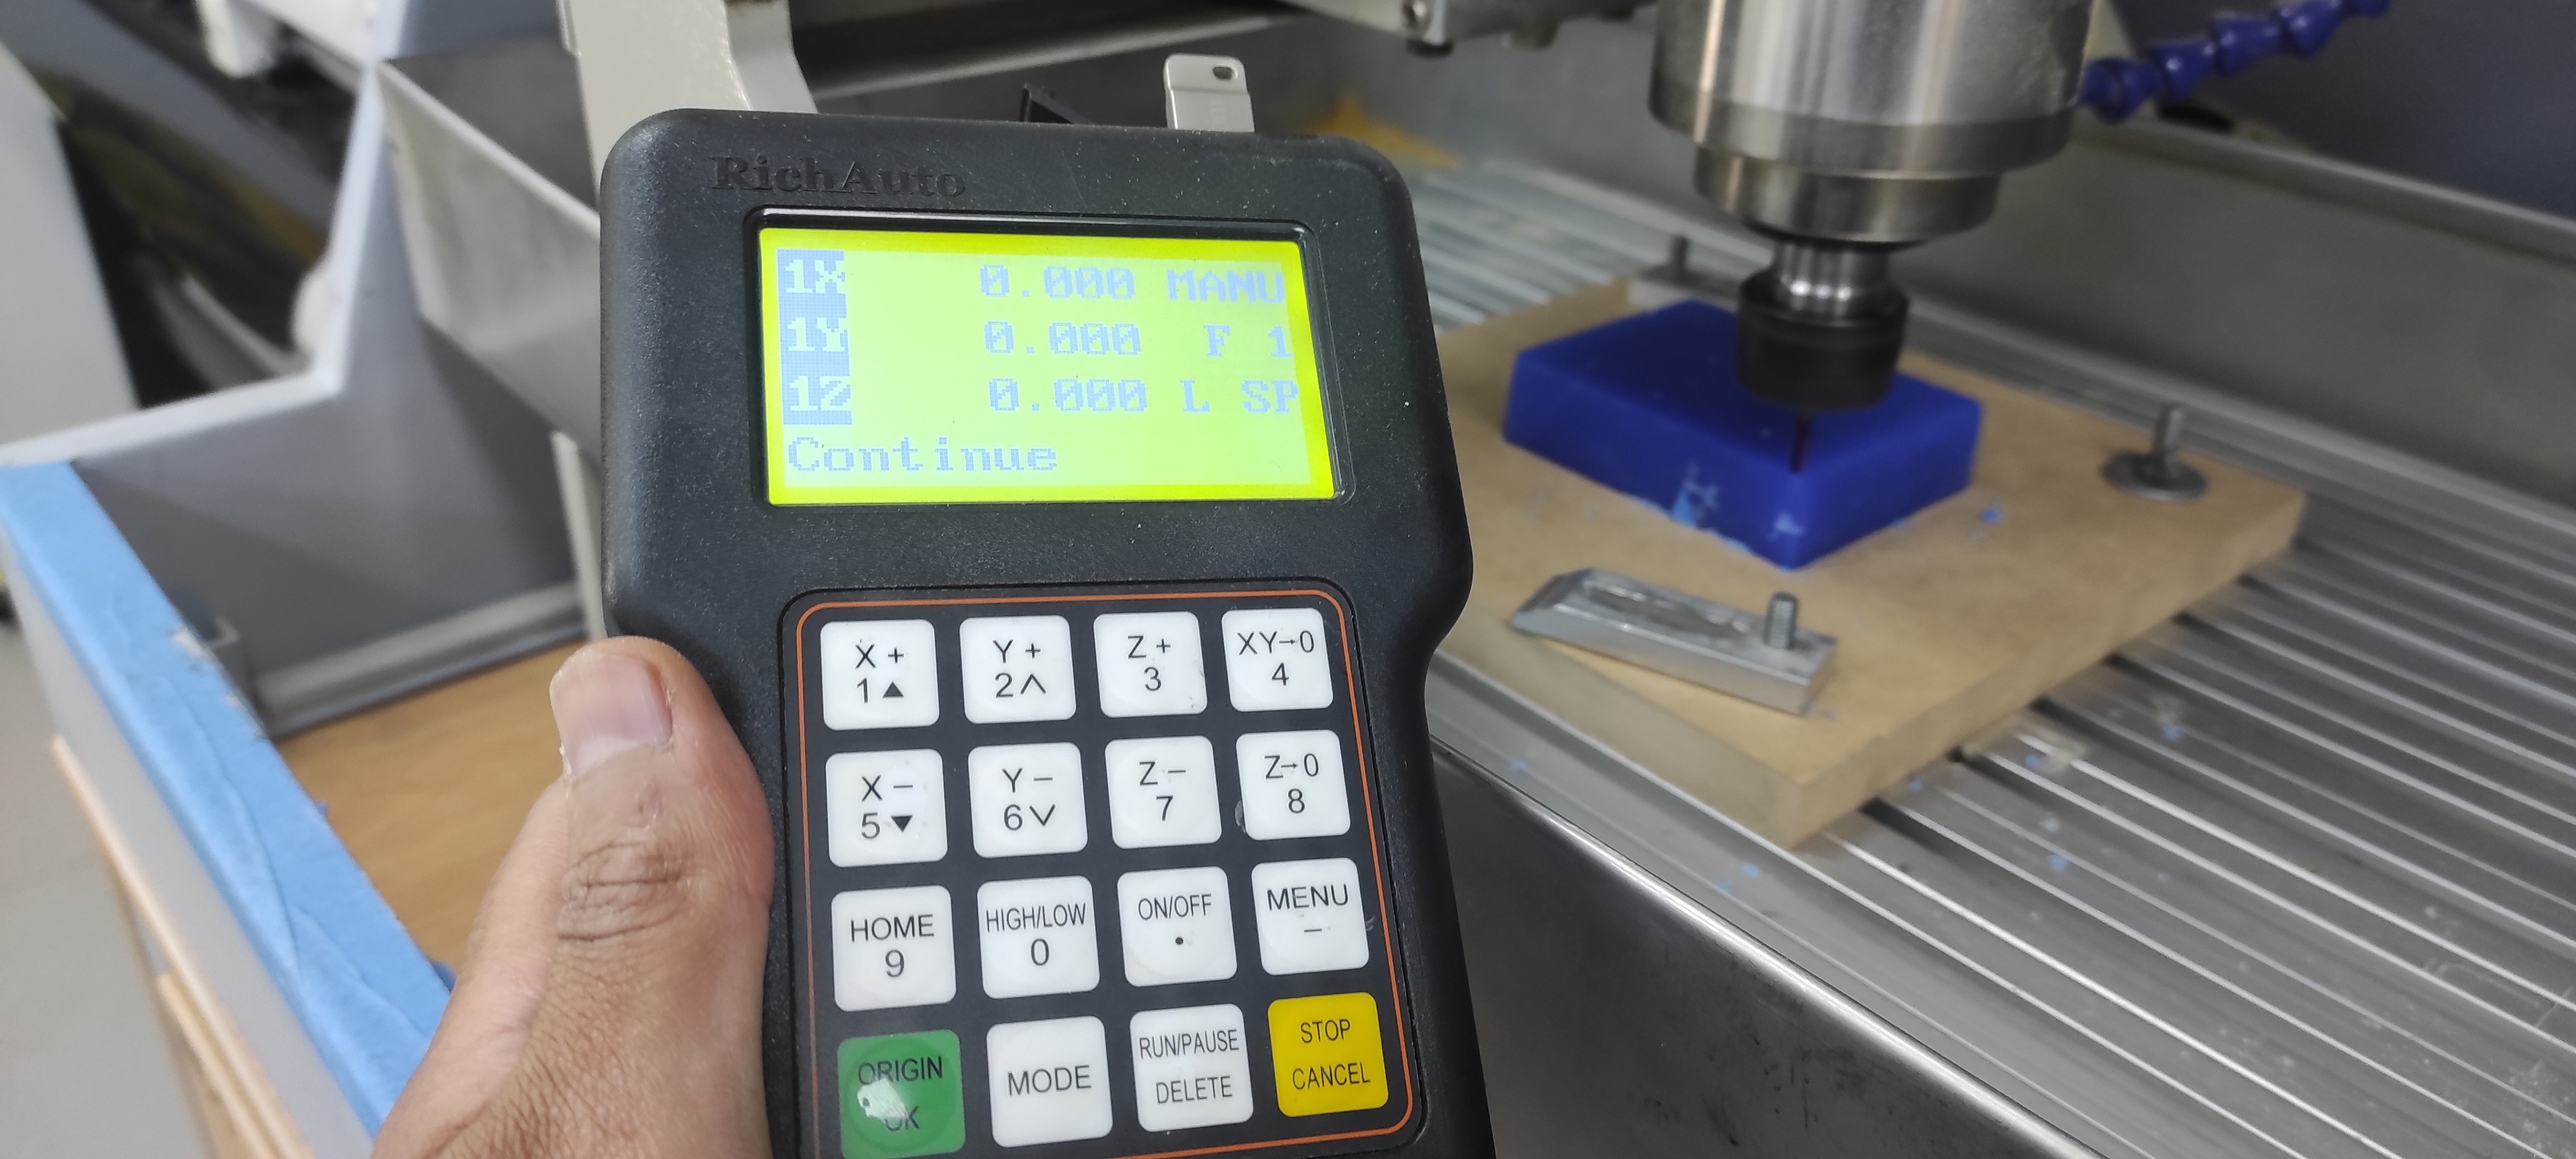
After generating the toolpath, I mounted the workpiece on the CNC router and prepared the machine for the machining process.
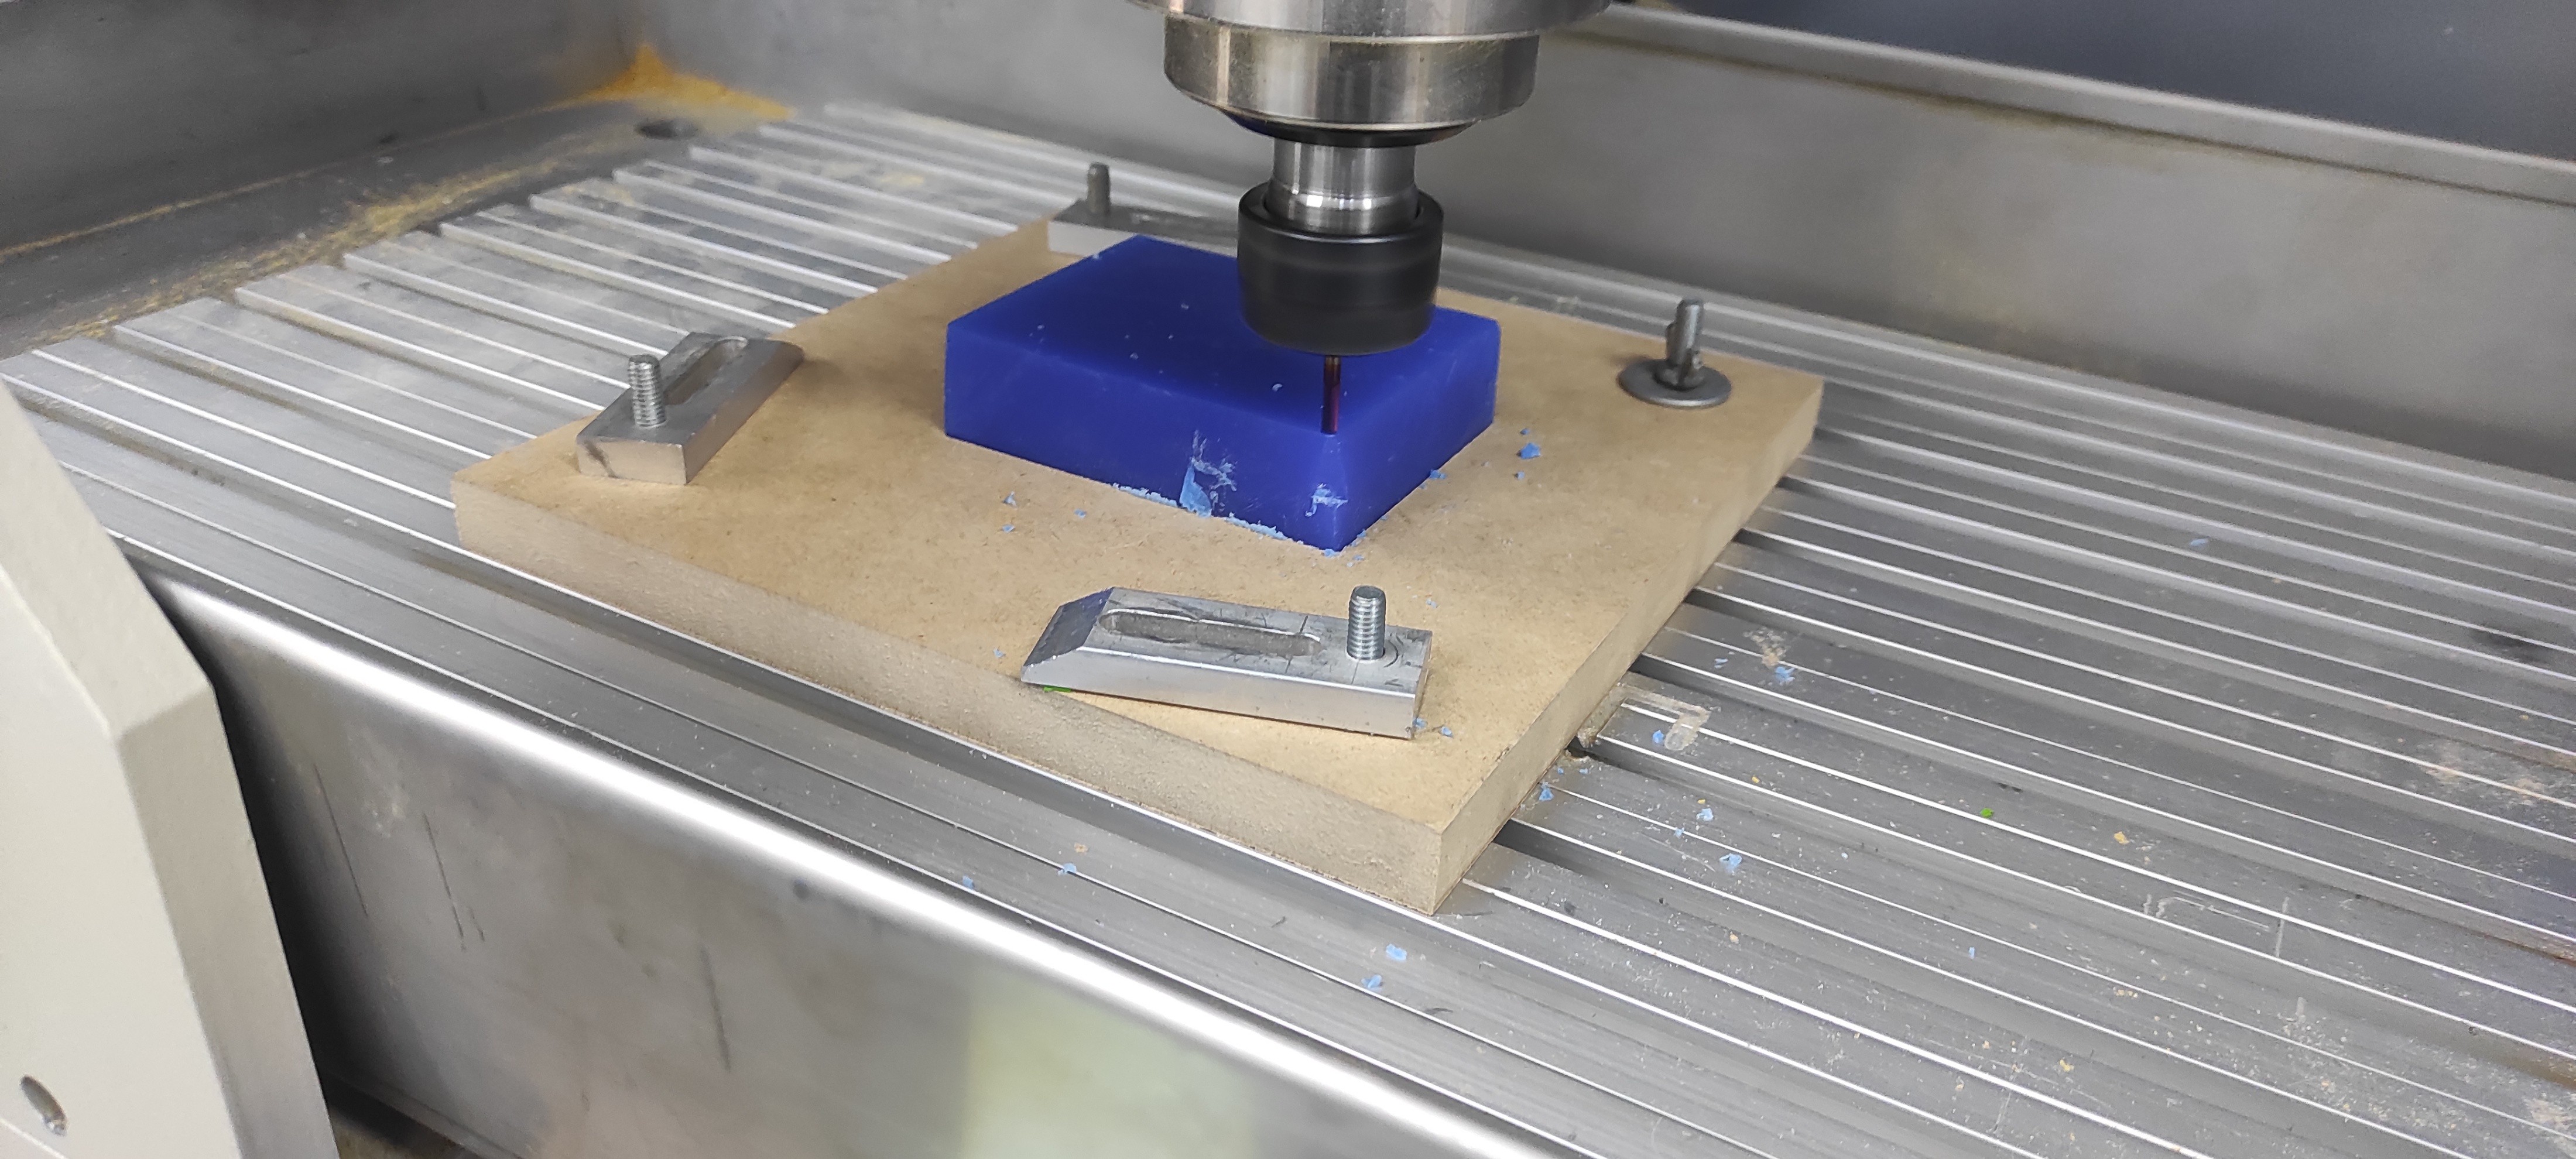
I set the home position at the corner of the workpiece, as shown in the figure below.
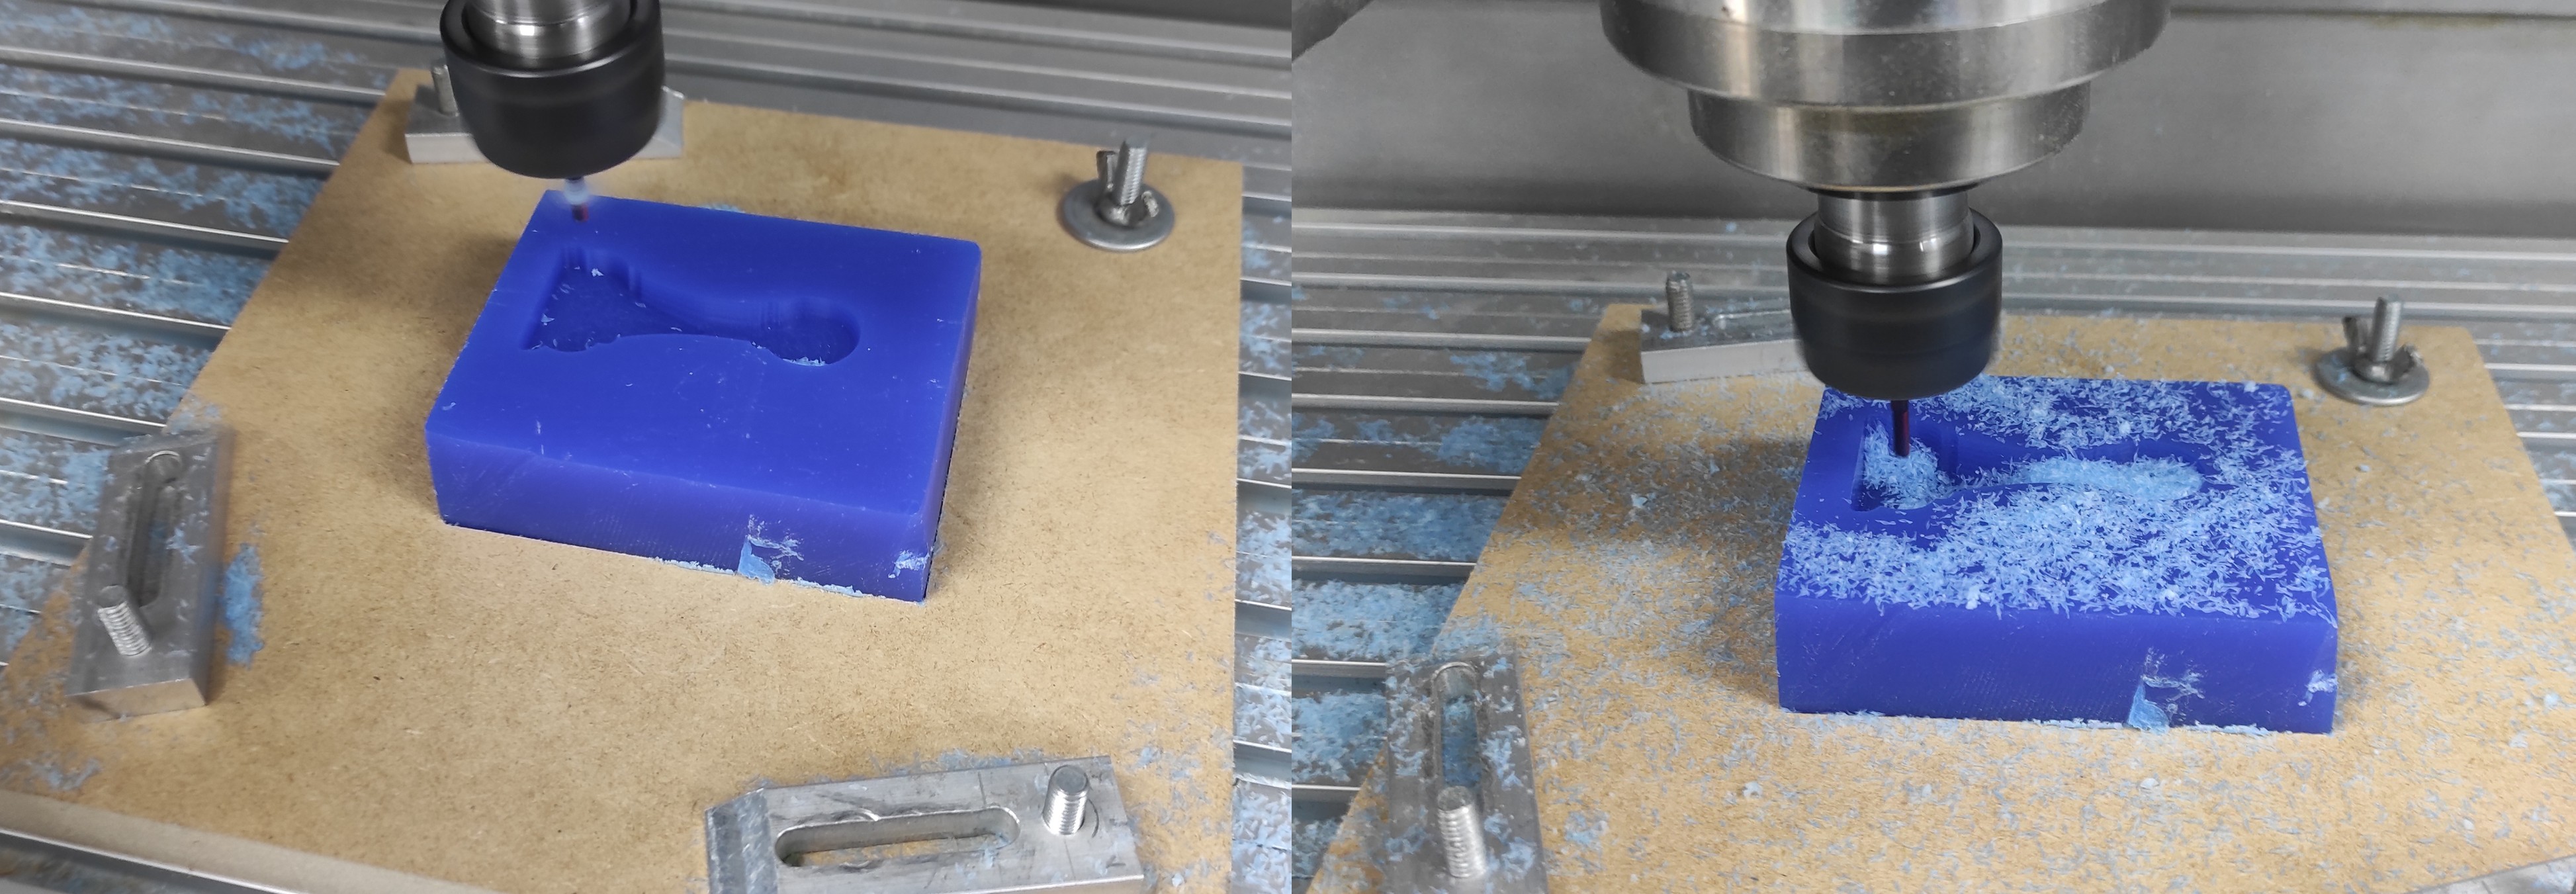
I then proceeded with the 3D milling operation and obtained the final wax mold.
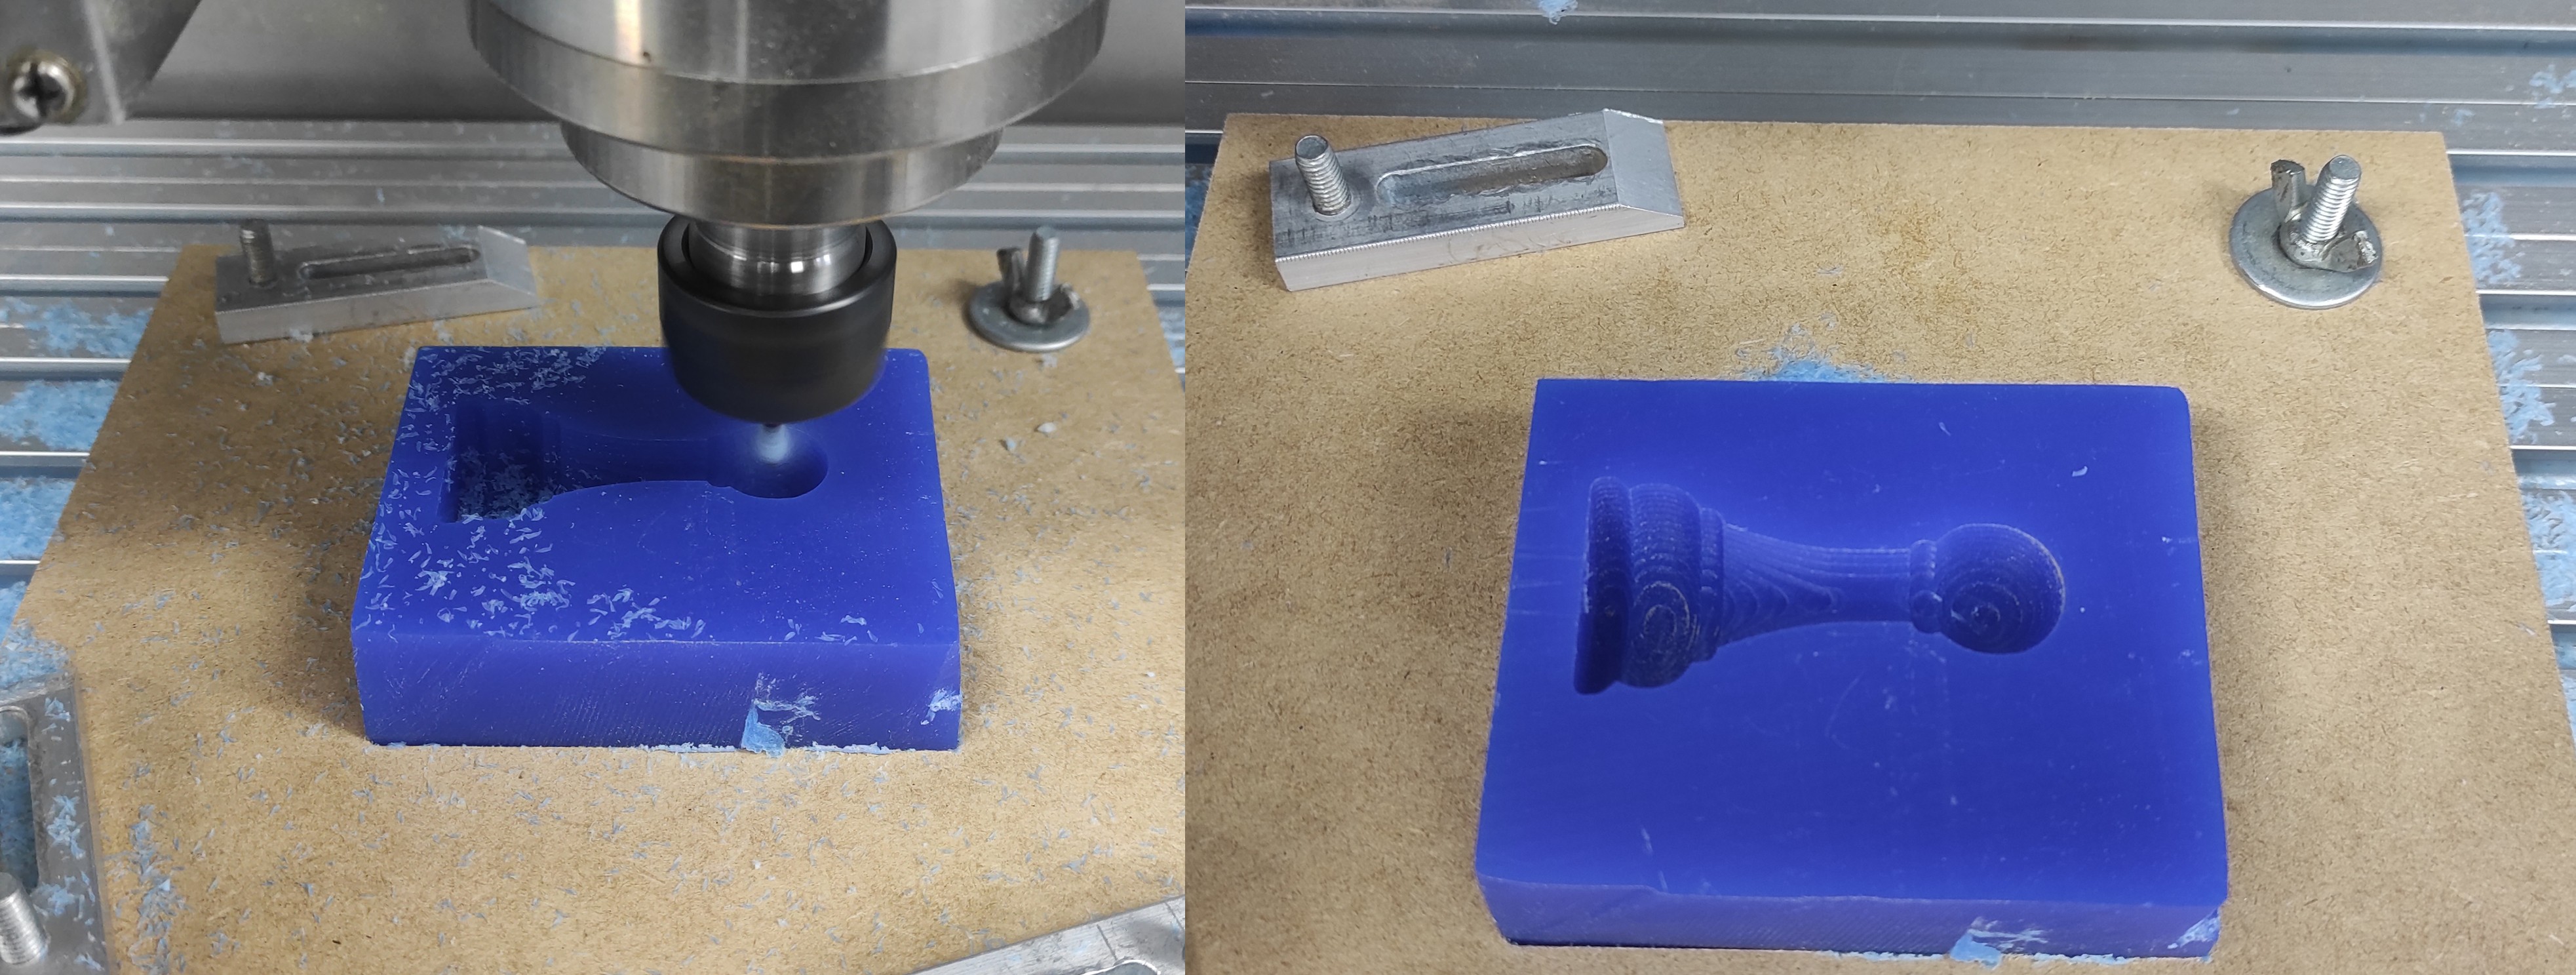
After machining, I performed post-processing on the wax mold to improve its surface finish and achieve a higher level of detail.
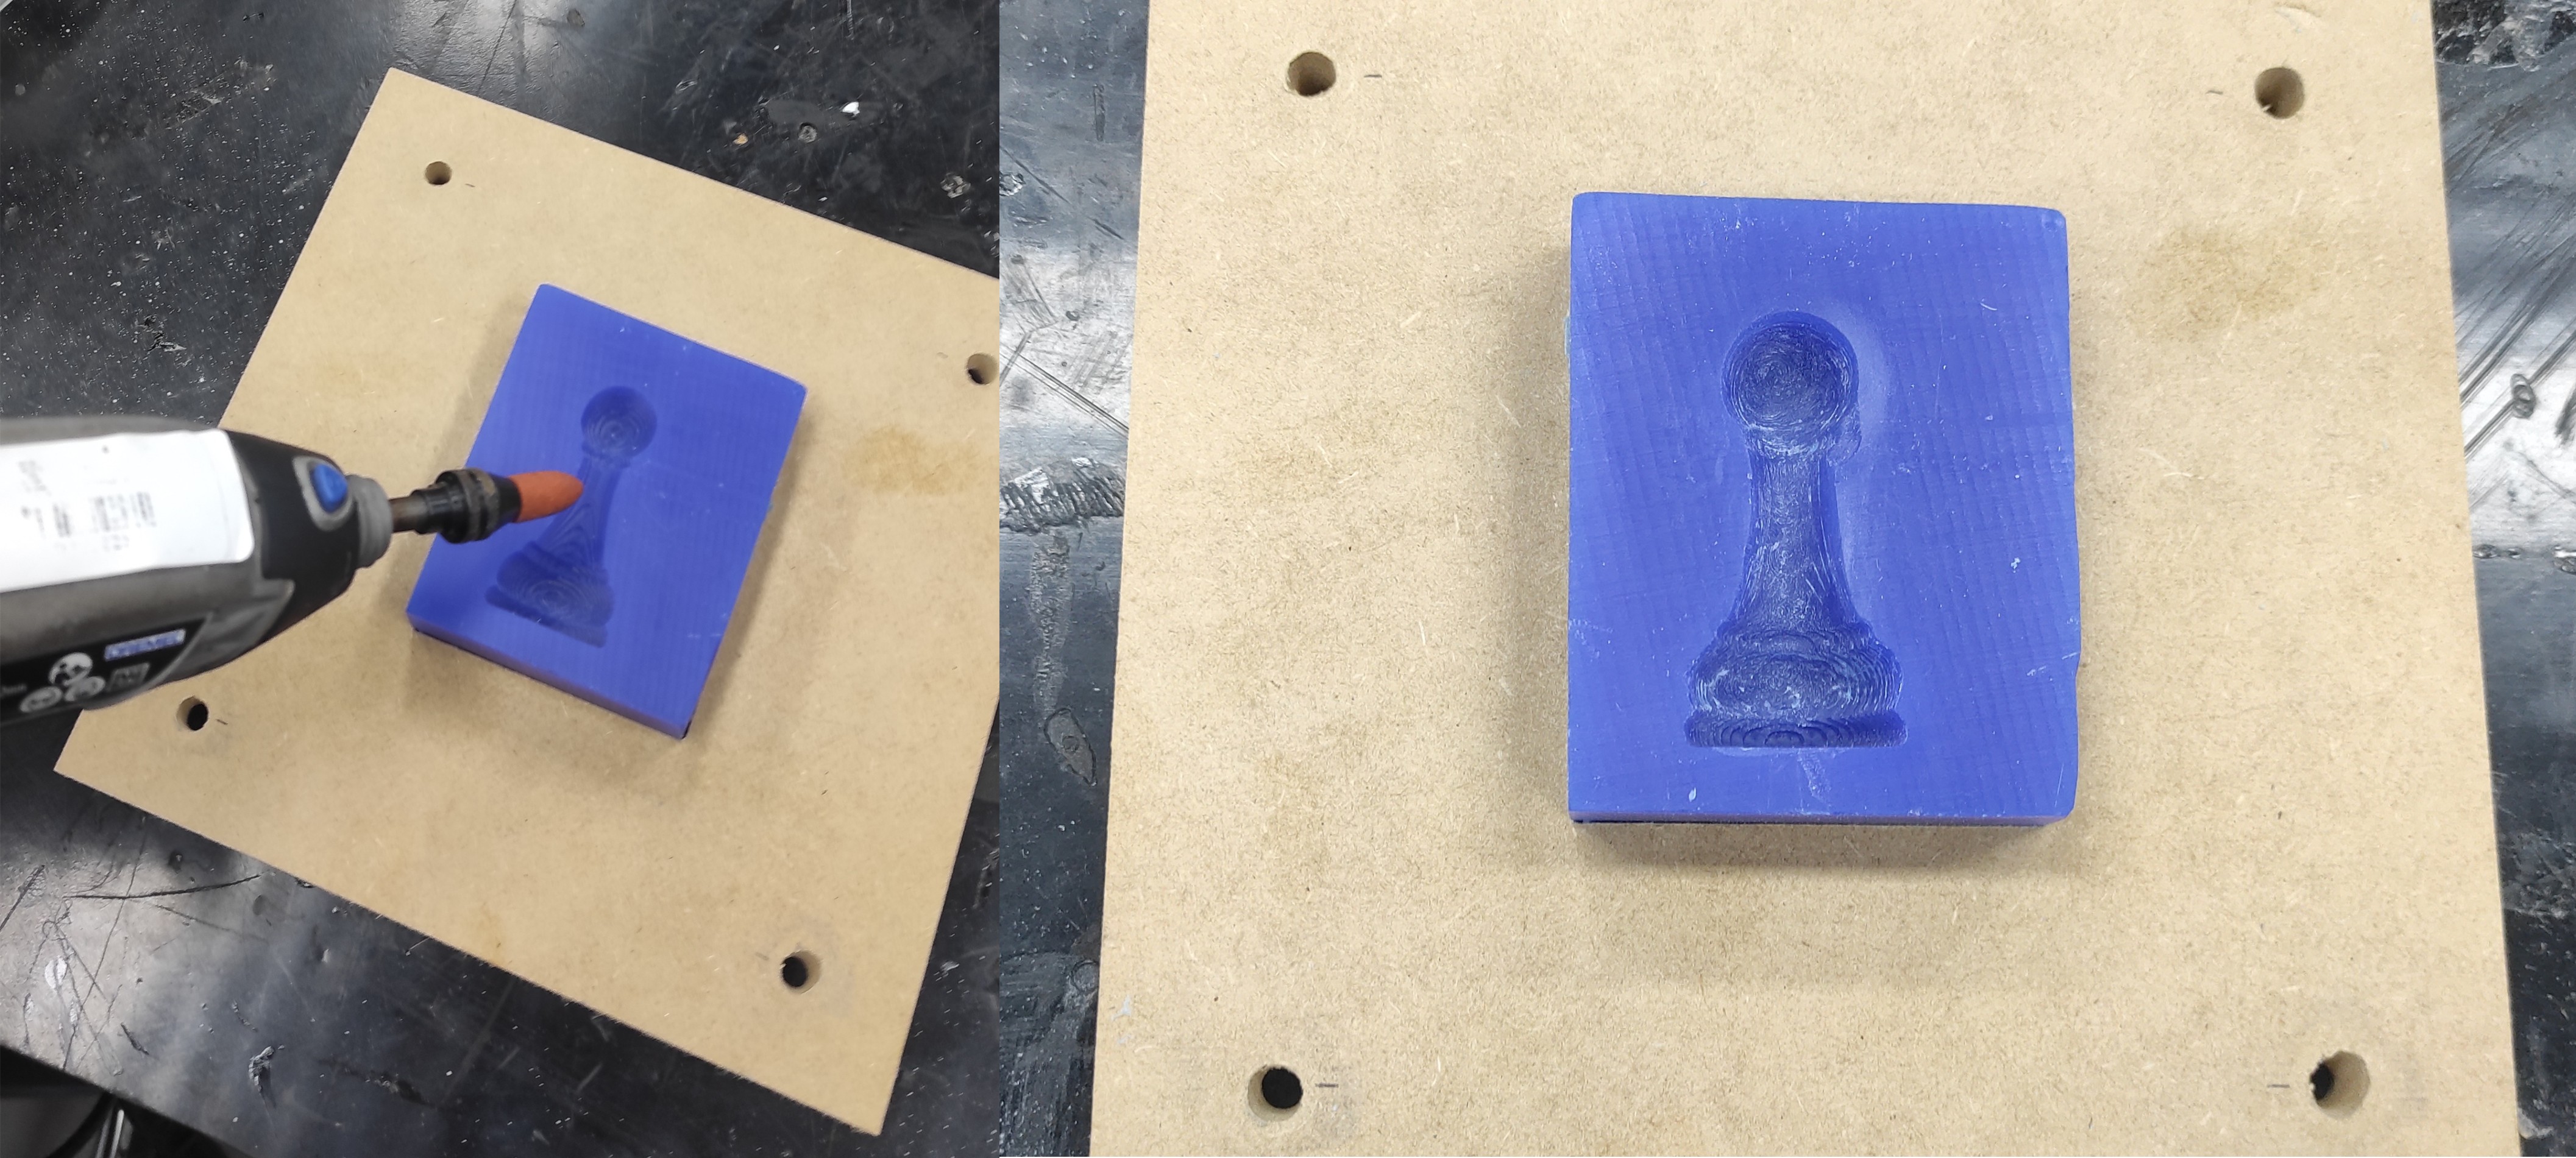
I applied a polish finish to the mold.
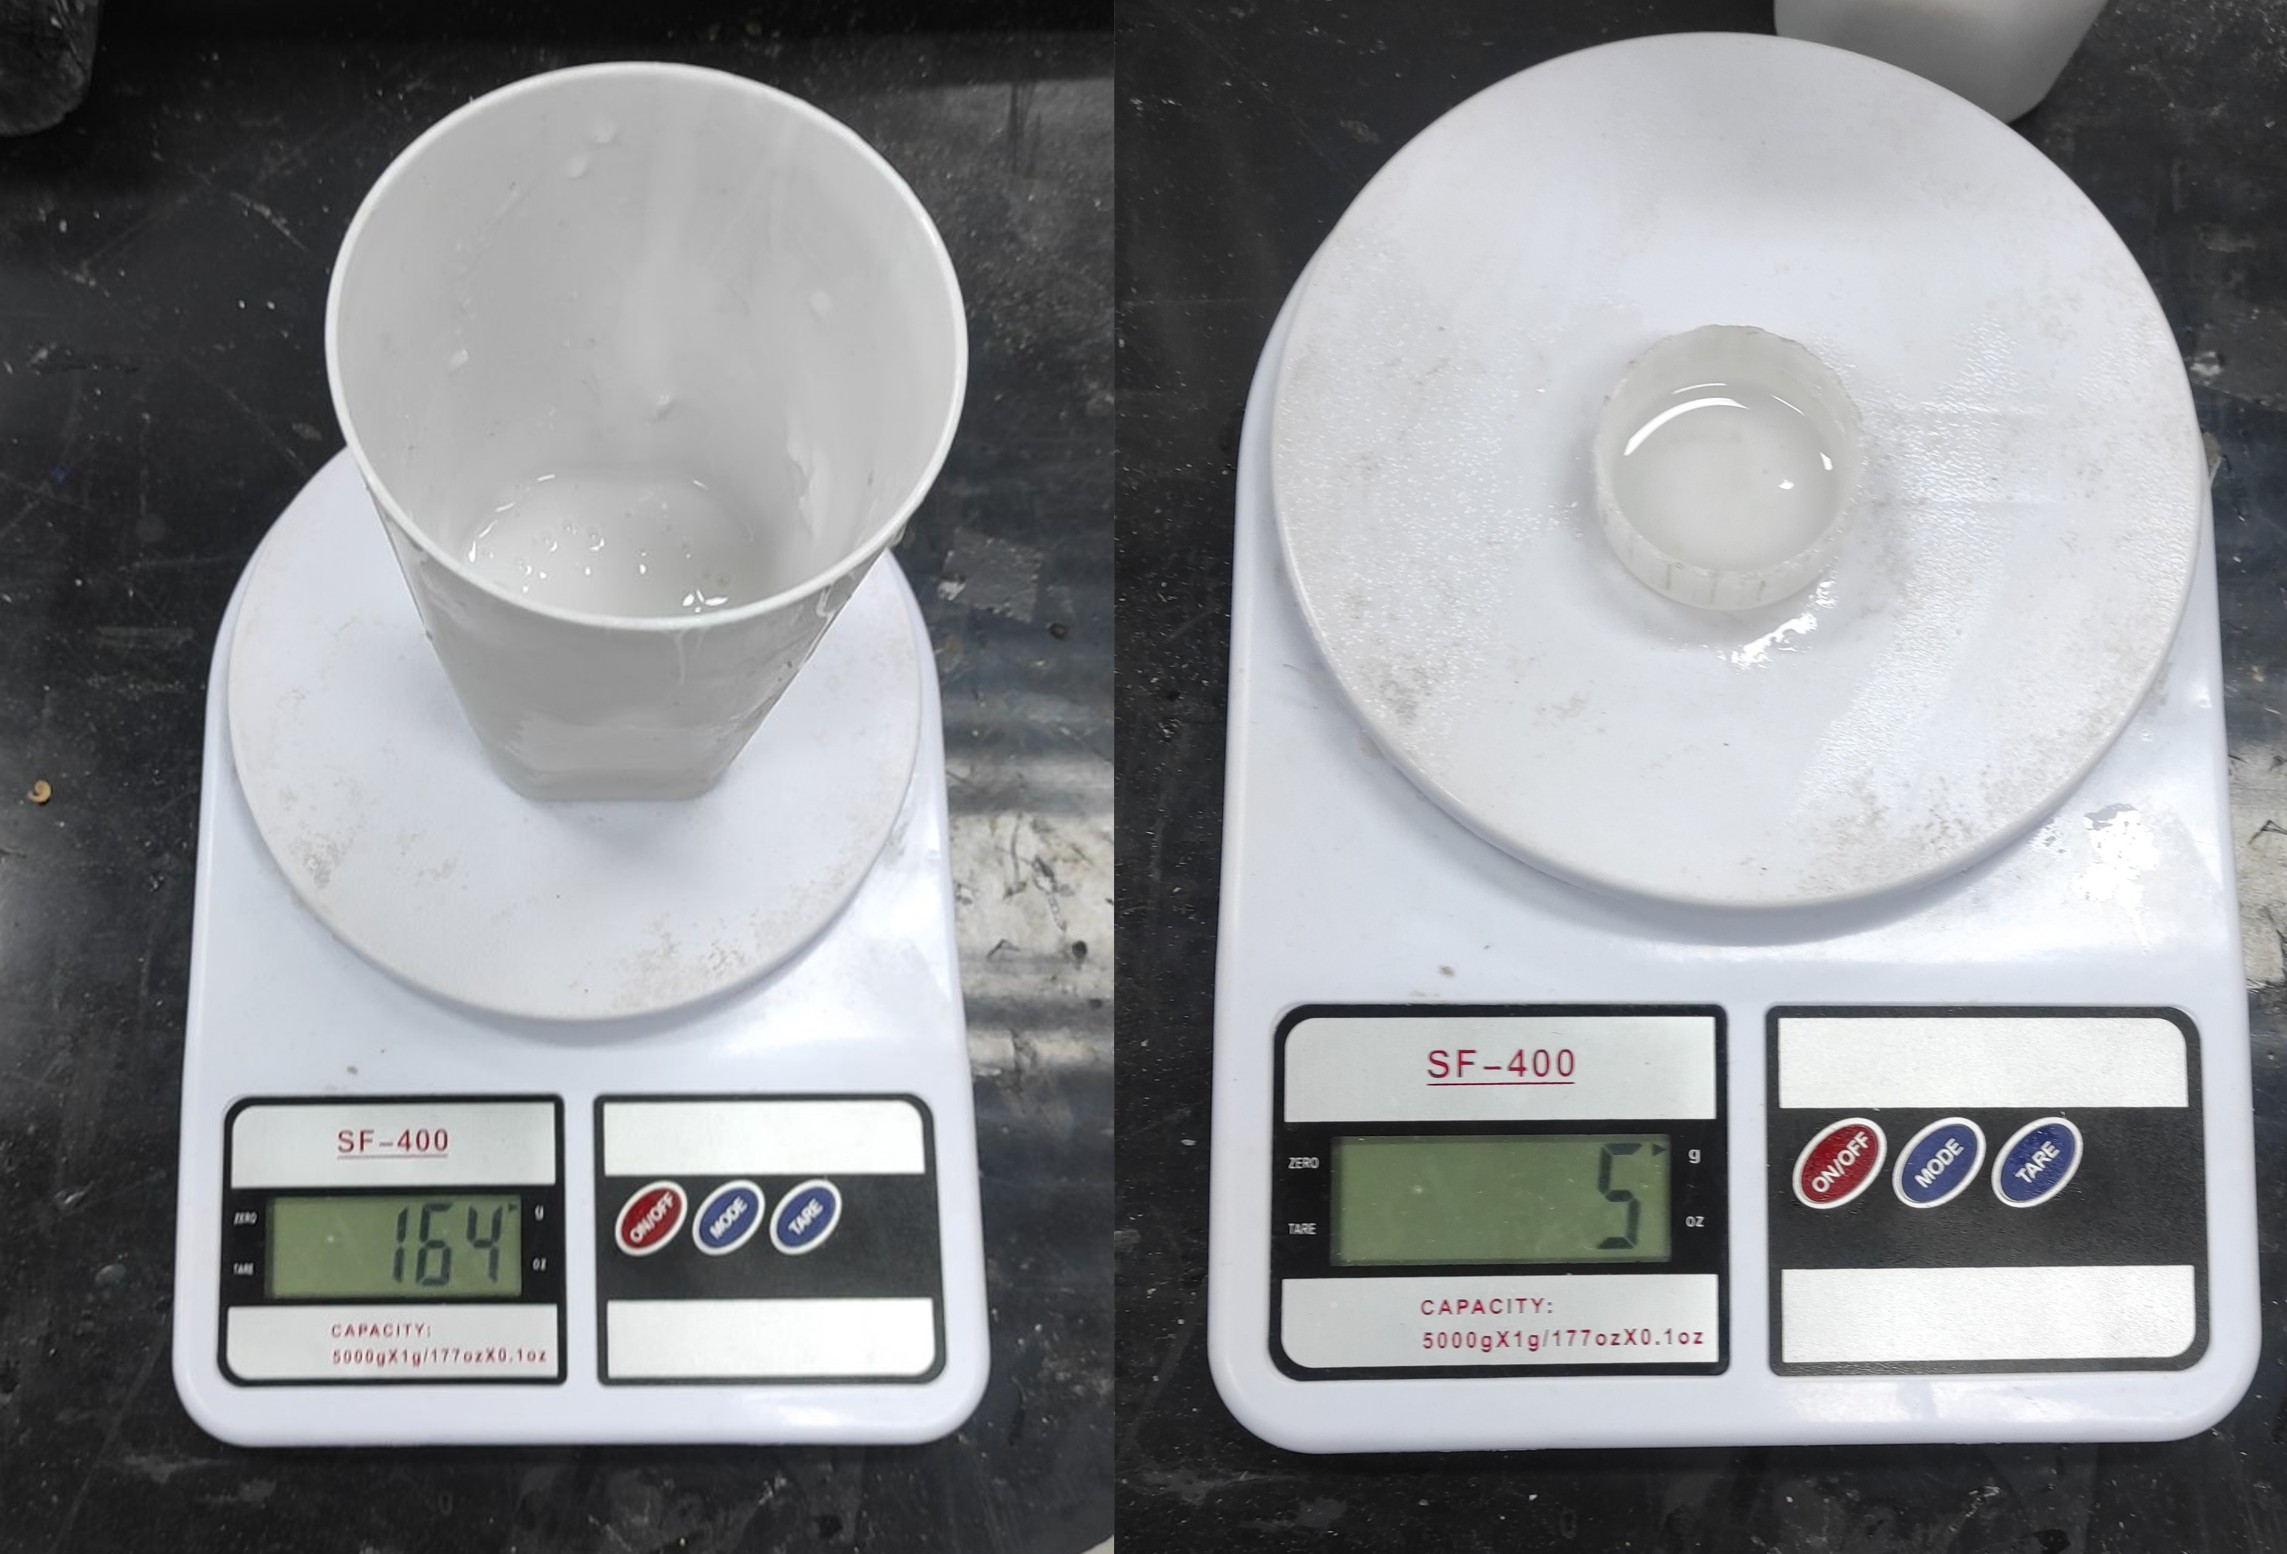
I used a balance to measure the correct proportion of silicone; as shown in the picture below, it weighs 164 grams.
According to the instructions, we need to add a catalyst equal to 3% of the silicone’s weight.That corresponds to approximately 11.64 grams of catalyst.
We need to mix the silicone and catalyst thoroughly to ensure even distribution.
Finally, I poured the mixed silicone into the mold cavity, ensuring it filled all areas and avoiding air bubbles.
Now it is necessary to wait for the silicone to cure.
After curing, the final result was obtained, and it showed good quality.
7. Learnings
I didn’t design the mold with built-in fastening or alignment features, so I had to rely on a clamp to keep the parts together. This worked, but it made assembly less precise and more time-consuming. In future designs, I would include proper locking or guiding elements to improve alignment and stability.
I learned that once the silicone is mixed with the catalyst, it must be poured quickly because the curing process starts immediately. If I wait too long, the mixture begins to thicken and becomes harder to work with, which can affect the final quality. Planning the workflow in advance is essential to avoid delays during this step.
8. Files
Here are the files available for download.