Week 1 Progress Checklist
| Status | Task |
|---|---|
| ✓ | Sketched your final project idea(s) |
| ✓ | Described briefly what it will do and who will use it |
| ✓ | Made a website and described how you did it |
| ✓ | Created a section about yourself on that website |
| ✓ | Added a page with your sketch and description of your final project idea(s) |
| ✓ | Documented steps for setting up your Git repository and adding files to it |
| ✓ | Pushed to your class GitLab repository |
| ✓ | Signed and uploaded Student Agreement |
Principles and Practices, Project Management
Hi, Now I started with the week 1, and first at all I would like to explain about my final project. Let´s start with the problem…
The problem
In the fabrication laboratory, there are different types of equipment, such as laser cutters, 3D printers, and other machines. Some of this equipment can be dangerous, especially for people who do not know how to use it properly. For this reason, it is necessary to have a system that controls who is using the machines and whether they are authorized. This system should prevent unauthorized users from turning on or operating critical equipment. The objective is to grant access only to trained and authorized people. Only those users will be able to turn on and use dangerous or critical machines, helping to ensure safety in the laboratory
My Project Idea
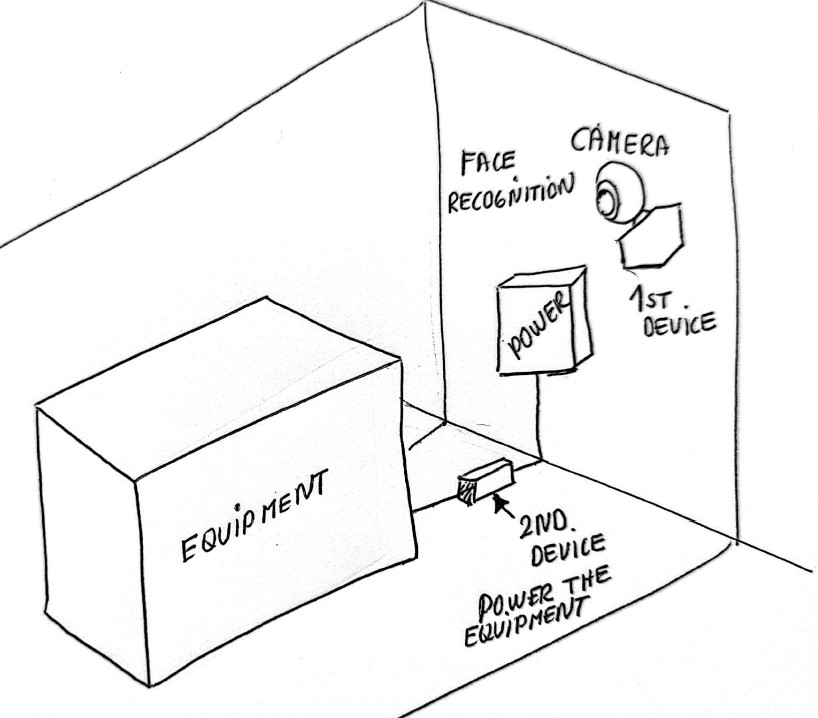
My project idea is to develop a device that uses a camera and facial recognition to control access to dangerous equipment in the fabrication laboratory. The system will identify users through face recognition and verify whether they are authorized. Only approved users will be allowed to operate critical machines, such as laser cutters and CNC machines. The project will have two main parts:
1. Identification Unit This unit will include a camera and a microprocessor or microcontroller. It will be installed in a visible position near the machine, where it can scan the user’s face and perform facial recognition. 2. Power Control Unit This unit will be connected to the machine’s power supply. When the system successfully recognizes and authorizes a user, it will send a signal to this unit to enable power and allow the machine to turn on.
If the user is not recognized or authorized, the system will keep the machine powered off, preventing unauthorized use.
To complete this project according to the schedule, I organized the activities as shown in the table below.

Project Management
In order to develop our website first we will need to following tools:
Lets start first with Gitlab
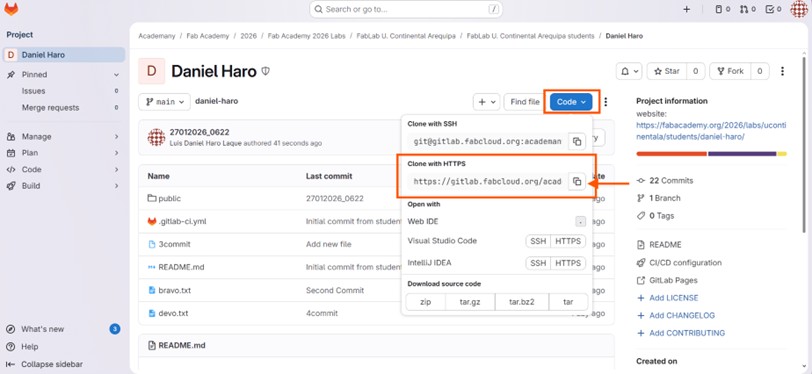
GitLab is an all-in-one, open-core DevOps platform that provides a single application for the entire software development lifecycle (SDLC). It enables teams to manage Git repositories, track issues, conduct code reviews, and automate CI/CD (Continuous Integration/Continuous Deployment). pipelines in one interface. It is designed to foster collaboration and speed up software delivery.
We log into our GitLab account and copy the link from the “Clone with HTTPS” option. Then, we use this link with Git or Visual Studio to clone the repository.
Let´s continue with Git
Git is a free, open-source distributed version control system (DVCS) used to track changes in computer files, most notably source code during software development.
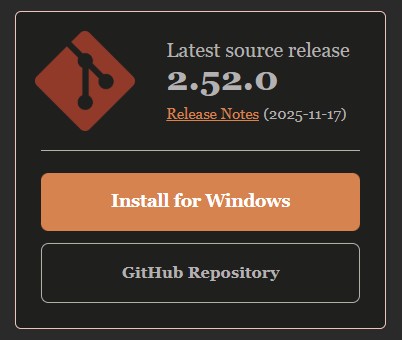
After installing it, Git will be ready to use. When we open it, we will see this small window.
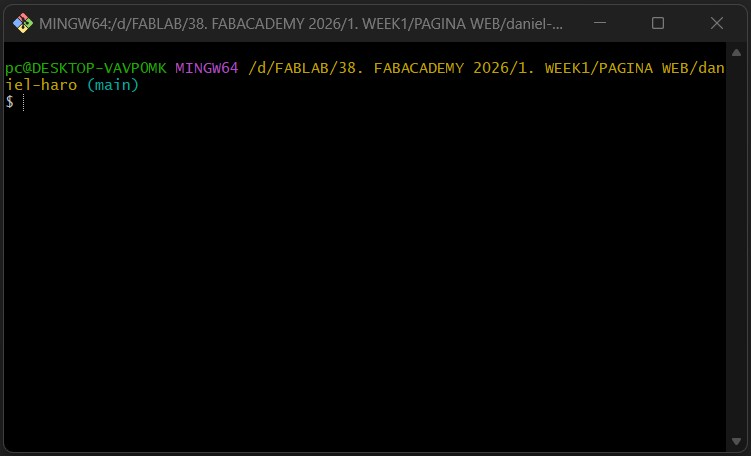
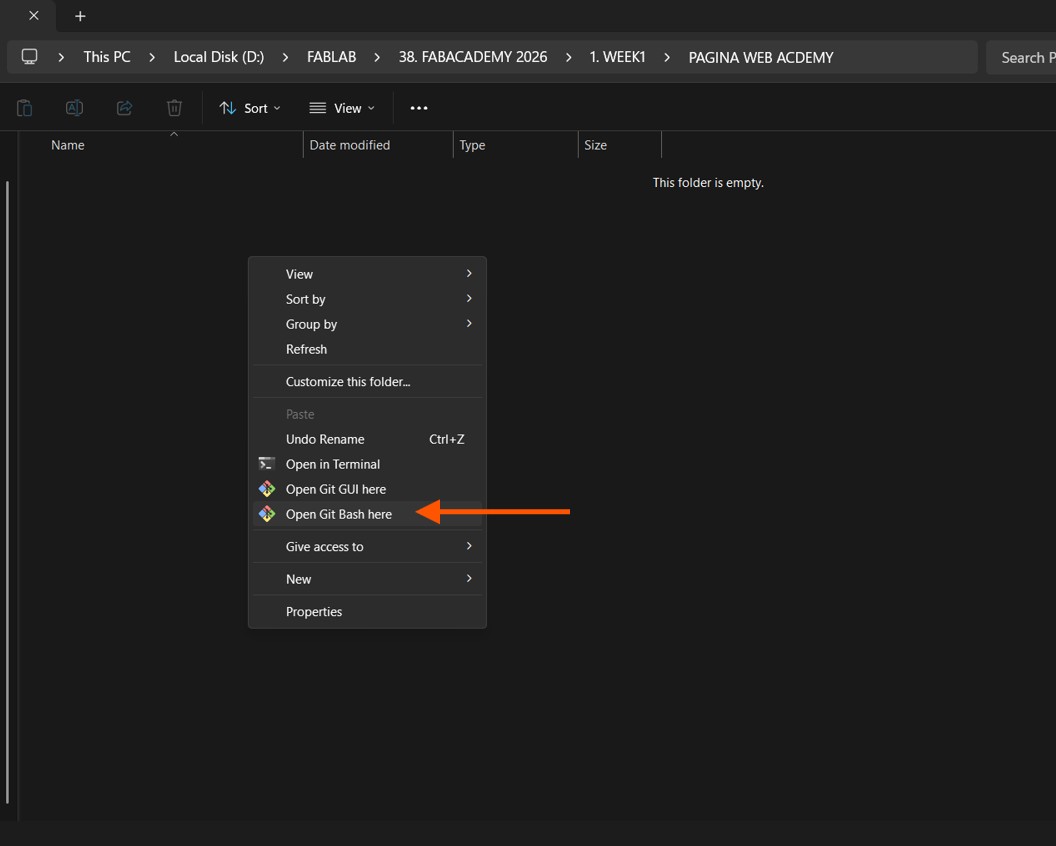
In Git, we are going to use the following commands. First of all, we need to clone our GitLab repository, so we must create a new folder and open Git Bash in that folder.
Now we need to apply the following command to clone our entire repository into our local folder. In this way, we can start making changes to our website. git clone + (the link we copied from “Clone with HTTPS” on GitLab)
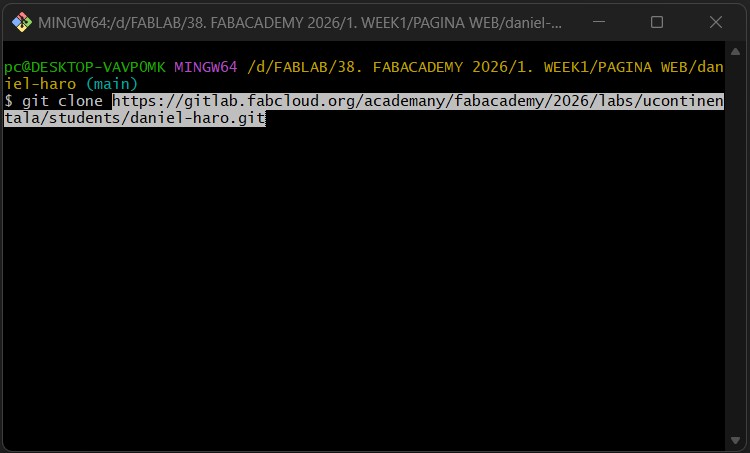
Now we have cloned our GitLab repository and are ready to make changes.
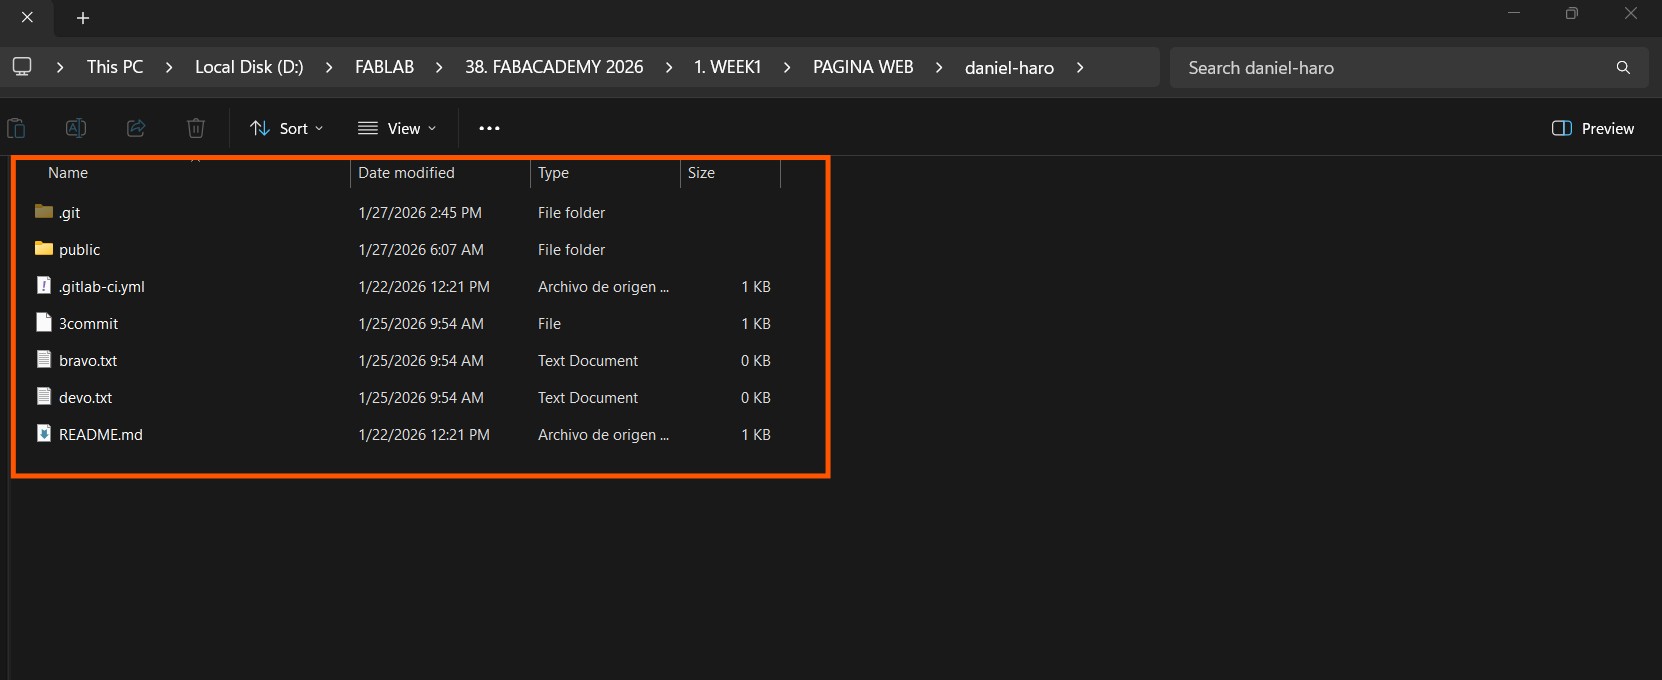
Now we can open our file with Visual Studio Code
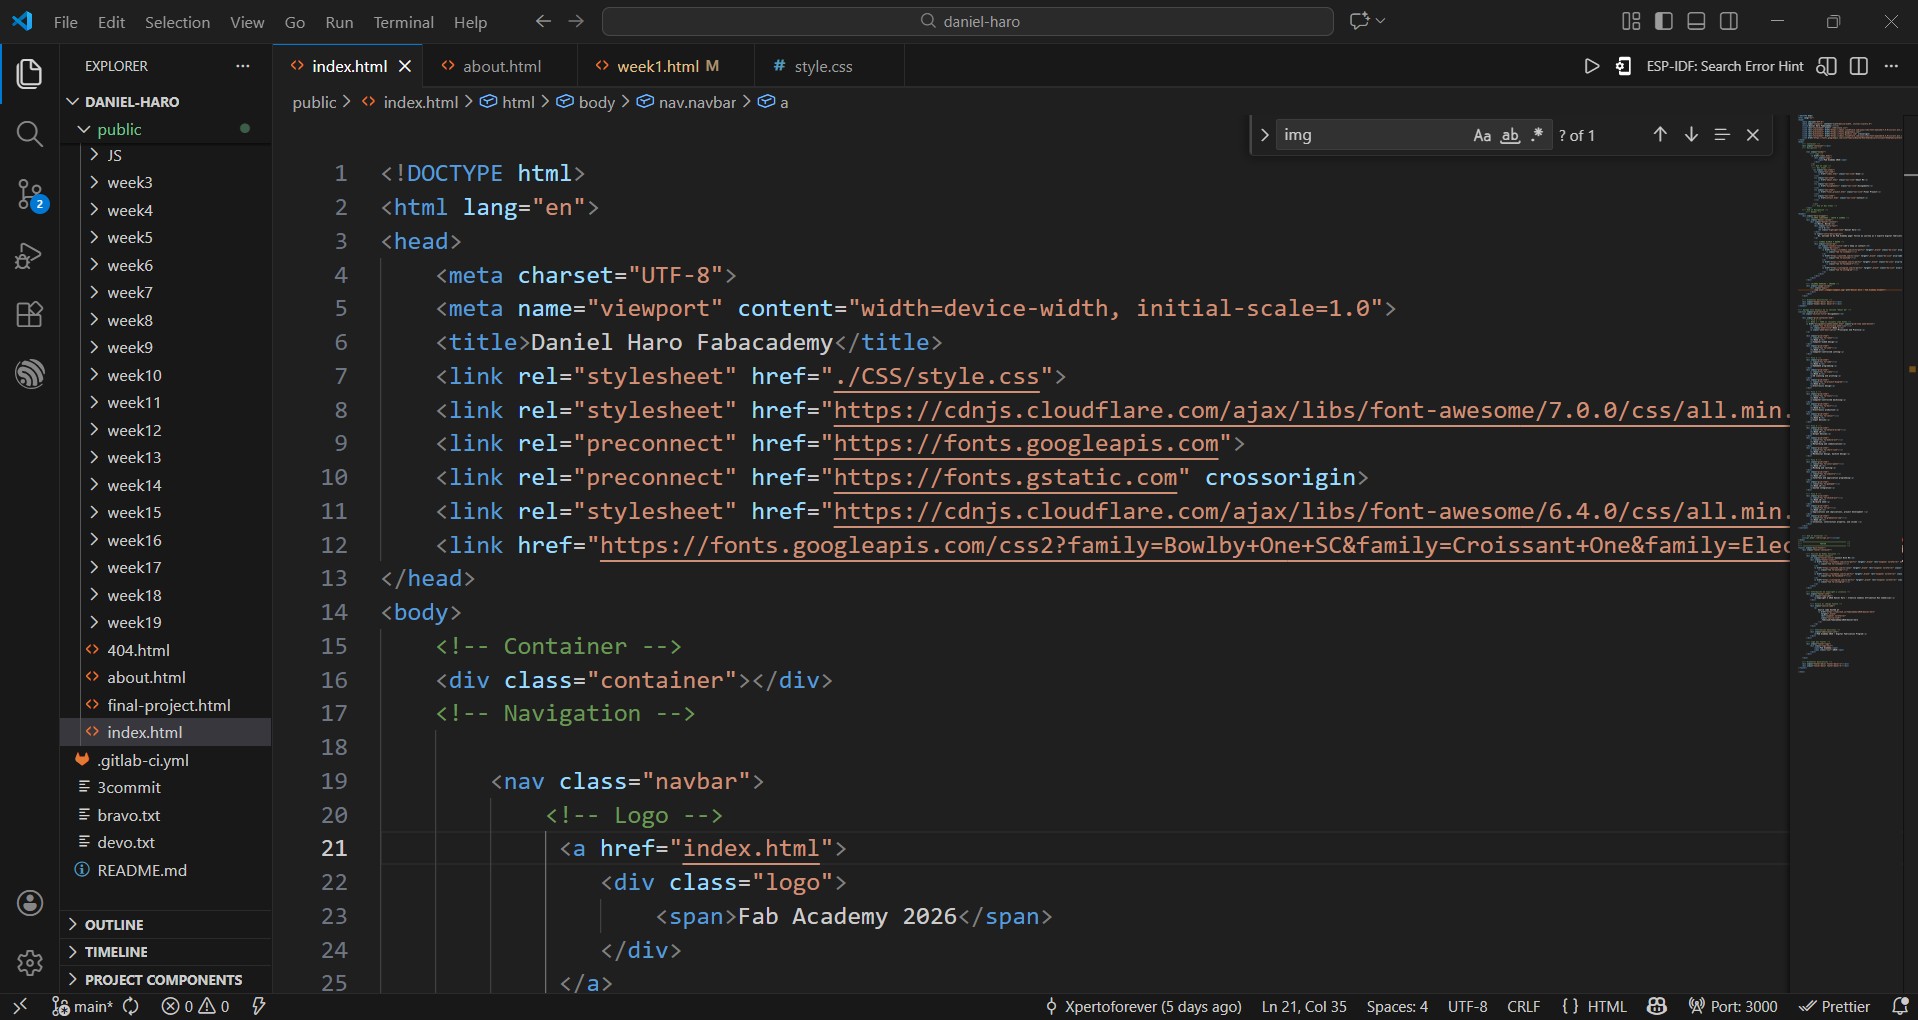
With Visual studio, we can open the repository cloned and add whatever we need, the index.html file will contain the main page.
When we make a change and want to update our repository, we can use Git again.
Version Control
Version Control with Git is a system for tracking changes in source code during software development. It enables multiple developers to collaborate efficiently, maintain history, and manage project versions.
| Command | Description | Example |
|---|---|---|
| git init | Initialize a new repository | git init |
| git clone | Copy an existing repository | git clone https://gitlab.com/user/repo.git |
| git add | Add changes to staging area | git add file.txt git add . |
| git commit | Save changes with a message | git commit -m "Descriptive message" |
| git status | Check repository status | git status |
| git push | Upload changes to remote repository | git push origin main |
| git pull | Download changes from remote repository | git pull origin main |
| git branch | Manage branches | git branch git branch new-branch |
| git checkout | Switch branches or restore files | git checkout branch git checkout -- file.txt |
| git merge | Merge branches | git merge other-branch |
| git log | View commit history | git log git log --oneline |
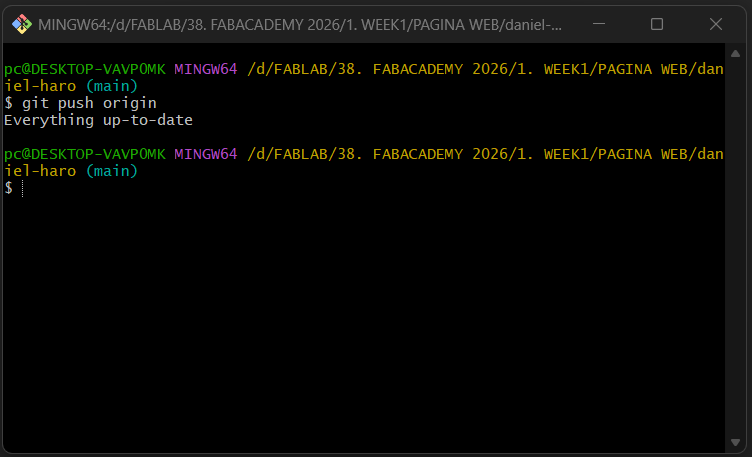
First we need to type: git commit -a -m "New Version"
In my case for each new version, I am using the following commit: date_time, for example: "27012026_1800"

After that we need to use: git push origin
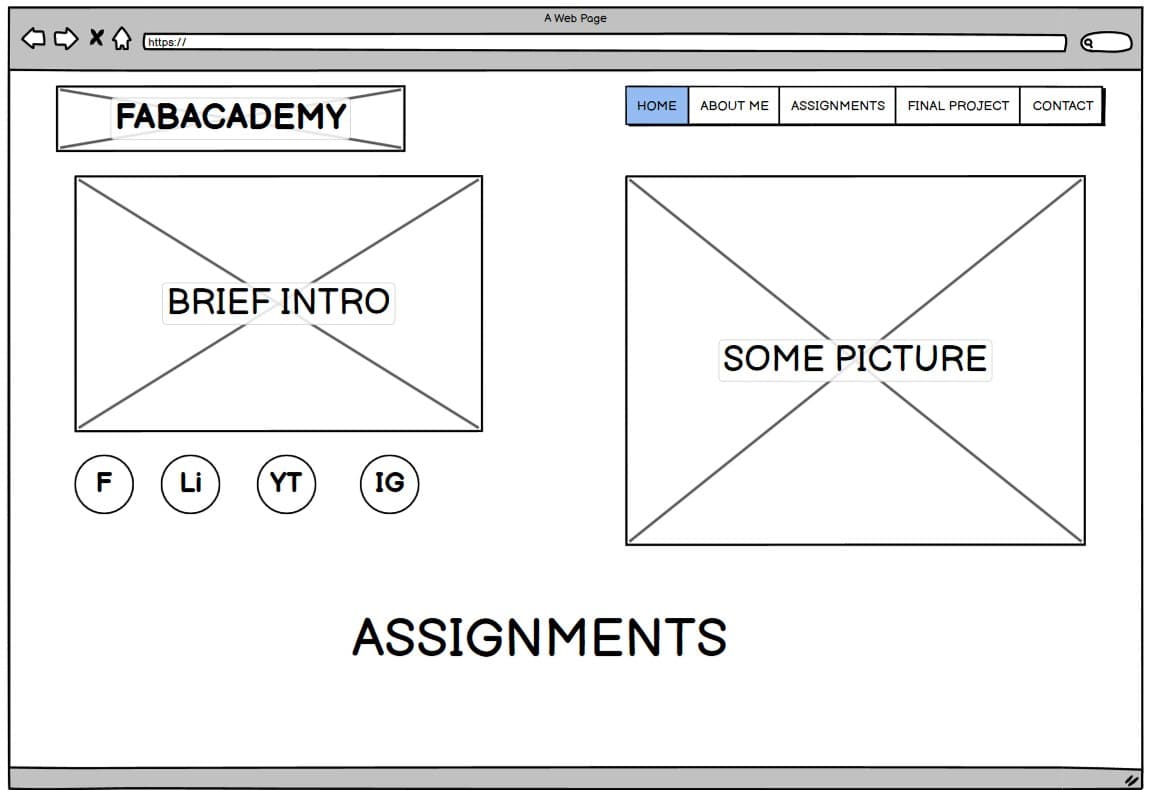
Planning the Website Layout
The first step was planning the layout of the website by creating a set of mockups. These mockups helped define the structure of the pages, the navigation flow, and the placement of key elements. This planning stage made it easier to refine the design and ensure a clear user experience before beginning the implementation.

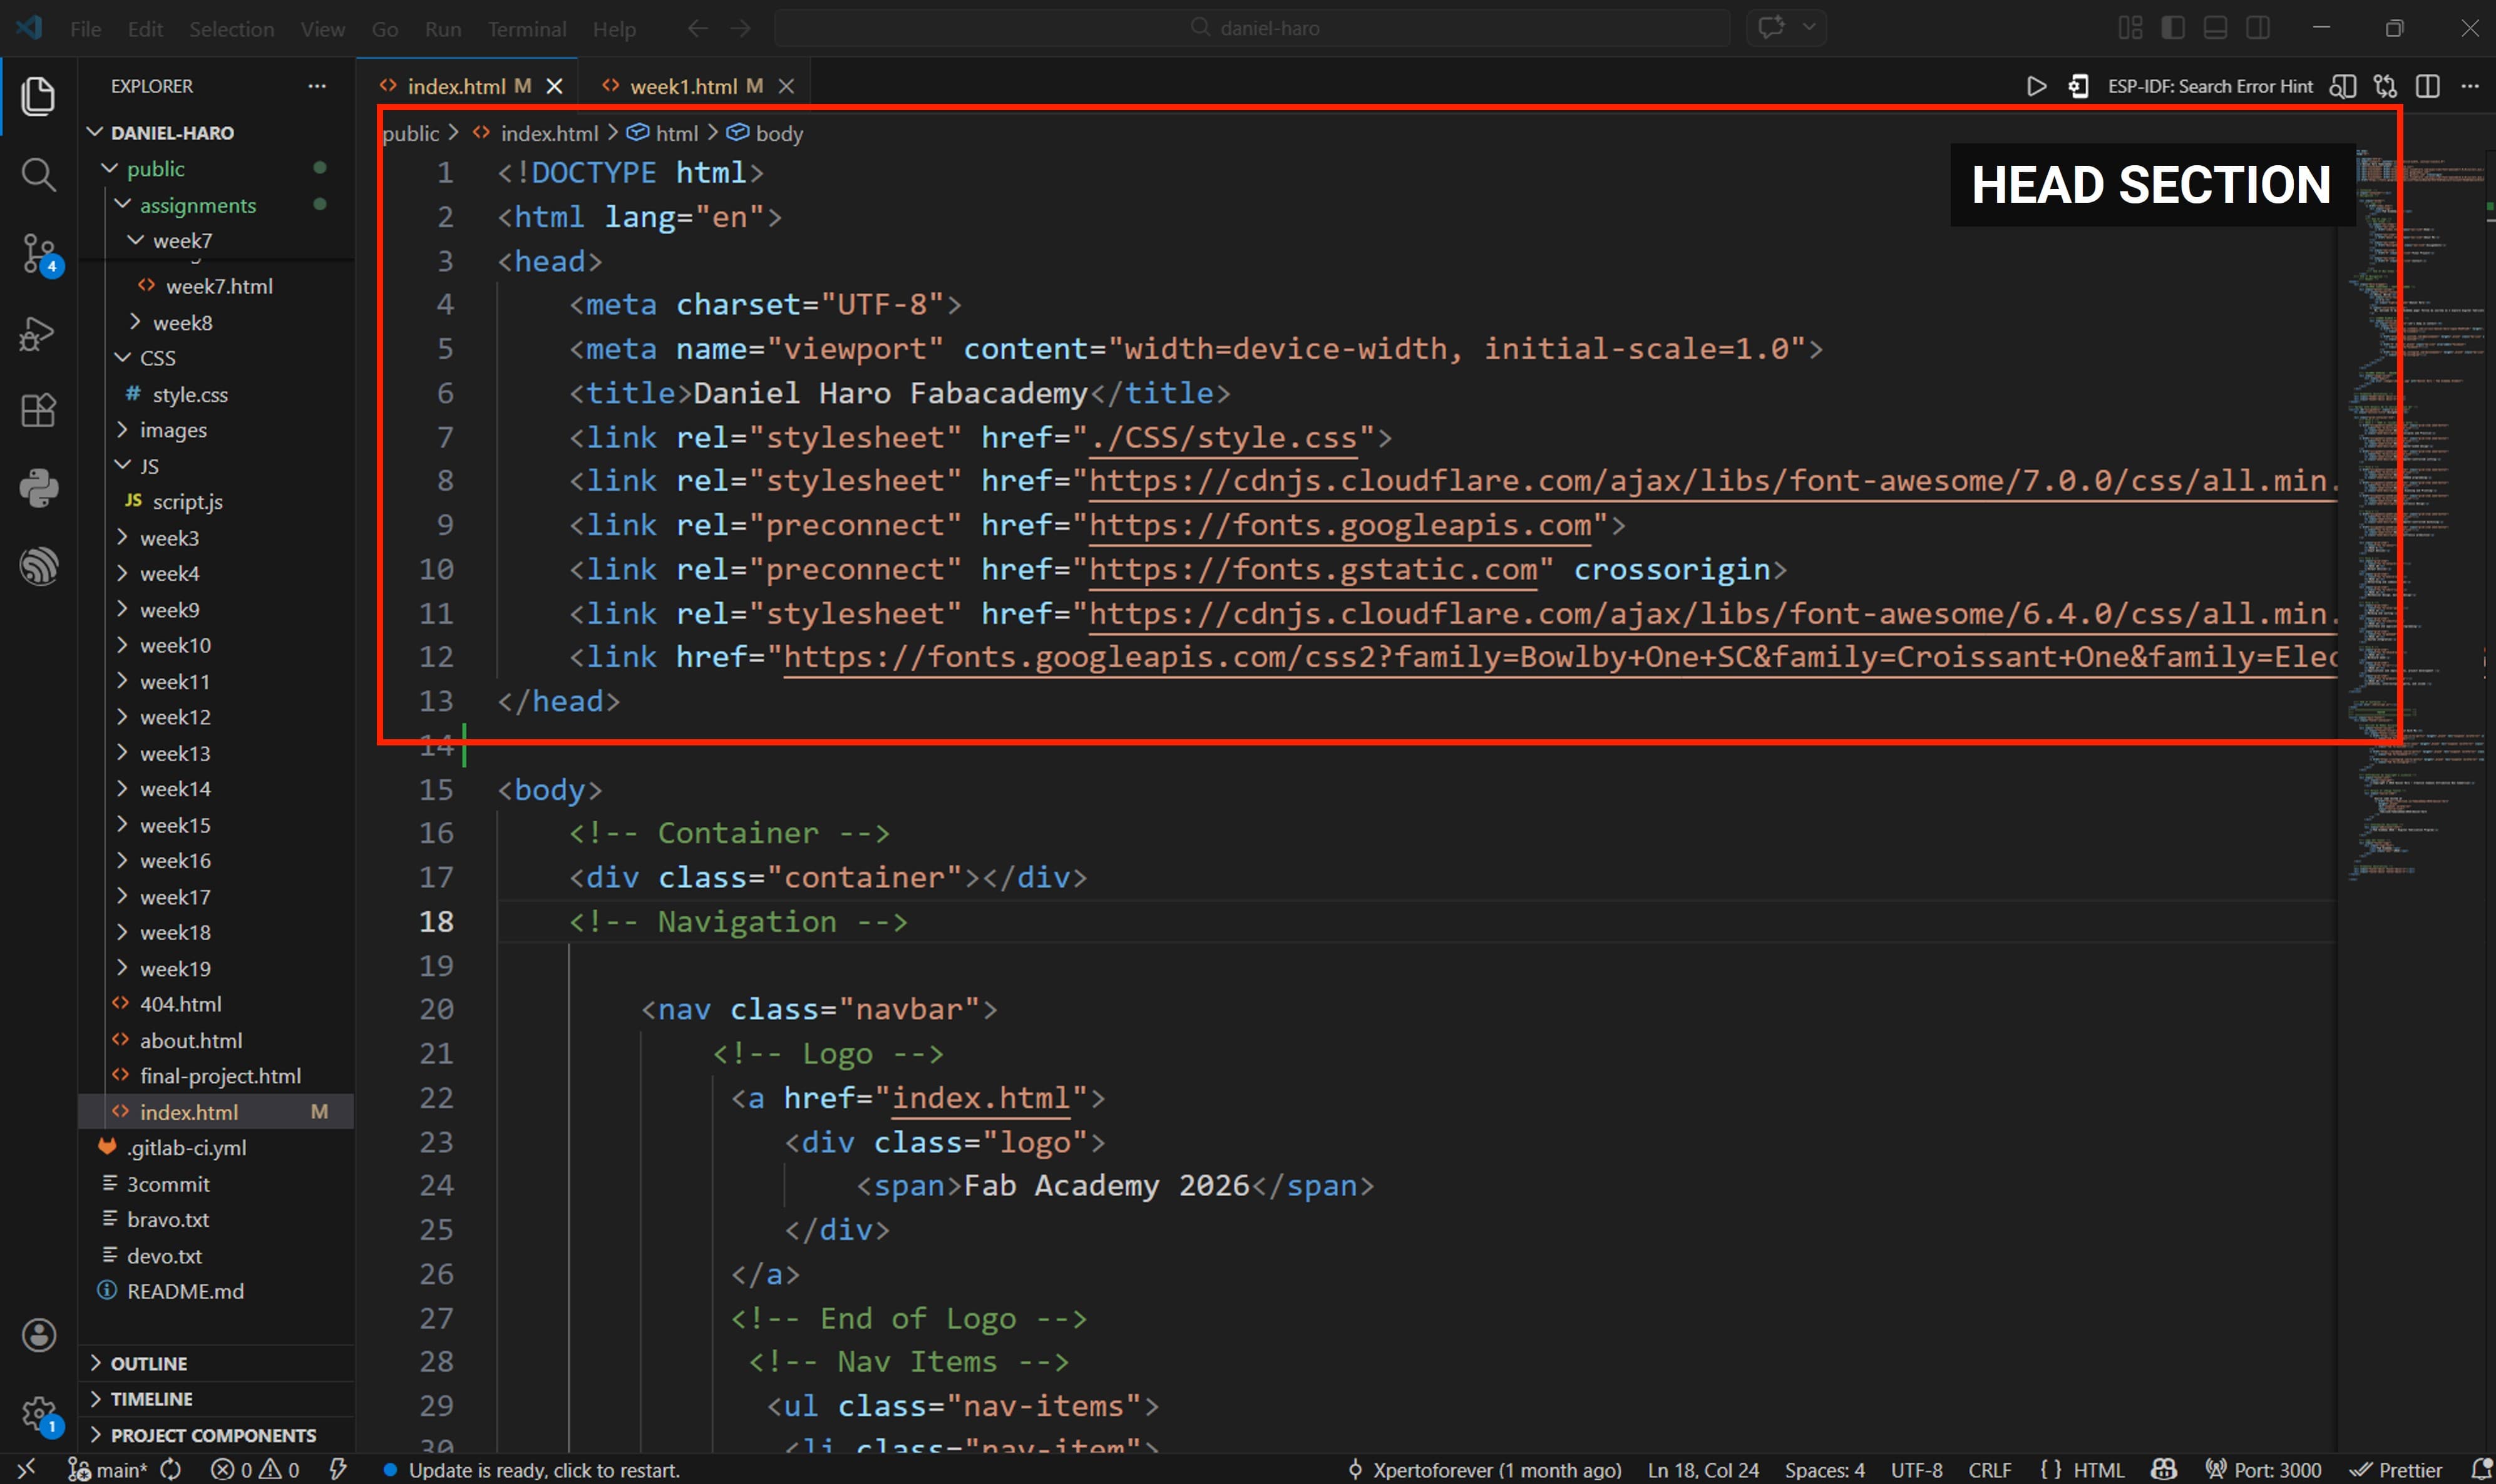
After completing the mockups, the next step was to begin the development process by coding the website in the VS Code editor, translating the planned layout into functional web pages.
The < head > section of an HTML document contains metadata and configuration information about the webpage. This information is not displayed directly on the page but helps browsers, search engines, and other services understand how the page should behave.
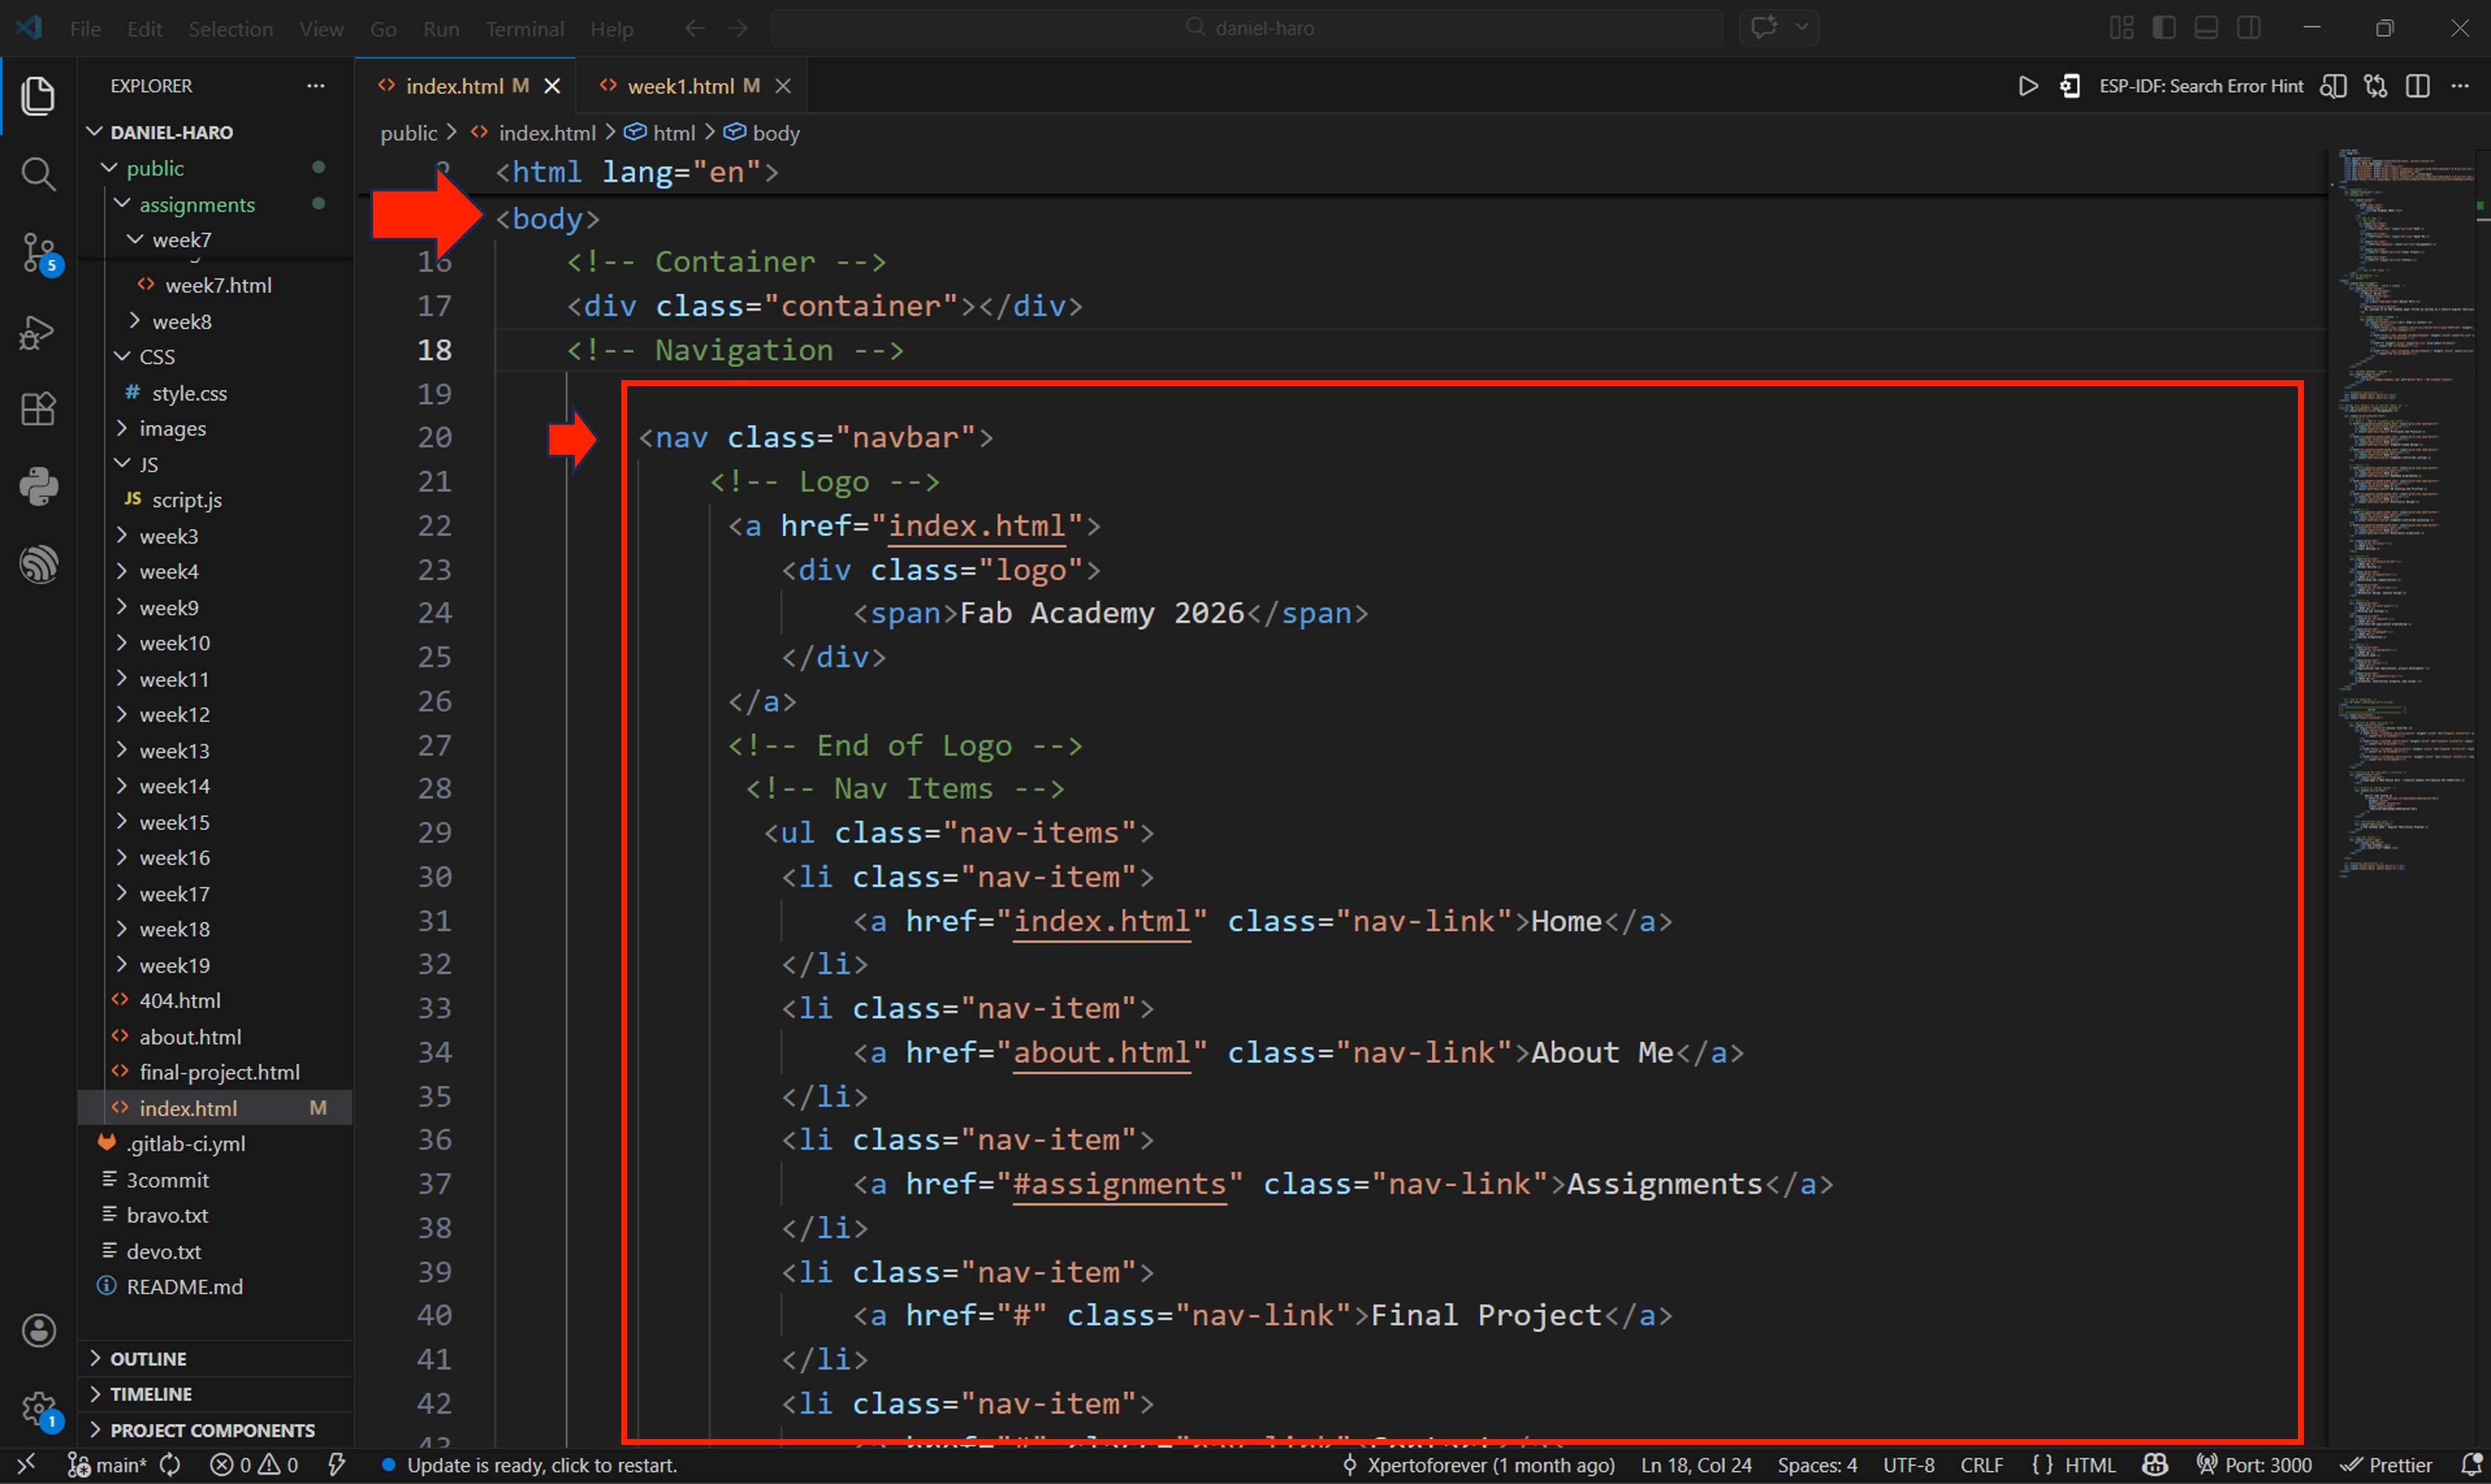
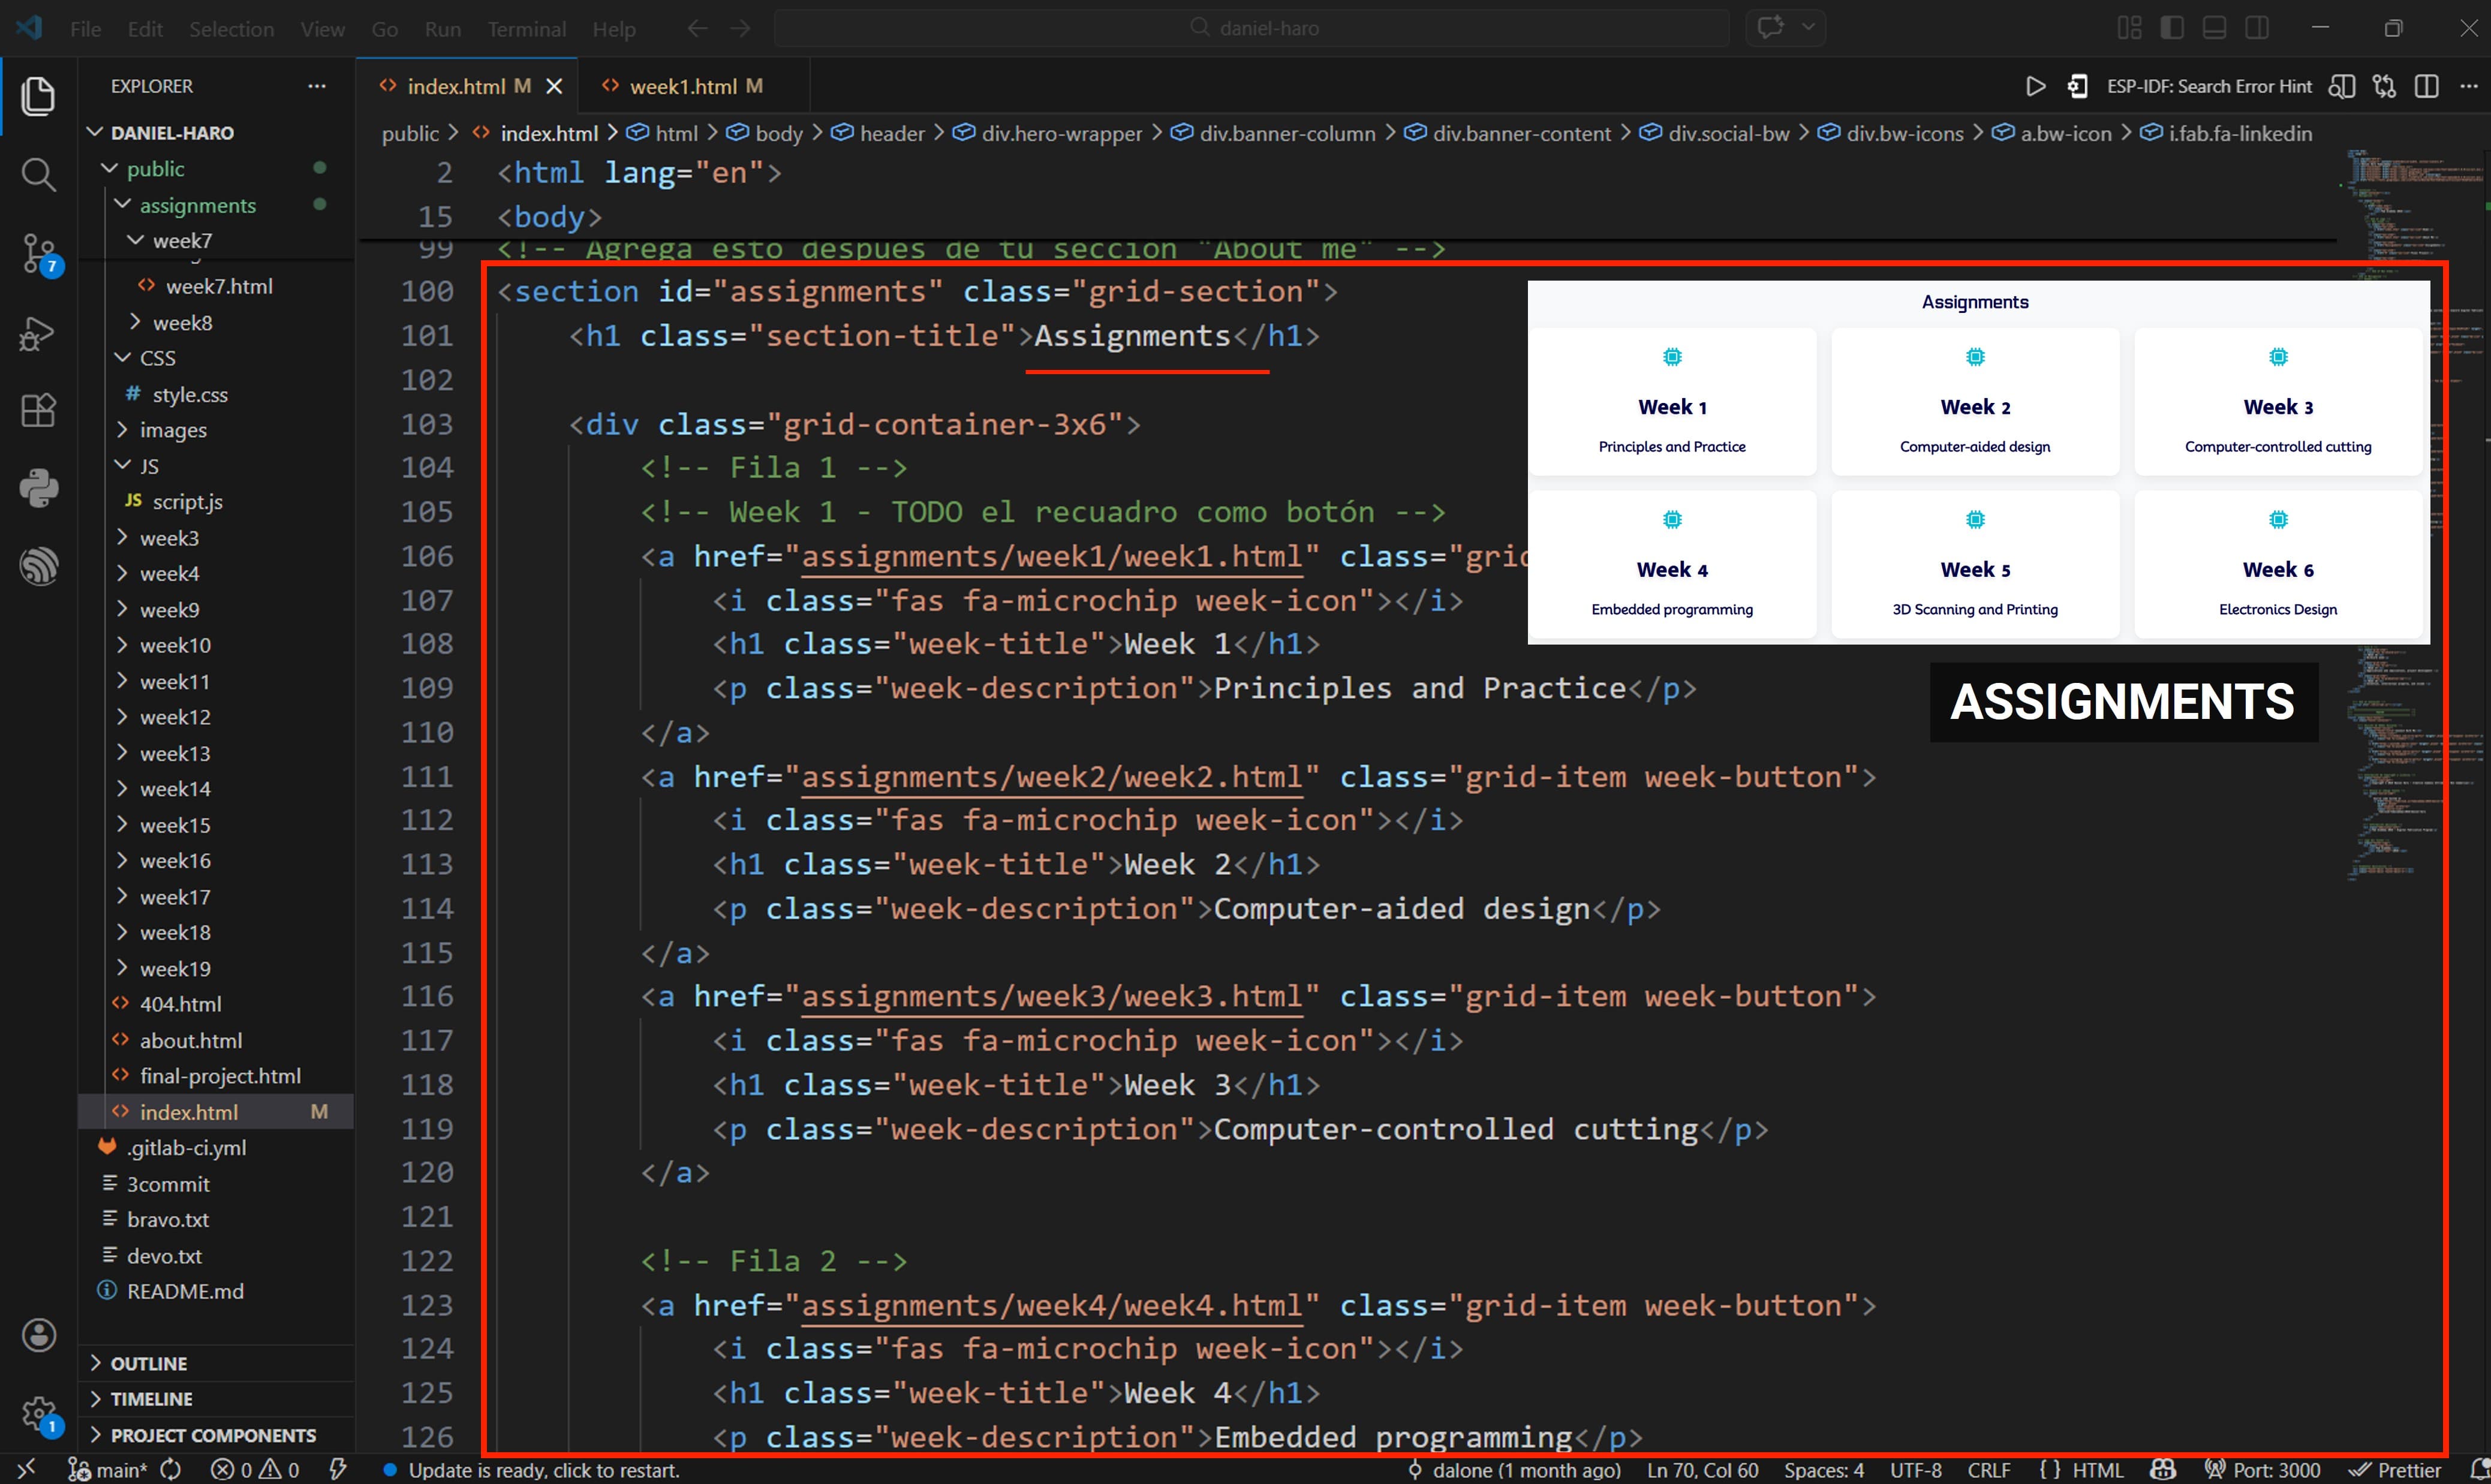
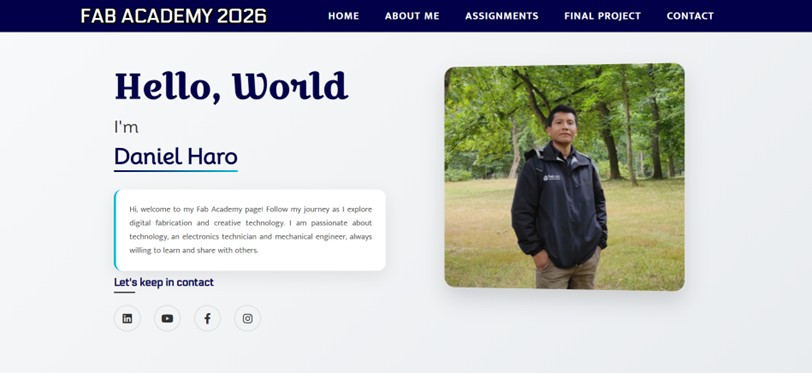
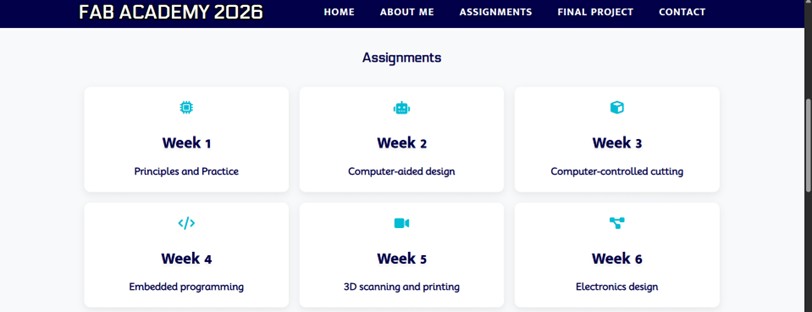
In the body section of the HTML file, we began coding the page content. The first element implemented was the navigation bar, which contains the sections Home, About Me, Assignments, Final Project, and Contact.
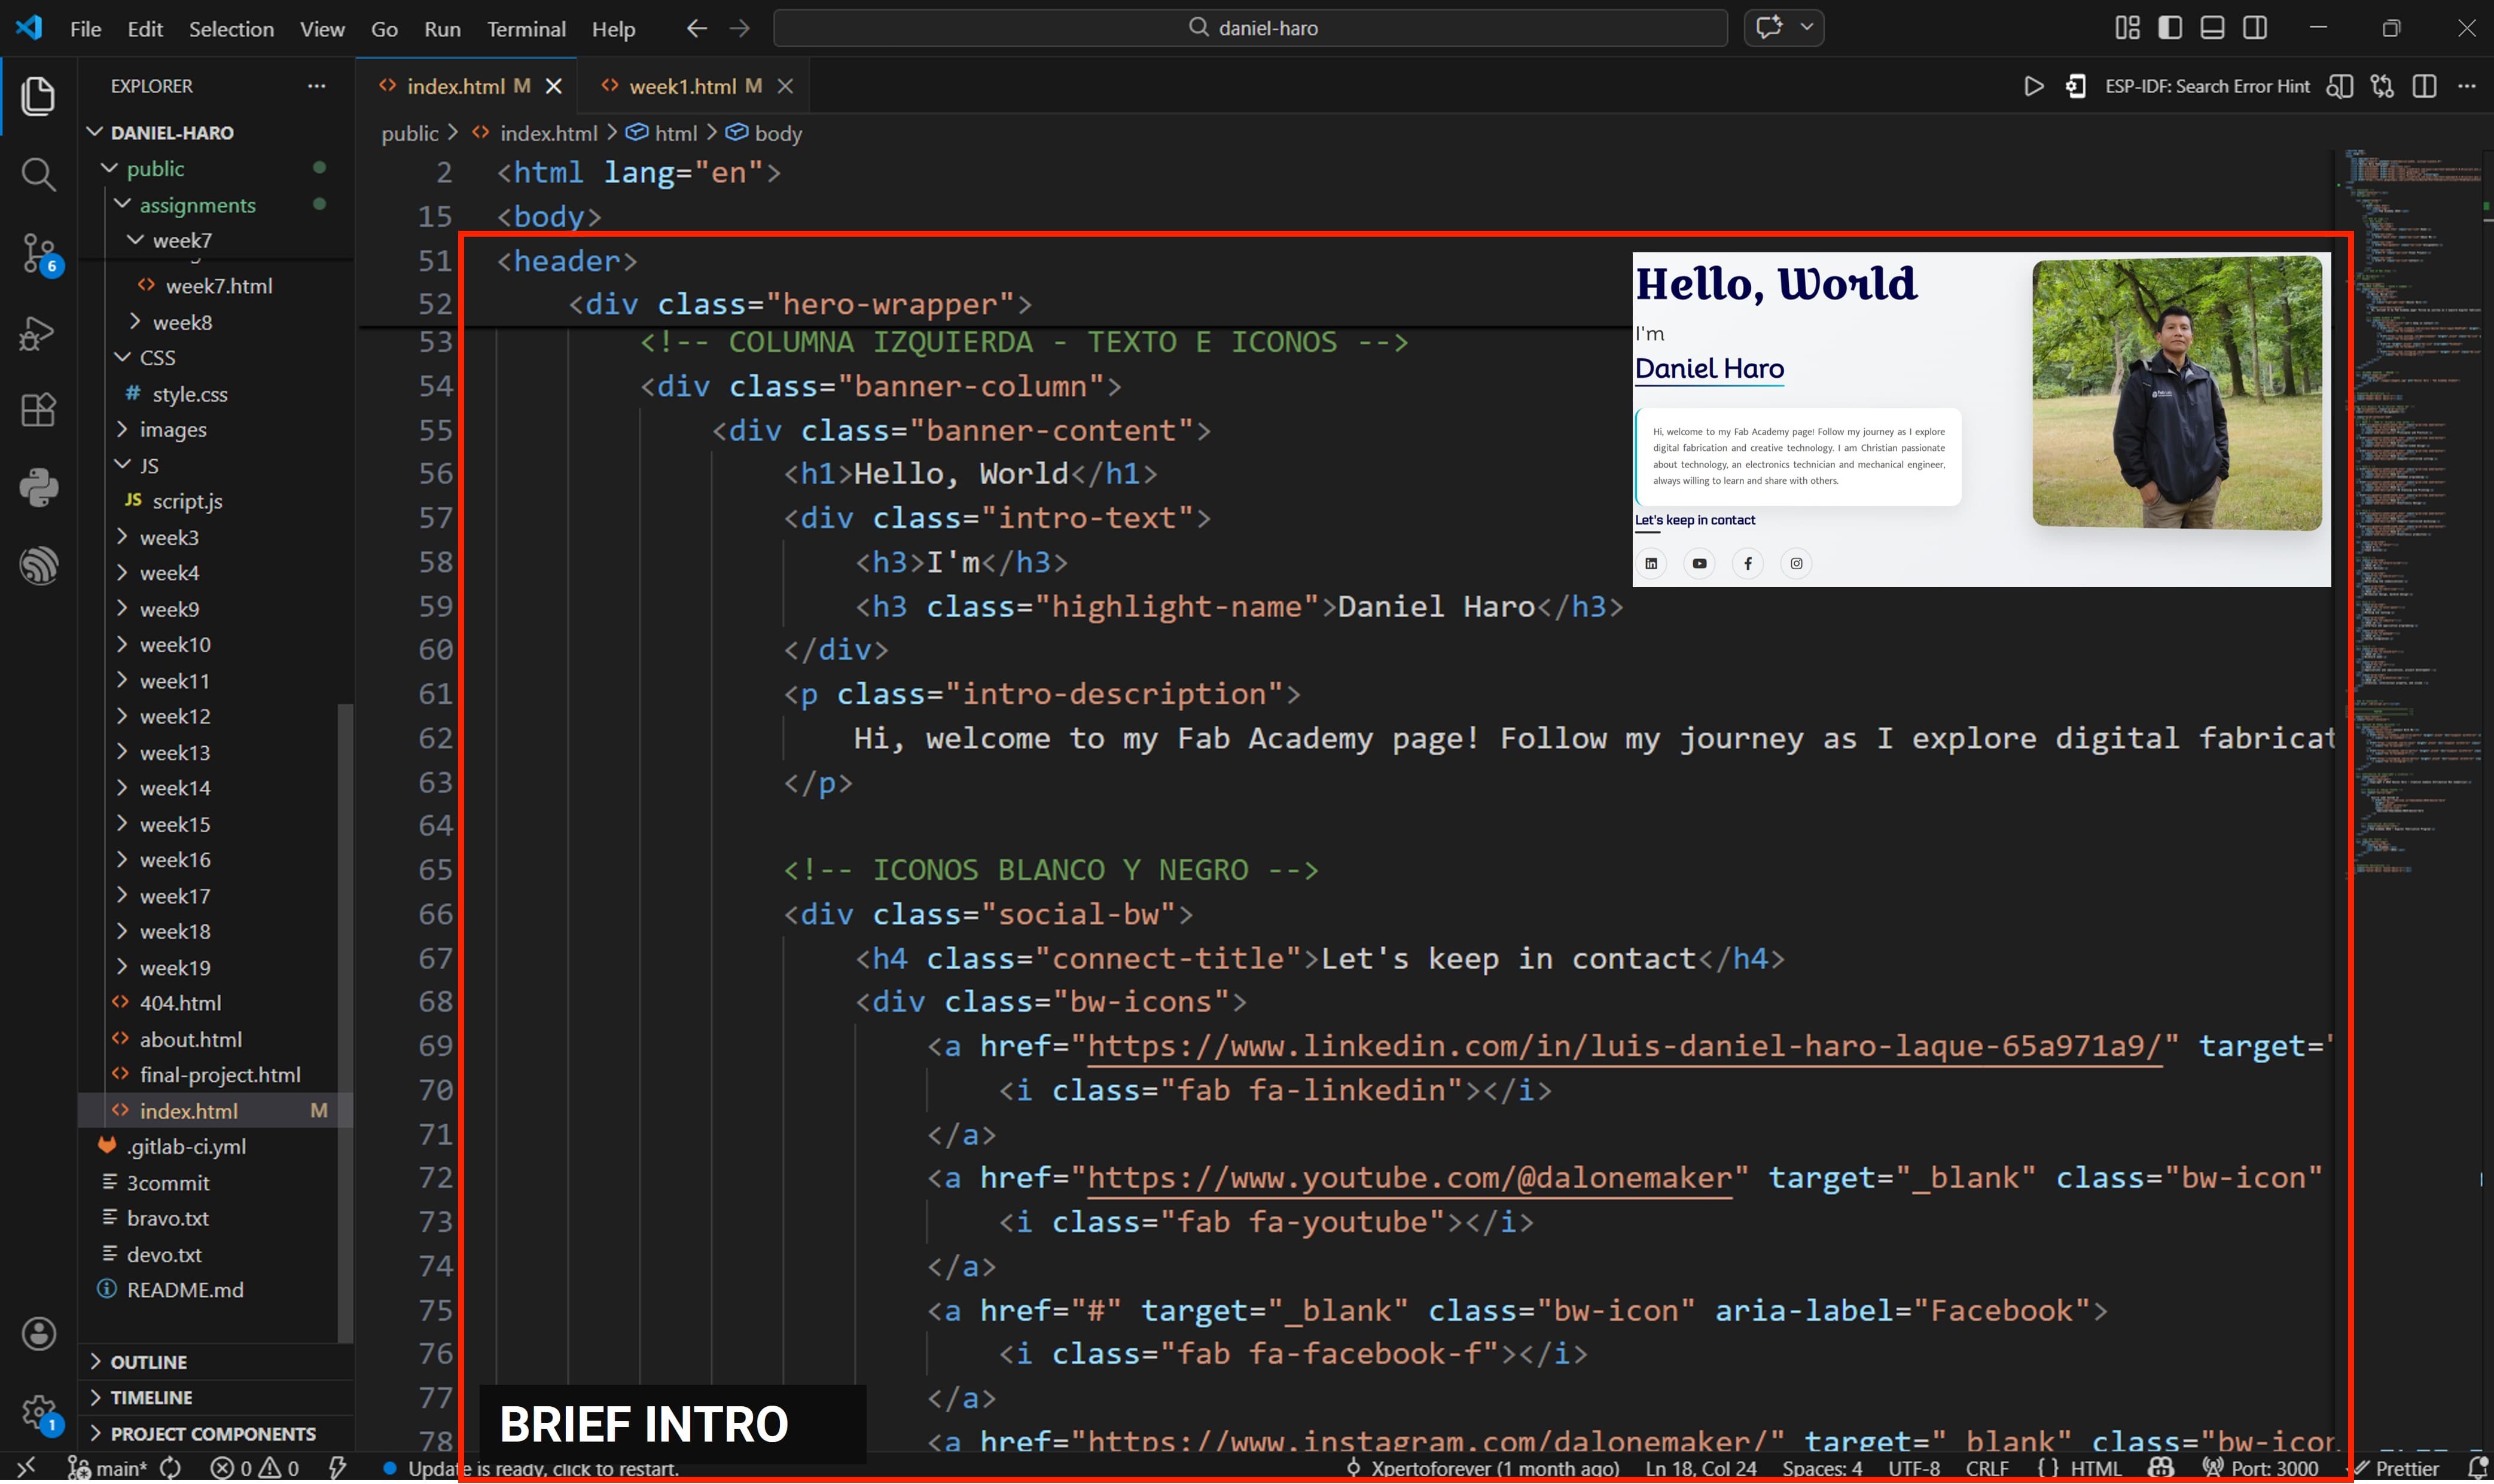
Next, I implemented a brief introduction section, including my profile picture and social media icons.
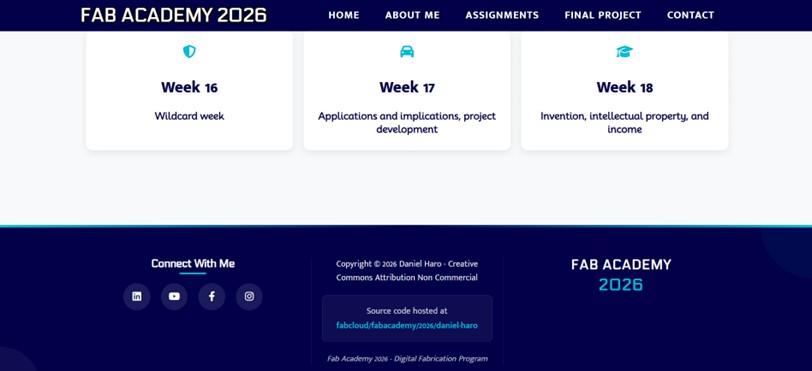
I also added a footer section that includes additional contact information. This section provides visitors with an easy way to reach me and access important details at the bottom of the webpage.
And this is how we slowly start building our website, step by step.
That’s all for now. See you next week!