Embedded programming is the process of writing firmware that runs on a microcontroller or microprocessor to control hardware components and perform specific tasks. It enables the system to read inputs from sensors, process data, and control outputs such as motors, LEDs, and displays while operating continuously with limited memory and power resources.
In Fab academy ,week 4 was about embedded system programming and we ve dived deep into microcontrollers and different programming languages and we have ended session with different assignments
Group Assignment
demonstrate and compare the toolchains and development workflows
for available embedded architectures
Individual assigment
1. browse through the data sheet for a microcontroller
2.write and test a program for an embedded system using a microcontrollerto interact (with input &/or output devices)and communicate (with wired or wireless connections)
3. extra credit: assemble the system
4. extra credit: try different languages &/or development environments
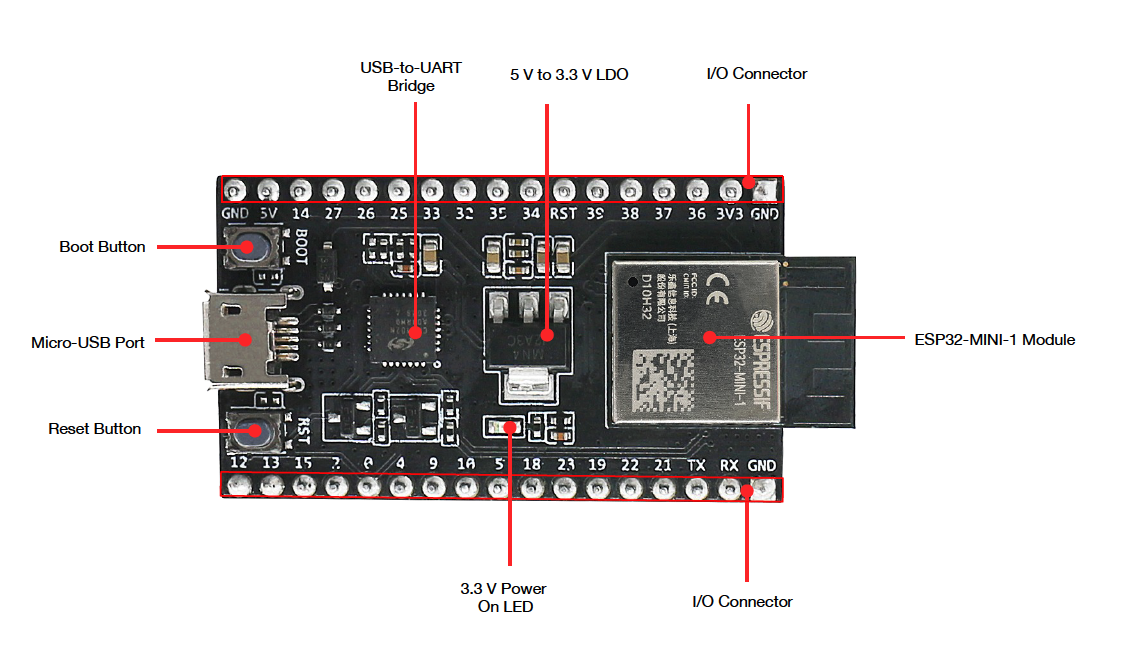
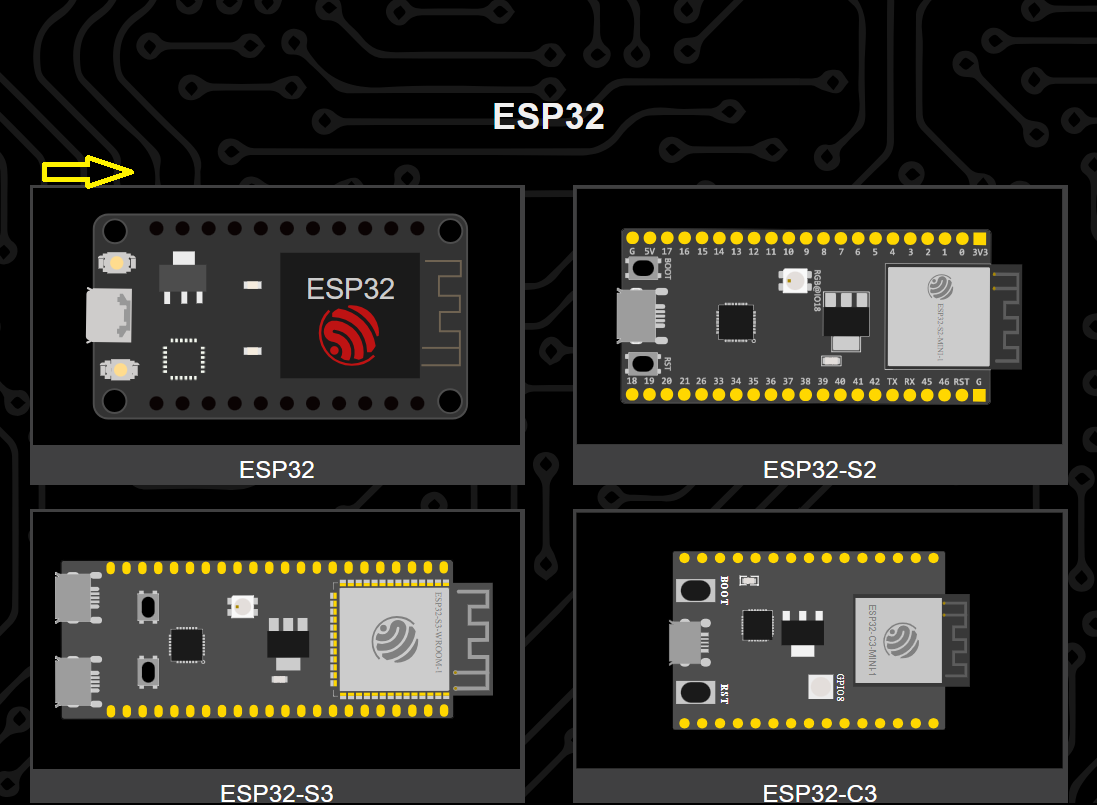
ESP 32
The ESP32 is a powerful and versatile microcontroller with built-in WiFi and Bluetooth capabilities, making it ideal for Internet of Things (IoT) projects. It features multiple GPIO pins, analog and digital inputs, and supports communication protocols like I2C, SPI, and UART. The ESP32 is energy-efficient, can run embedded programs continuously, and allows developers to connect sensors, actuators, and displays to create smart devices and automation systems.
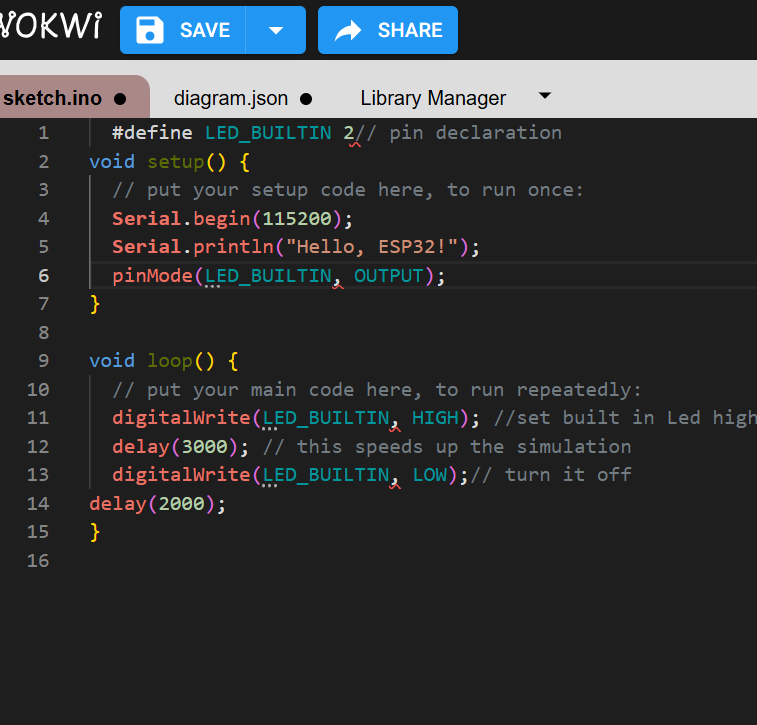
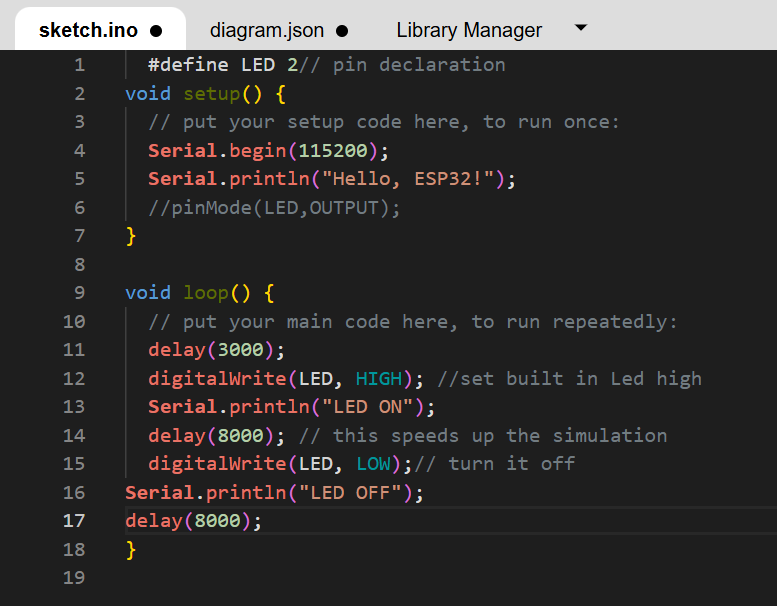
Step 4: But Led-BUILTIN is a keyword , i had to change and define pin by different name
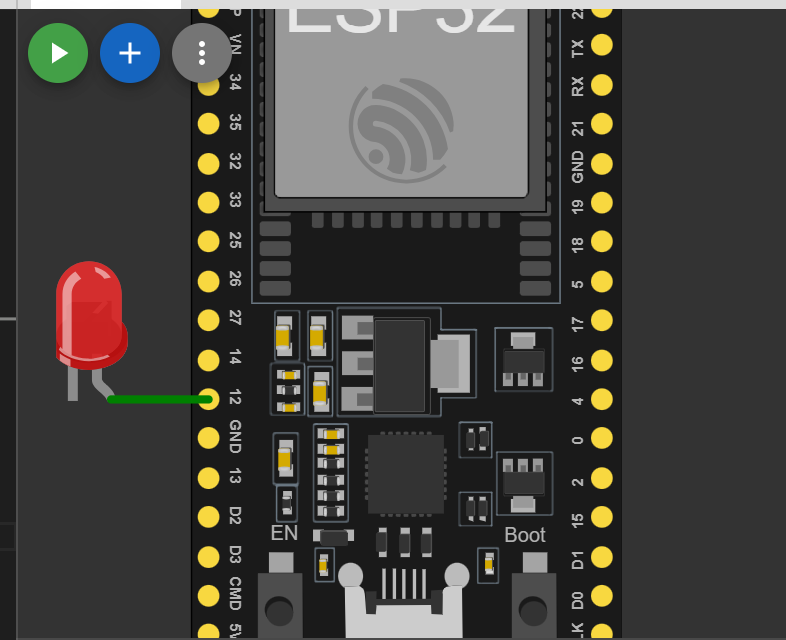
Step 5: Drawing the circuit
Step 6: The circuit is complete with a protection resitor ,even if Esp 32 pin has no much current
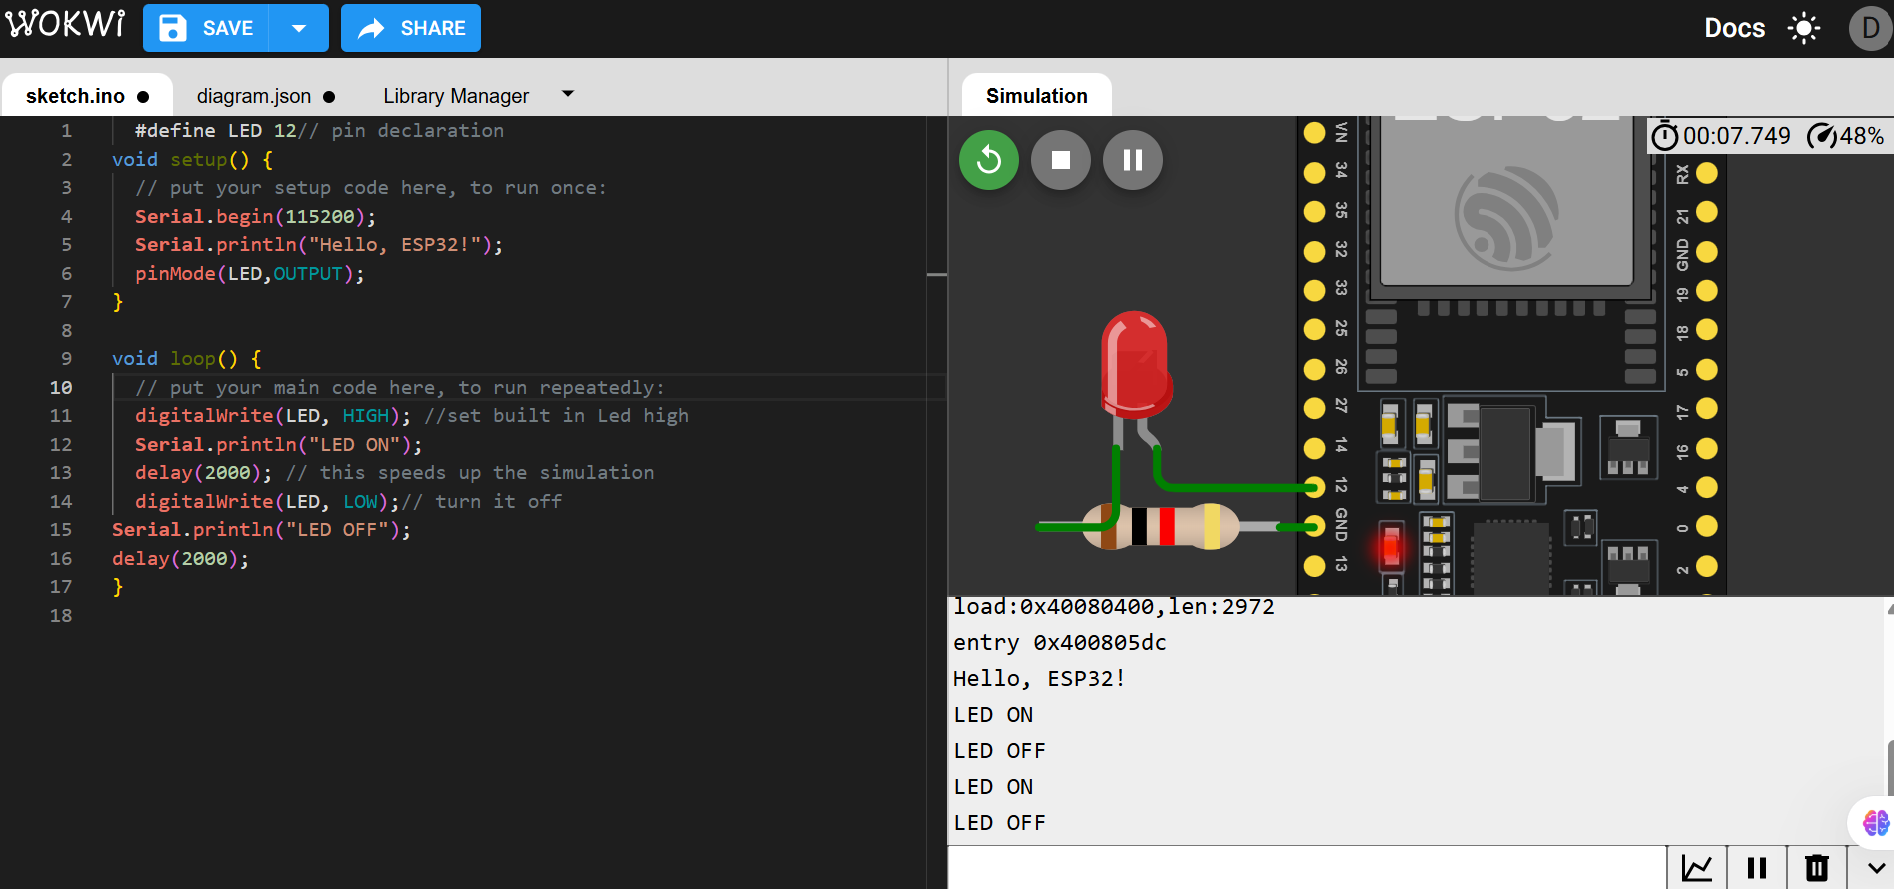
Step 7: Full Working Demonstration
INTERACTION OF INPUT AND OUTPUT
Arduino is a beginer friendly microcontroller ,that have inputs and outputs and other communications but its
limmited to wireless connection.an Arduino microcontroller system, inputs and outputs are essential for interaction
with the physical environment. Inputs are signals received from sensors and devices such as push buttons, temperature sensors,
light sensors, and soil moisture sensors, allowing the microcontroller to sense and collect information about surrounding conditions.
Outputs are signals sent from the Arduino to control external components such as LEDs, motors, relays, buzzers, and display modules.
By processing input data through programmed instructions and generating appropriate output responses, the Arduino microcontroller can
automatically control systems and perform tasks in applications like robotics, home automation, and smart agriculture.
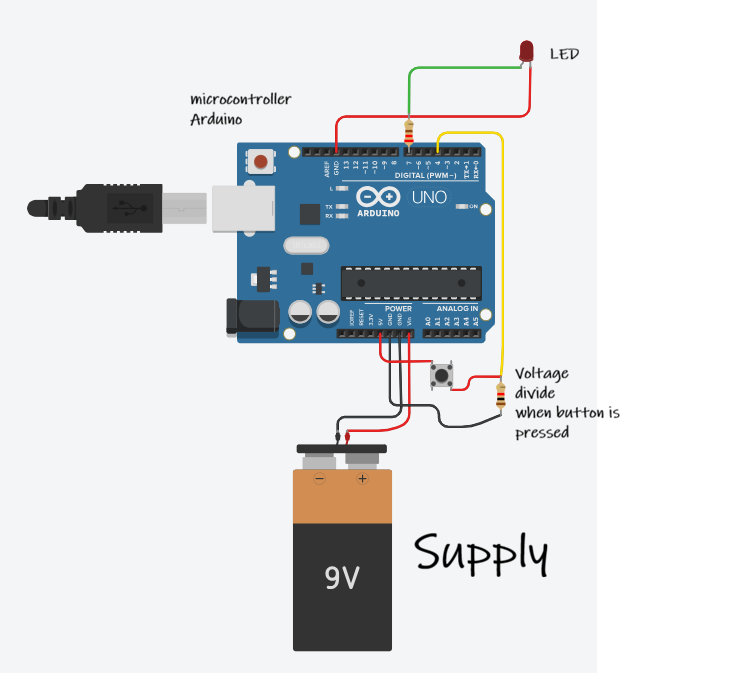
we have used Simulation mode by platform called THINKERCAD
Components to connect
Arduino
Battery
Resistor
LED
Push Button
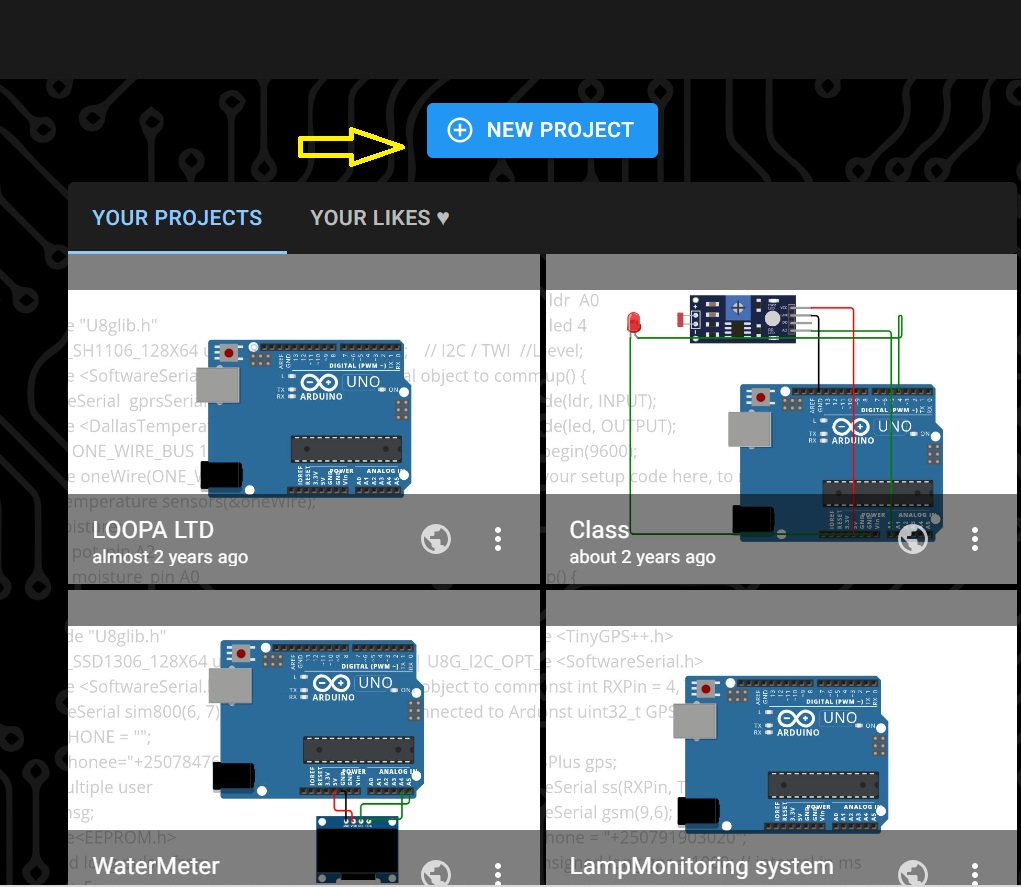
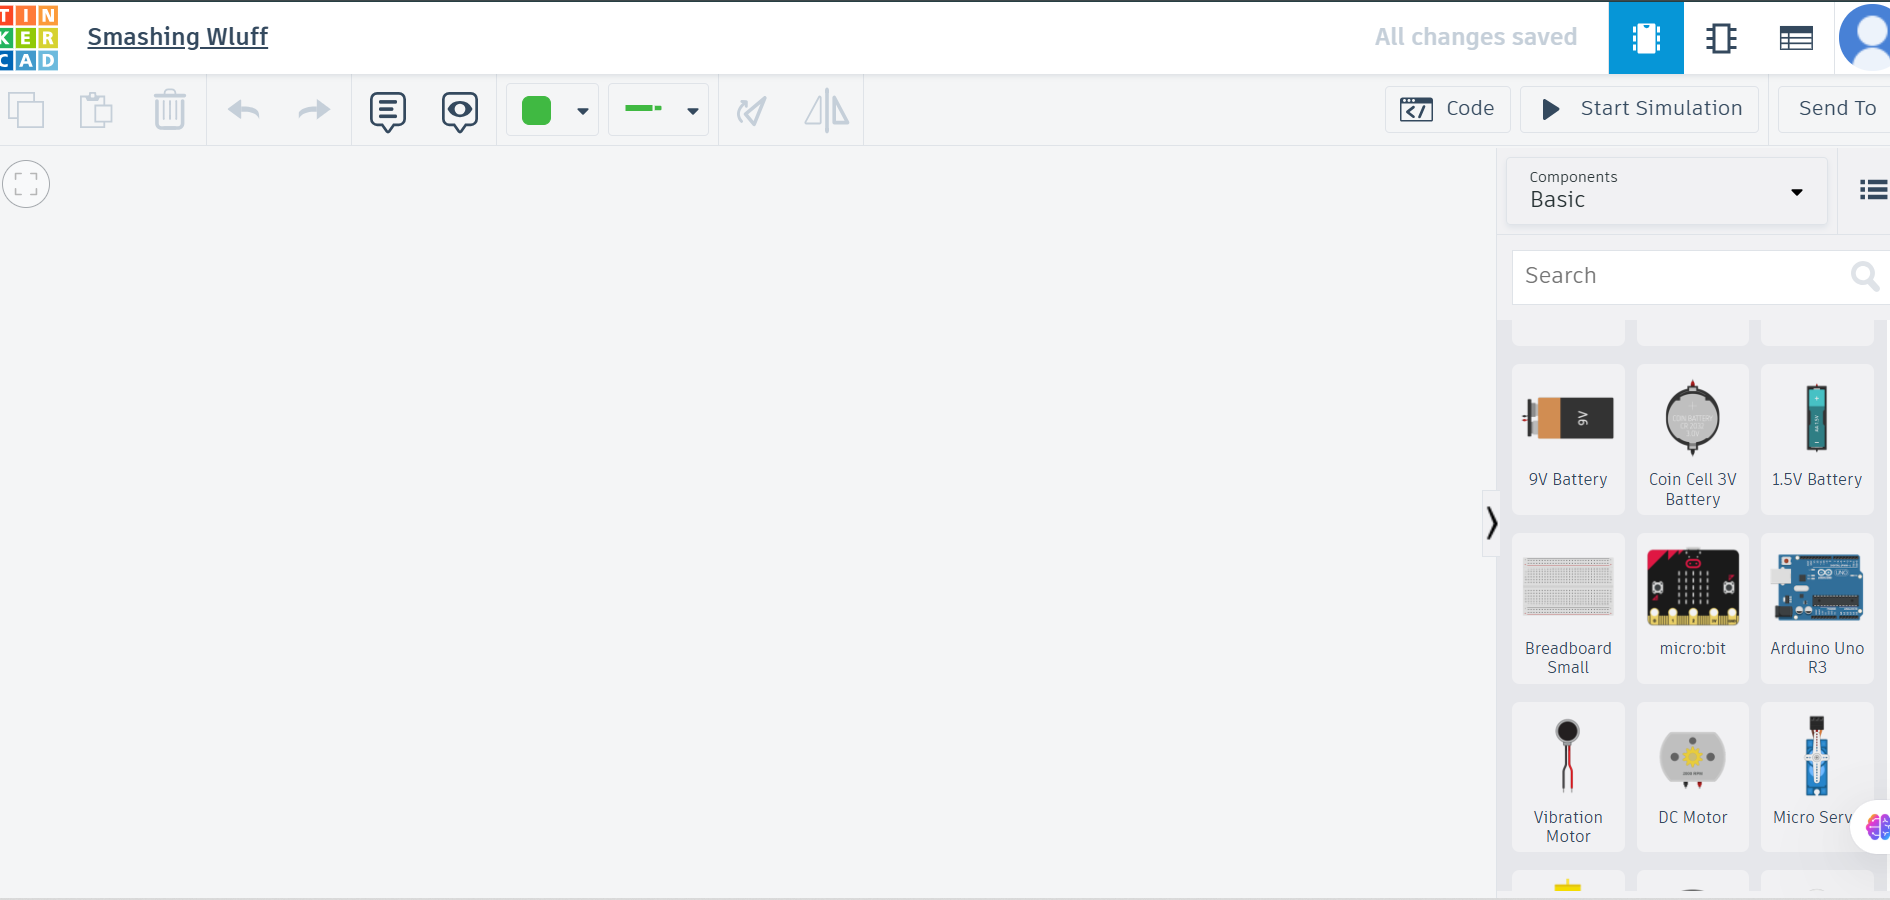
Getting Started with thinkercad
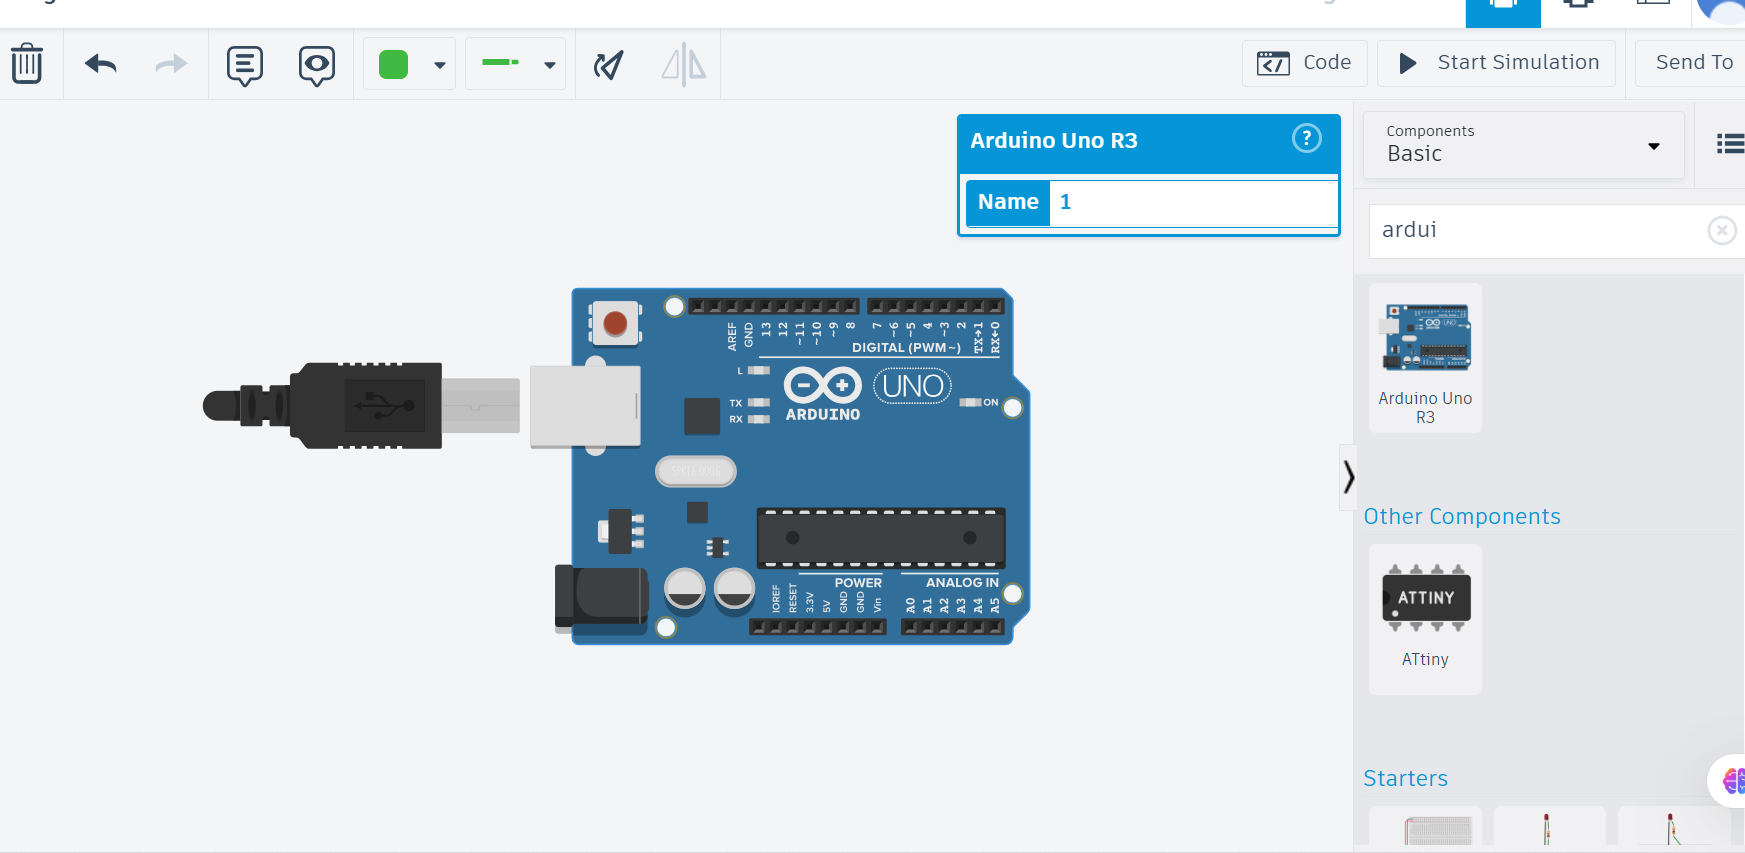
Searching and adding aarduino
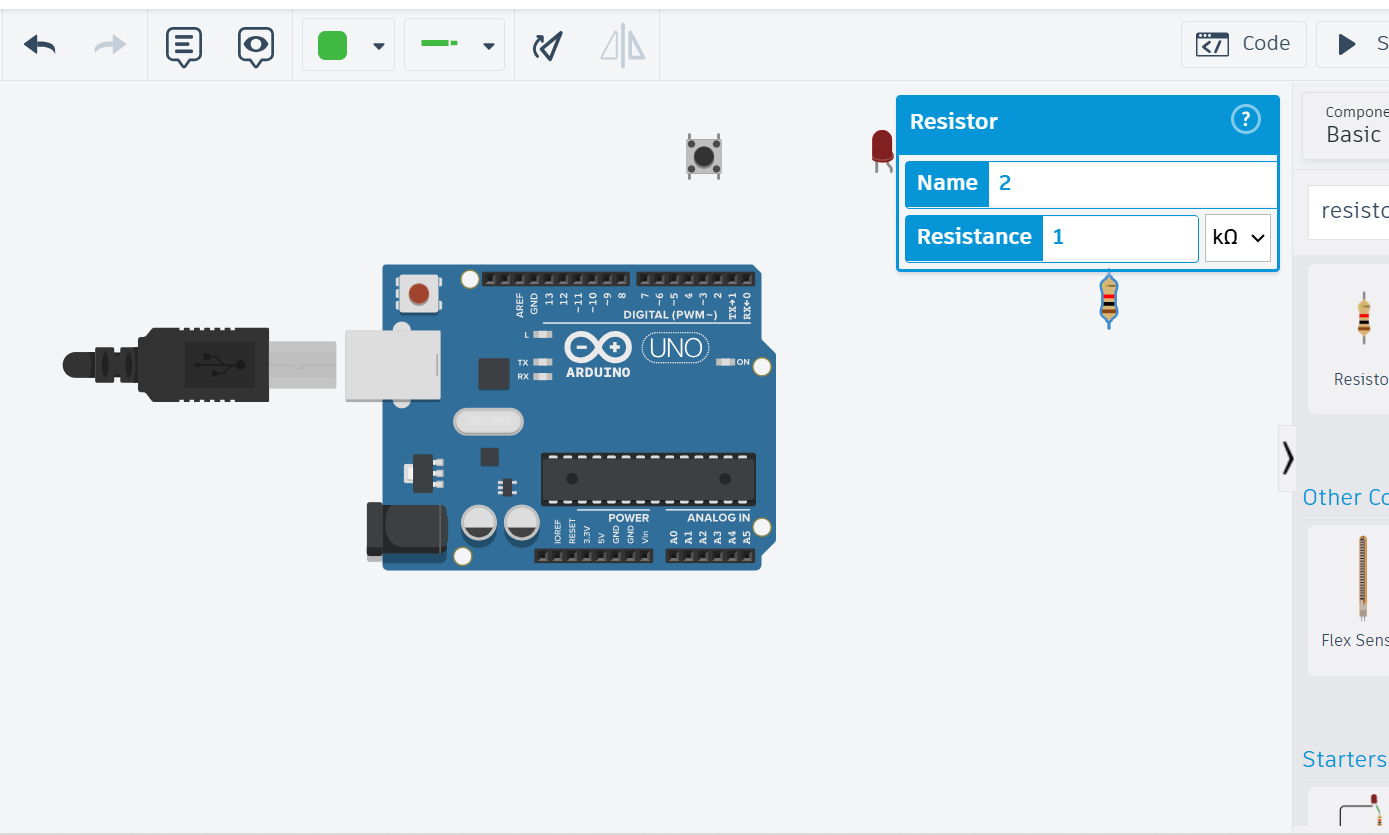
Adding another components such as resistor ,battery and LED
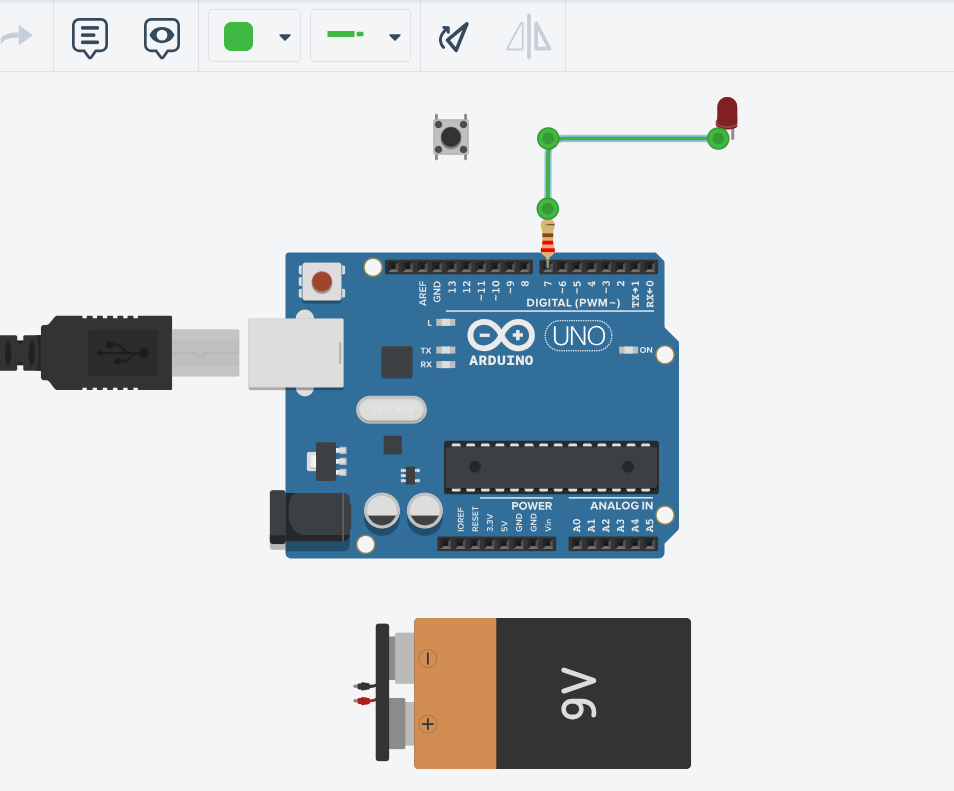
Connecting one another
The circuit is fully connected
Labelled ciruit
Writing codes
Simulation of the Scenario,i ve changed the resistor because the light was not enough
As Conclusion ,I have Studied a lot and interacted with use of inputs and outputs and i ve used the most friendly Microcontrollers with even low level language like C++,so as i am working on my python side to use thonny ide a lot as much as i am capable of using Arduino ide.
.png)