Wildcard Week - Patch Embroidery
This week was free to explore a digital design process and its production. I decided to explore the patch embroidery process. I used Inkscape to design the patch, then exported it as a .pes file and embroidered it using the Brother NS1850L machine.
Patch Design
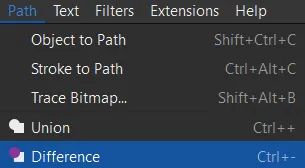
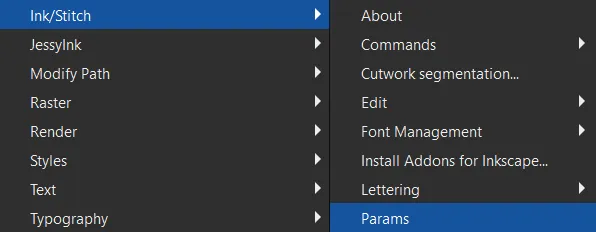
To start the patch design, I needed to install the Ink/Stitch embroidery extension for Inkscape, which added the tools needed to create embroidery designs.
Ink/Stitchbr
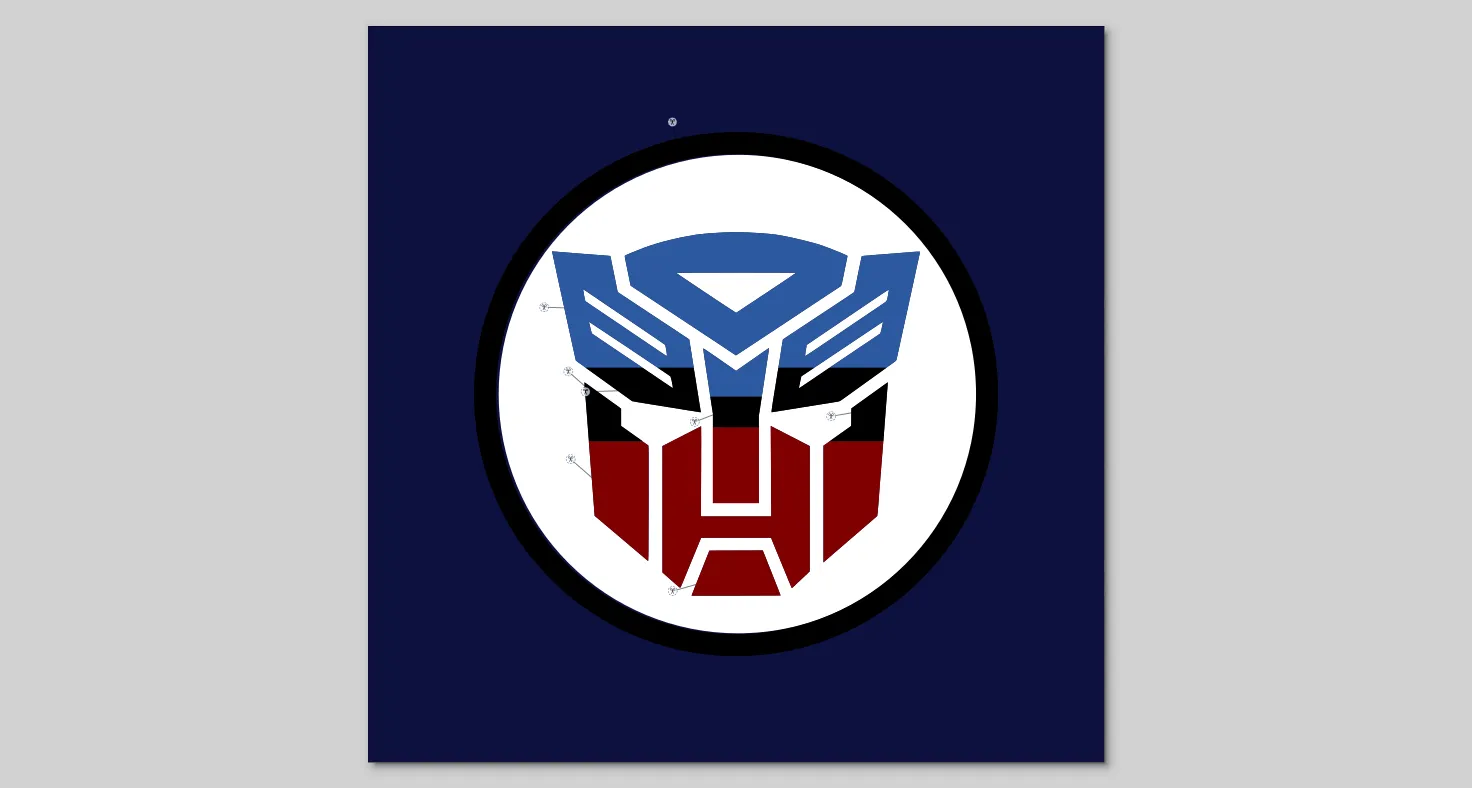
For the patch, I decided to download the monochromatic Autobot symbol to start the design.
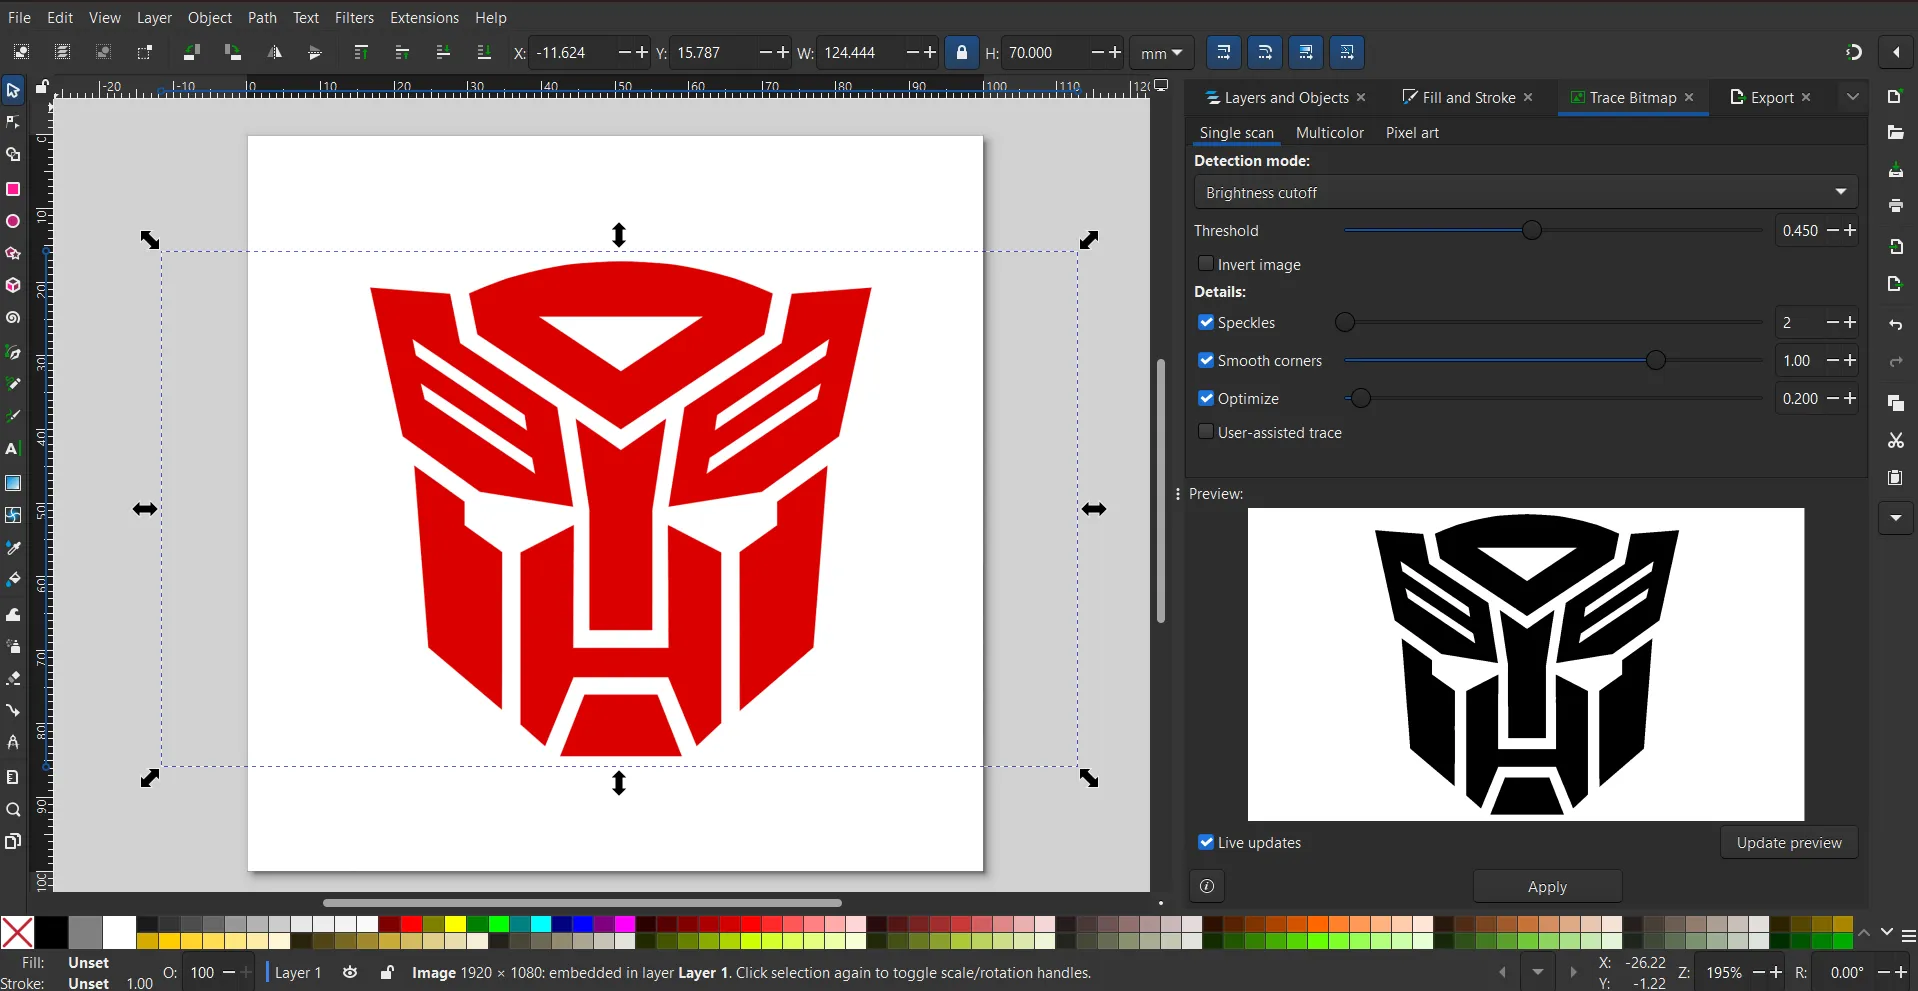

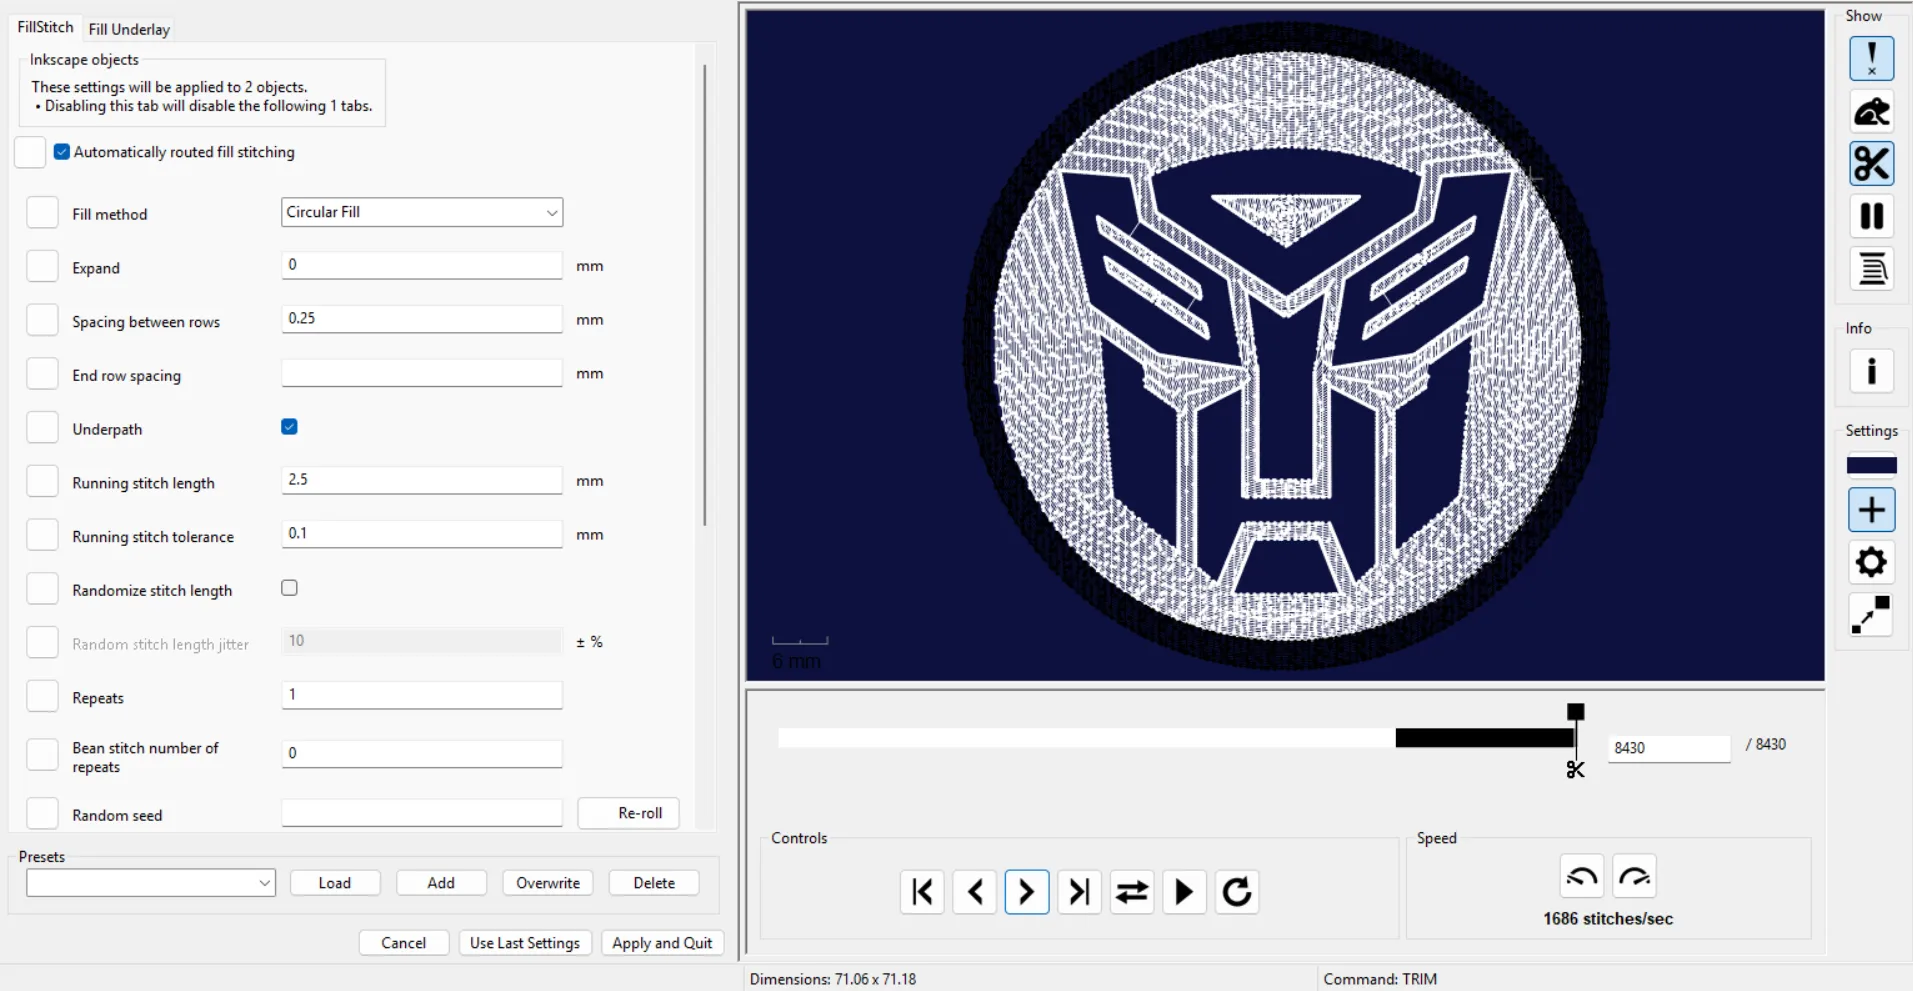
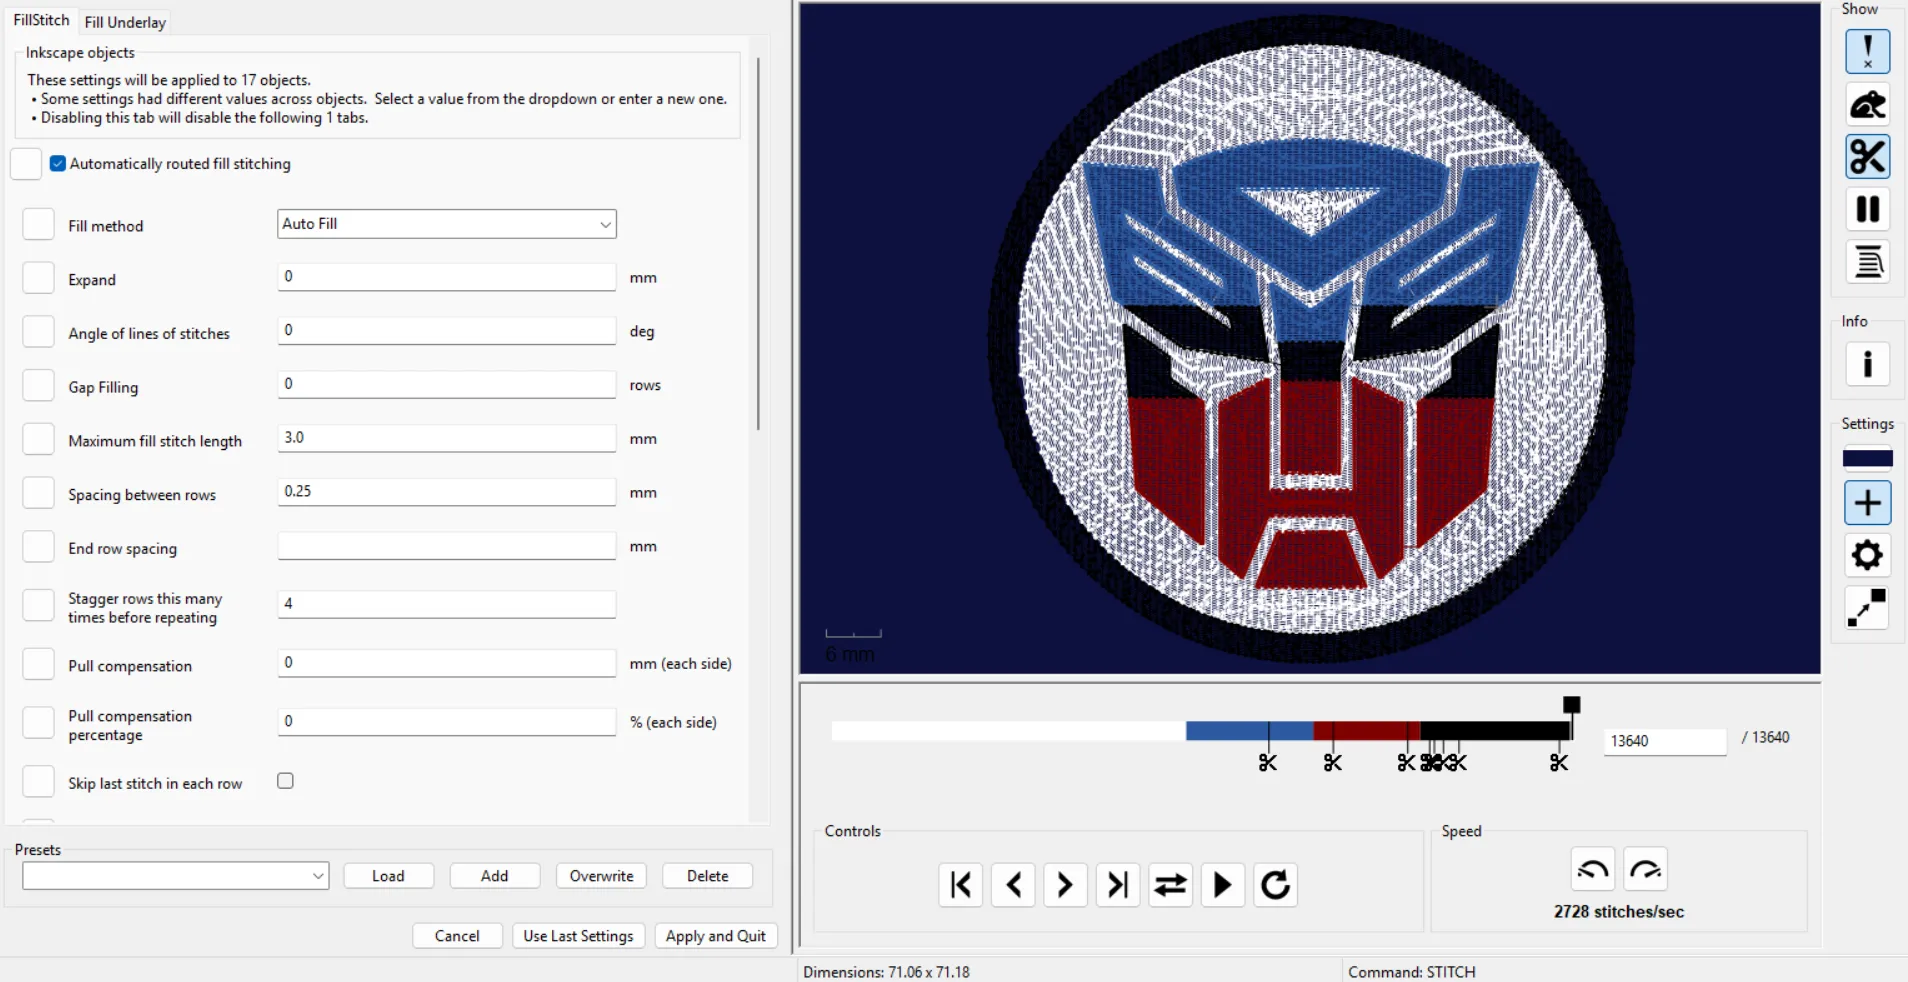
I used the default parameters and changed the fill to a circular fill on the outer circumference and the white space around the design because it looks better.
Using the Embroidery Machine
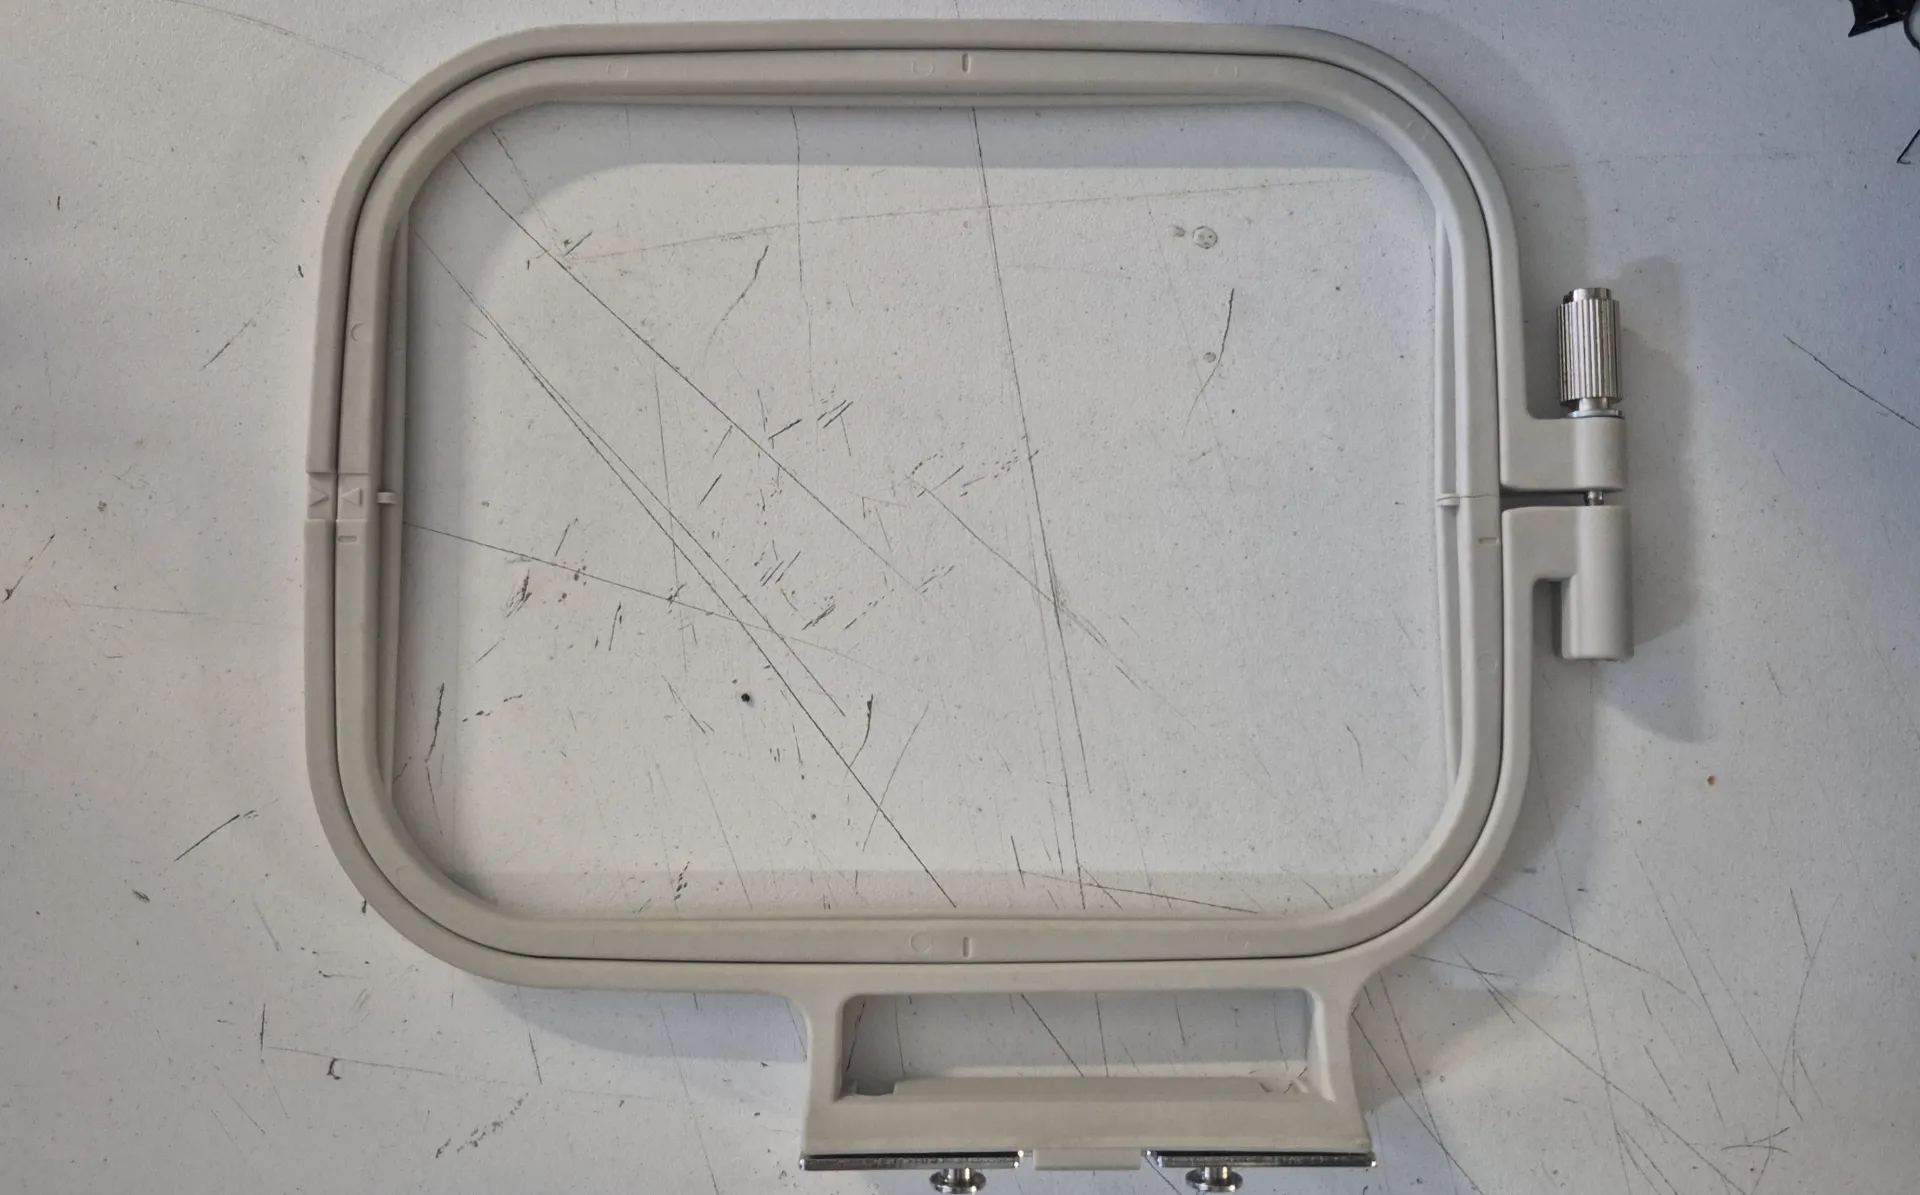
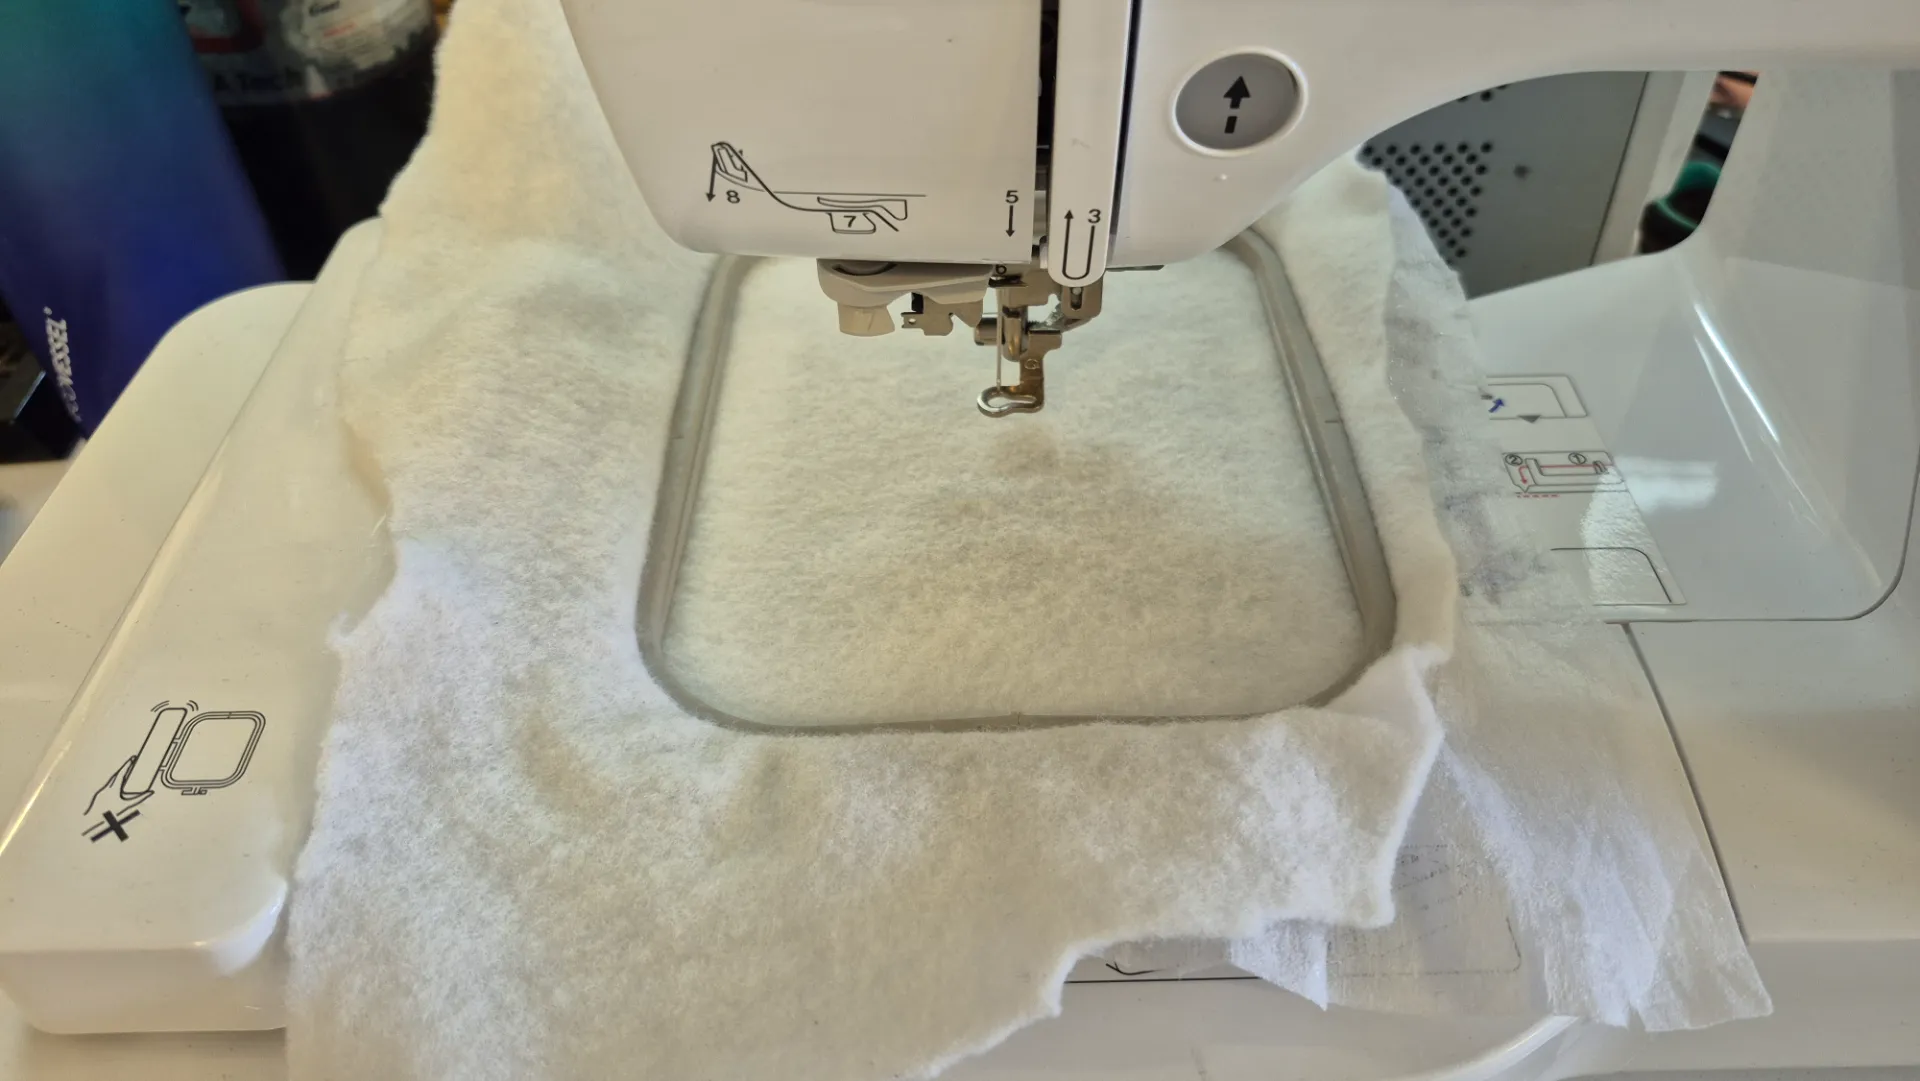
The first step was to place the fabric on the hoop and make sure it was well tensioned. I used a thick fabric and to reinforce the back of the patch I used pellon. Then I placed the hoop on the machine.
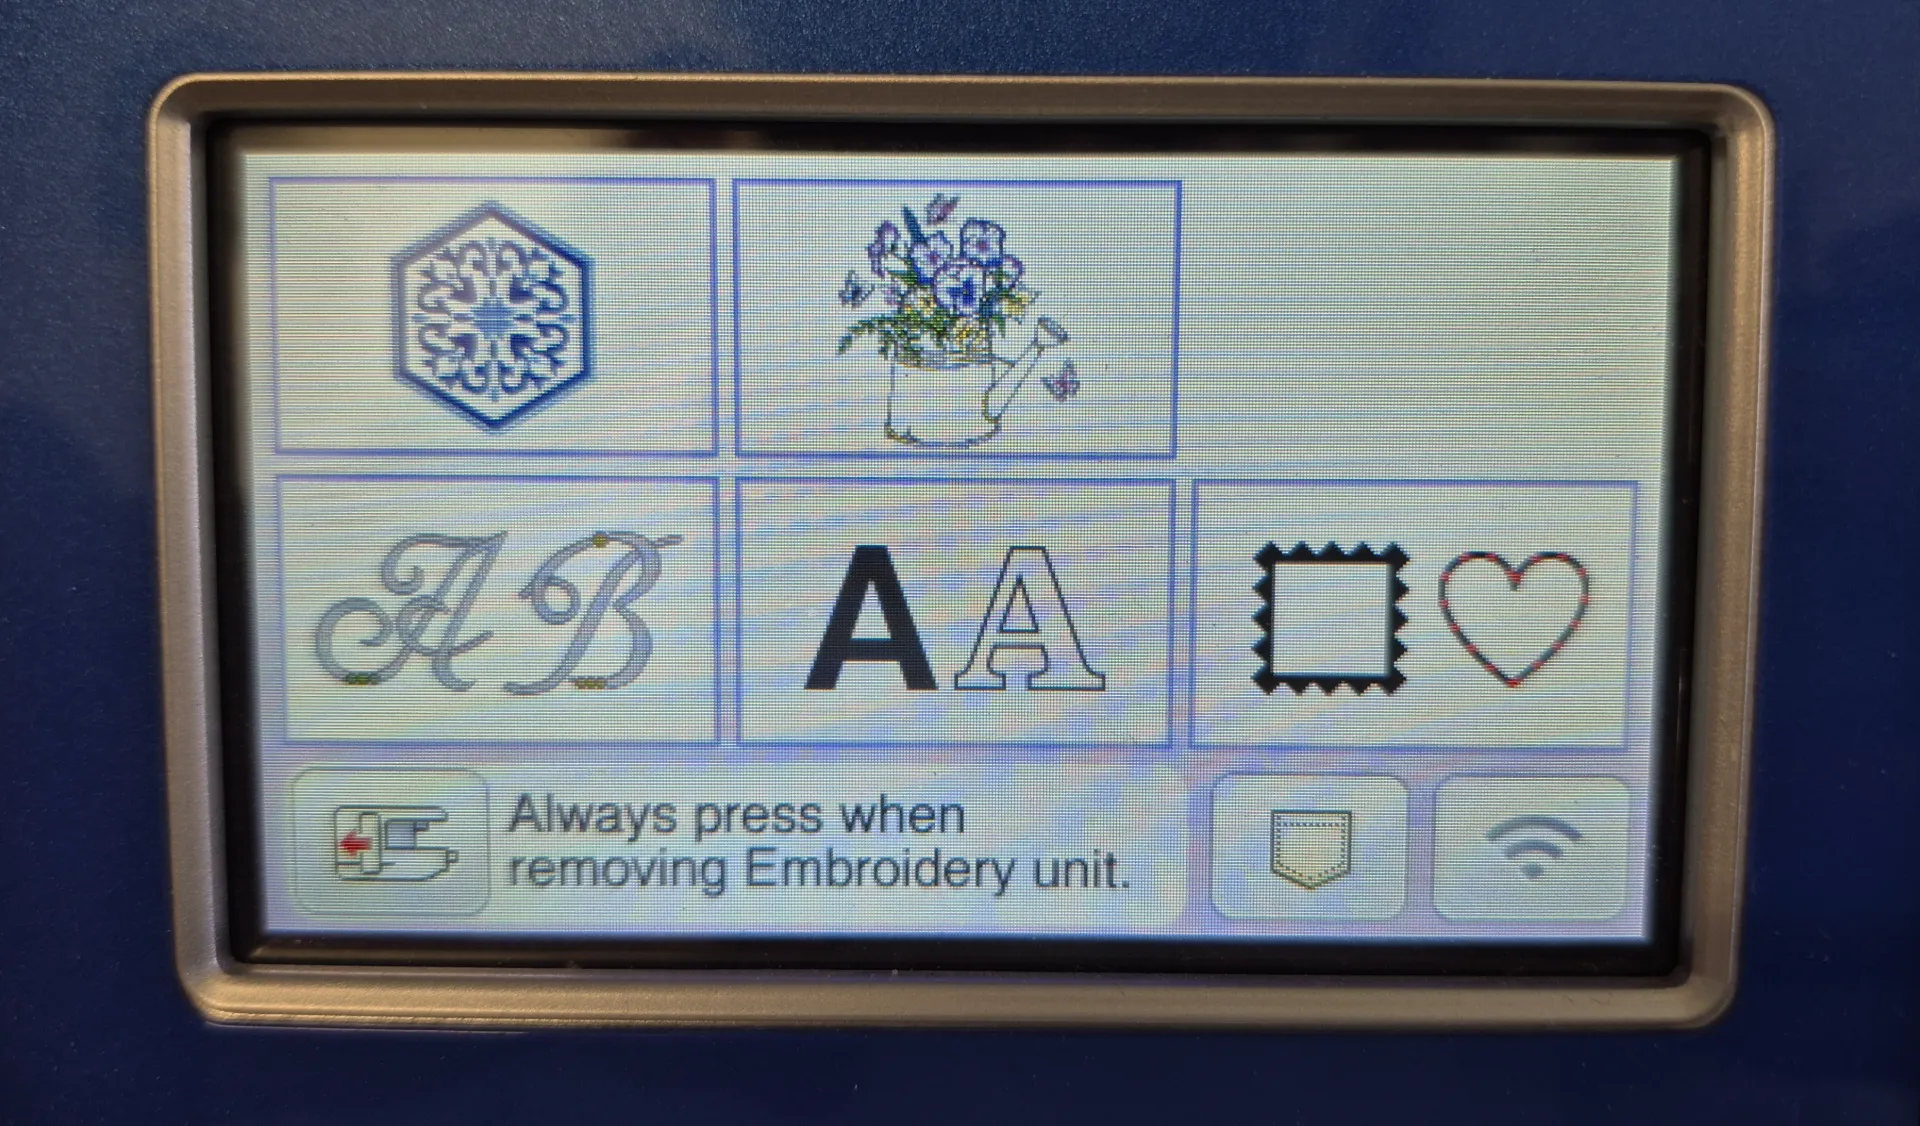
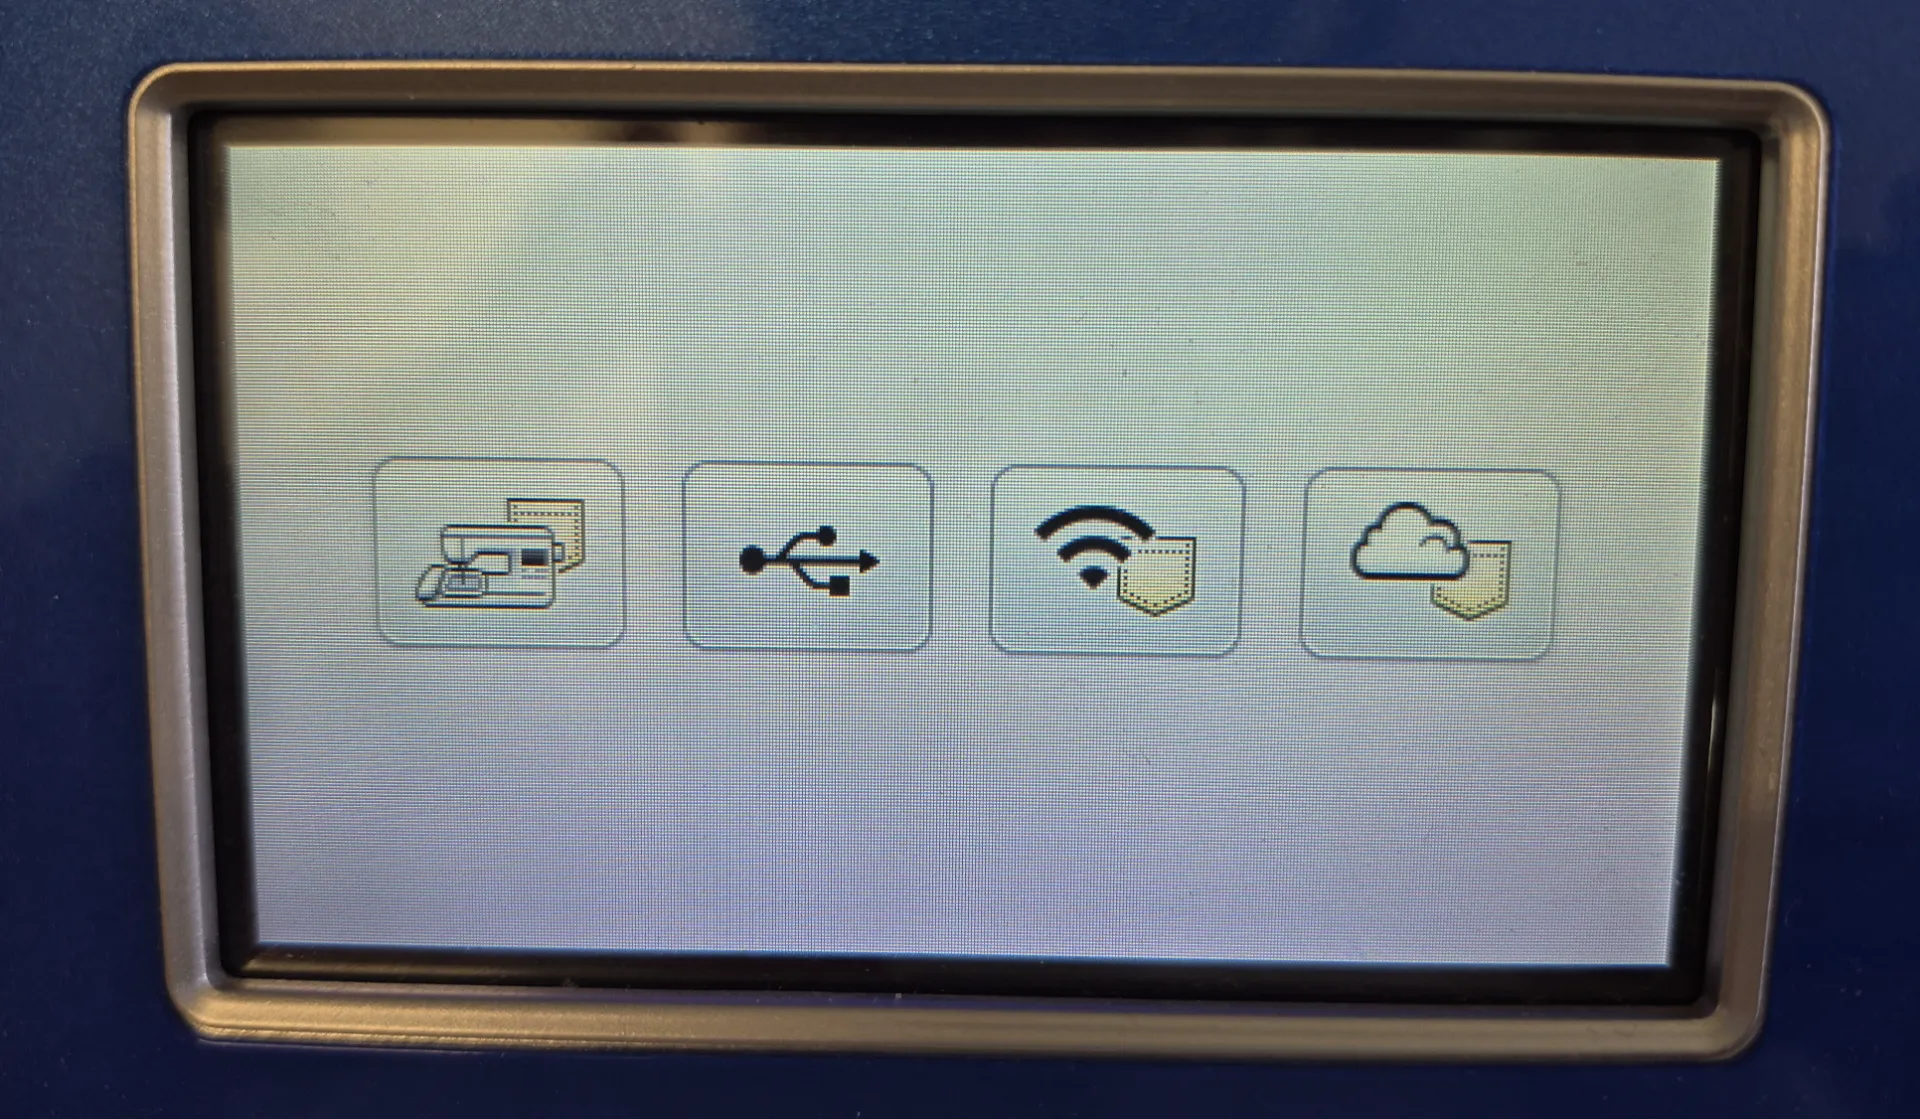
To load the file into the machine, I selected the pocket icon in the lower right corner of the home screen, then chose the USB memory option, selected the .pes file from the USB drive and loaded it into the machine.
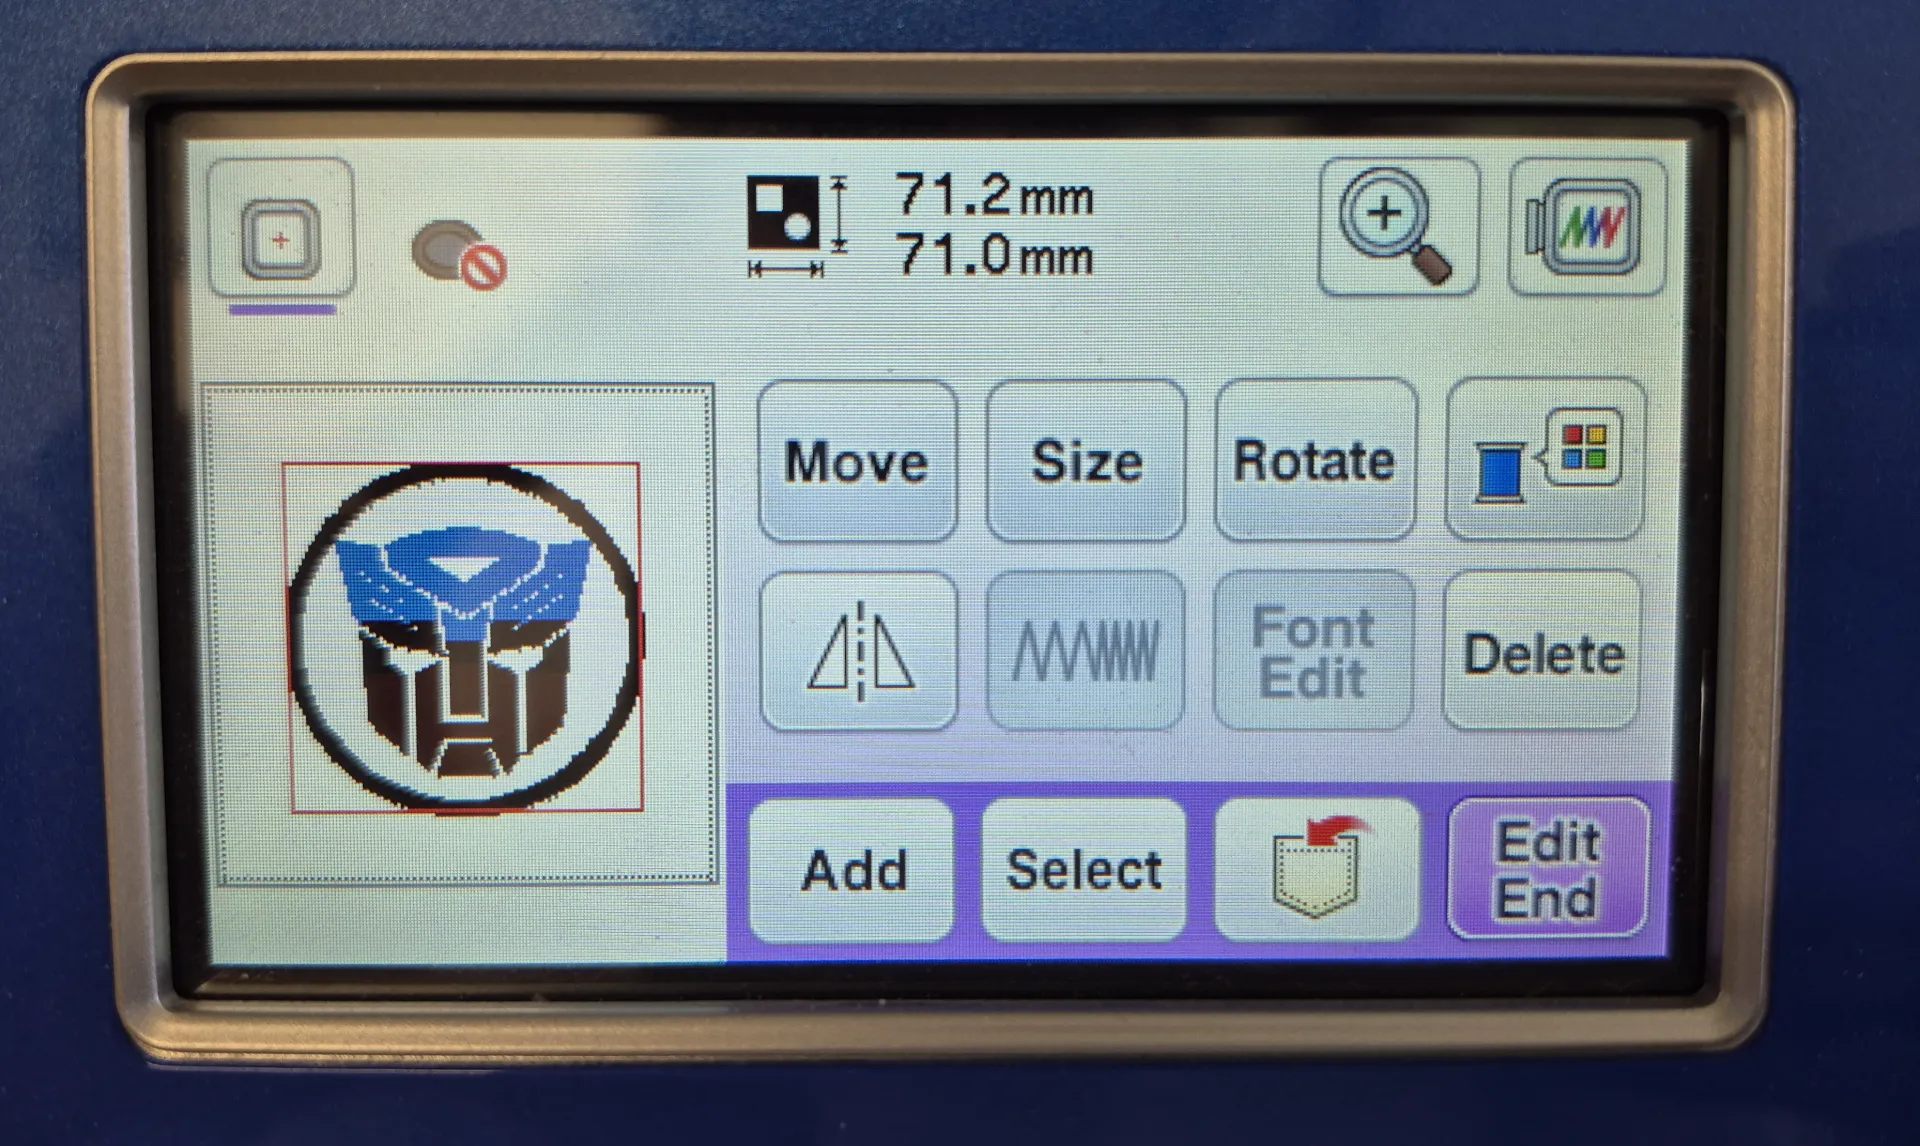
The file modification options opened, where I could change the size, embroidery position, rotation and other settings. I did not change anything and simply selected Edit End. Then a preview of the design was shown with arrows to move the needle and set the origin, and I did not move anything either.

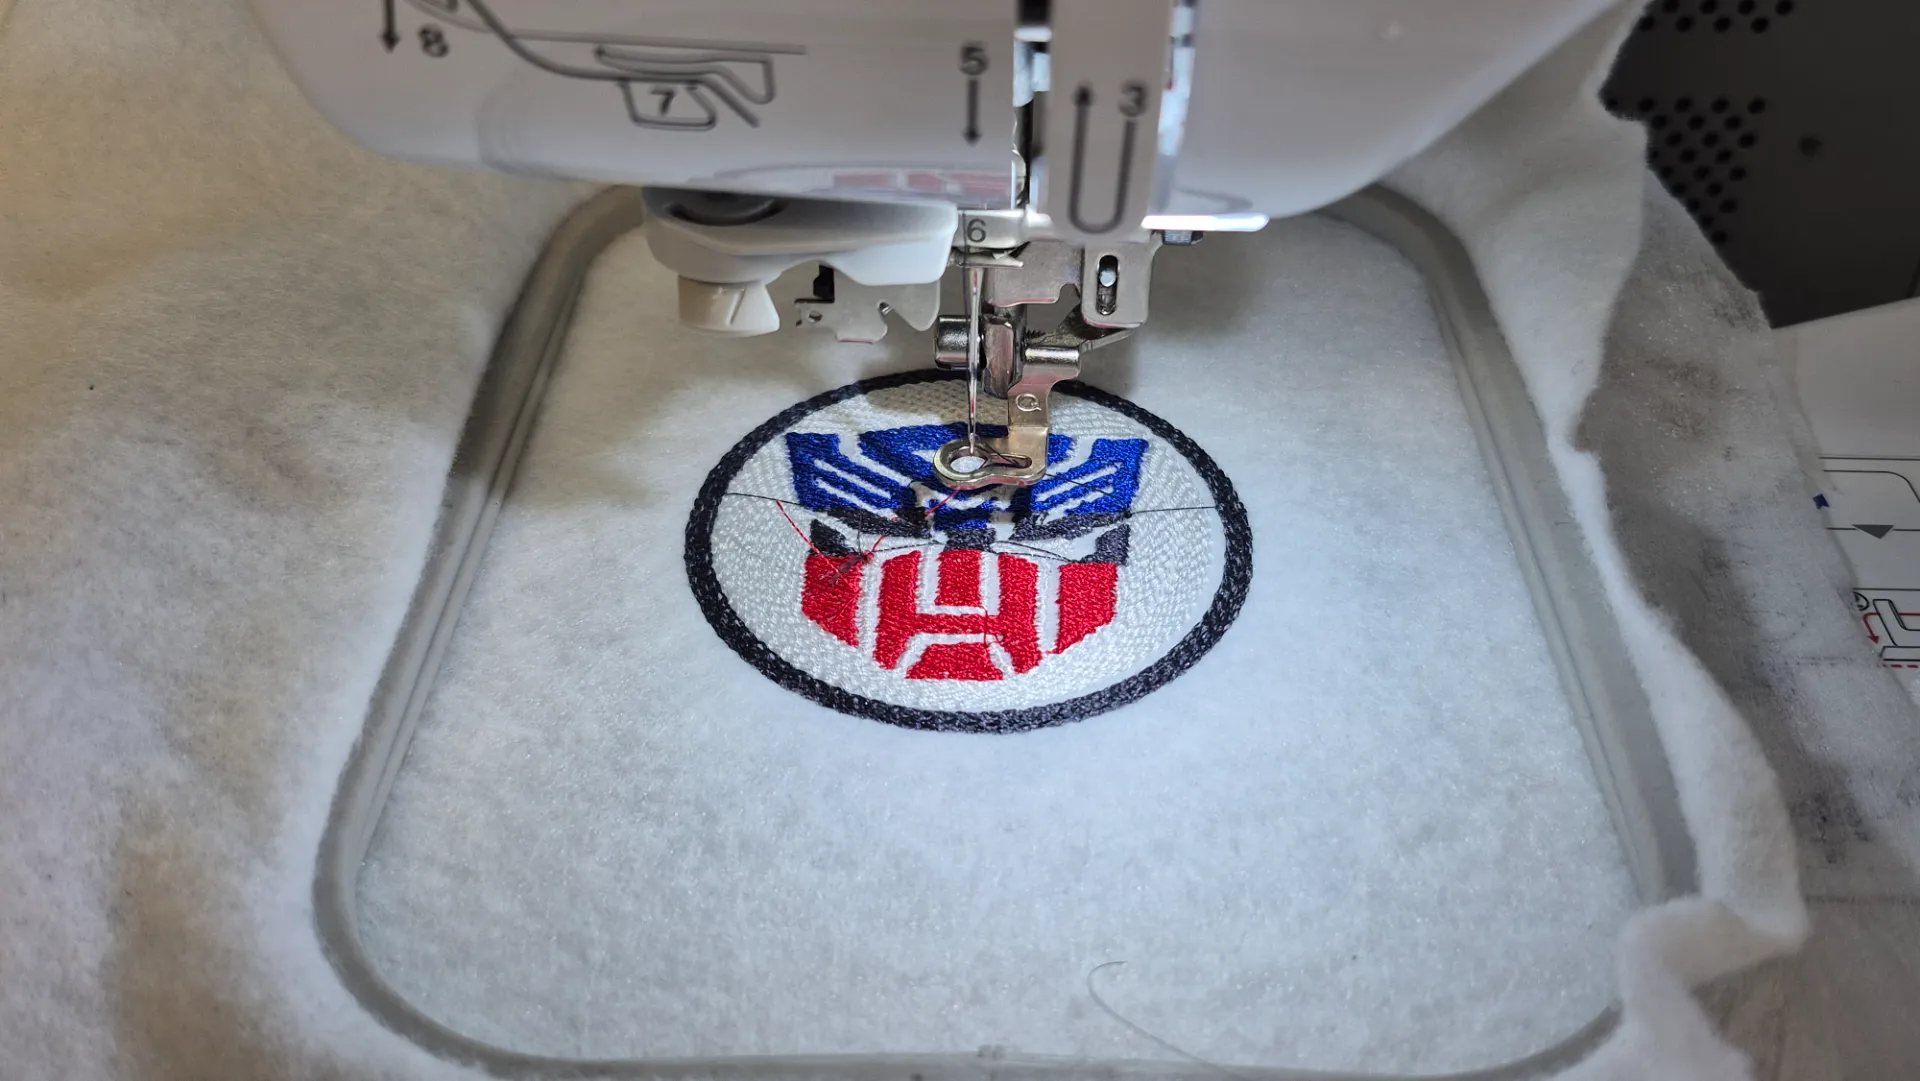
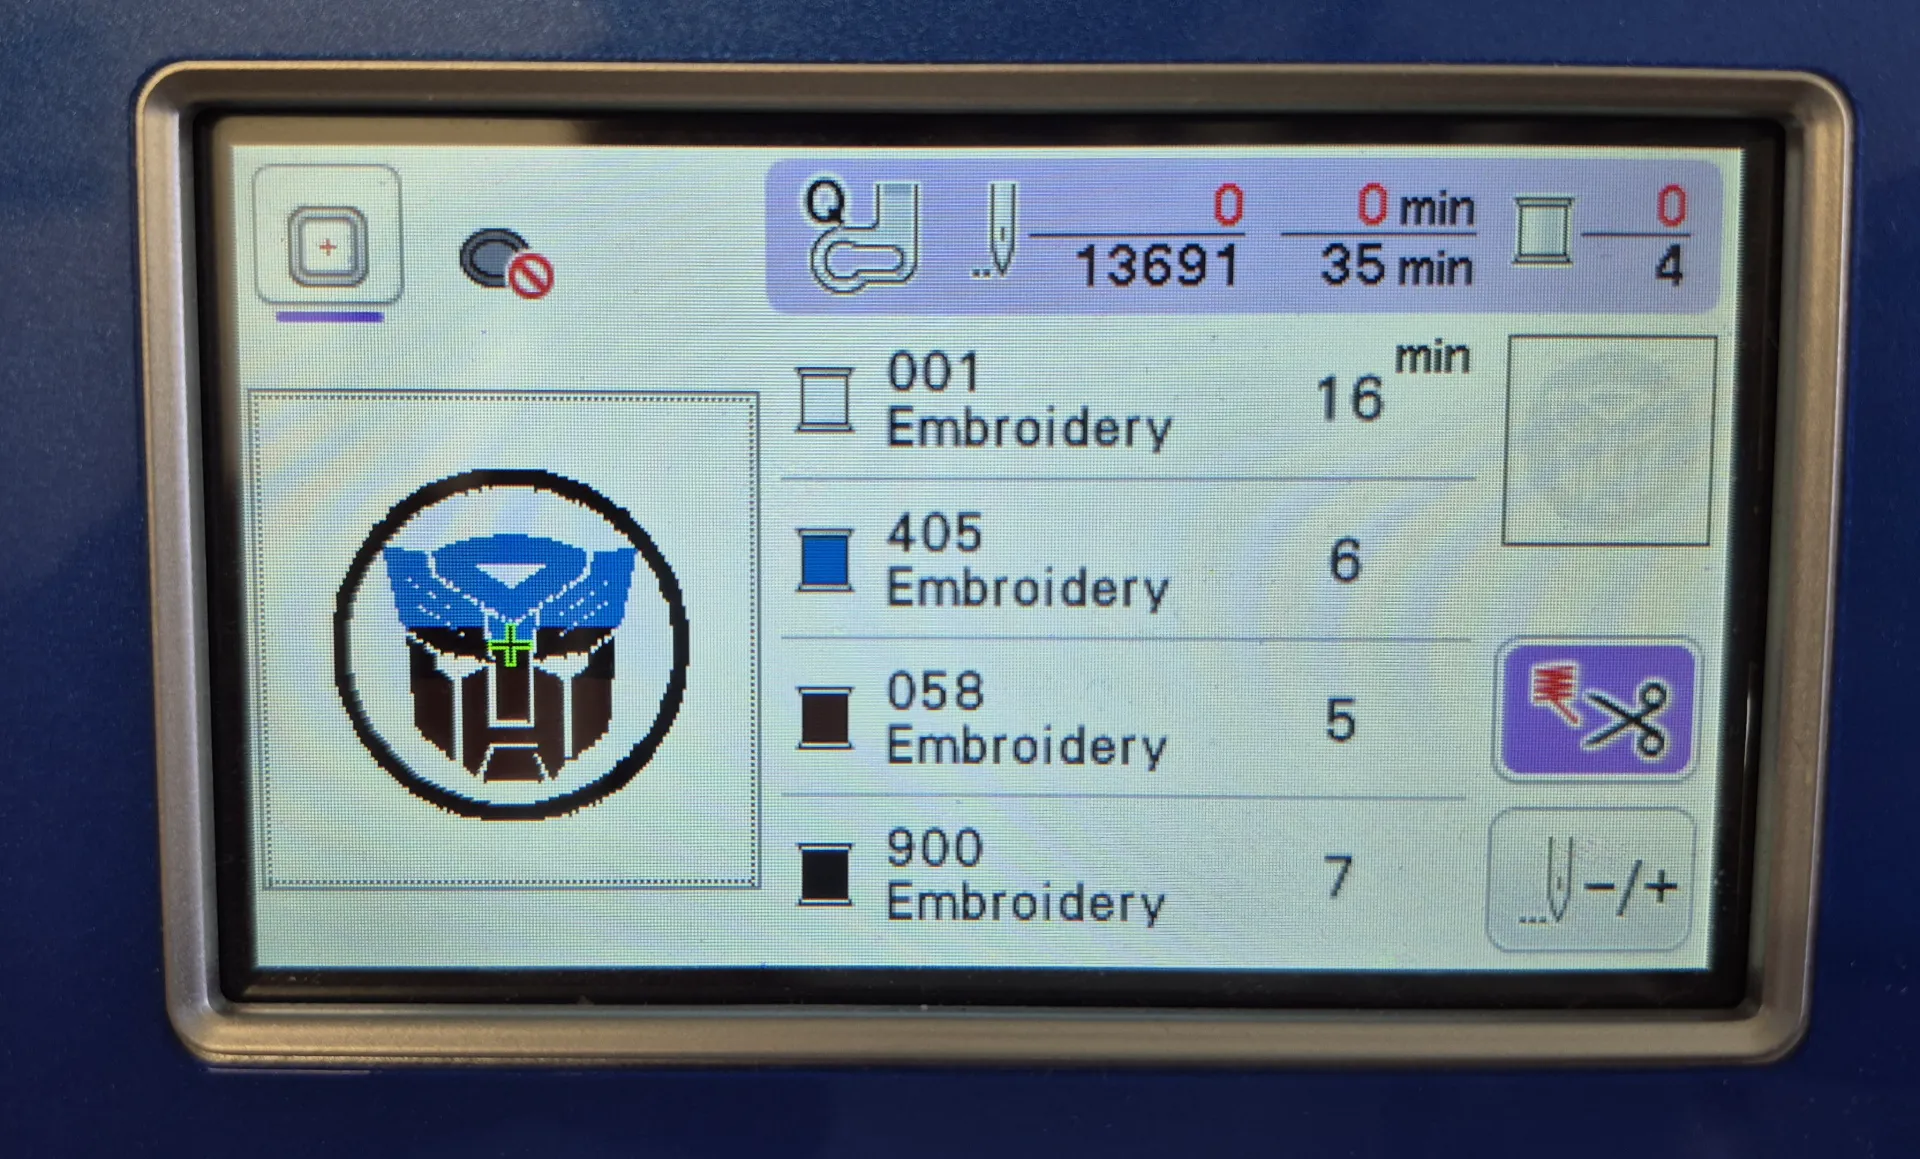
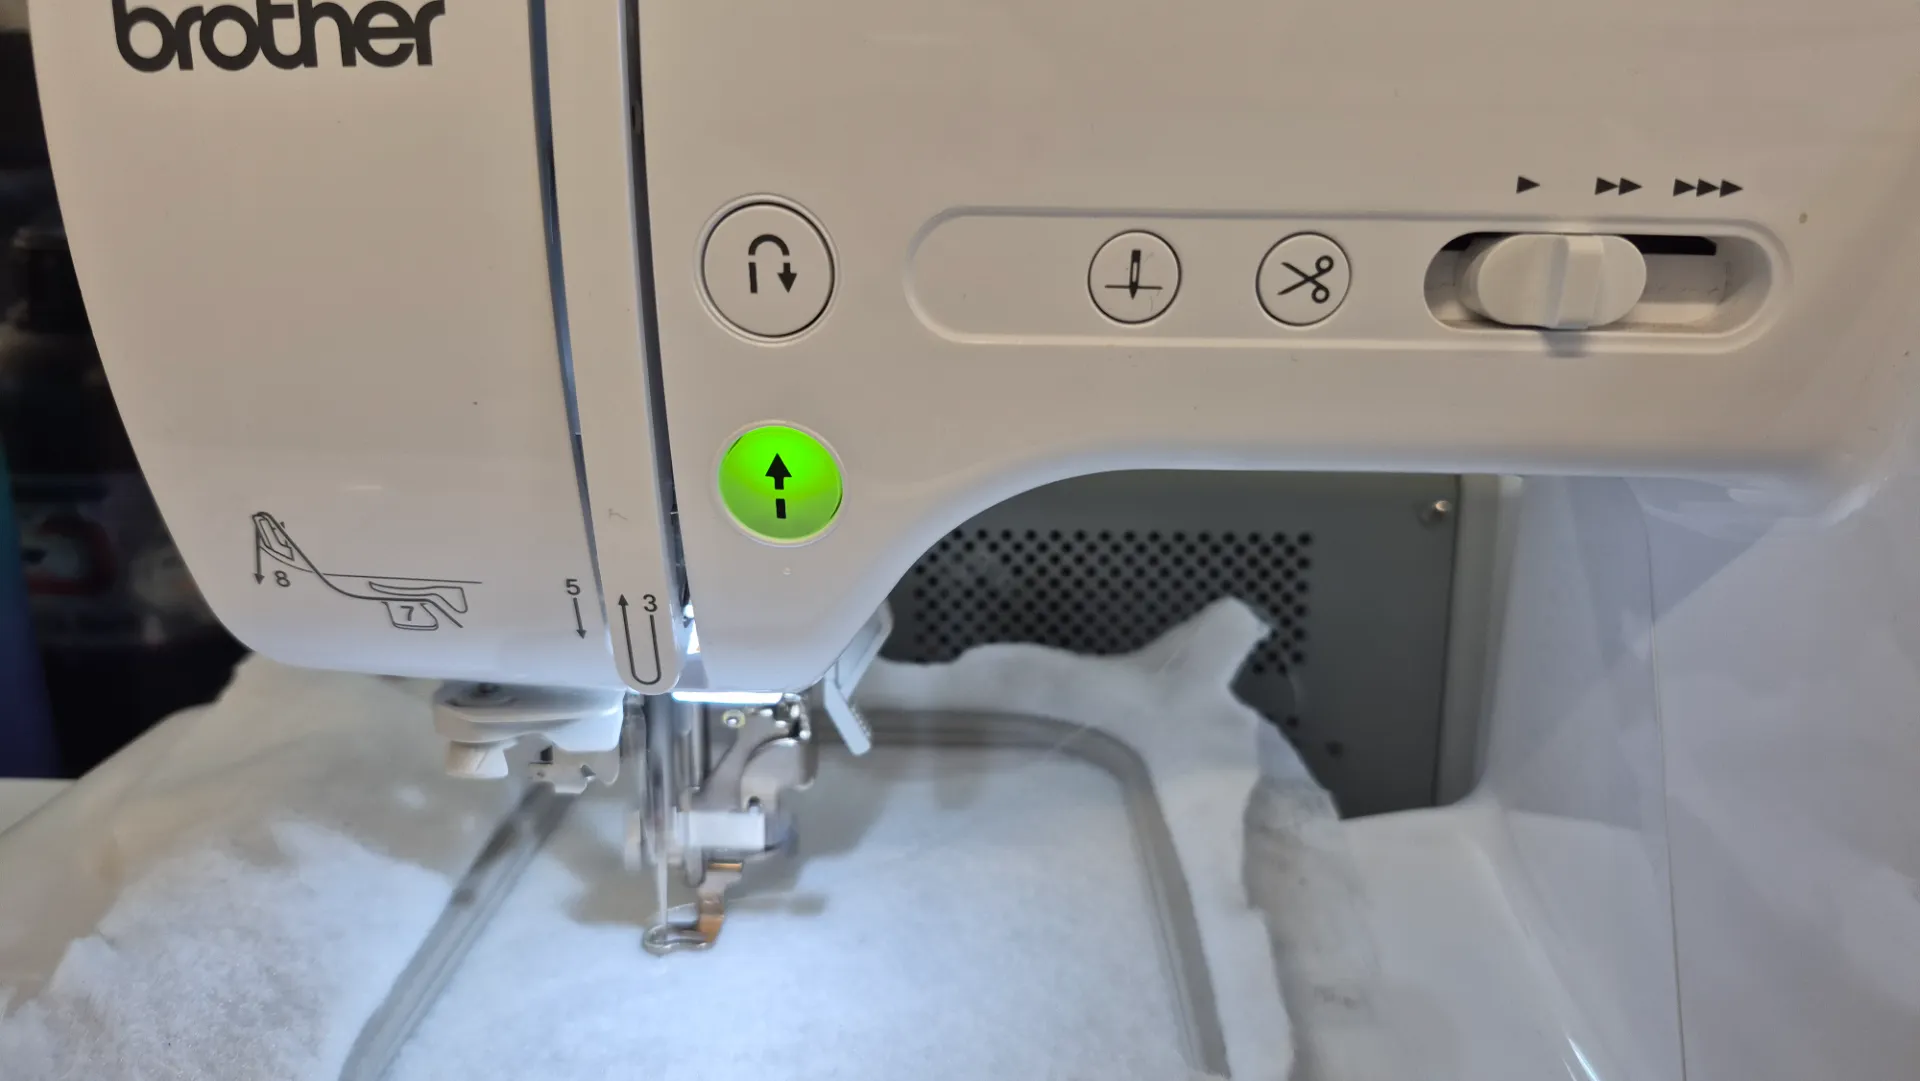
Finally, the machine showed the stitch count, thread colors and estimated time. To start the embroidery I pressed the start button, and the machine began embroidering the patch following the loaded design.
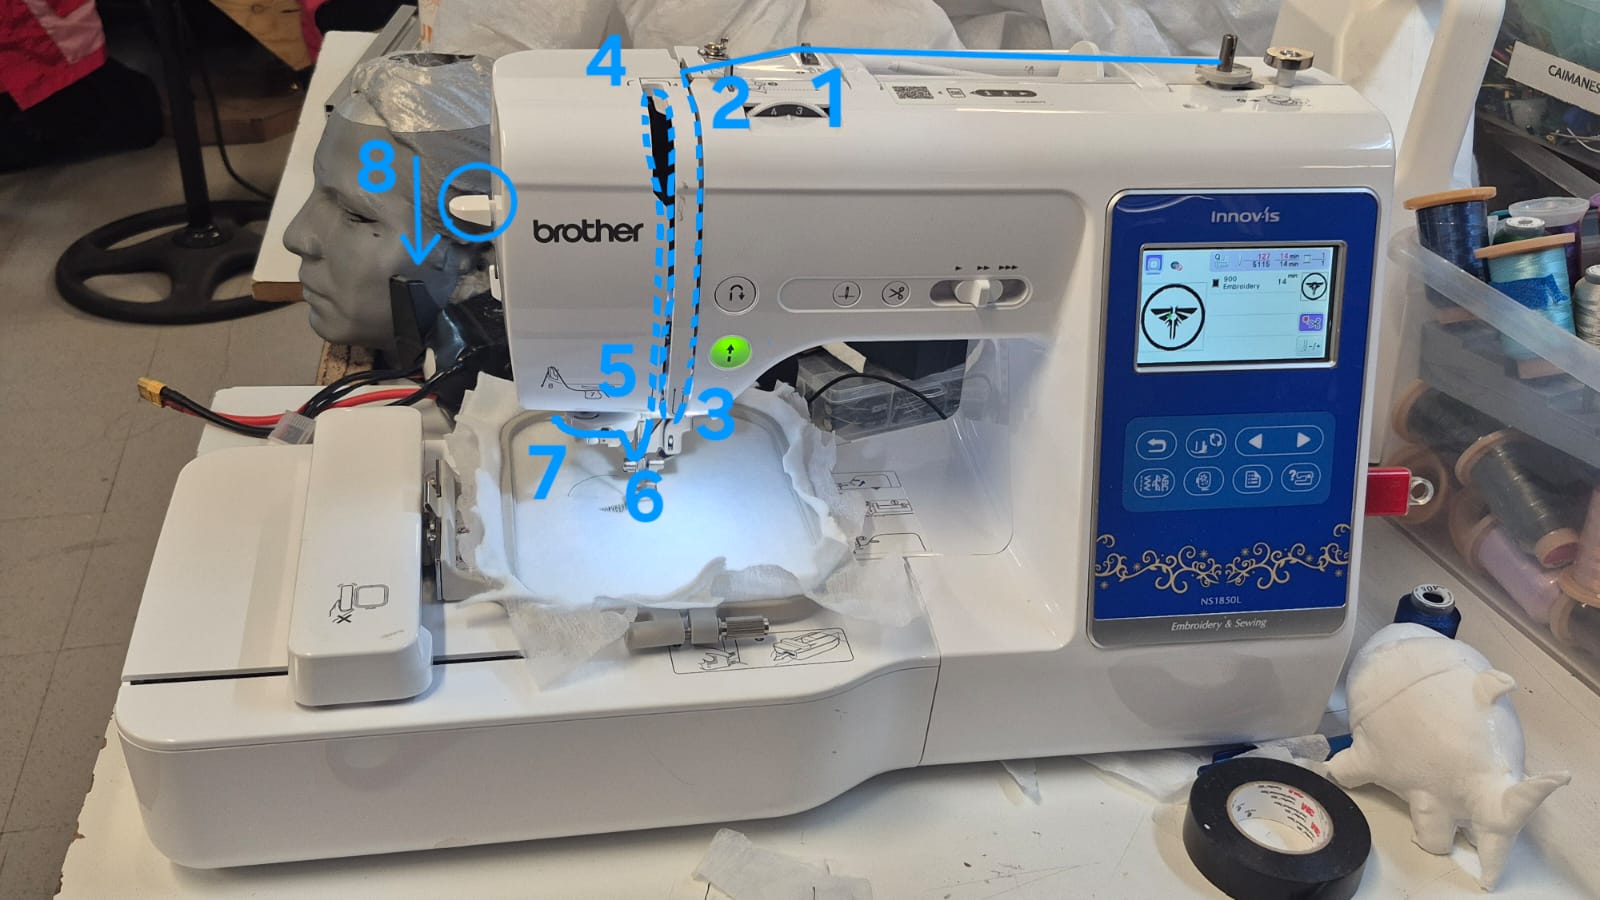
To spin the yarn on the machine, follow these steps:
Production Process
During the production process I noticed the machine was not cutting the threads, so I had to do it manually before the next stitch passed over the residual thread. Outside of that situation, the result was as expected.
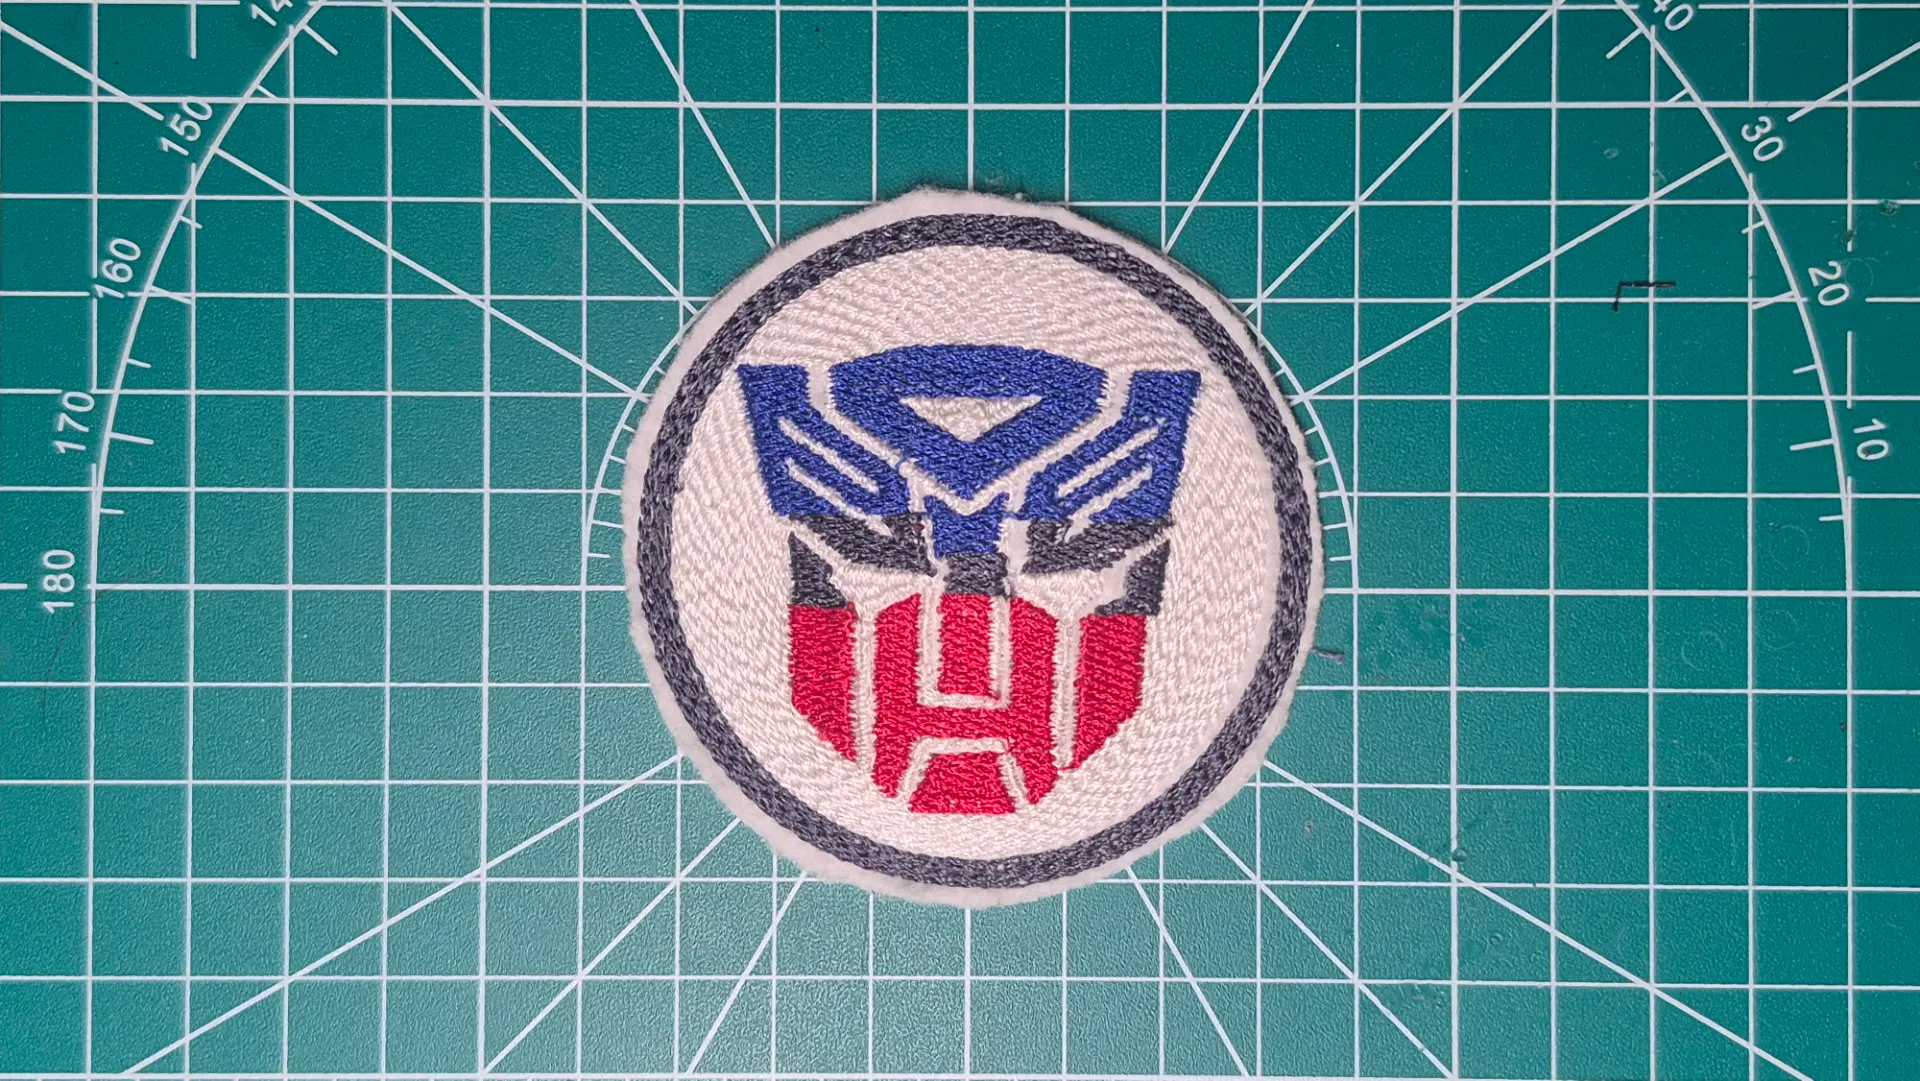
Final Result