Software Comparison – Wheel and Chassis Design
3D modeling process using Fusion 360 and Onshape
Wheel Design in Fusion 360
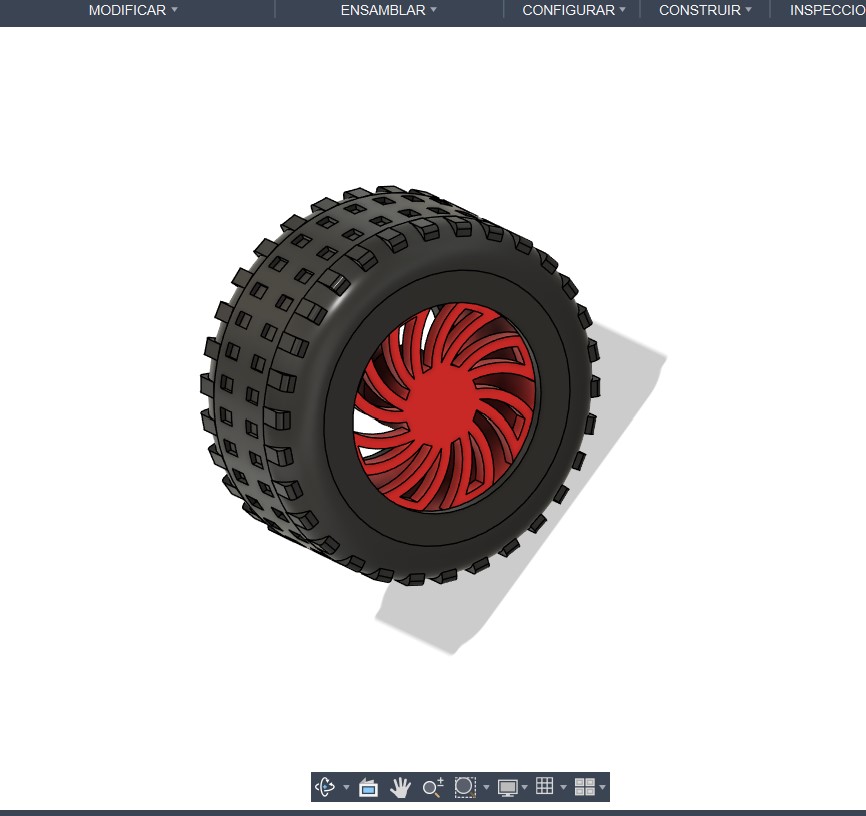
To compare the software, I designed a wheel that could possibly be part of my final project. I started the design in Fusion 360 by creating a 2D sketch, where I modeled part of the rim.
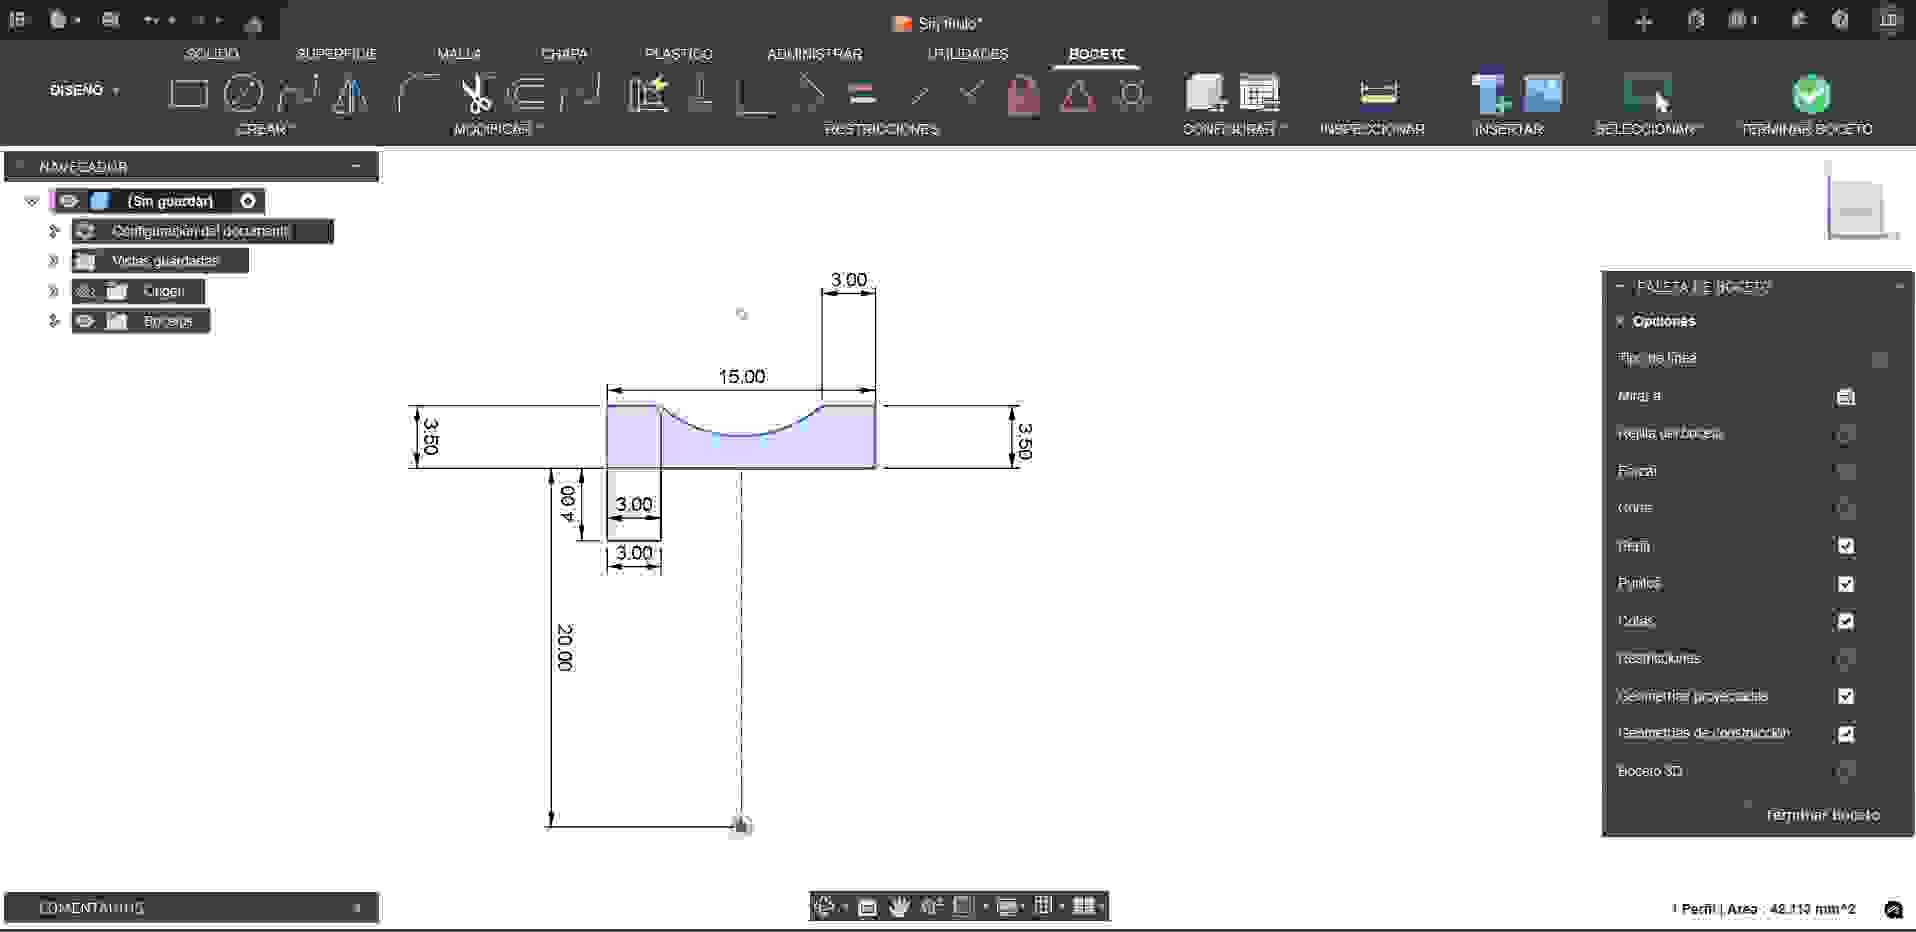
Initial 2D sketch of the rim.
Using the revolution tool to create the wheel shape.
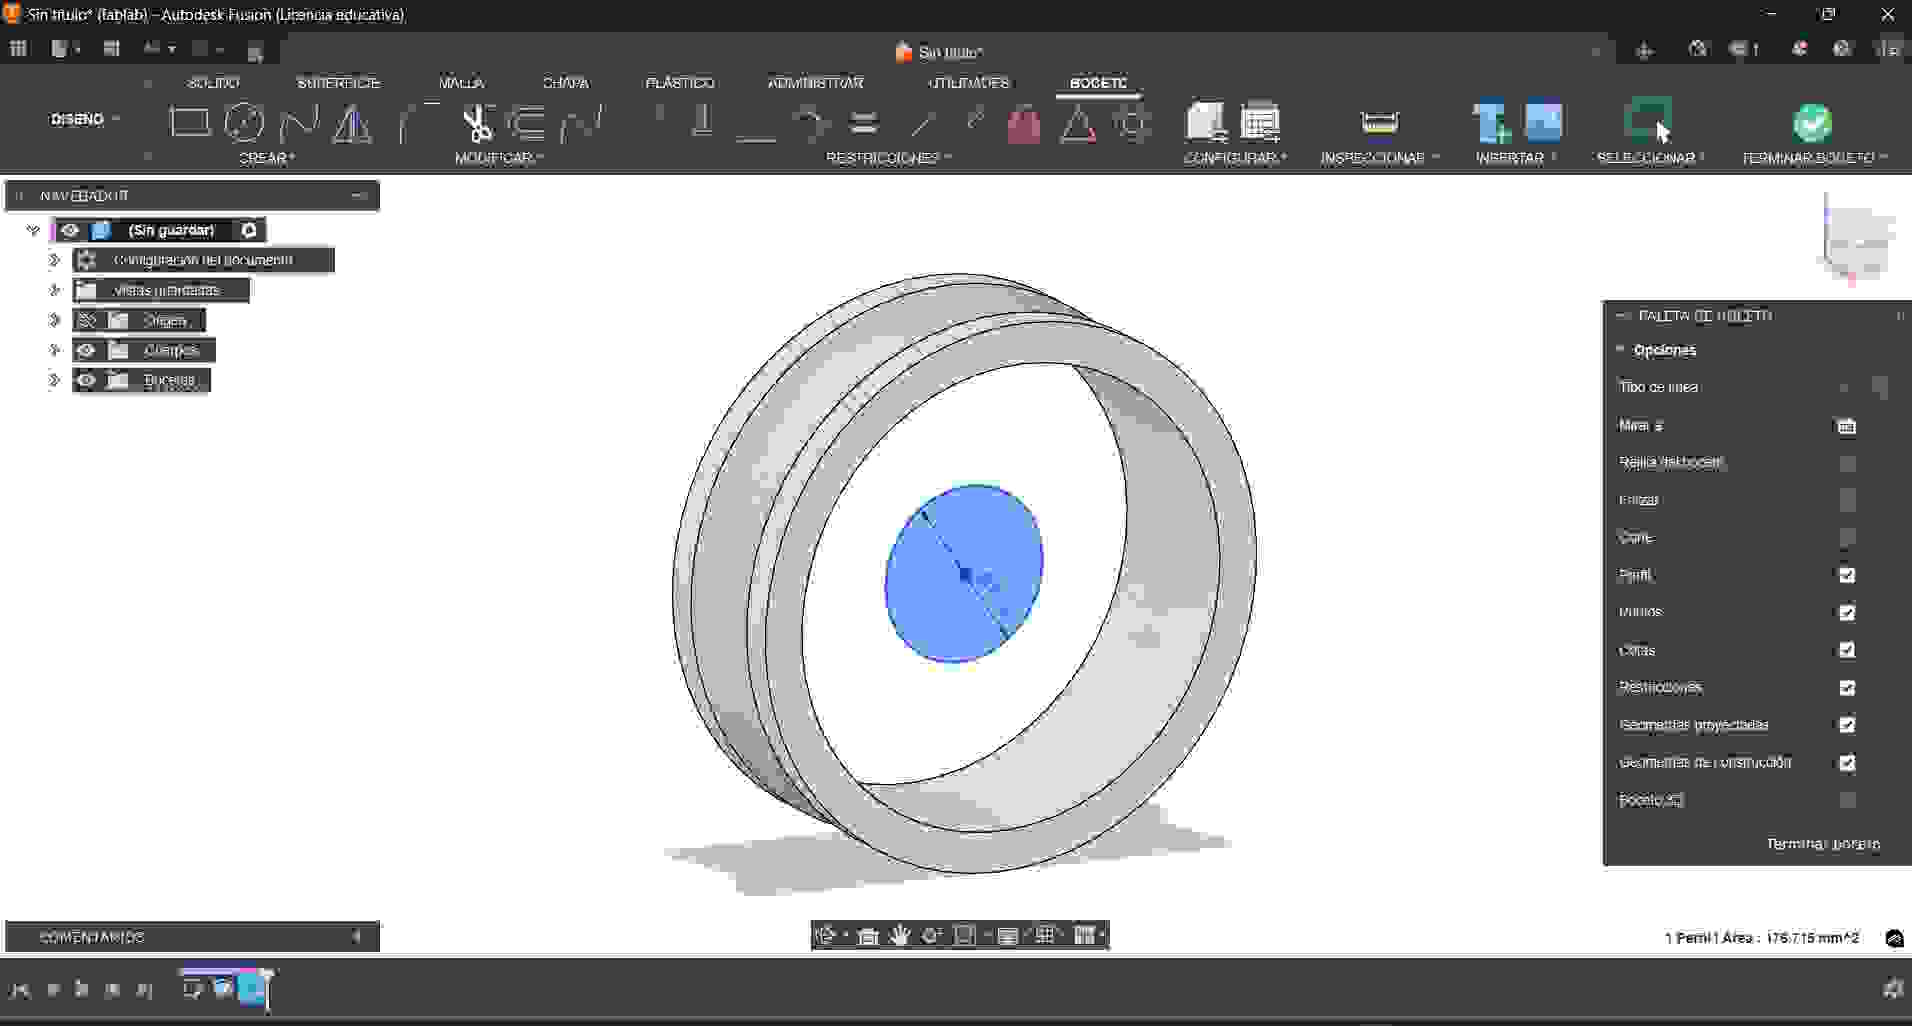
At this stage, I needed to complete the rim. To do this, I created a new 2D sketch on the front face of the model. I tried a different rim design, but it did not work well, so I decided to use a more common design.
Honestly, I was not sure about the rim design at first, so I eventually changed my mind and created a more common design.
This time, I made a simpler design, and the result is shown below.
At this point, I only needed to design the tire. To complete the 3D wheel model, I created another 2D sketch based on the existing rim.
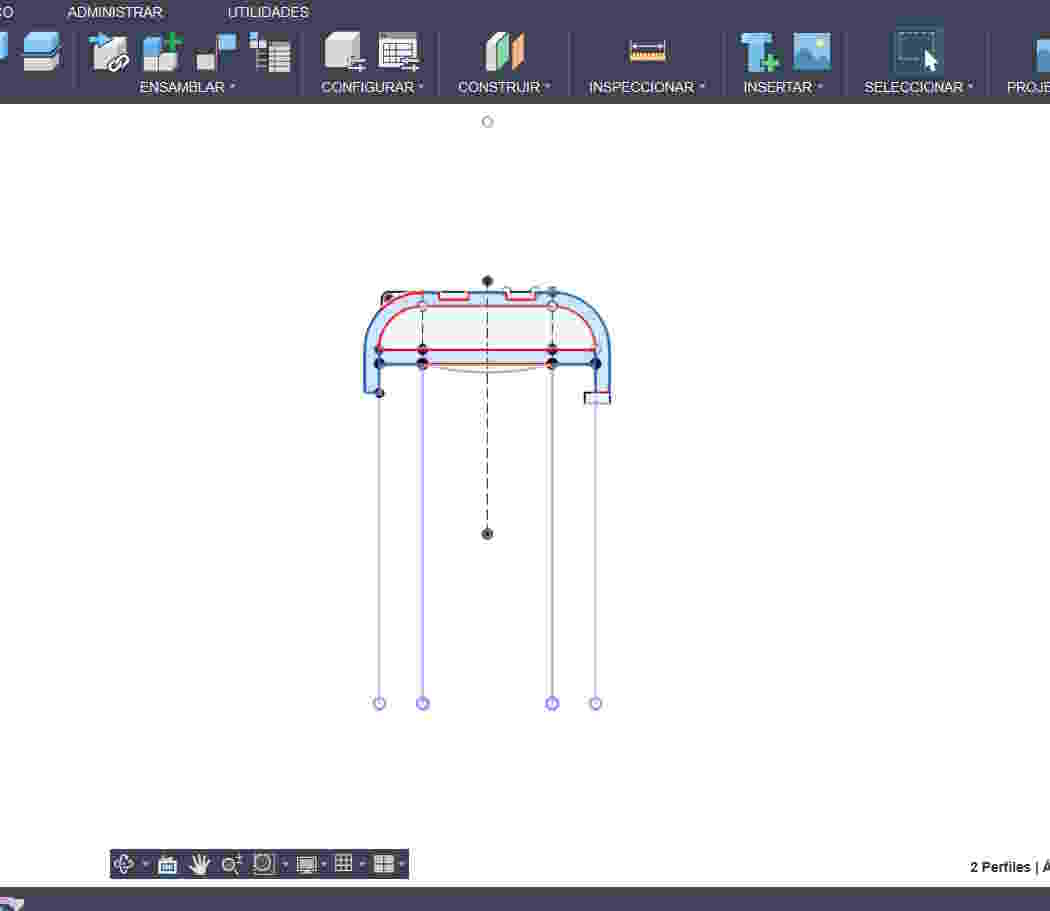
Tire sketch
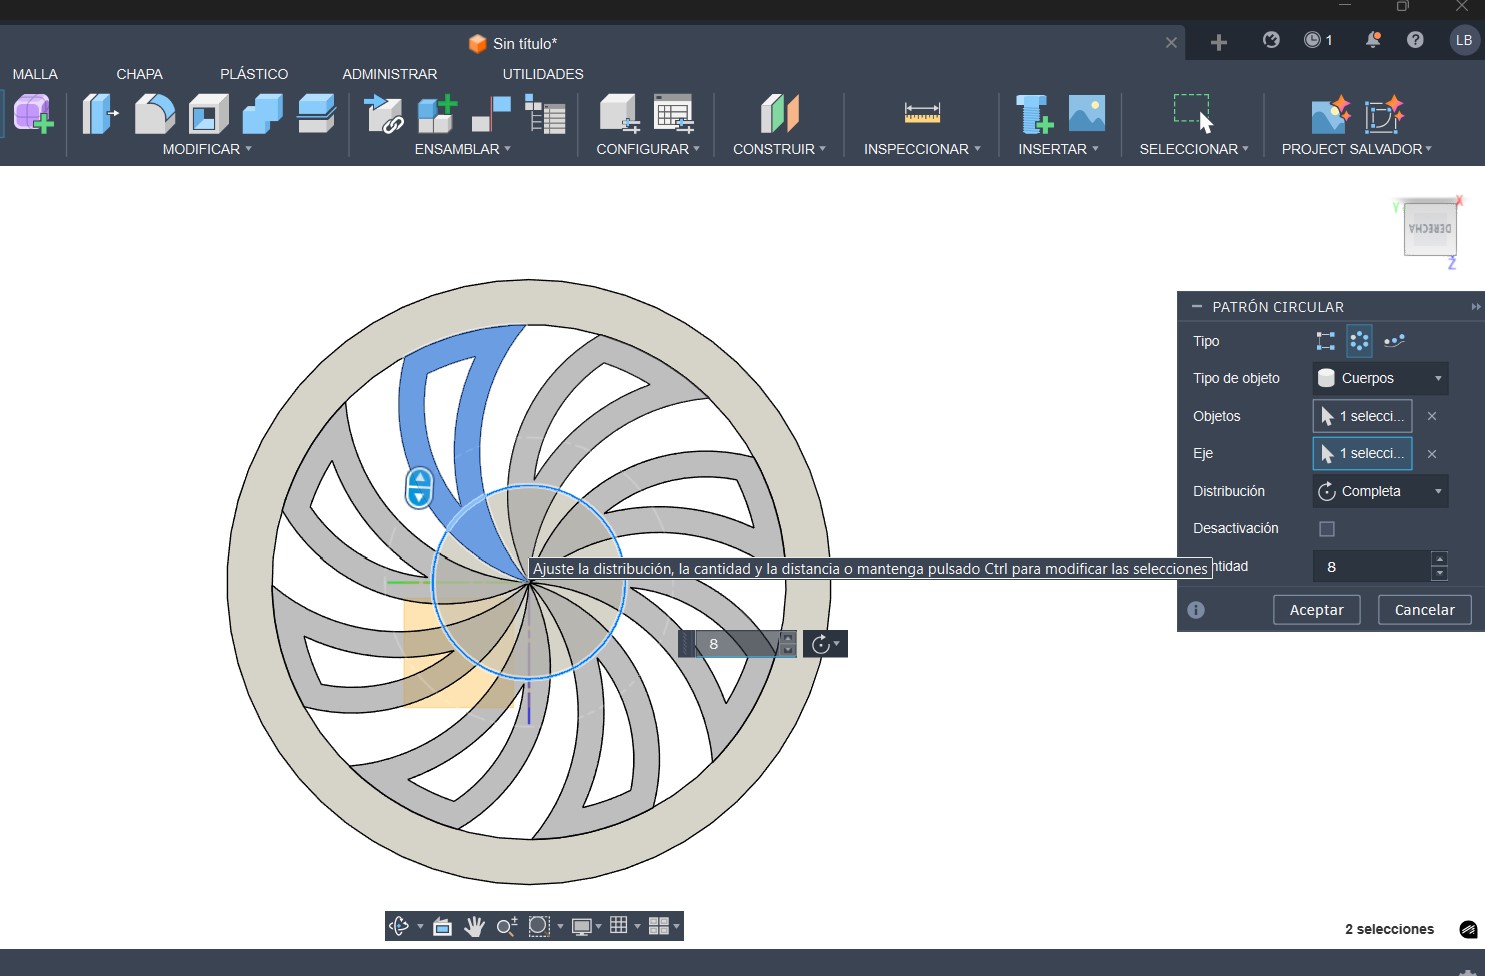
Once the tire profile was completed, I used the revolution tool to create the 3D shape.
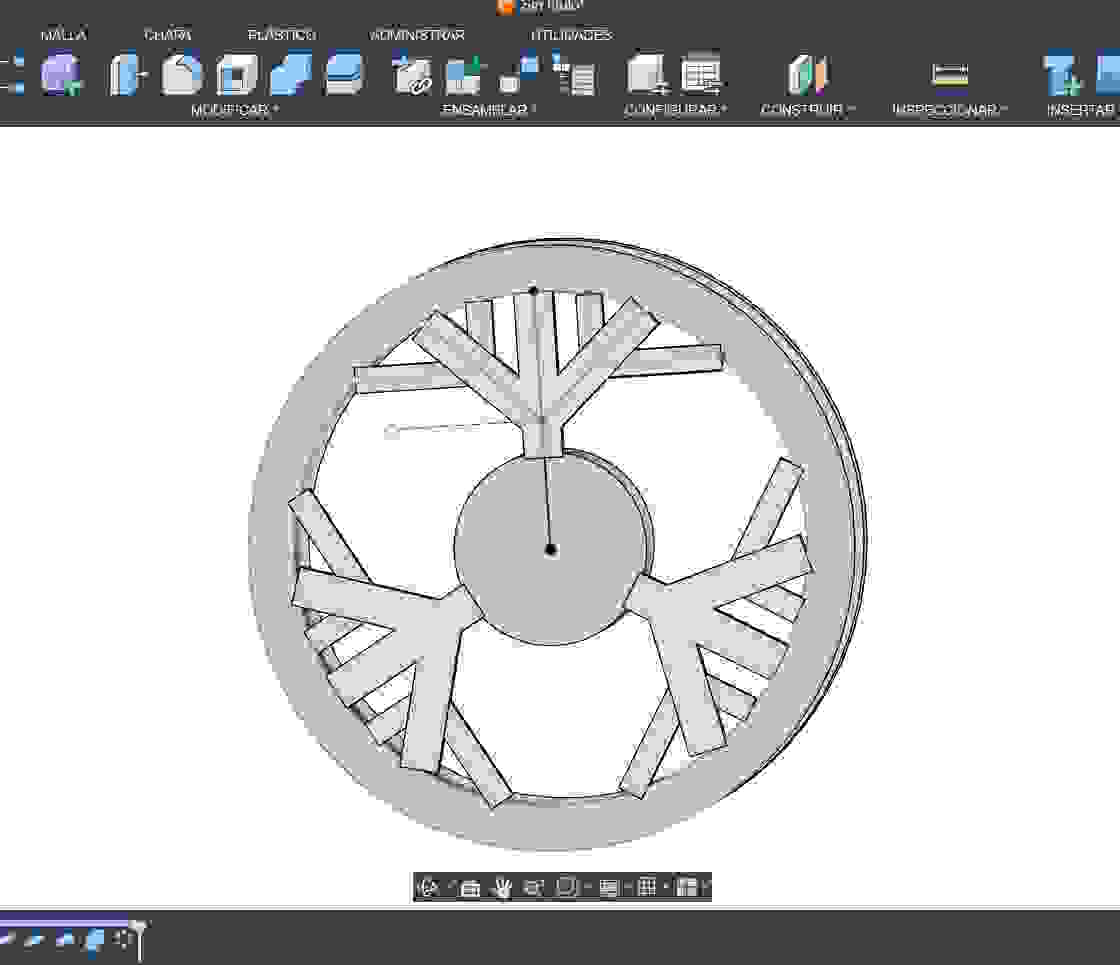
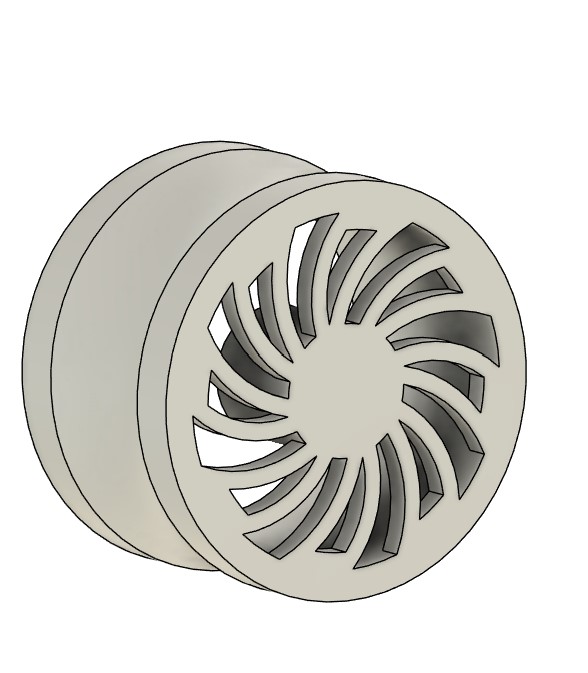
Final rim design.
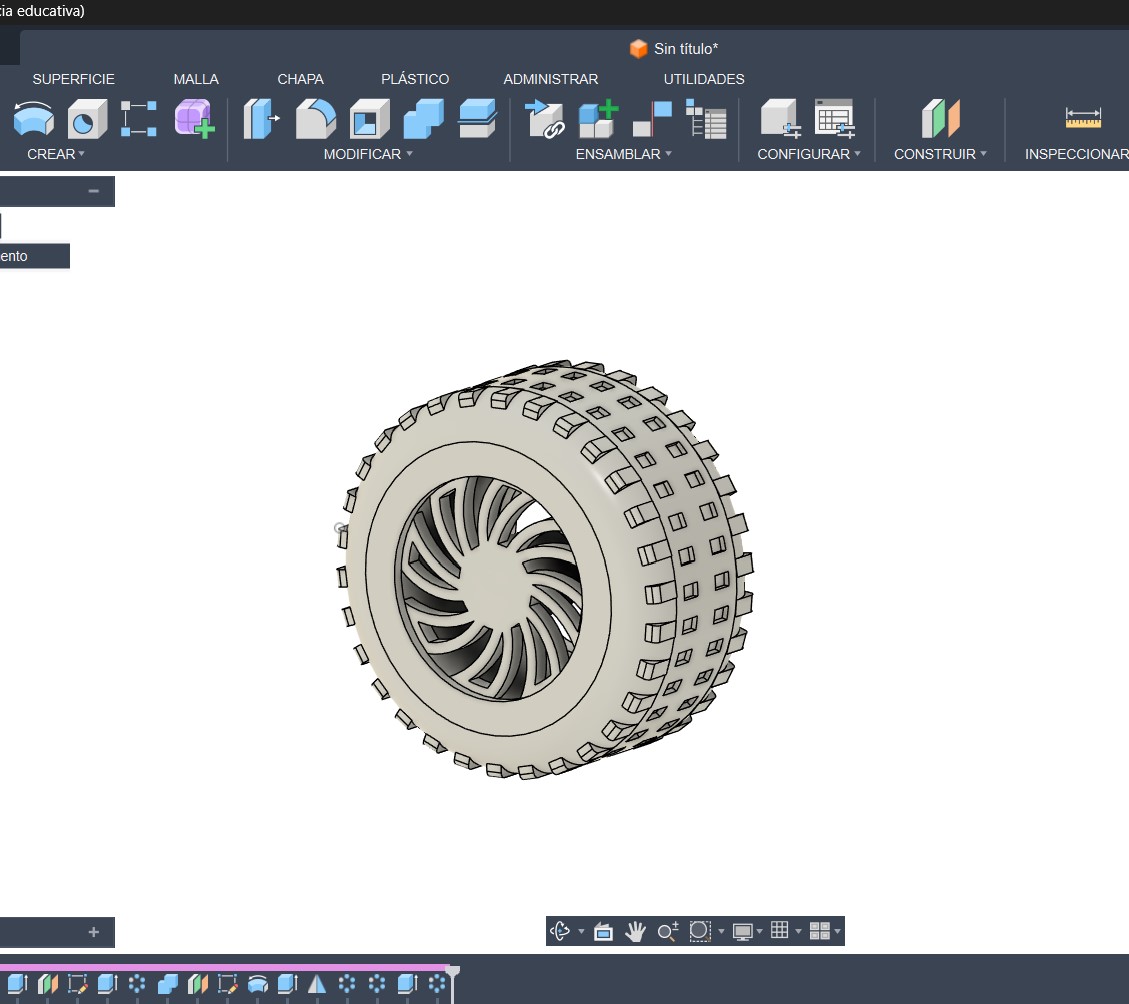
Final result: 3D wheel model.
Modeling a Part in Onshape
Using Onshape, I modeled a part of the chassis for my possible final project. To start, I watched a tutorial video that helped me understand the basic workflow.
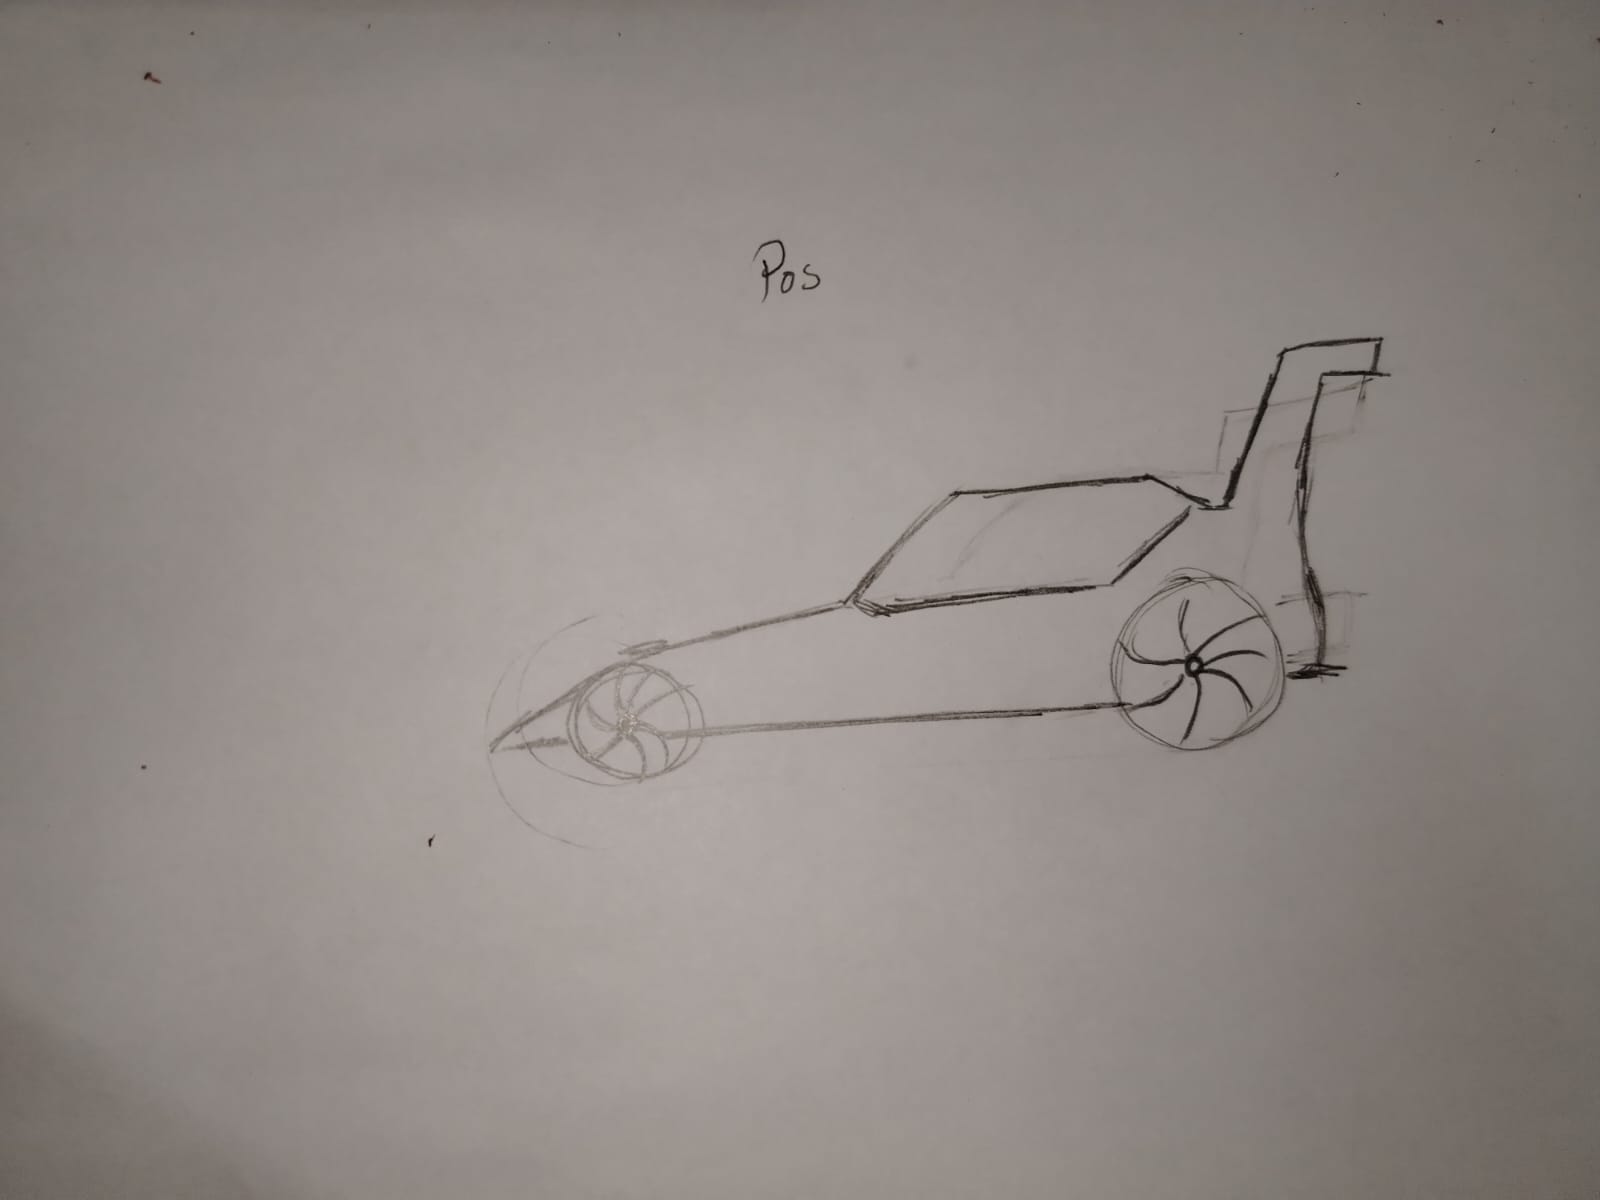
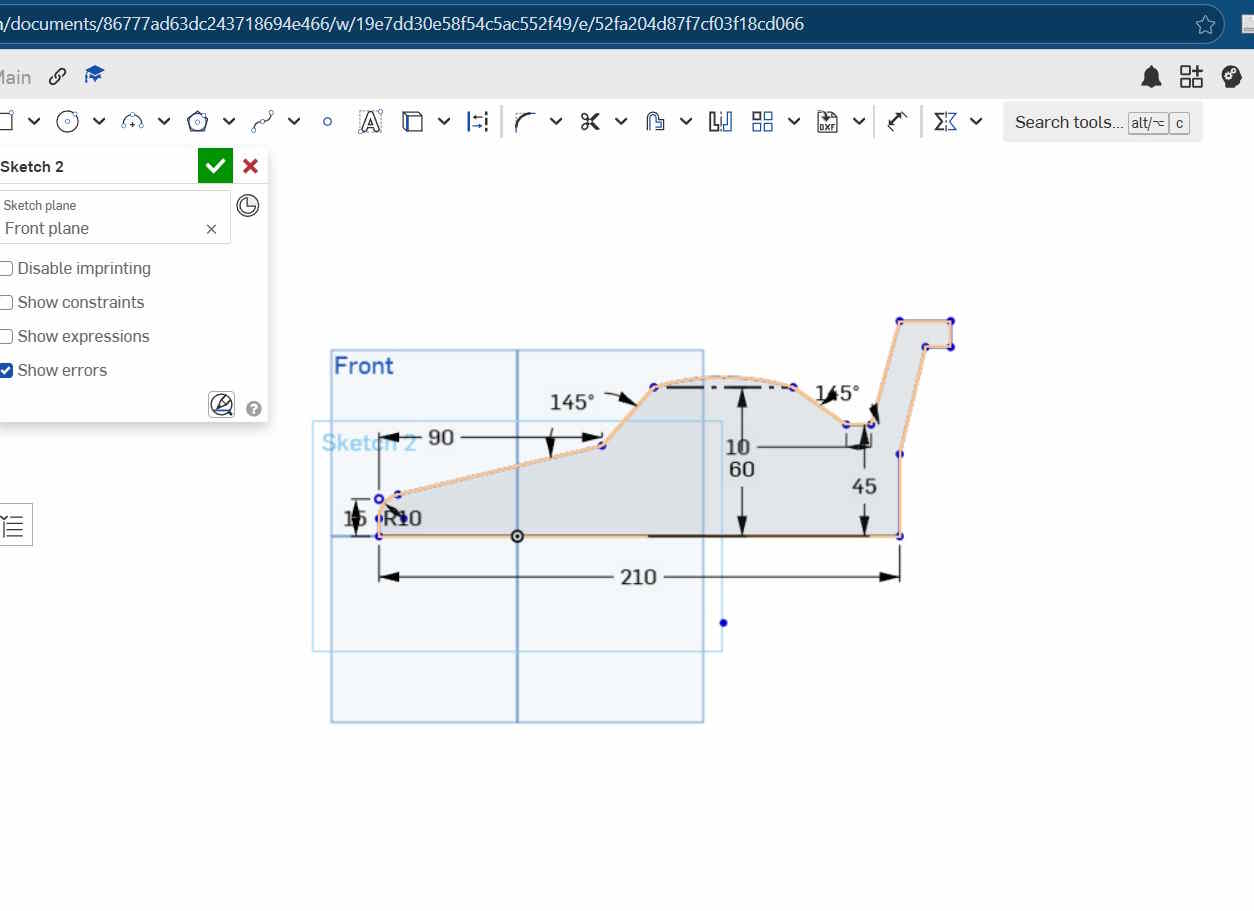
Watch TutorialSince I did not have a clear idea of how the car chassis would look, I first created a hand sketch on paper. After that, I started designing the 3D model in Onshape by adding dimensions and shape.
Once the sketch was ready, I extruded the profile using a symmetric extrusion. Then, I defined the wheel positions, giving them size and volume as shown below.
Initial hand sketch of the chassis.
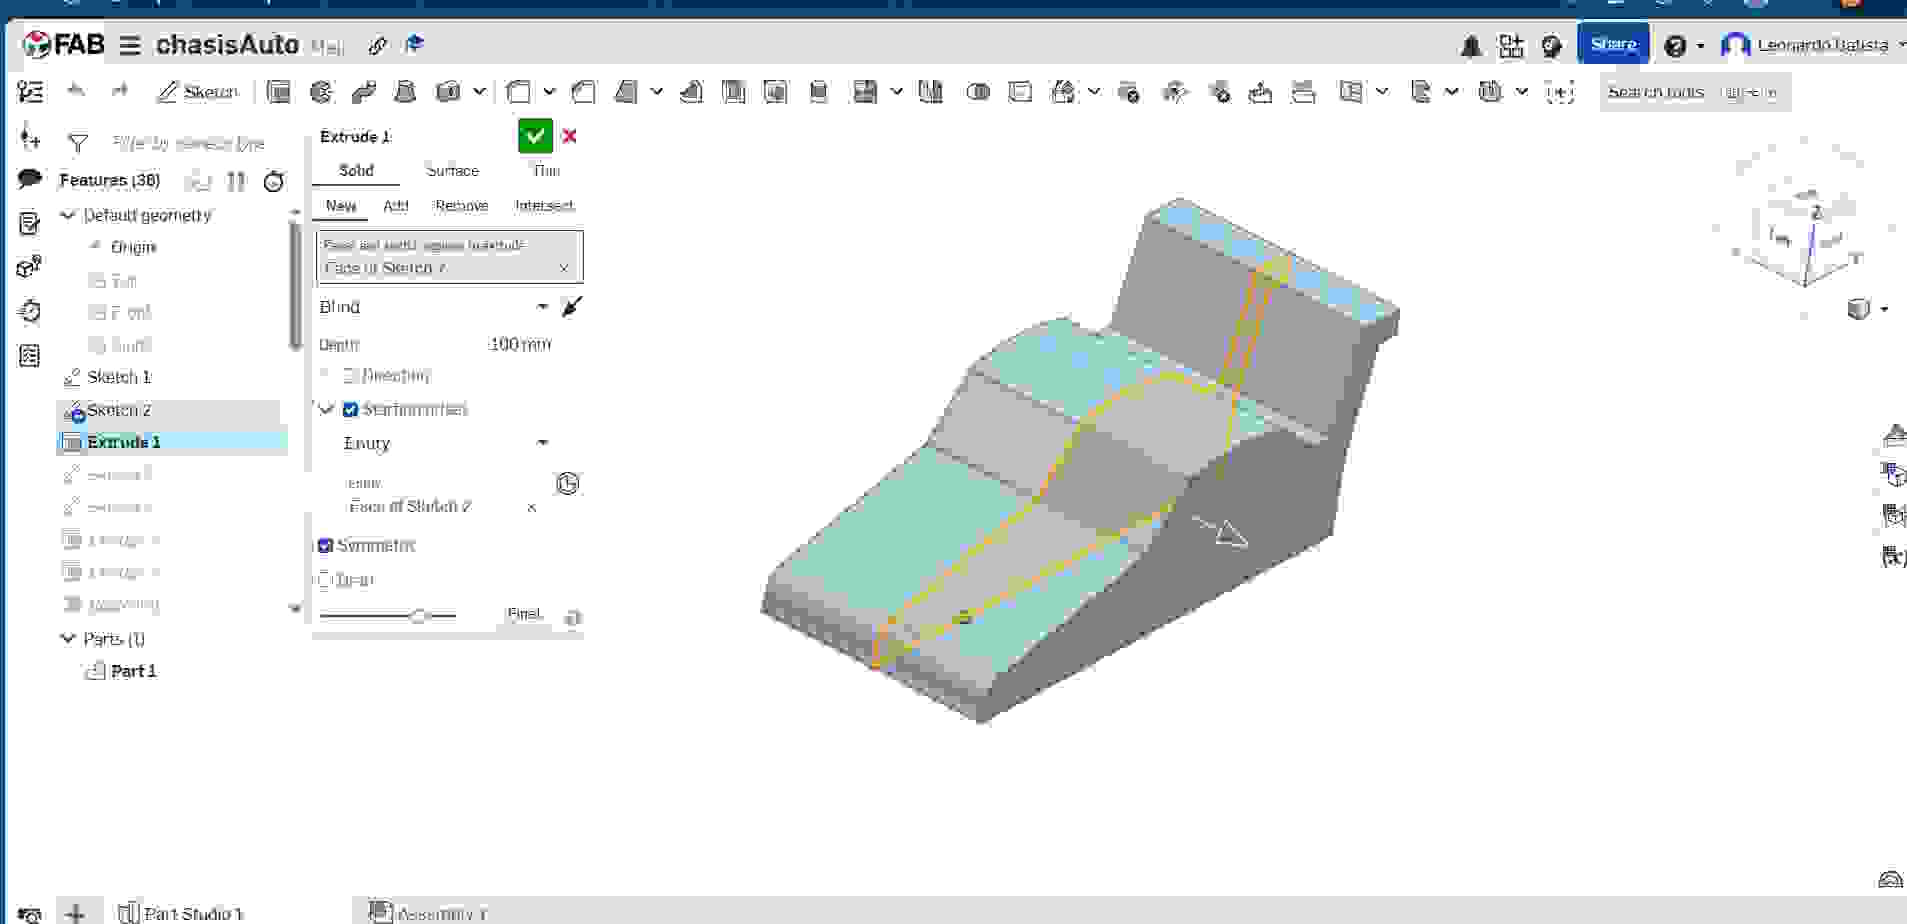
Symmetric extrusion of the sketch profile.
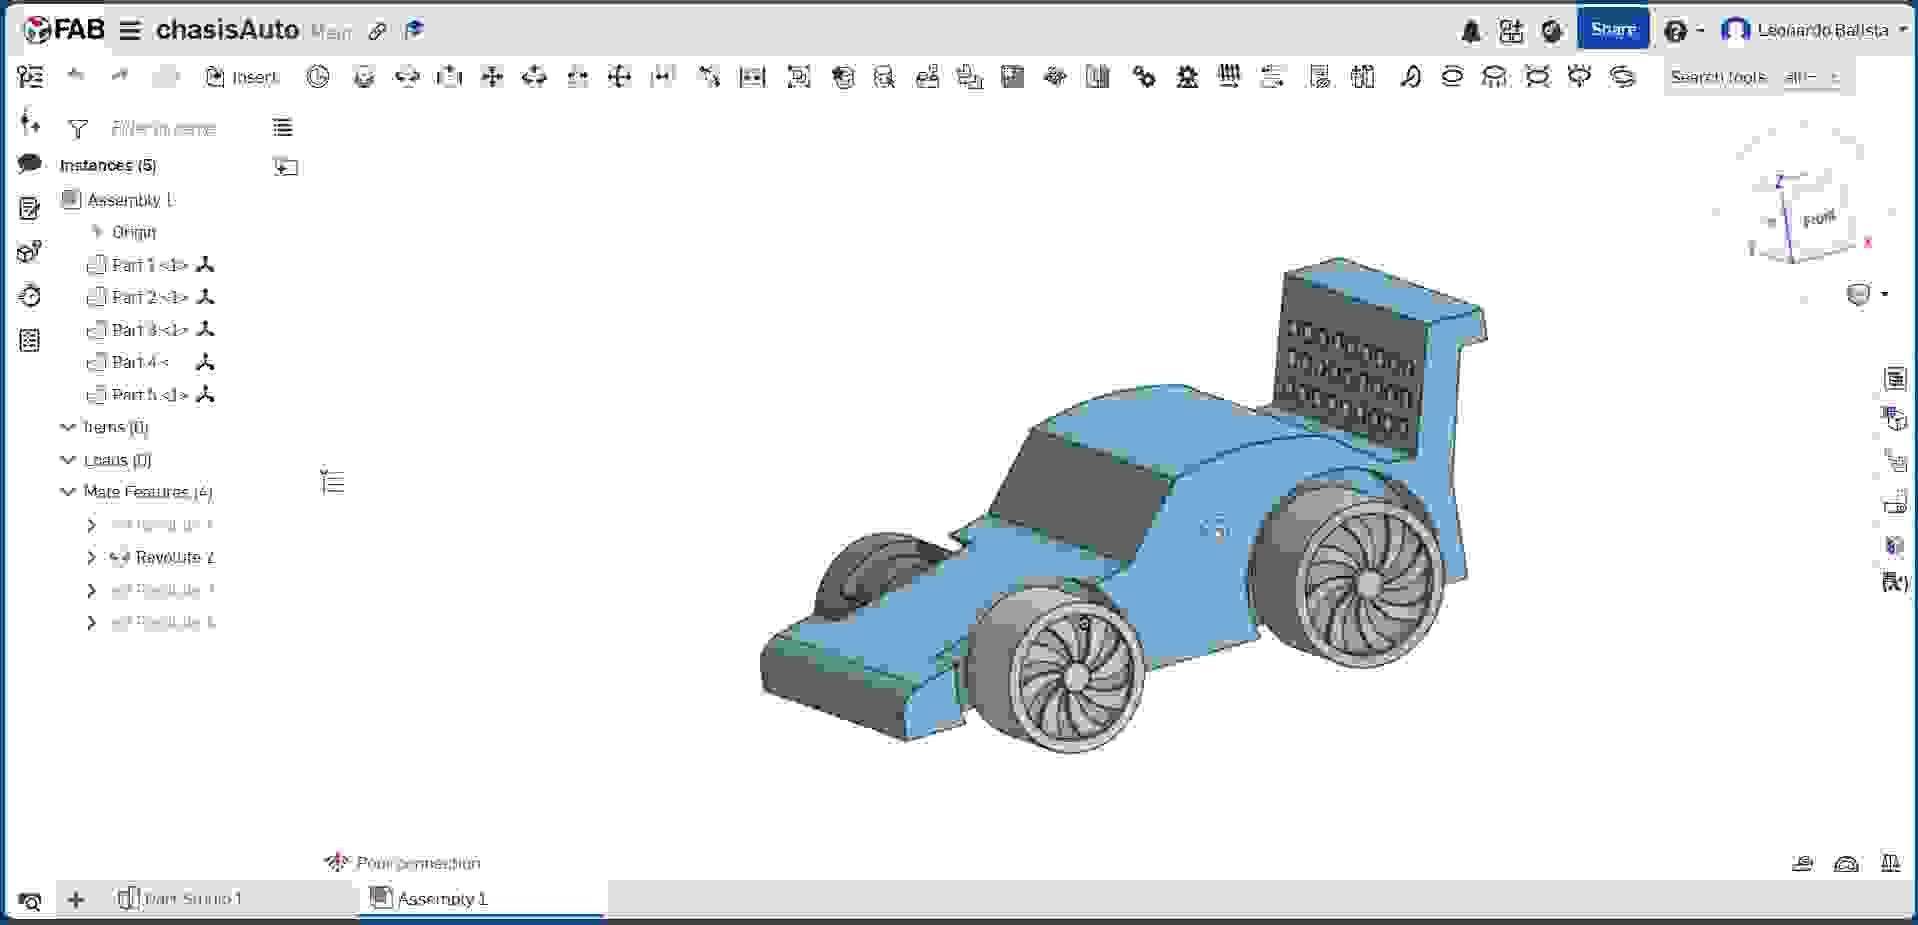
Final chassis design with wheel positions.
3D Design Software Comparison: Fusion 360 vs Onshape
| Fusion 360 | Onshape |
|---|---|
It is not online. |
It is completely cloud-based. |
Uses computer resources. |
Since it runs online, it does not consume local resources. |
The interface is very friendly and keeps the most useful tools visible. |
The interface is clean and intuitive. |
Includes CNC machining, rendering, animation, drawings, and electronics tools. |
The component assembly section is very easy to use. |
Allows rendering. |
Has animation, but does not allow downloads. |
Allows adding materials to designs. |
I did not find a similar feature while using it. |
Requires at least a student license. |
Offers free usage, although it also has a professional plan. |
Both programs are good, and I honestly liked both. For my first time working with Onshape, the experience was quite positive.
Downloads
Here you can download my dising file
Software 2D Image Vectorization
2D modeling process using adobe ilustrator
During the 2D modeling process, I vectorized an atom image using Adobe Illustrator. First, I opened the program and imported the atom image. Once the image was loaded, I resized it to the desired dimensions.
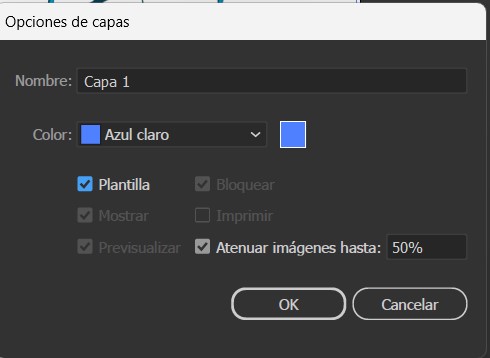
After opening and loading the file to be vectorized, it is important to understand that JPEG or PNG images are composed of an ordered set of pixels. The more pixels an image has, the more detail it contains. In contrast, vector images are graphic representations generated internally through mathematical equations. When working in Adobe Illustrator or Inkscape, designs are organized using layers. The vectorization process is similar to tracing a drawing, so the image to be vectorized is placed as a template.
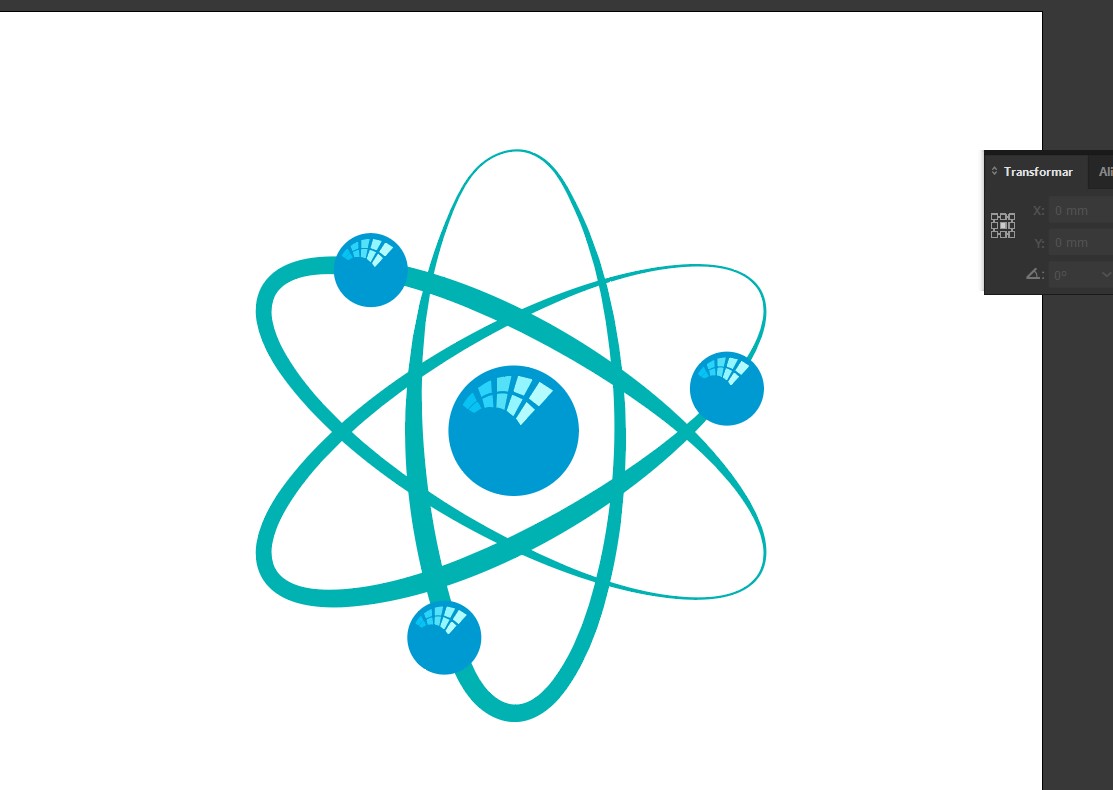
Once this is done, the image becomes slightly transparent. Then, a new layer is created and the tracing process begins using the Pen Tool. This is how the final vectorized image is obtained.
Downloads
Here you can download my dising file
Video Compression Using FFmpeg
To compress videos, I used the FFmpeg software. First, I had to download it from the official website: https://ffmpeg.org/download.html#build-windows
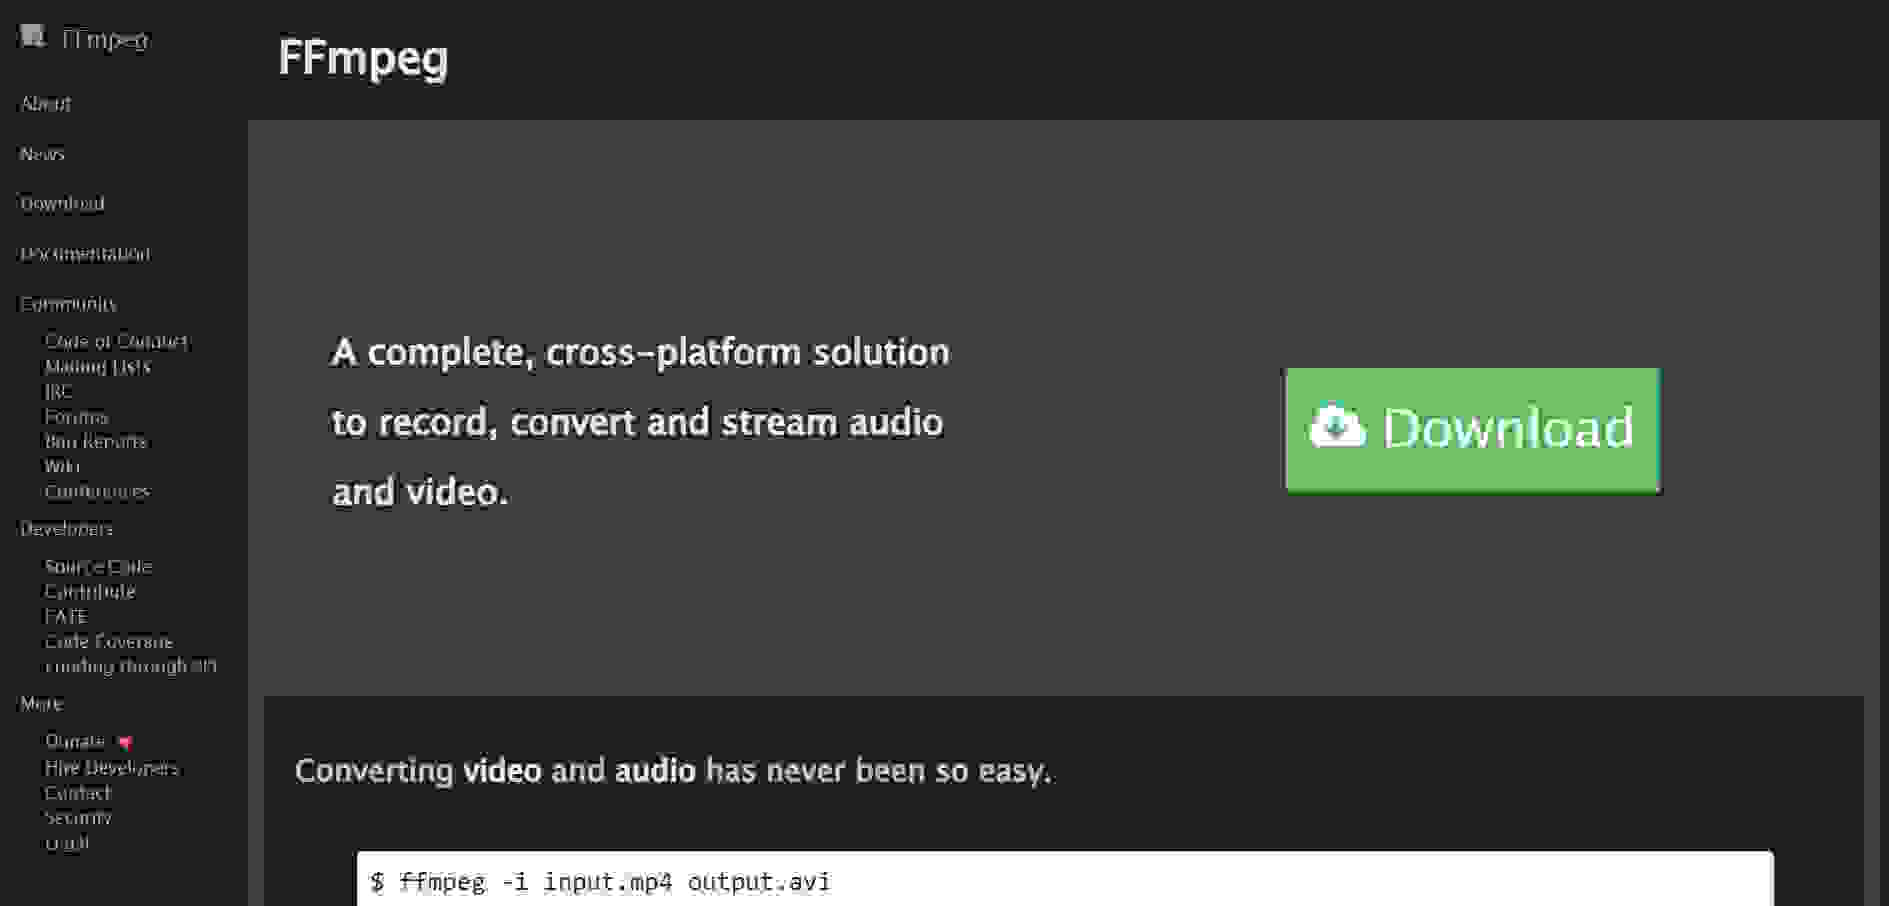
Step 1: Go to the FFmpeg website and click on the download option.
Step 2: Choose your operating system for the download.
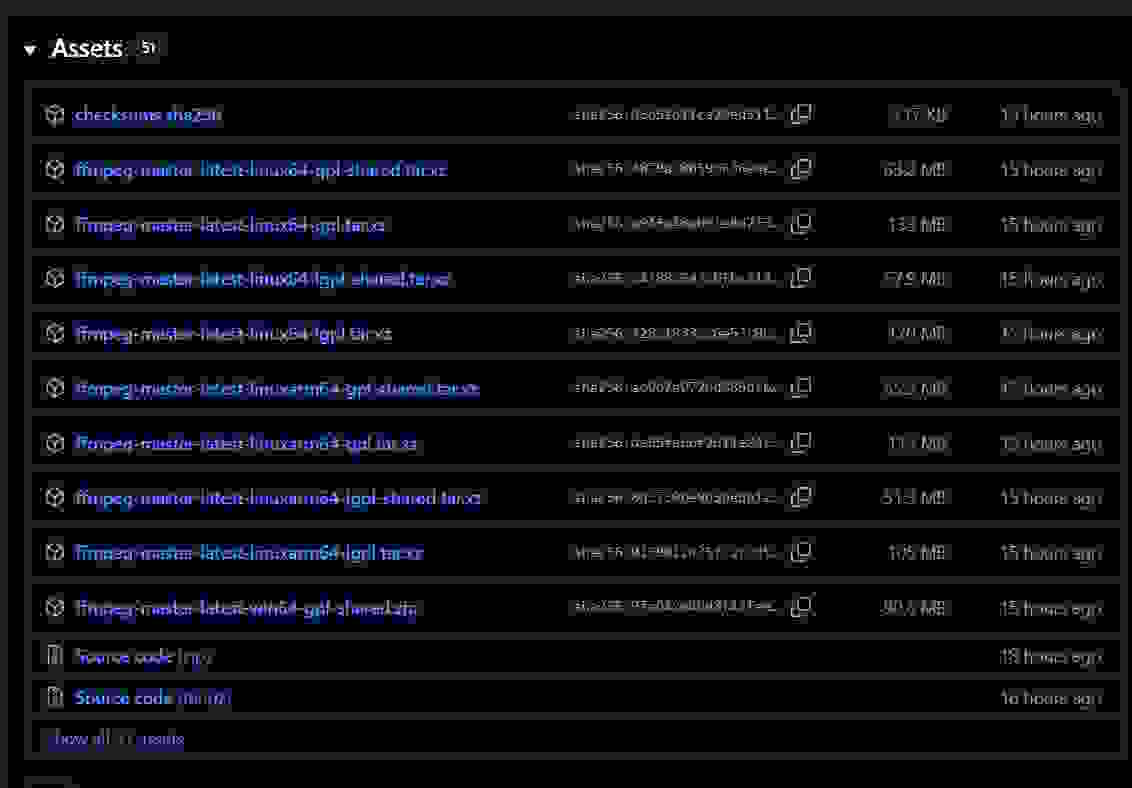
Step 3: A GitHub repository will open. Select the file called ffmpeg-master-latest-win64-gpl-shared.zip and wait for it to download.
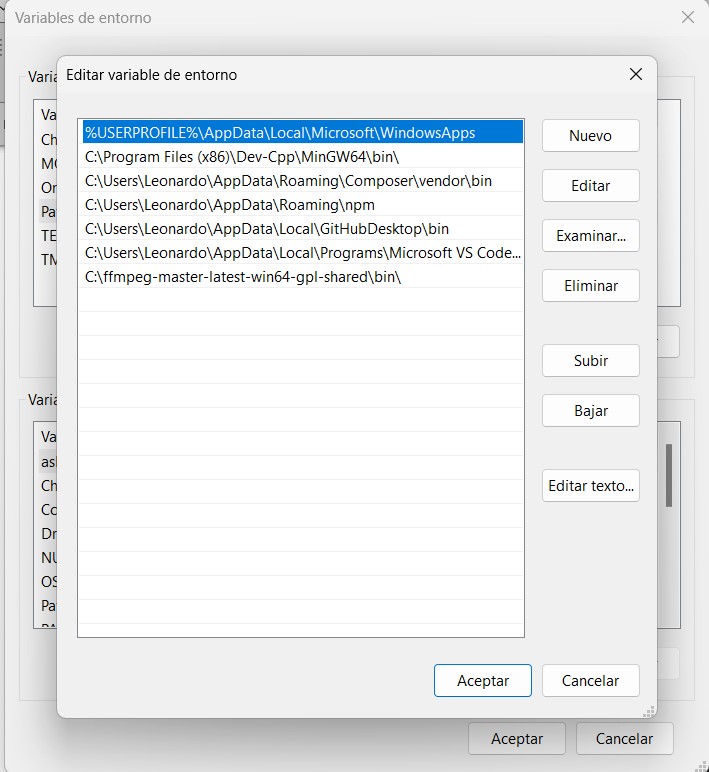
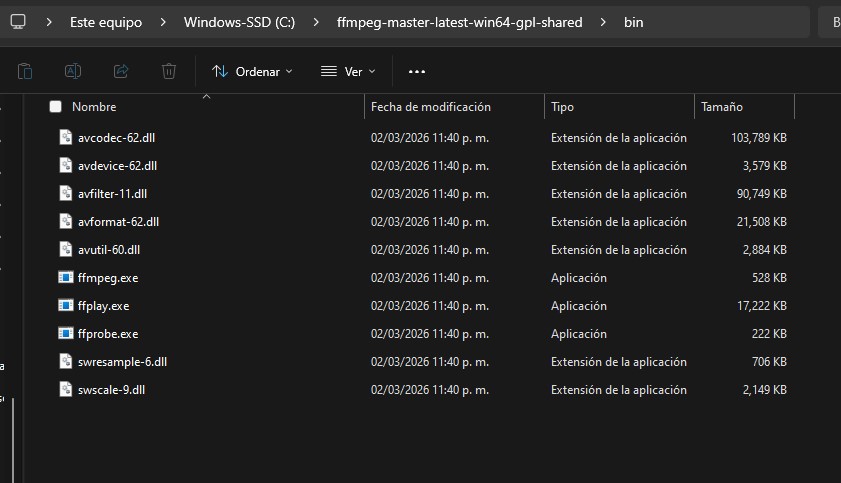
Step 4: Once downloaded, unzip the file. This will create a folder. Copy this folder to the root of your computer, specifically the Local Disk C. After copying it, go to the bin folder and copy that path into the environment variables.
After completing these steps, restart your computer. Once this is done, FFmpeg will be ready to use and you will be able to compress videos.
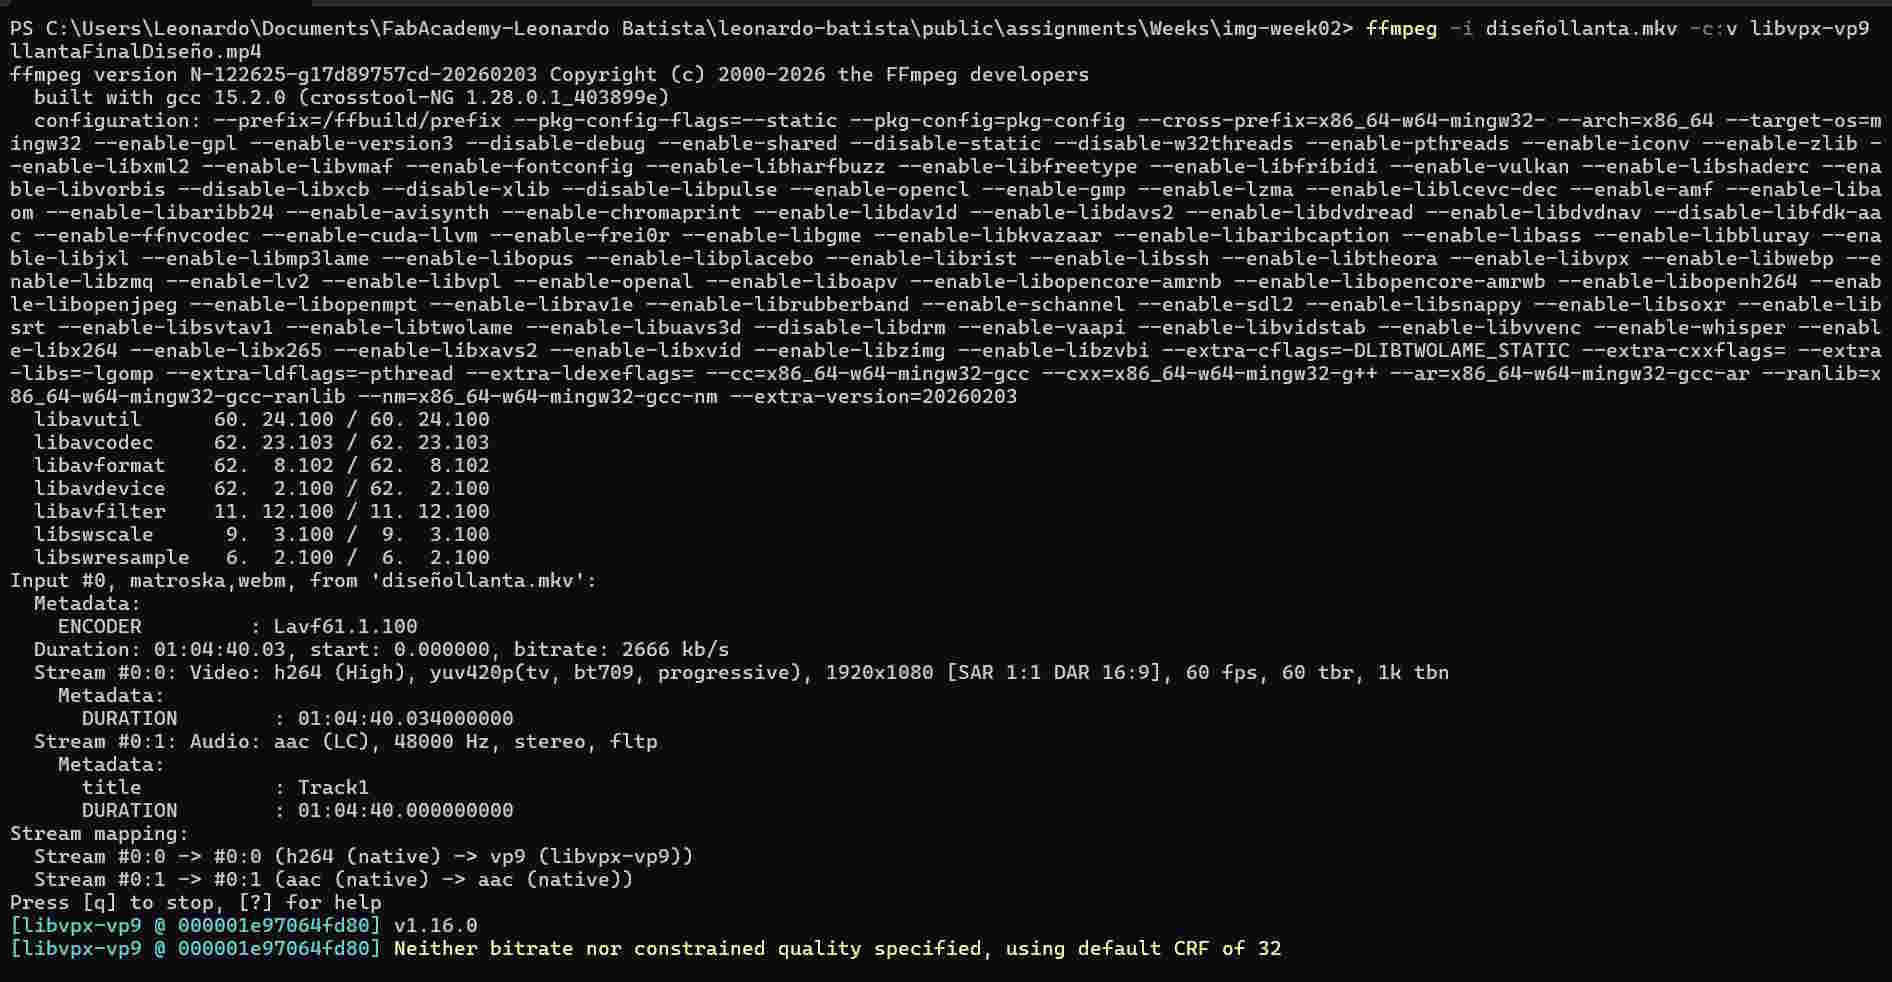
The video used on this website was compressed in the following way. First, I navigated to the folder where my videos and images were stored. Once there, I opened the command terminal and executed the following command:
ffmpeg -i [input video] [output video]
Using this command, I was able to compress the video successfully.
The following command was used to speed up the video.
ffmpeg -i llantaFinalDiseño.mp4 -an -vf "setpts=PTS/360" llantaAcelerado.mp4
Images Compression
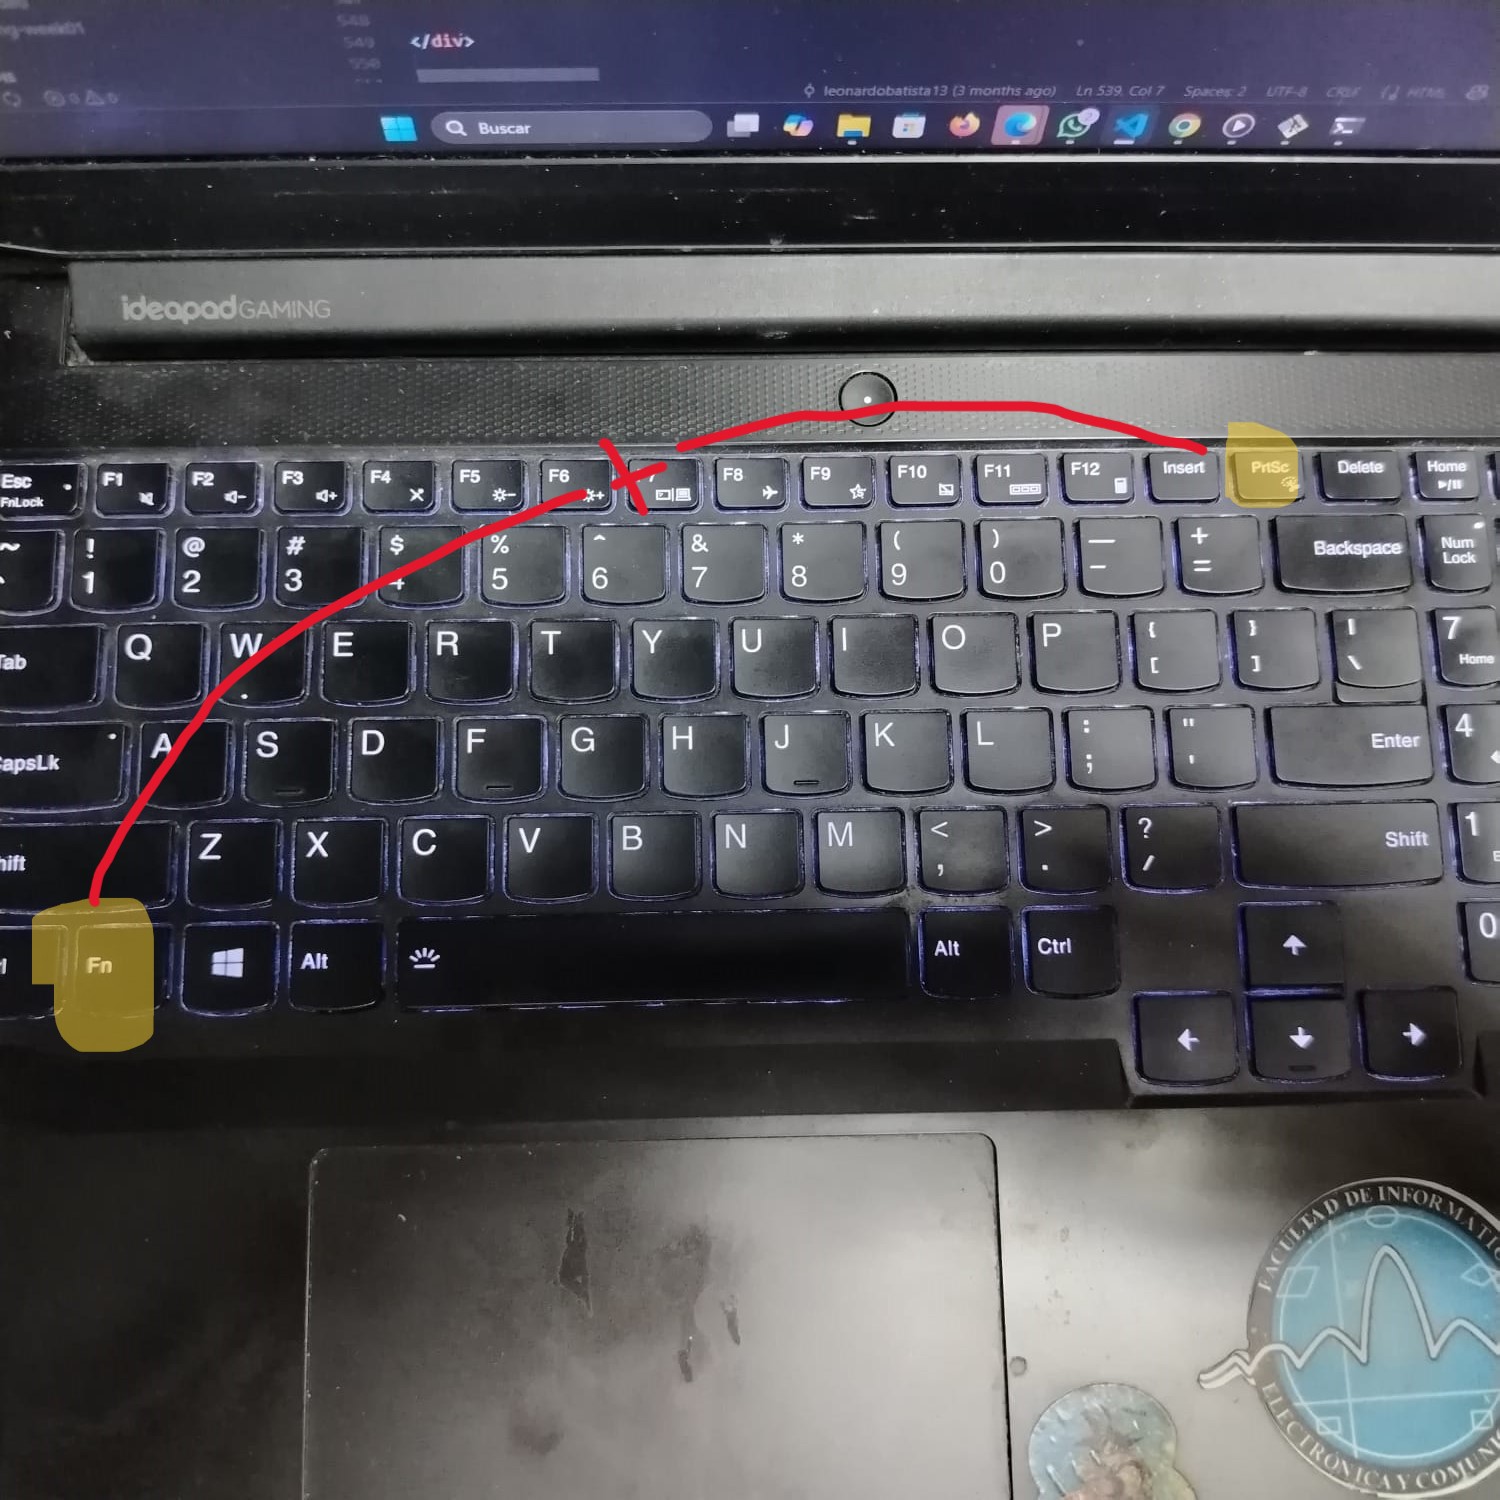
To capture screenshots for my documentation, I use the keyboard shortcut Fn + PrtSc, as shown in the image below.
After capturing the image, I use the FFmpeg tool to optimize and compress it using the following command:
ffmpeg -i input.jpg -vf "scale=1280:-1" -q:v 15 output.jpg
This command resizes the image while maintaining its original proportions.
The parameter -q:v accepts values between 0 and 20, where lower values produce higher image quality and larger file sizes, while higher values increase compression and reduce file size.
For example, values such as 2 preserve high quality with minimal compression, whereas values closer to 20 generate smaller files with reduced quality.
This workflow allows me to optimize both screenshots and photographs taken with my phone before uploading them to my documentation website.
Video Compression
For screen recording and video capture, I use the software OBS Studio. This program allows me to record my laptop screen and export the videos in MP4 format for easier processing and web integration.
As shown in the video above, I import an input video, apply compression settings, and generate a smaller output file optimized for web publishing. The following parameters are used in the FFmpeg command:
-an→ Removes the audio track from the video.setpts=0.5*PTS→ Accelerates the video playback speed by 2x.scale=960:-1→ Reduces the video resolution while maintaining aspect ratio.-crf 30→ Applies video compression to reduce file size.-preset veryslow→ Improves compression efficiency, generating smaller output files.
To accelerate and compress videos, I use the command previously mentioned.

What I Learned
During this week, I learned how to use FFmpeg as a powerful multimedia processing tool. This workflow has been especially useful for compressing and optimizing both images and videos for web documentation while maintaining acceptable visual quality.