step 1: dowload and install GIT
-
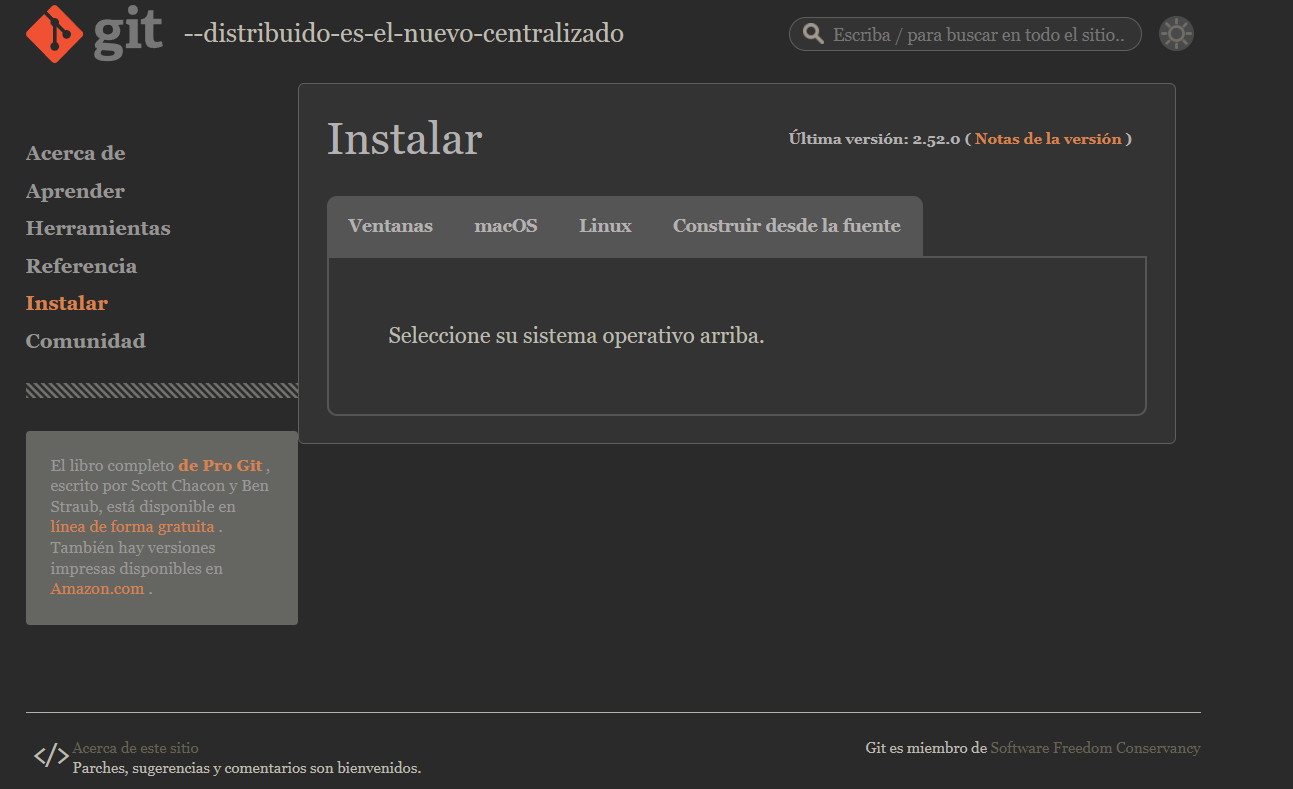
To download Git, go to this URL: Git – Install. Remember to select your operating system; in my case, it is Windows.
-
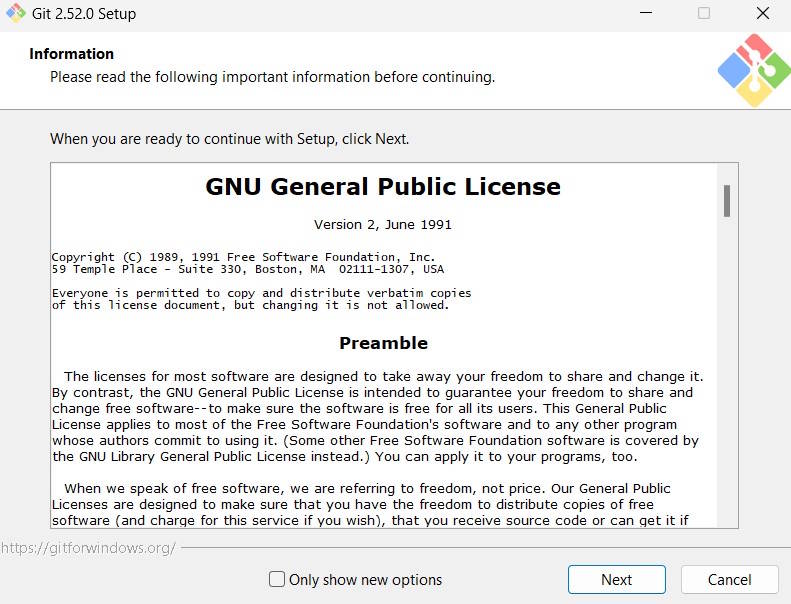
Once the program is downloaded, we run the installer and perform the typical Windows installation.