This week at Fab Academy, we learned how to scan and print in 3D. This week's assignment is very interesting and creative, and the possibilities with 3D printing and scanning are endless. The only limit is our imagination.
Group Assignment
Characterizing our 3D printers: testing design rules and limitations.
3D Printing Additive Manufacturing
3D printing is an additive manufacturing process that creates three-dimensional objects by successively overlaying layers of material from a digital design. It is a key technology for rapid prototyping and custom production in sectors ranging from engineering to medicine.
Creality
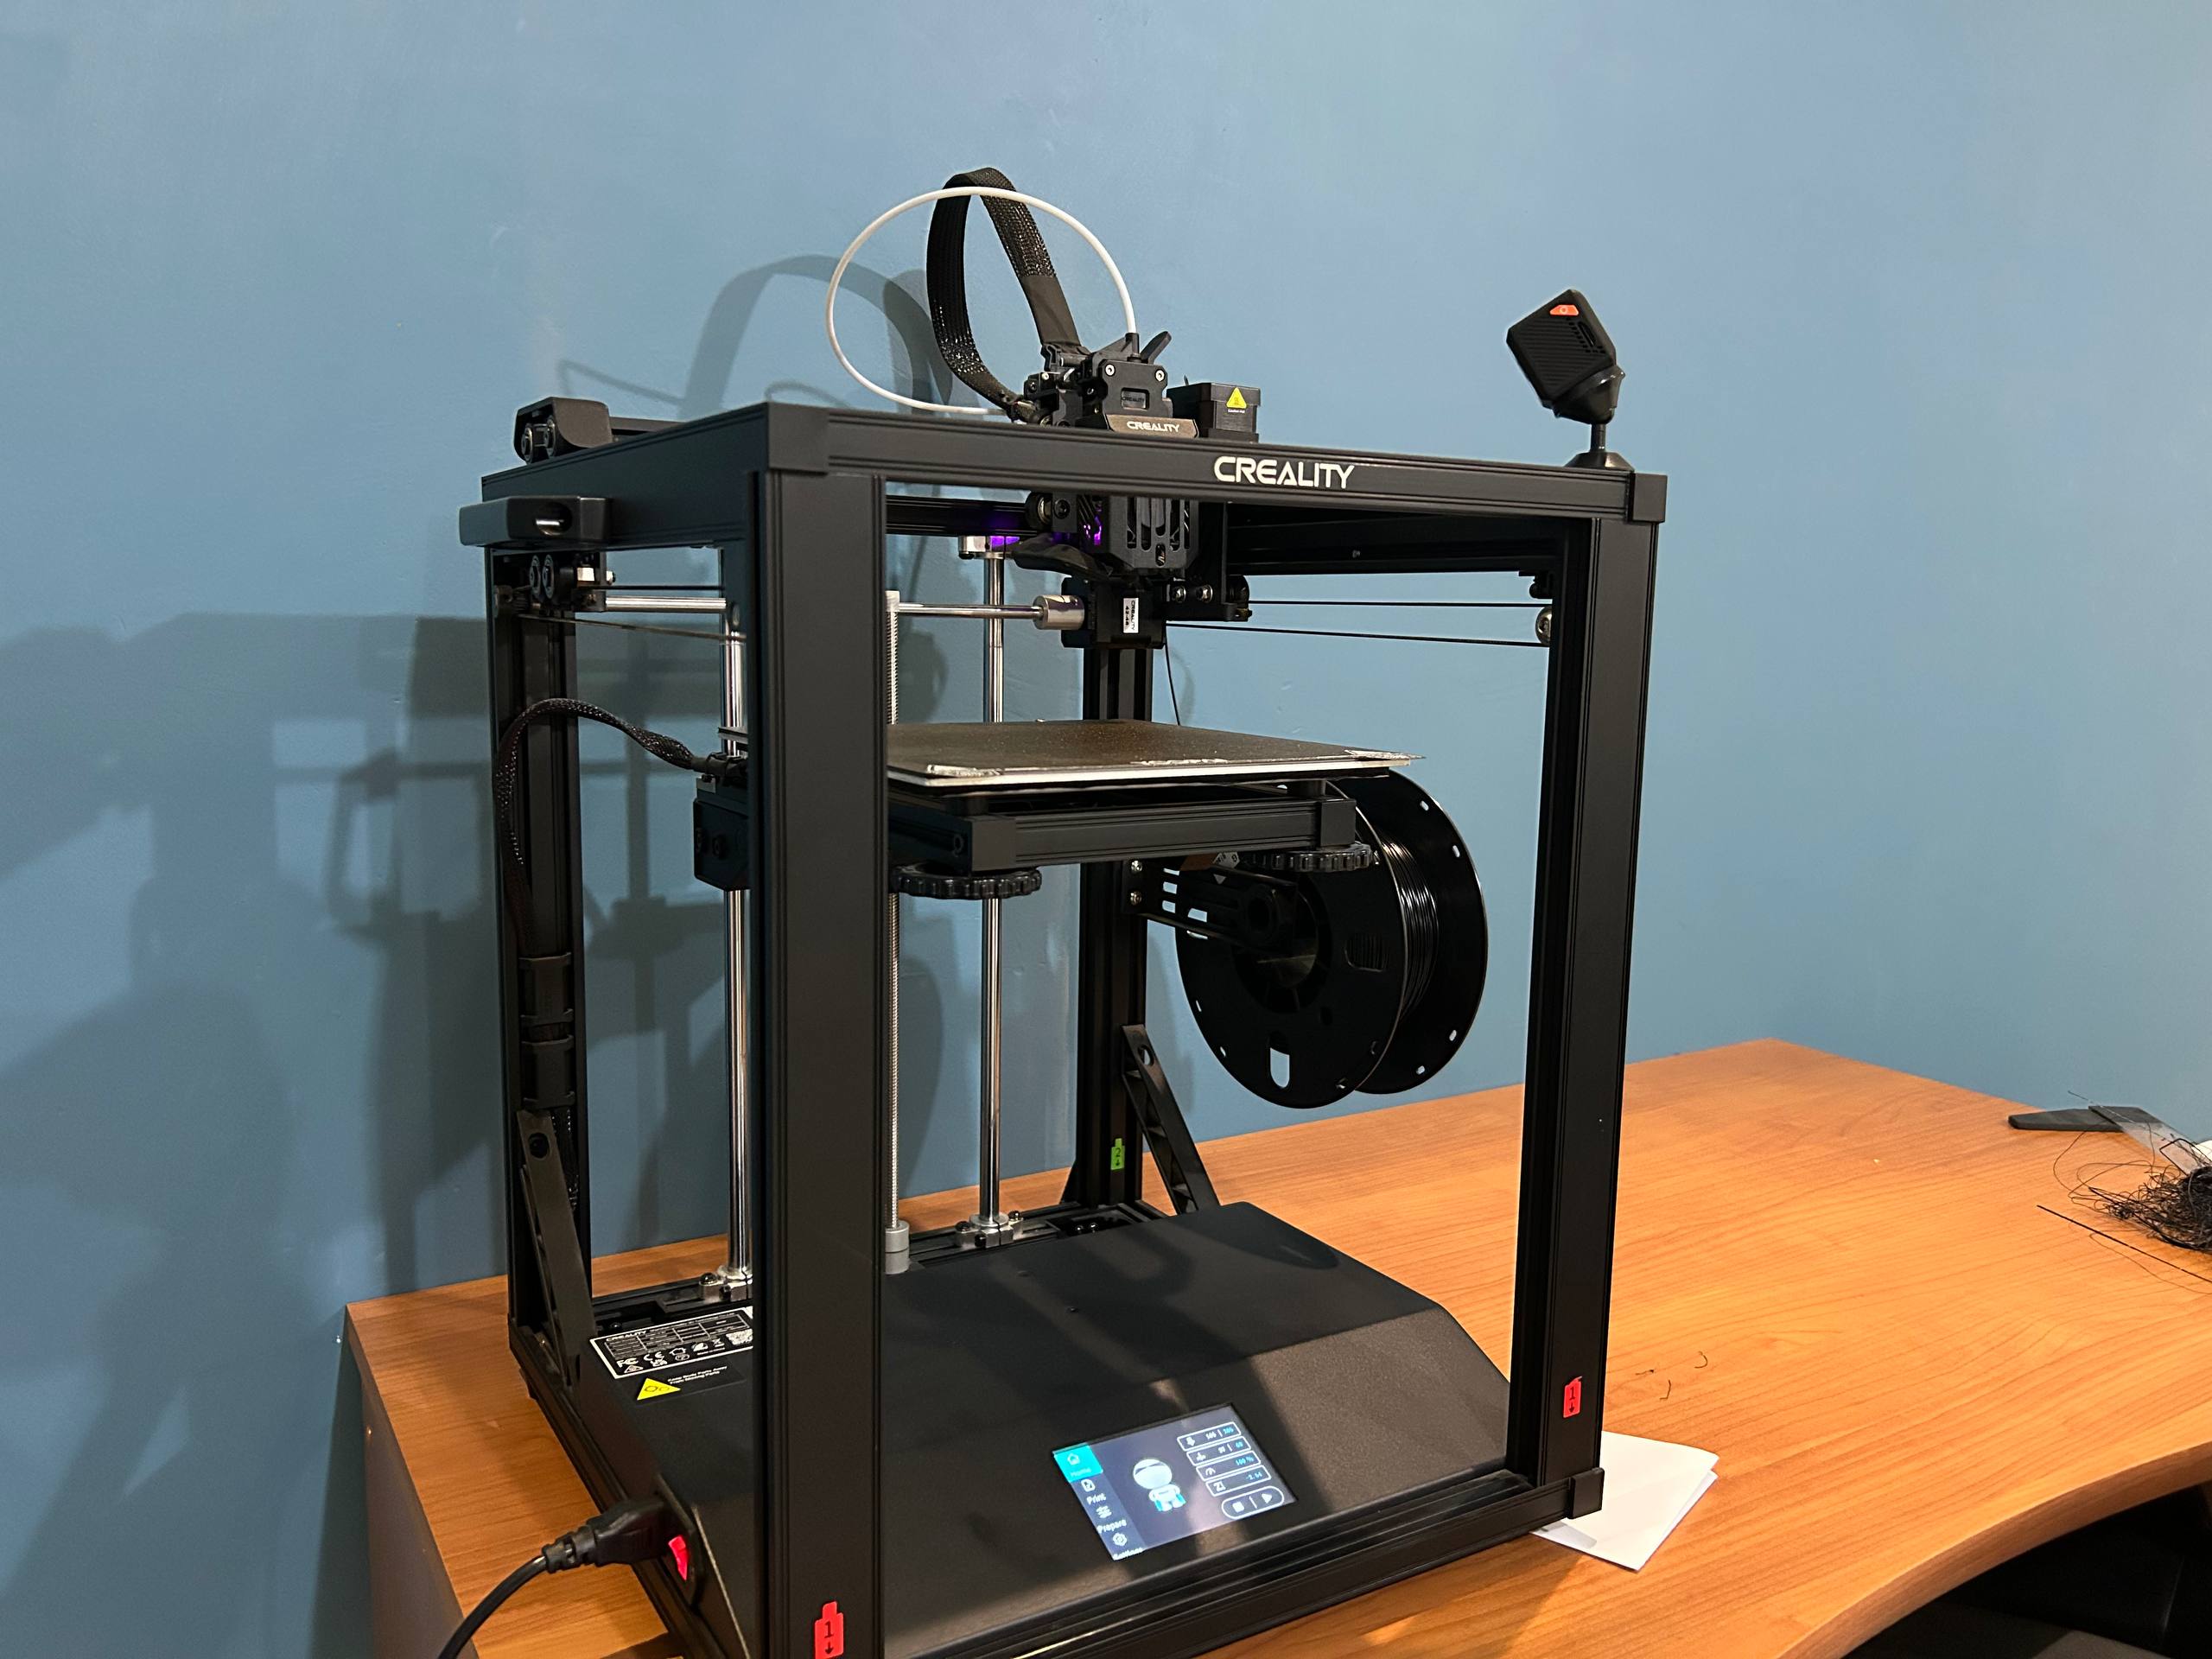
For the 3D printing task, I will use the Creality Ender 5 S1 printer which is a high-speed (up to 250 mm/s) 3D printer with stable "cube" structure and a direct "Sprite" extruder capable of reaching 300°C. It is ideal for those seeking speed and versatility to print technical materials such as TPU, Nylon or Polycarbonate in a compact and robust form
Thingiverse
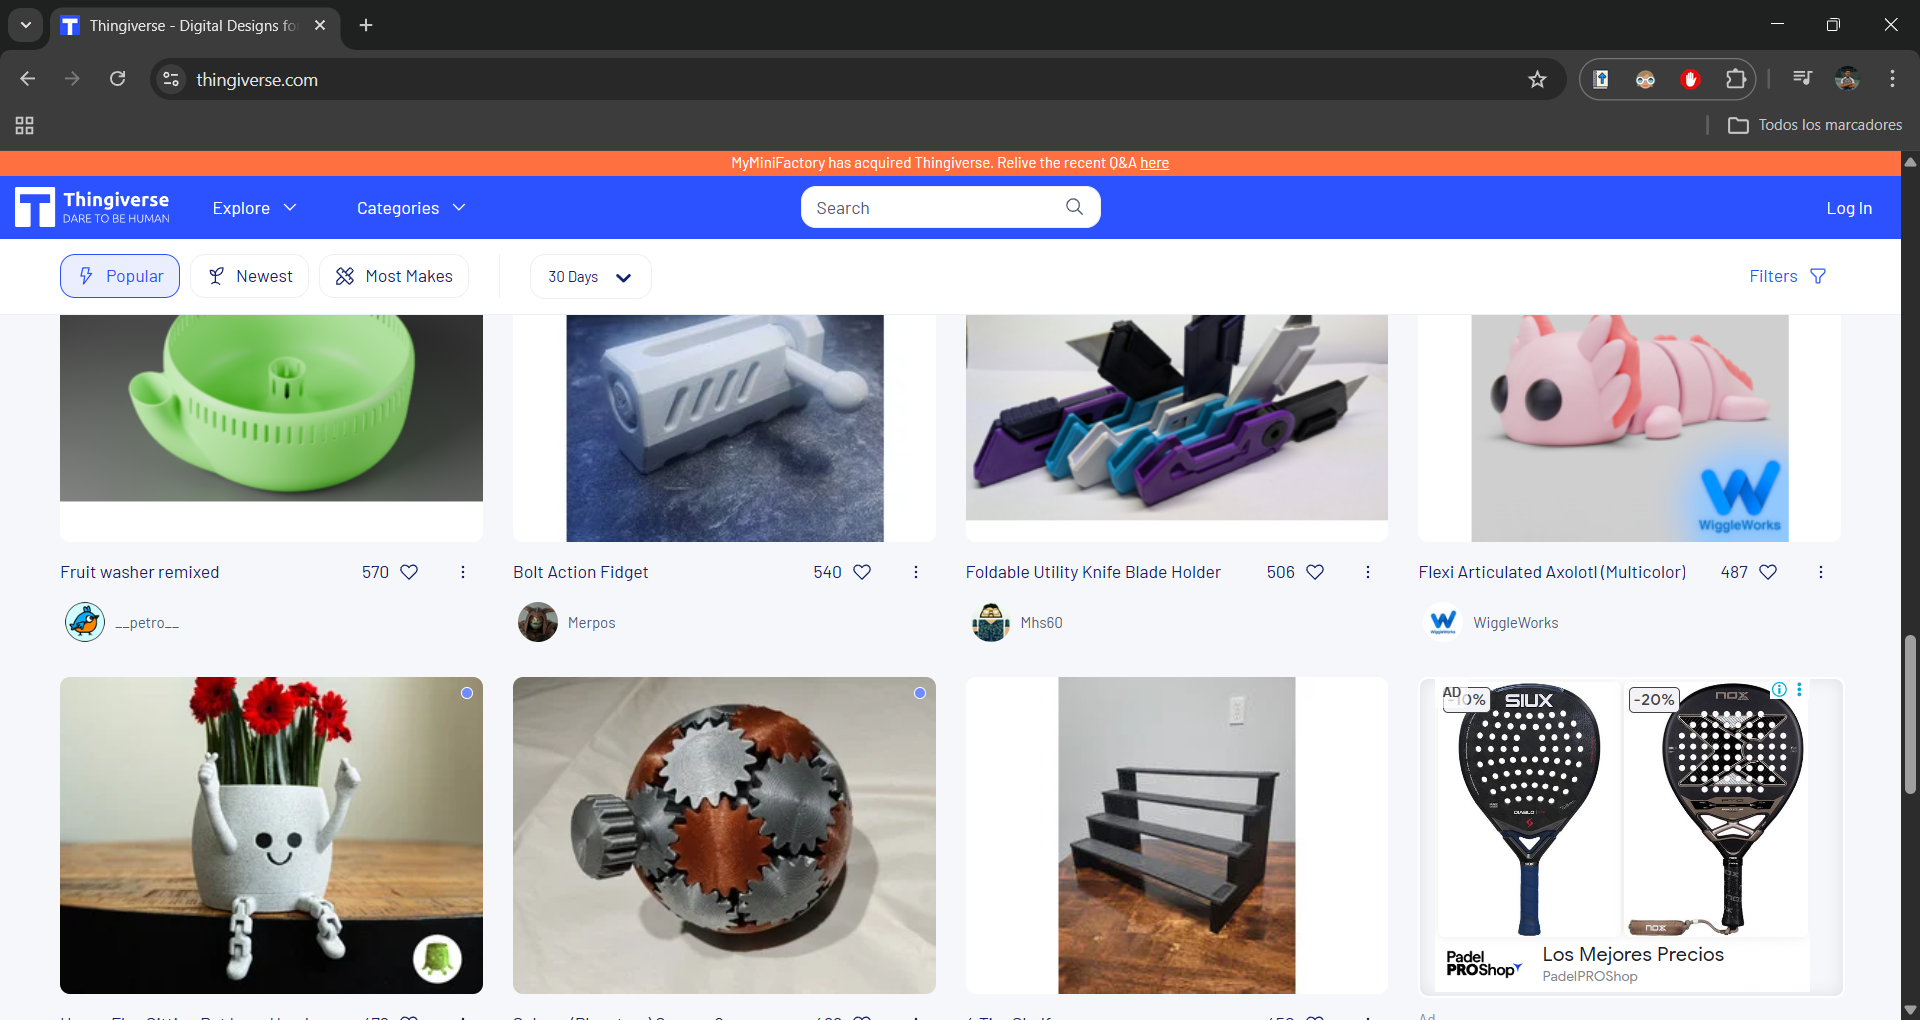
Thingiverse is the worlds largest 3D printing file sharing design community, where users can download, upload and edit open-source models for free. Its the go-to platform for finding everything from useful spare parts to creative print projects.
Printer Test
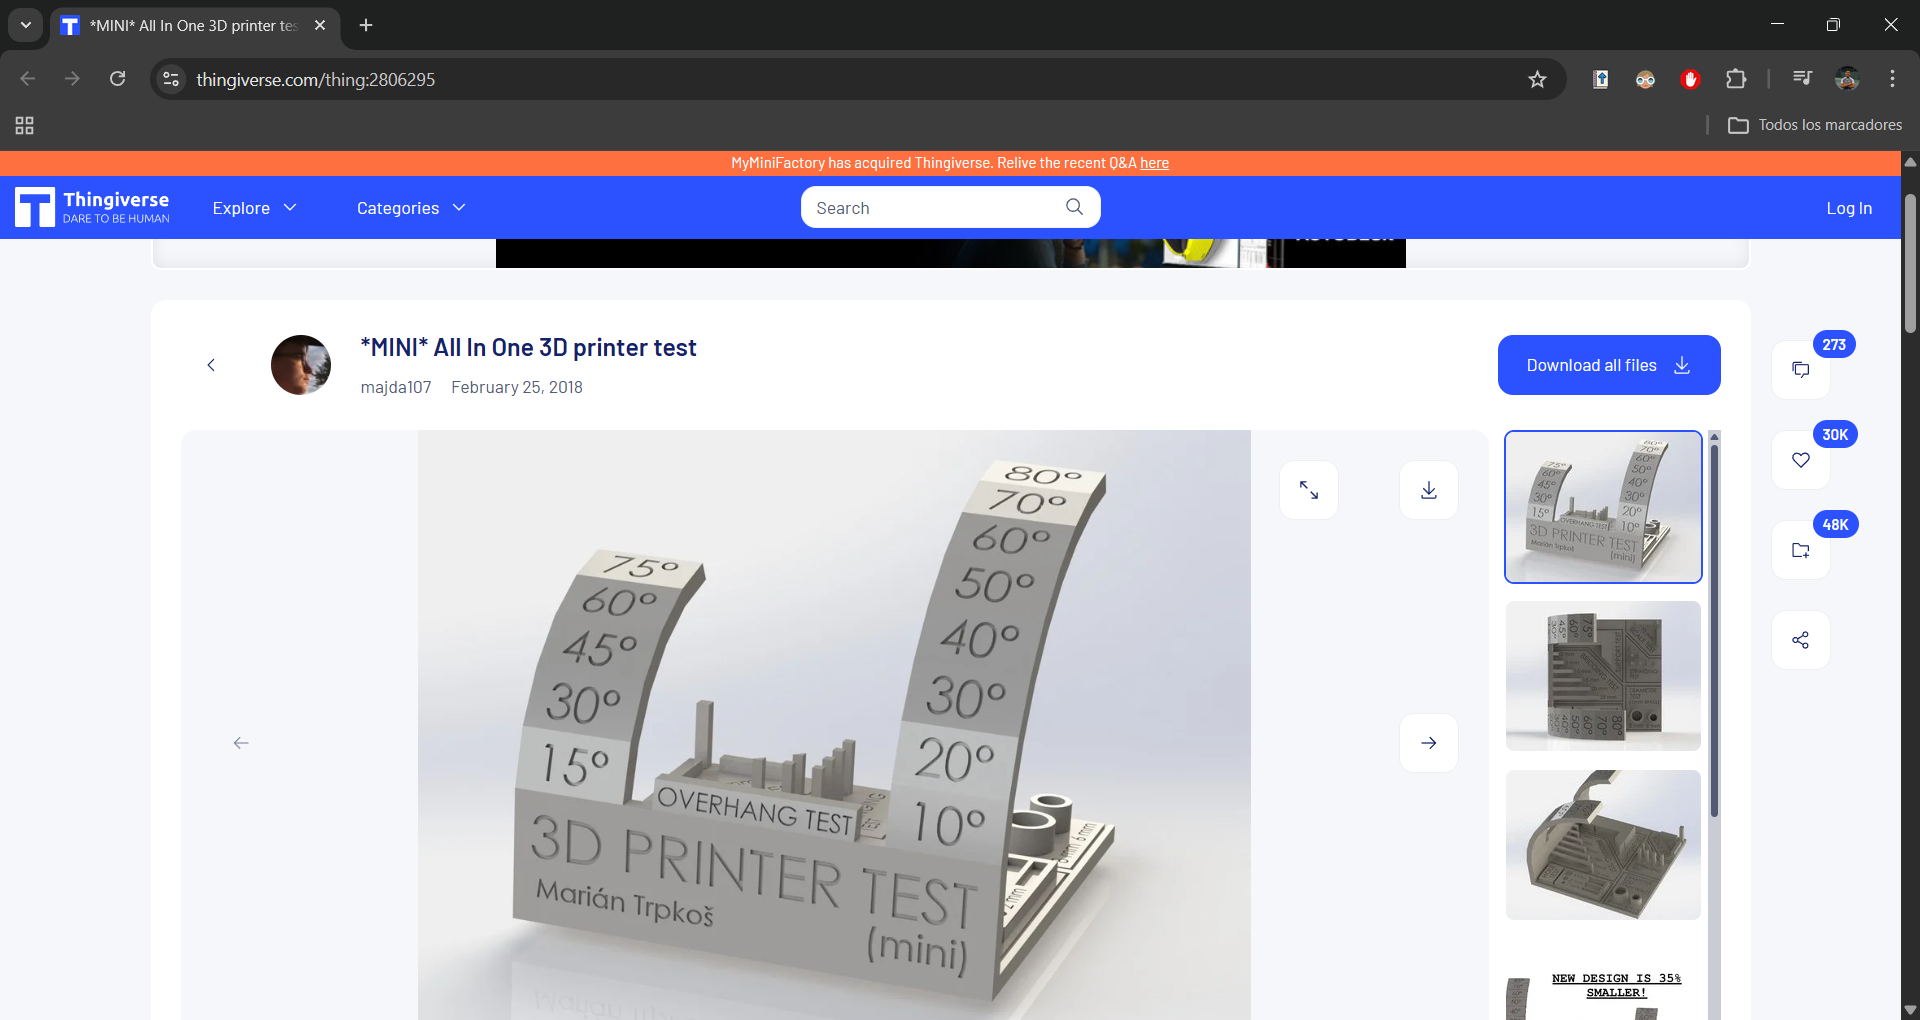
In Thingiverse, I selected a print test designed to calibrate the critical parameters of my equipment. This test assesses dimensional accuracy, bridging, retractions and the quality of overhangs, ensuring that the printer configuration is optimal for demanding materials.
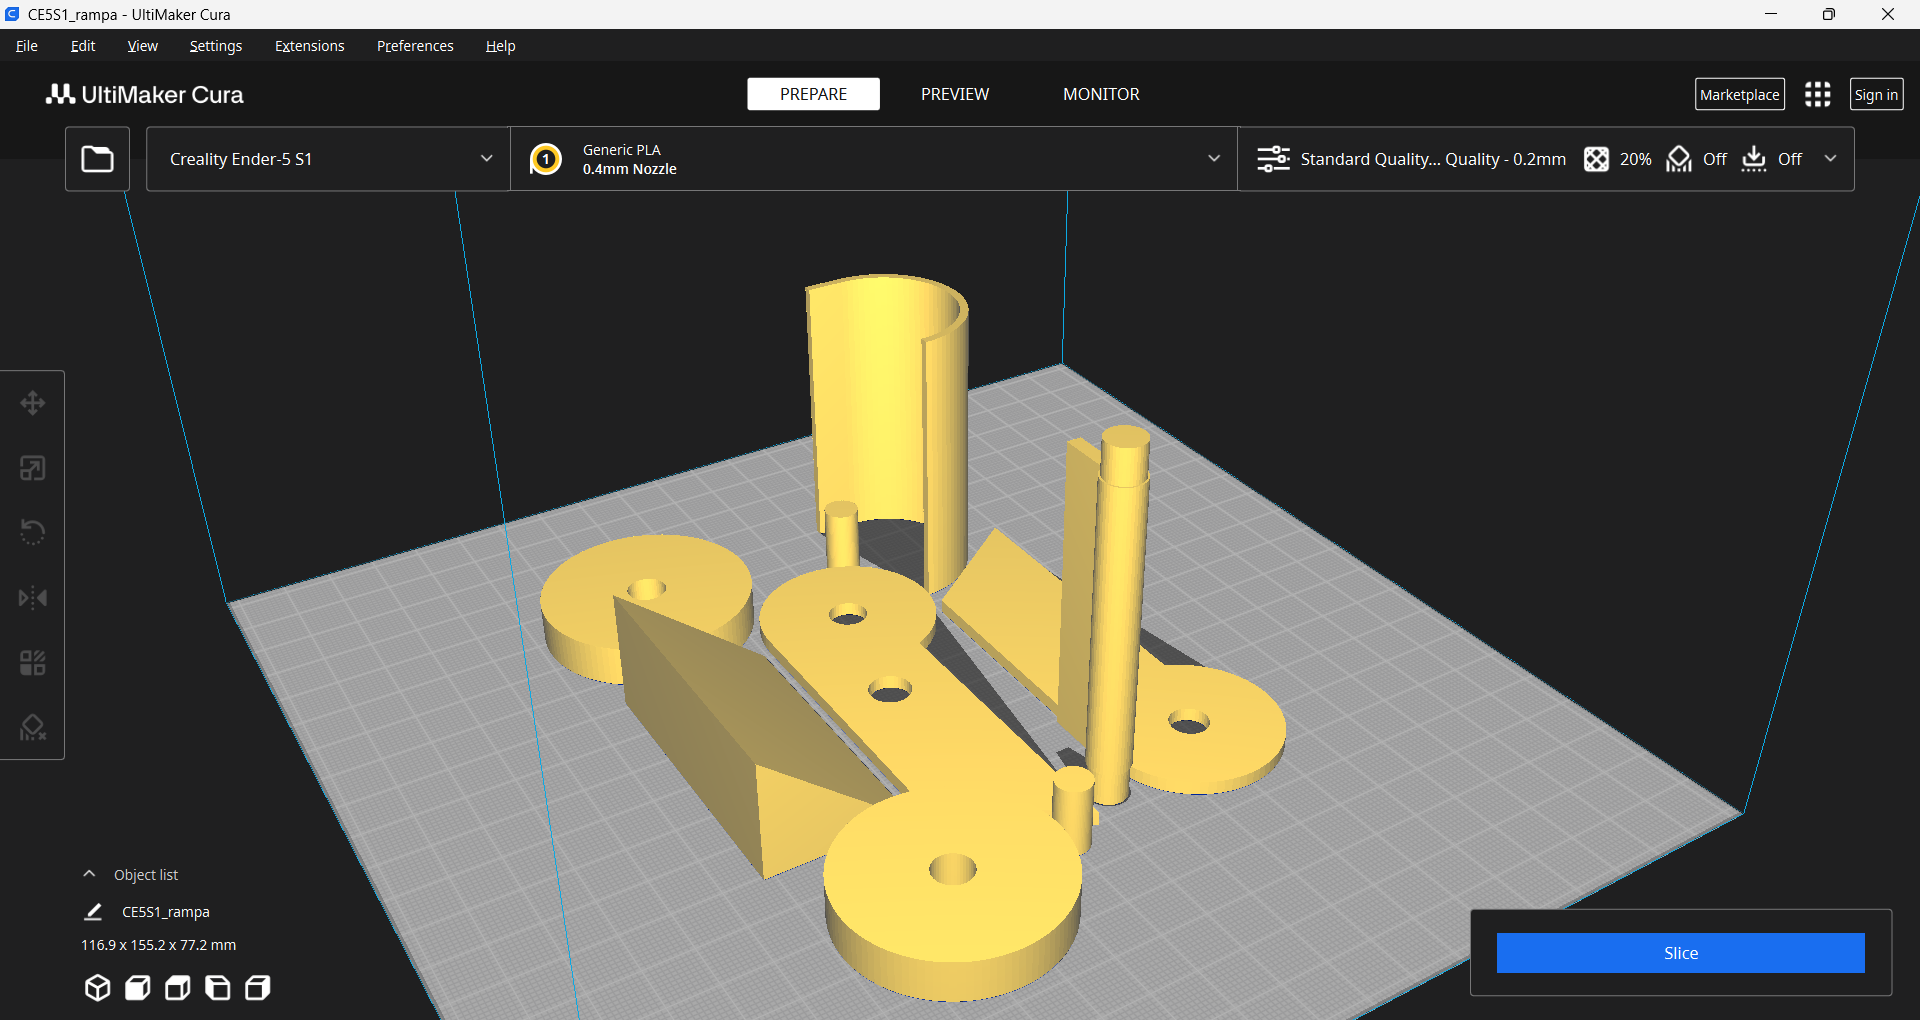
Ultimaker Cura
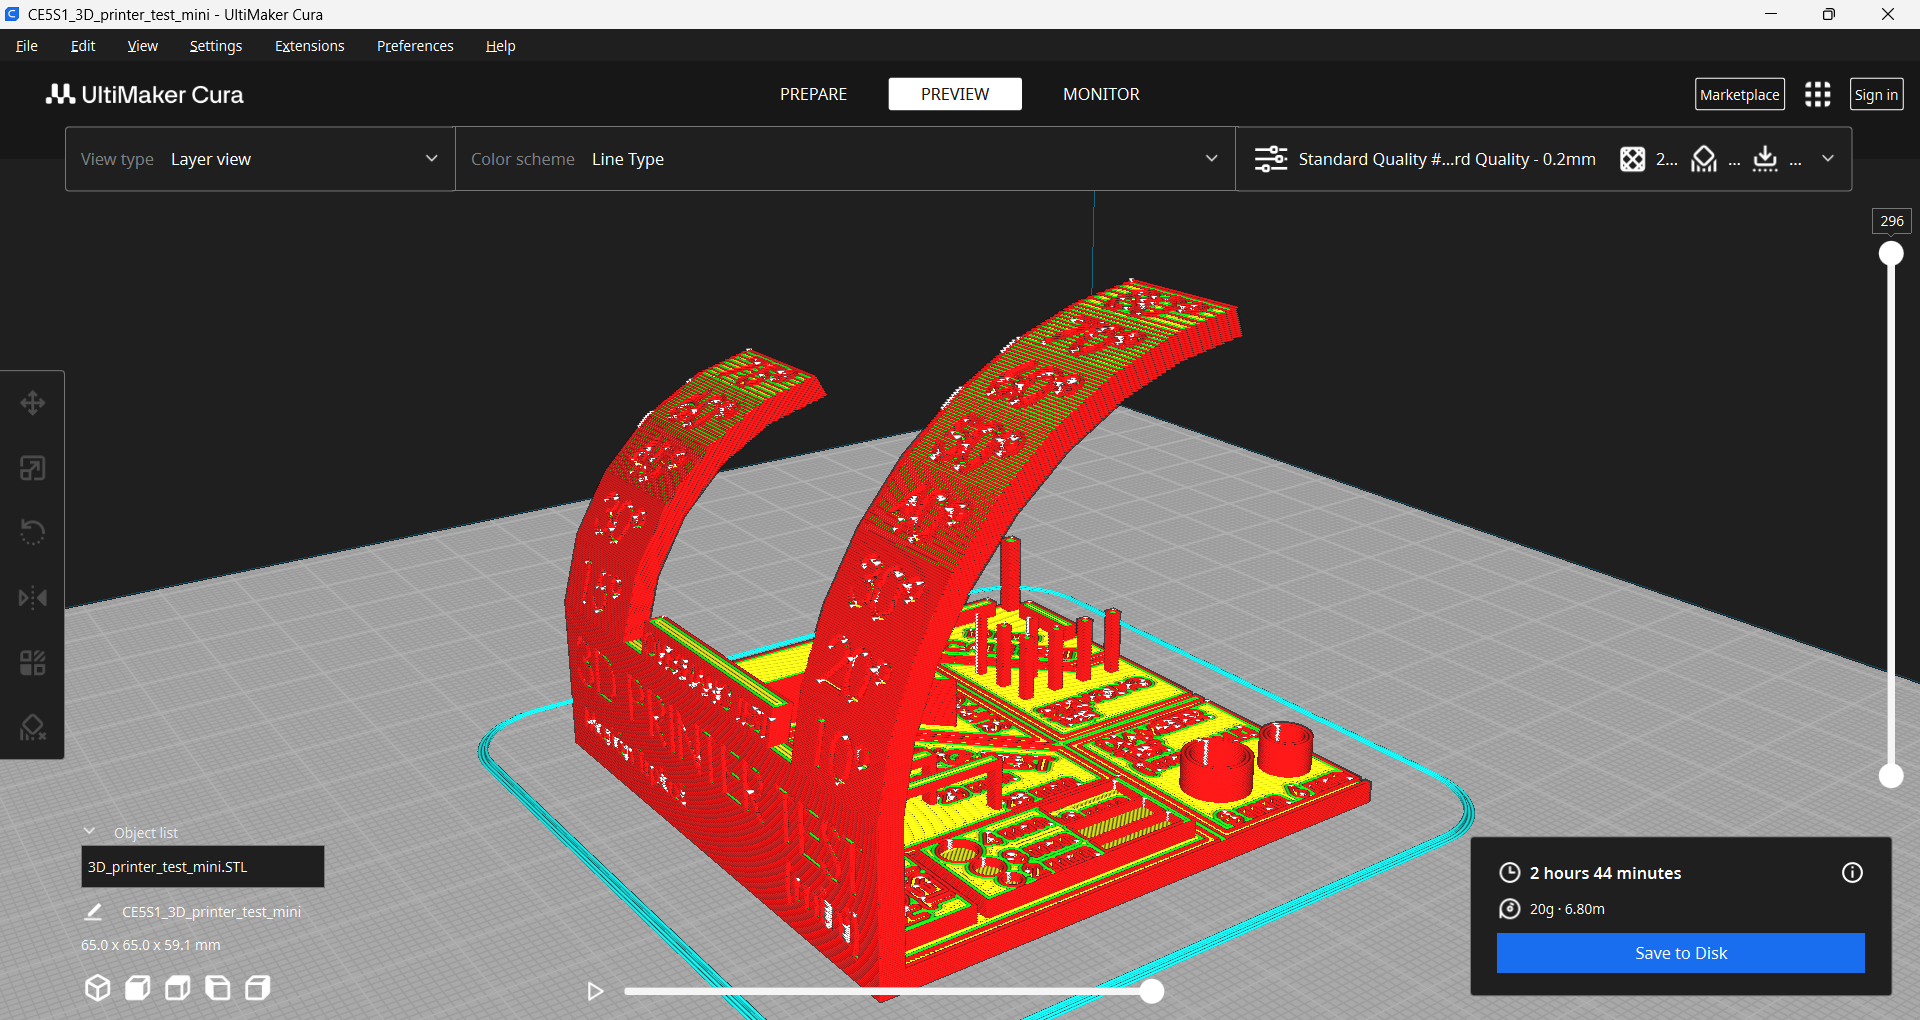
After downloading the STL file, we import it to Ultimaker Cura. This lamination software (slicer) is fundamental, since it translates the 3D design into G-code instructions that the printer can understand, allowing us to configure critical parameters such as layer height, fill density and supports.
Slicing & Parameters
Ultimaker Cura Settings
Process
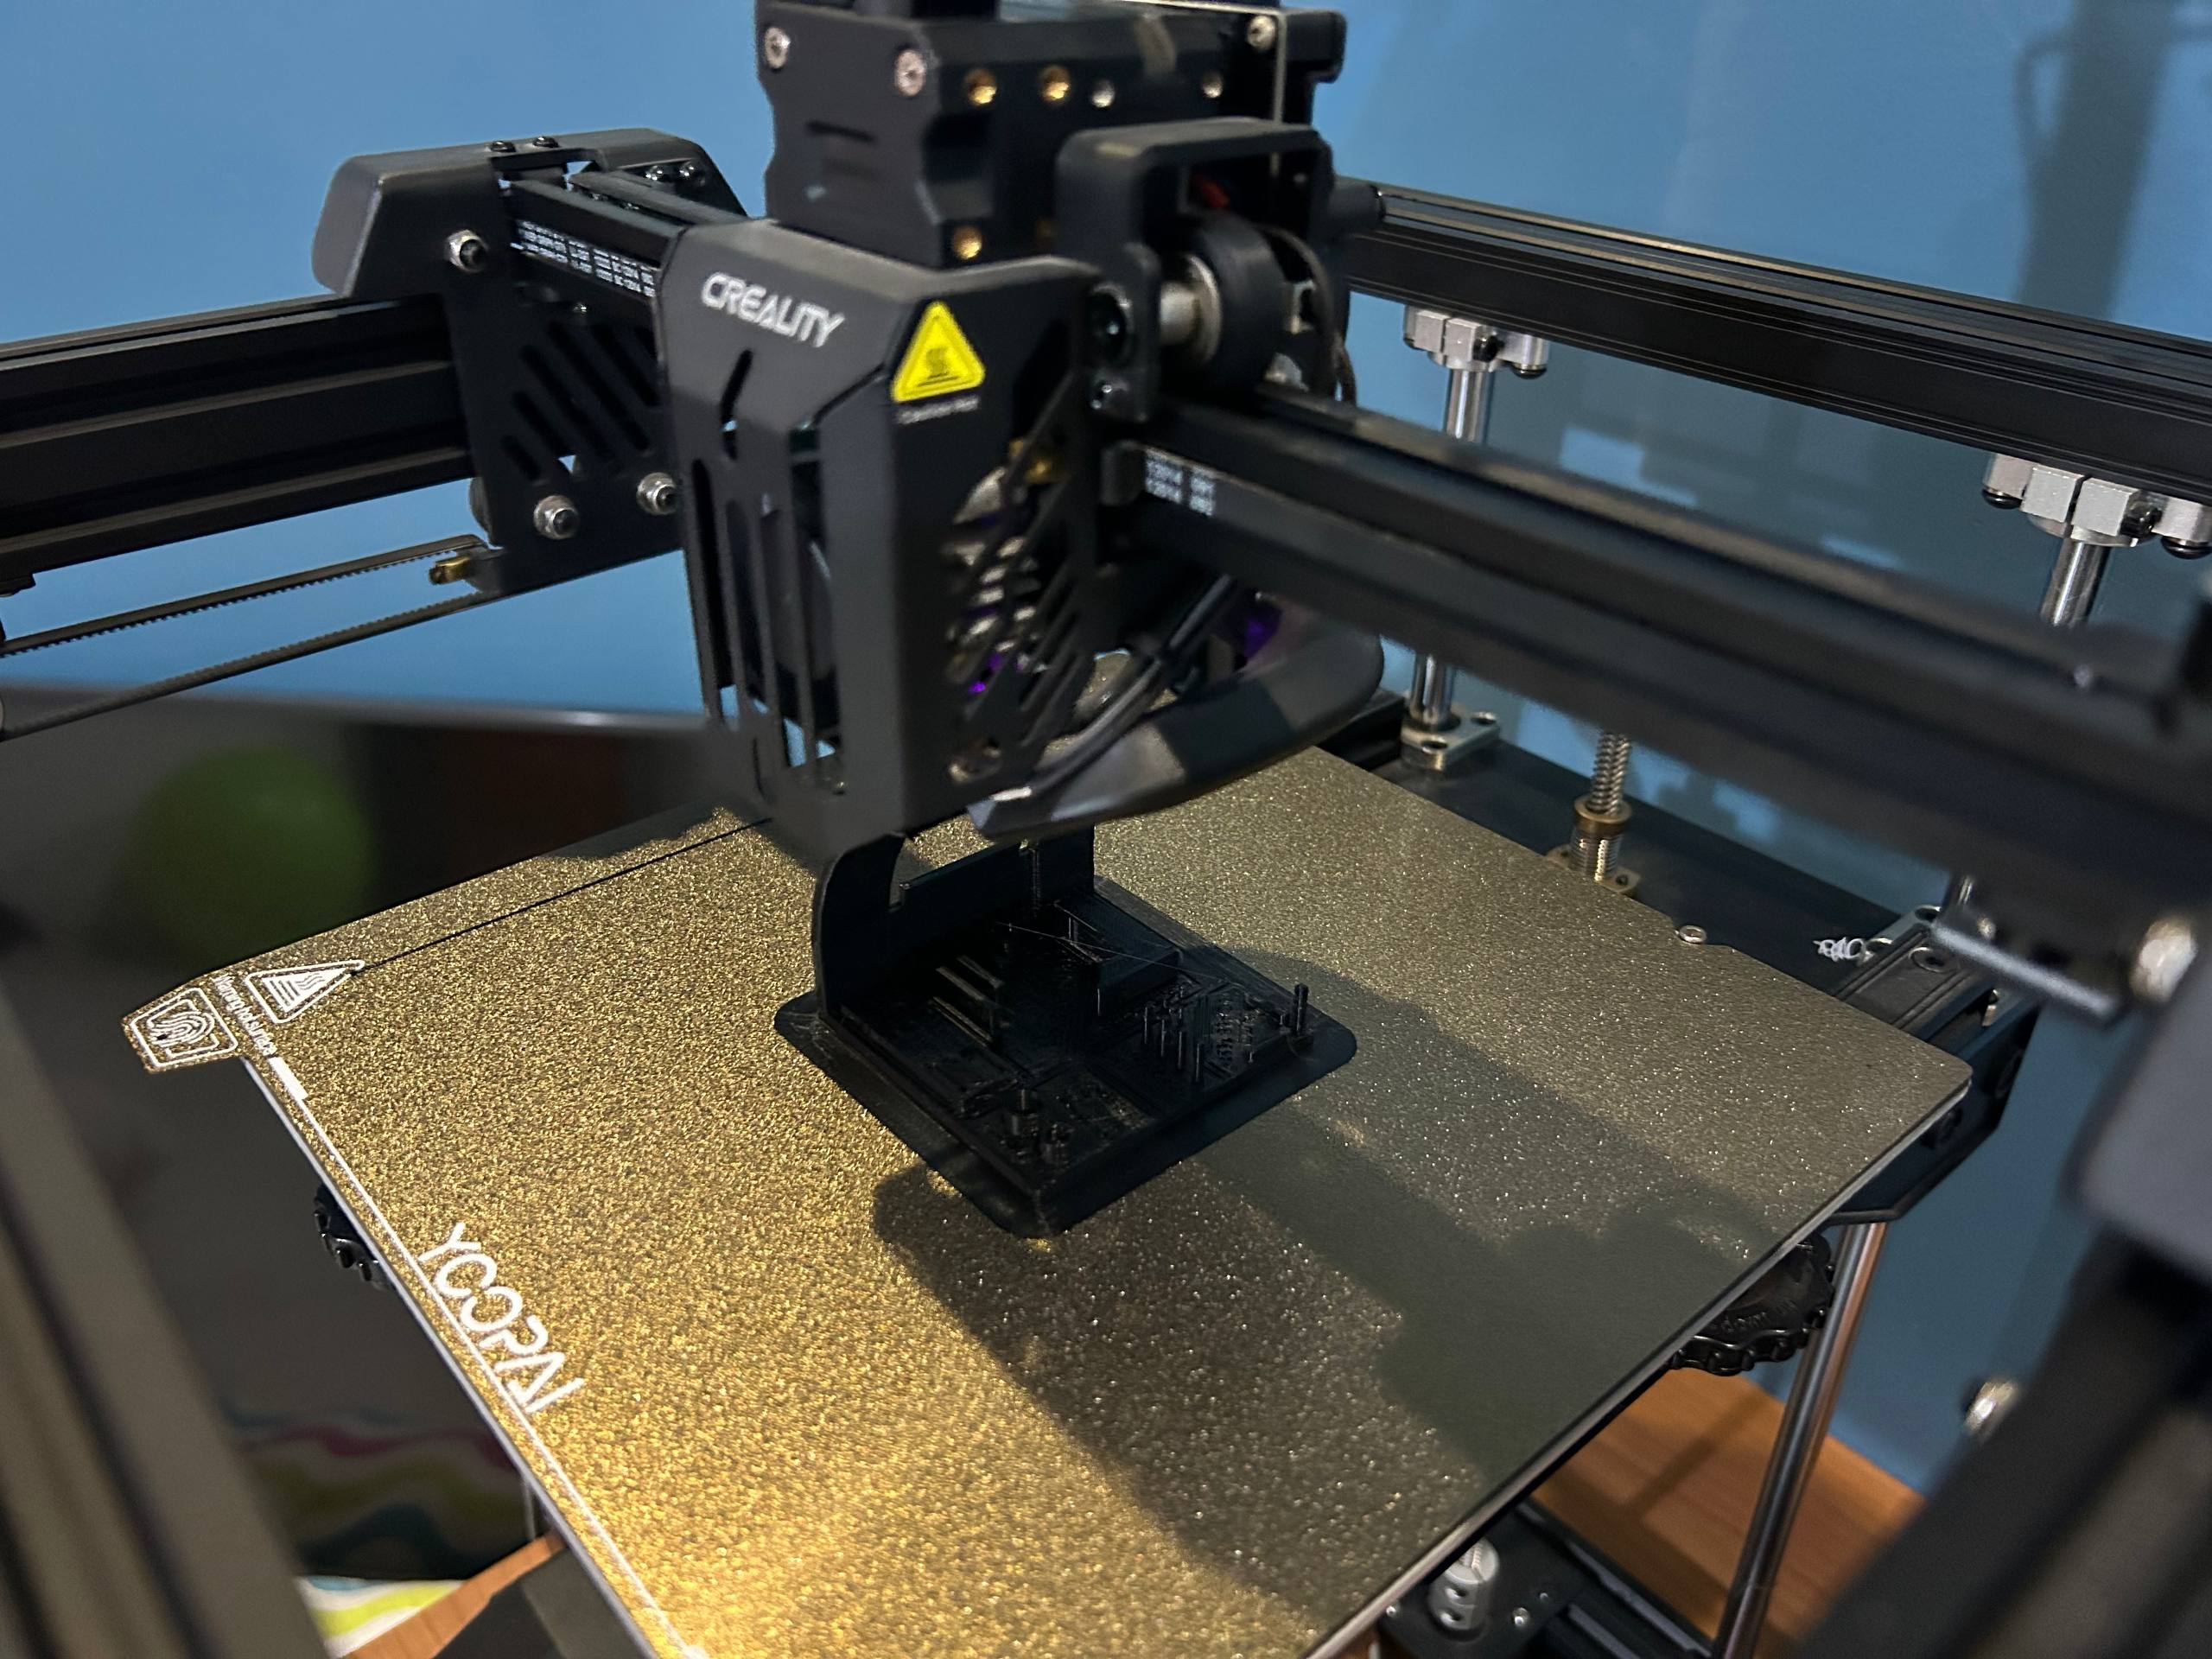
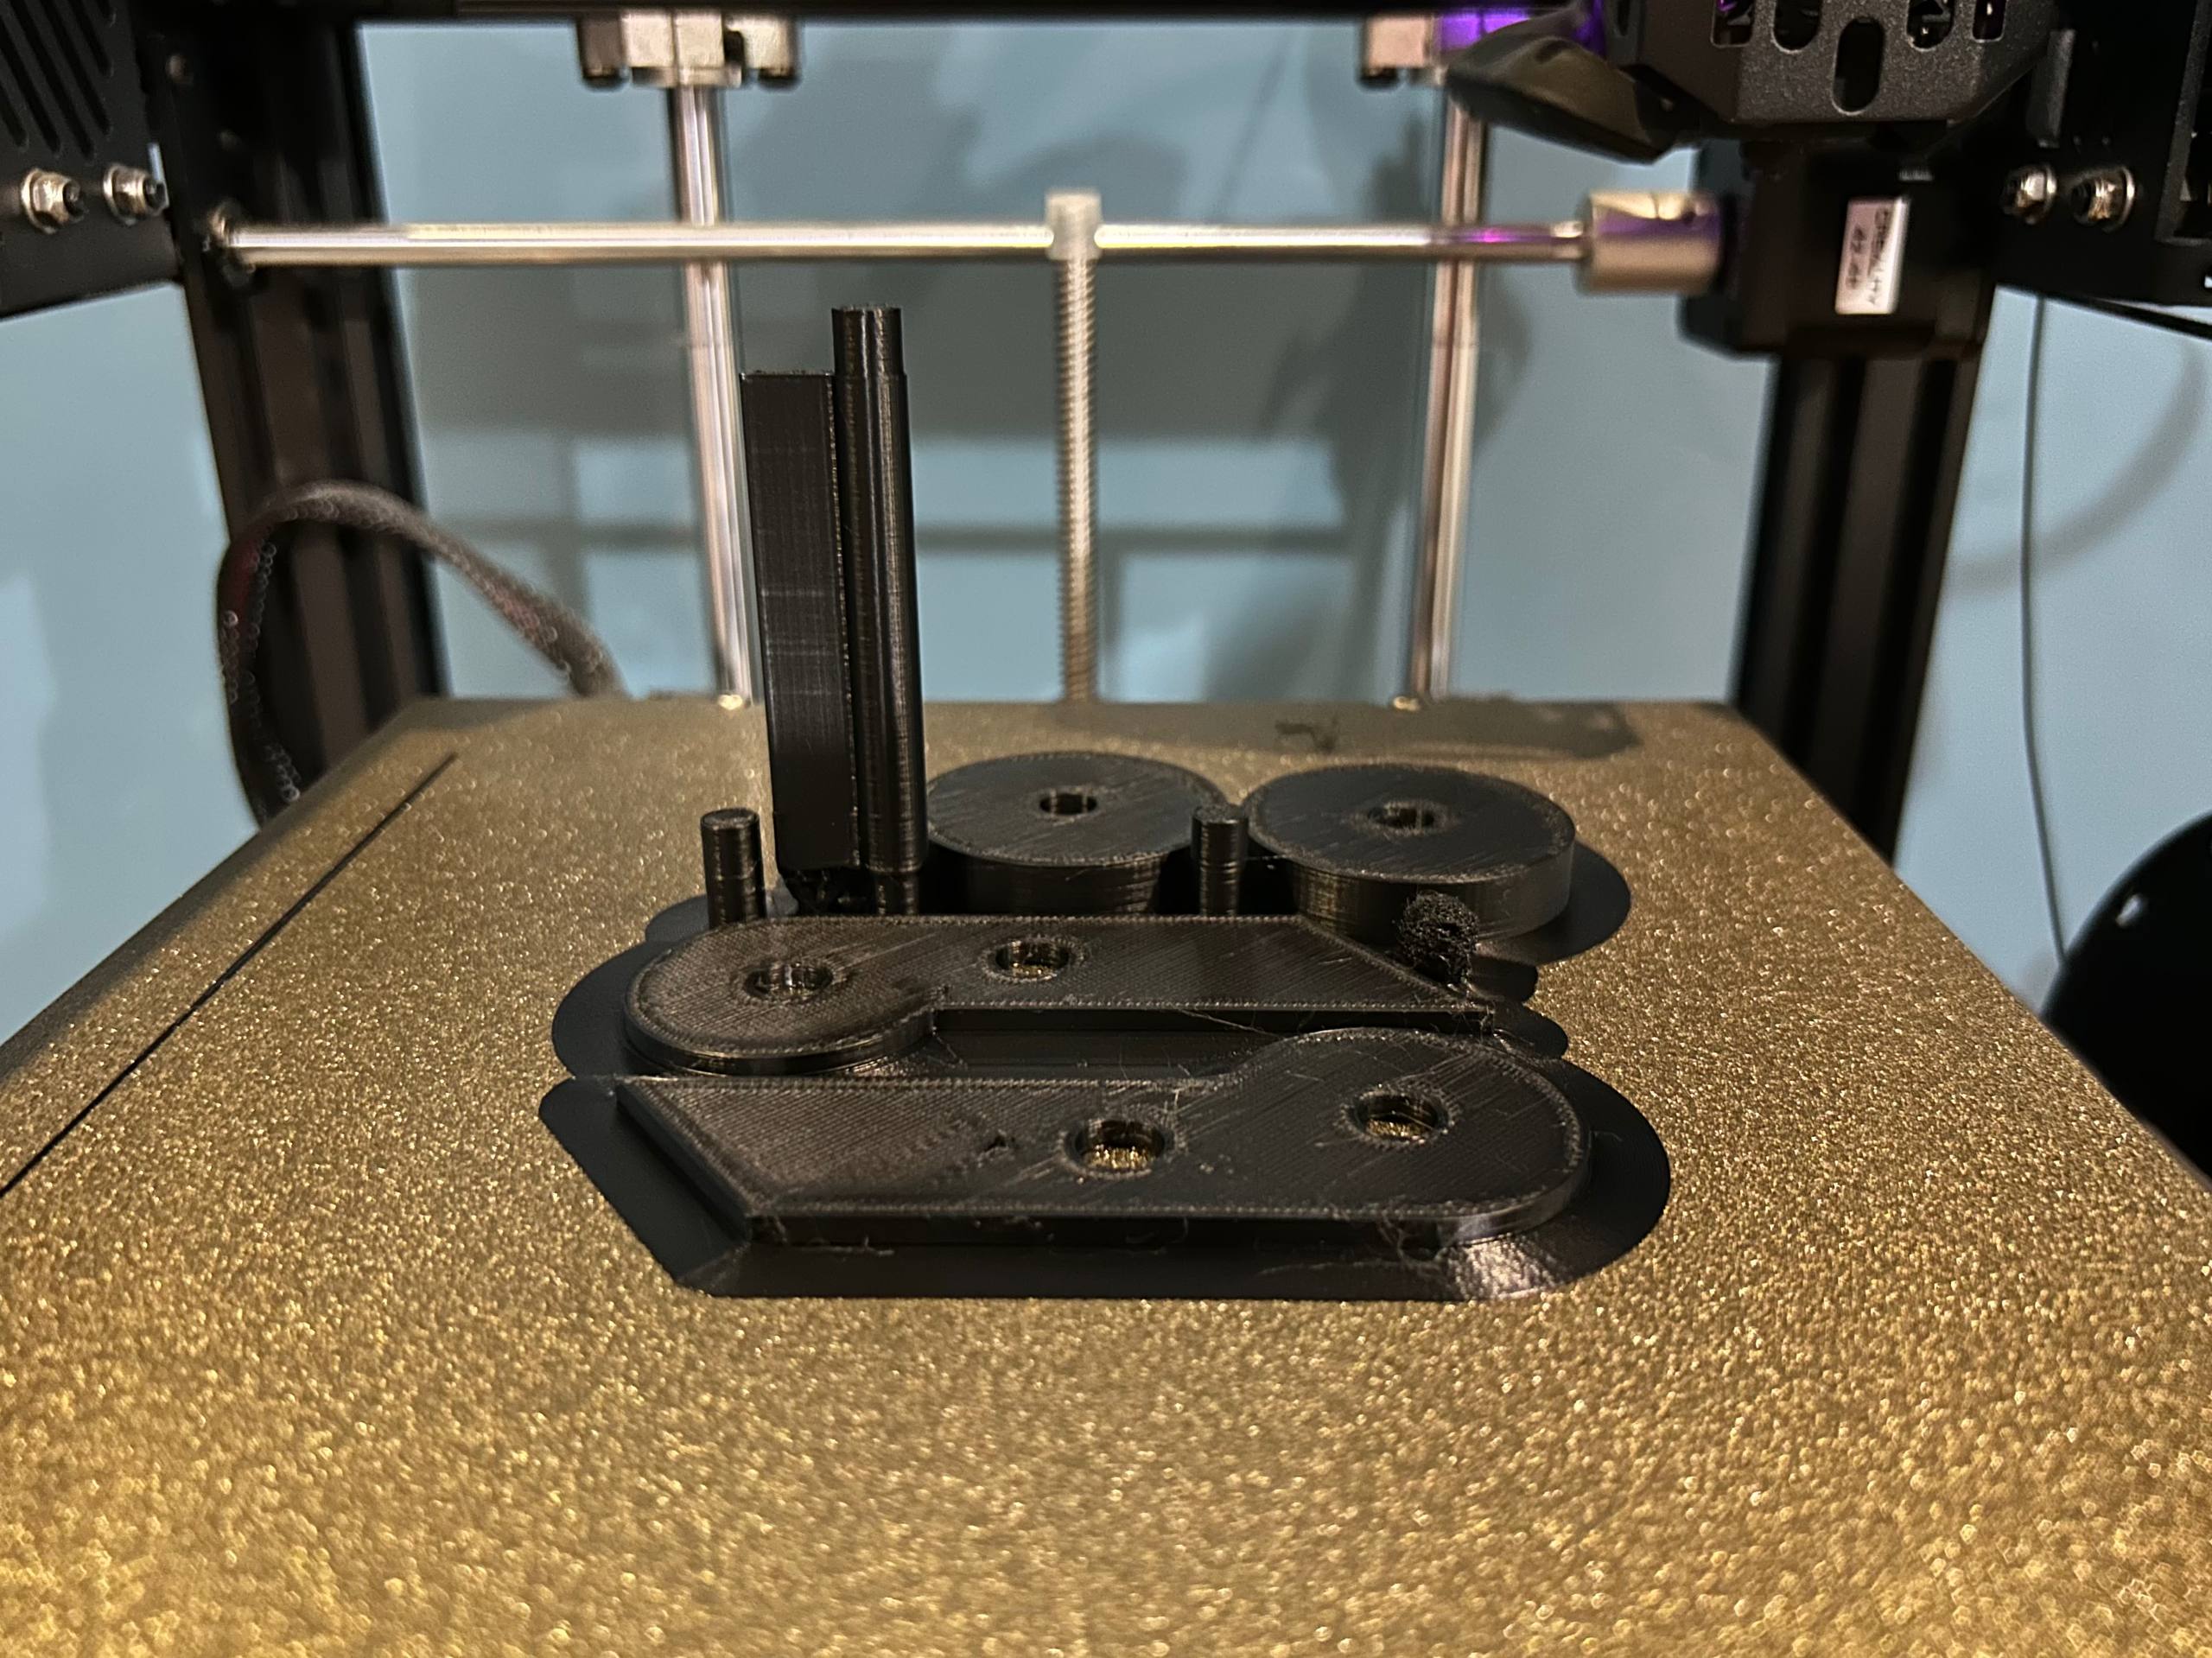
I captured this photograph just as the piece was finishing its printing. It should be noted that I integrated a monitoring camera to the printer to monitor the process in real time and prevent failures. In addition, I replaced the original surface with a textured PEI sheet, which significantly improves adhesion during printing and makes it easier for parts to take off once finished
Process
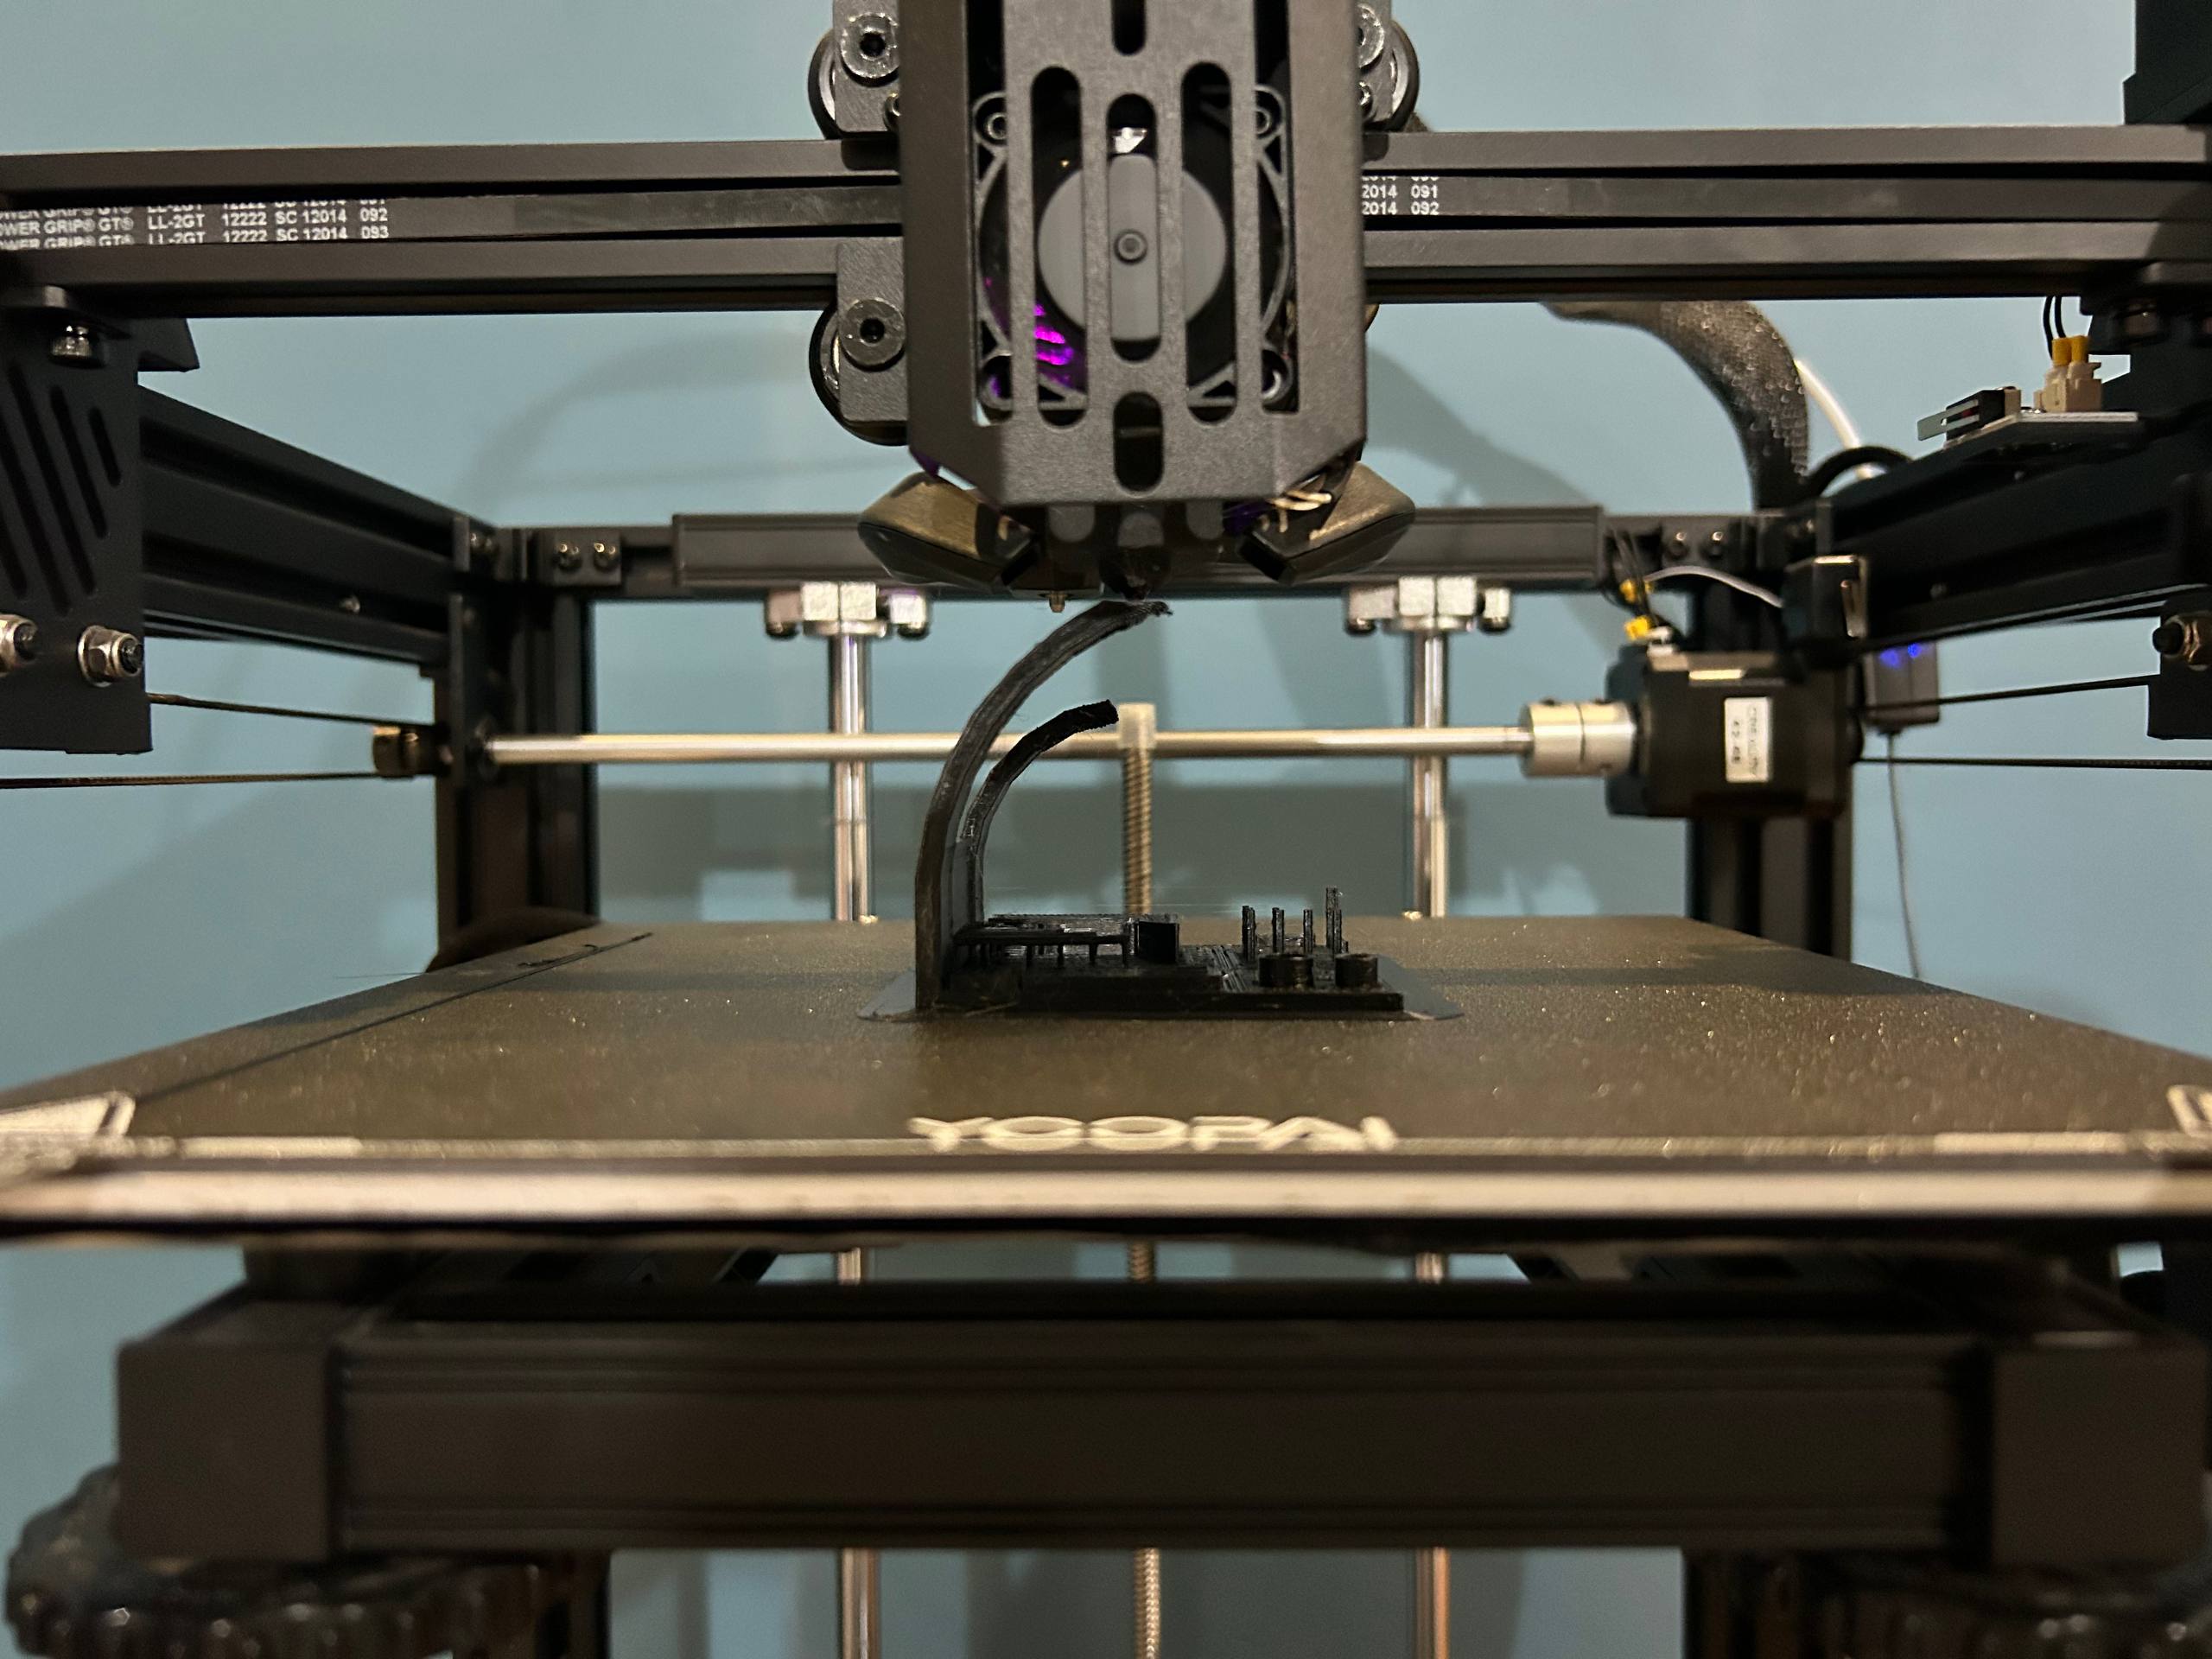
Once the printing is finished, we remove the part from the bed and proceed to inspect the technical details. This test is fundamental, as it allows us to visually assess the quality of layers, the accuracy of angles and the effectiveness of retractions in our Ender 5 S1.
The Design: Kinetic Structure
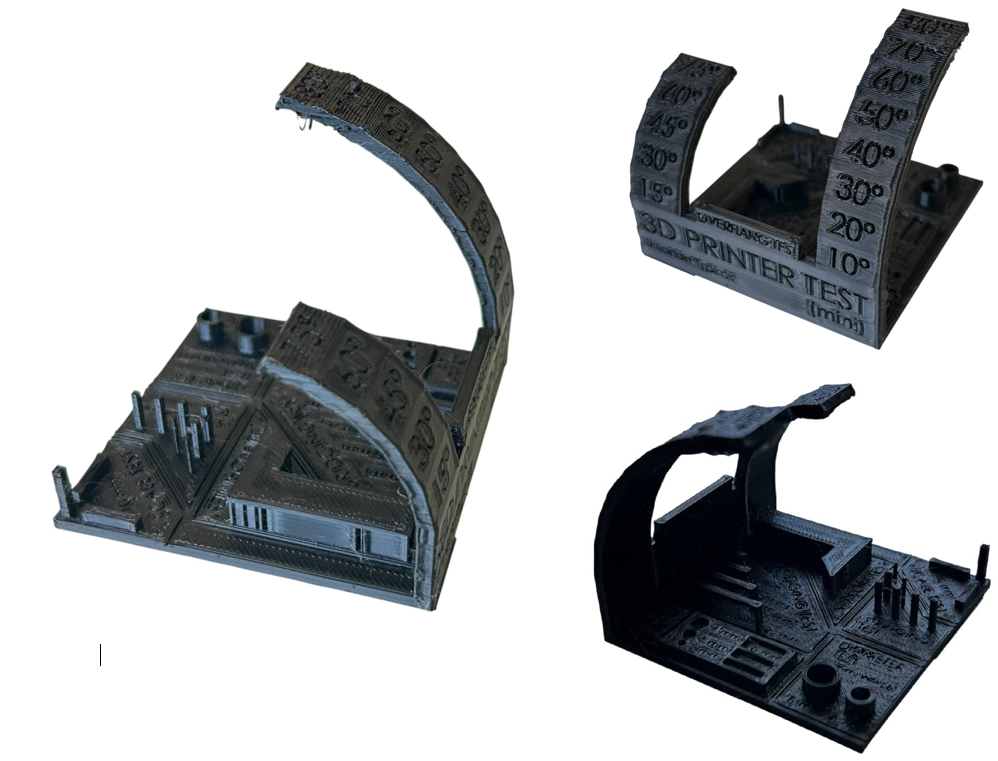
When analyzing the results of the torture test printed on my Creality Ender 5 S1, I can conclude that the machine has a very solid base calibration, especially after having installed the textured PEI sheet, since no trace of warping or lifting is observed at the corners of the base. When inspecting the finished part, I notice that the cube structure of the printer handles inertia excellently at high speed, making the "3D Printer Test" letters and engraved details perfectly readable without phantom vibrations. As for the overhangs, the layer ventilation system demonstrates its effectiveness by maintaining the shape of the curved ramp with great cleanliness up to approximately 65°, showing only a slight roughness at the most critical angles near 80°. On the other hand, bridge testing reveals that the Sprite direct extruder manages to tighten filament in the air with minimal drop, which confirms that speed and temperature are well synchronized. However, by carefully observing the vertical posts of the retraction test, I detected the presence of some very fine threads or stringing. This tells me that, although the flow is constant, I can still optimize a little more the retraction parameters in Cura Slicer to completely eliminate these remains of material between paths. Ultimately, the piece confirms to me that my team is ready for demanding projects, requiring just a fine adjustment in the retracting distance to achieve technical perfection.
Advantages and Limitations of 3D Printing
3D printing, while revolutionary, involves a balance between design freedom and technical constraints. Based on my experience with the Ender 5 S1, here is an analysis of its performance:
| Advantages | Limitations |
|---|---|
| Geometric Complexity: Ability to create internal structures and "impossible" shapes like the kinetic joints in my project. | Surface Finish: Visible layer lines (staircase effect) often require post-processing or functions like "ironing". |
| Rapid Prototyping: Drastic reduction in time from digital concept to physical validation (15% scale models). | Anisotropy: Parts are weaker along the Z-axis (between layers) compared to injection-molded parts. |
| Material Efficiency: Additive process that minimizes waste, especially using infill patterns like Gyroid. | Printing Speed: High-quality results still require significant time, even with high-speed "cube" printers. |
| Customization: Each piece can be unique without the need for expensive molds or specialized tooling. | Design Rules: Constraints like the "45-degree rule" for overhangs and the need for support structures. |
3D print Photogrammetry / LiDAR
For the development of my individual task, I chose to make a full-scale prototype of my project using 3D printing. This model will allow me to physically validate the proportions and design before proceeding with the final phase of execution.
Model
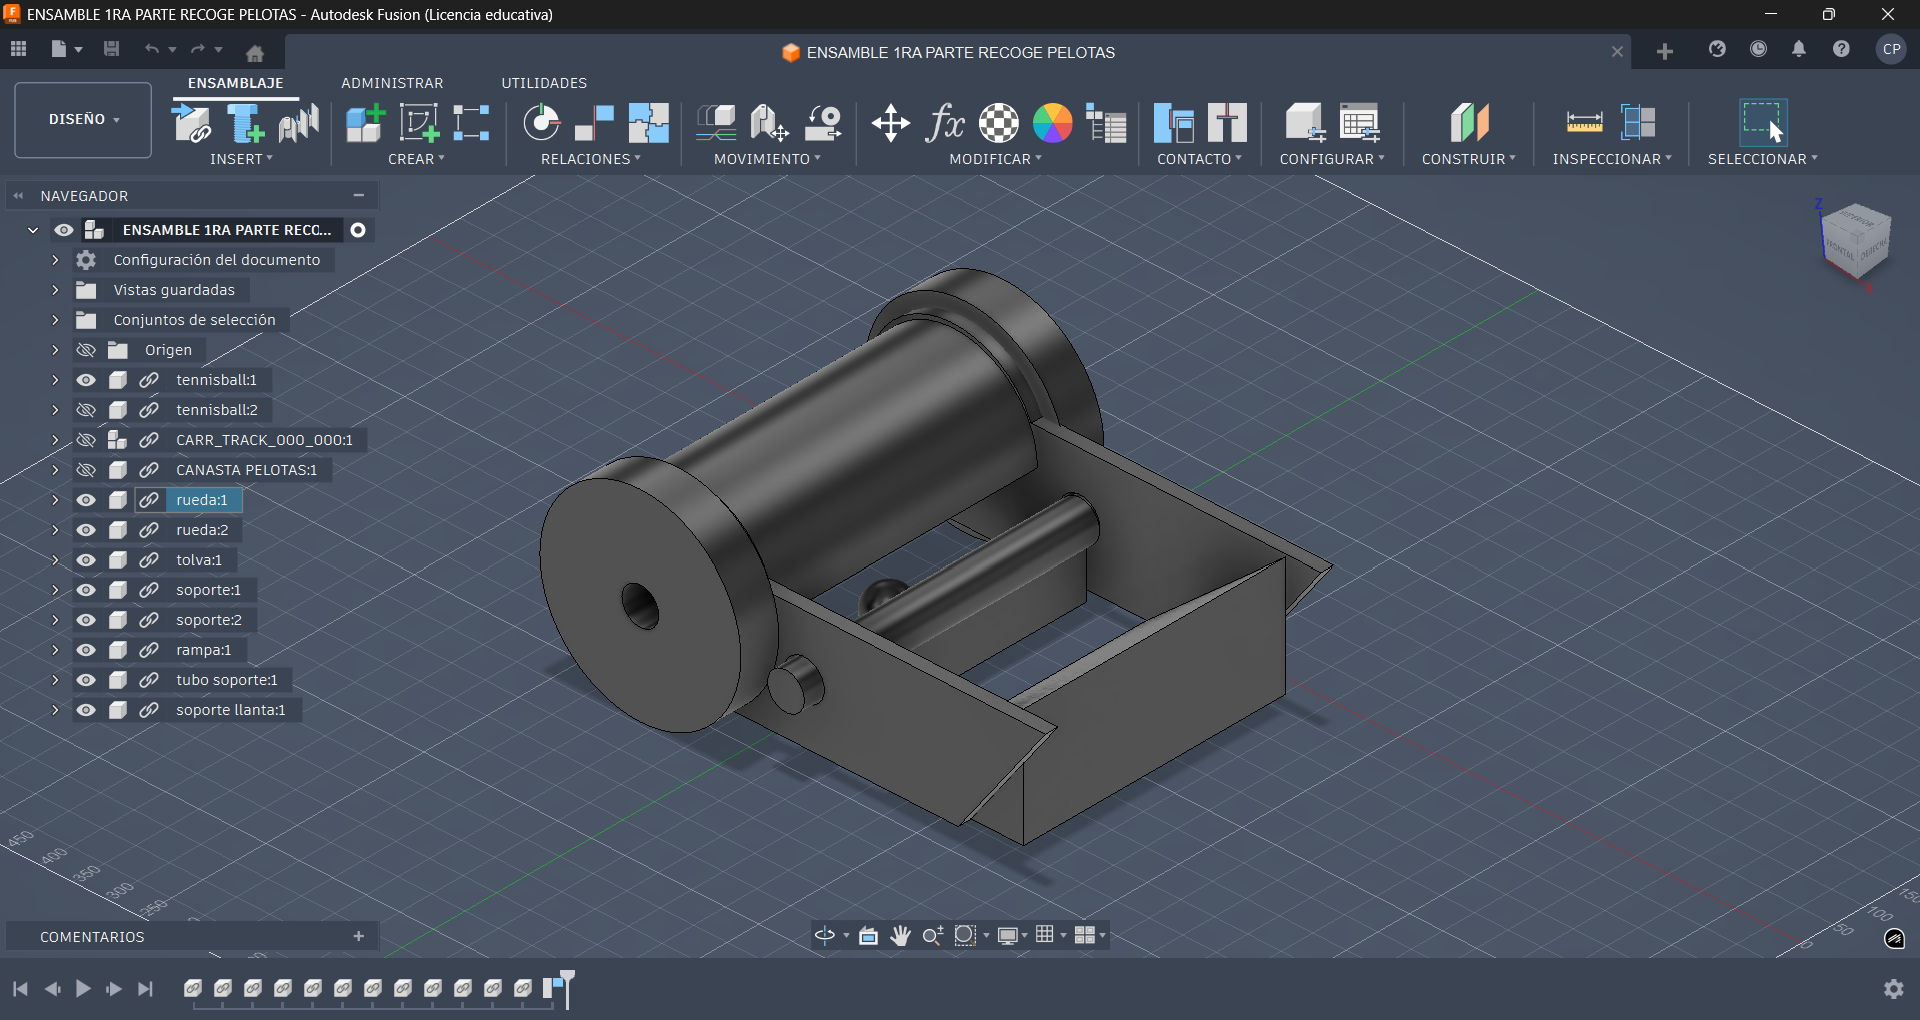
Once the 3D design is finished, I export each component of the model individually in STL format. This methodology is fundamental so that when importing them into Ultimaker Cura, the software can process the geometry of each piece independently, allowing me to visualize the actual volume and orient each object optimally for printing.
Ultimaker Cura
After importing the files into Ultimaker Cura, we proceed to scale the models to 15% of their original size. This strategic reduction allows us to manufacture a low fidelity prototype to validate the geometry and assembly of the design, significantly optimizing filament consumption and printing times.
Final Model
At this stage the finished pieces can be observed. As a technical observation, I identified that I did not activate the ironing function, which is why the top layer retains the marks of the extruder’s path. However, the finish is sufficient to proceed with the assembly and carry out the functional tests of the prototype.
3D Scanning Photogrammetry / LiDAR
The digitization process was carried out using two applications specialized in 3D scanning: Maker Lab and Meshy, in order to compare results.
Image
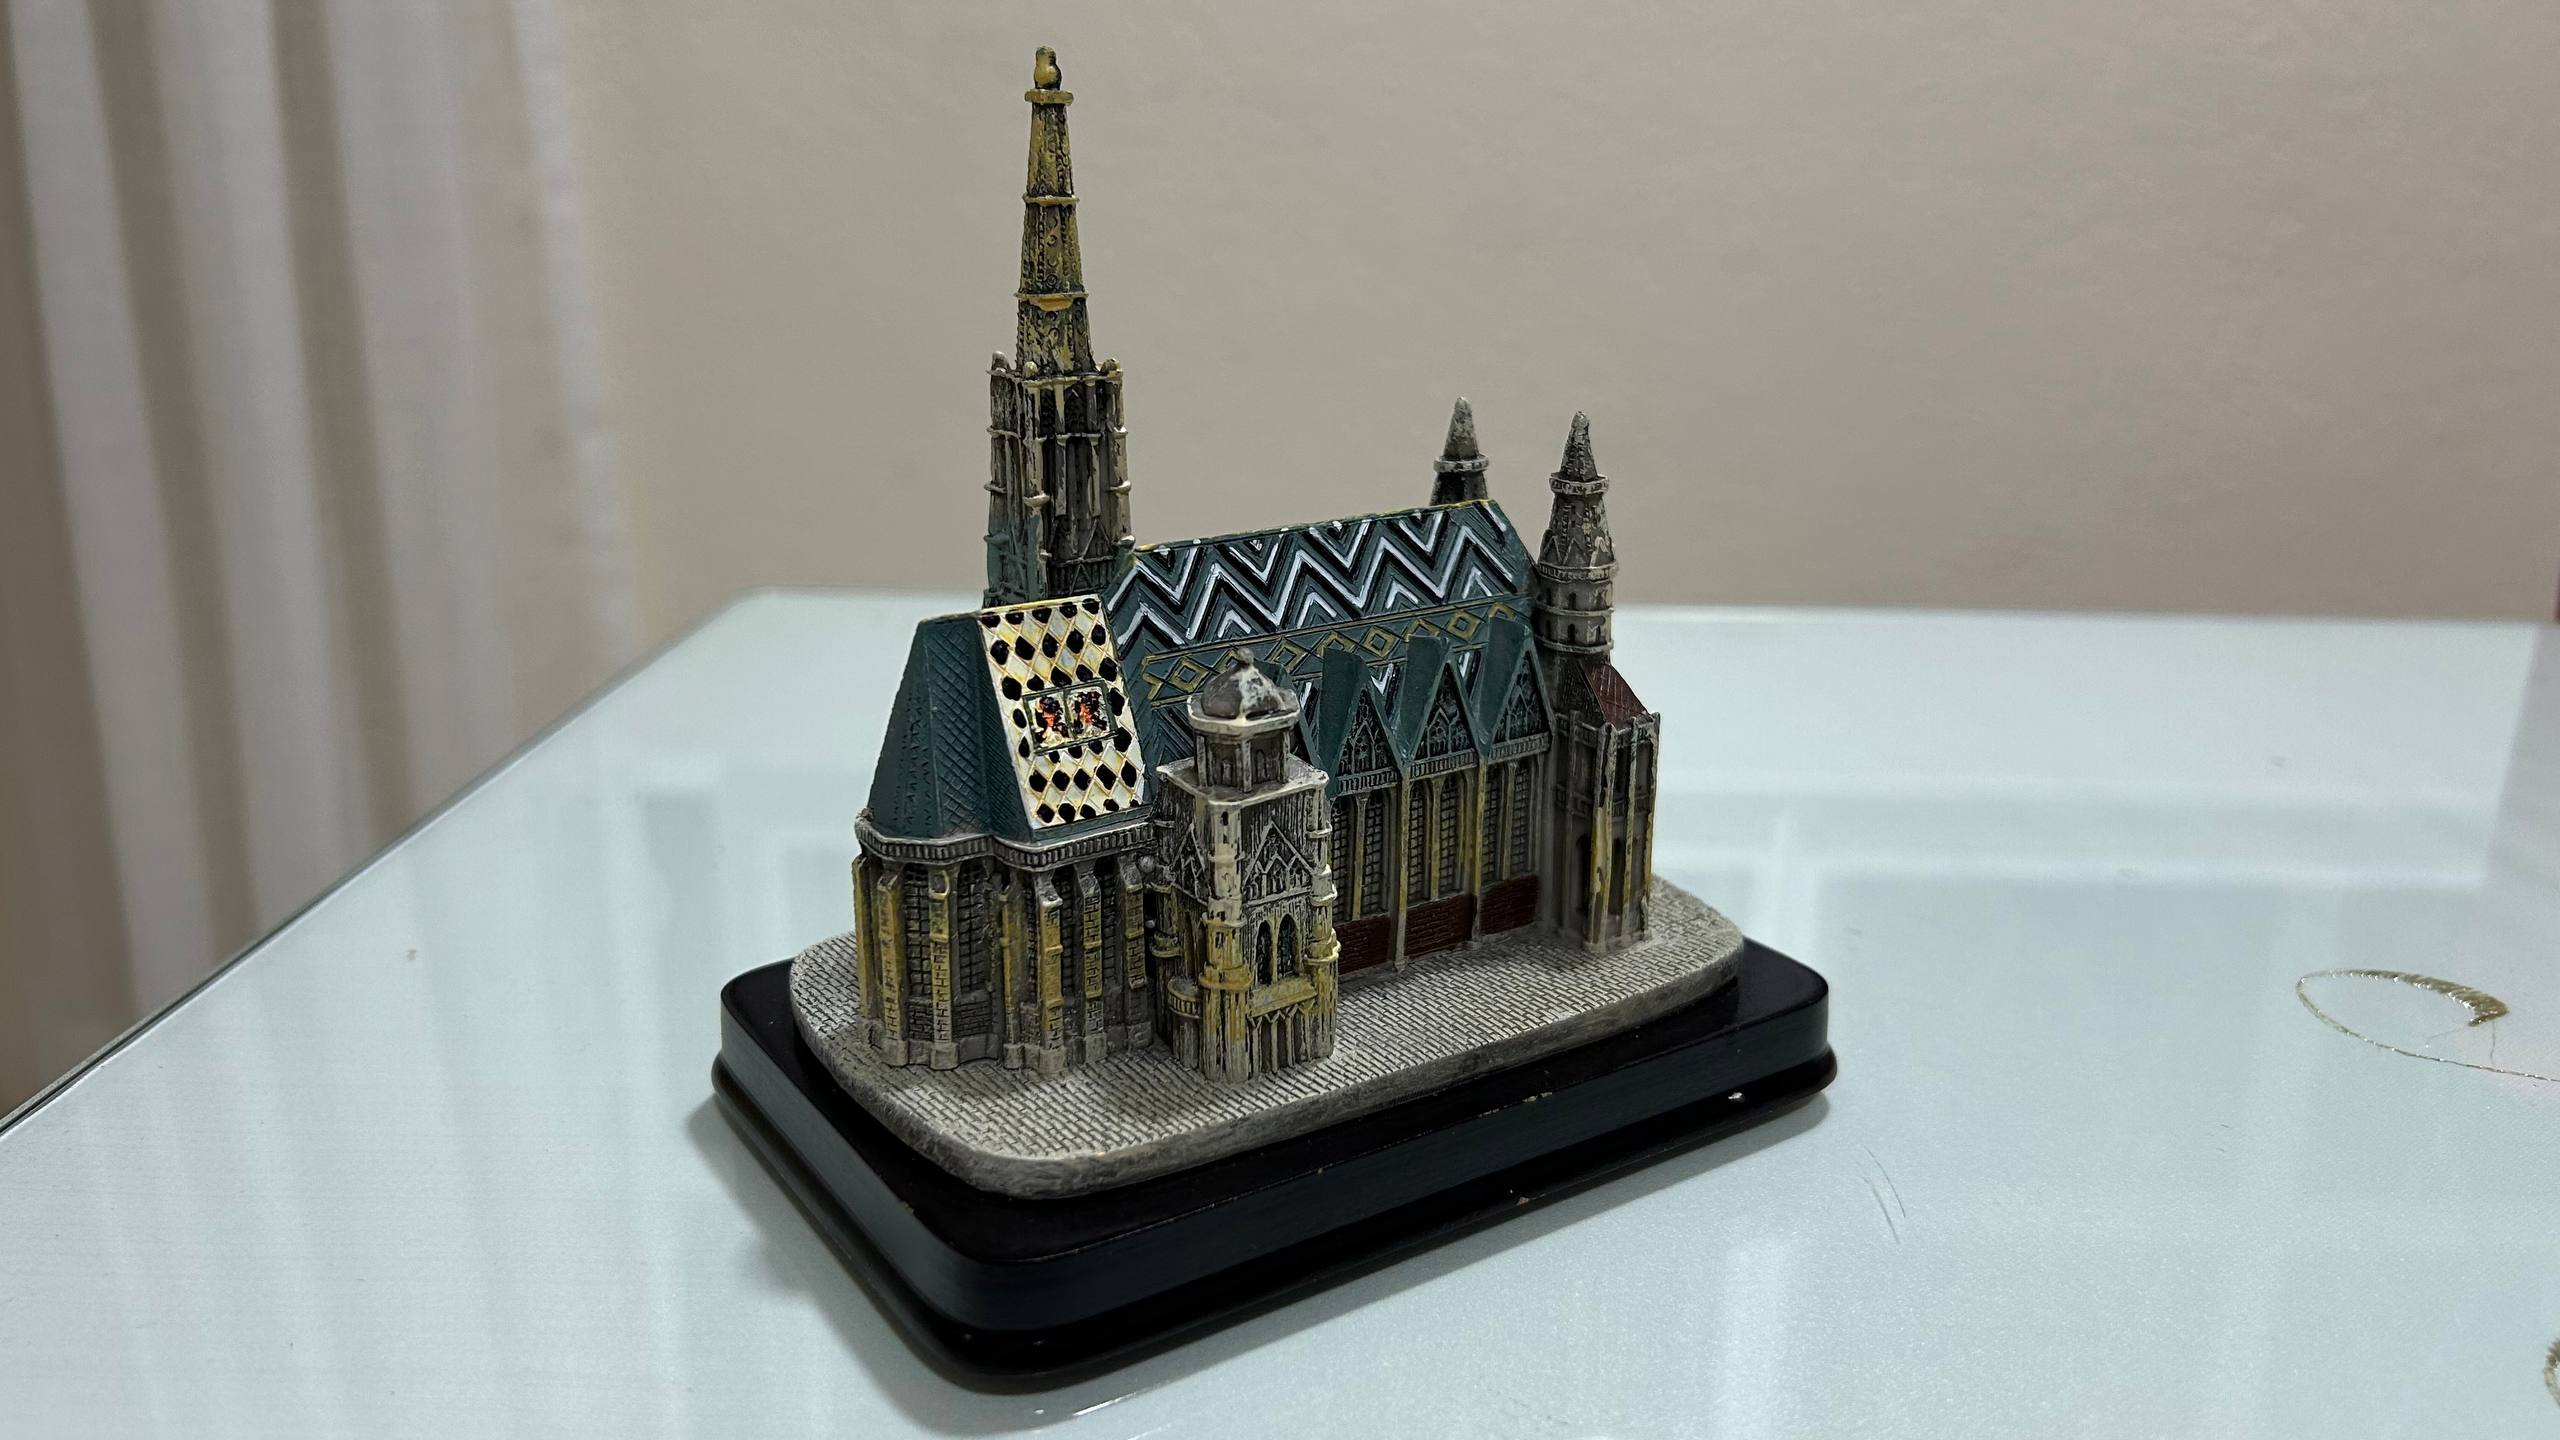
To generate the 3D model, we captured images of the object from various angles, either in vertical or horizontal orientation. However, for results with a higher level of detail and accuracy, it is ideal to make a 360-degree video, which guarantees full geometry coverage for the reconstruction software.
Maker Lab

We will use the Maker Lab platform, specifically its artificial intelligence module, to process the captured material. When uploading the video, AI algorithms analyze the frames to reconstruct the geometry and automatically generate the 3D model ready for later editing.
Ultimaker Cura
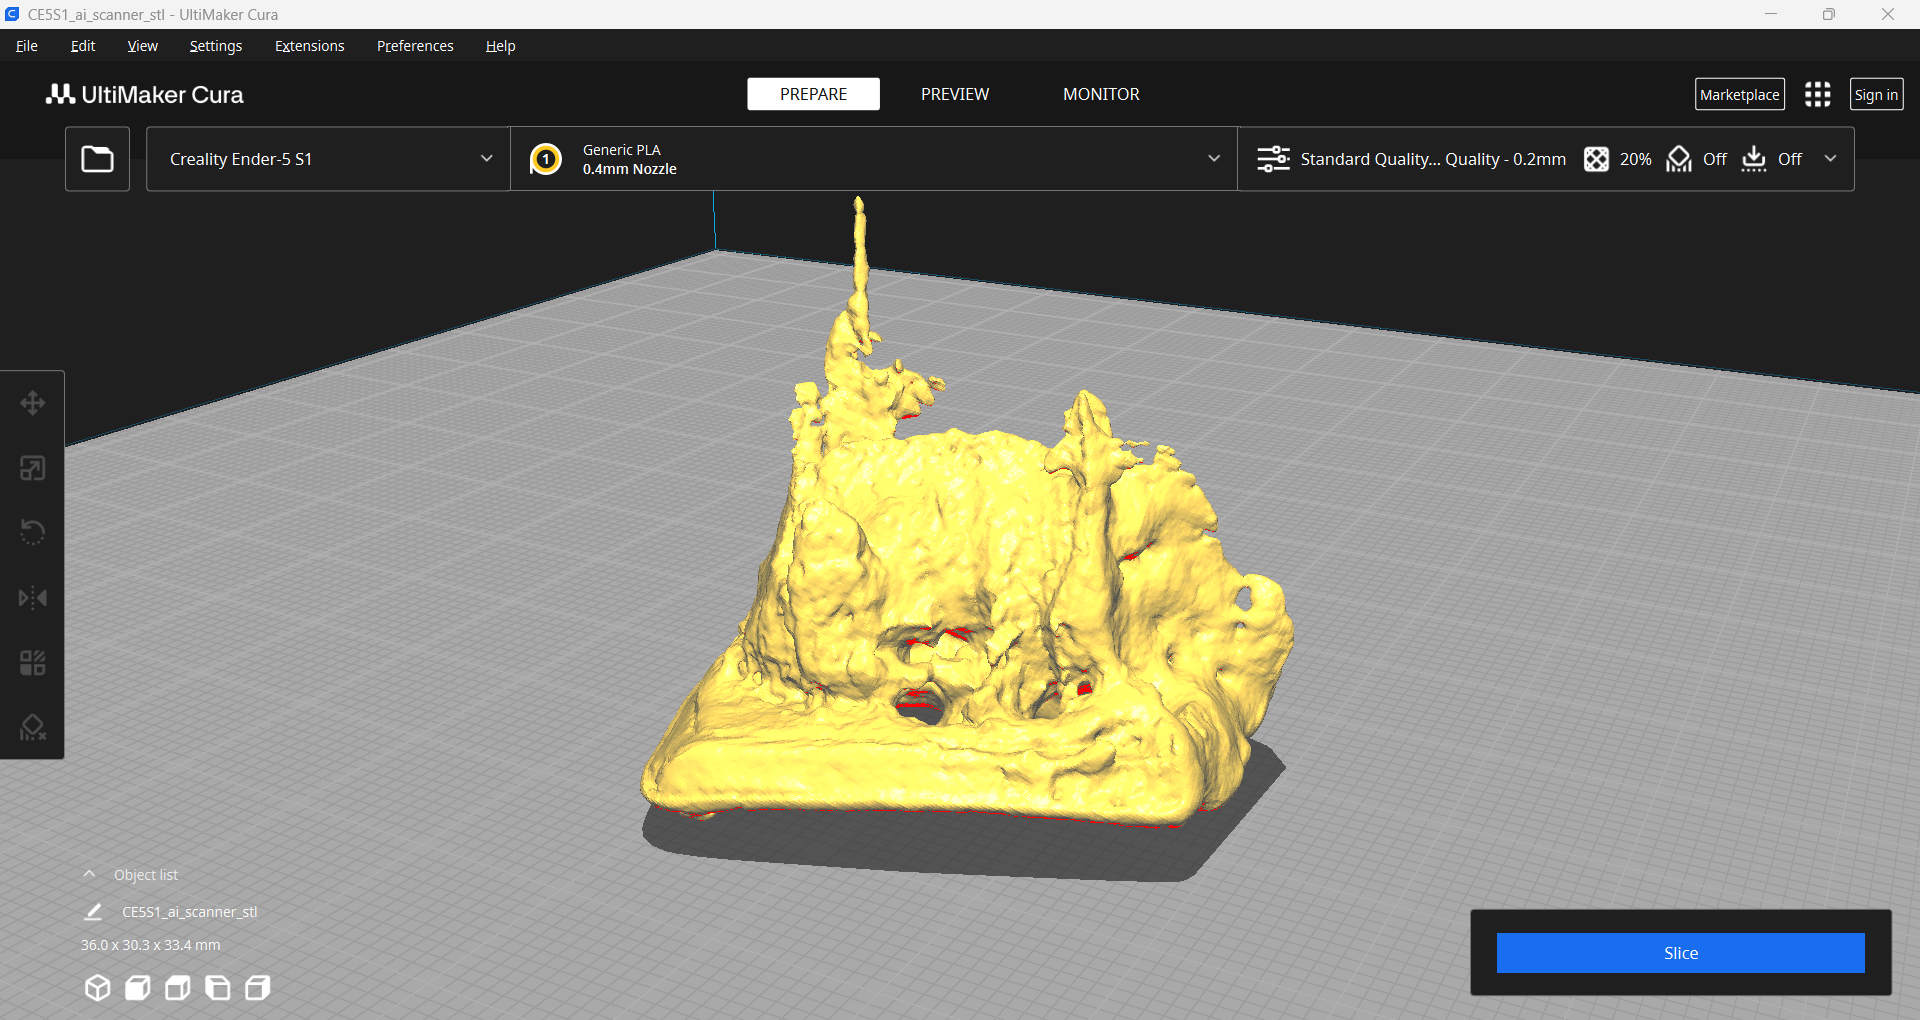
Once the STL file is downloaded and uploaded to Ultimaker Cura, it becomes clear that the generated model lacks the expected fidelity with respect to the actual object. There is a noticeable loss of symmetry and an absence of fine details, indicating that the resulting polygonal mesh is irregular and requires a cleaning or post-processing process to be functional.
Meshy
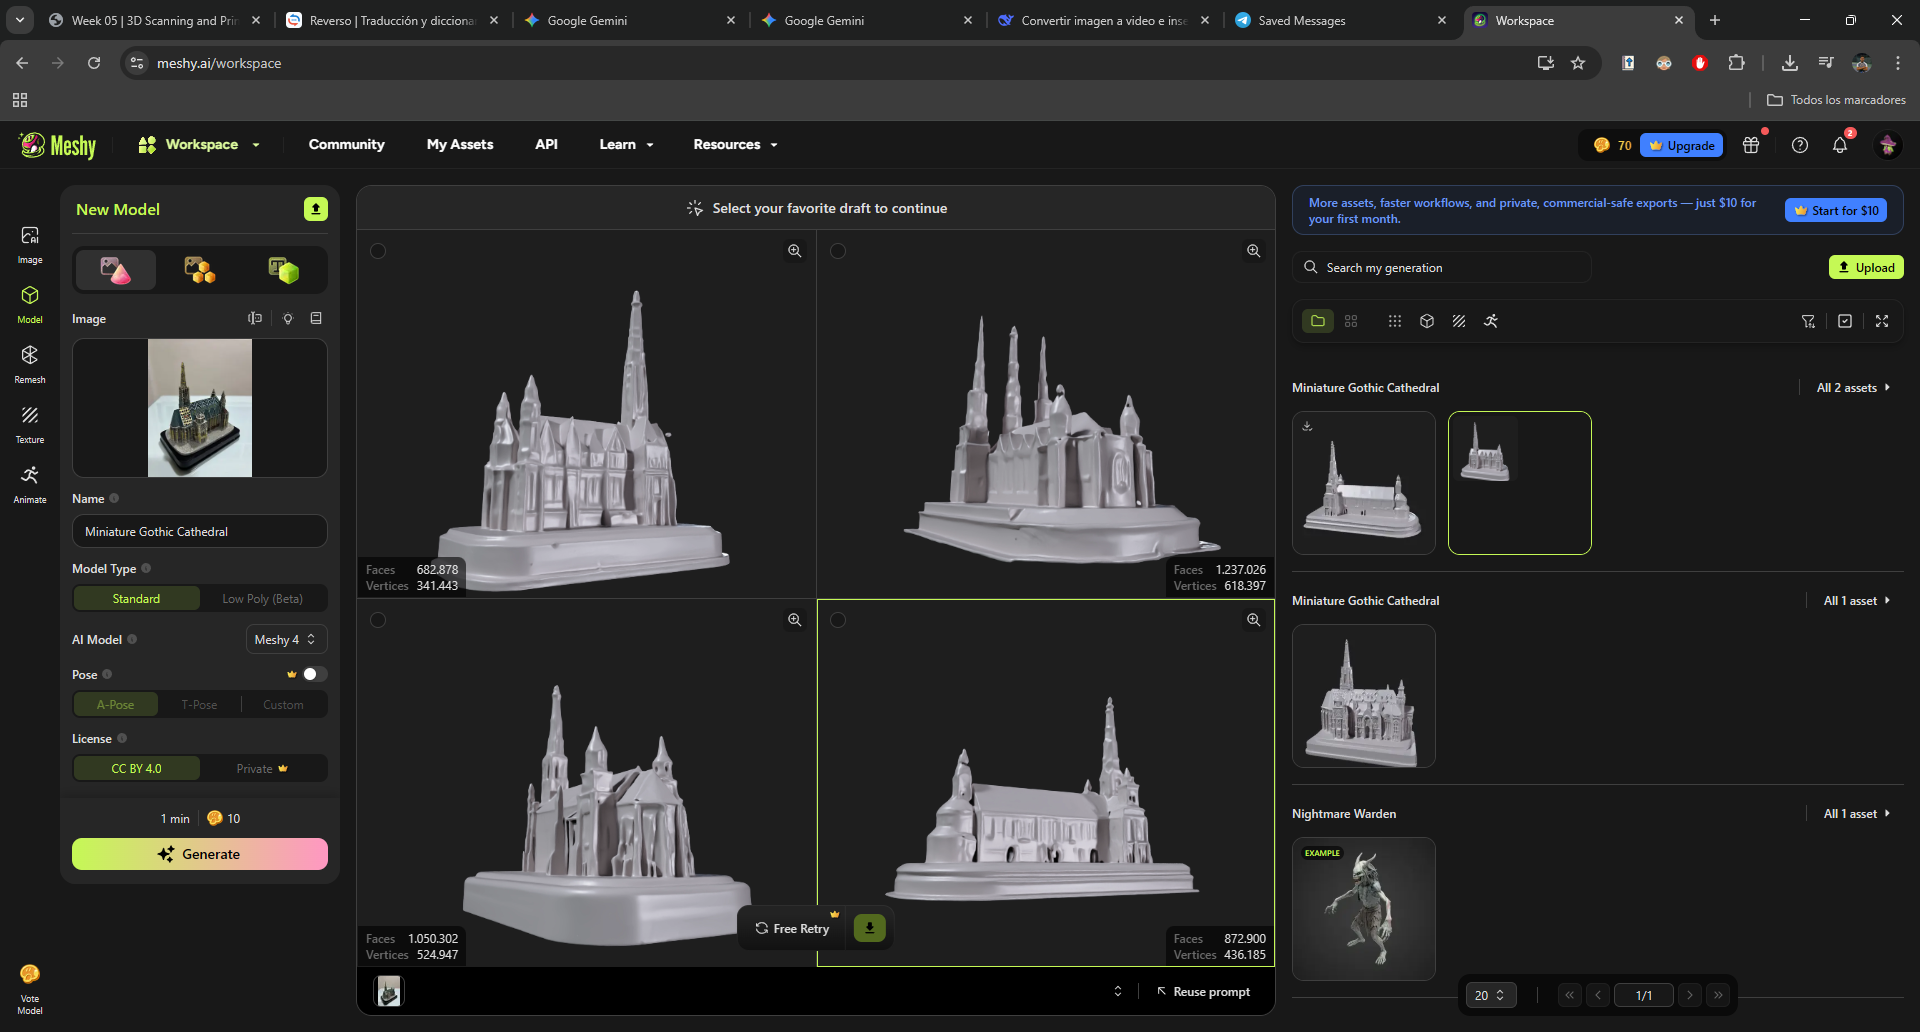
On the Meshy platform, after creating an account, we can access the 3D image generation function. When uploading a photograph, the system processes information and offers us four variants of three-dimensional models; this allows selecting and refining the option that best fits the actual geometry. It should be mentioned that, as a free-access tool, the artificial intelligence model has certain limitations in terms of mesh density and level of detail.
Ultimaker Cura
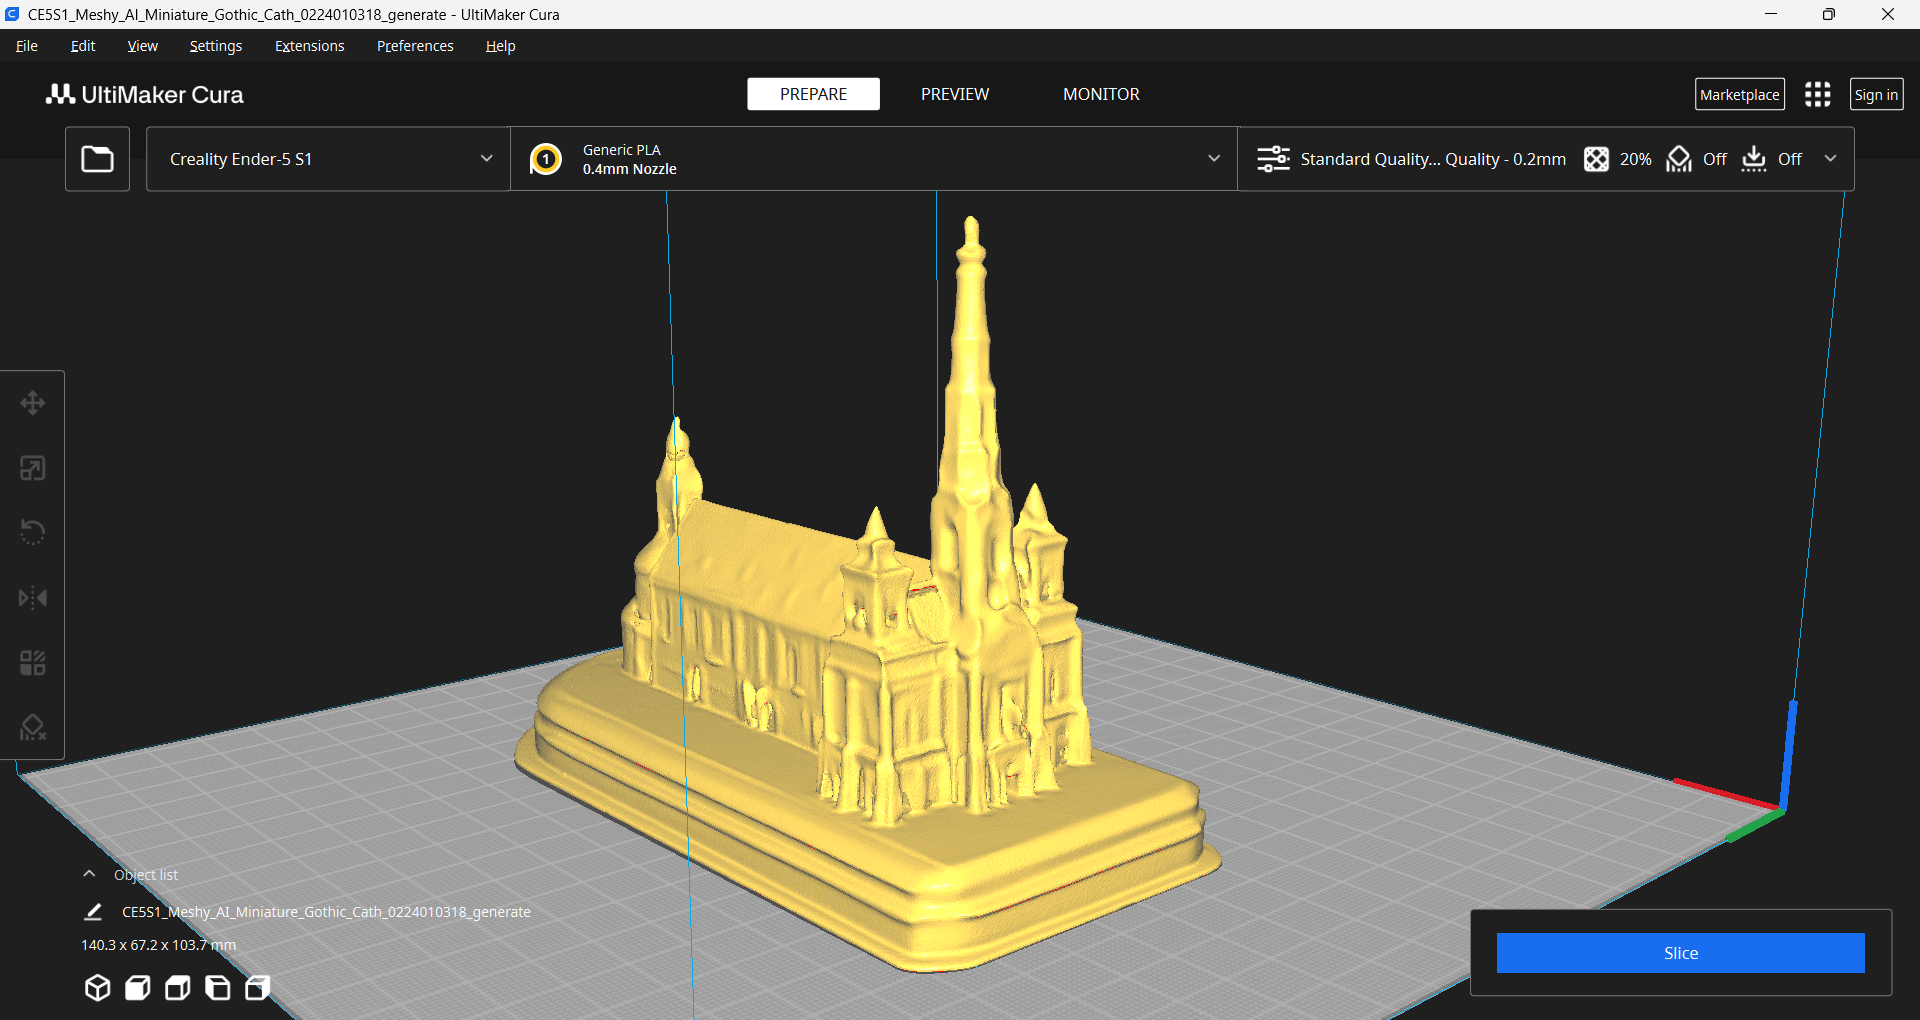
The Meshy platform offers a wide variety of file extensions, which is highly versatile for working in different software ecosystems. In my case, I exported the model in STL format to process it in Ultimaker Cura; when importing it, I could see that both the fidelity of the shape and the level of technical detail are significantly superior to the results obtained previously with Maker Lab.
Final Model
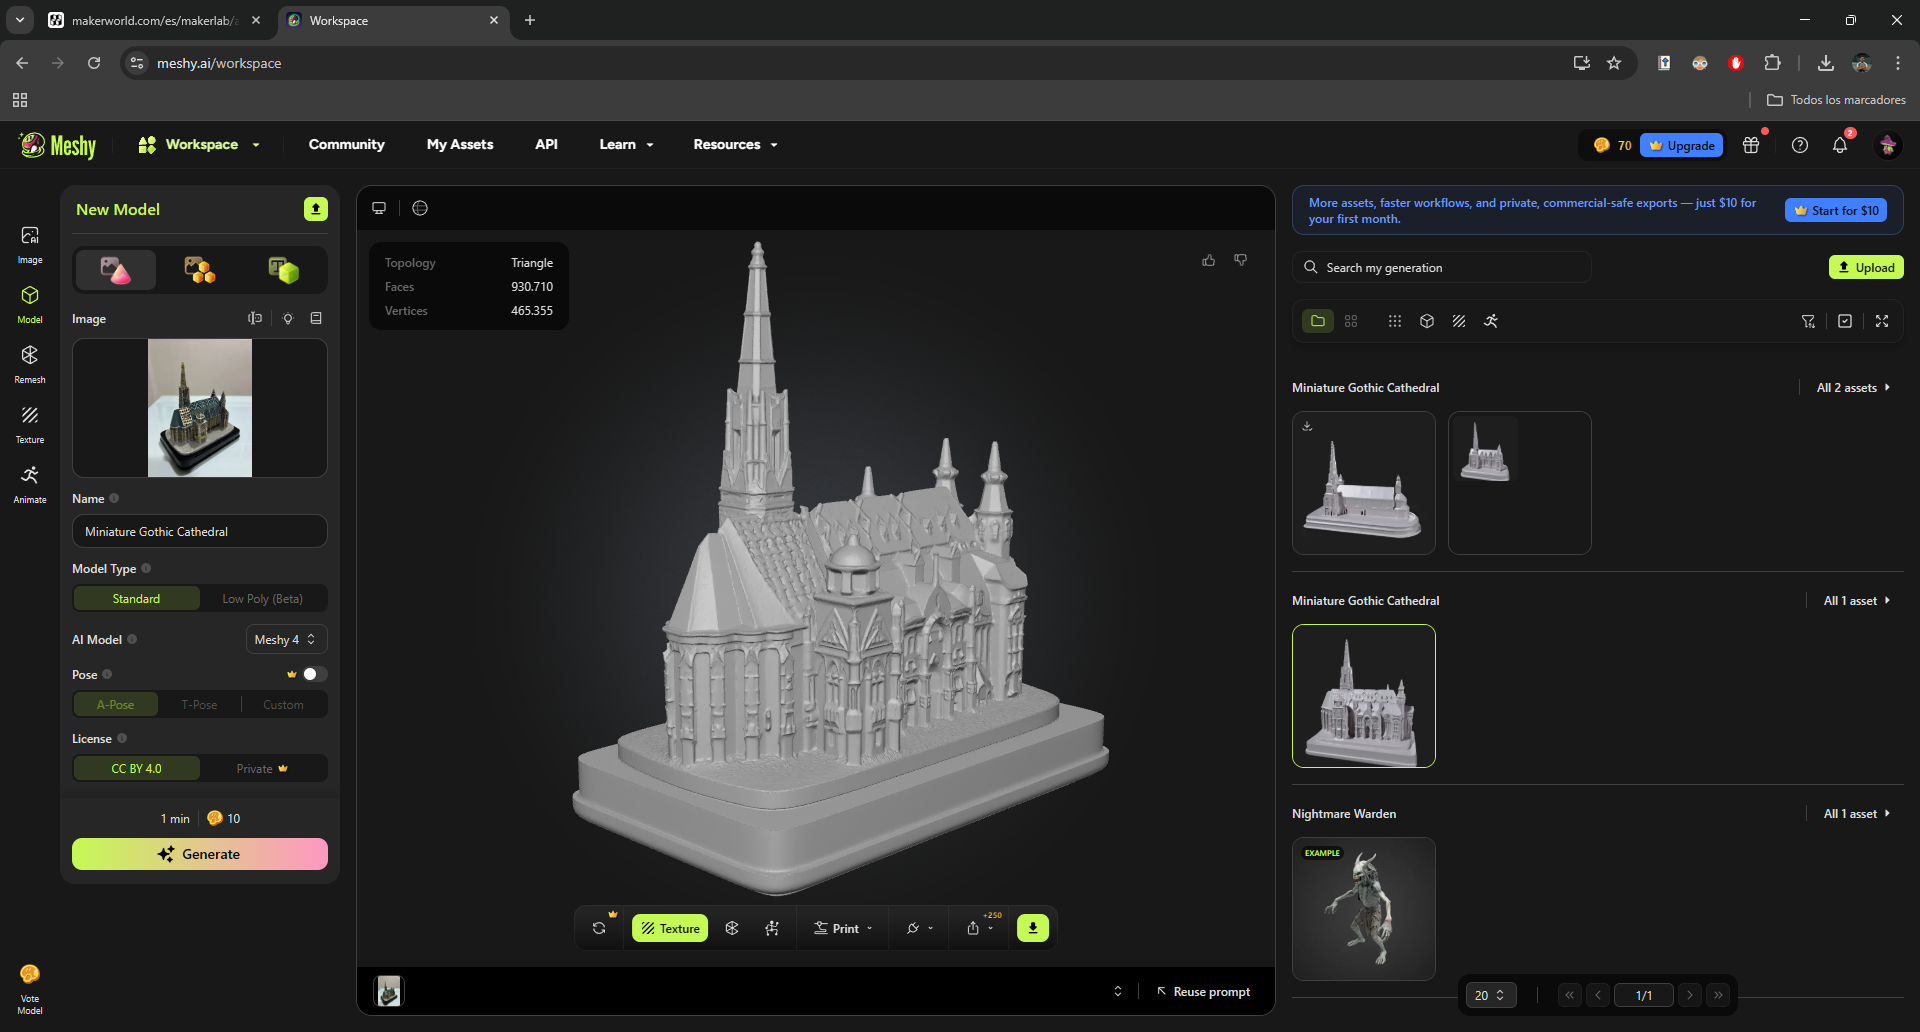
Within the Meshy platform, there is an advanced function capable of generating models with near-perfect accuracy. However, by employing higher-performance artificial intelligence algorithms, this modality requires a paid subscription. For those who prioritize technical fidelity and have no budget constraints, it represents an excellent investment due to the superior quality of the resulting mesh.