2. COMPUTER-AIDED DESIGN
[ MISSION: MASTER THE DIGITAL TOOLS ]
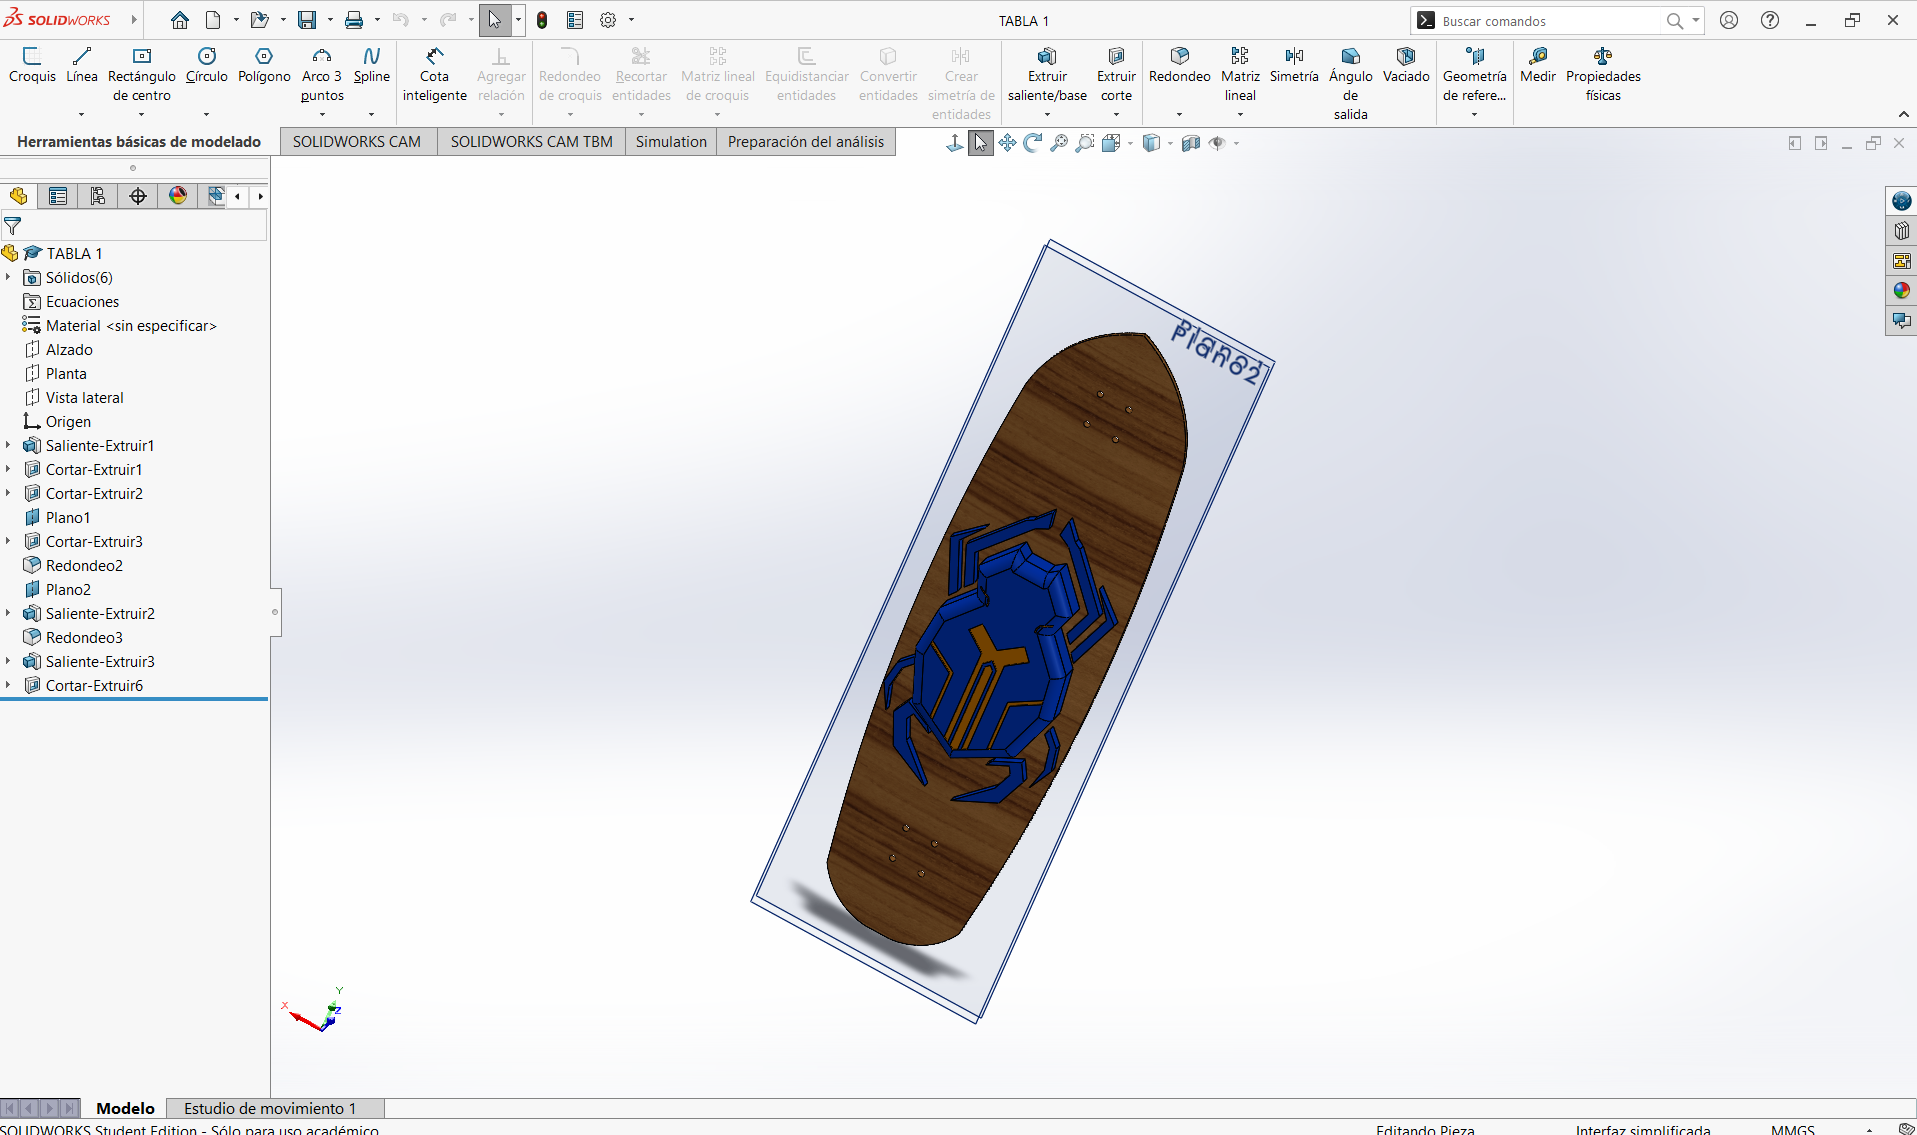
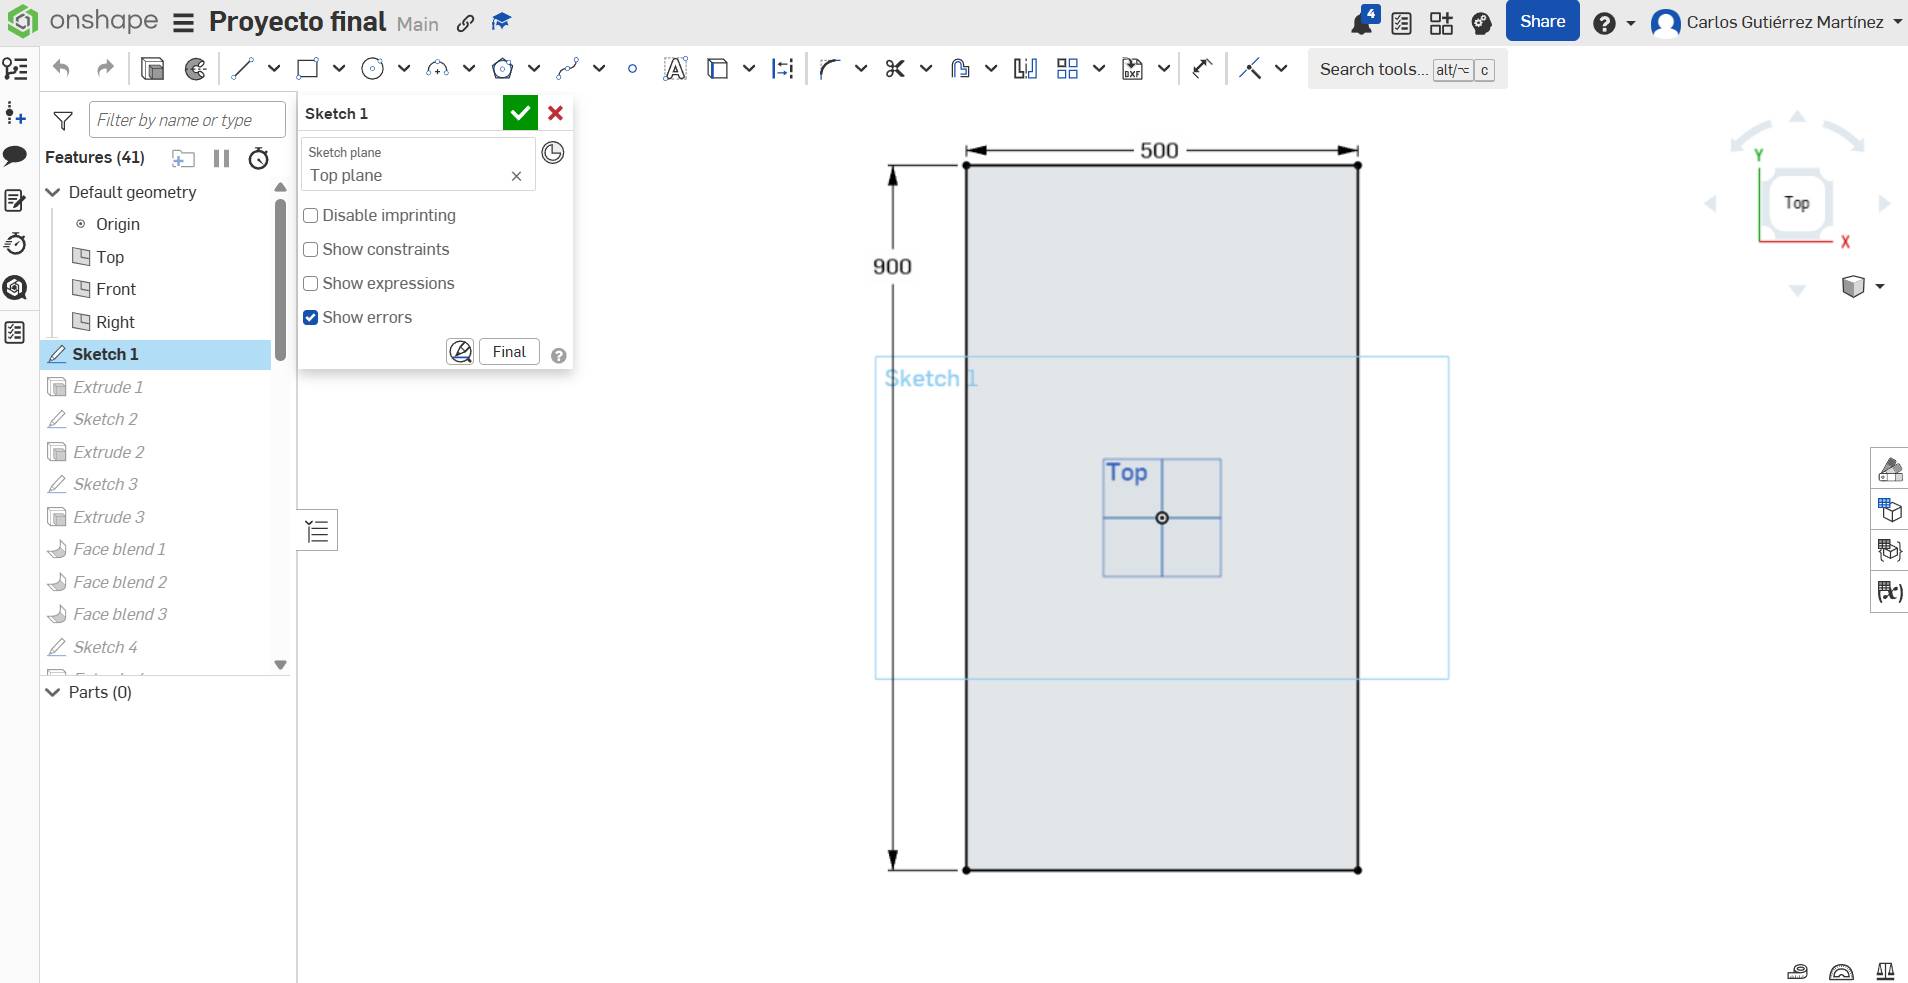
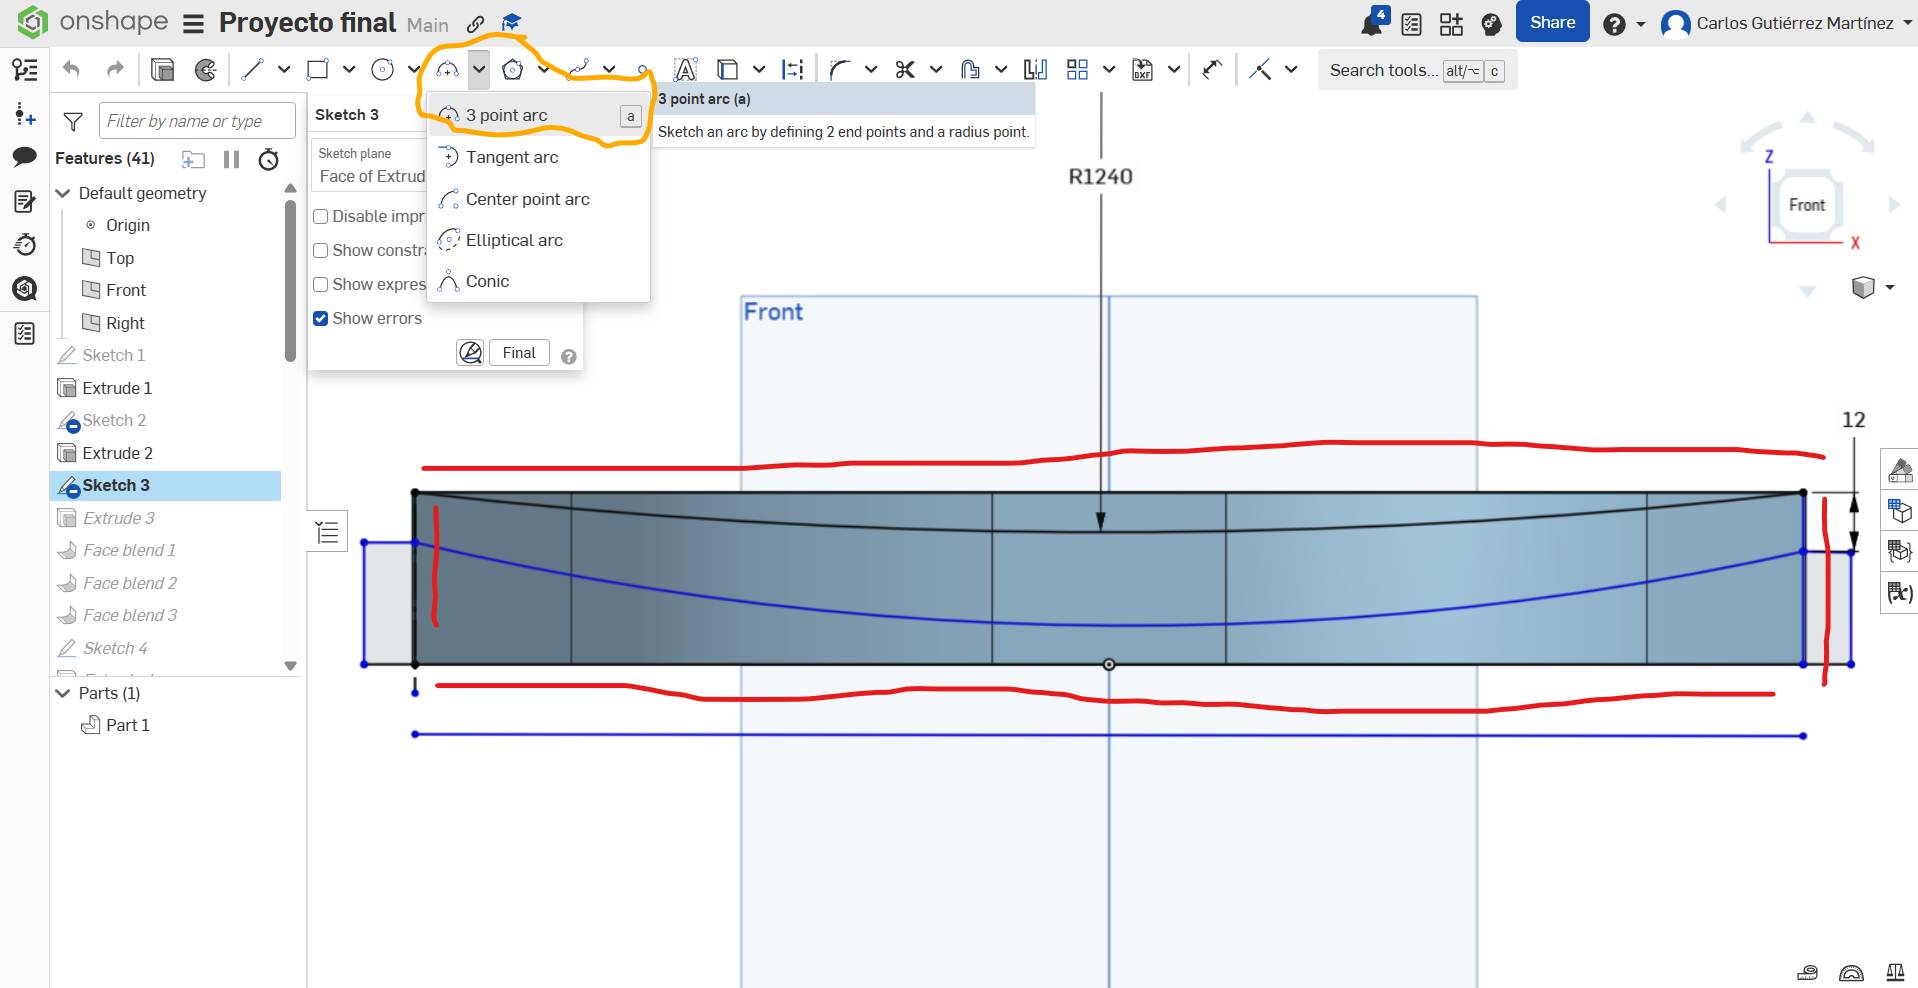
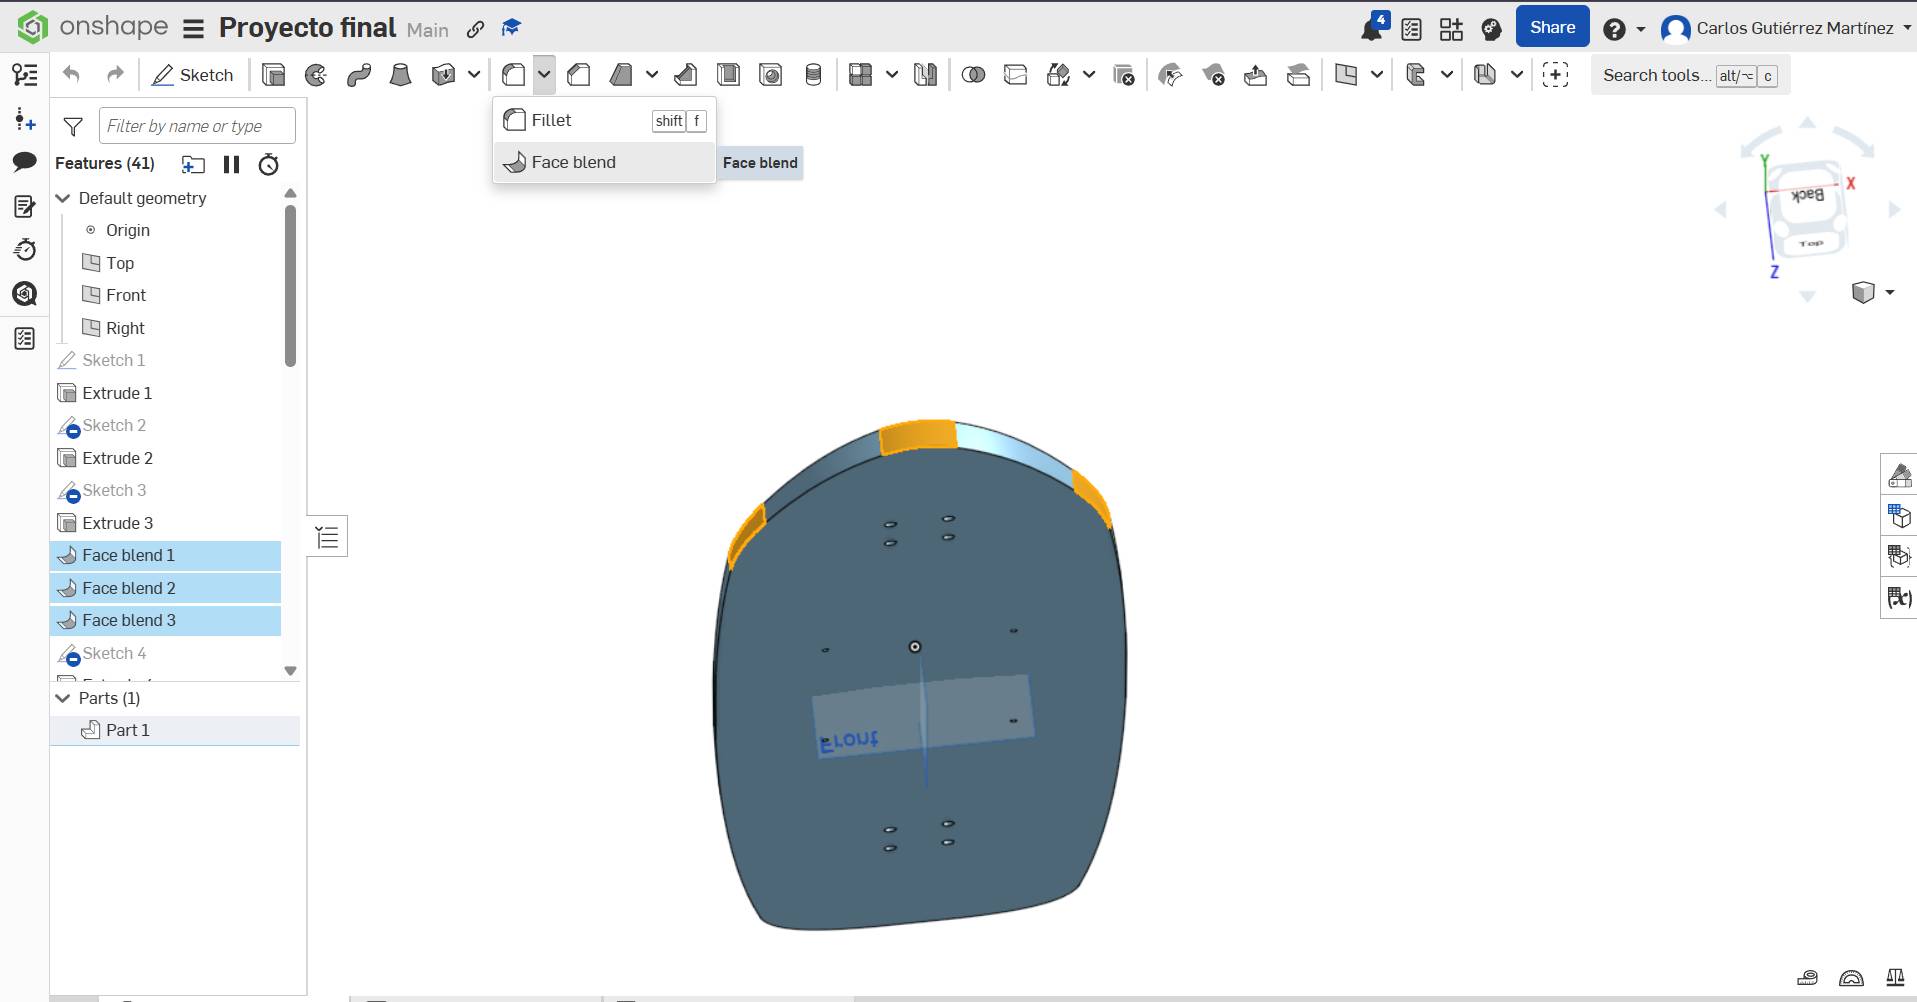
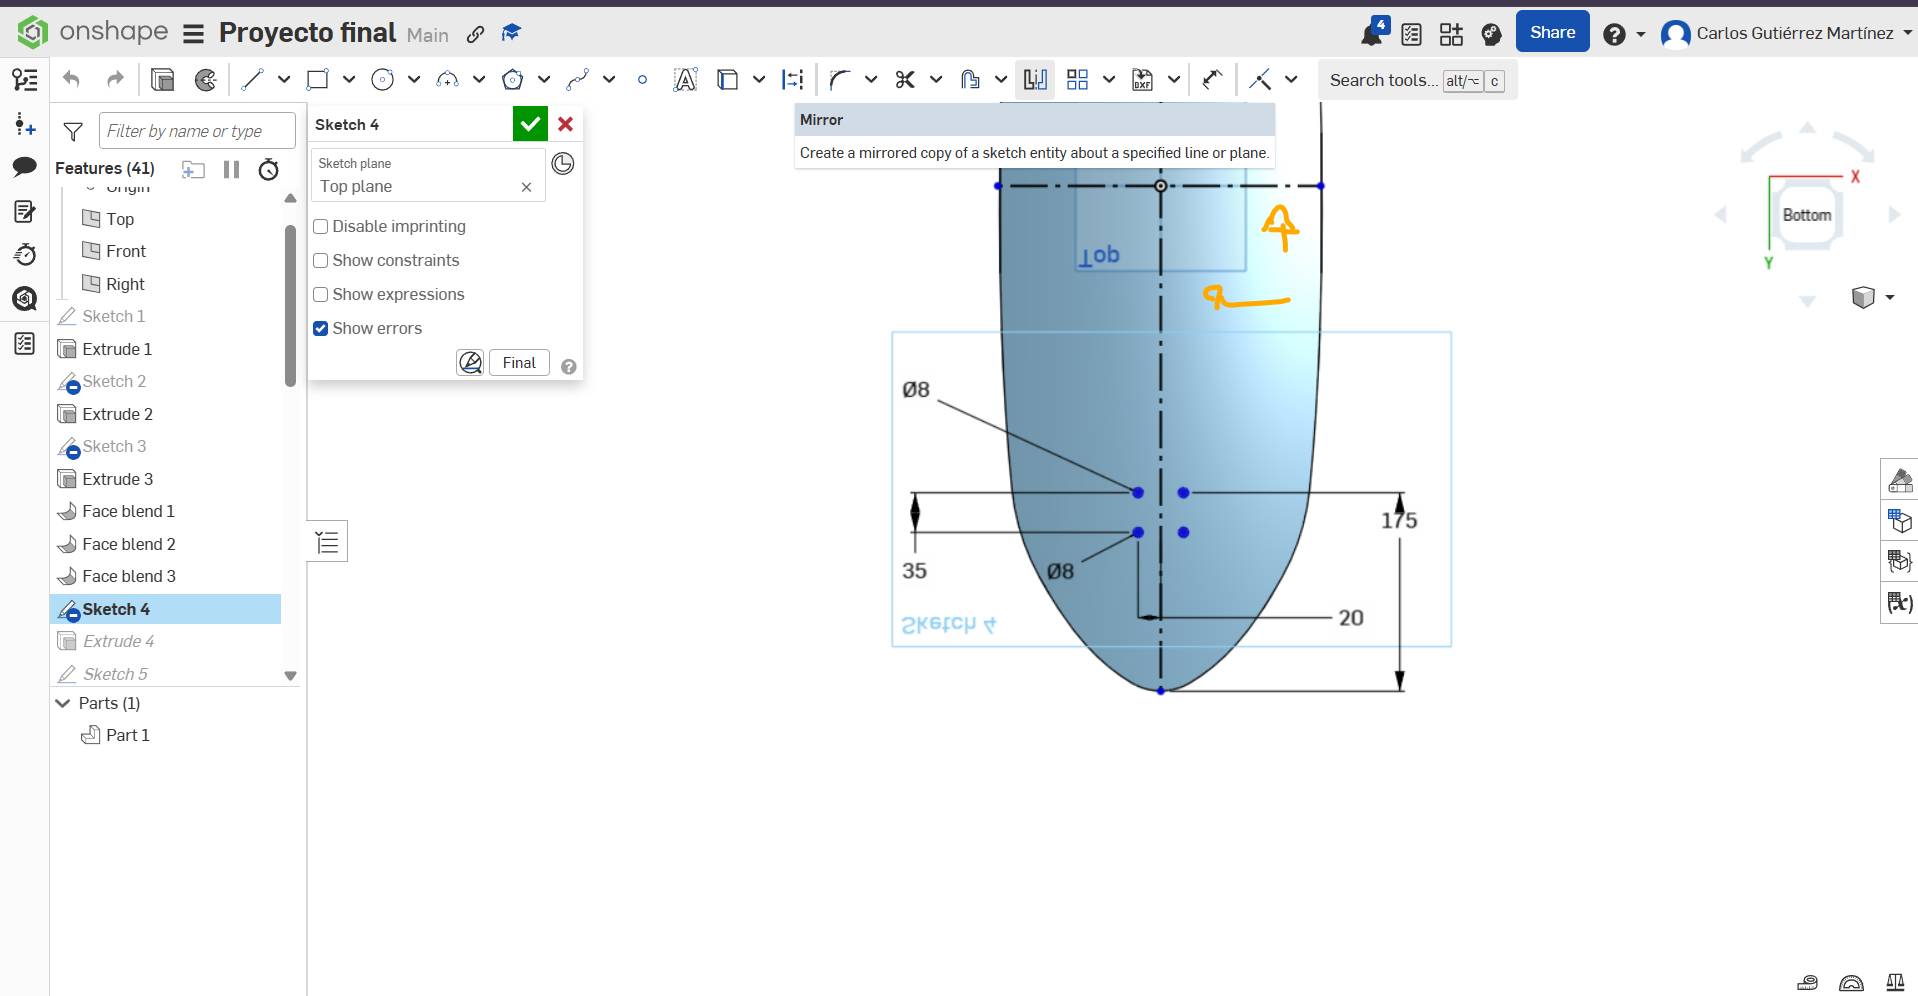
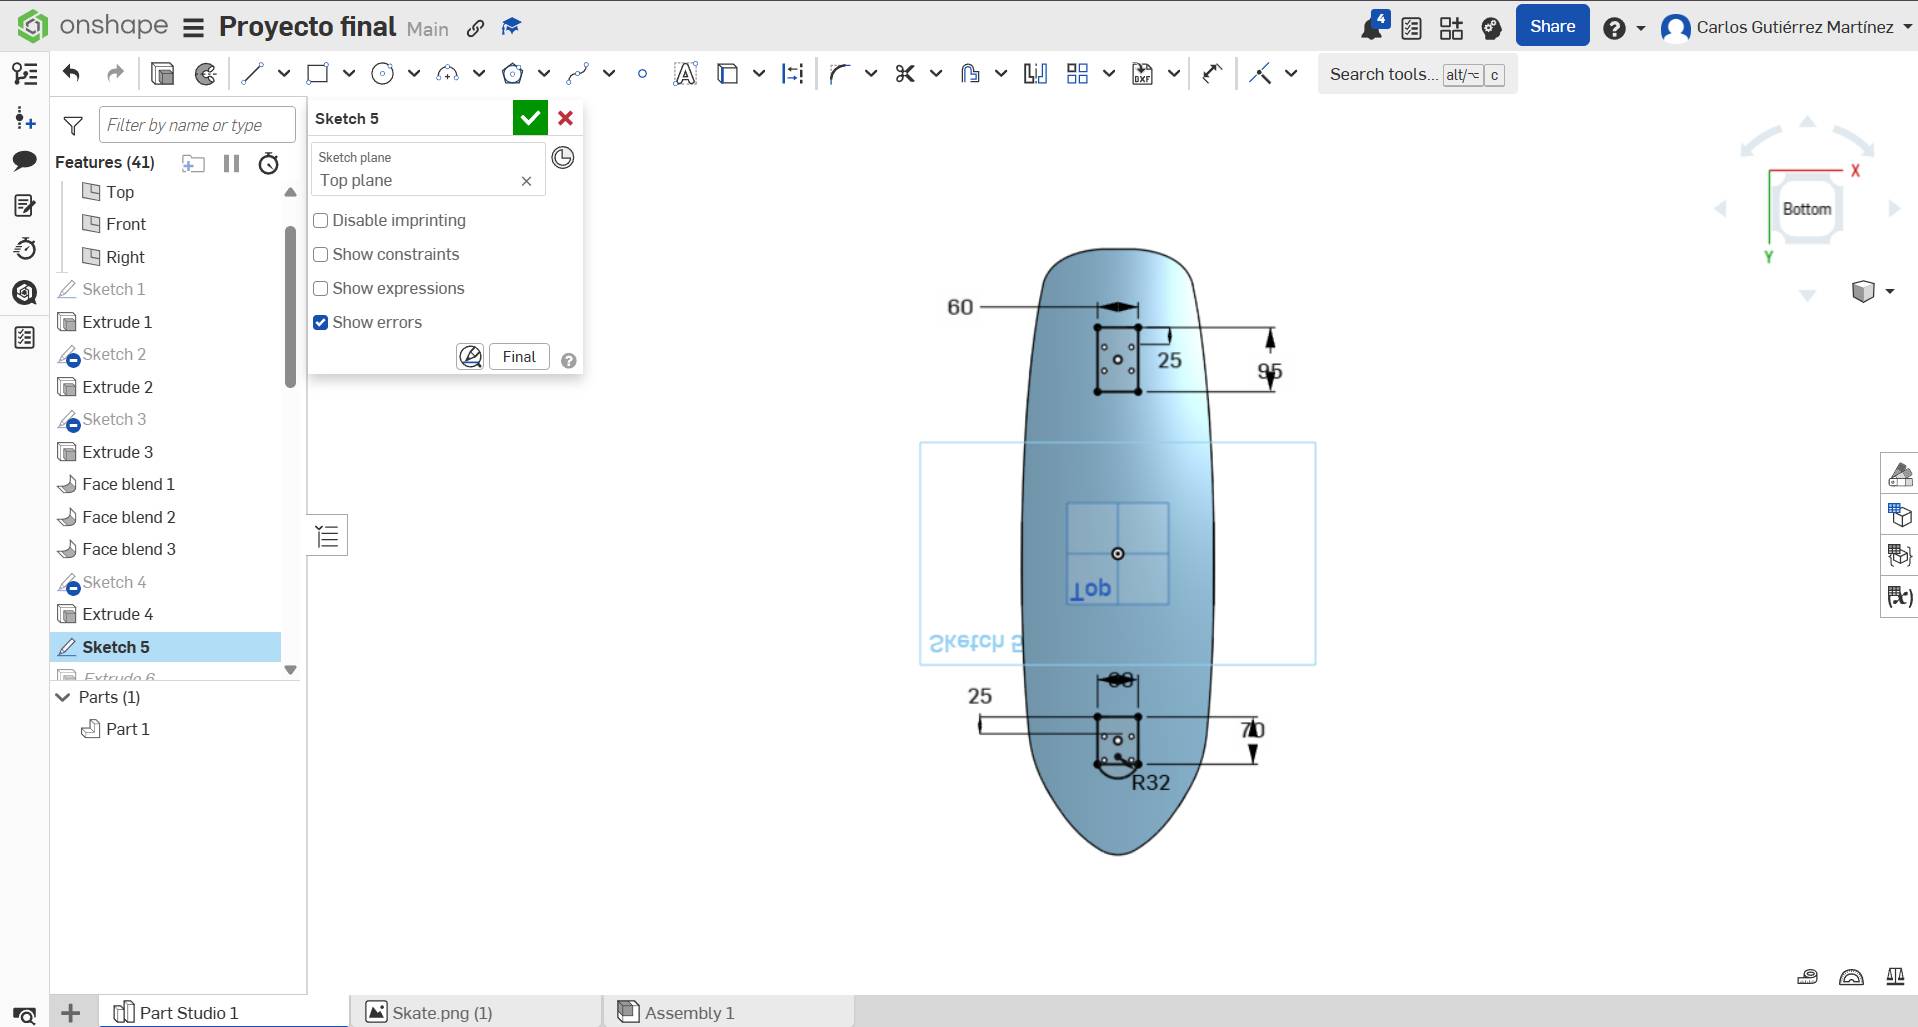
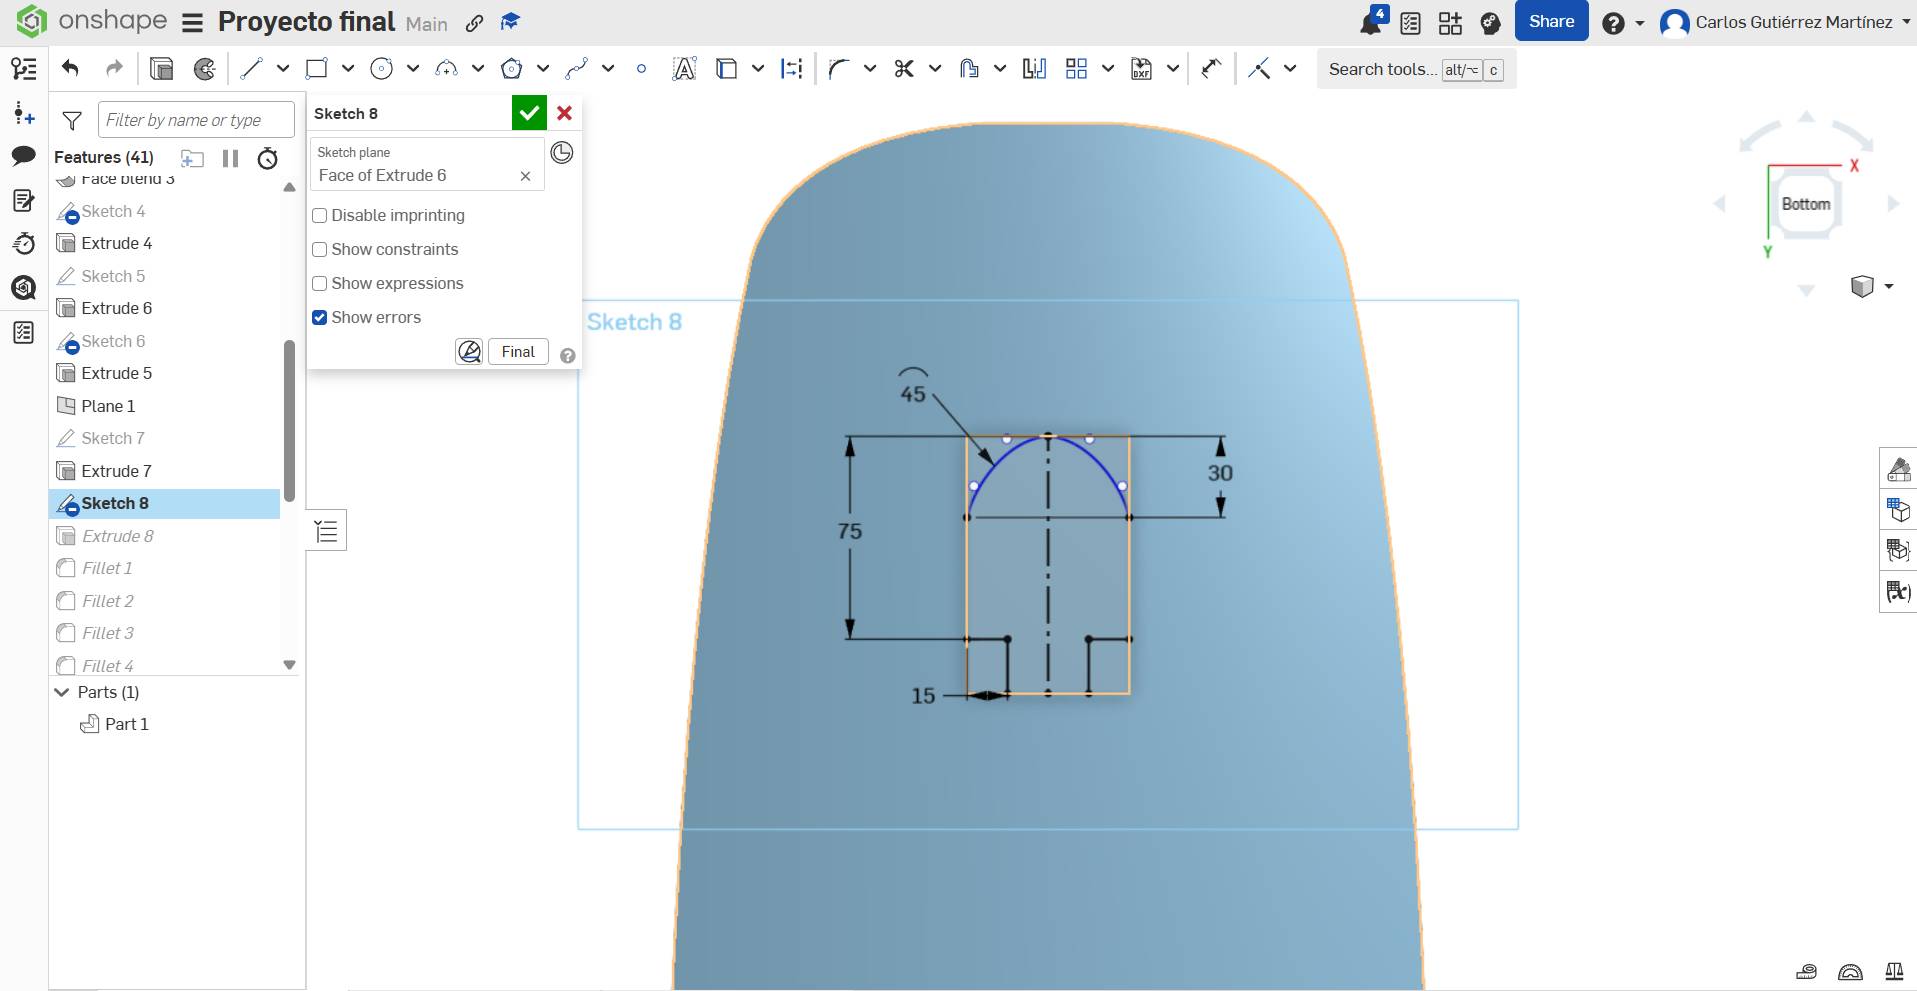
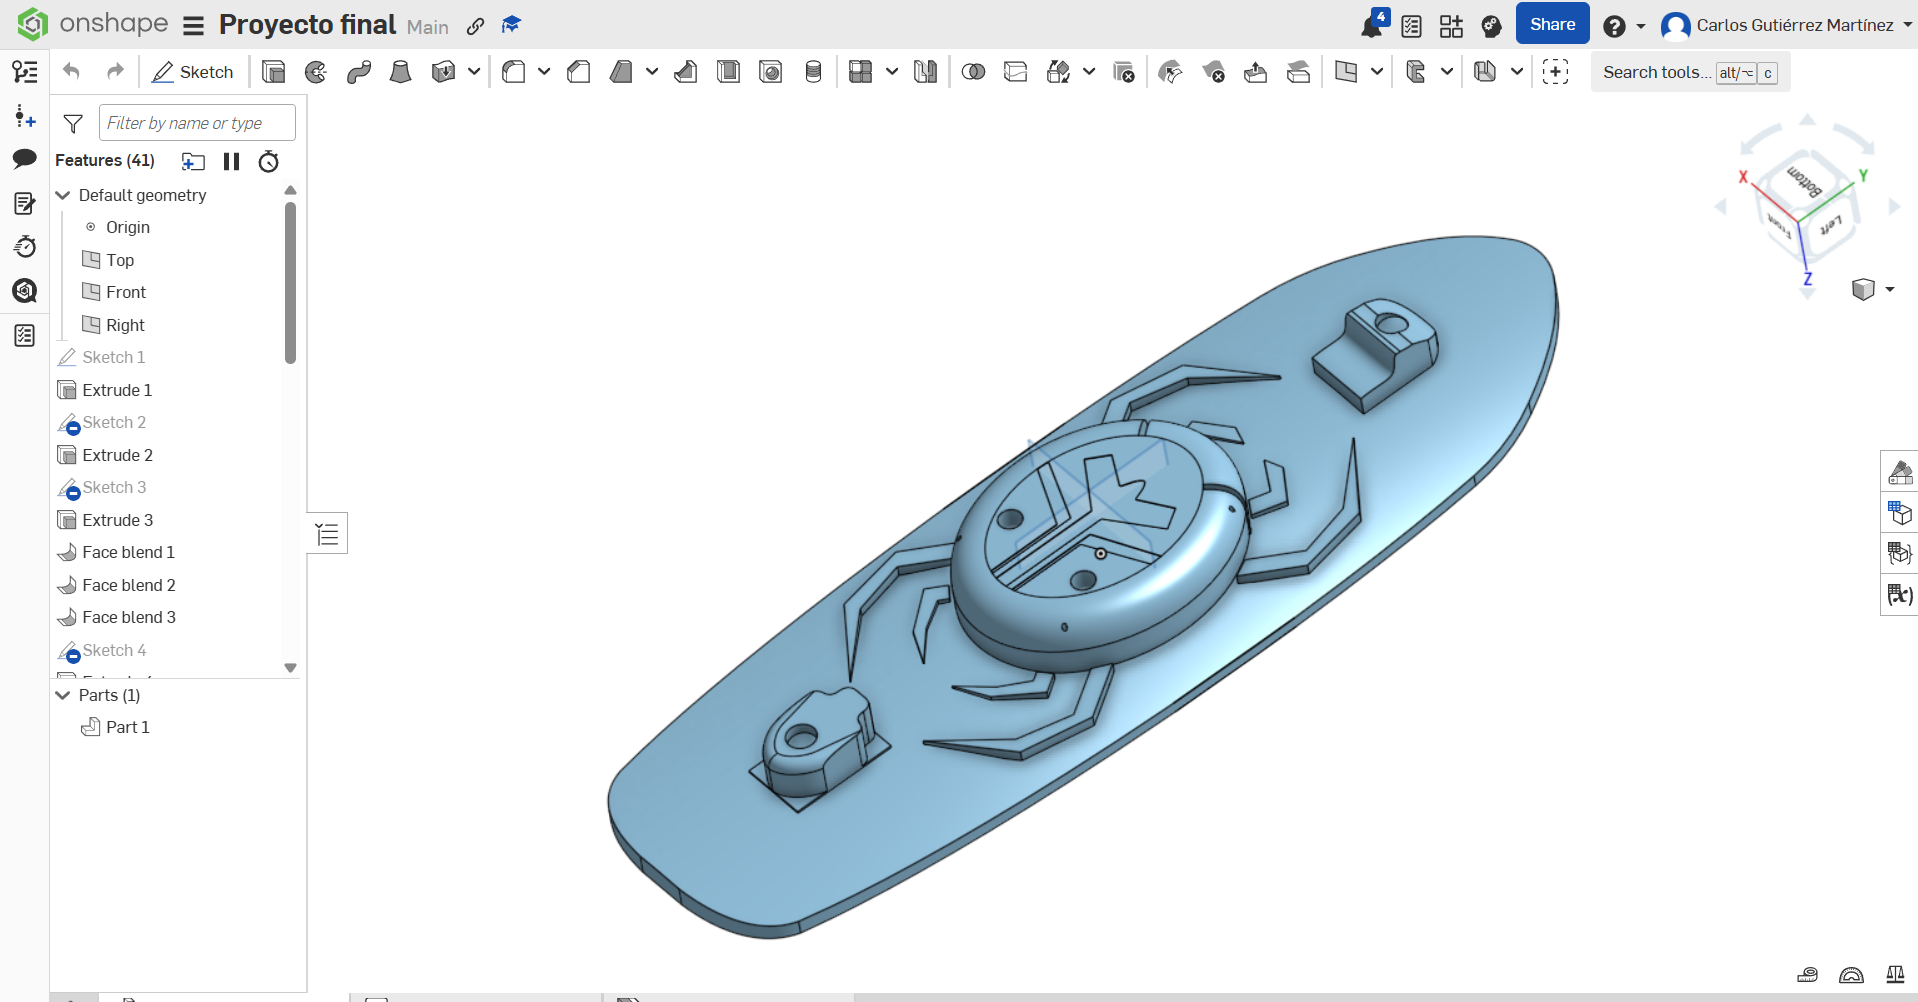
This week's mission: Master the digital tools. I explored both 2D and 3D environments to prototype my electric skate components.
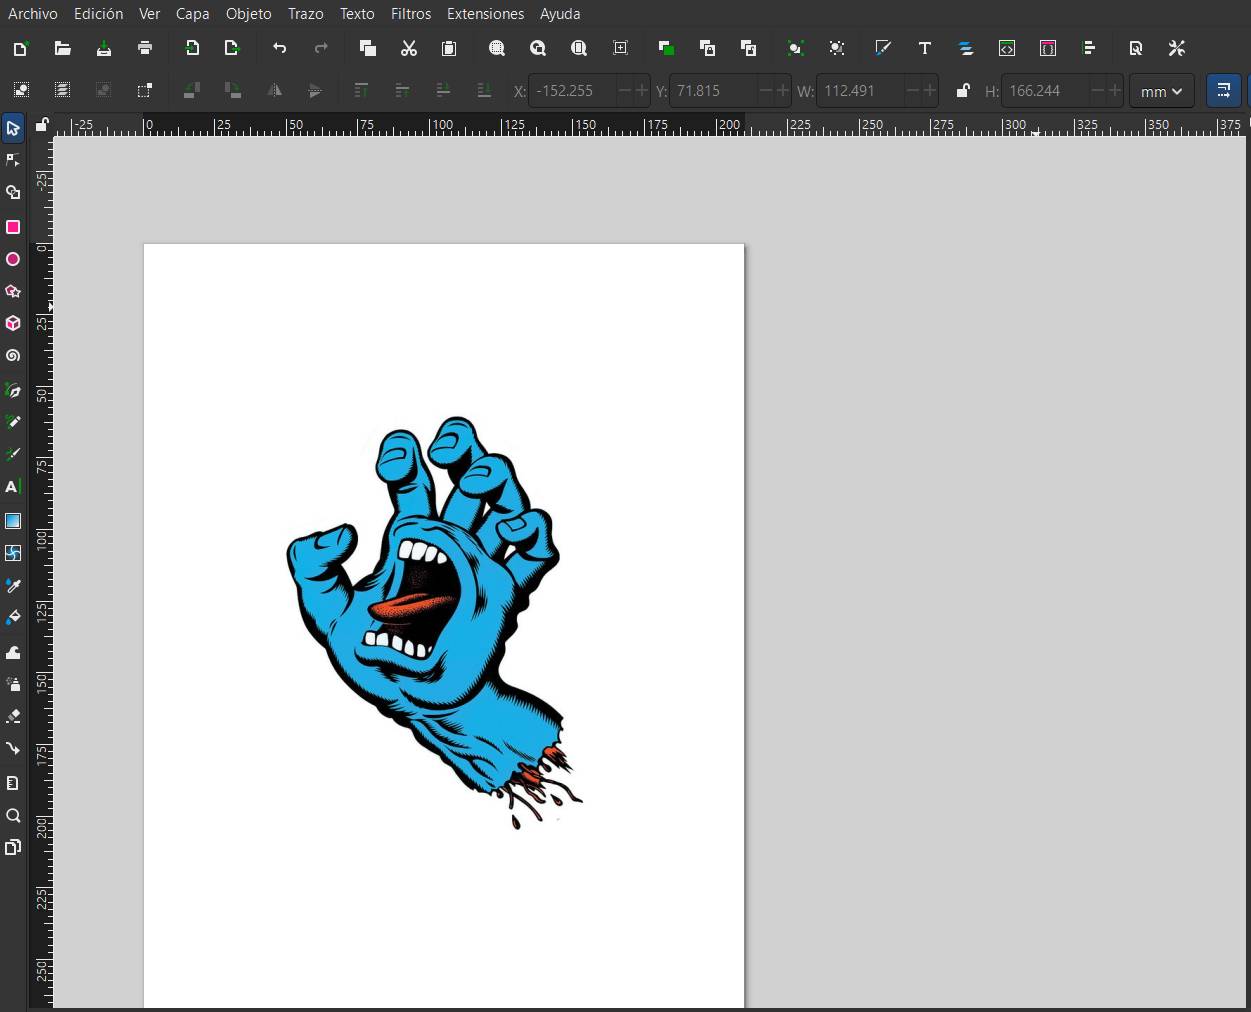
For the 2D design, I focused on converting raster images into vector maps. This is essential for CNC cutting and laser engraving.
Go to File > Import to bring your raster image (JPG/PNG). Always choose "Embed" to ensure the source remains within the document.
[ RECOMMENDED_SPECS ]
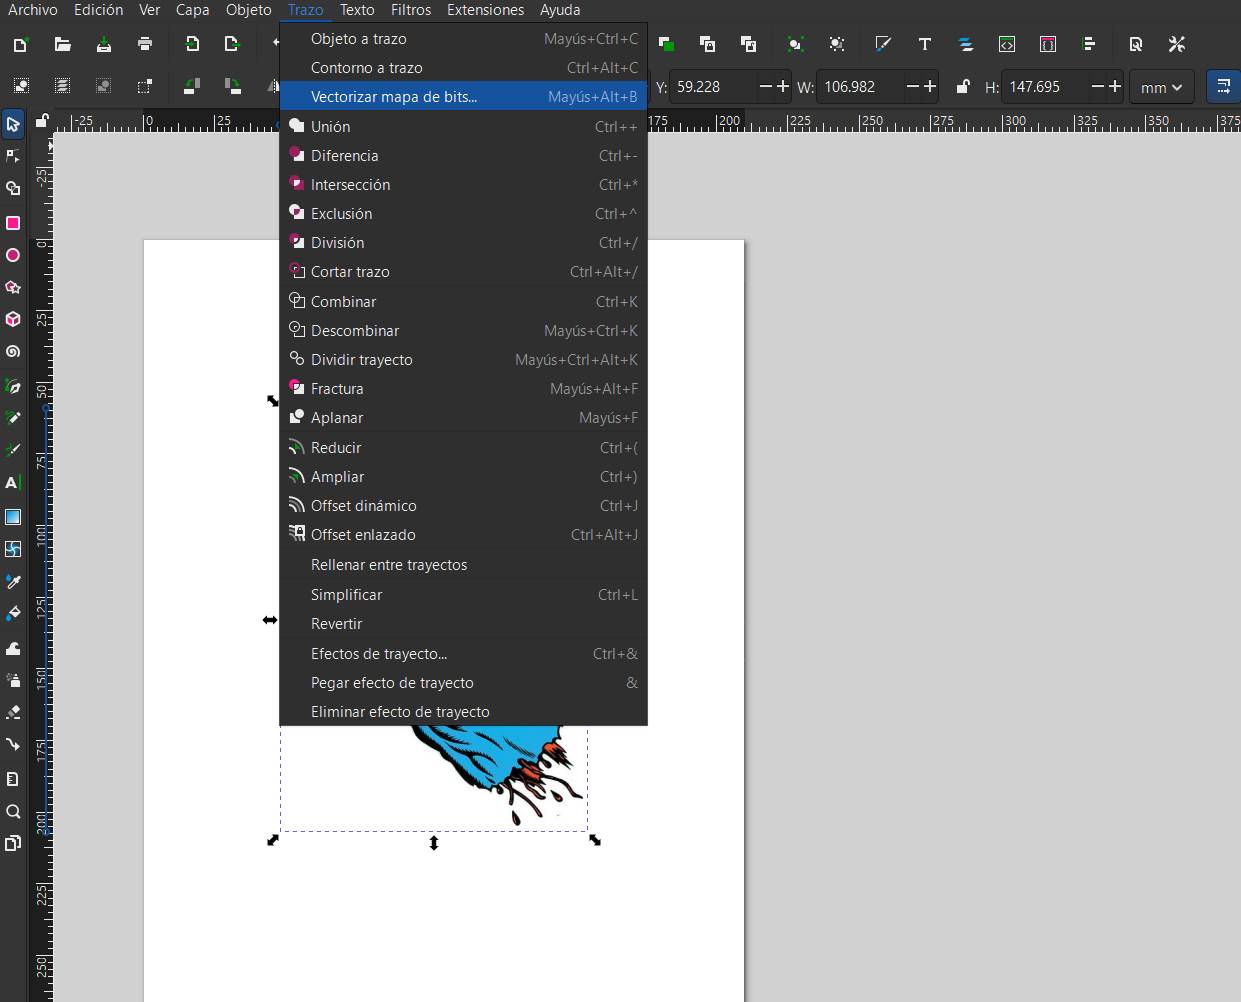
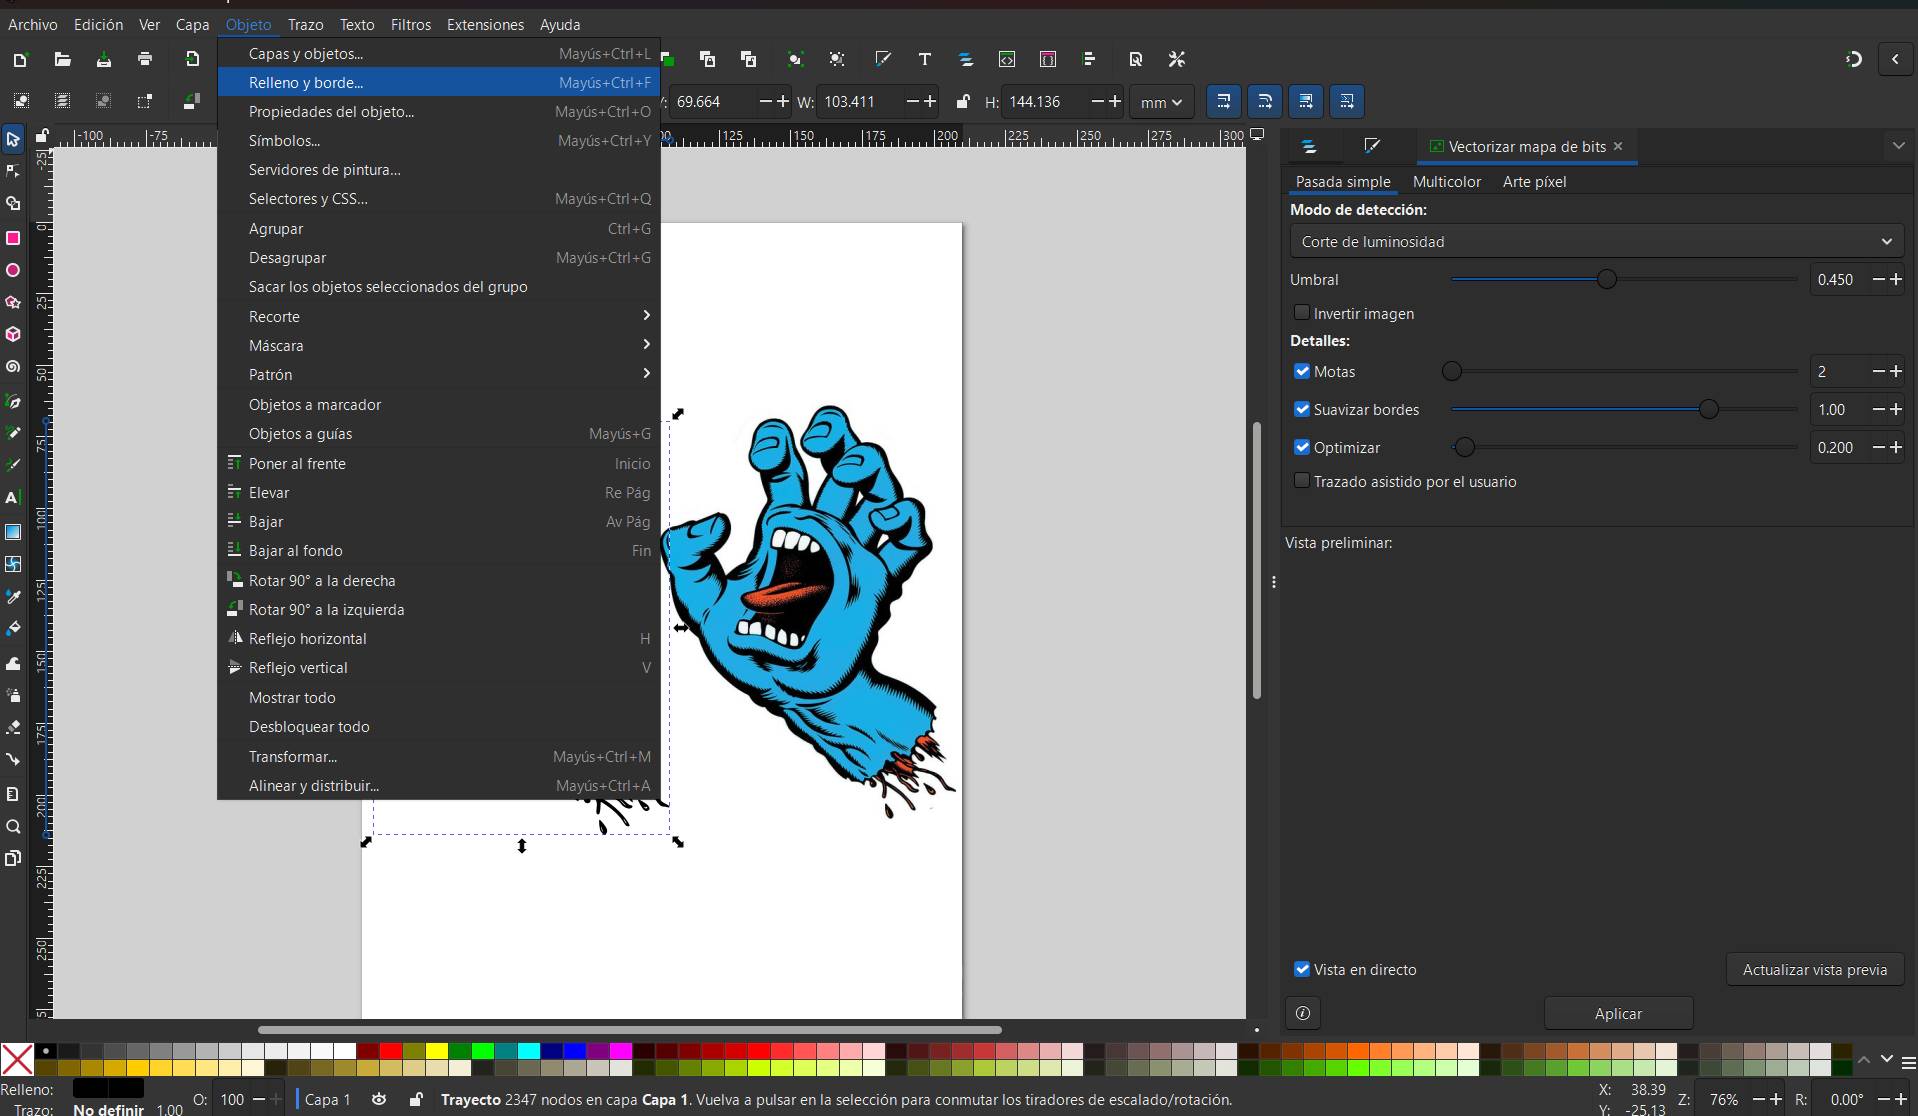
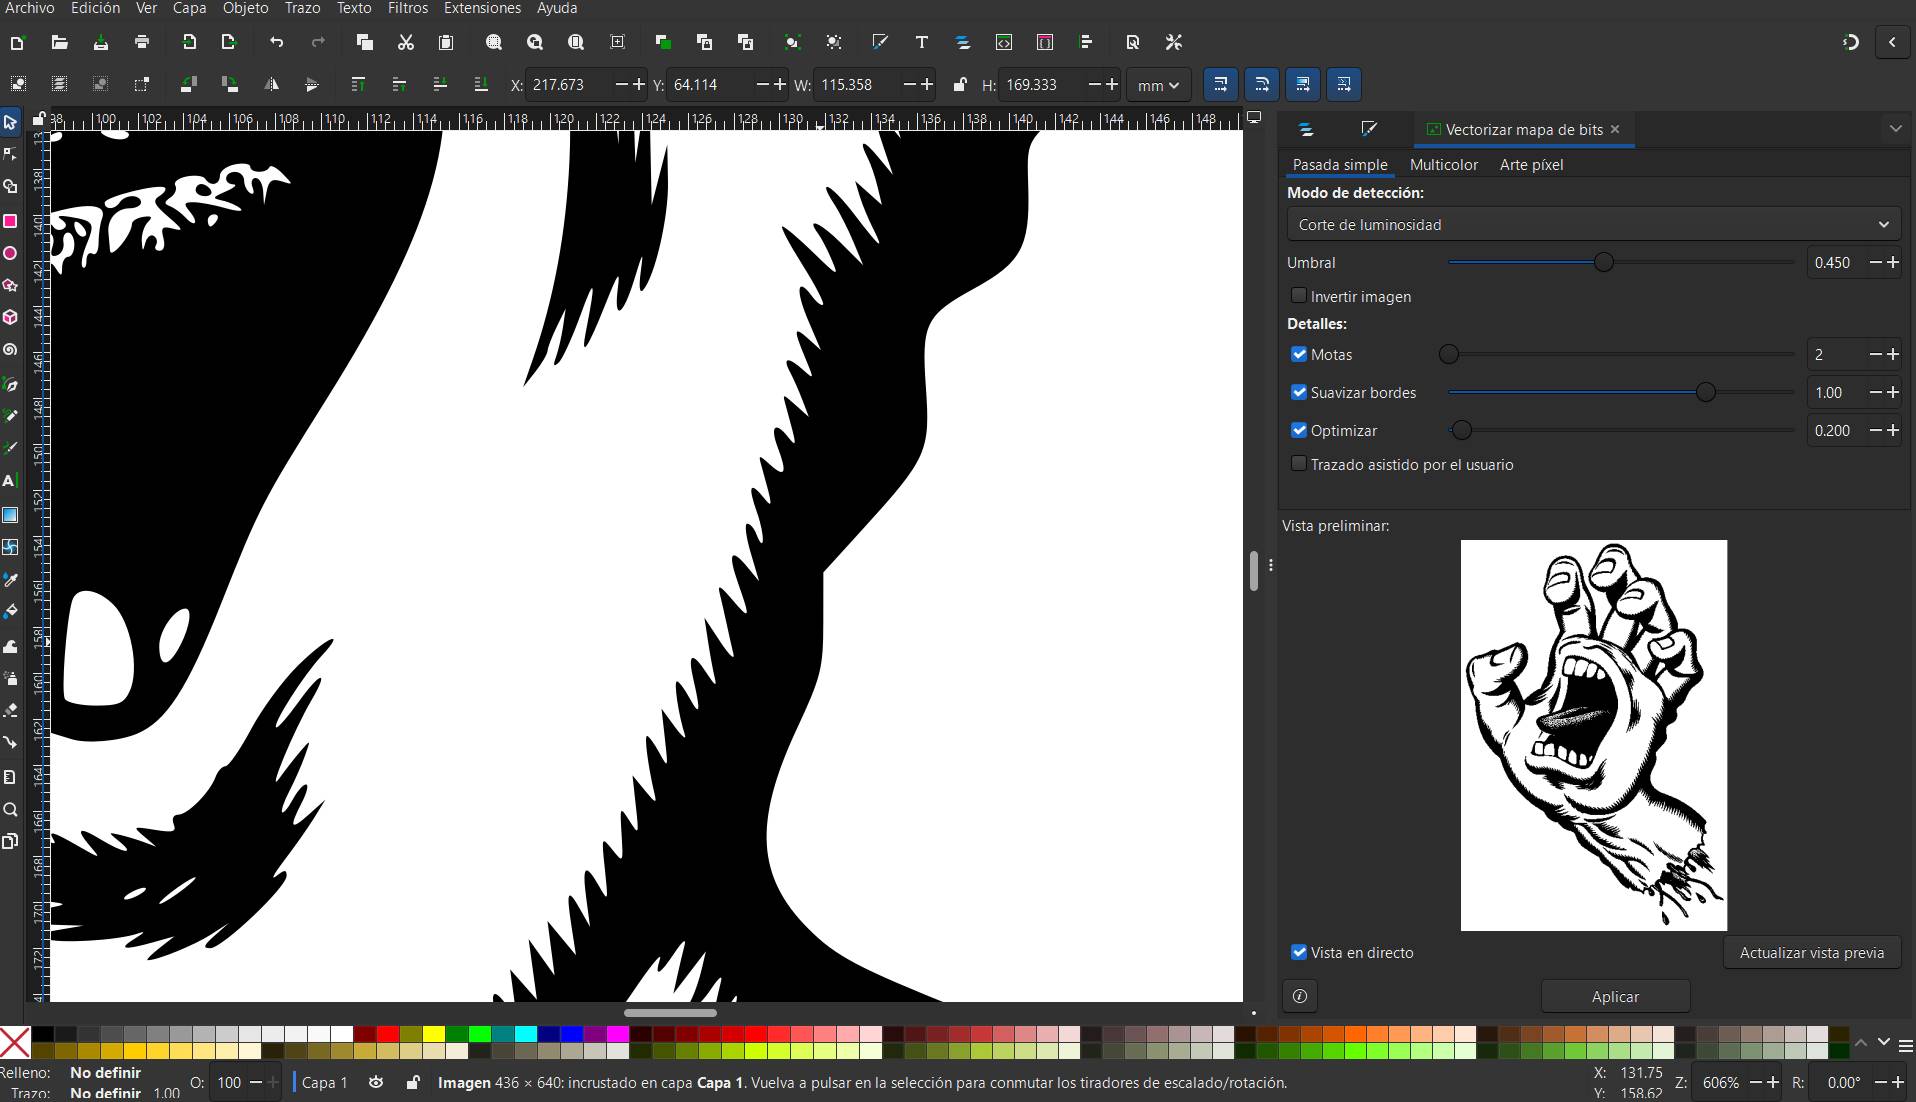
Select the image and go to the Path menu in the top bar. Choose the "Trace Bitmap" option to open the vectorization settings.
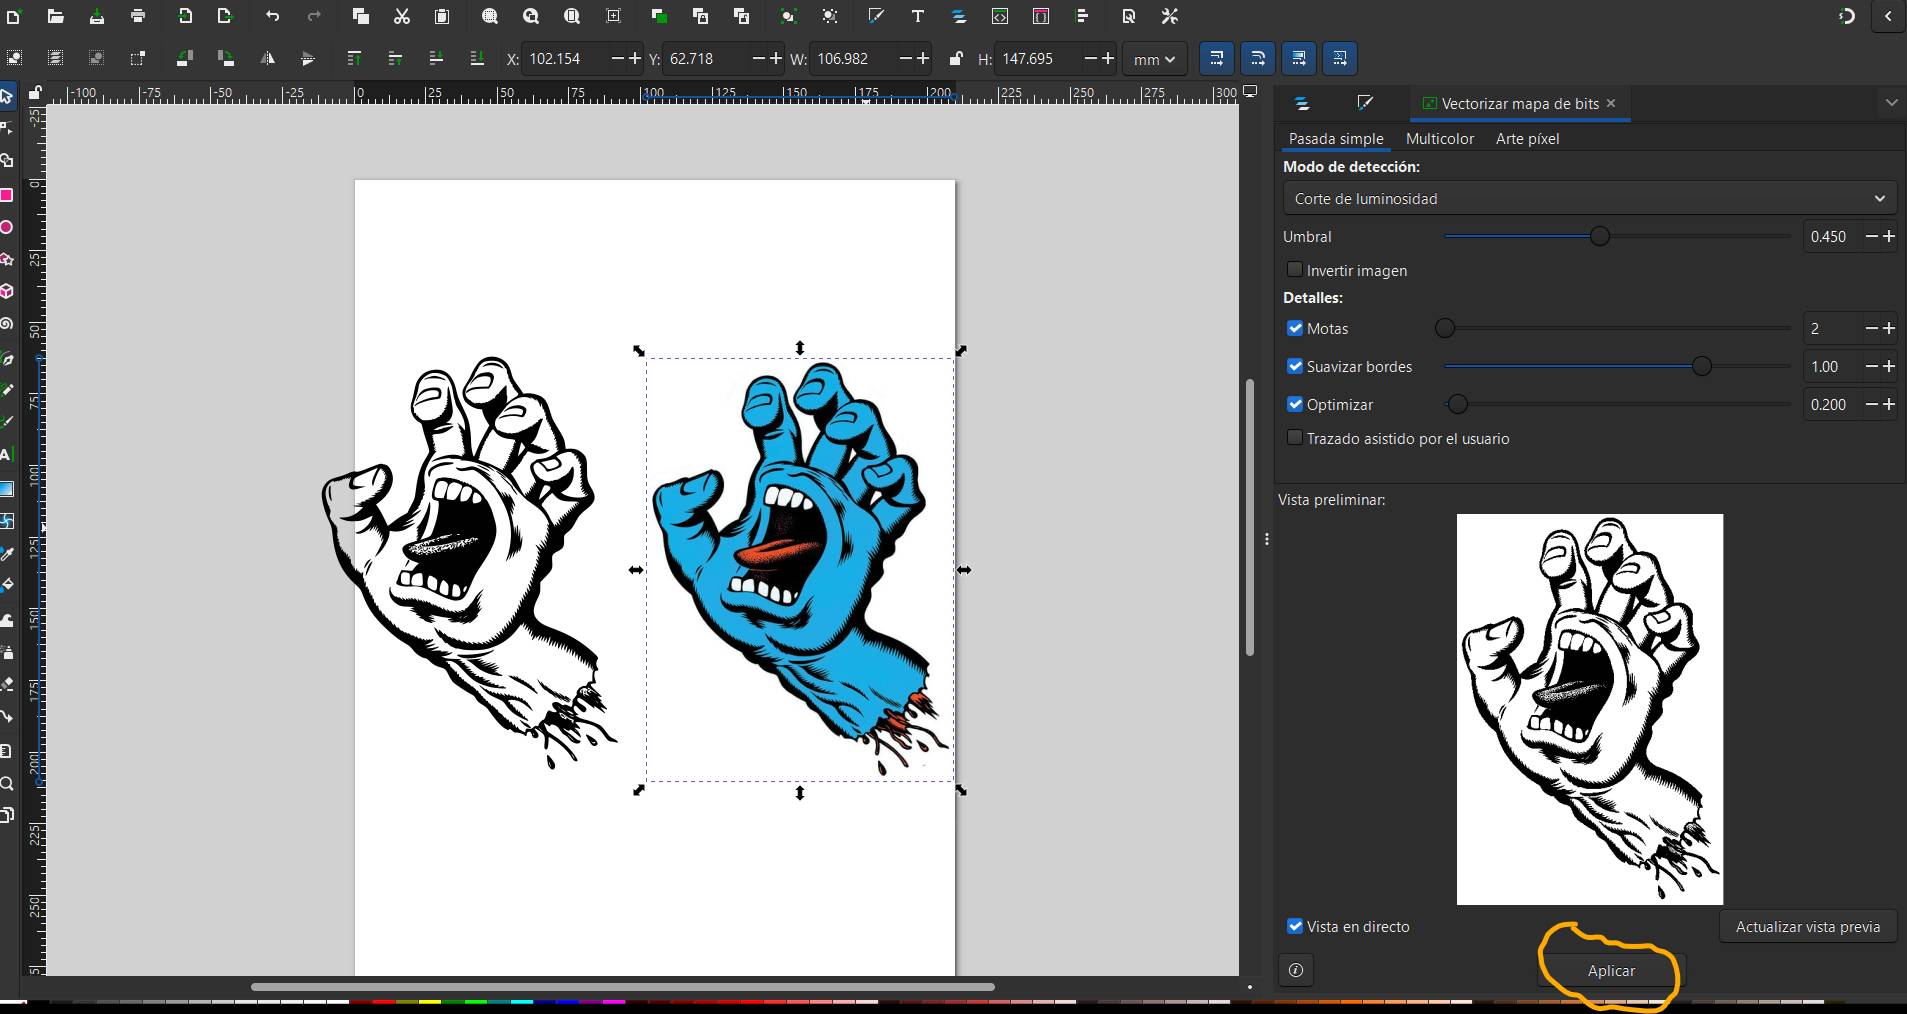
After applying the settings, a second image (the vector) will be generated right on top of your original raster image with the changes applied.
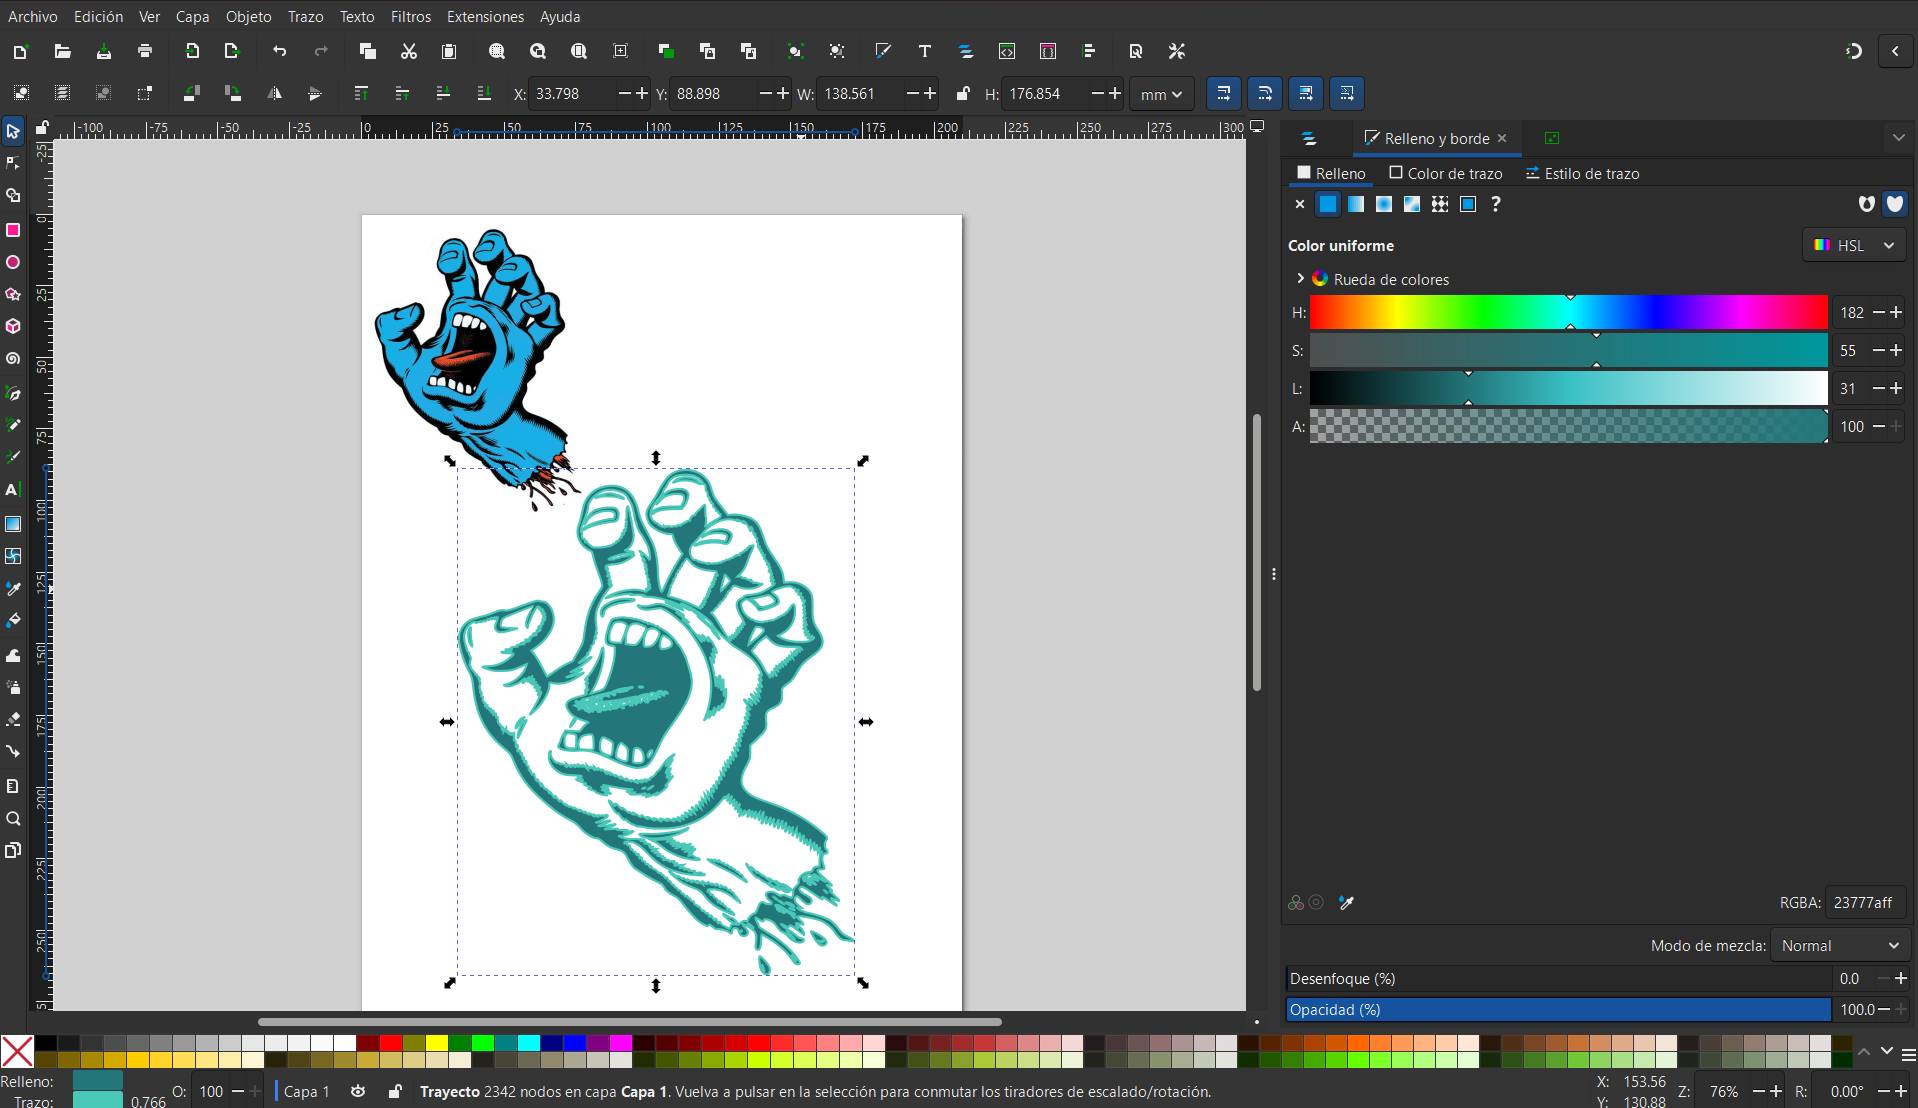
Click on the vector and then on the "objects" section an click on filling and edges.
Now you can modify the vector to your liking: change the outlines (stroke), fill colors, or apply gradients to refine the design.
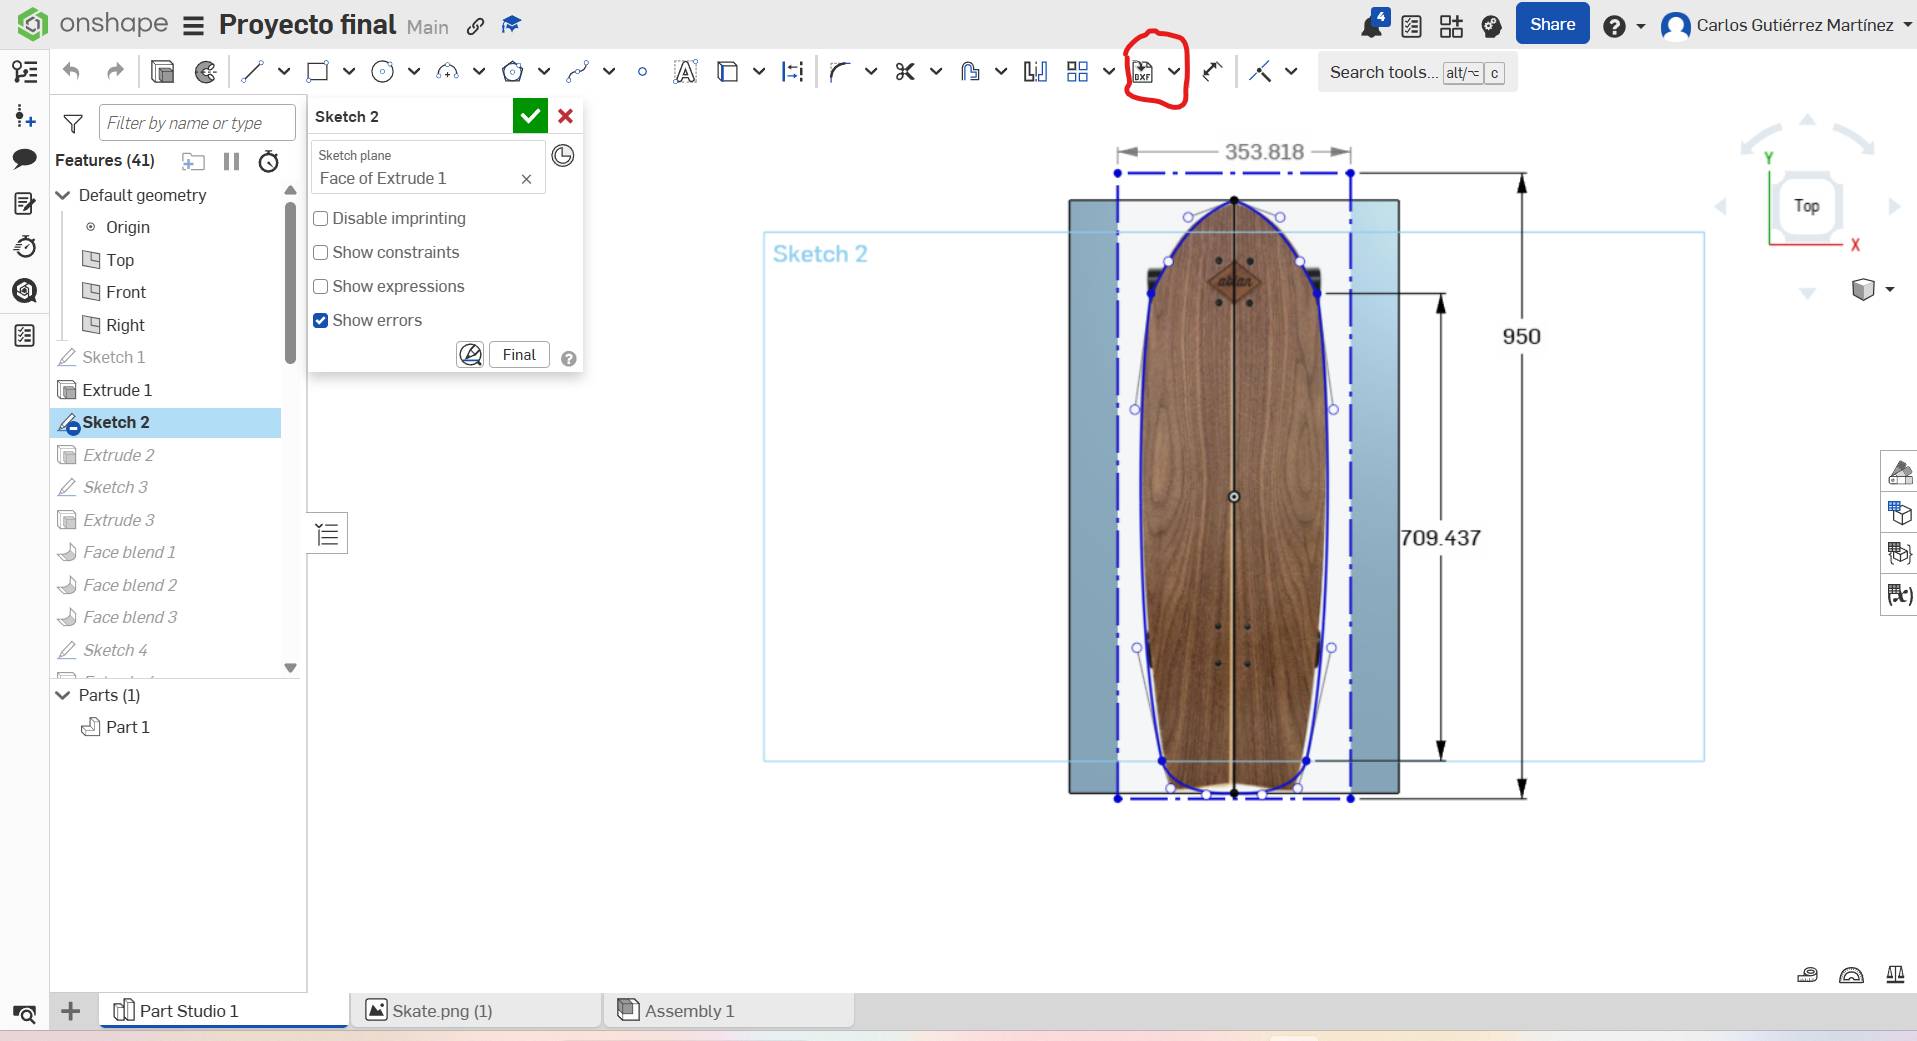
Once finished, if you need the file for laser cutting or CNC, save your work in .DXF format to ensure compatibility with the machines.
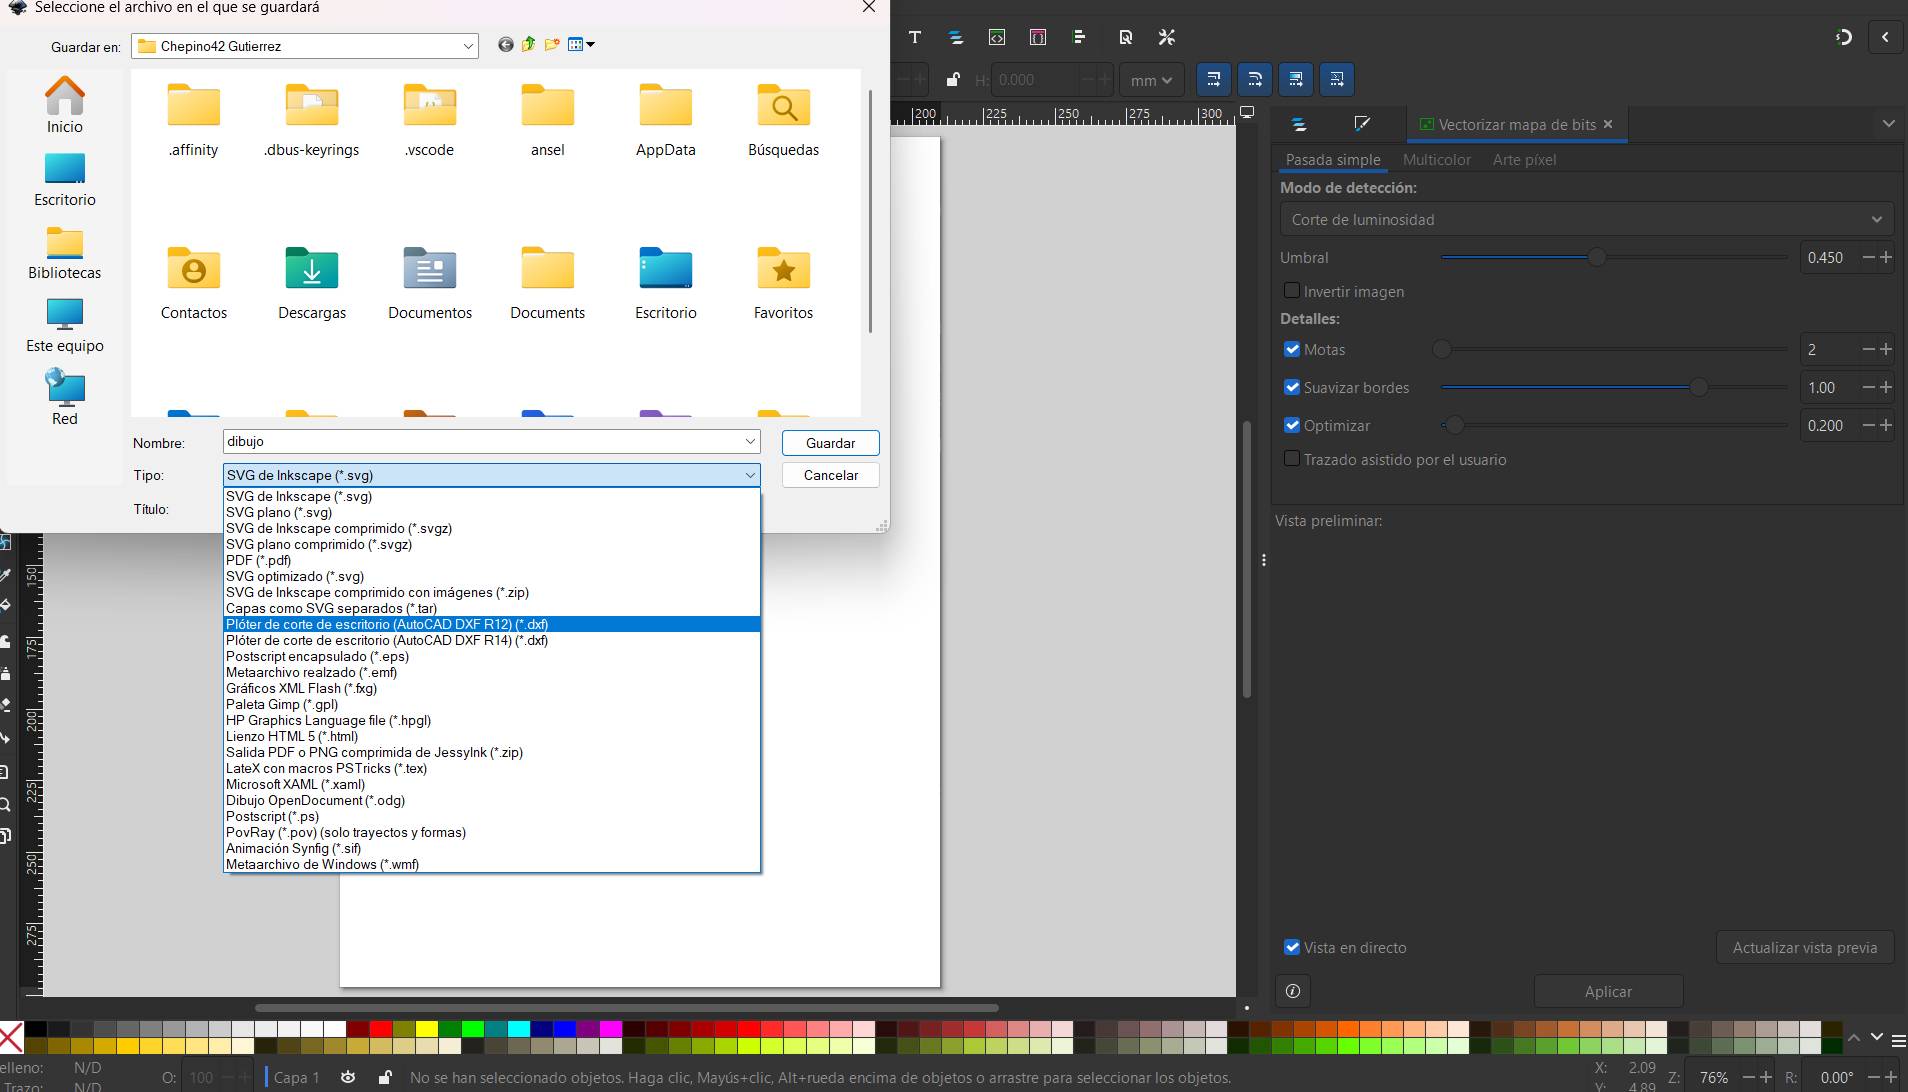
Vectorizing is a crucial step because CNC and Laser machines operate on Cartesian coordinates ($X, Y$ movement). By converting my images into vectors, I provide the machine with precise paths to follow, ensuring clean cuts and the ability to scale my design without losing resolution.
In order to compress videos for your page, you can use the software FFmpeg. This tool allows you to reduce file size significantly without losing visible quality.
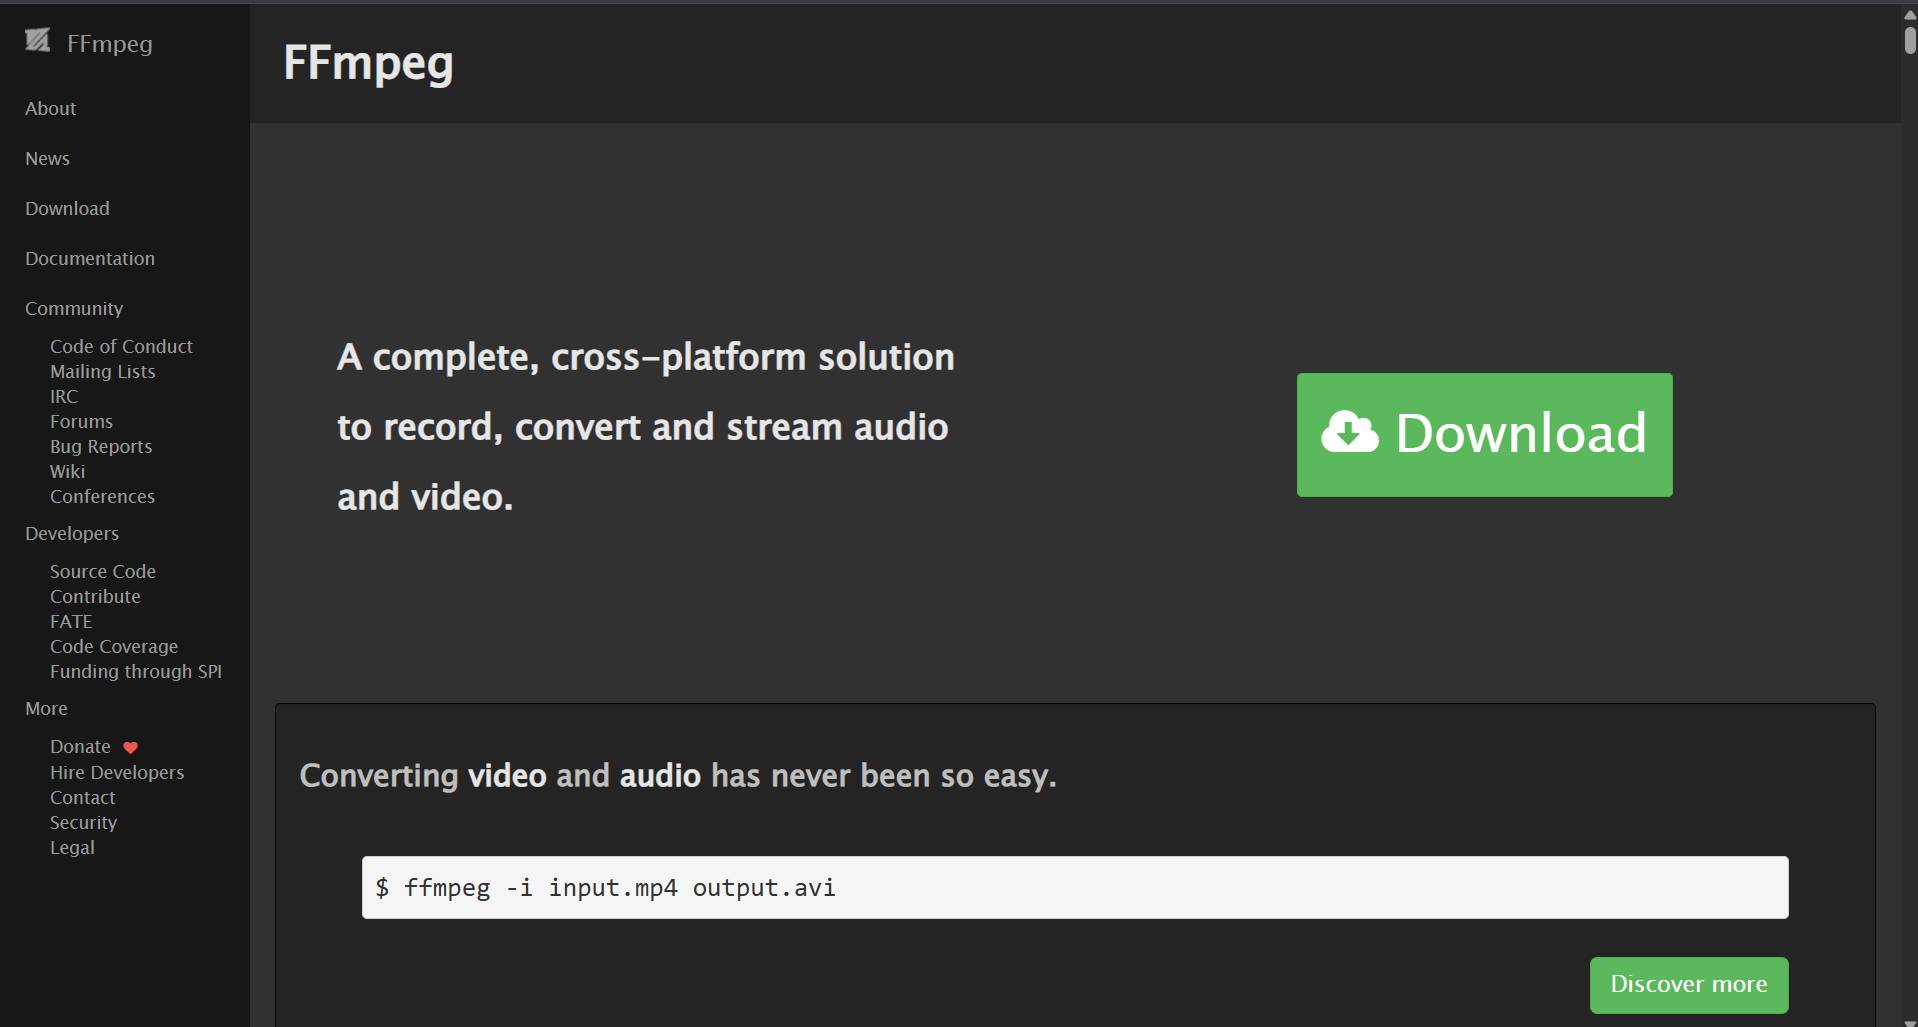
[ CLICK IMAGE TO VIEW SOURCE ]
Open the terminal in your computer.
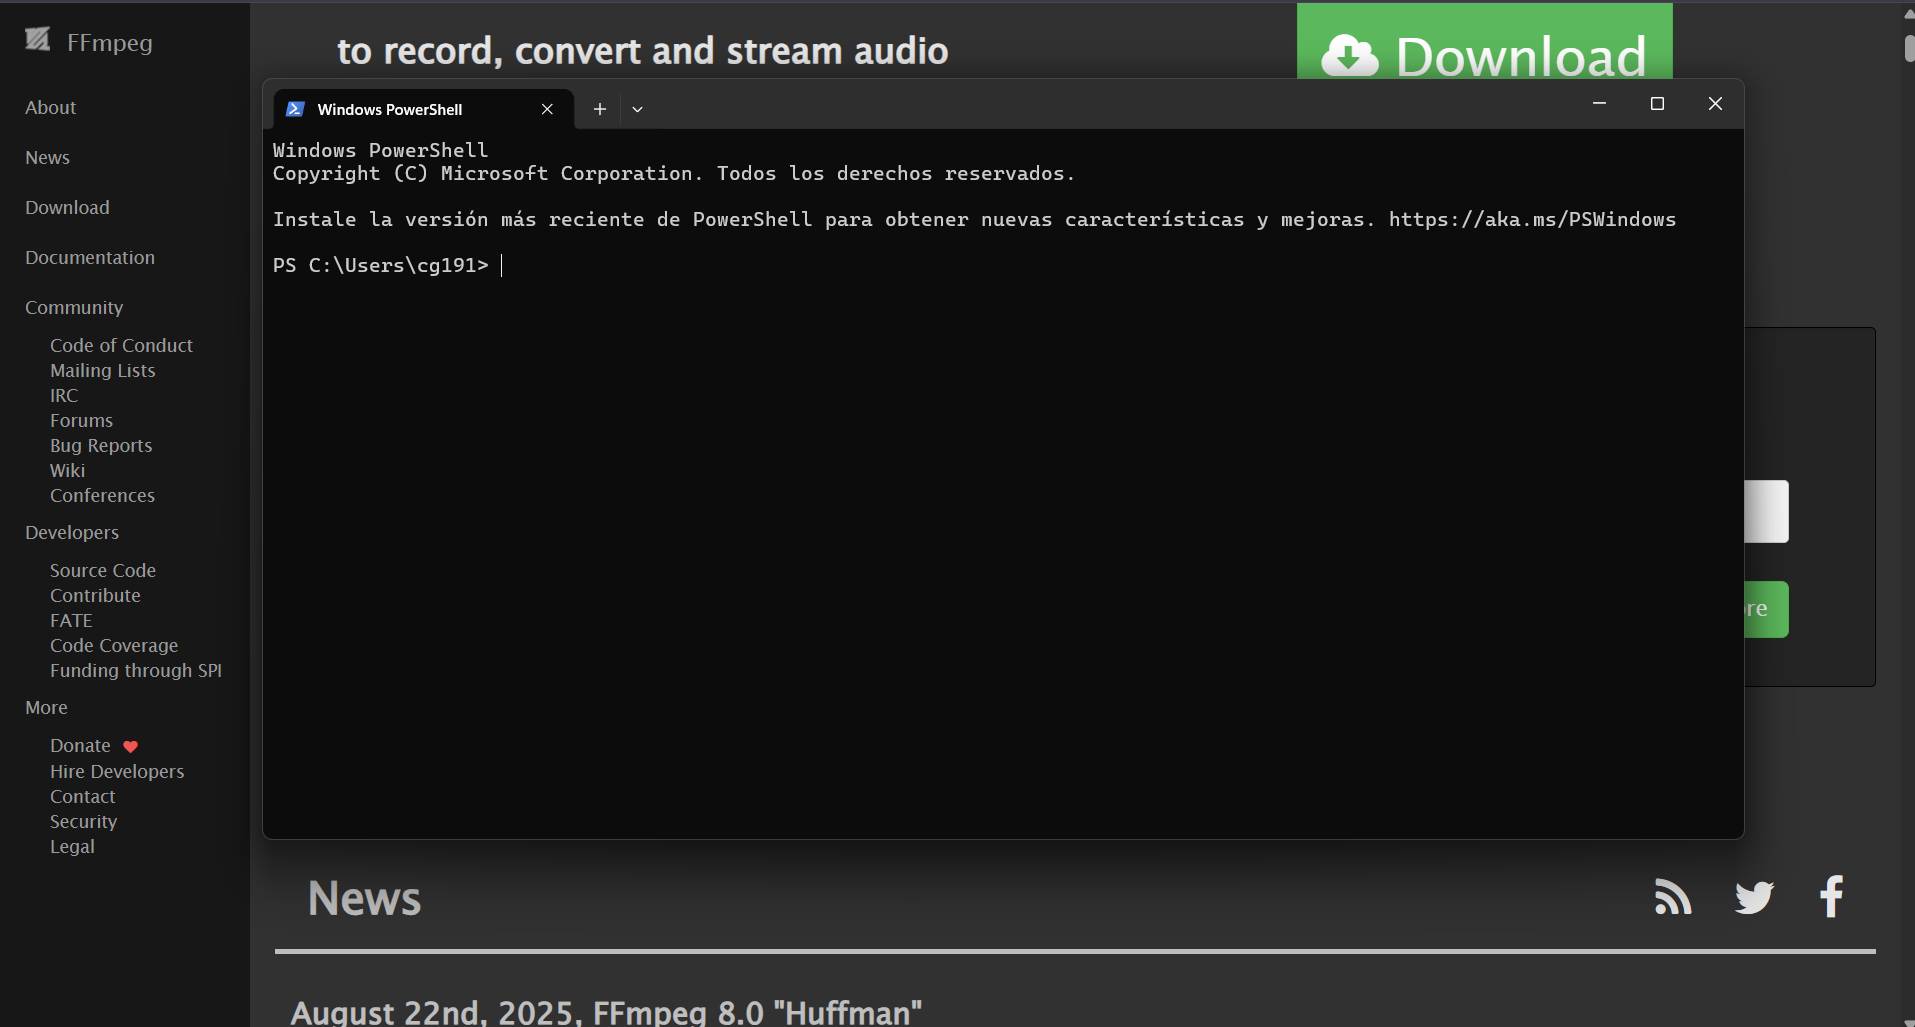
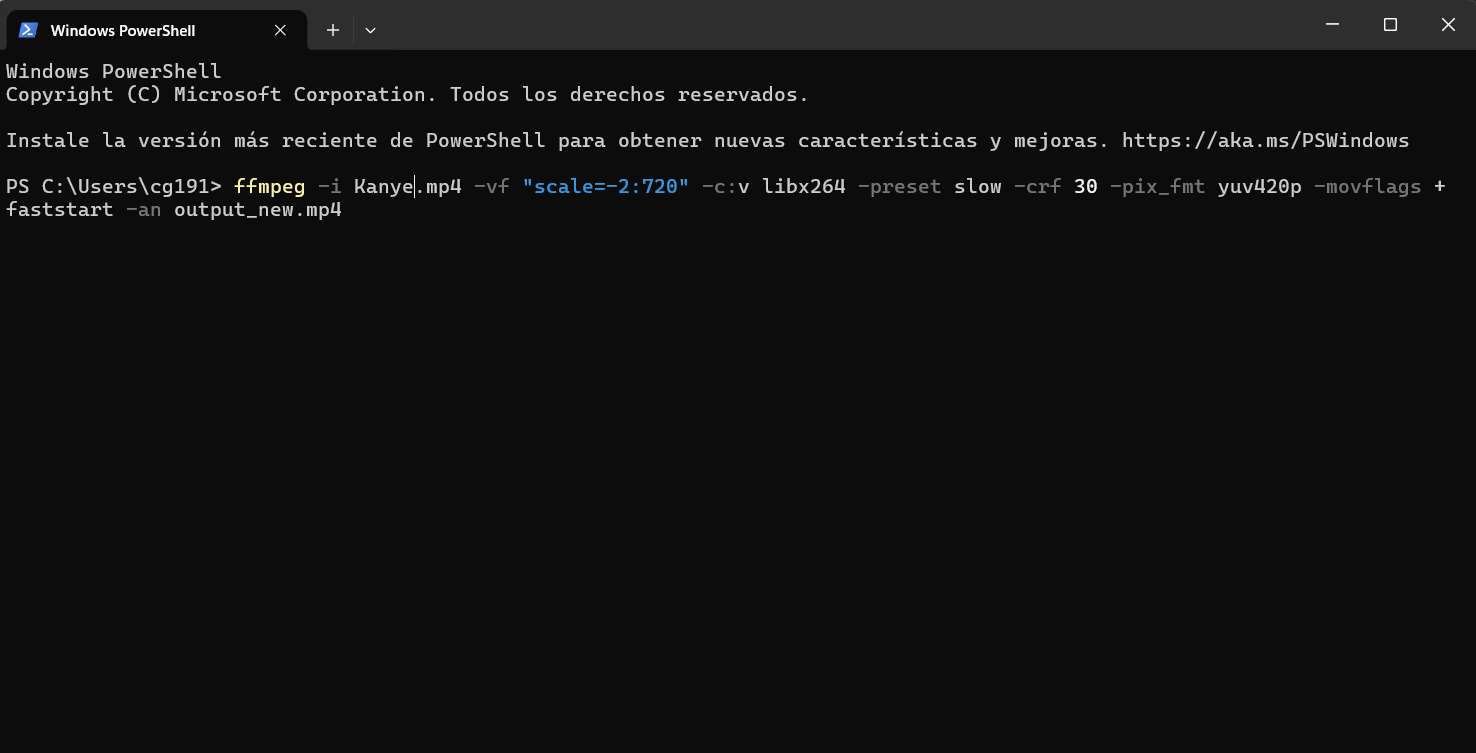
Go to the terminal and paste the following line to compress your video:
ffmpeg -i input.mp4 -vf "scale=-2:720" -c:v libx264 -preset slow -crf 30 -pix_fmt yuv420p -movflags +faststart -an output_new.mp4
| Command | Function |
|---|---|
| -i input.mp4 | Defines the Input file name. |
| -vf "scale=-2:720" | Sets the Resolution to 720p (keeping aspect ratio). |
| -c:v libx264 | Uses the H.264 codec for high compatibility. |
| -crf 30 | Controls Quality (0-51). 30 is a great balance. |
| -an | Removes Audio to reduce file size even more. |
| output_new.mp4 | The name of the Result file. |
If an error occurs like the one on the image, it is most likely that you have to install FFmpeg in the terminal (using winget or setting environment variables) so the terminal can find the program.
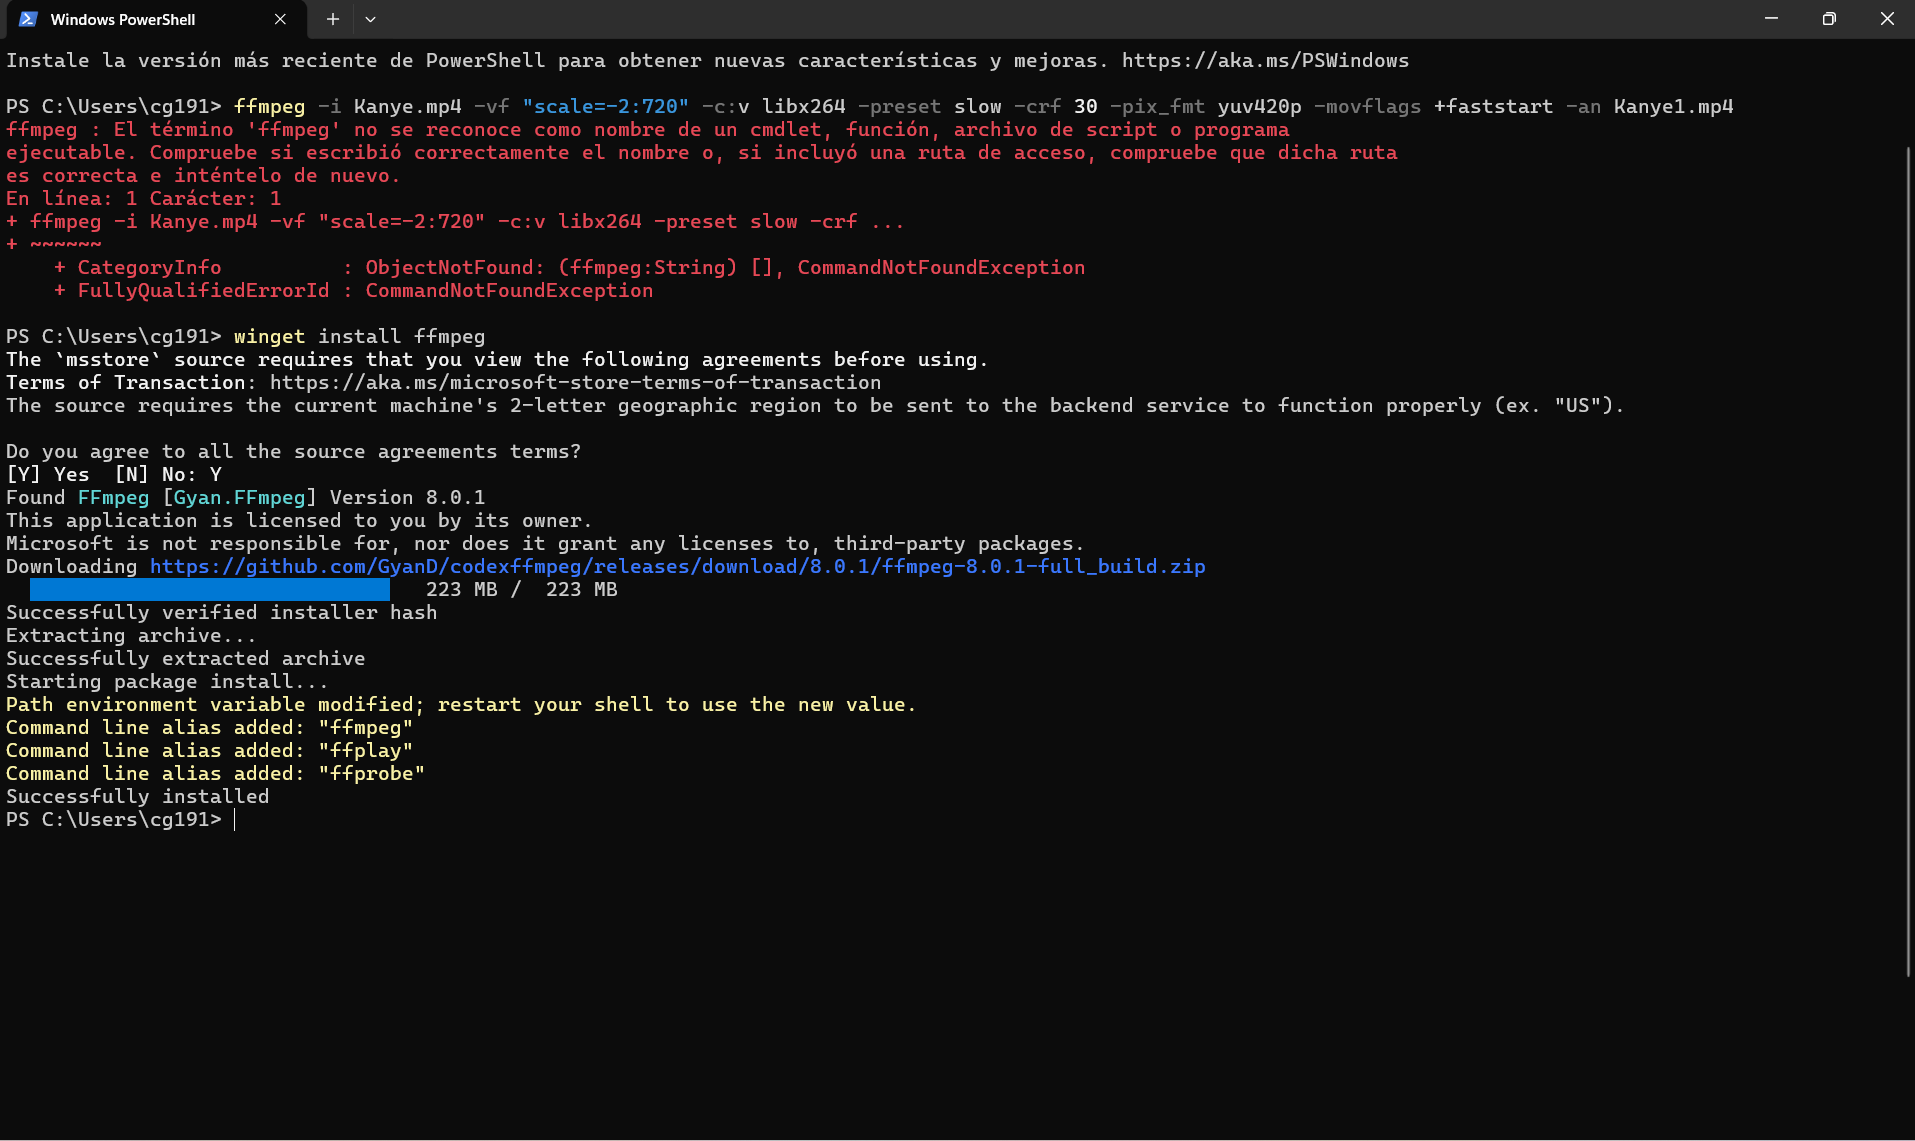
If an error occurs like the one on the image, it is most likely that you have to install FFmpeg in the terminal (using winget or setting environment variables).
⚠️ IMPORTANT: Another common error is the File Path. FFmpeg won't find your video if the terminal is not "standing" in the correct folder. Check the default path written in your terminal; if it doesn't match where your file is, the program will return a "No such file or directory" error.
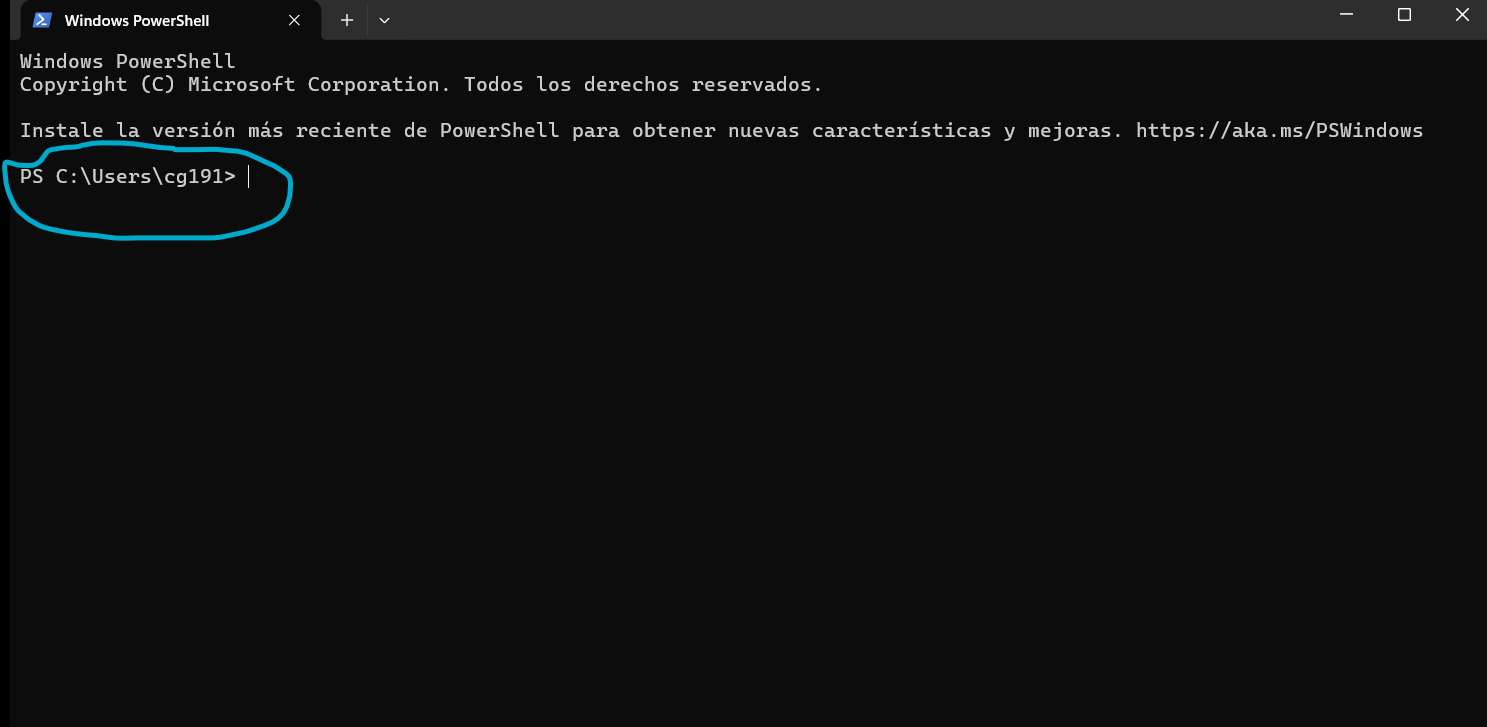
[ CHECK_DIRECTORY_PATH_DEFAULT ]
To fix the path error, you need to "move" the terminal to the folder where your video is located using the cd command:
cd Documents - Moves you inside the Documents folder.cd .. - Moves you back one level (upstairs).cd "Folder Name" - Use quotes if the folder has spaces.cd and then drag and drop the folder directly into the terminal window to get the full path automatically.
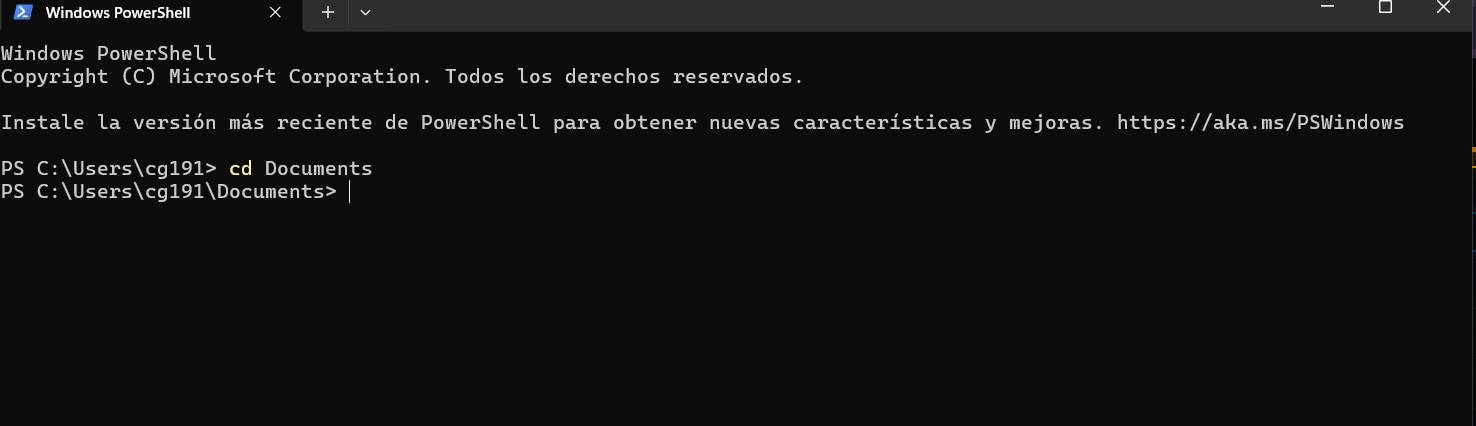
[ MASTERING_THE_PATH ]
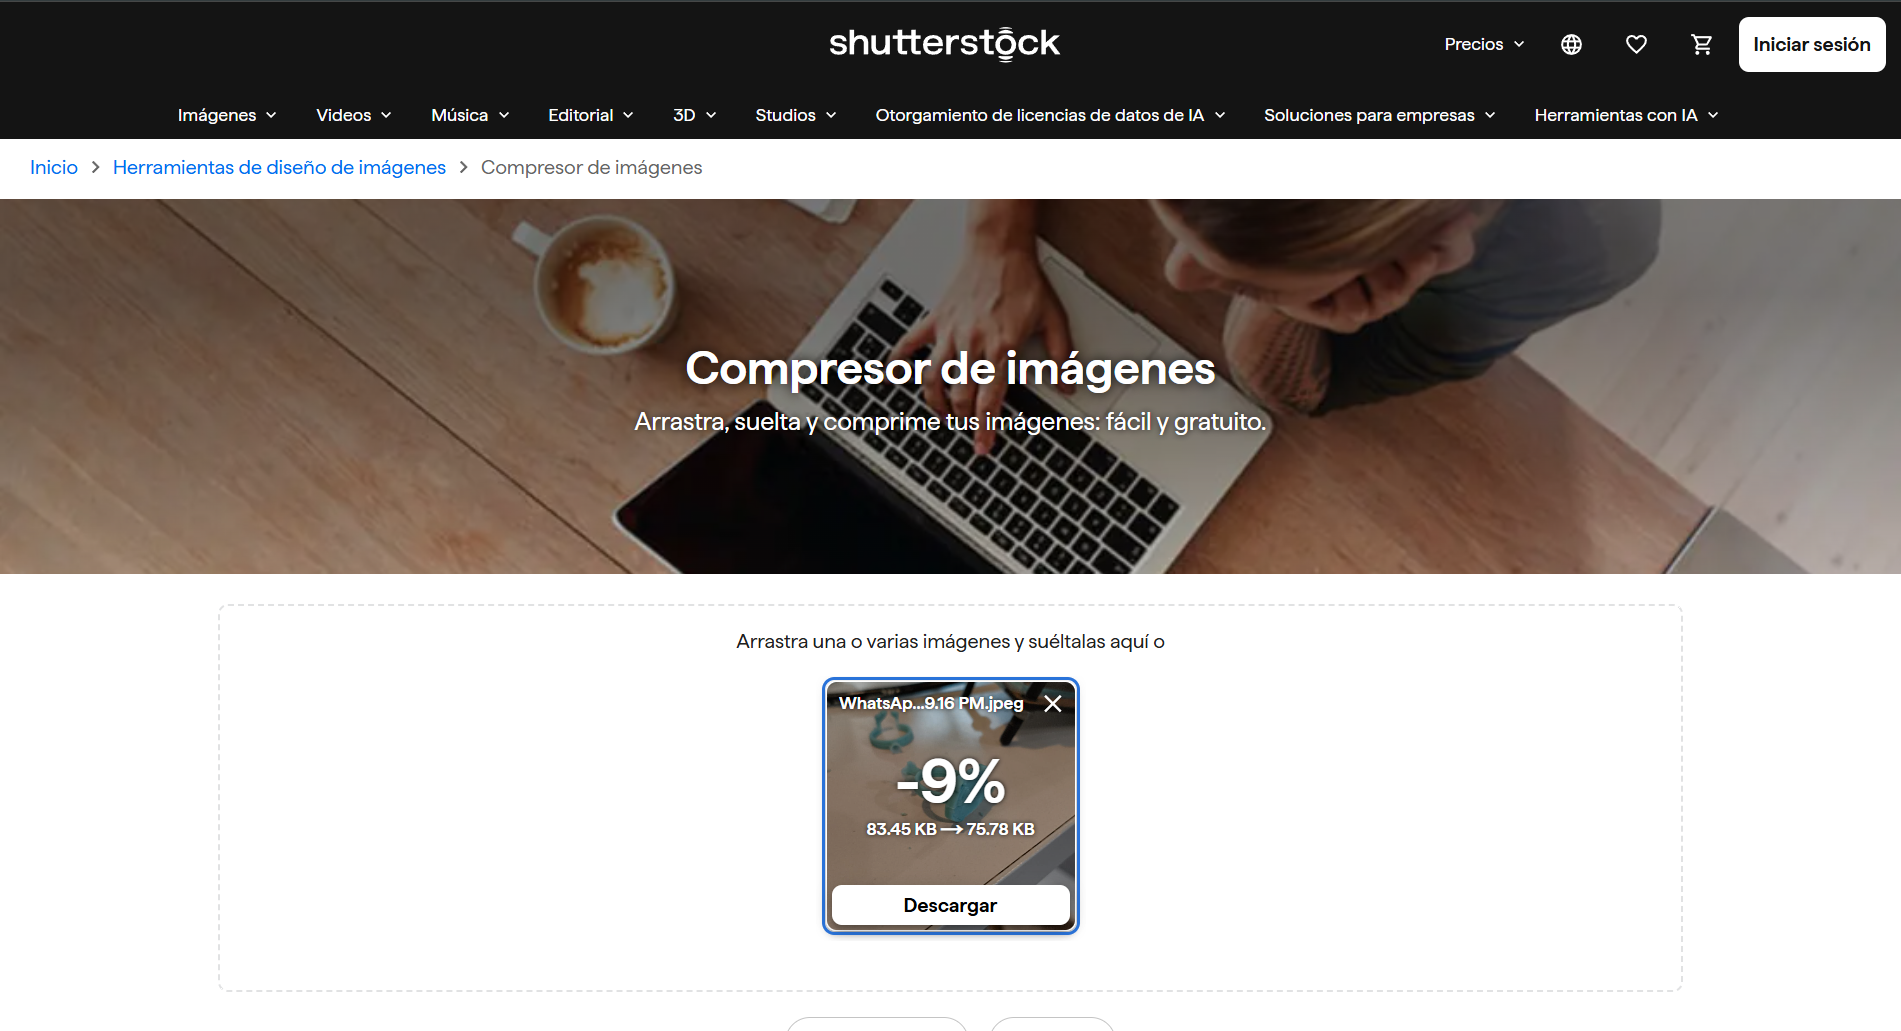
To compress my images, I used Shutterstock, a website that allows you to upload your images and download the compressed version quickly and easily.
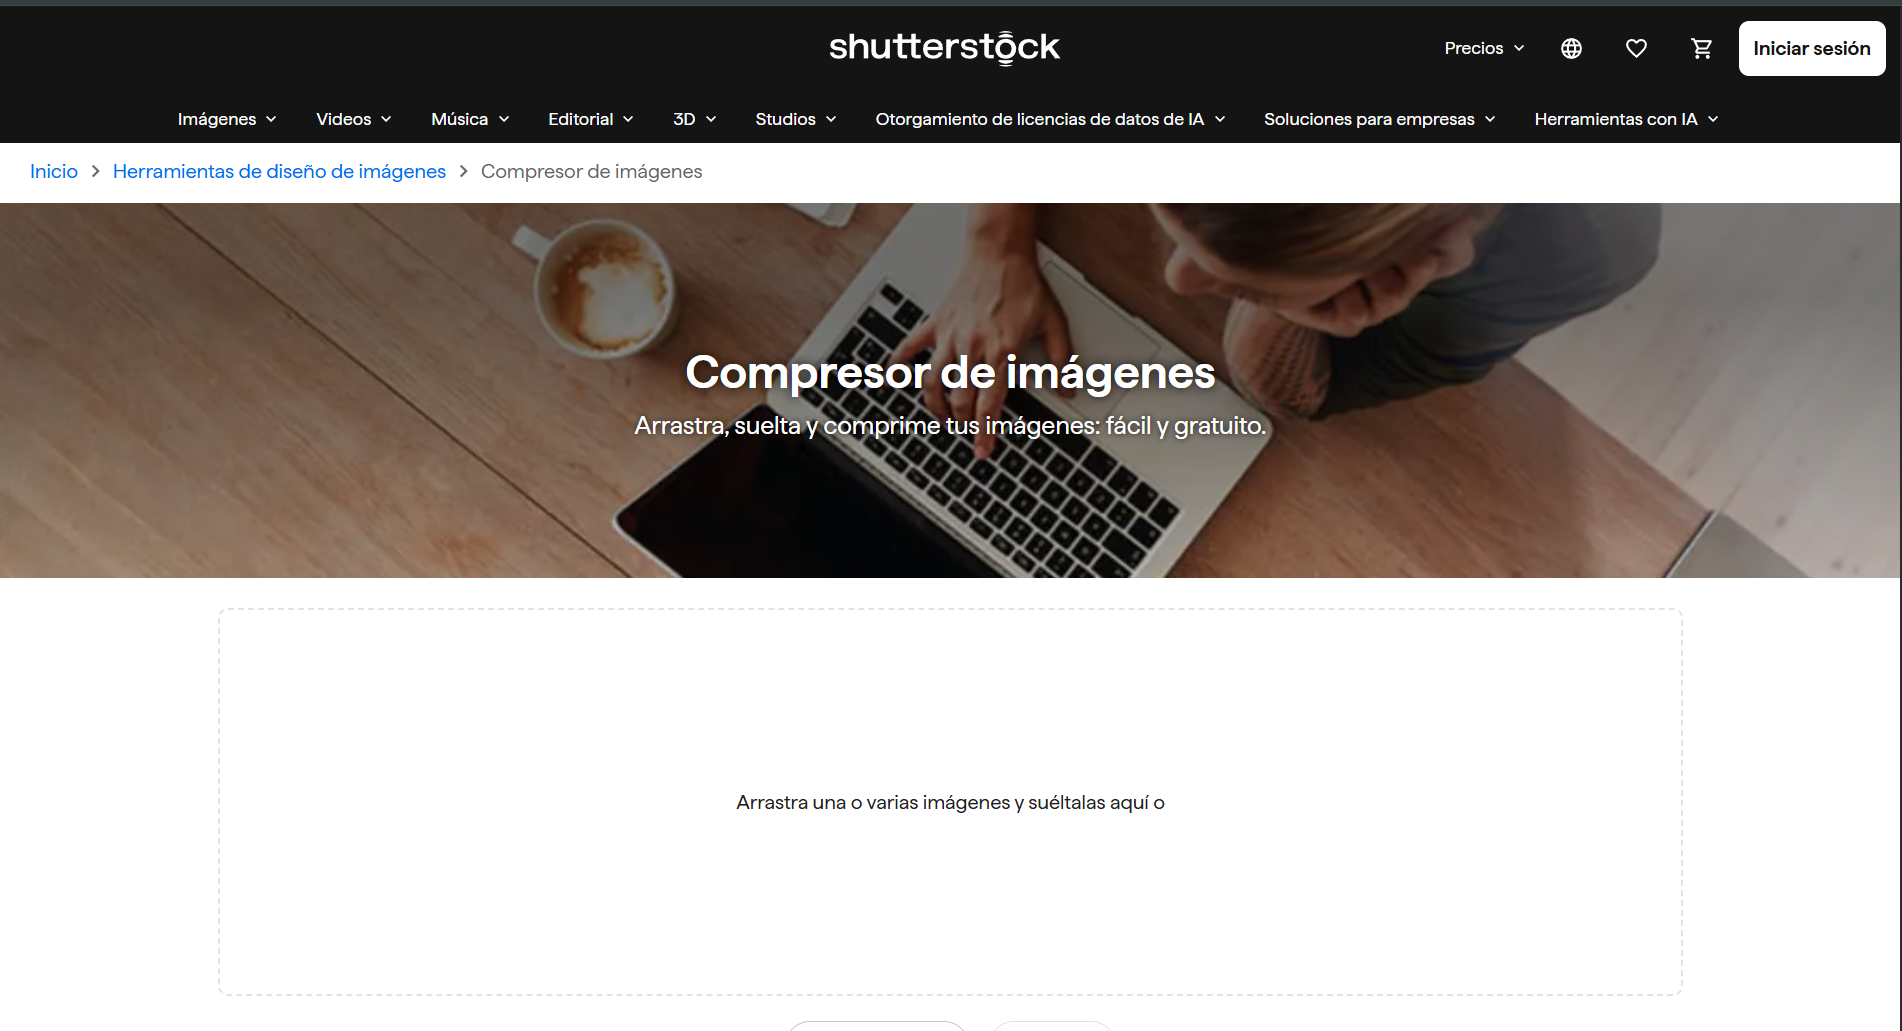
[ CLICK IMAGE TO VIEW SOURCE ]
You just have to click on the large white box, and you'll be able to select the image you want to compress.
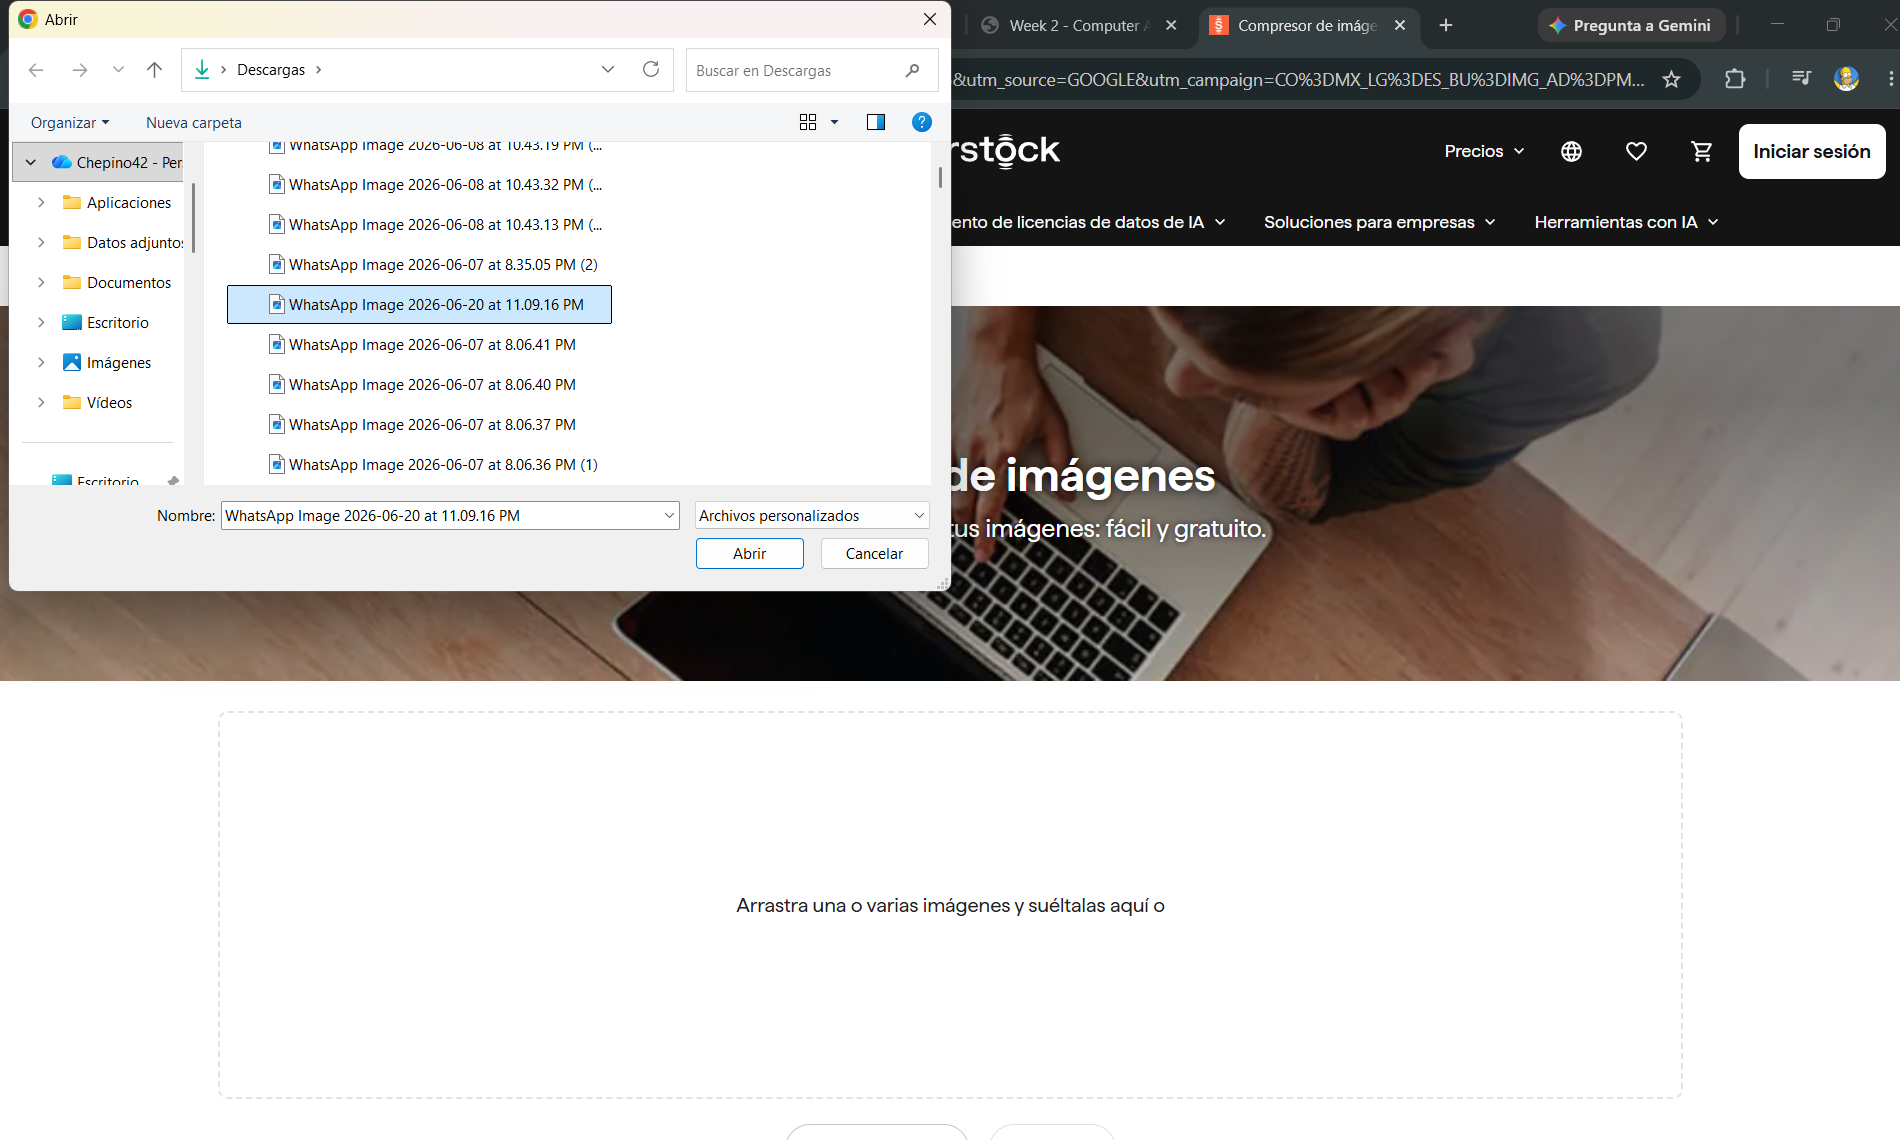
Once you upload your image, you will be able to see how much it was compressed and download it for use.
"Can you add a menu for the 2 different tutorials?."
"Can you add a new icon for the downloading files section?."
Download the complete ZIP with .STL, .STEP and .SLDPRT files.
Download the complete ZIP with the DXF and SVG files of the image.