Assignment requirement
Individual assignment
- Design and produce something with a digital process (incorporating computer aided design and manufacturing) not covered in another assignment
- Documenting the requirements that your assignment meets
- Including everything necessary to reproduce it
Progress status
Individual work
Done
Design and document
Documentation
Done
Upload source files
1) Introduction
Focus on the final project and this assignment
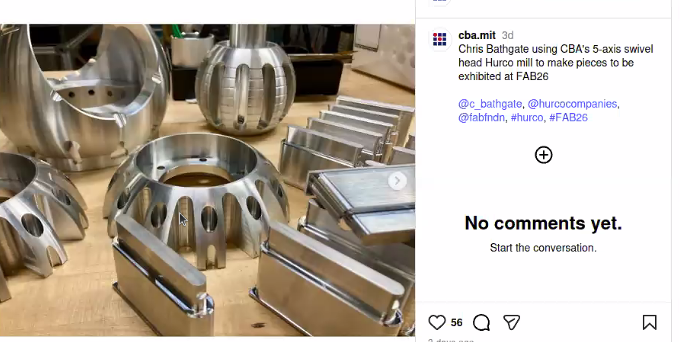
- I focused in metal pieces
- Computer controlled cutting using stainless steel with a laser was amazing
- Designing the product and the logo was a great experience
- Stainless steel has different composition, for example 304: 18% chromium, 8% nickel, and the rest is iron. It is very resistant to corrosion and oxidation, and it is widely used in various applications, including kitchenware, construction, and medical instruments.
2) Individual assigment
|New project
- Design and produce something with a digital process
- Incorporating computer aided design and manufacturing
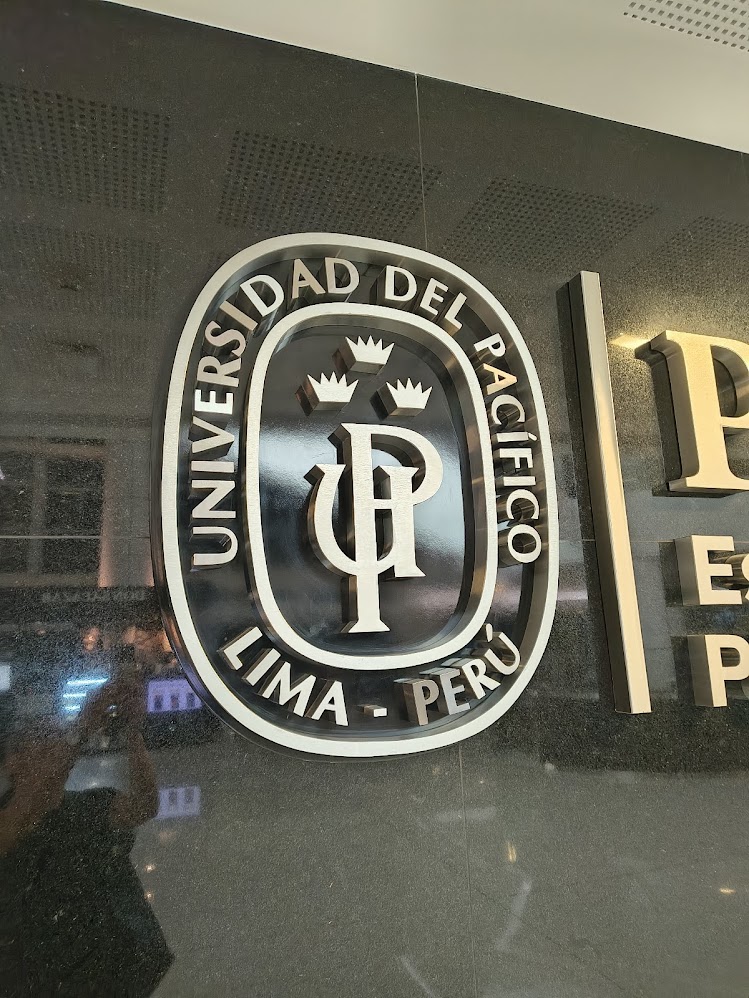
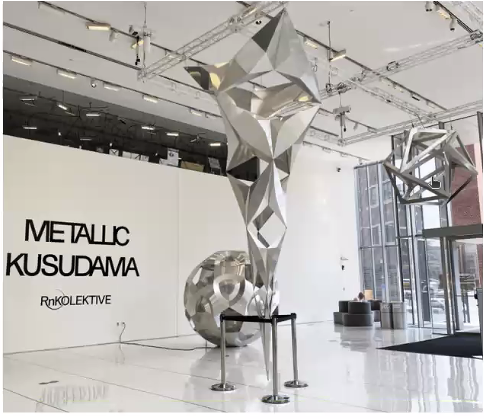
I found something interesting at the University entrance. A metal UP logotype using laser cutting
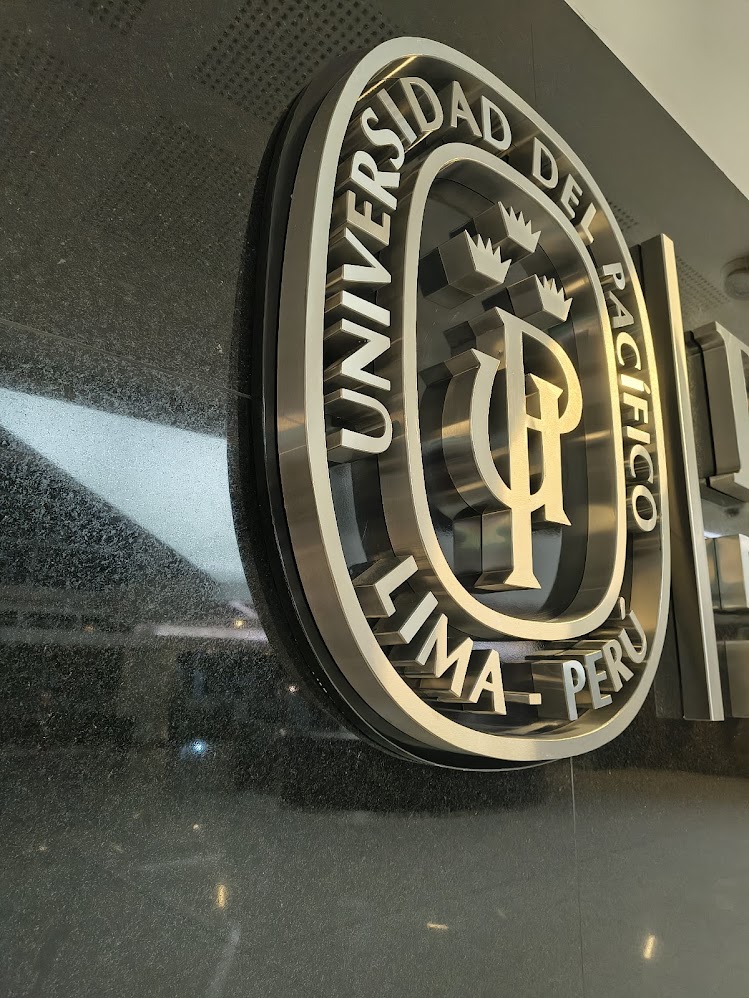
I reviewed the details about the UP logotype. The stainless steel has 1 inch, with different cuts characteristics
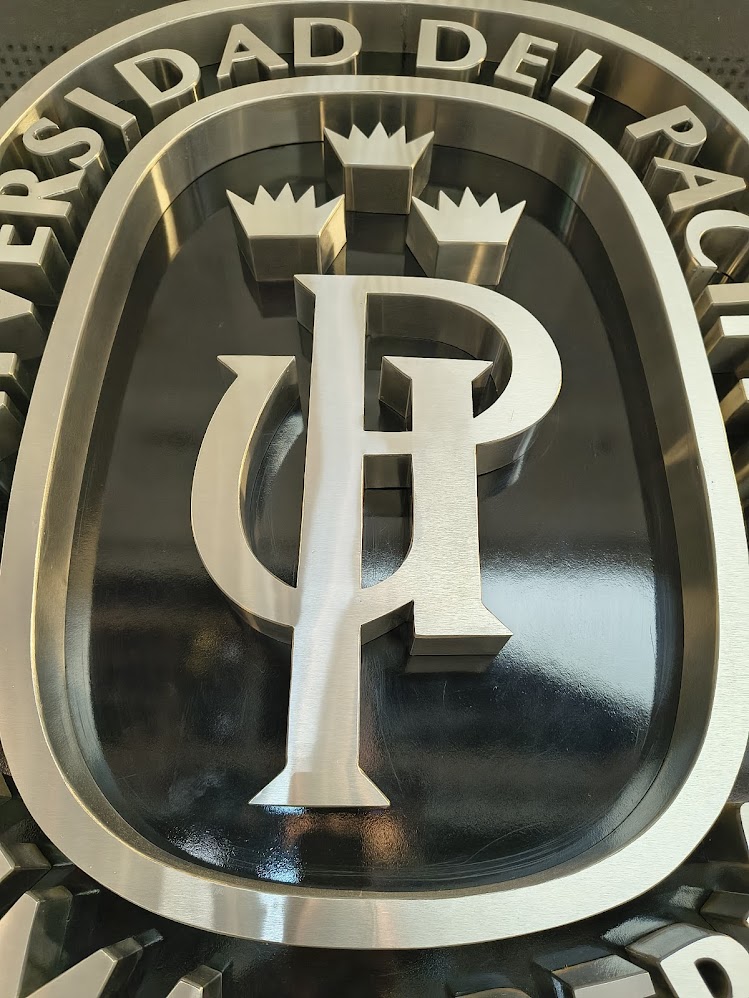
The logotype as a lot of cutting details and constraints
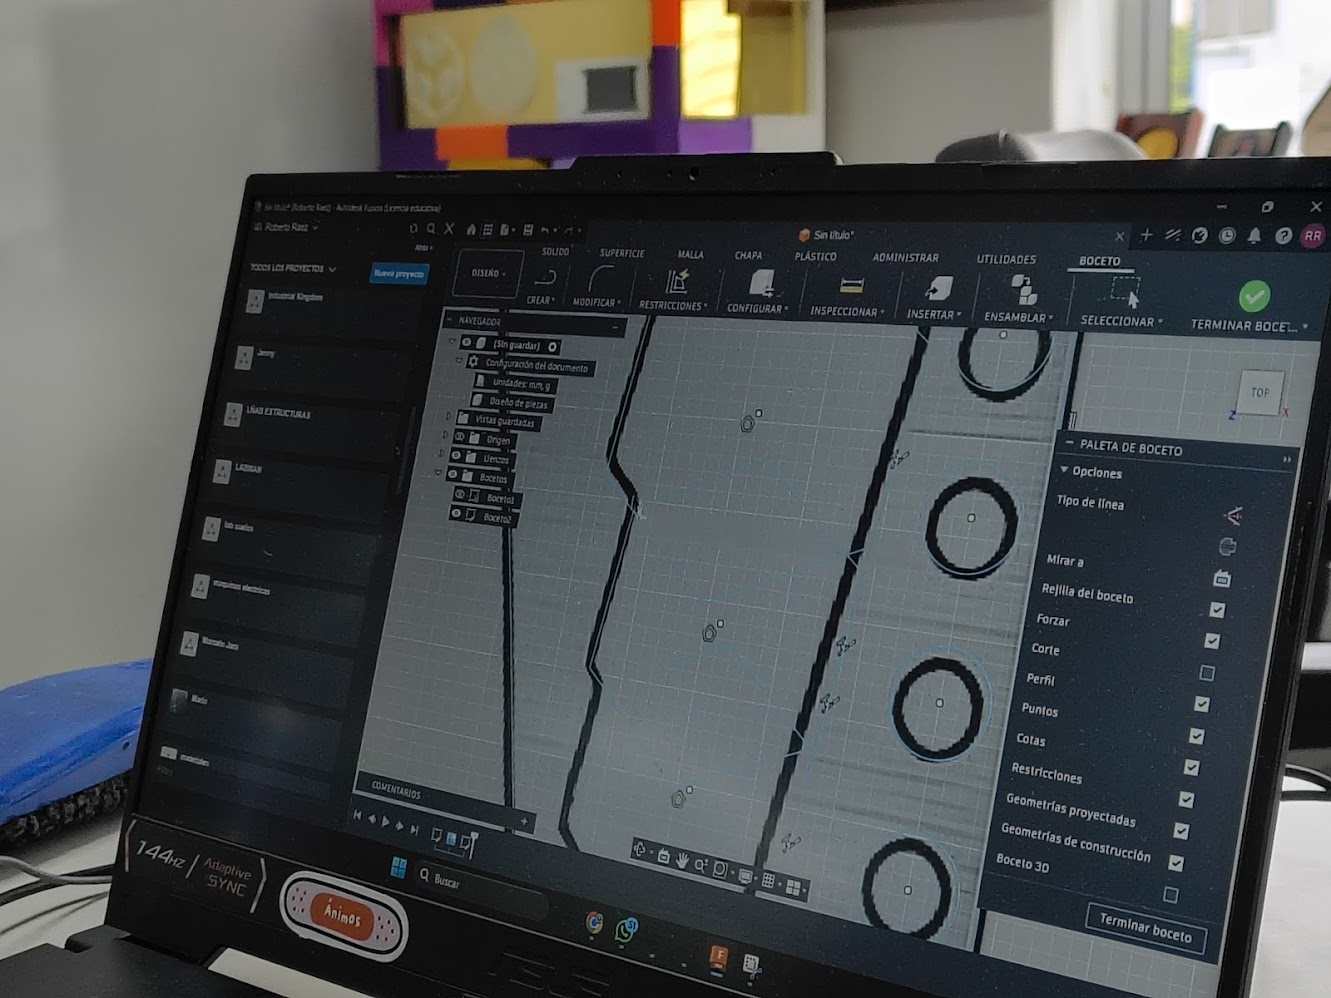
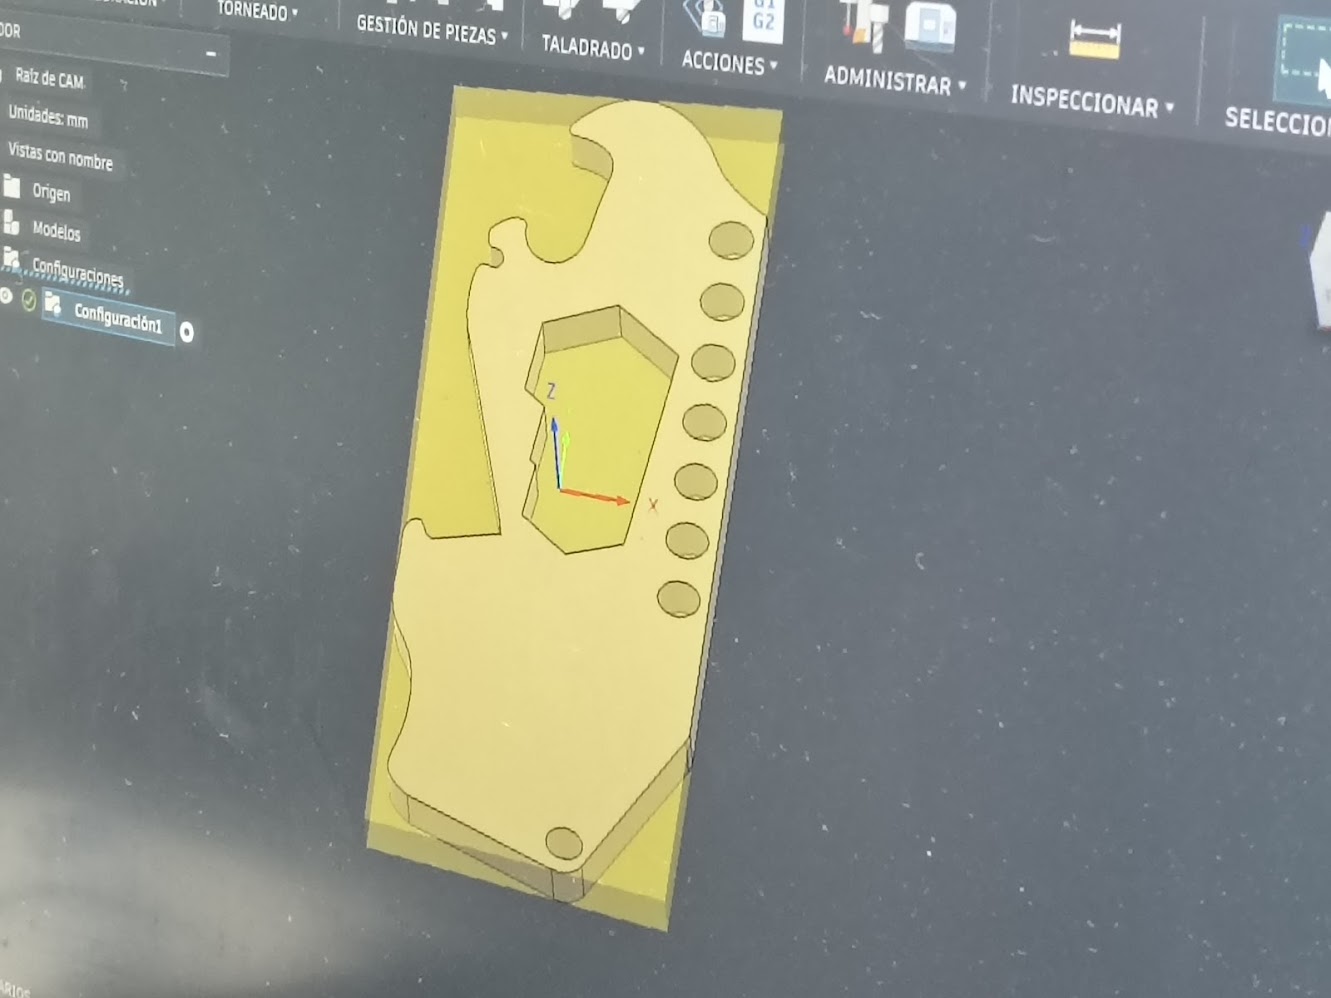
I designed a stainless steel tool at Fusion 360
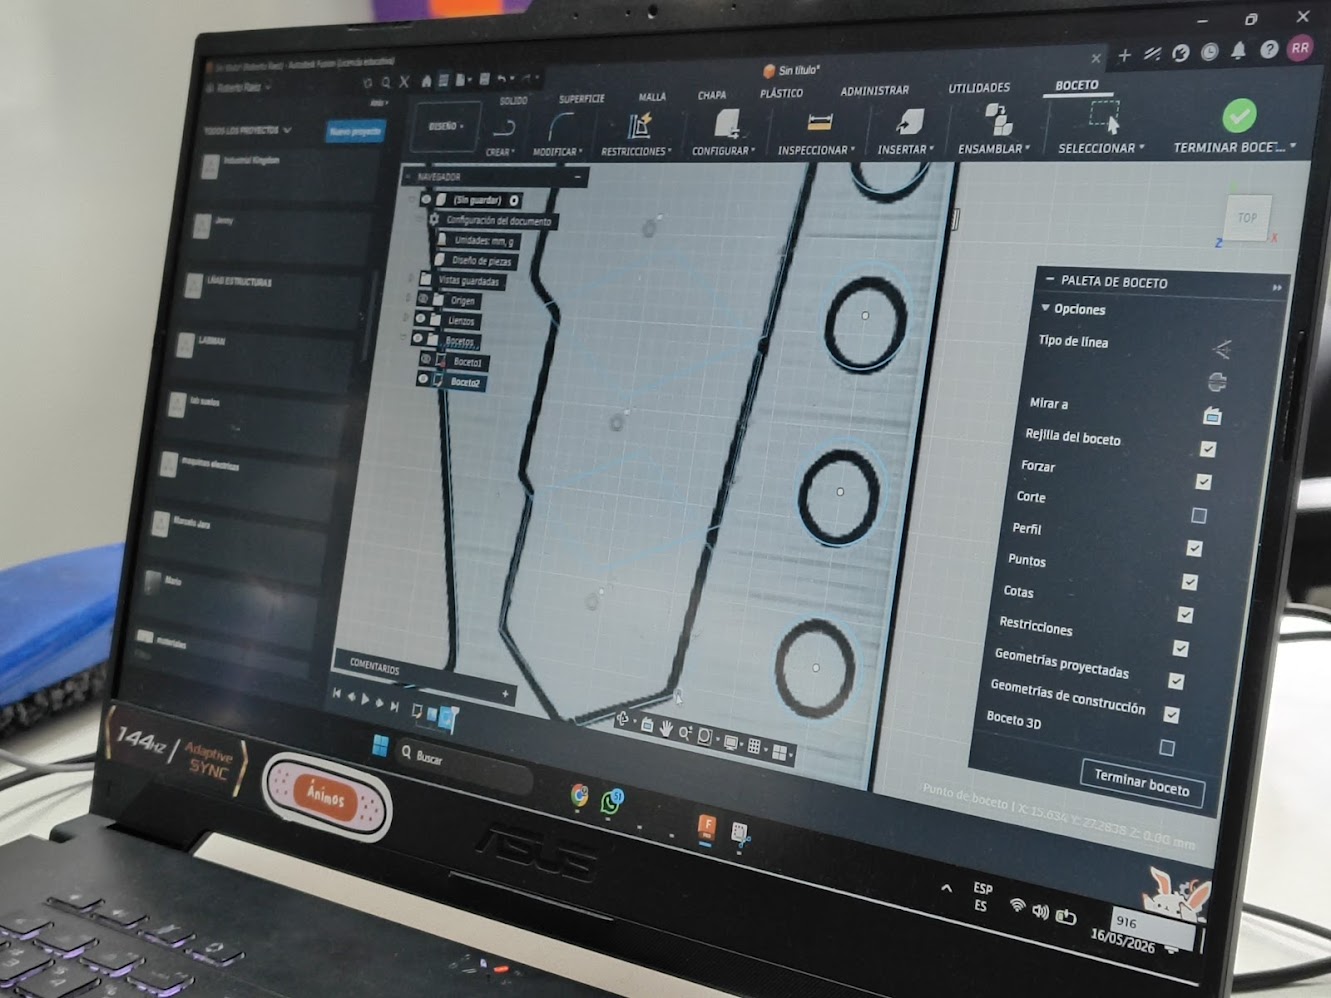
I added holes and features at the stainless steel tool

This is the product overview

I used Nesting software refers to insert logos in the stainless steel tool
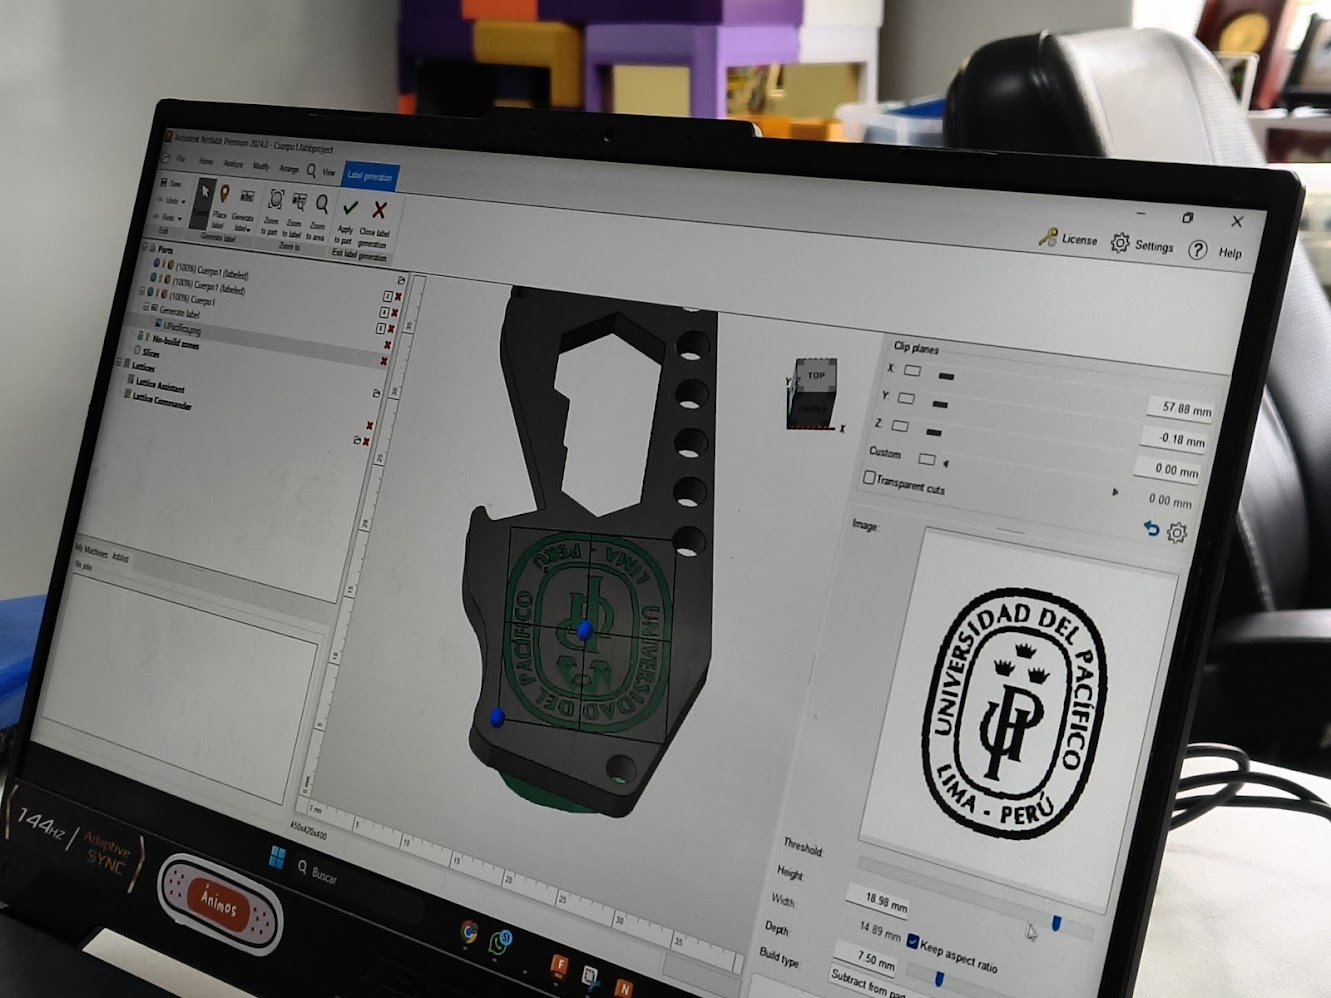
I imported the UP logotype and inserted the tool
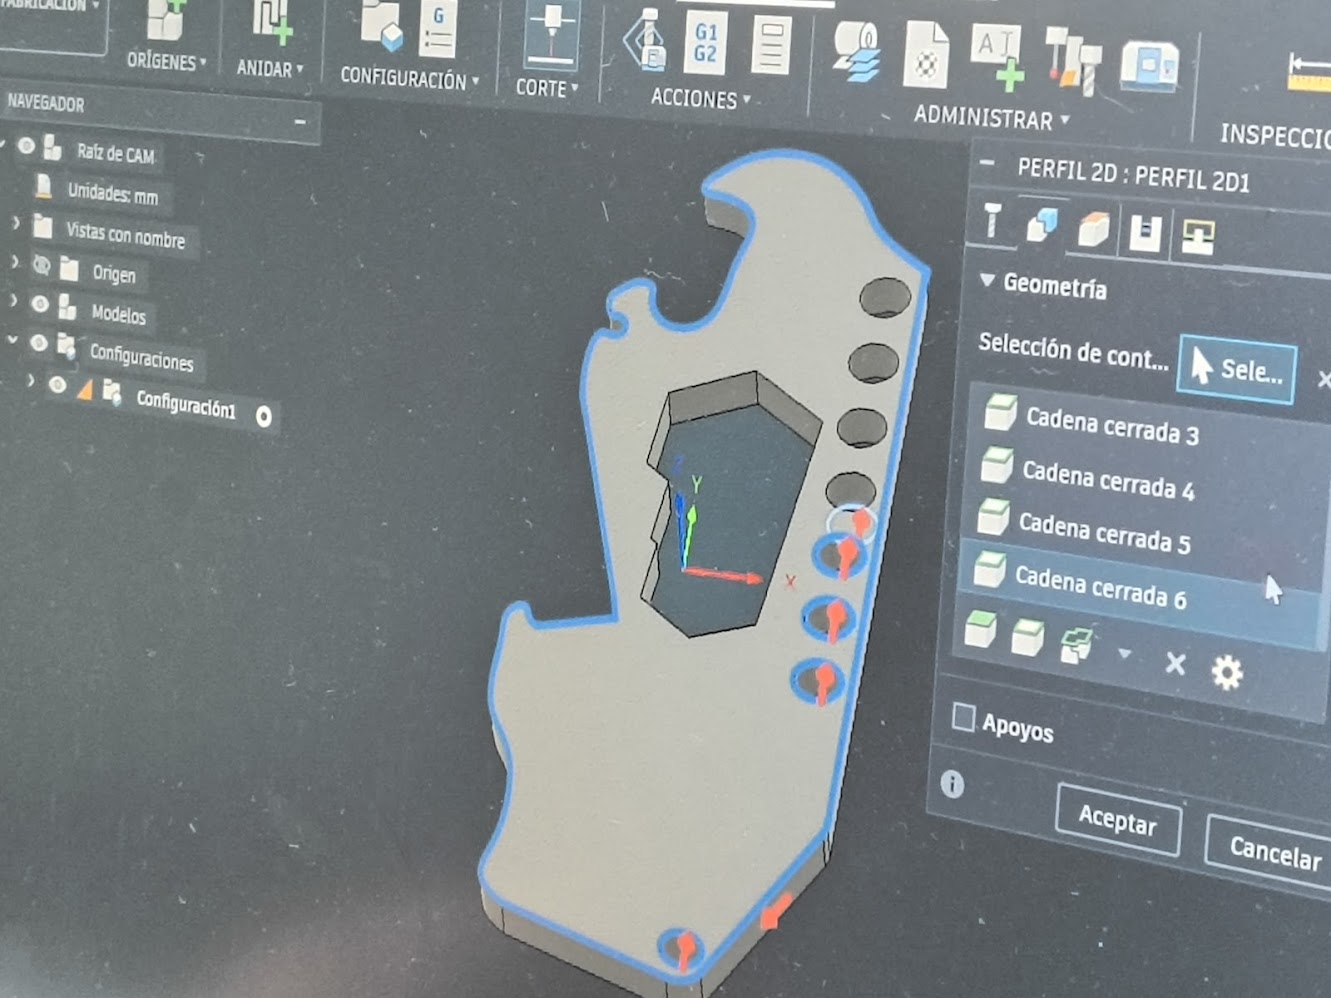
Then I defined the laser cutting route
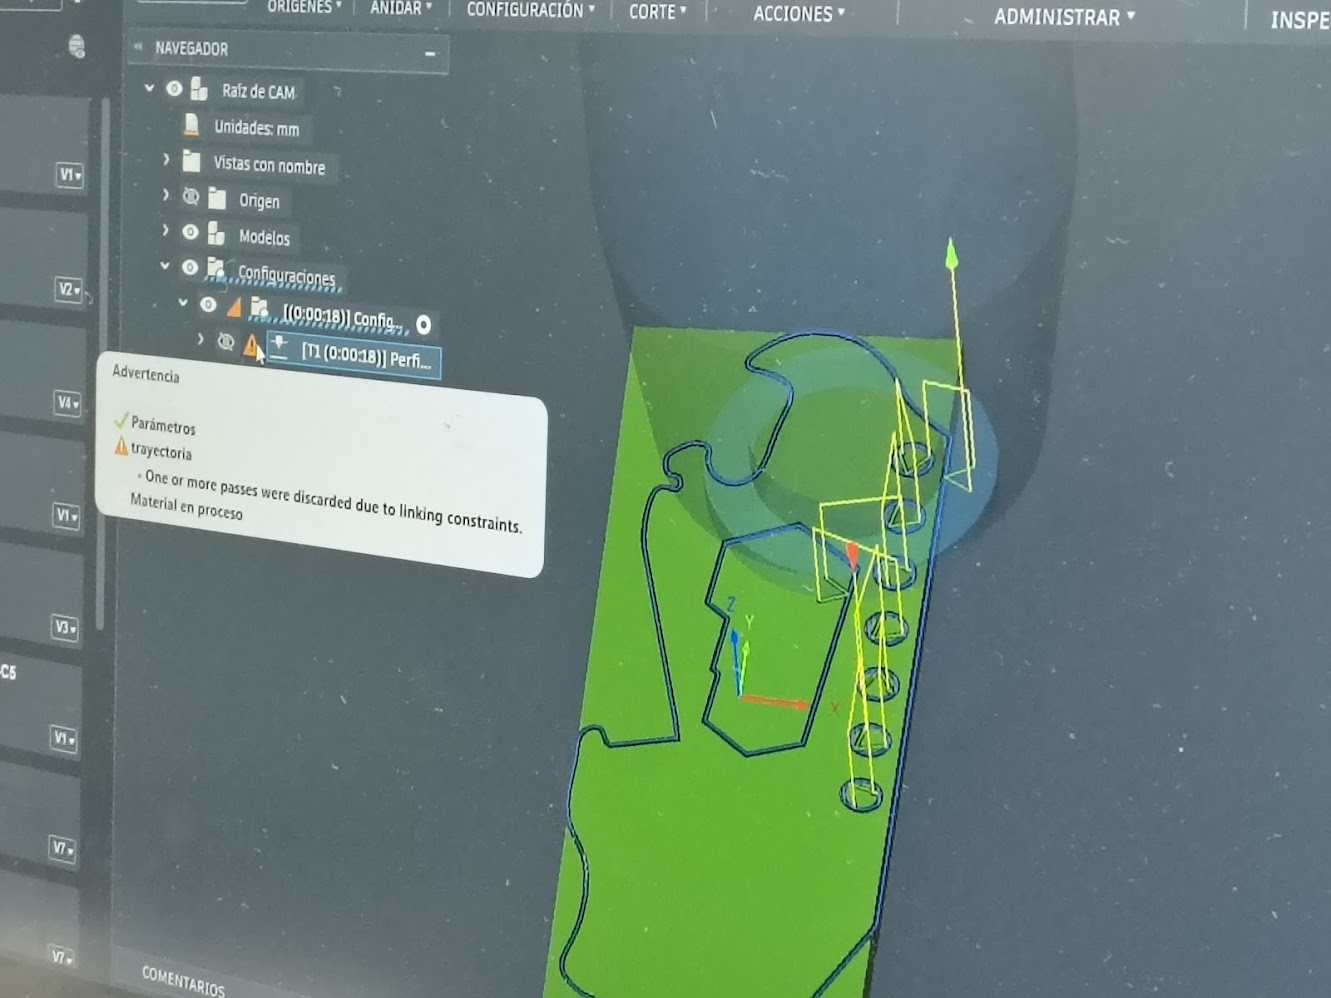
Laser cutting routing
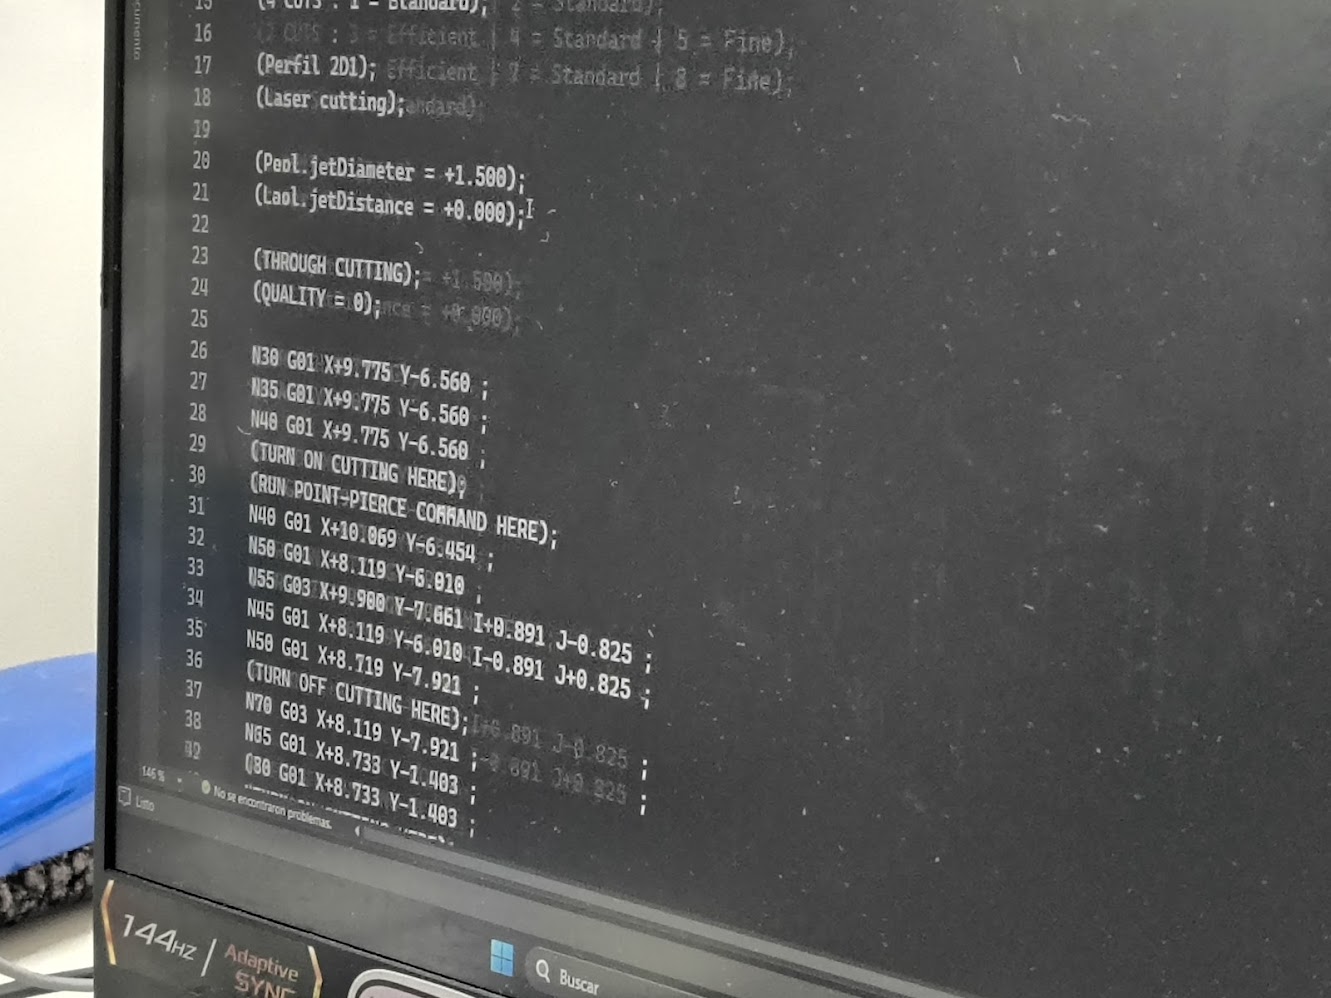
Routing in G Code
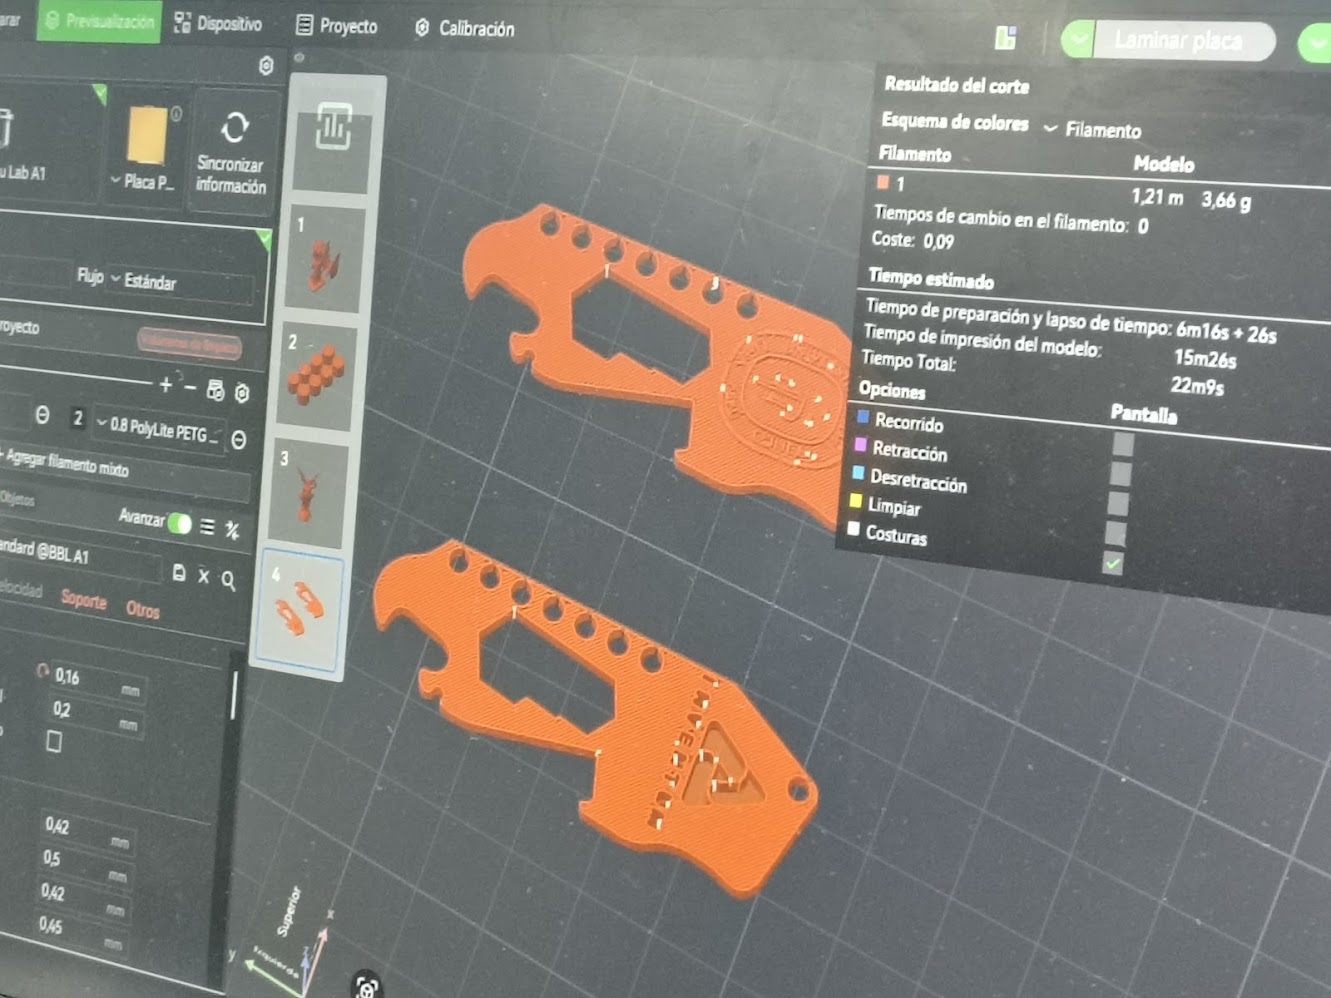
This is the cutting process and details
This is the product development process
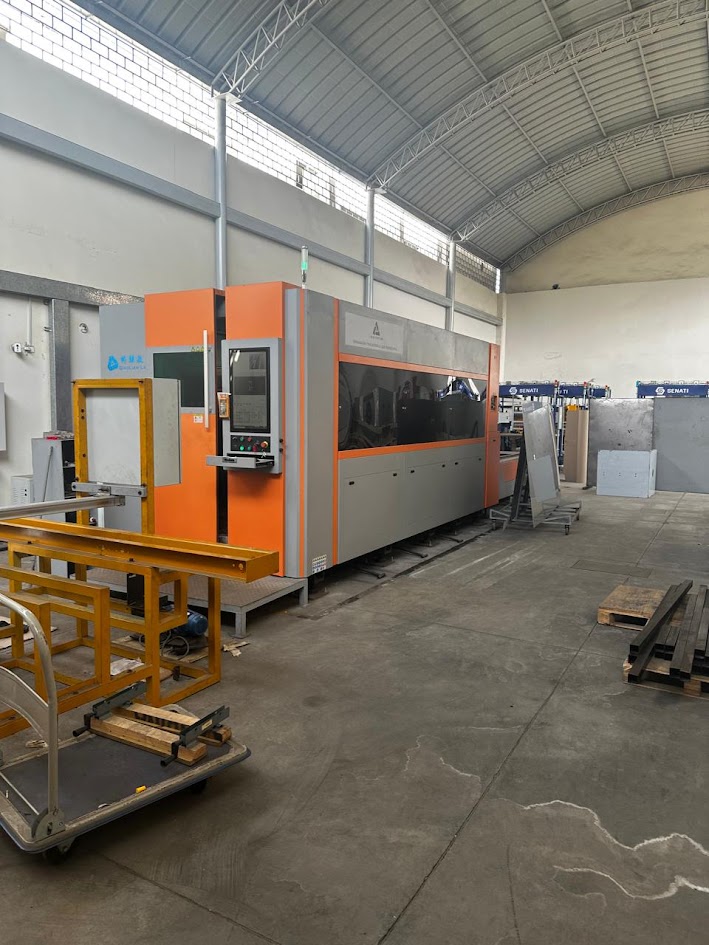
The piece is ready for laser cutting. This is the laser cutting machine. Large-format, fully enclosed, professional-grade fiber laser cutting system. With: Gantry-style XY motion system, touch screen control panel, fume extraction system, pendant/jog controller and control buttons. Laser Power: 3,000W – 6,000W. Max cut speed: 40 m/min. Cutting area: 1,500 × 3,000 mm. Positioning accuracy: ±0.03 mm. SS304 max thicknes: 12–16 mm
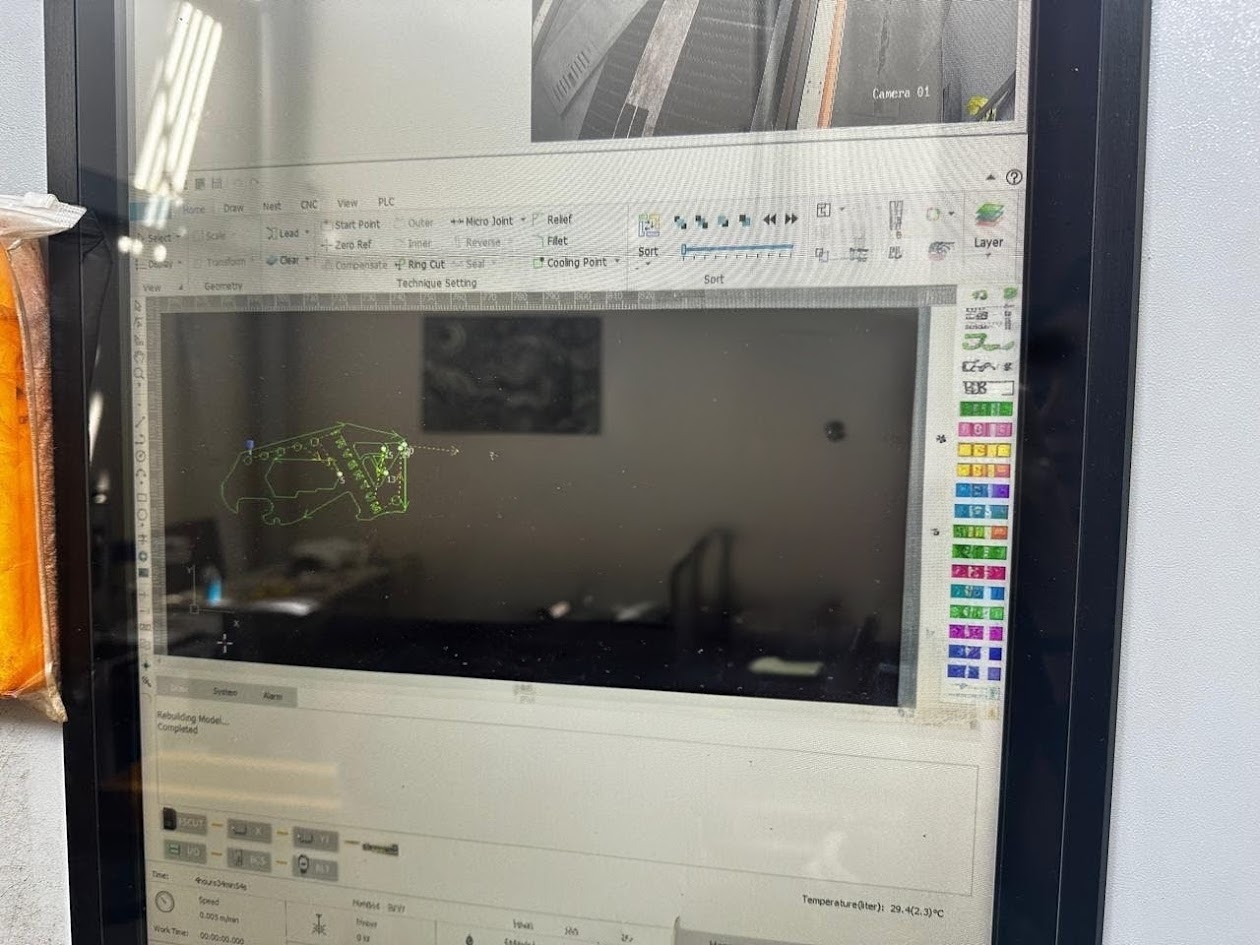
We upload the design files to the laser cutting machine. Laser cutting in progress. Material: Stainless Steel. Thickness: 2mm. Noozle: single layer L4. Softare: BMC228B CNC controller
The screen show the design in different angles. Lead Lead-In type Arc, angle 60°, length 1 mm, radio 1 mm. Lead-Out type Arc, angle 60°, lenght 1 mm, radio 1 mm

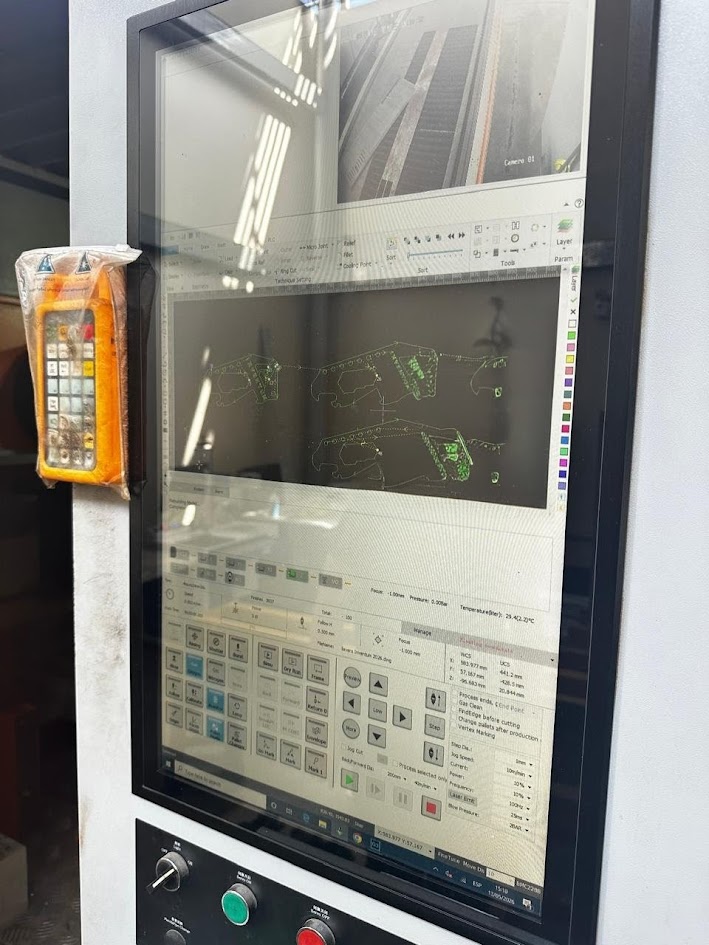
Laser cutting parameters completed. Pressure: 0.008 bar. Filter temperature: ~29.4°C. Focus: -1.00 mm. Follow H: 0.300 mm
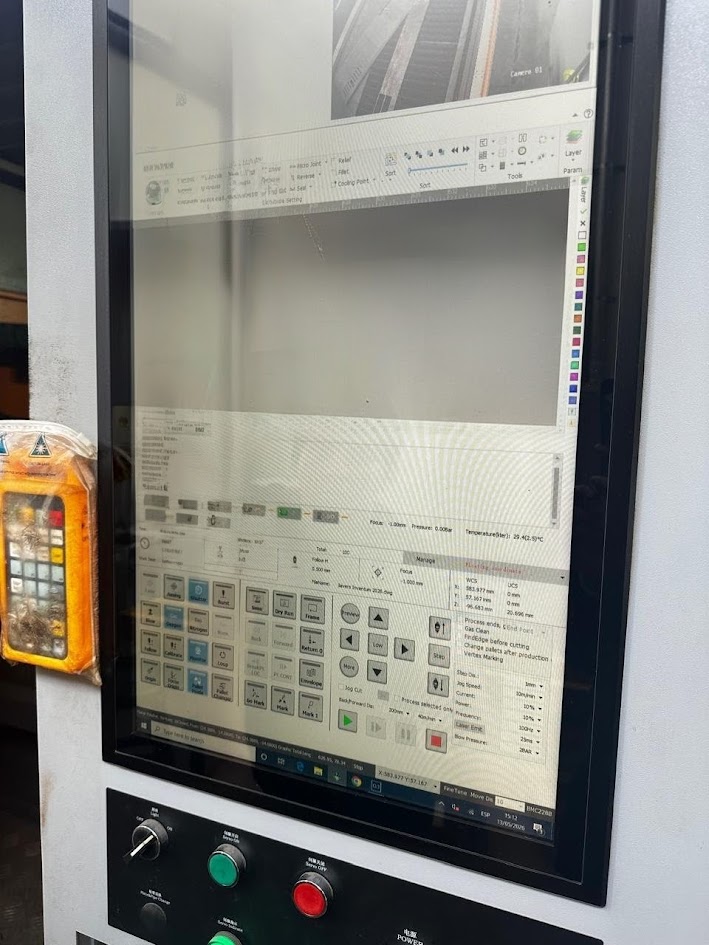
Laser cutting route. Jog Speed 1 mm. Current10 mA/min. Power10%. Frequency 10%. Laser Emitter 100 Hz. Blow Pressure 25 ms / 2 BAR. Focus-1.000 mm

Final laser cutting result. Length 85 mm. Witdth 37 mm. Height 2.5 mm2. Hexagon radio 7.0 mm. Hole 20→58mm
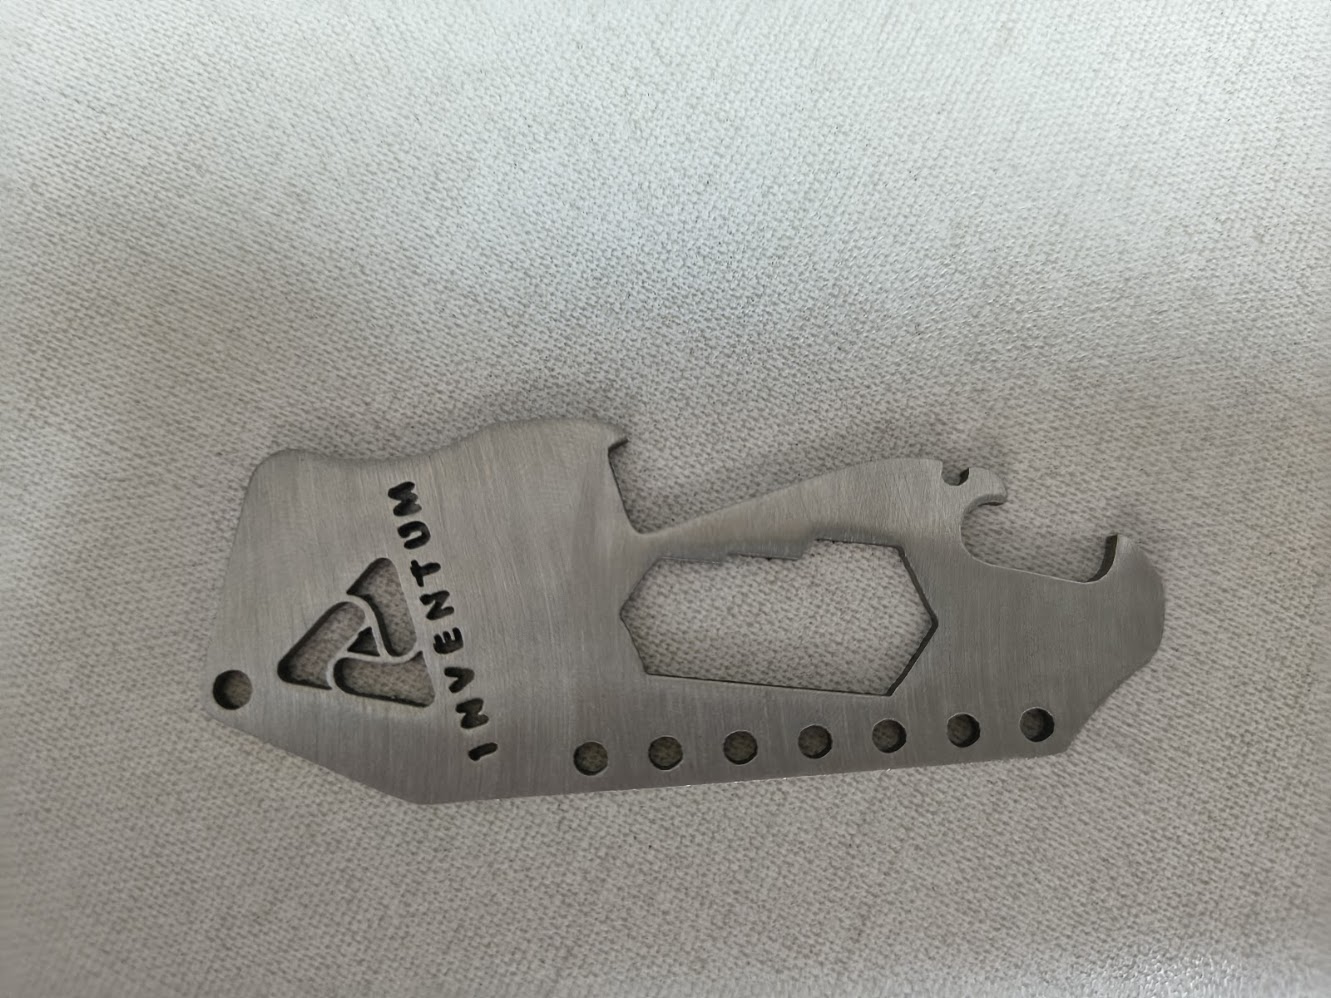
This is the final product
Video demonstration
3) Final project advance
Packaging design
- External box
- Protection materials
- Product distribution
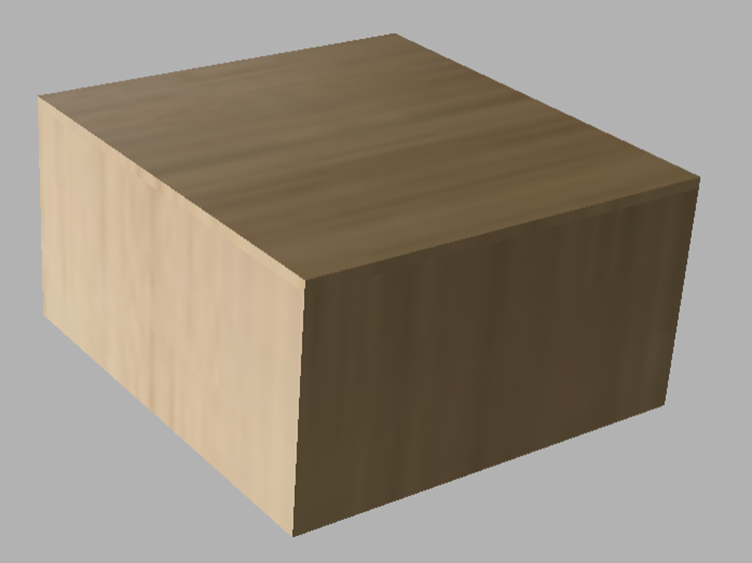
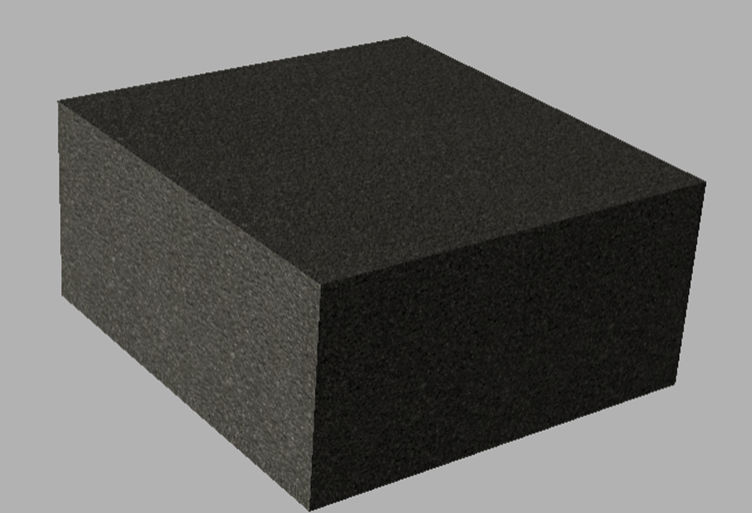
External packaging desing - MDF box
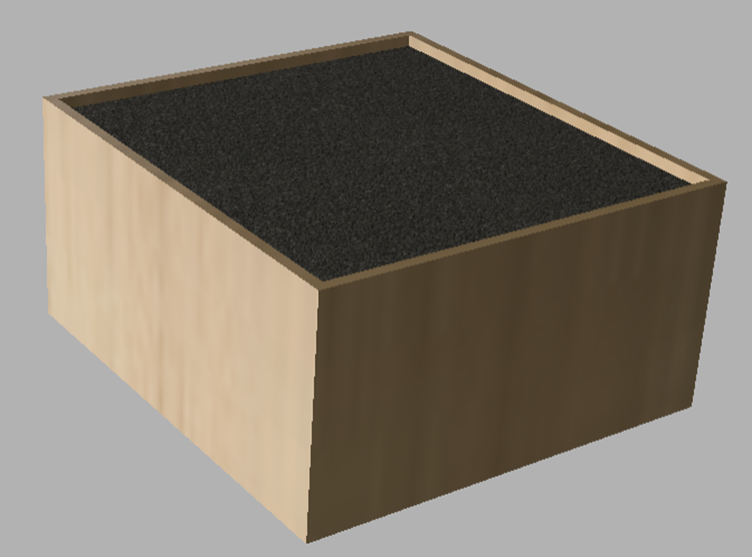
Internal packaging design - Polyurethane foam protection
Reviewing polyurethane foam protection
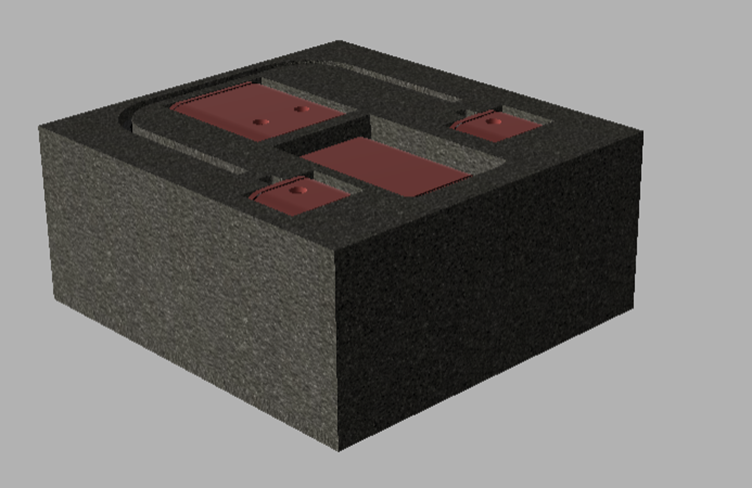
Polyurethane foam protection and project components
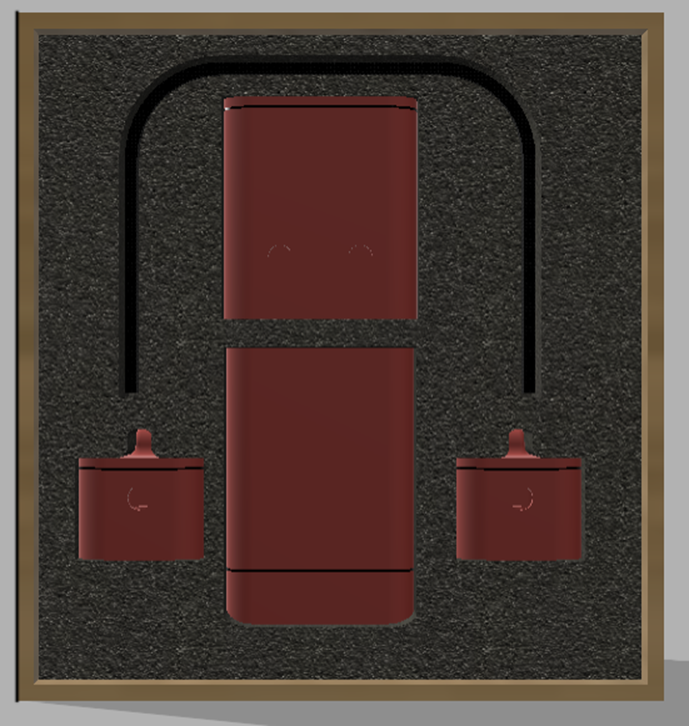
Project components in the box
Exploring belt options for the final design
One posible belt selection for the design
4) Final results
- Make a plan for system integration for your final project
- Documented your plan with CAD and/or sketches for system integration
- Implemented method of packaging for system integration
- Designed your final project to look linke a finished product
- Documented system integration of your final project
- Linked to your system integration documentation from your final project page
5) References files
Wildcard week