Assignment requirements
Group assignment
- Review the safety data sheets for each of your molding and casting materials
- Make and compare test casts with each of them
- Compare printing vs milling molds
Individual assignment
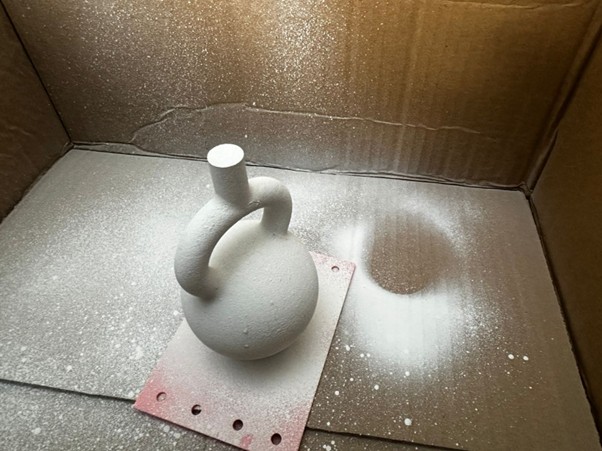
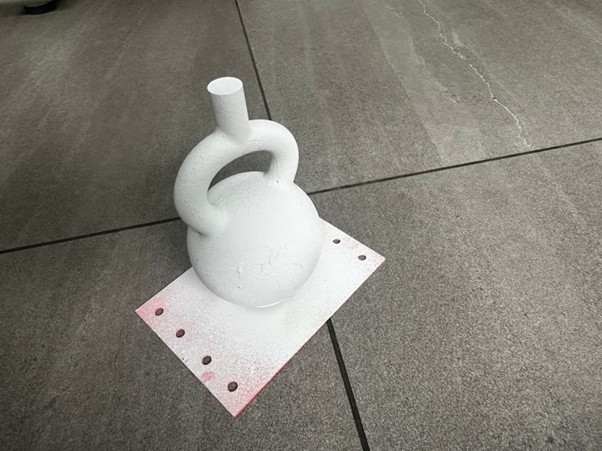
- Design a mold around the process you’ll be using, produce it with a smooth surface finish that does not show the production process toolpath, and use it to cast parts
Progress status
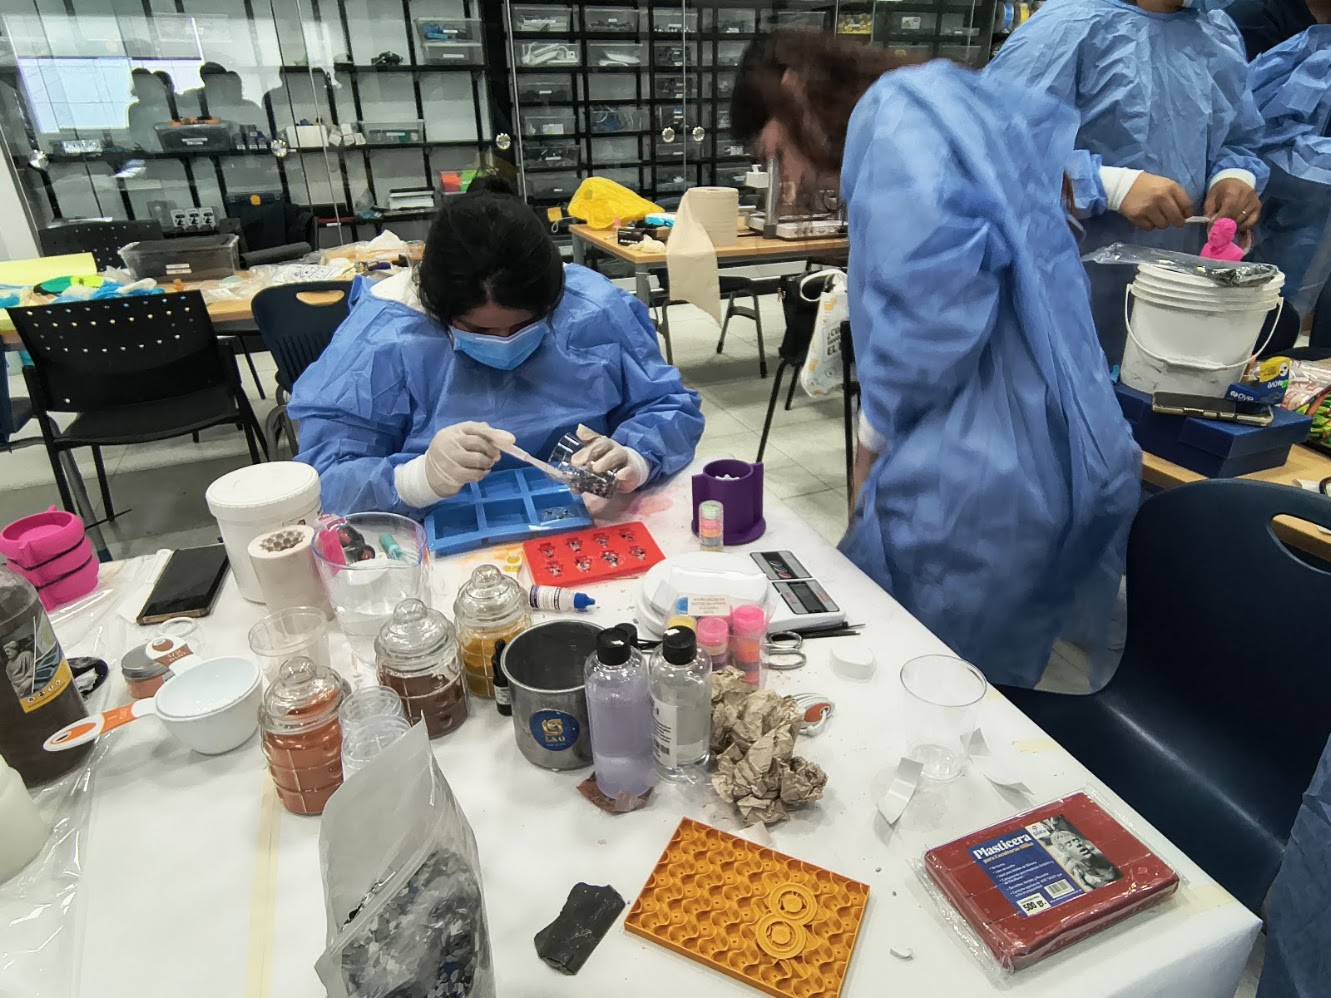
Review safety data sheets and make test casts
Compare printing & milling molds
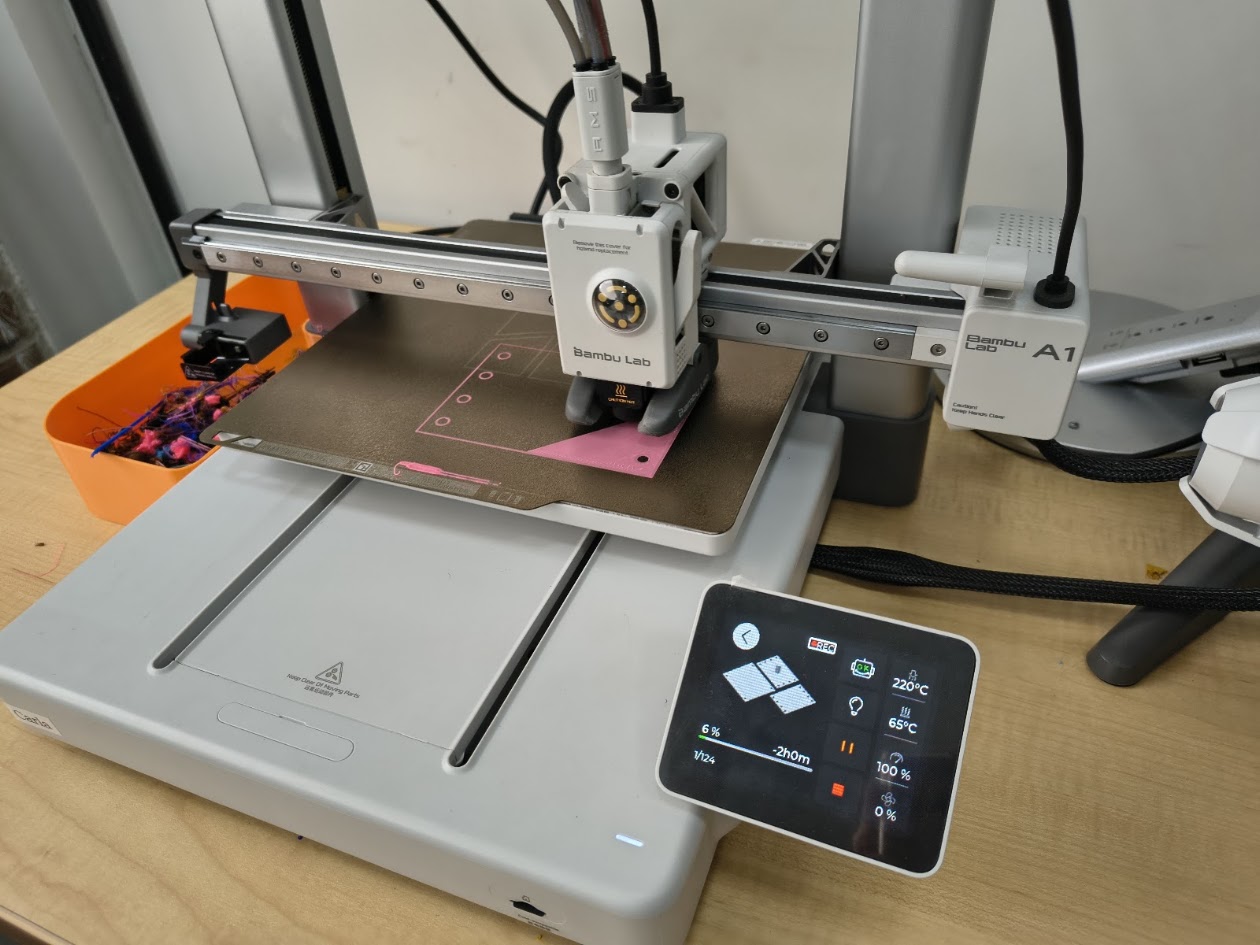
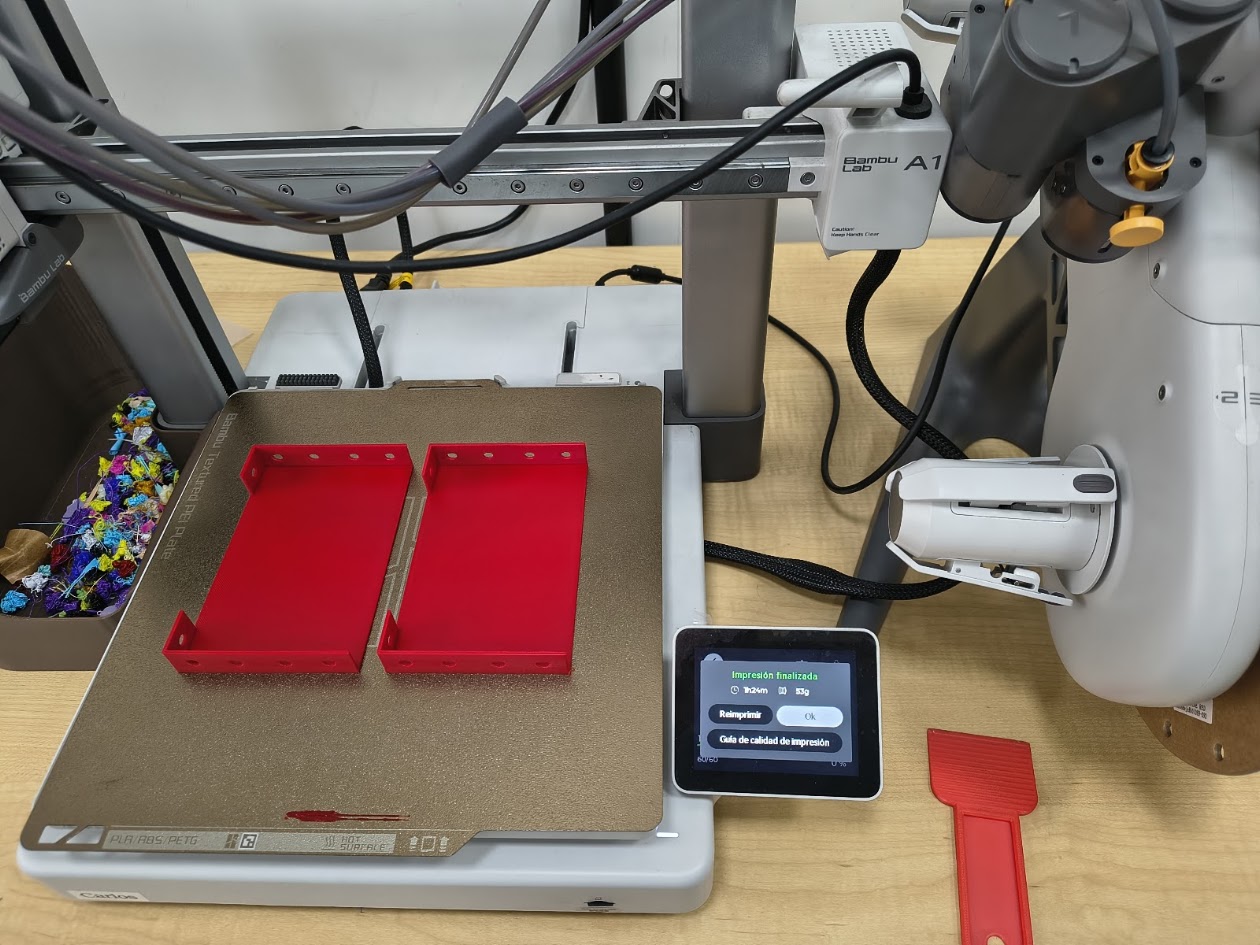
Design a mold and document the process
Upload source files
1) Introduction
New concepts gaps
- New topics and concepts 😶🌫️😶🌫️😶🌫️
- How will I survive this Fab Lab Academy 😯😯😯
- It likes 👨🏻🍳👨🏻🍳👨🏻🍳 at the lab
- More the 13 weeks 🫨🫨🫨
- Molding & casting techniques are like cooking & serving 🍳🍪🍳🍪
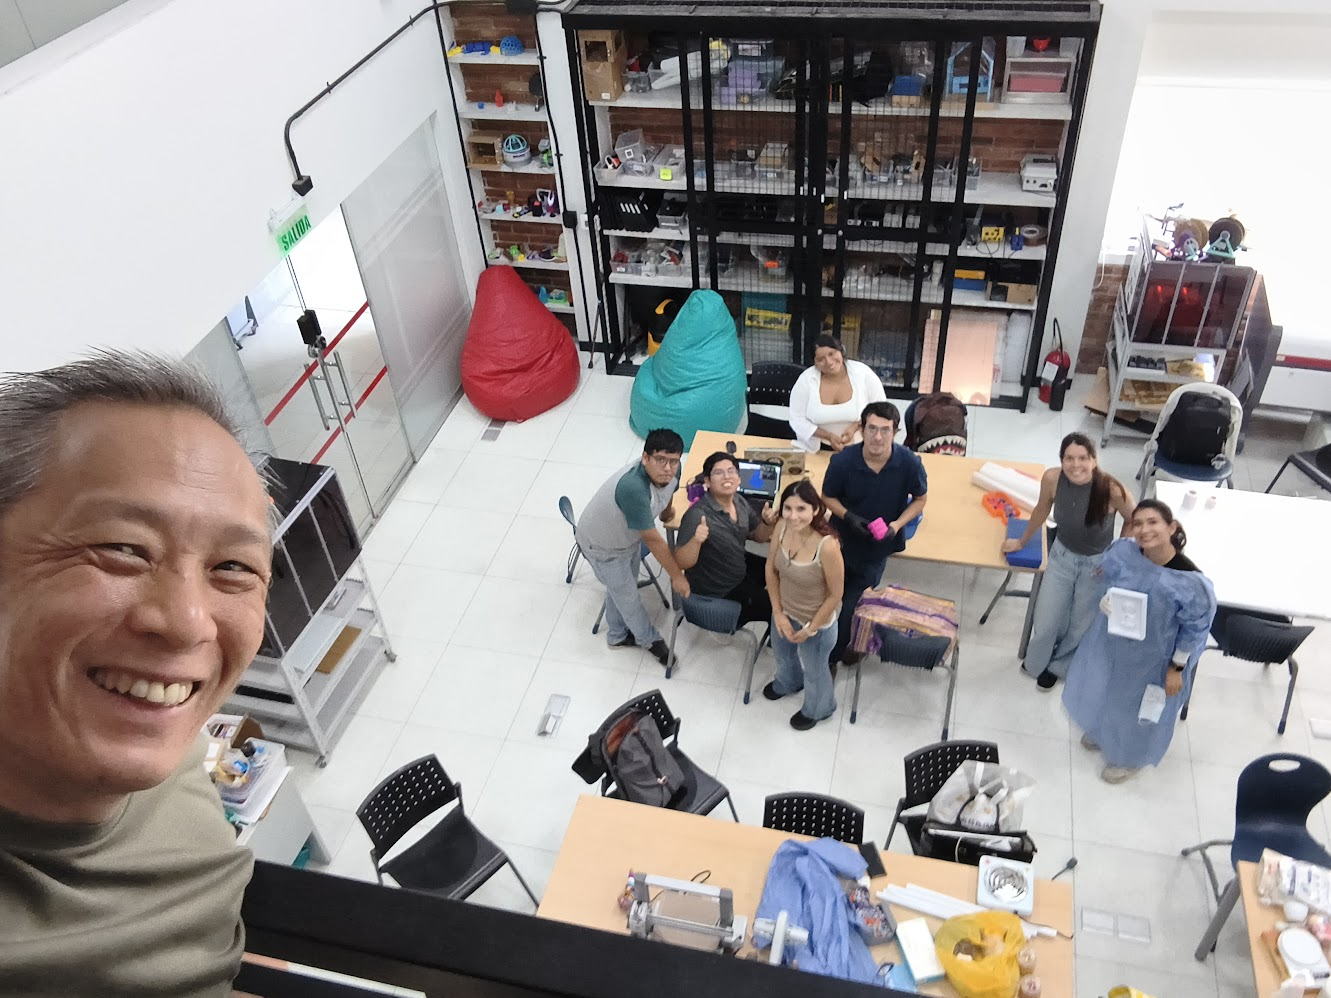
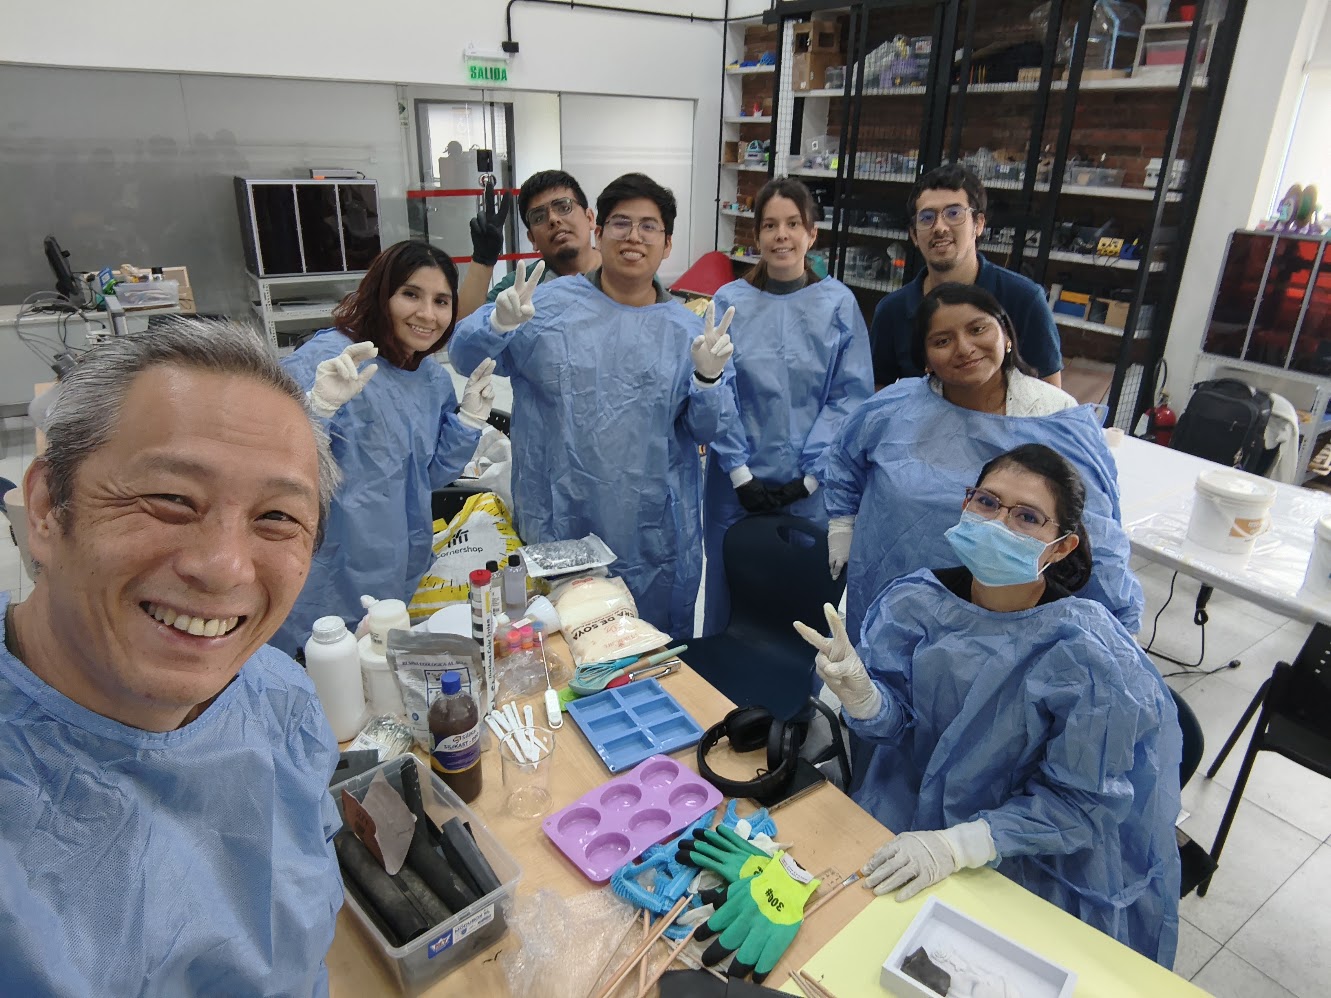
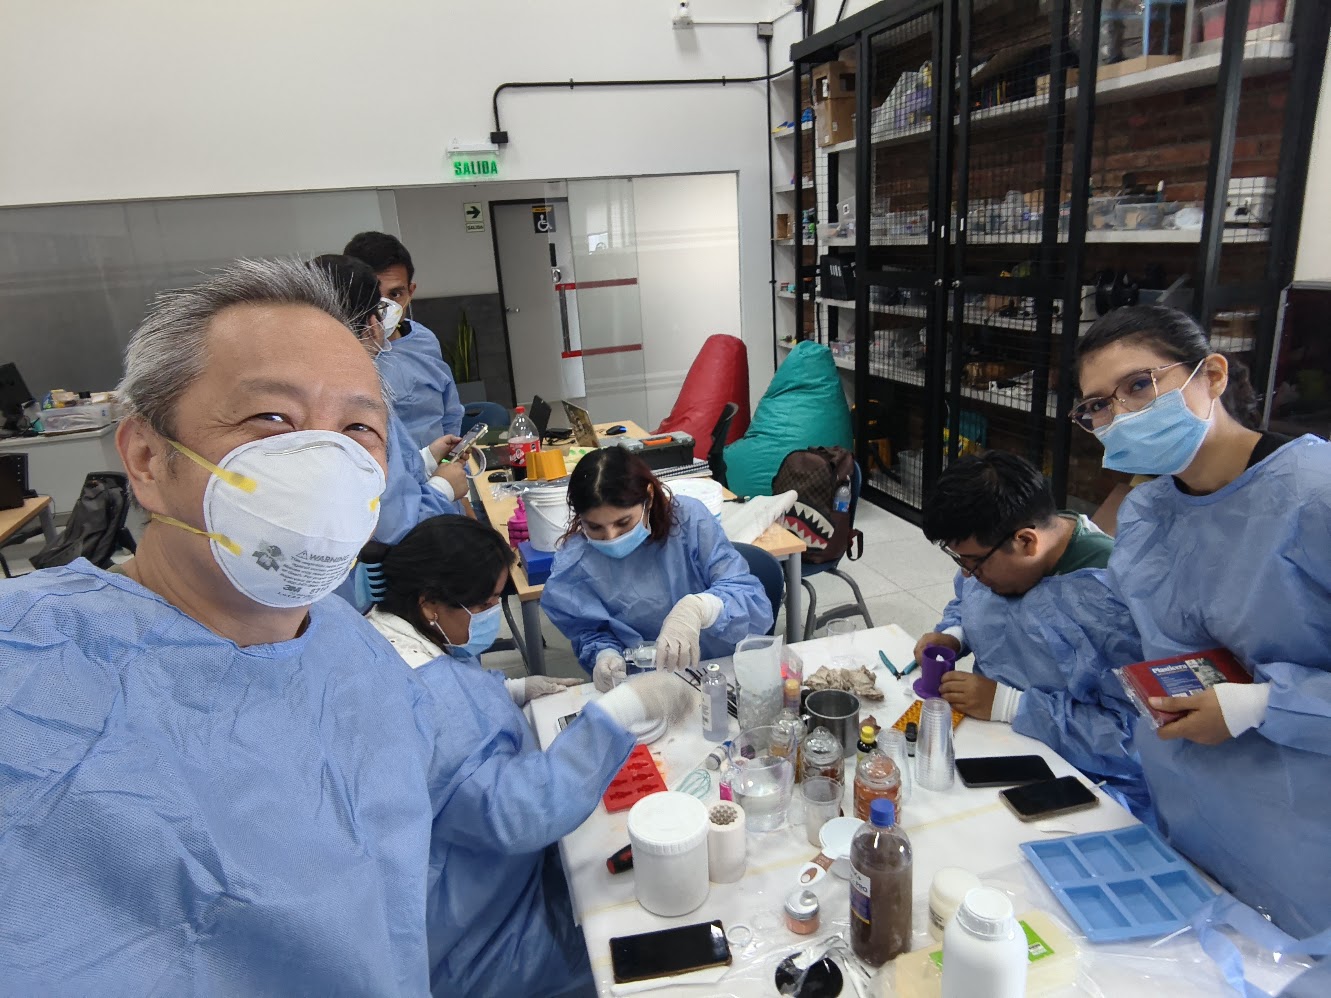
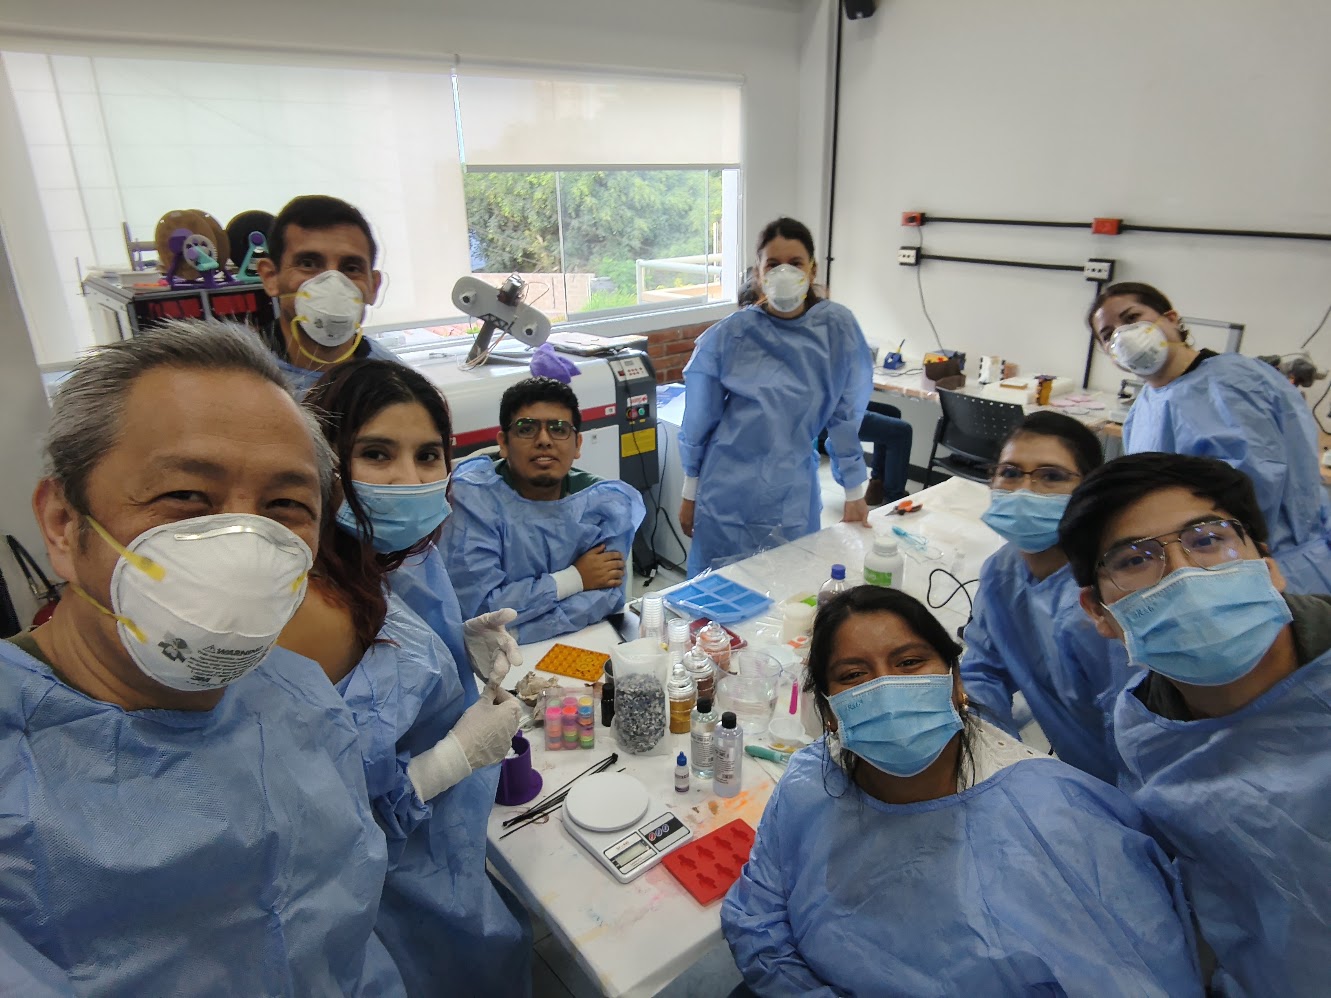
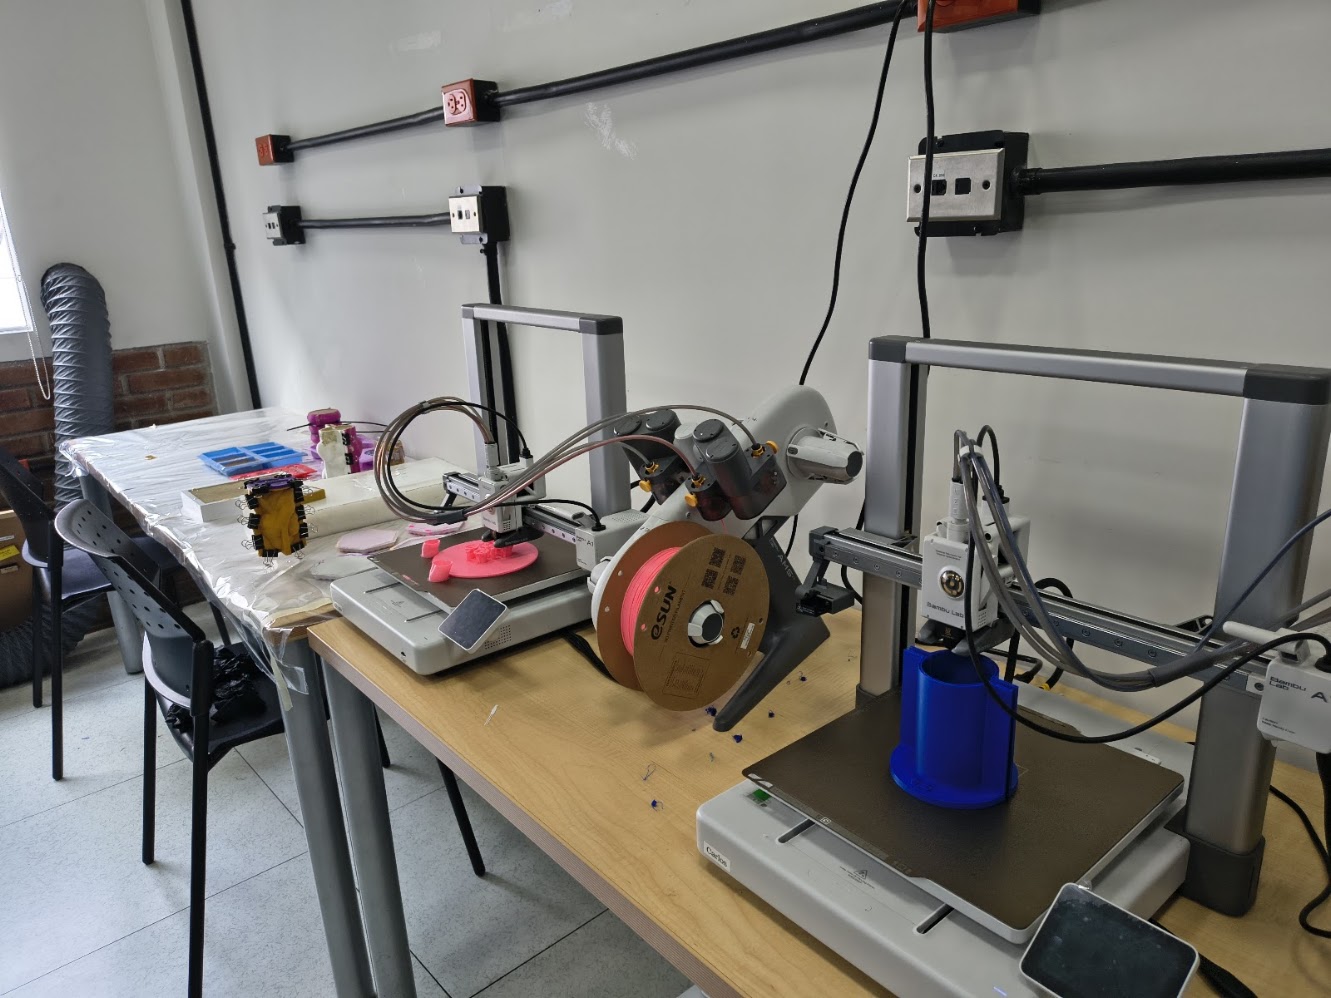
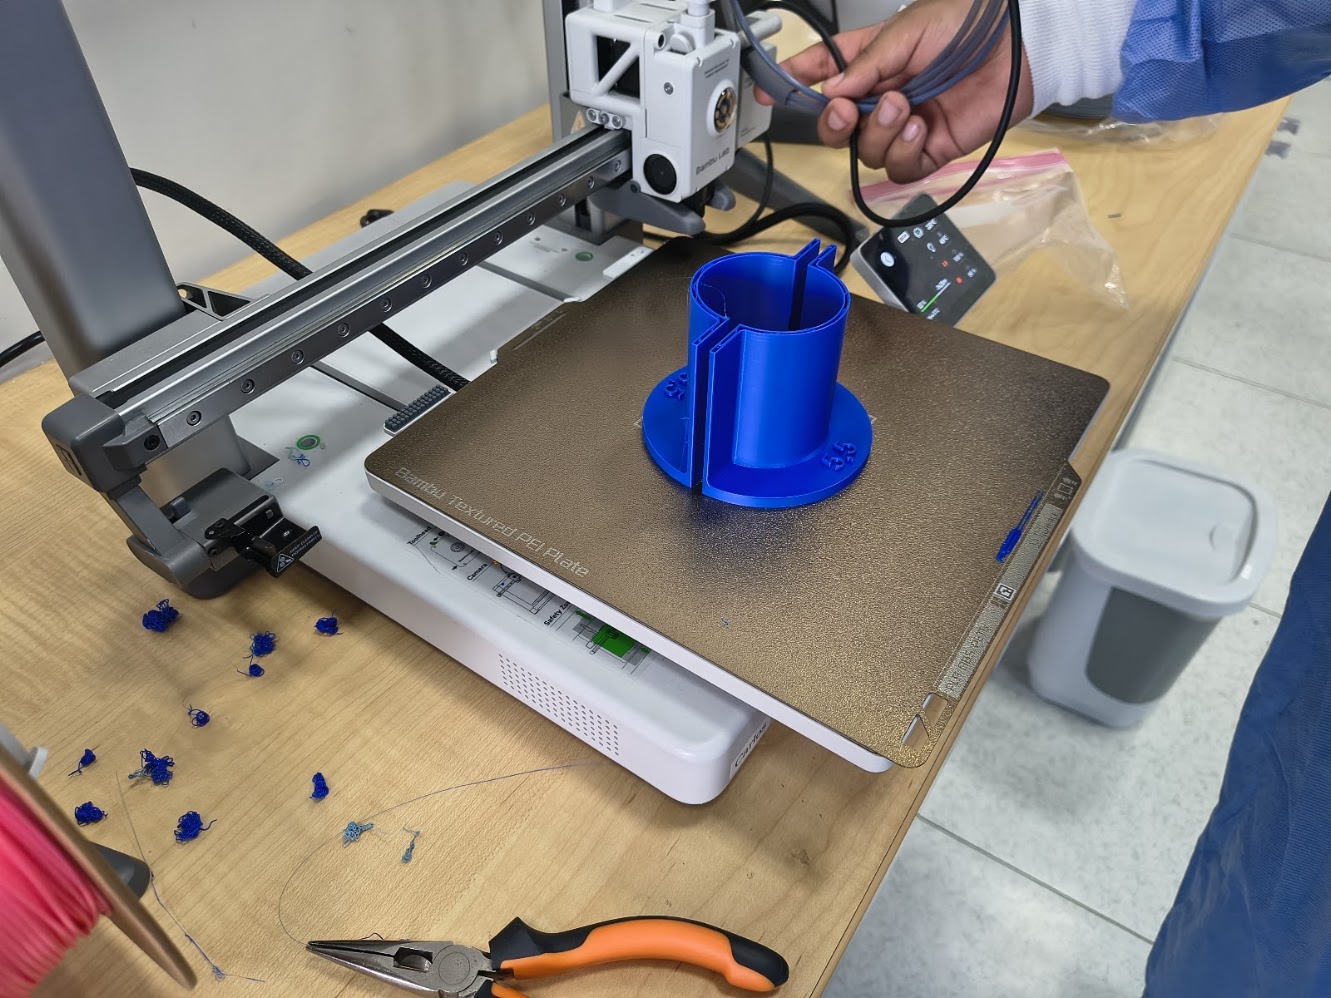
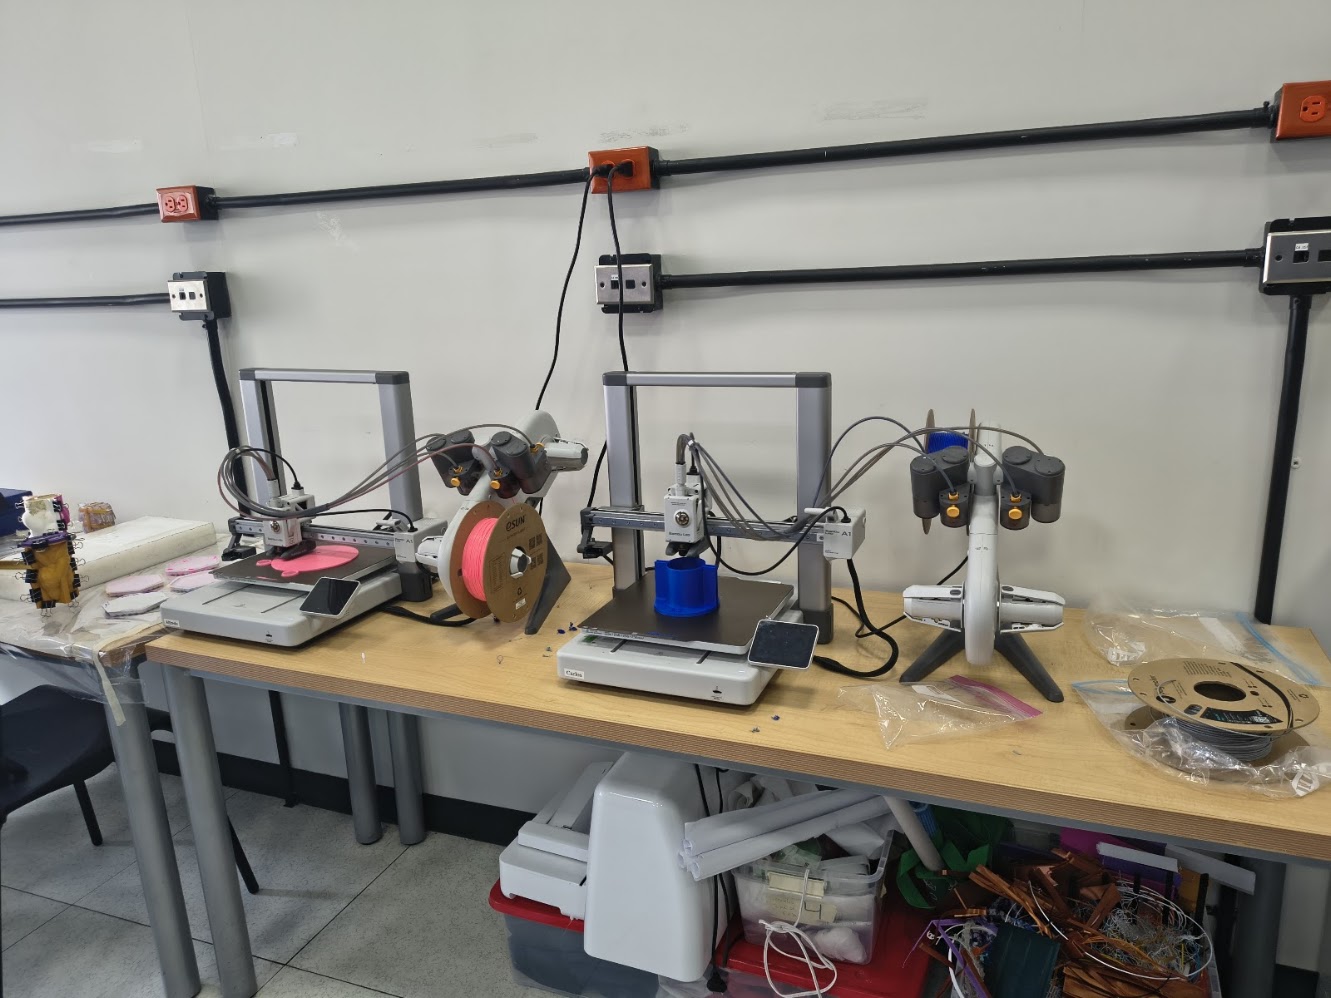
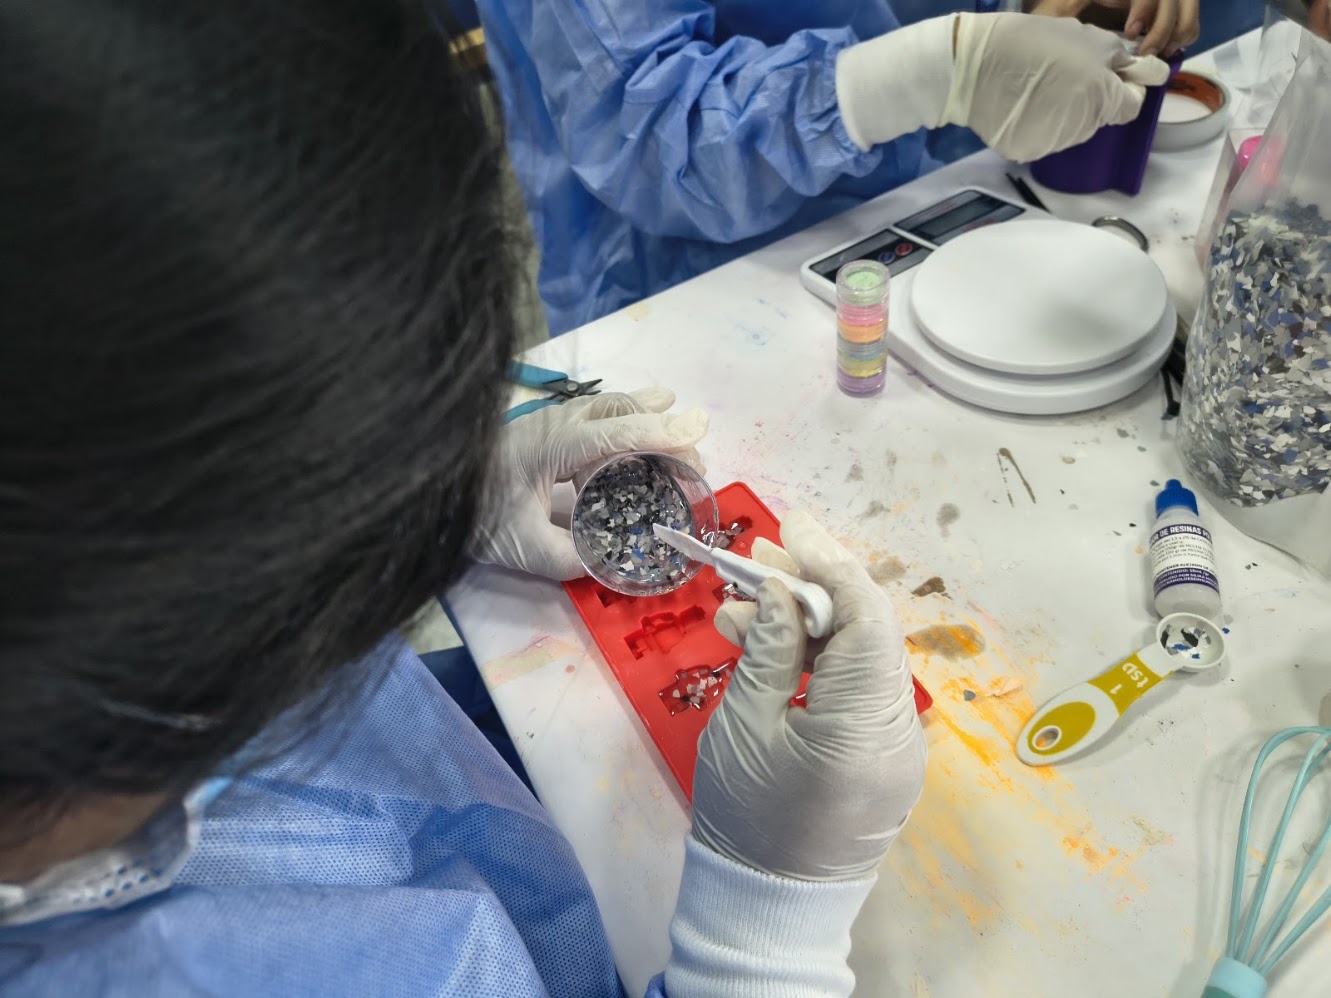
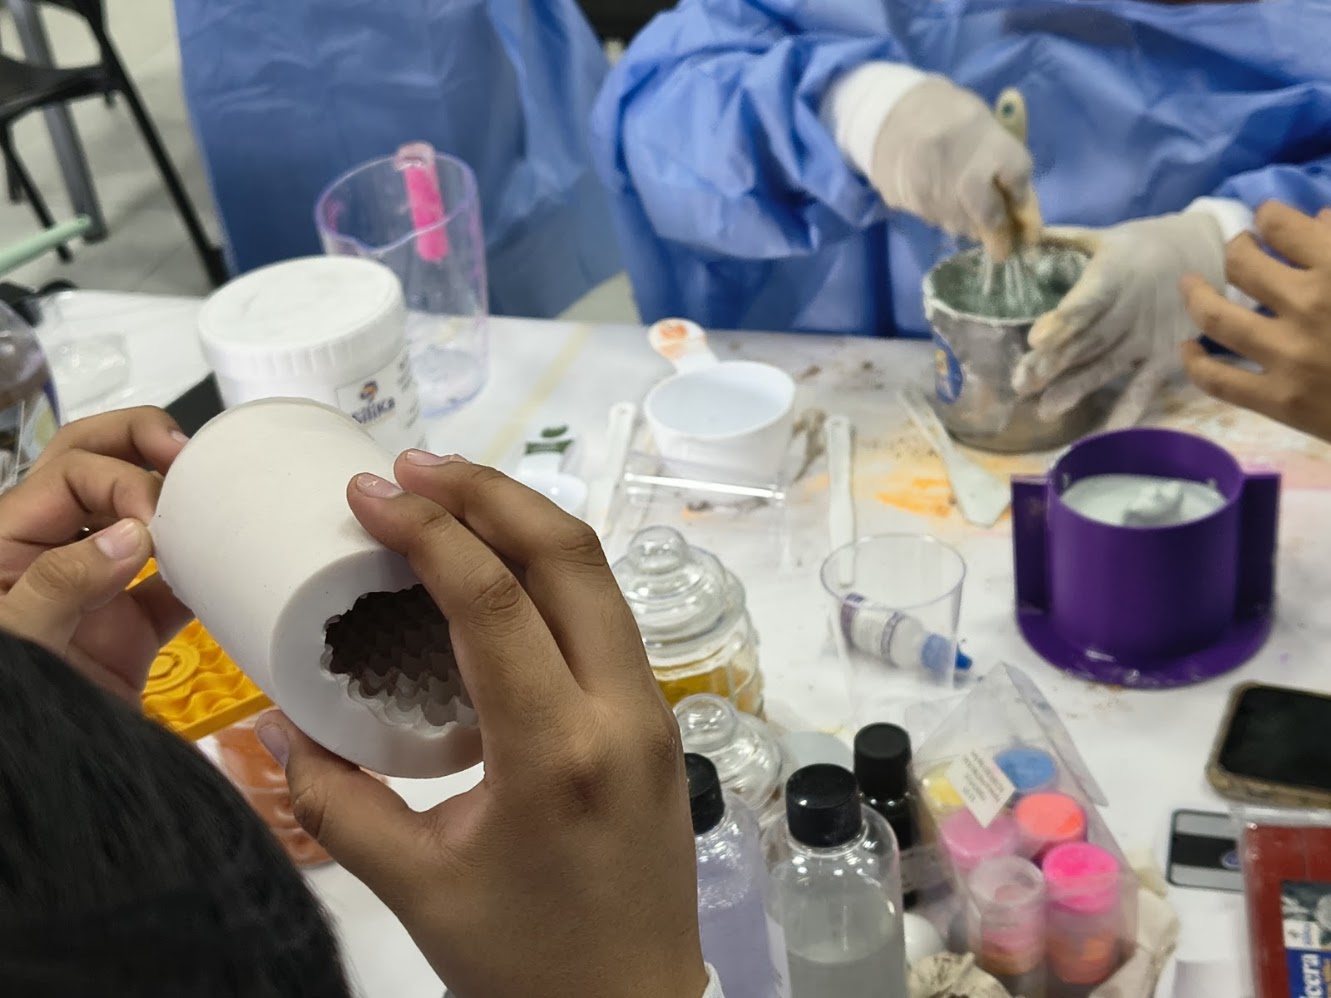
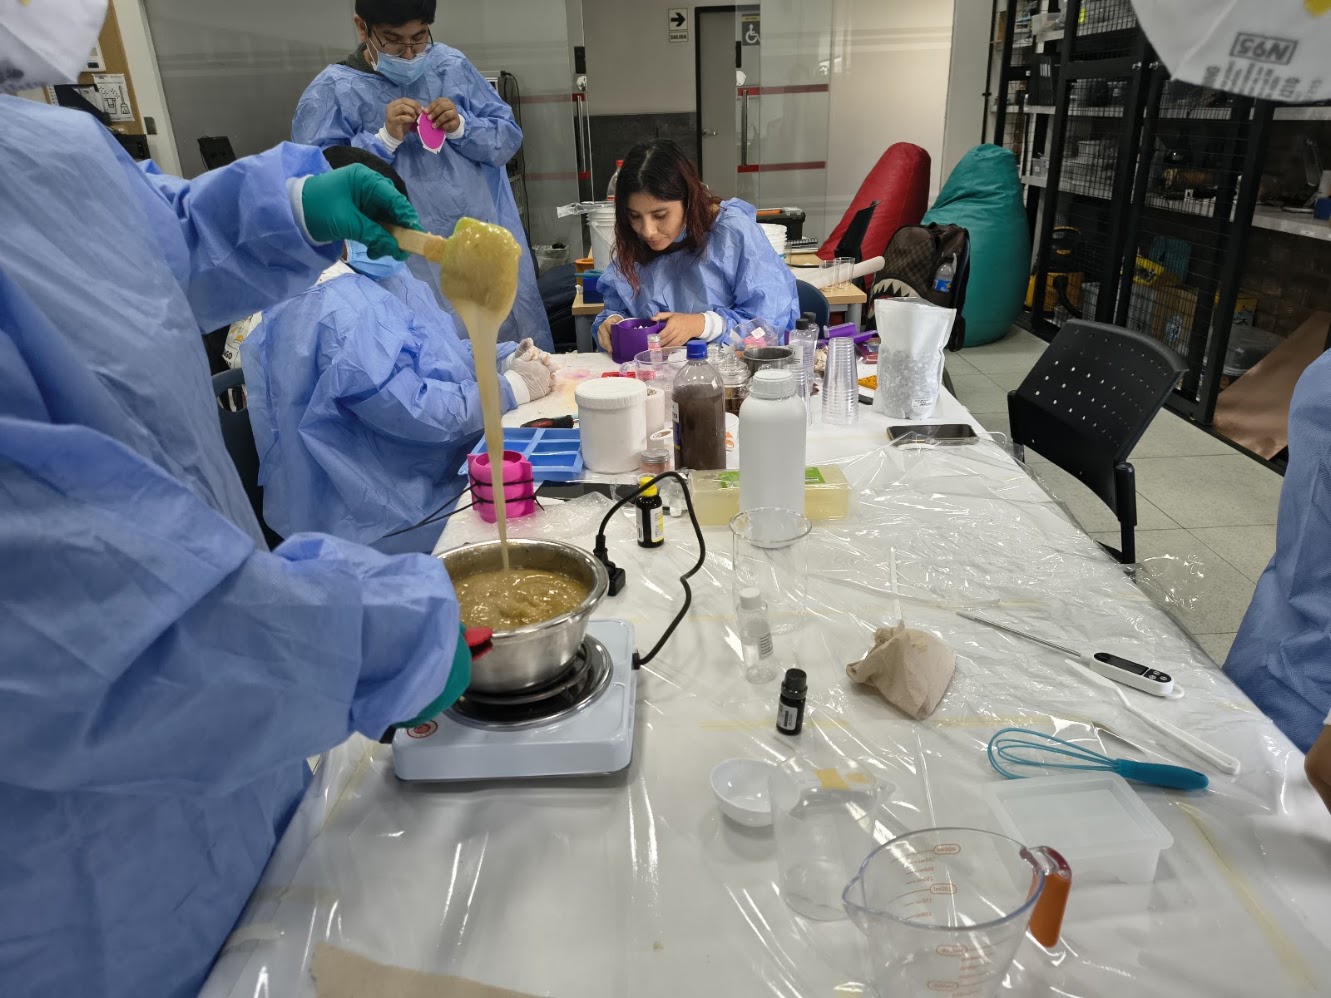
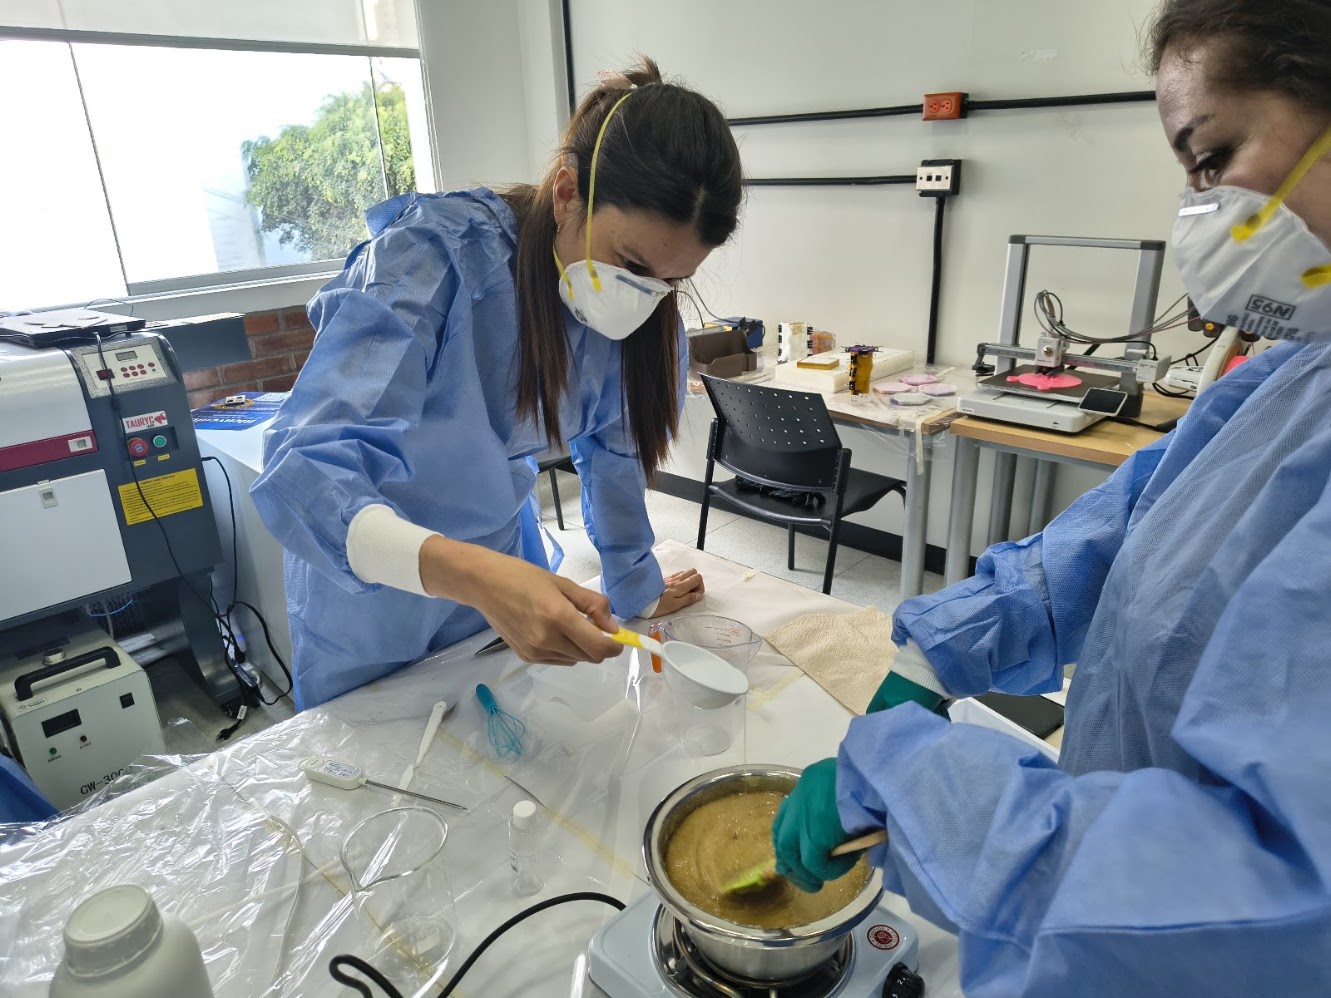
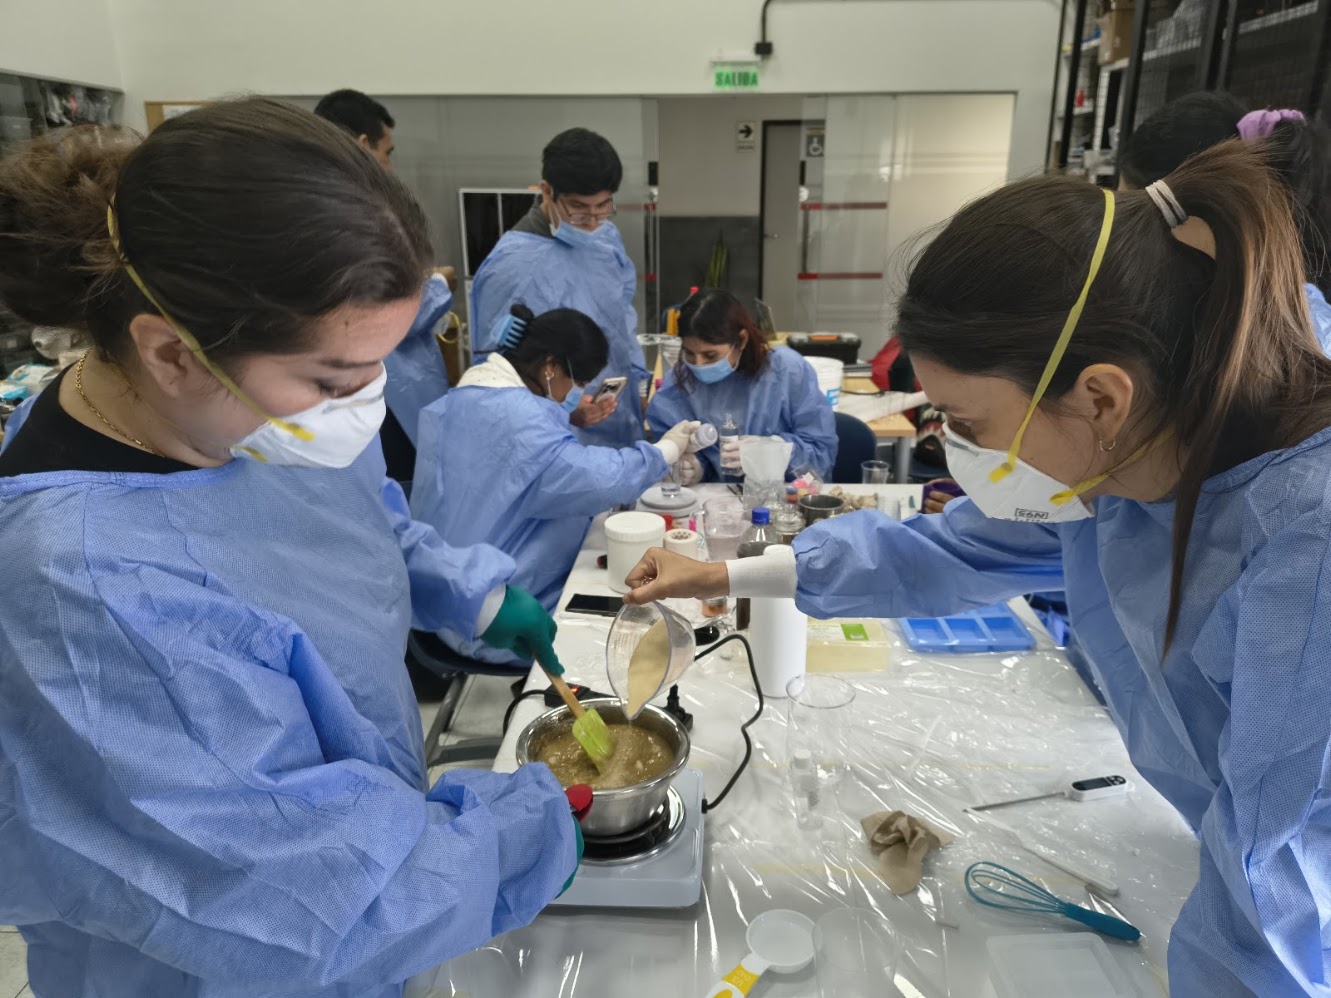
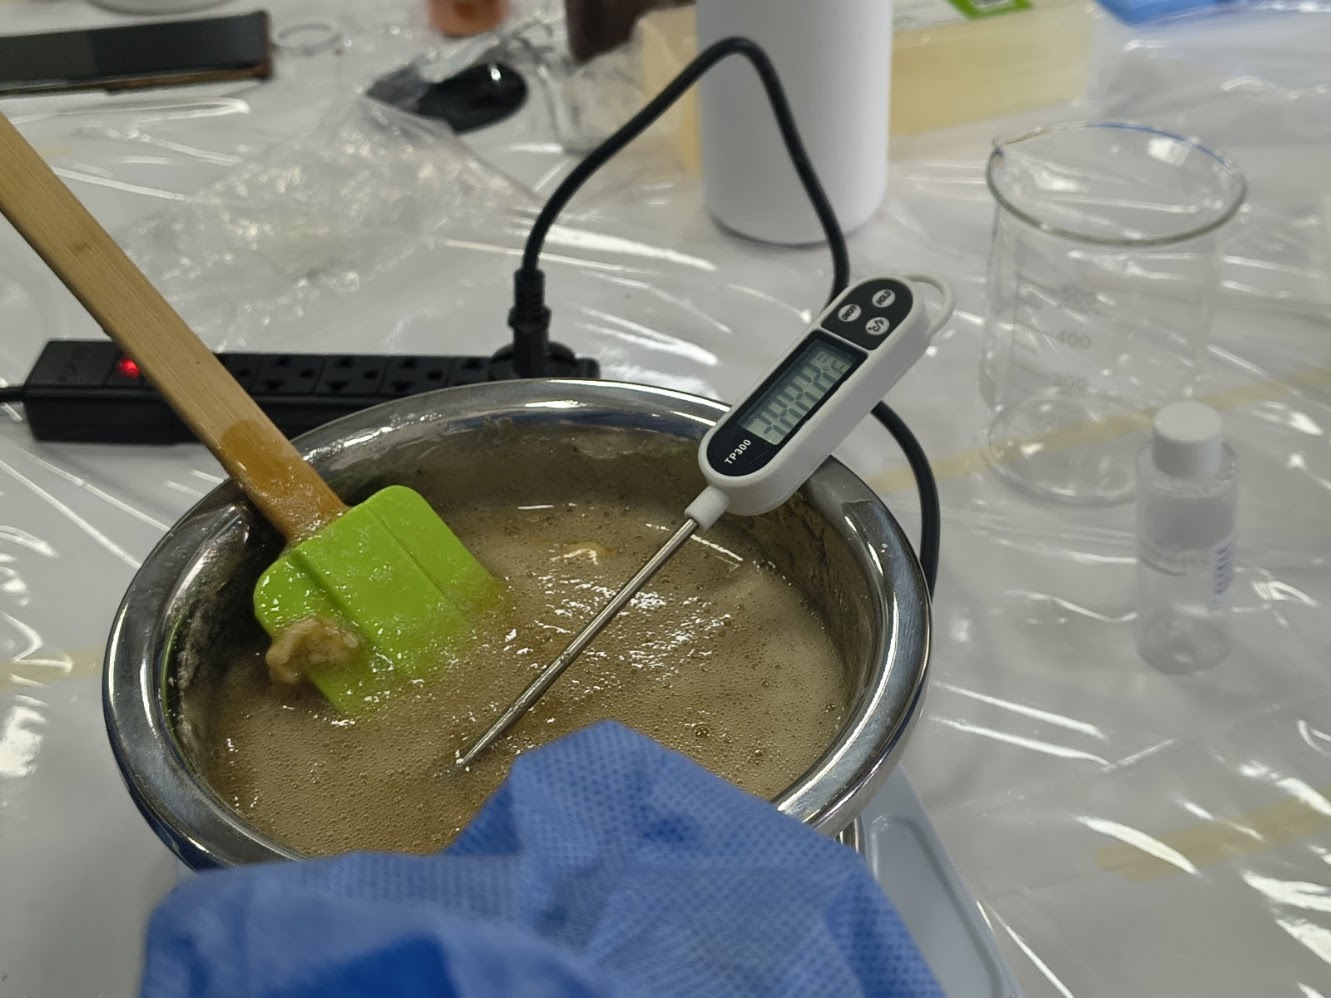
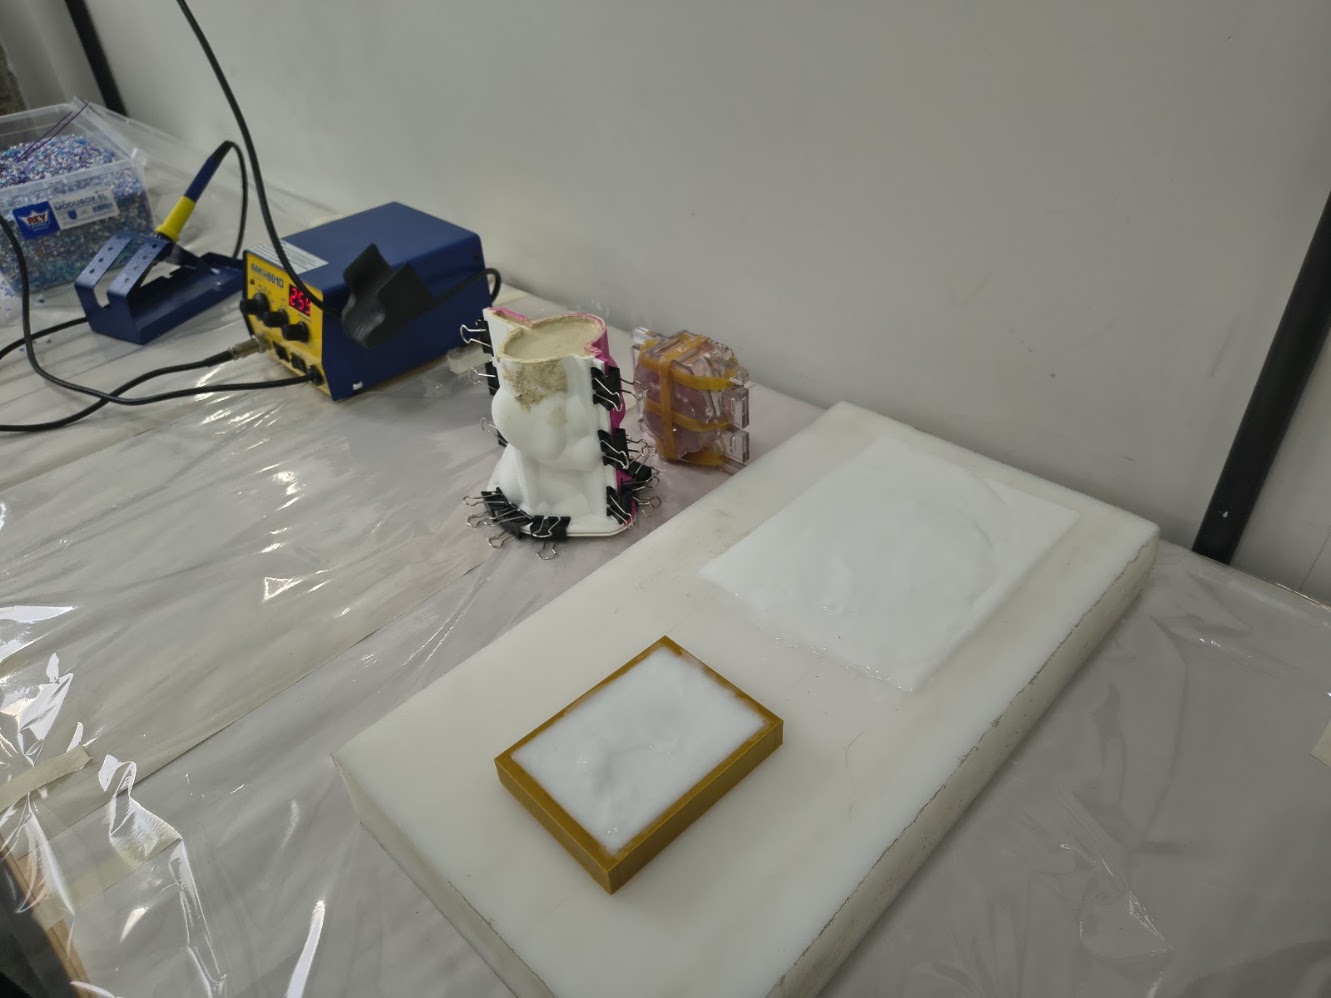
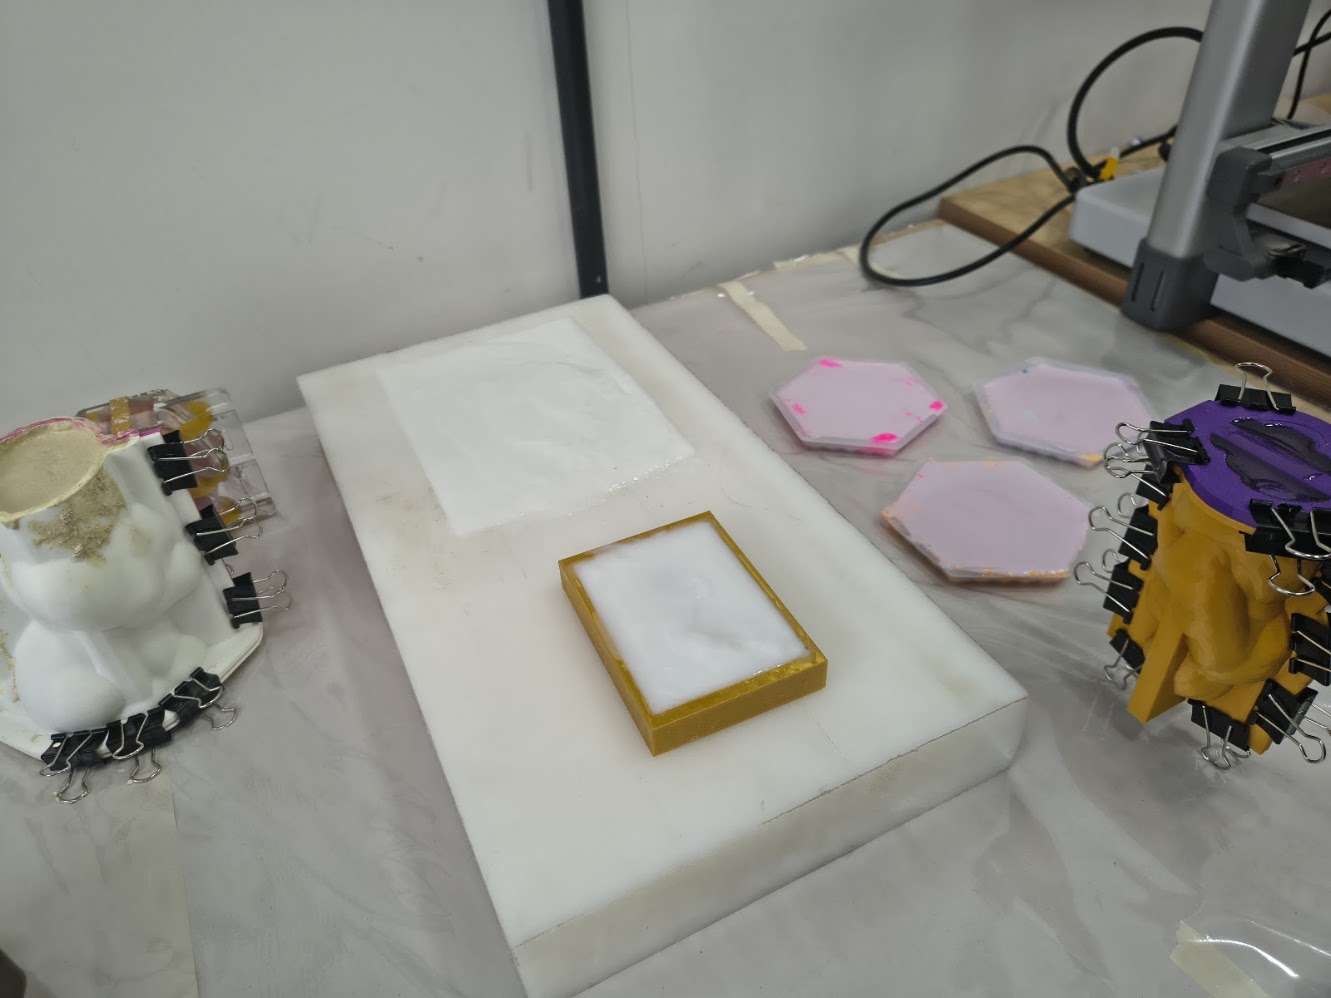
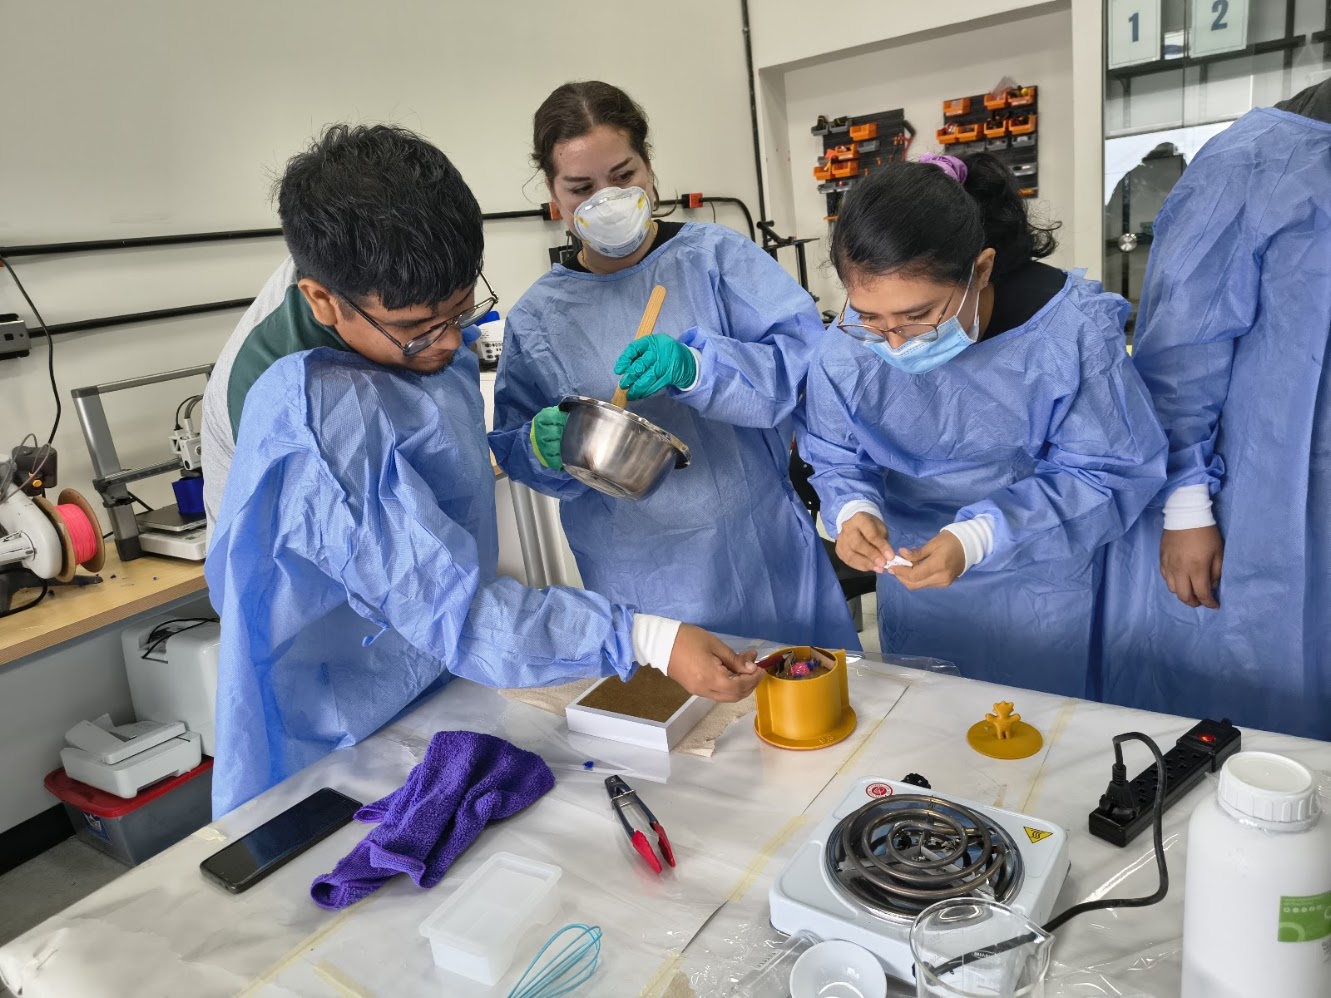
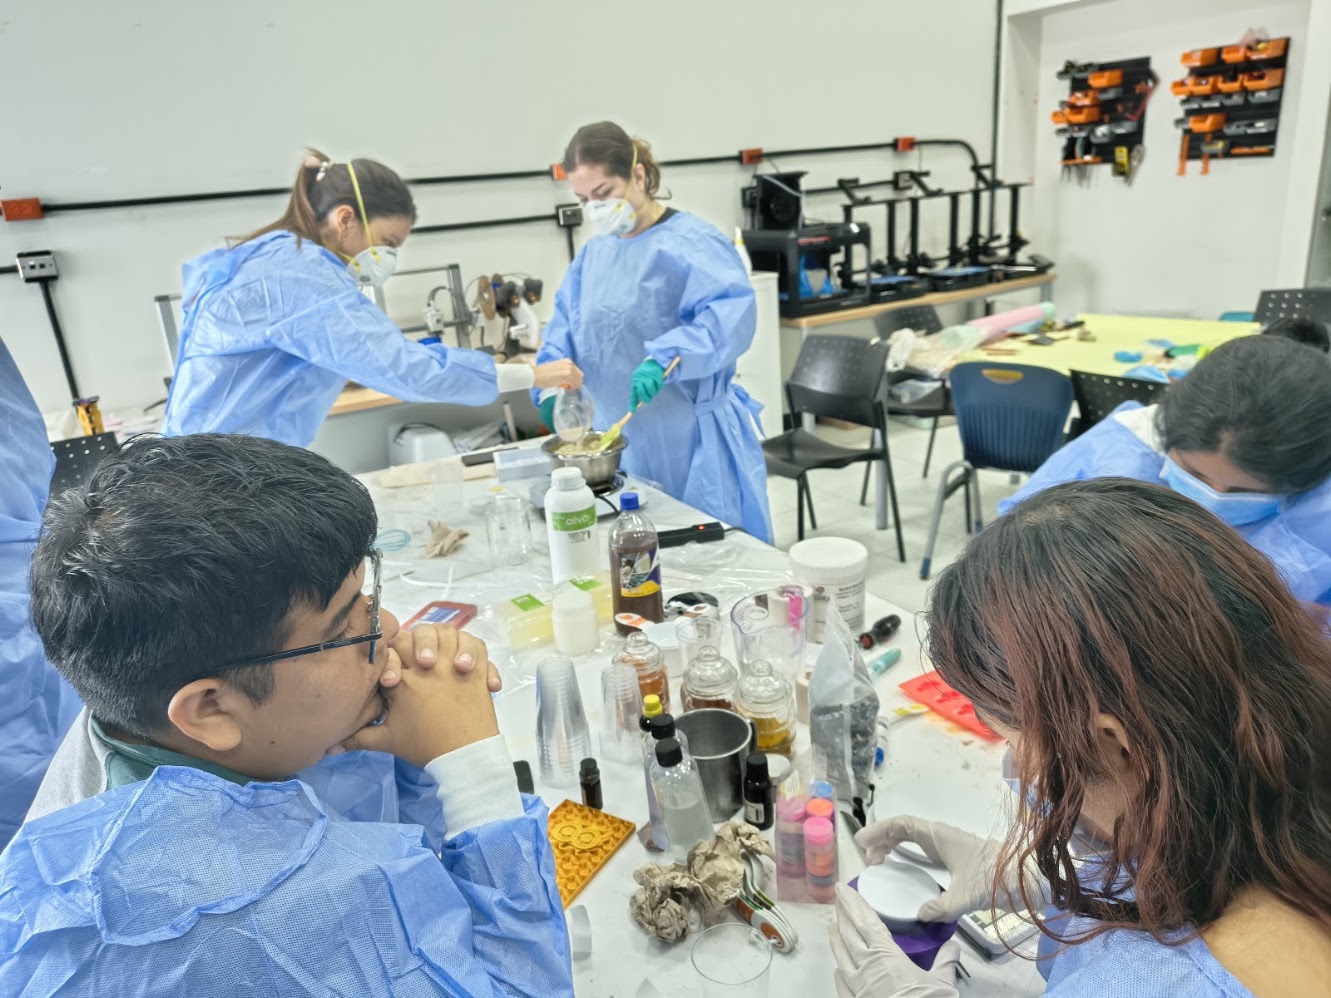
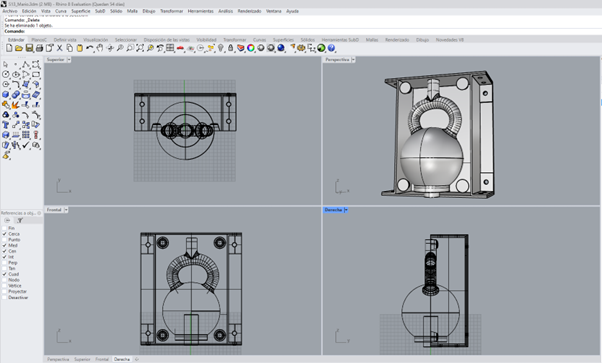
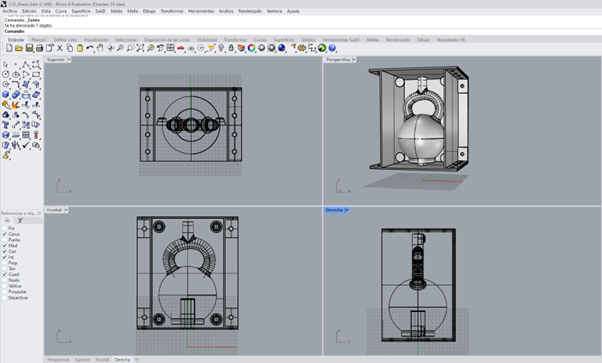
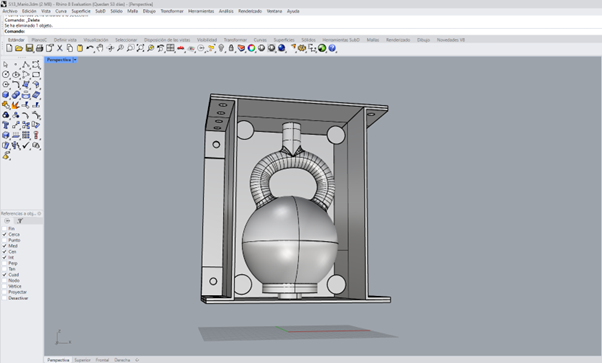
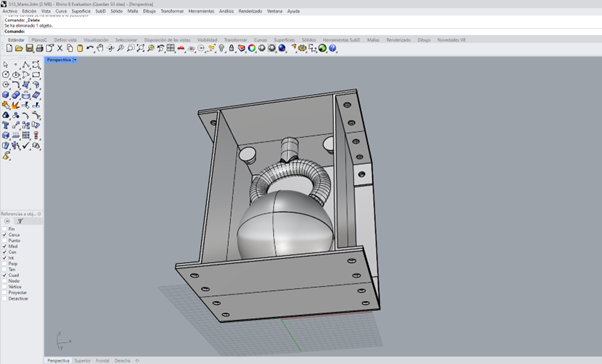
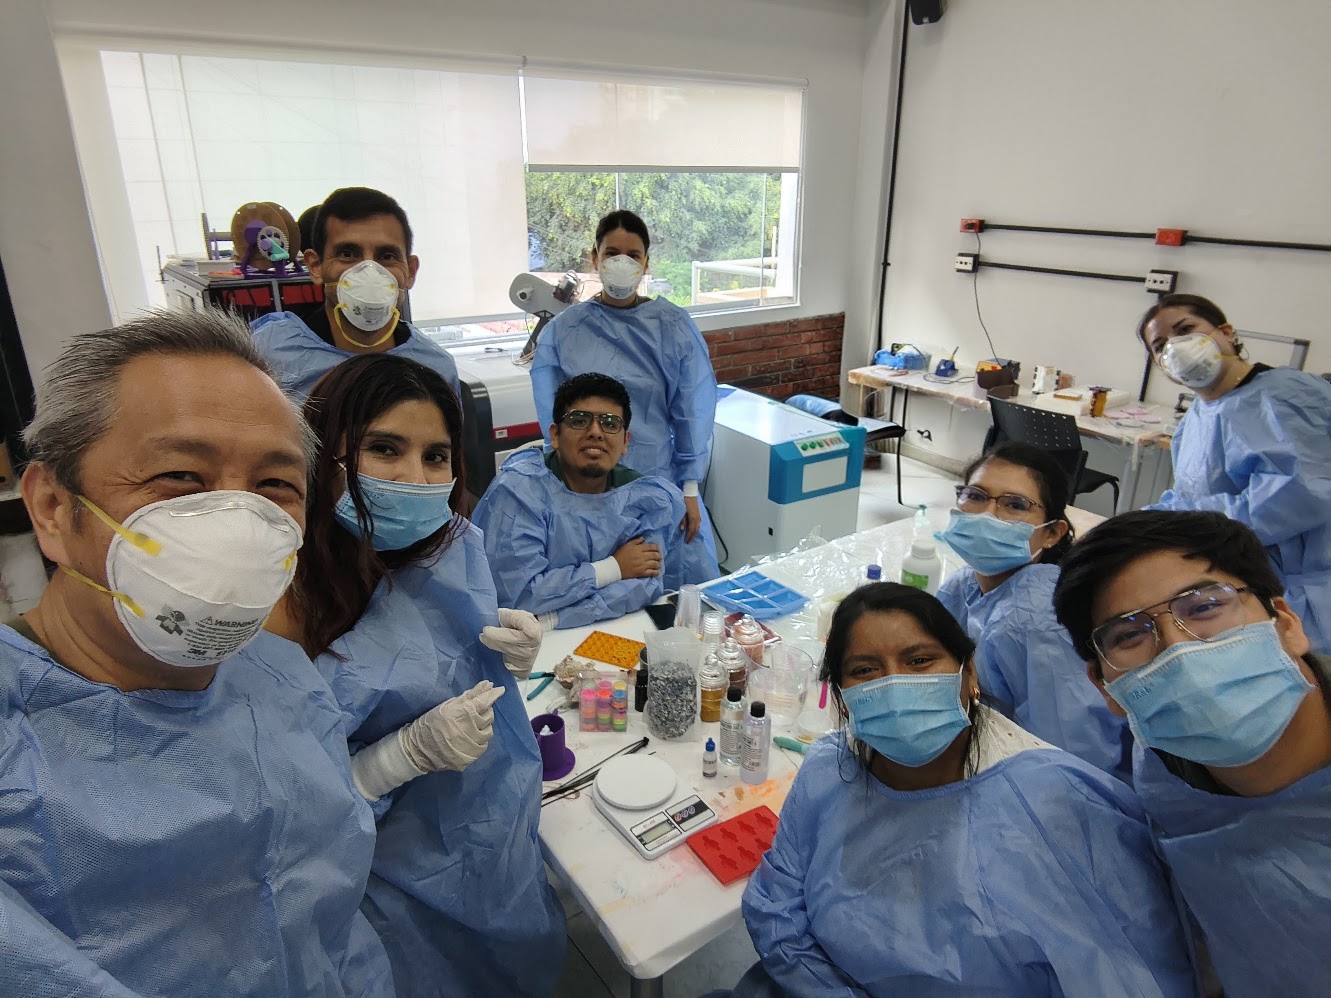
2) Group assignment - Compare printing & milling molding techniques
For more details visit Fab Lab Peru Week 13 Group assignment
Problems
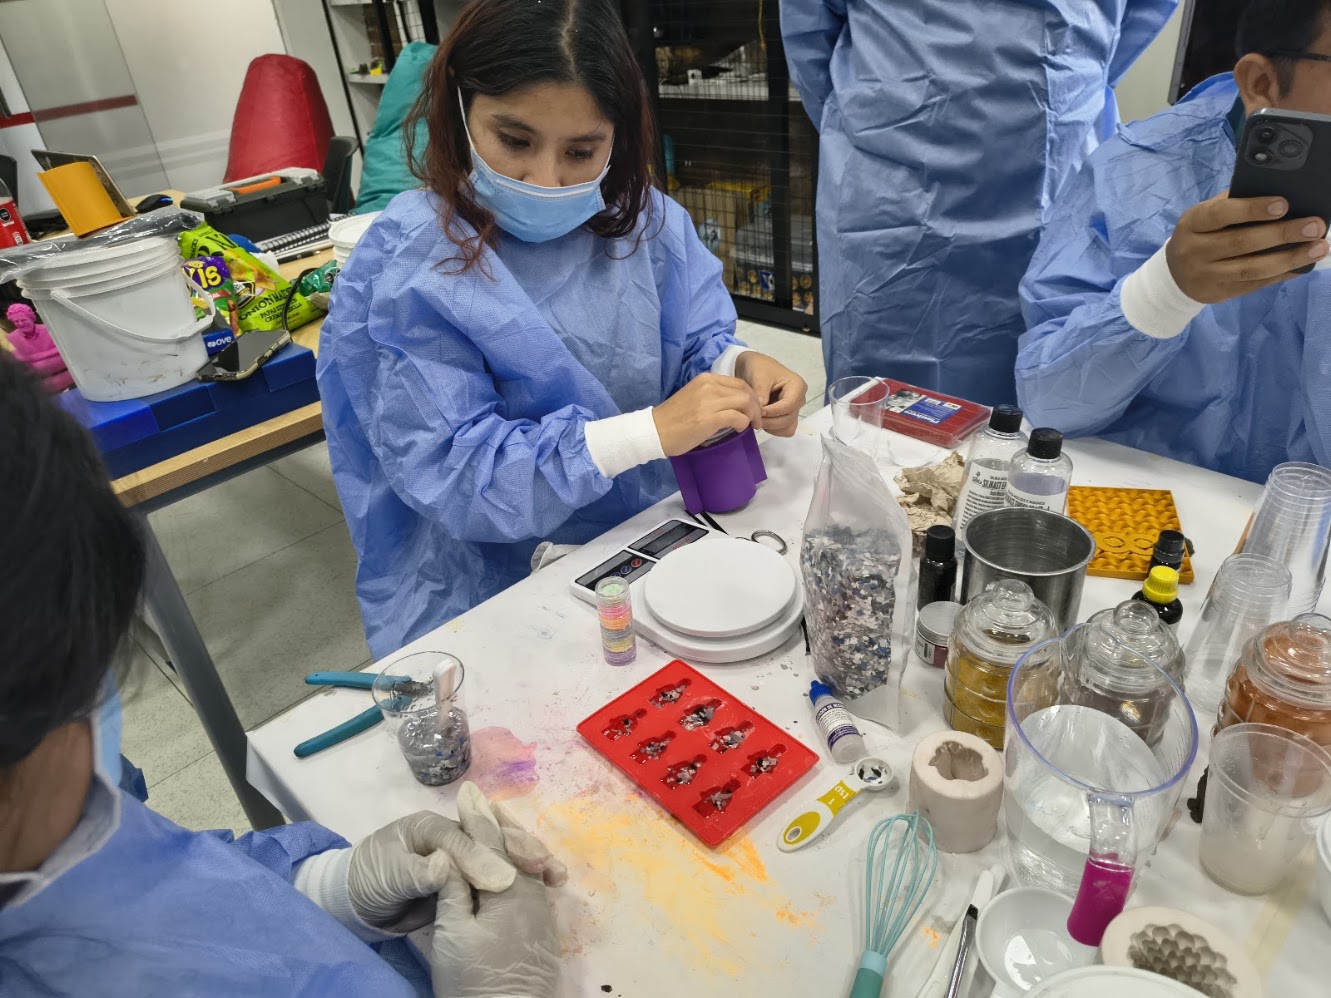
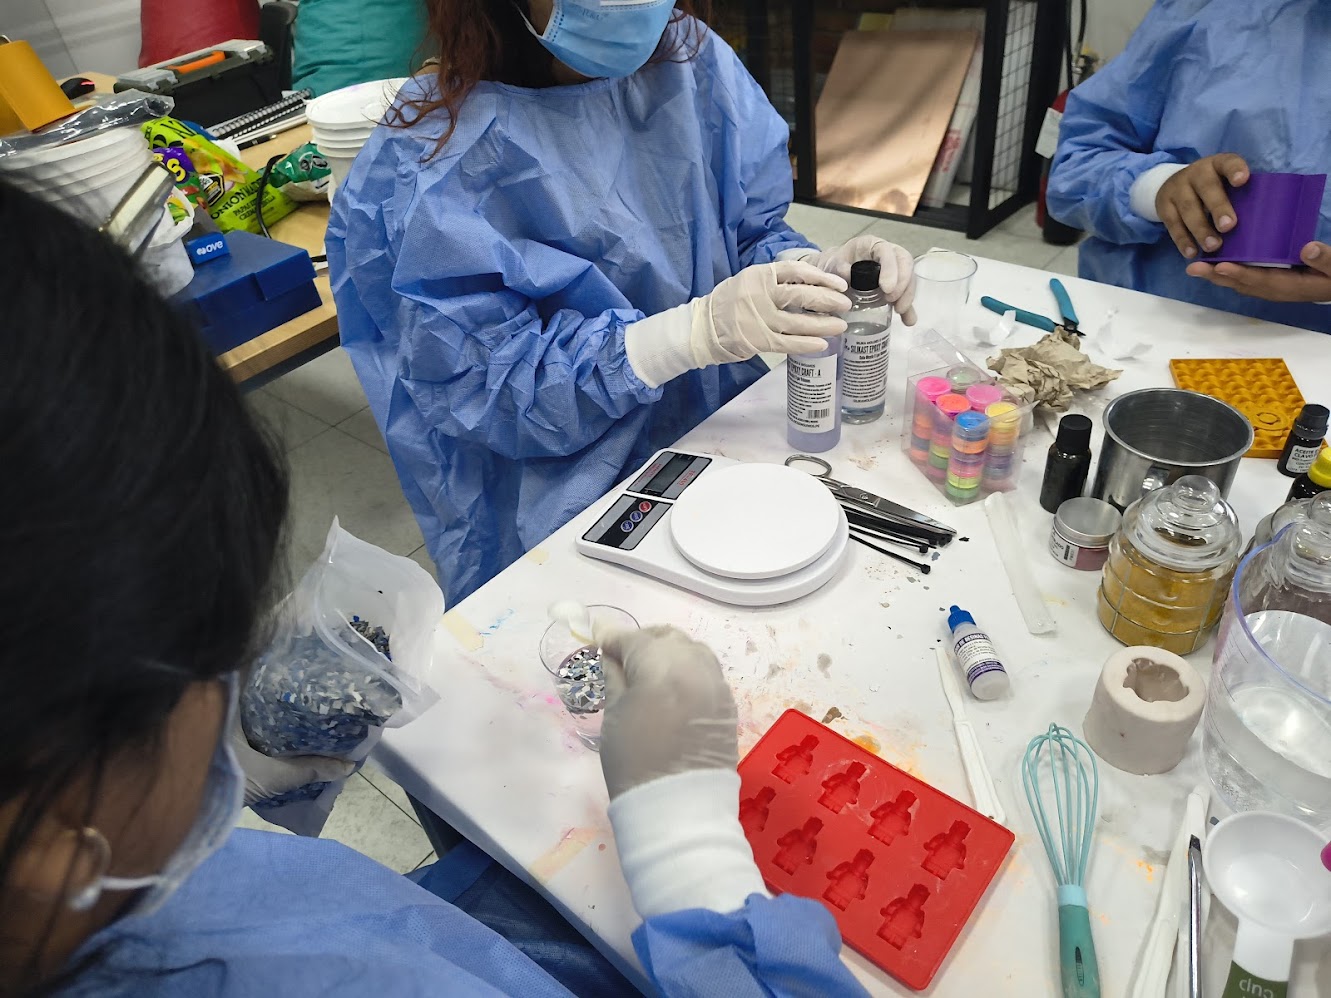
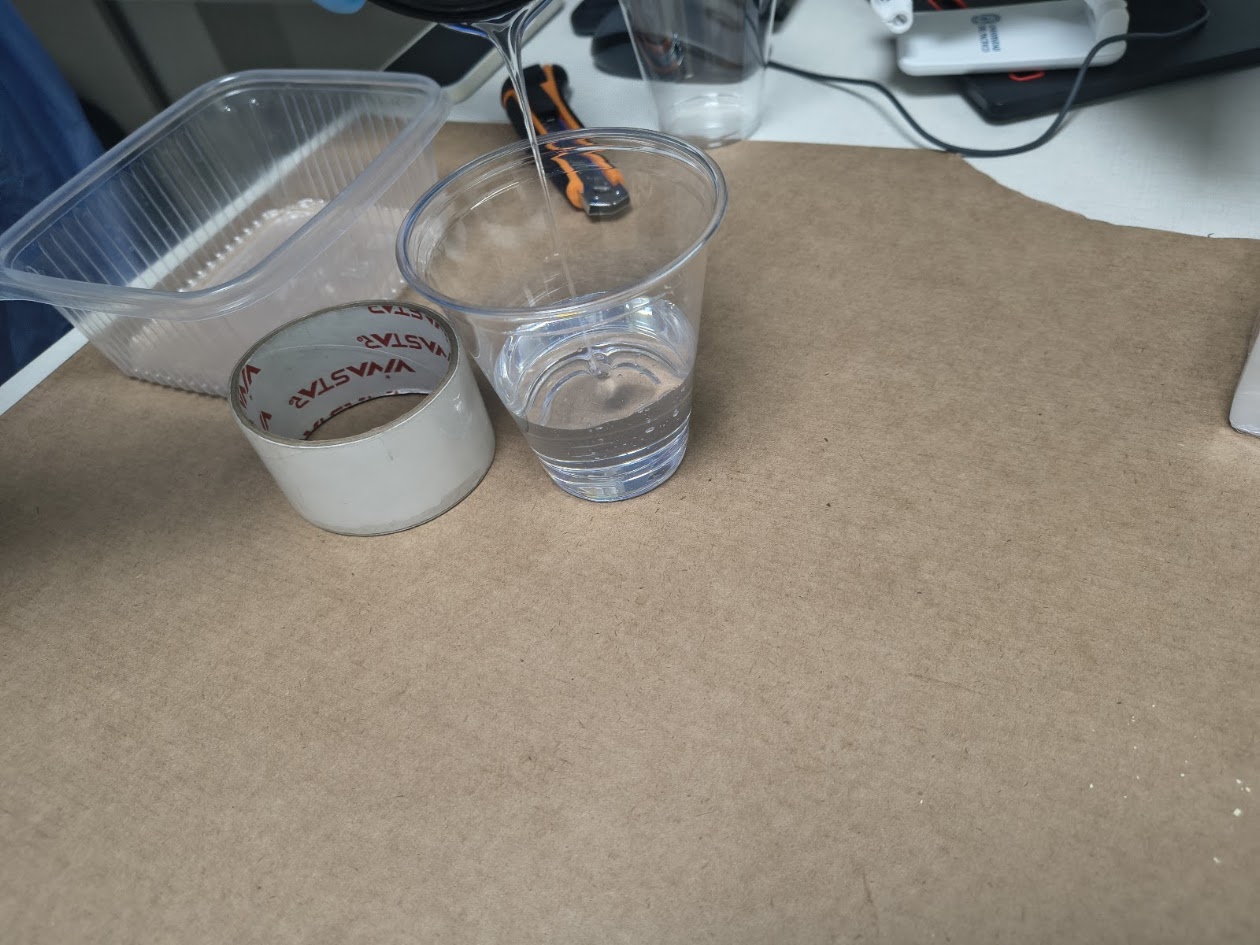
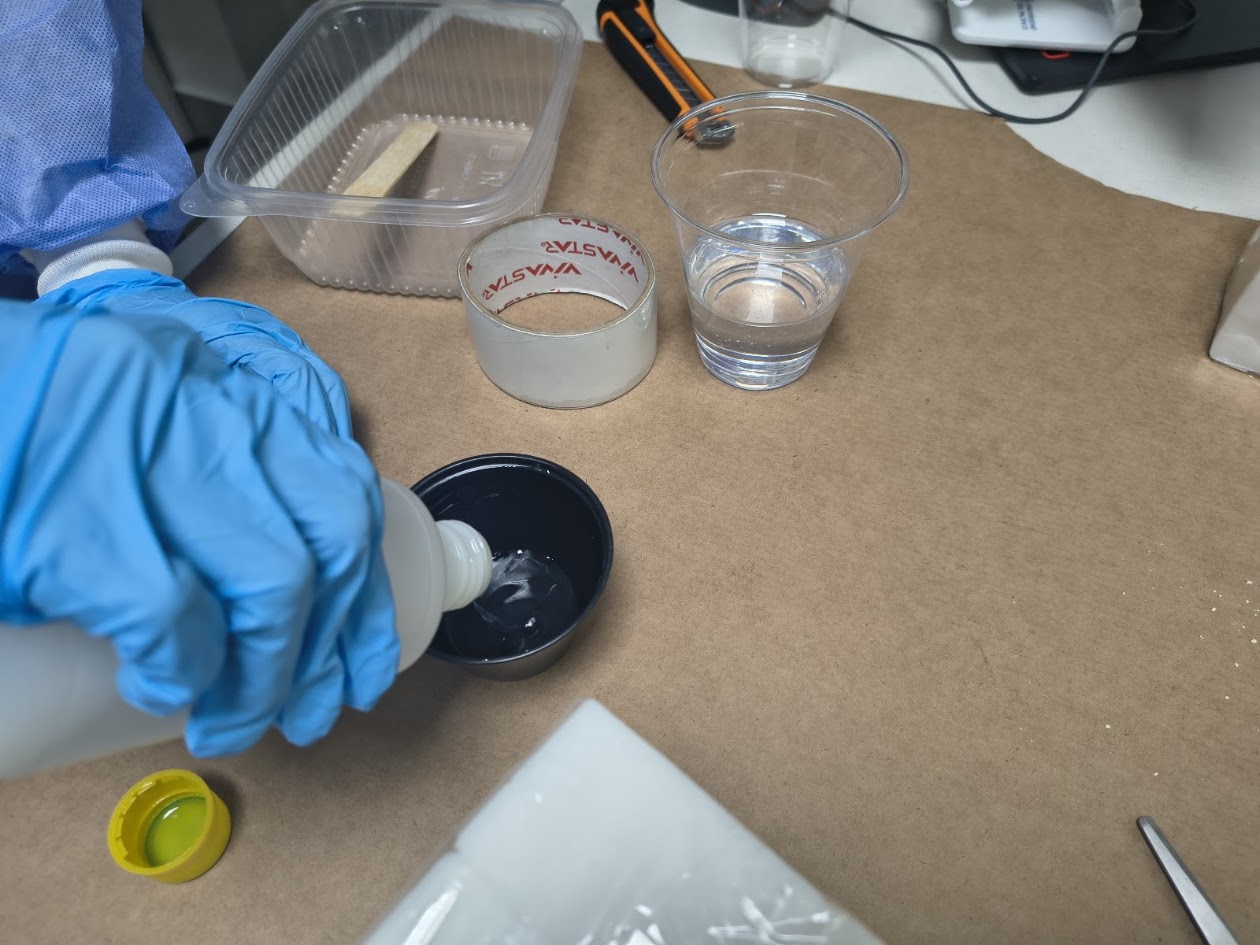
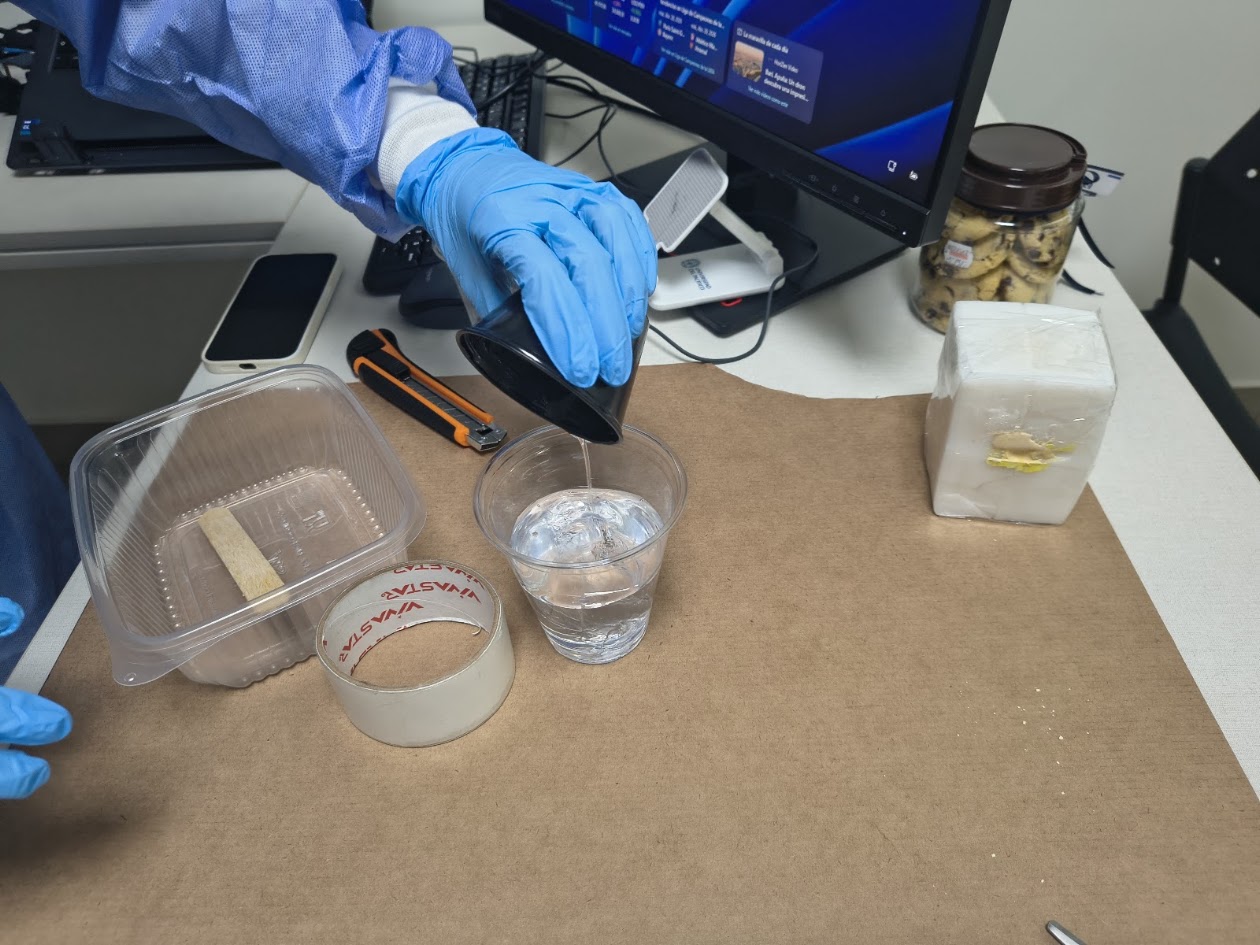
- The mix doesn't blend, it hardens and curdles
- Procedures are not clearly defined
- We need to test the procedures several times
Solutions
- Repeat the procedures and review the final product
- Products have a different chemical composition and reactions

Video demonstration
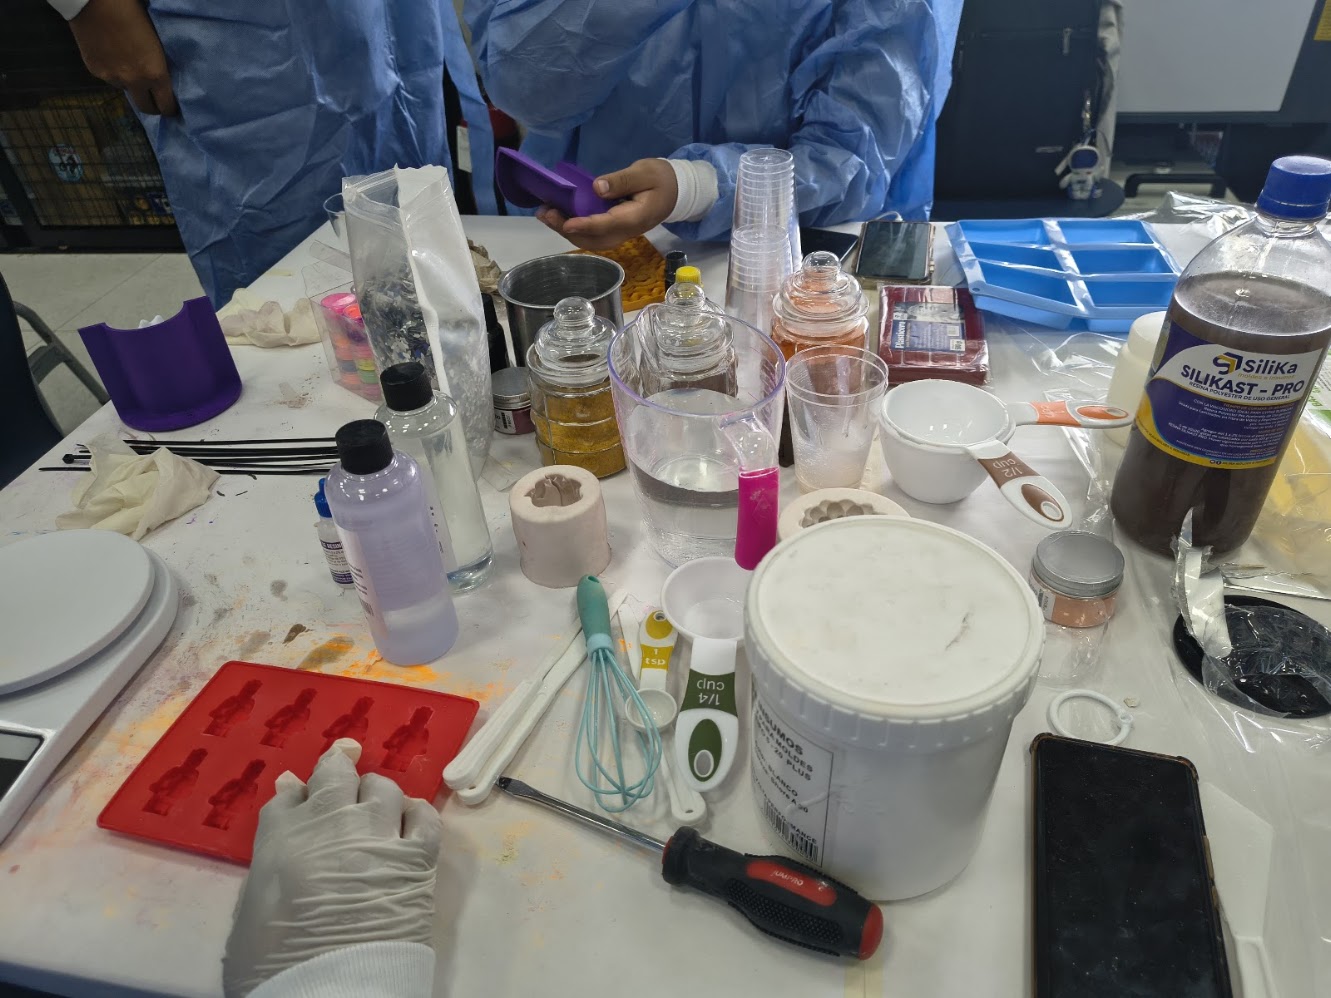
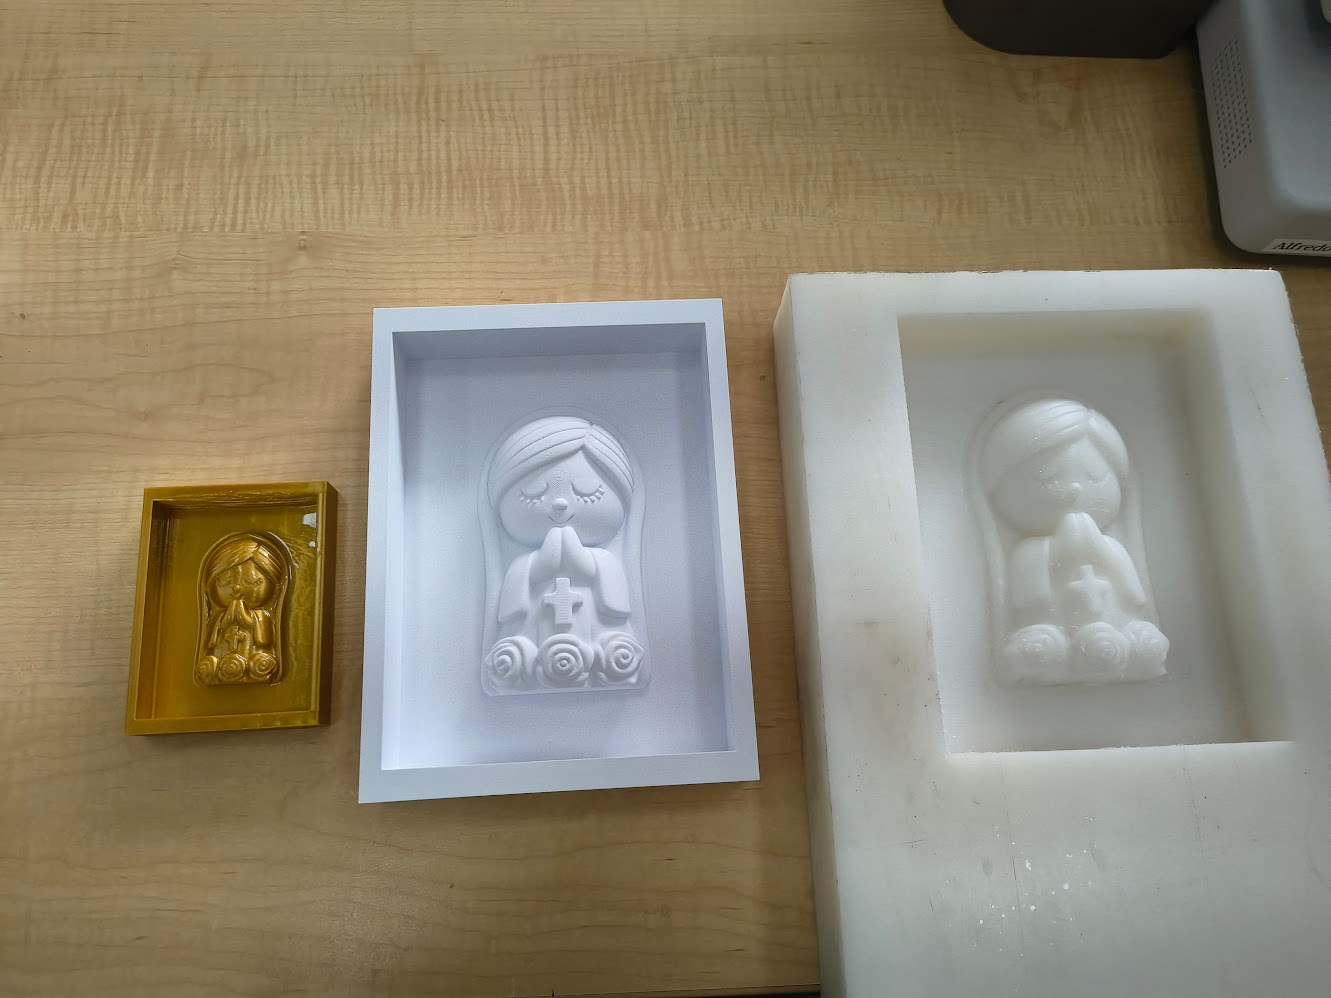
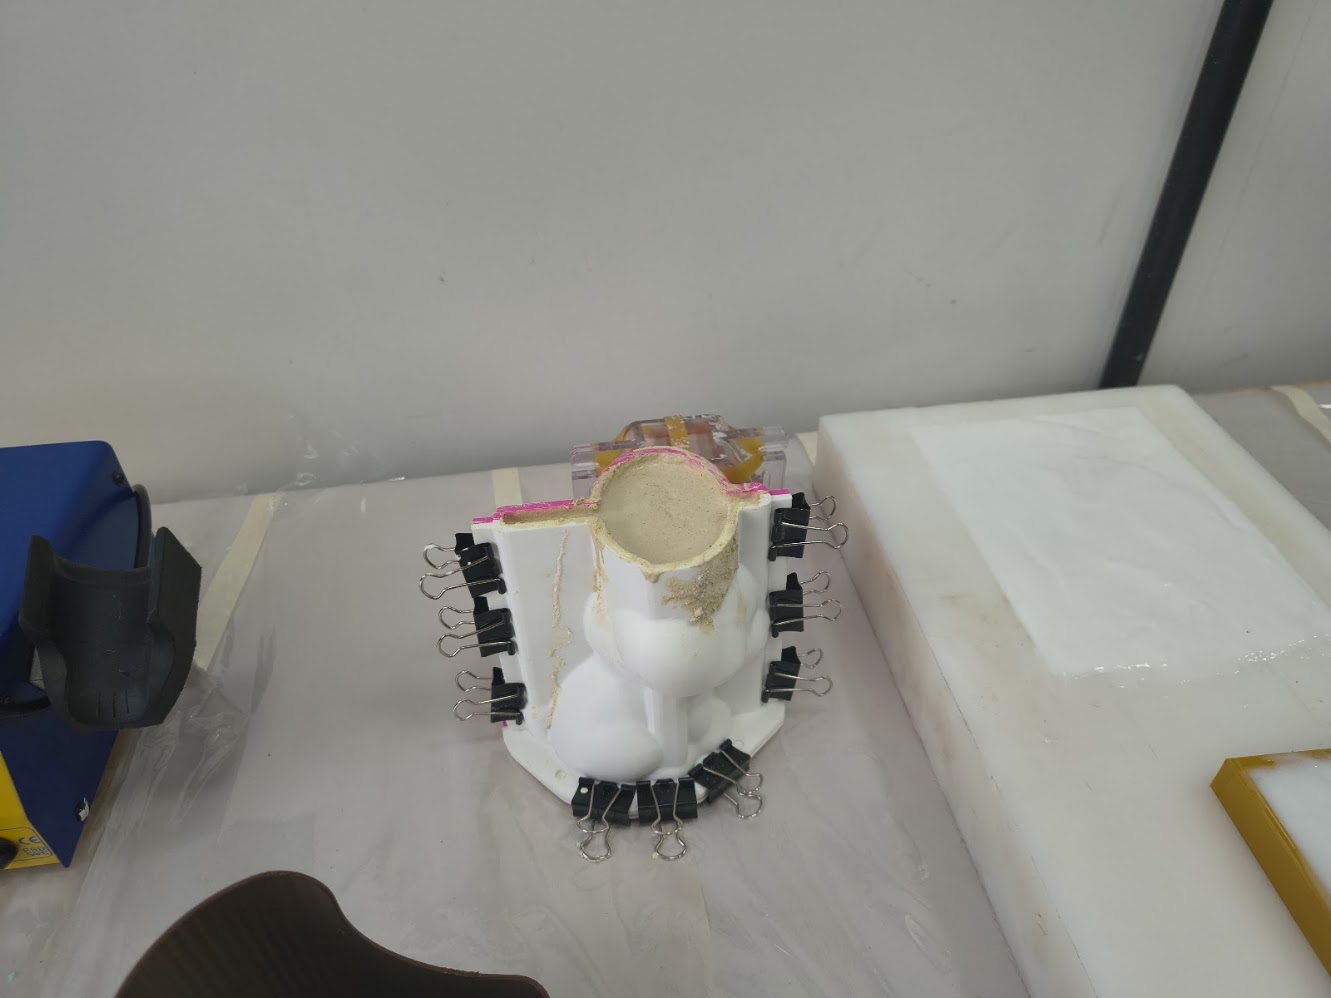
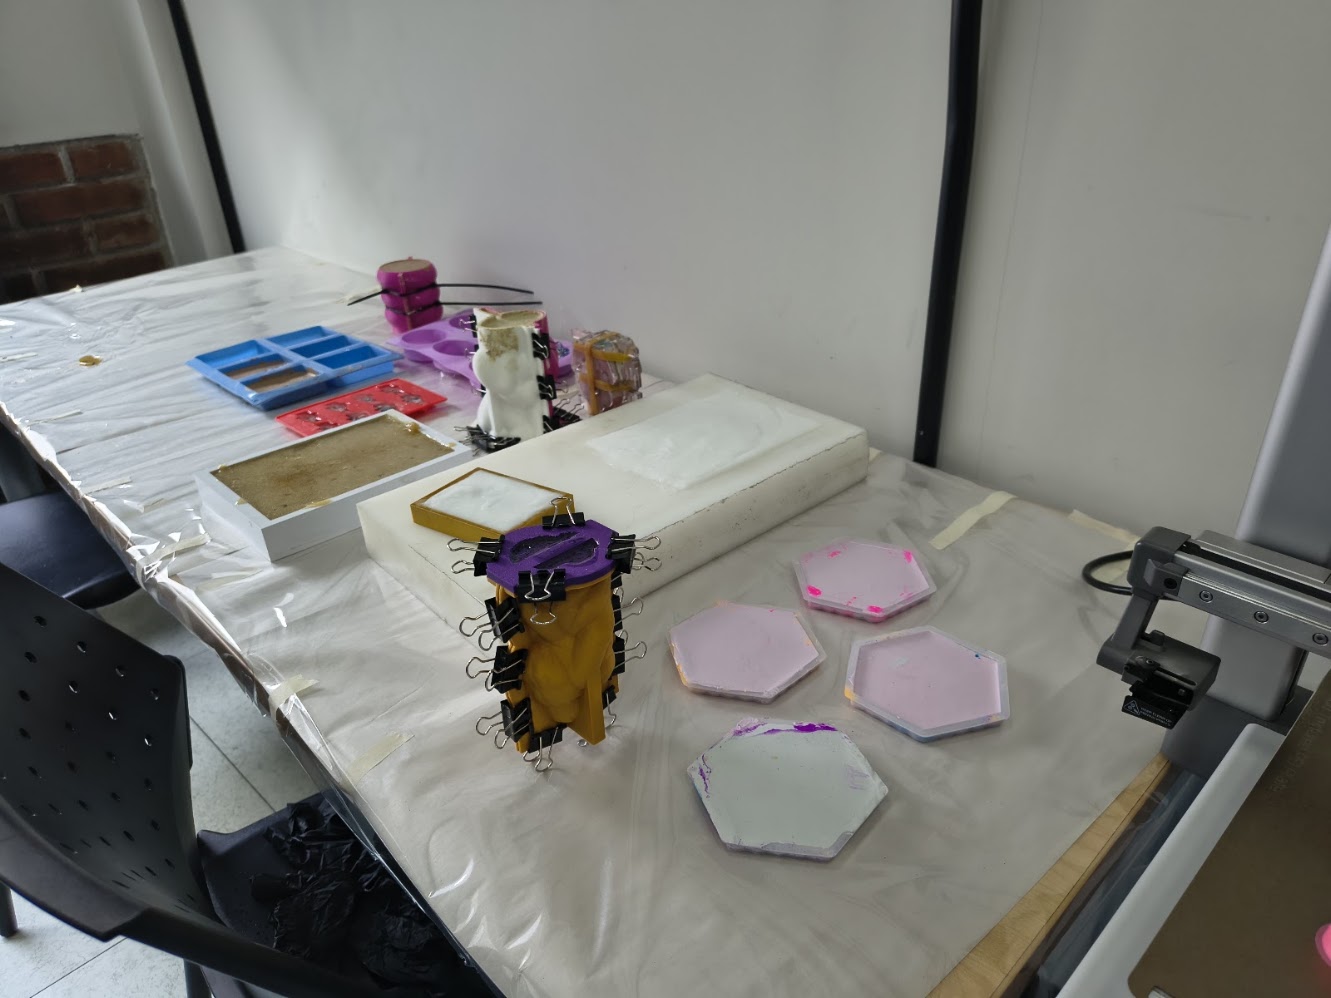
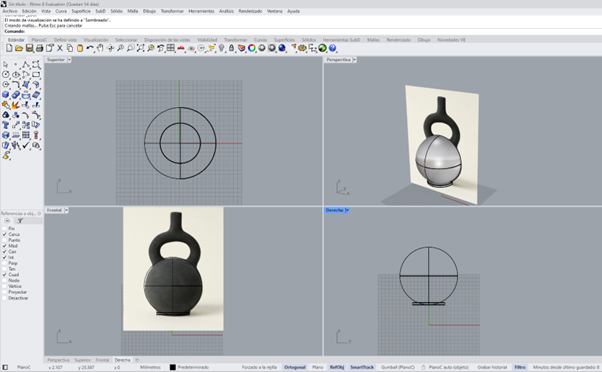
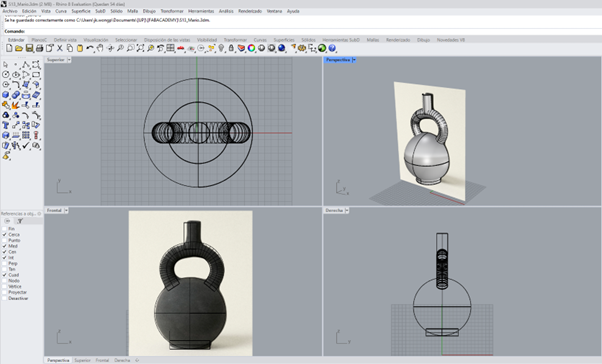
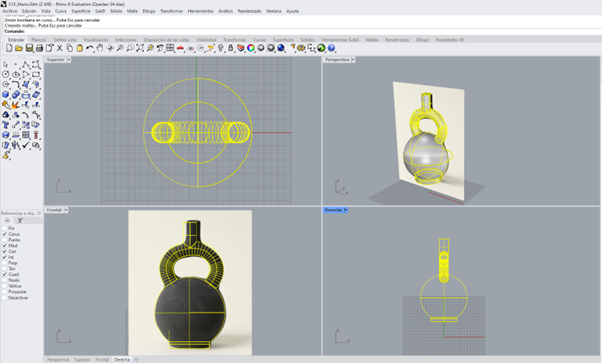
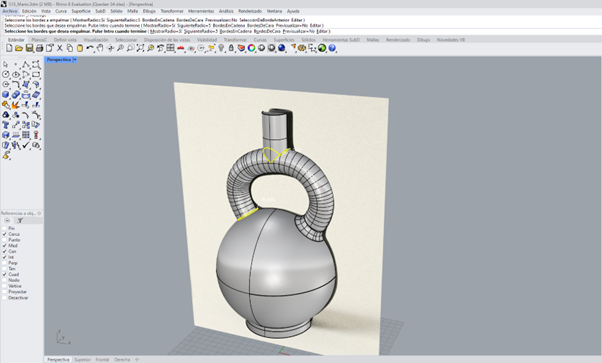
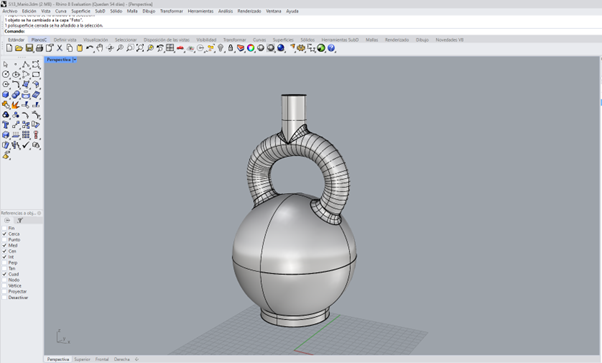
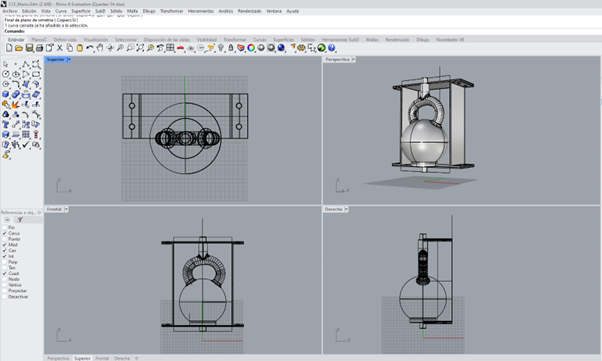
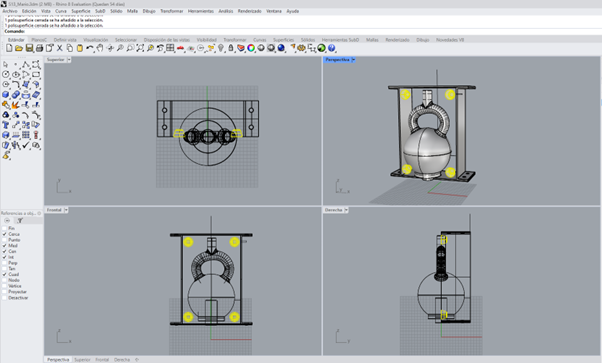
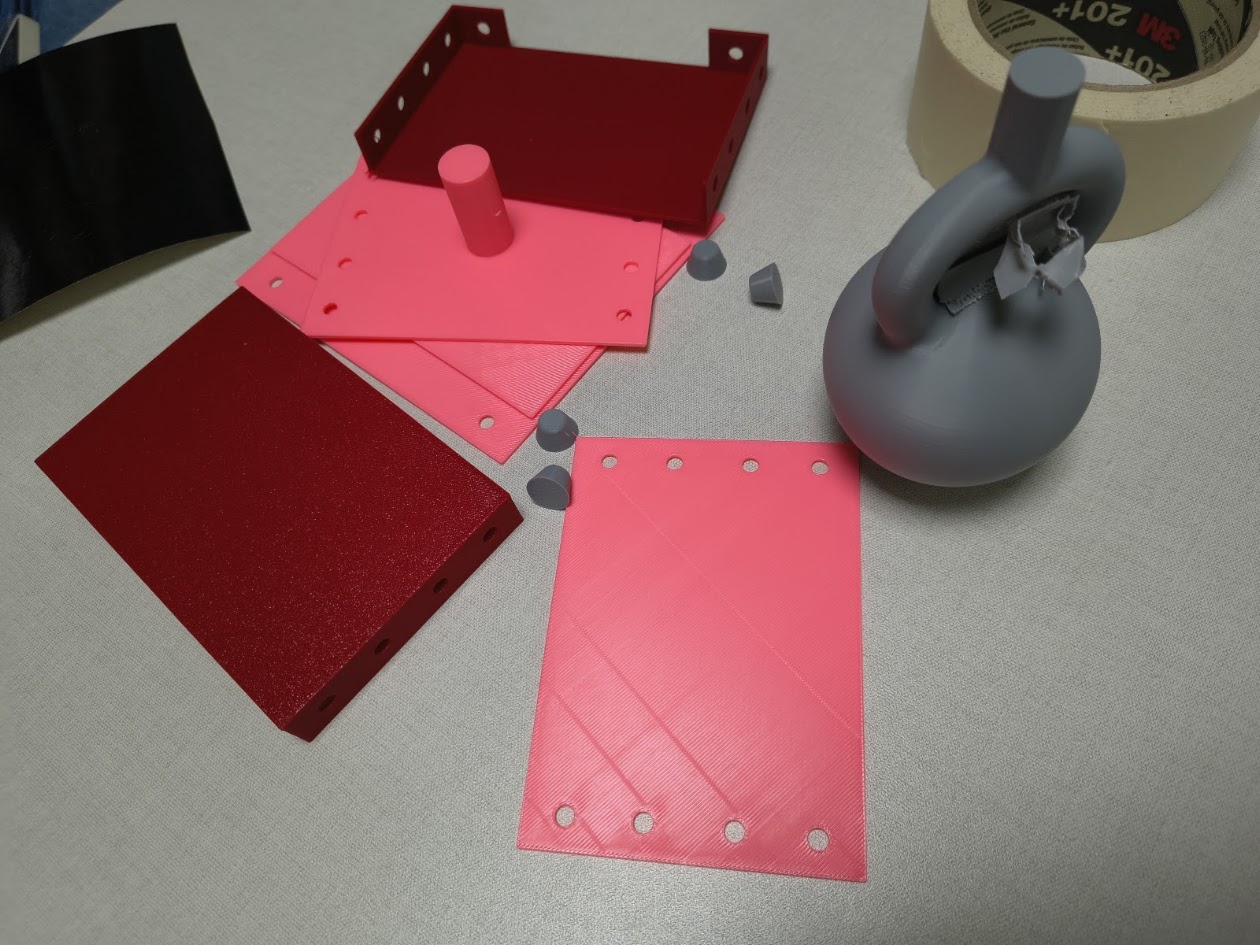
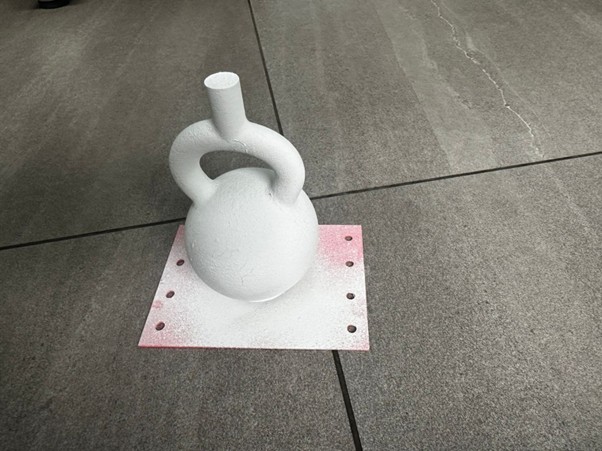
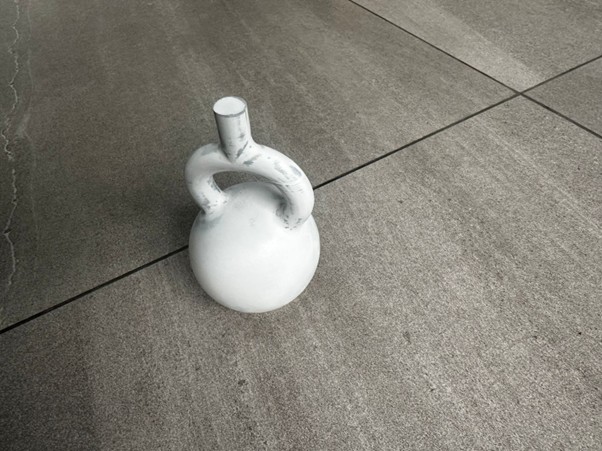
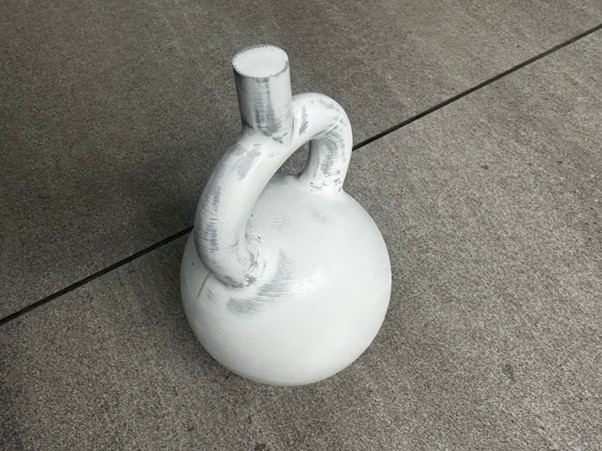
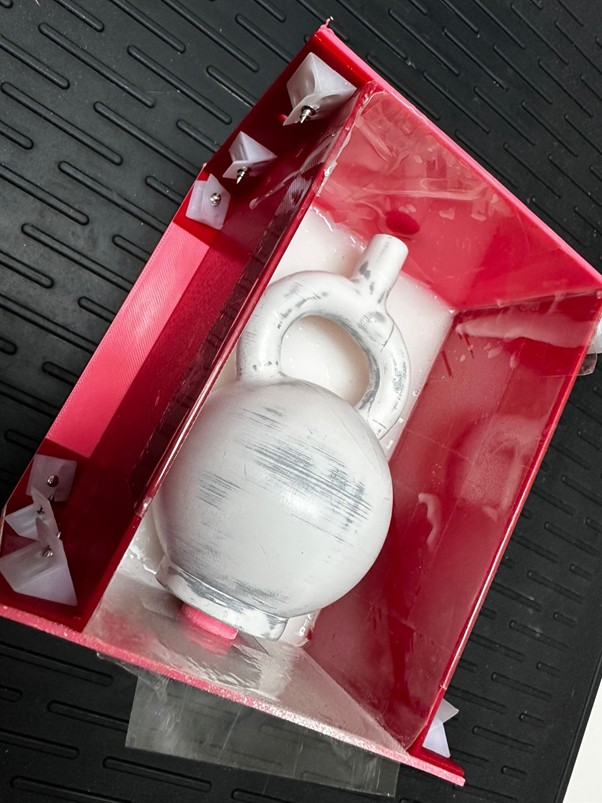
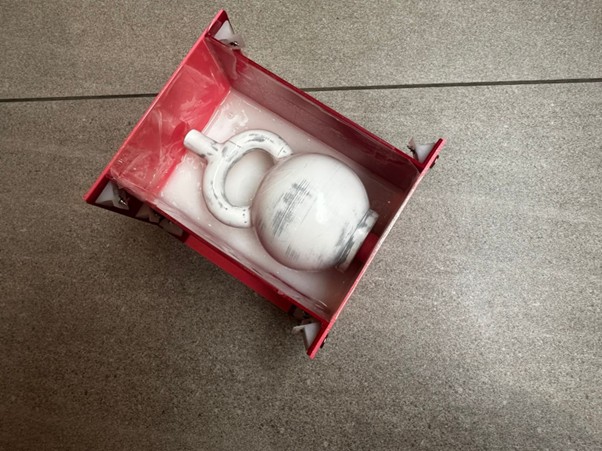
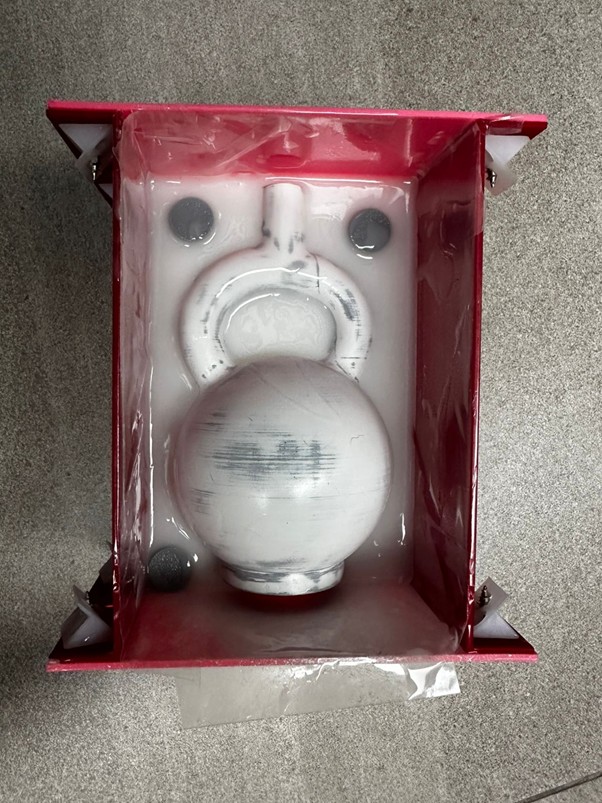
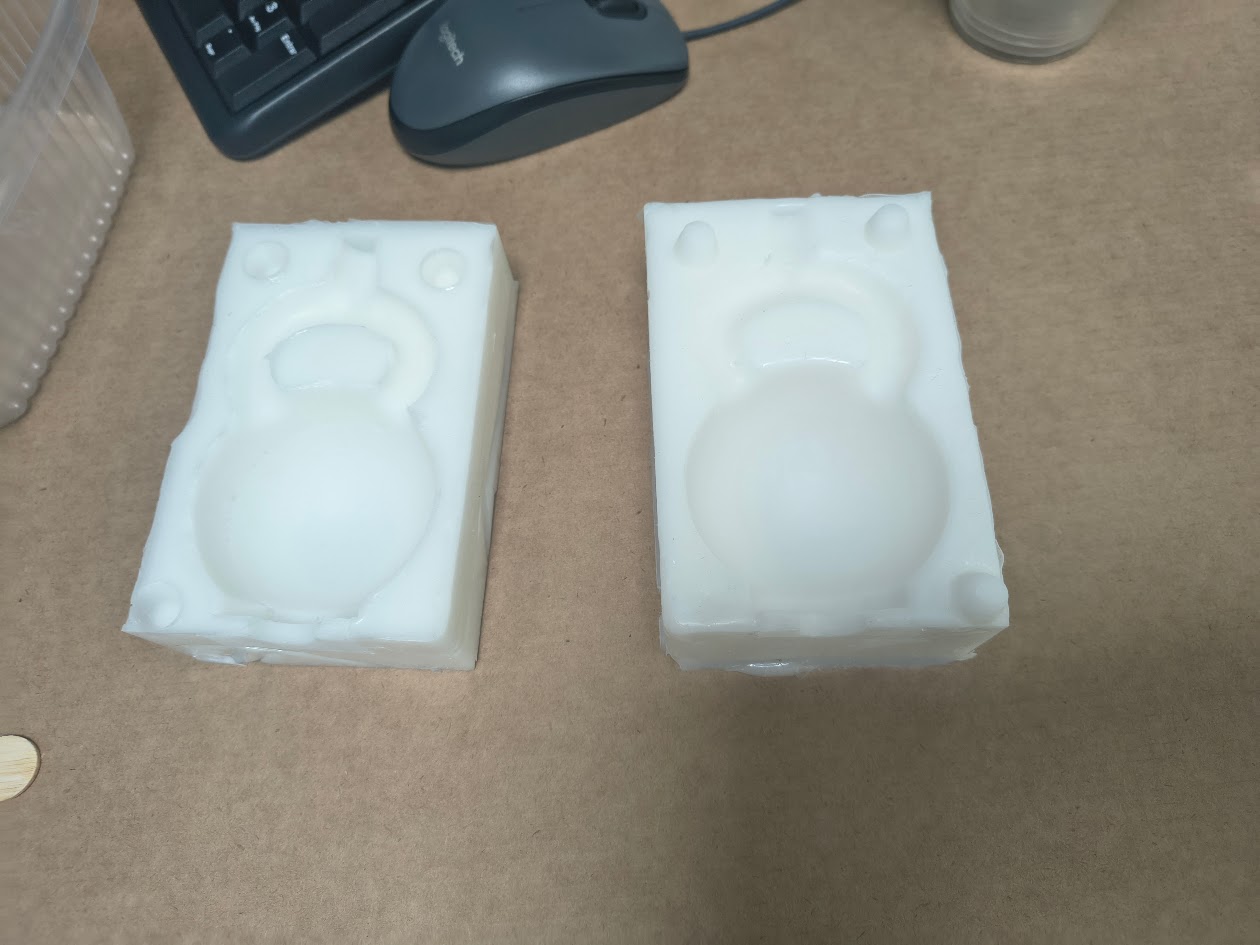
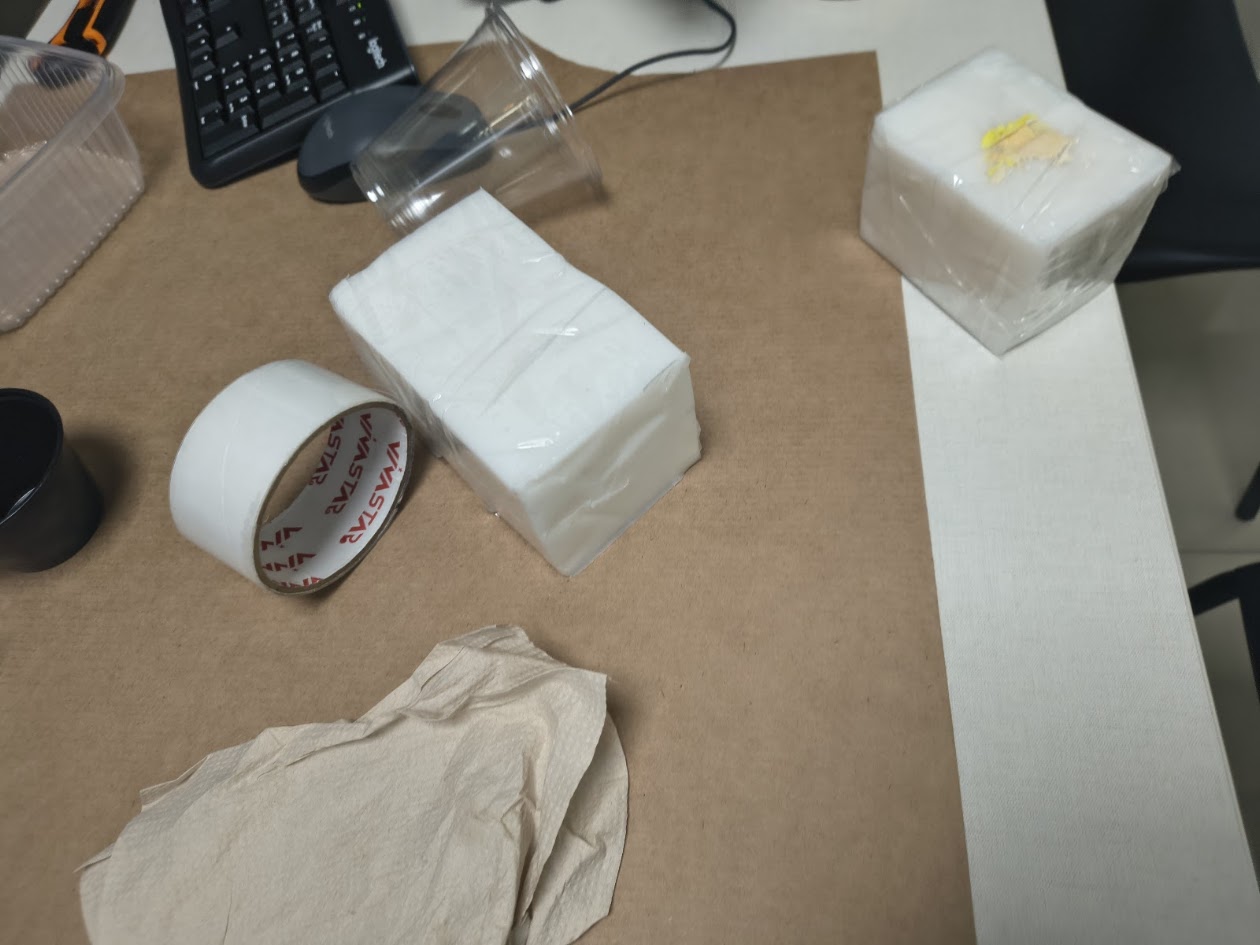
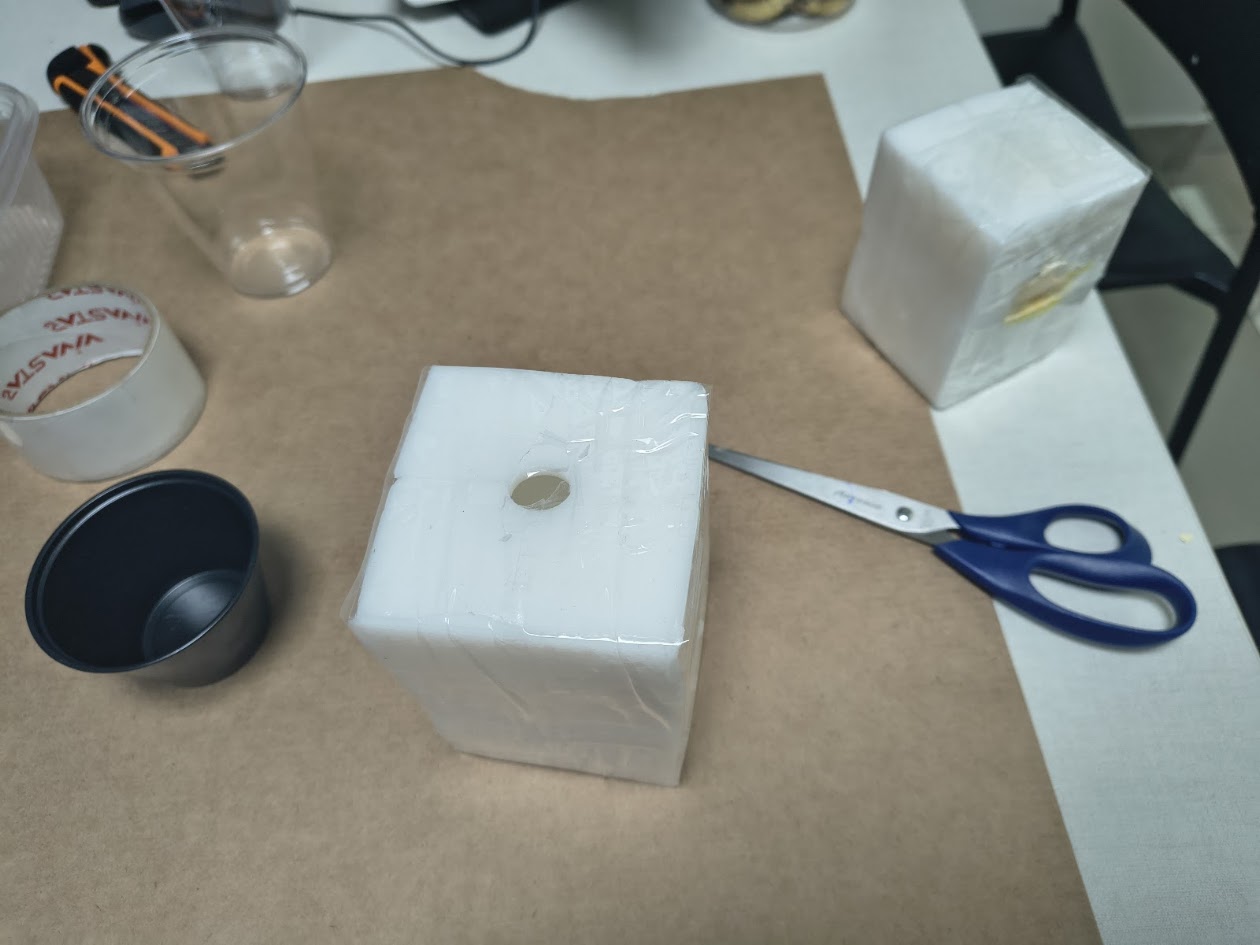
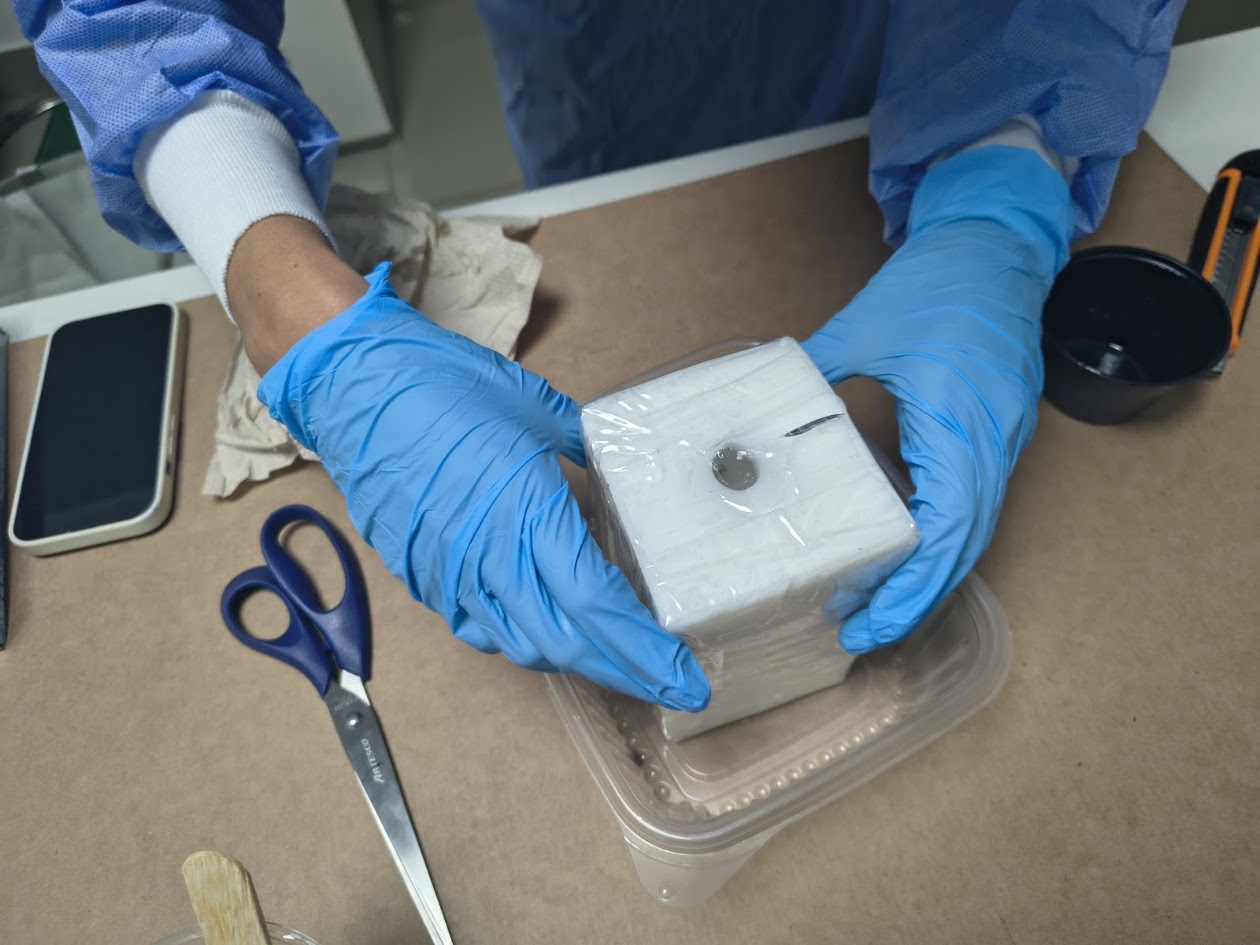
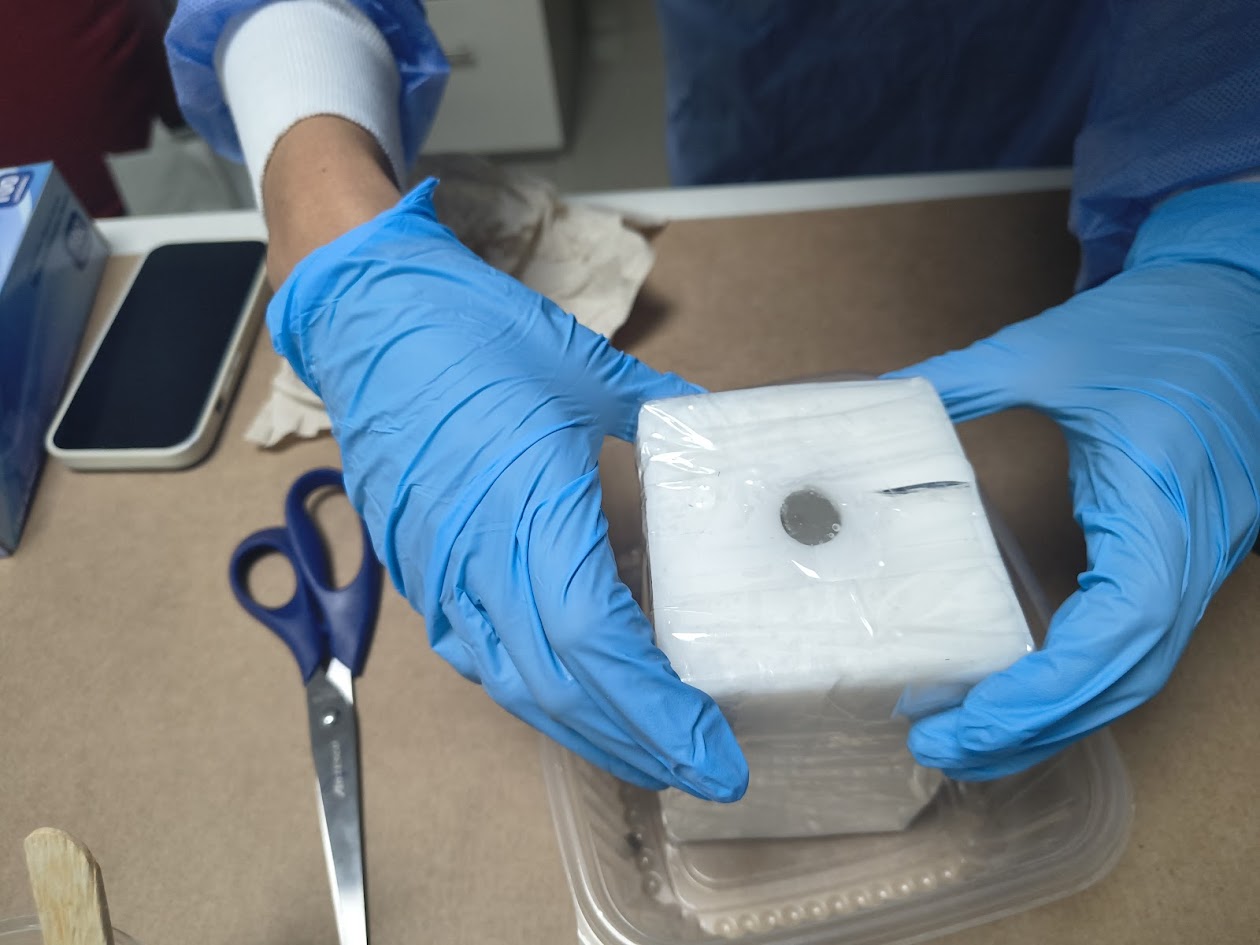
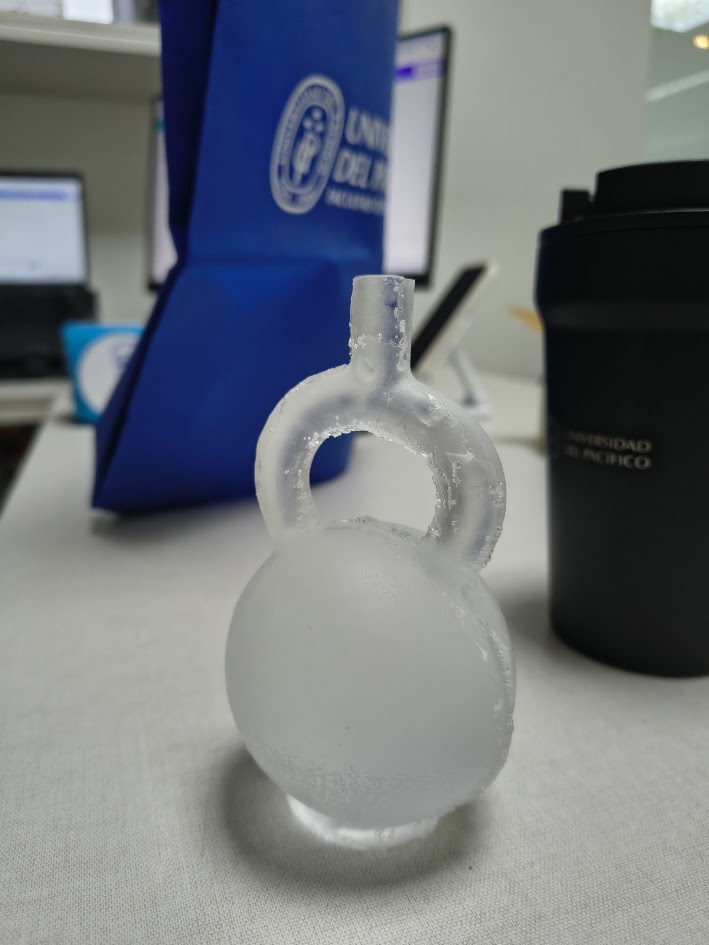
4) Individual assigment
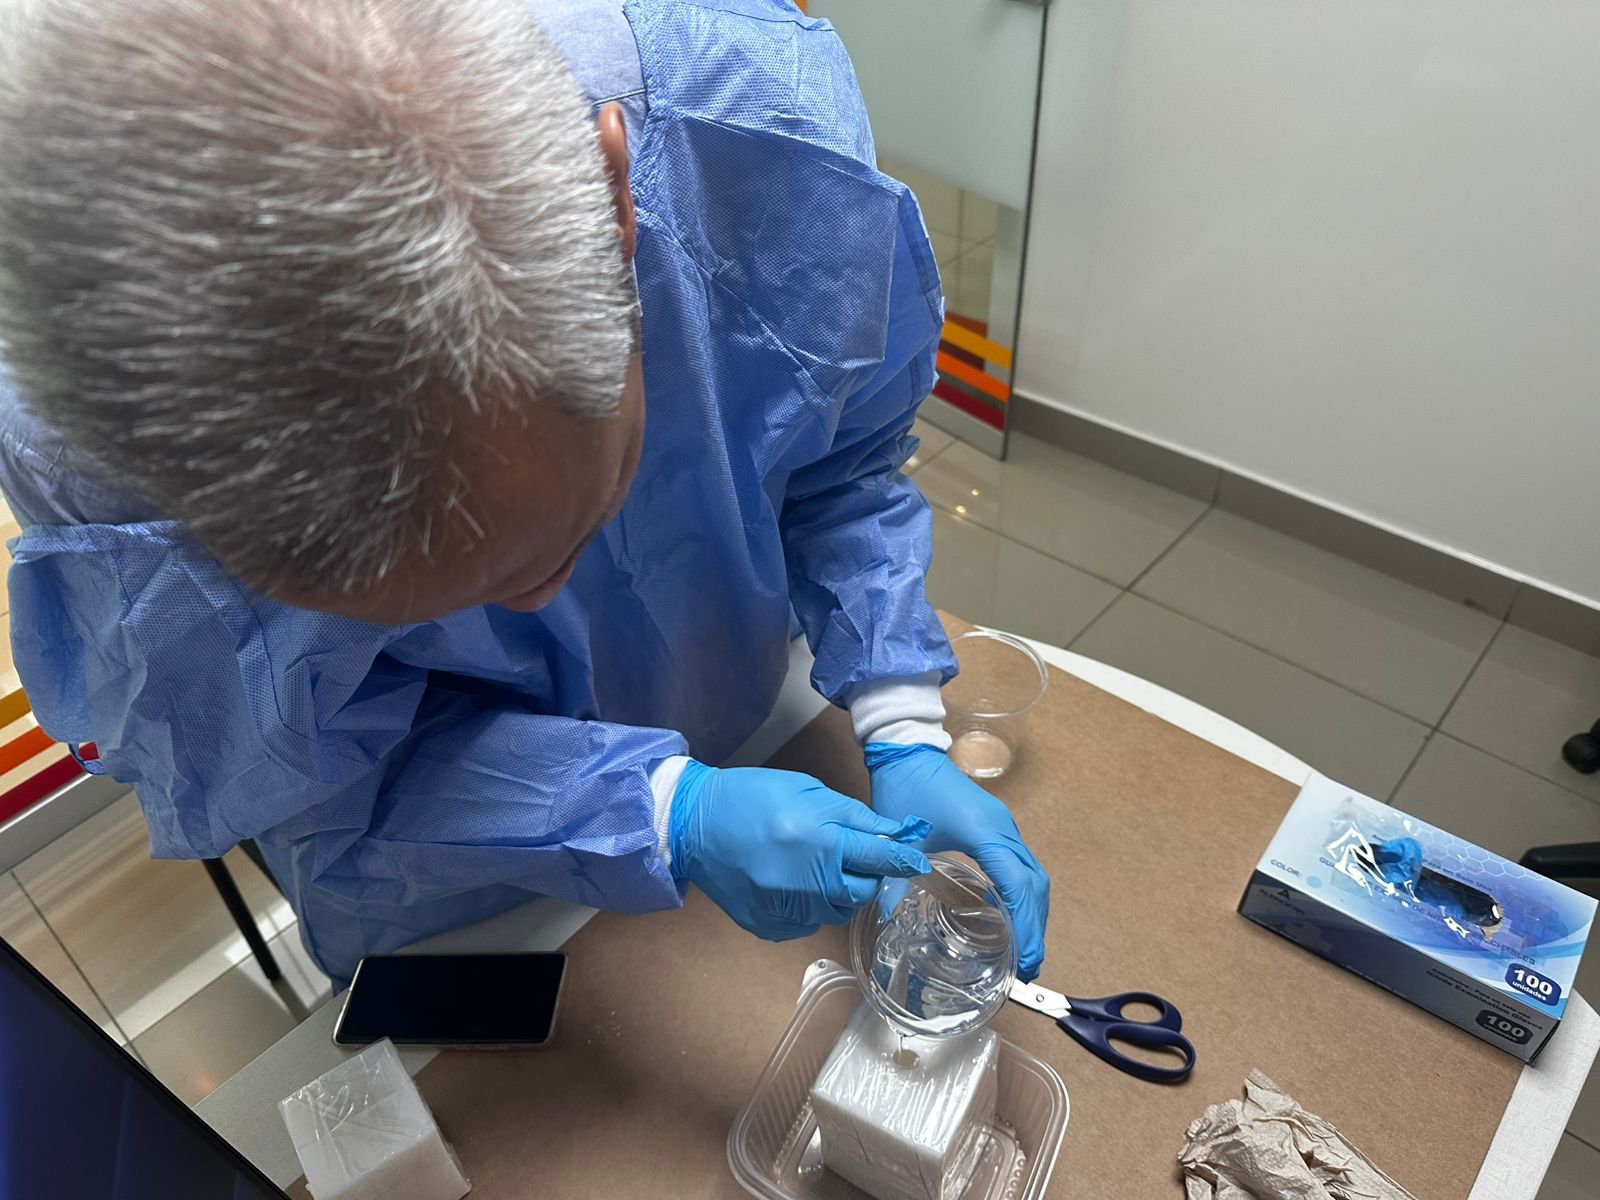
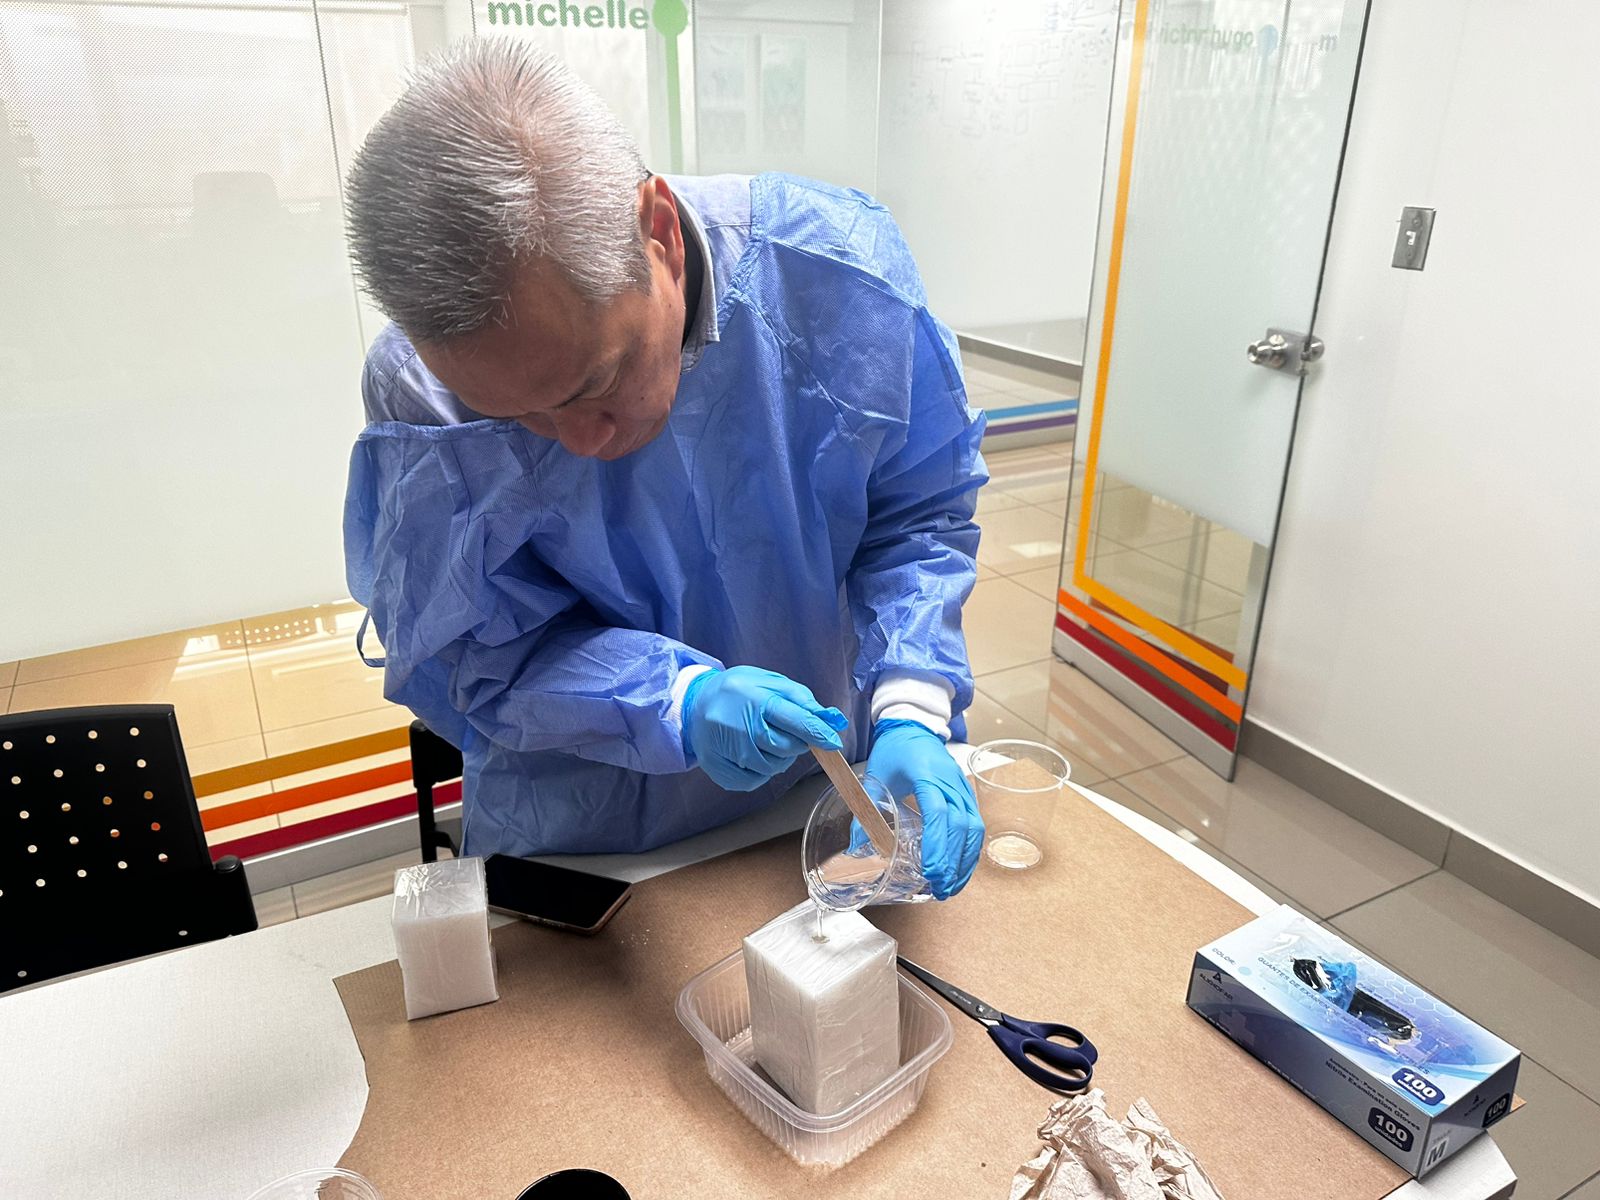
Problems
Define the product
Review the formula: silicon and 2% catalyst
Not enough materials
Solutions
Create the product
Considering this week recommedations
Solve problems as soon as possible

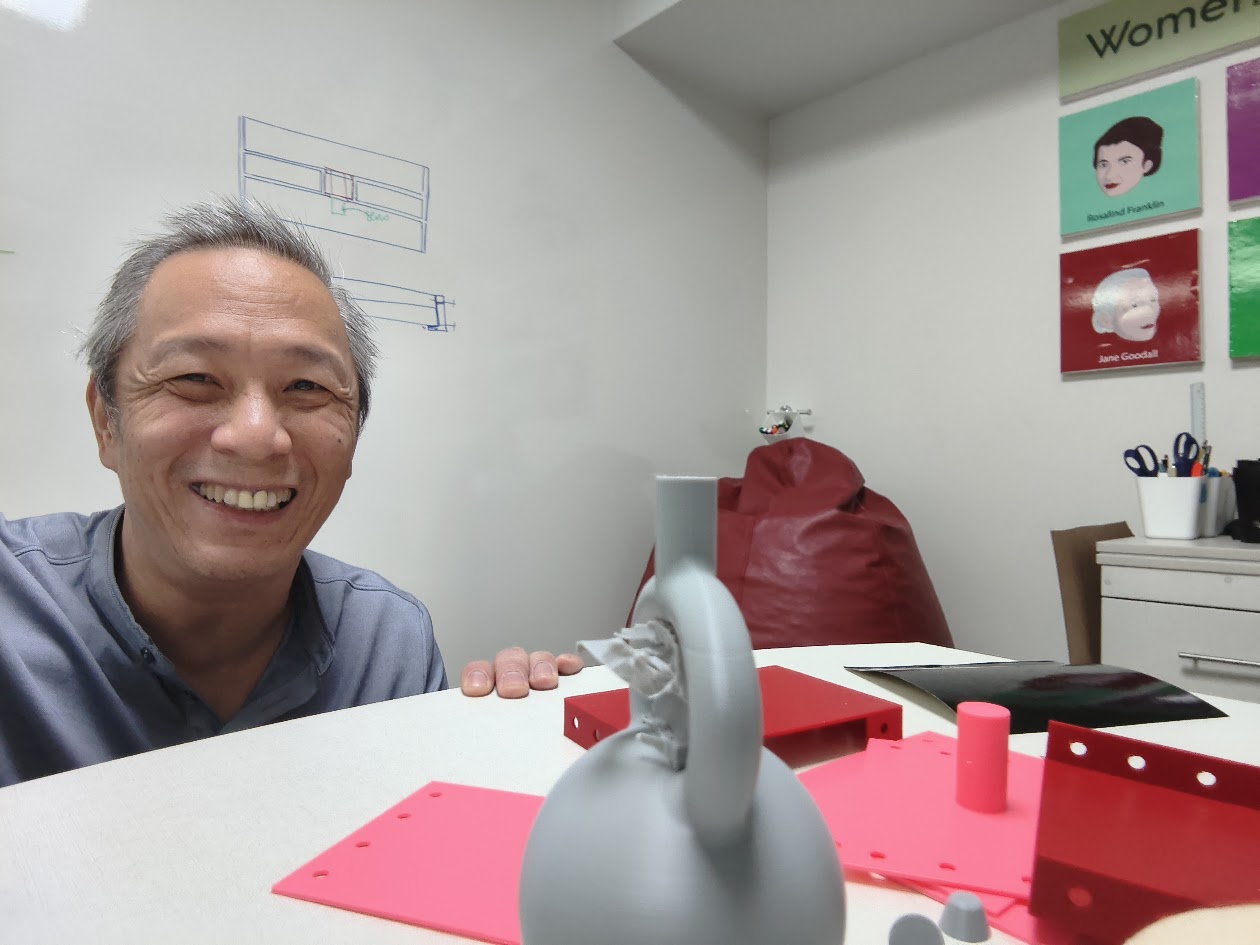

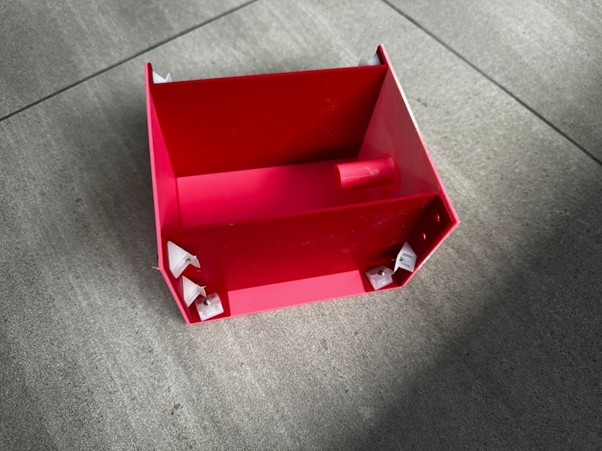
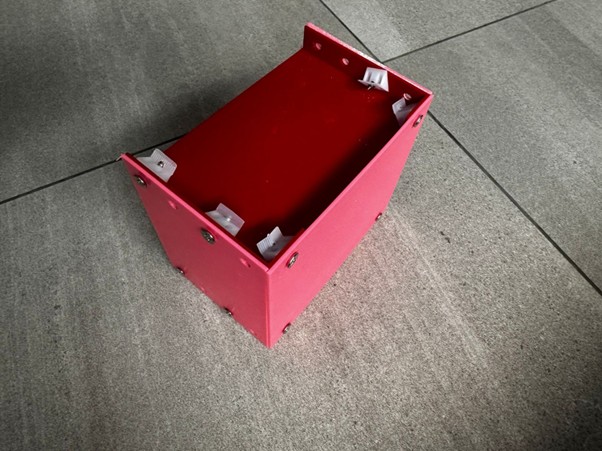
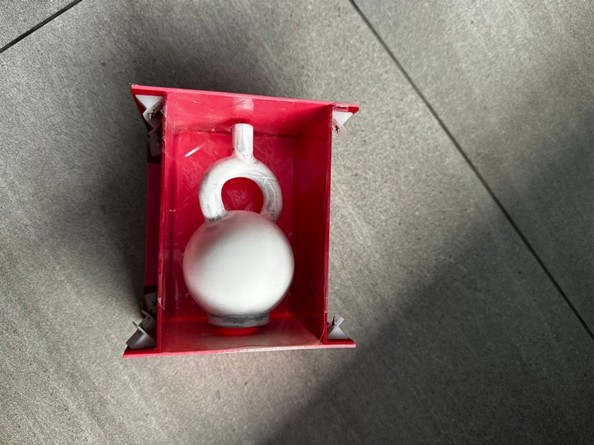
Video demonstration
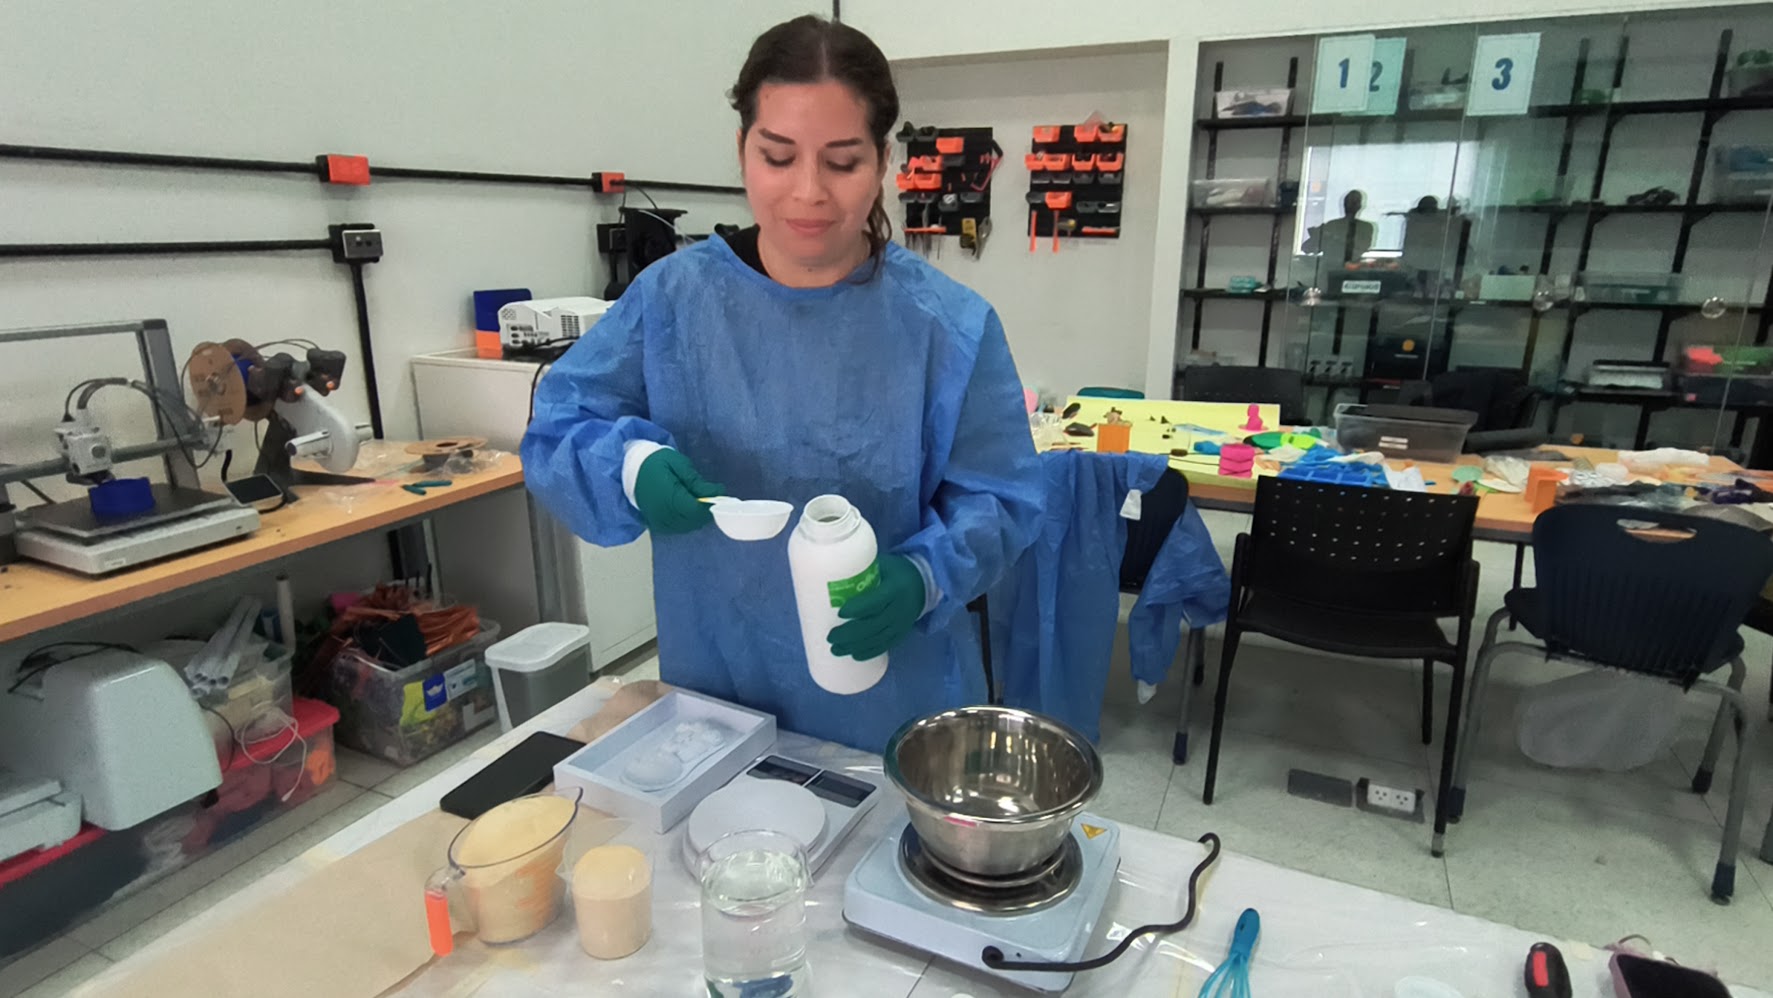
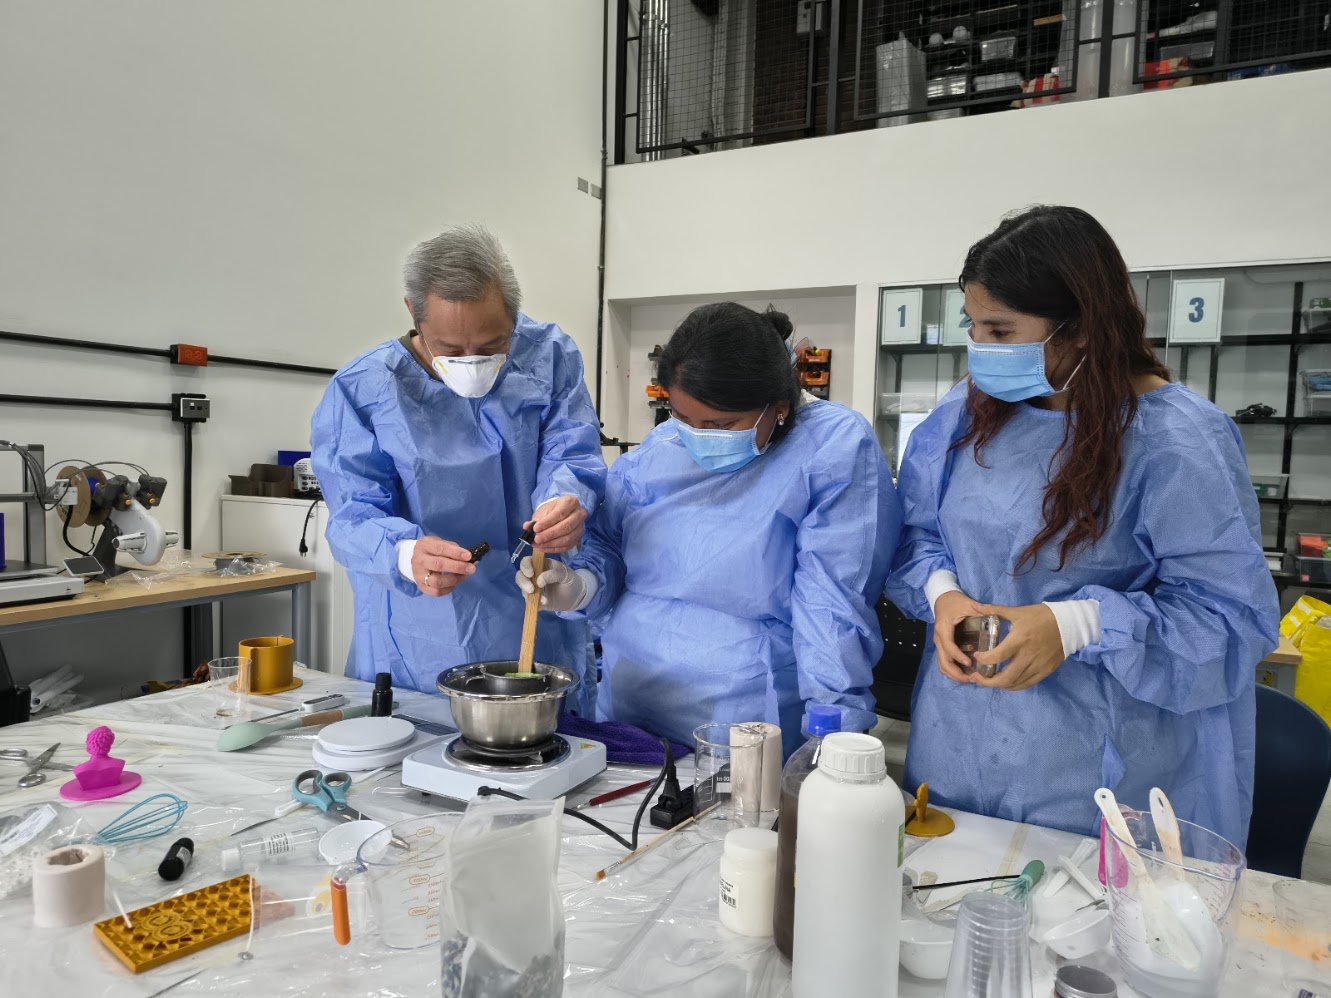
4) Additional individual assigment
Comments
- More details about materials
- Add usage, hazard, safety information
- Compare materials
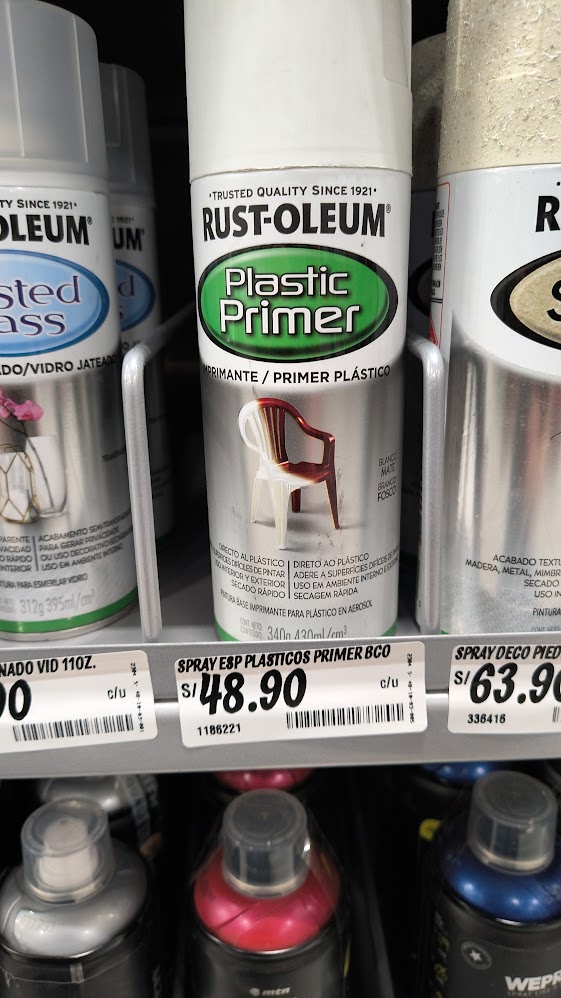
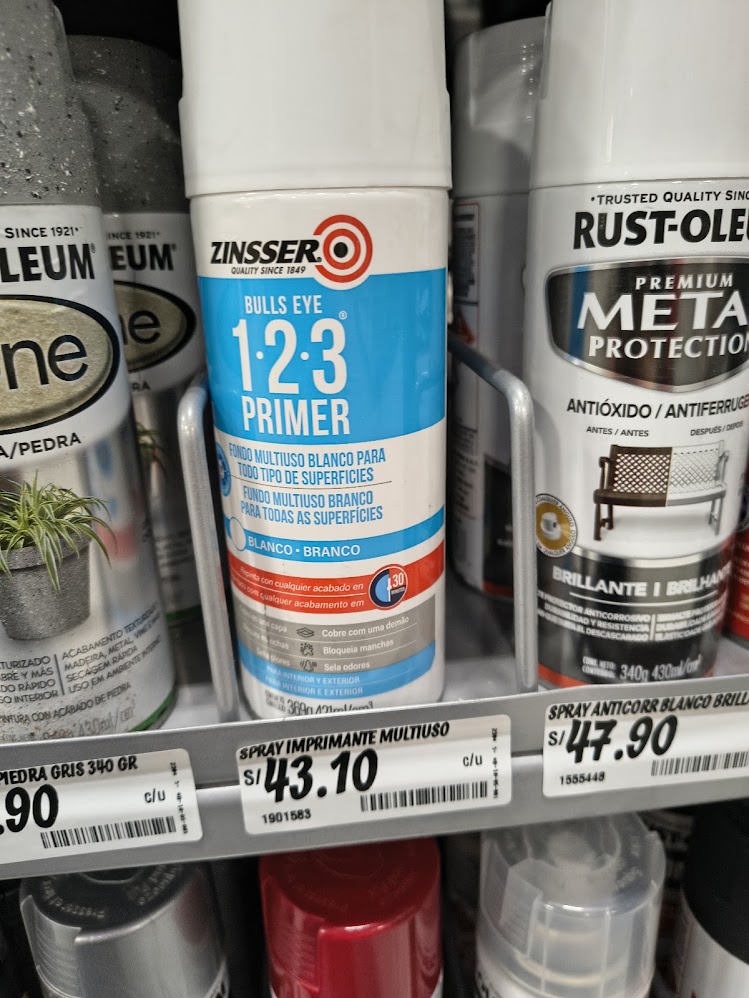
Material data
Safety protocols
Hazards, PPE used & disposal
First aid reference
- Eye contact (any chemical): Rinse with clean water continuously for 15 minutes. Seek medical attention if irritation persists - Hot glycerine burn: Cool immediately under running cold water for at least 10 minutes. Do not apply ice. Seek medical attention for burns larger than the palm - Inhalation (primer/resin vapors): Move to fresh air immediately. If symptoms persist (dizziness, throat irritation), seek medical attention.
PPE - Personal Protective Equipment
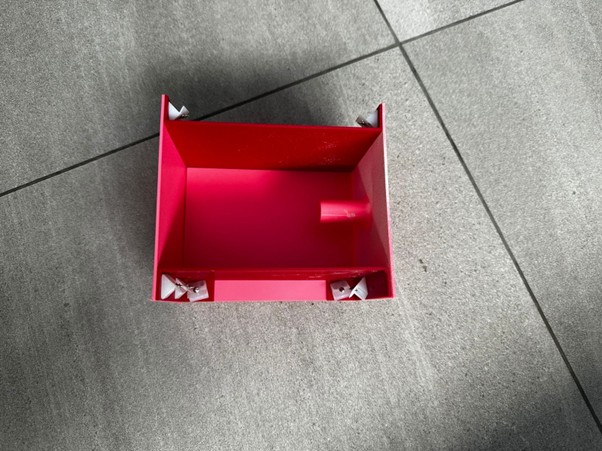
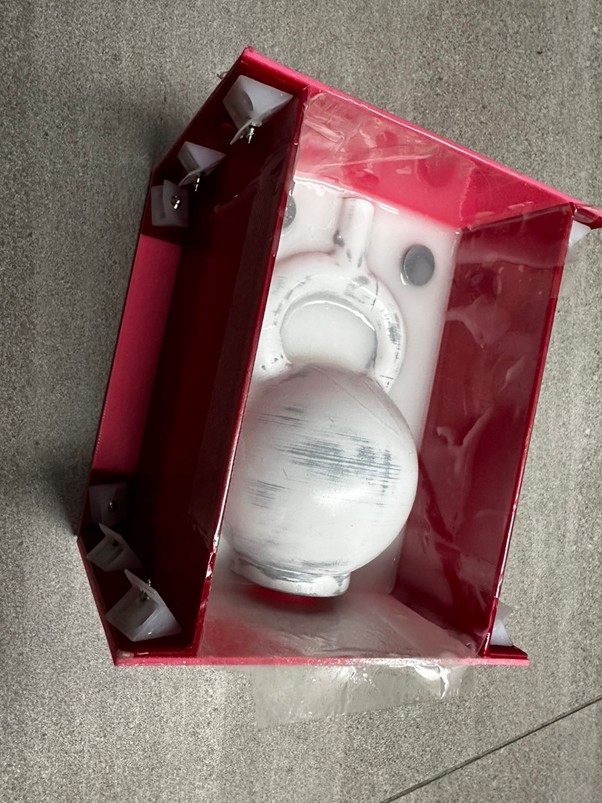
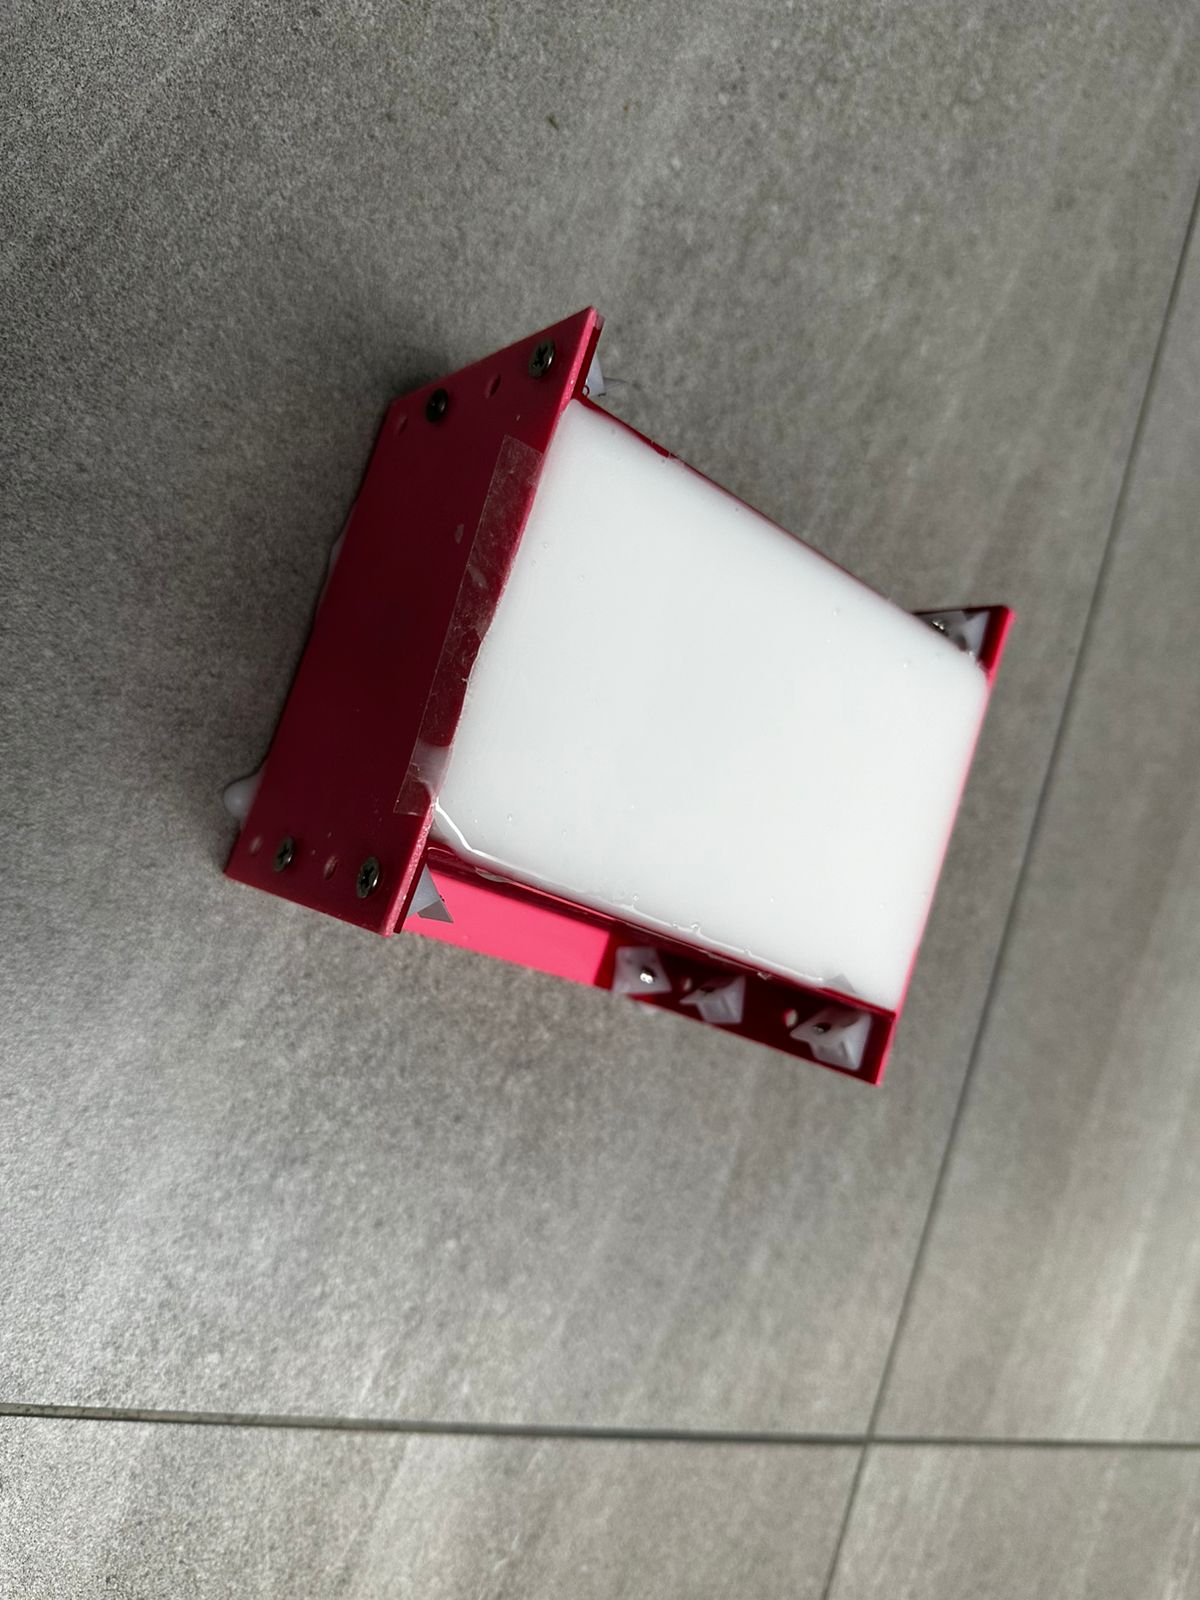
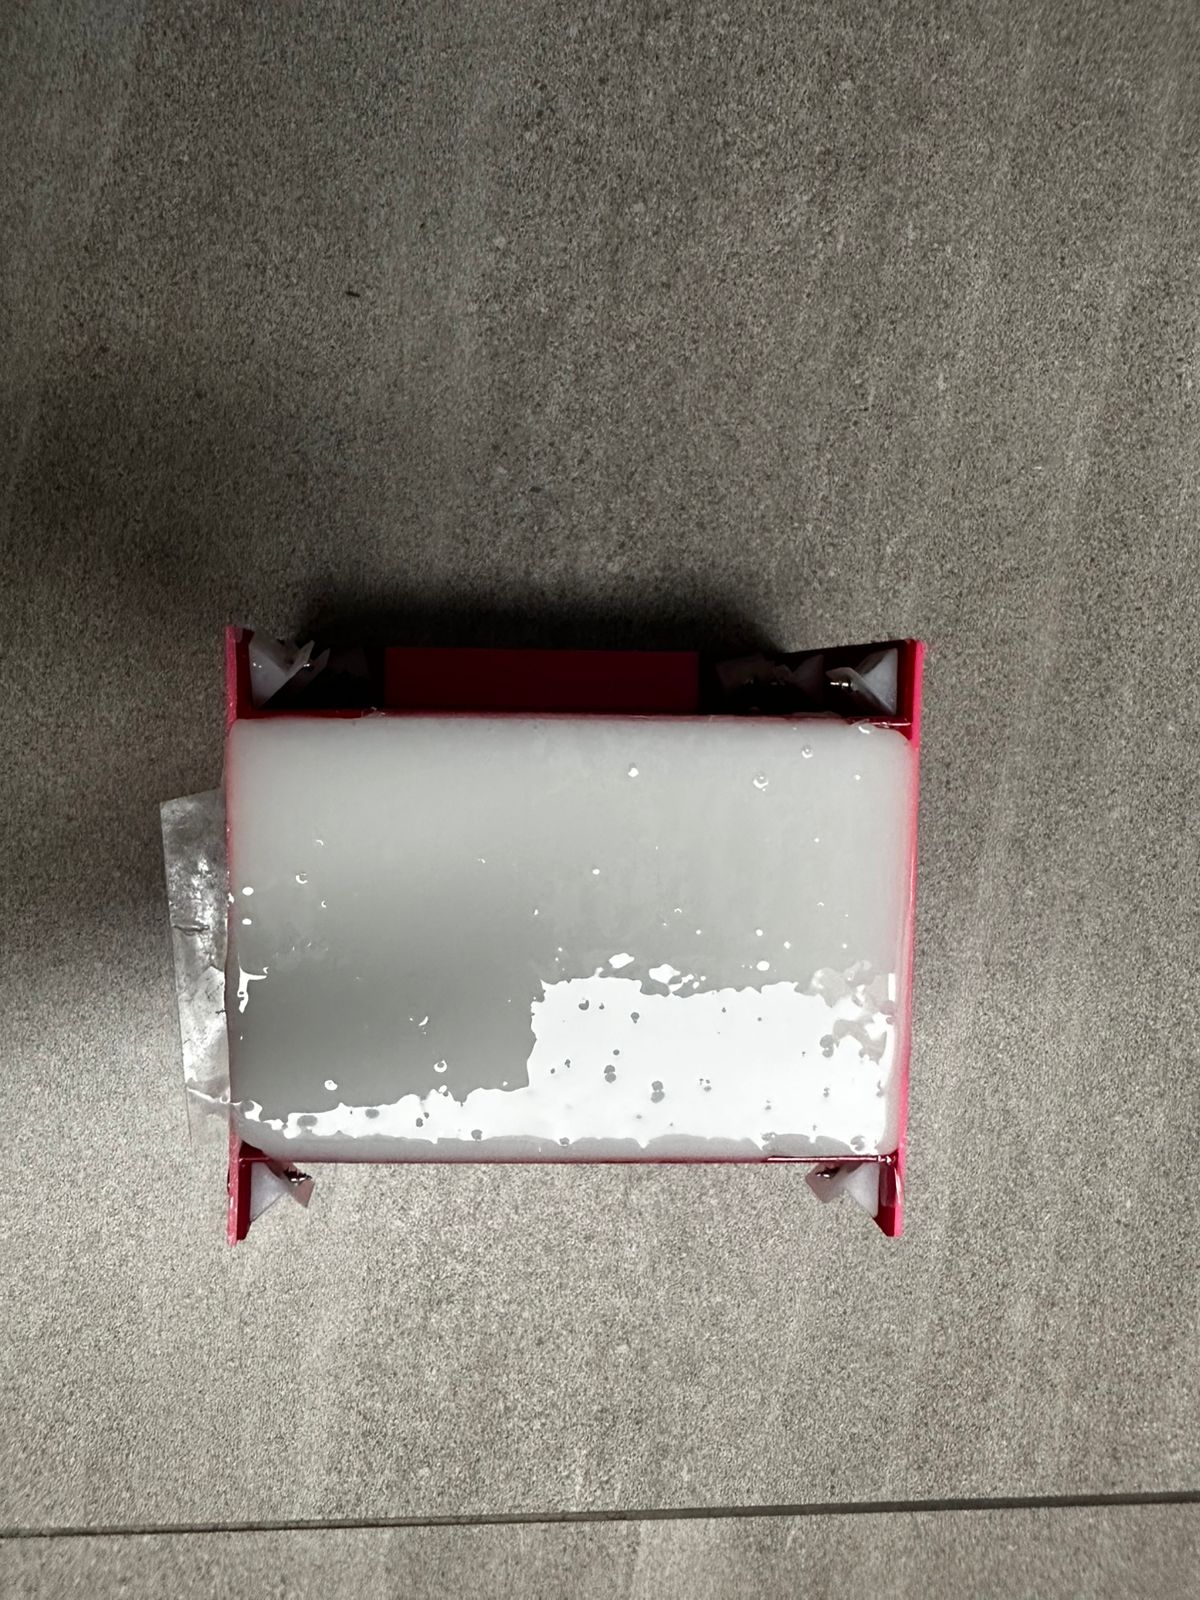
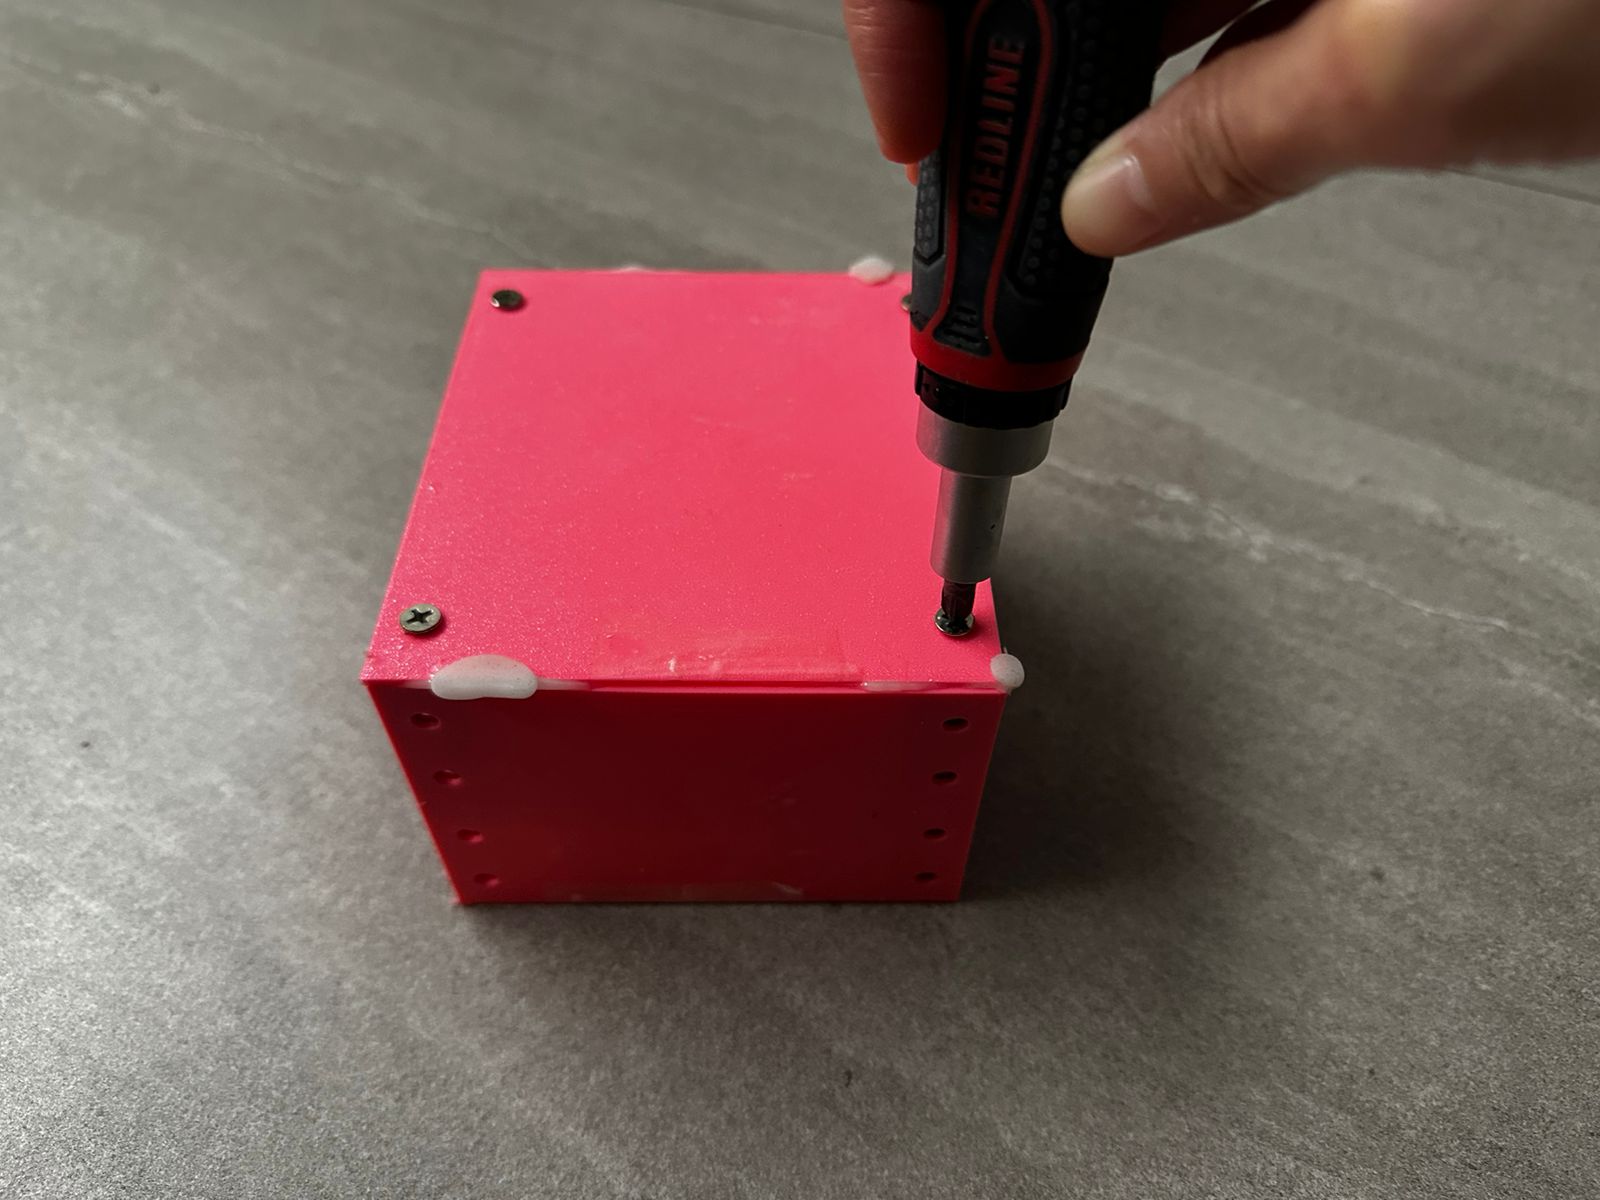
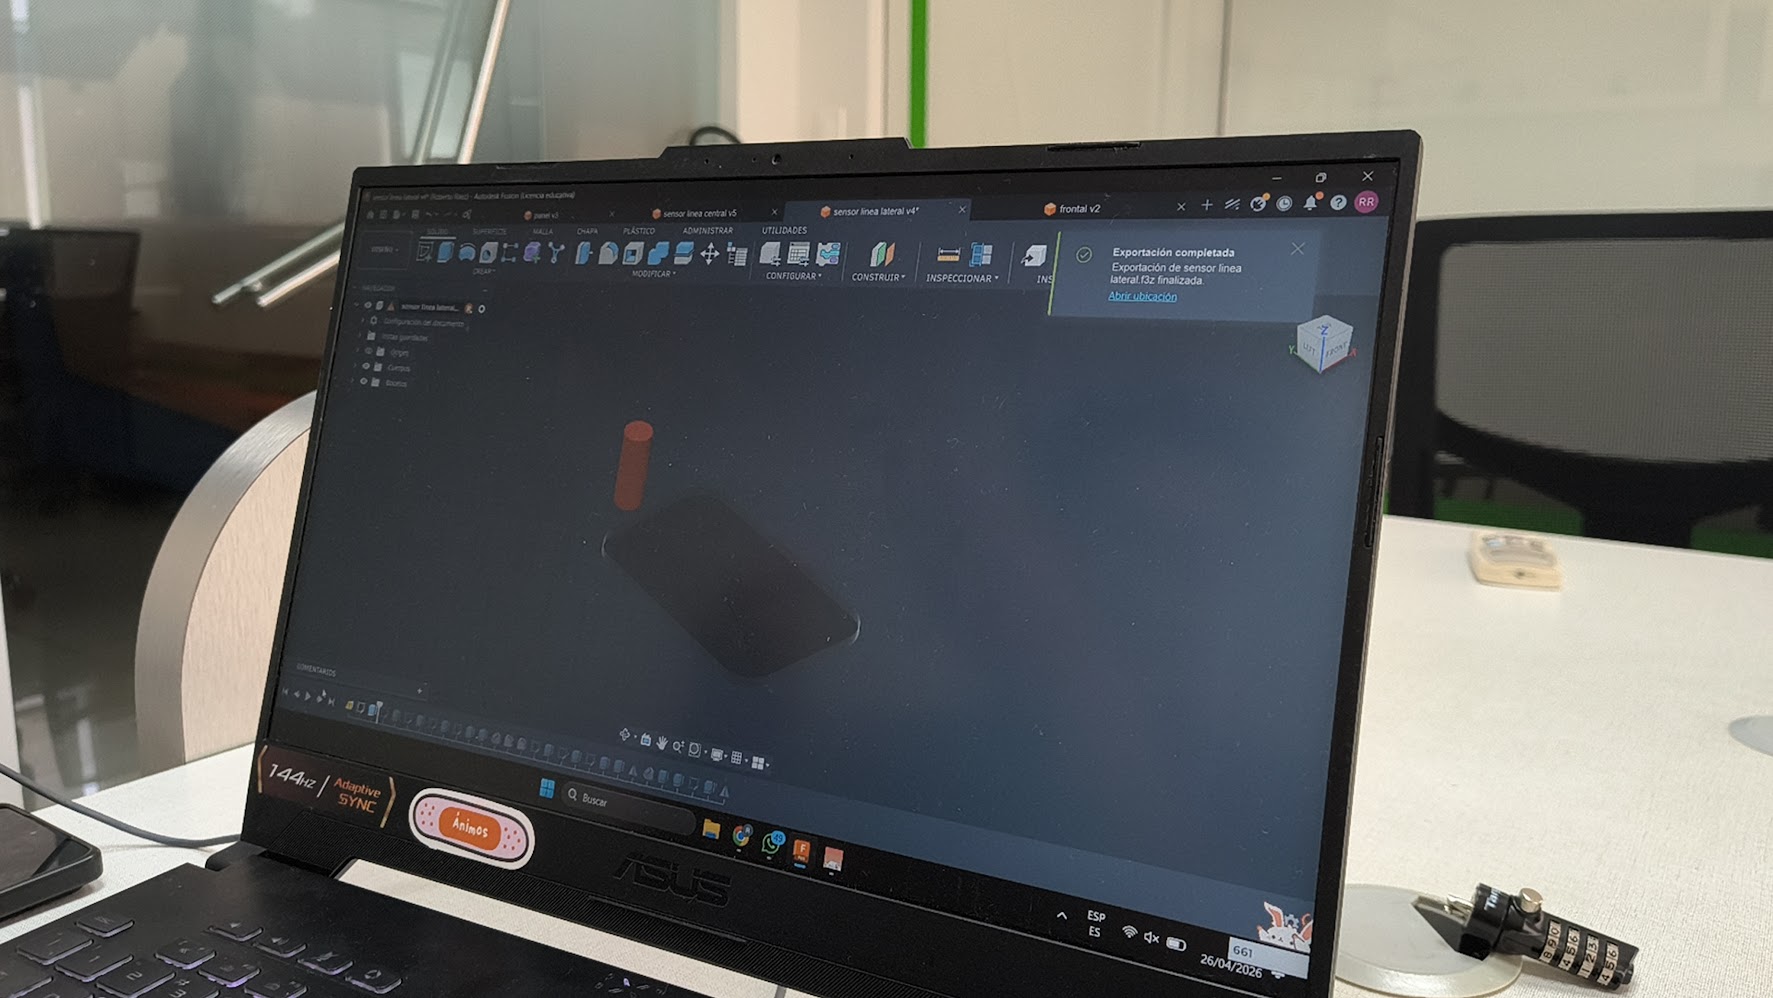
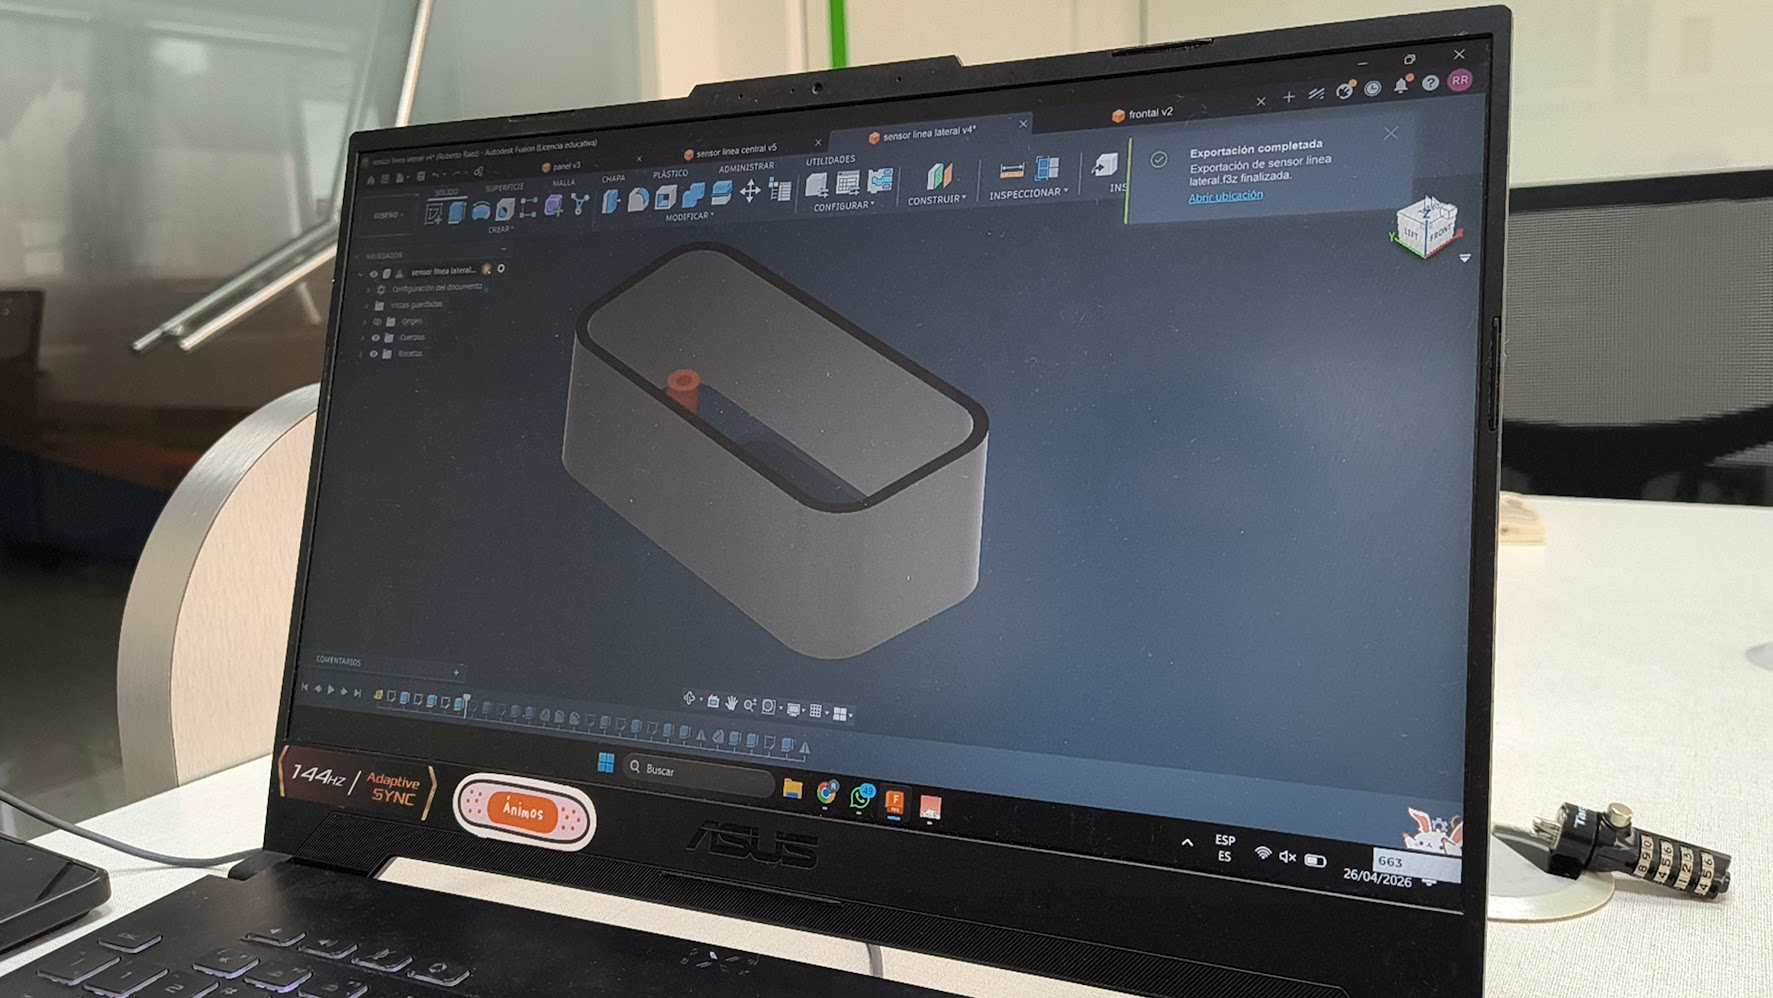
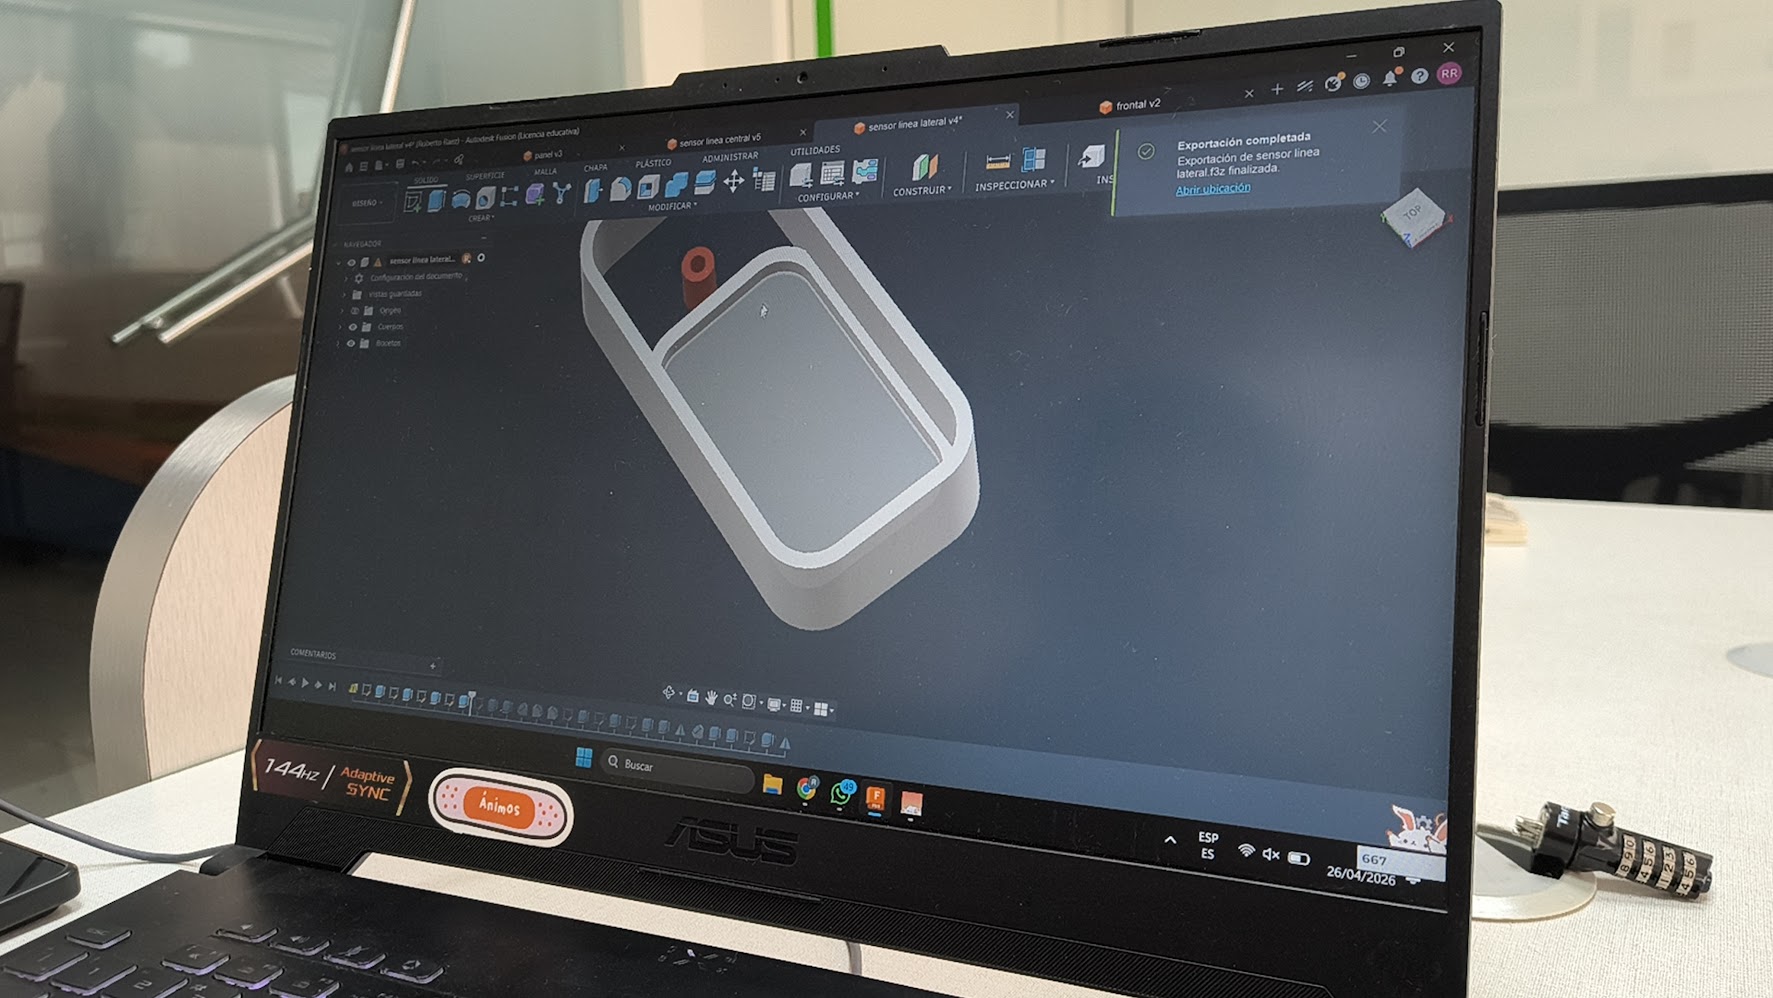
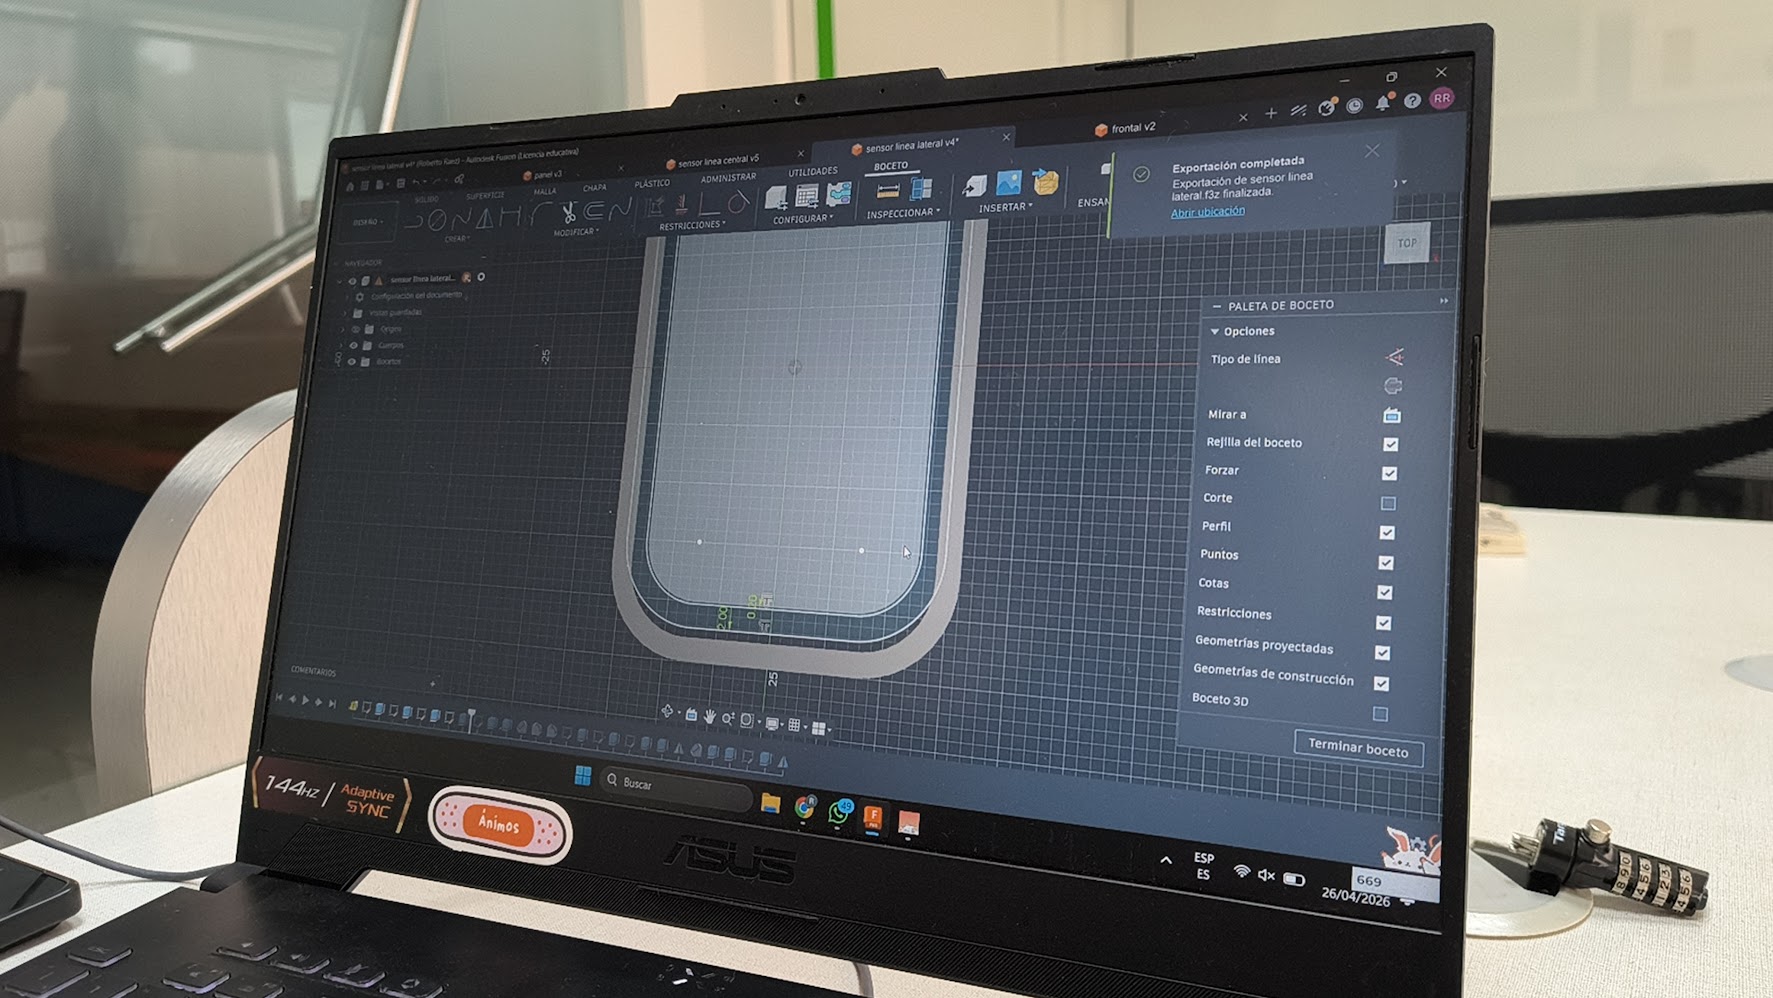
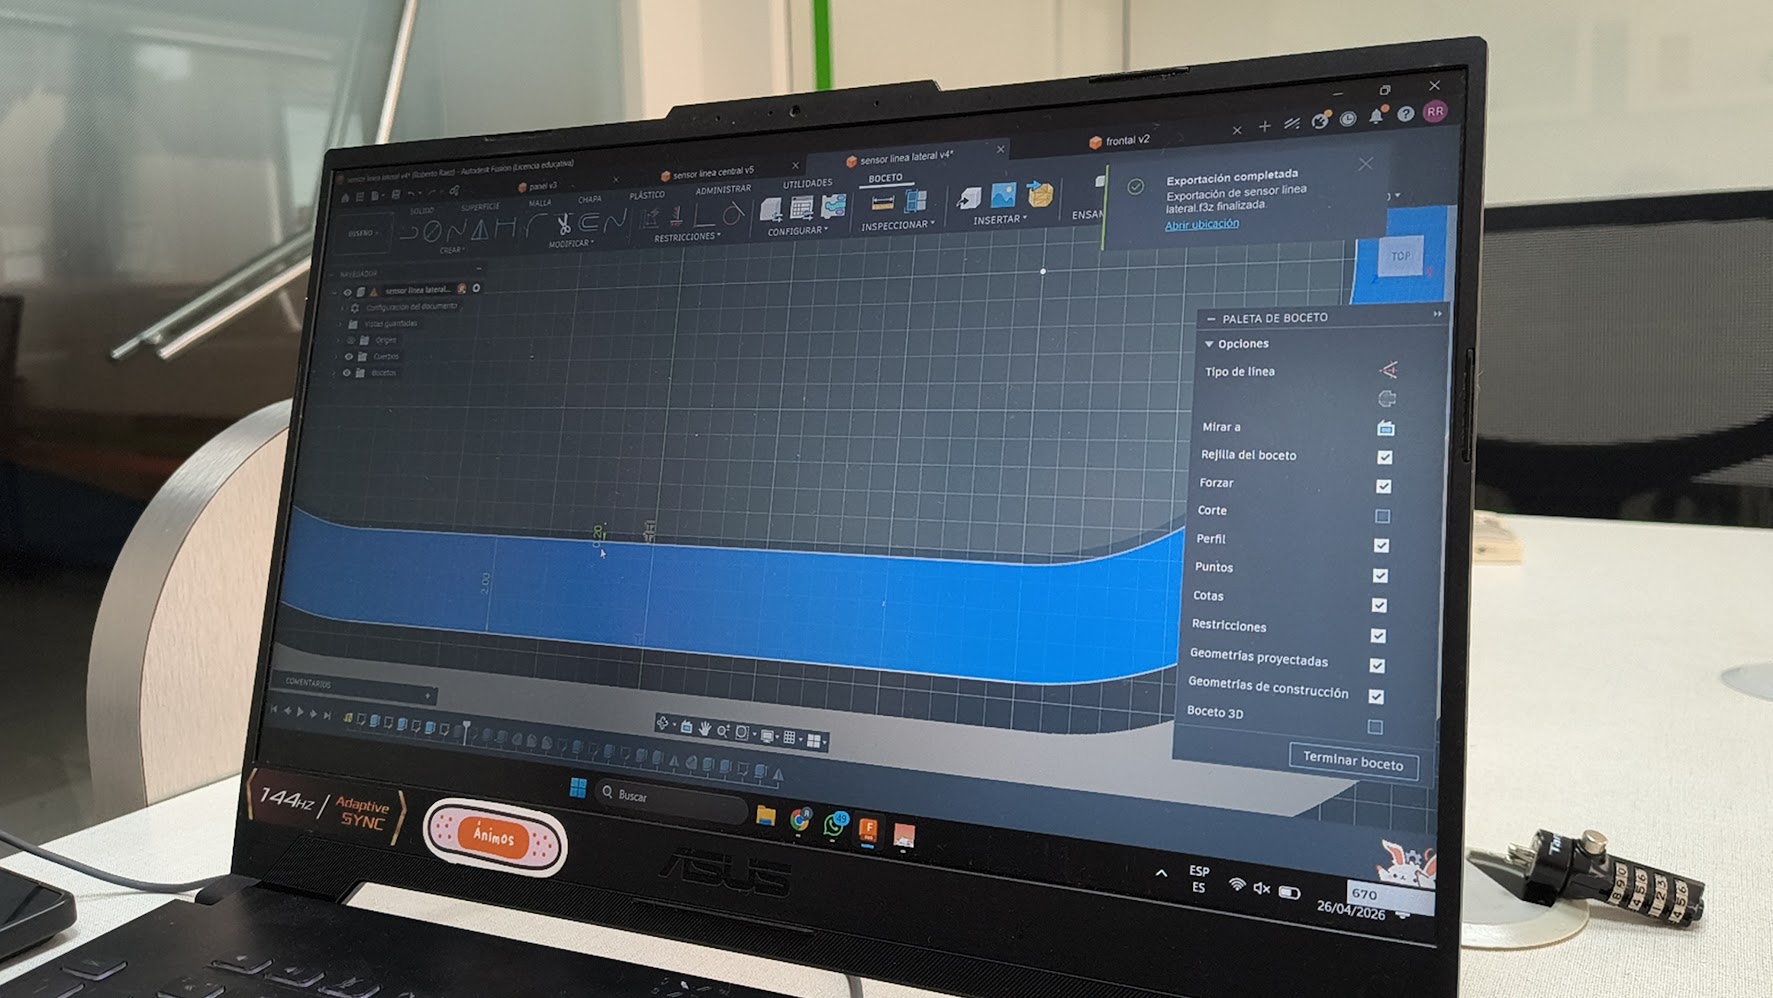
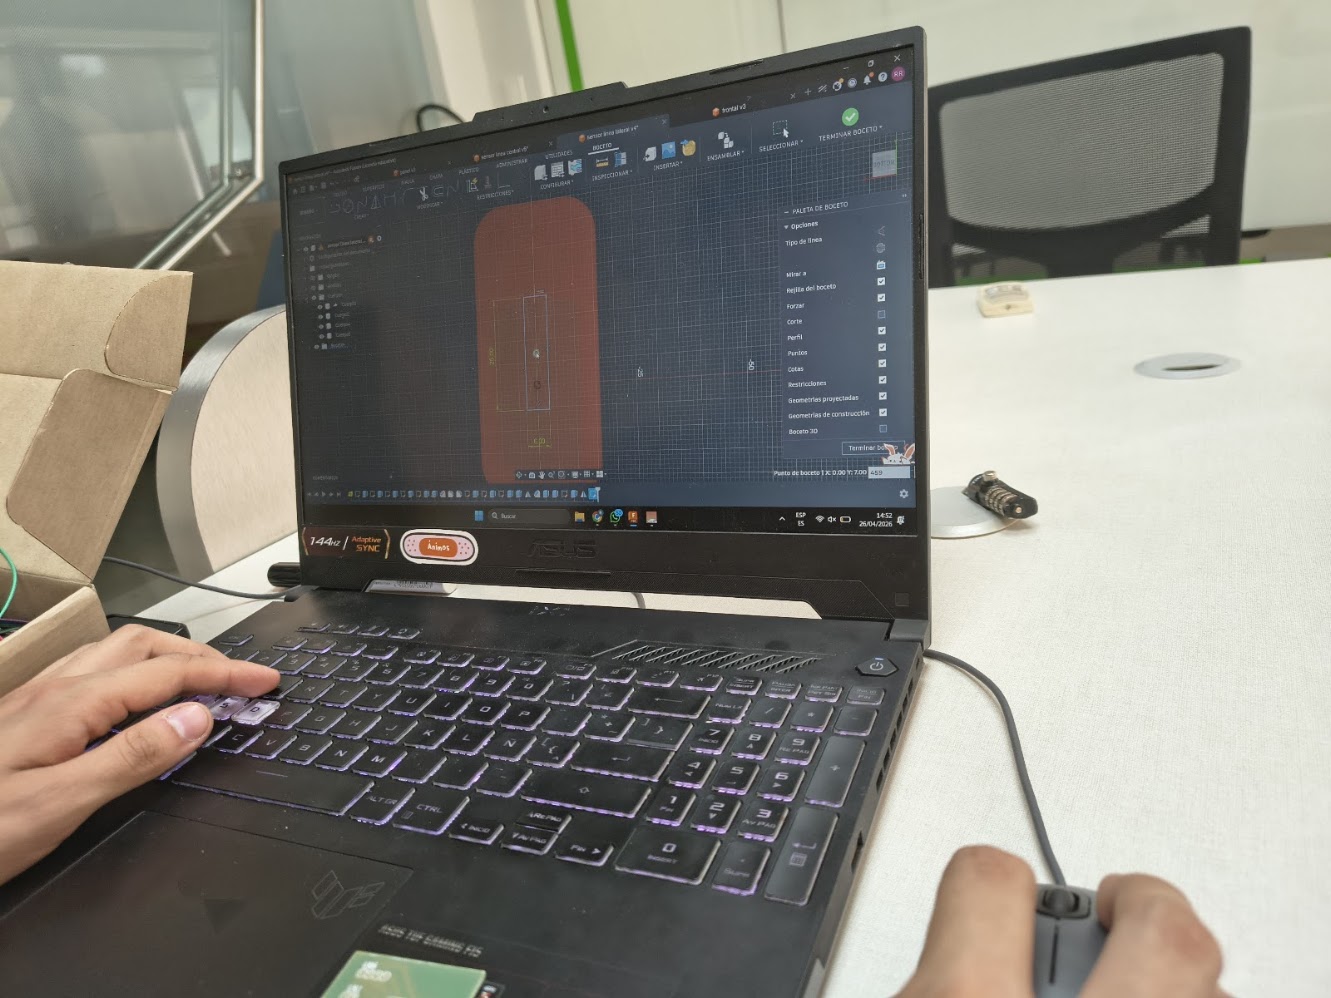
5) Final project advances
Devices
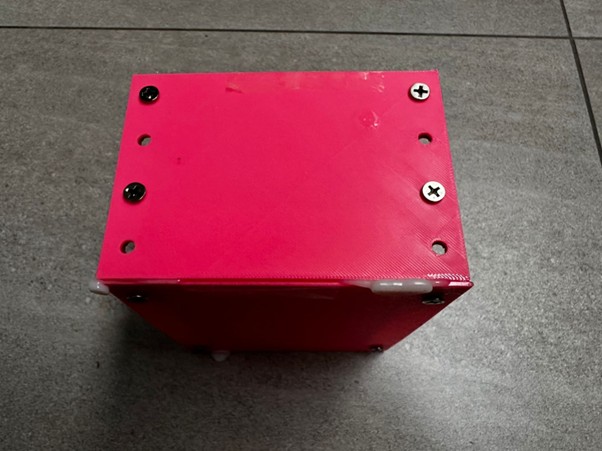
Design sharp body box
Considering sharp dimensions
Transparent material - acrilic windows
Water proof box
Considering different designs and water and pressure resistance materials
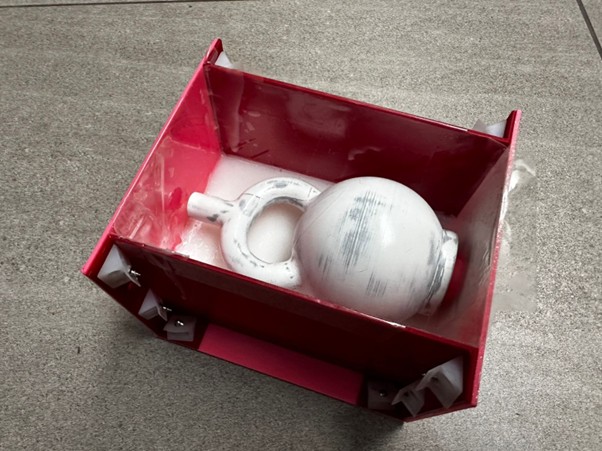
6) Final results
- Linked to the group assignment page and reflected on your individual page what you have learned
- Review the safety data sheets for each of your molding and casting materials, then made and compared test casts with each of them
- Documented how you designed and created your 3D mold, including machine settings
- Ensure your mold has smooth surfaces finish, that does not show the production process (by postprocessing if necessary)
- Shown how you safely made your mold and cast the parts
- Described problems and how you fixed them
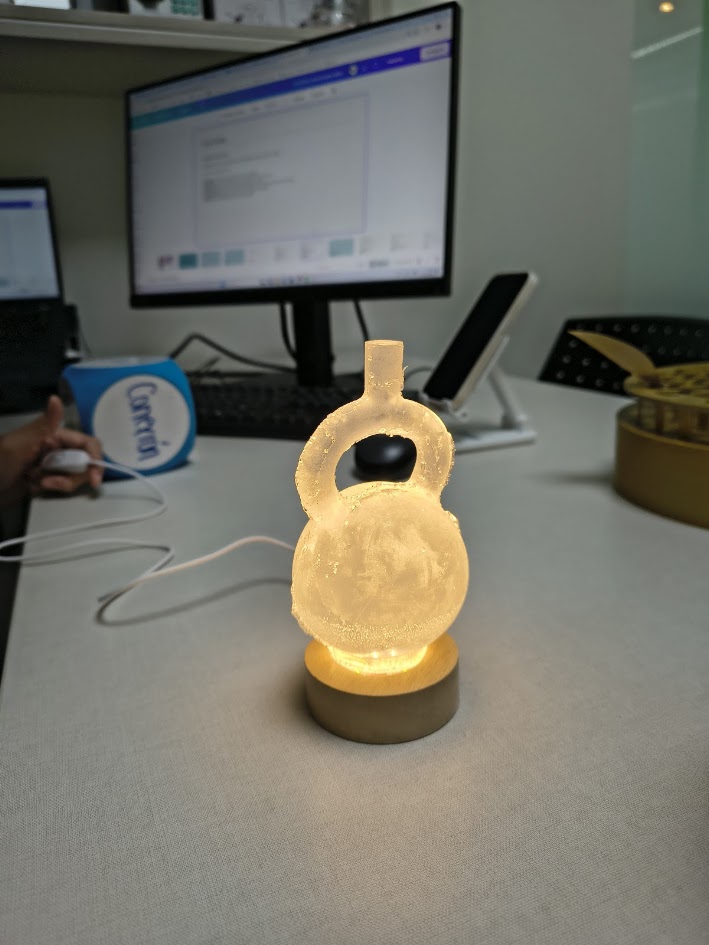
- Include your design files and hero shot of the mold and the final object
7) References files
We learn how to molding & casting materials, including design and create my own 3D mold
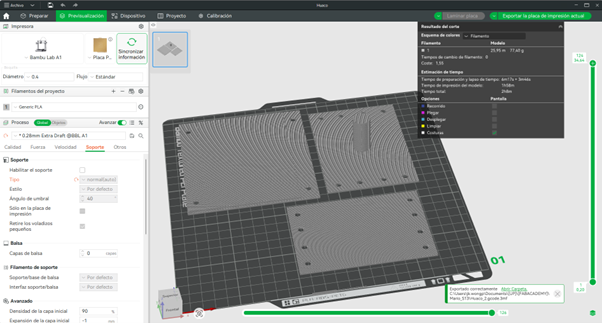
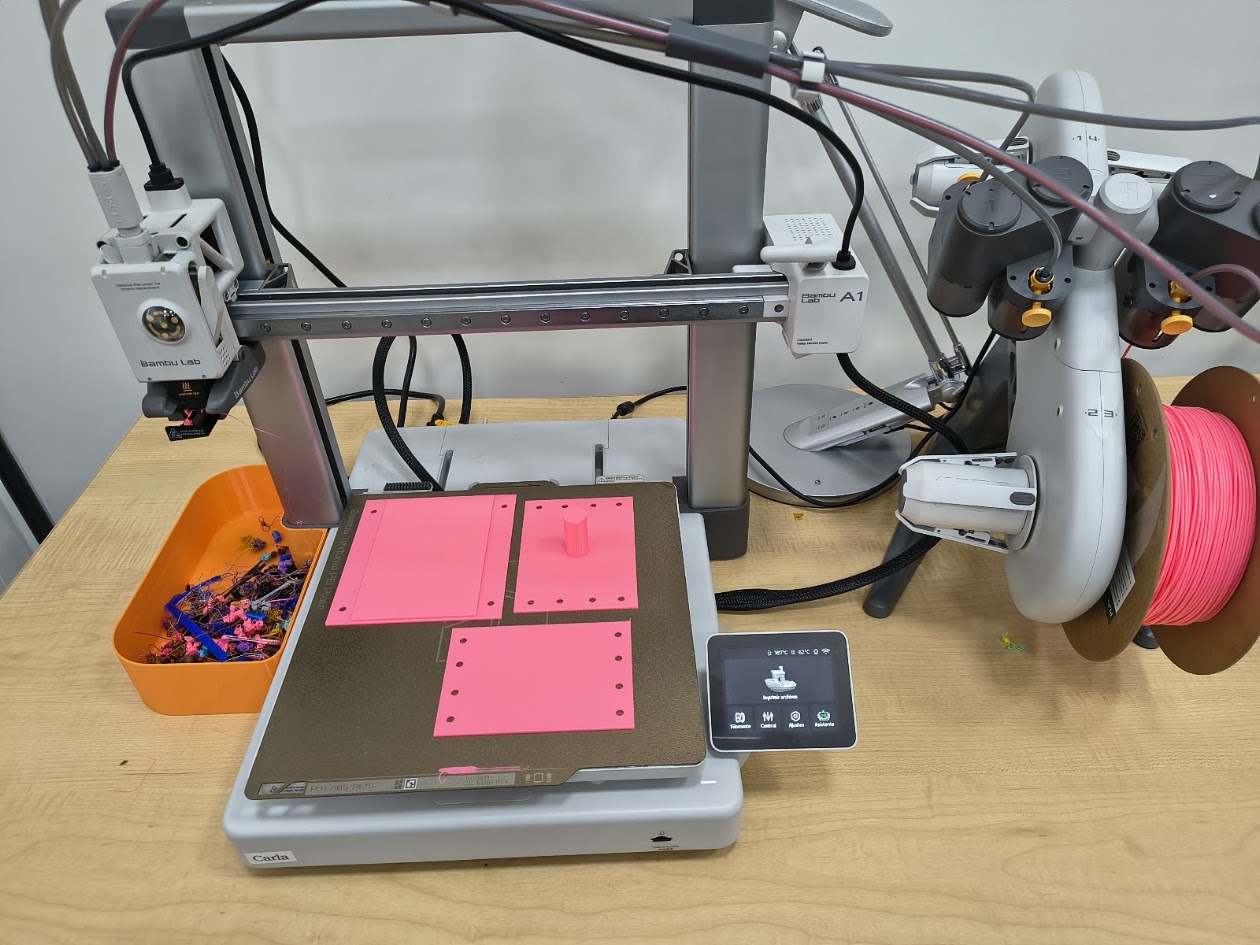
- File in Rhino 4 accesories - 3D printer
- File in Rhino Base - 3D printer
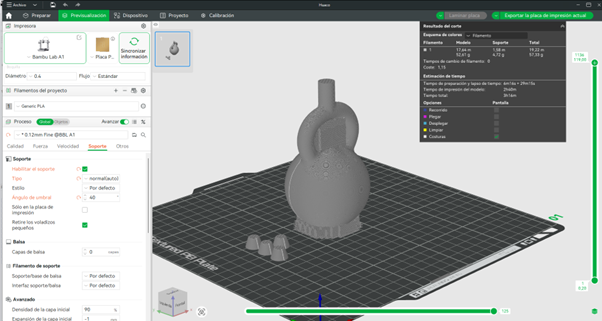
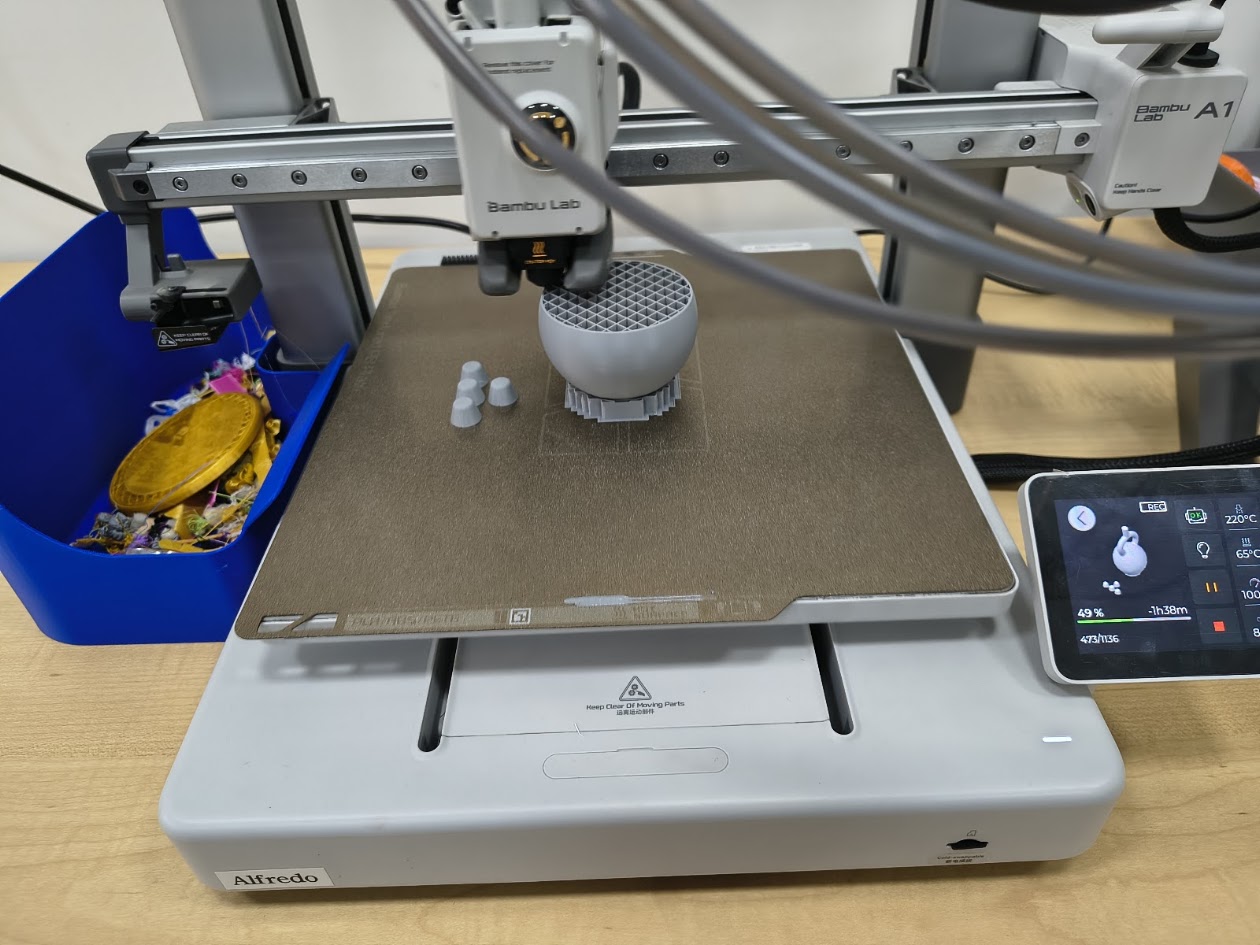
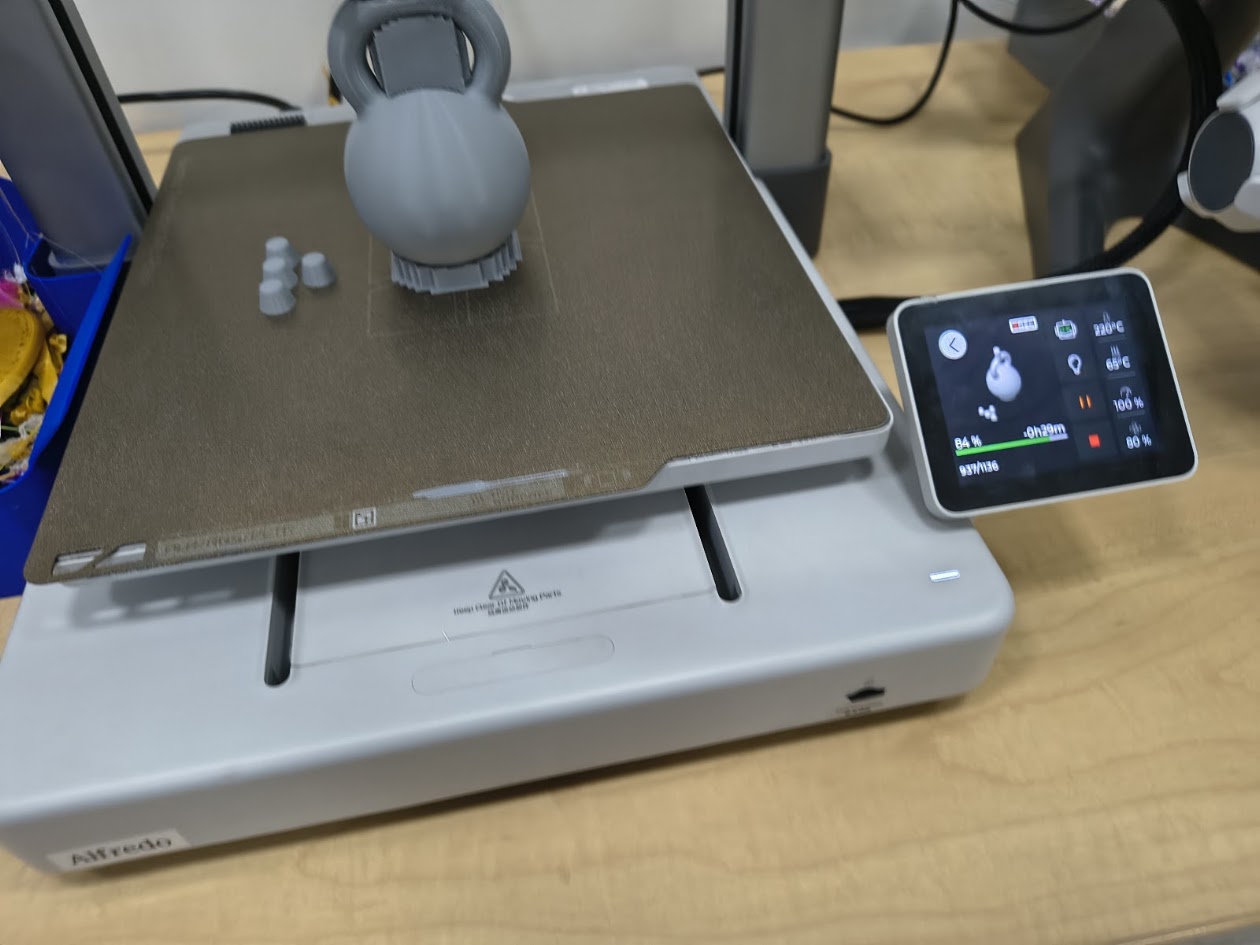
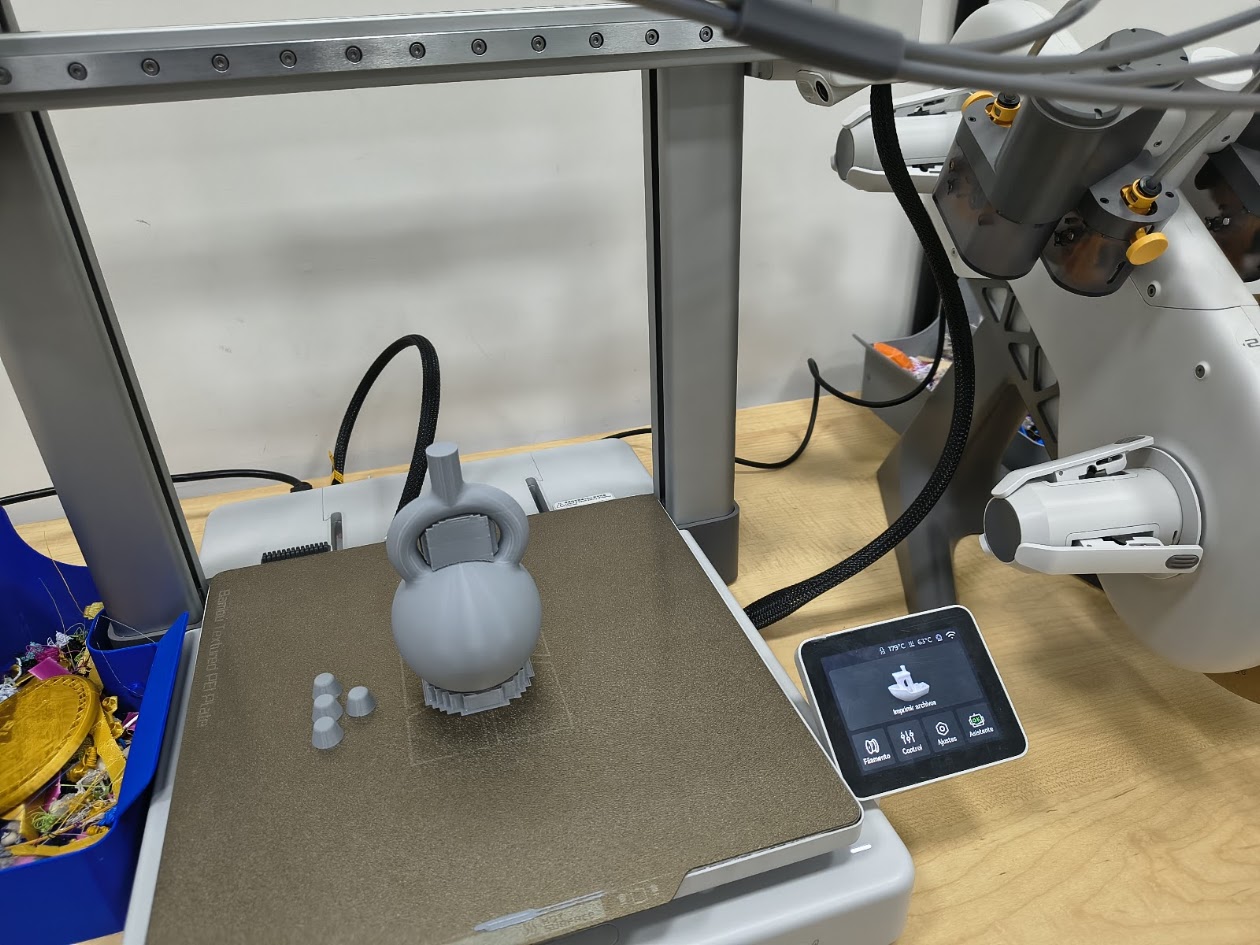
- File in Bambu Studio file - Huaco piece
- File in Bambu Studio file - Base
- File in Bambu Studio file - Accesories
- File in Rhino Mold 1 - part 1
- File in Rhino Mold 1 - part 2
- File in Rhino Mold 1 - part 3
- File in Rhino Mold 1 - part 4