Assignment requirements
Group assignment
- Complete your lab’s safety training
- Test runout, alignment, fixturing, speeds, feeds, materials and toolpaths for your machine
- Document your work to the group work page and reflect on your individual page what you learned
Individual assignment
- Make (design+mill+assemble) something big
Progress status
Safety training
Make something big
Upload .zip with source files.
1) Introduction
Push this course with limited time:
br- Complete this week asignment
- Find labs, materials, others
- Connect with experts
- Create a big product
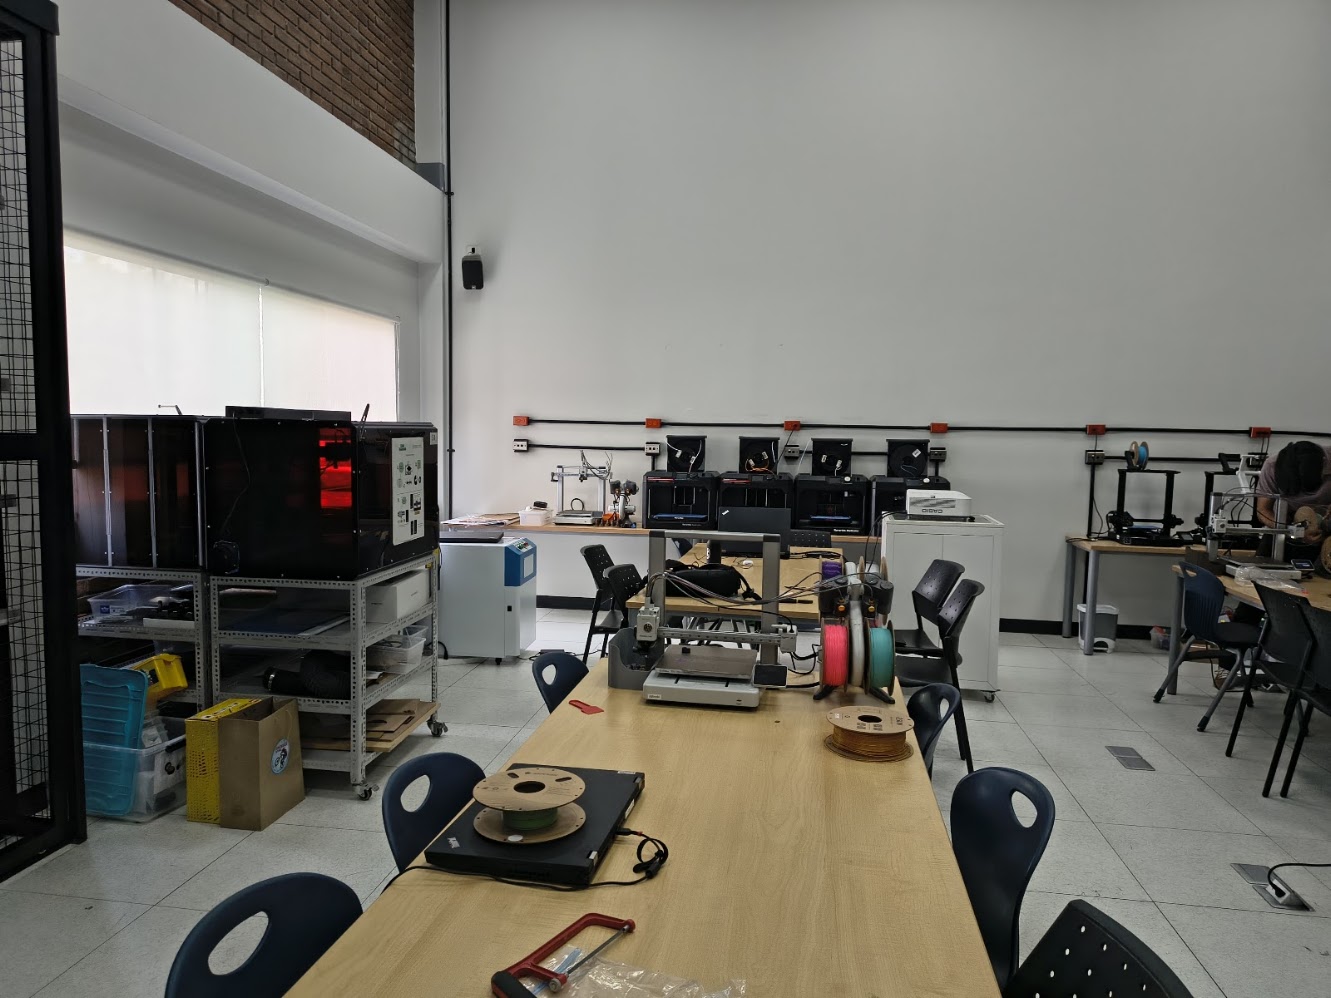
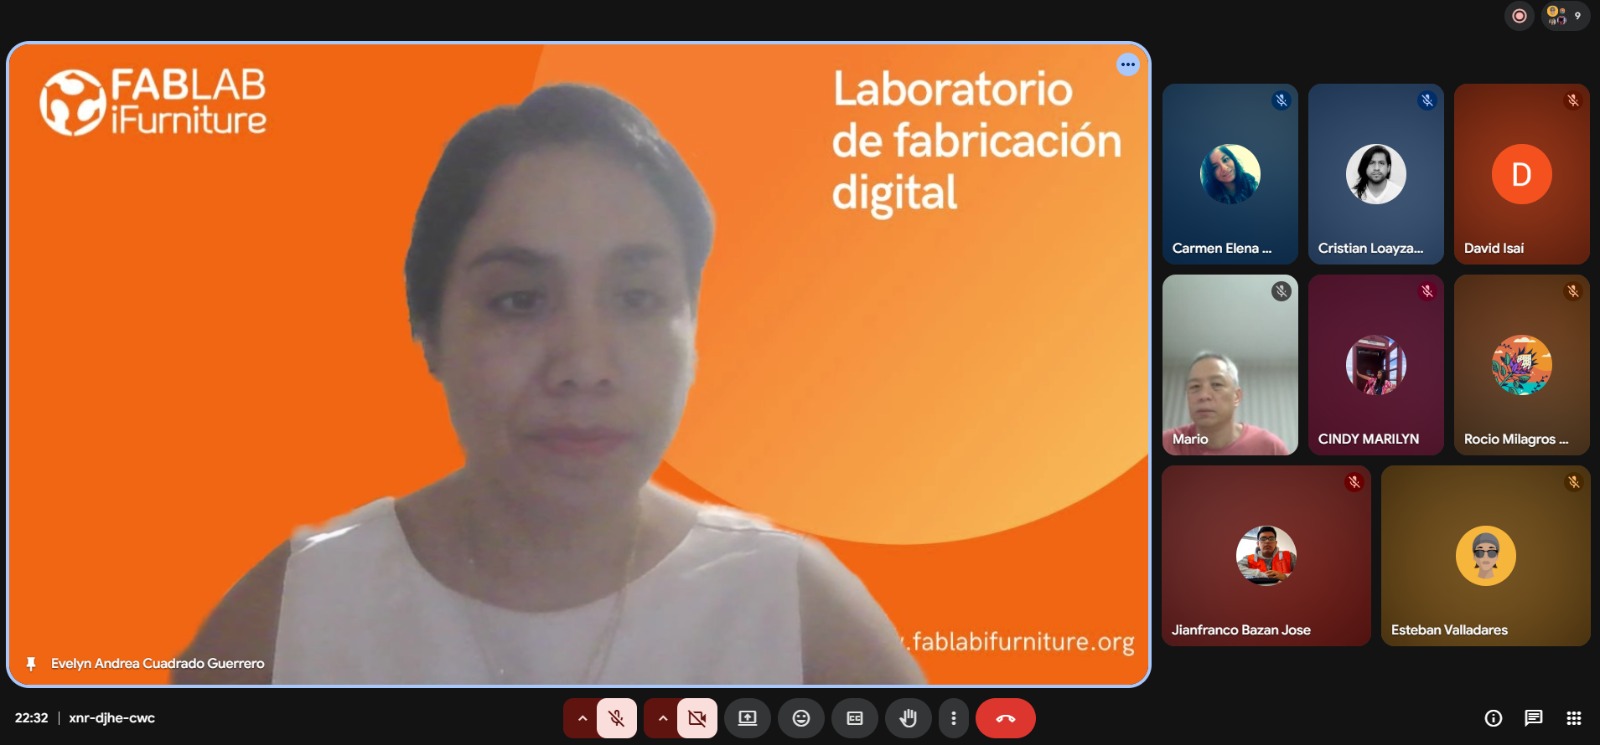
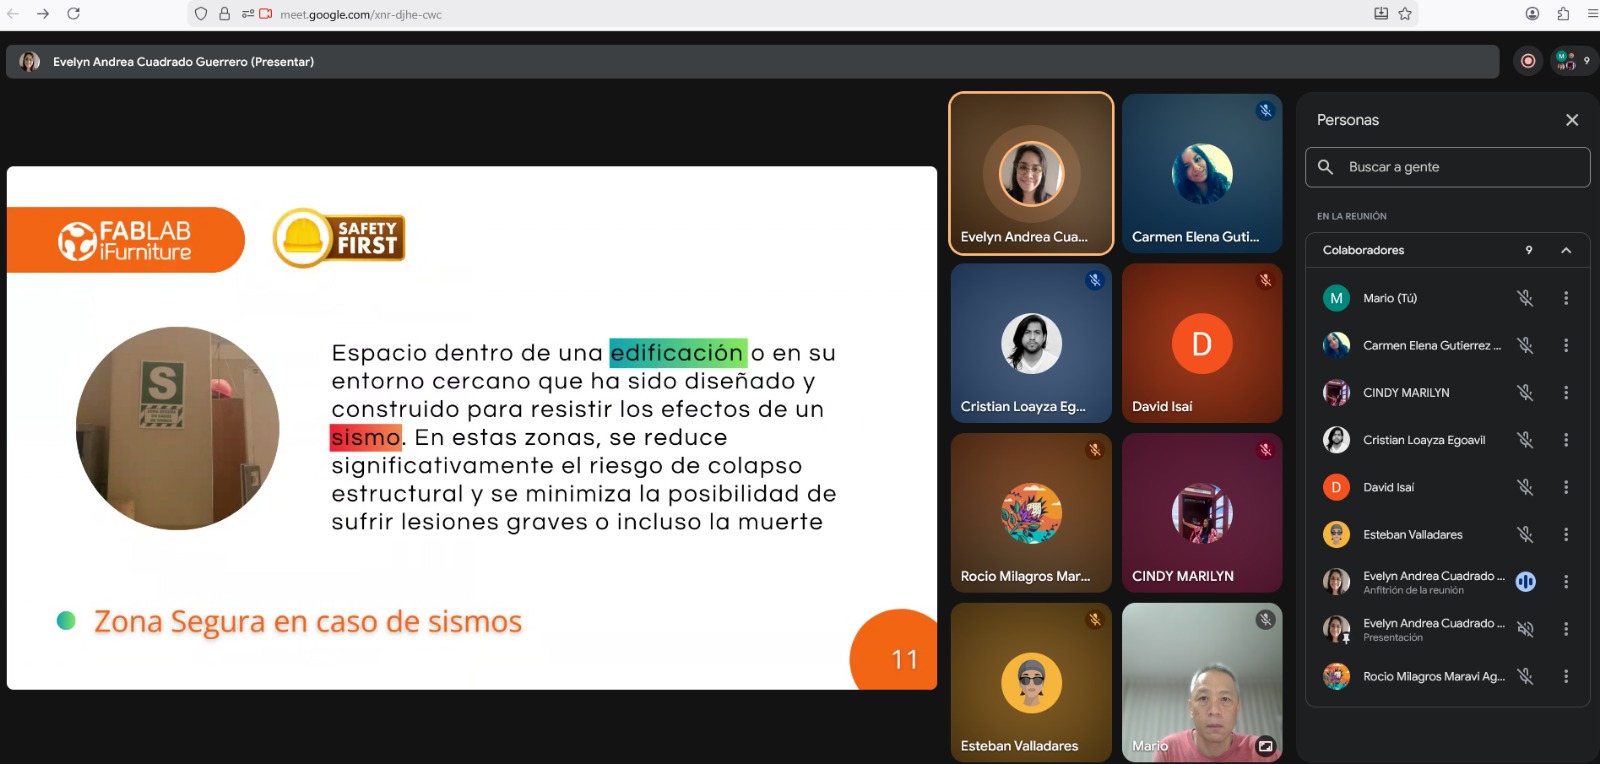
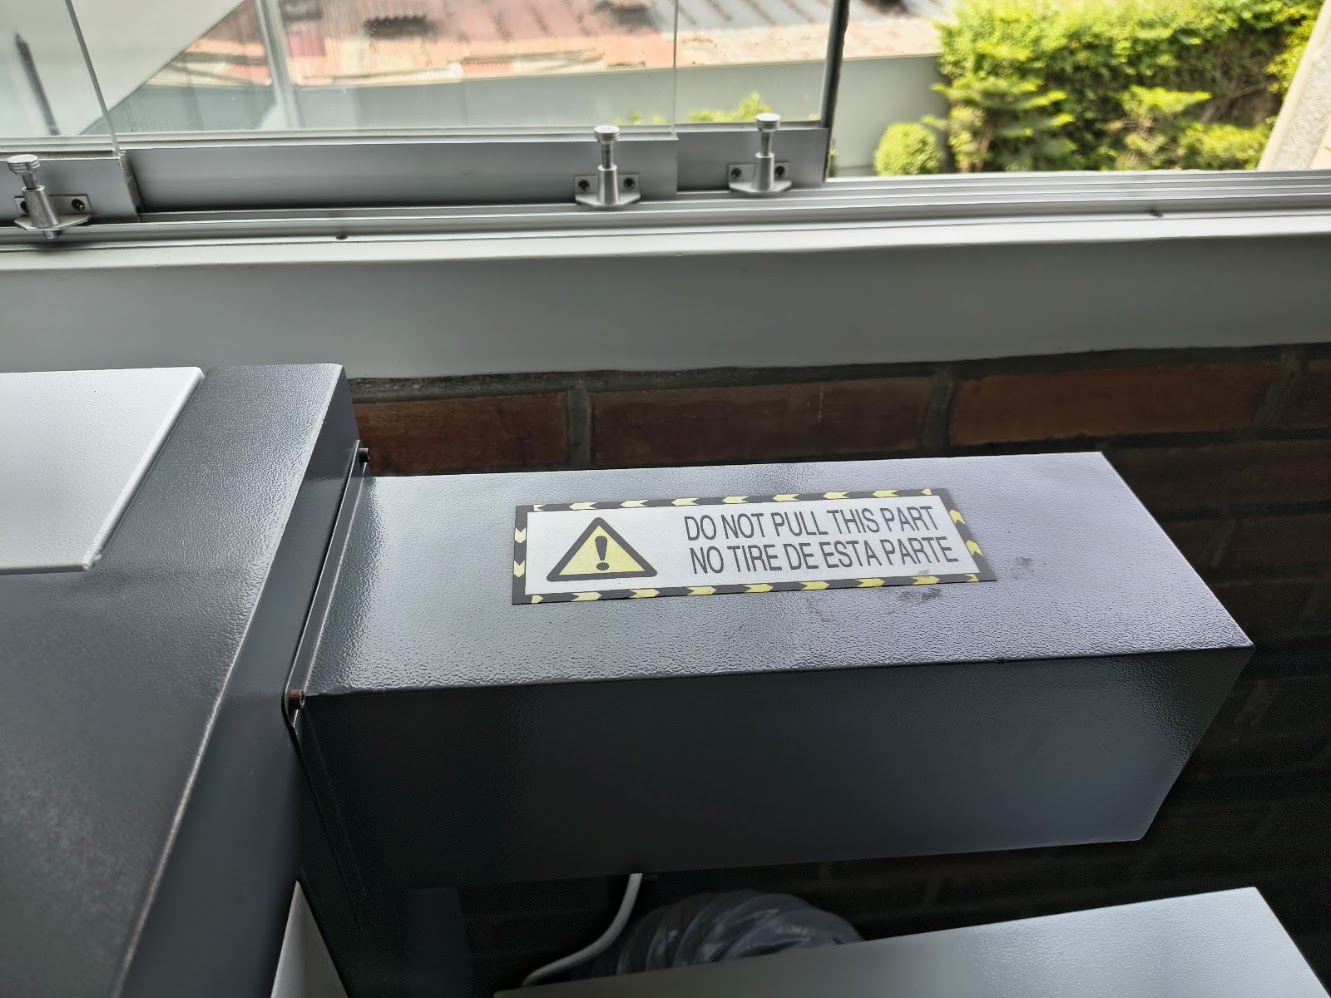
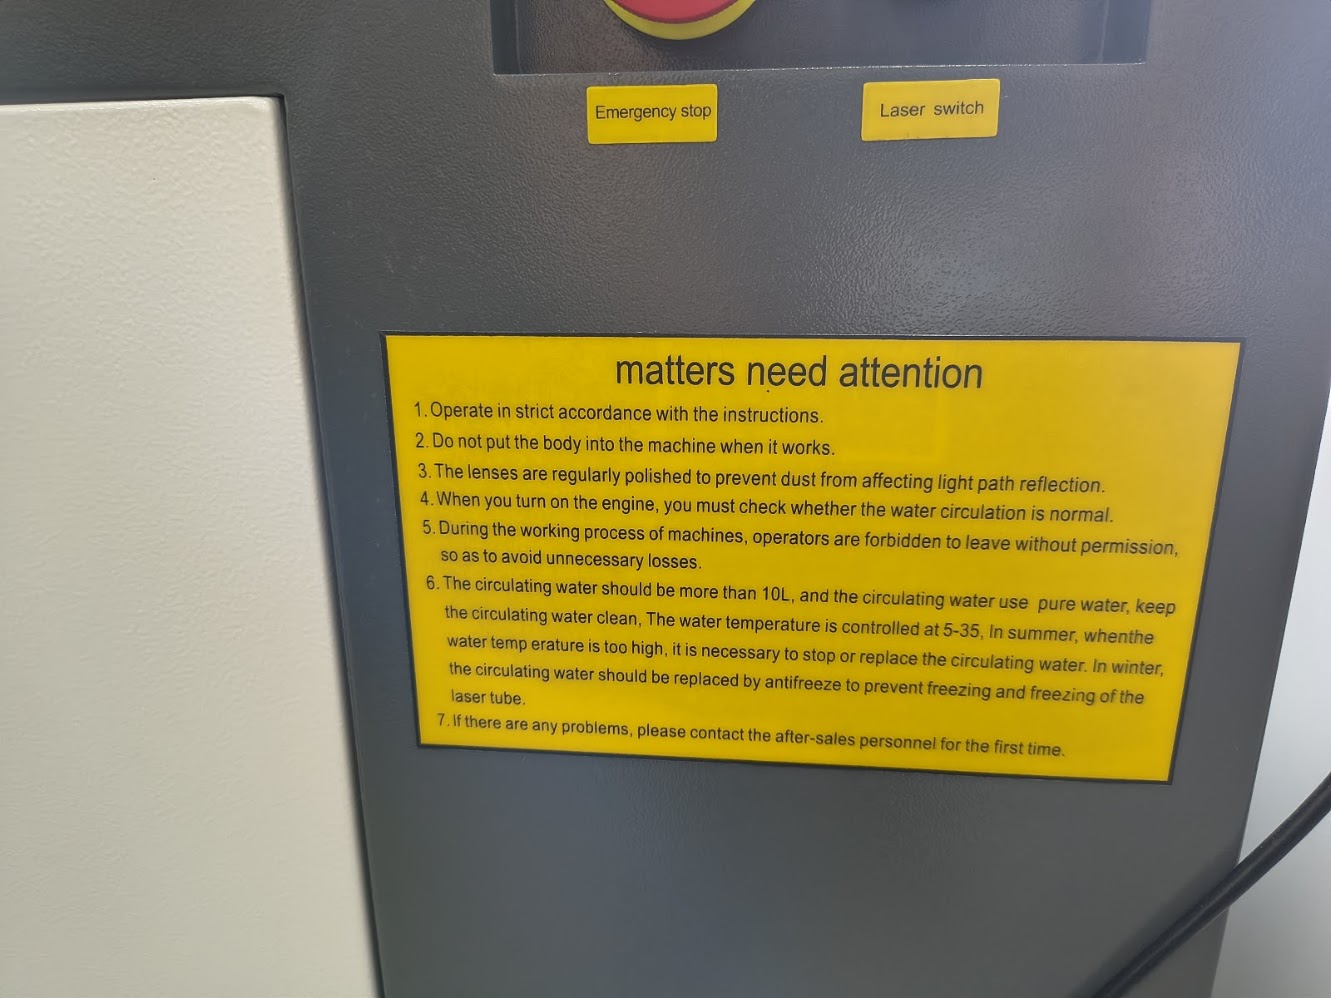
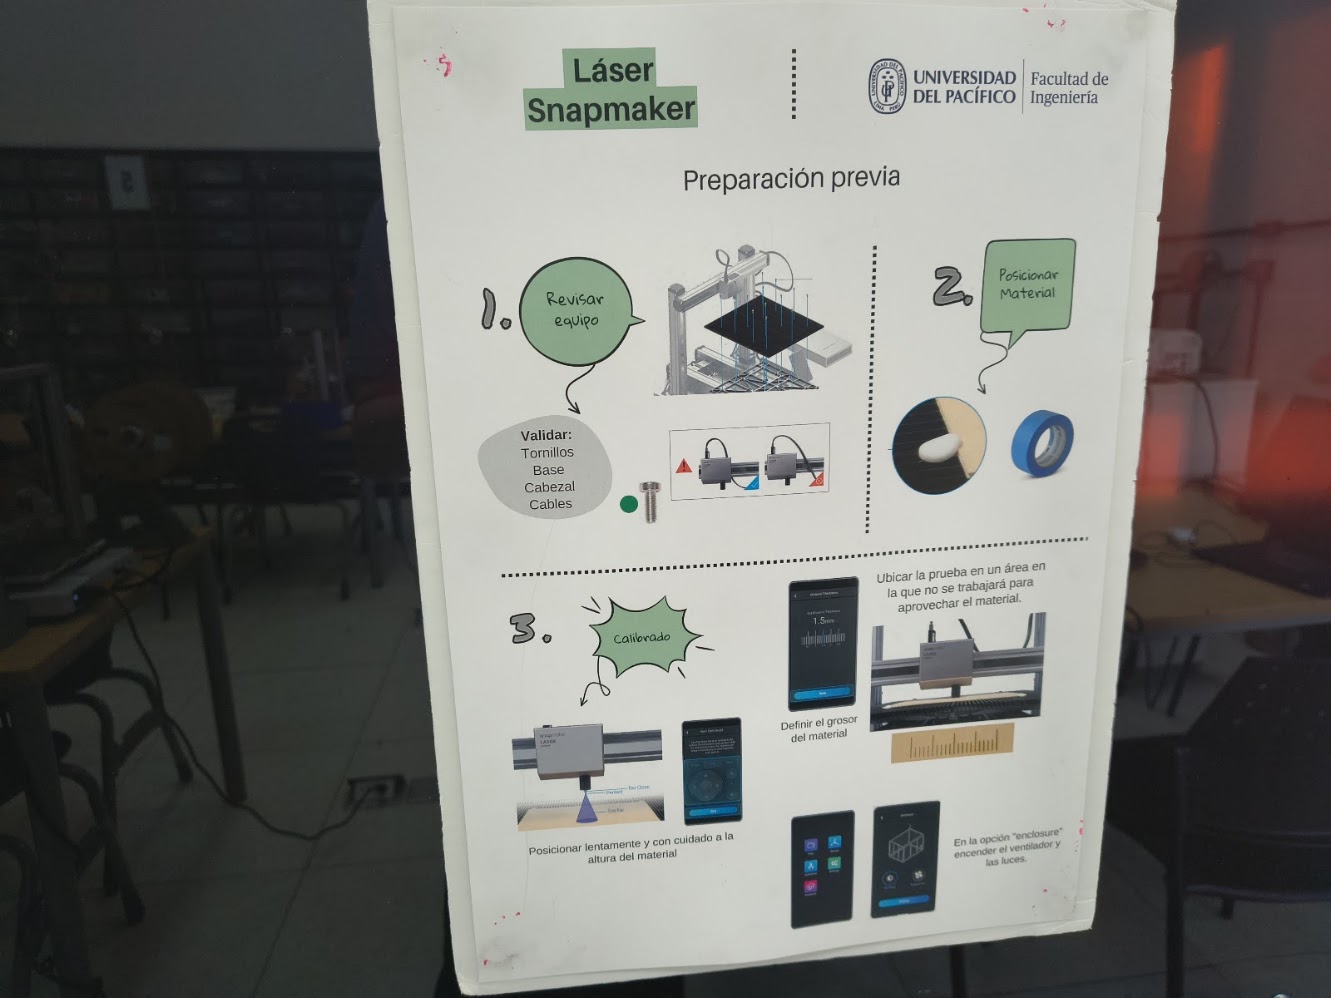
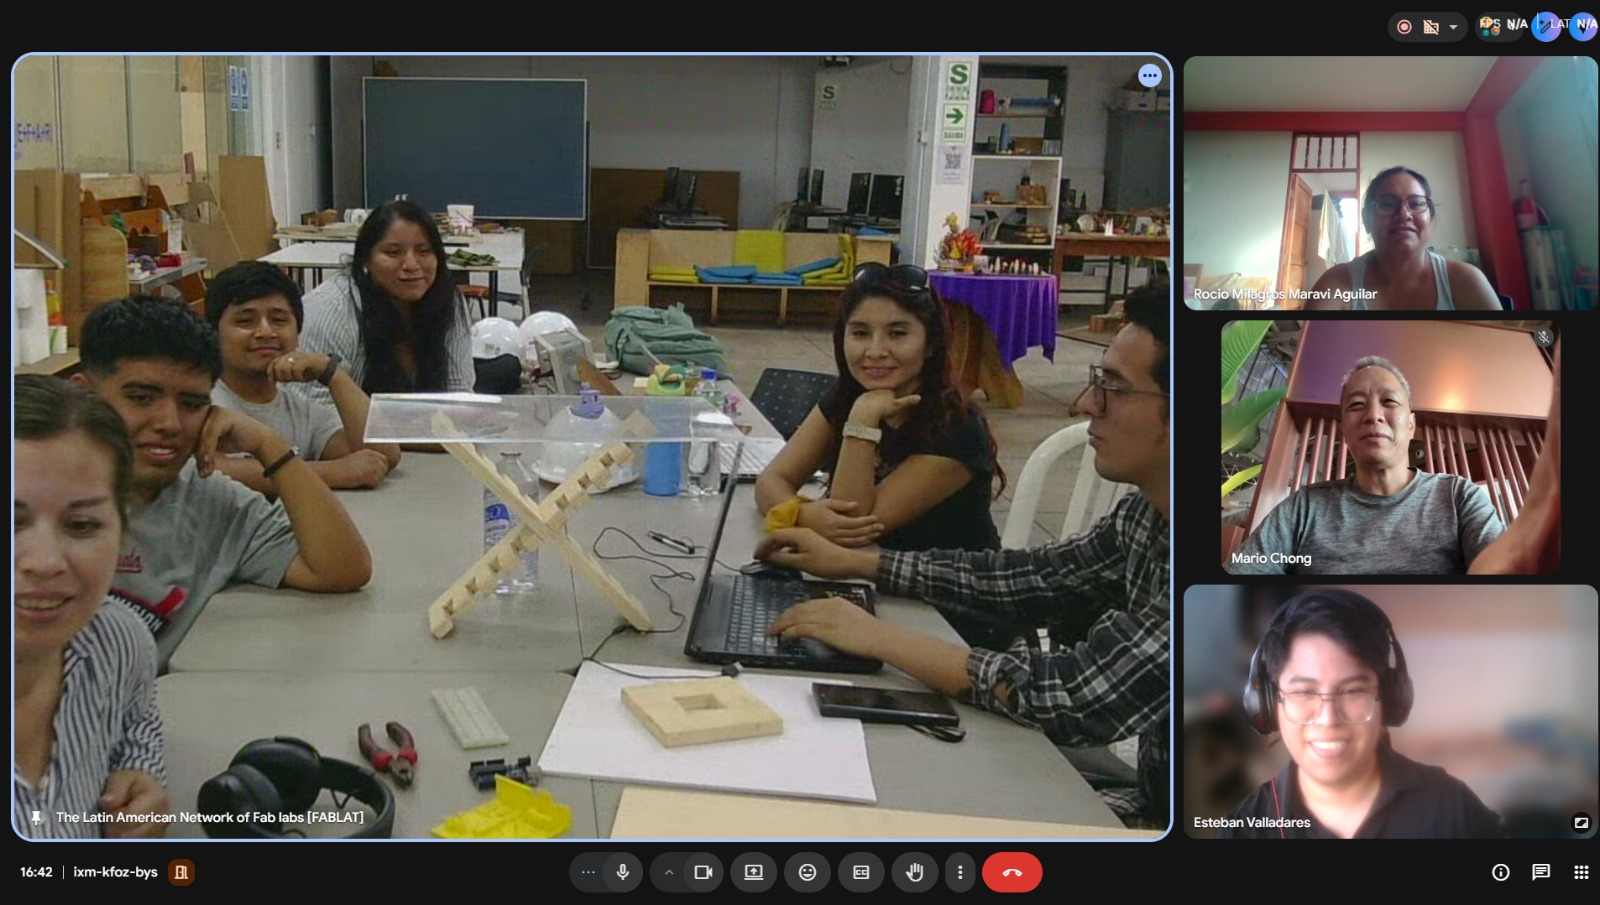
2) Safetly training at lab
For more details visit Fab Lab Peru - Group Assignment: https://fabacademy.org/2026/labs/lima/#page-top
For more details visit Fab Lab Peru Week 7 Group assignment
For more details visit Fab Lab Peru - Week 7 Group Assignment: https://fabacademy.org/2026/labs/lima/Weeks/Week7/Week7.html
Virtual training
- Lab structure
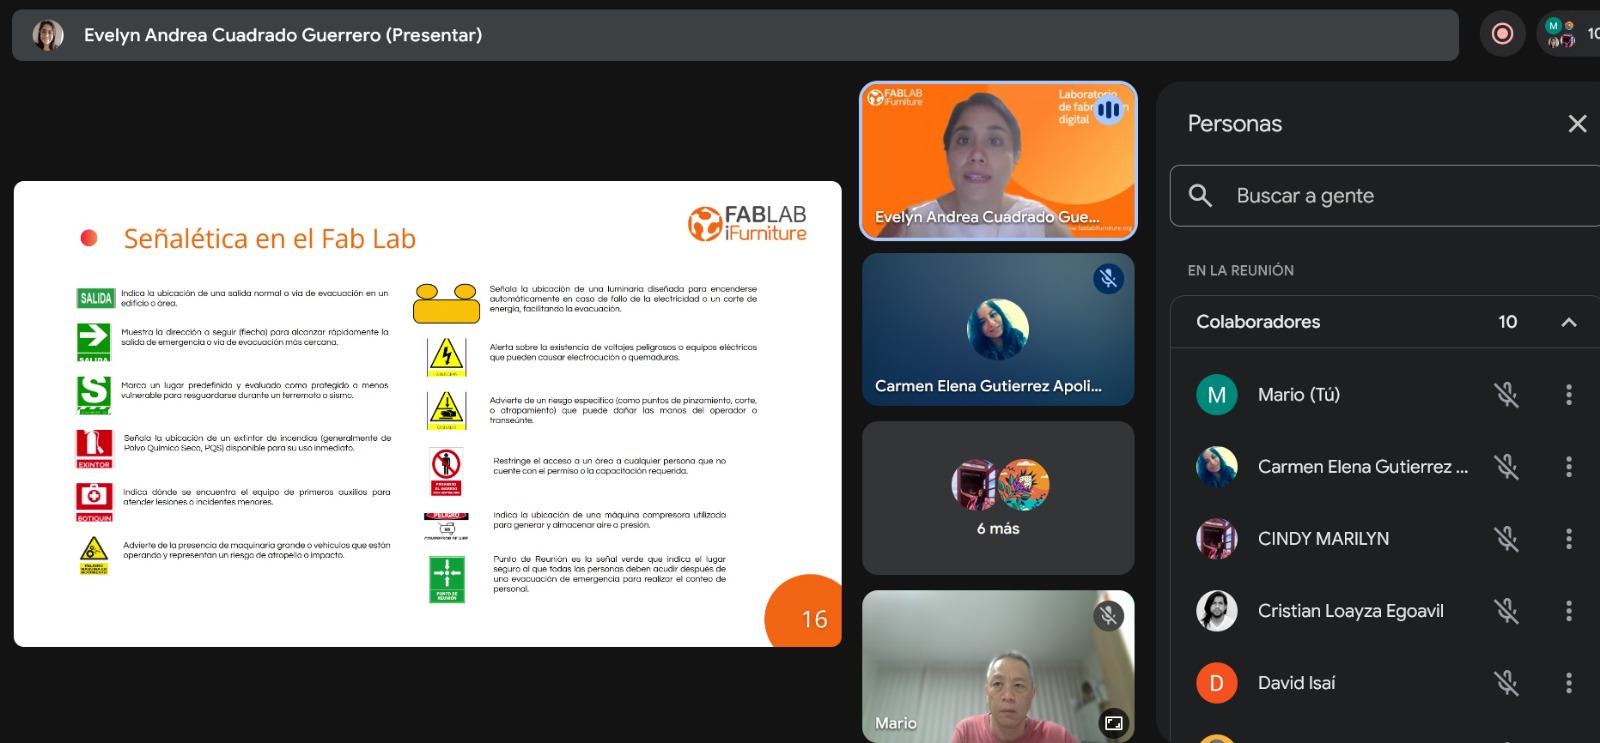
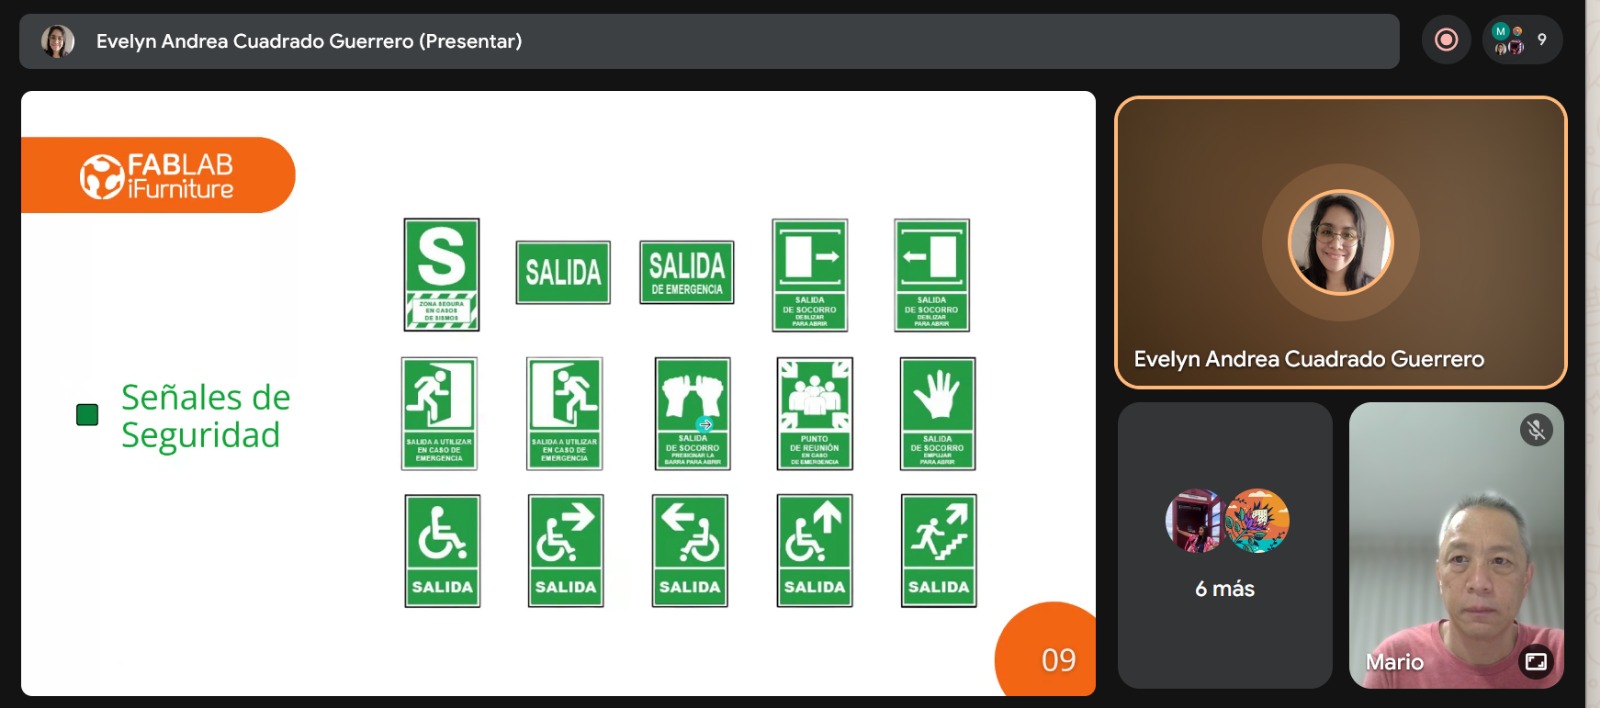
- Signs
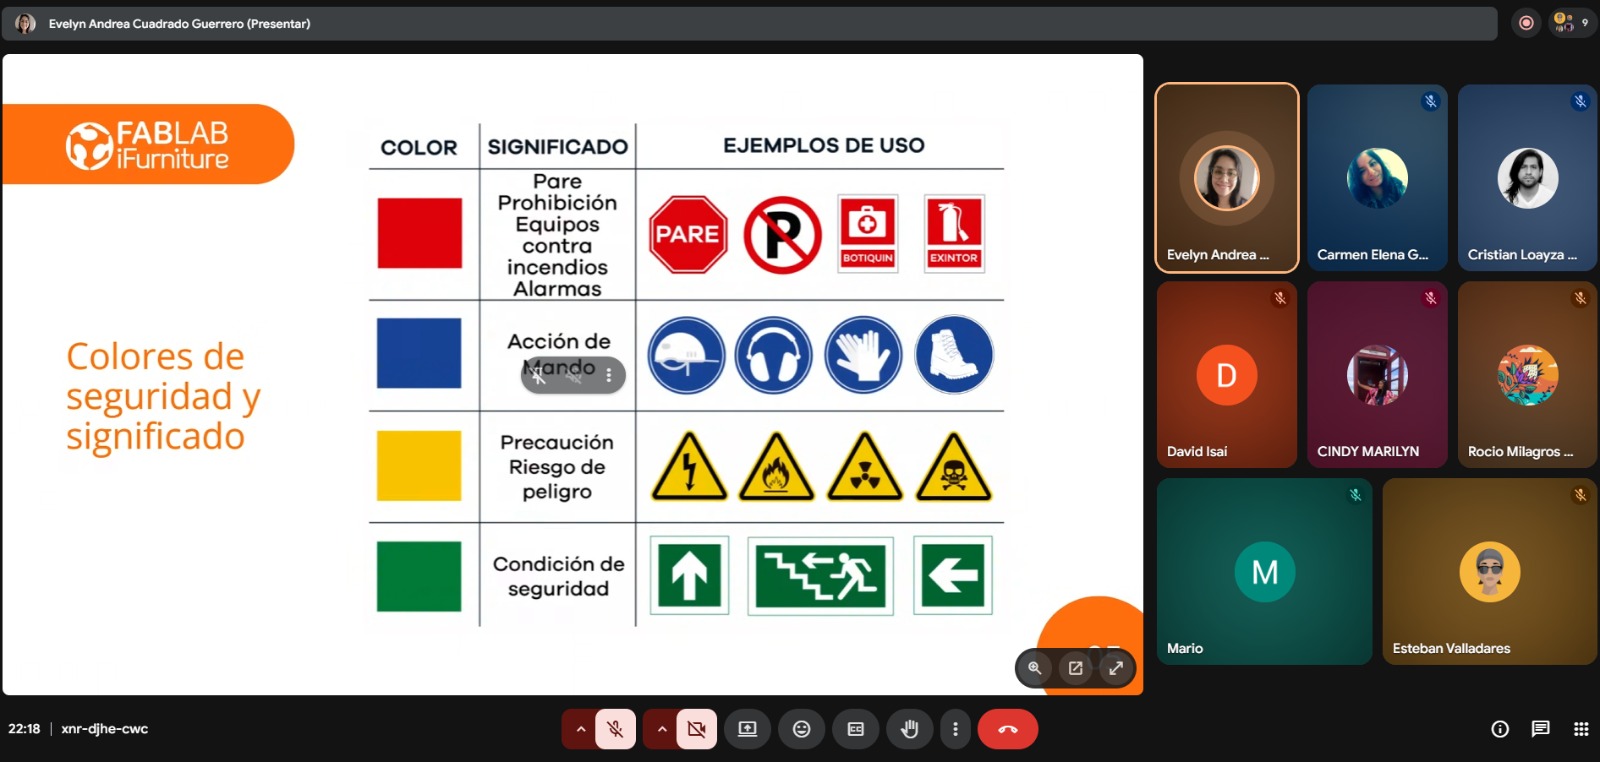
- Colors
Exploring my lab
- Lab structure
- Signs
- Warnings
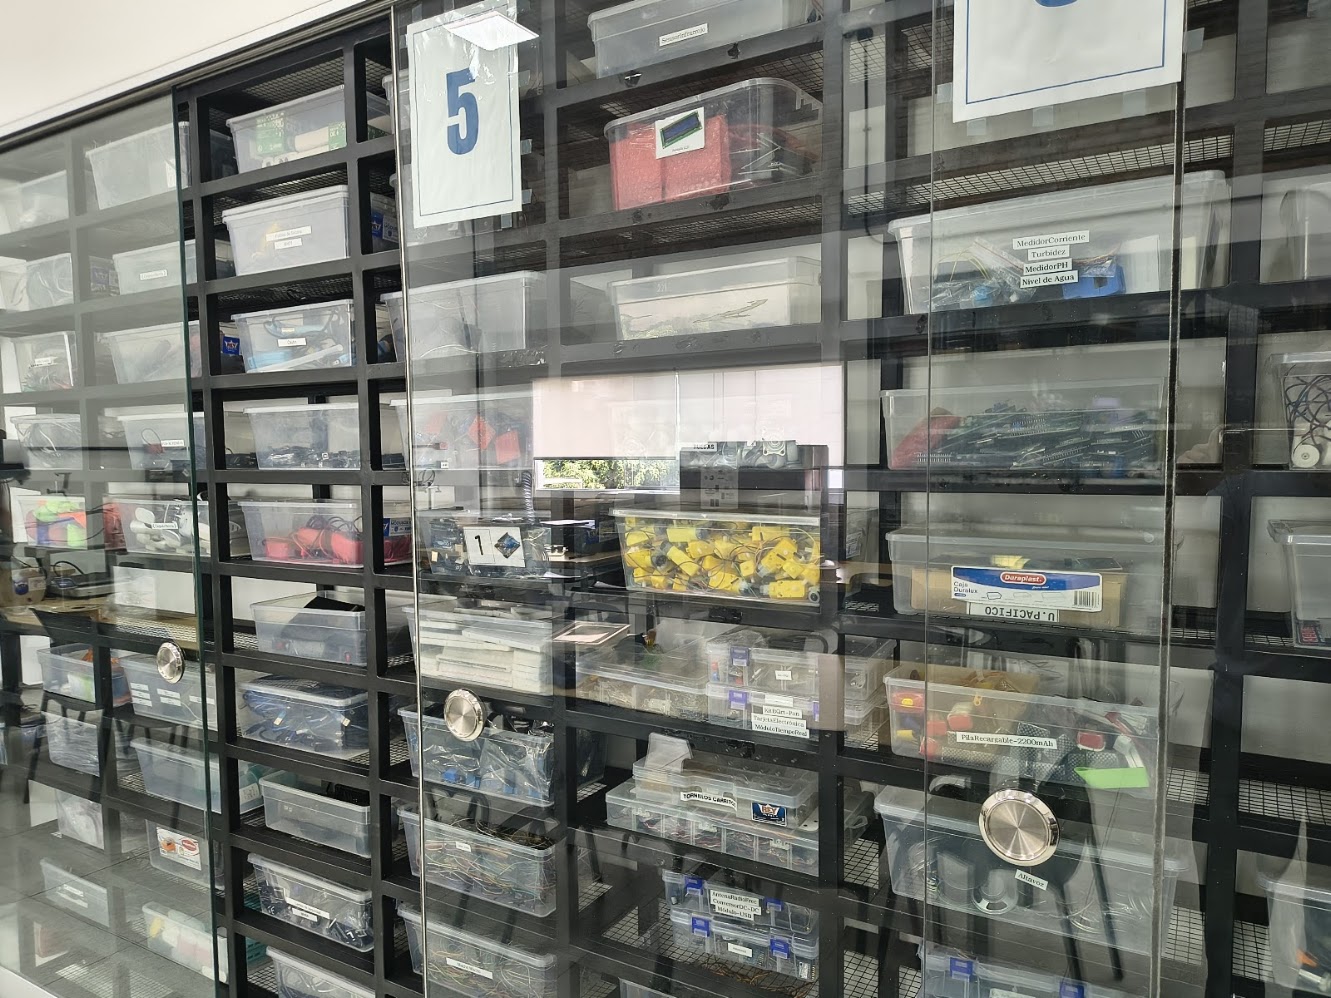
Hybrid exploring and application
- Lab structure
- Signs
- Warnings
3) Individual assigment
Project idea
Emphasis on project idea
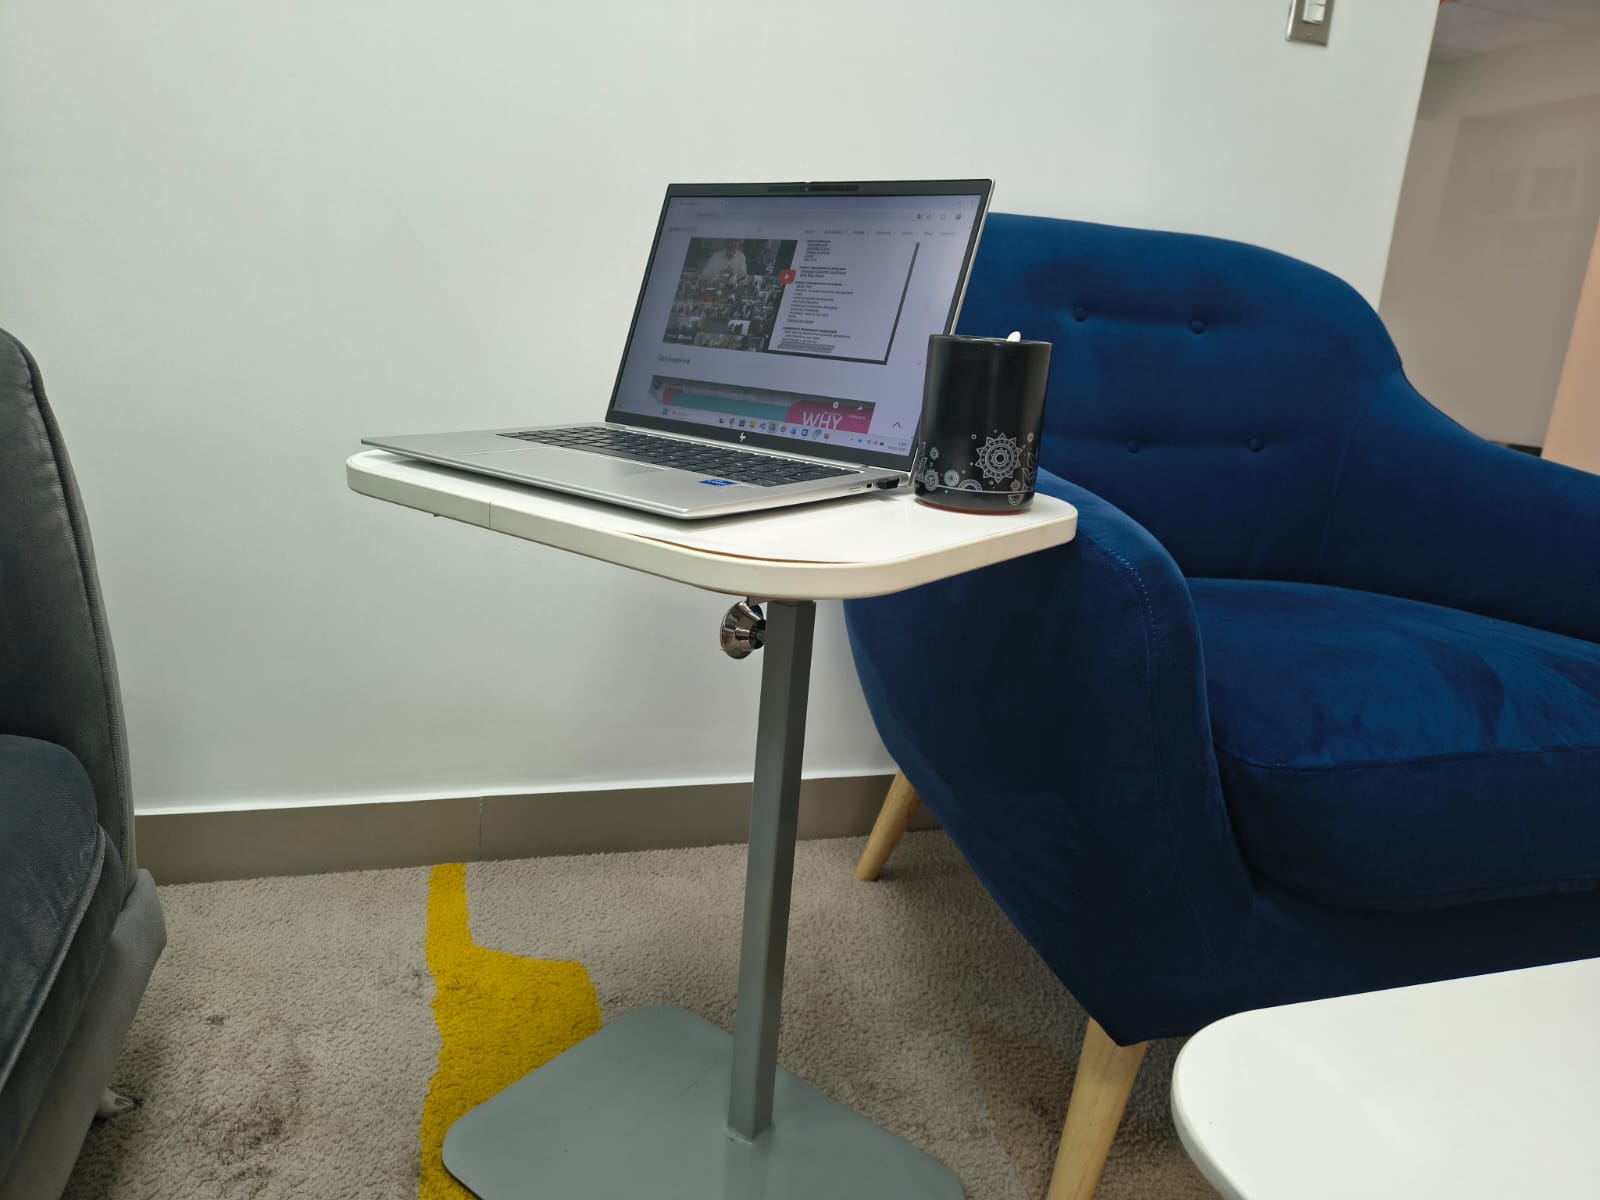
- Auxiliar desk
- Useful
- Align with the learning outcomes
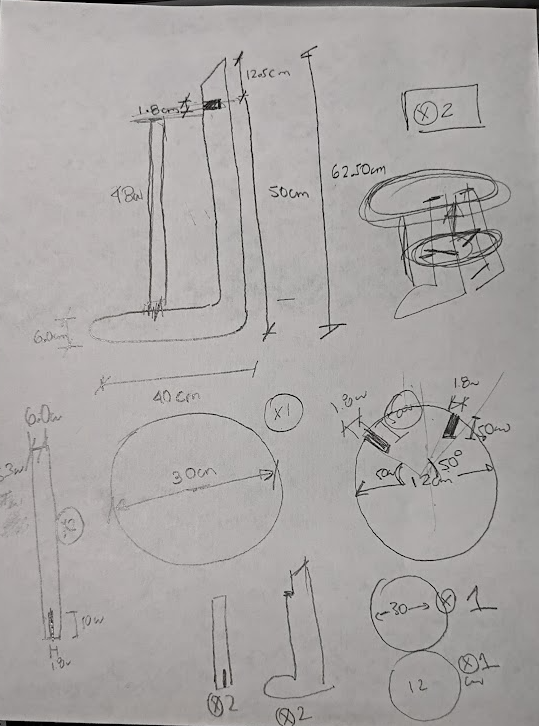
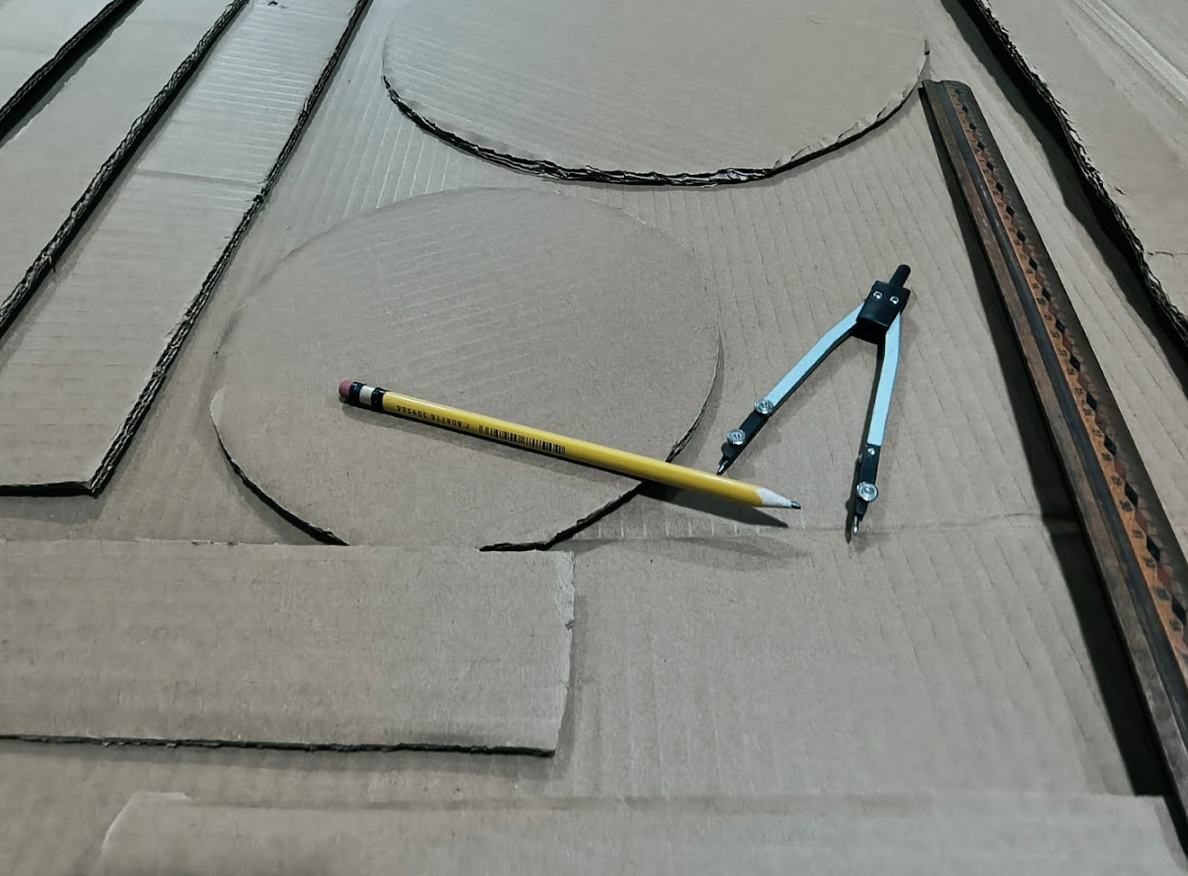
Sketch
- Auxiliary desk
- Dimensions
- Materials
Assigment development
- Design and produce a OSB board auxiliary desk, using a CNC machine
Dimensions
- Top: 30 cm diameter
- Height: 62.50 cm
- Depth: 40 cm
Parts
- Top: 01 circle, 30 cm diameter, two nochs 50° and 230°
- Leg: 02 L Legs, 62,50 cm long, with a noch at 50 cm
- Support leg: 02 support, 38 cm long
- Support: 01 circle support, 12 cm diameter, two nochs 50° and 230°
Define the product
- We used onhand materials
- We wanted to view the protoype, views and dimensions
- We focused on form, measure and functionality
- Dimensions double check
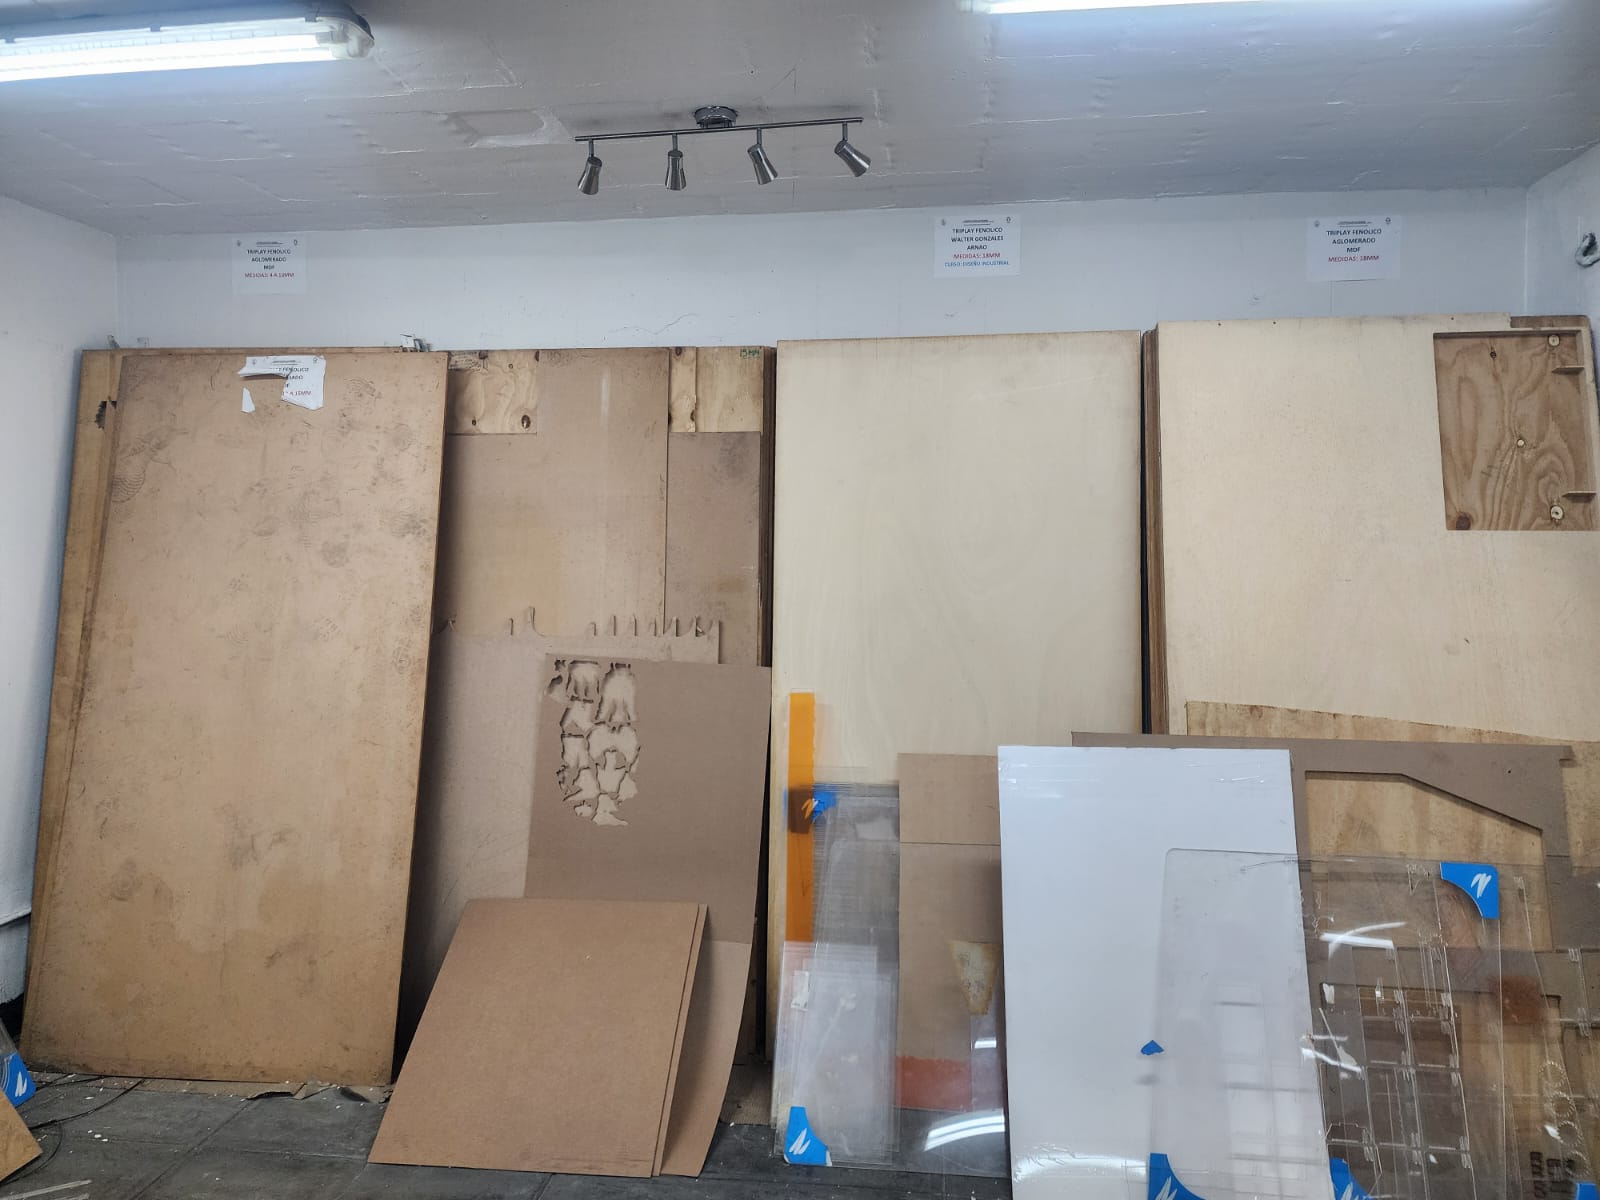
Materials
- Cardboard
- Jigsaw
- Pencil
- Ruler, compass
- Compass
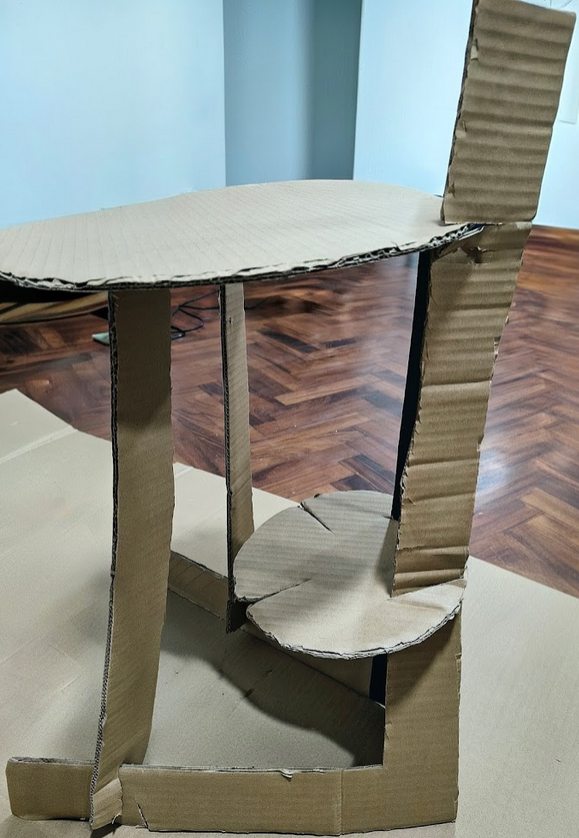
Working on raw materials at homecenter
Define the materials for prototyping
- Evalue materials: MDF, OSB, Triplay and others boards. Thickness: 12, 15, 18 mm
- Coordinte cutting service: board dimensions. Considering the CNC machine
- We visited a homecenter for ideas
- Consider limited time
- Money constraint :) :) :) :)
- Transportation
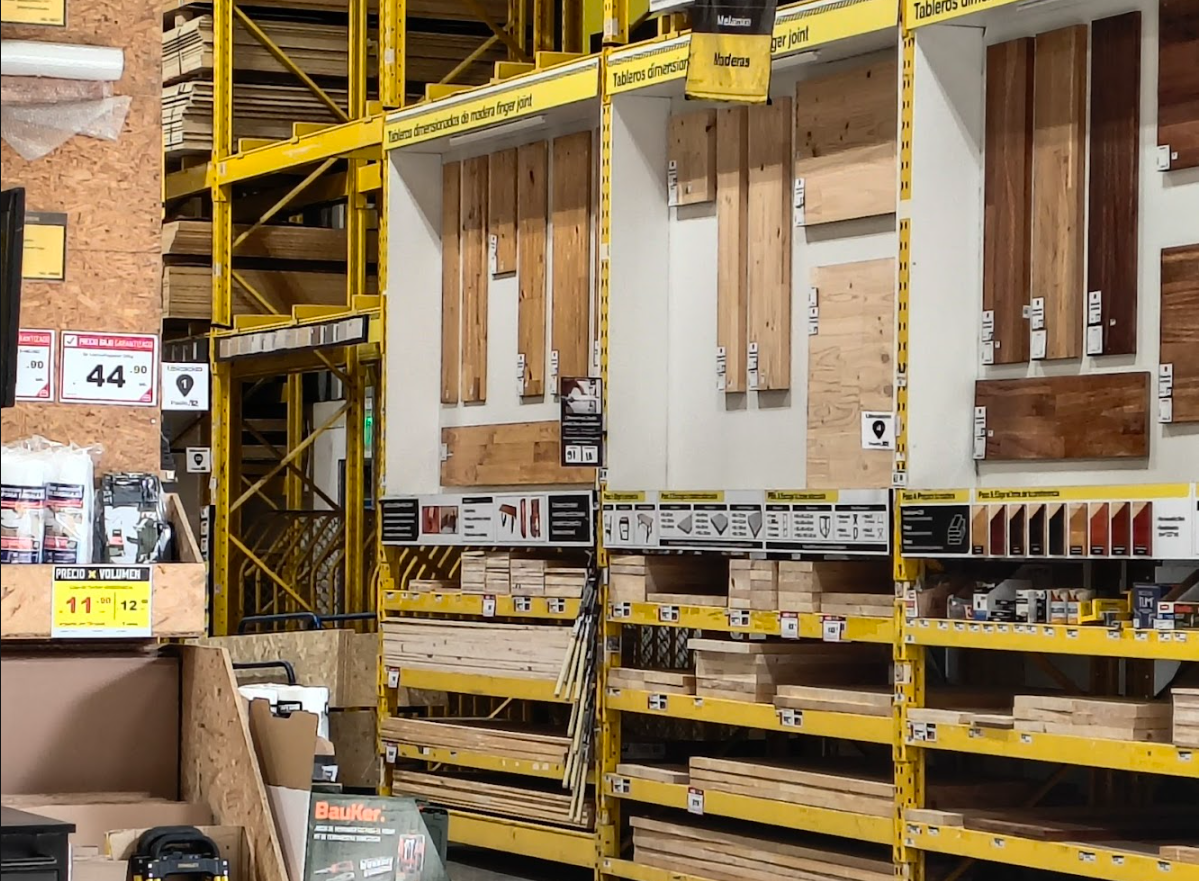
Homecenter visit: we evaluated different materials, considering the price, dimensions, thickness and others
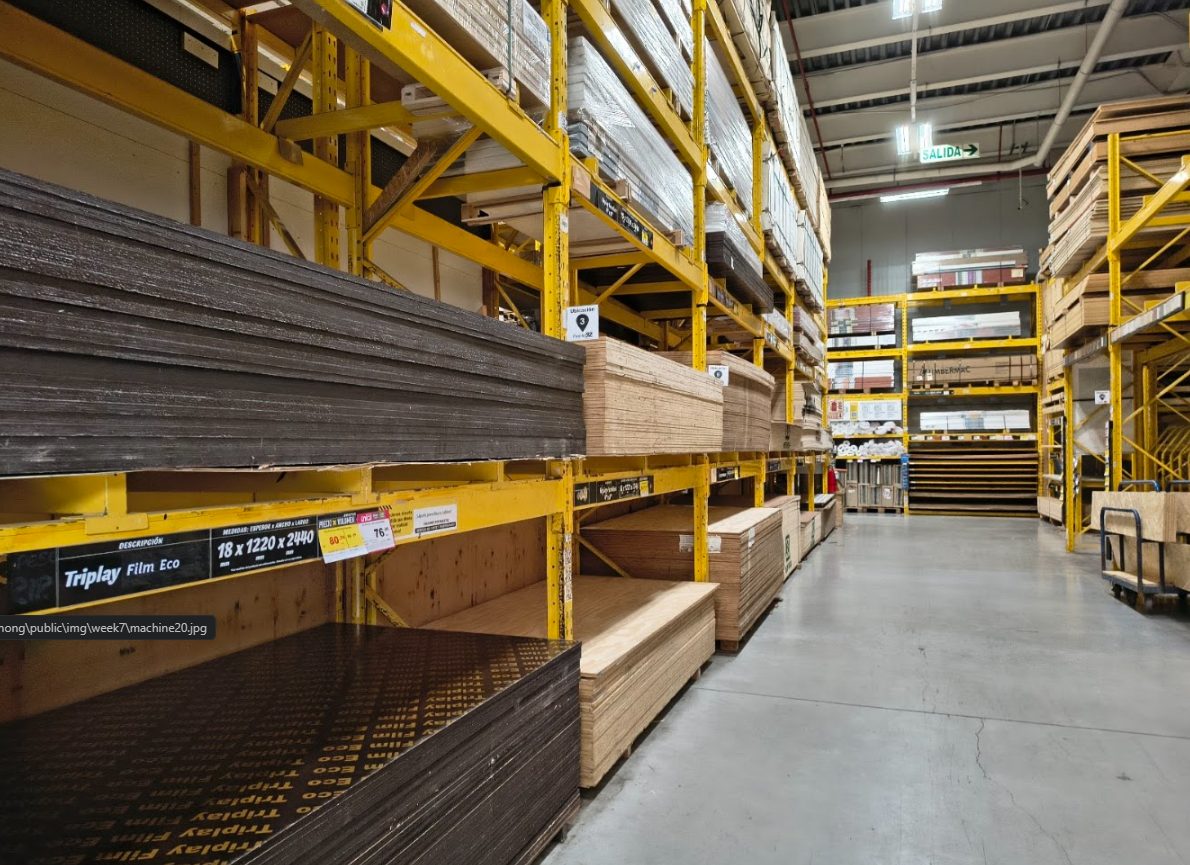
Different materials: MDF, OSB, Triplay and others boards. Thickness: 12, 15, 18 mm
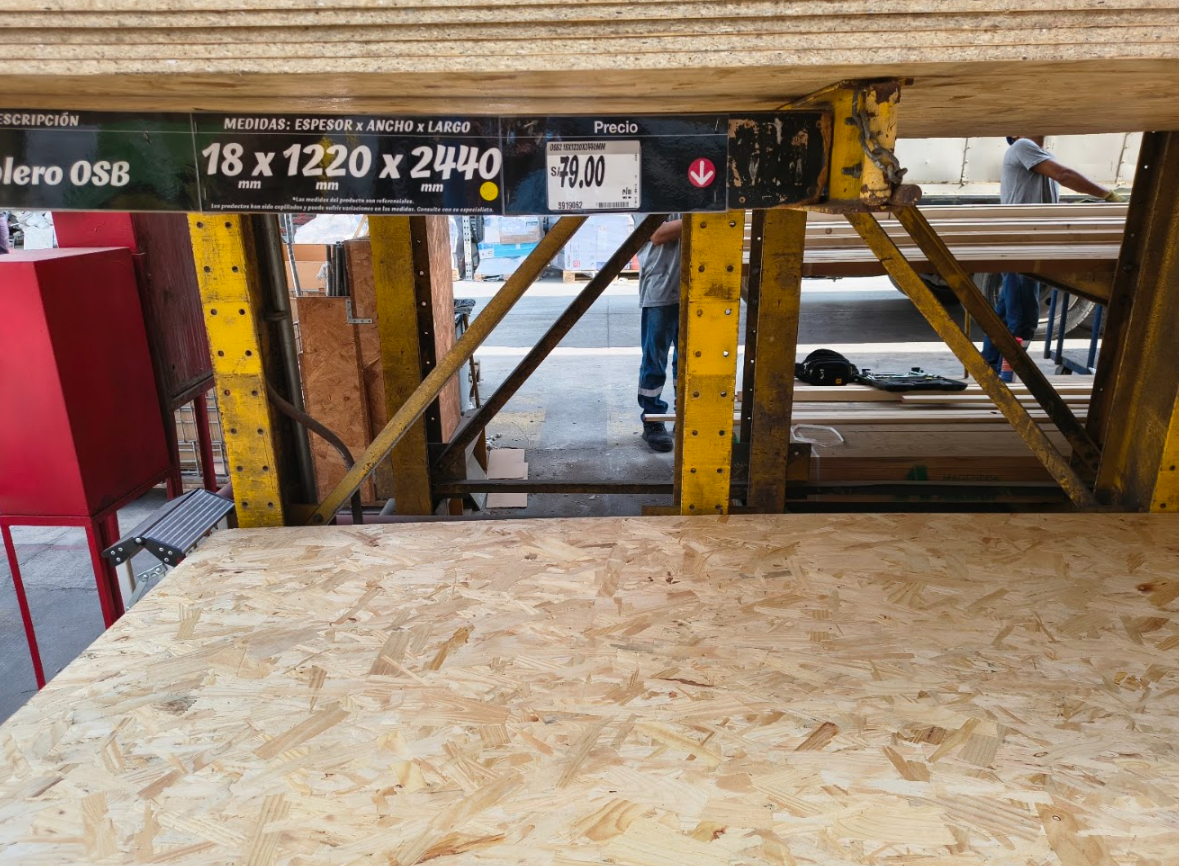
OSB board, 18 mm thickness, 244 cm x 122 cm dimensions, tolerance: ±0.3 mm, define angular and flatness tolerance
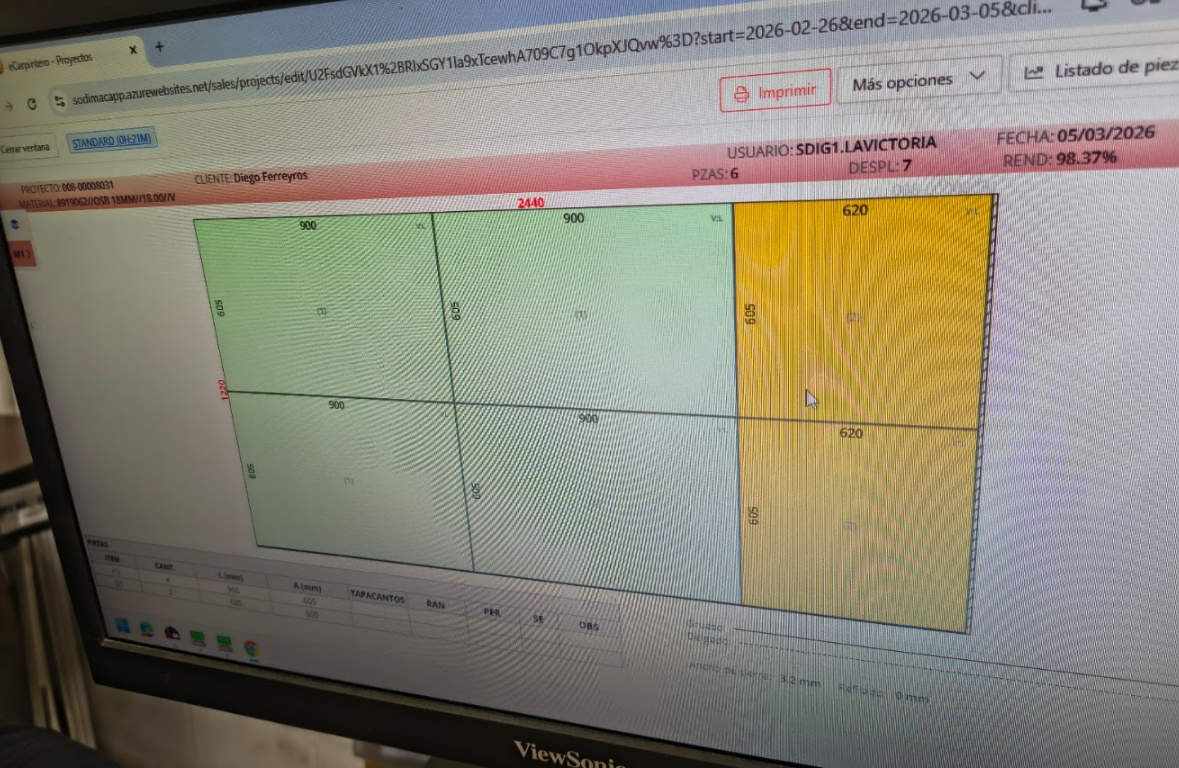
Cutting OSB board, considering the dimensions of the board, the cutting area of the CNC machine and the dimensions of the parts.
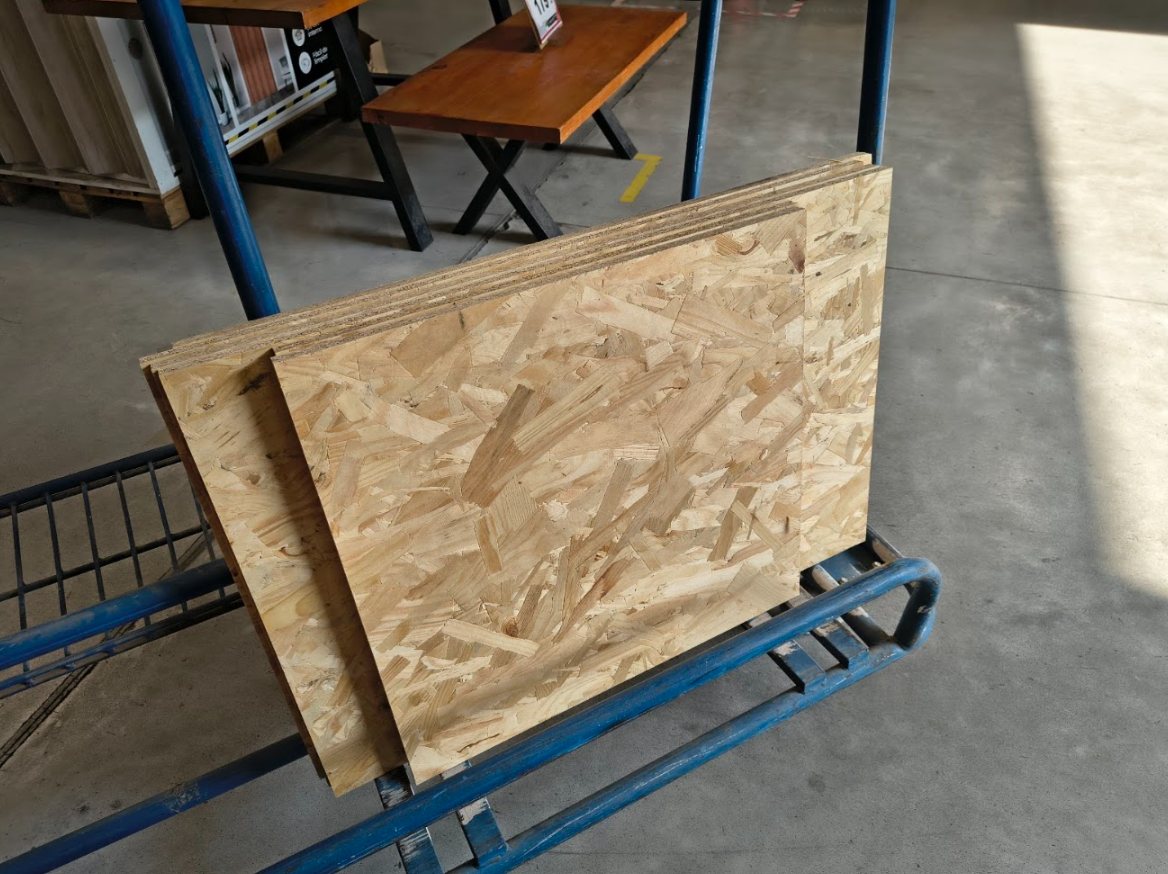
Final pieces, ready for CNC machining, considering the dimensions of the board, the cutting area of the CNC machine and the dimensions of the parts
Working on design
Digital product design
- Design - Digital model in Rhinoceros 8
- Define desk geometry was defined, considering the prototype and assembly logic
- Measurement - Adjusting considering a 18 mm OSB board
- Preparation - Cutting and assembling the parts with Autodesk Fusion 360
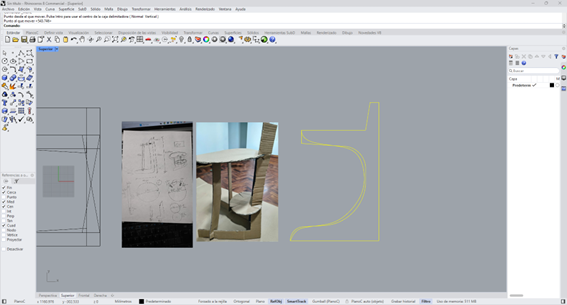
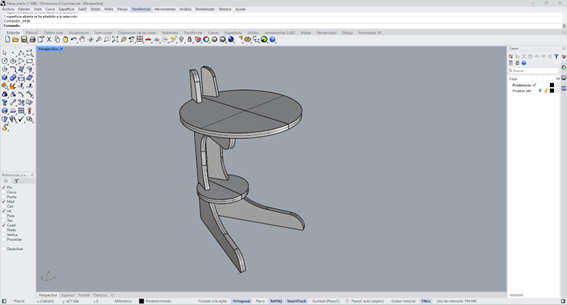
Rhinoceros 8 screenshot. Product idea evolution: sketch, cardboard prototype and digital model
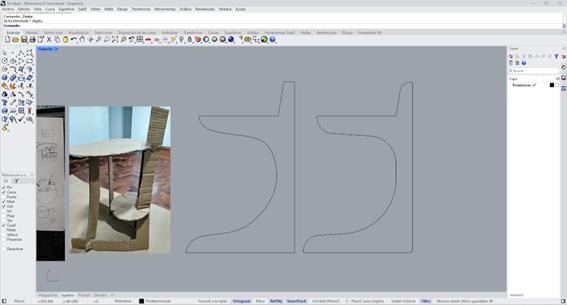
Rhinoceros 8 screen: Leg: 02 L Legs, 62,50 cm long, with a noch at 50 cm and the protoype processed.
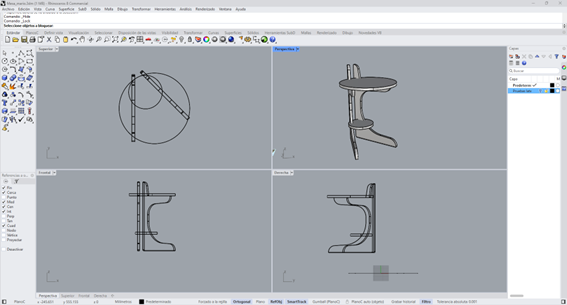
Rhinoceros 8 screen: auxiliar desk in different views
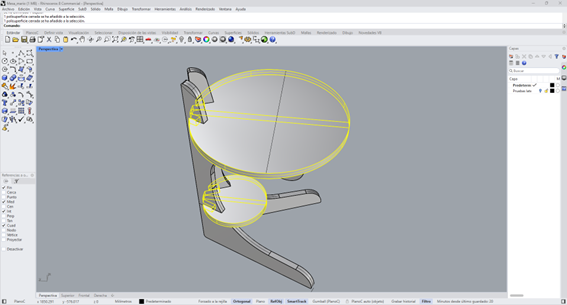
Rhinoceros 8 screen: top and support circle
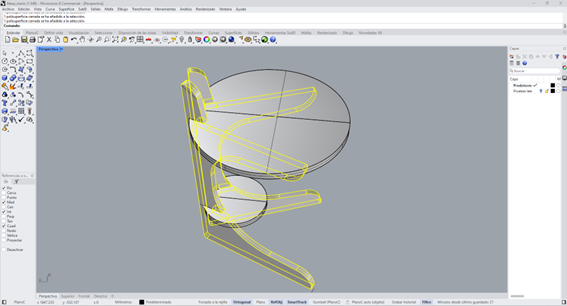
Rhinoceros 8 screen: Leg: 02 L Legs, top and support circles.
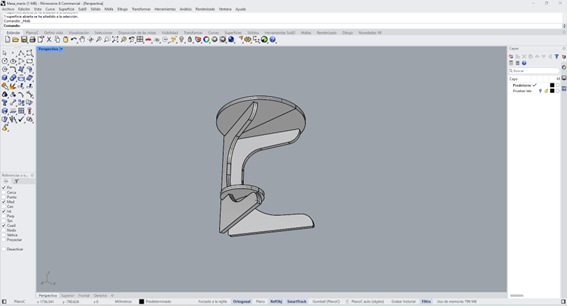
Rhinoceros 8 screen, auxiliar desk back view
Rhinoceros 8 screen, auxiliar desk top view
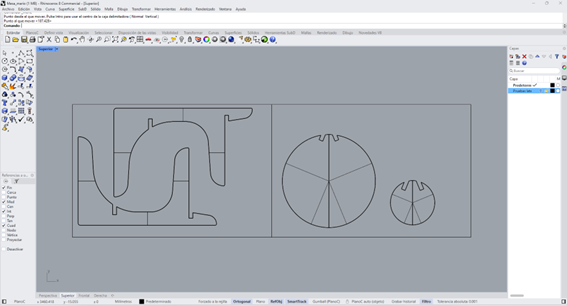
Auxiliar desk parts, on two boards, considering the cutting area and features of the CNC machine.
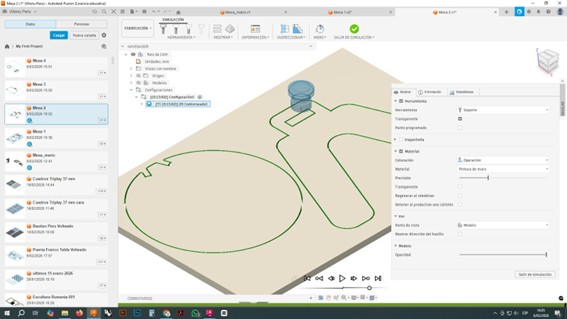
CAM Programming for CNC
Manufacture workspace
- Prepare the CNC machine process
- Define: material, system selection, origin position, tool selection, toolpath generation, cut simulation, CNC export code
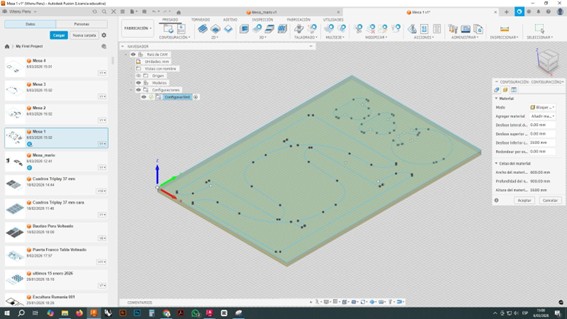
Material setting: OSB board, 18 mm thickness, 244 cm x 122 cm dimensions, tolerance: ±0.3 mm, define angular and flatness tolerance
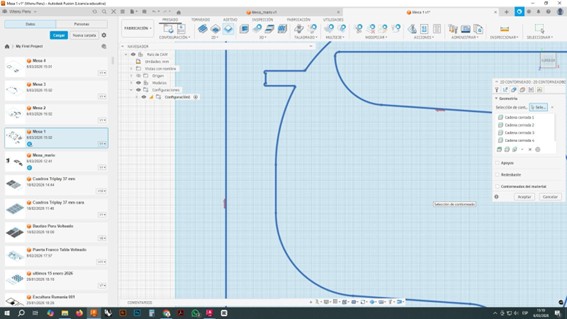
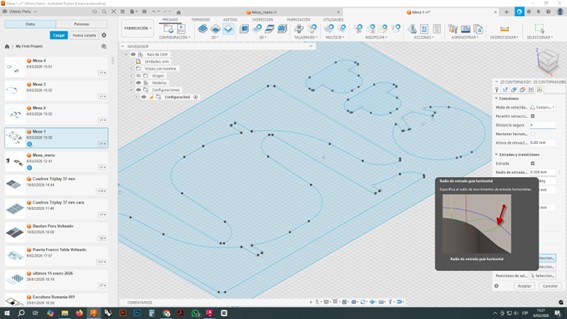
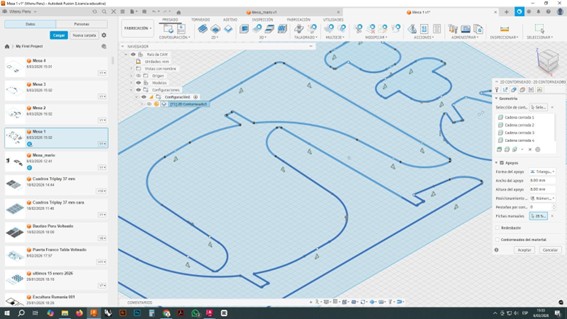
Route: The toolpath was generated by following edges of each contour, and different parameters. Area clearance: 6 mm, step over: 3 mm, depth per pass: 6 mm, feed
Height and connections: Z Axes settings: tolerance 1 mm
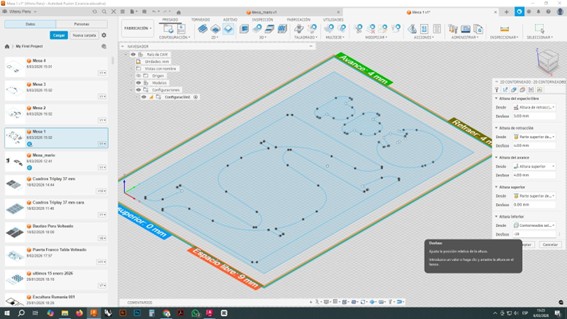
Parameters: Gap 4 mm, free space: 9 mm, advance: 4 mm, back 4mm for the top and support circle, 2 tabs for the legs and support legs.
Parameters quality, tolerance 1 mm for the top and support circle, 2 tabs for the legs and support legs.
Parameters quality, tolerance 1 mm for the top and support circle, 2 tabs for the legs and support legs.
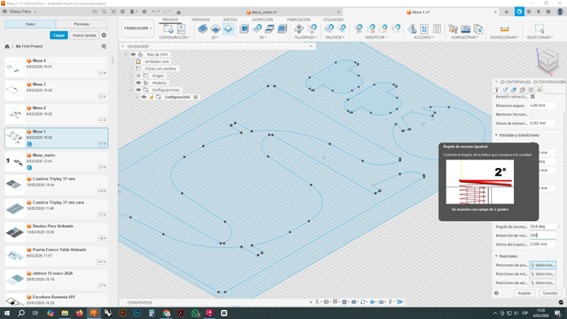
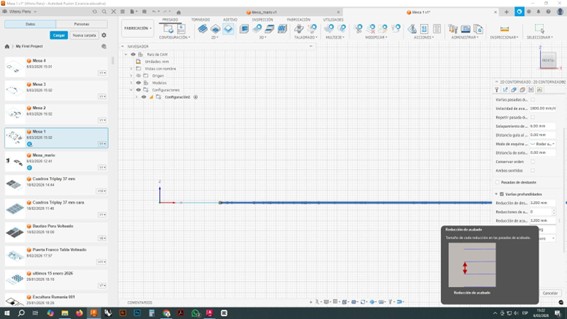
Parameters: cutting depth 6 mm and angle 2°
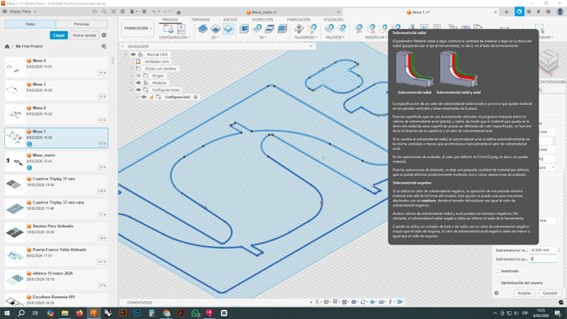
CNC simulation: the toolpath was simulated to check the process, and adjust parameters if necessary.
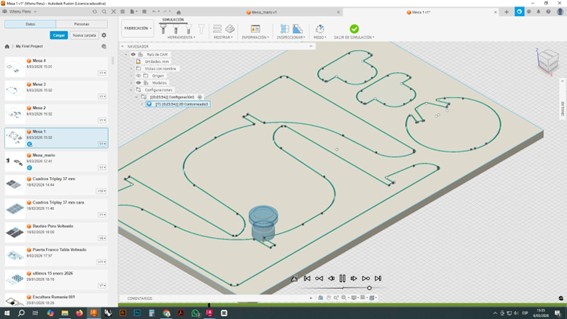
CNC simulation: the toolpath was simulated to check the process, and adjust parameters if necessary.
CNC simulation with different projects: the toolpath was simulated to check the process, and adjust parameters if necessary.
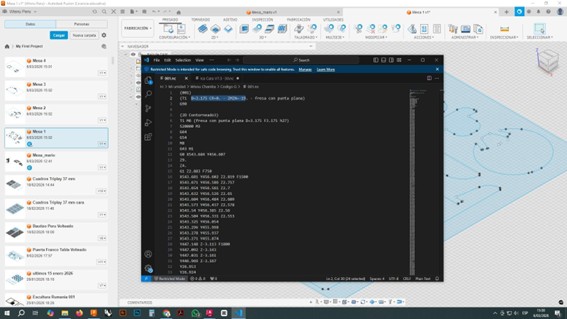
Exporting CNC code: the CNC code was exported to be used in the CNC machine, and cut the parts of the auxiliar desk.
CNC monitor with all the paremeters and settings for the cutting process, and the CNC code to cut the parts of the auxiliar desk.
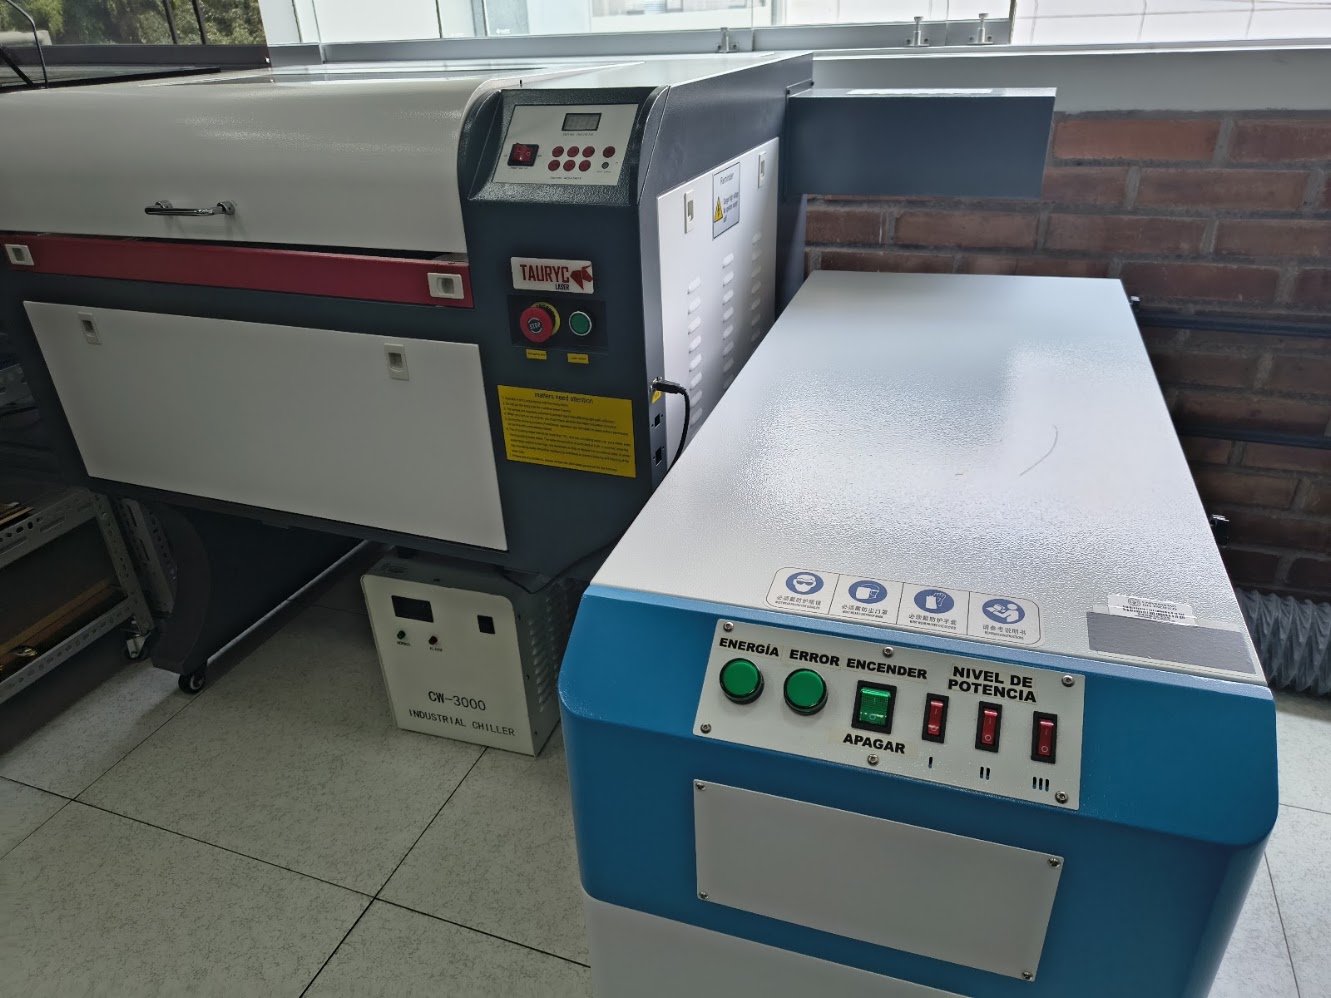
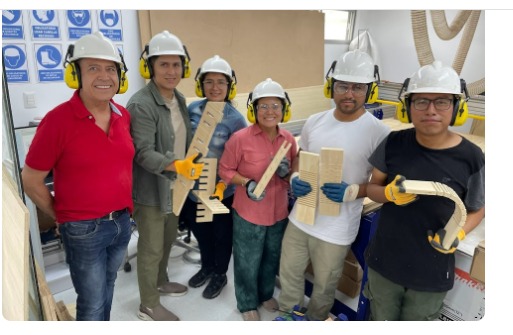
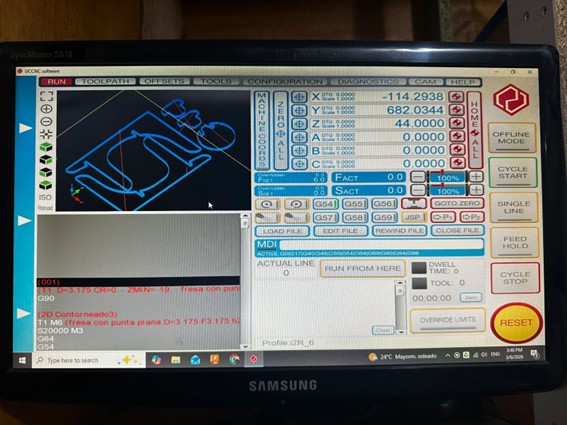
Working on the CNC Machine
Process
- Program the CNC machine process
- Cut the pieces
- Review the cut pieces
- Adjust the cut pieces for assembly

Material setting: OSB board, 18 mm thickness, 244 cm x 122 cm dimensions, tolerance: ±0.3 mm, define angular and flatness tolerance

Route: The toolpath was generated by following edges of each contour, and different parameters. Area clearance: 6 mm, step over: 3 mm, depth per pass: 6 mm, feed

Auxiliar desk pieces
Assembly the auxiliar desk
Process
- Review pieces
- Assembly
- Minor adjustment
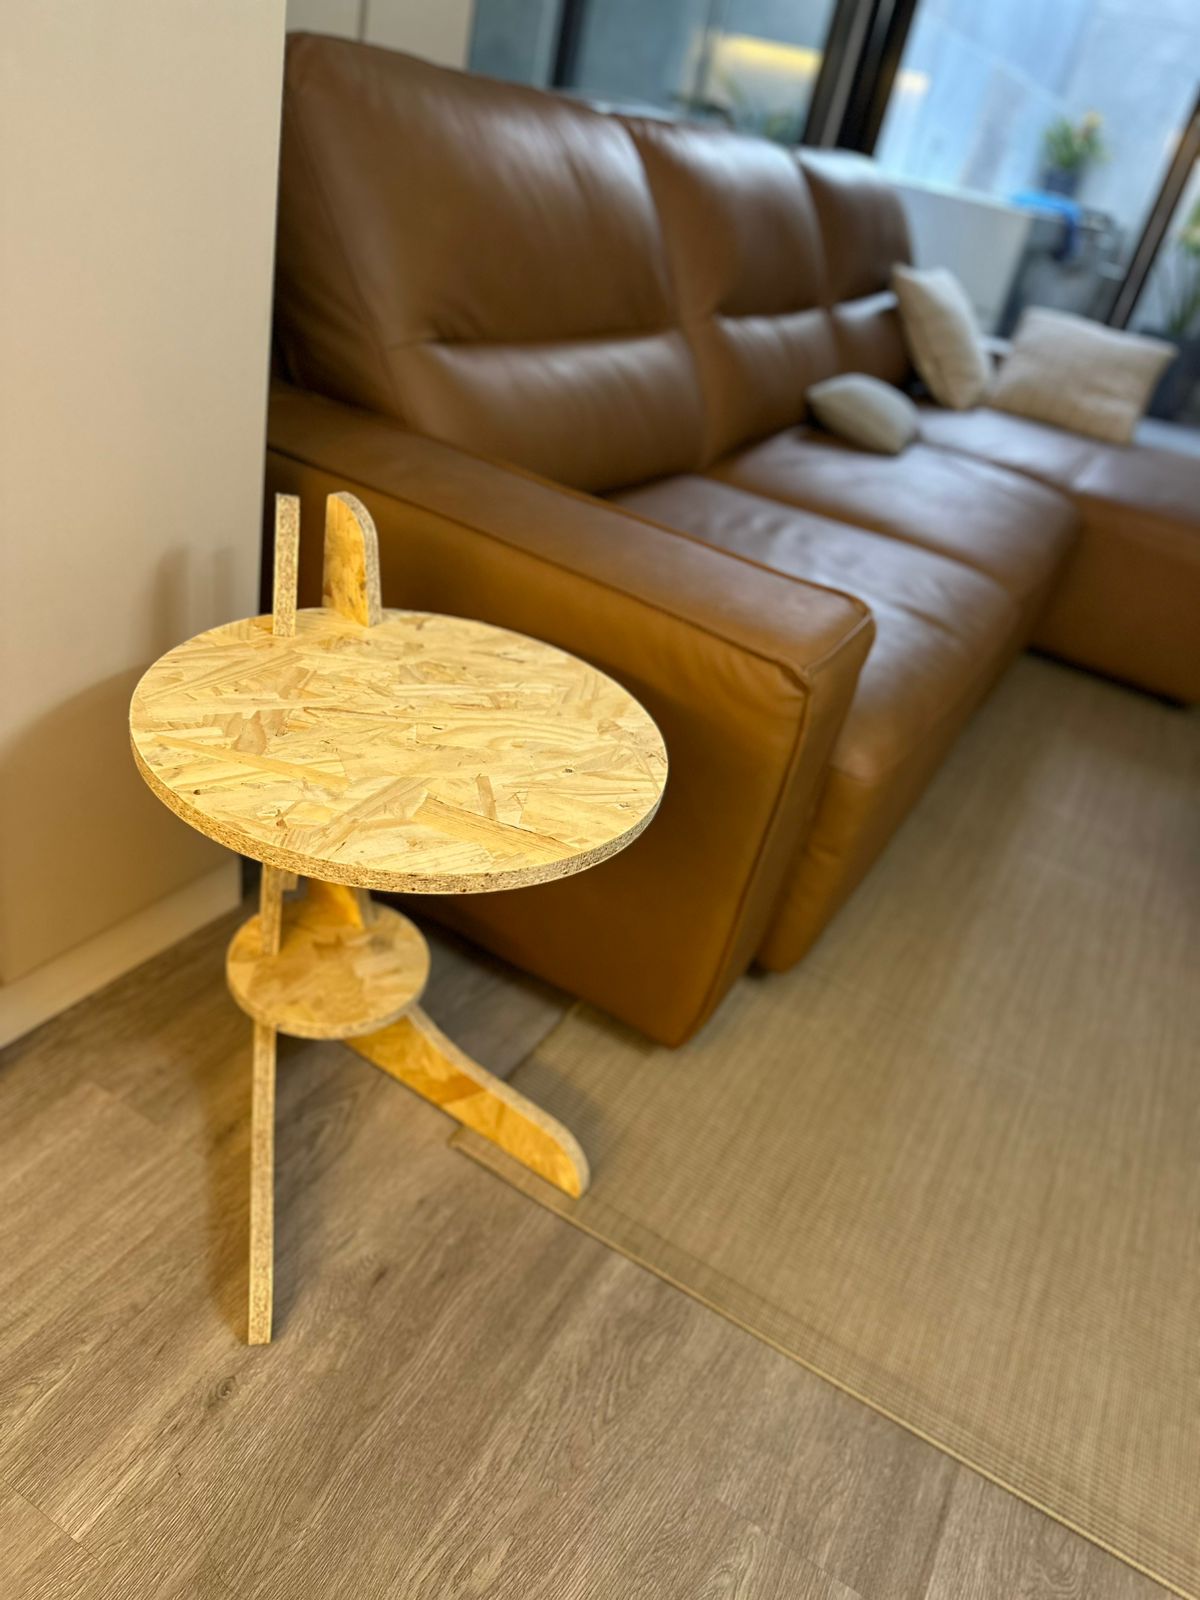
Auxiliar desk after cutting, adjustments and assembly process.
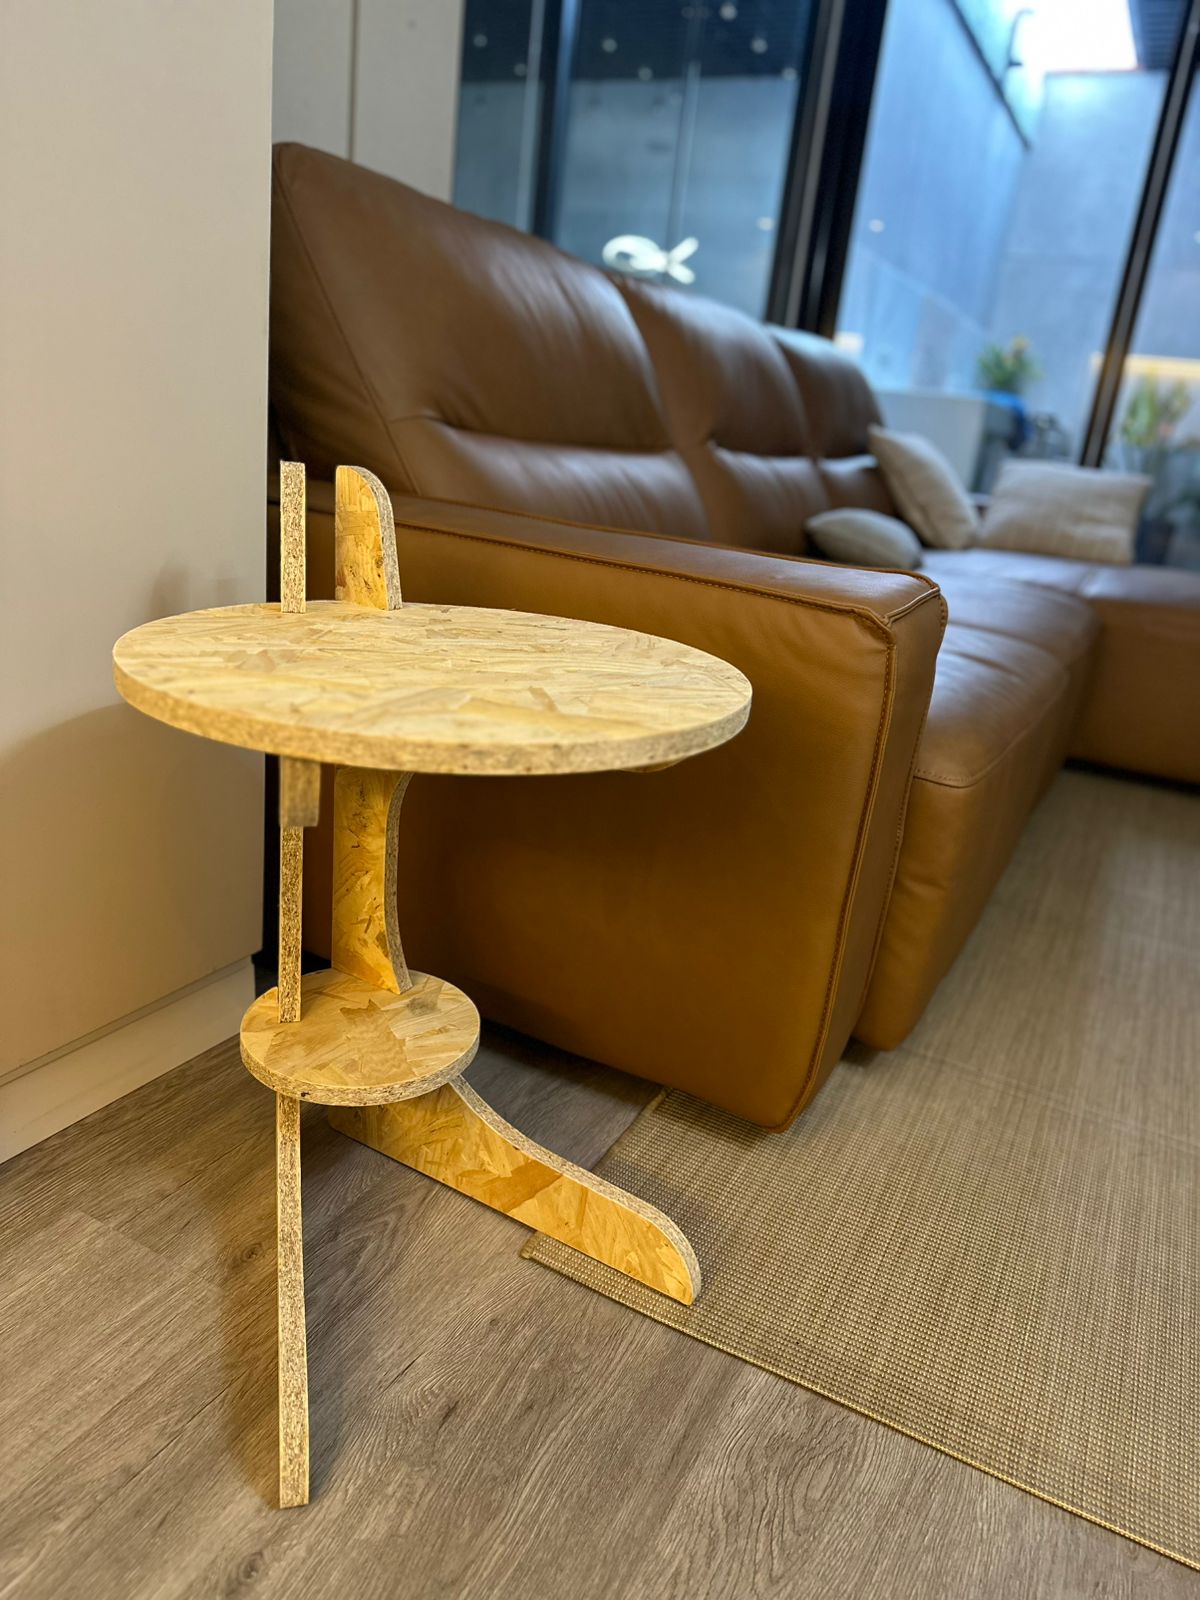
Auxiliar desk view 2
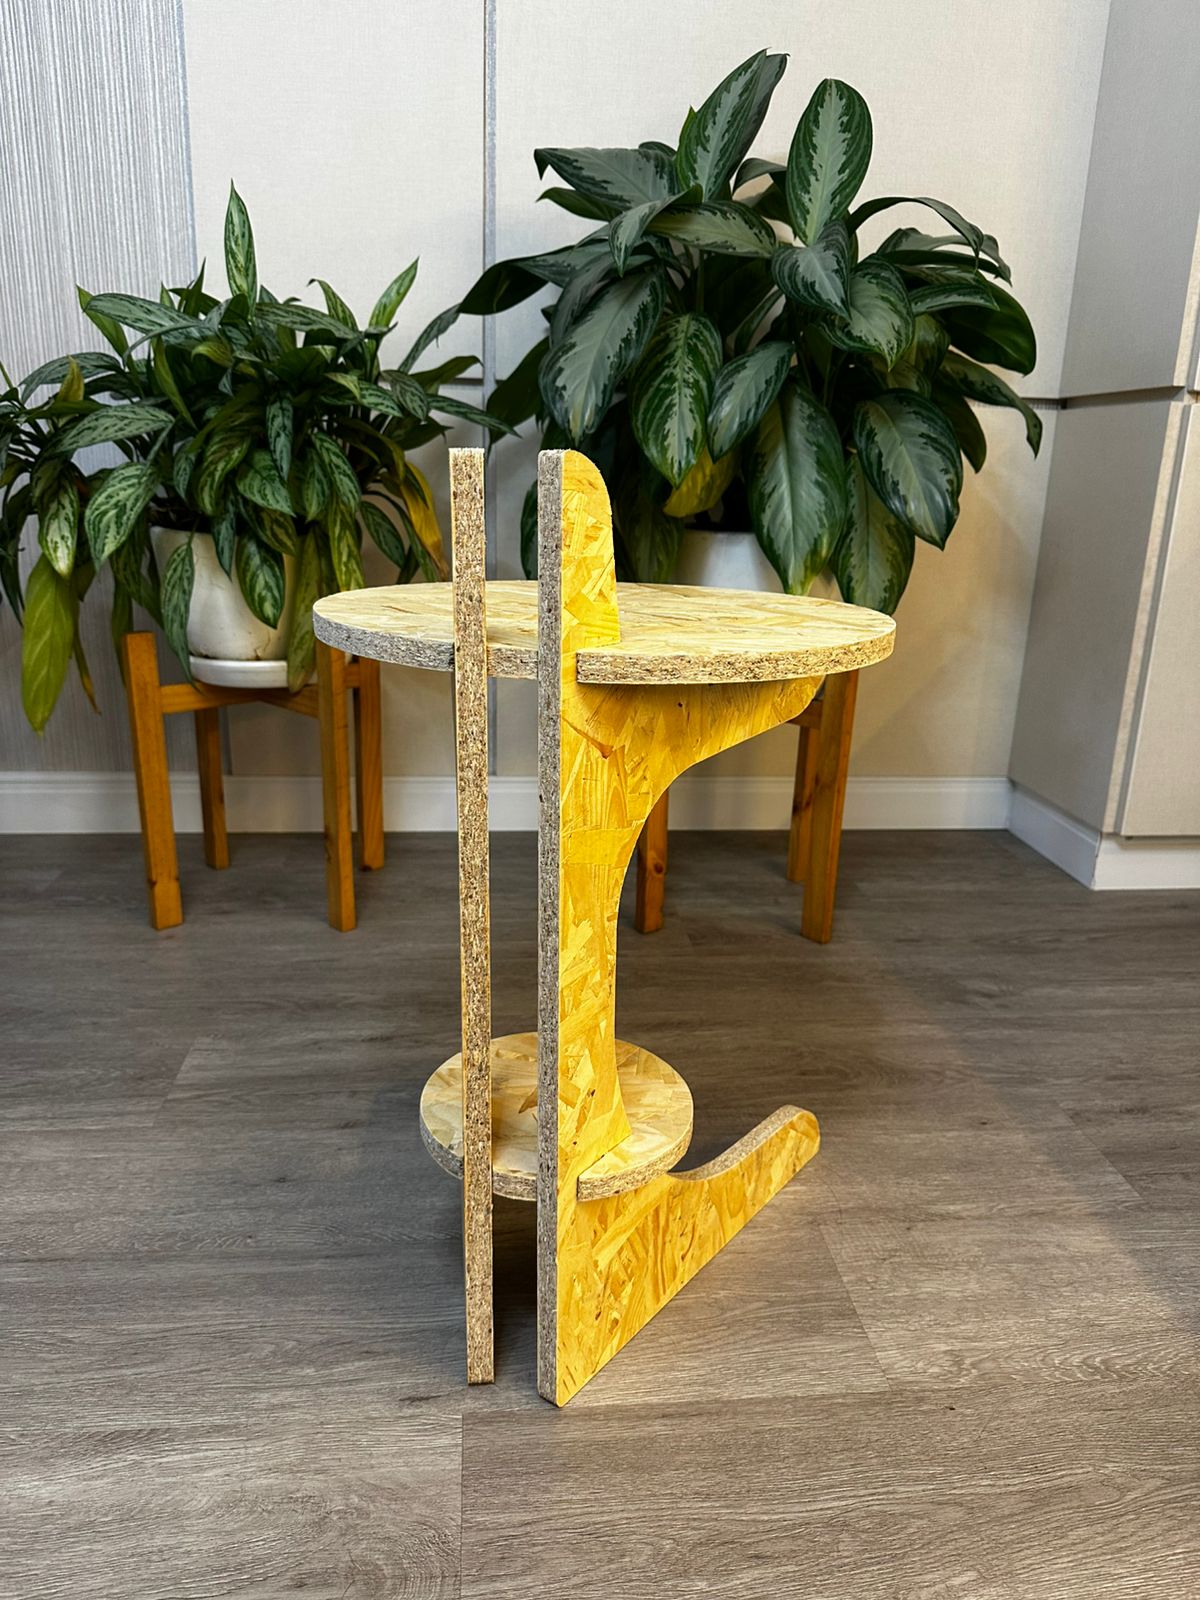
Auxiliar desk view 3
4) Final project advance
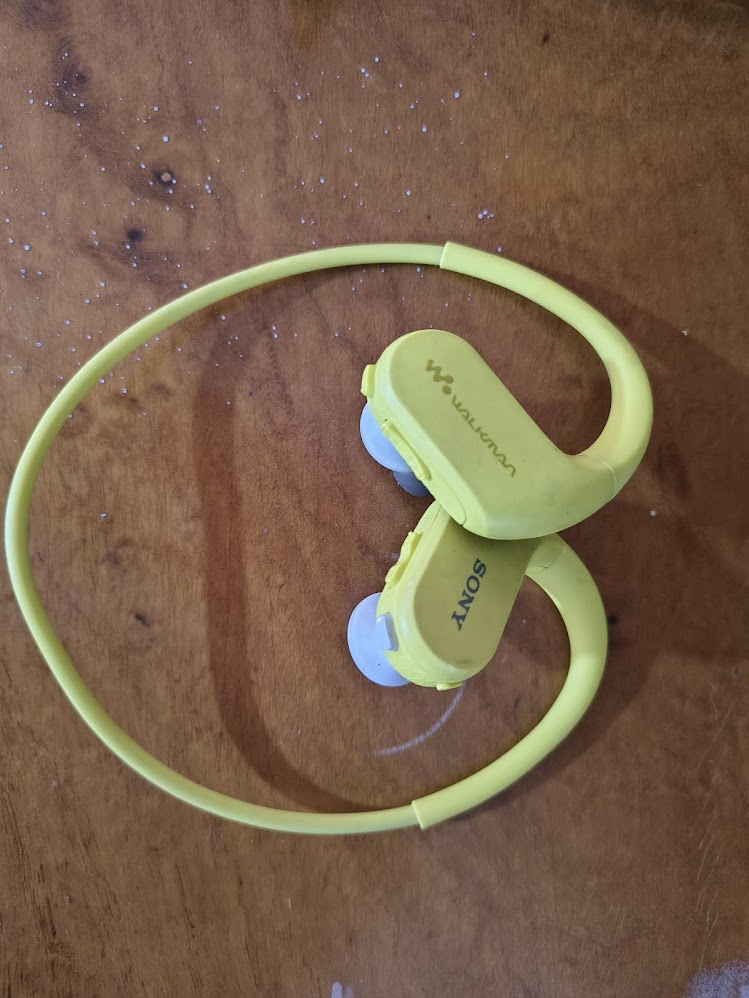
Headphones
Aquatic headphones with 8 GB memory
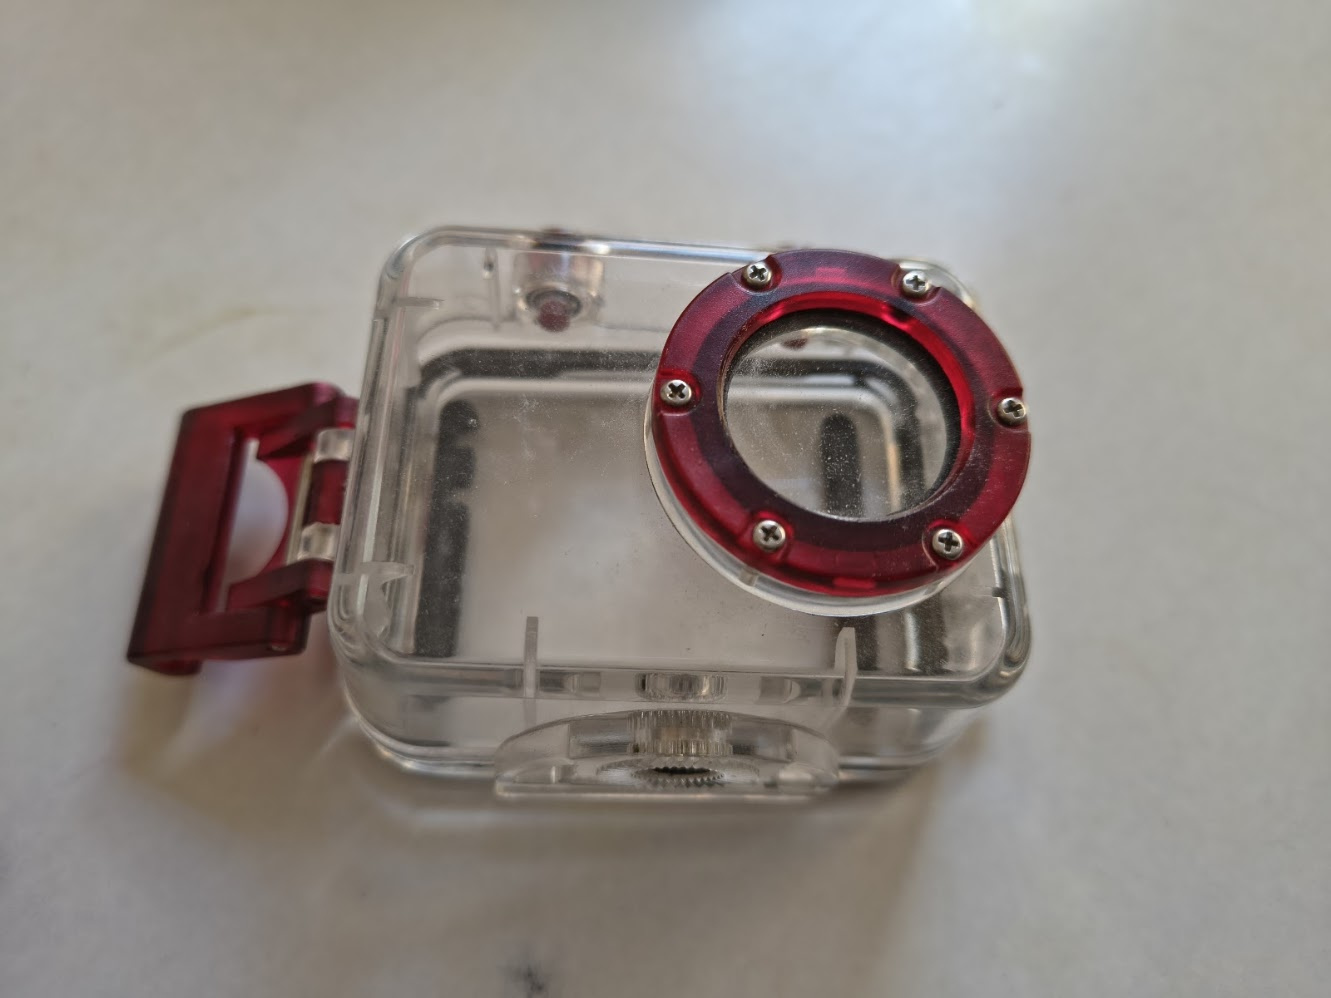
Case
Transparent case with water protection
Gym social interaction
Music, videos, and people interaction
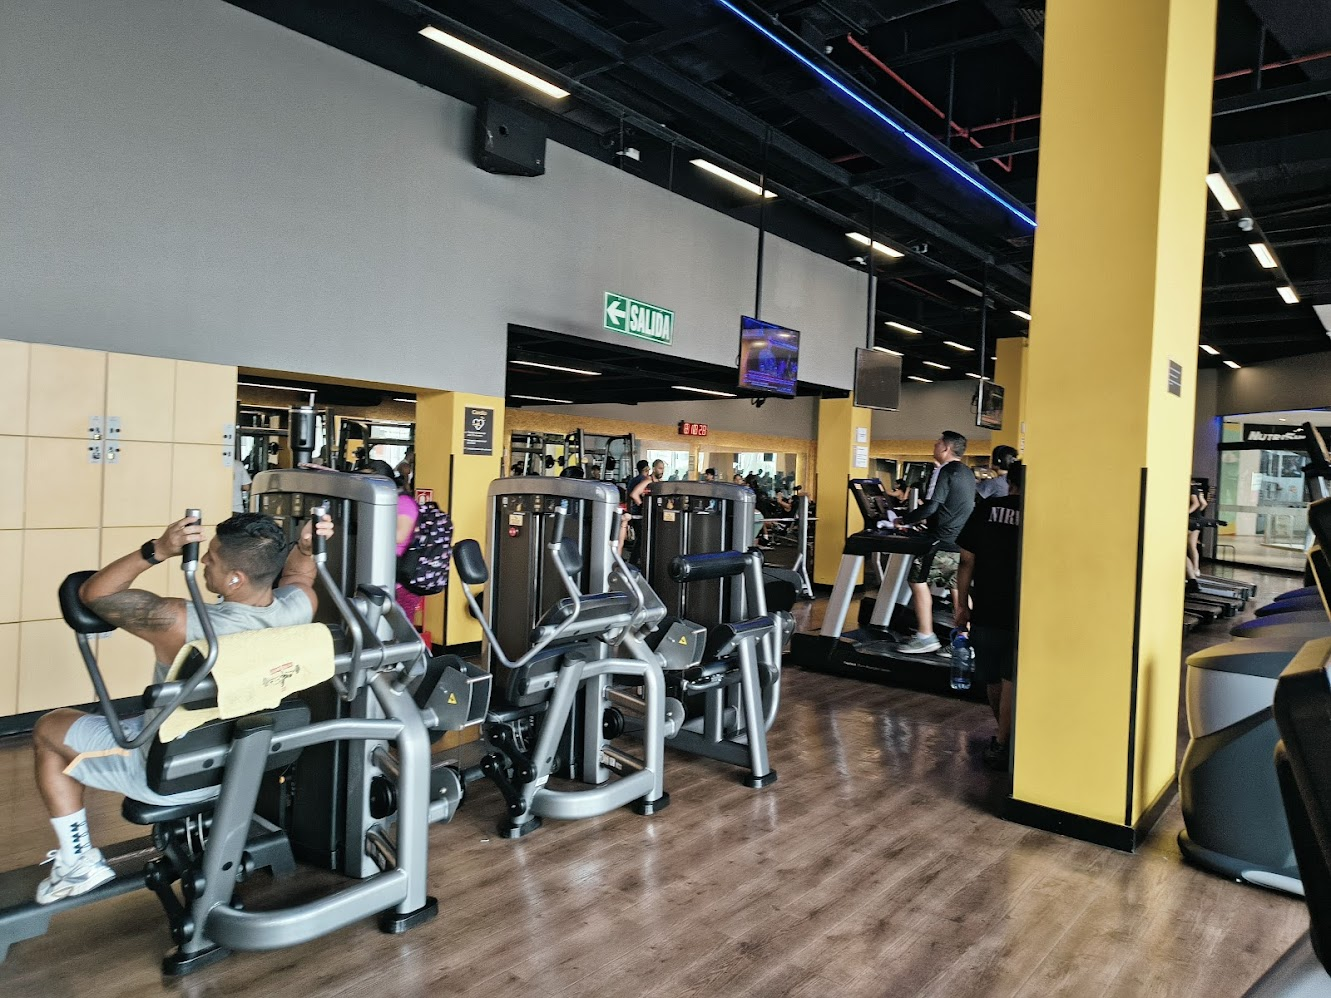
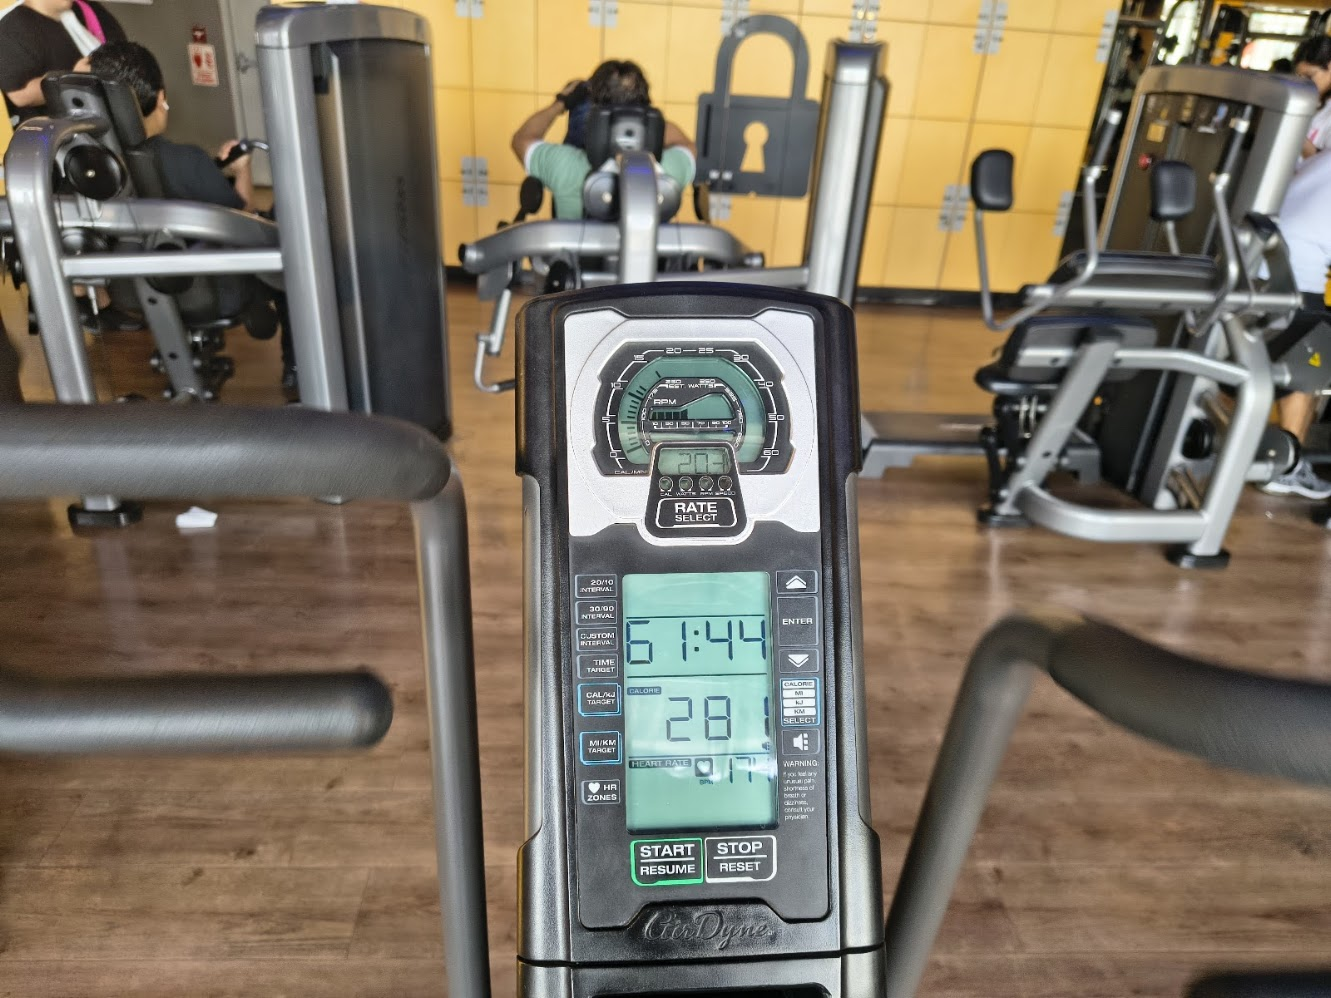
Gym statistics
Personal data
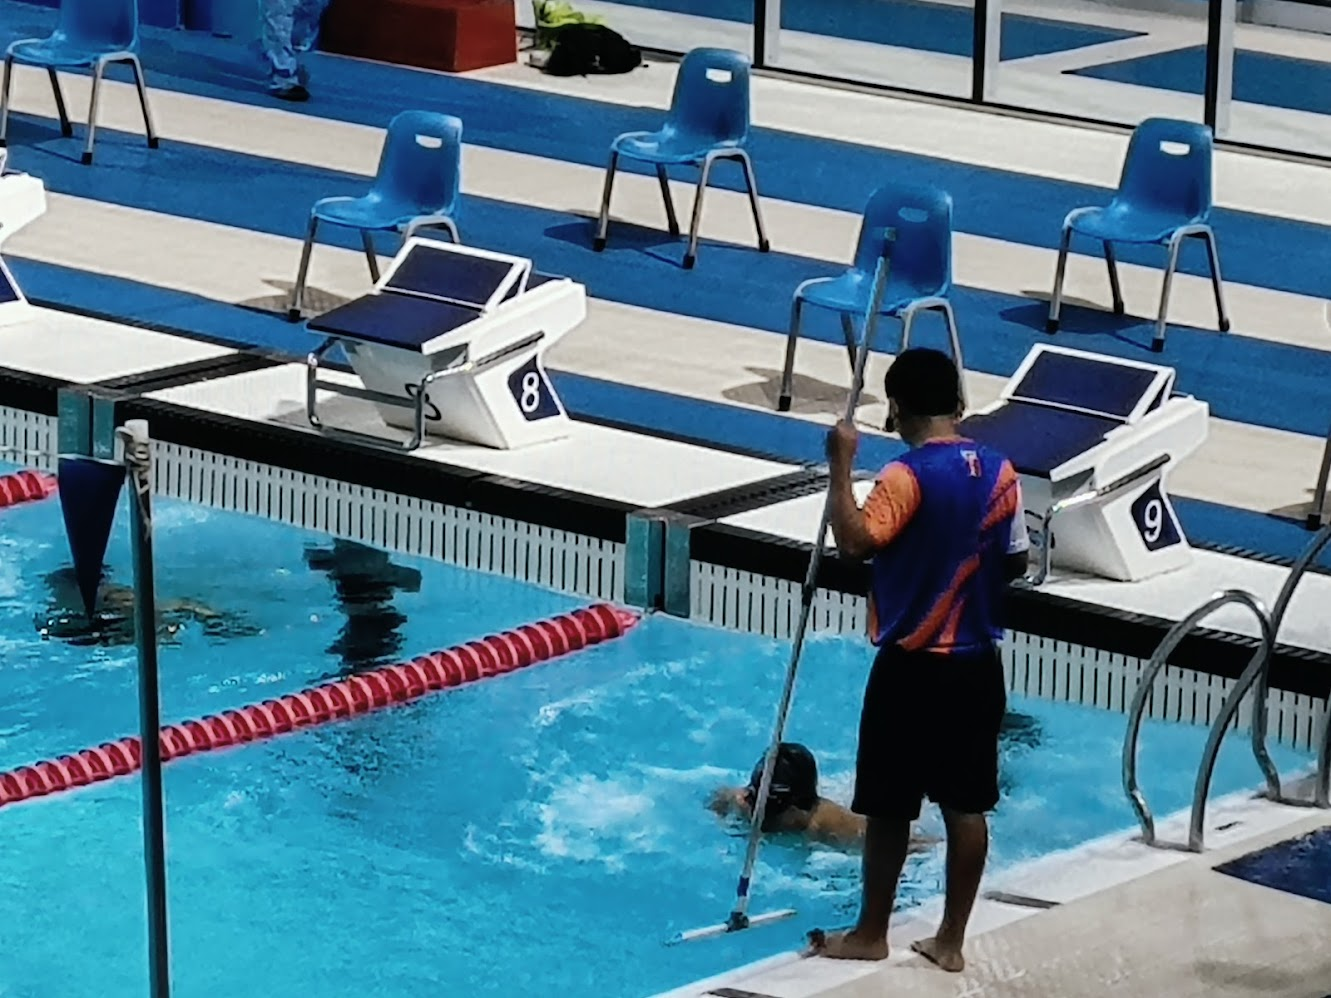
Pool pole
Lane alignment
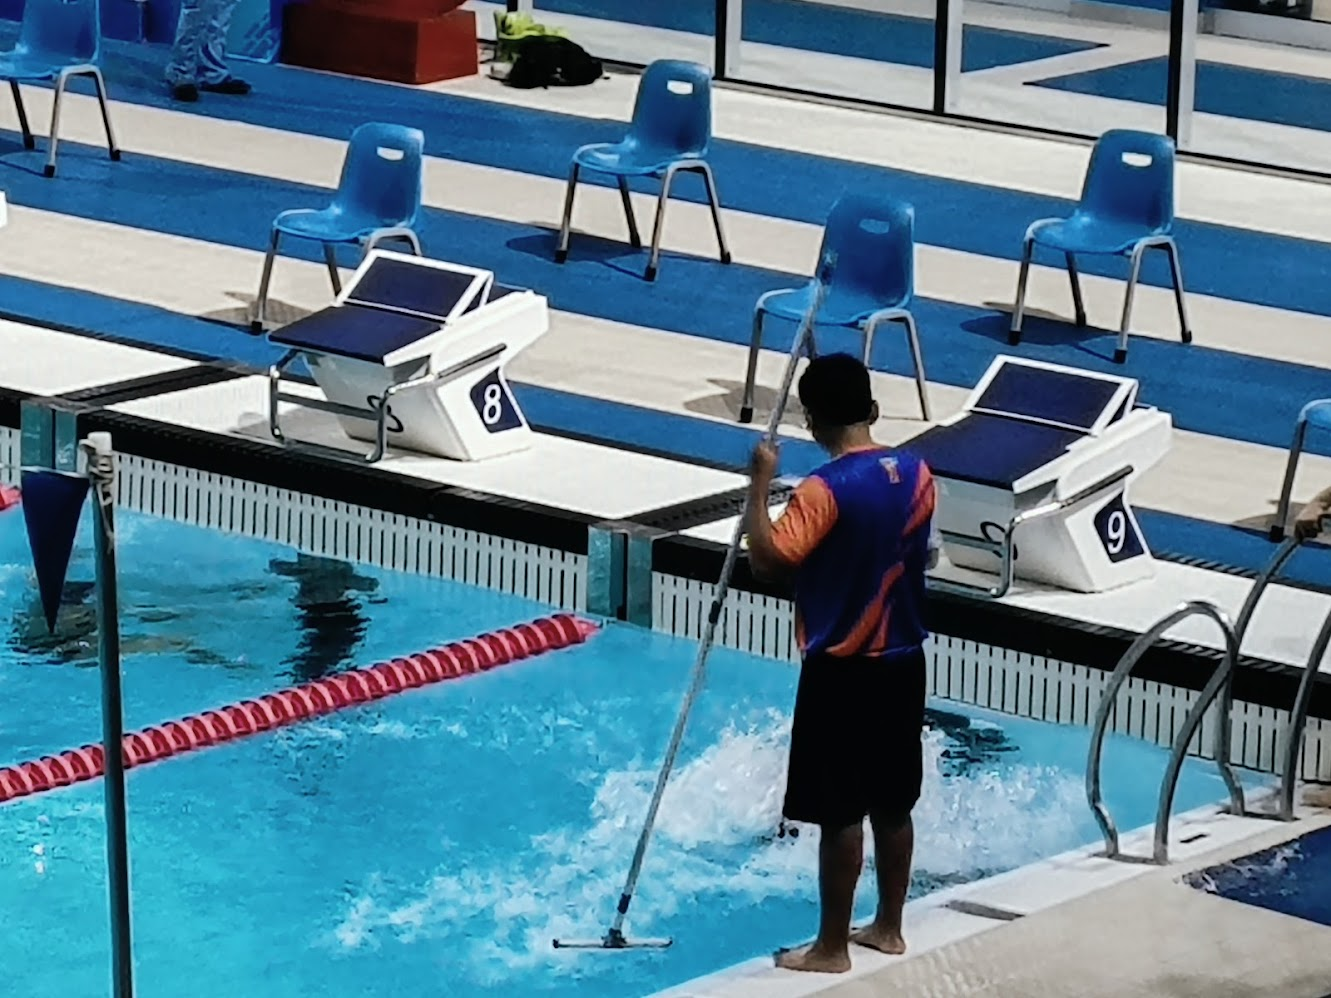
Pool pole
Position data for swimmers
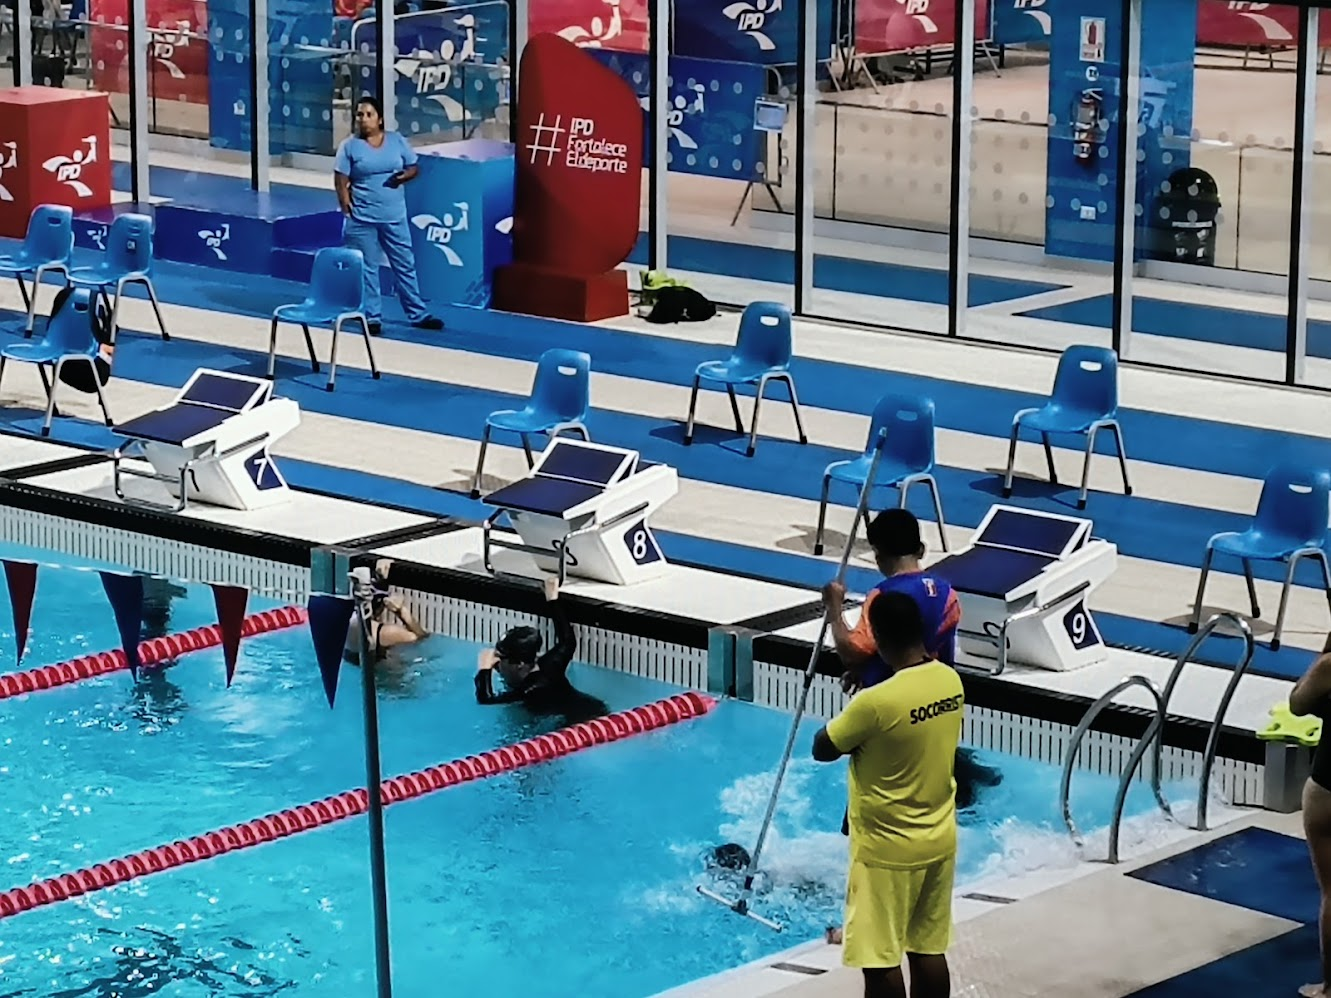
Pool pole
Alignment for swimmers
5) Final results
- Linked to the group assignment page
- Reflected on your individual page what you learned of your labs safety training
- Documented how you design your object and made your CAM-toolpath
- Documented how you milled and assembled your final product (incluiding setting up the machine, fixturing, feeds, speed, etc)
- Describe problems and how you fixed them
- Including your design files and hero shot of your final product
6) References files
We learn about Fab Lab Security system, use the CNC, and create new products. Files: