WEEK 14
Moulding and Casting
Group assignment:
- Review the safety data sheets for each of your molding and casting materials.
- Make and compare test casts with each of them.
- Compare printing vs milling molds
What I Learned From Teamwork
Getting to Know the Materials
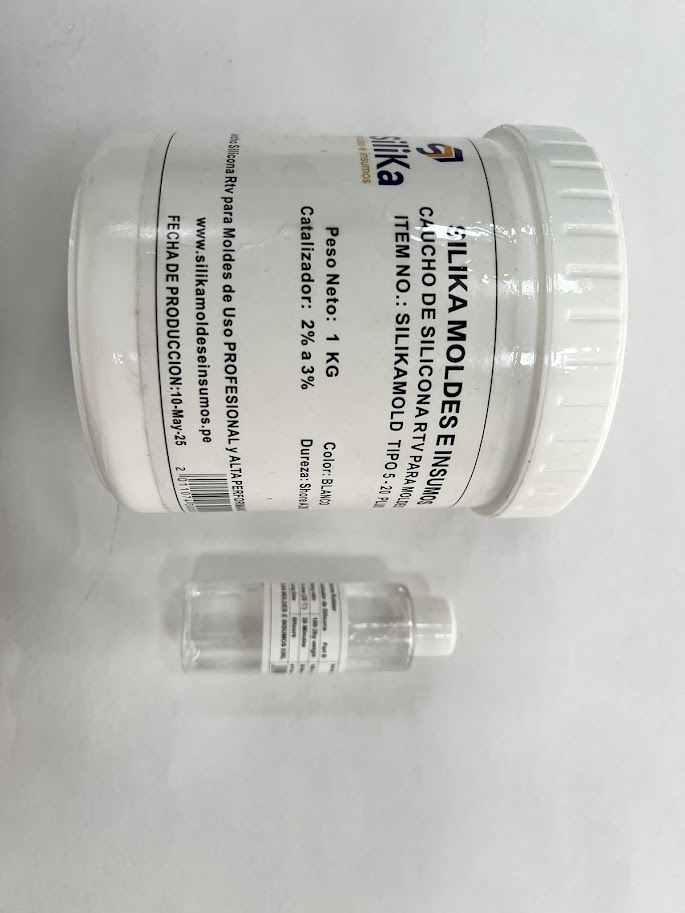
Most of the materials used in the exercises have a list of technical specifications provided by the supplier. For example, the RTV TYPE 6 Silicone by the brand Silika provides the following data on their website:
- The Ideal and Economical Silicone for Super Resistant and Very Durable Molds.
- Medium/low viscosity, allowing application by brush and/or pour.
- Excellent Flexibility and Hardness (30-A) for molds that are easy to use and demold.
- Extra Tear and Tension Resistance, ideal for resistant molds with long service life.
- Easy to Use — just add 2% Silicone Catalyst to the silicone (included in the price and available in blue and clear).
- Stir until homogenized, approximately 2 to 3 minutes, then pour over the piece to be replicated.
- Medium/Low Viscosity.
- White Color.
- Working Time: 10 to 20 minutes.
- Curing Time: 4–8 hours in Summer, 8–12 hours in Winter.
- Shore Hardness: 30-A.
- Presentation: 1 kg plastic bottle + 30 ml dropper bottle of catalyst.
- Shelf Life: 2 Years.
- Store closed, in a dry and cool place.
CNC Machining for Molds
We successfully machined half of a 3D model in CNC using polyethylene material, generating the .nc code with the Aspire software for both the roughing and finishing toolpaths.
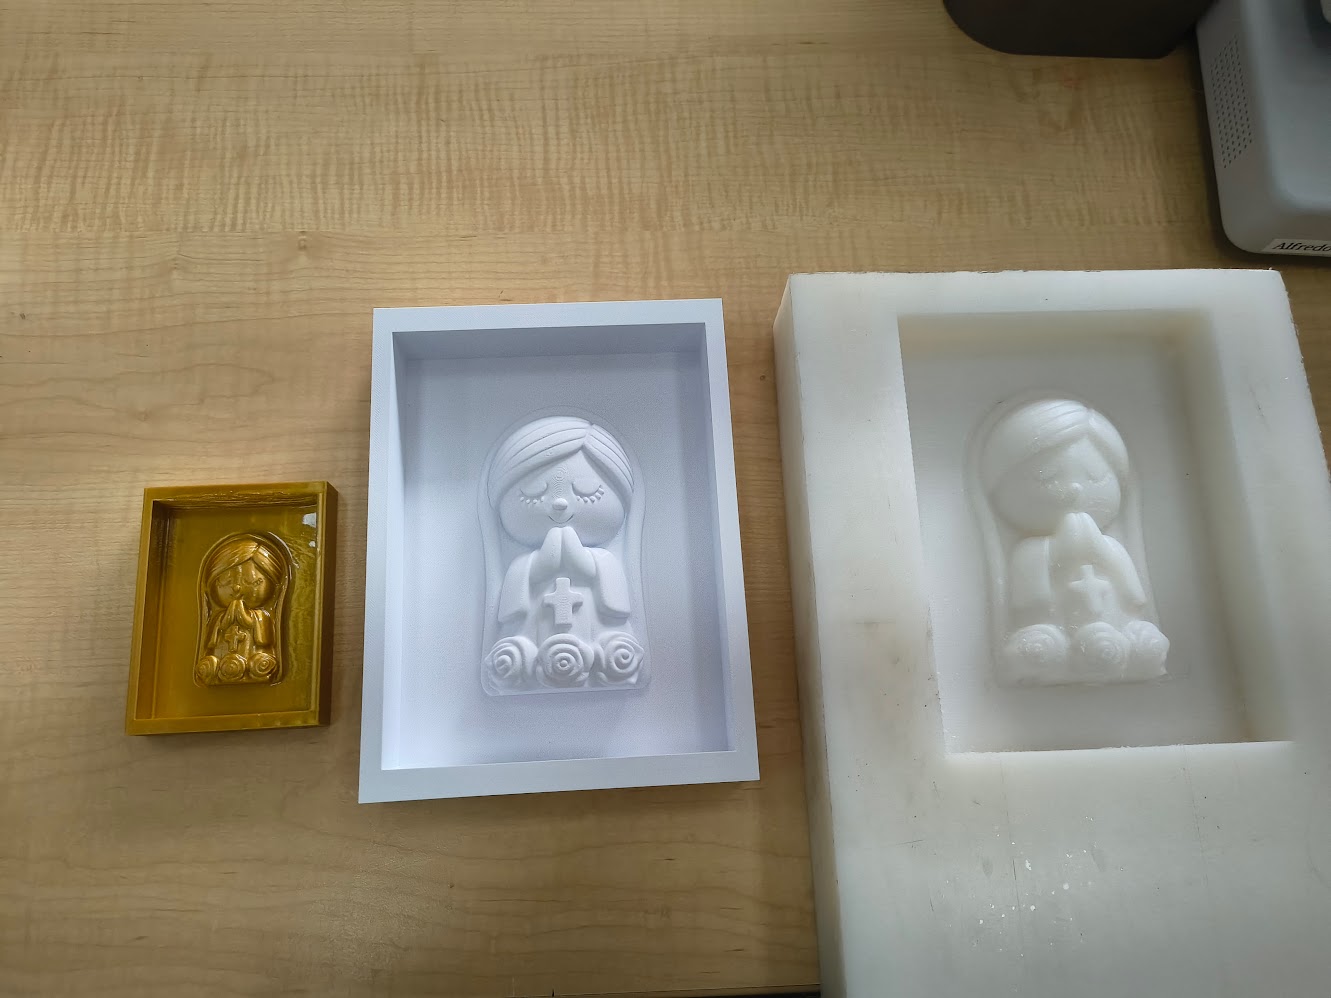
Comparing 3D Printed and CNC Machined Molds
A difference can be observed in the post-processing and level of detail between 3D printed molds and CNC machined ones. In printing, greater detail is visible due to the layer height compared to machining with the used bit, but regarding surface marks, the 3D printed mold shows layer lines on curves that need to be sanded or coated with resin, whereas in the CNC machined mold the ball-end mill trace is almost imperceptible.
Some Results..
A bio-silicone made from gelatin, glycerin, and essences was used, mixed with water in a hot pot. Once it reached the right viscosity, it was poured into the 3D printed counter-mold.
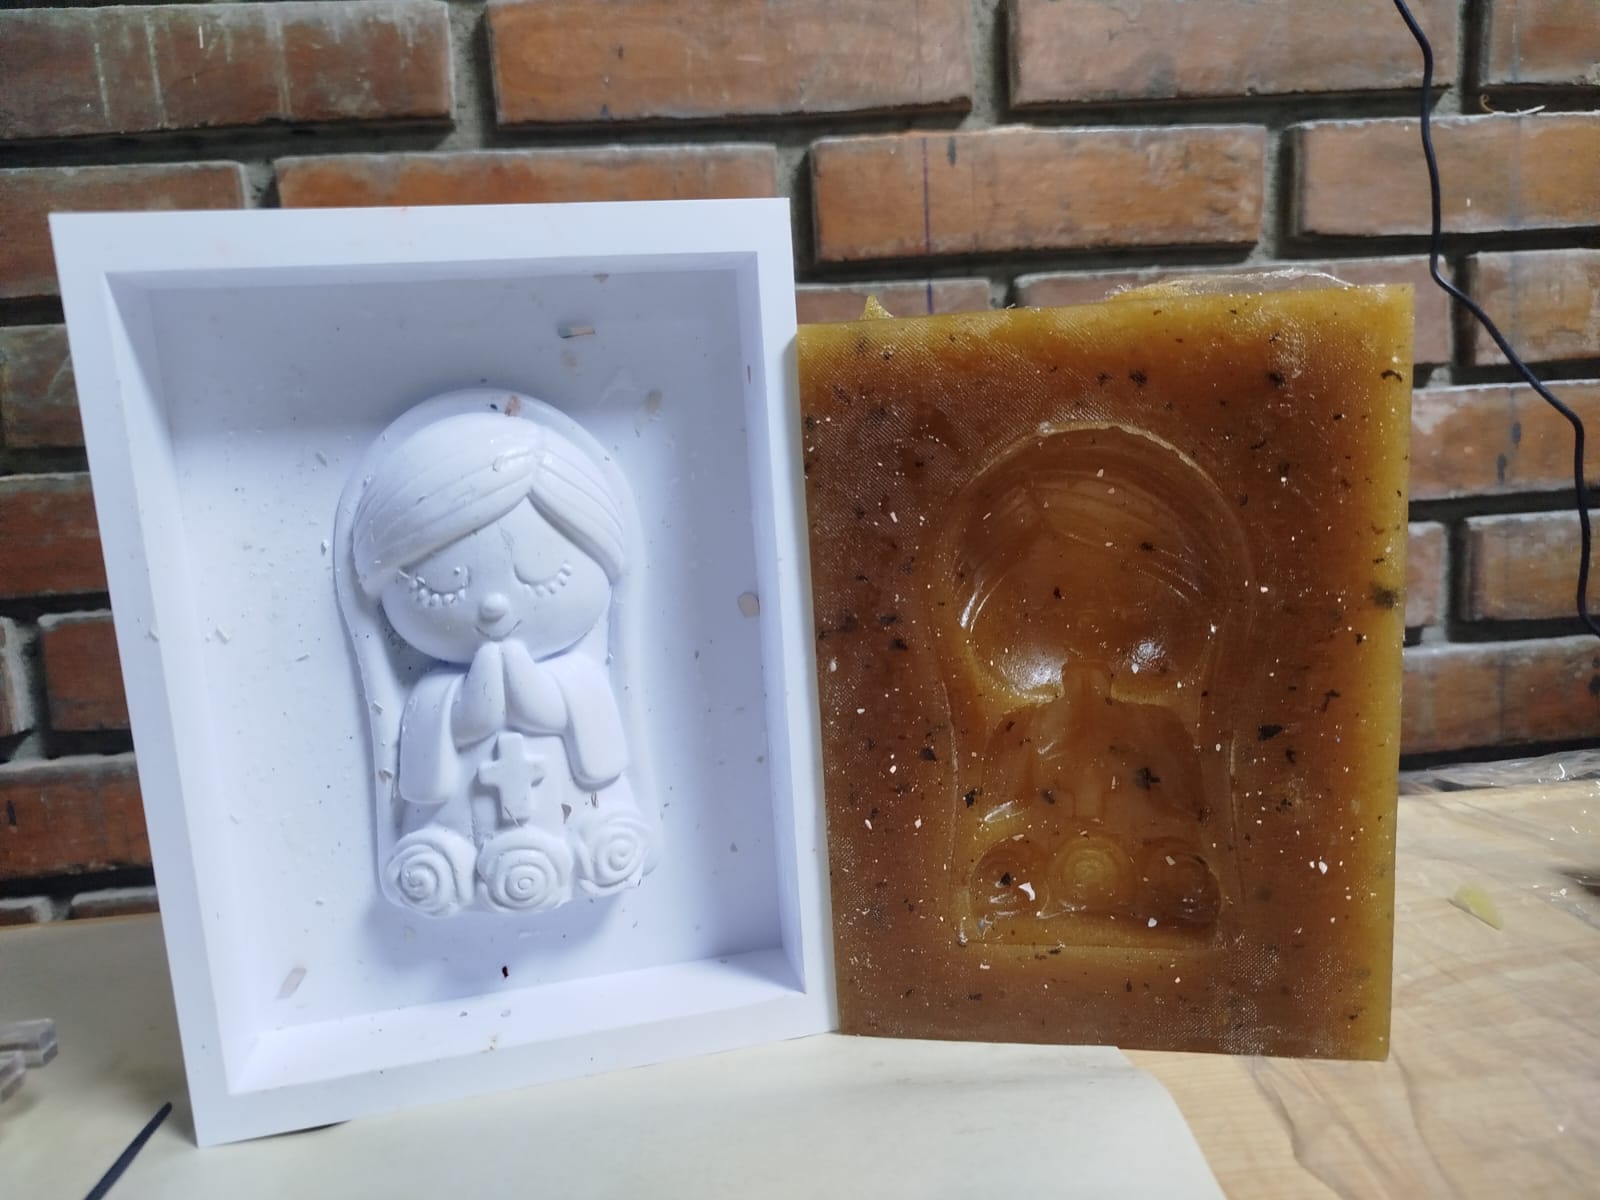
For the CNC machined counter-mold, RTV silicone was used with the proper catalyst dosage, yielding the following result:
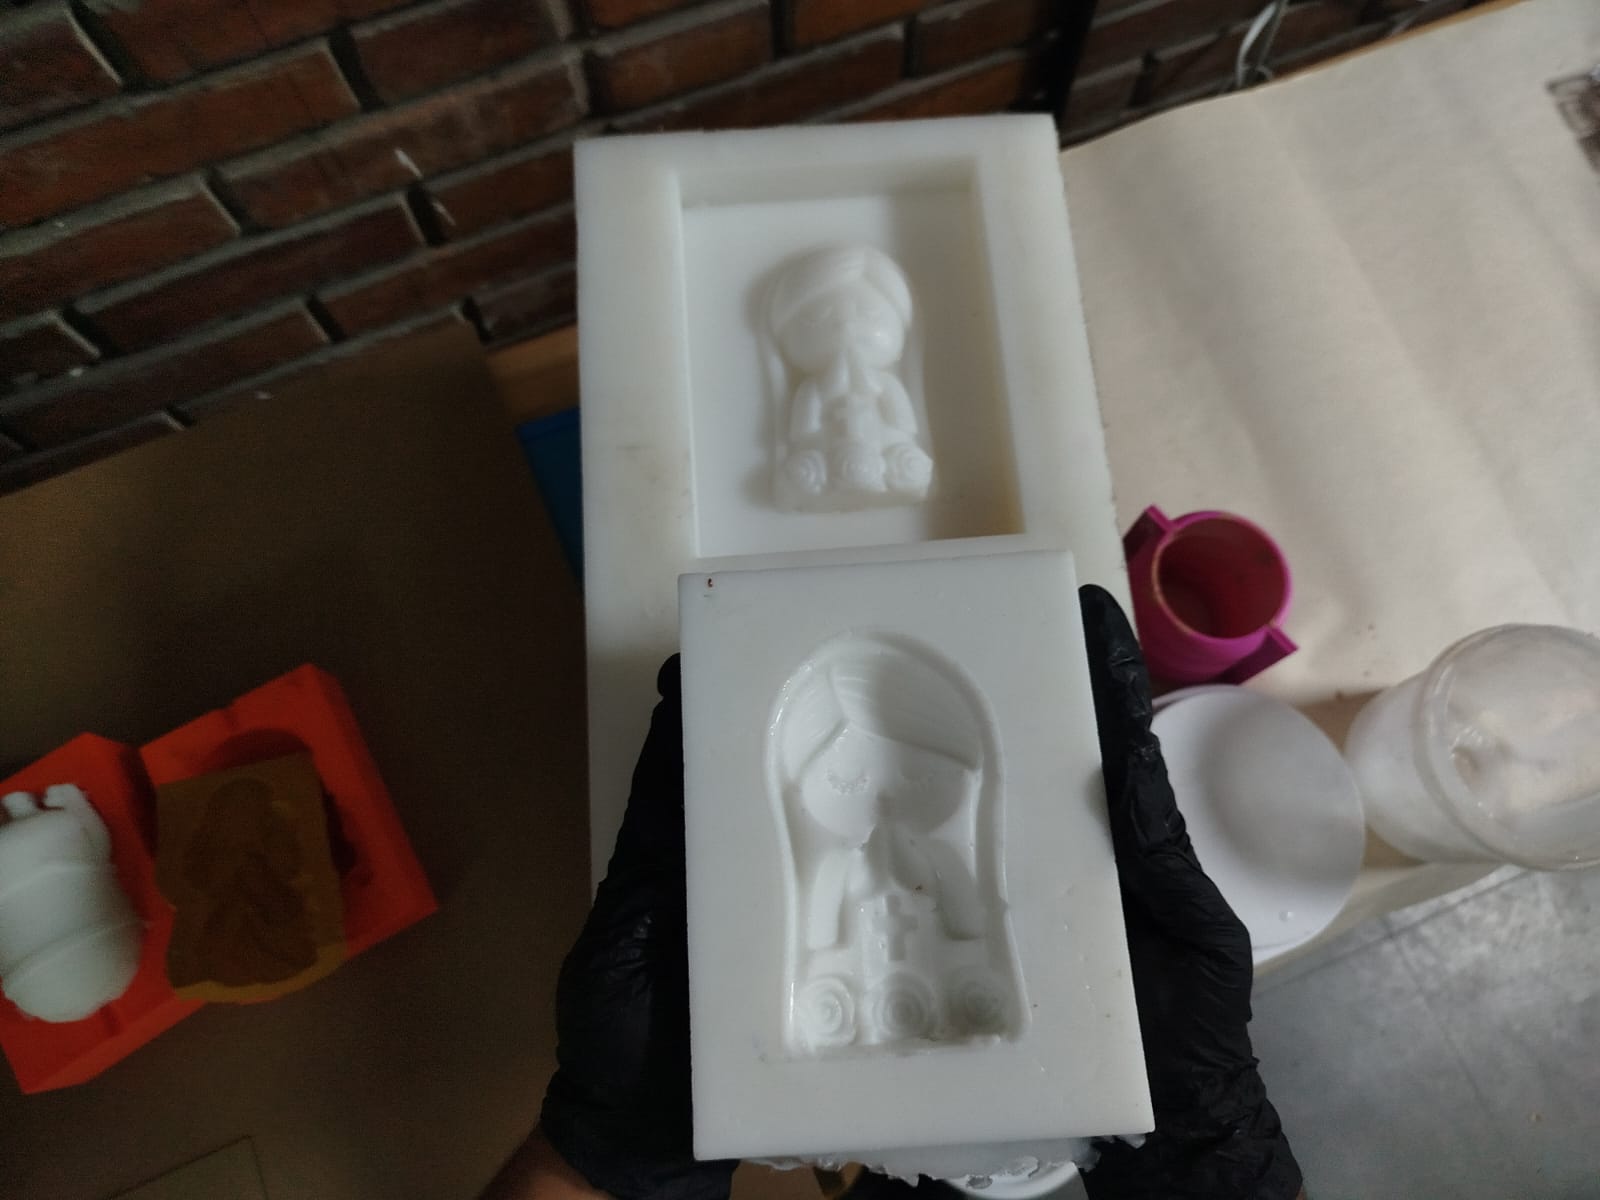
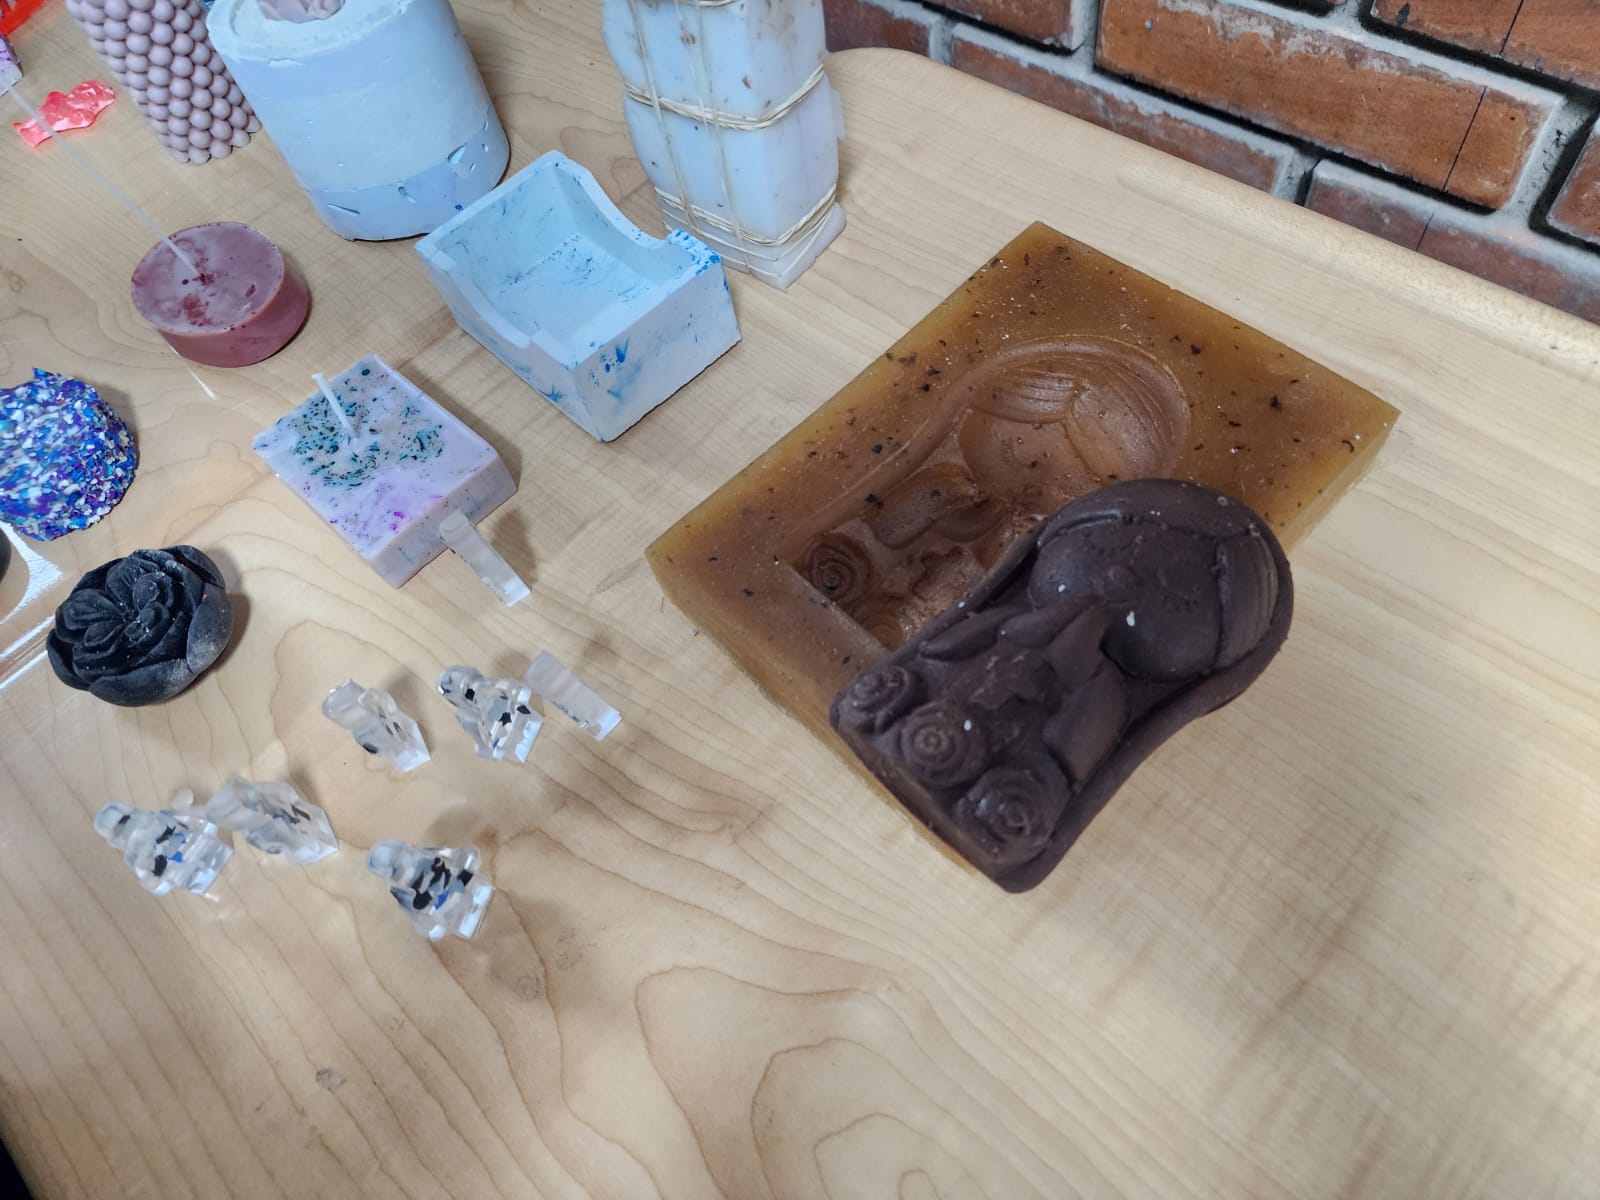
Finally, the finished pieces were obtained from each of the fabricated molds, using materials such as wax, chocolate, eco-resin, plaster, etc.
Individual assignment:
- Design a mold around the process you'll be using, produce it with a smooth surface finish that does not show the production process toolpath, and use it to cast parts.
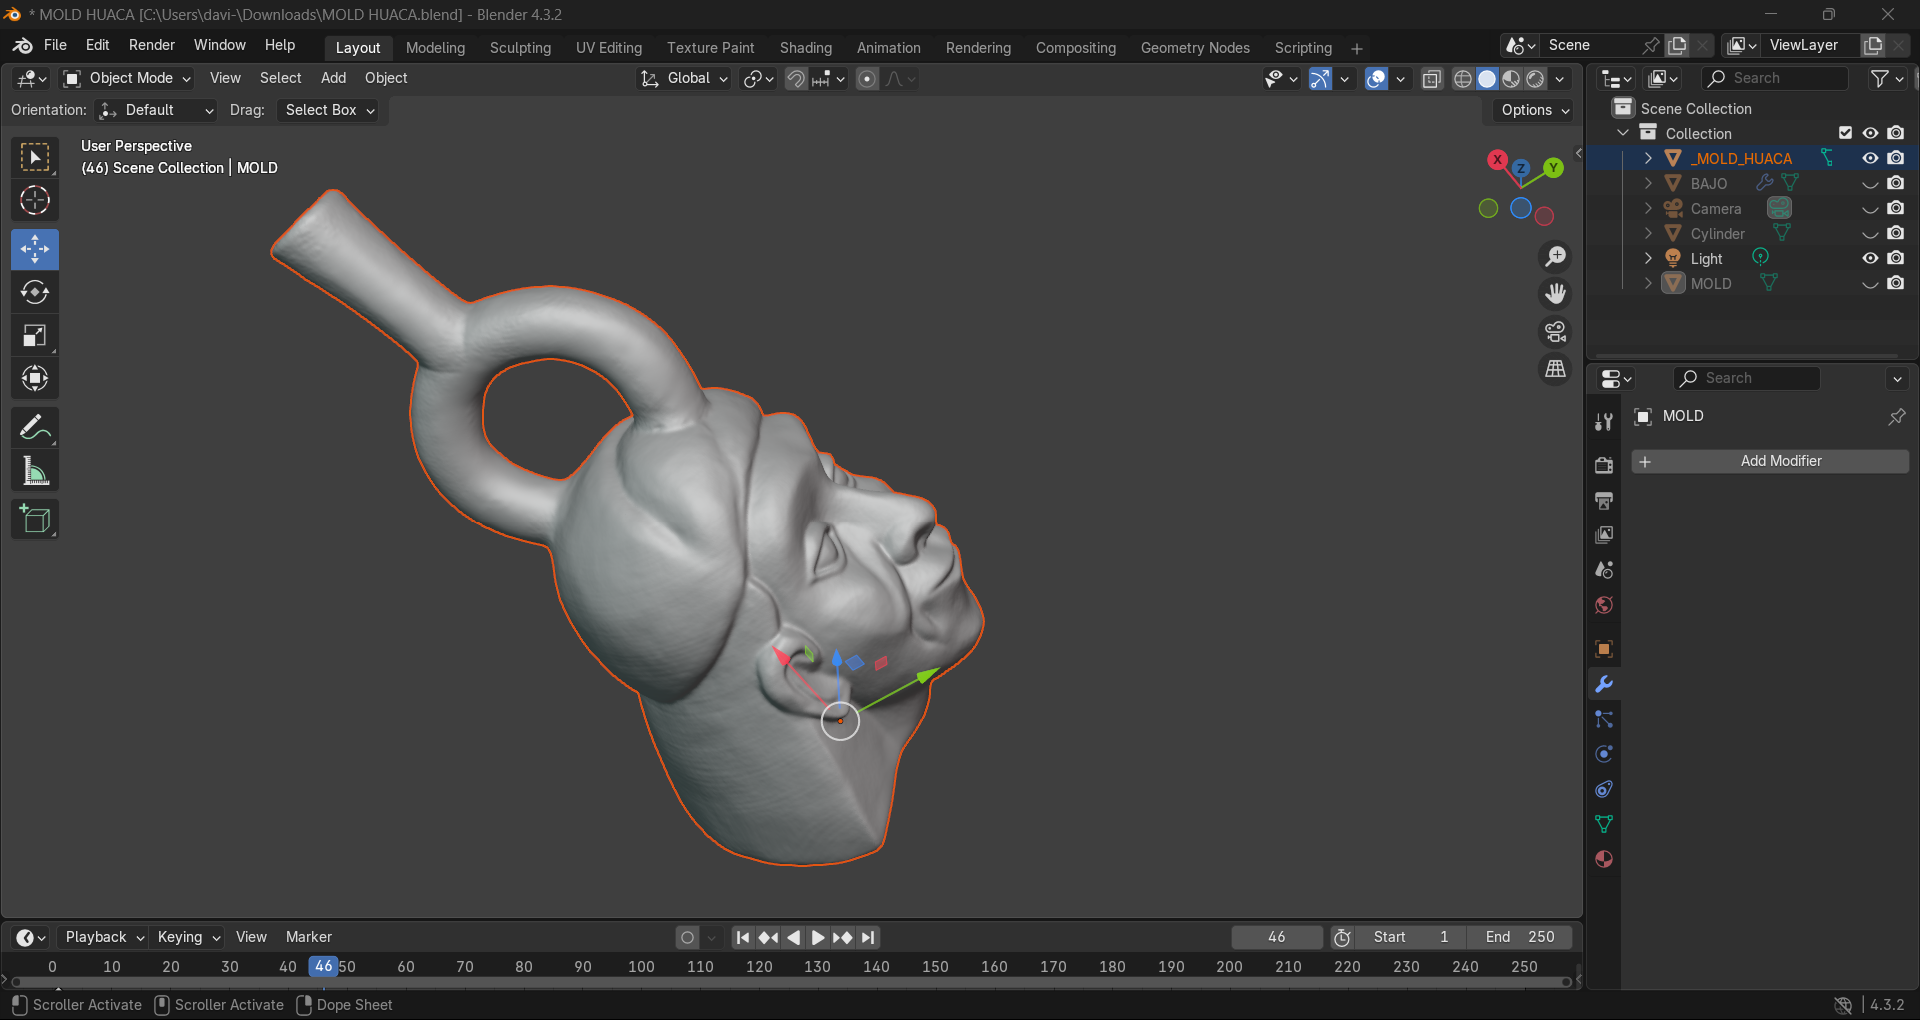
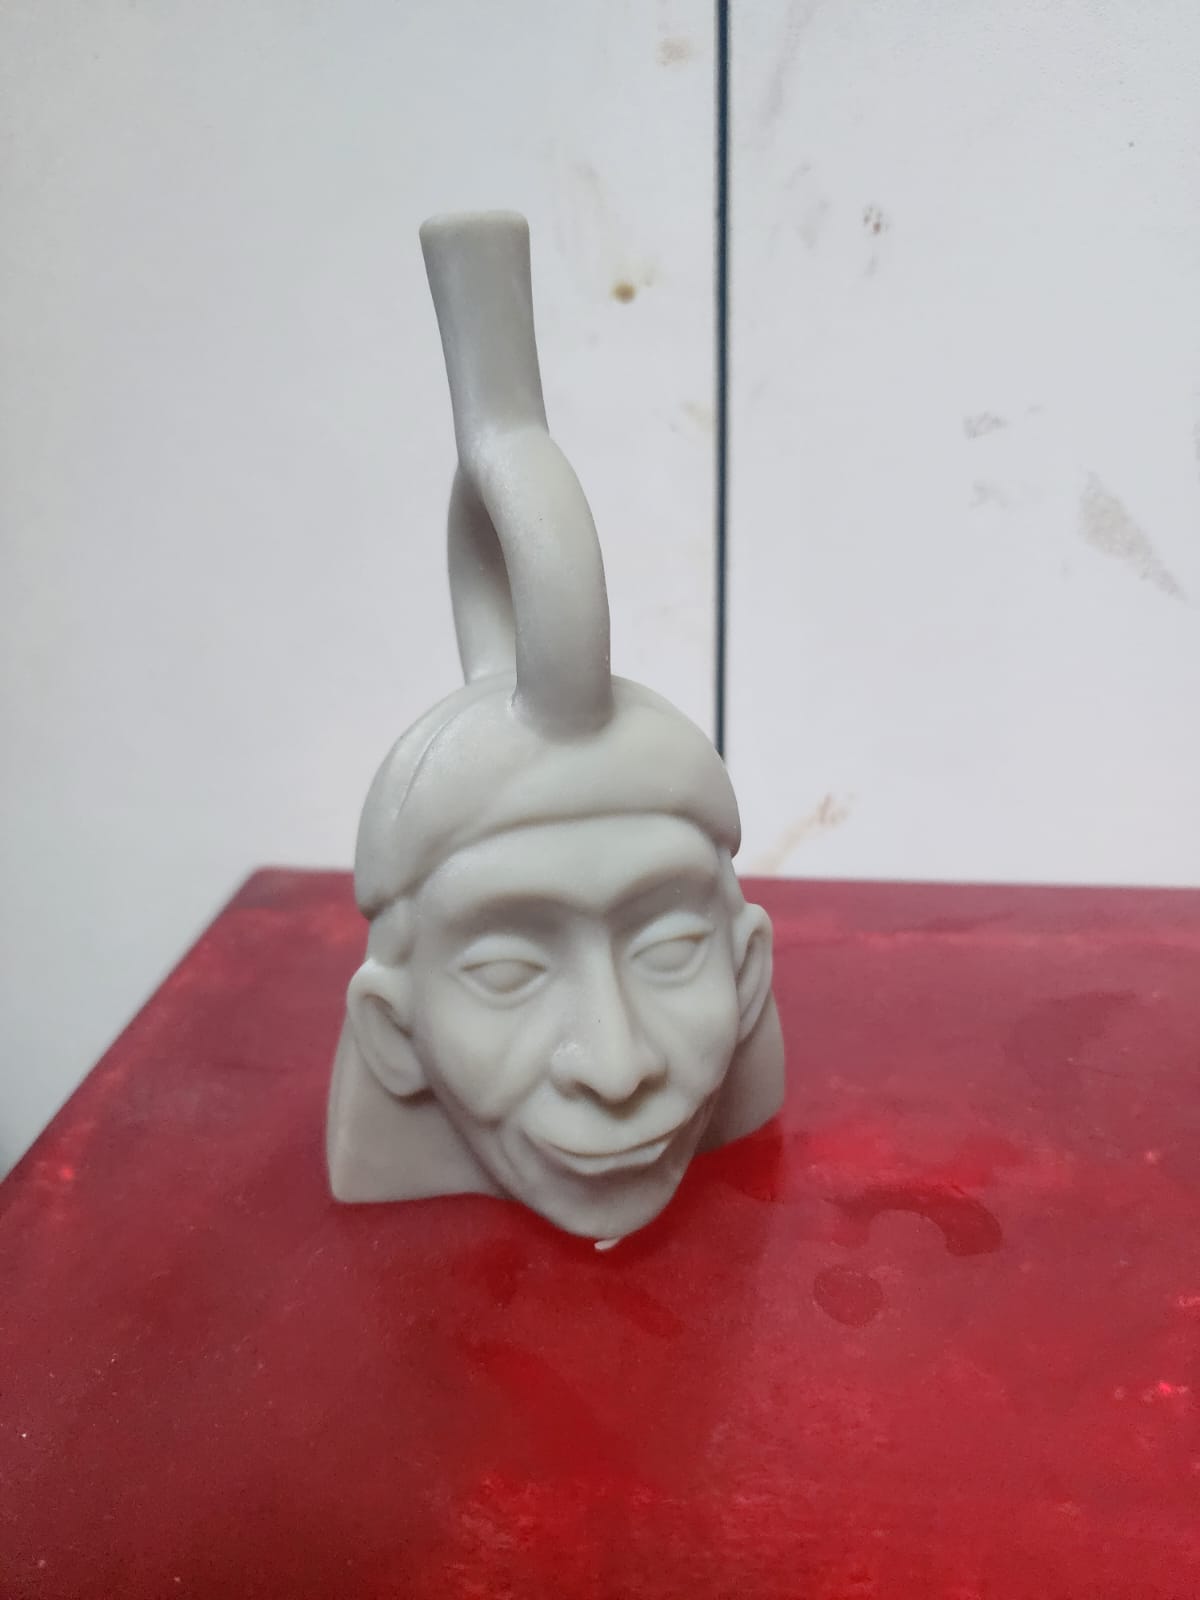
Designing My Huaco-Mold
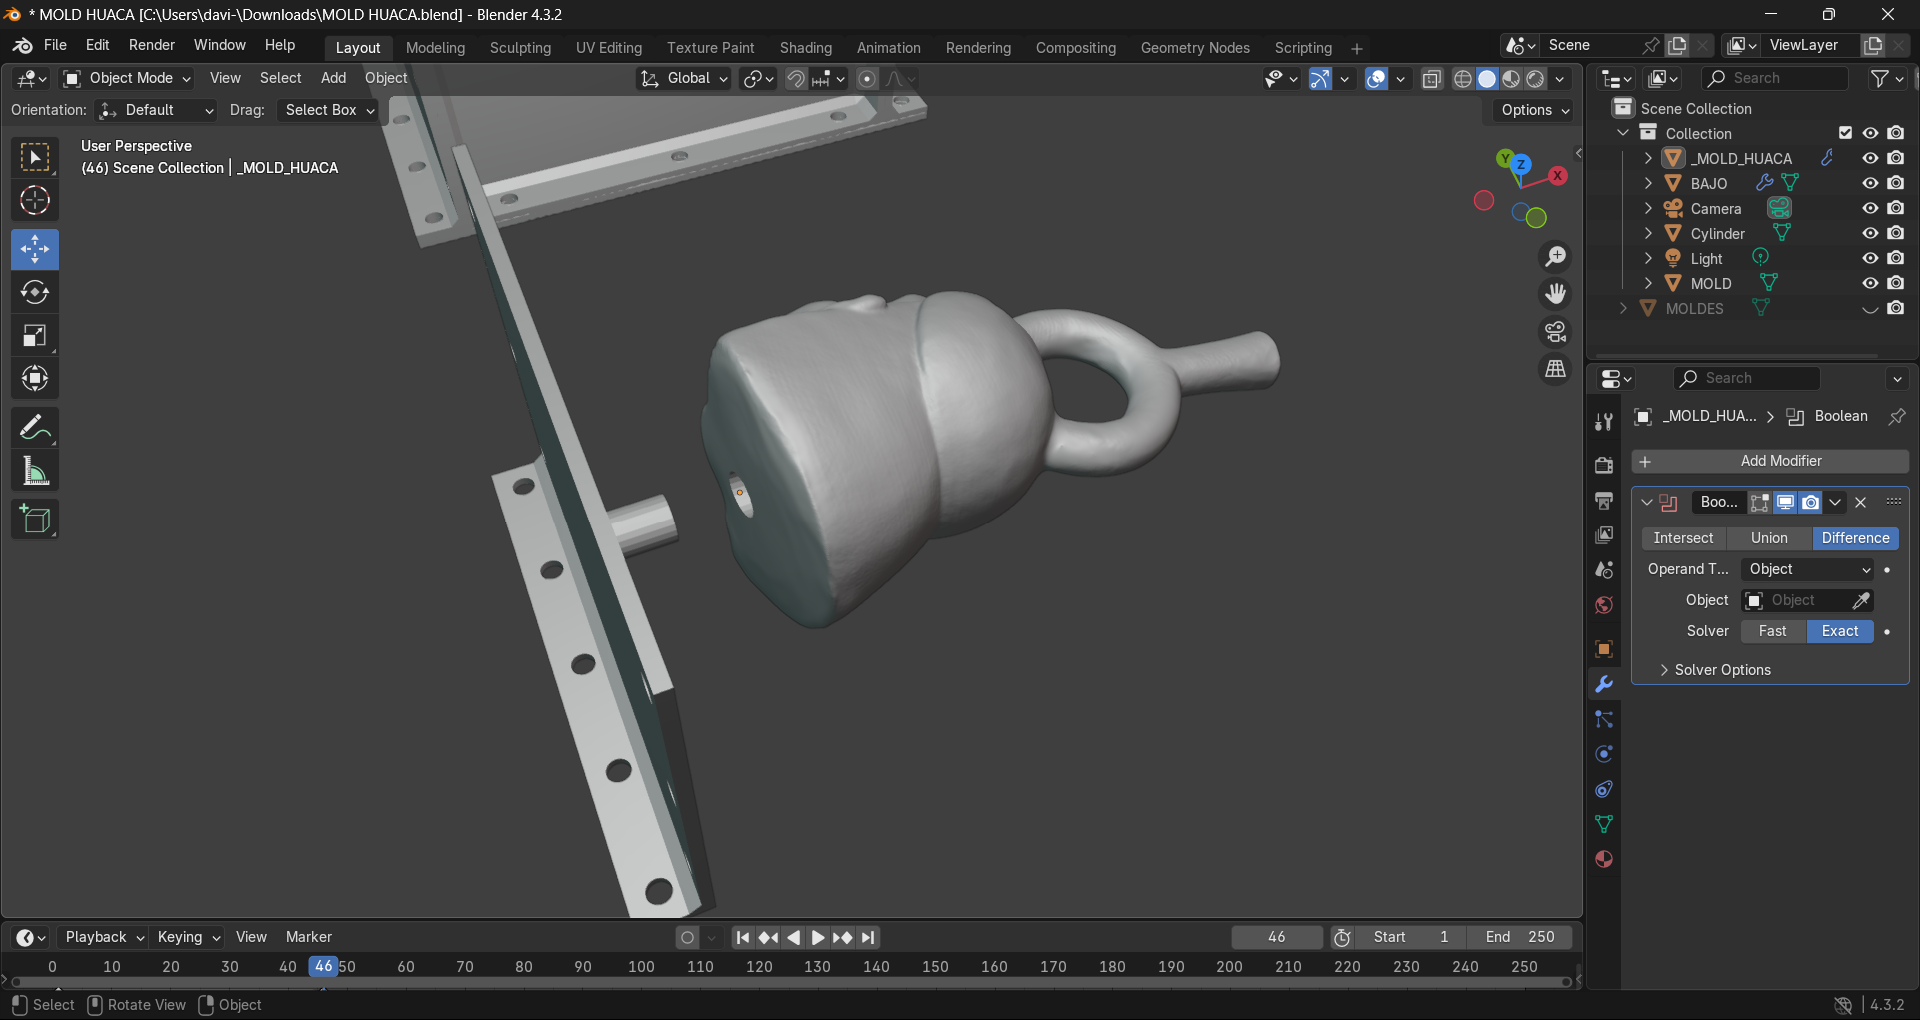
This time I will take my 3D scanned huaco model from Week 05 and import it into Blender, define the desired dimensions and scale it — in this case I made it approximately 6cm x 12cm.
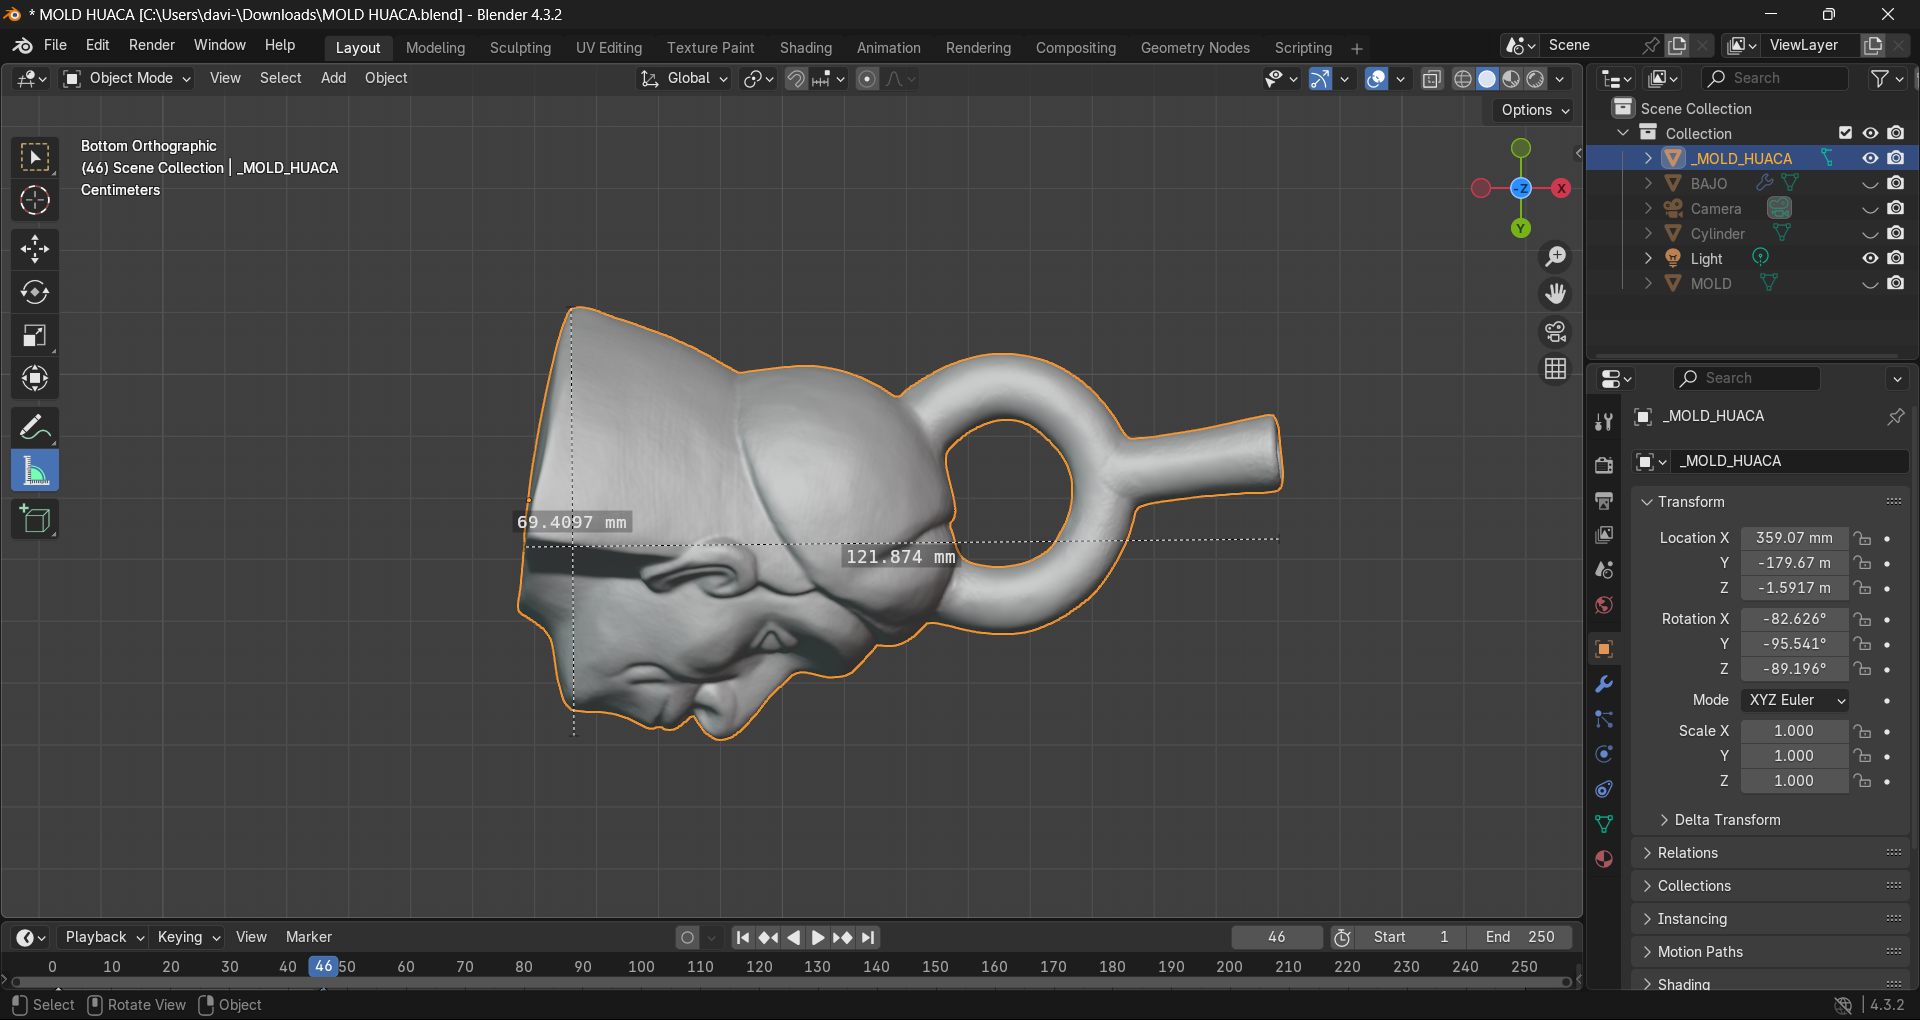
We designed a rectangular container with tabs for our 3D model and centered it.
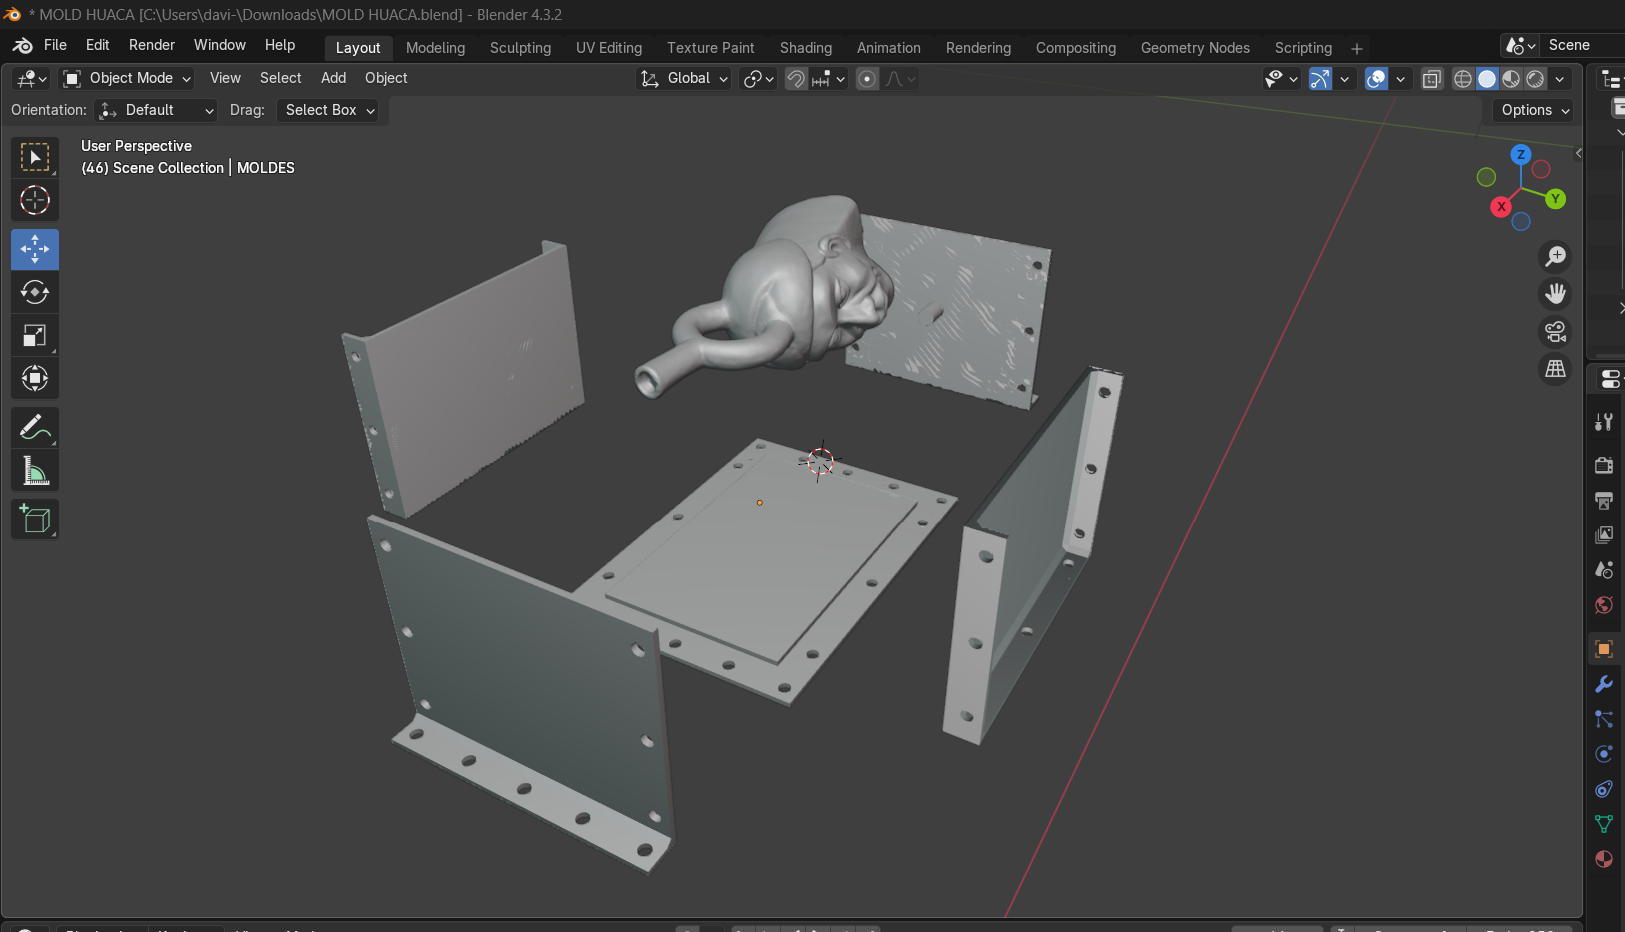
We will add a cylindrical support on the lower wall and make a hole at the bottom of the 3D model so they fit together when assembled.
3D Printing the Parts for My Mold
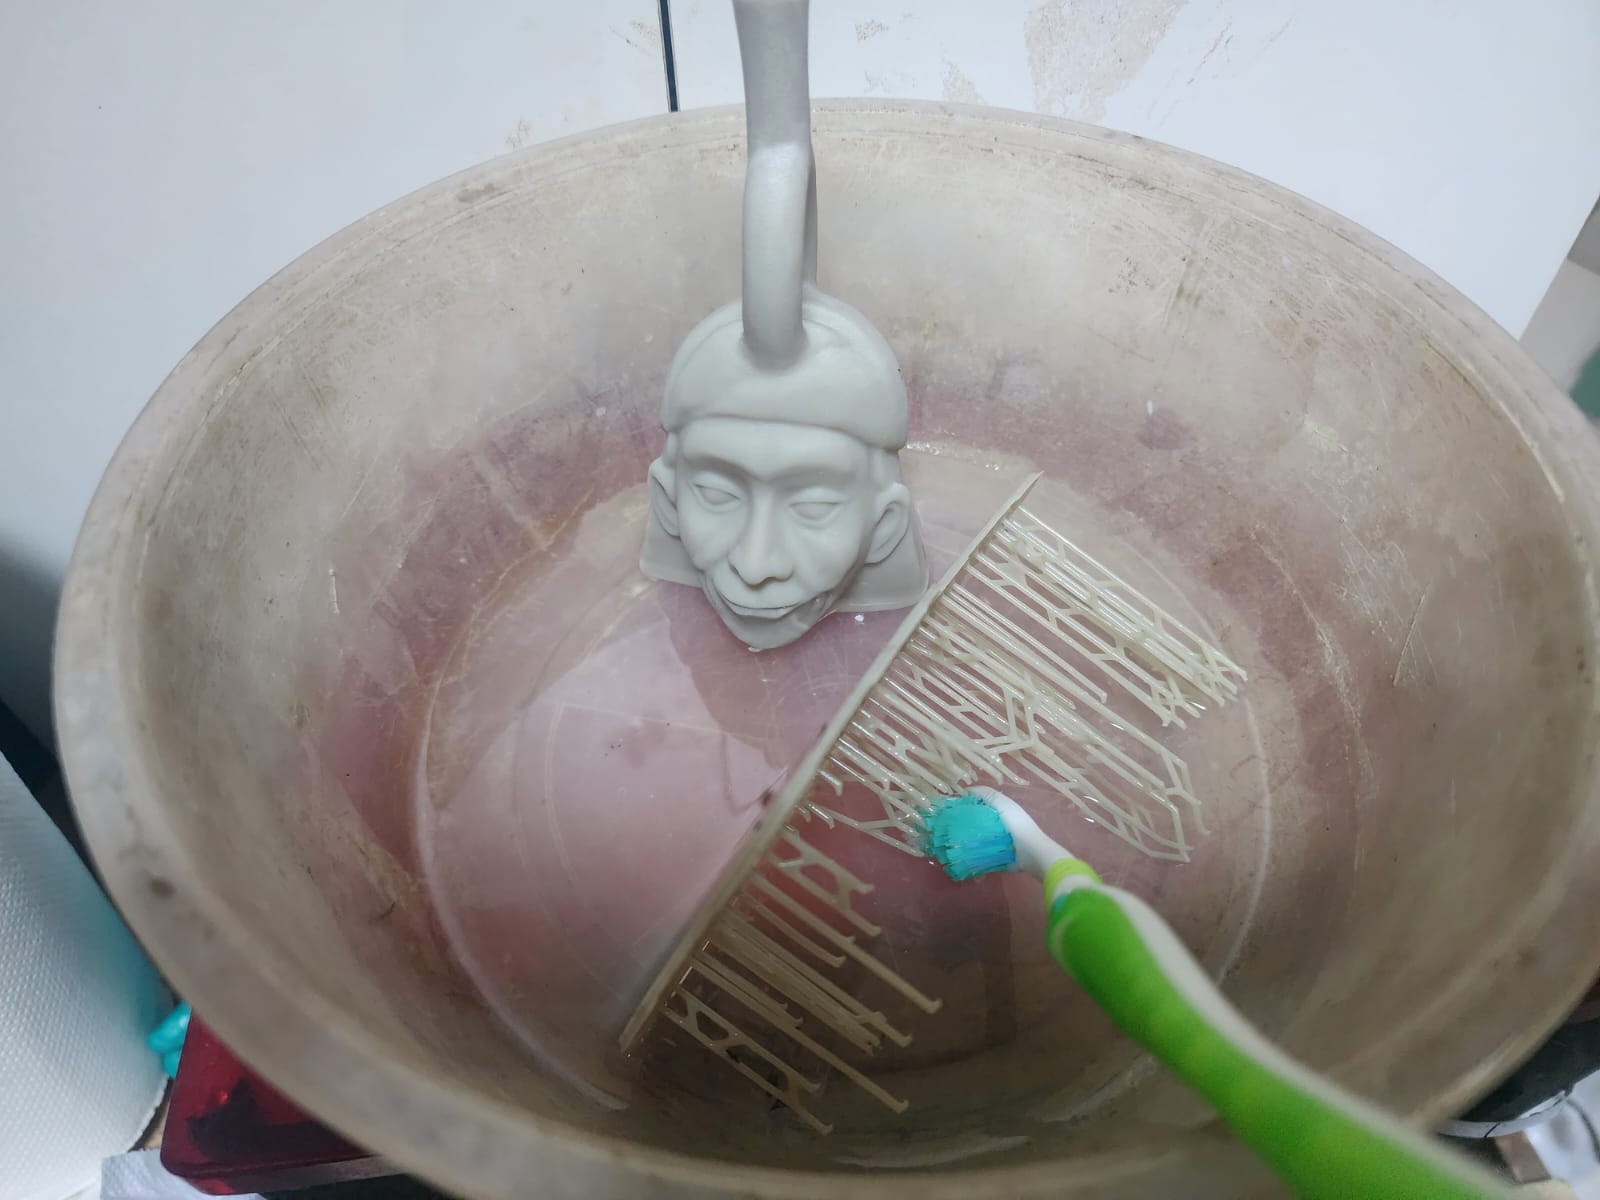
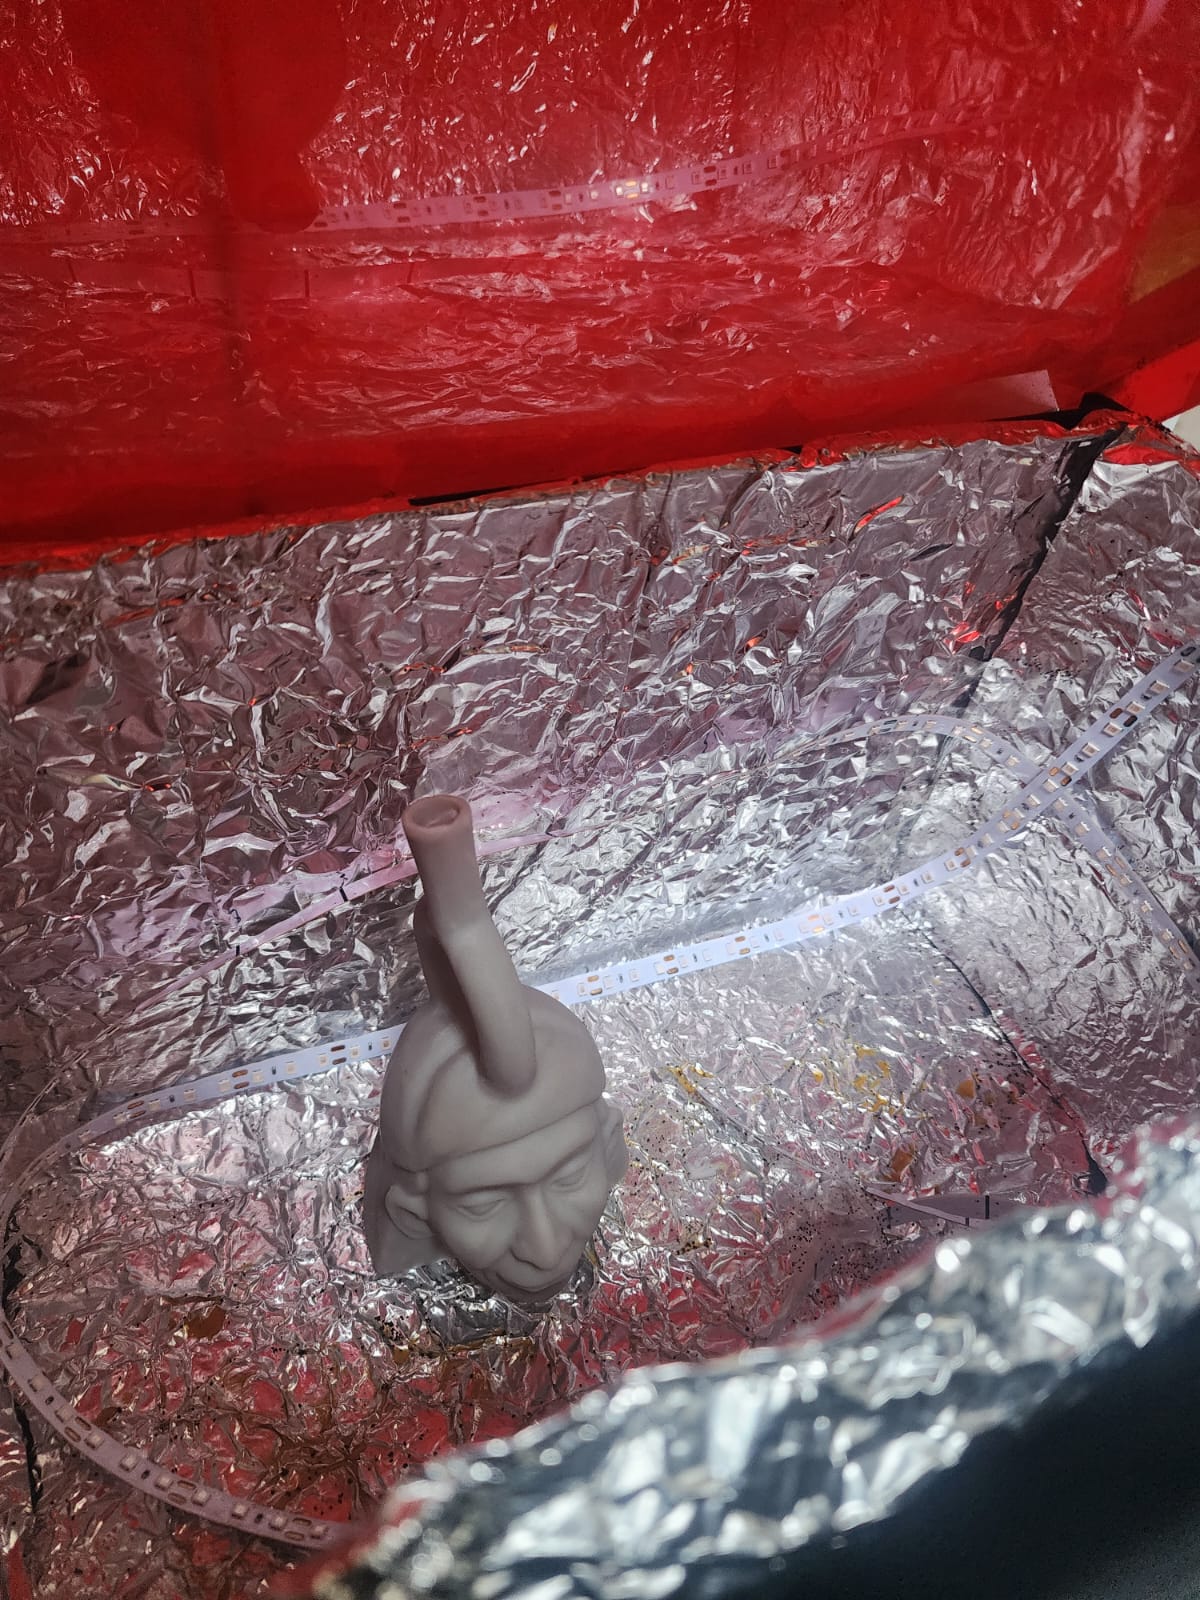
We will first print our latest huaco in resin. For that, we will open Chitubox, use the medium quality configuration, slice the model, and send it to the printer with the shown parameters.
We wash with isopropyl alcohol, then cure and dry in a ventilated environment.
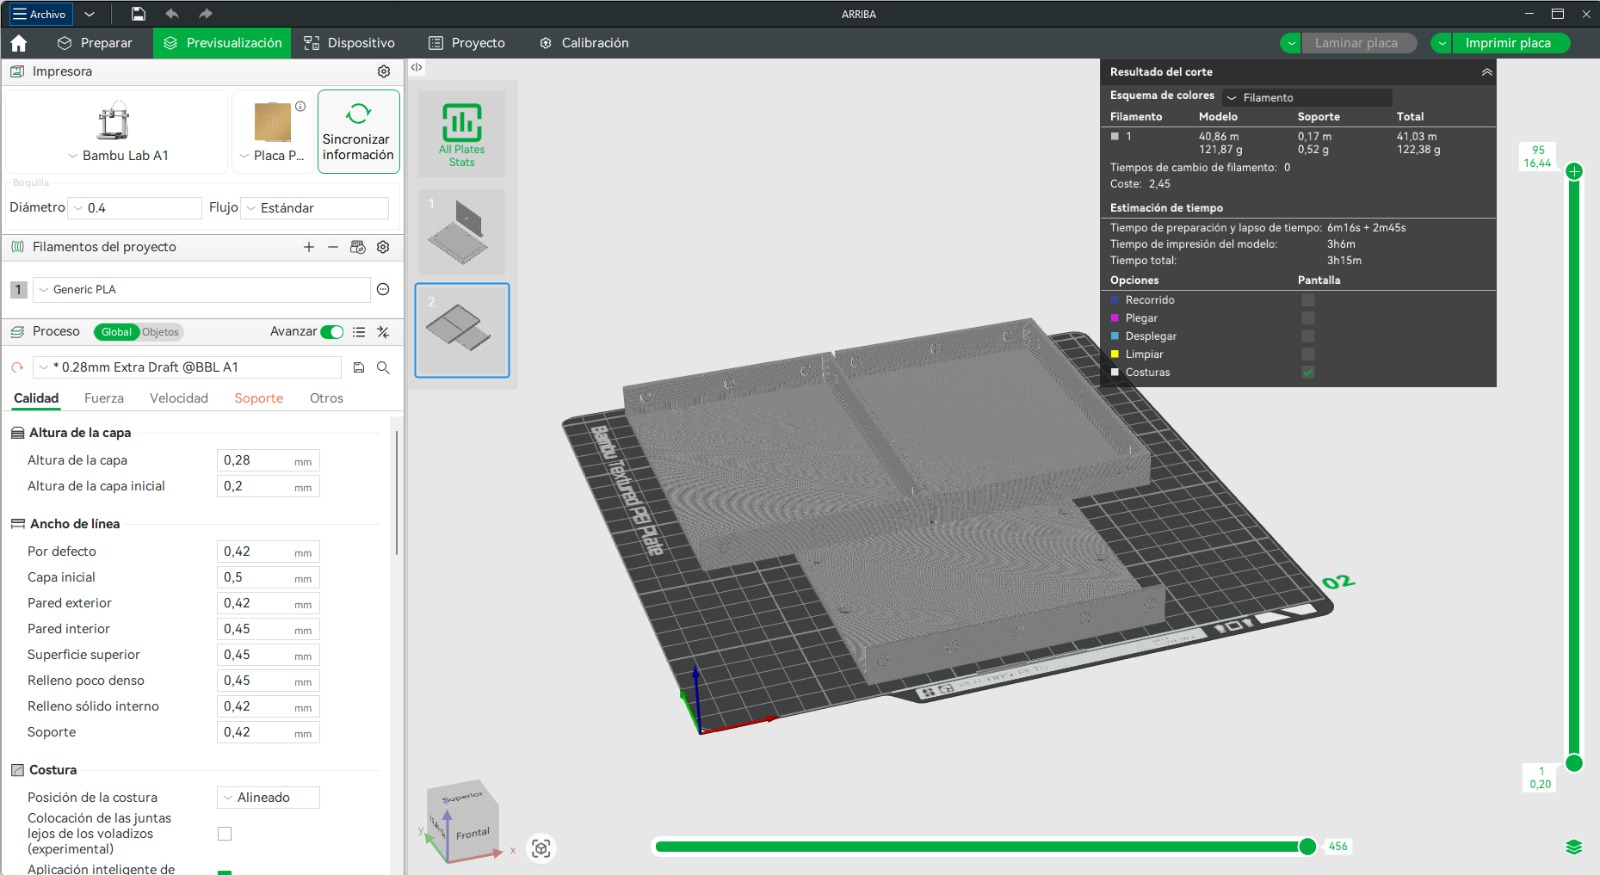
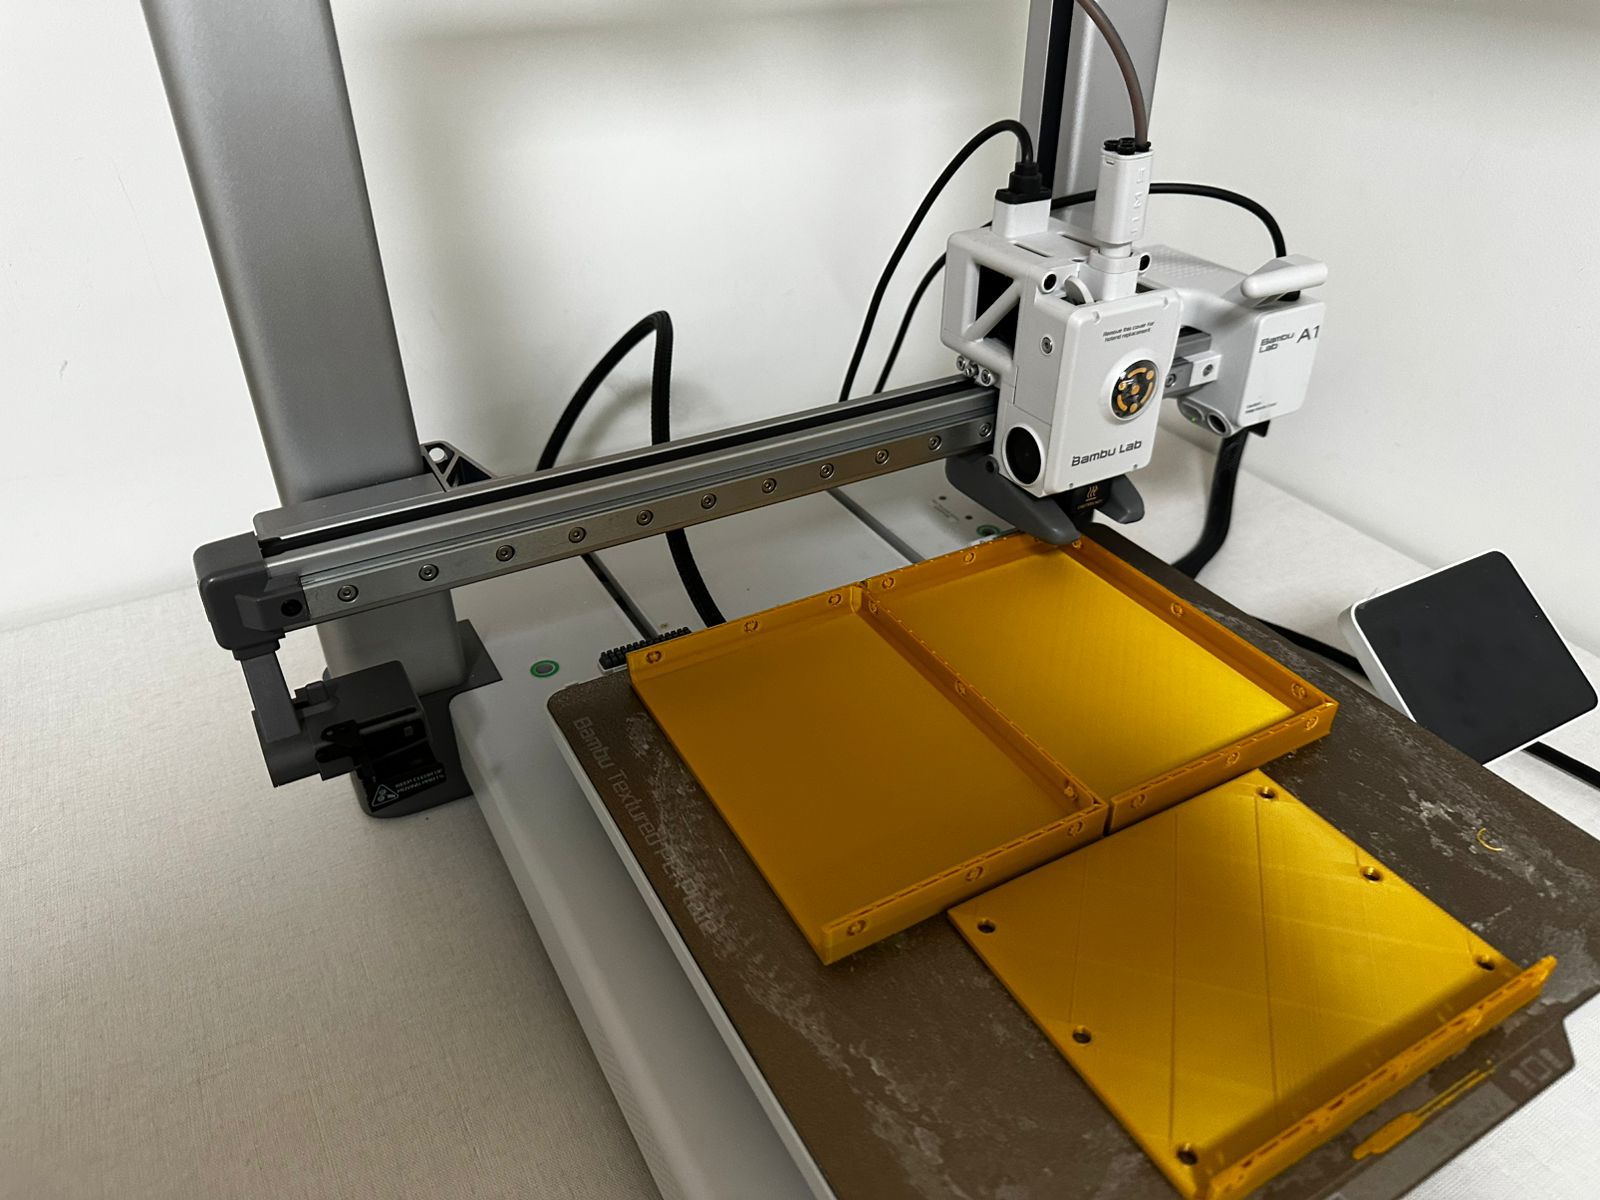
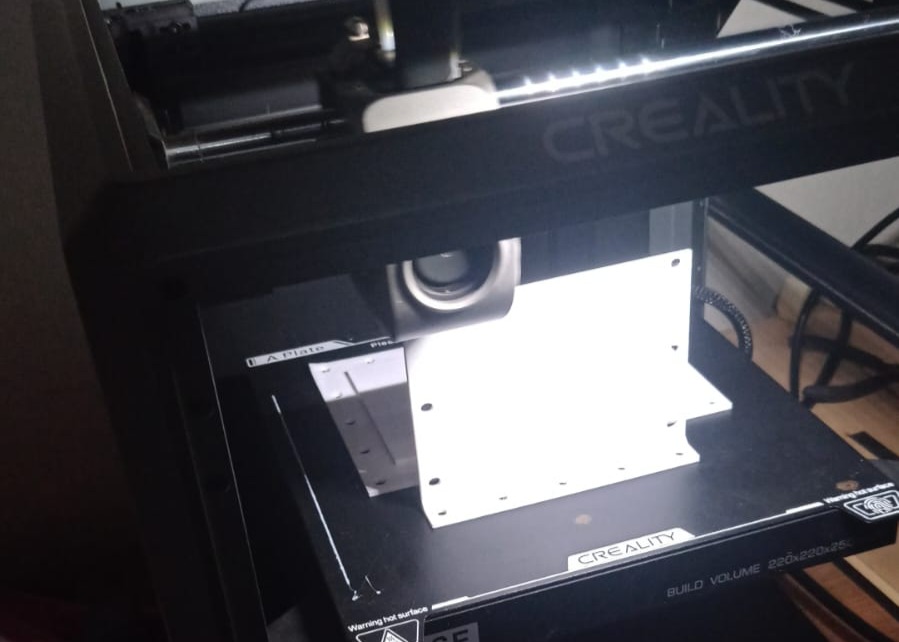
Now we will print the container using FDM; in this case it was done on 2 different printers with different PLA filament.

Preparing and Assembling Our Mold
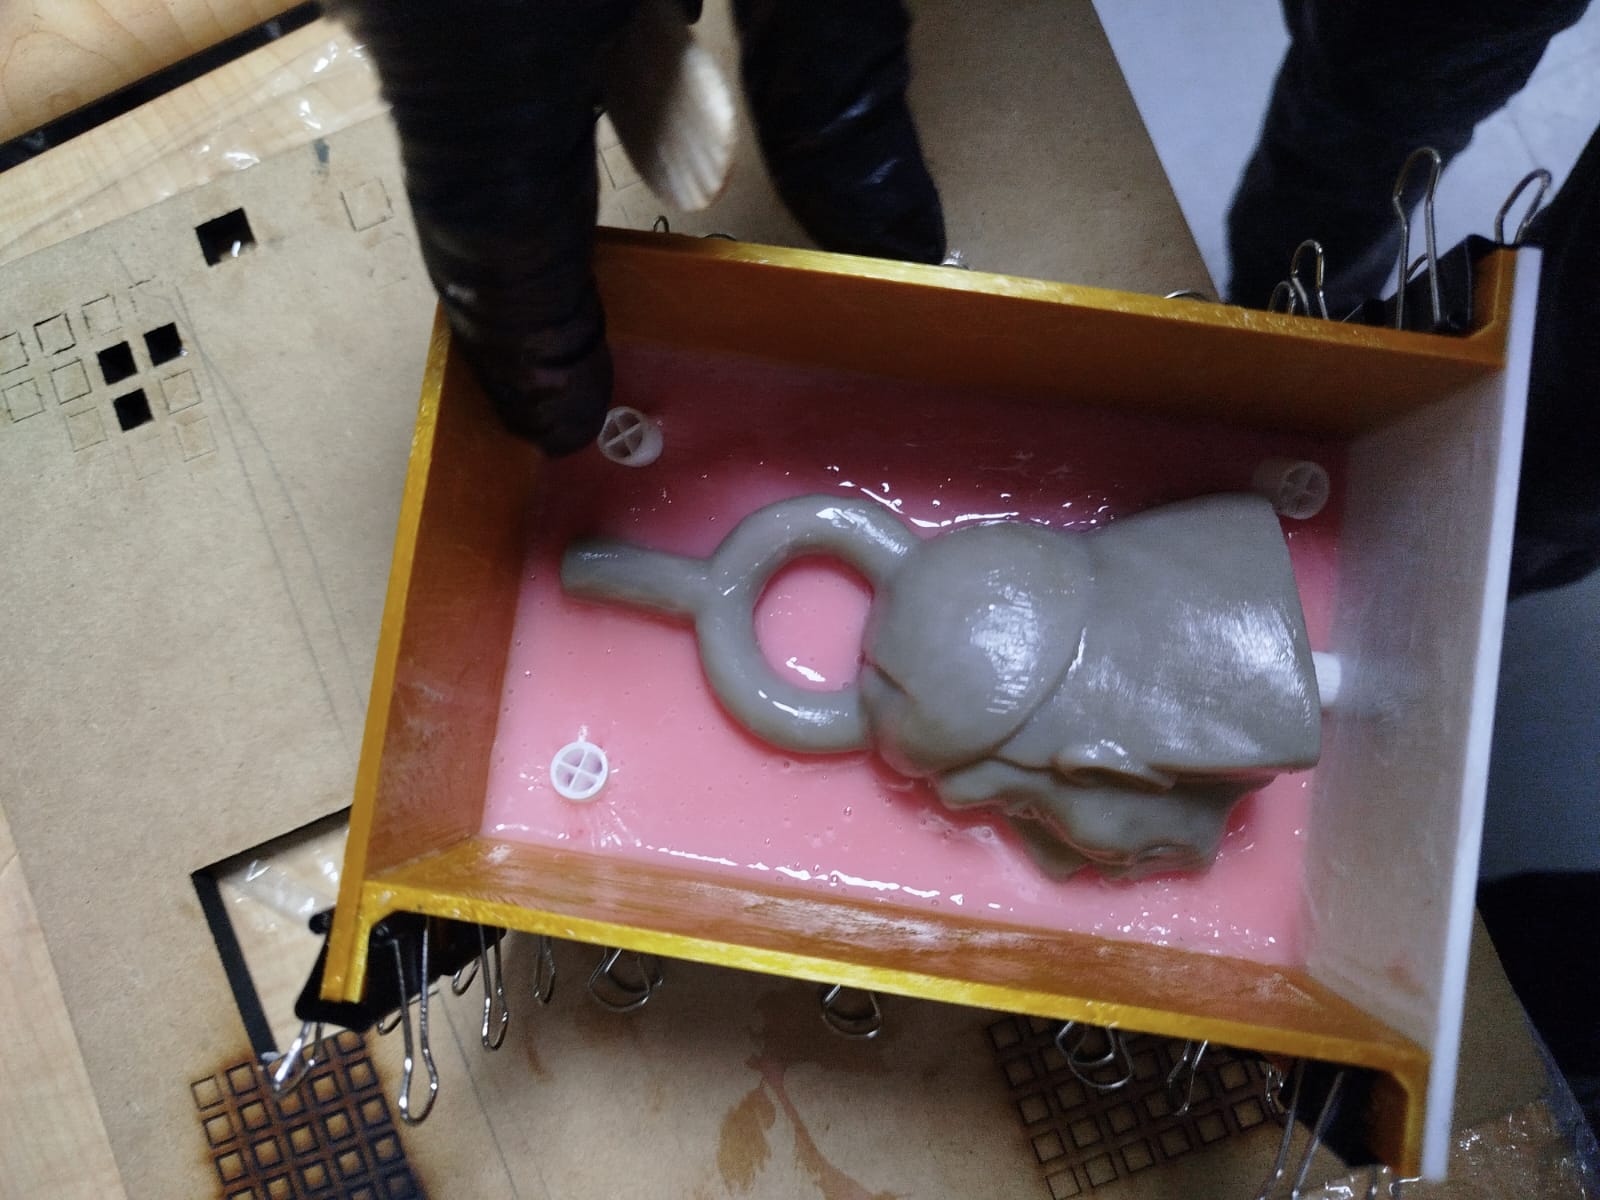
We sand our huaco and the mold before assembling, then put them together using binder clips.
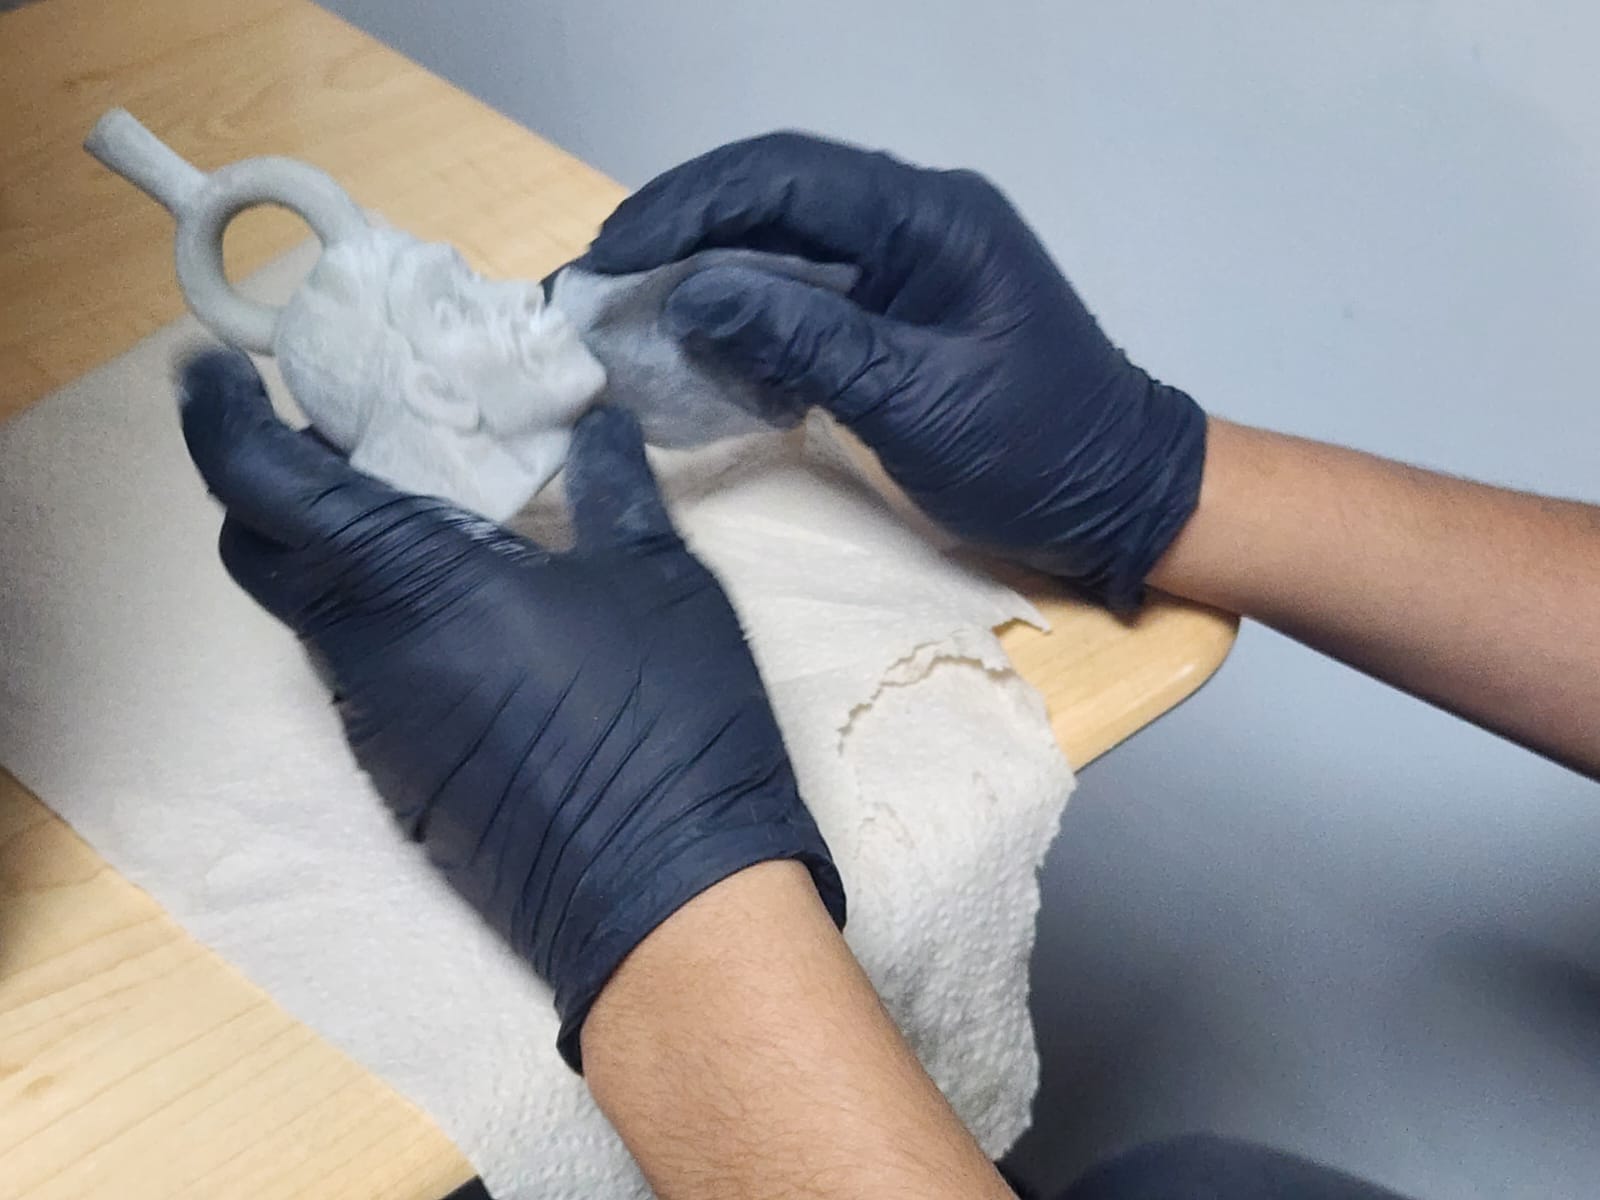
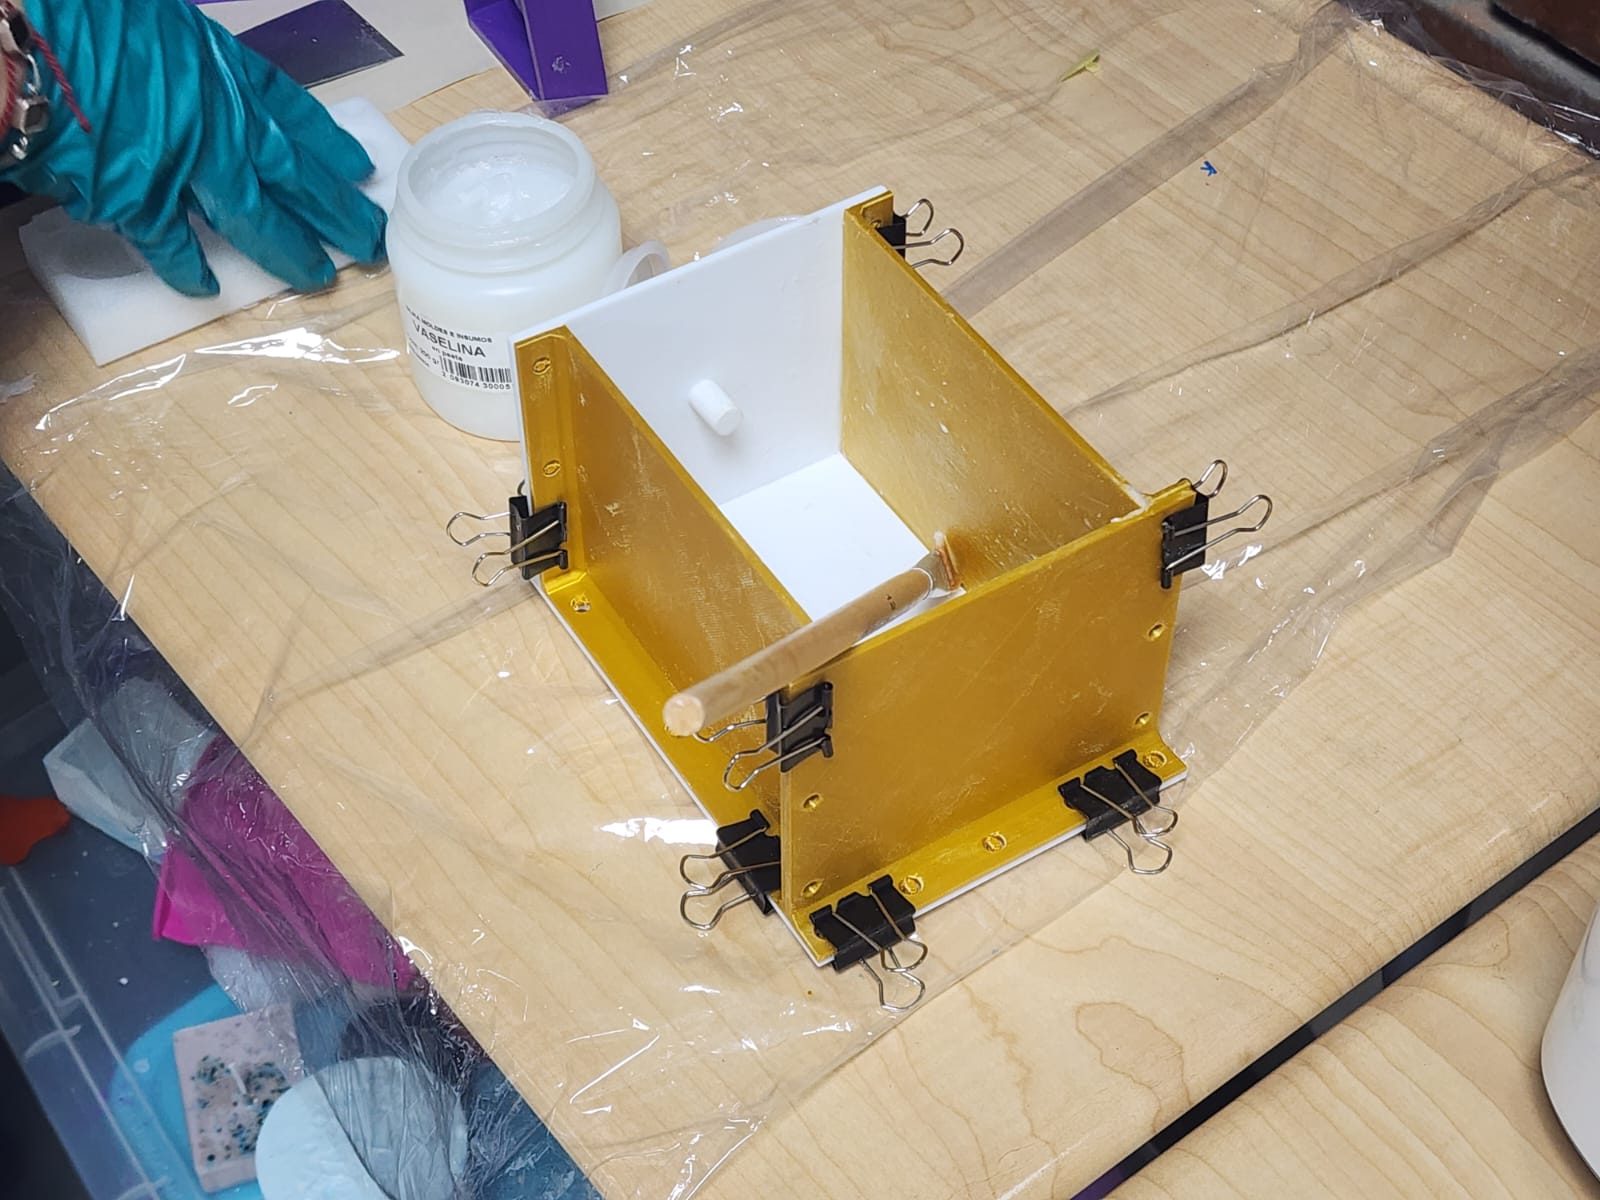
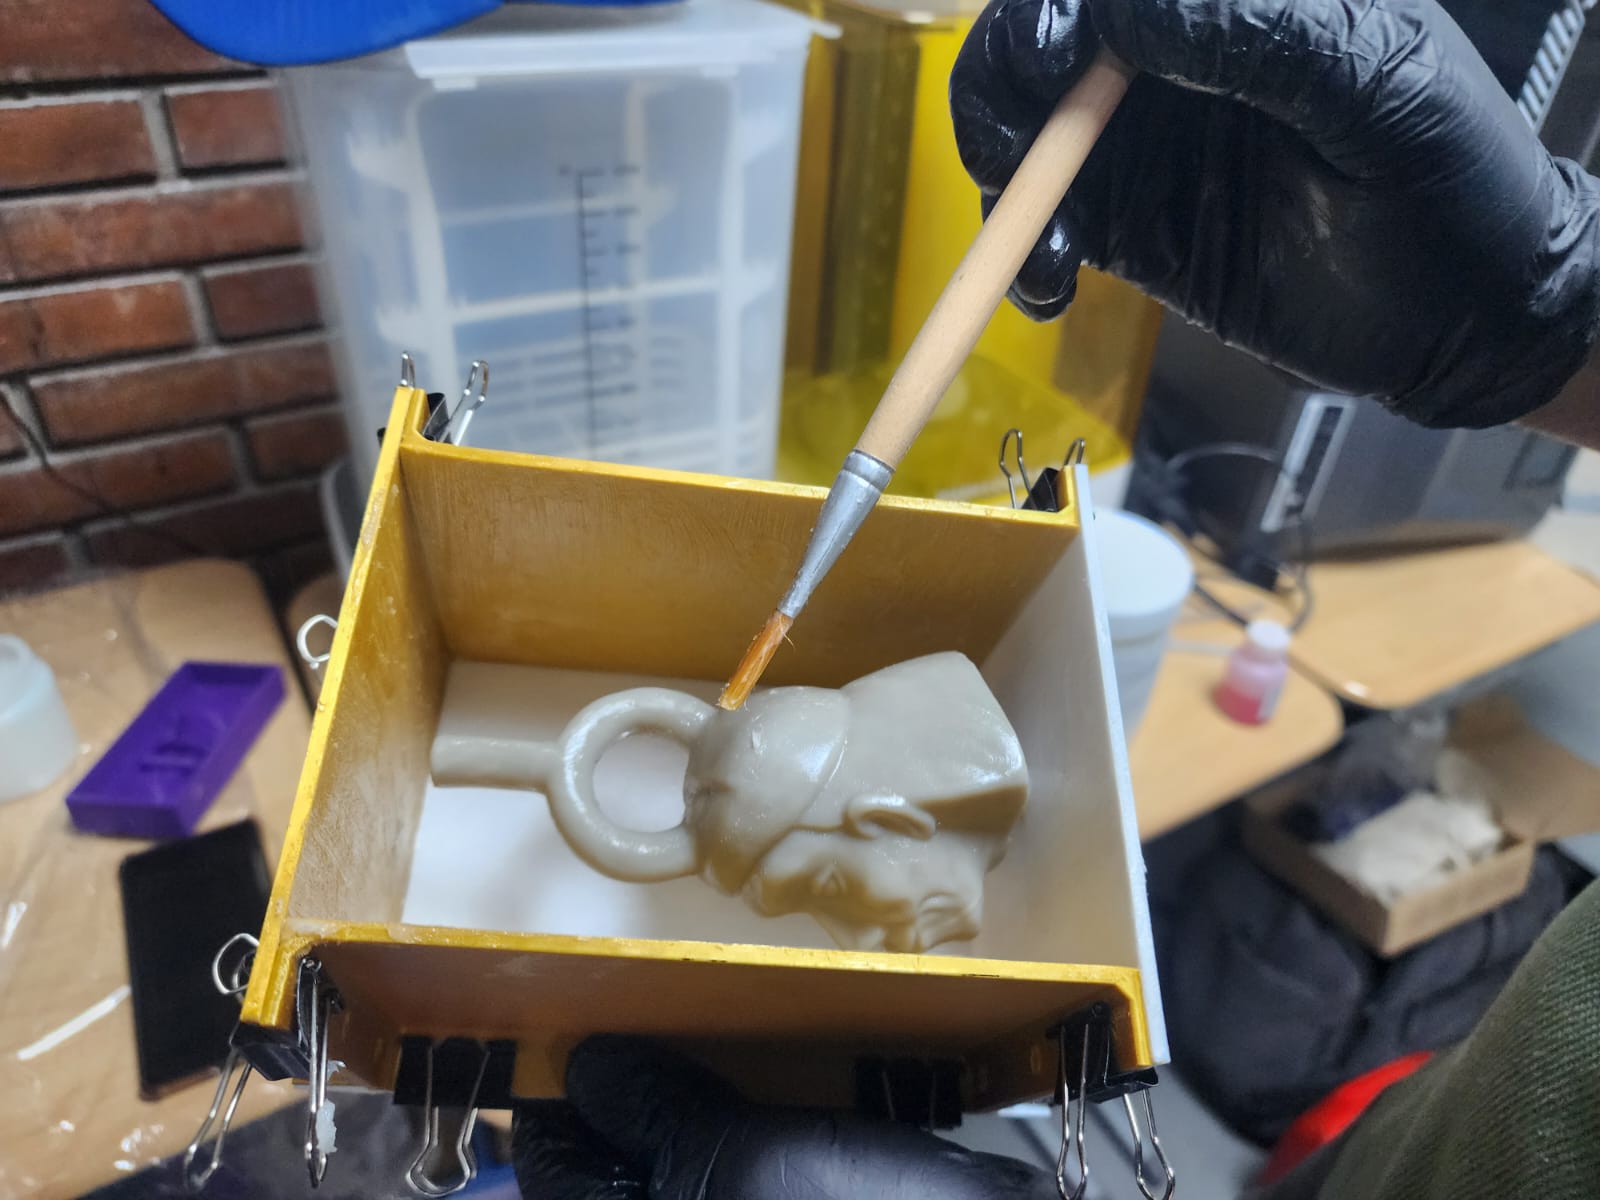
We will use petroleum jelly to facilitate demolding, applying it with a brush.
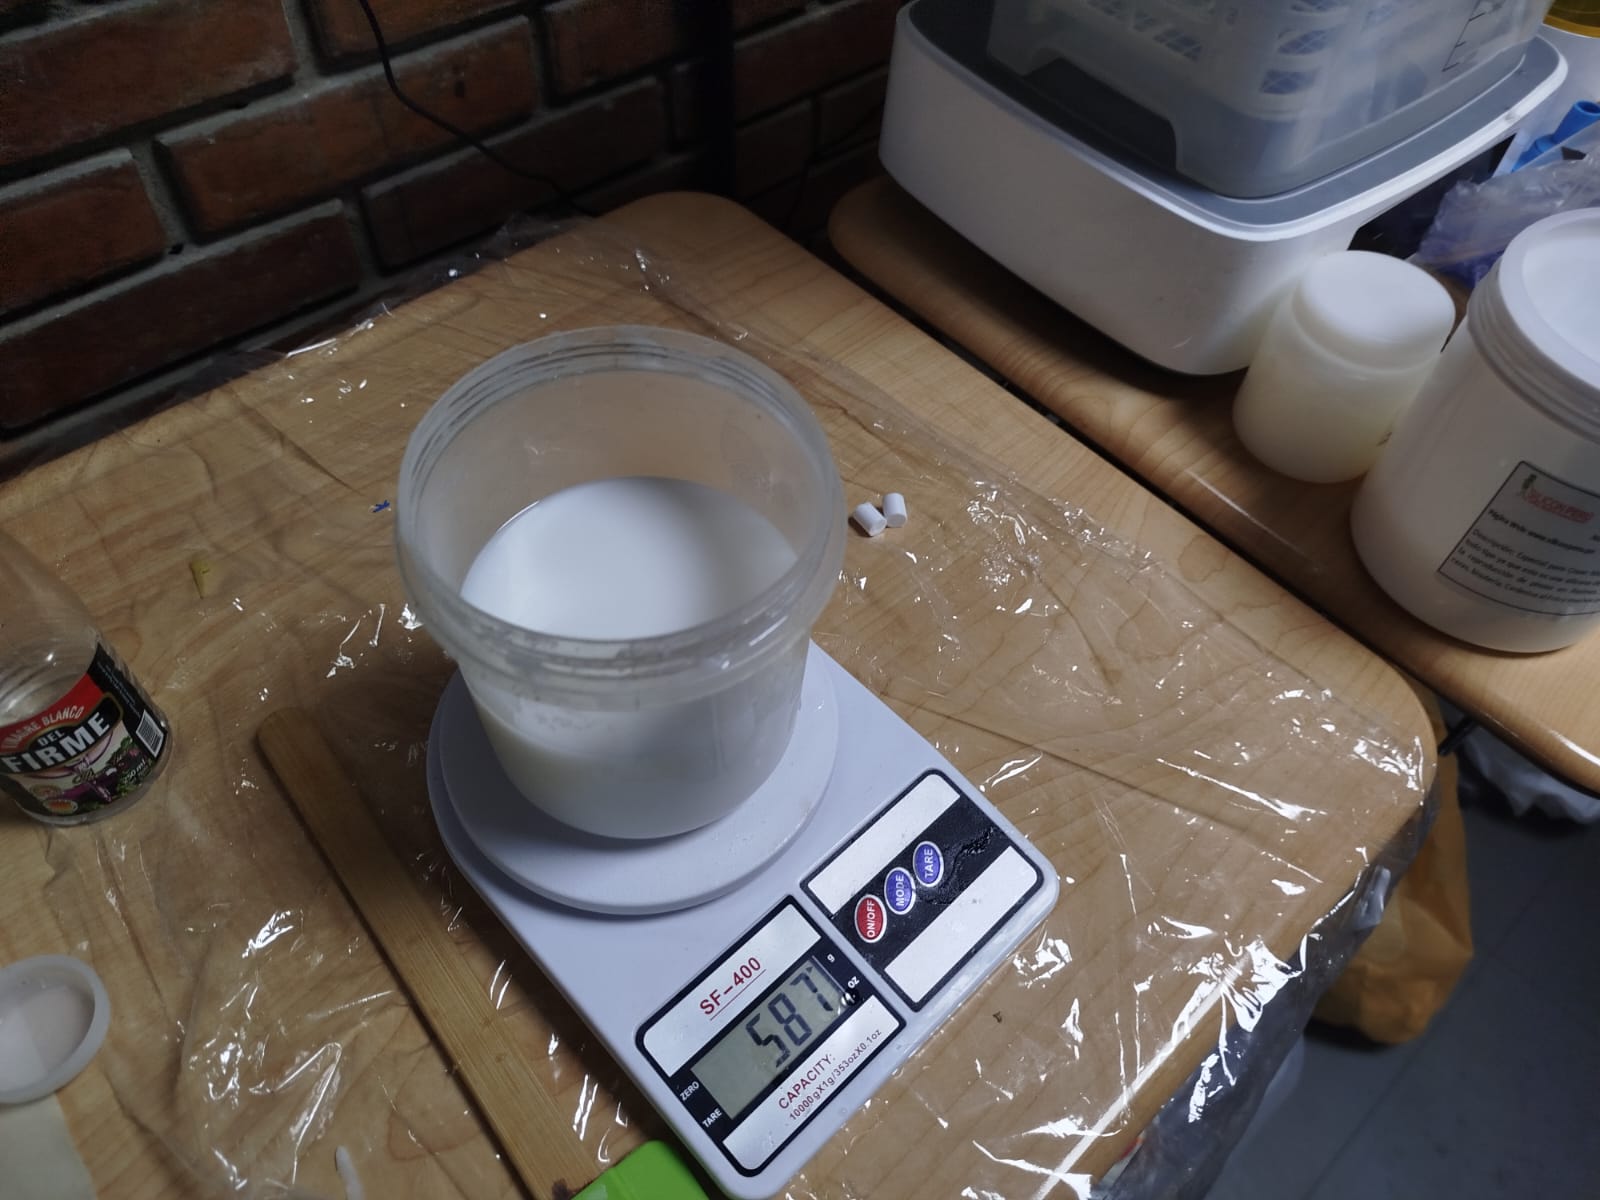
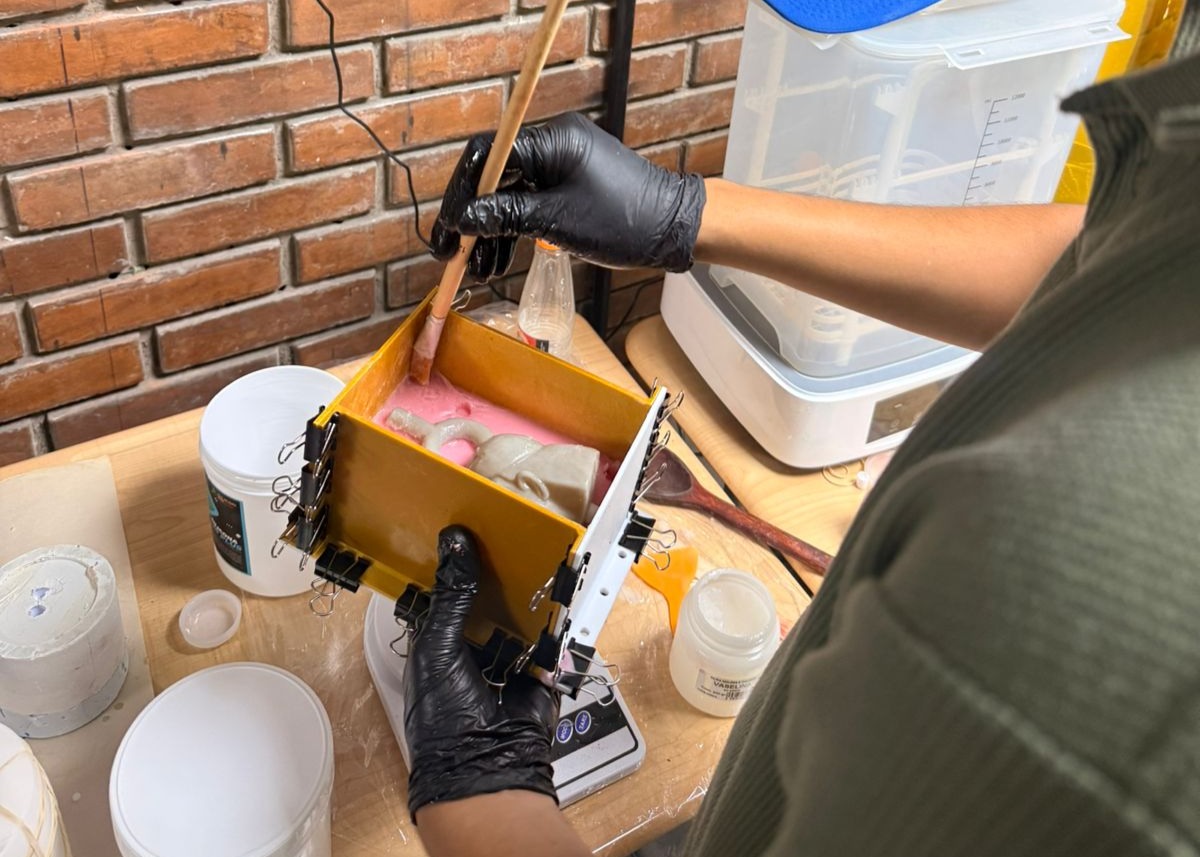
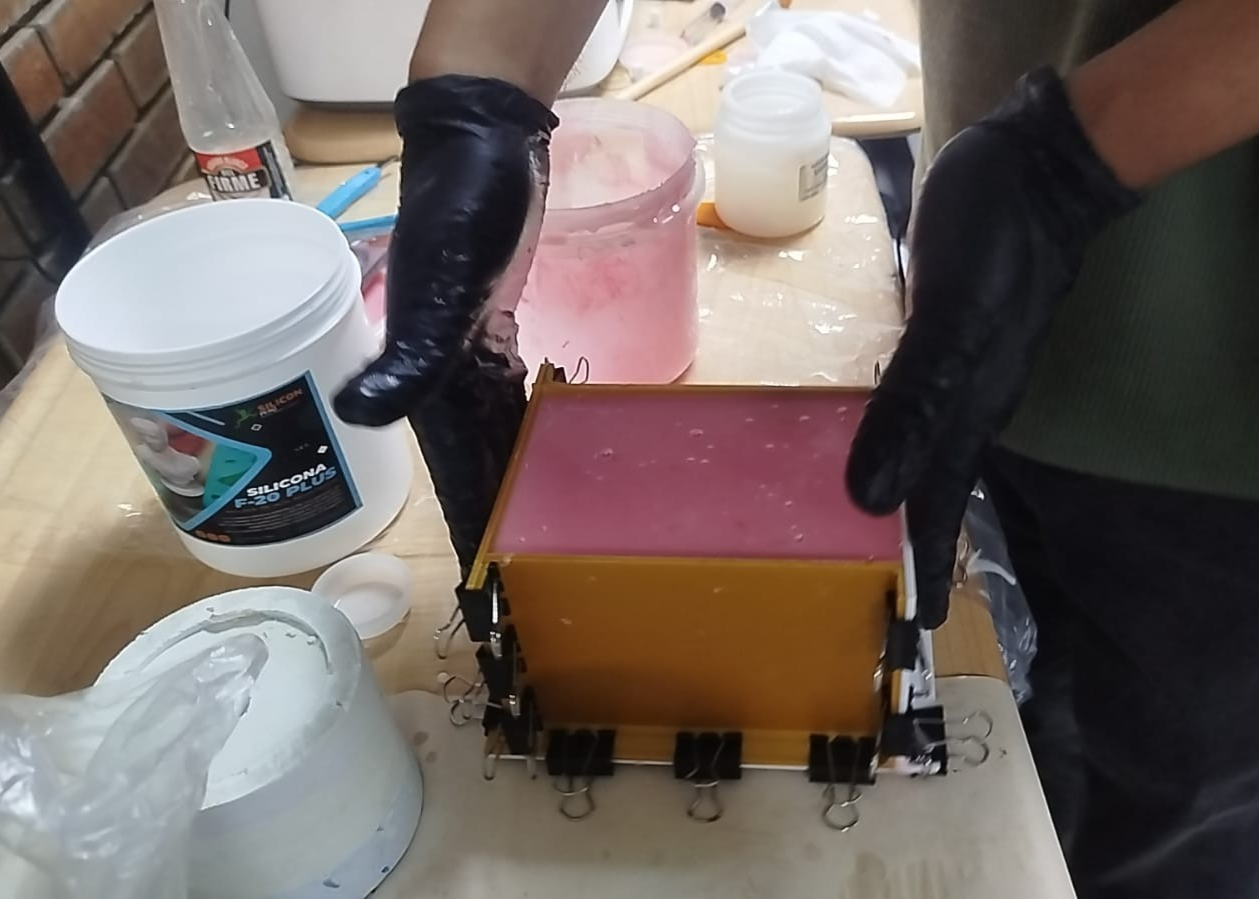
In this exercise I used F20 silicone with an F10 catalyst as recommended by the supplier. We weighed the silicone and added an approximate dose of 18ml of catalyst for the 600g of silicone, then mixed it for about 3 minutes until it was completely homogeneous.
We pour evenly into the mold and then tap it a few times to eliminate air bubbles, then let it cure for a couple of hours.
I also added some printed caps to serve as connectors between face A and face B of the mold.
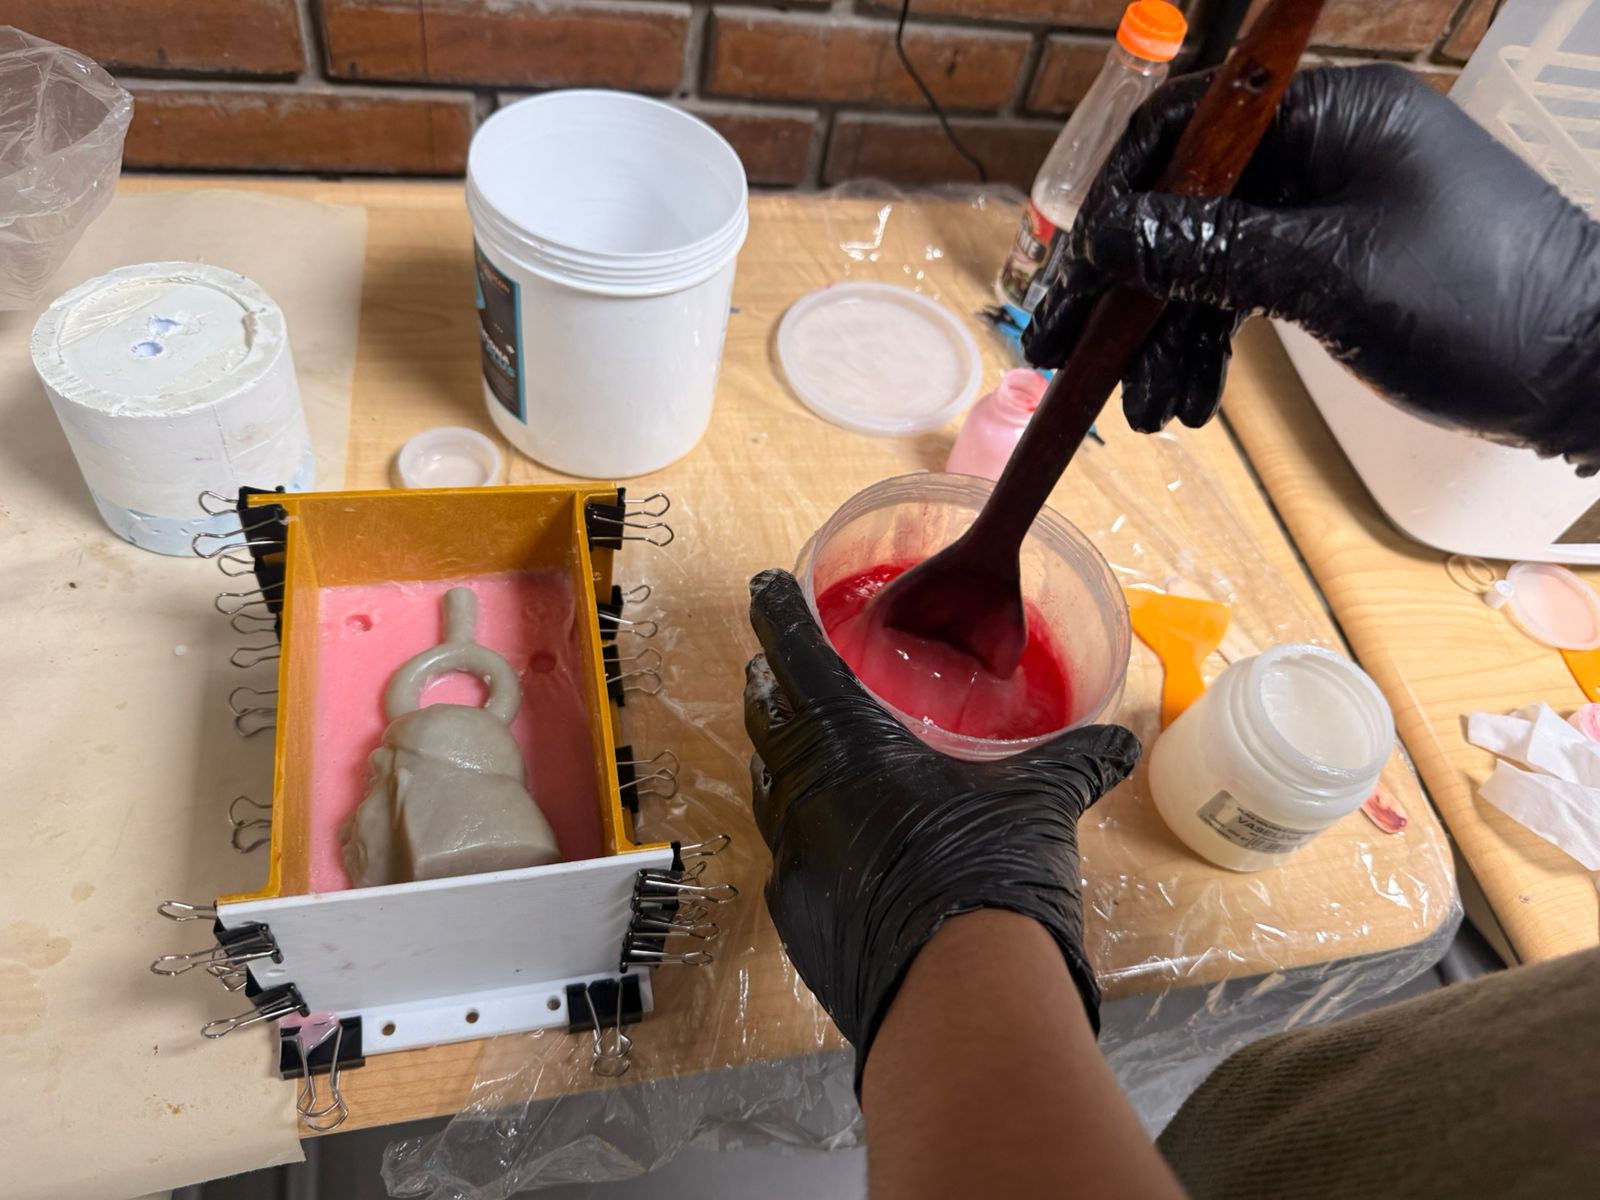
Once face A of the mold has dried, we remove the guide caps and apply petroleum jelly over the entire surface.
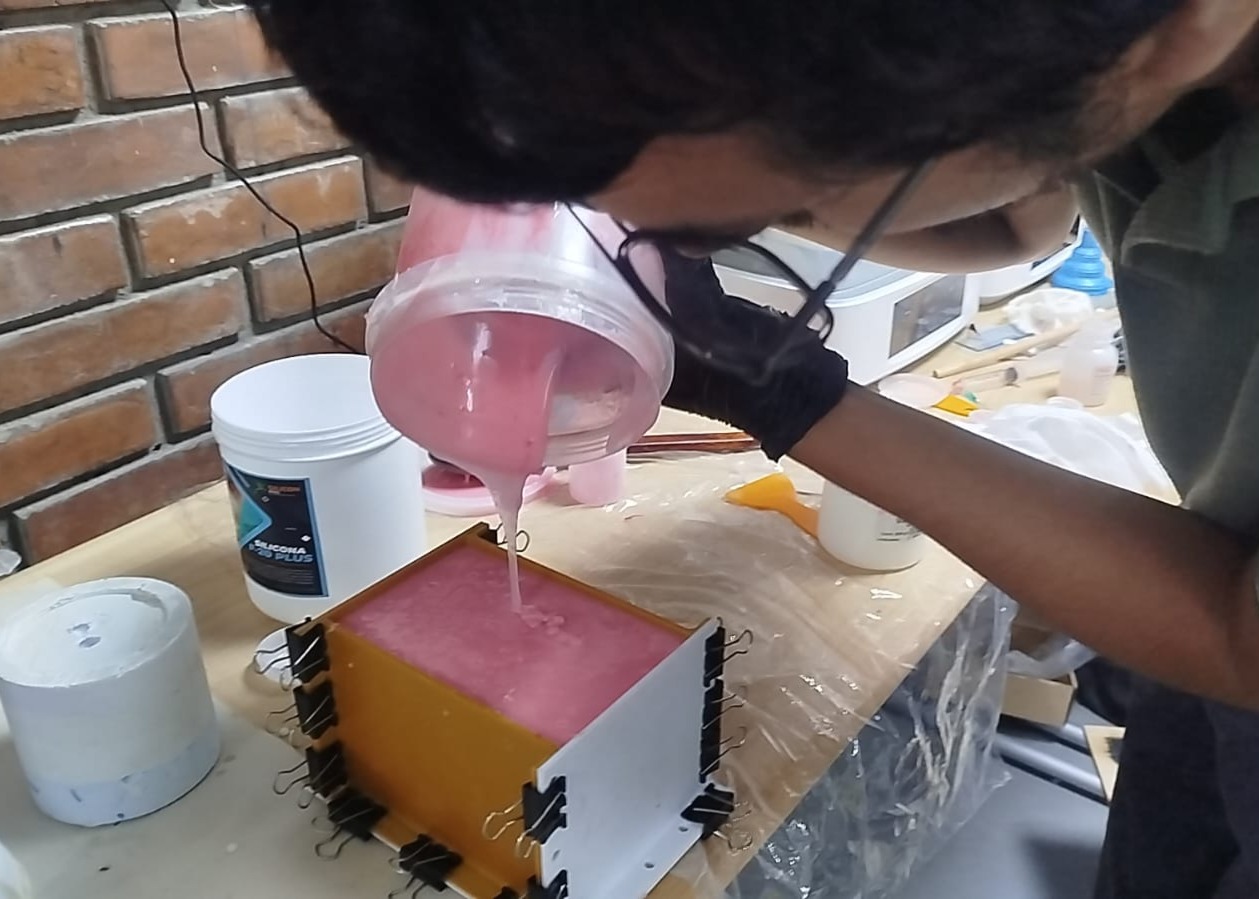
We make the second silicone mix with the same ratio and pour it over our mold until it is almost full, then tap it a few times to remove air bubbles and let it cure (I left it to dry overnight).
Once the mold is dry, we remove the binder clips from the counter-mold and separate it to see the result.
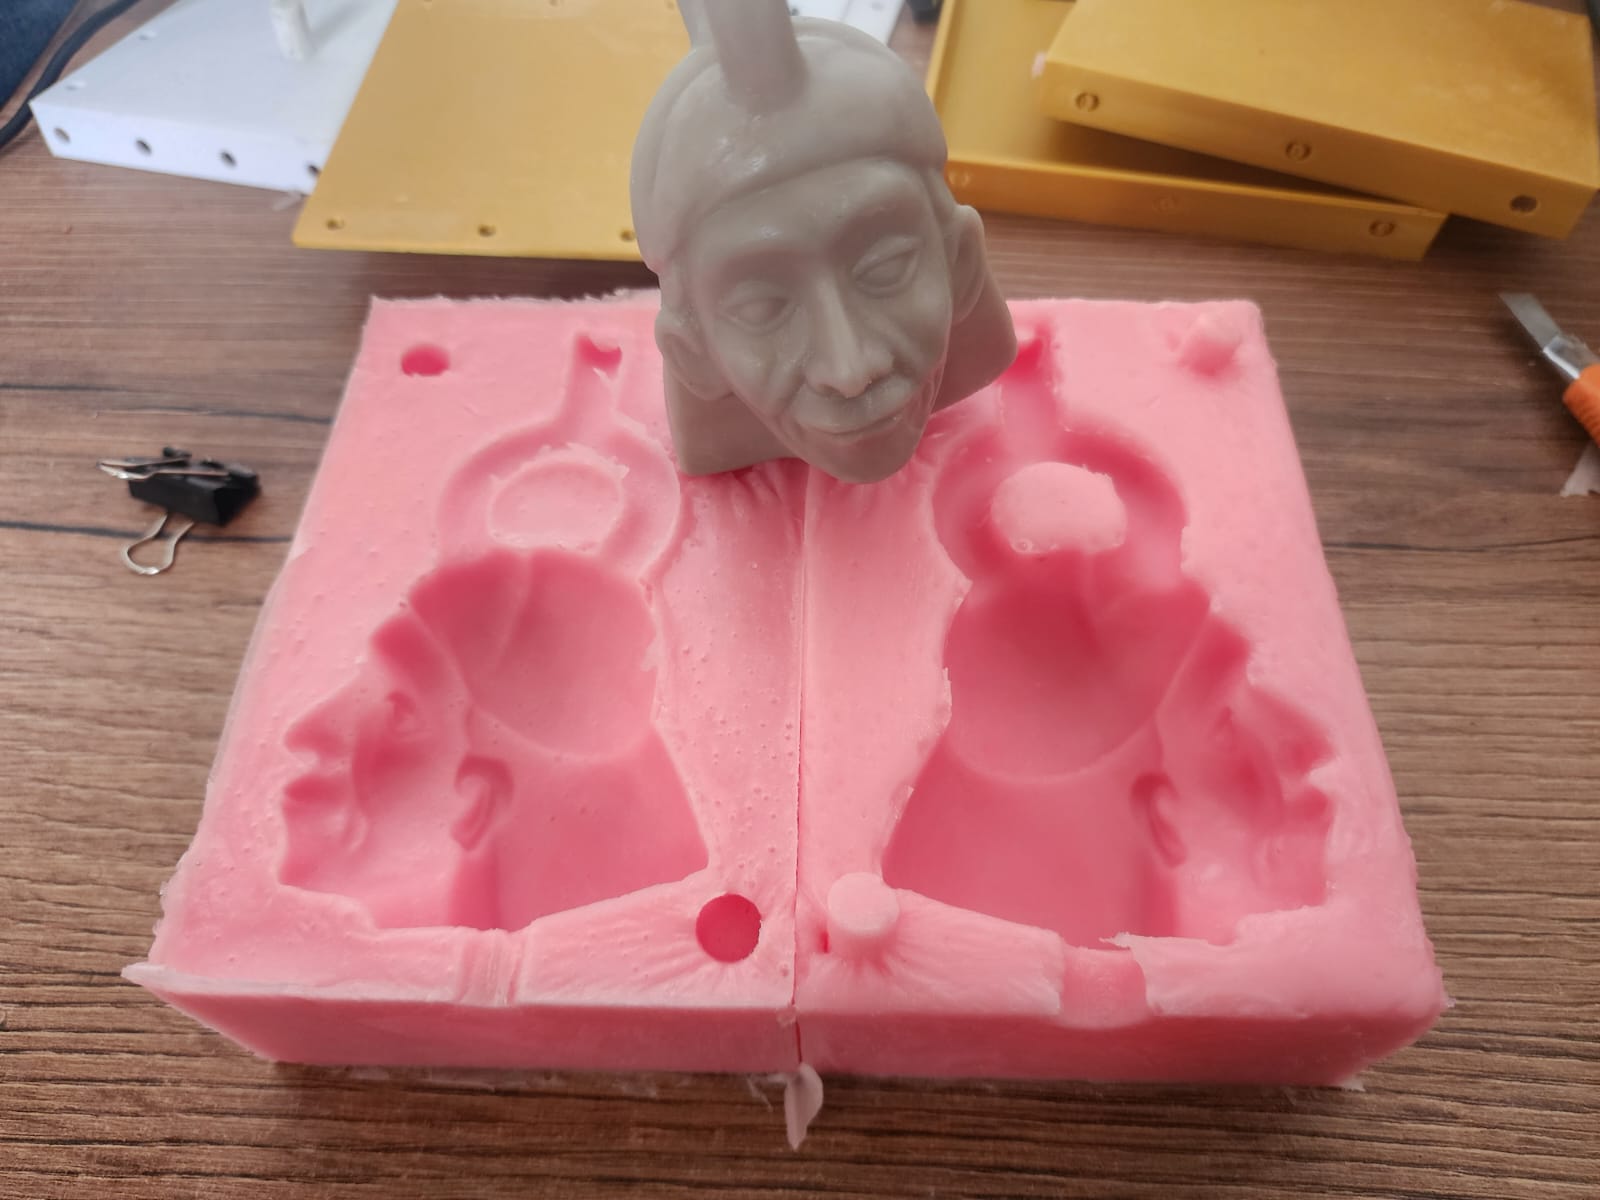
Then we join both parts of the mold and secure them with rubber bands in 2 directions so it doesn't move when pouring.
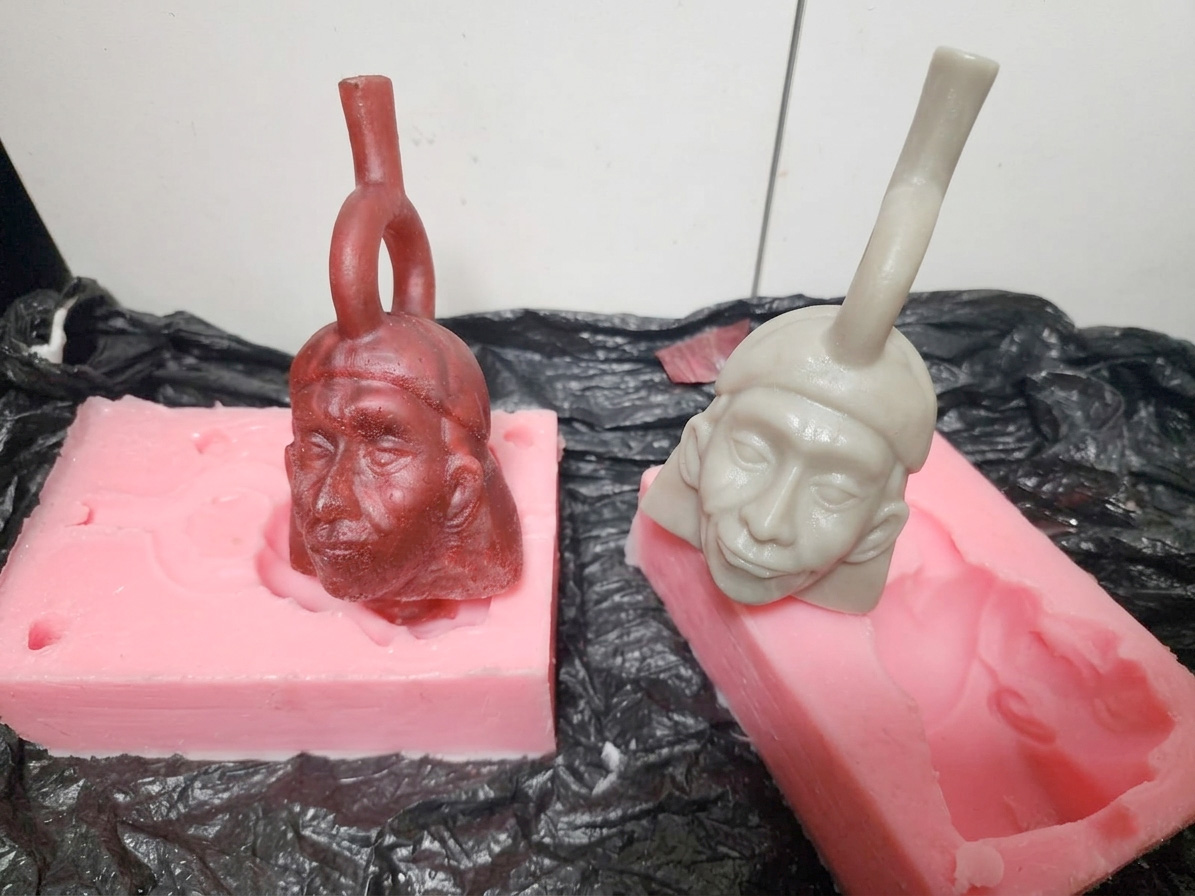
For our casting we will use "Epoxy Craft Resin A-B". This type of mix is used in a 1:1 ratio by volume — in this case we used 120ml of part A and 120ml of part B, mixed them separately and then combined them completely. We then added a small amount of "MICA-ROSE PERLADO" pigment to color the resin, mixed it in our container, and injected it into the mold with a syringe, letting it cure for 24 hours.
We remove all the rubber bands and take out our model, sand it lightly, and compare the result with our 3D print.