WEEK 05
3D Scanning and Printing
Group assignment:
- Test the design rules for your 3D printer(s).
- Document your work on the group work page and reflect on your individual page what you learned about characteristics of your printer(s).
What I Learned From Teamwork

PRINTERS
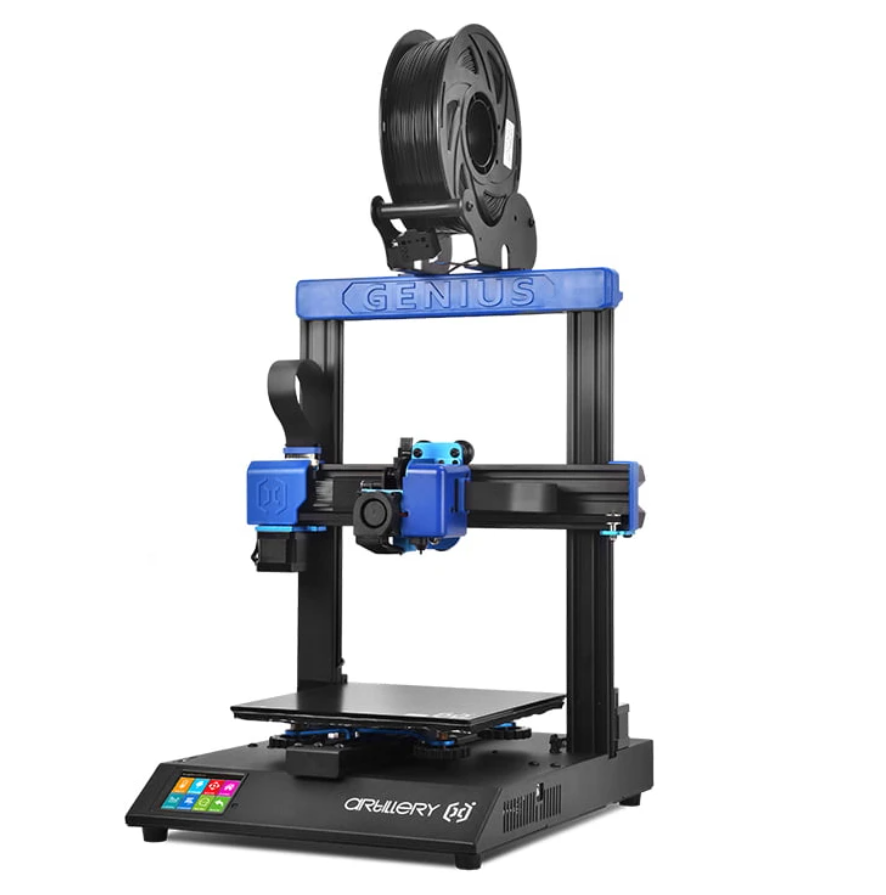
Artillery Genius Pro - (CARMEN)
- This machine has a working area of 220 mm x 220 mm x 250 mm.
- A printing speed of 60 mm/s to 150 mm/s.
- A 0.4 mm extruder
- A maximum consumption of 10 V and 500 W (with the heated bed on) and an XYZ printing resolution of 0.05 mm, 0.05 mm and 0.1 mm.
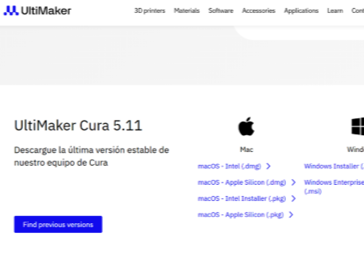
- The cutting program used was Ultimaker Cura version 5.5.0.
Common materials you can use
- PLA (Polylactic Acid): easy to print, ideal for beginners.
- ABS: harder and more resistant, but can warp if you don't control the temperature.
- PETG / Flexible PET: good combination of strength and flexibility.
- TPU / Flexible filament: direct drive extruders make printing flexibles easier.
- Wood filaments: (PLA with wood particles) – decorative effect.
- PVA and HIPS: soluble filaments or special materials for support.
Test the design rules
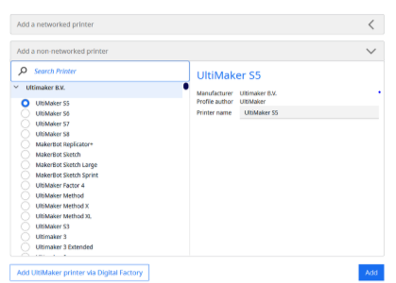
To perform a 3D print with the Artillery Genius Pro using Ultimaker Cura, you must first download and install the program from its official website, making sure to choose the version compatible with your operating system. Once installed, open the software and add the printer using the "Add Printer" option, configuring it as a custom FFF printer and entering its working dimensions (220 x 220 x 250 mm), 0.4 mm nozzle, and 1.75 mm filament. Next, before starting any print, it is essential to level the print bed. To do this, preheat the printer, place a sheet of paper between the nozzle and the print surface, and adjust the screws at the four corners until you achieve slight friction with the paper.
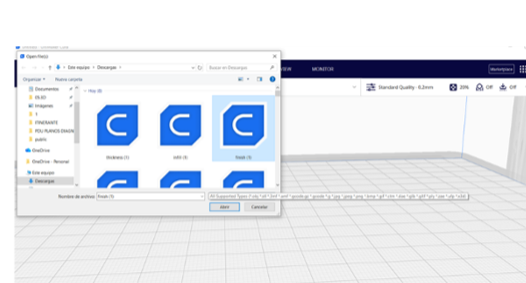
Next, the STL file is imported into the software, verifying that the model appears correctly in the
workspace and making any necessary adjustments such as scaling, rotation, or centering. Then, the printing
parameters are configured according to the material used; for example, for PLA, a nozzle temperature of 200
°C, a bed temperature between 55 and 60 °C, a layer height of 0.2 mm, and a slightly higher initial layer
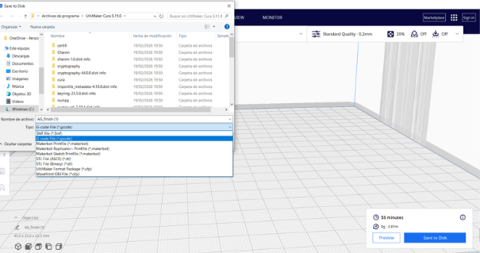
height to improve adhesion are recommended. Once the parameters are defined, the slicing process is
performed, which generates the file in G-code format. Finally, the file is saved to a USB drive, inserted
into the printer, the file is selected from the touchscreen, and printing begins, paying particular
attention to the first layer to ensure proper adhesion and a high-quality final result.
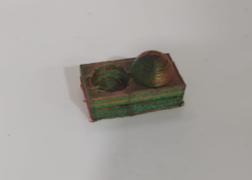
In the surface finish test, the Artillery Genius Pro successfully printed the model according to the established design; however, a slight excess of filament was observed, resulting in stringing and a less clean finish compared to the reference piece. To optimize the results, the printer was calibrated using the temperatures recommended by the filament manufacturer, ensuring that the print was performed with appropriate parameters and reducing potential errors. Subsequent tests showed a progressive improvement in surface quality thanks to further calibration of parameters such as retraction, flow, and temperature, although there is still room for optimization to achieve a finer and more precise finish.
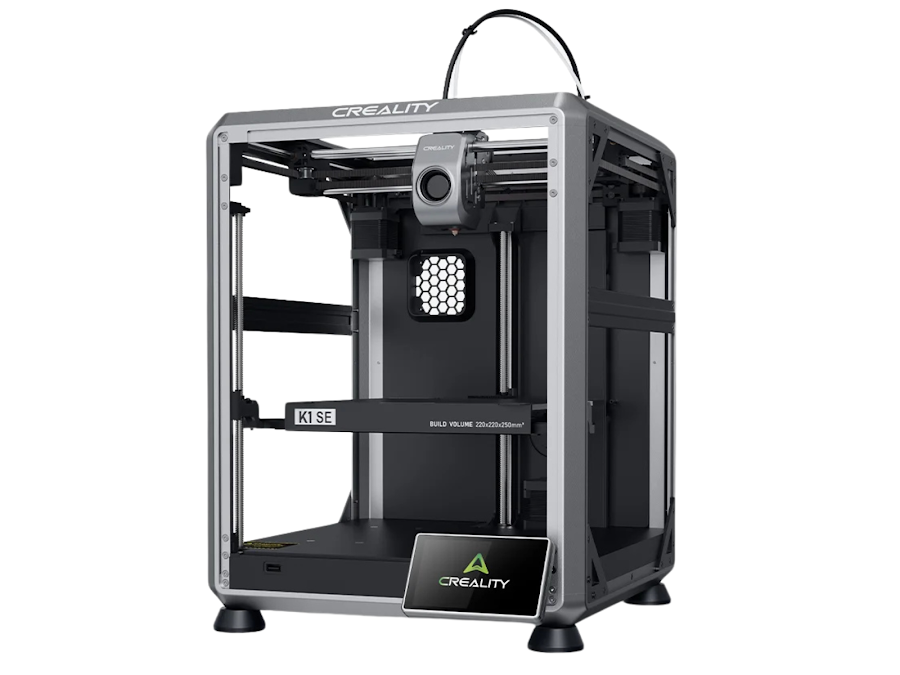
CREALITY K1 SE - (DAVID)
Build Volume: 220 x 220 x 250 mm
Max Speed: Up to 600 mm/s (with acceleration up to 20,000 mm/s²).
Extruder: Dual Gear Direct Drive type (direct drive extruder with dual gears for firm filament grip and stable feeding). Standard nozzle diameter: 0.4 mm (can be changed to others if needed).
Key Features:
- Tri-metal nozzle (copper with steel tip and titanium heatbreak), wear-resistant, blocks heat-creep, and is easily replaced.
- CoreXY system, which provides higher speed and movement precision with fewer vibrations.
- Hands-free auto leveling to adjust the bed easily.
- Flexible PEI-coated plate that makes removing parts easier.
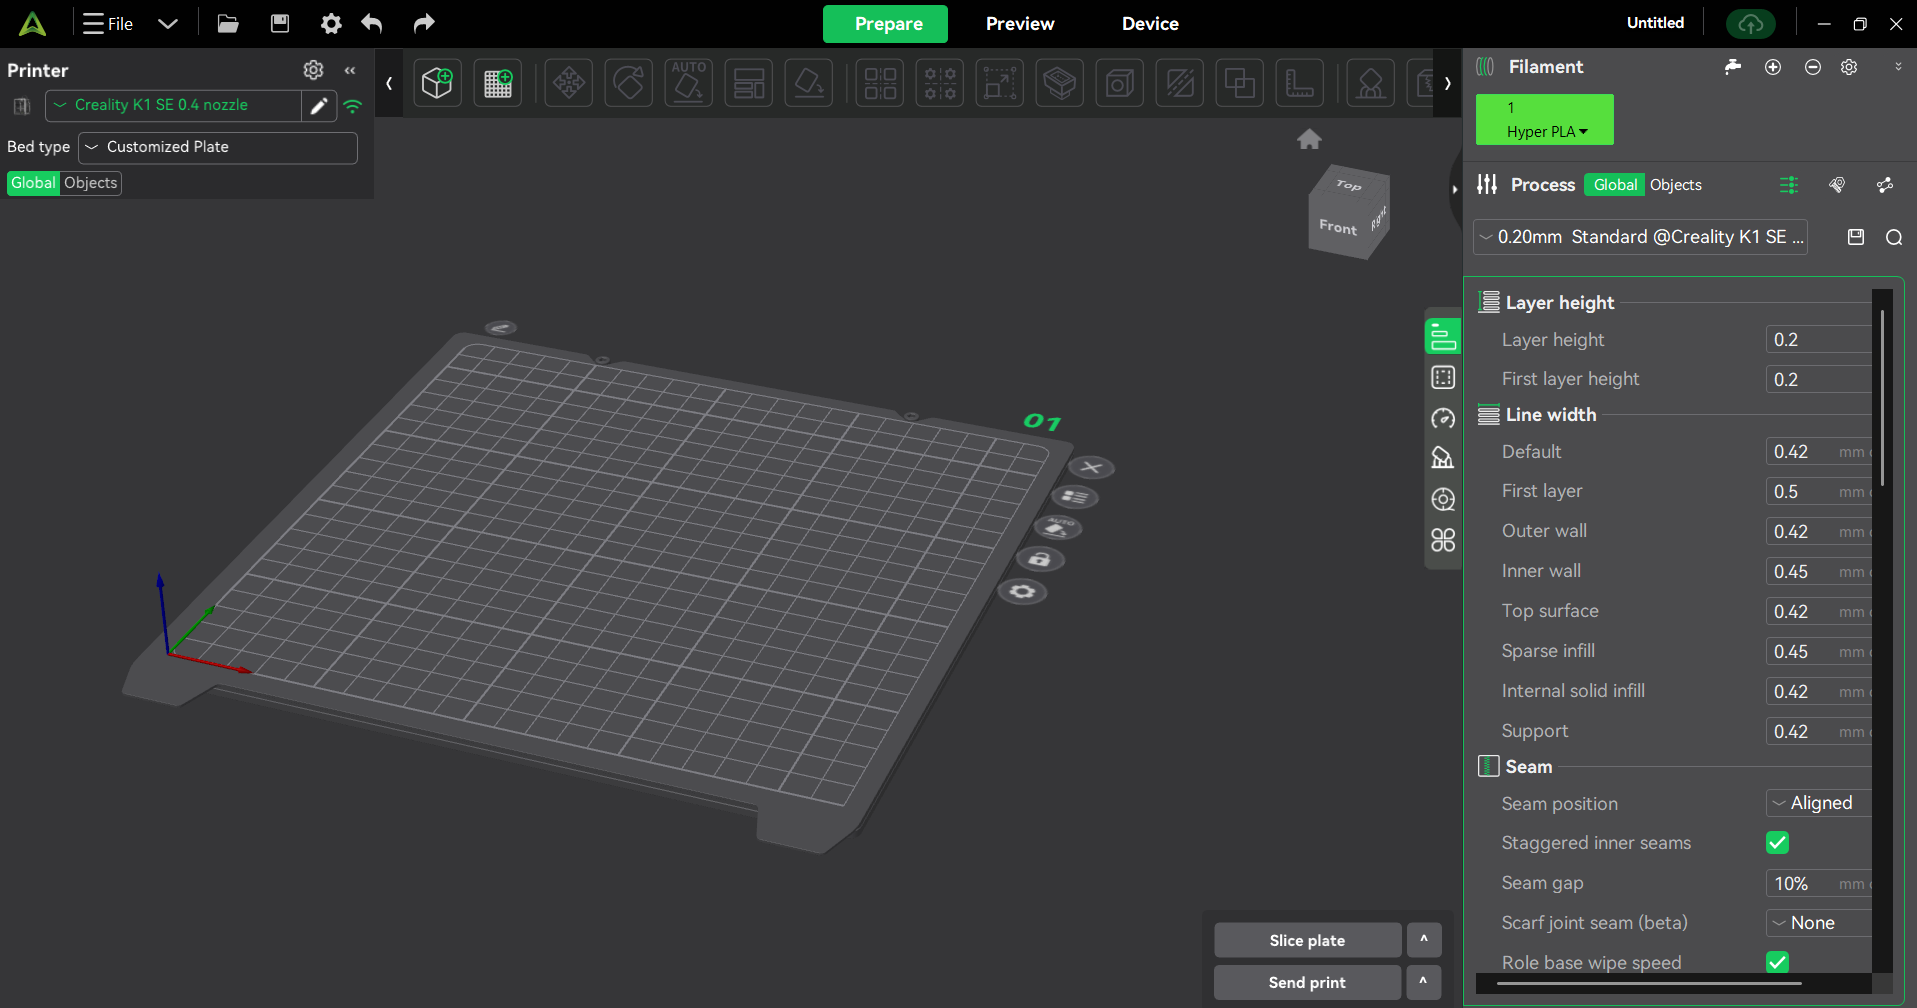
Slicing Software (Slicer): Creality Print
Common materials you can use:
- PLA: This is the easiest filament to print, ideal for decorative pieces and prototypes that don't require much heat resistance.
- Hyper PLA:This is a version of PLA optimized for faster printing without sacrificing quality.
- PETG: This is stronger and more flexible than PLA, ideal for mechanical parts or parts that will be exposed to the elements.
- TPU: This is a flexible and elastic material, perfect for parts like cases, seals, or components that need to bend.
The primary laminator for the K1 SE printer is Creality Print, a program optimized for wireless connectivity since it's from the same manufacturer. It's worth noting that it offers three default printing options for first-time users. It also includes more advanced parameter options, but maintains a user-friendly interface.
Test the design rules
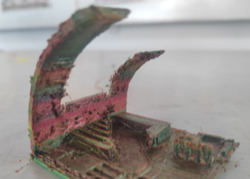
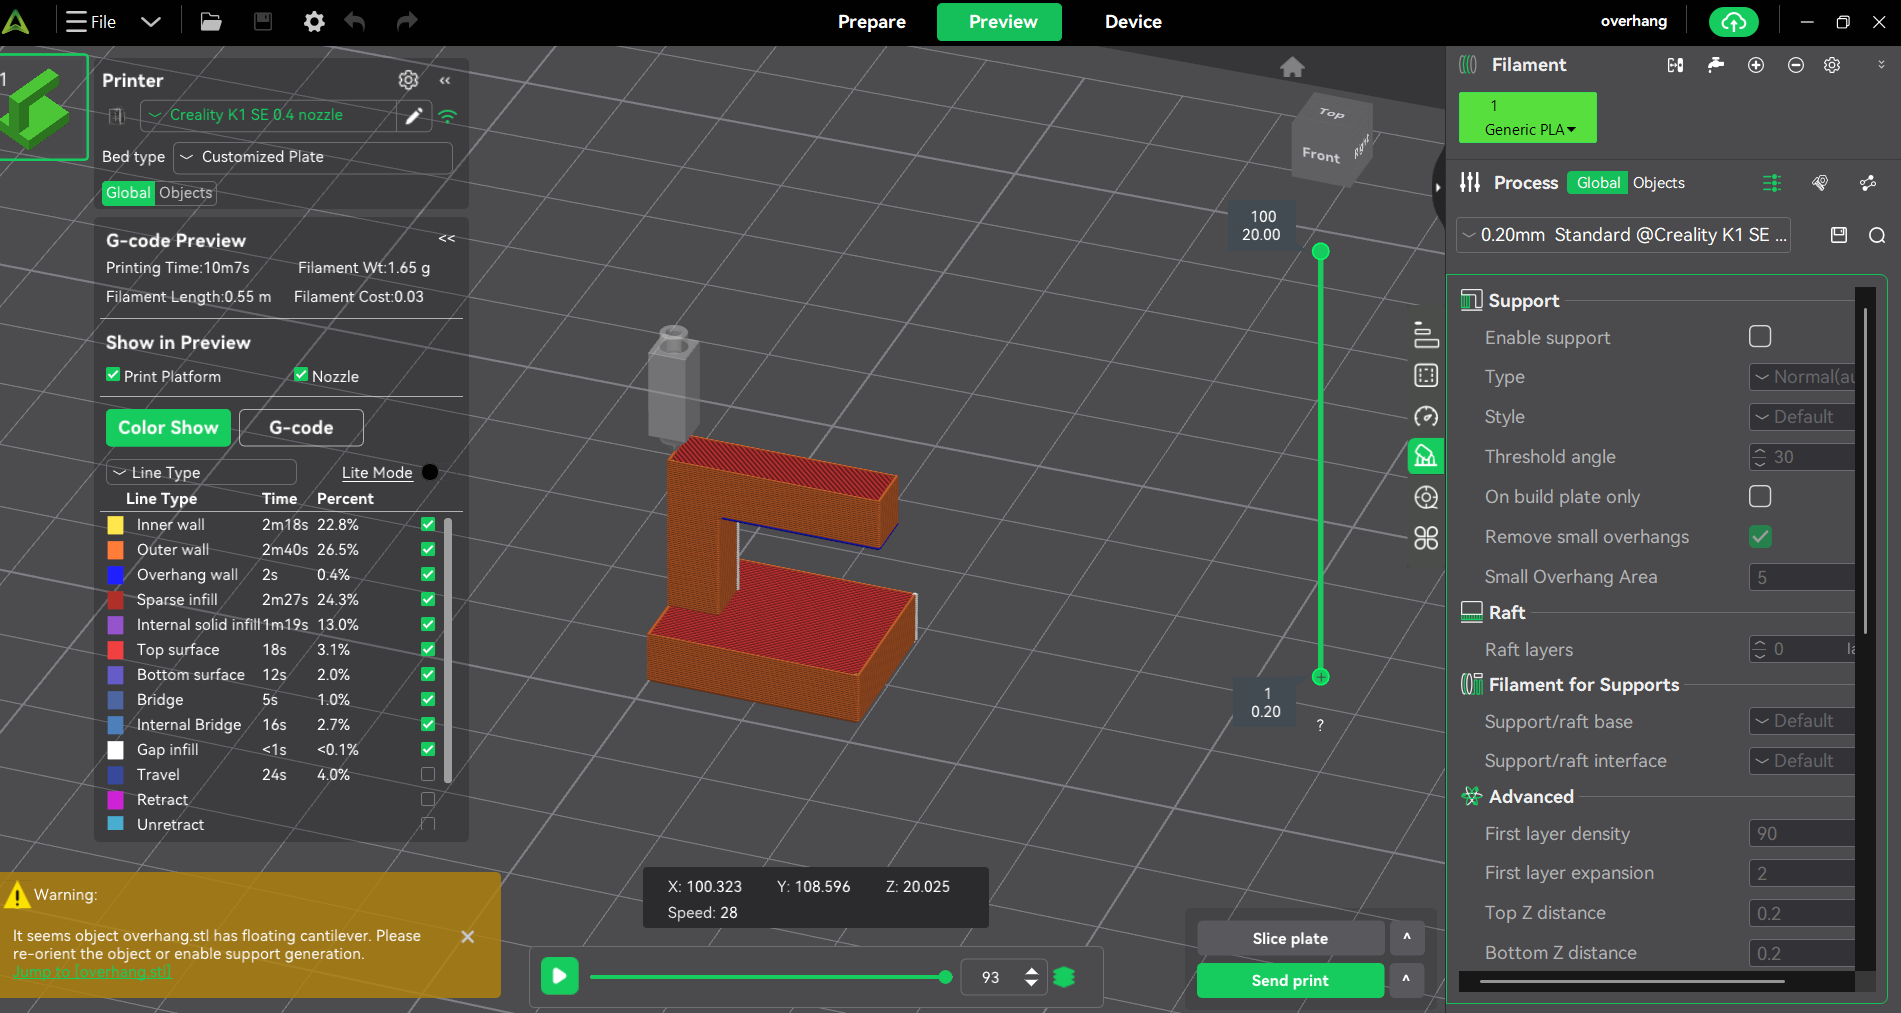
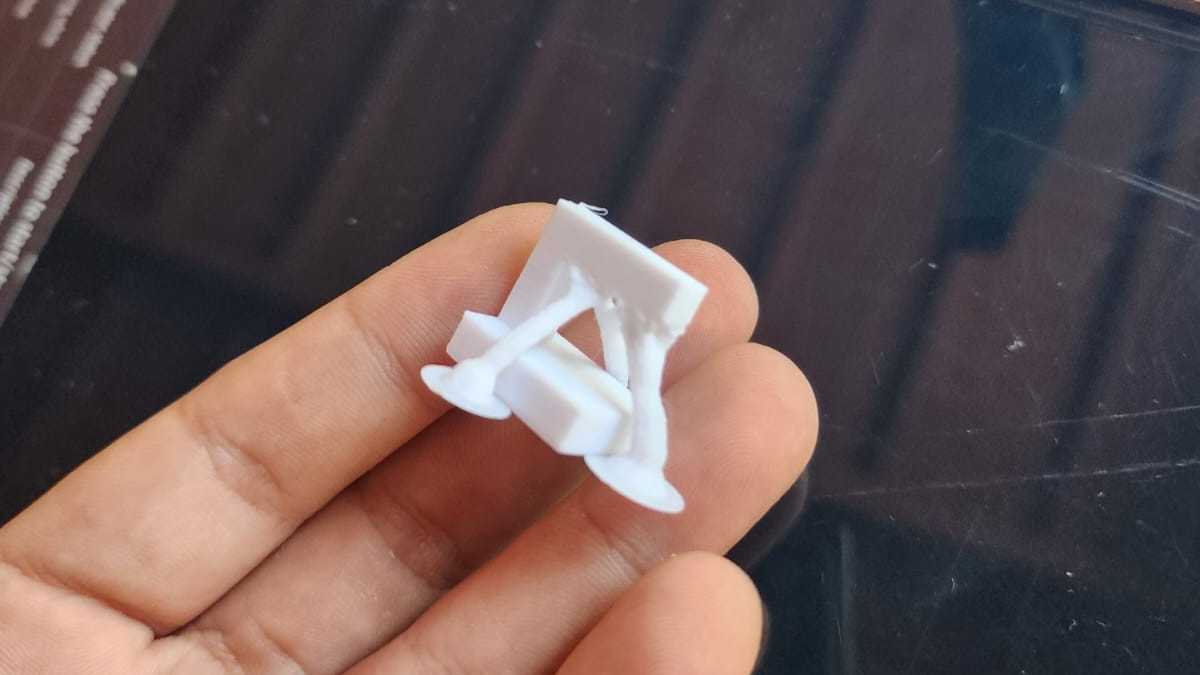
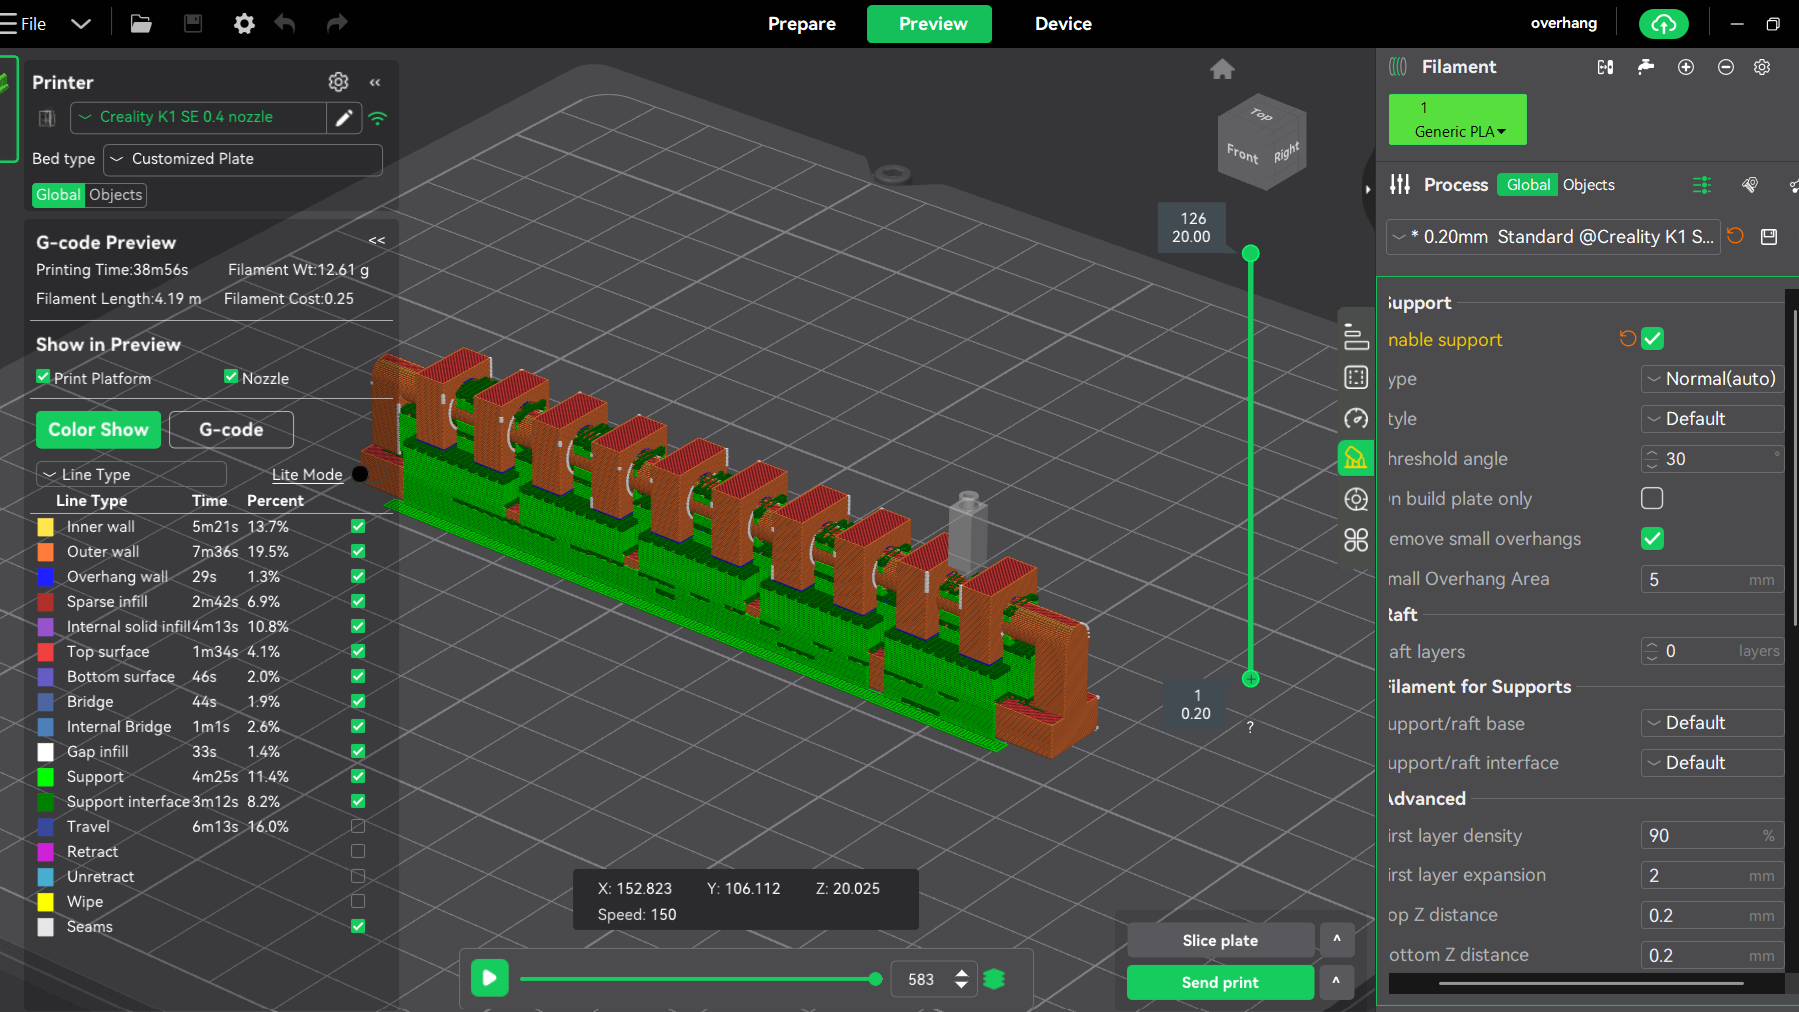
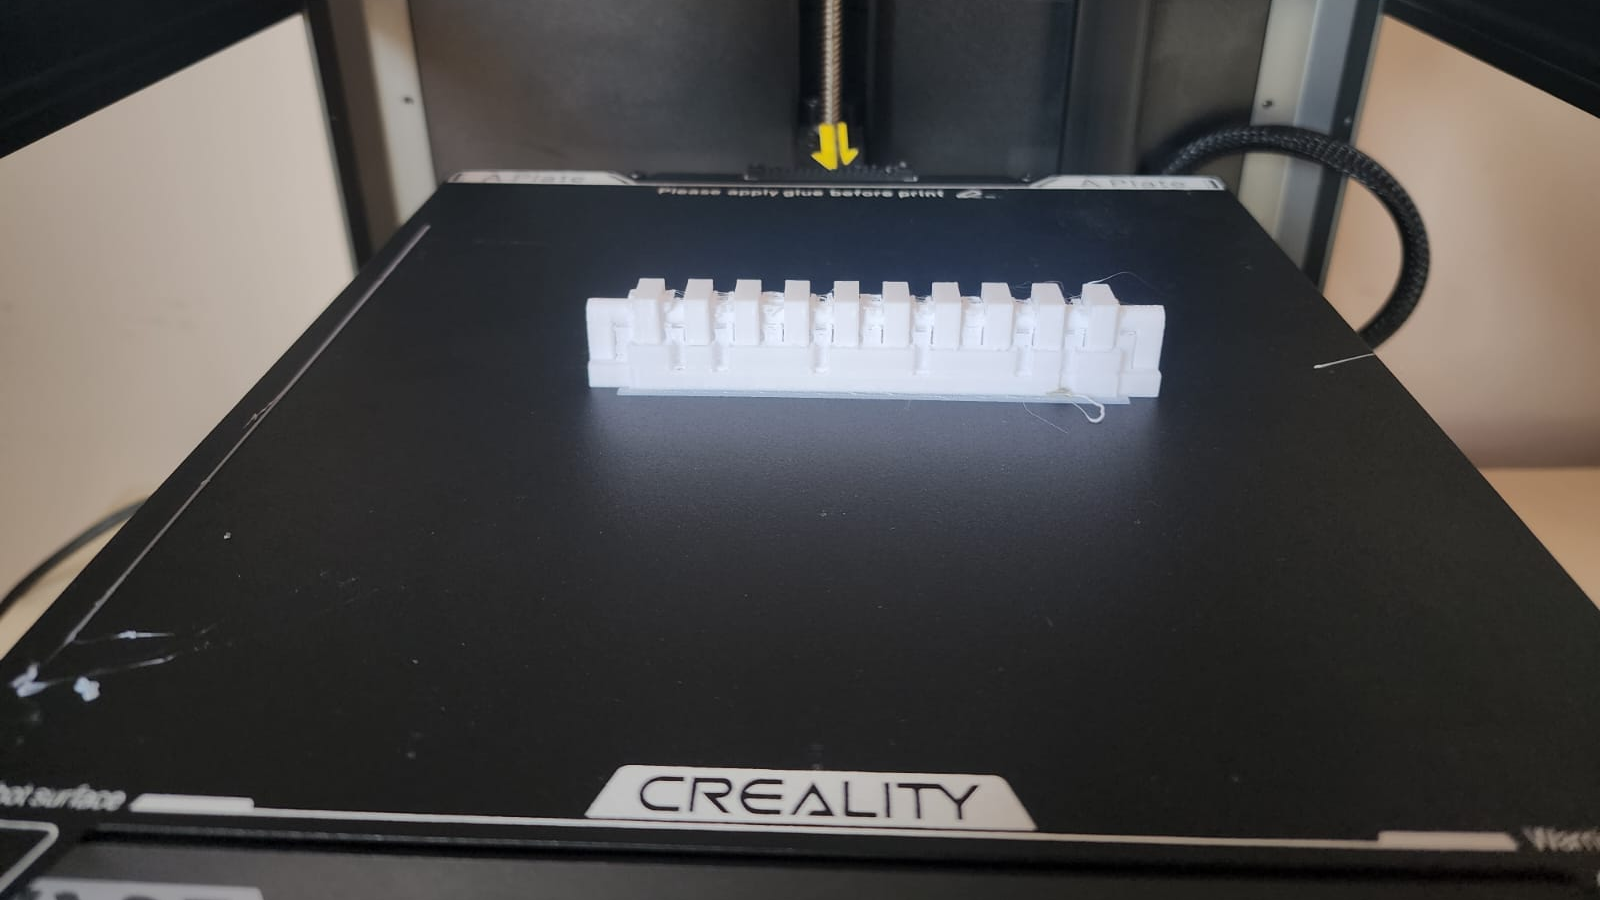
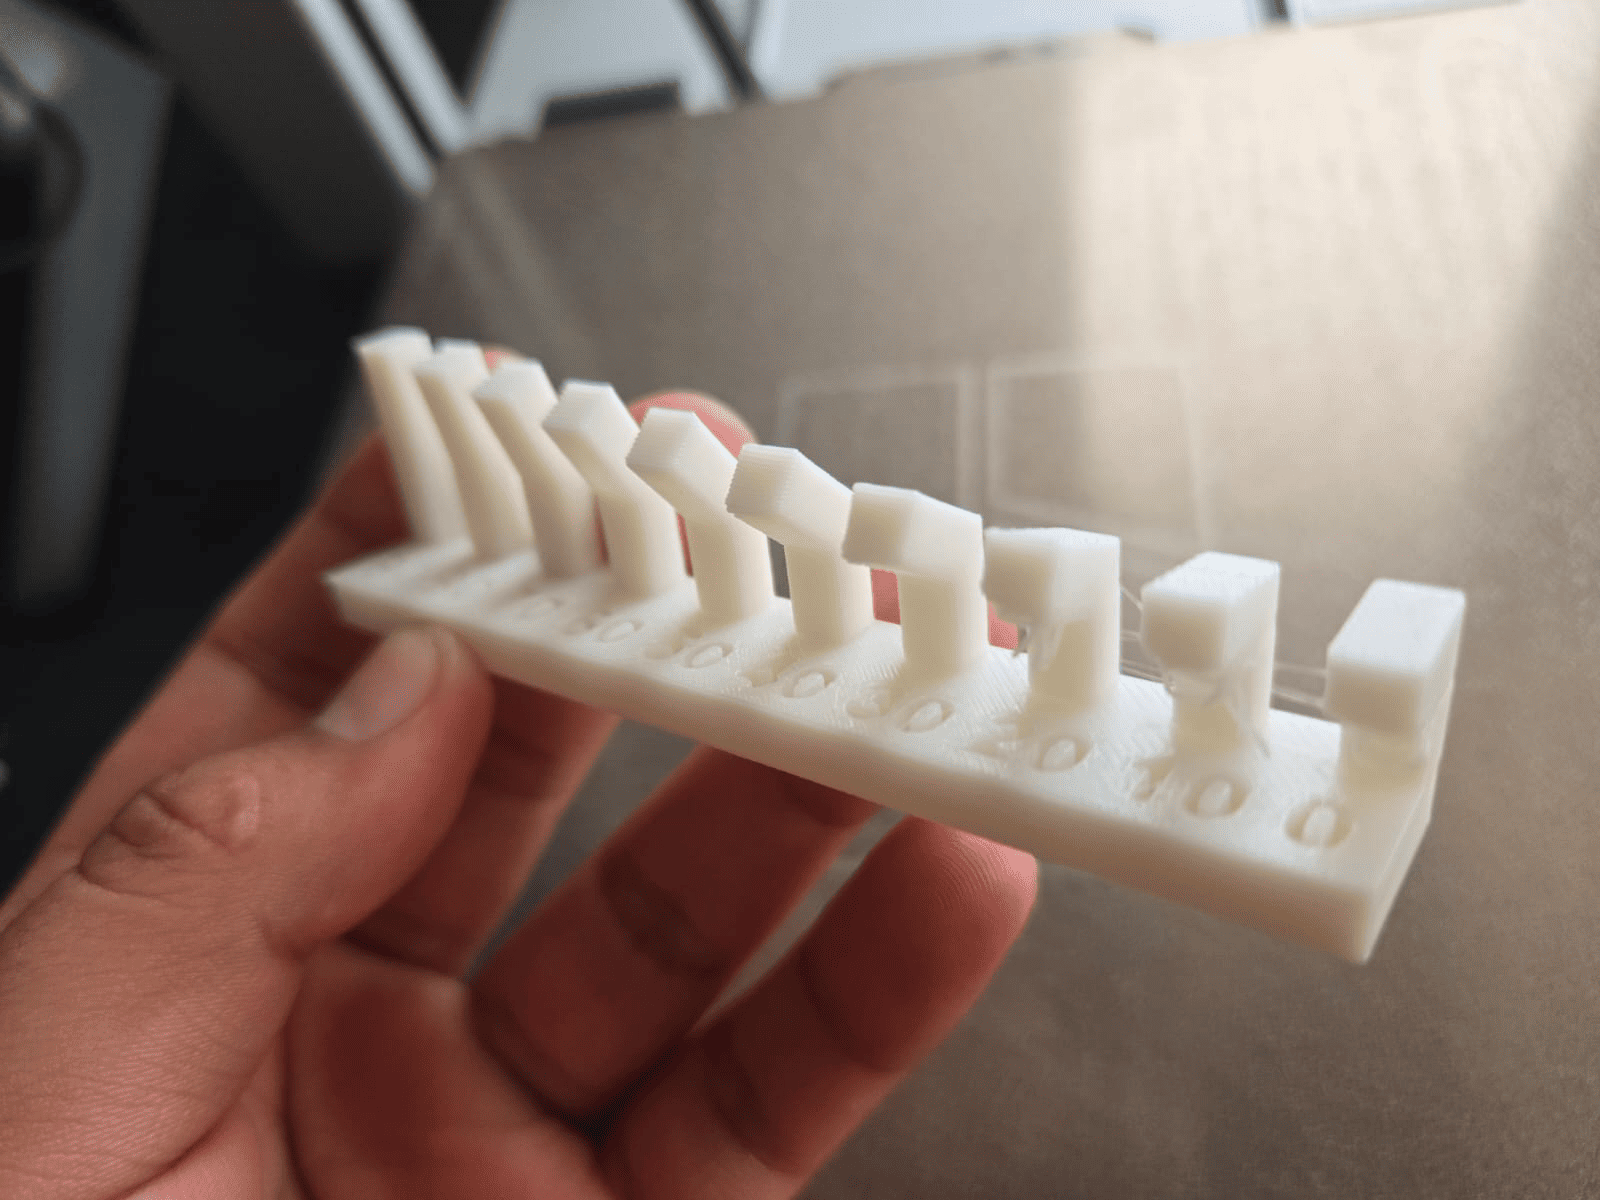
OVERHANG
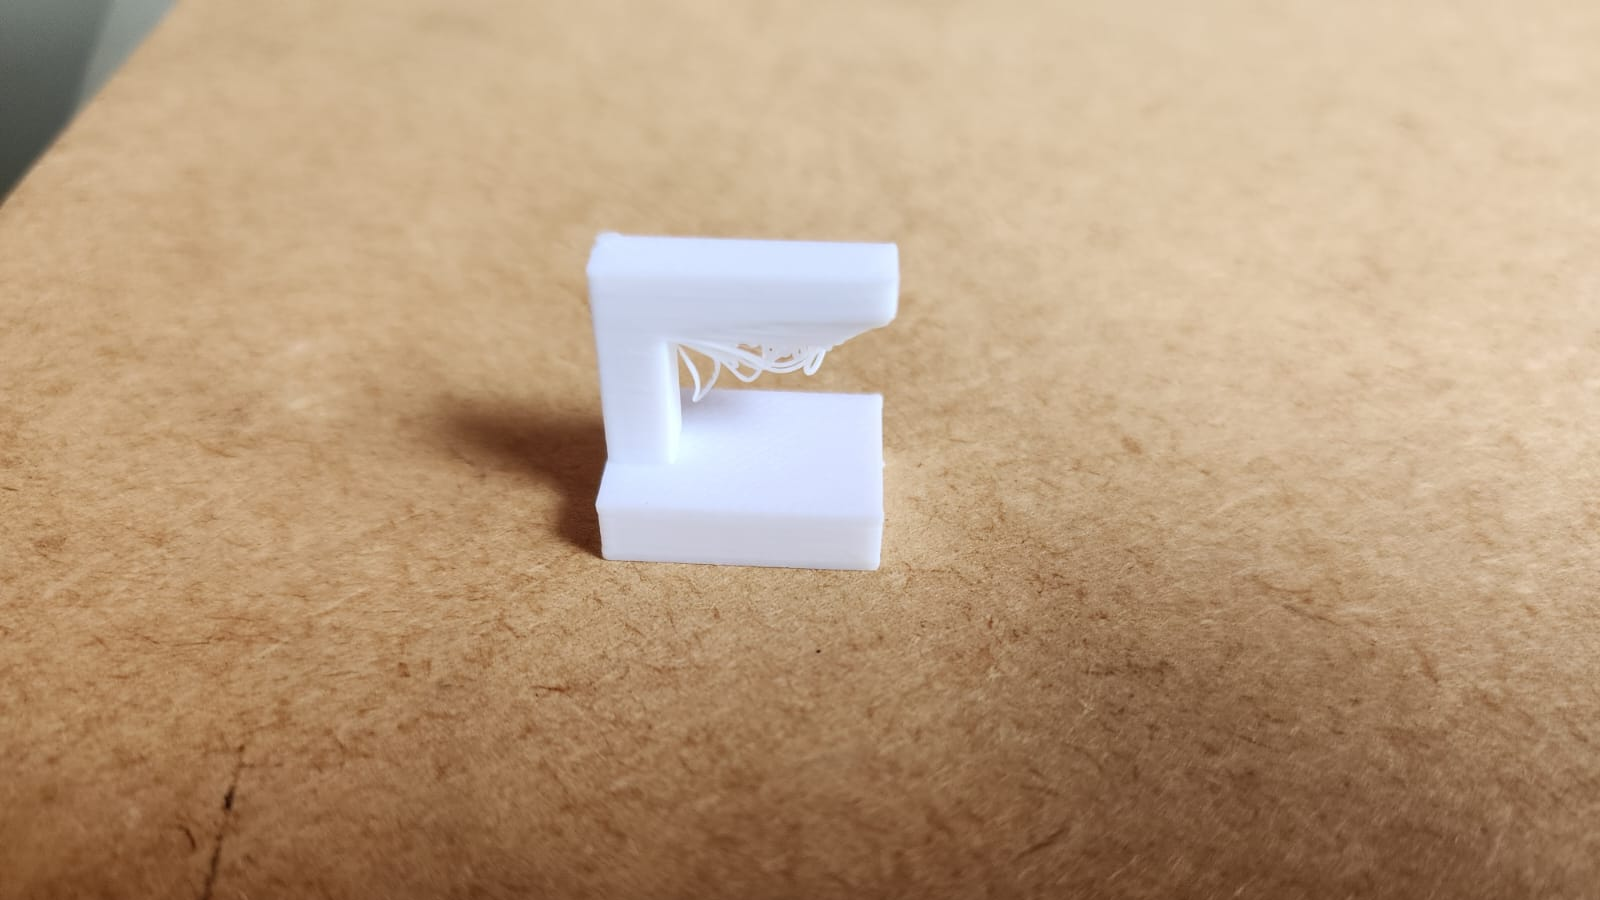
- In the first test run, we performed it without supports to see what the finish of our piece would be without the support option. The program gave us an alert message before laminating.
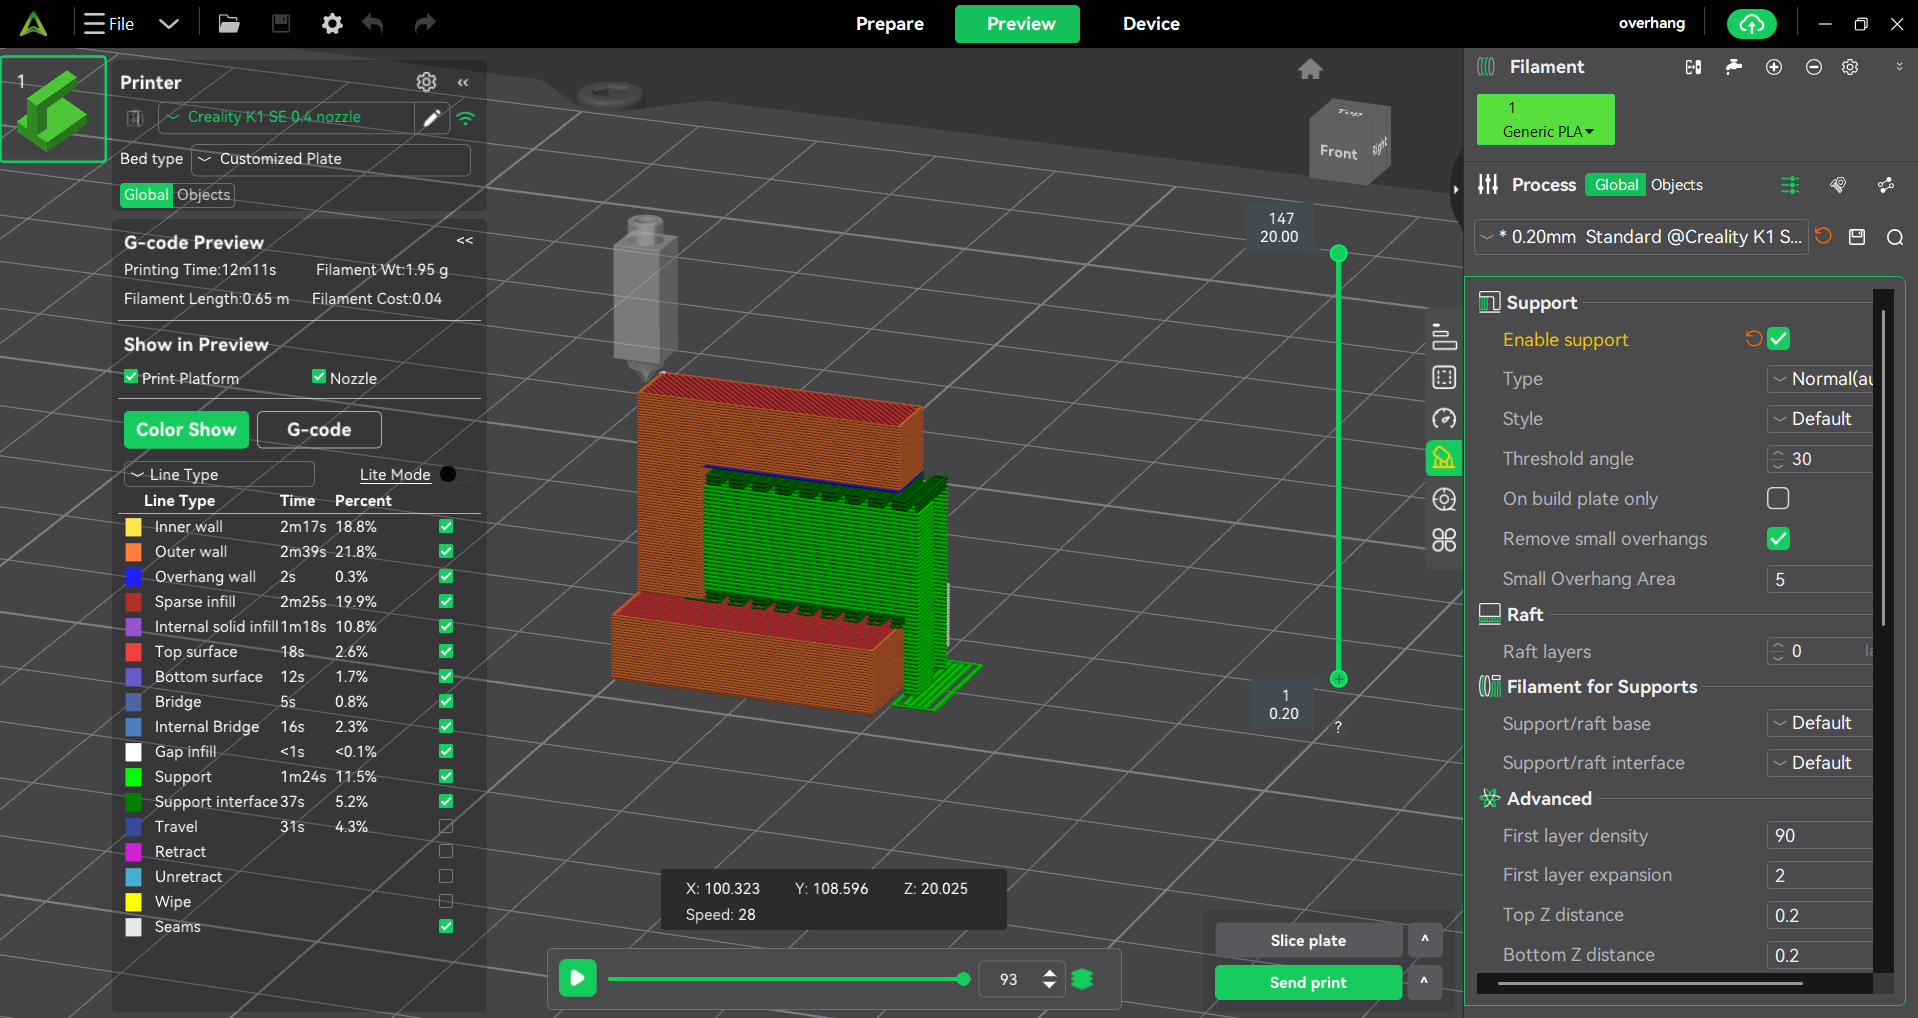
- In the second test we will use automatic support but of the "normal" type and following the same default parameters as before.
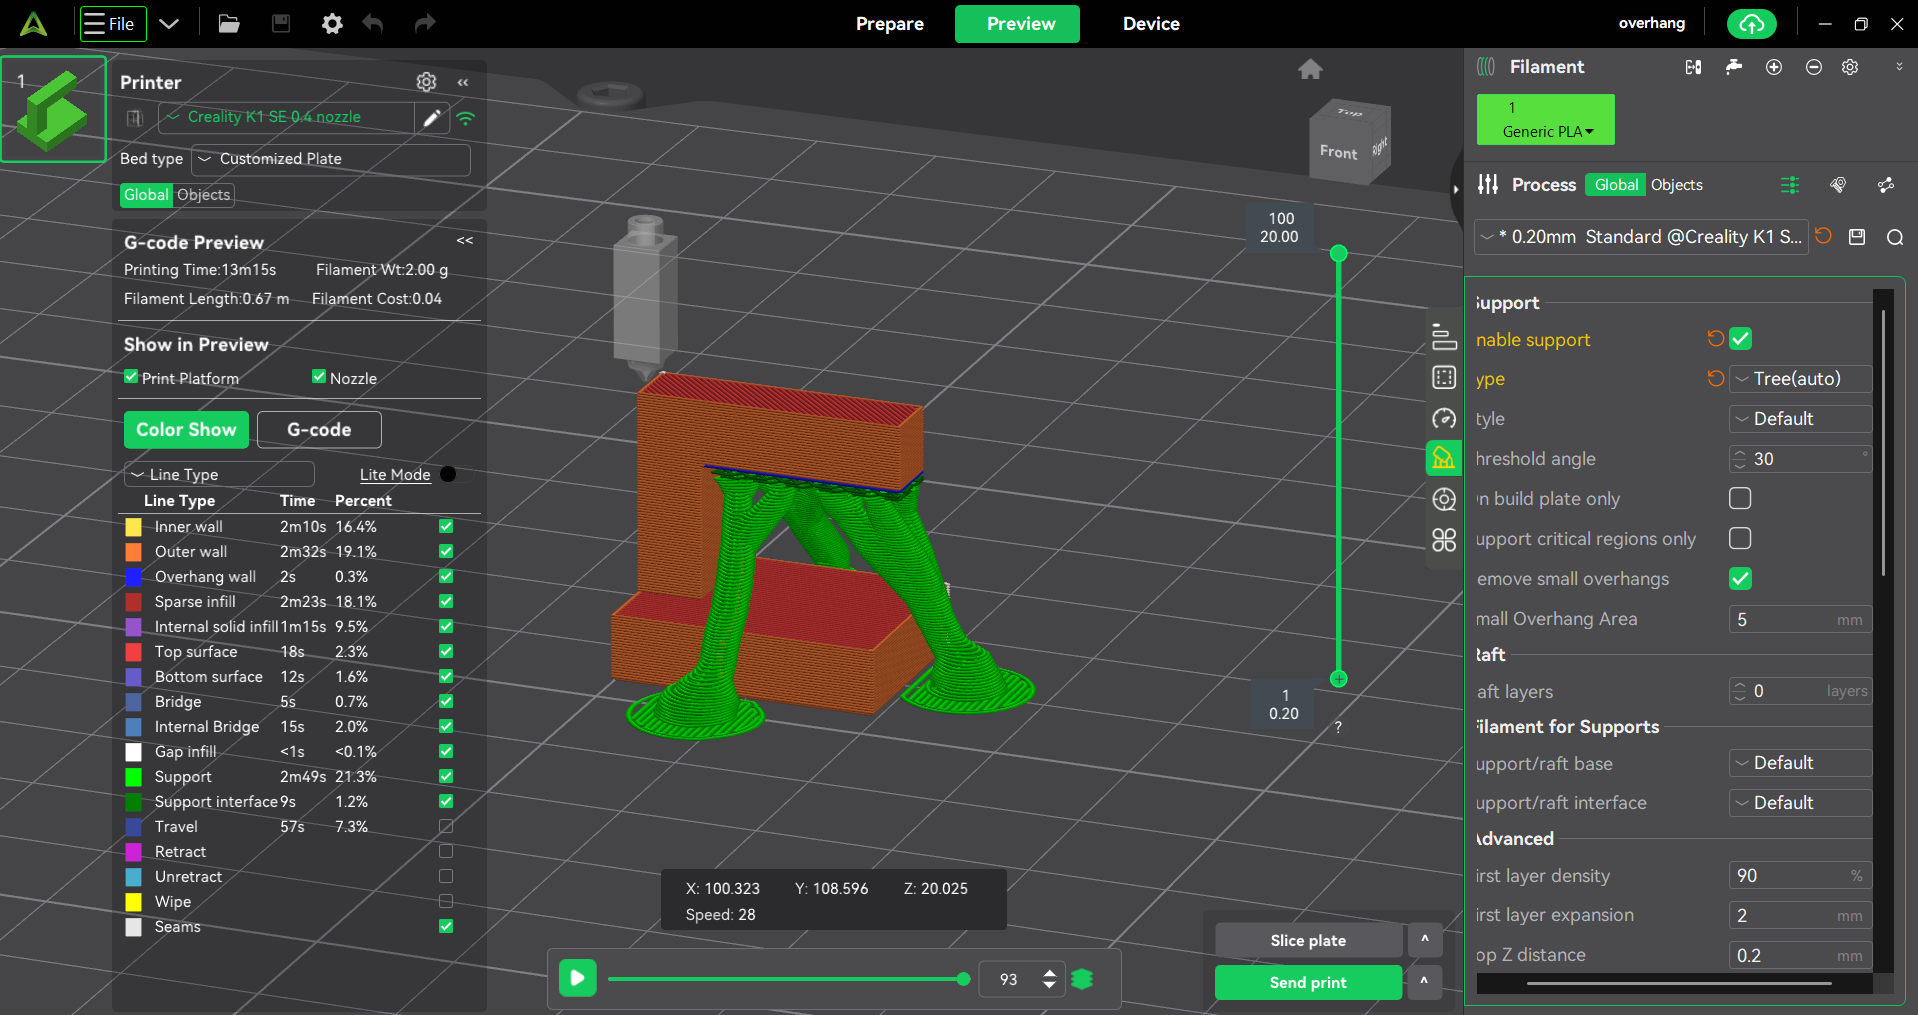
- In the third test we will use the automatic "tree" type support, then we will see the result of these tests.
- In the first test run, we performed it without supports to see what the finish of our piece would be without the support option. The program gave us an alert message before laminating.
- In the second test we will use automatic support but of the "normal" type and following the same default parameters as before.
- In the third test we will use the automatic "tree" type support, then we will see the result of these tests.
- PLA (Polylactic Acid): Ideal for fast prints and high aesthetic quality.
- PETG: Higher mechanical and thermal resistance, easy to print on the A1.
- TPU (Flexible): Excellent performance thanks to the A1's direct extruder.
- PVA/HIPS: Soluble supports (ideally using the AMS Lite for interfaces).
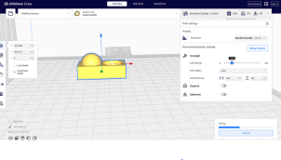
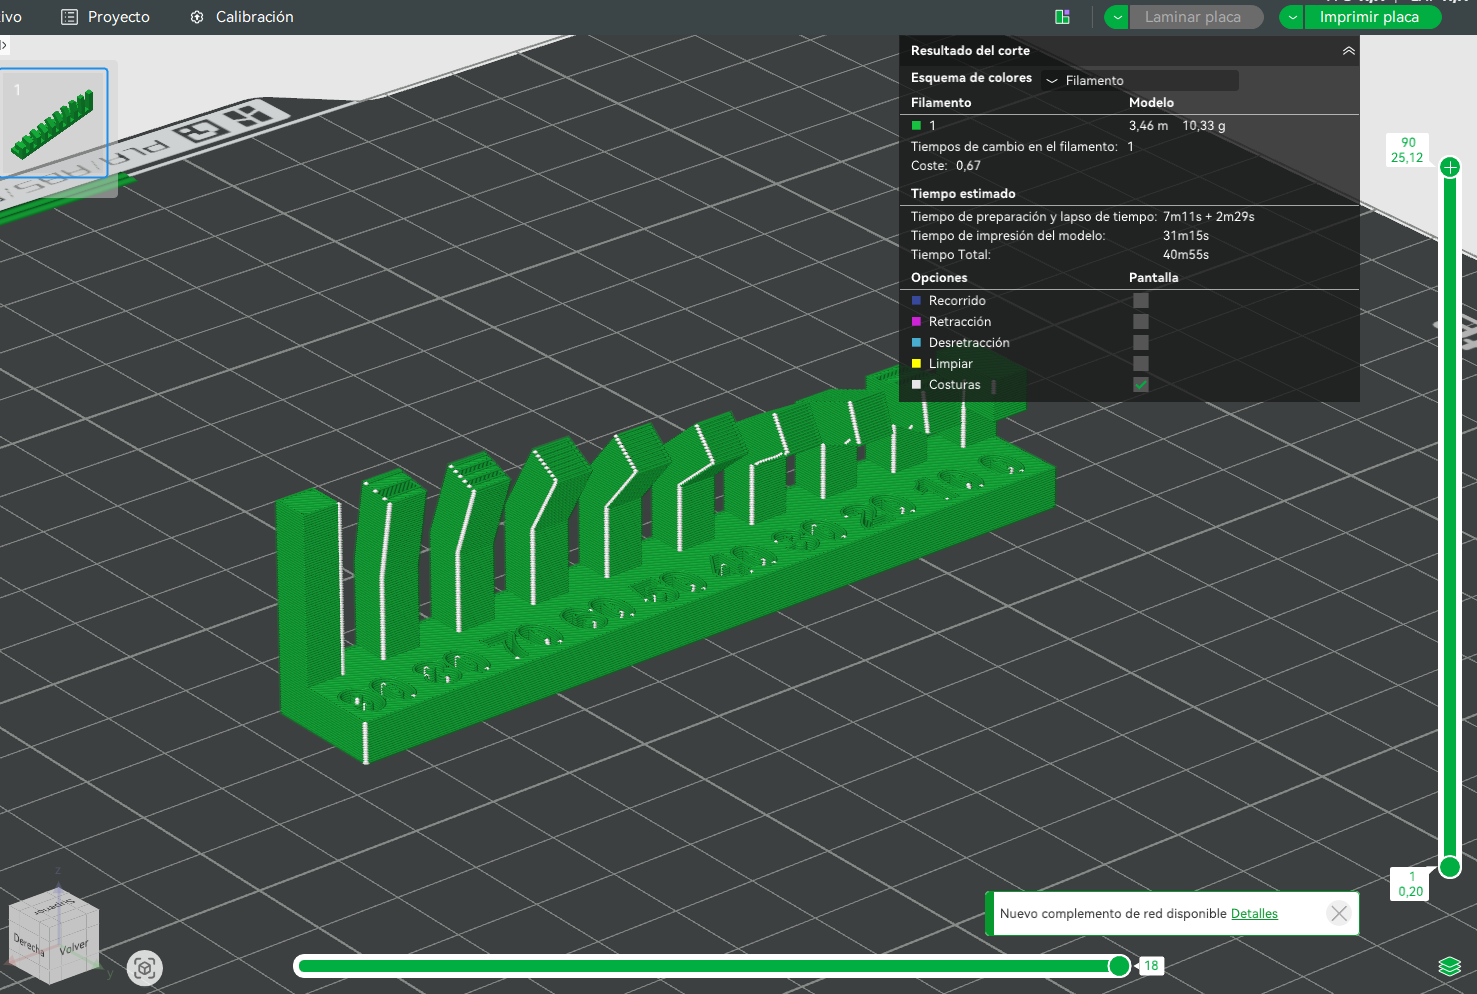
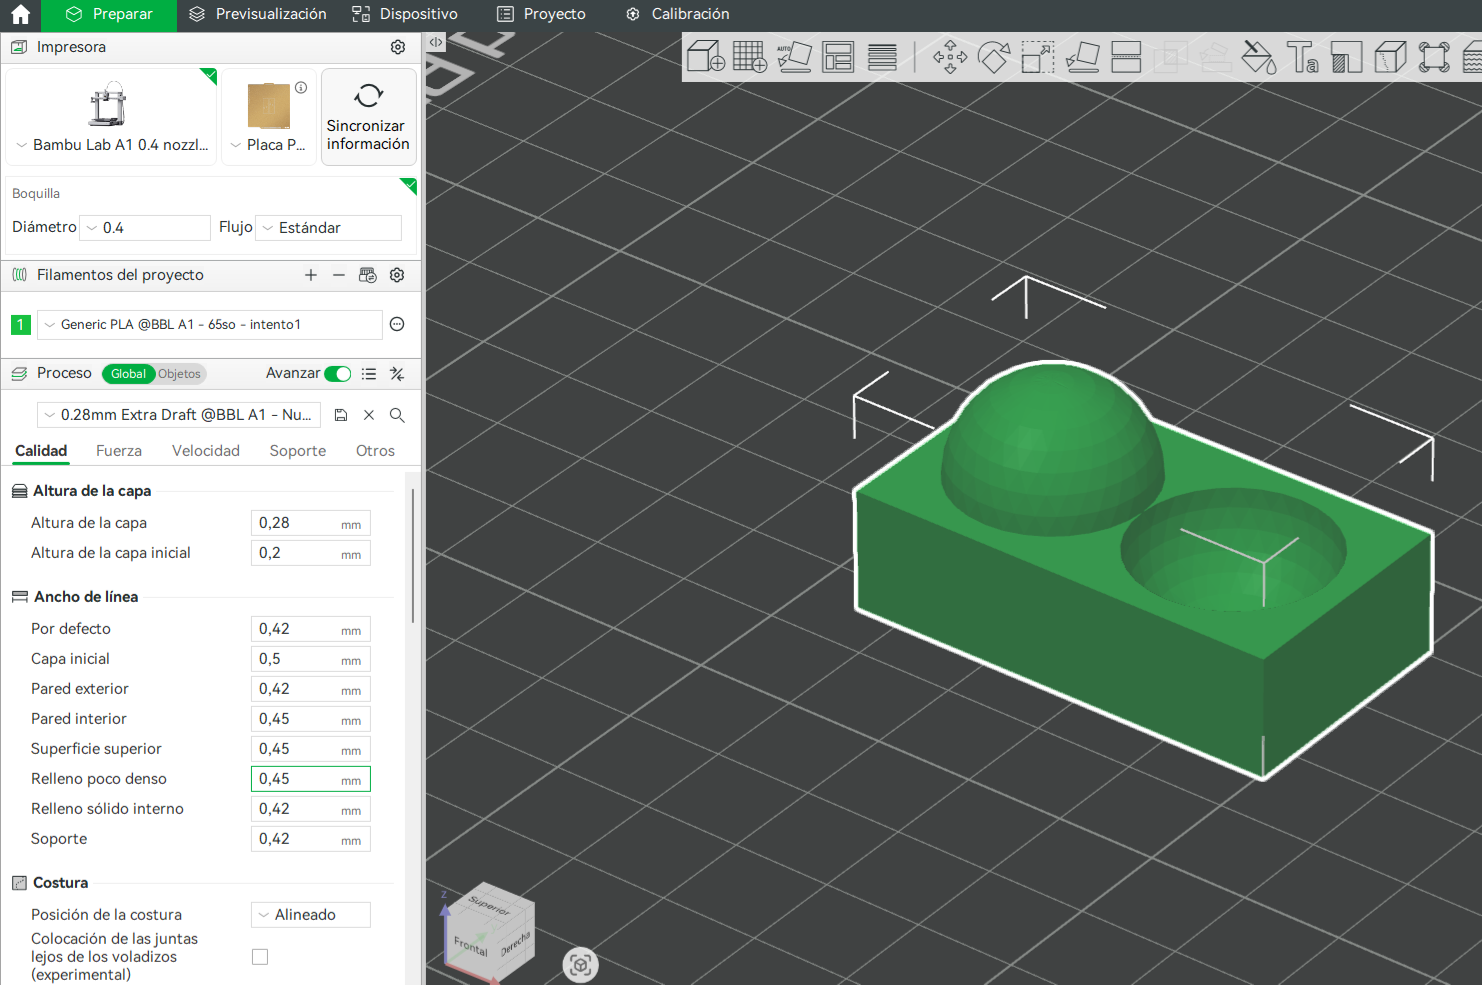
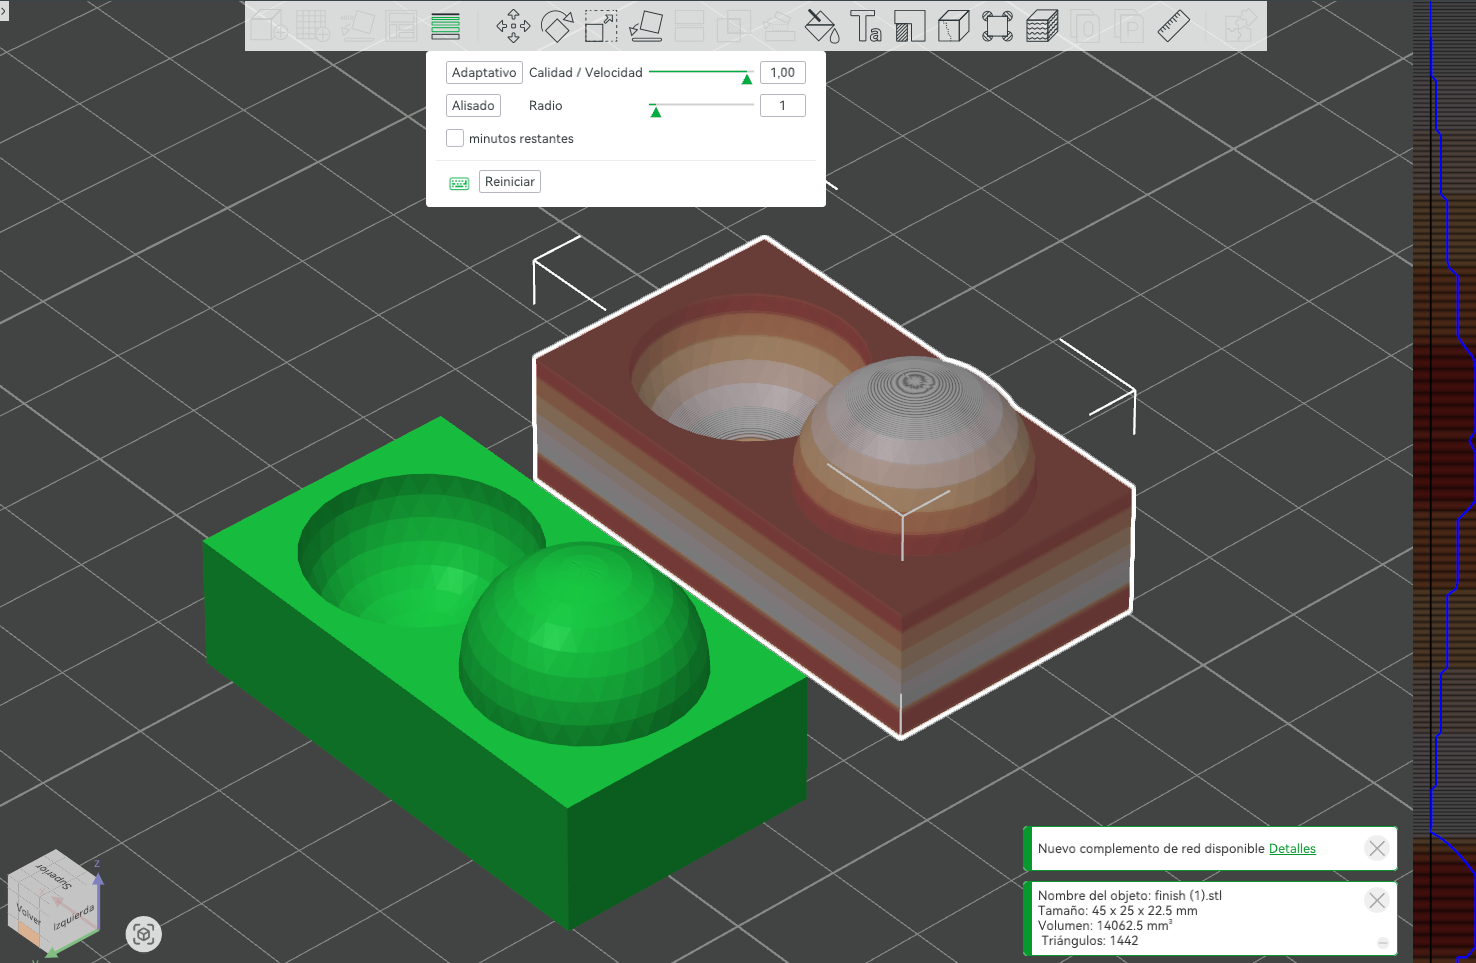
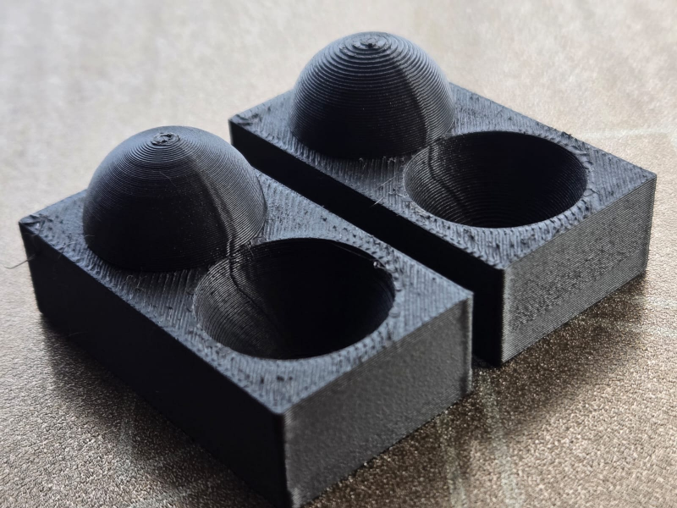
- Option A (Moderate variation): keeps a base layer height of 0.28 mm for most of the print while adaptive layering reduces the height to about 0.12 mm in highly curved zones to improve resolution.
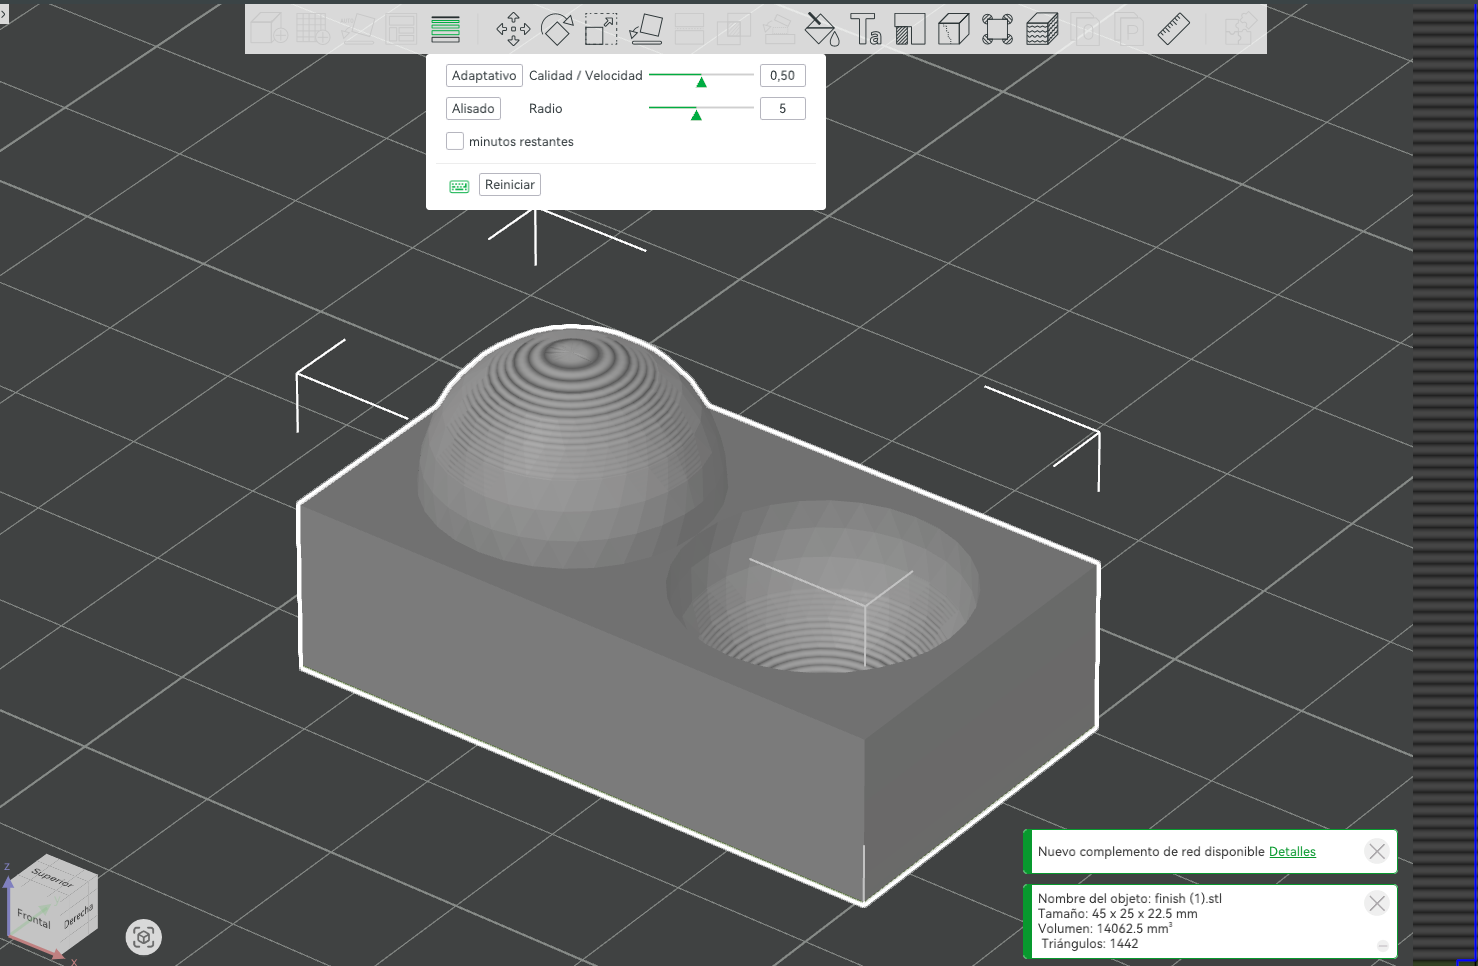
- Option B (High resolution): uses a more aggressive adaptive setup that still keeps many areas at 0.28 mm but reduces layer height down to about 0.08 mm in the most detailed curvature regions, which almost eliminates visible stepping and results in a much smoother surface on the spheres.
- Design, document and 3D print an object (small, few cm3, limited by printer time) that could not be easily made subtractively.
- 3D scan an object (and optionally print it).
Test the design rules
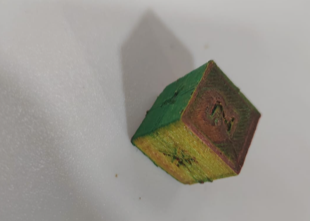
CLEARANCE
In the "clearance" test, we used normal type automatic supports and a layer height of 0.20. After printing, we realized that the type of support is not highly recommended since it adhered to the lower base, making it difficult to clean.
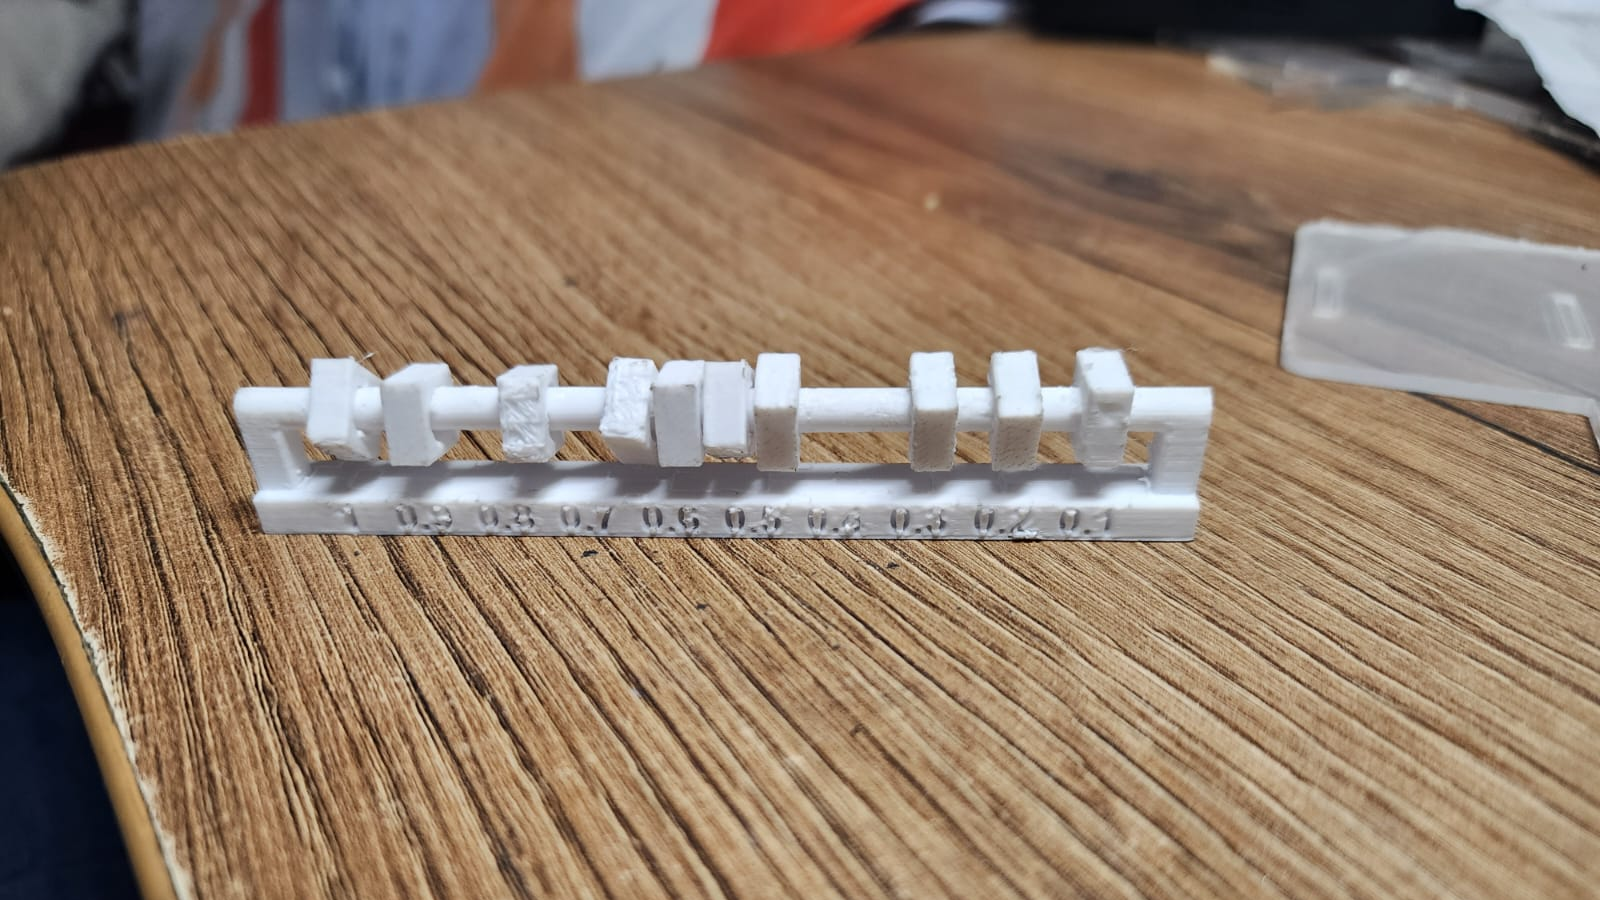
The result shows that the best clearance tolerances with these parameters are starting from 1 up to 0.4, since the latter are very difficult to move or turn.
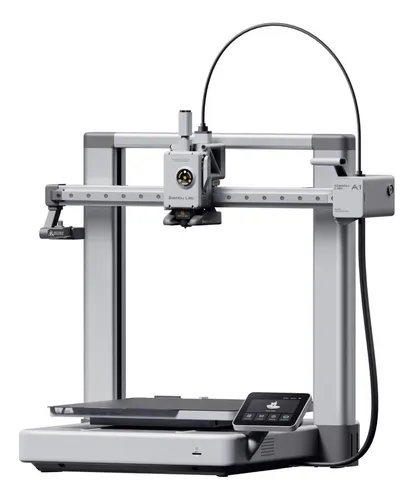
BAMBU LAB A1 / A1 COMBO (ESTEBAN)
Build Volume: 256 x 256 x 256 mm.
Max Speed: Up to 500 mm/s (with acceleration up to 10,000 mm/s²).
Extruder: 0.4 mm stainless steel nozzle (Quick Swap system).
Key Features:
Full auto-leveling, active flow compensation, and vibration calibration. The Combo version includes the AMS Lite for multi-color printing (up to 4 filaments).
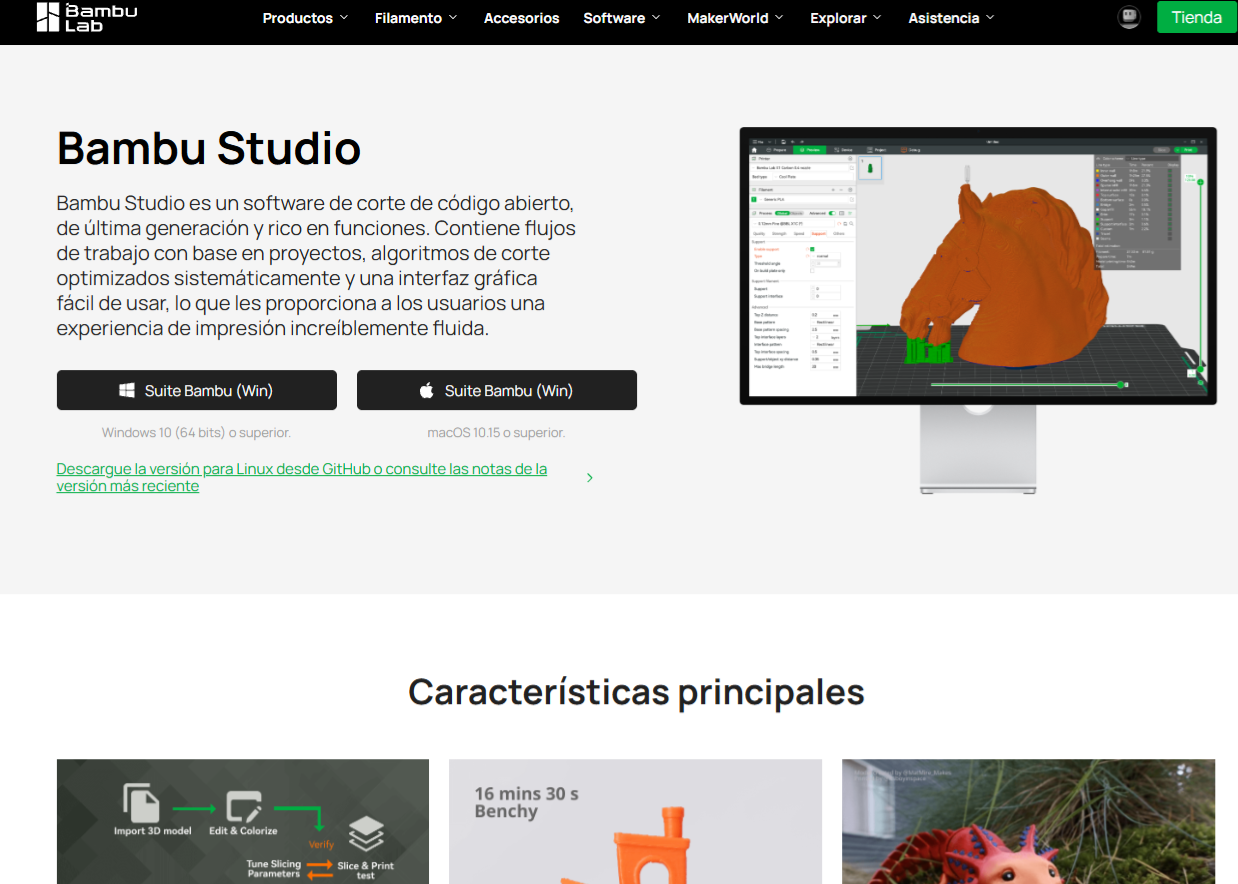
Slicing Software (Slicer): Bambu Studio.
Common materials you can use:
To perform a 3D print with the Bambu Lab A1 using Bambu Studio, the first step is to download and
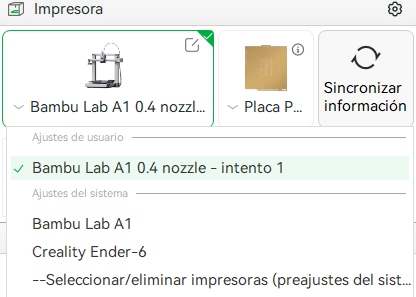
install the software from the official Bambu Lab website. Once installed, select the printer (A1 or A1
Combo) and nozzle type (0.4 mm) from the device list, or it will automatically sync if connected to the
network.
Unlike older printers, manual leveling with paper is not required. Before starting, the A1 performs
automatic calibration that measures bed leveling, motor resonance, and extruder flow pressure,
guaranteeing a perfect first layer without human intervention. If using the Combo, the AMS Lite slots
are also configured with the corresponding colors.
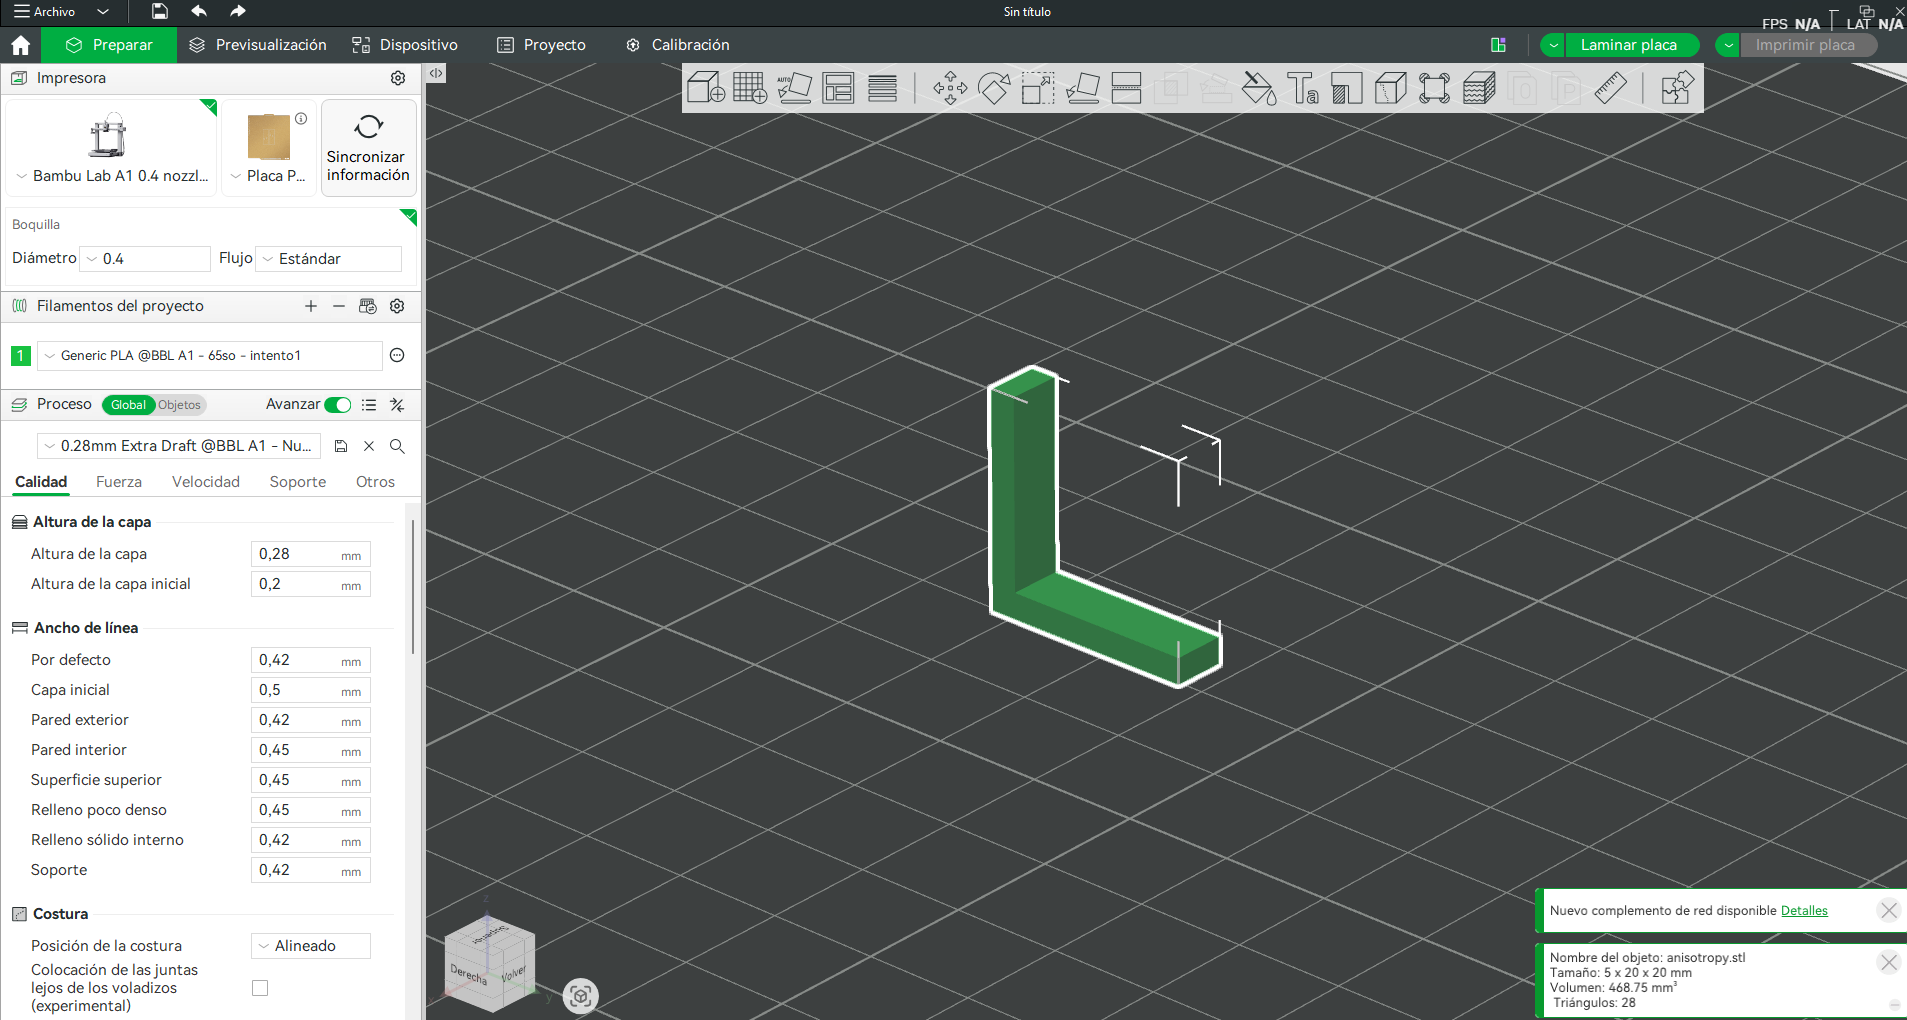
Next, the test files—in this case, anisotropy.stl, finish.stl, and angle.stl—are imported into the Bambu
Studio workspace. The orientation is checked to optimize strength and reduce support usage, and
adjustments such as scaling or rotation are applied if necessary.
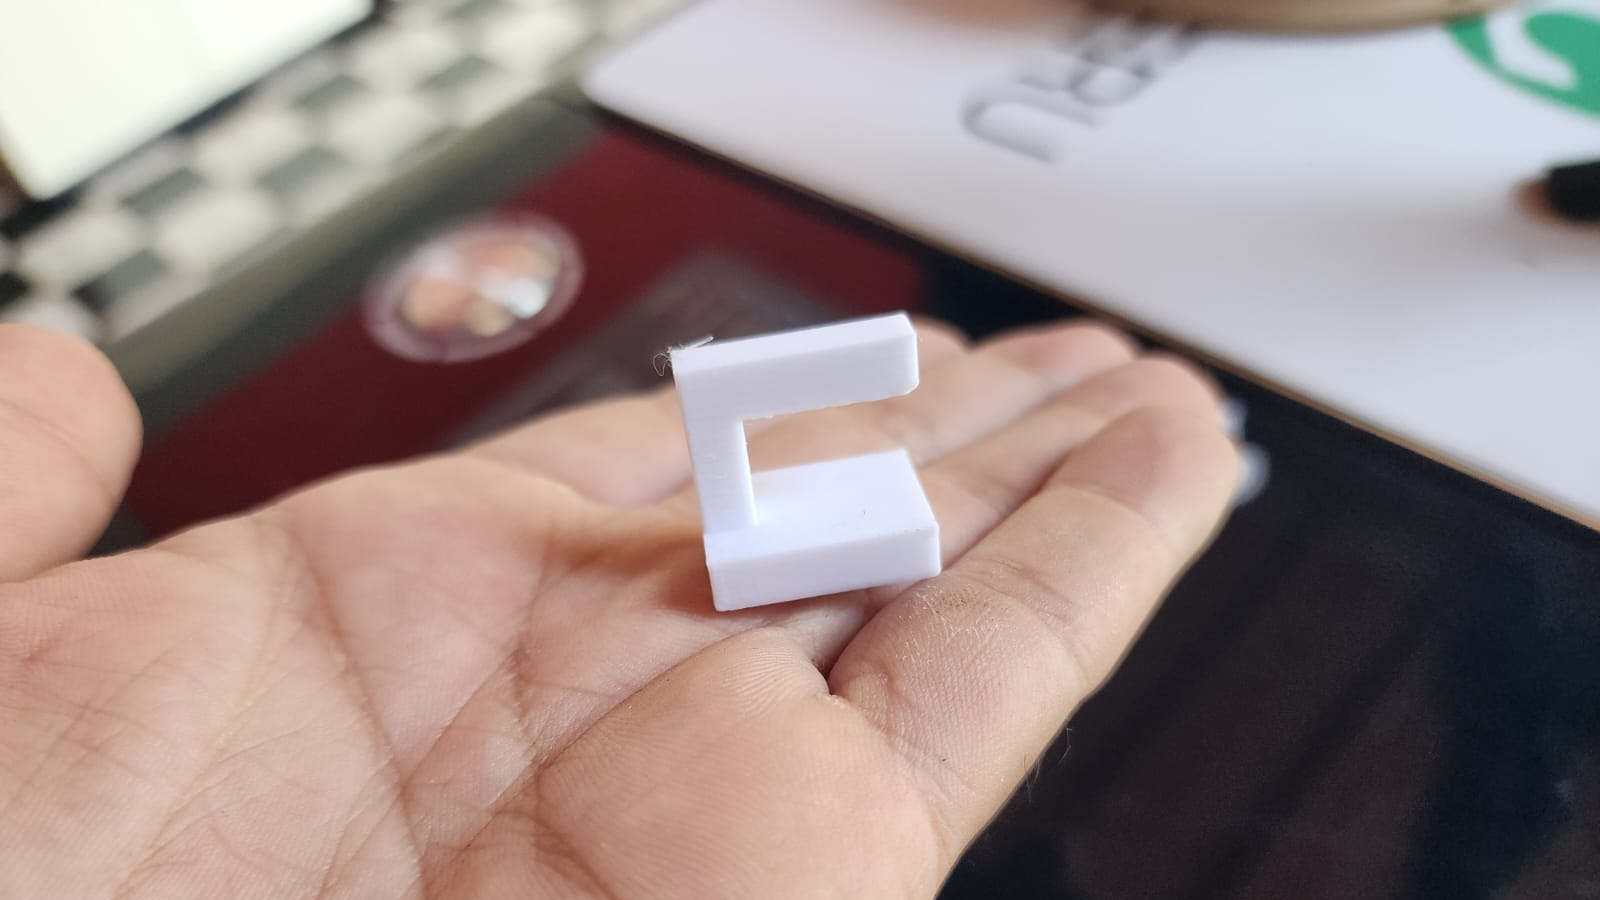
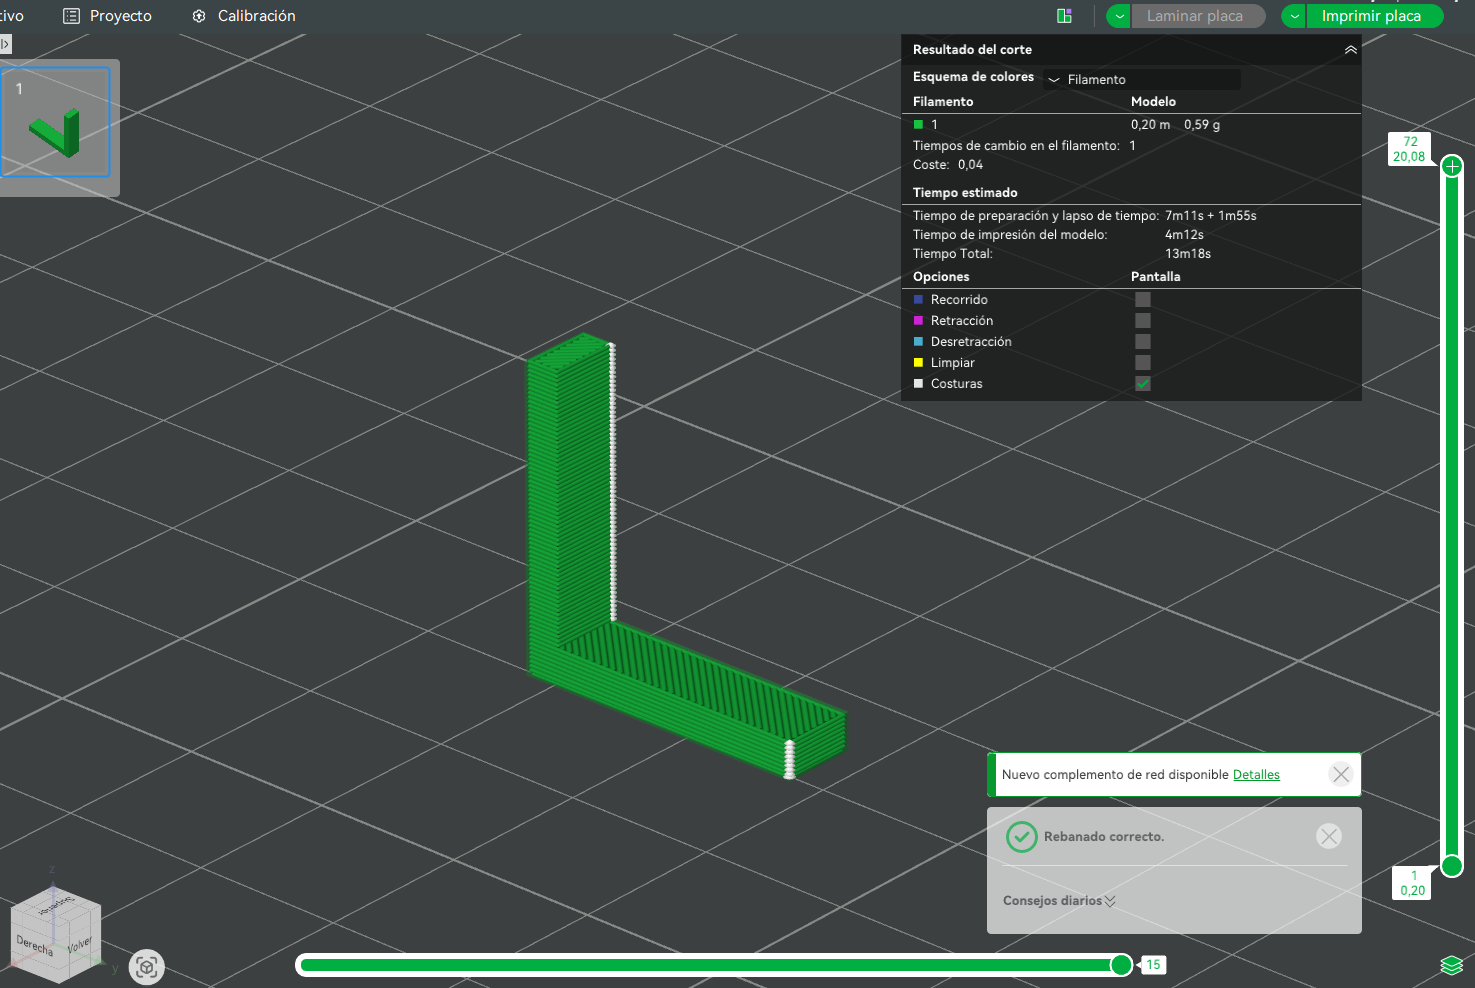
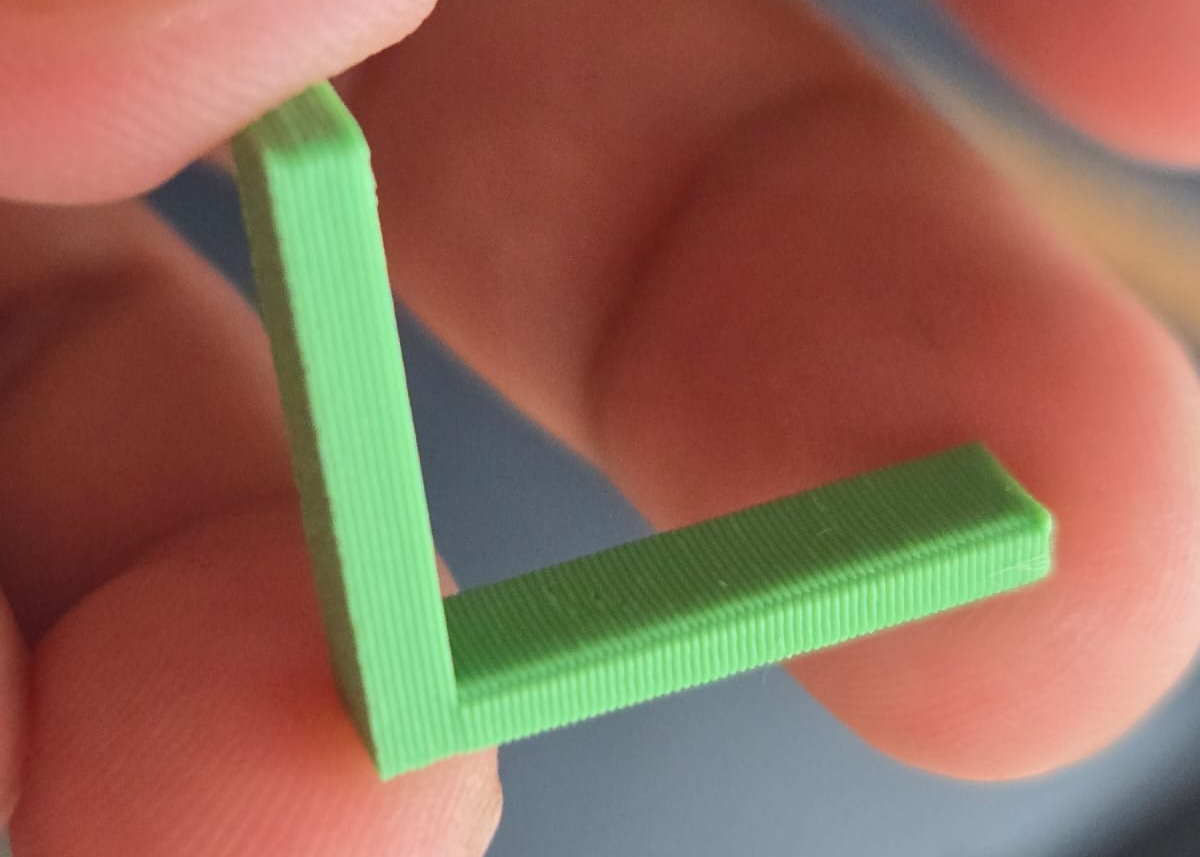
Face Test (anisotropy.stl): This model consists of an L-shaped piece placed vertically. Its main
purpose in this test was to evaluate the surface quality of the vertical faces. By printing it on
the Bambu Lab A1, I was able to verify the stability of the Z-axis and the consistency of the
extrusion, achieving flat and uniform faces.
Next, the test files—in this case, anisotropy.stl, finish.stl, and angle.stl—are imported
into the Bambu Studio workspace. The orientation is checked to optimize strength and reduce
support usage, and adjustments such as scaling or rotation are applied if necessary.
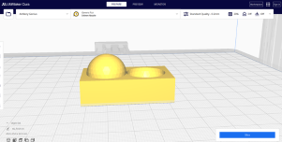
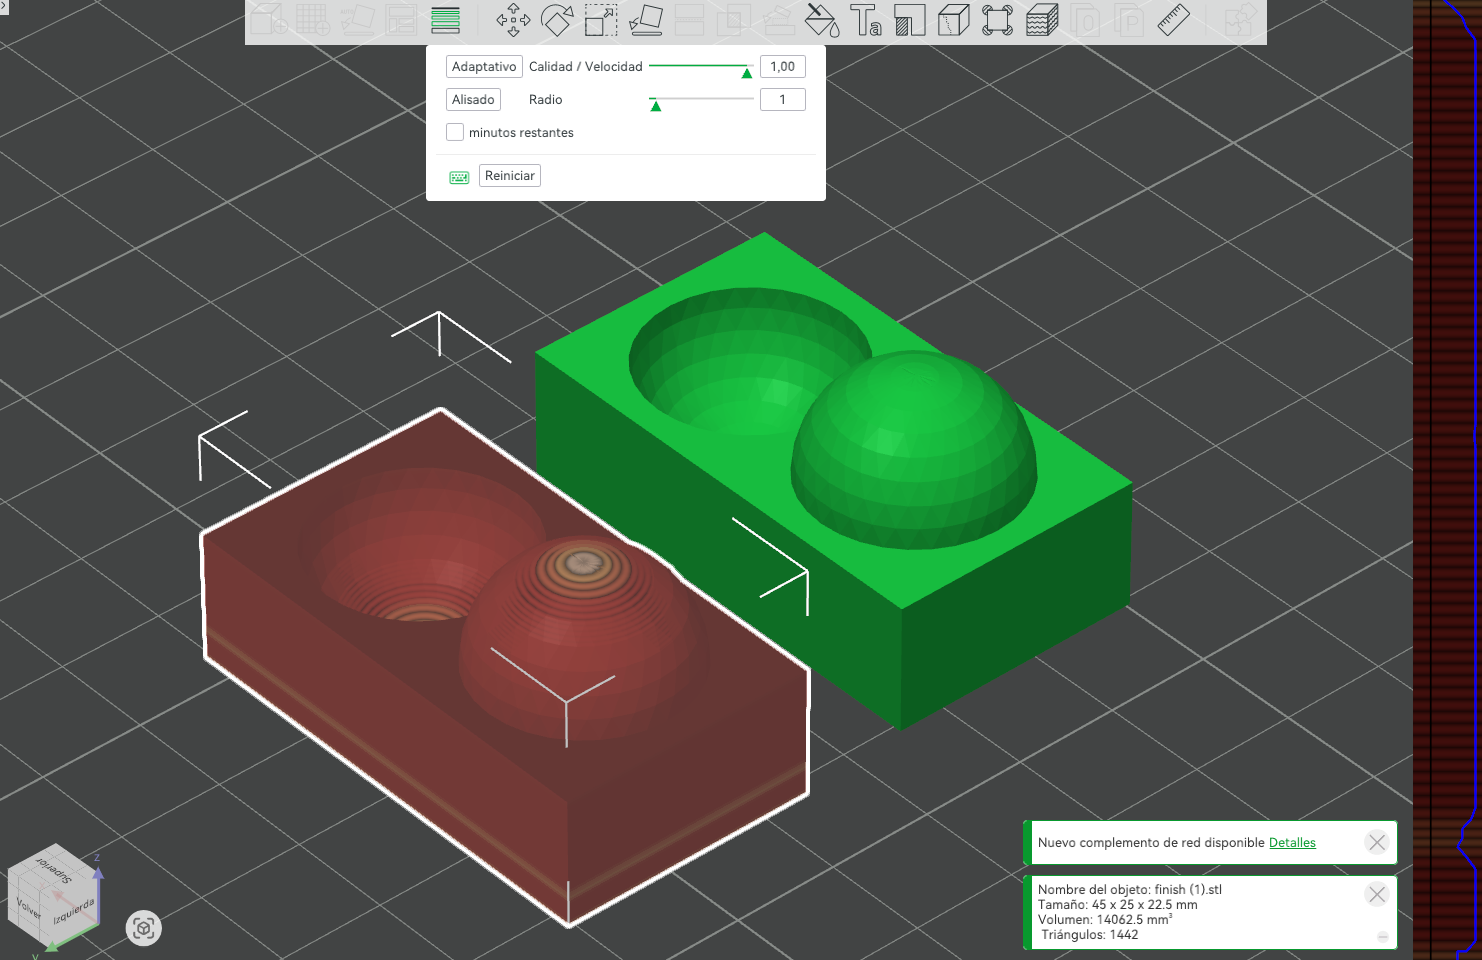
Finish test (finish.stl): this model is composed of two spheres (one protruding
and one recessed). The test compares two adaptive layer strategies:
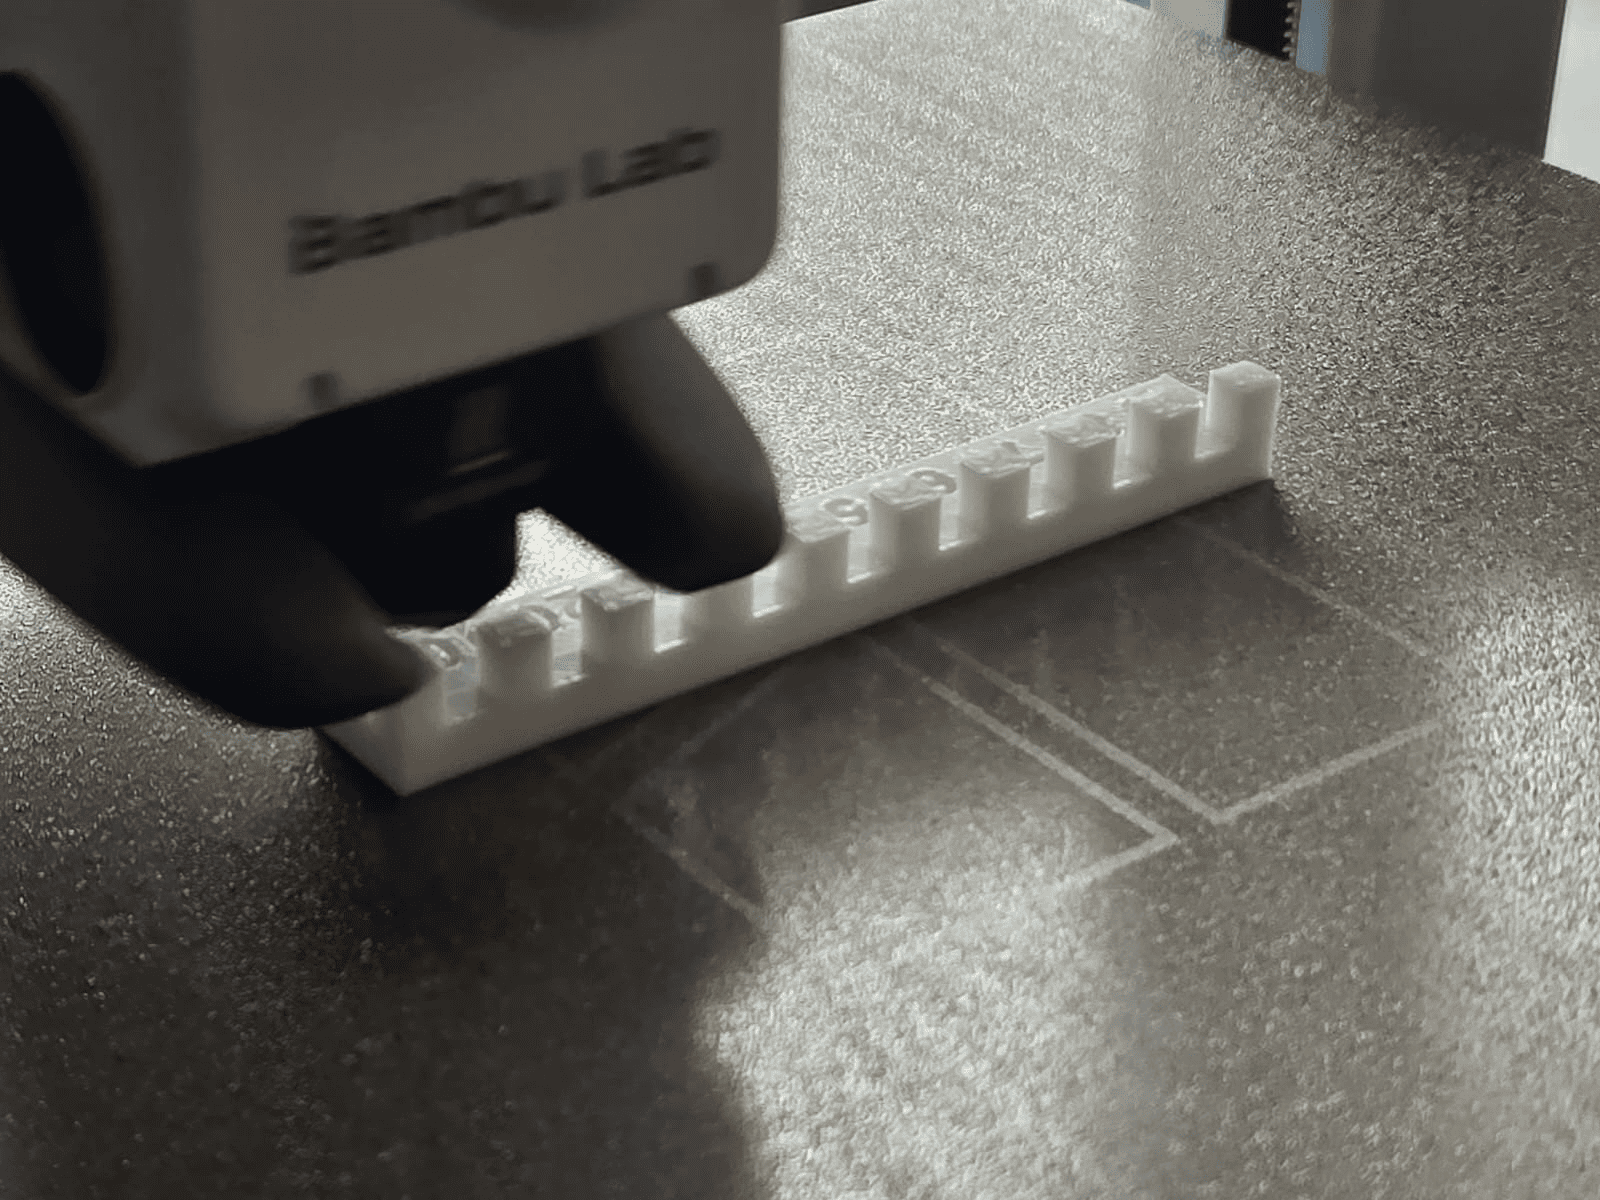
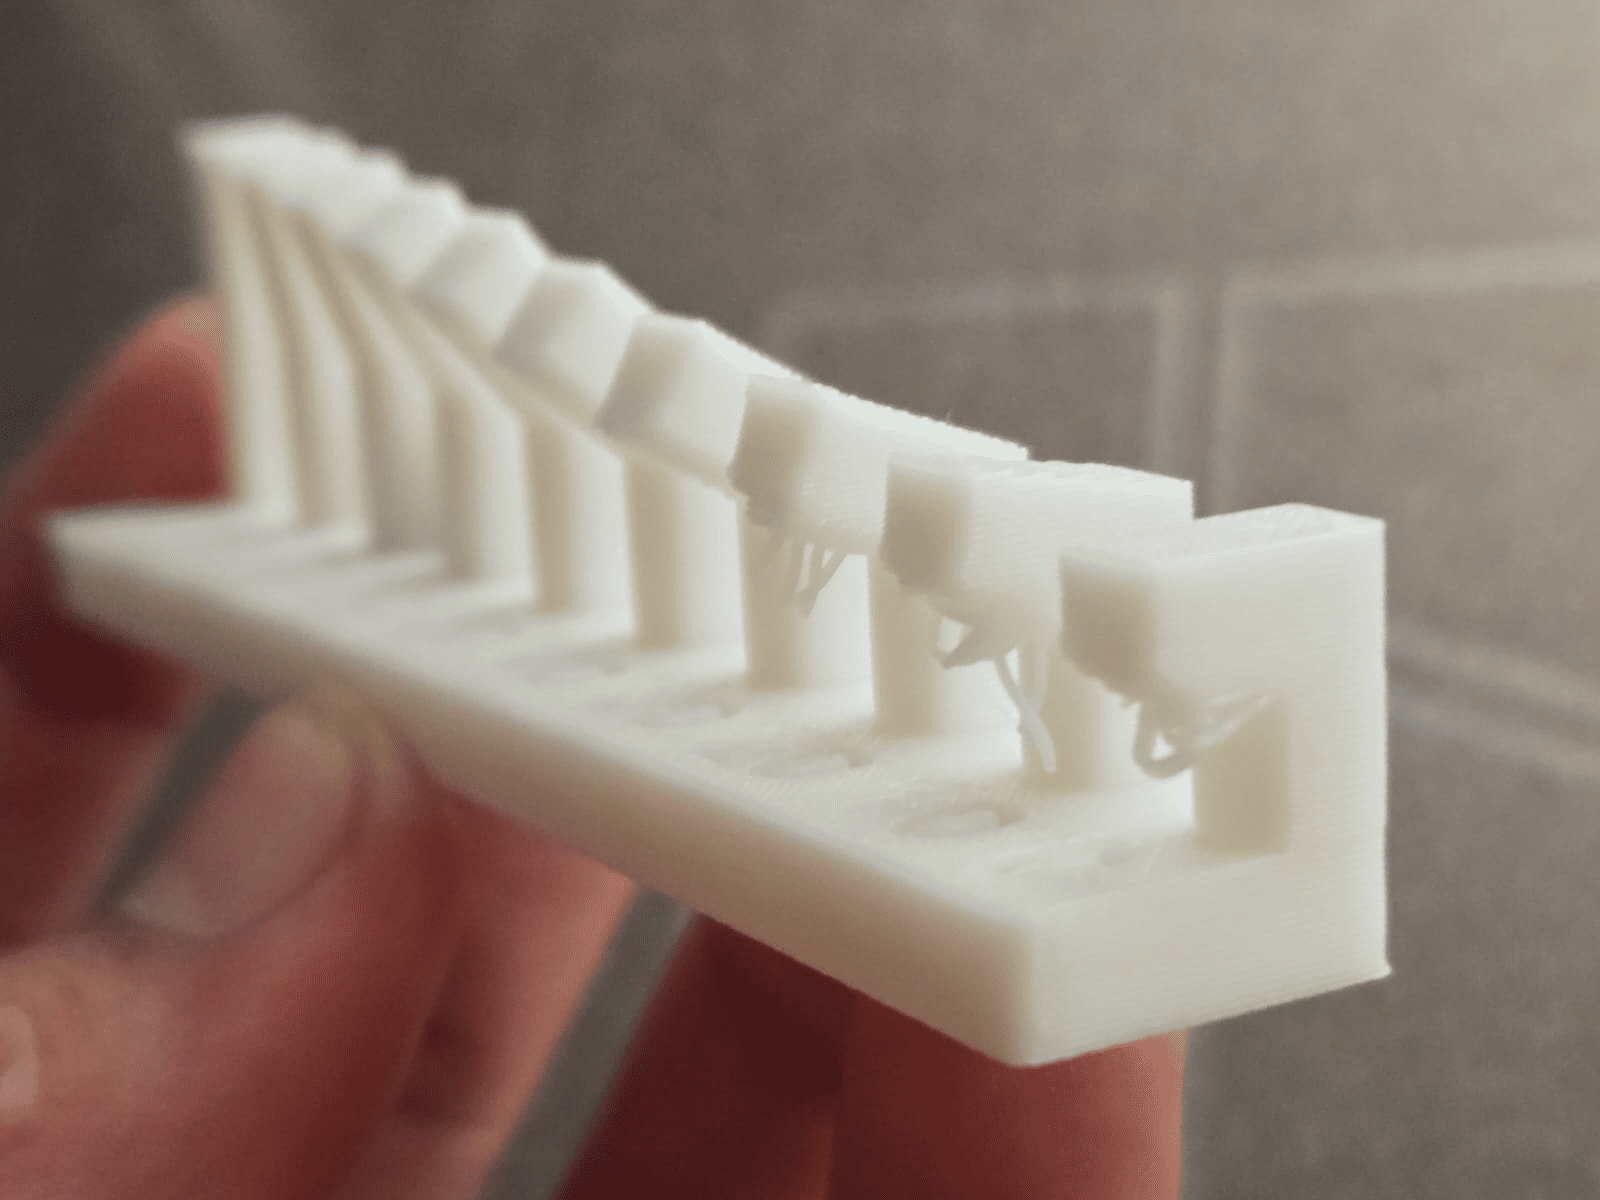
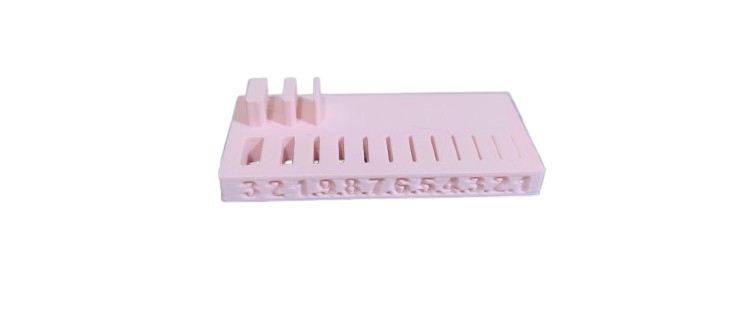
To evaluate the dimensional accuracy of the Bambu Lab A1 printer, I performed a fit tolerance test using a model with numbered grooves of varying thicknesses. This type of test identifies the minimum clearance required for a proper fit between 3D printed parts. When the parts were pressed into the grooves, some broke due to insufficient tolerance, while others remained undamaged. The parts that did not break indicated adequate tolerance for a functional fit with this material and printing configuration.
This result demonstrates the importance of considering clearance in 3D printing designs, since small variations in tenths of a millimeter can determine whether an assembly works correctly or not.
In conclusion, the design rules test allowed us to understand the real capabilities and limitations of each 3D printer when working with different parameters and configurations. With the Artillery Genius Pro, the importance of proper manual leveling and calibration of retraction, flow, and temperature was evident in improving surface finish and reducing problems such as stringing. With the Creality K1 SE, thanks to its CoreXY system and high speed, good results were observed in overhang and clearance tests, although the type of support material significantly influences ease of cleaning and final quality. Meanwhile, the Bambu Lab A1/A1 Combo stood out for its automatic calibration and advanced flow control, achieving more precise finishes, better definition on curved surfaces through adaptive layers, and more reliable dimensional tolerances. Overall, this work allowed us to reflect on how factors such as speed, extruder type, motion system, calibration, and slicer configuration directly influence the quality, precision, and functionality of printed parts, reinforcing the importance of correctly adjusting parameters for each machine and material.
Individual assignment:
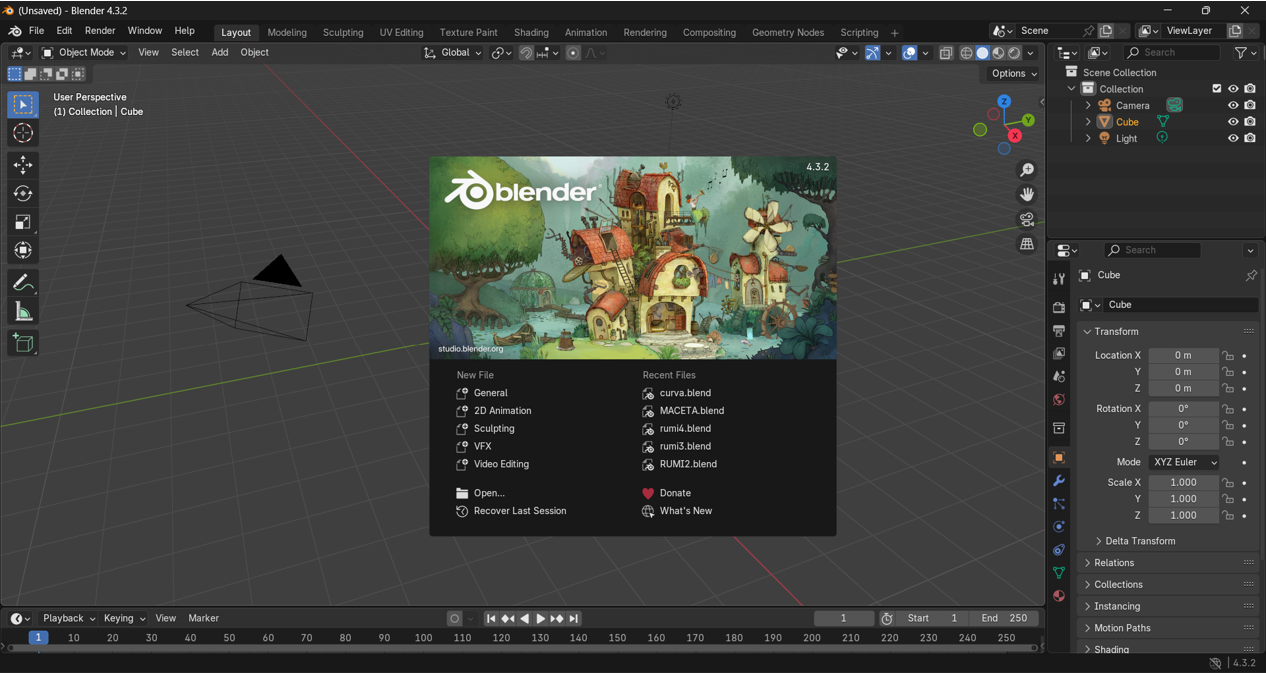
Designing my "non-subtractive" model in Blender XD!
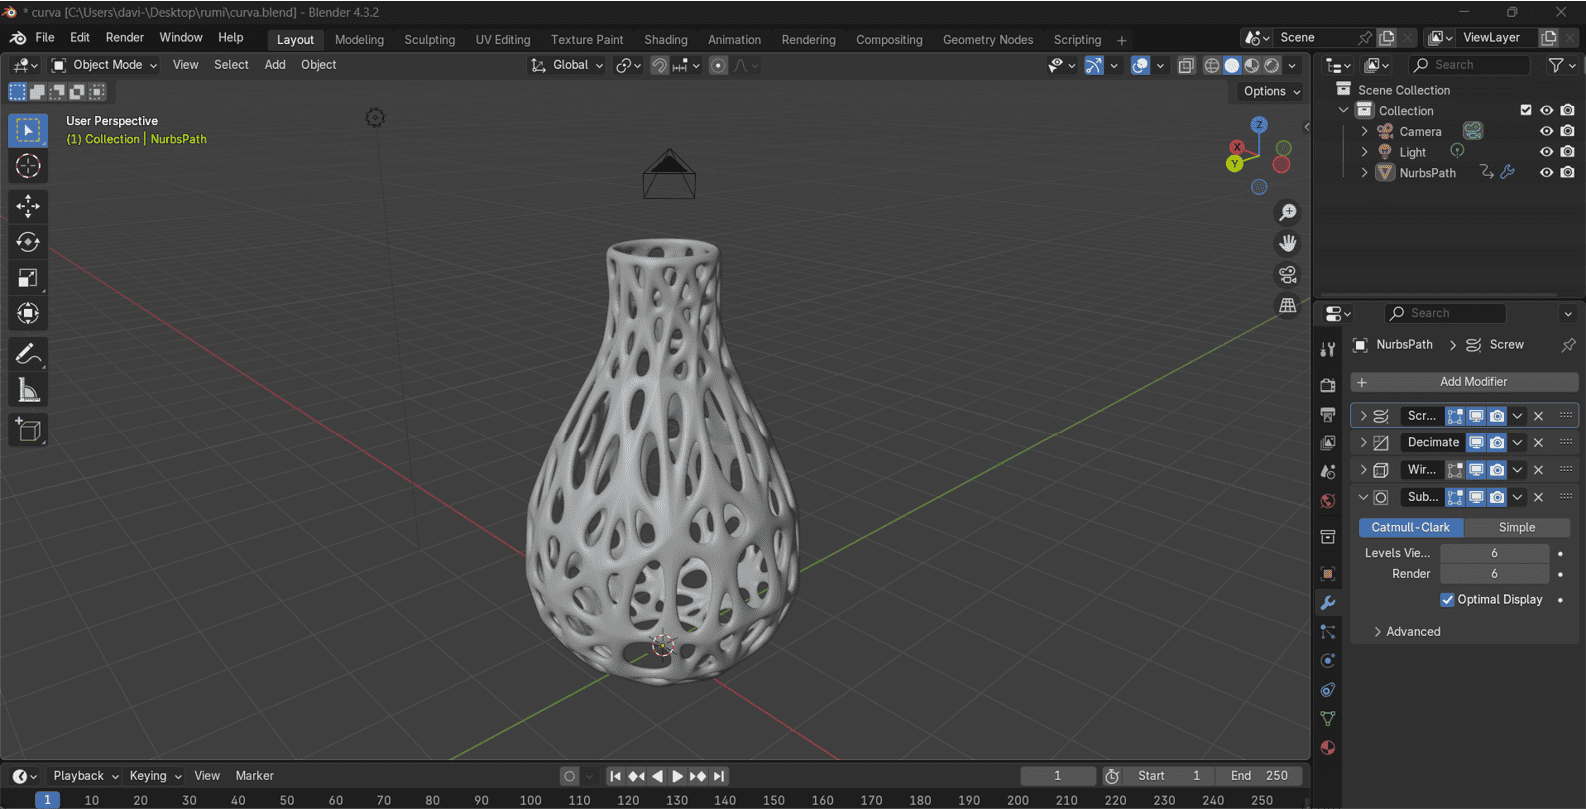
For this exercise we used the Blender program; the object we will design will be a vase inside another vase, with an abstract design.
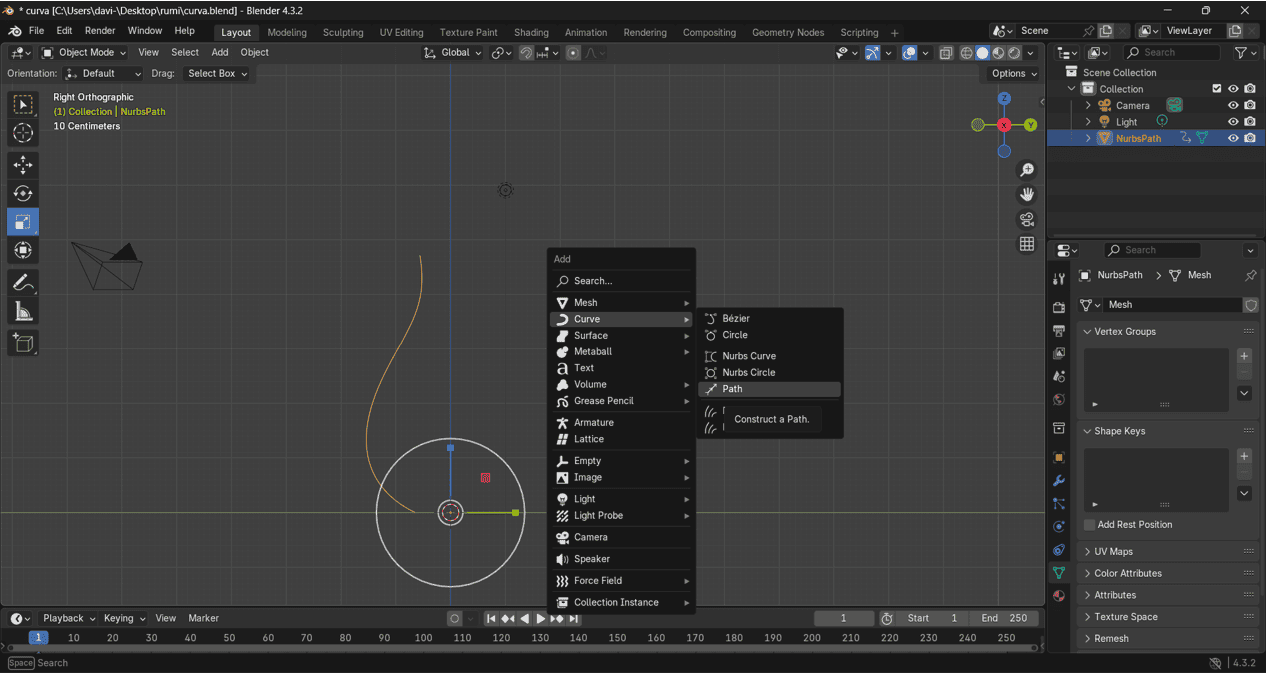
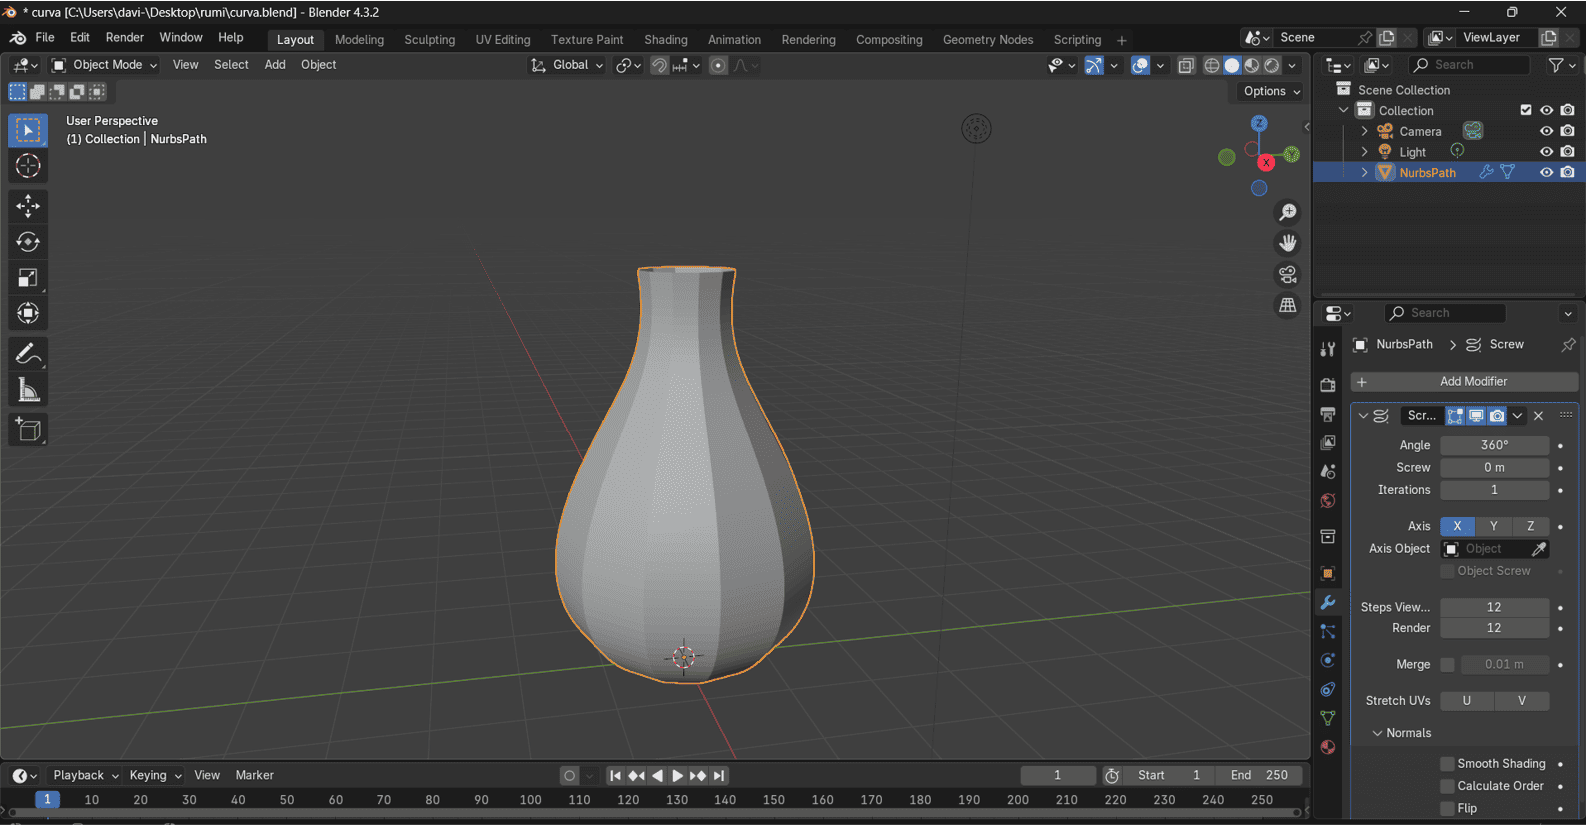
We start by drawing the profile of the vase in Blender. Then we revolve the shape to generate the main volume. Finally, we refine the form to continue building the abstract model.
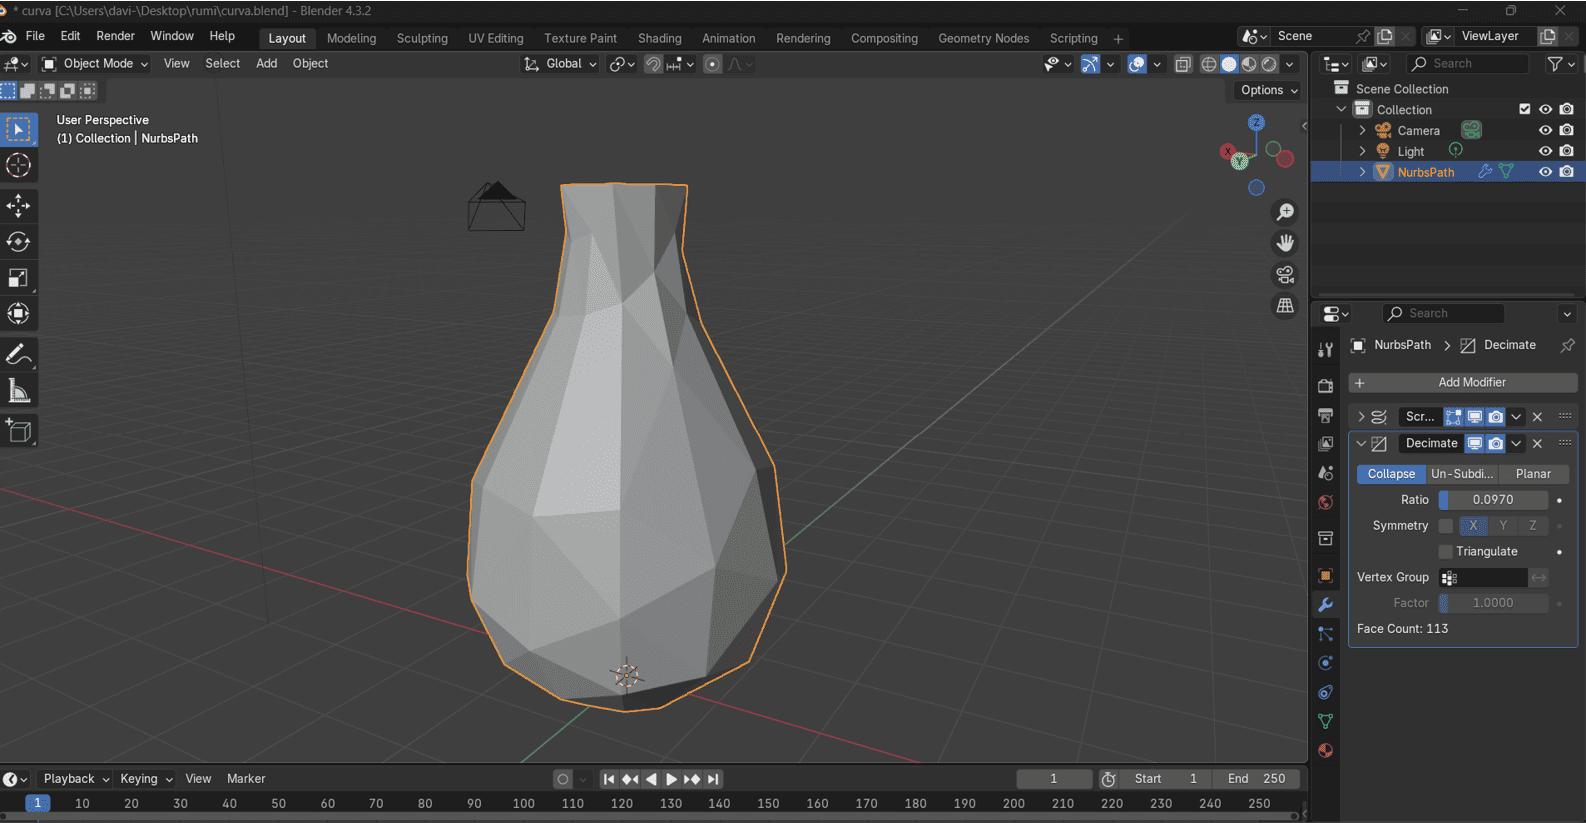
We'll insert a path and draw the outline of our vase, then use the screw command to create a revolution. Next, we'll convert it to a mesh and apply modifiers like decimate to create an abstract distortion. We draw the path and use the screw tool to create the vase. Next, we convert it to mesh and add modifiers for distortion. Then we refine the abstract structure with thickness and smoothing.
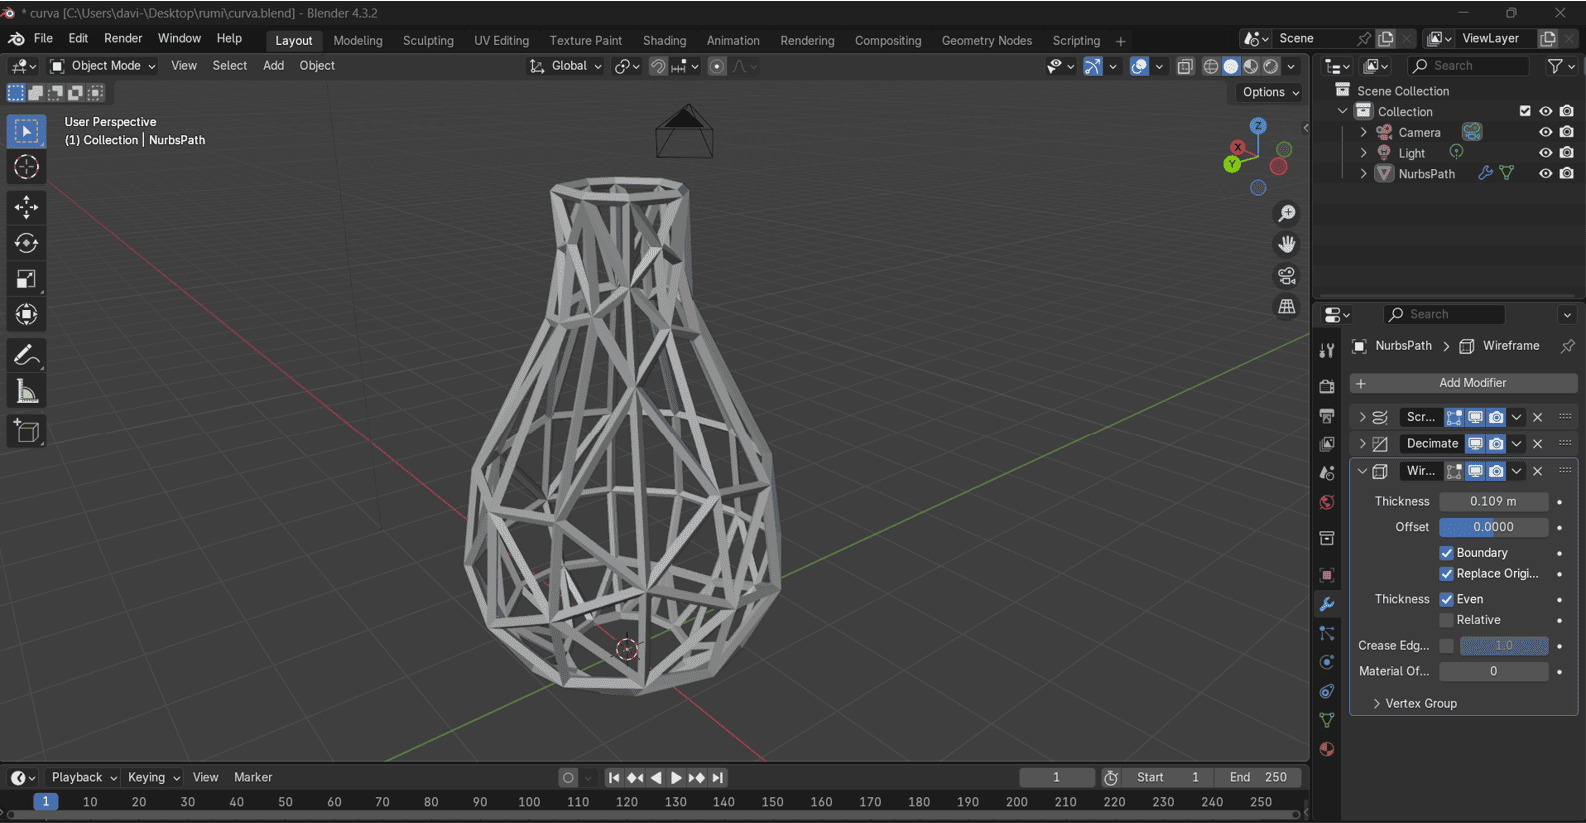
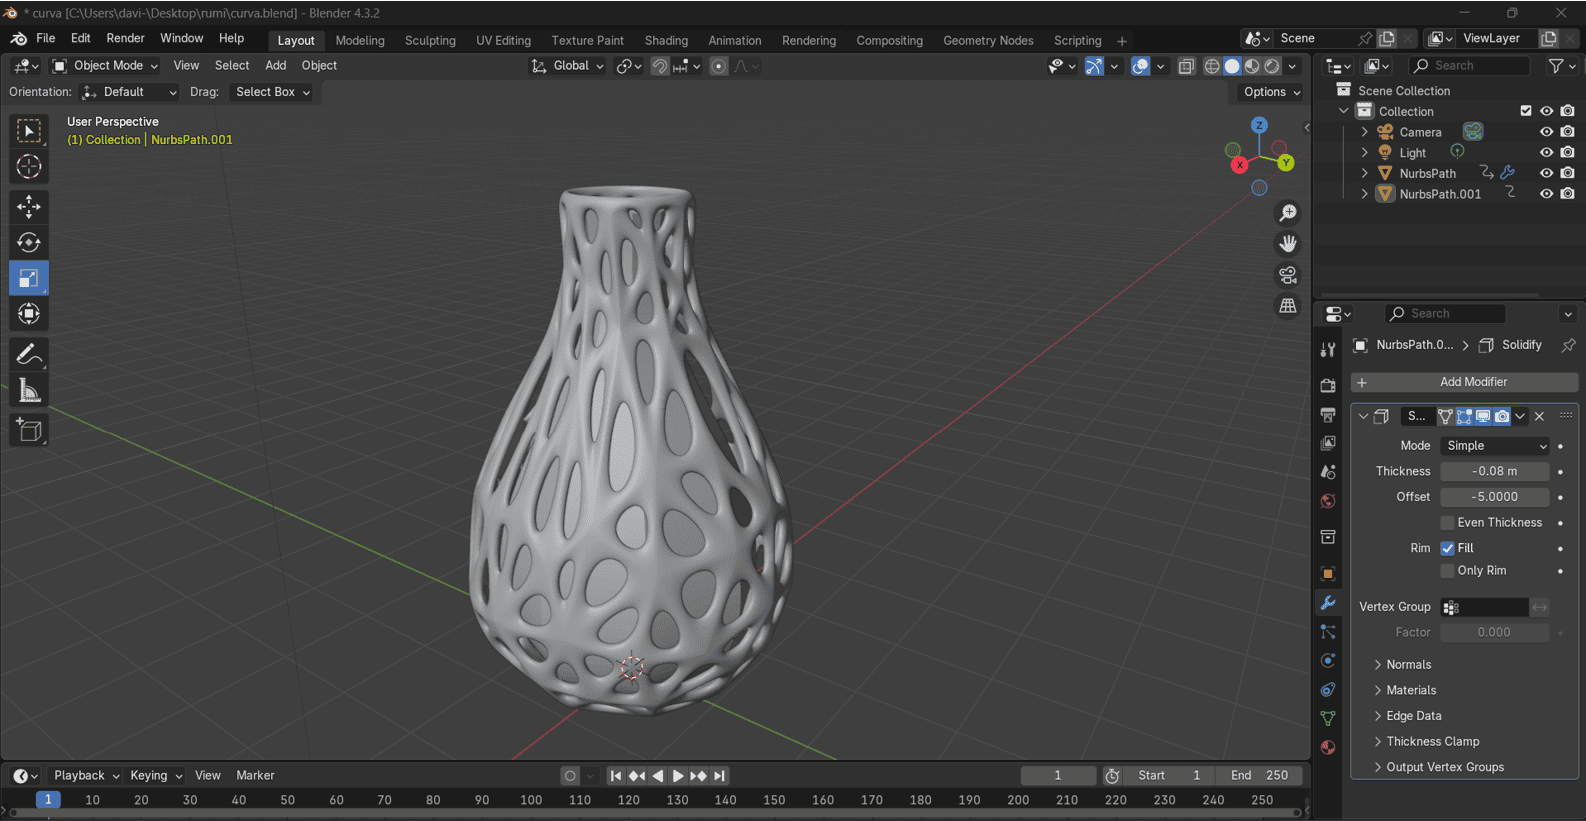
Next, we'll apply the "wired" modifier to create a wireframe structure, give it a thickness, and then use the "subdivision" modifier to refine and smooth our vase. Once we've achieved this, we'll create a copy of the initial model to include within the abstract model, resulting in a complex model.
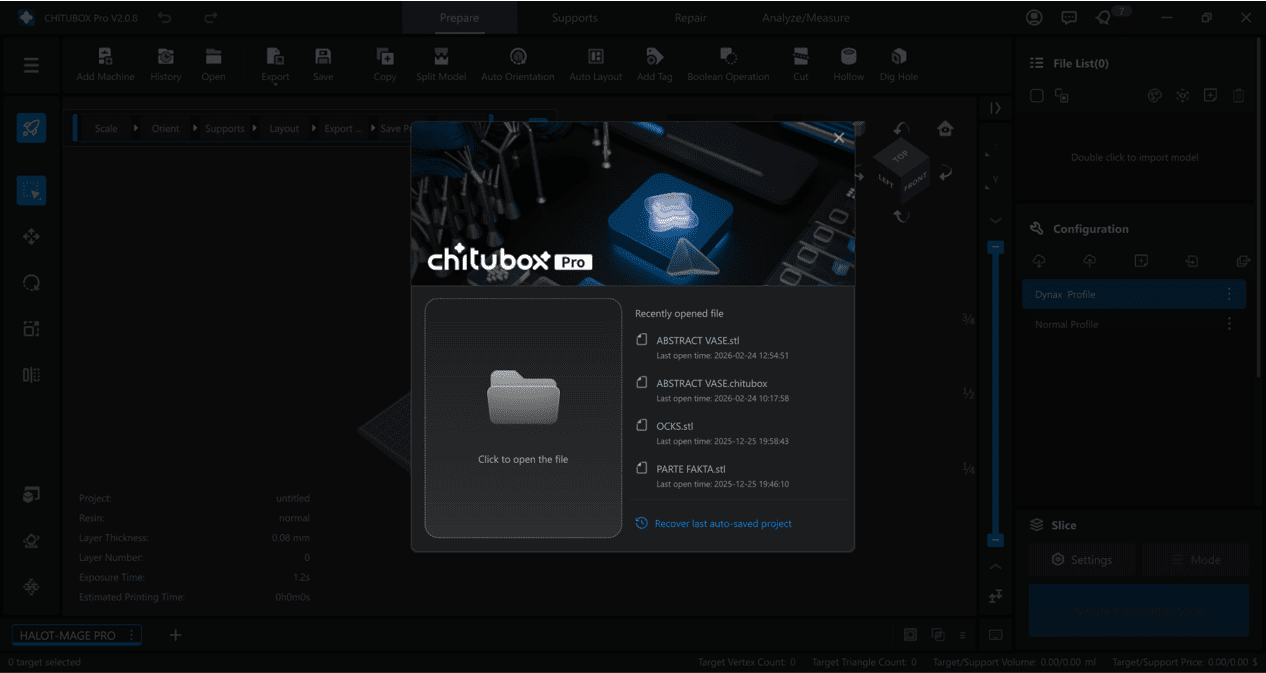
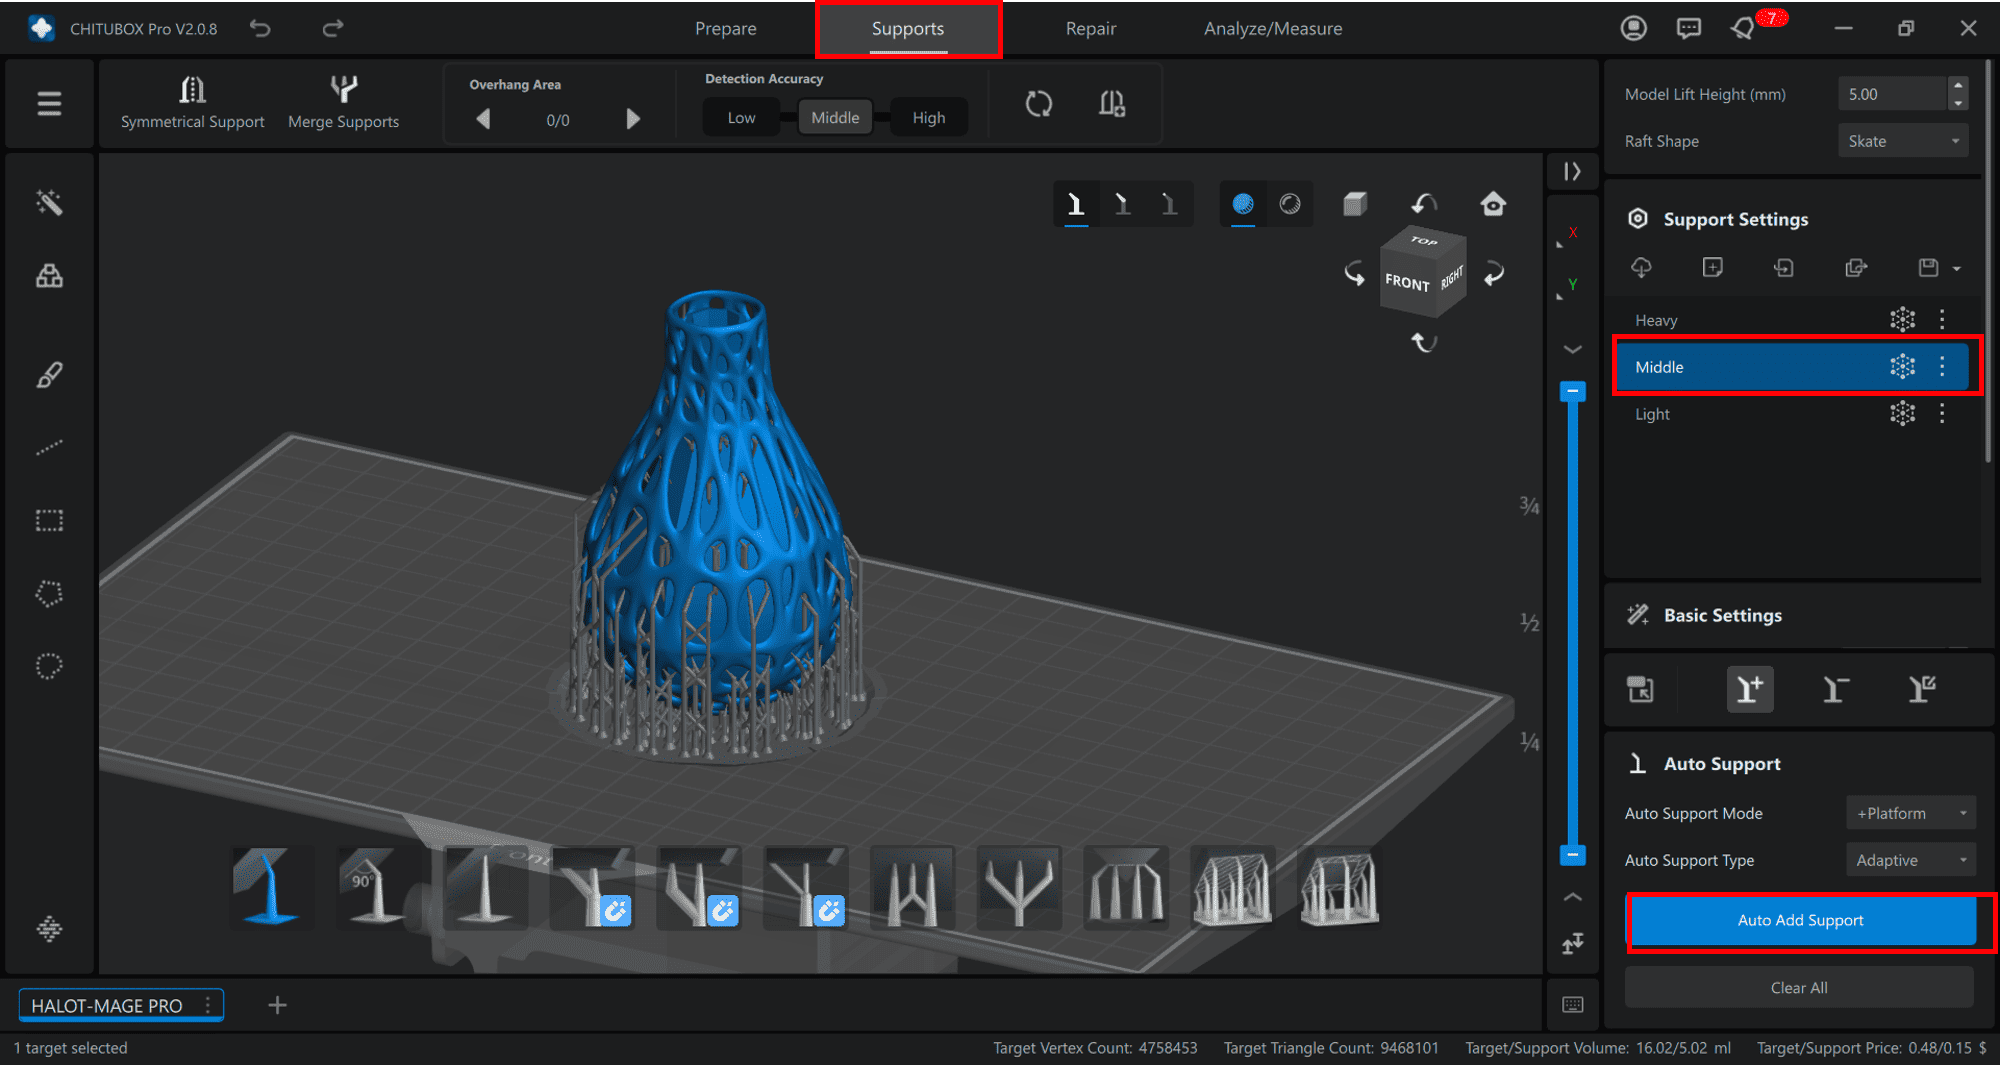
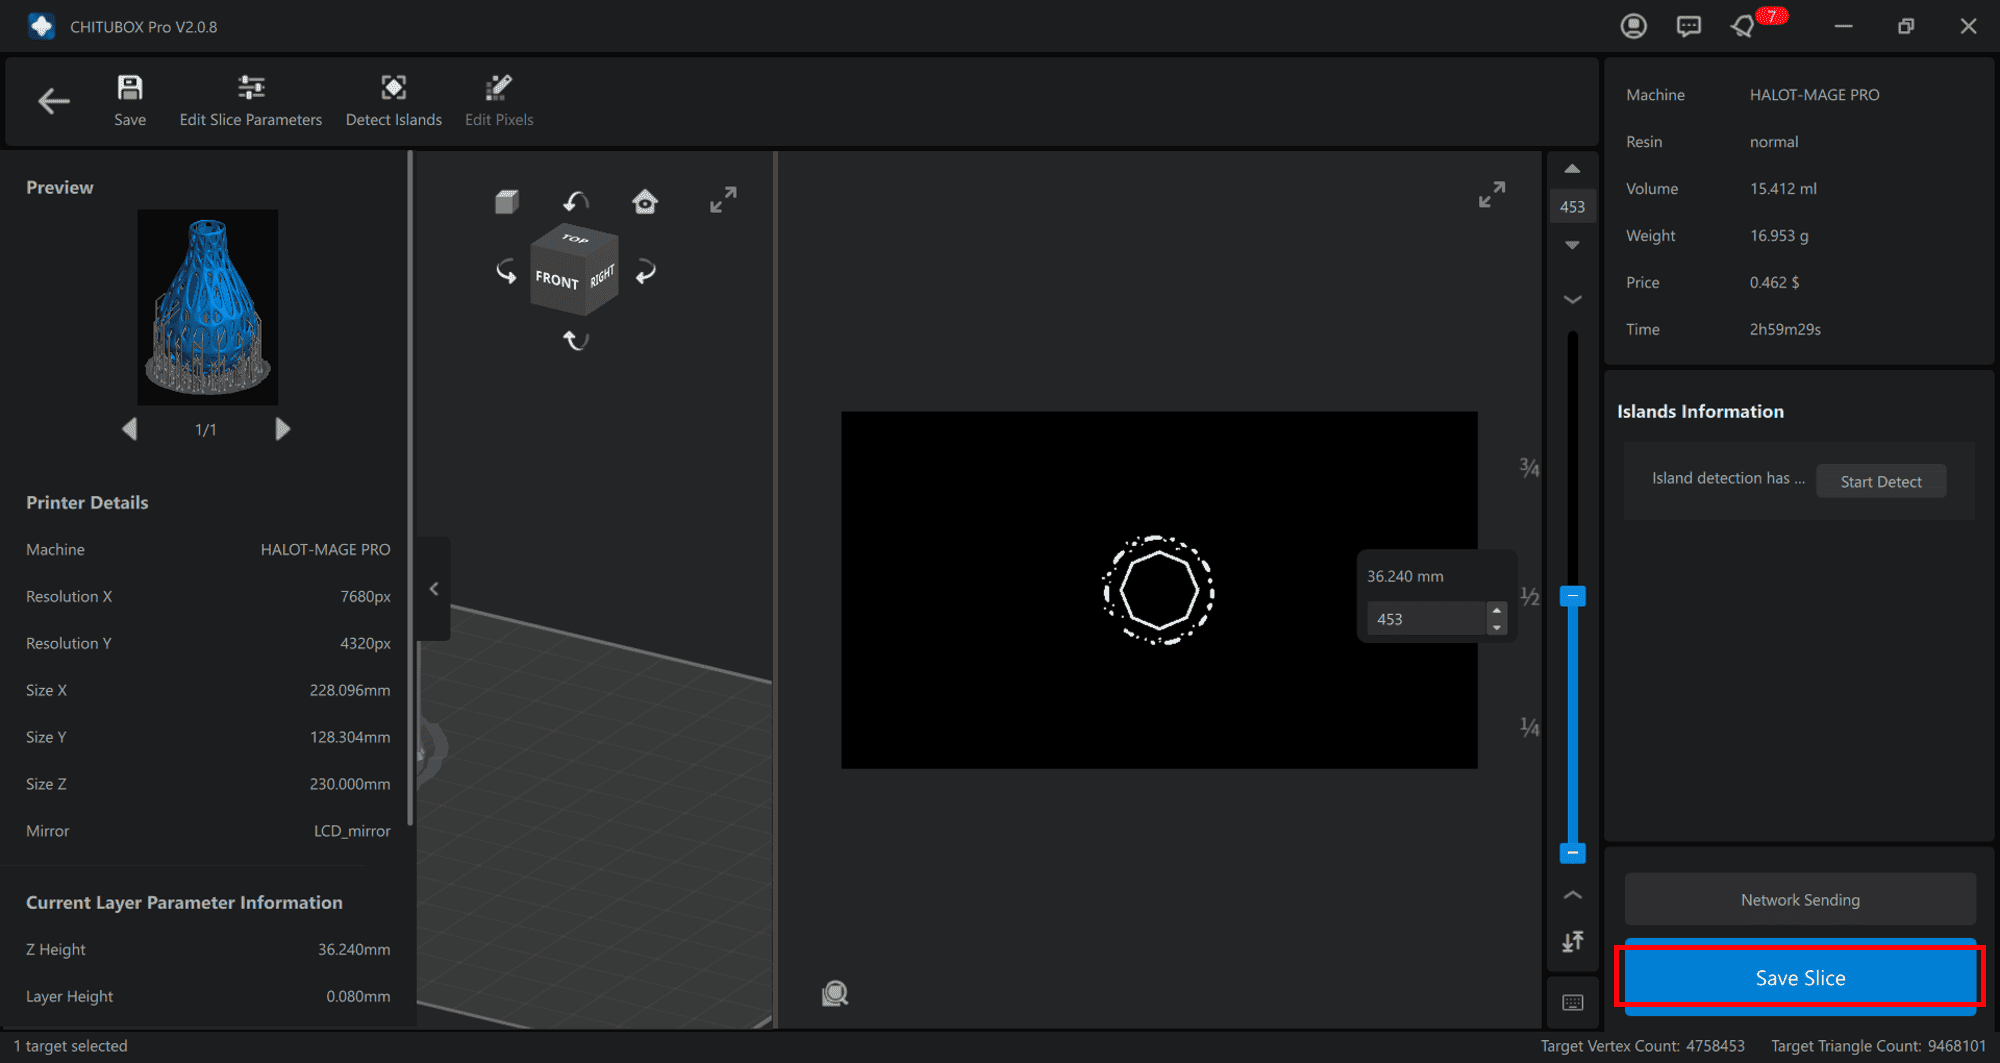
Let’s Slice for Resin 3D Printing with Chitubox!
For this exercise we used the Blender program; the object we will design will be a vase inside another vase, with an abstract design.
For this exercise we used the Blender program; the object we will design will be a vase inside another vase, with an abstract design.
We import the model into Chitubox and prepare its orientation. Then we add supports and configure the resin slicing settings.
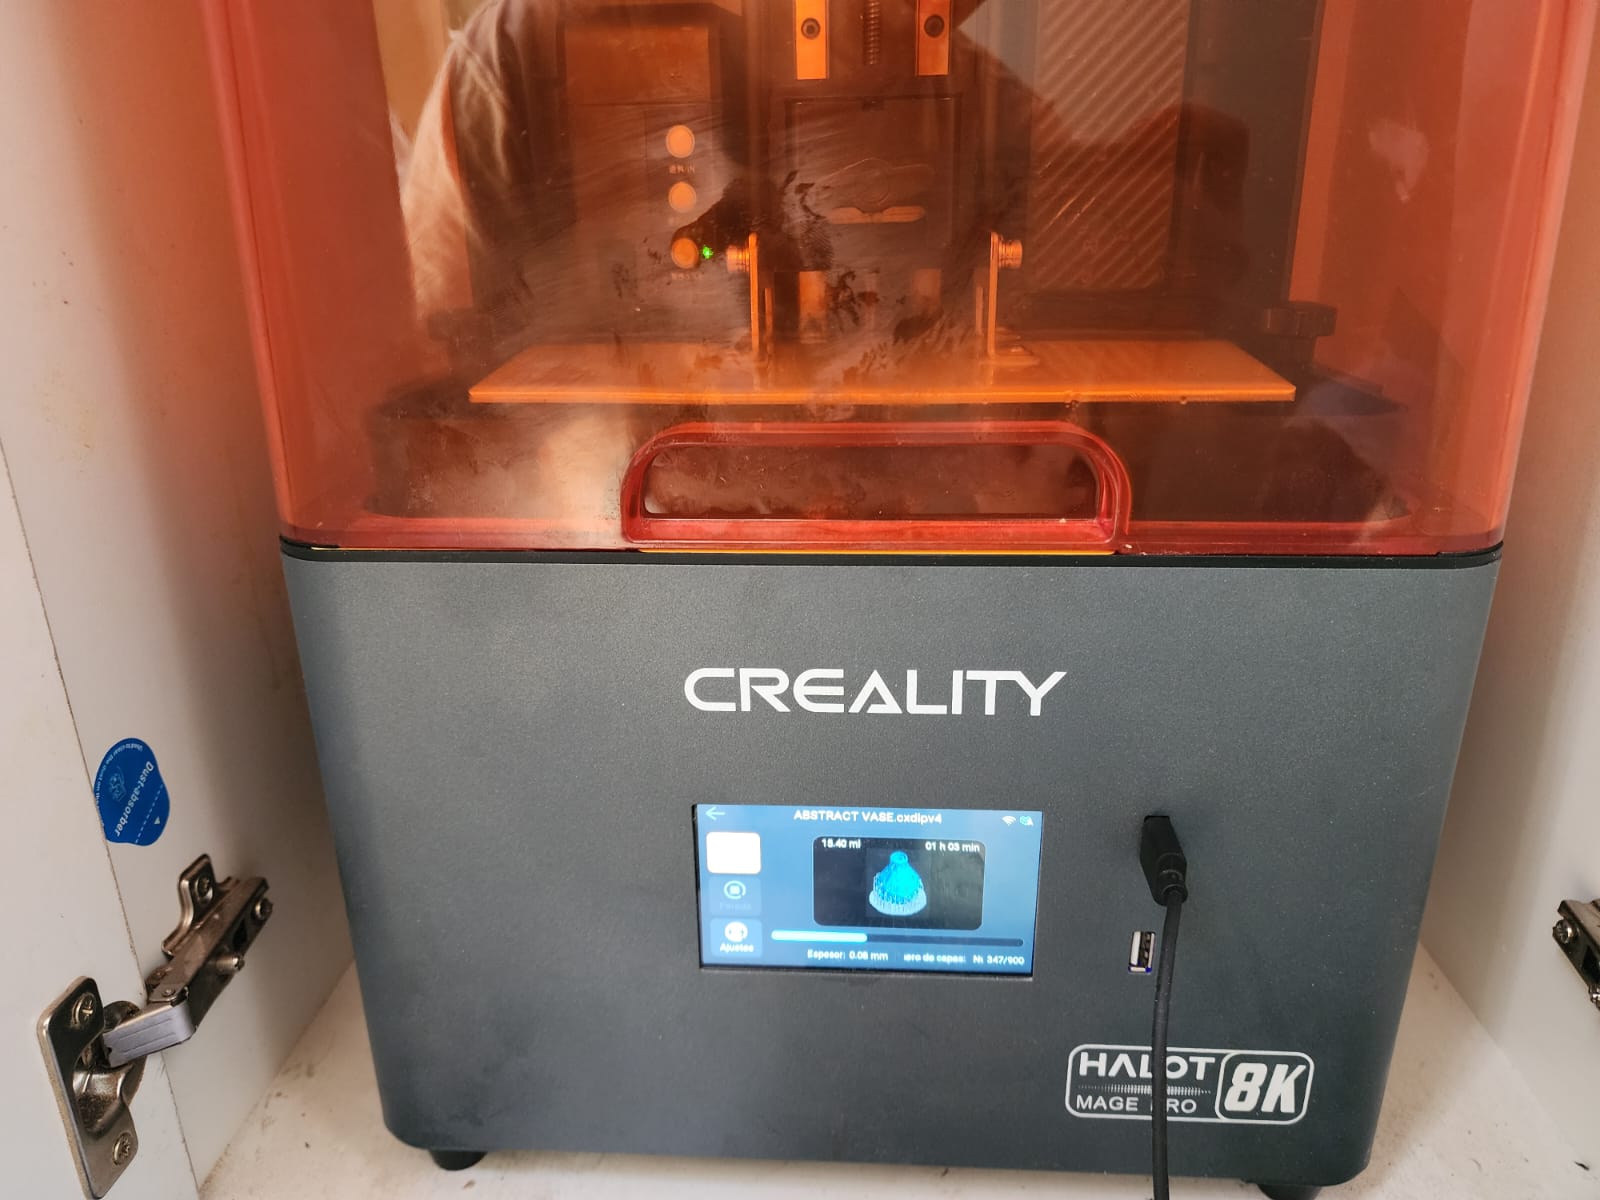
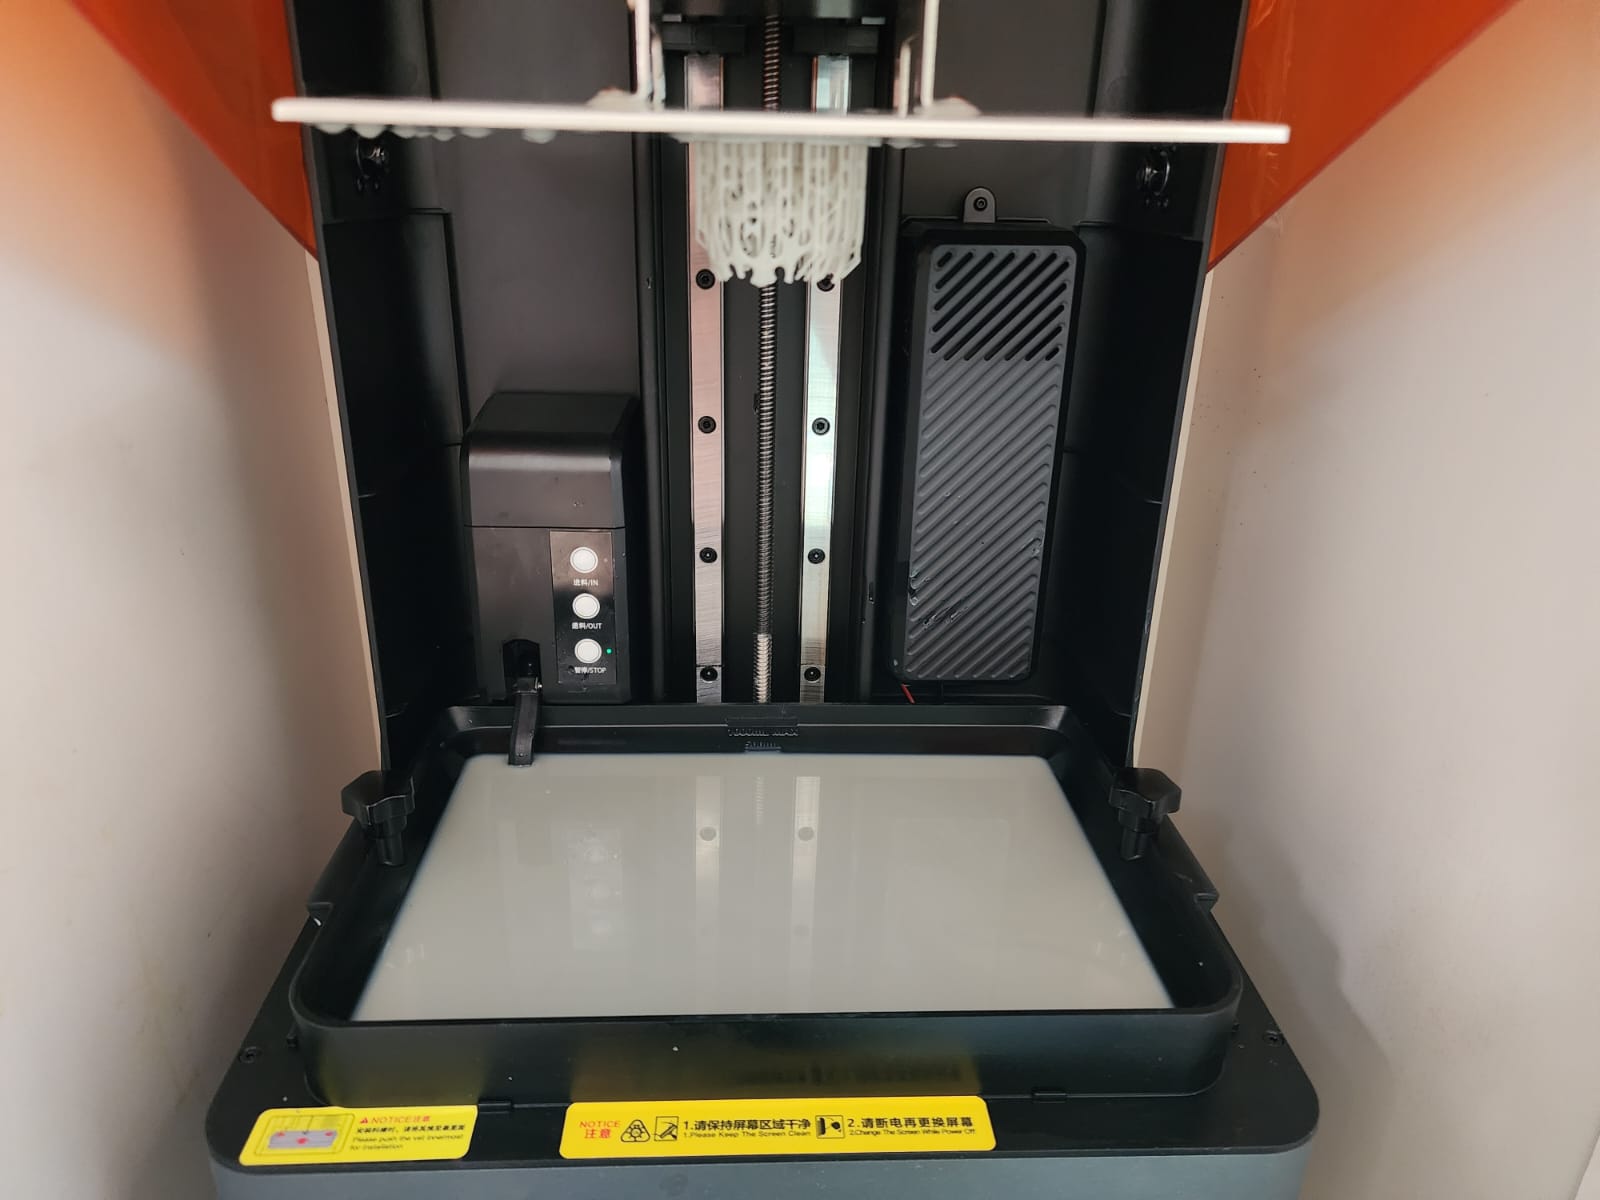
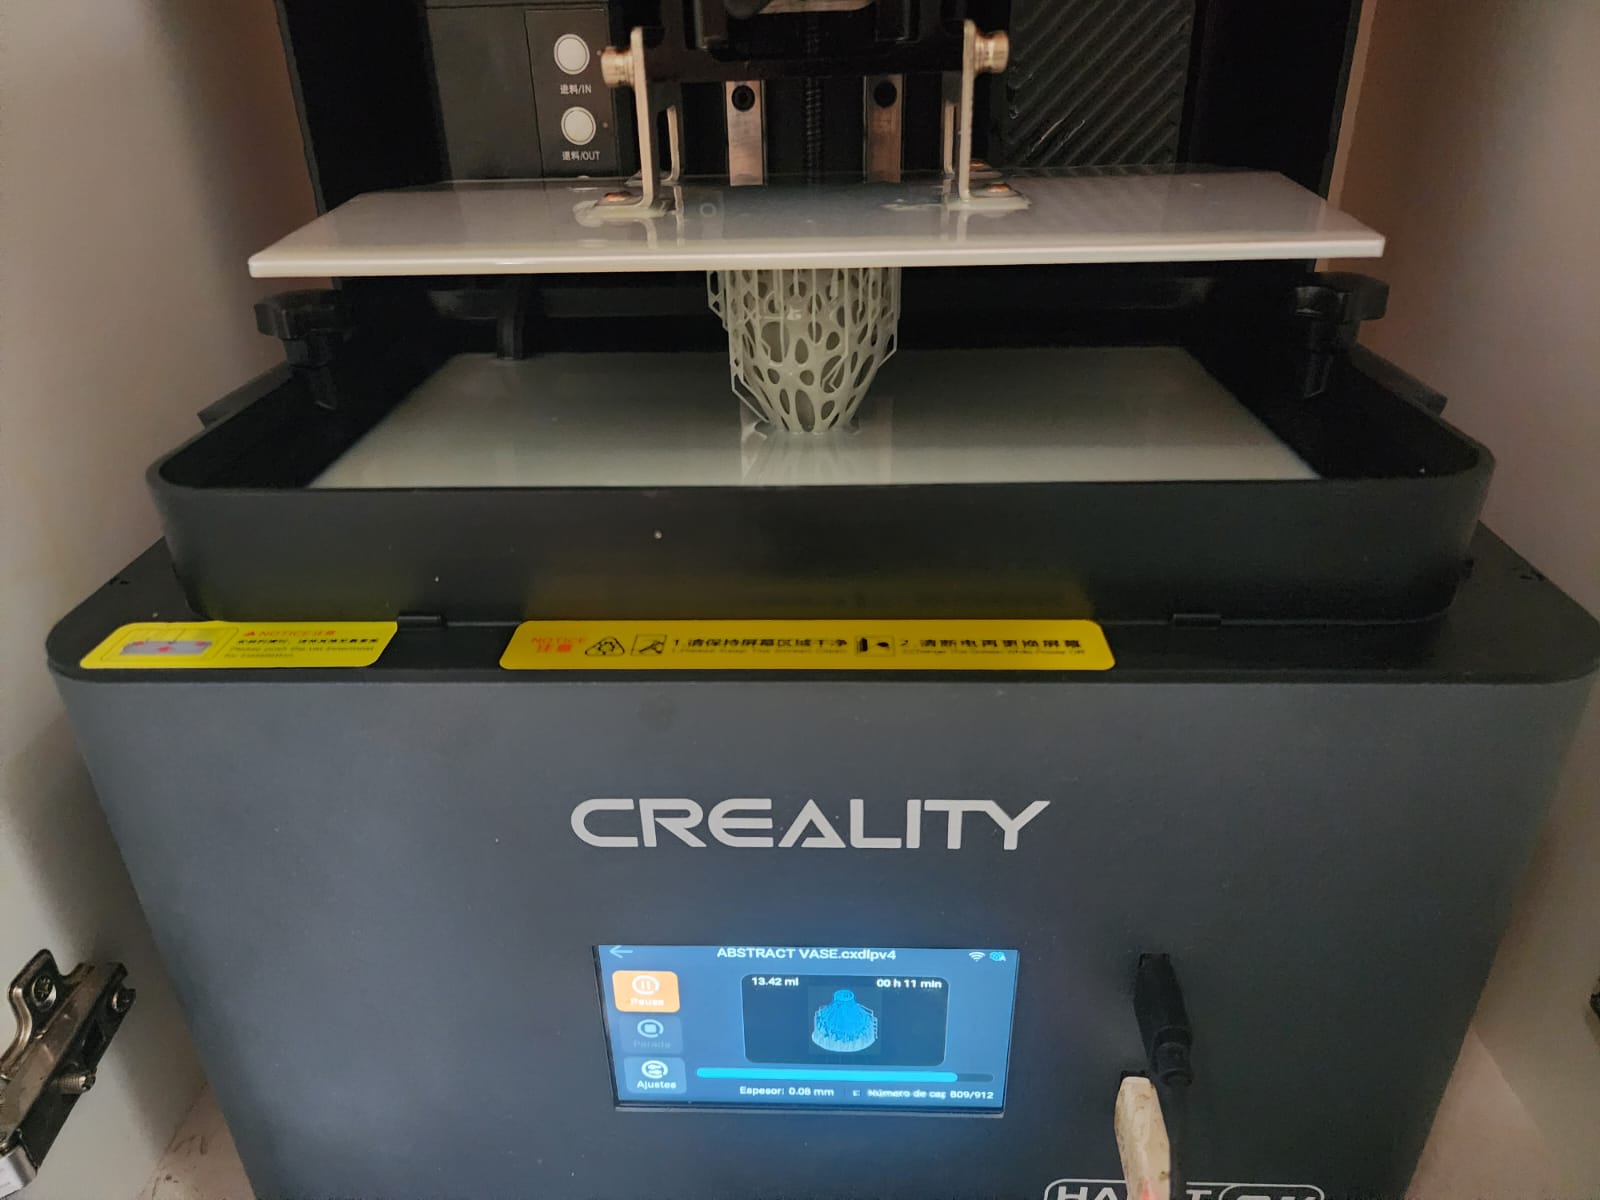
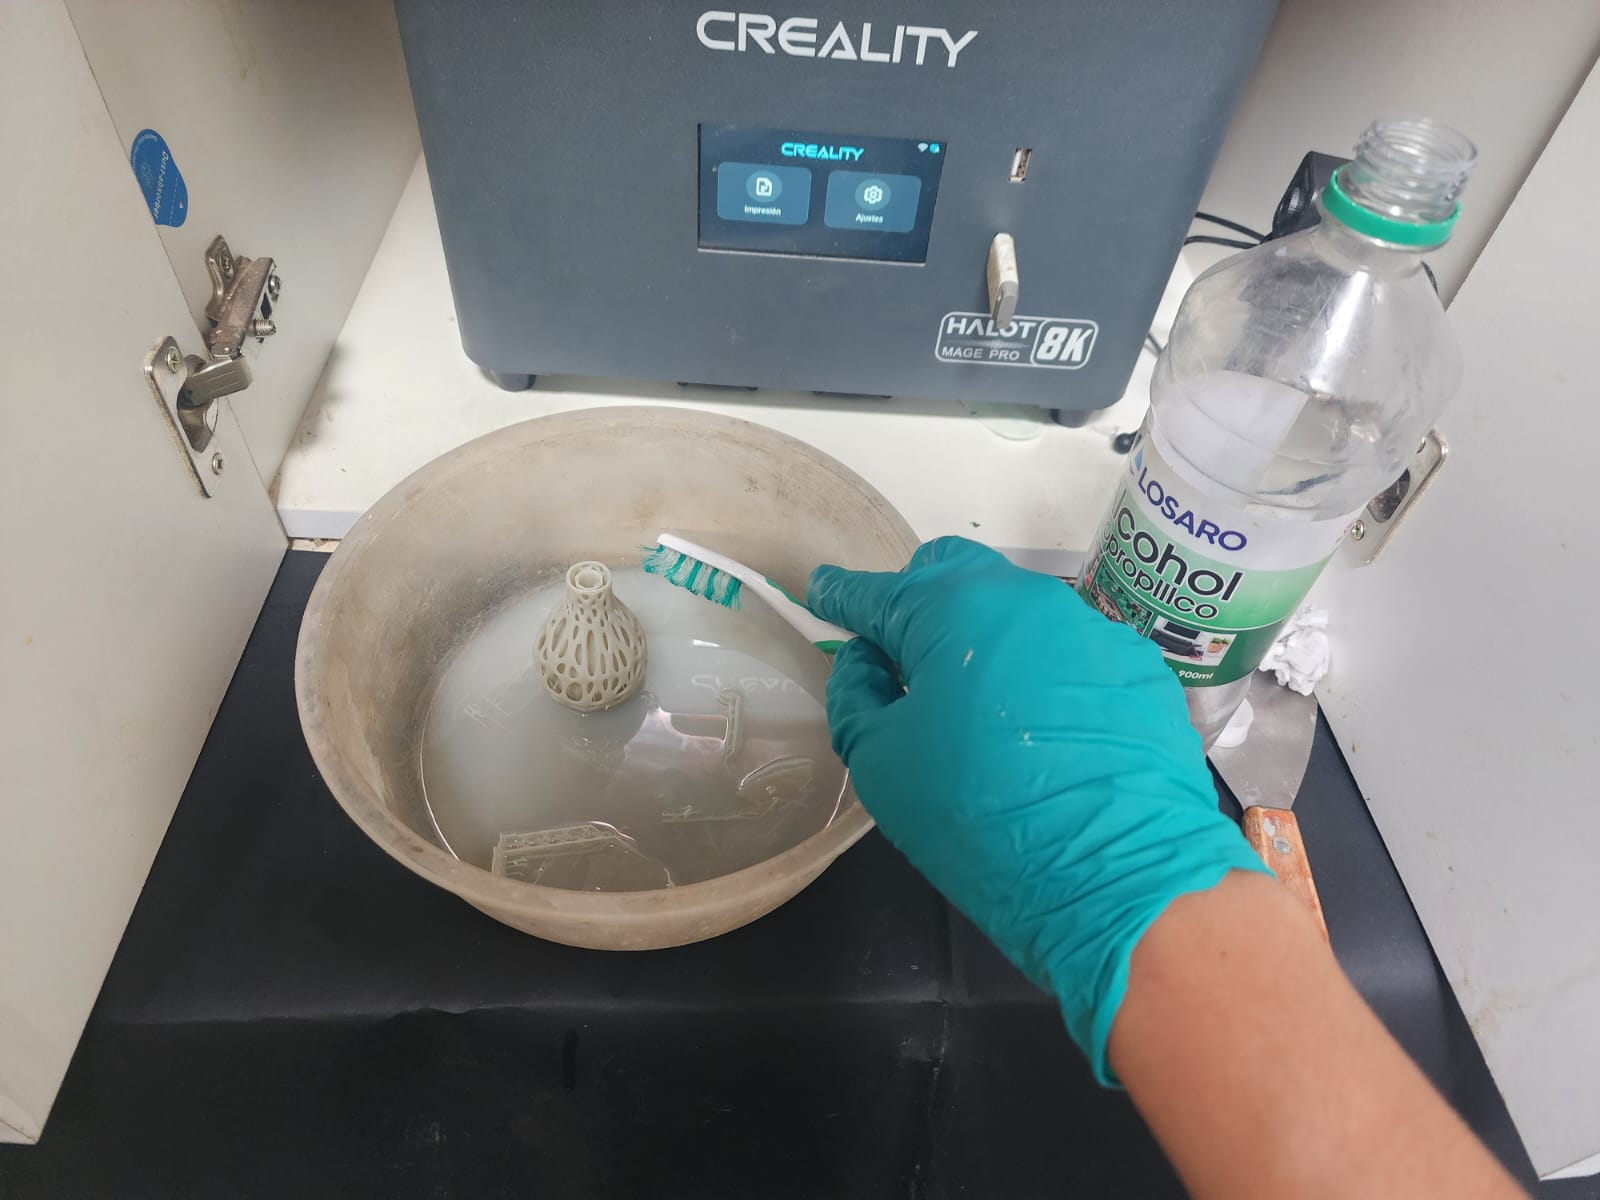
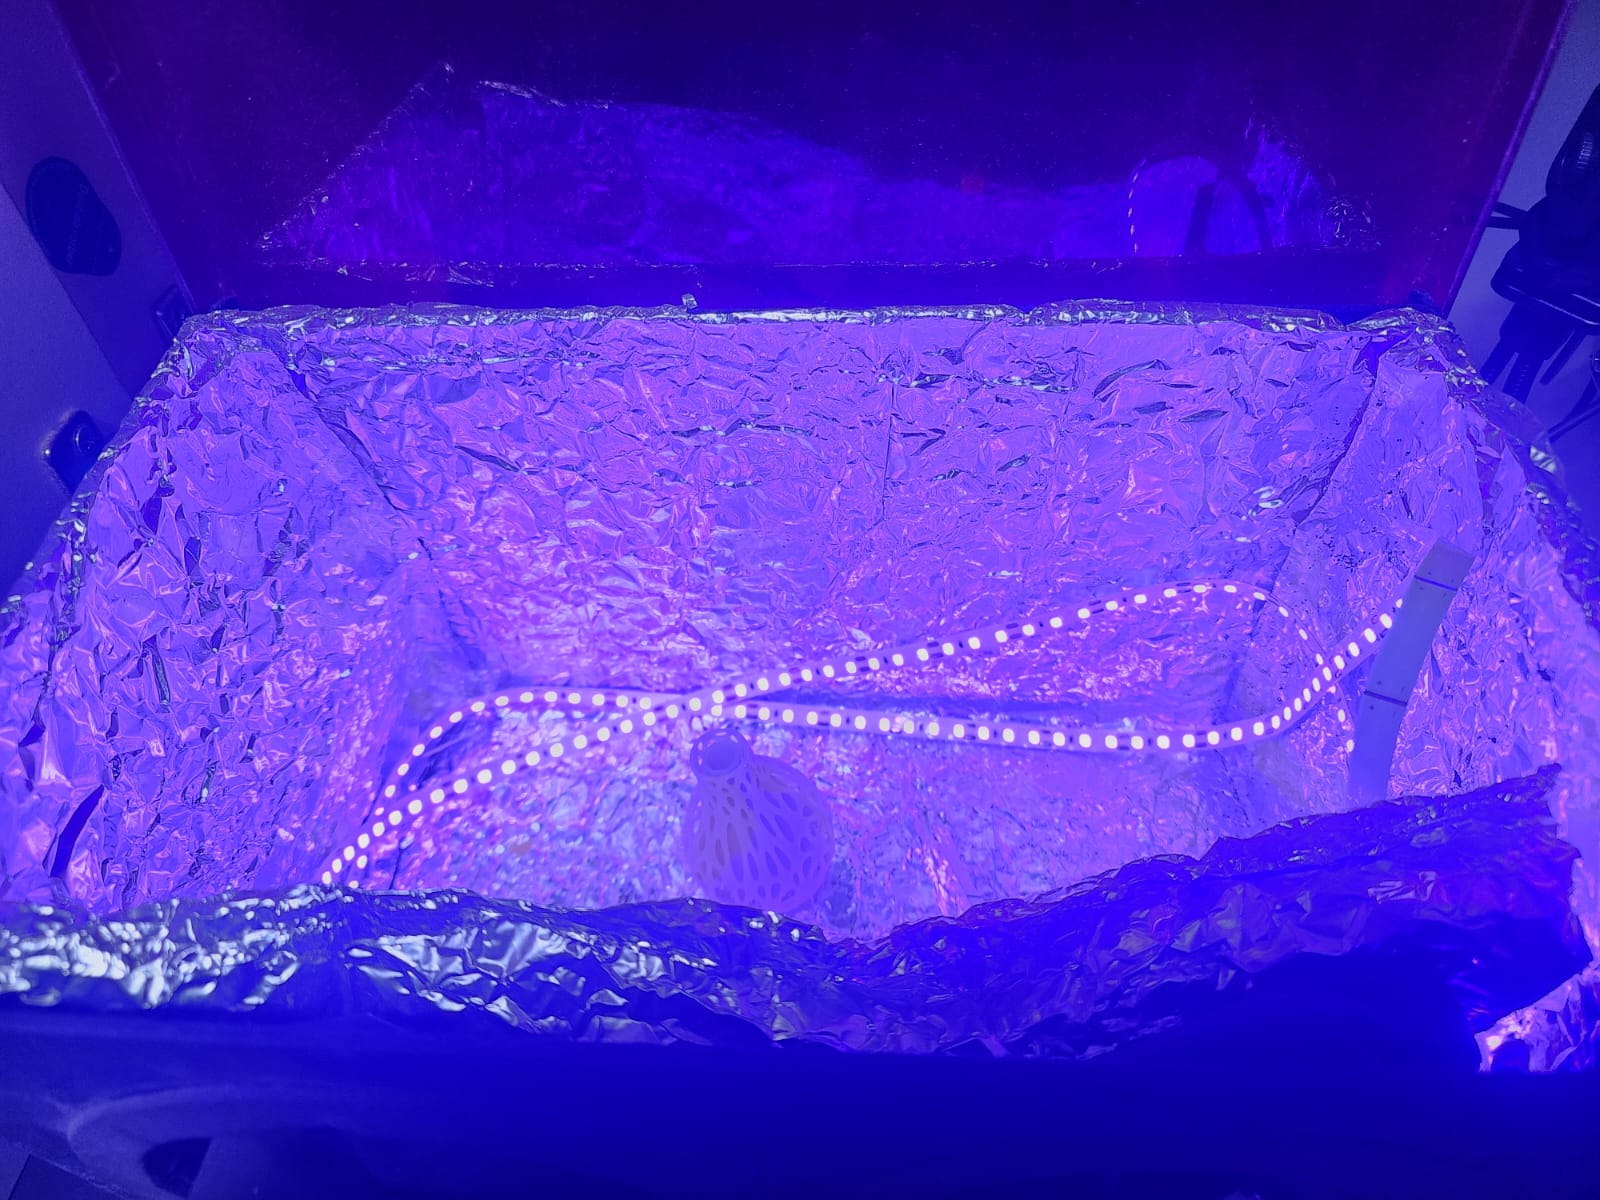
Let's go print with the Creality Halot Mage Pro!!
For this exercise we used the Blender program; the object we will design will be a vase inside another vase, with an abstract design.
For this exercise we used the Blender program; the object we will design will be a vase inside another vase, with an abstract design.
We load the sliced resin file and prepare the printer for the job. The Halot Mage Pro starts the print while we monitor the first layers. Finally, we remove and clean the finished resin print.
For this exercise we used the Blender program; the object we will design will be a vase inside another vase, with an abstract design.
For this exercise we used the Blender program; the object we will design will be a vase inside another vase, with an abstract design.
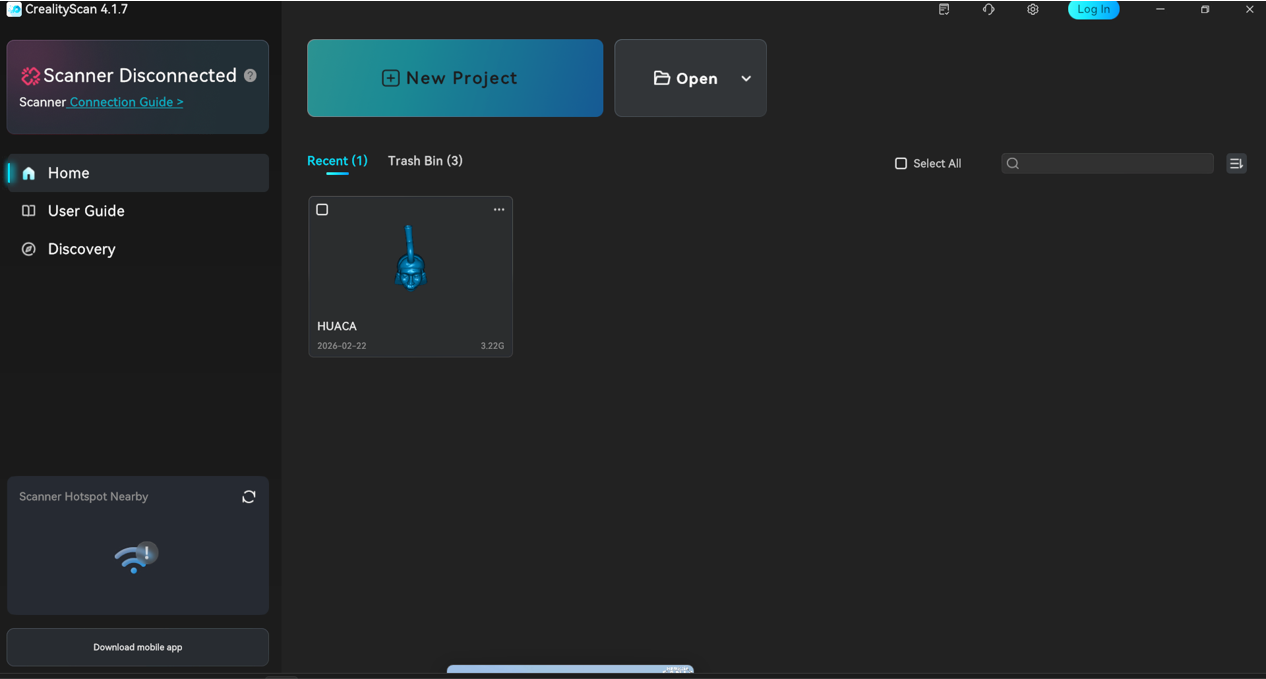
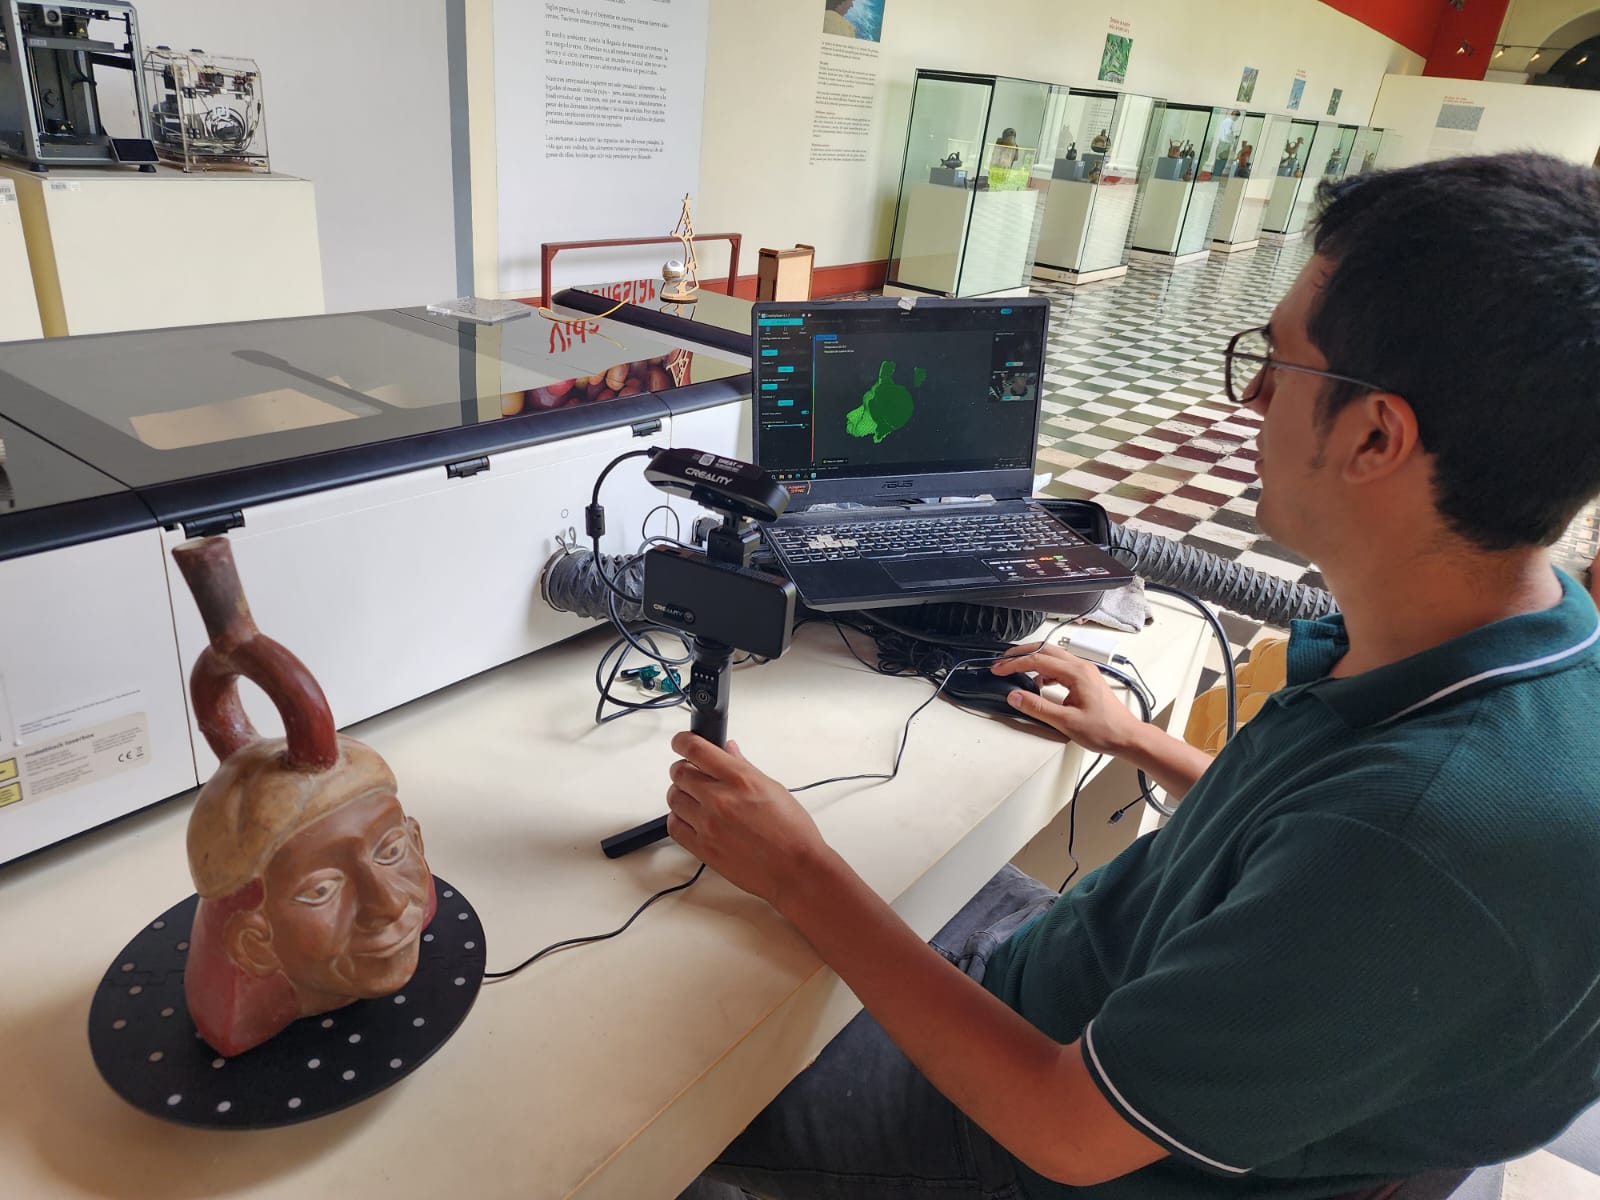
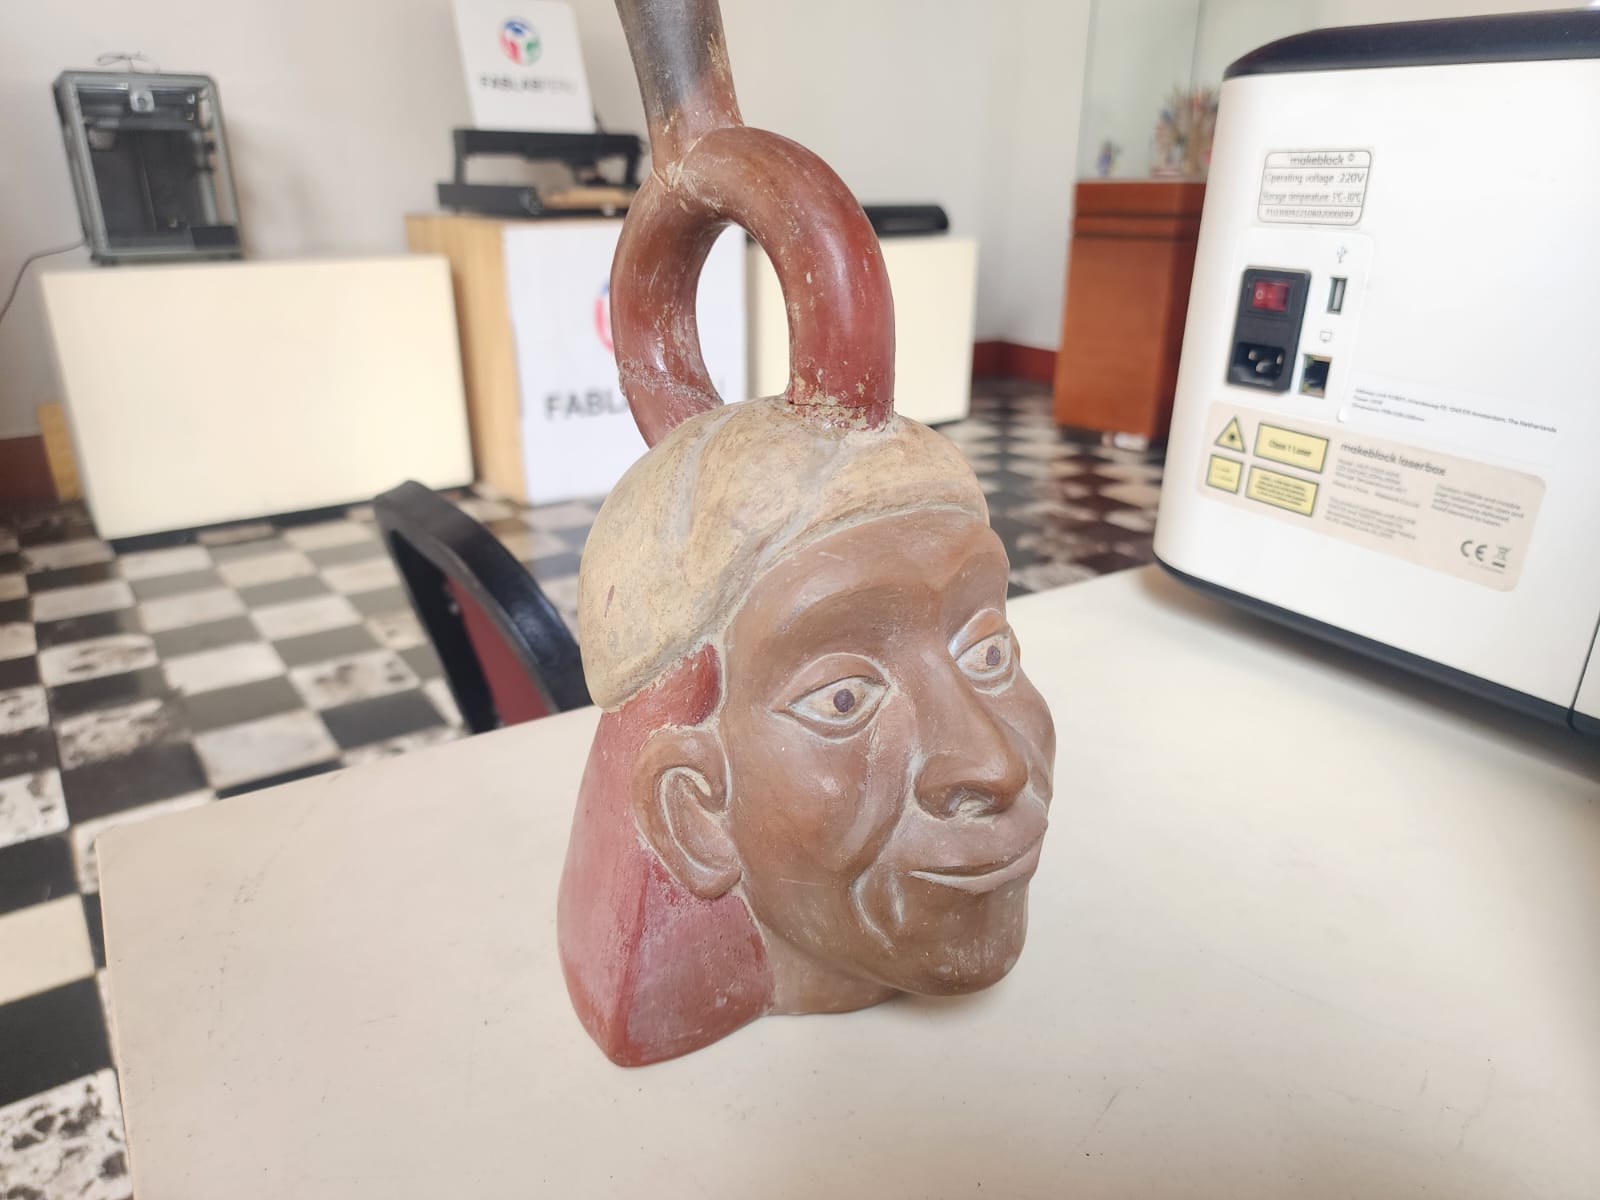
Scanning a Moche Huaco (replica)...
For this exercise we used the Blender program; the object we will design will be a vase inside another vase, with an abstract design.
We start the scan and position the Huaco replica correctly. Then we capture the geometry from different viewing angles.
For this exercise we used the Blender program; the object we will design will be a vase inside another vase, with an abstract design.
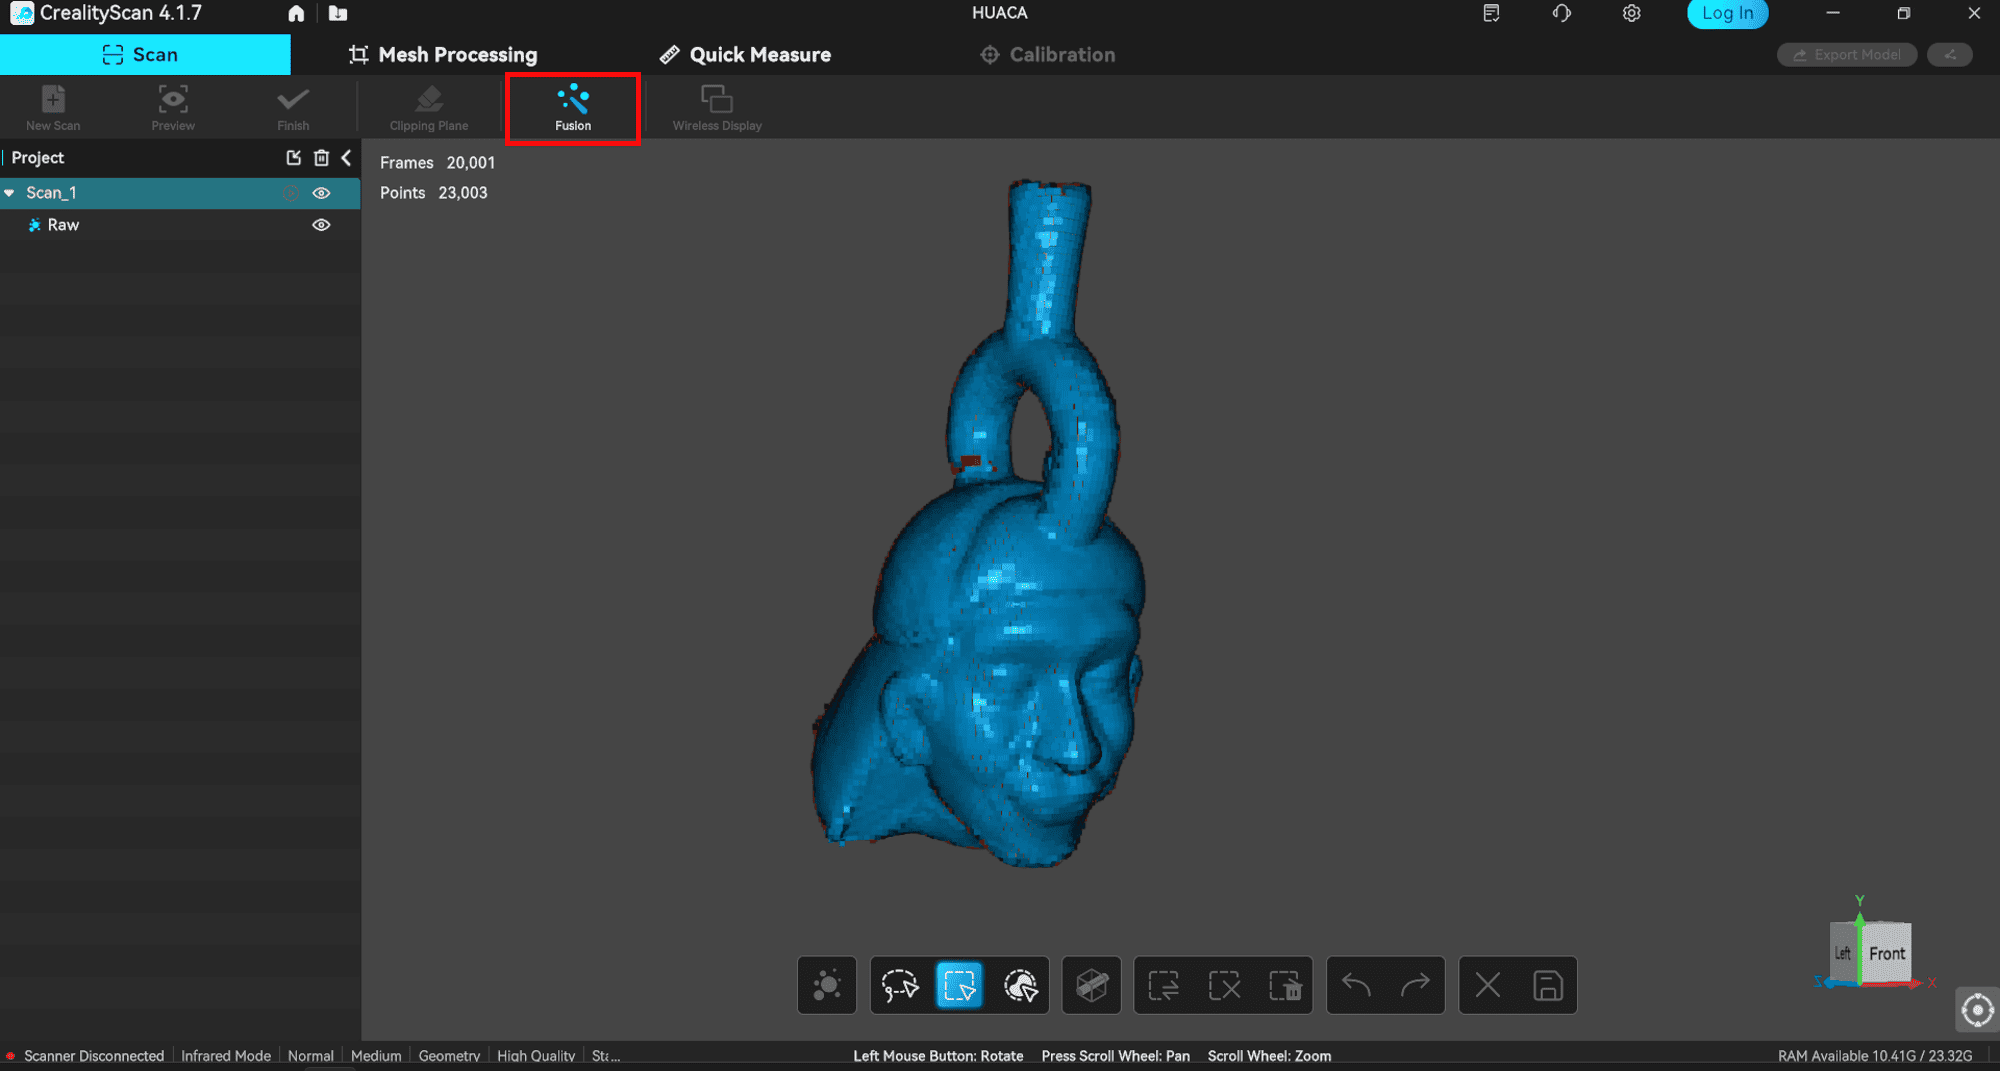
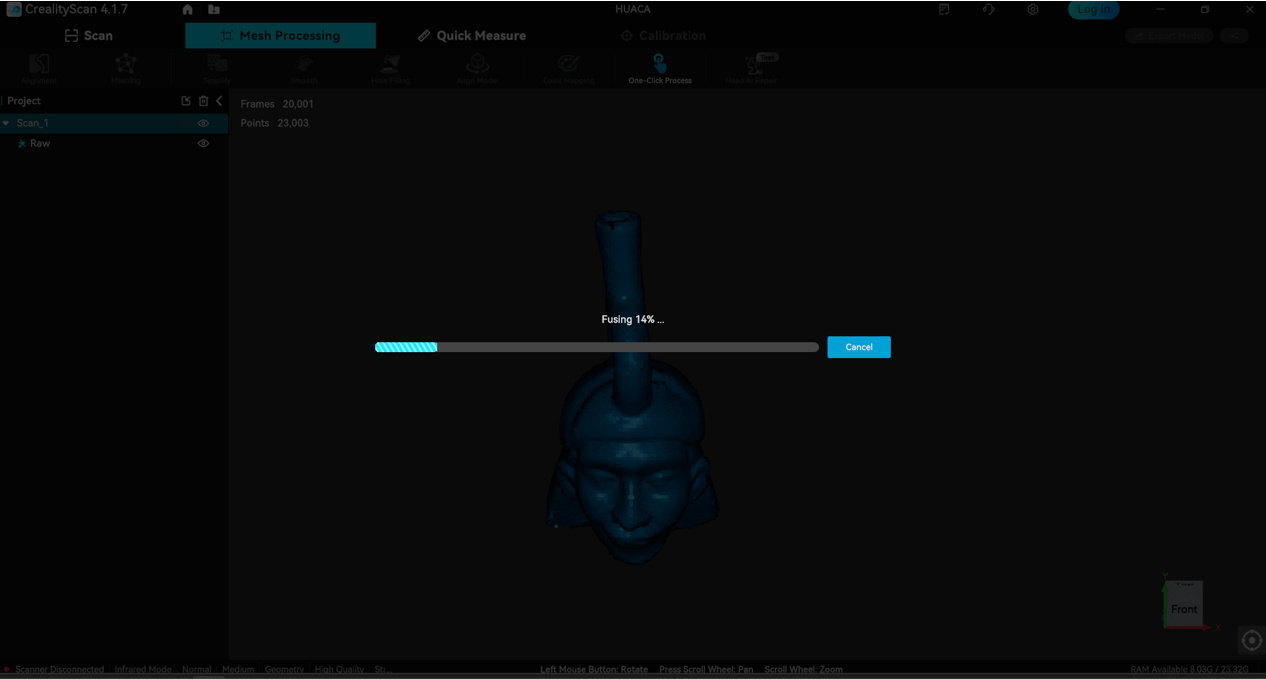
We review the captured mesh and identify missing scan areas. Next, we process the scan to improve the shape and detail.
For this exercise we used the Blender program; the object we will design will be a vase inside another vase, with an abstract design.
We inspect the reconstructed 3D model after scanning. We clean and refine the mesh to improve the final result. Finally, we export the finished scan for visualization and sharing.
For this exercise we used the Blender program; the object we will design will be a vase inside another vase, with an abstract design.
3D model embedded from Sketchfab — Huaco
The parameters are configured according to the material (e.g., for Bambu Basic PLA: nozzle at 220 °C
and bed at 65 °C). Once defined, "Slice Plate" is clicked to generate the G-code file. Finally, the file
is sent via Wi-Fi directly to the printer or saved to the SD card. From the A1's touchscreen (or the
Bambu Handy app), printing is started, relying on the machine's sensors to monitor flow quality and
adhesion.

The parameters are configured according to the material (e.g., for Bambu Basic PLA:
nozzle at 220 °C and bed at 65 °C). Once defined, "Slice Plate" is clicked to generate the
G-code file. Finally, the file is sent via Wi-Fi directly to the printer or saved to the SD
card. From the A1's touchscreen (or the Bambu Handy app), printing is started, relying on
the machine's sensors to monitor flow quality and adhesion.

CONCLUSIONS OF THE GROUP ASSIGNMENT
Step 1
Step 2
Step 3
Step 1
Step 2

Step 3
Step 1
Step 2
Step 1
Step 2
Step 3


Step 1
Step 2
Step 1
Step 2

Step 1
Step 2
Step 3
FILES