Week 18 - Applications and Implications#
Week 18 focused on applications and implications, planning the final project in detail and considering its broader impact.
The aim was to create a comprehensive project plan that integrates all learned skills.
This week is about strategic planning for the final project masterpiece.
Assignment#
Part 1: Plan the Final Project Masterpiece#
Plan a final project masterpiece that integrates the range of units covered, answering:
- What will it do?
- Who’s done what beforehand?
- What sources will you use?
- What will you design?
- What materials and components will be used?
- Where will come from?
- How much will they cost?
- What parts and systems will be made?
- What processes will be used?
- What questions need to be answered?
- How will it be evaluated?
Your project should incorporate:
- 2D and 3D design
- Additive and subtractive fabrication processes
- Electronics design and production
- Embedded microcontroller design, interfacing, and programming
- System integration and packaging
Where possible, you should make rather than buy the parts of your project.
Projects can be separate or joint, but need to show individual mastery of the skills, and be independently operable.
Part 2: Presentation Drafts#
Prepare drafts of your final project summary slide and video clip:
- presentation.png: 1920×1080 summary slide
- presentation.mp4: 1080p HTML5 video clip, < ~1 minute, < ~25 MB
Put them in your root directory, and check that they are linked in the final presentation schedule.
Project Plan#
What will it do?#
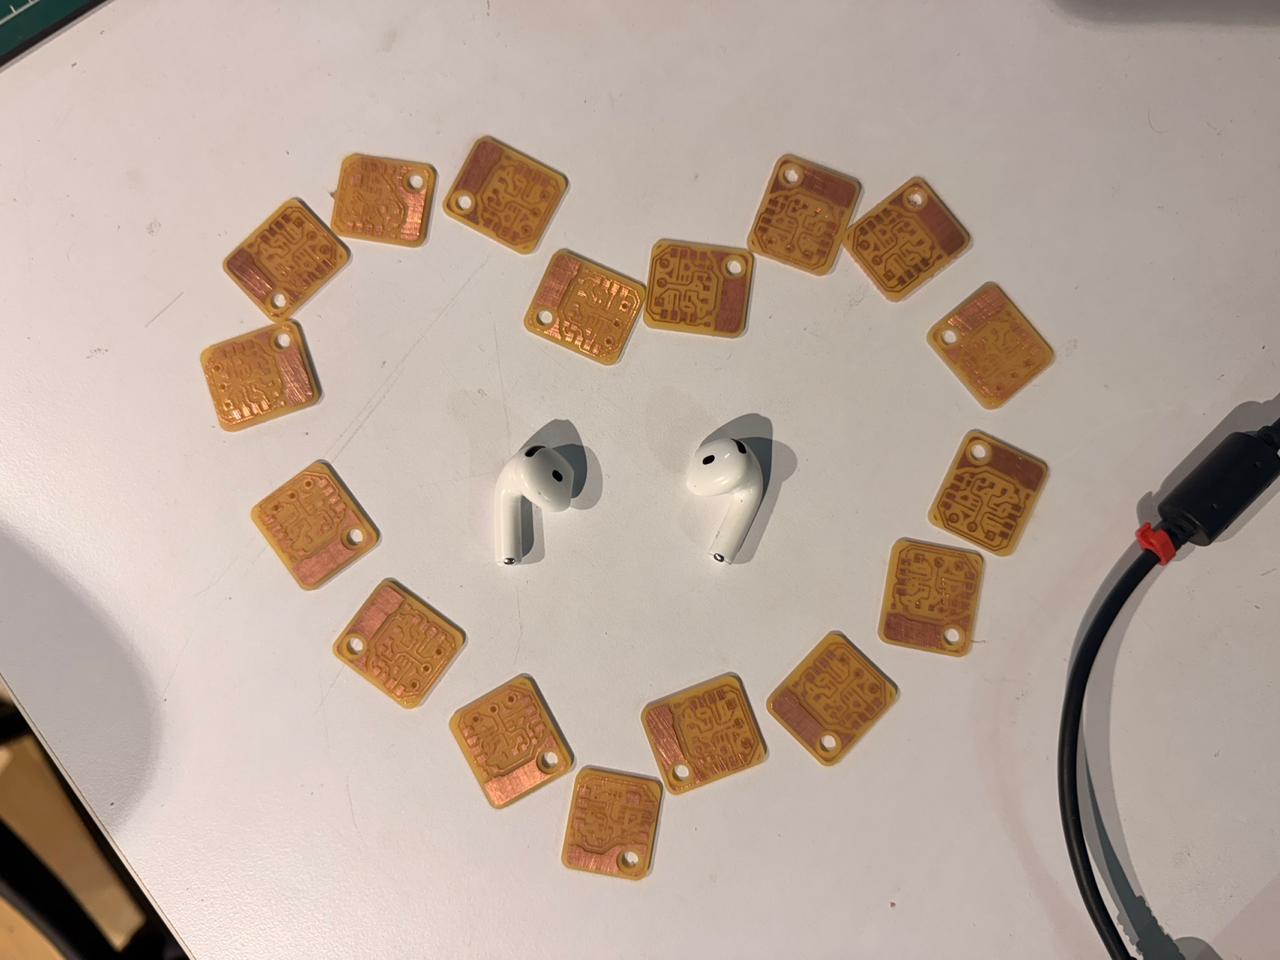
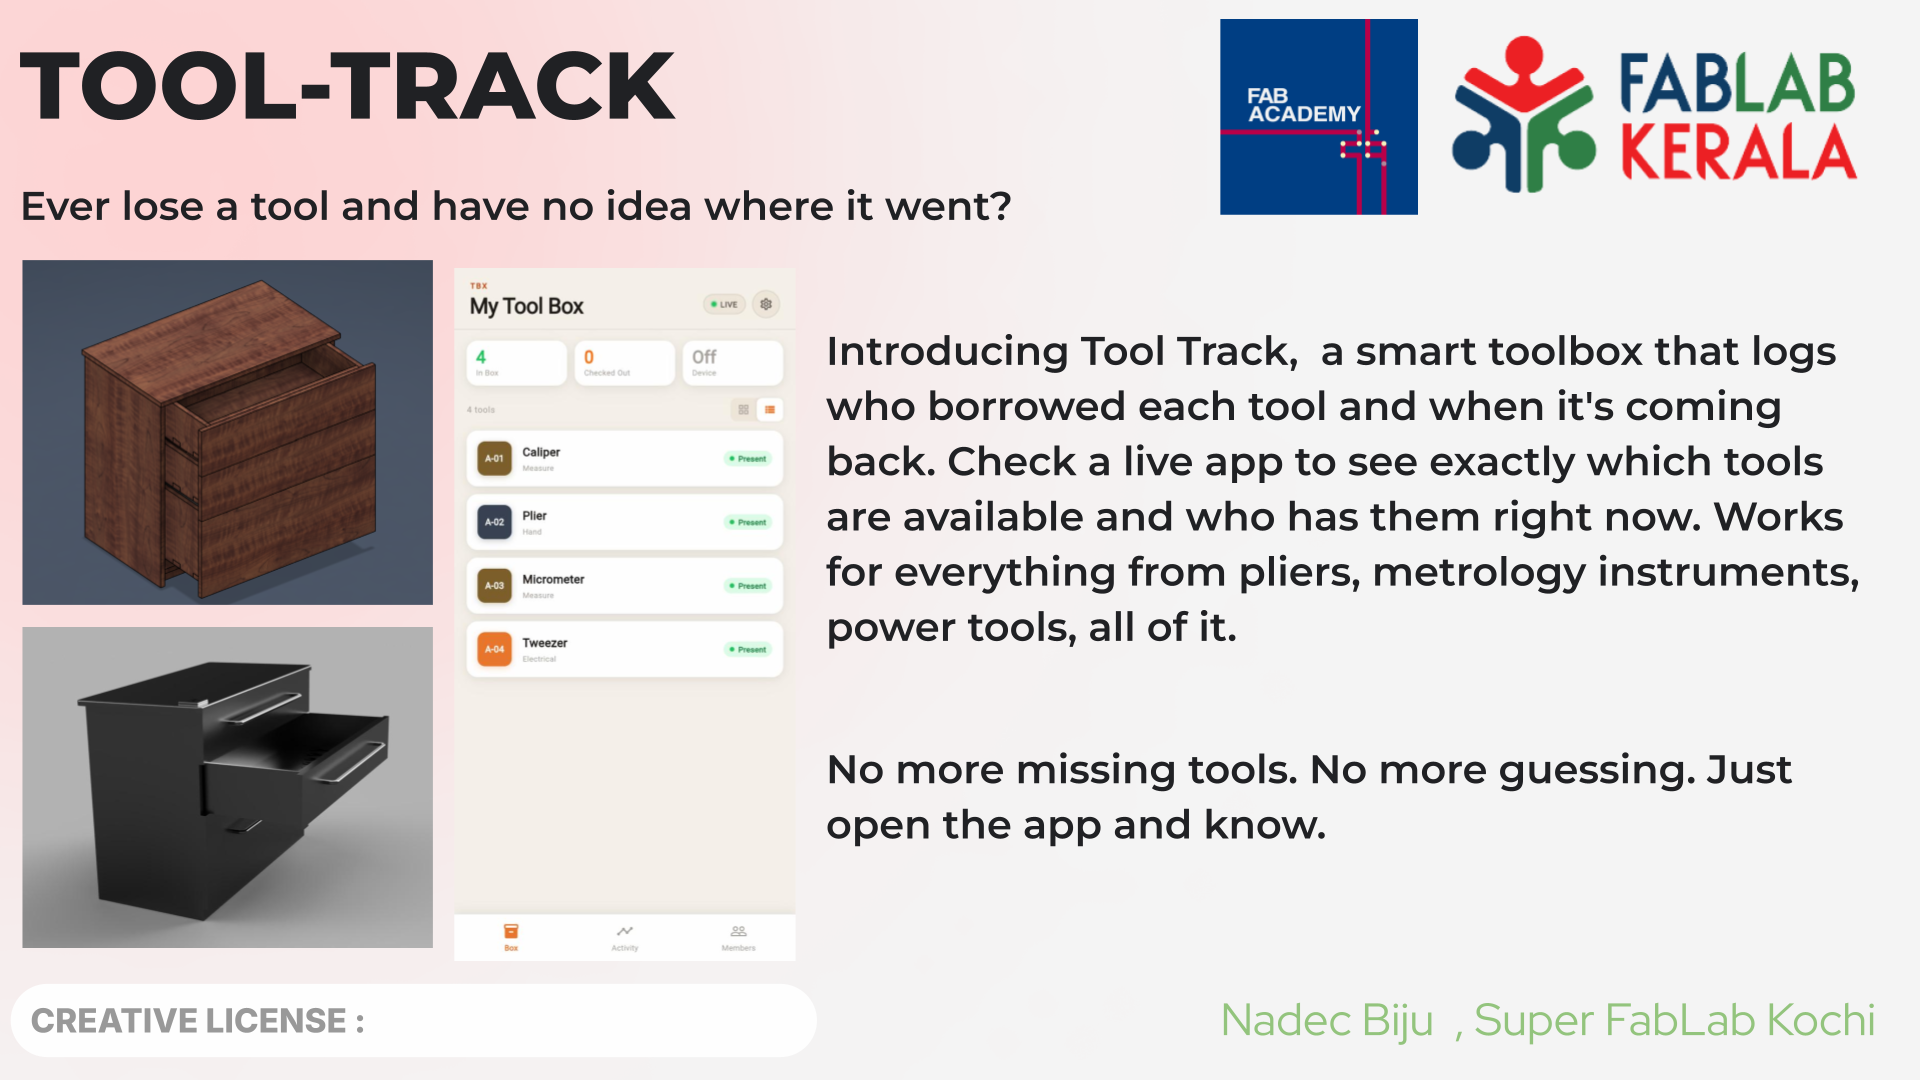
The smart toolbox keeps track of every tool inside it. Each slot has a cutout shaped for a specific hand tool or metrology instrument, and each slot has its own monitoring system, basically a cheap microcontroller that costs around 10 cents.
To access a tool, the person taps their RFID tag and the toolbox checks whether they have access. If they do, it unlocks and they can take the tool. The moment the tool is lifted out, the limit switch under that slot triggers, and the system logs who took what tool and when. That info gets pushed to the app so anyone can see which tools are out and who has them.
To return a tool, the person taps their RFID tag again and puts the tool back in its slot. The switch picks it up and the tool goes back into the system as available.
Who’s done what beforehand?#
While scrolling through YouTube I came across a video by a creator called “I Like to Make Stuff” who had built a similar tool-tracking setup. His version didn’t have a toolbox; he stuck NFC tags directly onto the tools and used an RFID reader to check tools out and back in whenever he lent them to friends.
What sources will you use?#
The project will mostly use the fabrication tools and facilities available at Super Fab Lab Kochi.
For design and software:
- Fusion 360 for CAD and CAM
- KiCad for the PCB design (open source)
- PlatformIO for embedded programming
- Claude by Anthropic to help me with the Arduino firmware and the app code
- Flutter + Android SDK + Codemagic for building the mobile app (iOS too)
Honestly, Claude by Anthropic has been a massive advantage for this project. I’m using it to help structure the firmware, debug code, and plan the app architecture, basically working through stuff that would take me way longer to figure out alone. Having something you can actually have a back-and-forth with about your code is a completely different level compared to digging through docs and forums. For a project this scope, with embedded + mobile + database all running together, it’s lowkey the only reason I can attempt all of it in parallel.
A big part of my sources will also be notes and guidance from the people around me at the lab: my instructor Saheen Palayi , my mentor Basil Abraham , and the other instructors I keep bugging for help: Revisankar S , Jogin Francis , Sibin KS , Sreyas George , Muhammed Midlaj N , and Mufeed Mohamed .
Reference docs:
What will you design?#
- The outer box and drawers in Fusion 360
- The 21 PCBs needed for the system in KiCad (16 of them are identical, one per slot)
- The firmware for the microcontrollers in PlatformIO, with Claude helping me write it
- The mobile app in Flutter, tested through Codemagic and the Android SDK
What materials and components will be used? / Where will they come from? / How much will they cost?#
What parts and systems will be made?#
systems
- rfid access control
- neoswitch -daisy chained limit switch system for tool status detection
- solenoid locking mechanism for tool security
- application layer for real-time tool tracking and user interface
What processes will be used?#
- ShopBot CNC routing for the structure and drawers
- Waterjet cutting for the foam inserts, cutouts shaped to each tool so they sit flush in their slots
- Laser cutting for the acrylic back panel
- 3D printing for the solenoid lock holder
- Electronics production for the main PCB and breakout boards: soldering, assembly, component integration
- Embedded programming for the XIAO ESP32C6 handling the RFID, NeoPixels, buttons, and solenoid lock. Arduino IDE for testing.
- Mobile app development using Flutter, with Claude Code for the coding side and Firebase for the real-time database
What questions need to be answered?#
- Is the tool status being detected correctly by the switches?
- Is the data being pushed to the Firebase database in real time?
- Are the solenoid locking mechanism and RFID access system actually working?
- Can the tool status be viewed on the app?
- Can the project successfully combine electronics, interaction design, and fabrication into a cohesive working system?
How will it be evaluated?#
as long as i can tap anrfid, have the box unlock, take a tool out, see that reflected in the app, put it back, and have it show as available again, i will consider this a success. if all the tools are tracked correctly and the system is stable enough to run for a few days without breaking, that would be a win.
Project Tracking / Schedule#
I have created a schedule with dates for trackig what to be done and b when so i can complete the project well in advance .
Assignment II: Preparing the Presentation Draft#
Slide Draft#
For the slide I just opened up Google Slides, set the canvas to 1920×1080, and put together a quick draft with the title, subtitle, logos, and placeholders for the images I’ll swap in later. Exported it as presentation.png, dropped it into the public folder, and committed it.
Video Draft#
For the video I went straight to CapCut on my phone, way easier than fighting a desktop editor for something this short. Trimmed clips, arranged the sequence, fixed orientation, and sorted out resolution all from mobile.
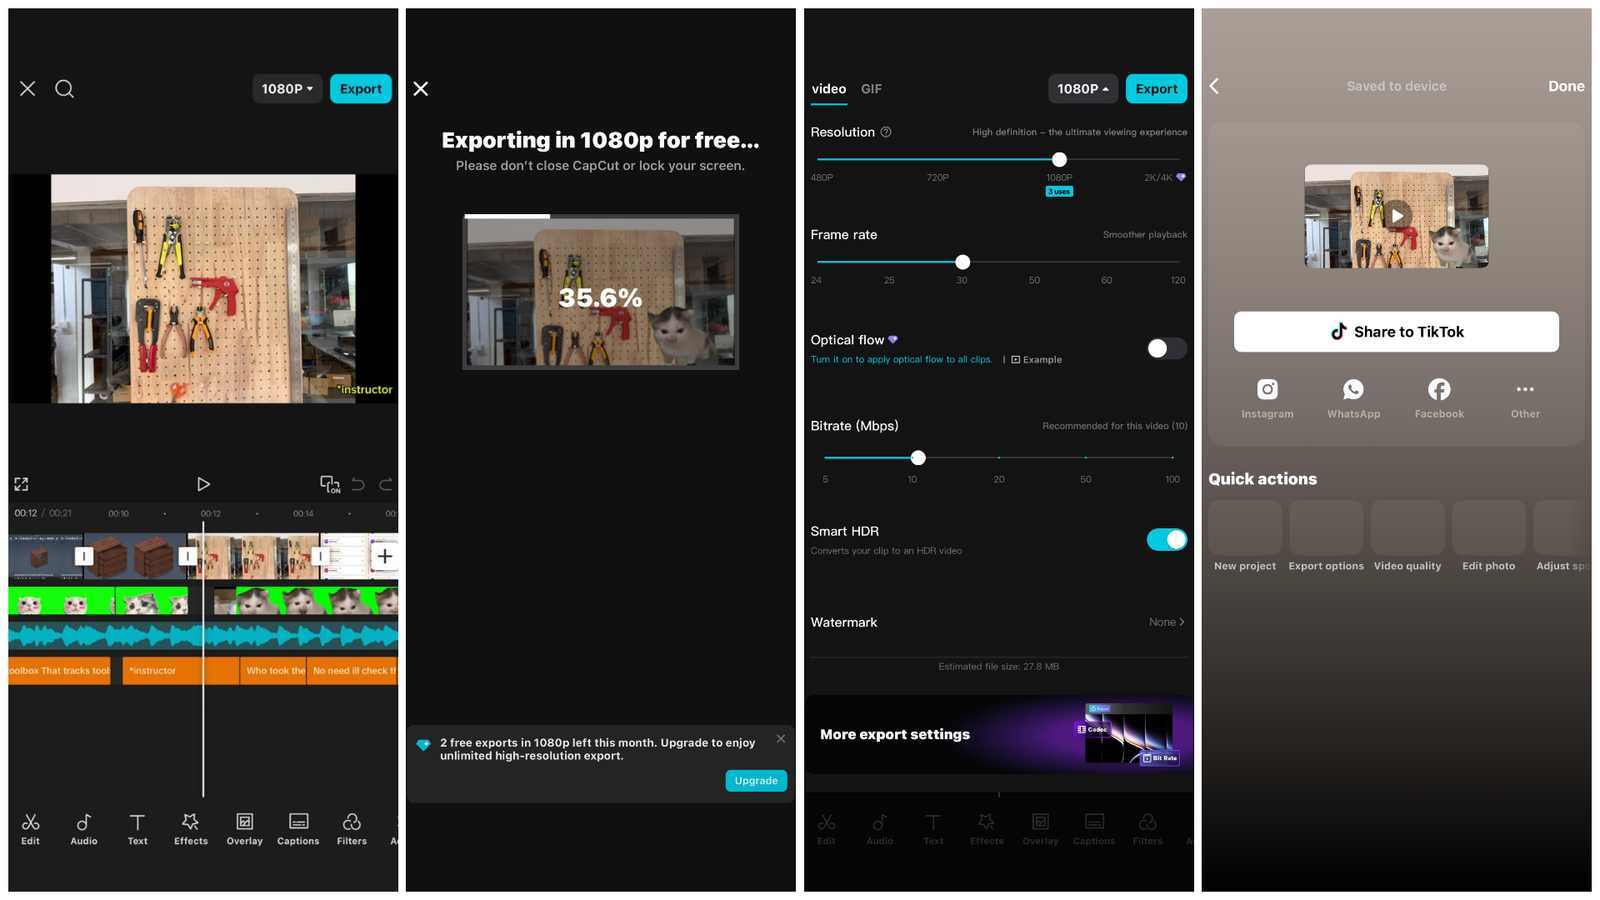
Once the edit looked decent, I exported it at 1080p and moved the file over to my PC for compression.
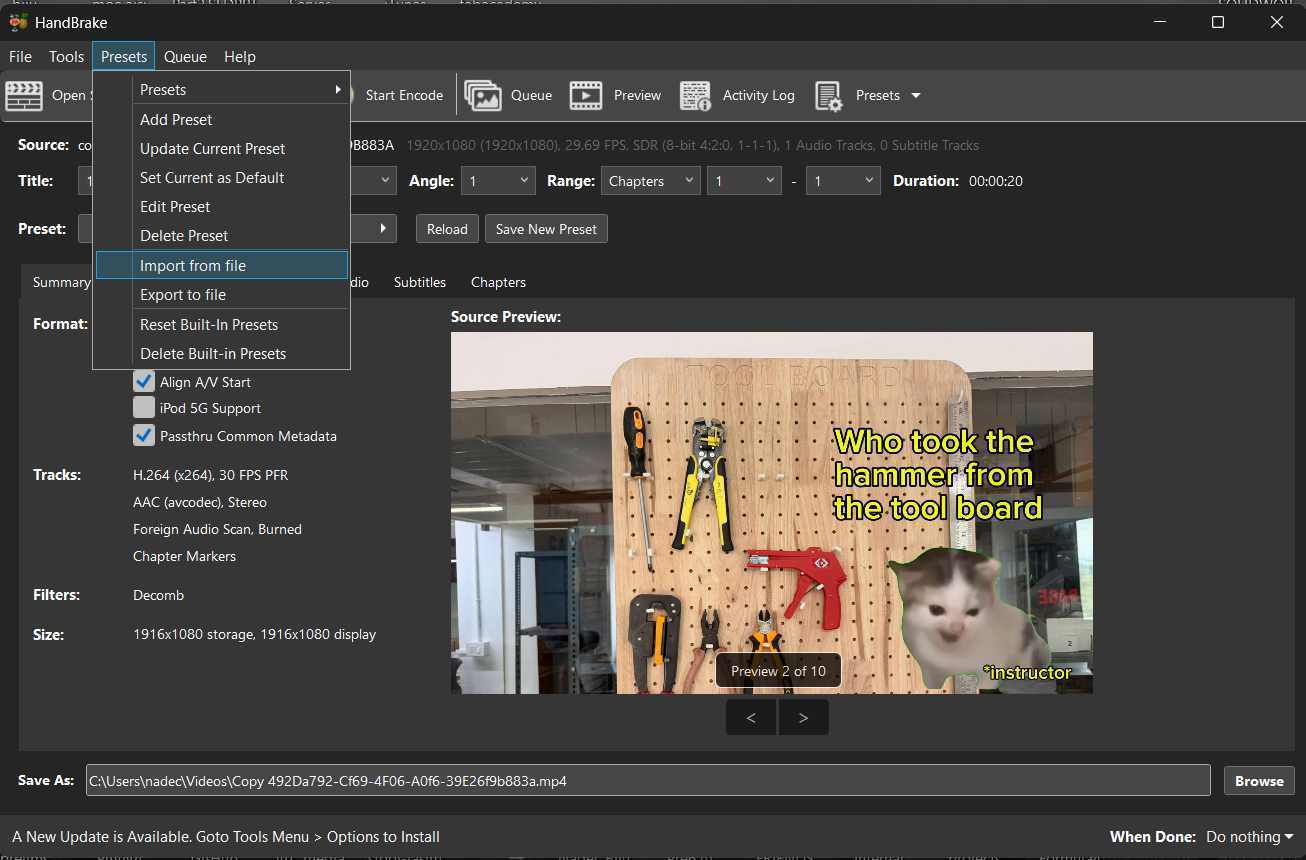
Compression was handled by HandBrake. I imported the preset file Fab Academy provides for the presentation video requirements, saved it as a custom preset, and exported using those settings. The file size dropped a lot without the video looking awful, which is basically the whole point for web submission.
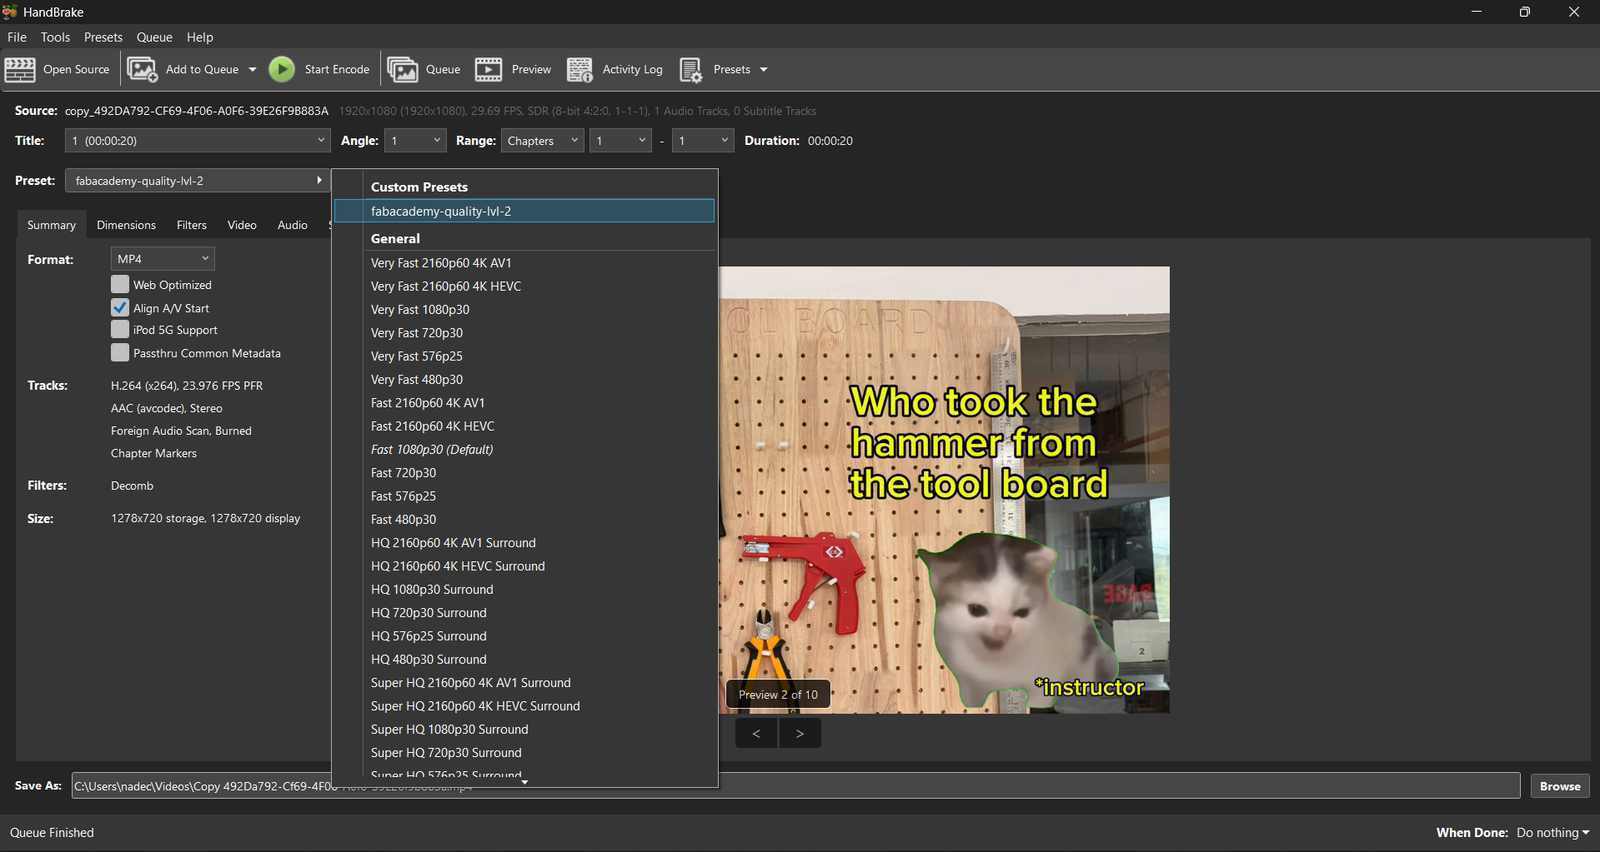
Renamed the output to presentation.mp4 and dropped it into the public folder of the repo.
🎬 Video clip sources
After pushing both files, I jumped over to the Fab Academy Final Project Schedule page and checked that the slide and video were correctly linked under my entry. They were. ✅
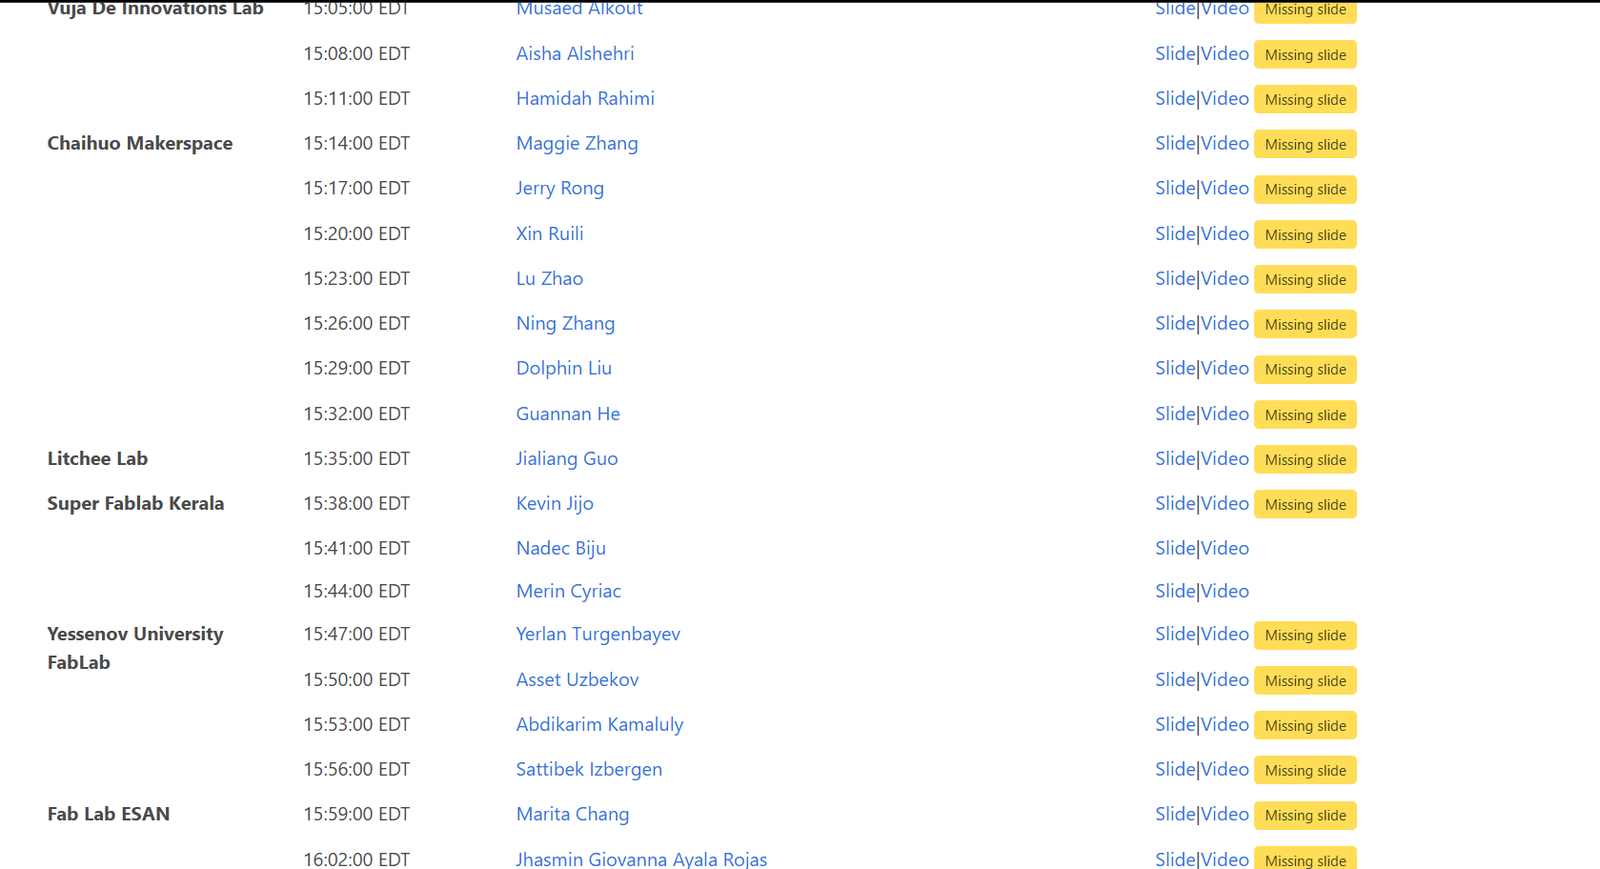
https://finalprojects.fabacademy.org/#/schedule/2026