Week 17 - Wildcard Week#
Week 17 is wildcard week, an opportunity to explore a fabrication process or technology not covered in the regular curriculum.
The aim was to learn something new that could contribute to the final project or expand personal skills.
This week allows for creative exploration and learning beyond the standard Fab Academy topics.
Assignment#
- Design and produce something using a fabrication process not covered in another assignment
Possible Topics#
- Composites - fiber reinforcement, layup techniques
- Textiles - e-textiles, soft circuits, digital embroidery
- Biocomposites - natural materials, mycelium
- Welding - metal joining techniques
- Vacuum forming - advanced thermoforming
- Other - any process you want to explore
What I Learned#
This week I learned that you don’t need fancy tools to make something cool. All you need is a phone camera, a piece of paper, and a good idea. Using Tool Trace to turn pictures of my tools into outlines was way easier than I thought, and it saved me a lot of time compared to drawing everything by hand. I also learned how a waterjet machine works, which was really cool. I didn’t know water could cut through tough stuff like metal just by shooting out super fast with some sand mixed in. Doing a test cut first also taught me why it’s smart to check your settings before the real cut. It helps you catch mistakes early instead of messing up your final piece.
Software Used#
- Process-specific software
- Design software as needed
- Browser + Git for documentation
Weekly Schedule#
| Day | What I Did |
|---|---|
| WED | Wildcard week introduction |
| THU | Planned the task for the week and decided to make foam tool cutouts for my drawer |
| FRI | Found Tool Trace, took photos of my tools, and made the SVG design |
| SAT | Learned about the different parts of the waterjet machine |
| SUN | Got the file ready in the Omax software and made the tool paths |
| MON | Did a test cut, then cut the final foam tool holder |
| TUE | Regional review |
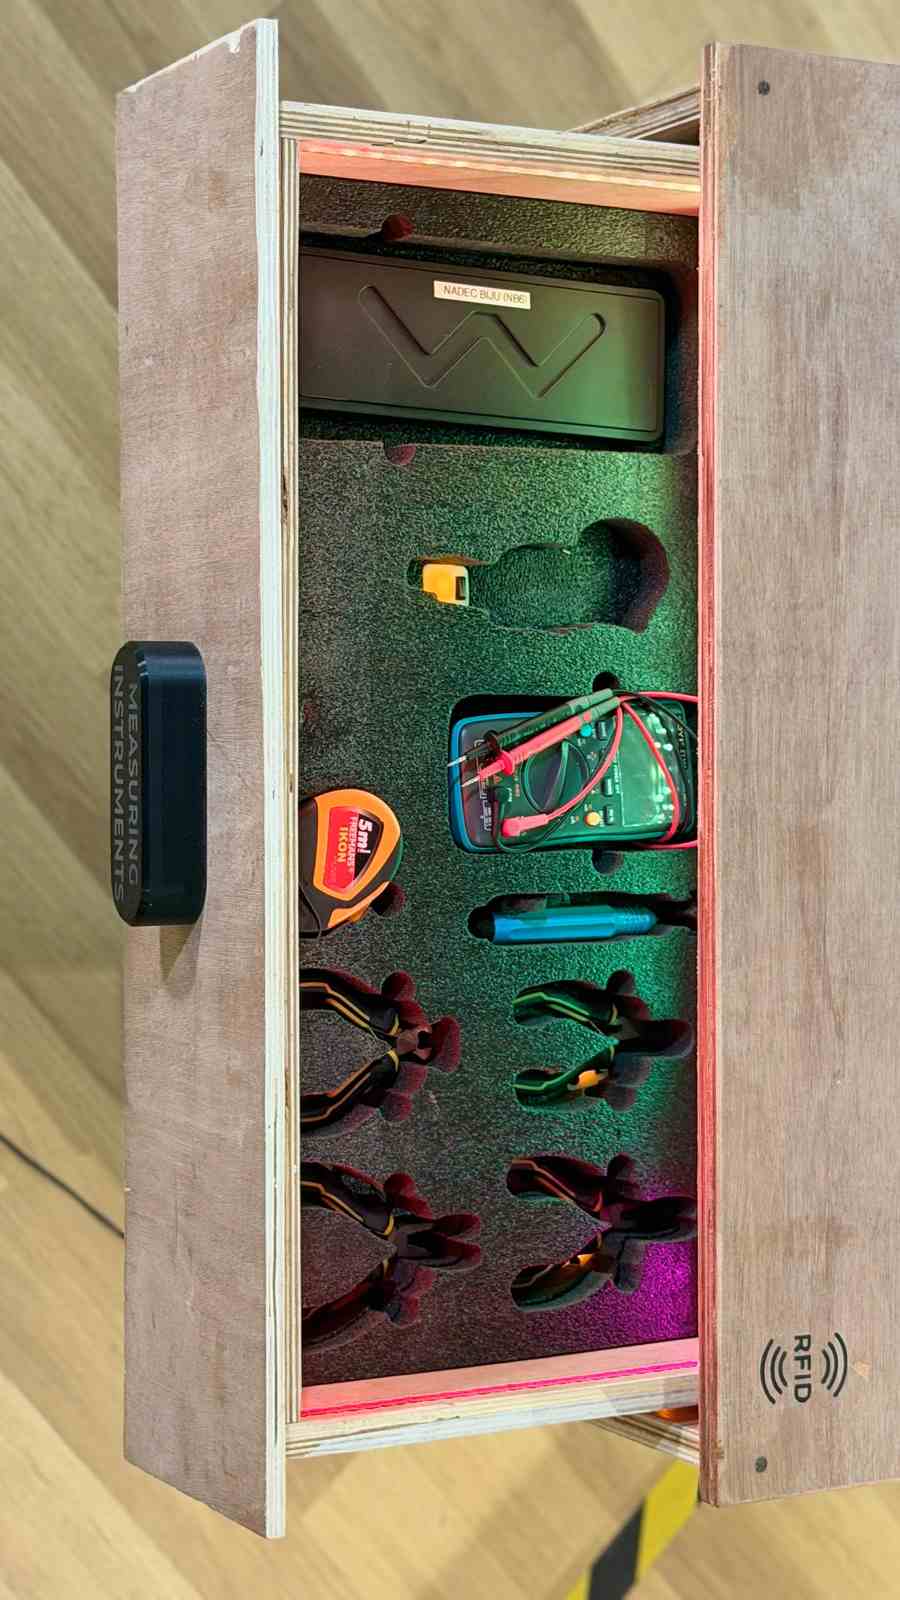
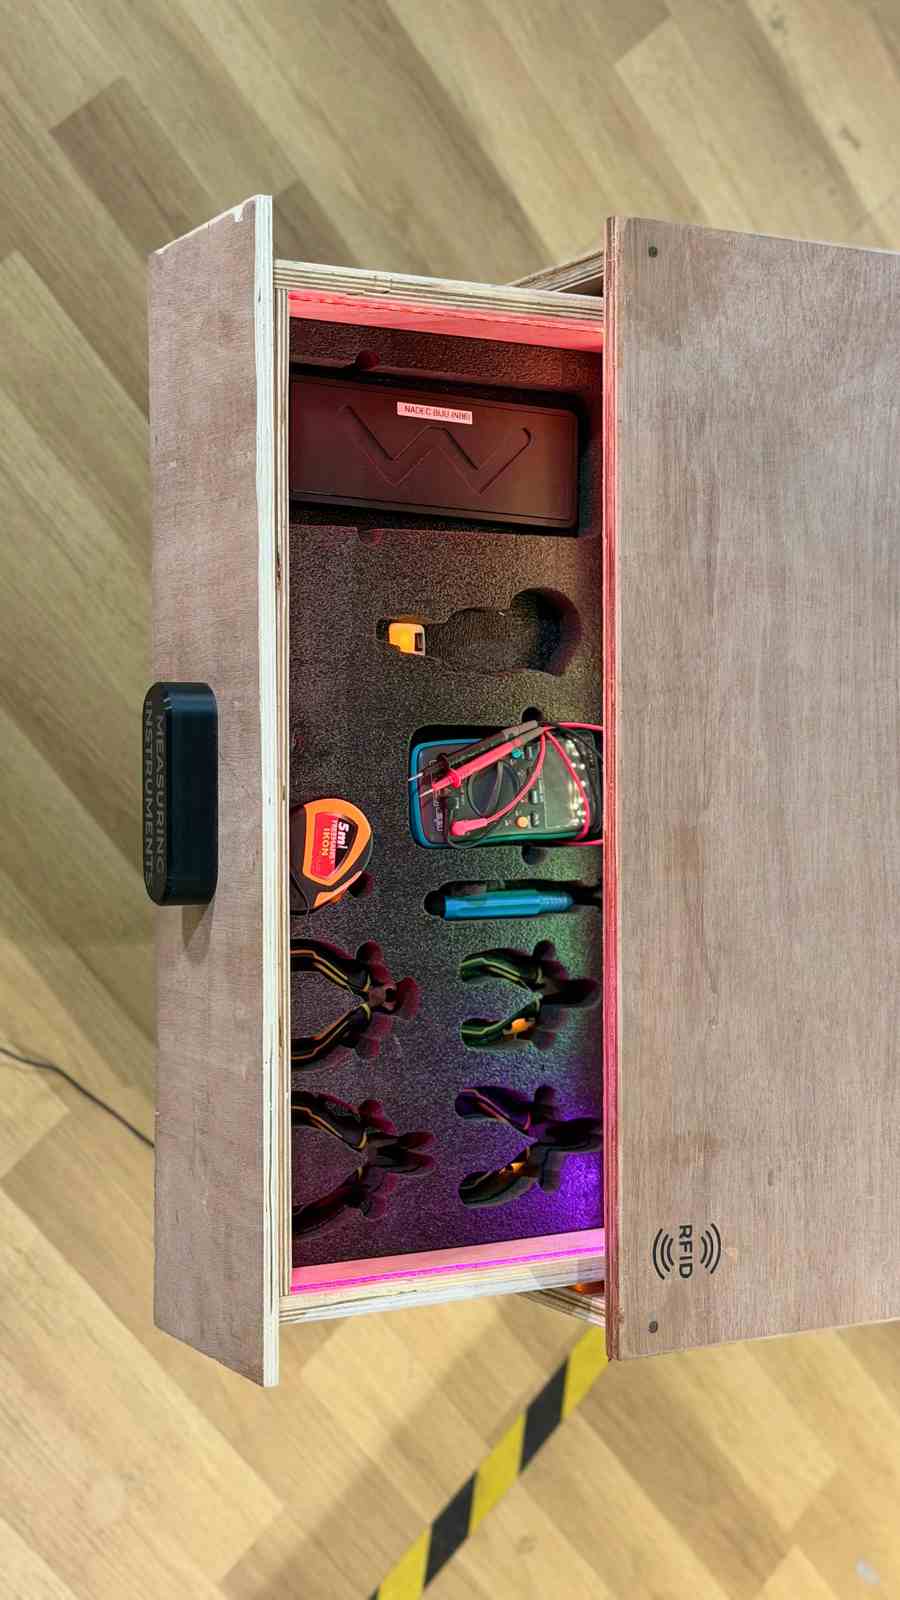
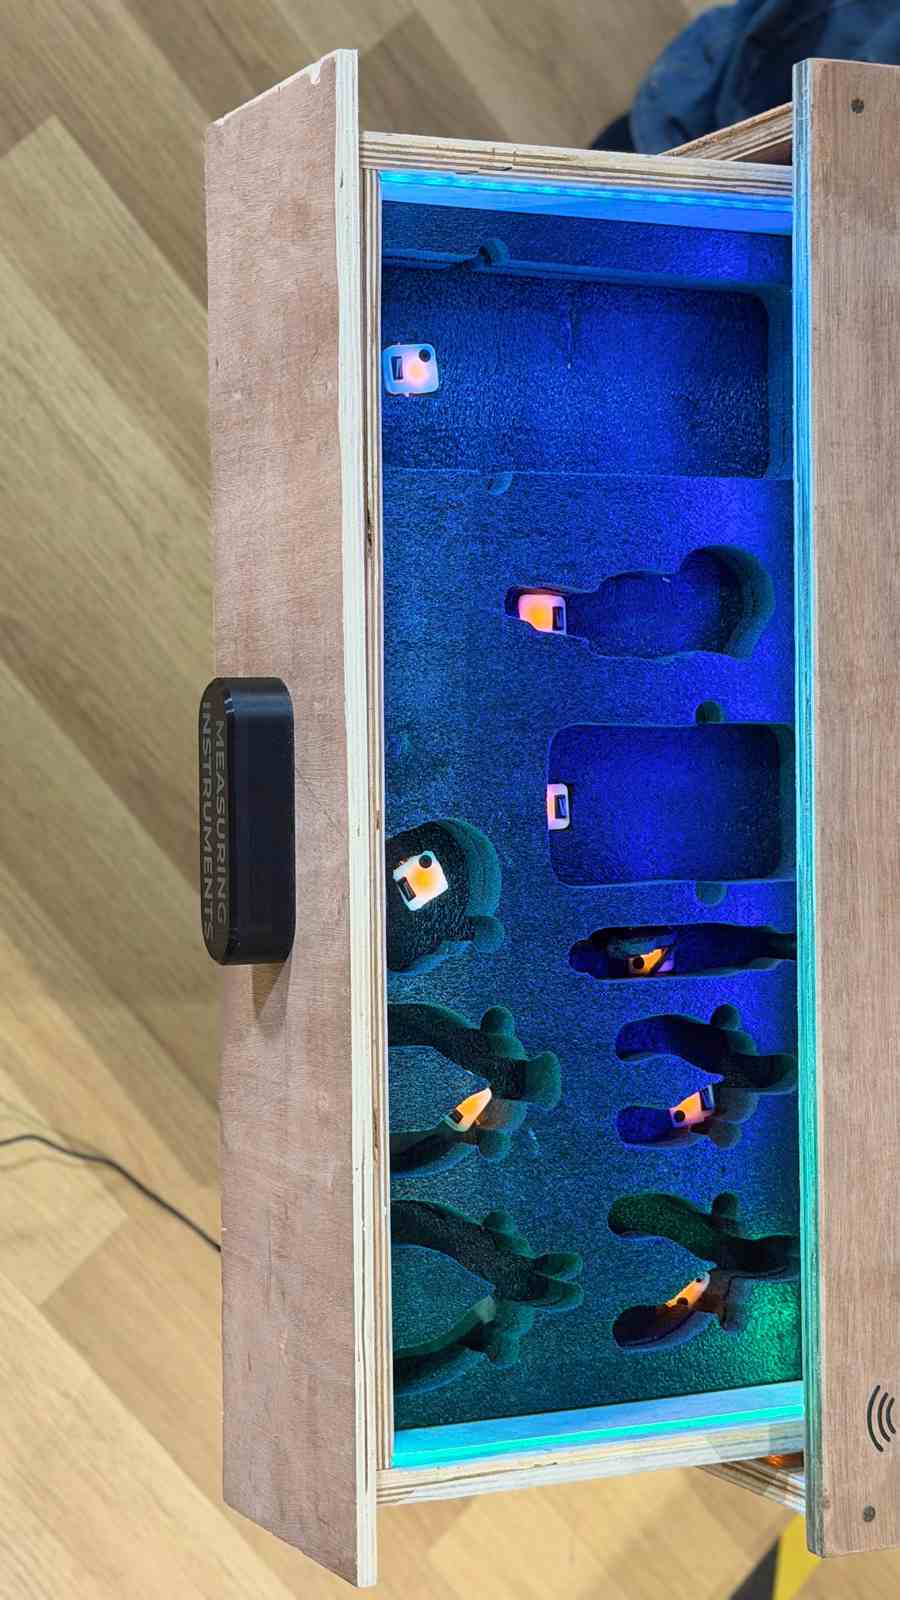
Waterjet Cutting Foam Tool Cutouts#
Introduction#
Waterjet cutting is a way of cutting materials using a thin, high-pressure stream of water, often mixed with a sand-like material called garnet to help it cut through tougher stuff. The water shoots out so fast that it can slice through metal, foam, plastic, and more without using any heat, so the material doesn’t melt or warp.
Out of all the weeks in Fab Academy, this is the only one where I get to use a waterjet cutter. None of the other assignments cover it, so this was my one chance to learn how it works and try it out for myself.
This week, I wanted to do something connected to my final project. I thought about it and decided to make tool cutouts for my drawer, cut out of foam. I talked to my instructors about it, and they said using the waterjet to cut foam would be a good idea. So that’s what I planned to do this week. Let’s get started.
First, I needed to make the designs for the tool cutouts.
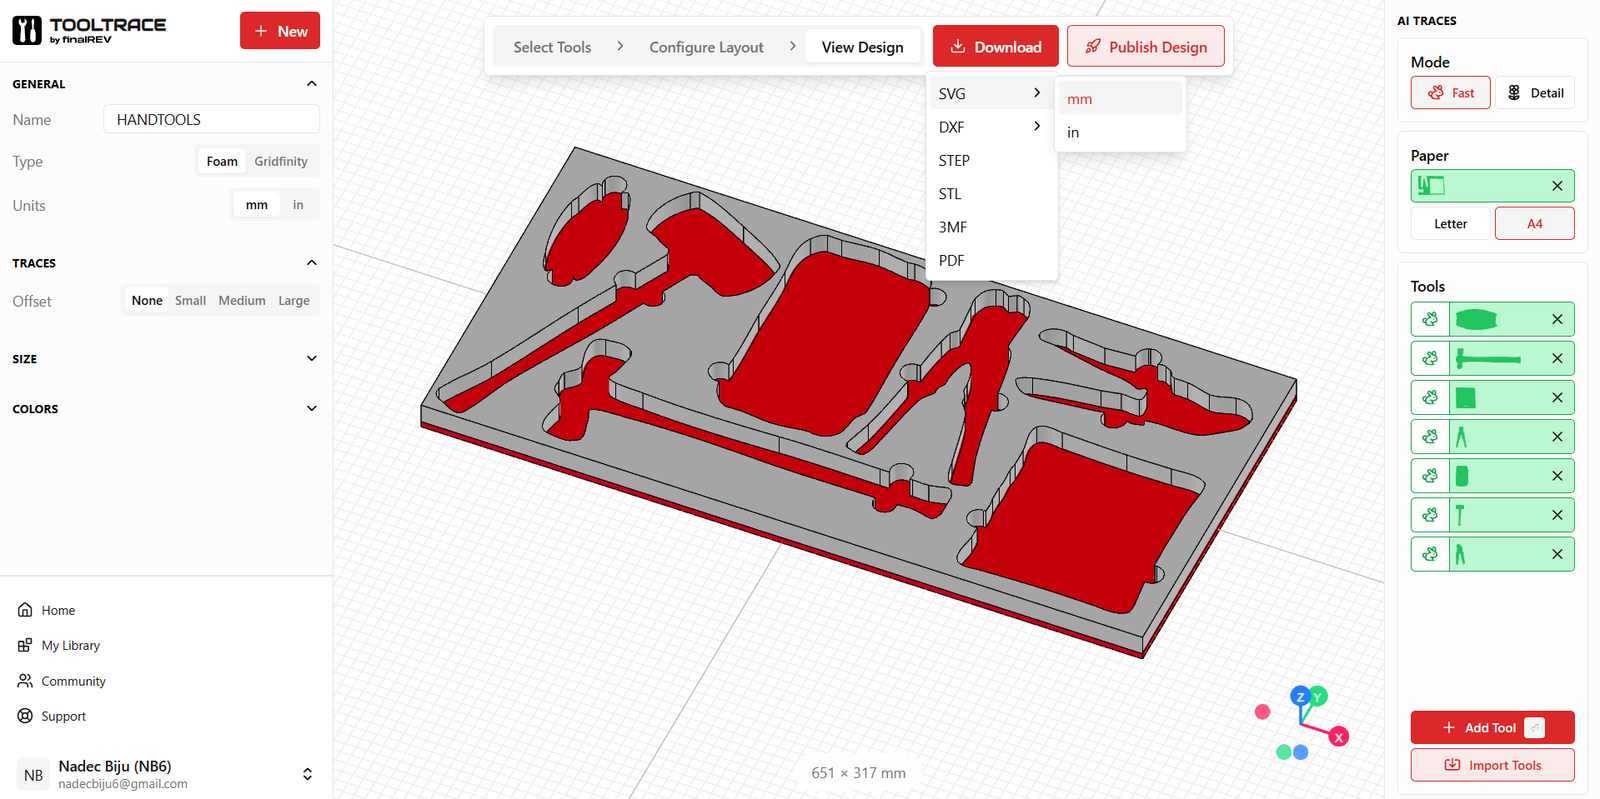
Instead of drawing and scaling everything by hand, I found a tool called tooltrace.ai .
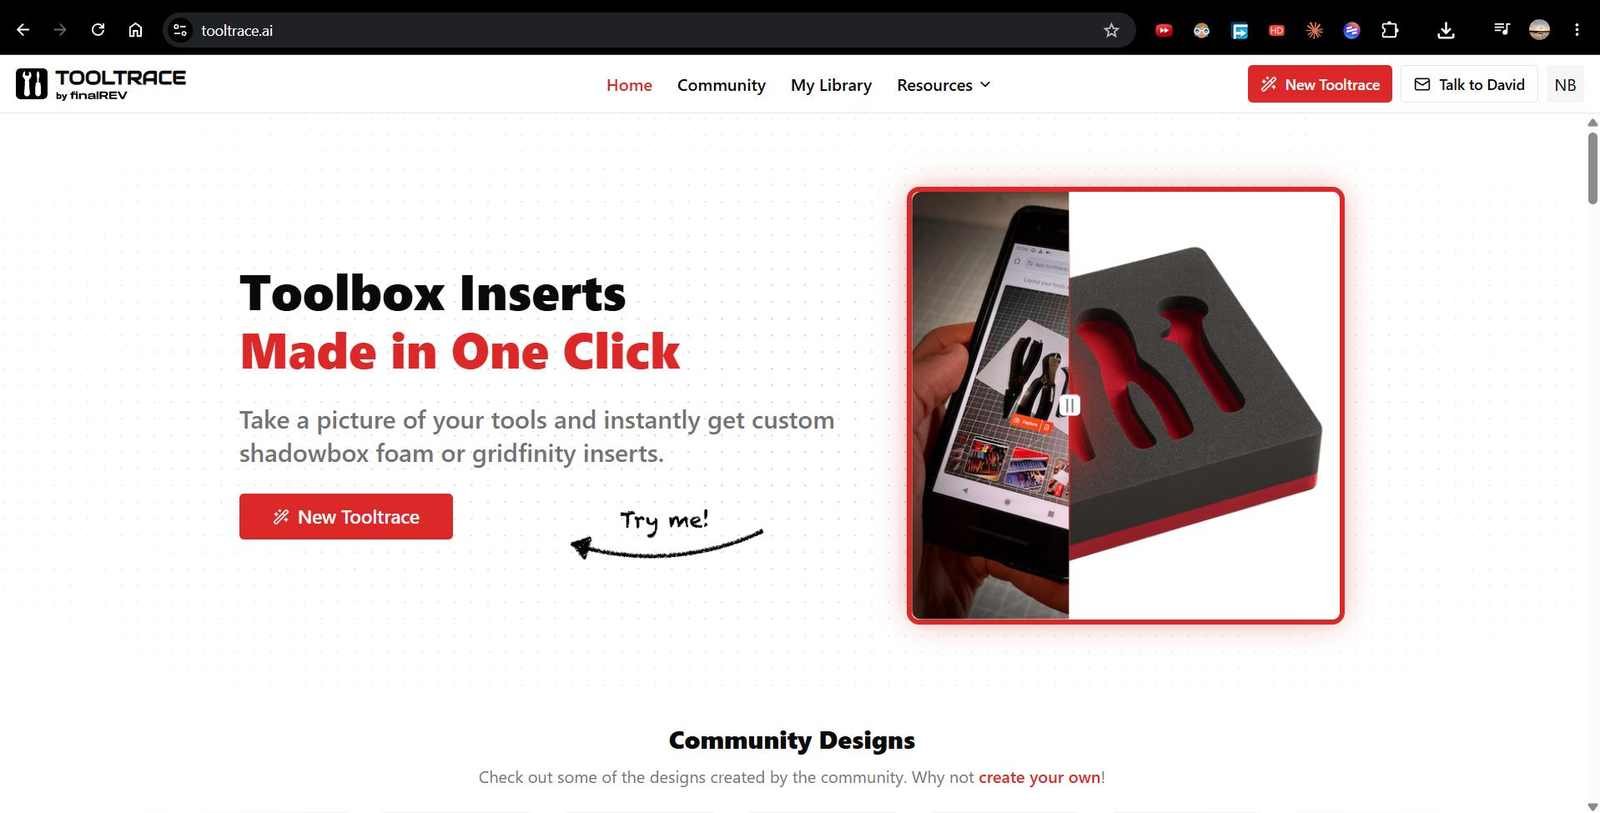
Here’s how it works:
- You take a picture of your tools next to an A4 or letter-size sheet of paper.
- The sheet is used as a size guide.
- Tool Trace then creates a scaled outline of each tool.
- You can use that outline to cut it out, 3D print it, or do whatever you want with it.
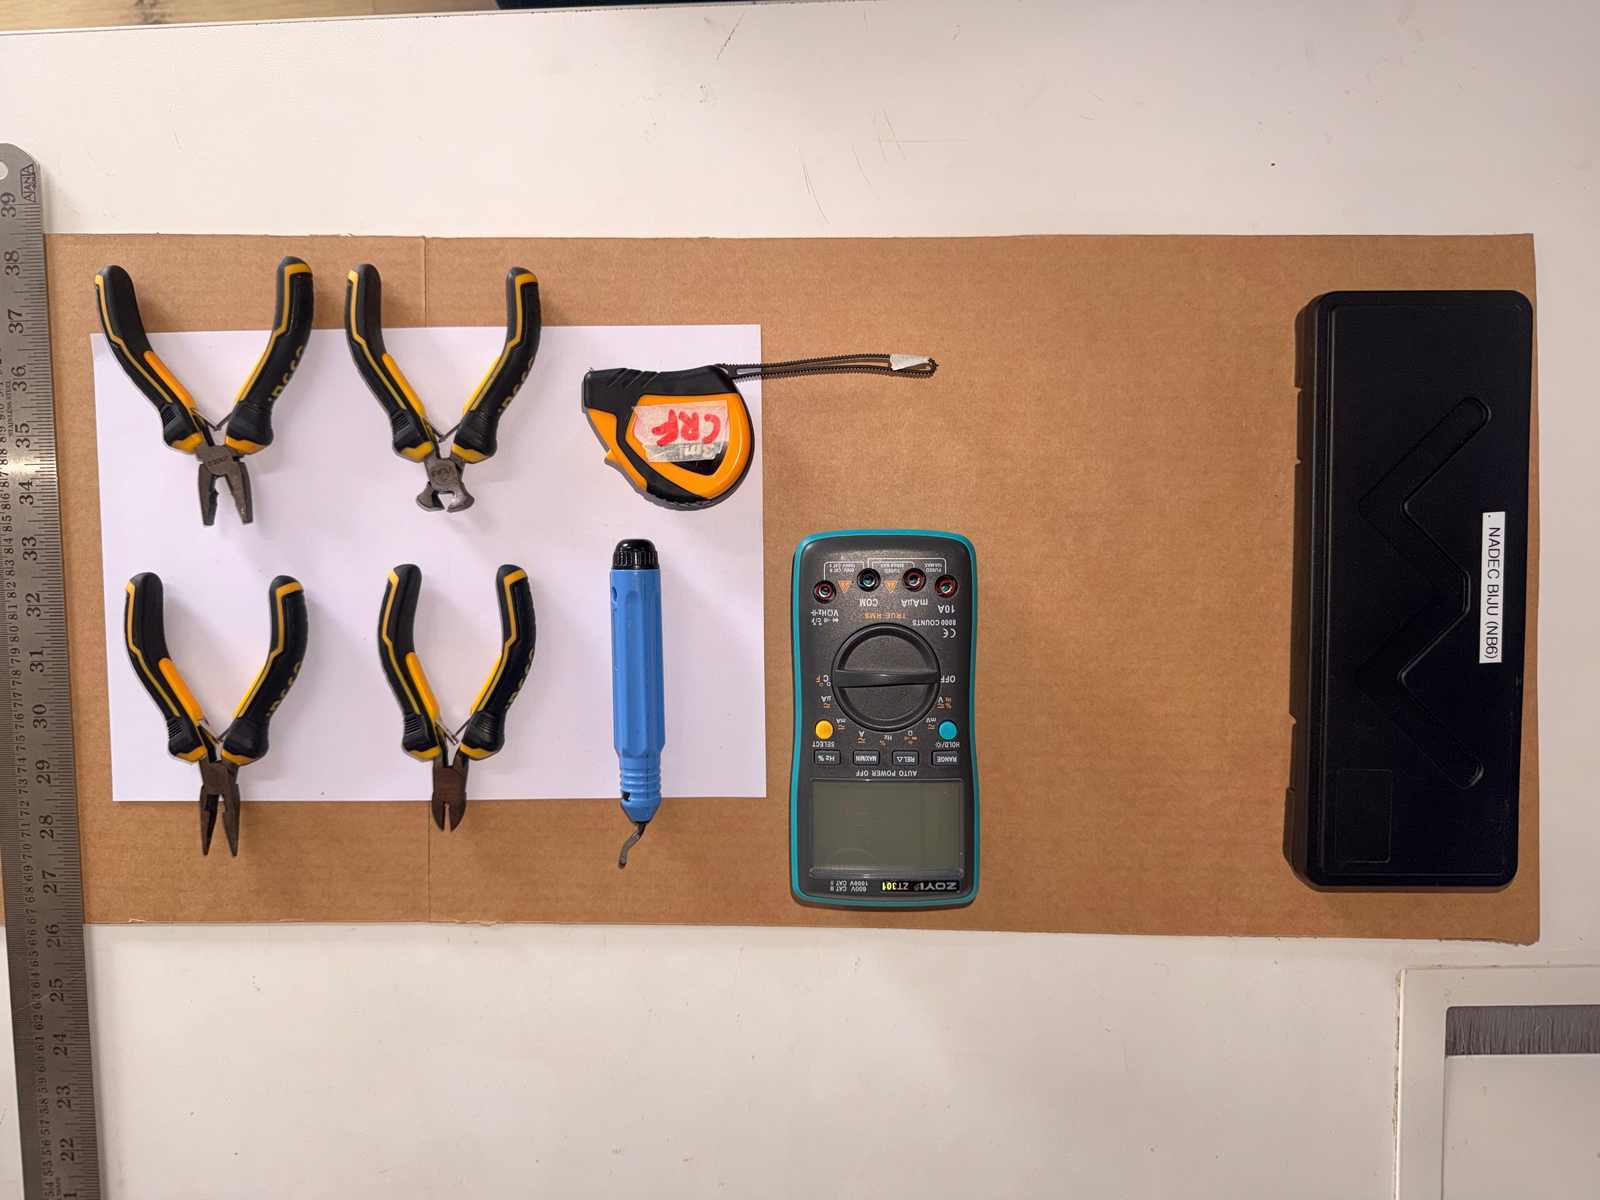
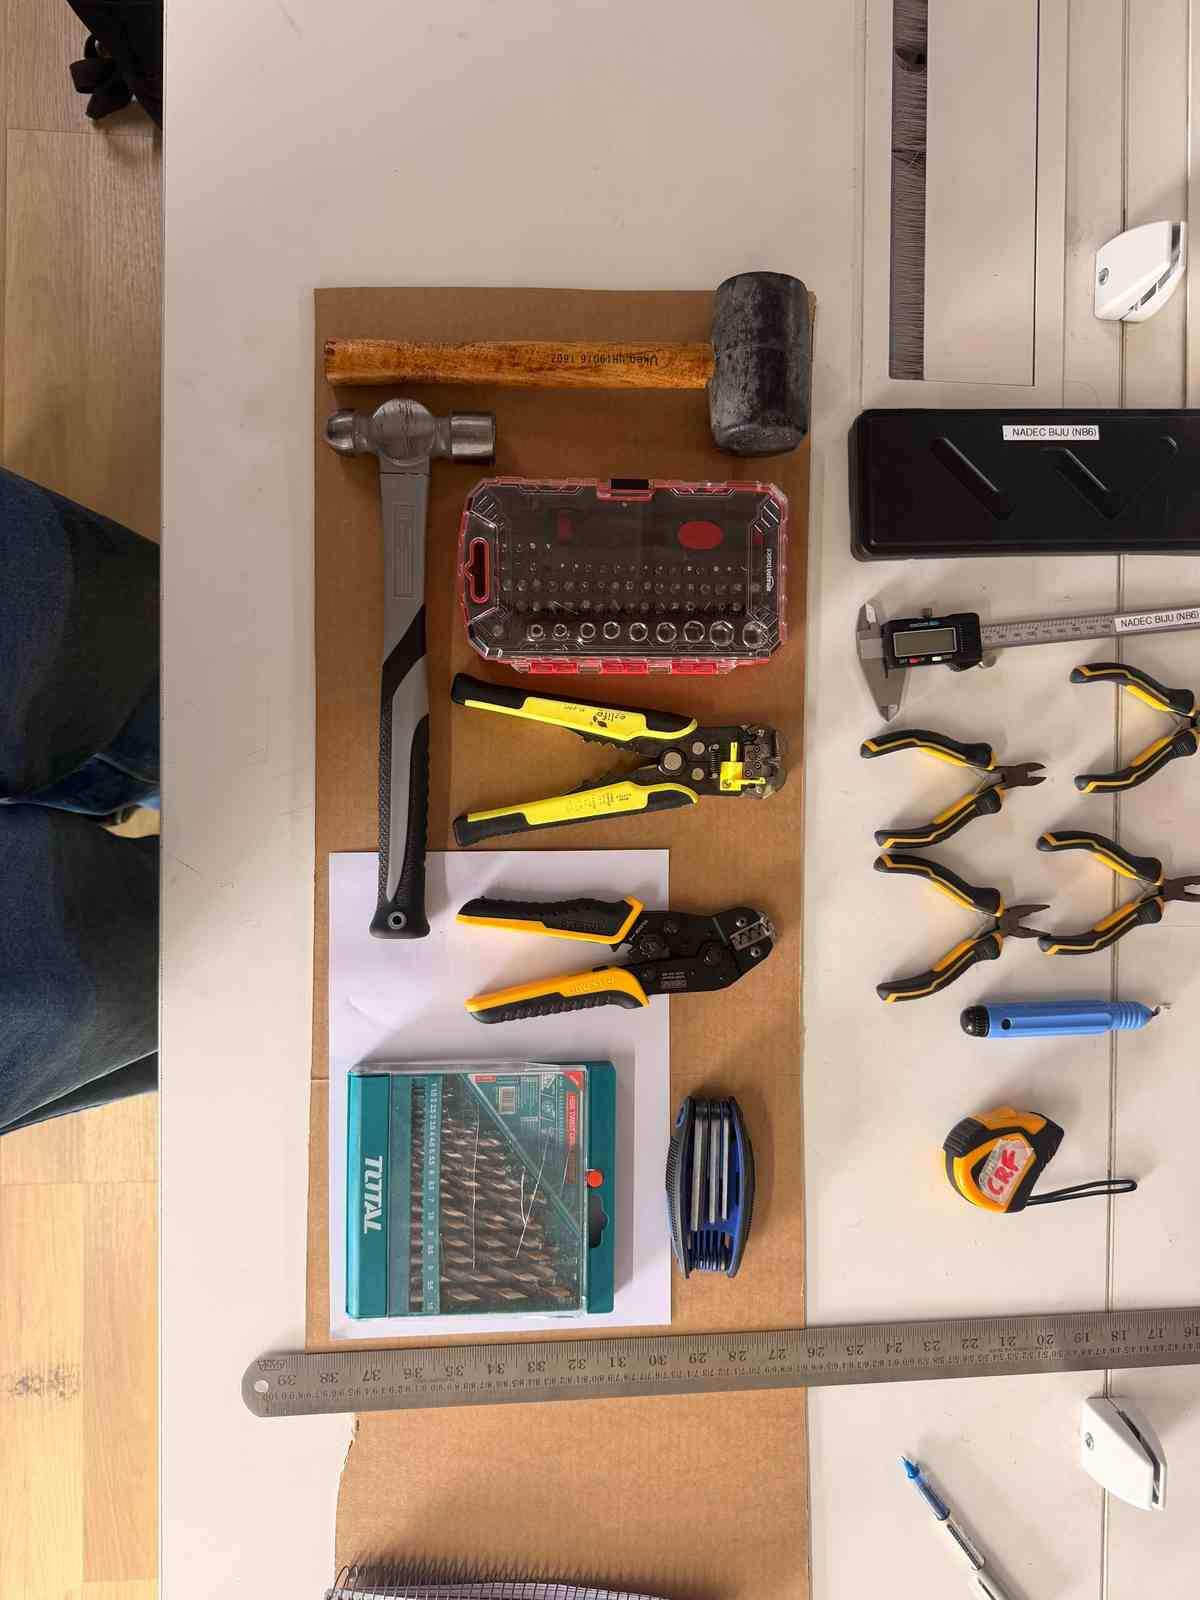
My first step was to figure out and list all the tools I wanted to add.
I walked around the lab, found a bunch of tools, made a list, and laid them all out next to an A4 sheet. I took a picture of that, and used Tool Trace to turn it into an SVG outline.
After that, I downloaded the file and went to cut it on the waterjet.
Using Tool Trace#
- Step 1: Import the image into Tool Trace.
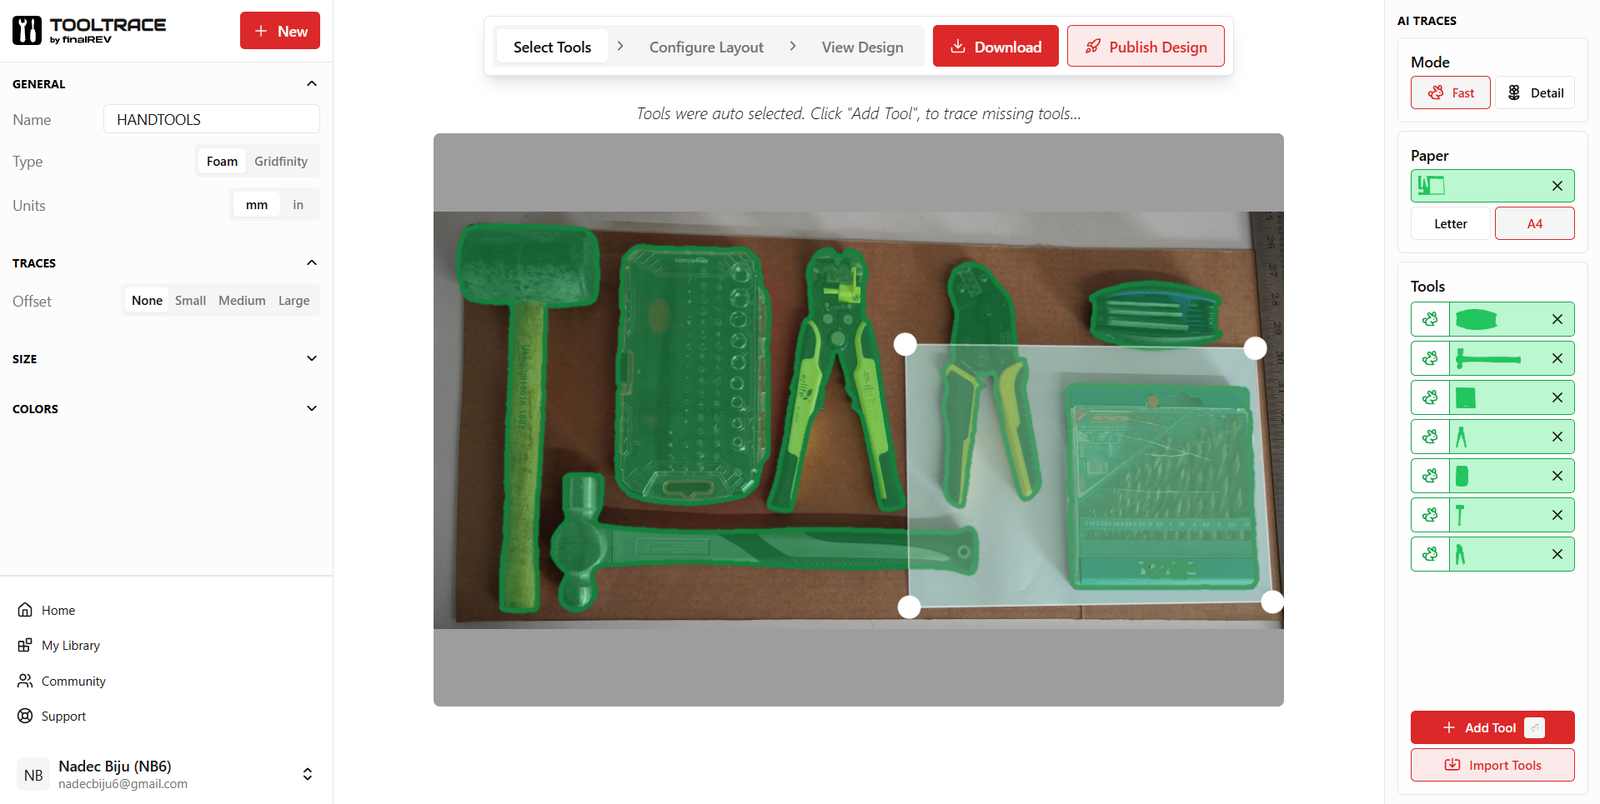
- Step 2: Add finger notches to the design so the tools can be easily lifted out of the foam.
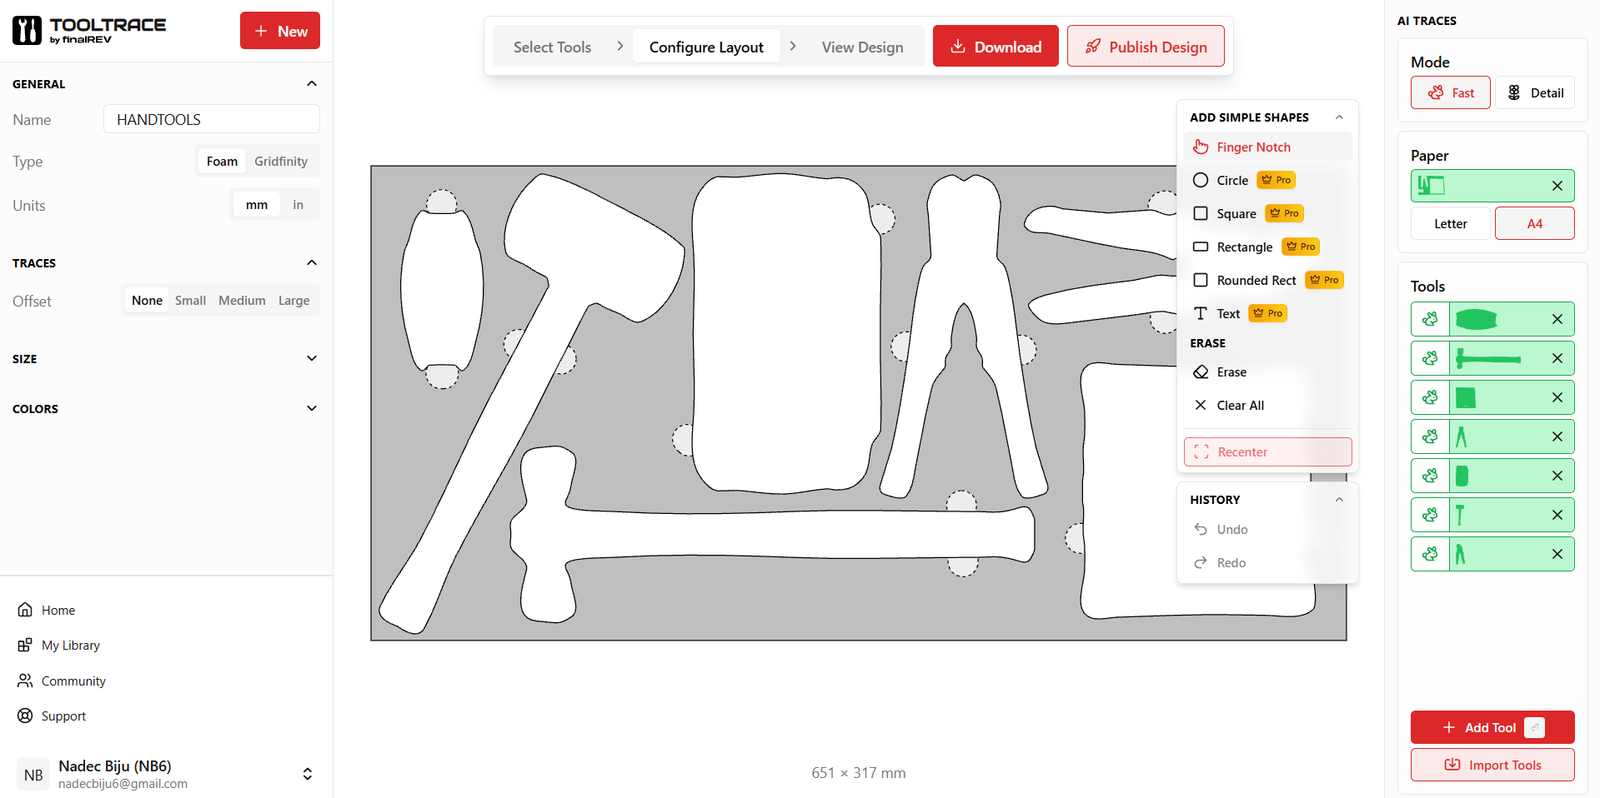
- Step 3: Wait for the finger joint preview to finish loading.

- Step 4: Download the SVG file.
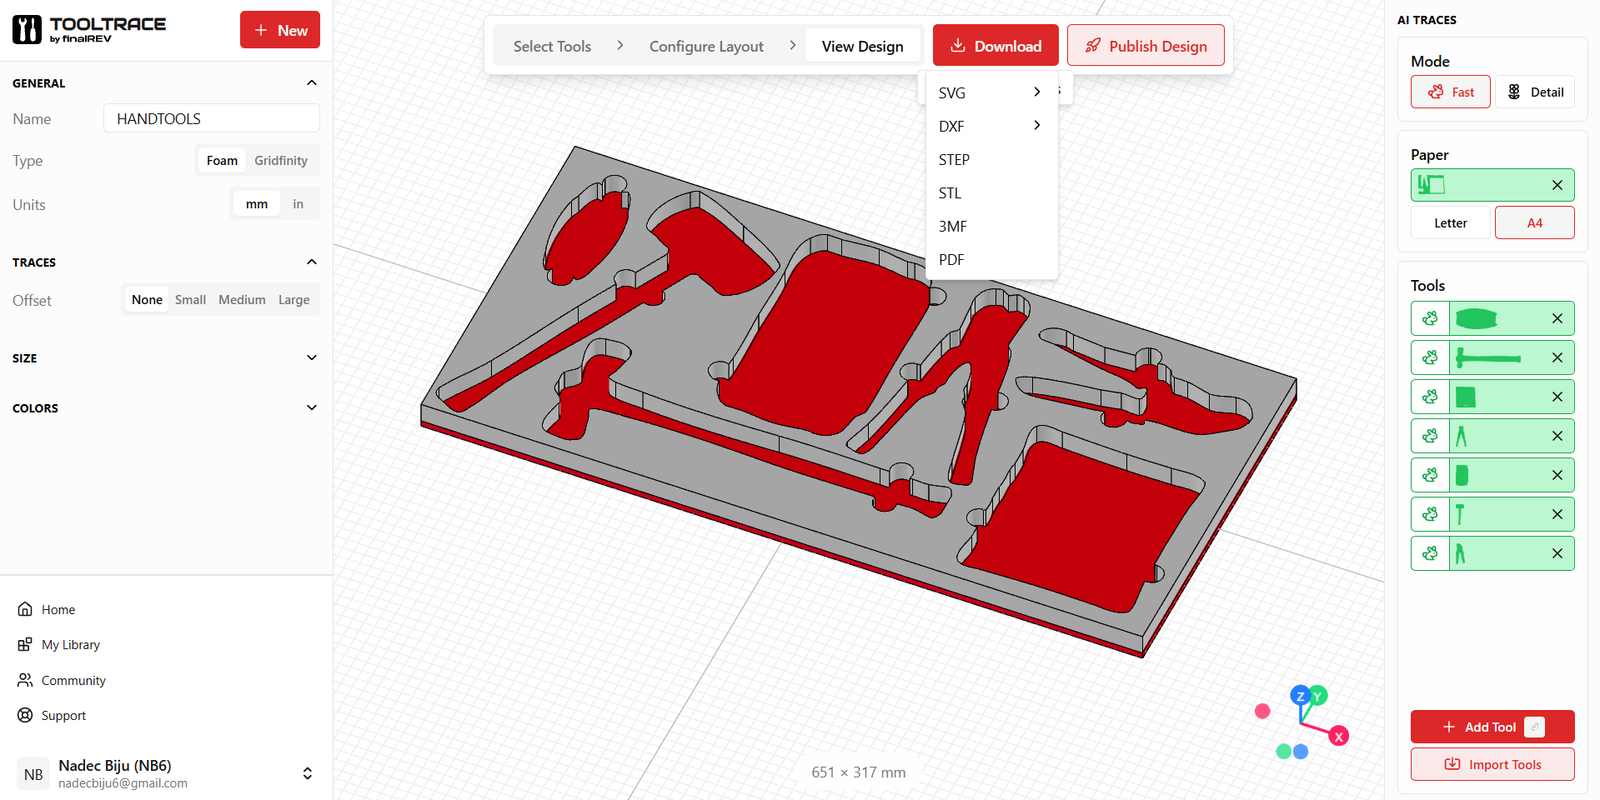
- Step 5: Set the scale to millimeters (mm).
Learning the Parts of the Waterjet Machine#
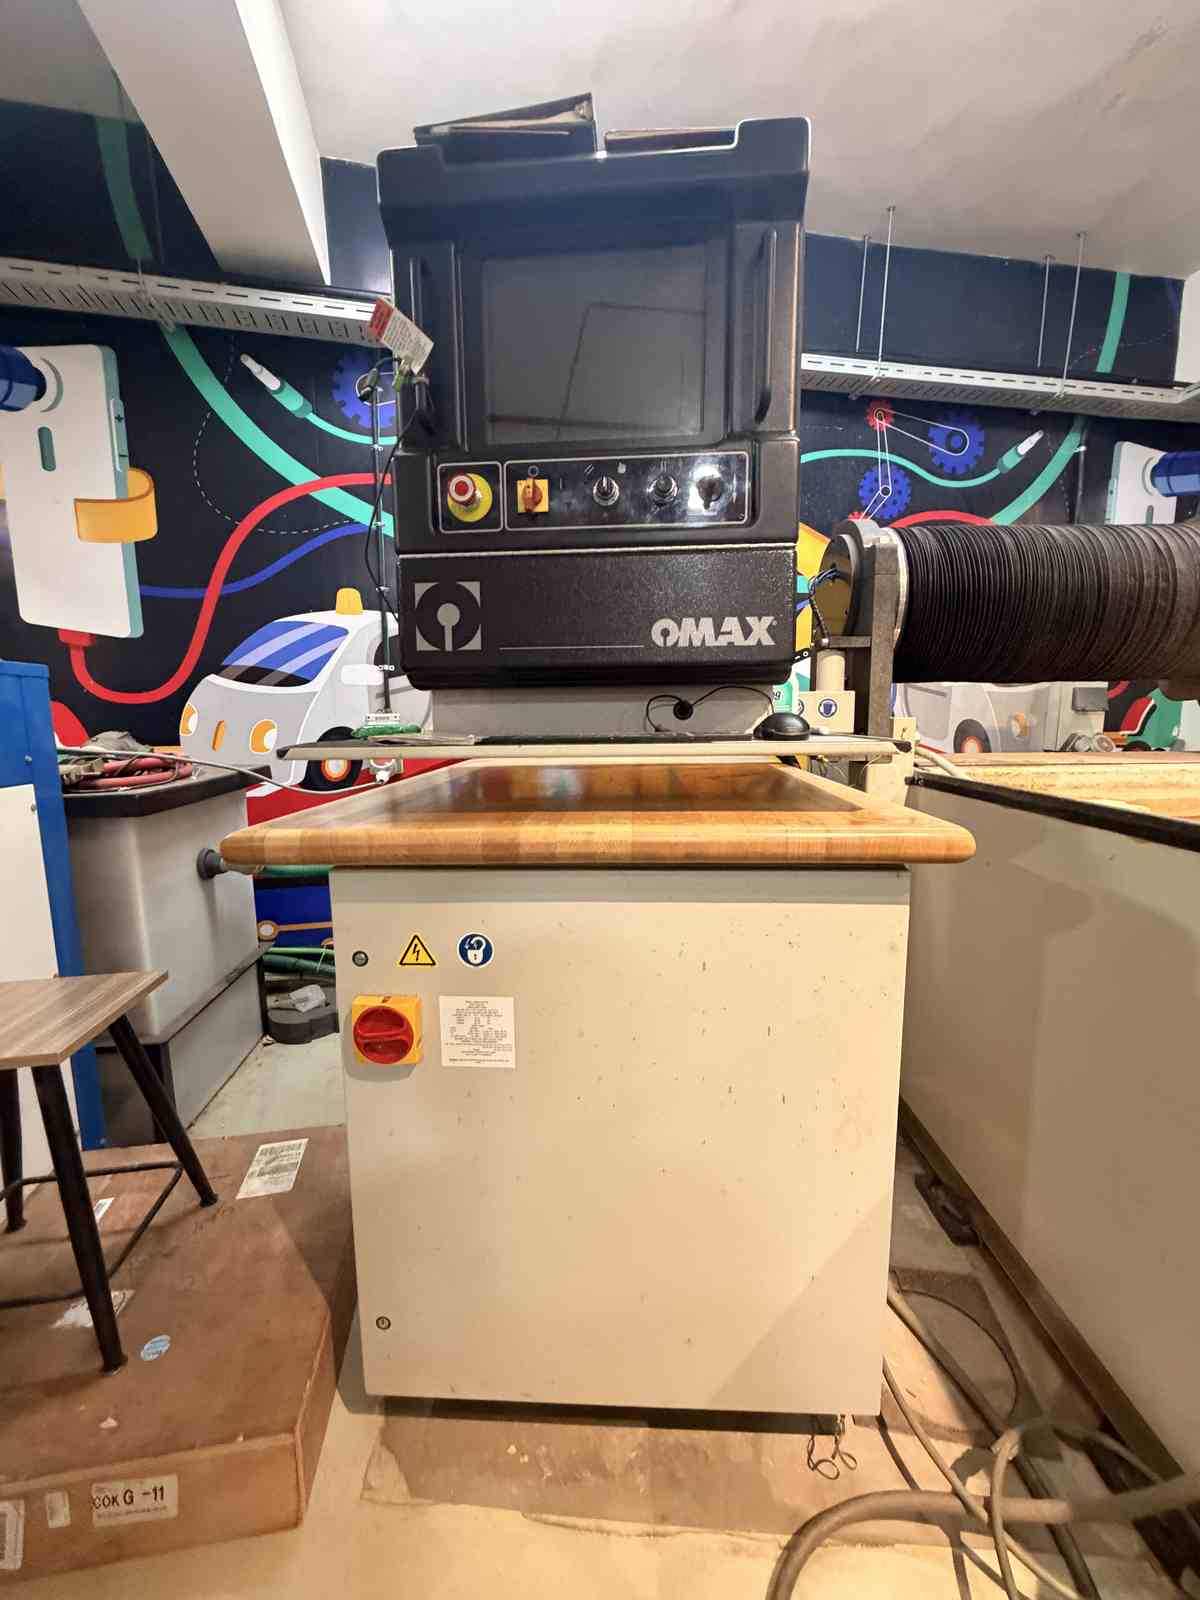
The machine in our lab is an OMAX 5555. It’s basically a giant cutting table that uses a super thin stream of water mixed with garnet (a type of sand) to slice through almost anything — metal, foam, plastic, stone, you name it. The water shoots out so fast and so hard that it can cut through tough materials without using any heat, so the material doesn’t melt or get damaged. It’s controlled by a computer, so you just feed it your design file and it cuts it out exactly the way you drew it.
Water storage tank for the waterjet machine
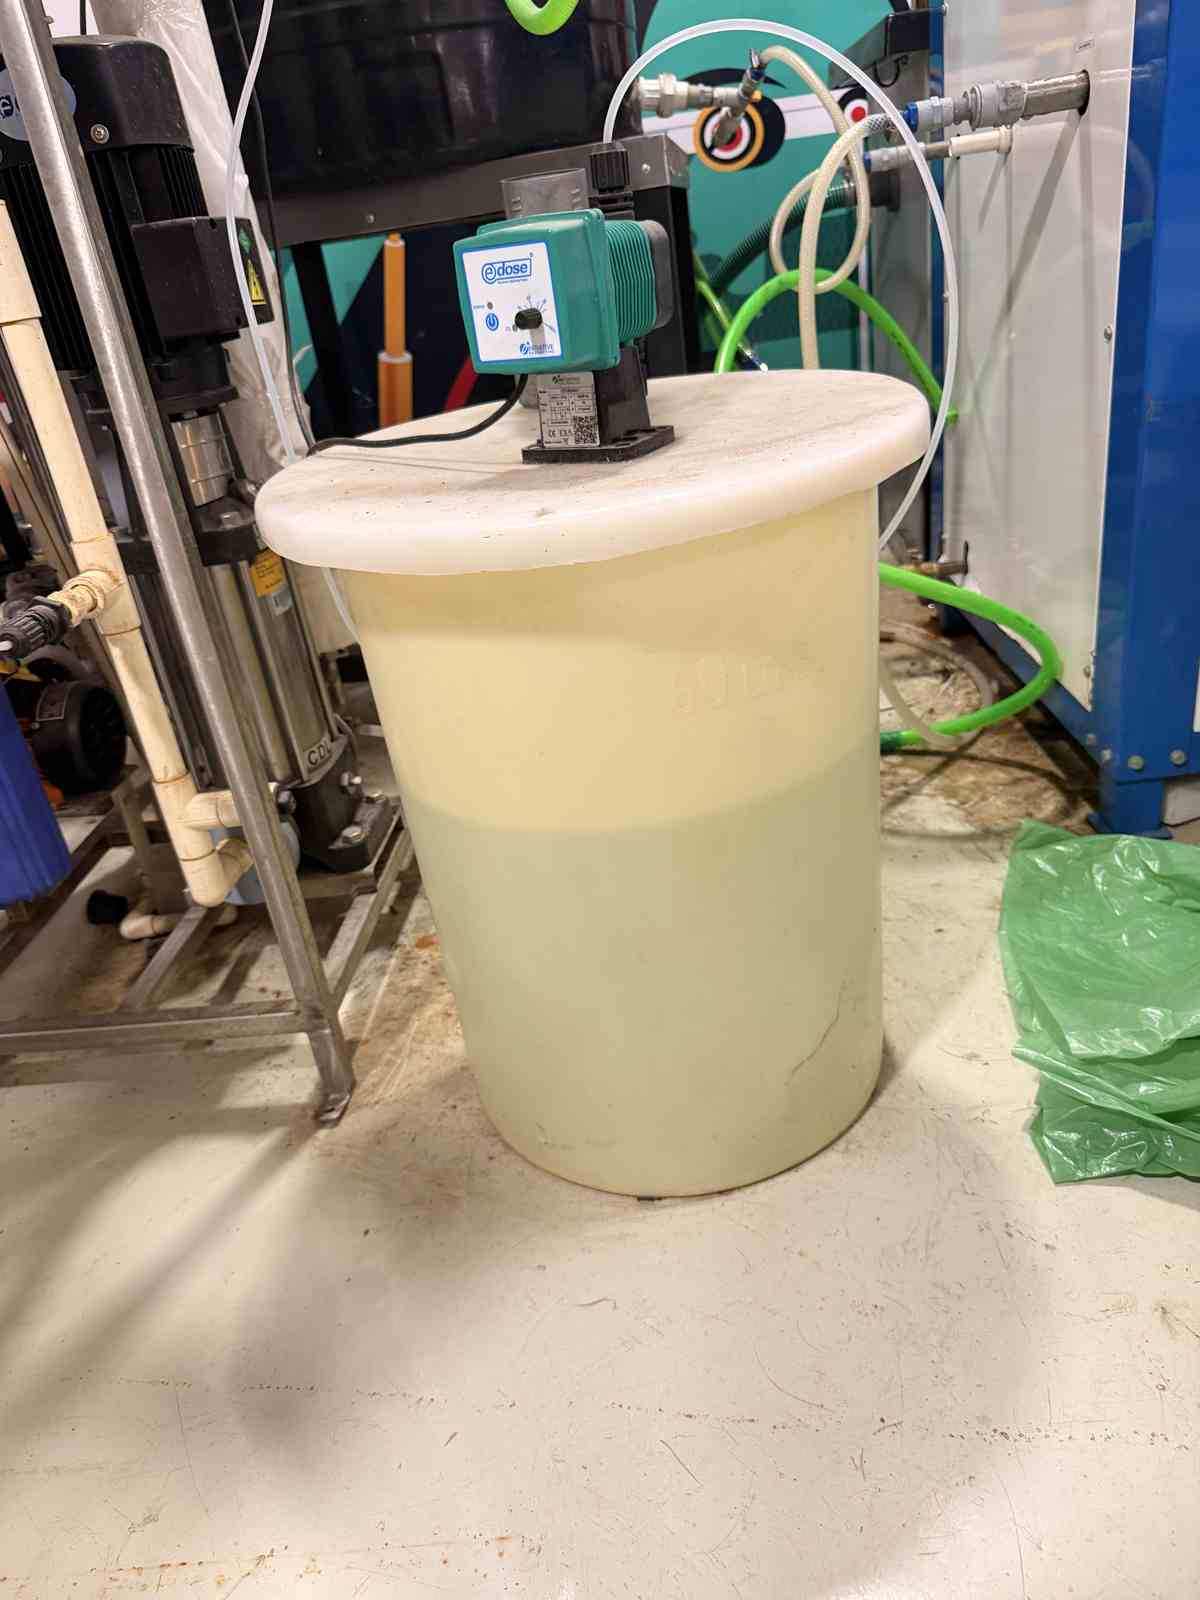
Reverse osmosis (RO) water filter system for the machine
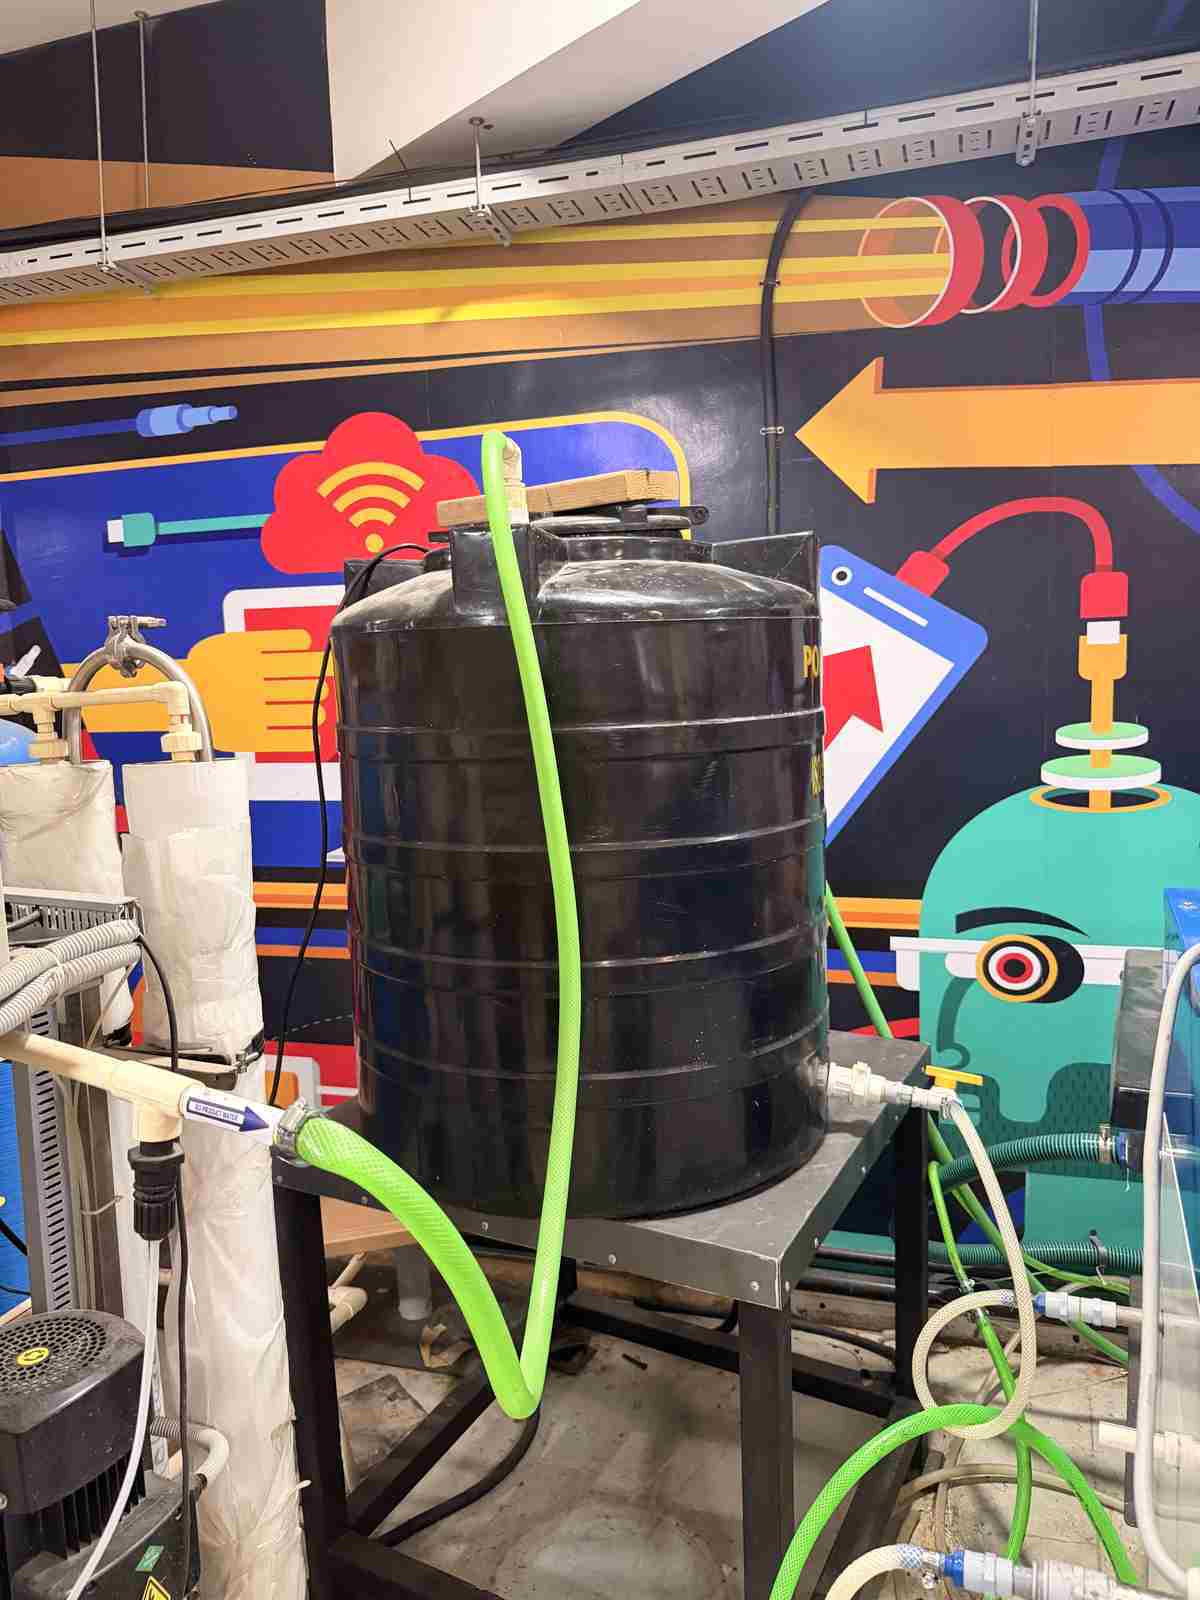
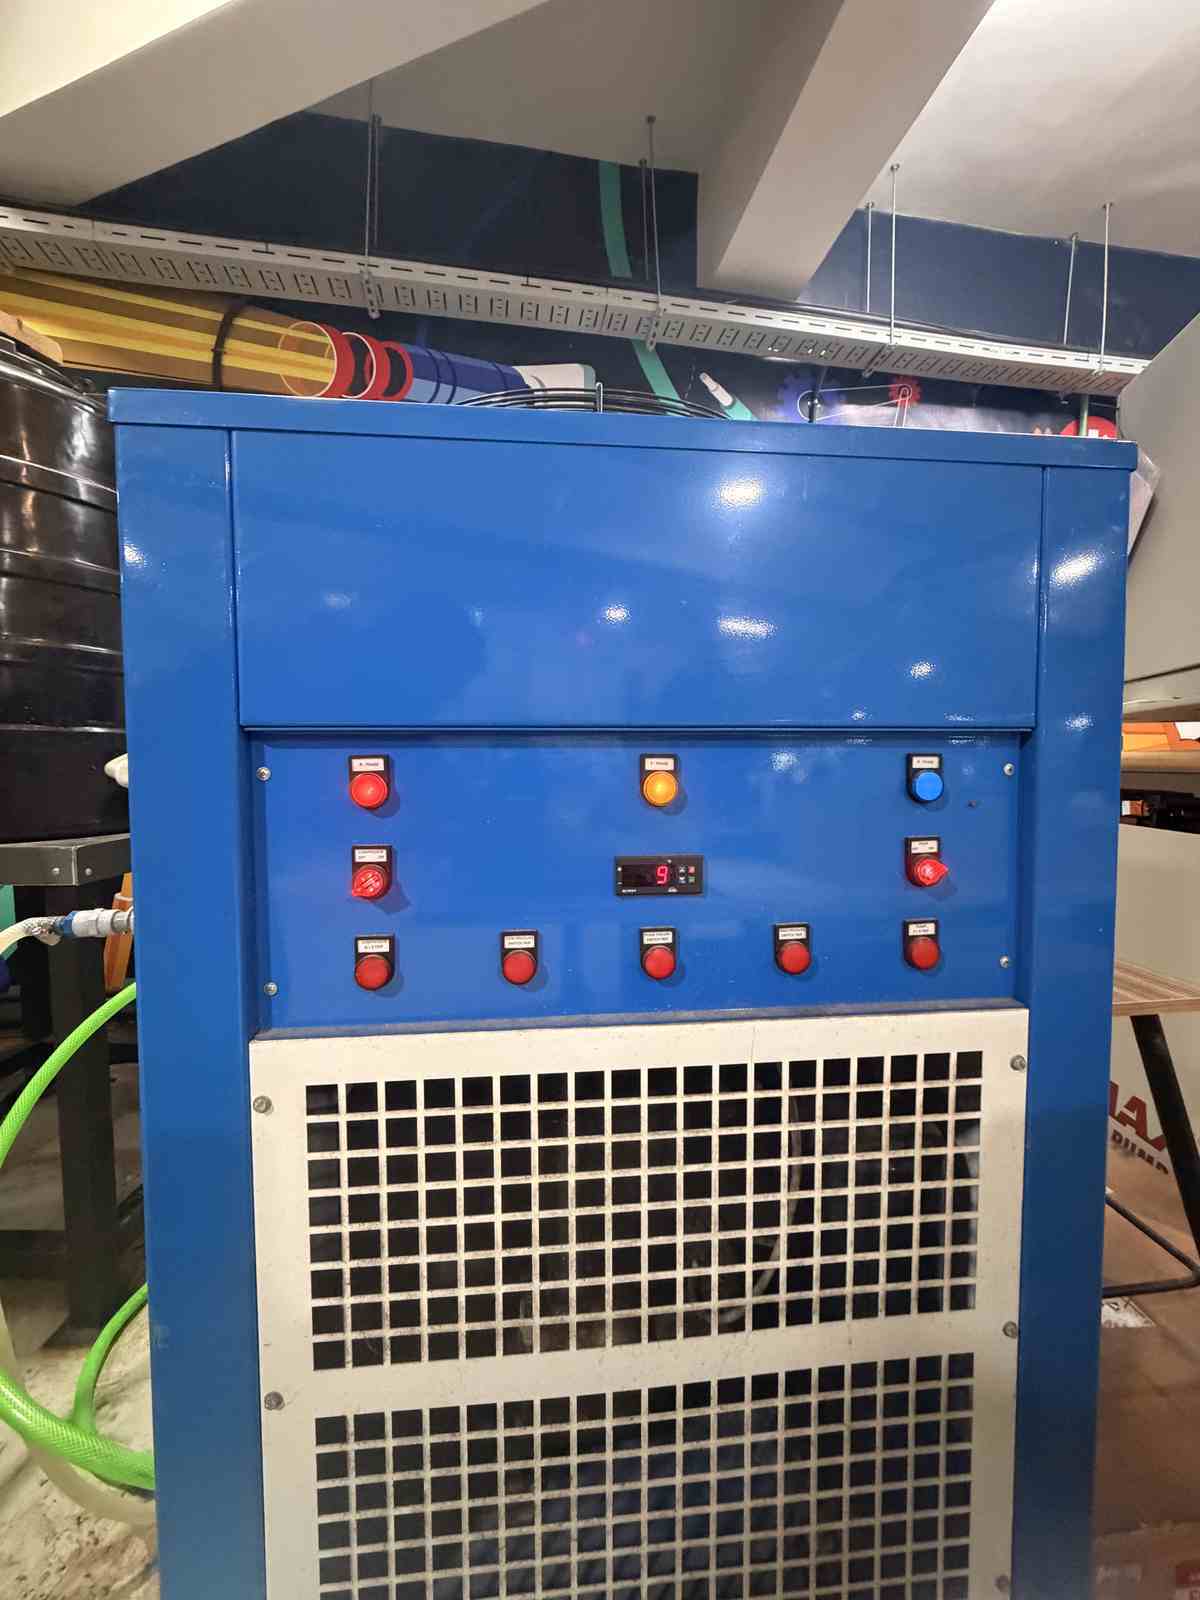
Water chiller for the machine
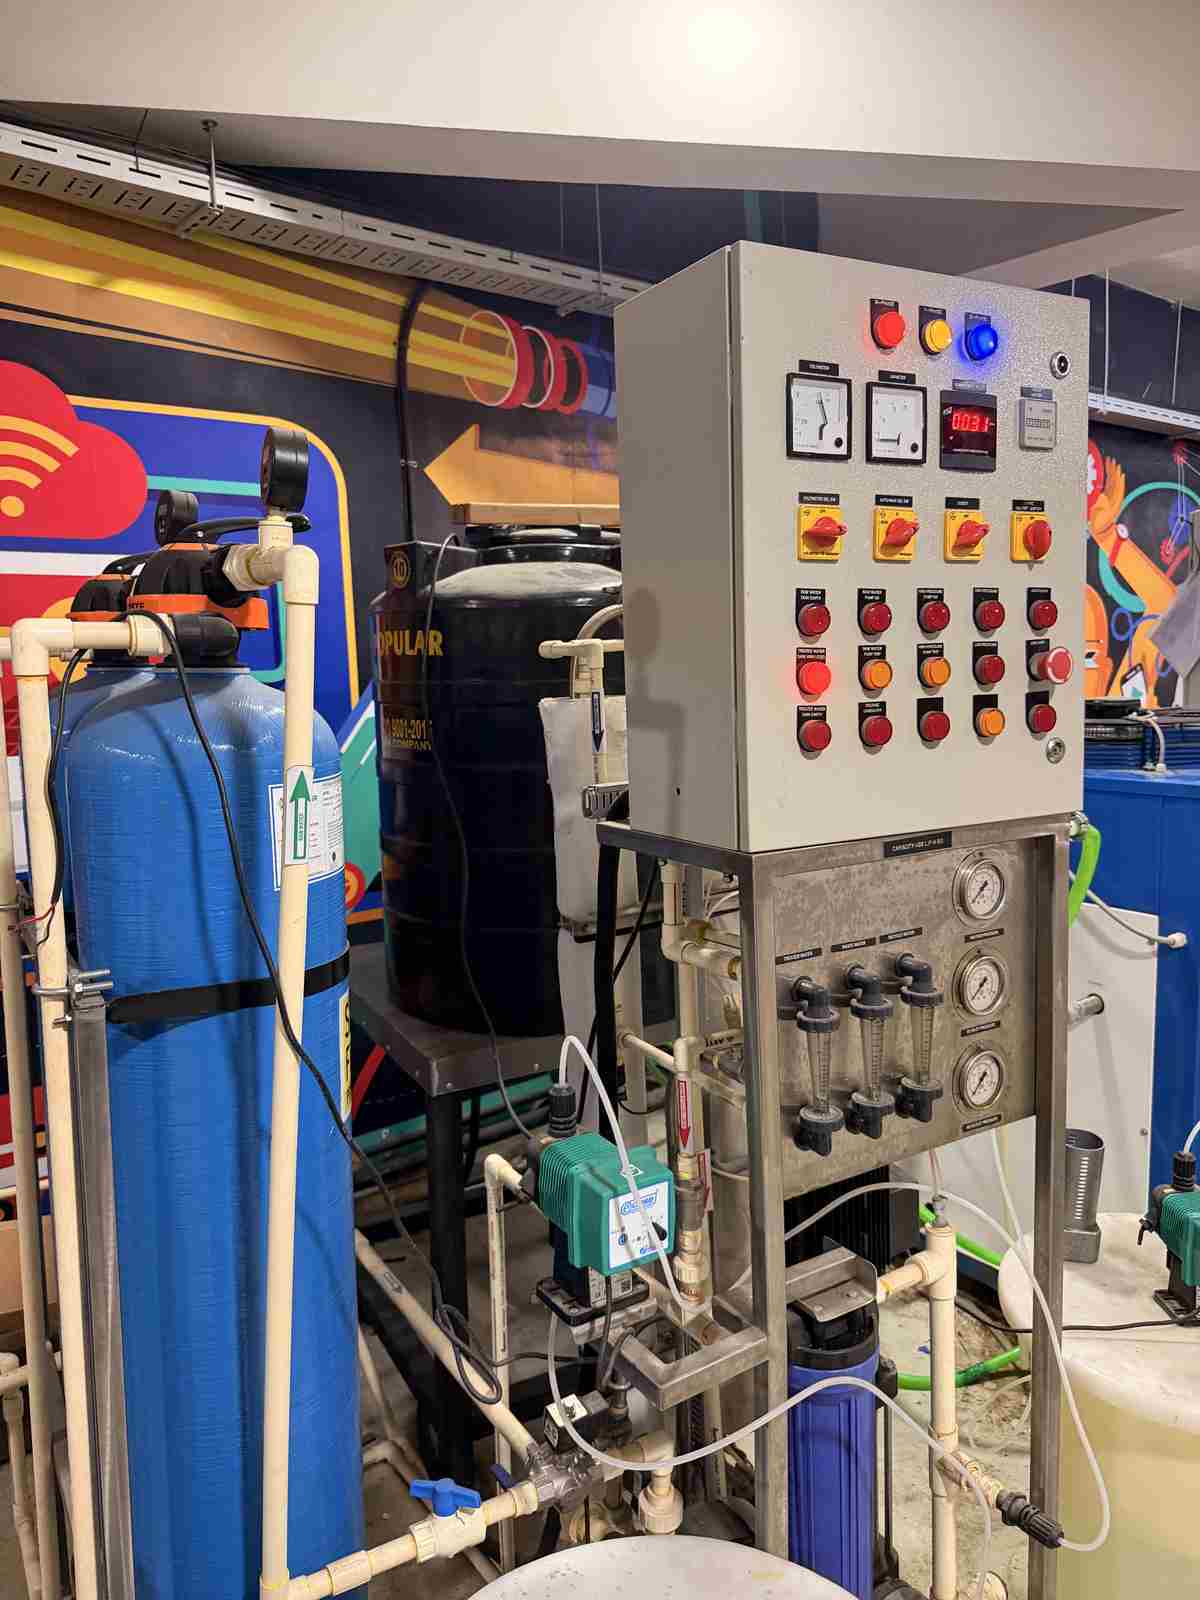
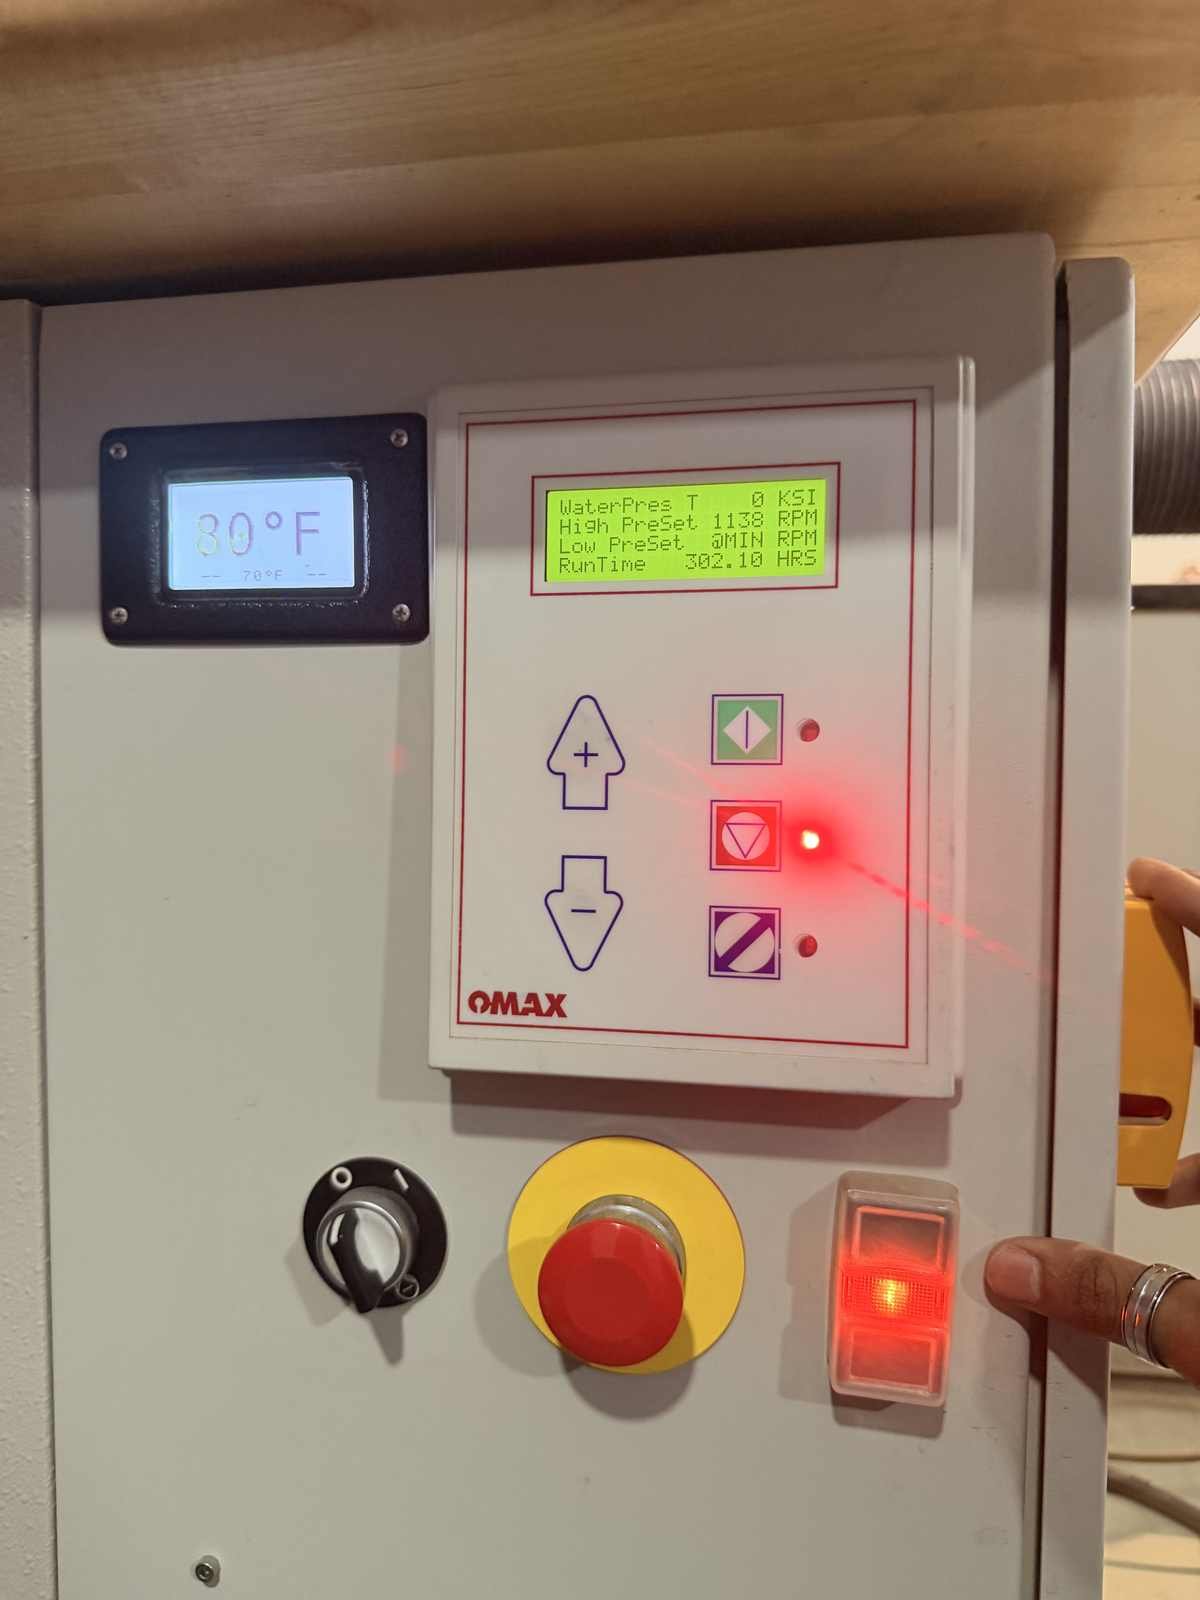
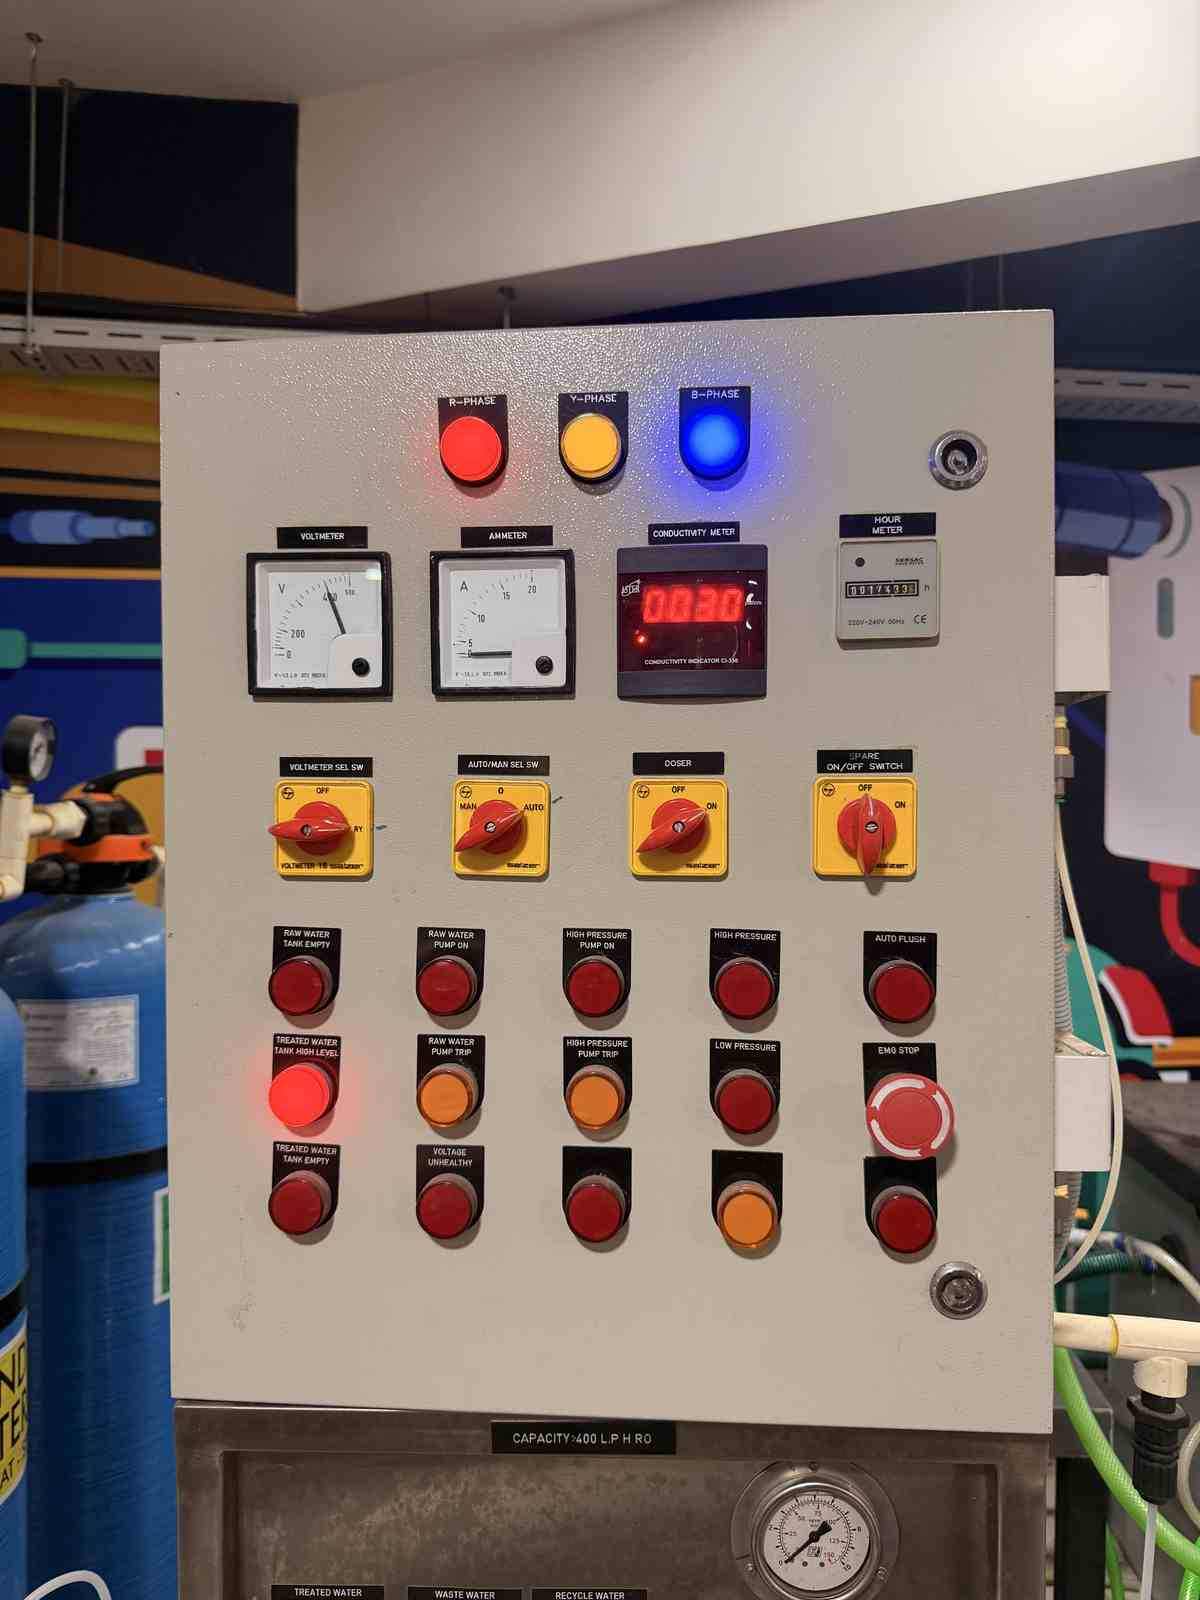
The interactive control panel
The power switch
Water pressure and temperature gauges and controls
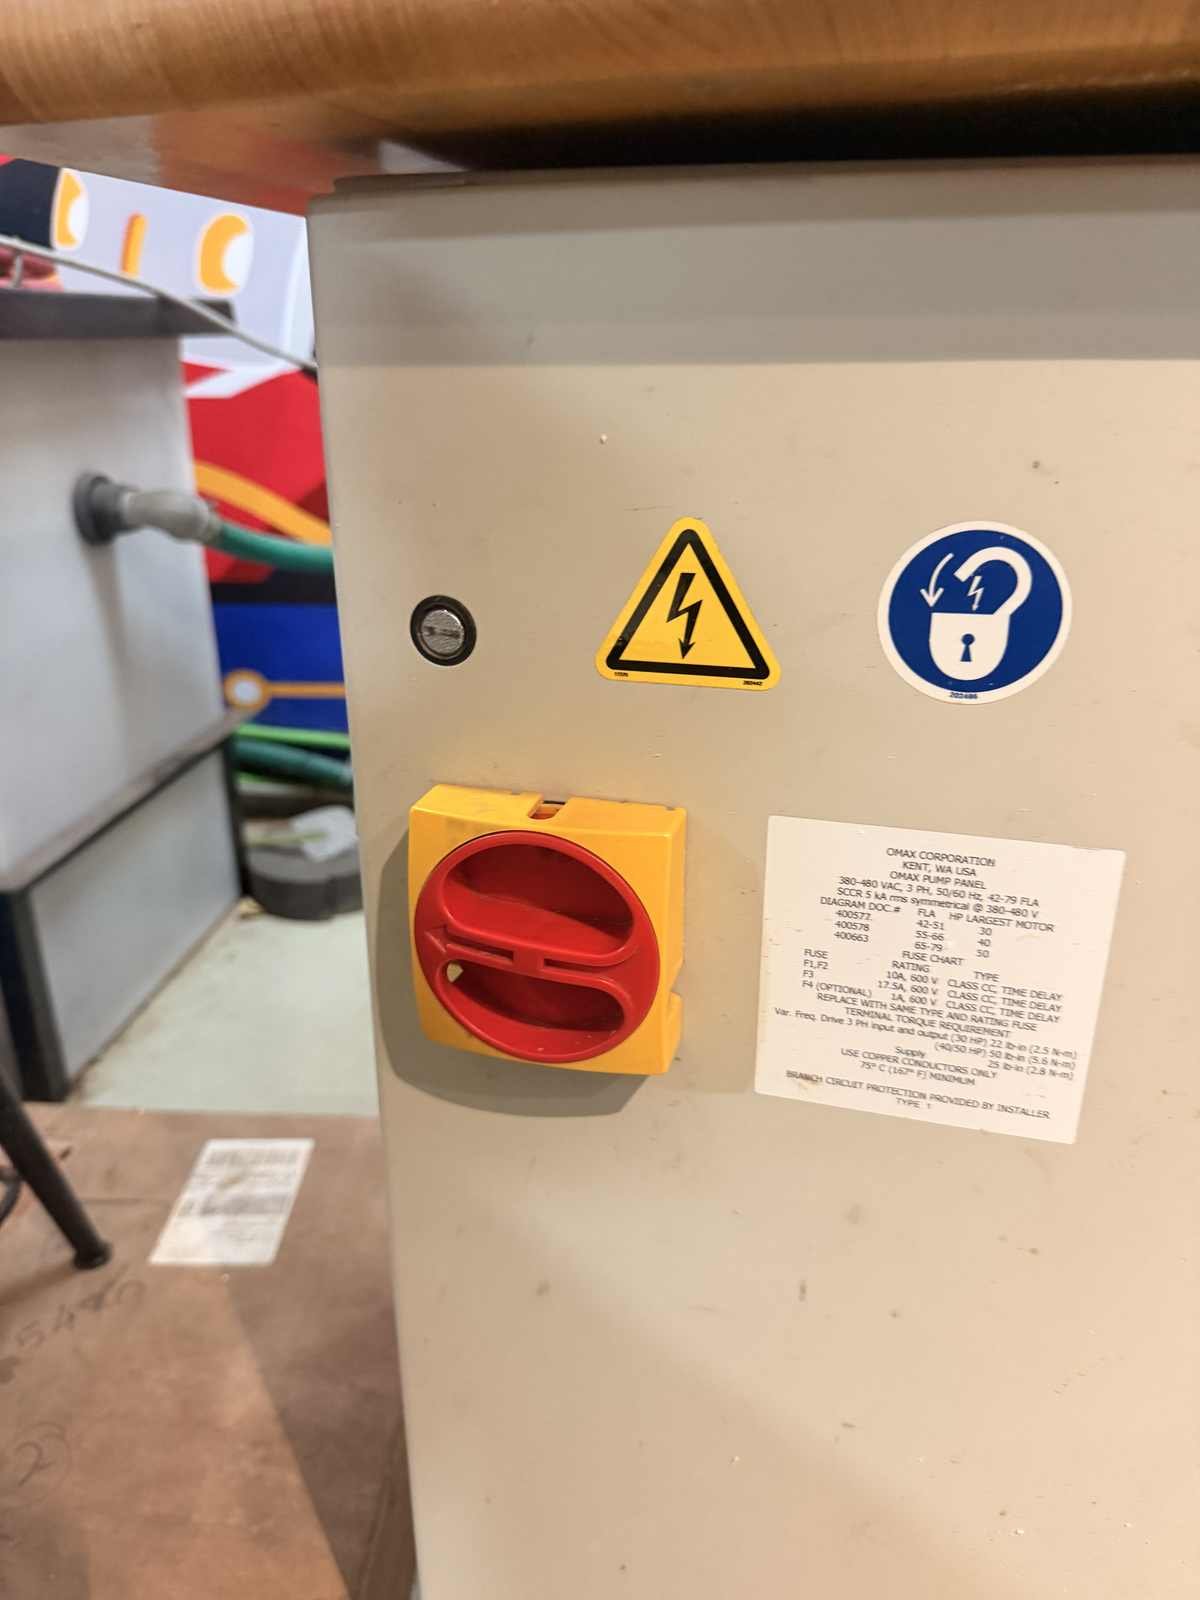
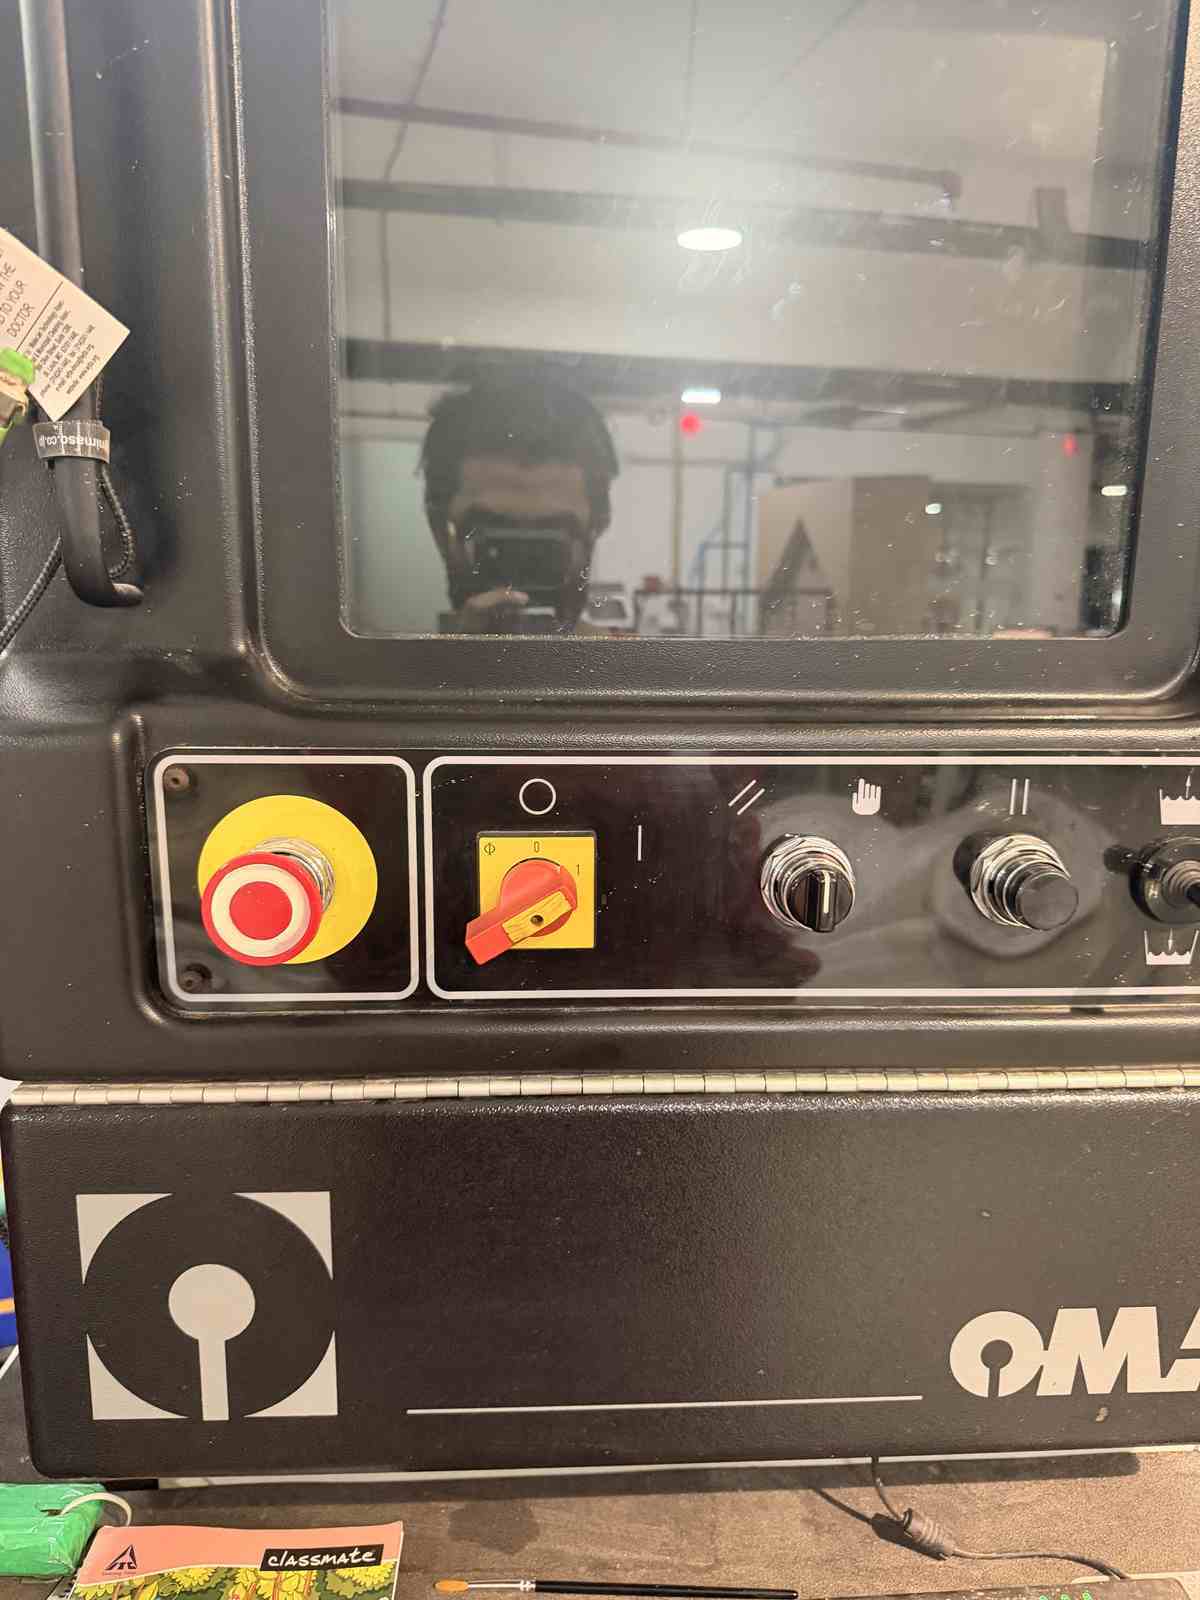
Emergency stop button and water level adjuster
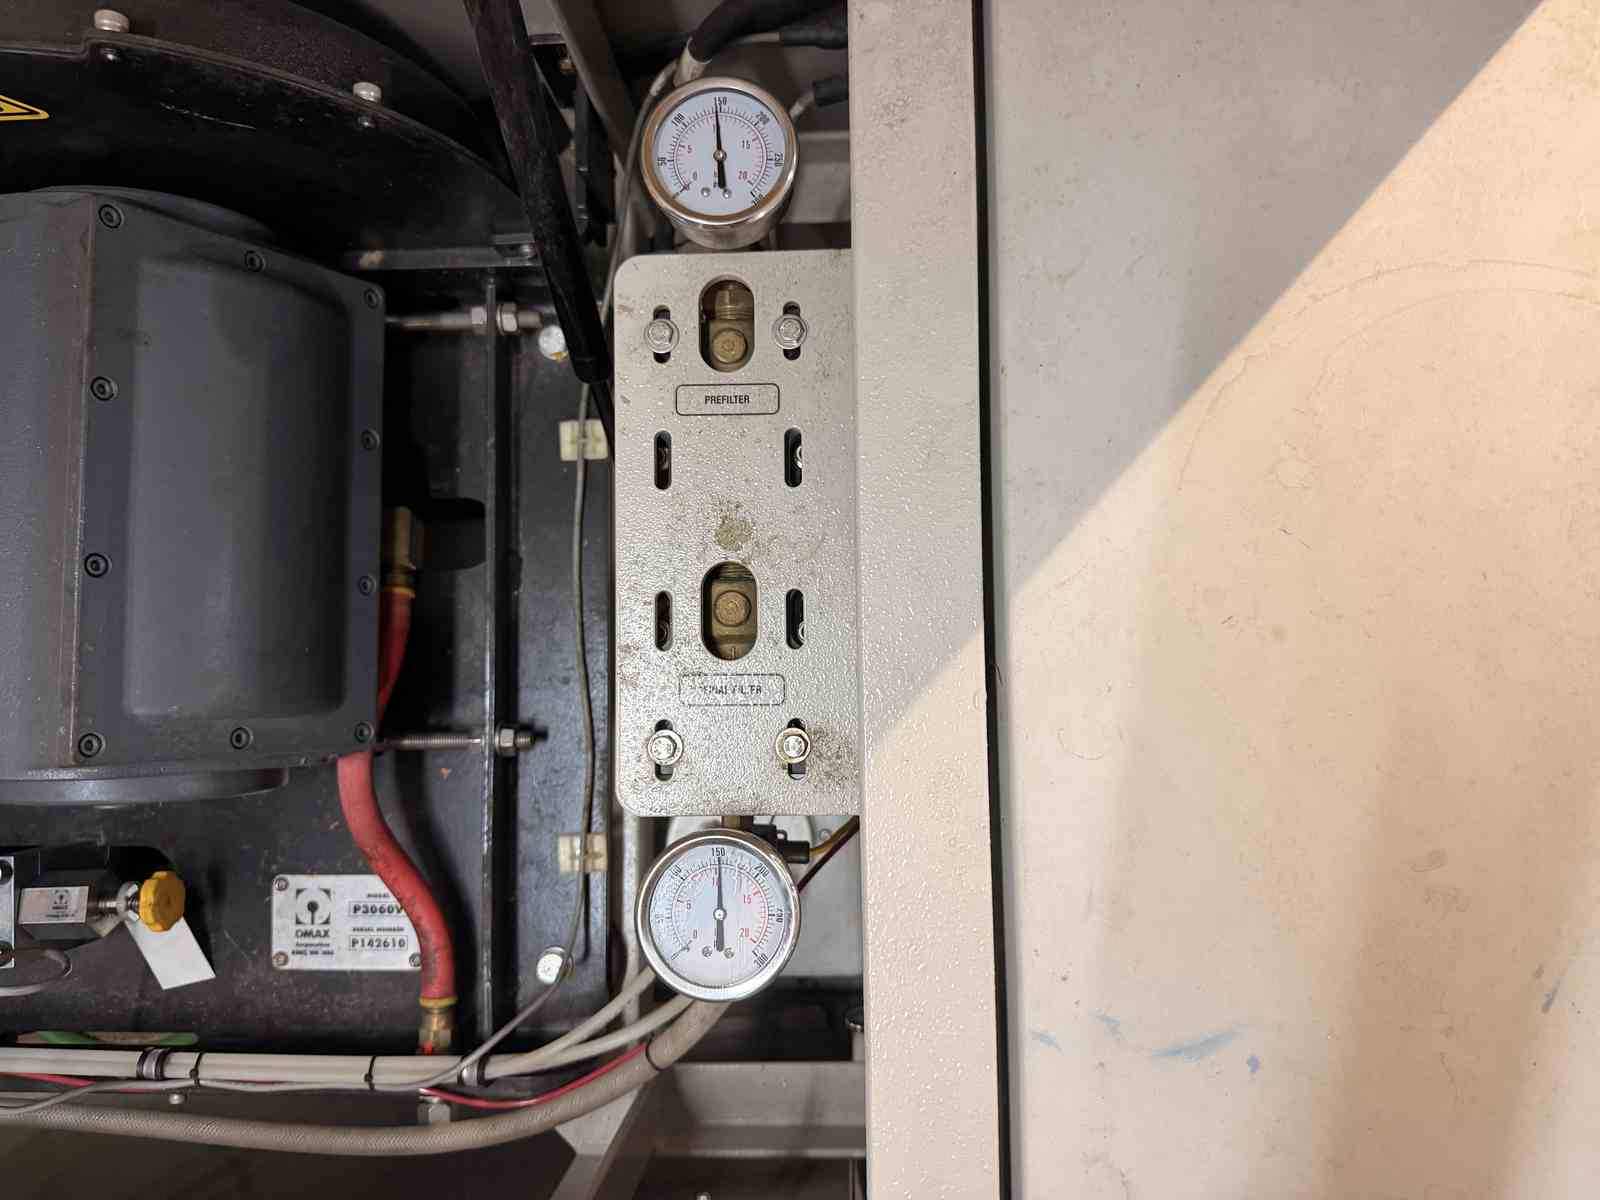
Water filter pressure gauges (before and after the filter) — these two numbers should match for the waterjet to work properly
The water pump, which makes the huge pressure needed to create the water jet
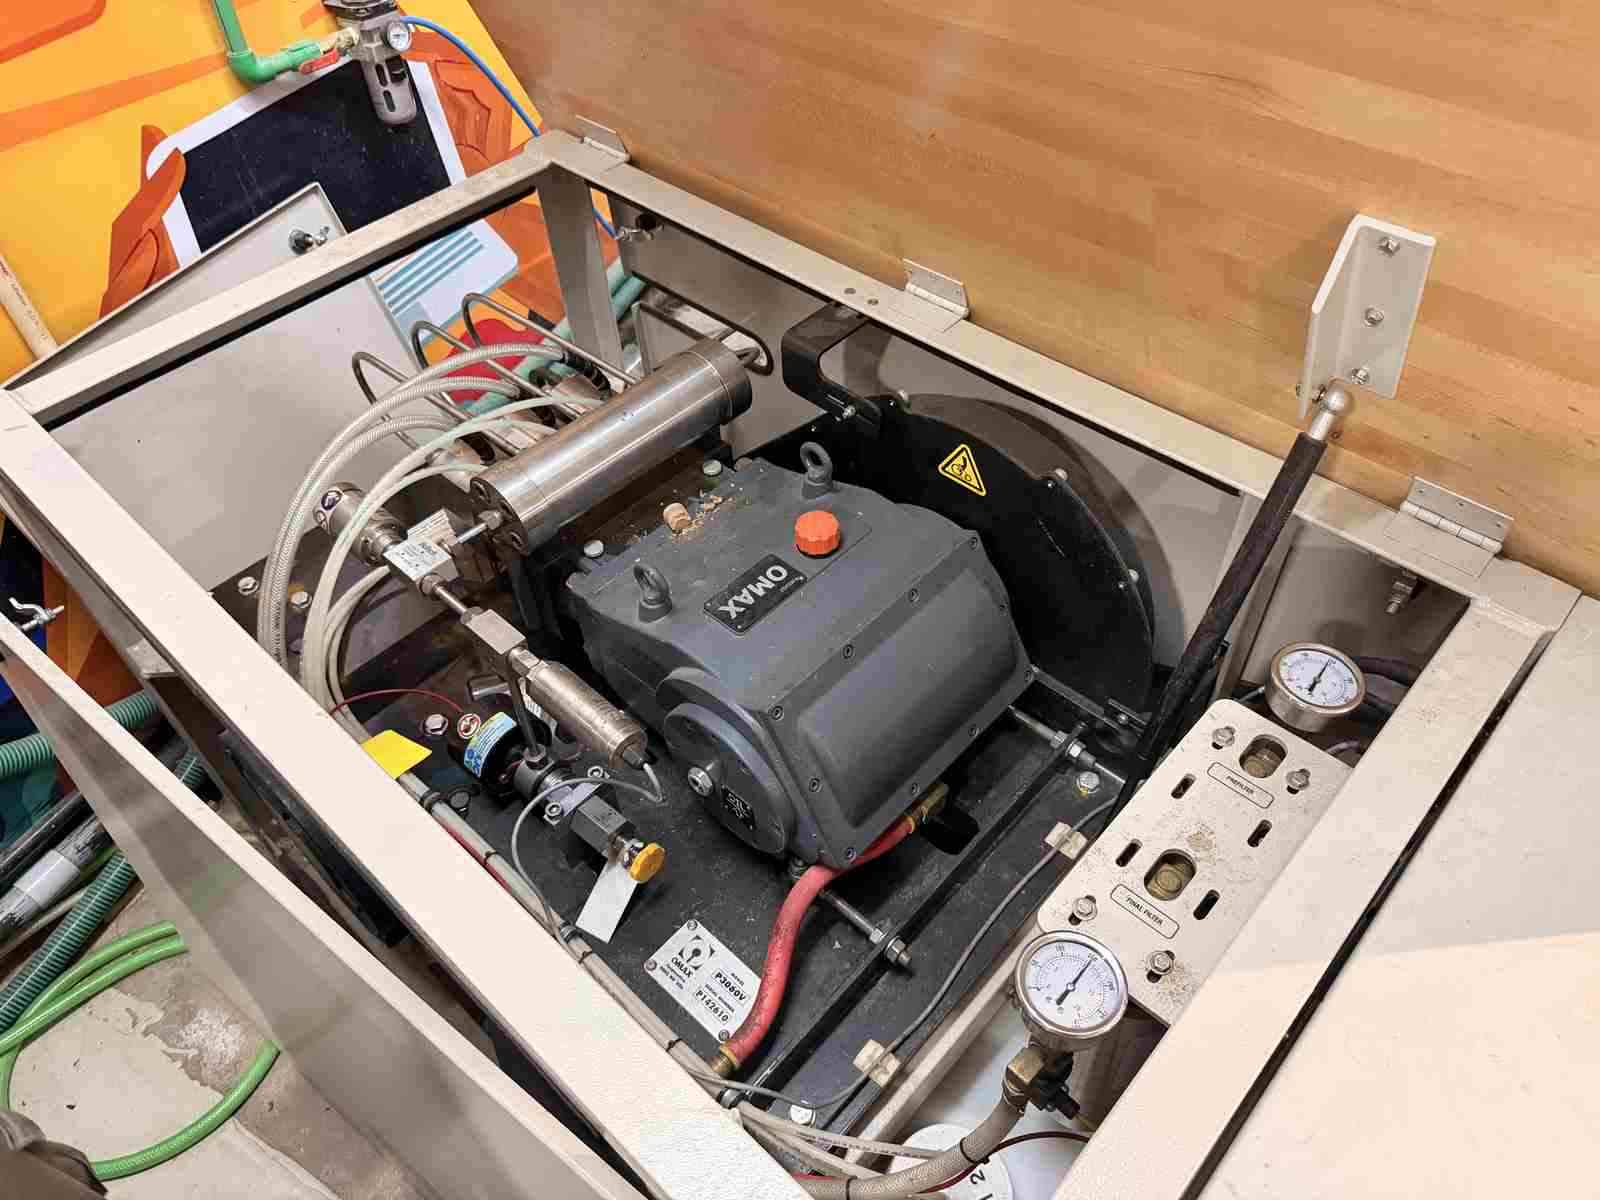
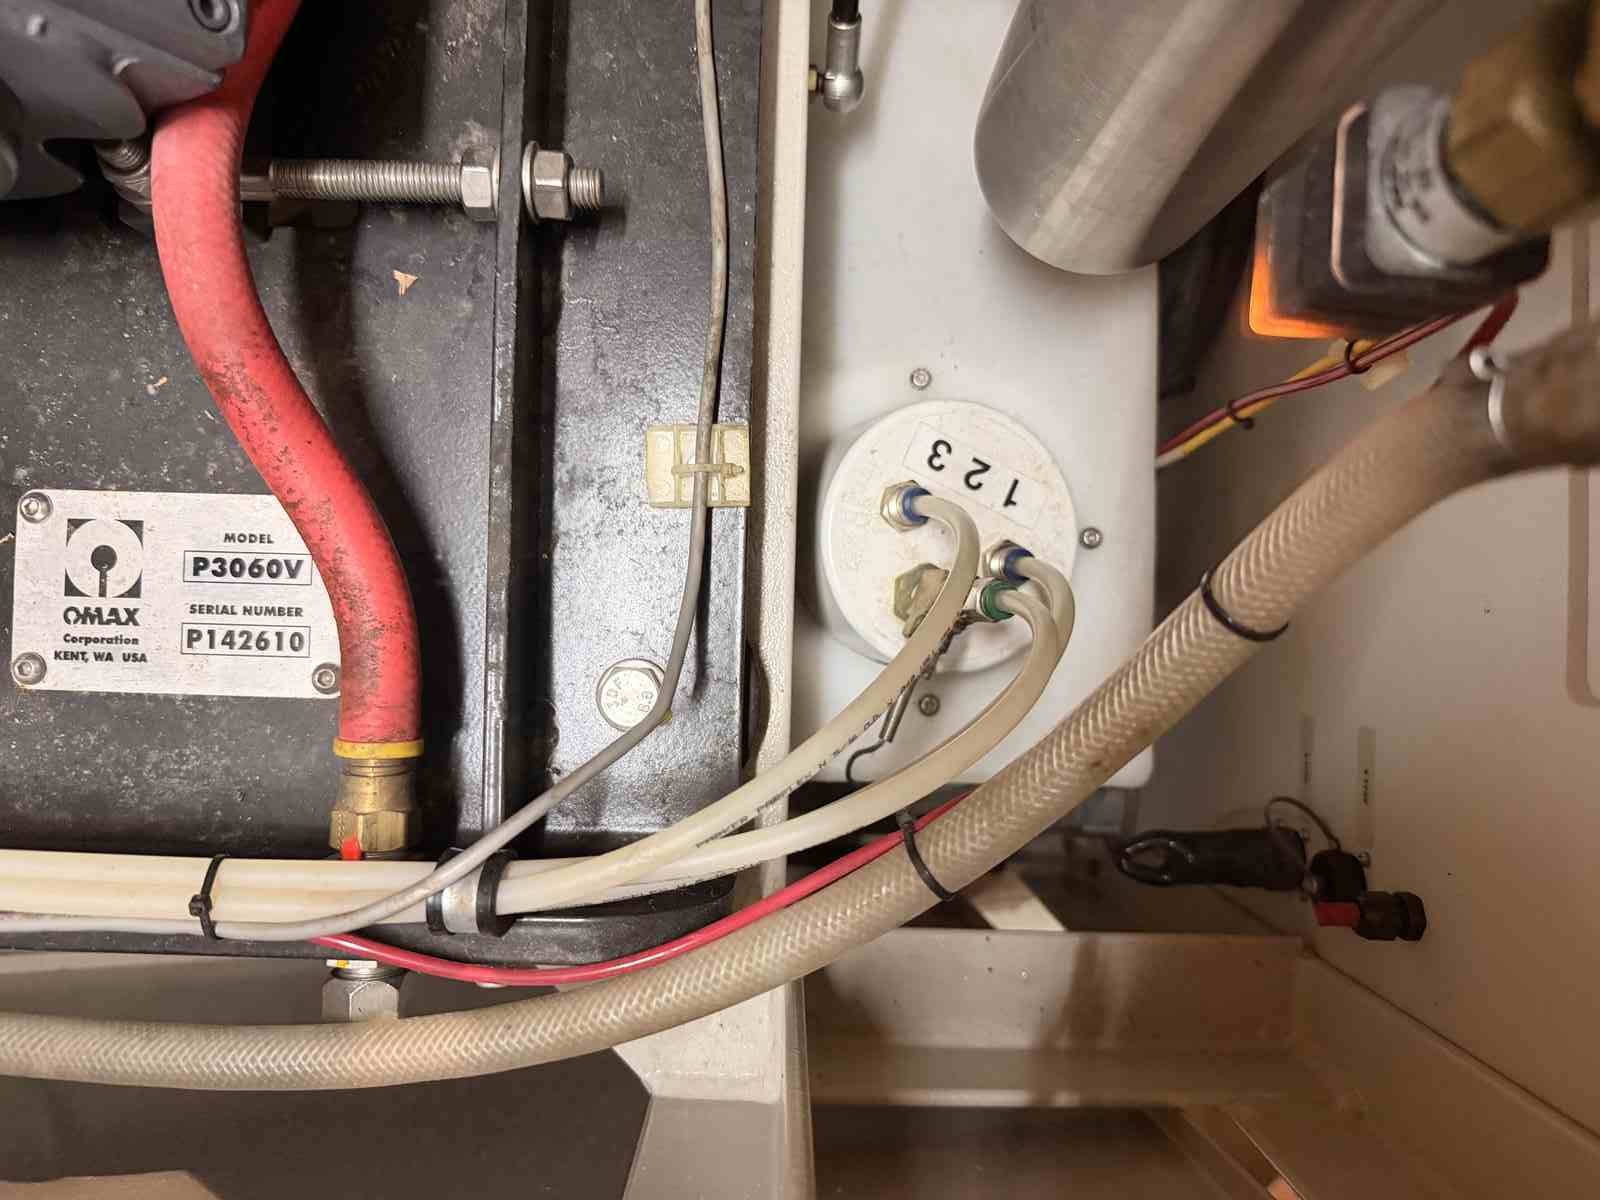
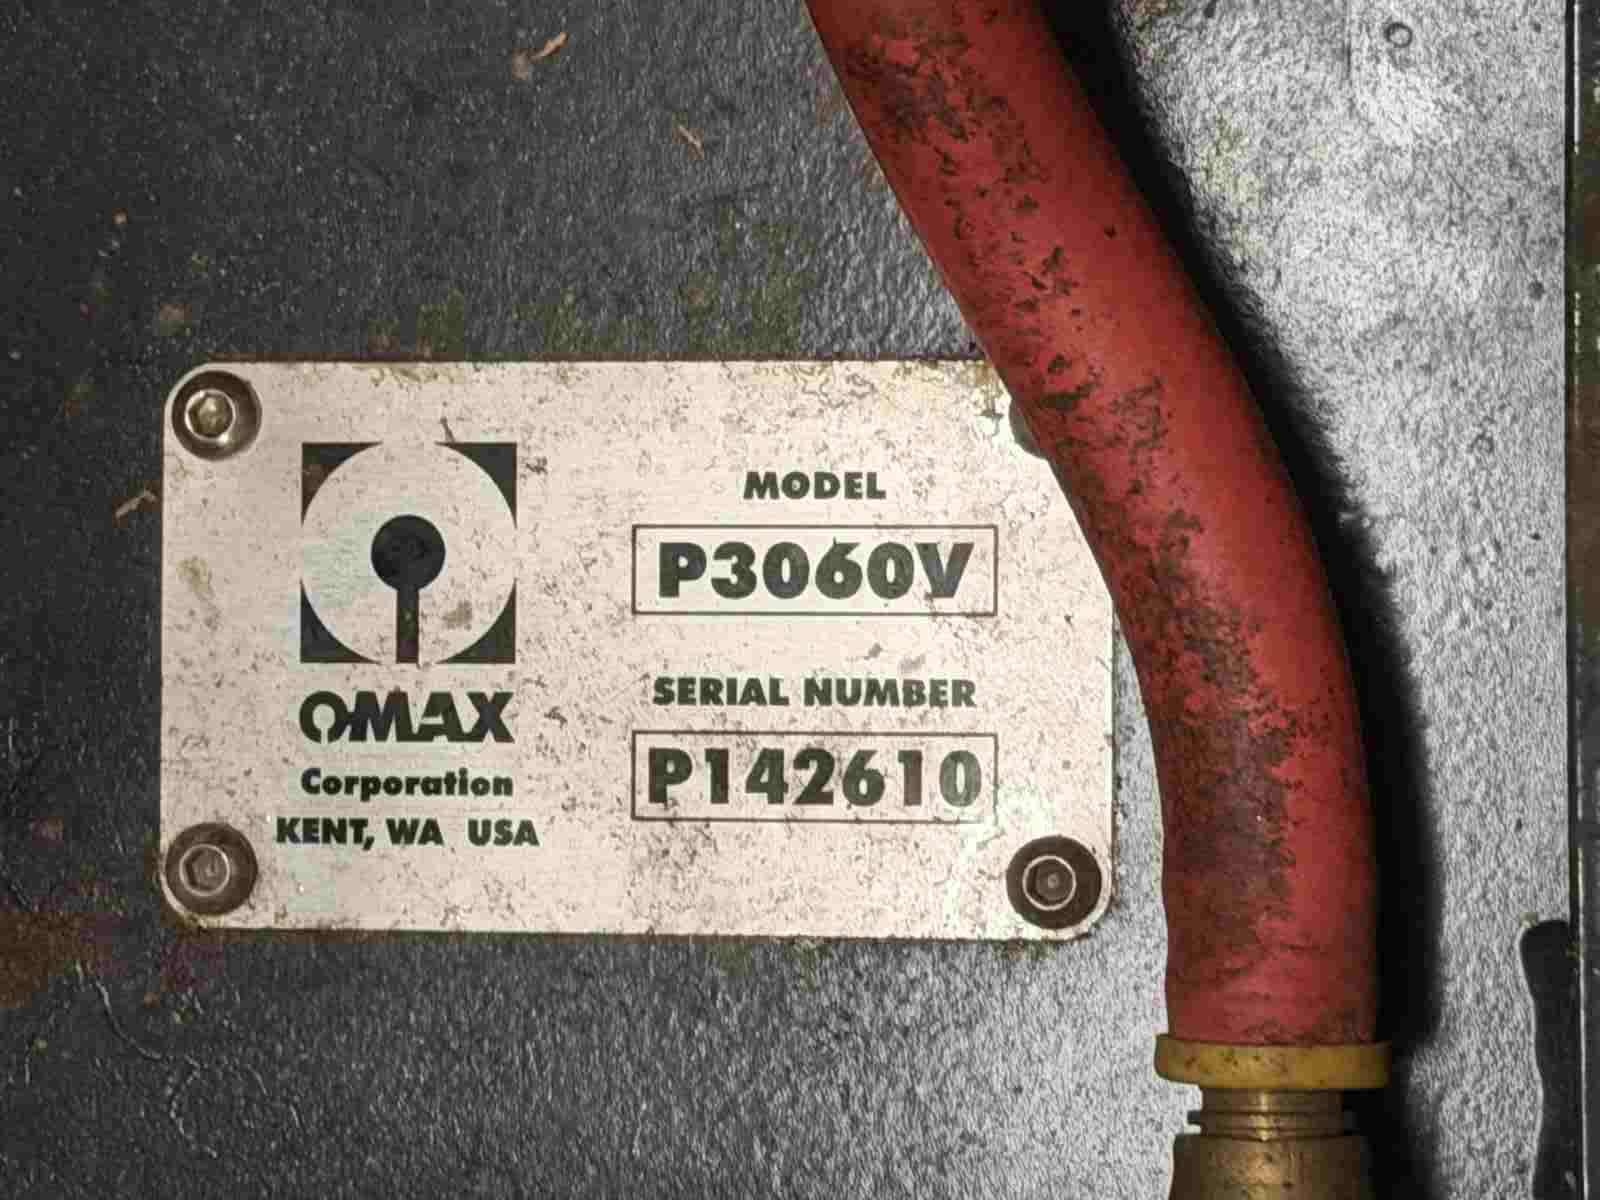
The water pump’s model number

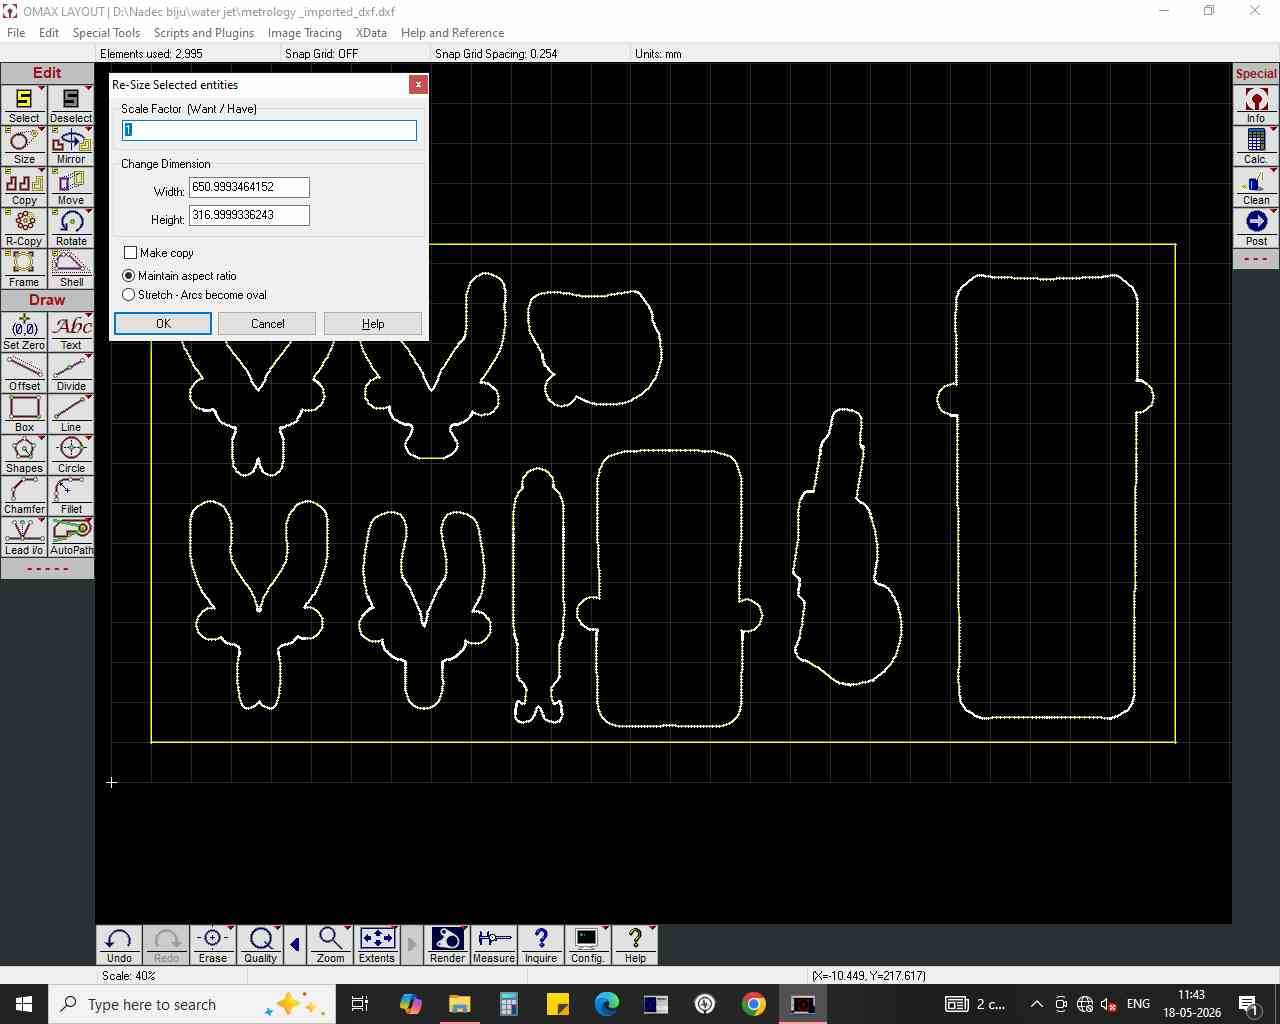
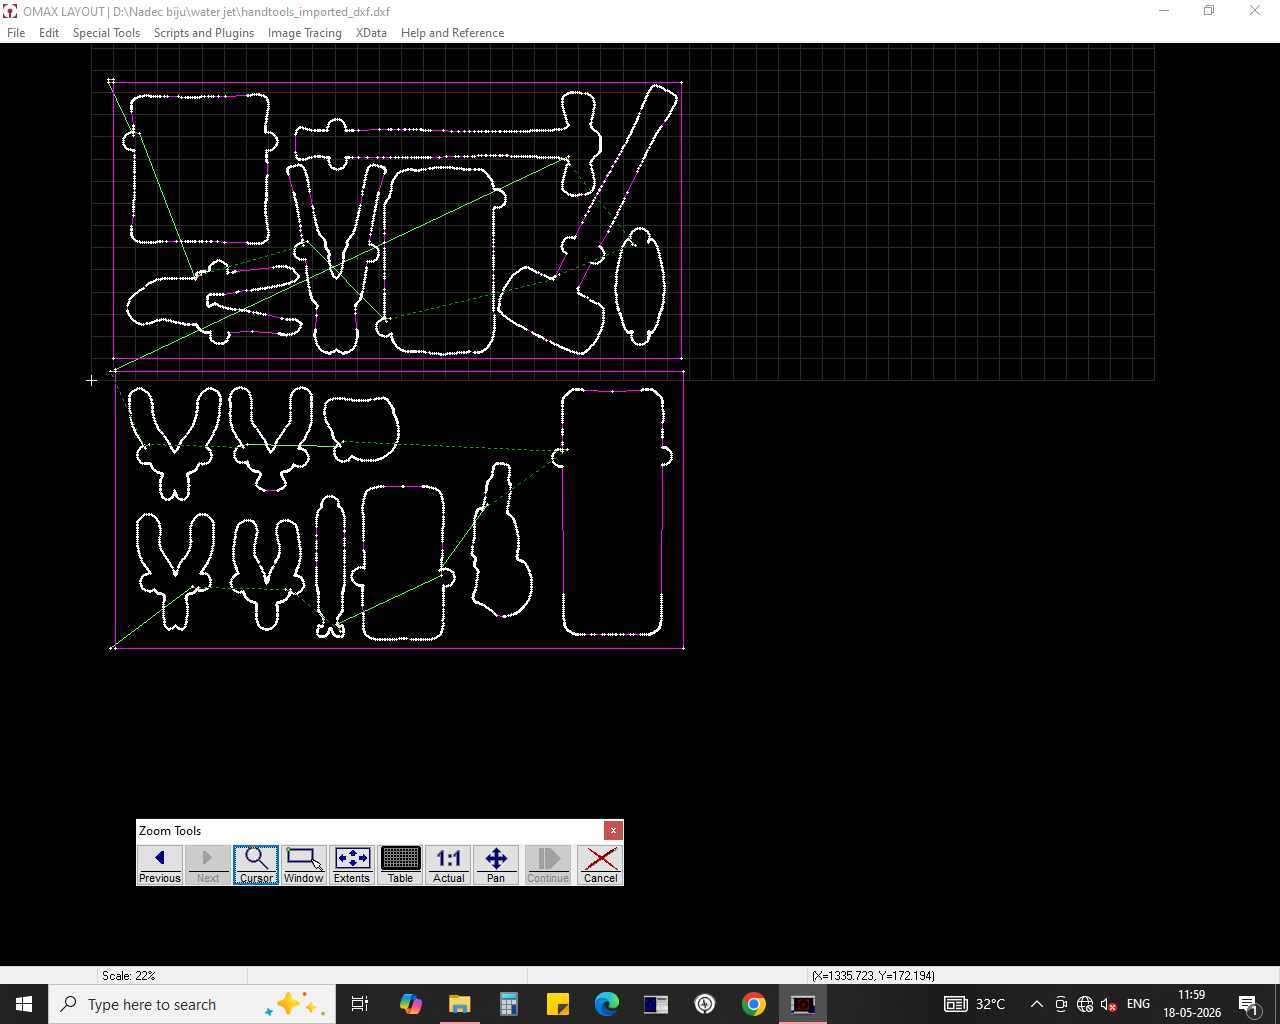
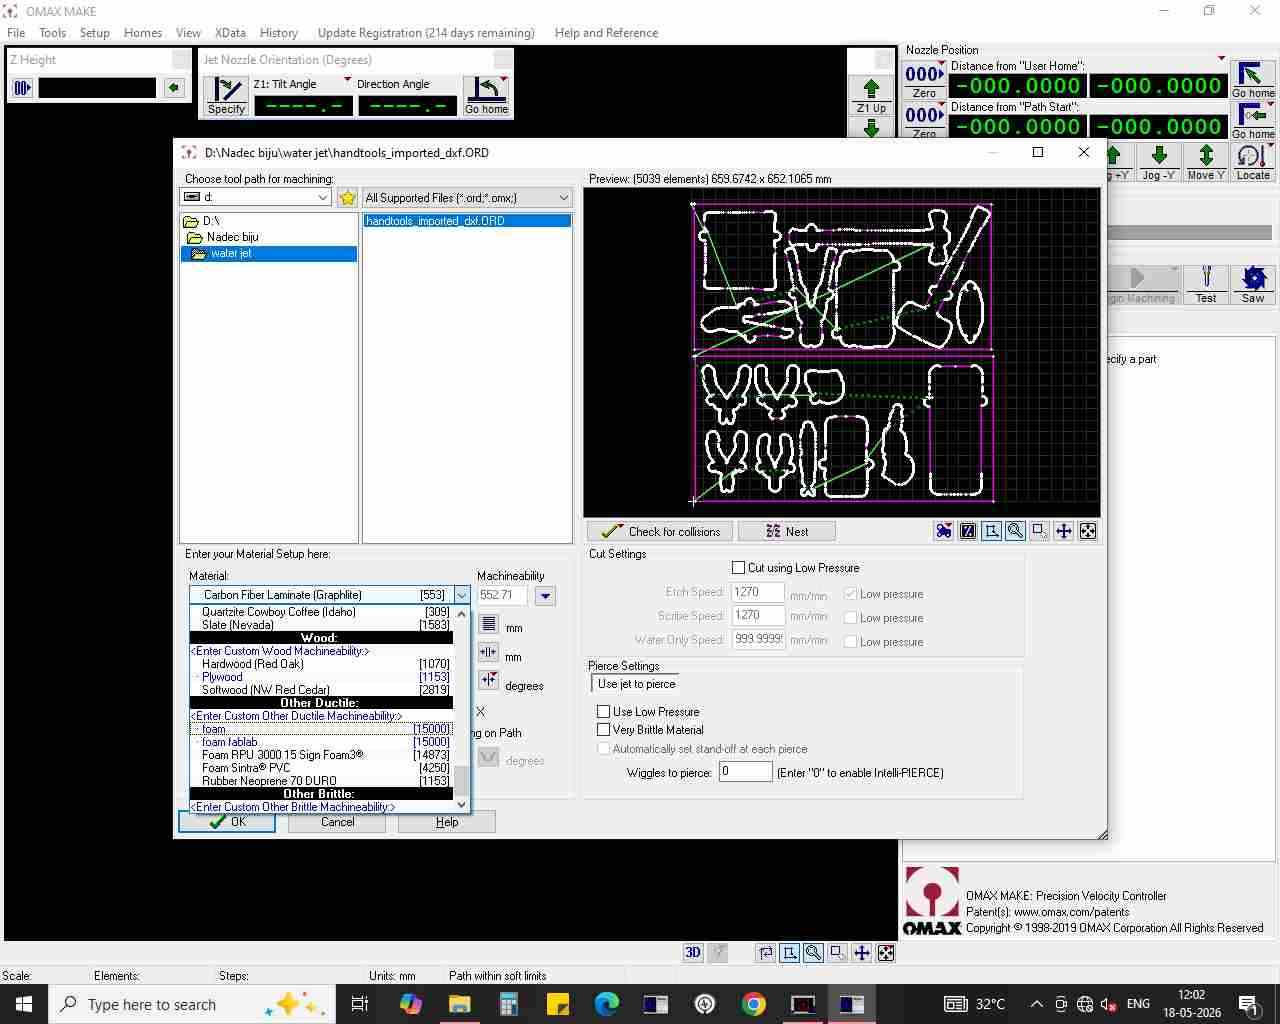
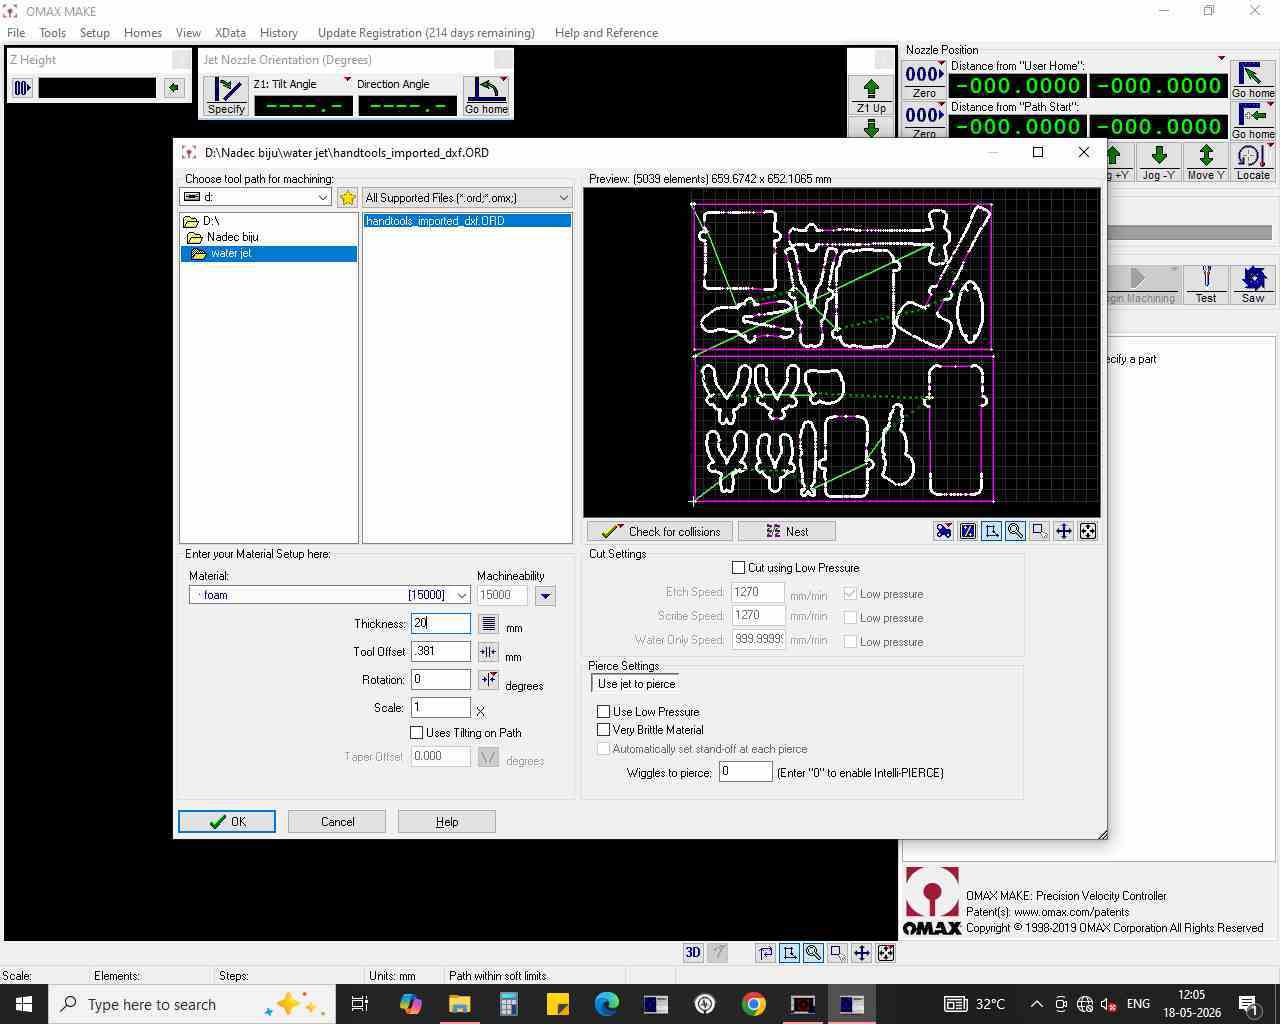
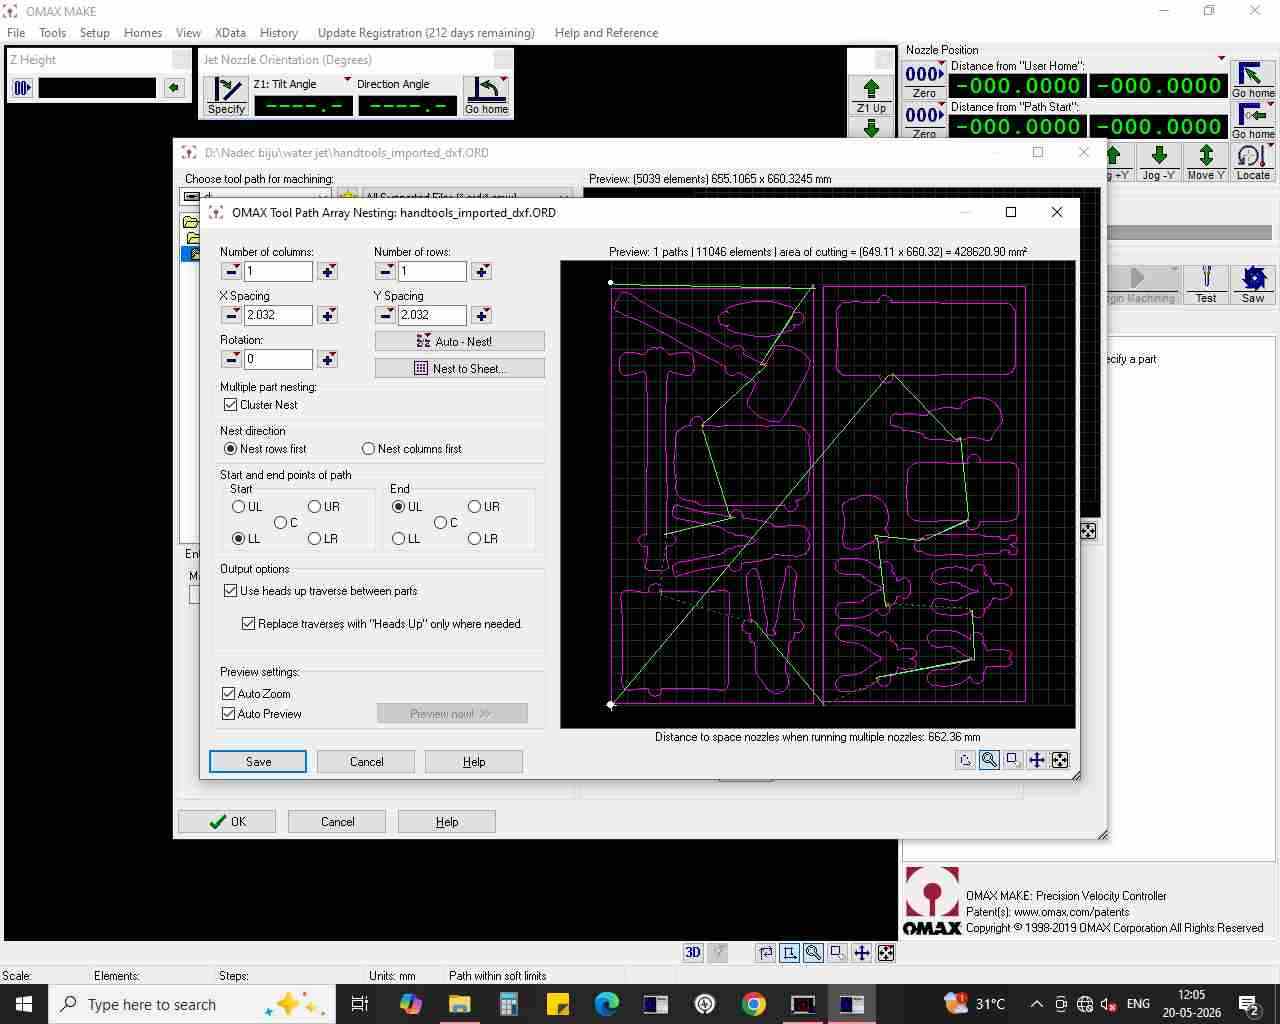
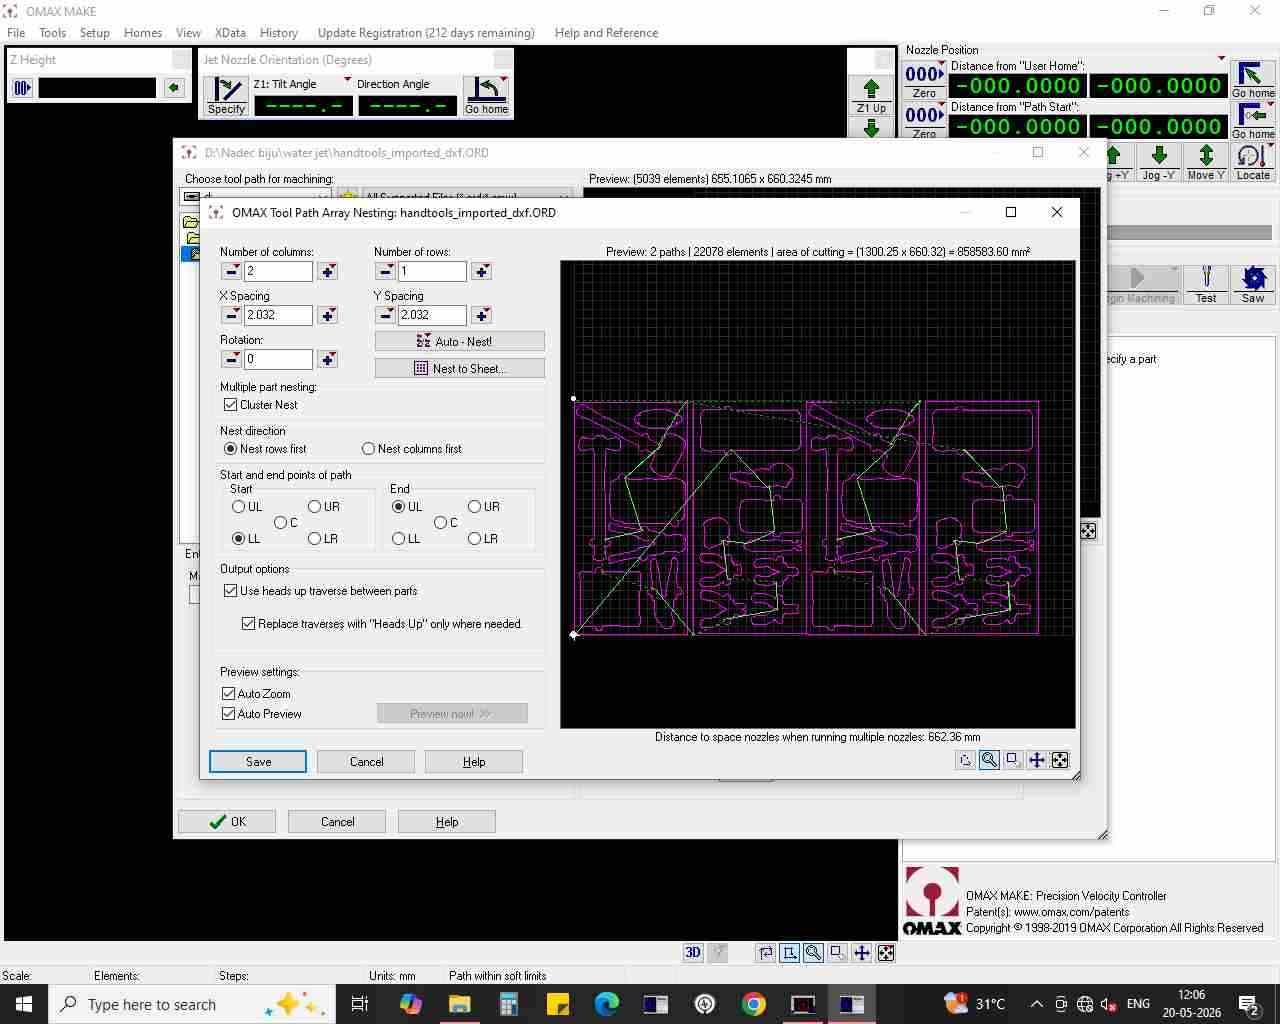
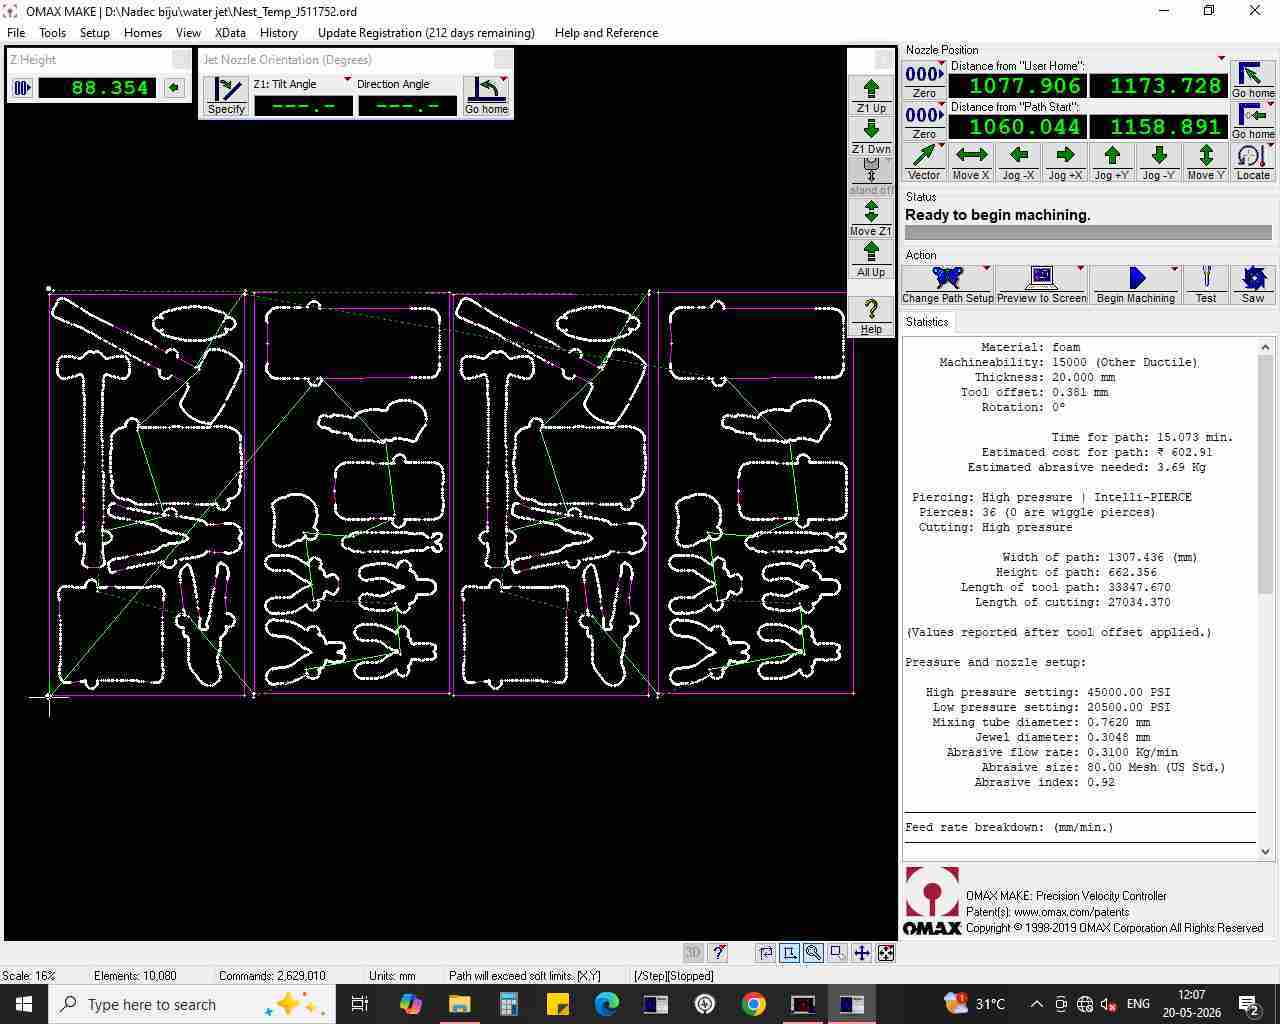
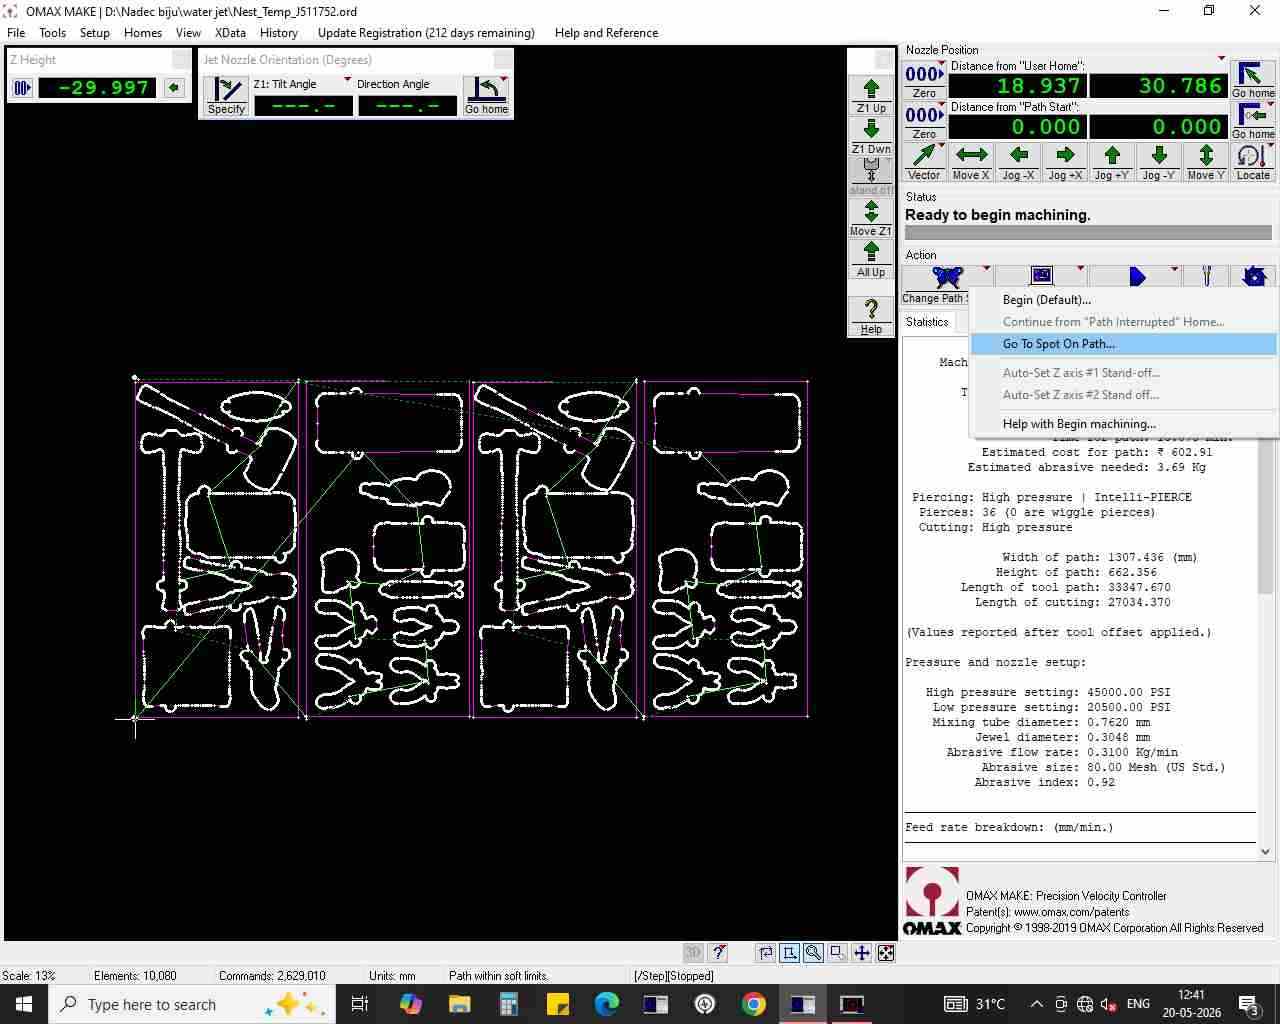
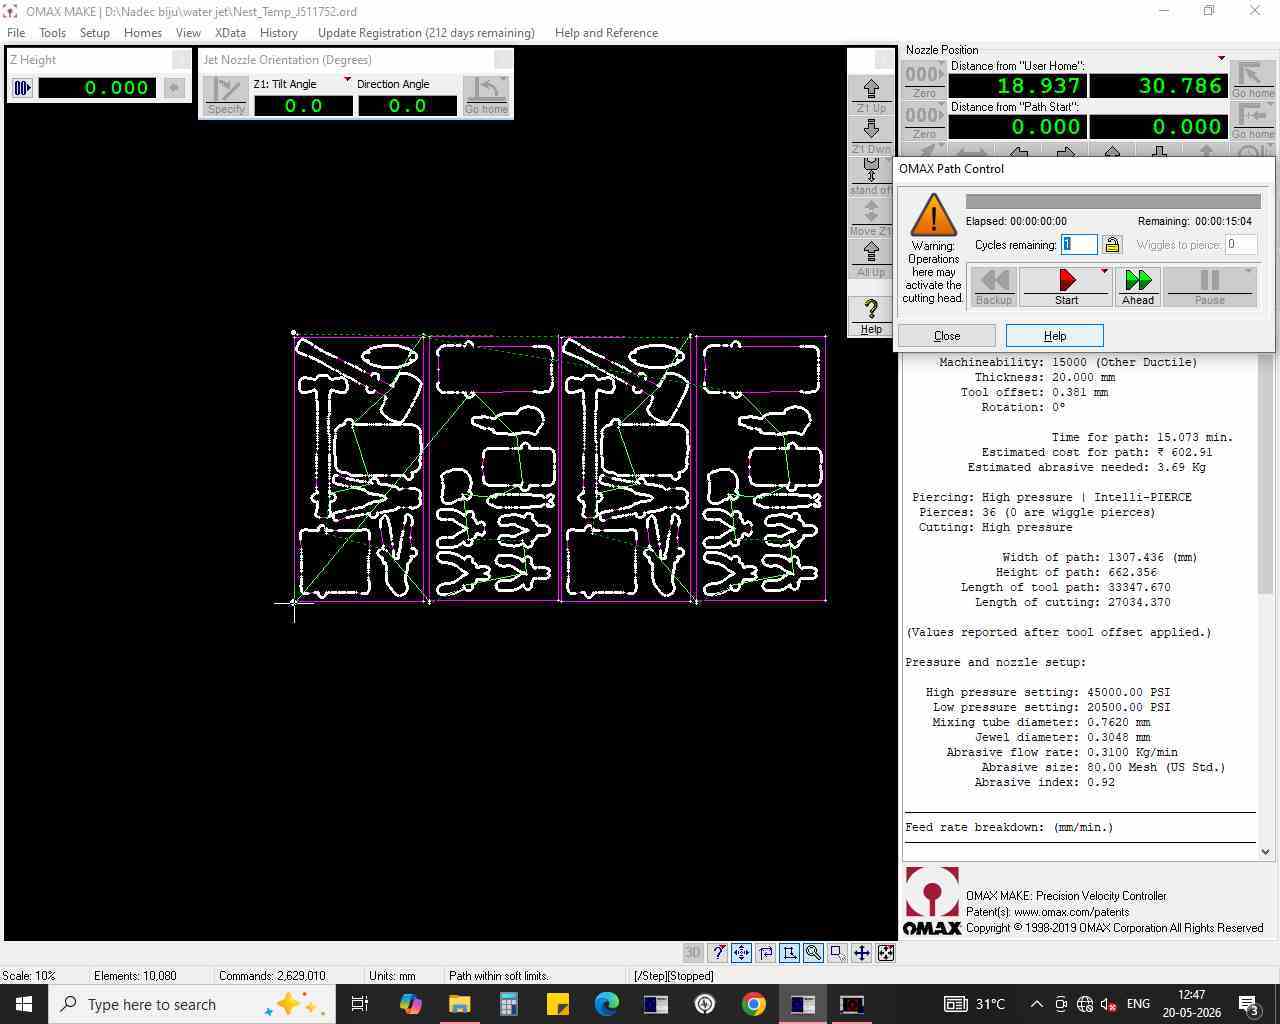
Getting the File Ready for Waterjet Cutting#
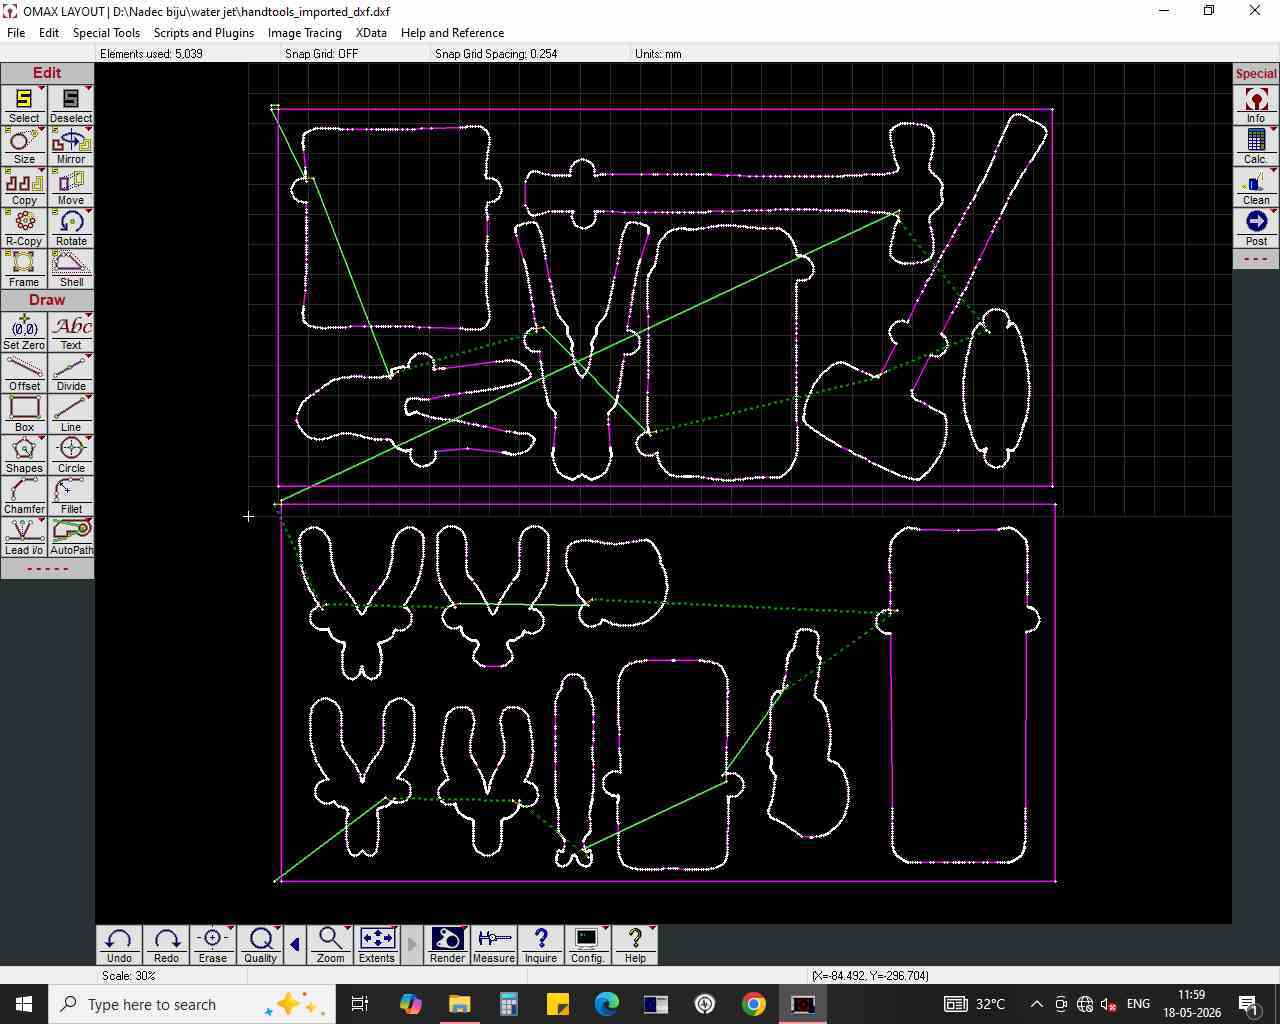
- Open the Omax Layout software and import the SVG file made with Tool Trace.

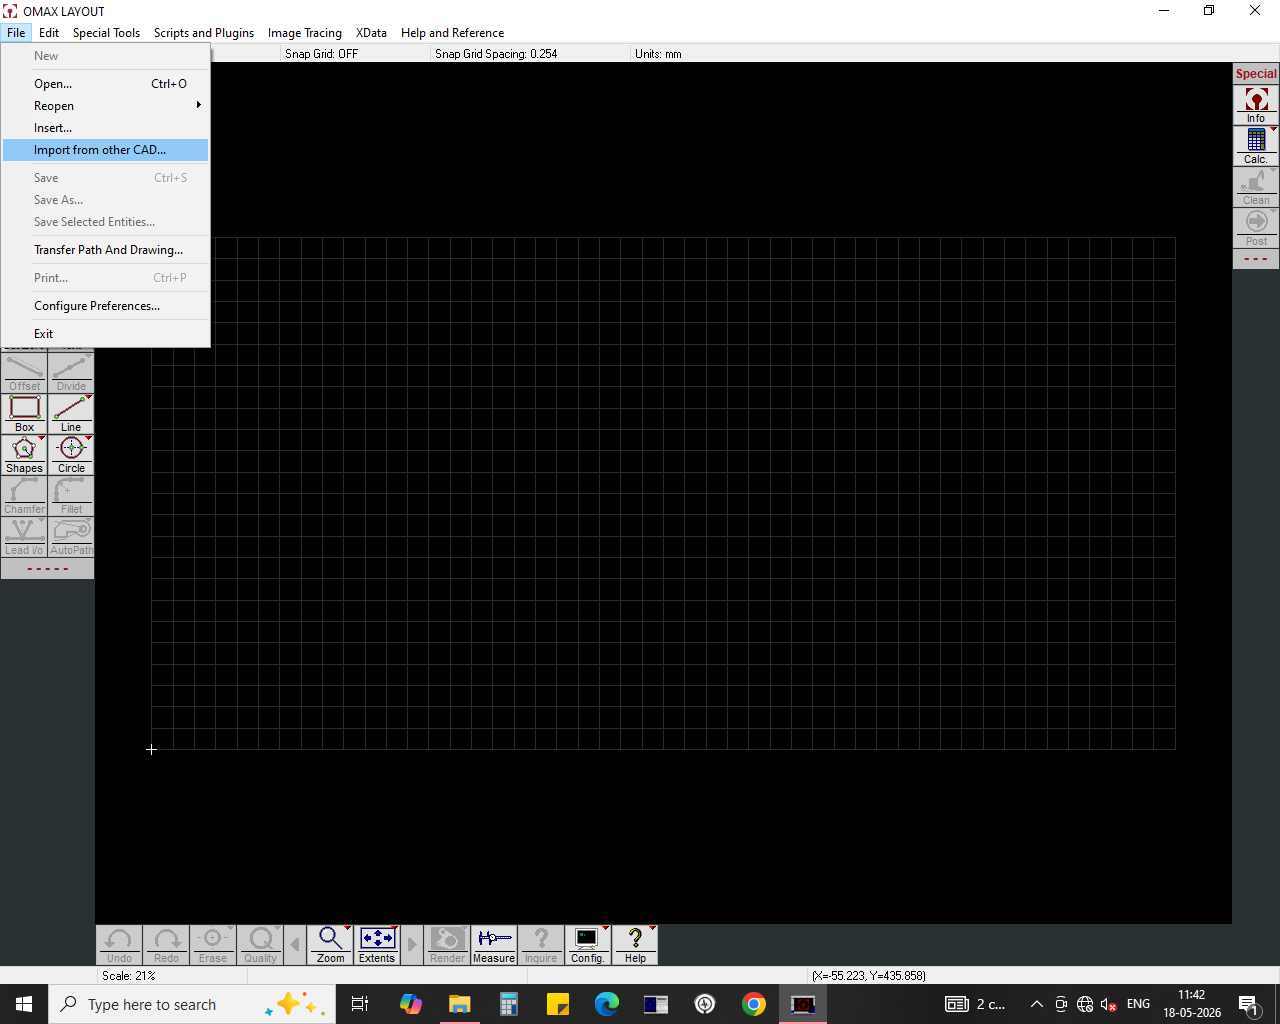
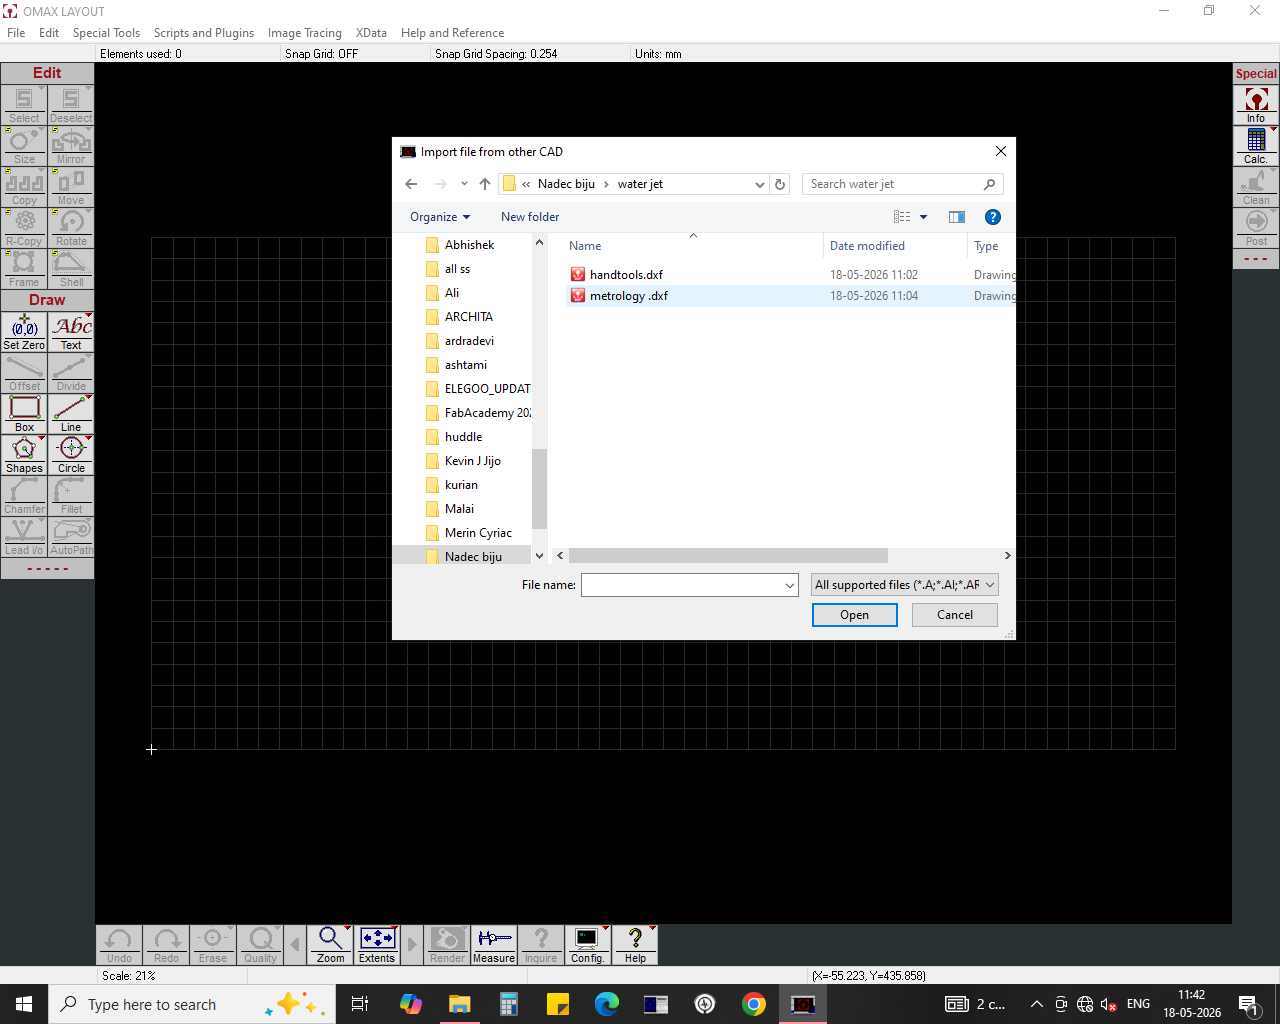
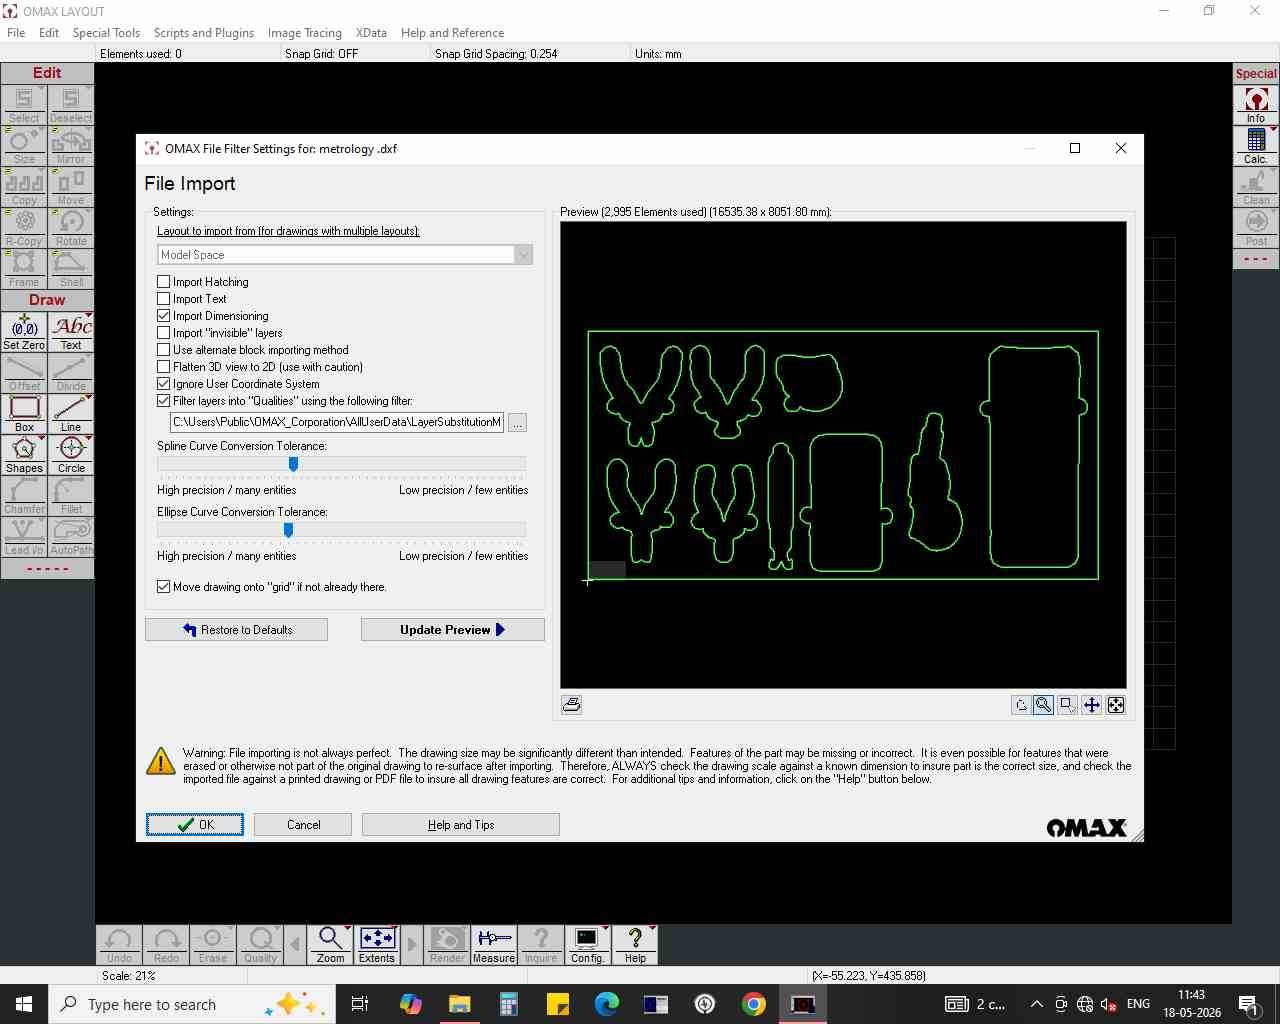
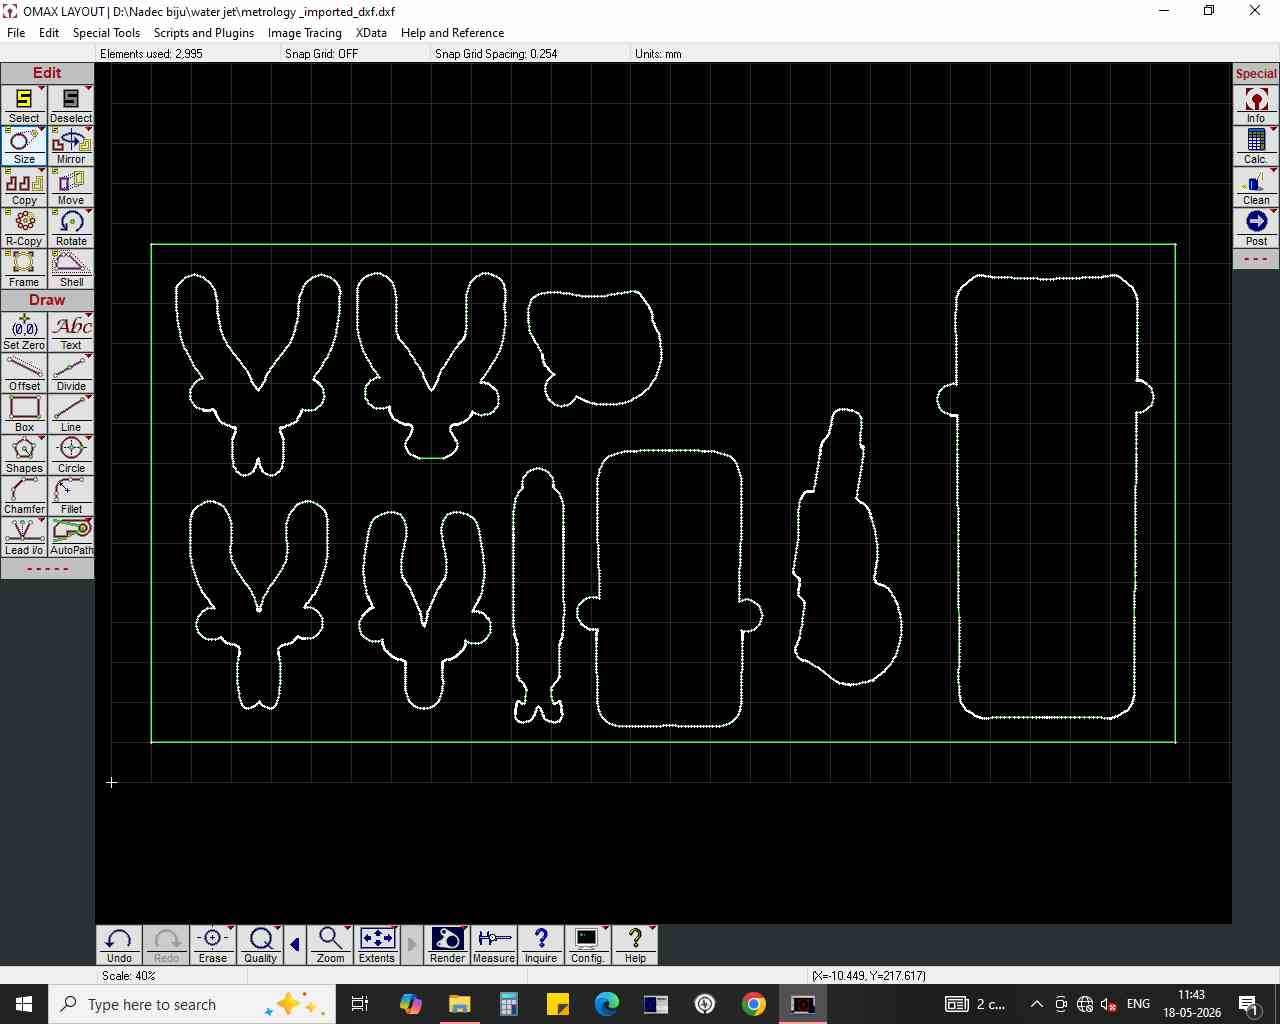
- Check the scale factor and make sure it’s set to 1.
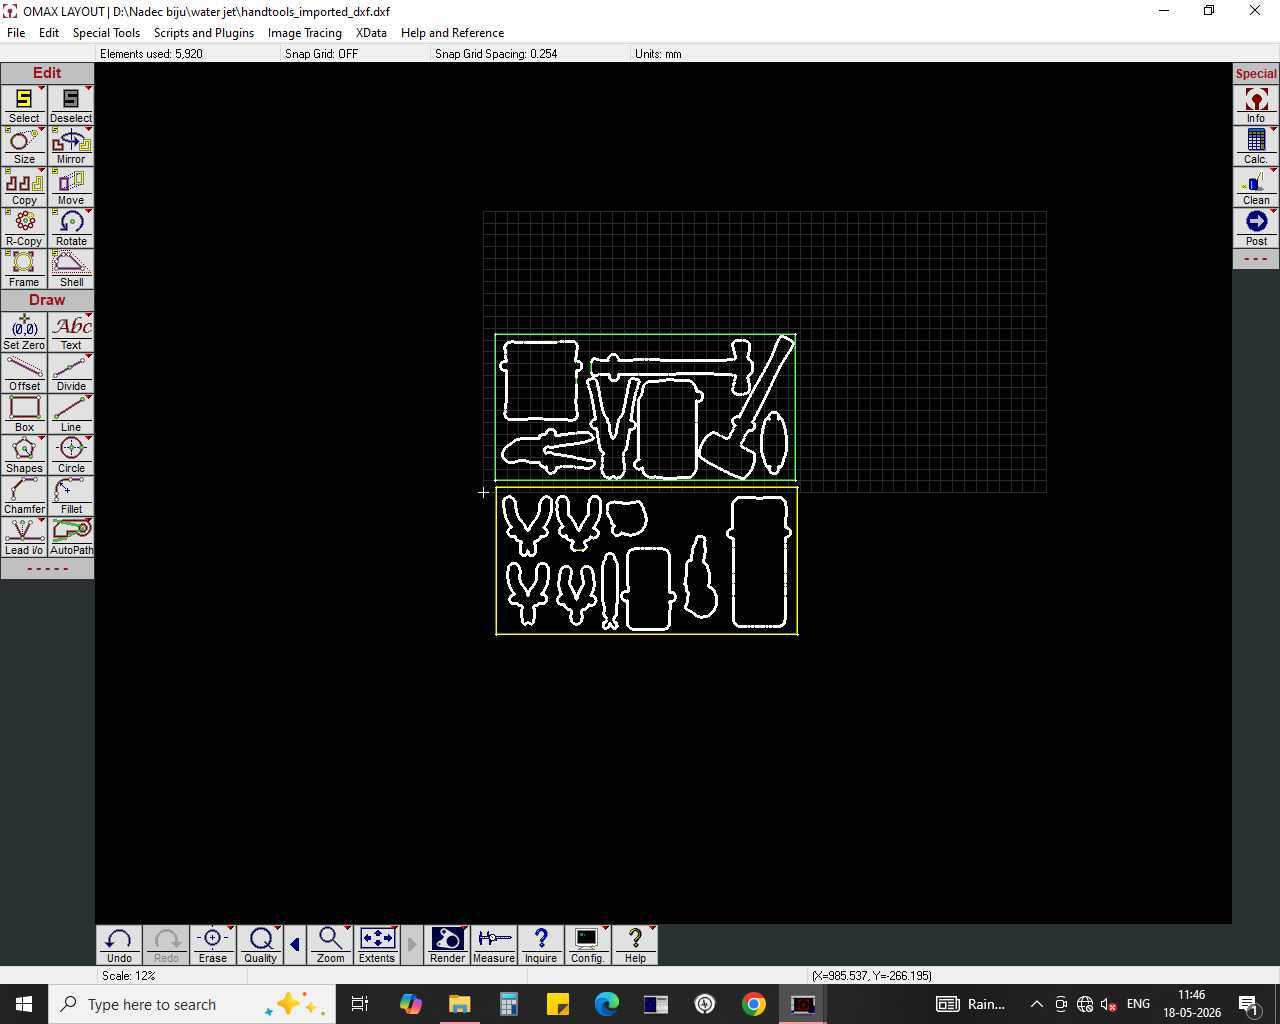
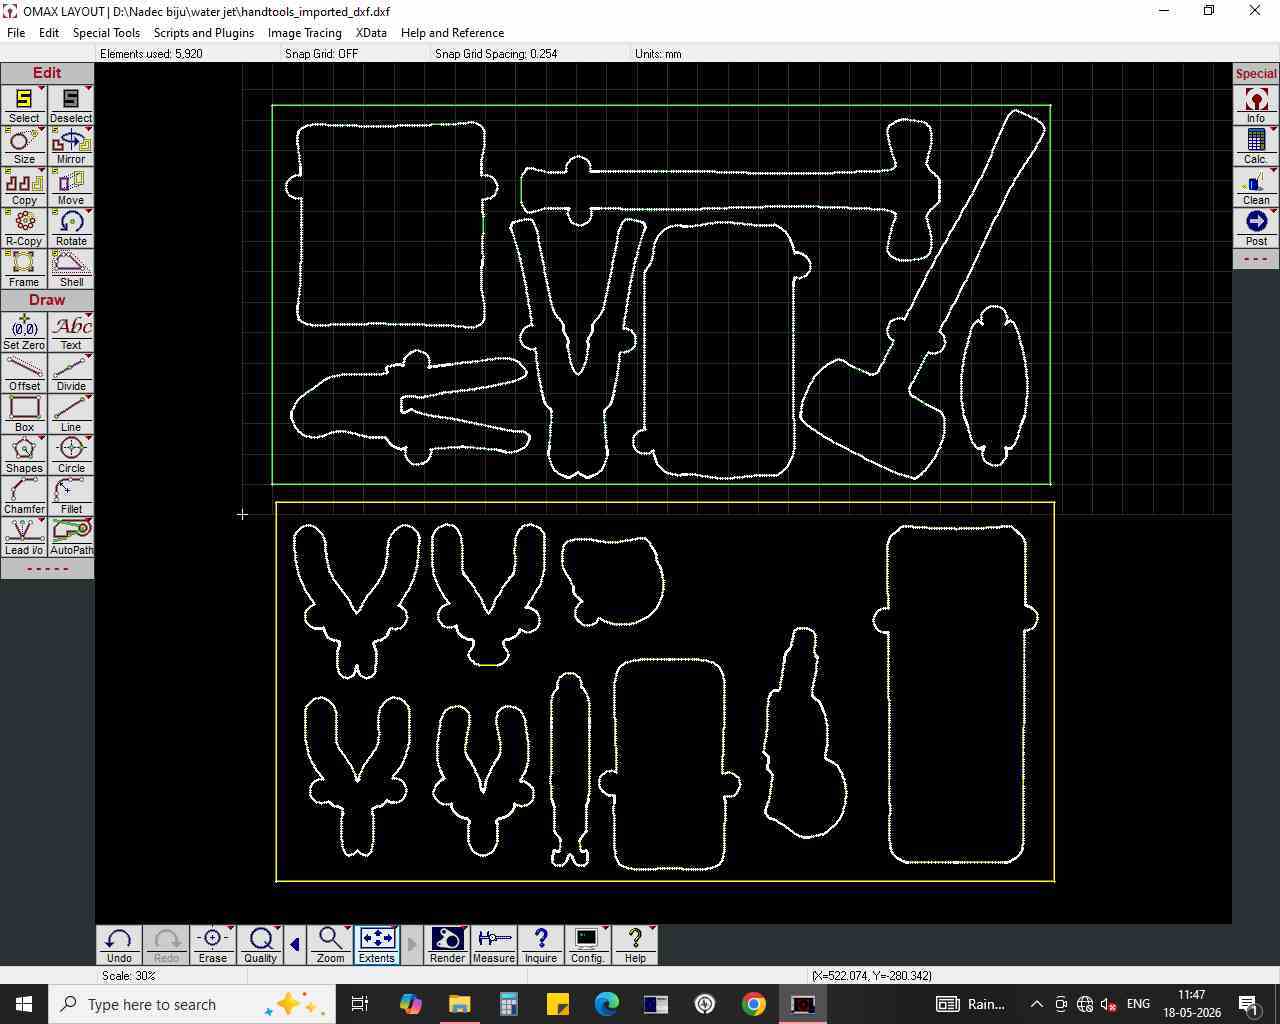

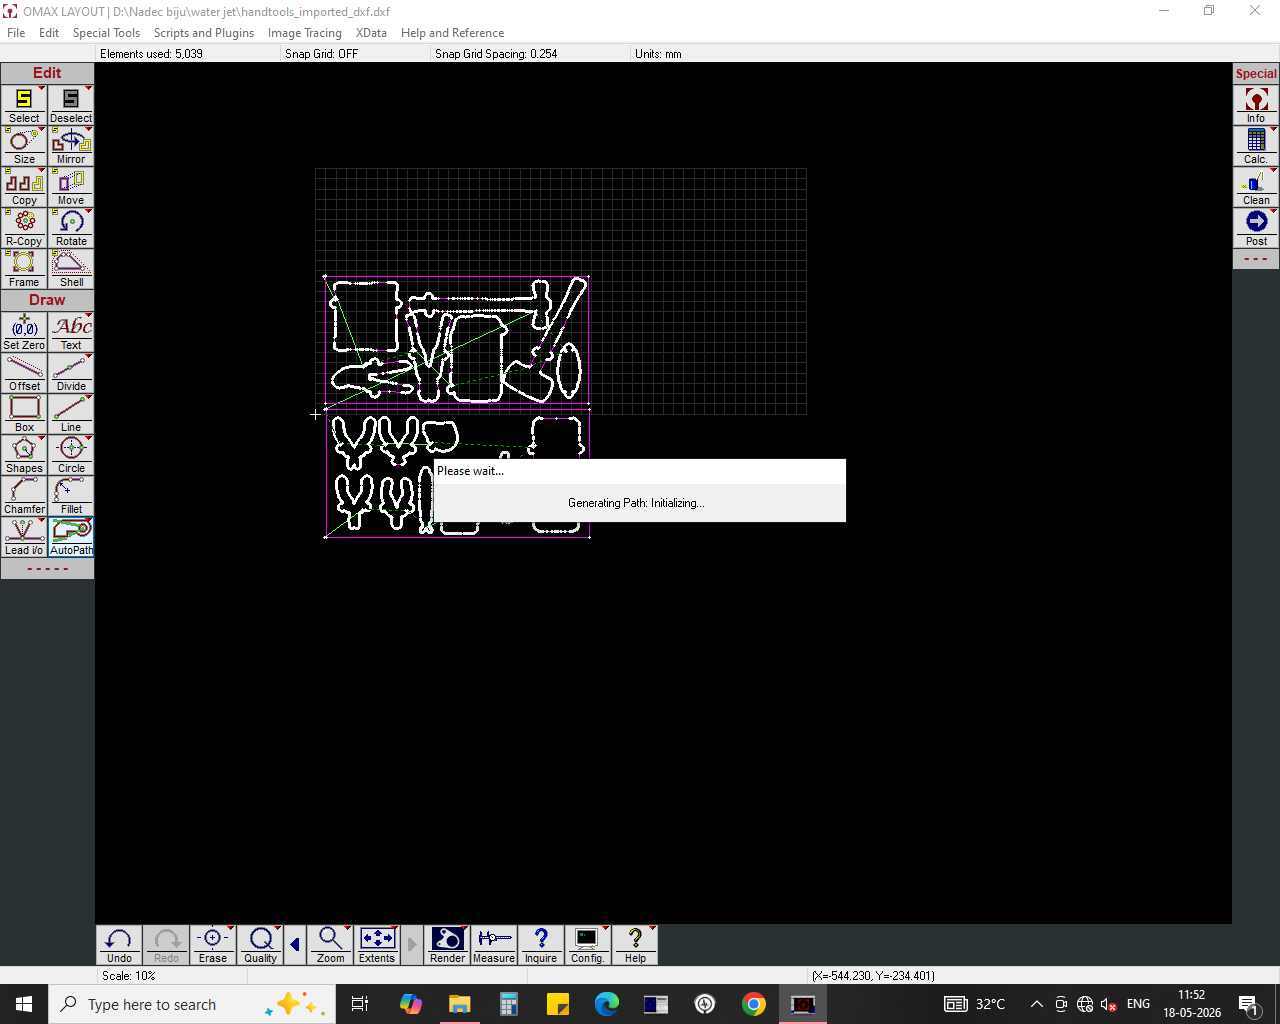
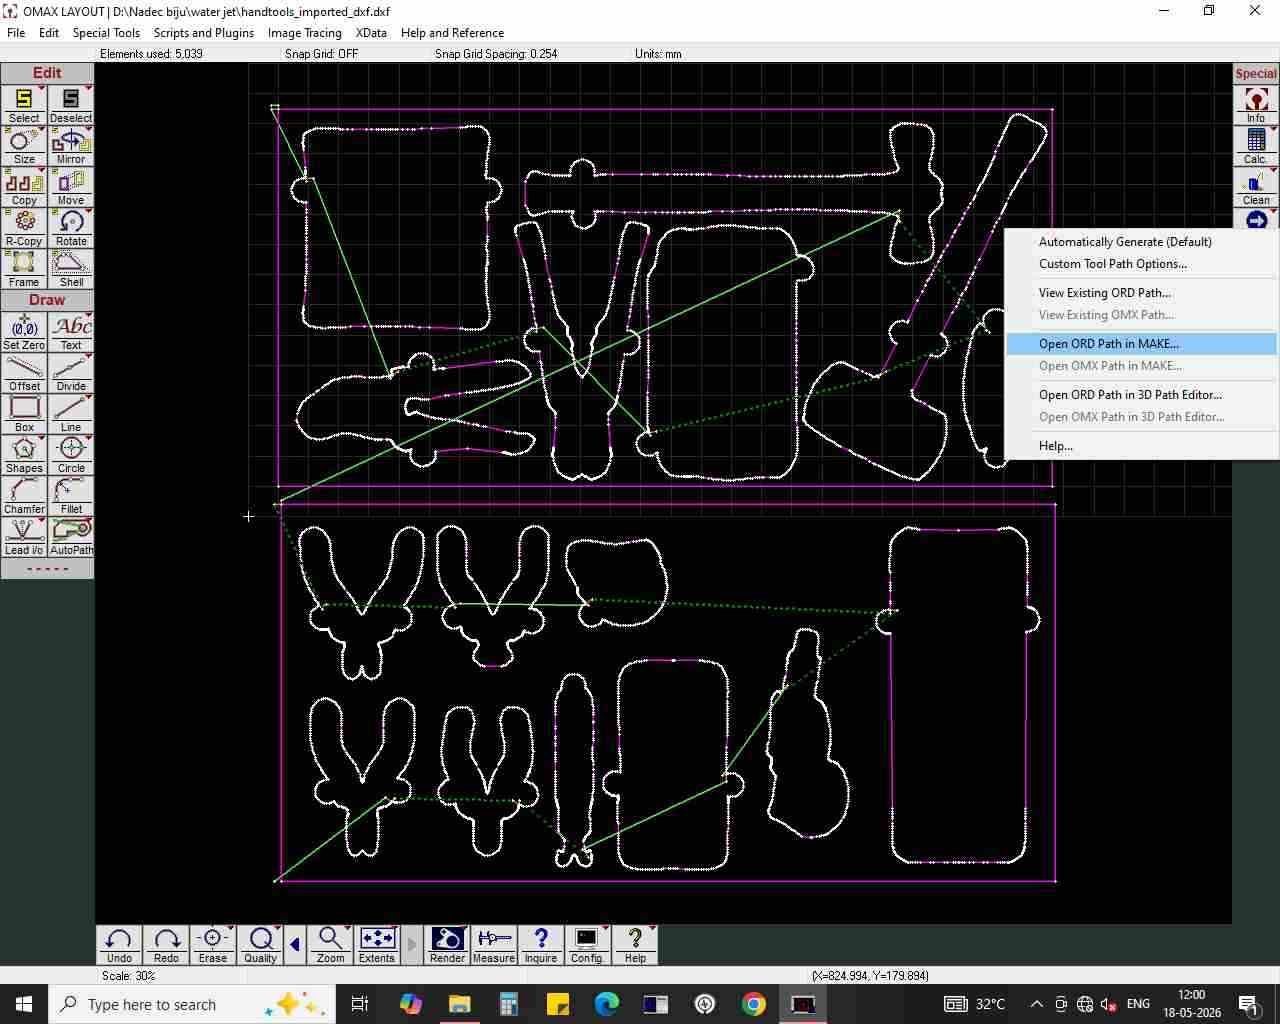
- Generate the tool path.
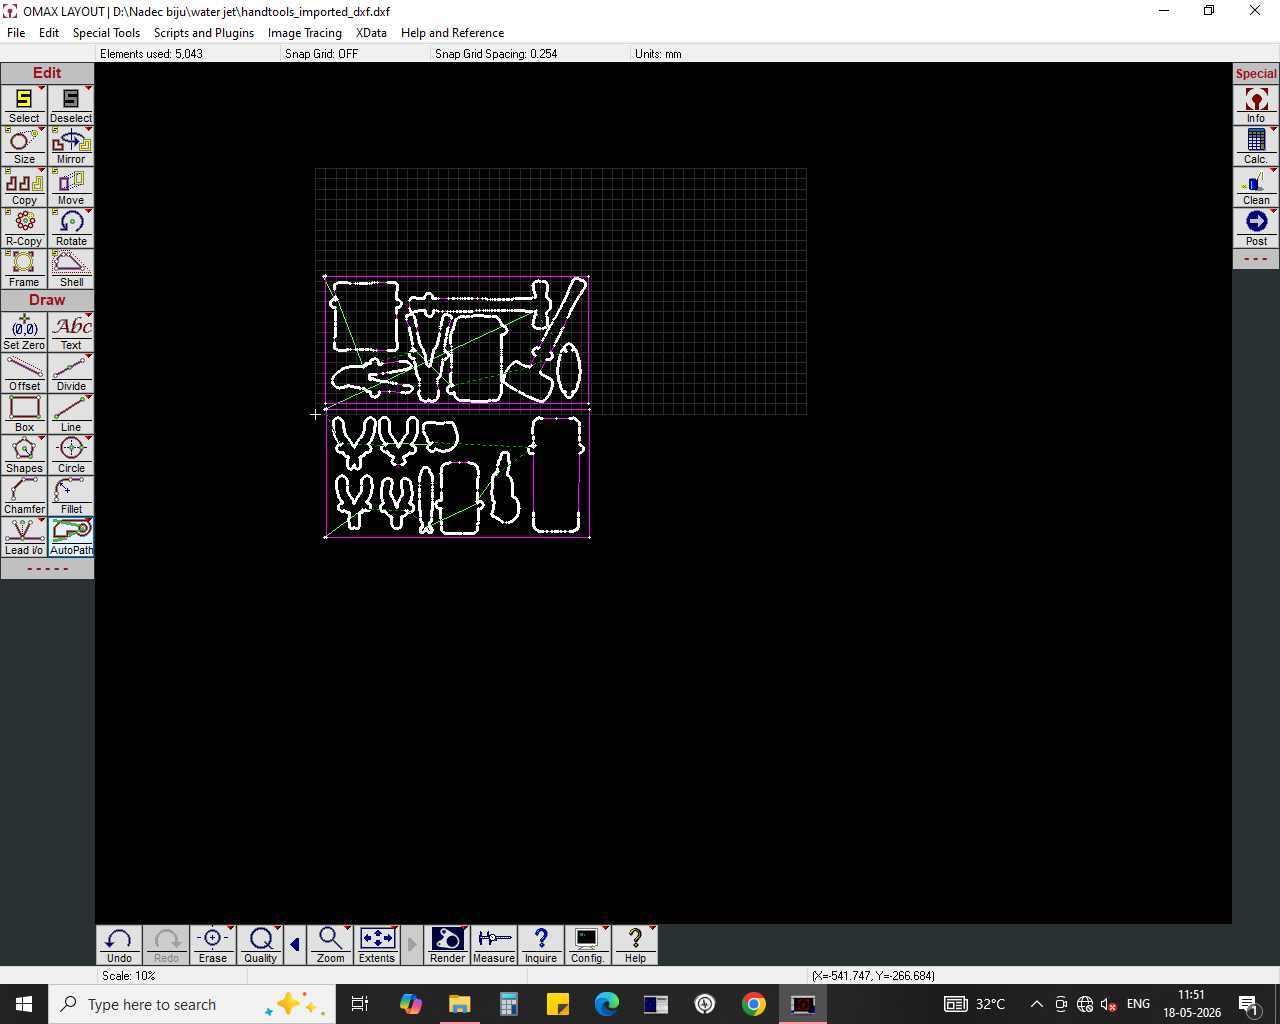
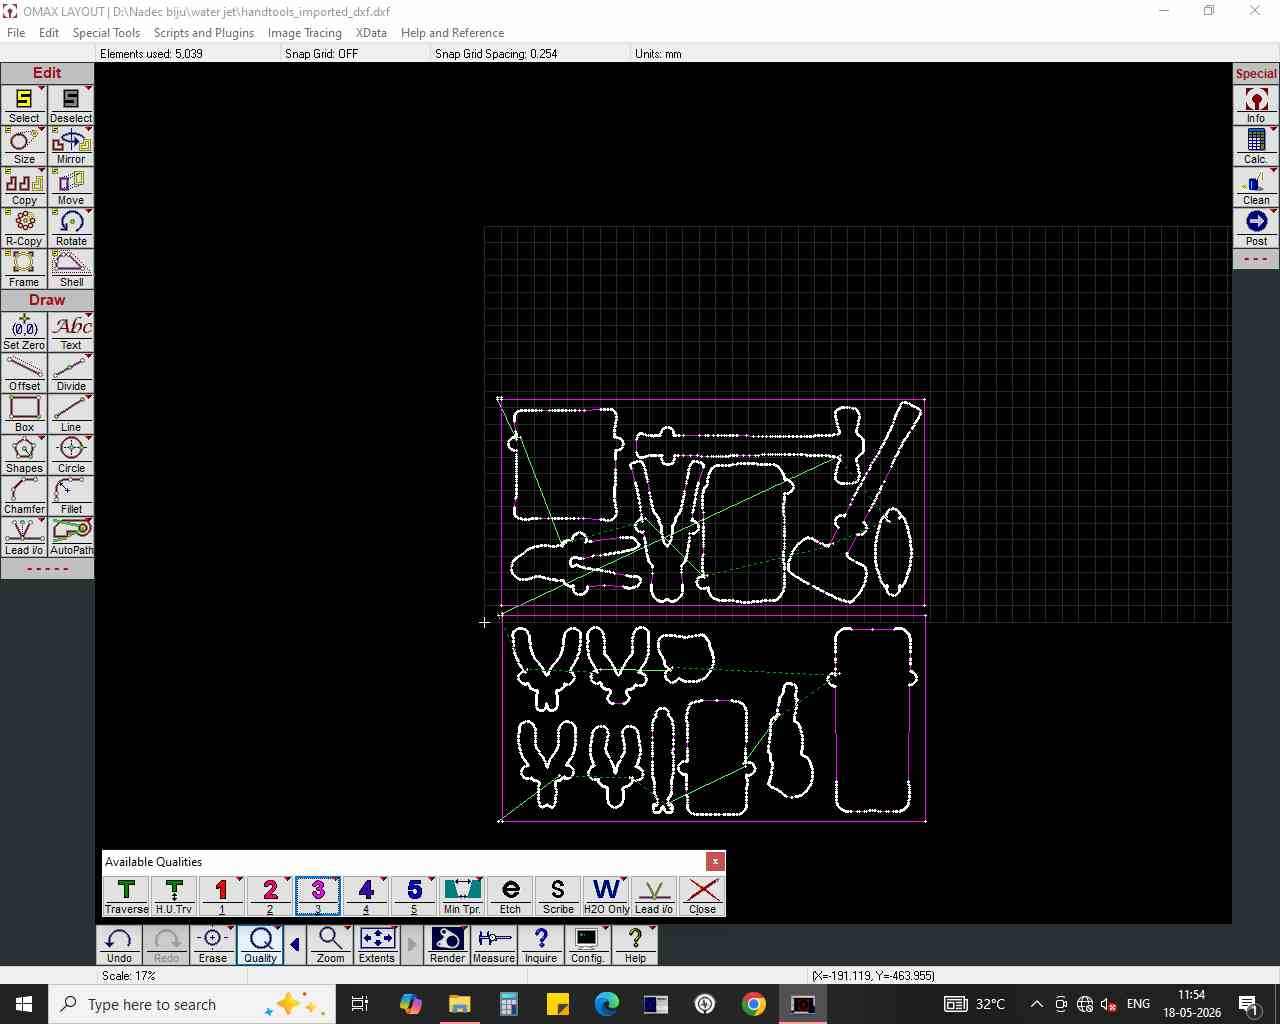
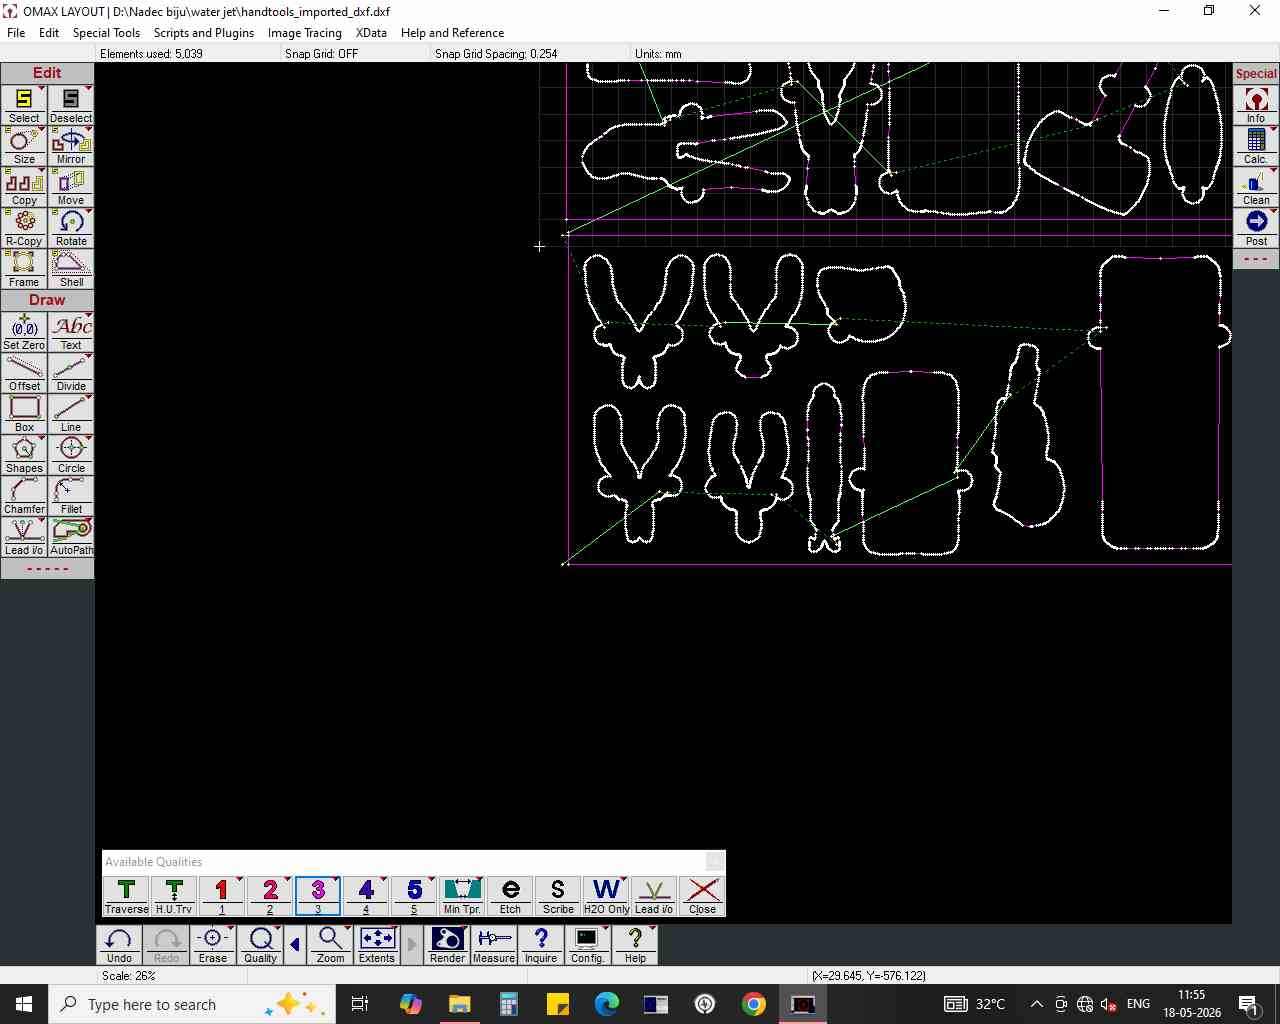
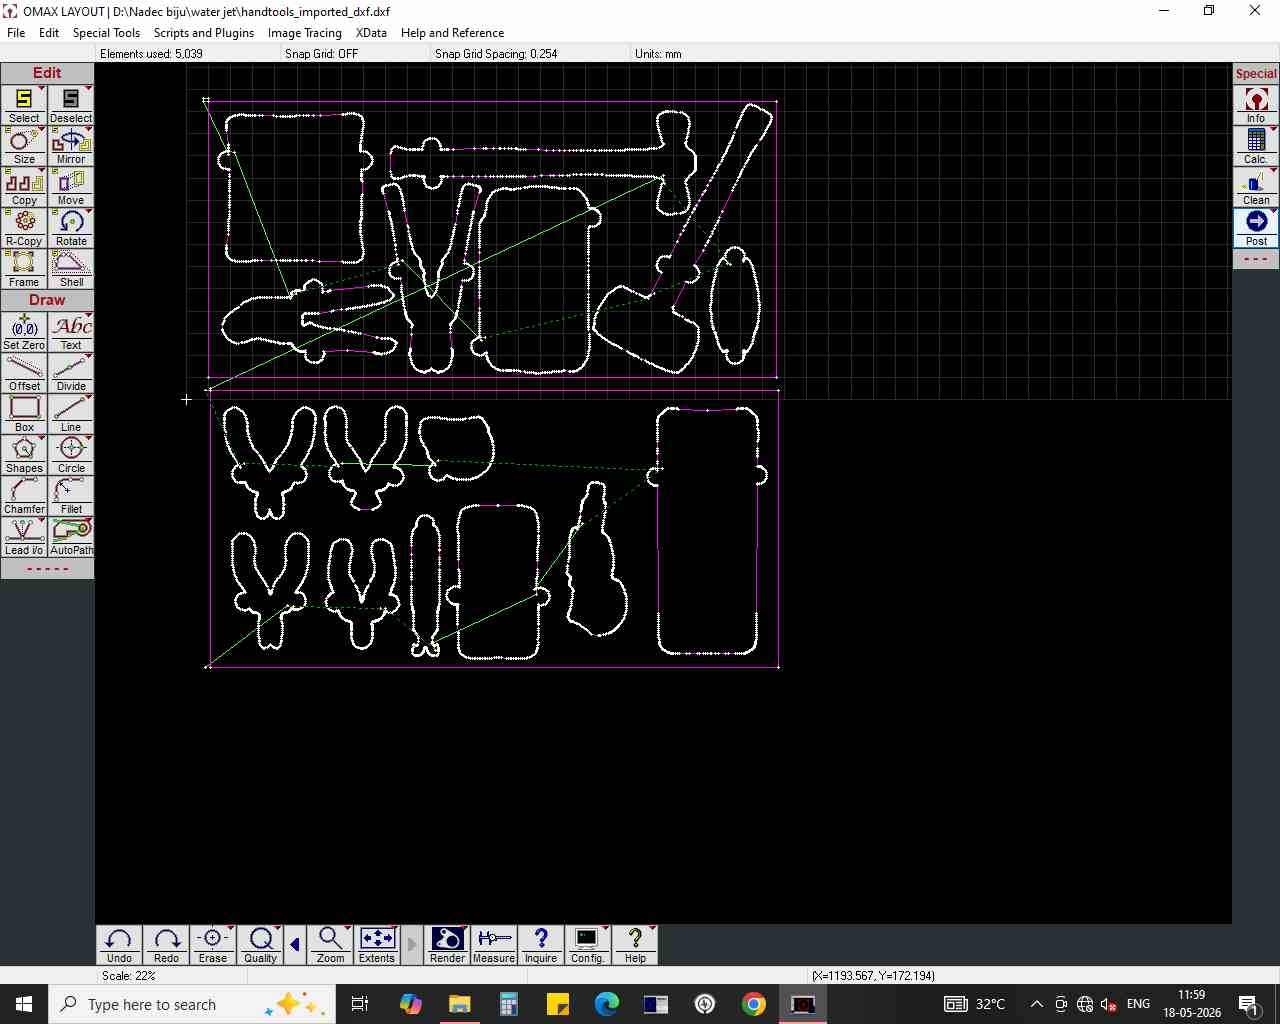
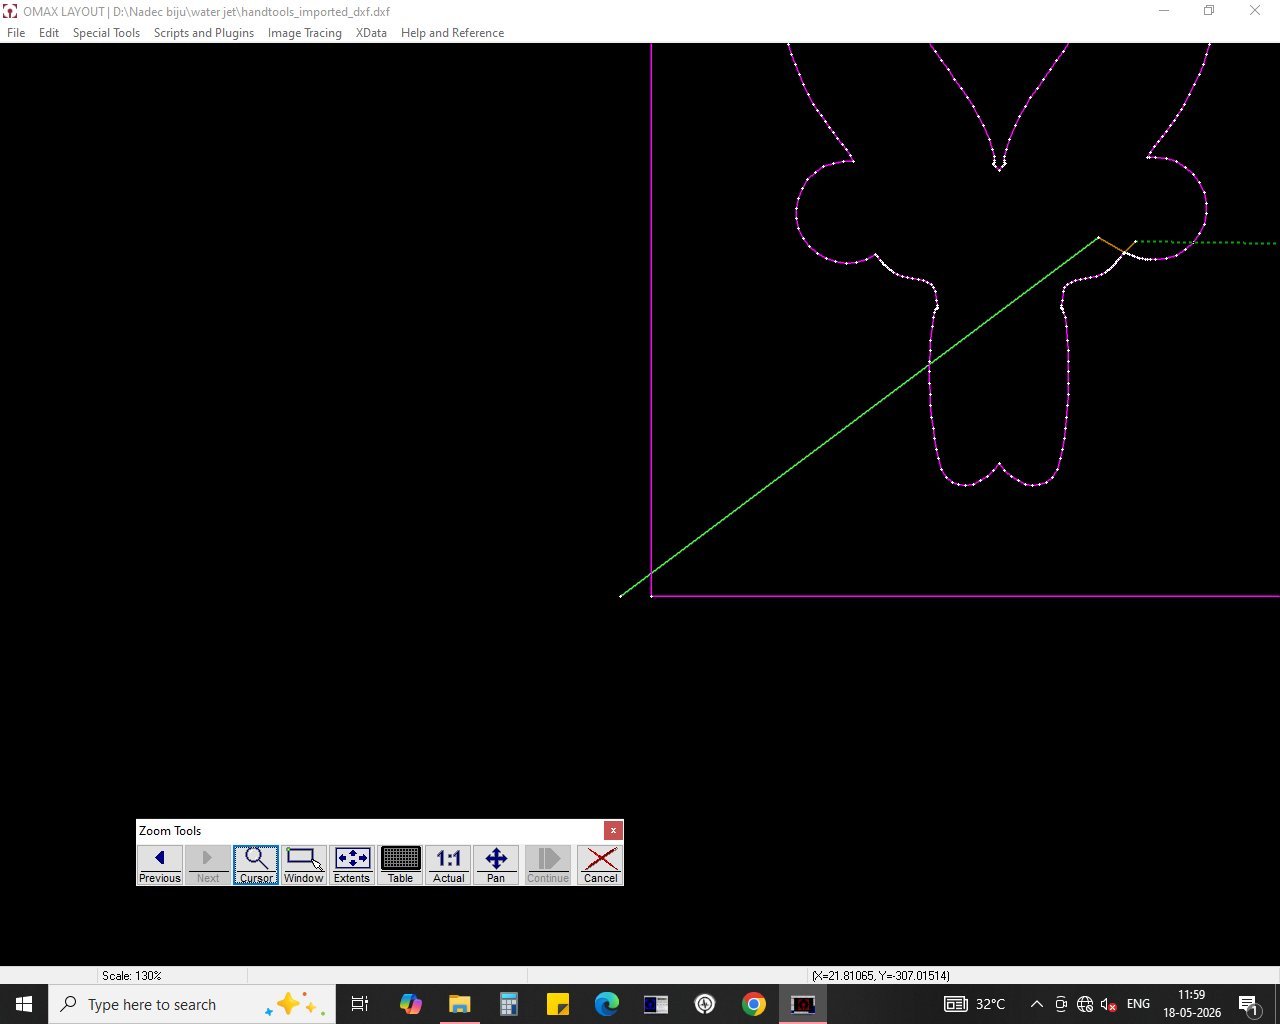
- Zoom in on the tool path and check that the pierce points line up with the right spots on the foam.
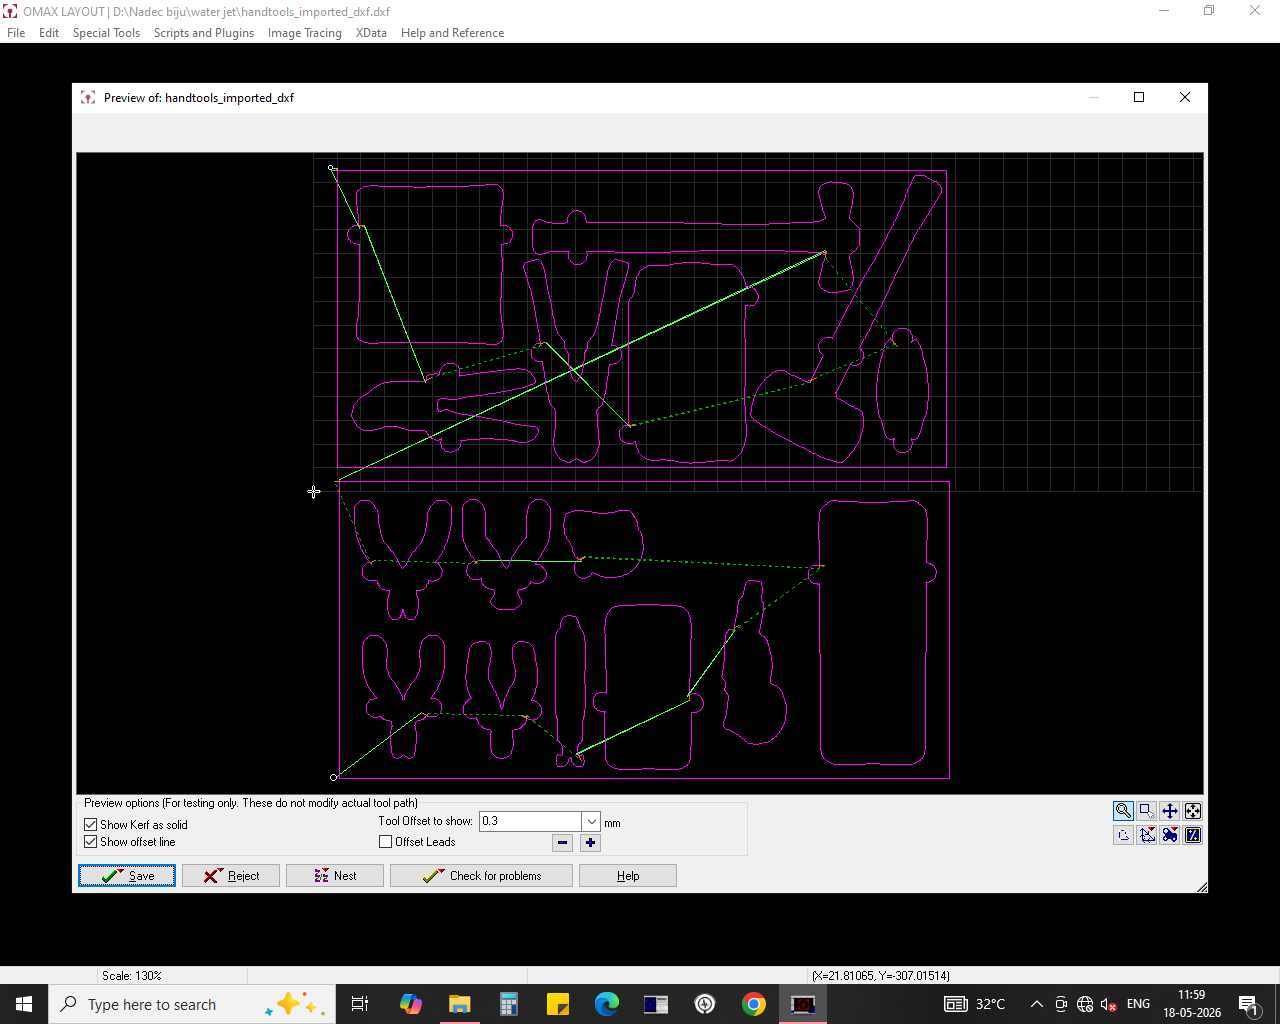
- Export the tool path so it’s ready for the final cut.
- Pick the material type and thickness for the cut.
- Use the built-in nesting feature to arrange copies of each cutout shape so they fit neatly together.
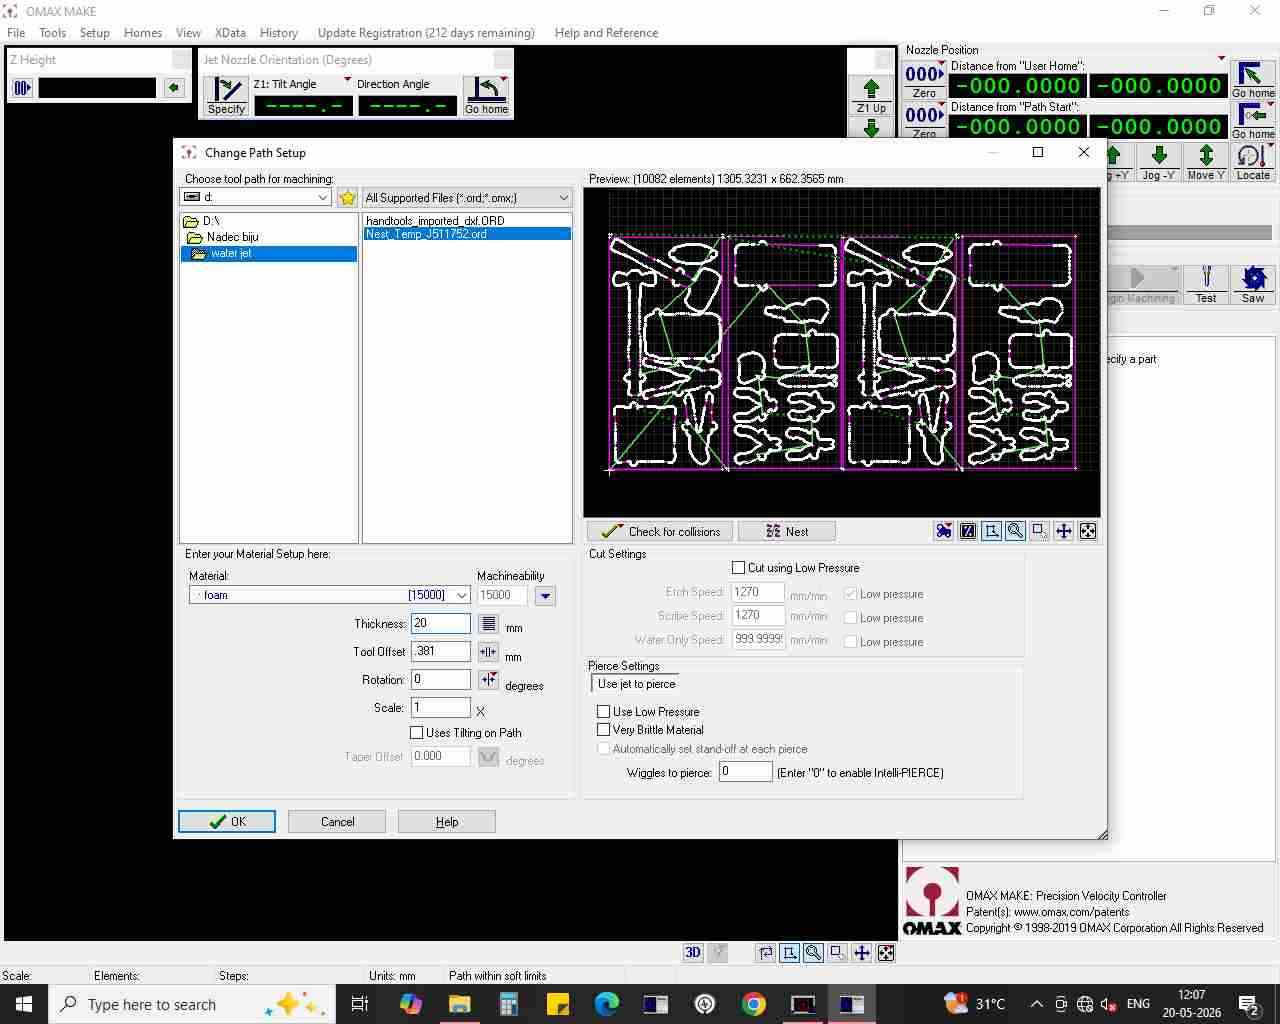
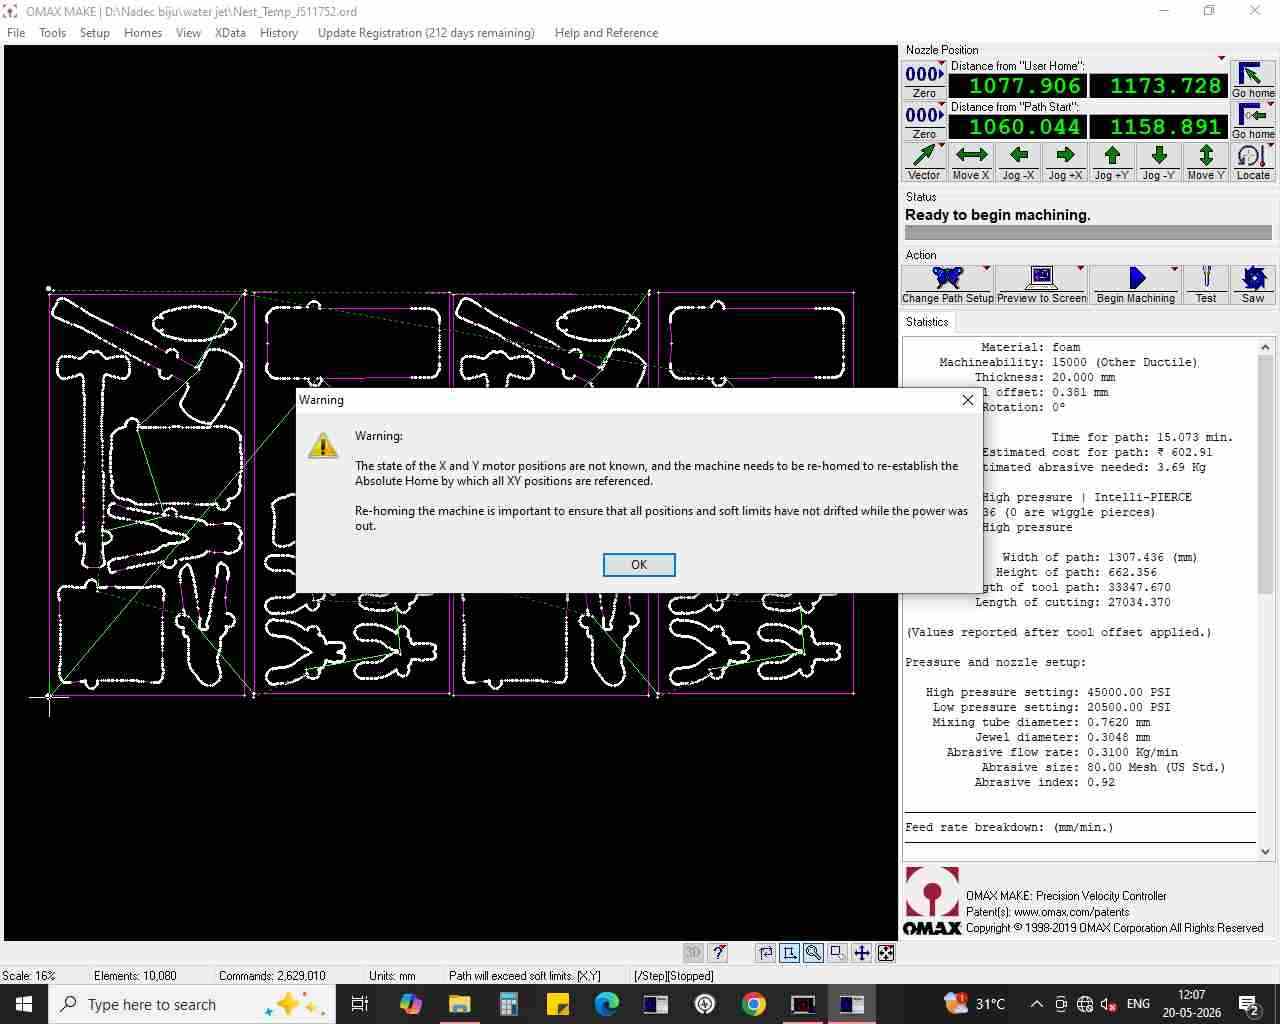

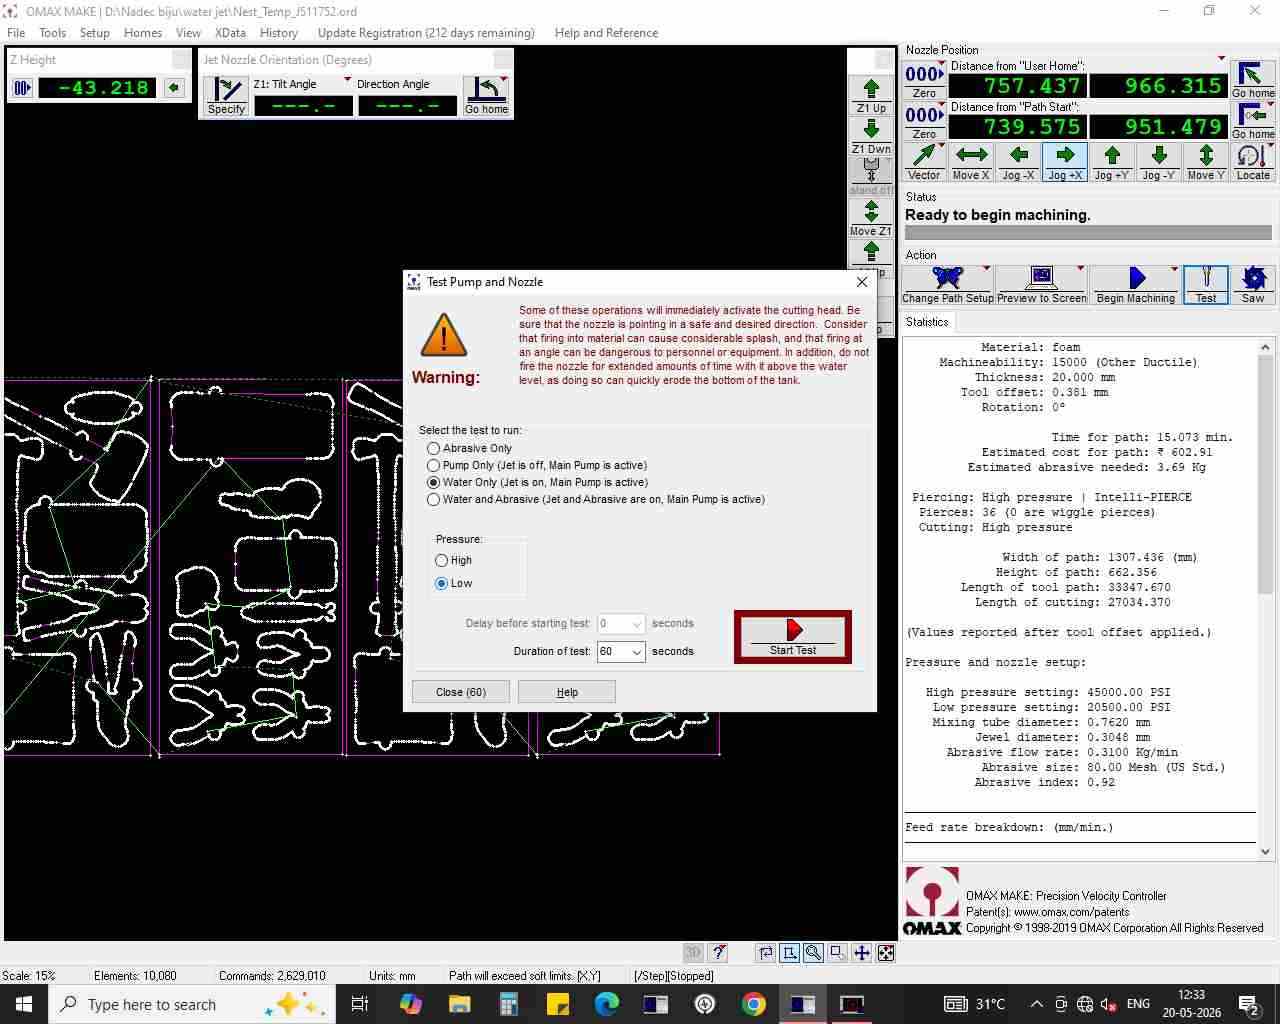
- Try a test cut to check the settings and the quality of the cut.

- Set the machine to low pressure for the test cut.
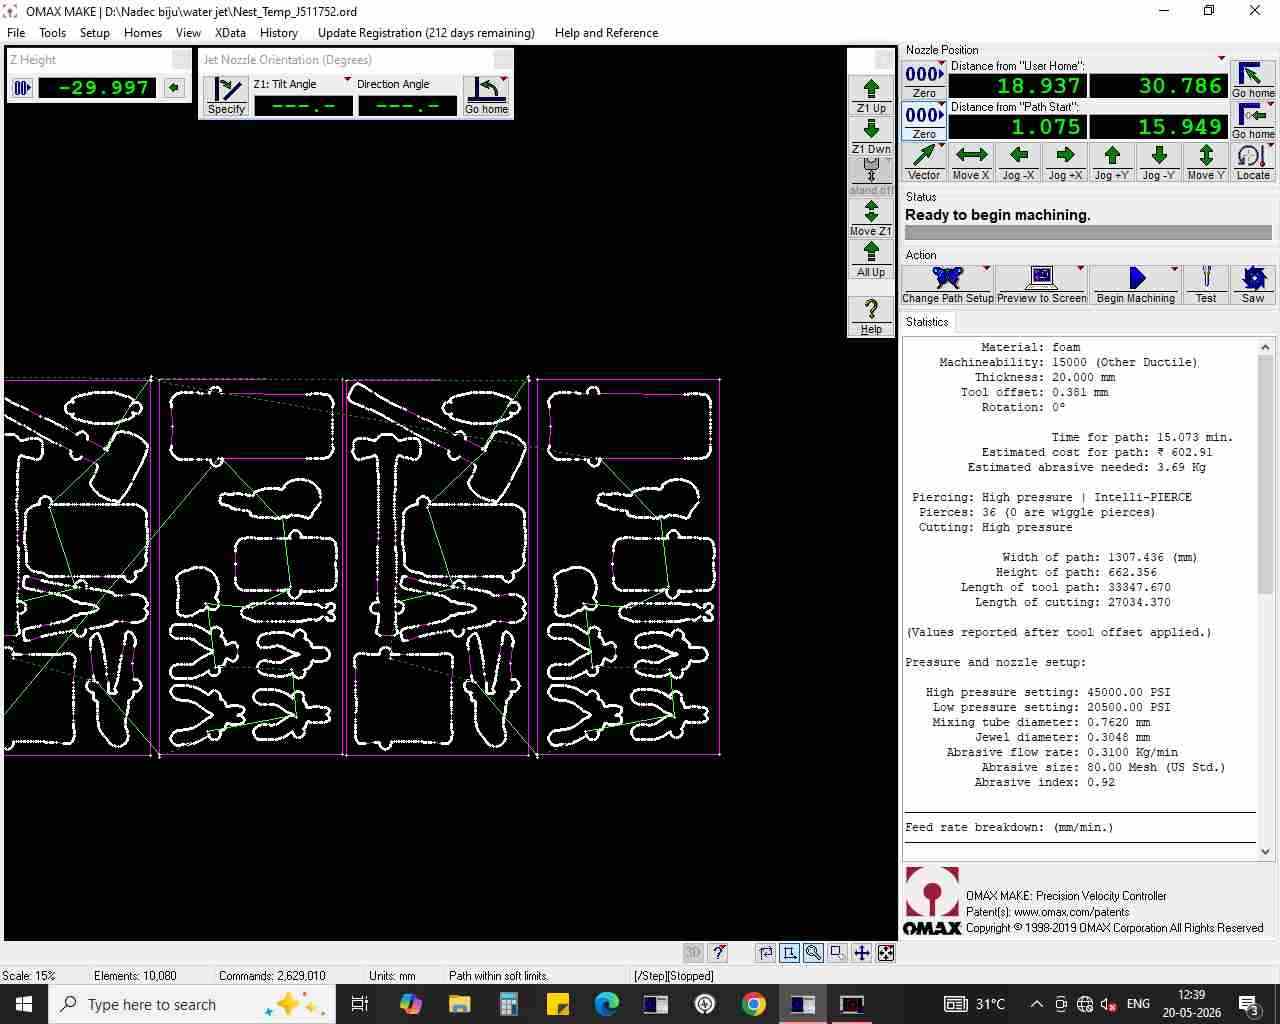
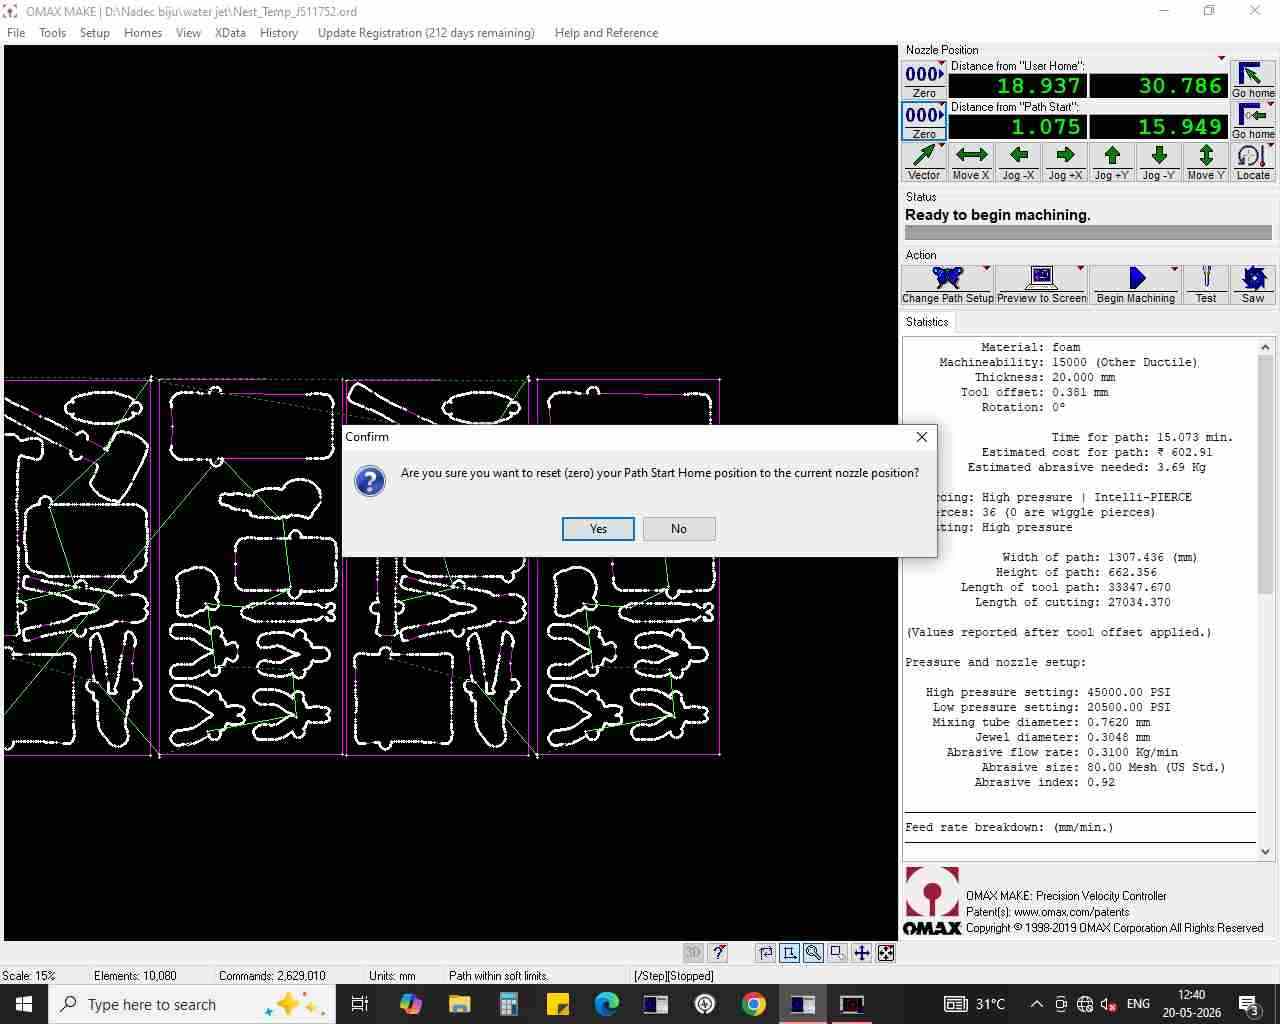

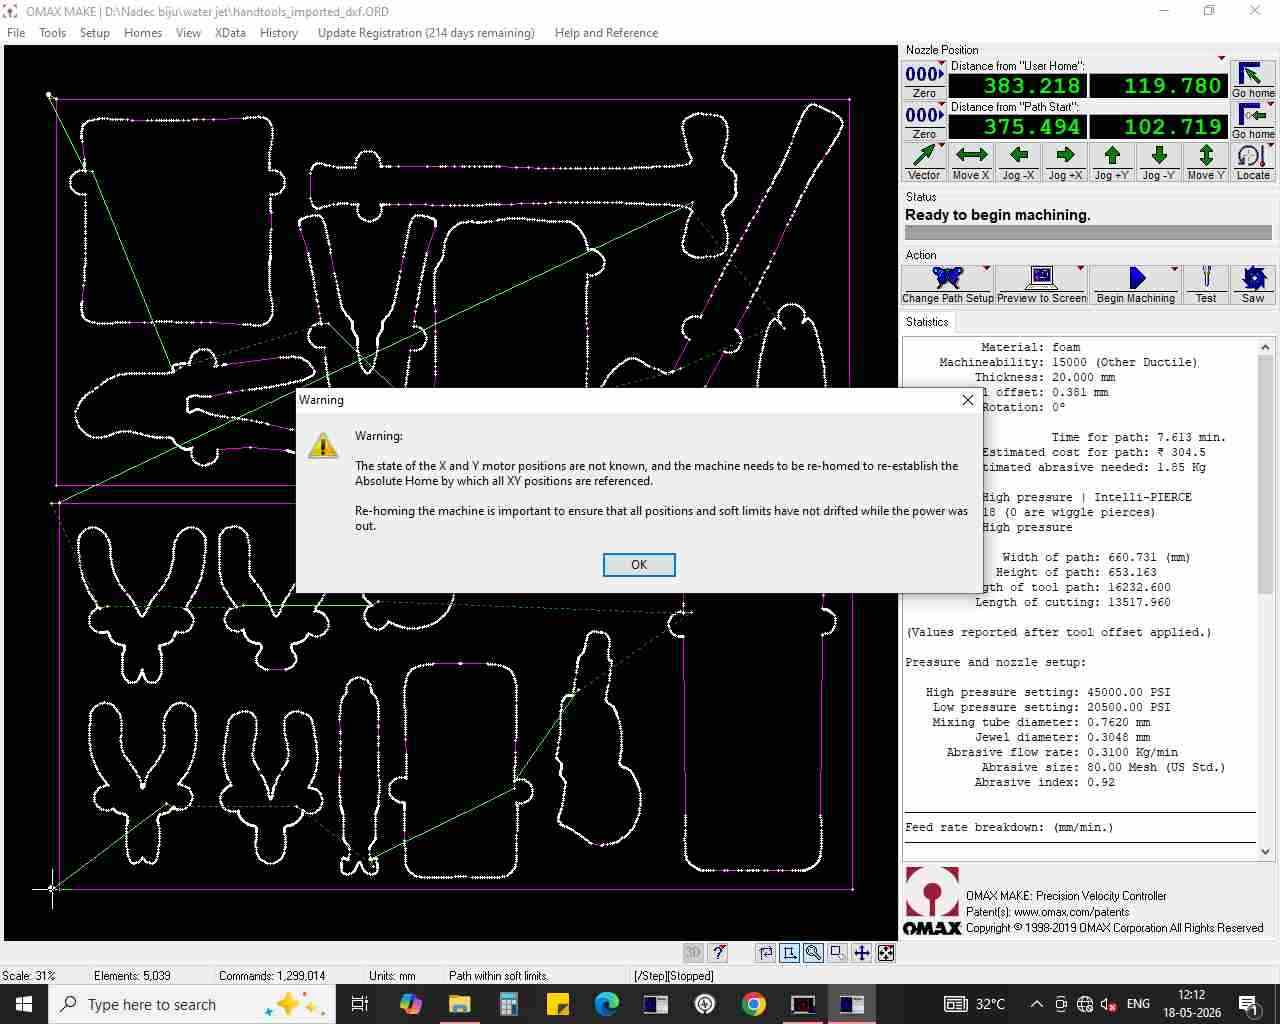
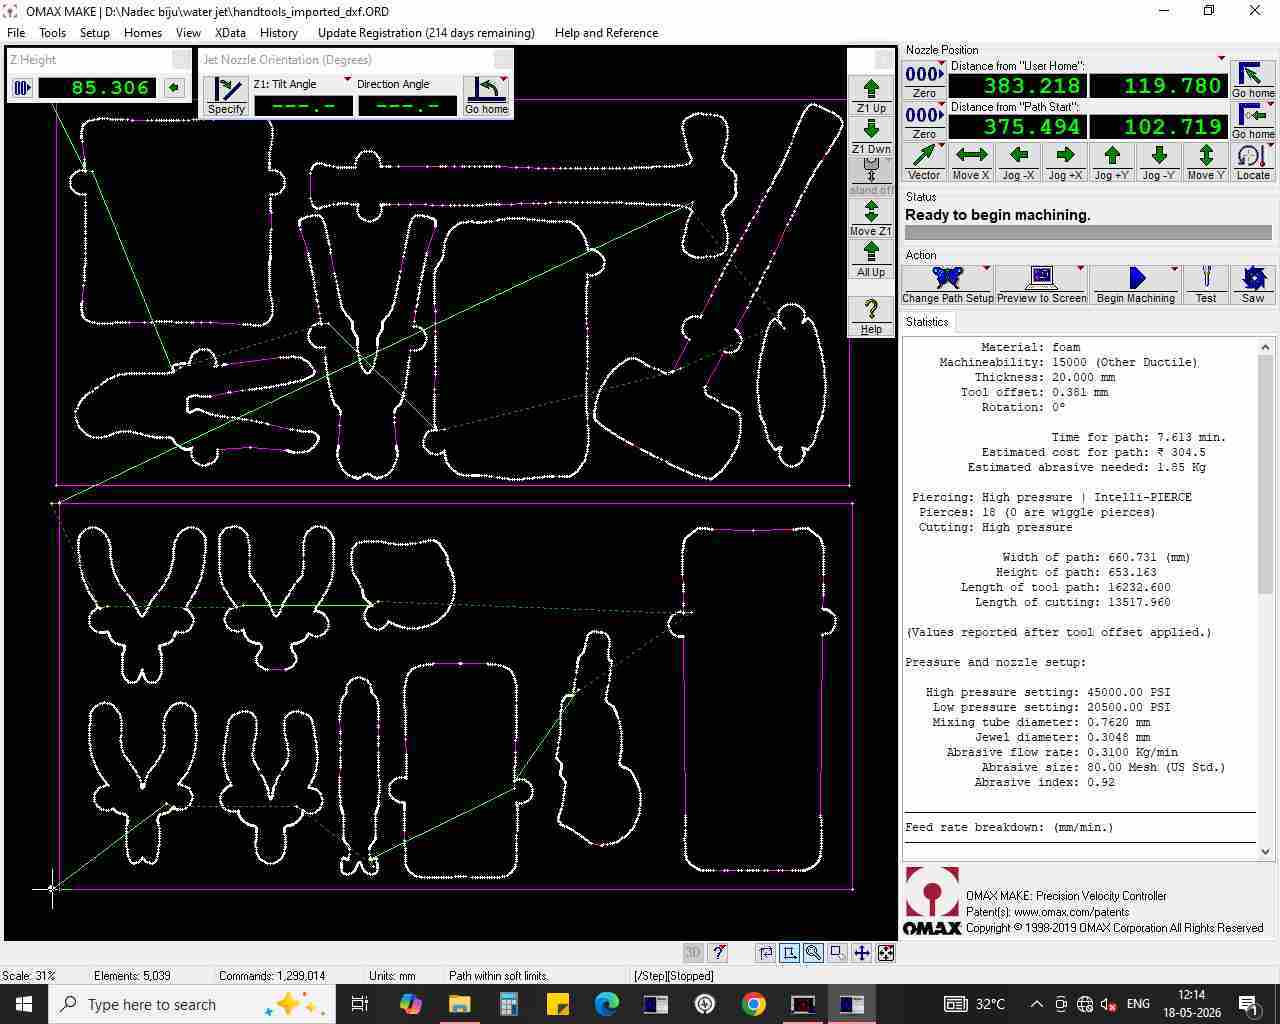
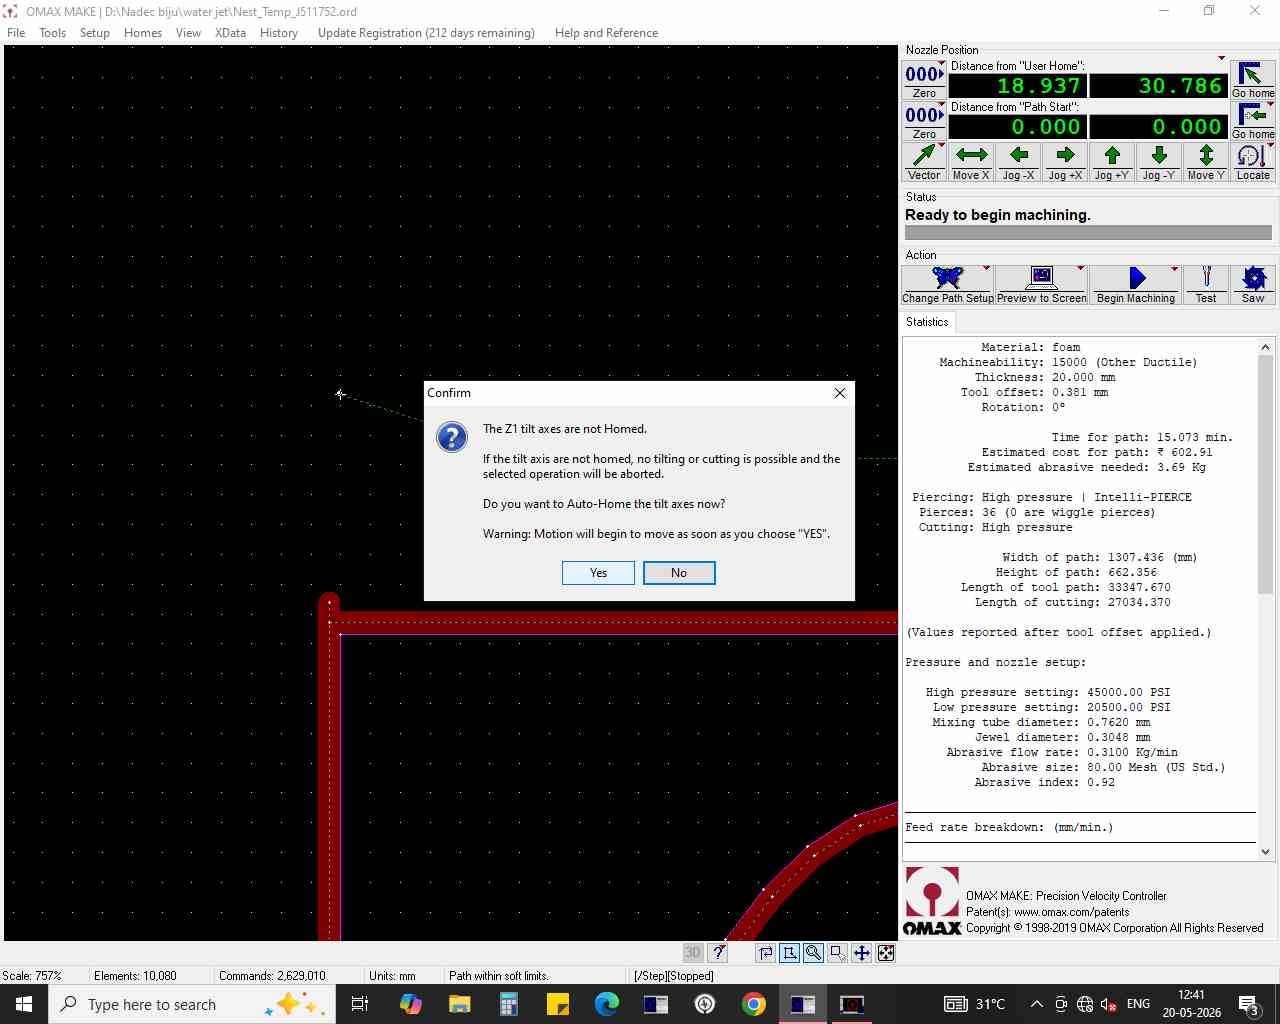
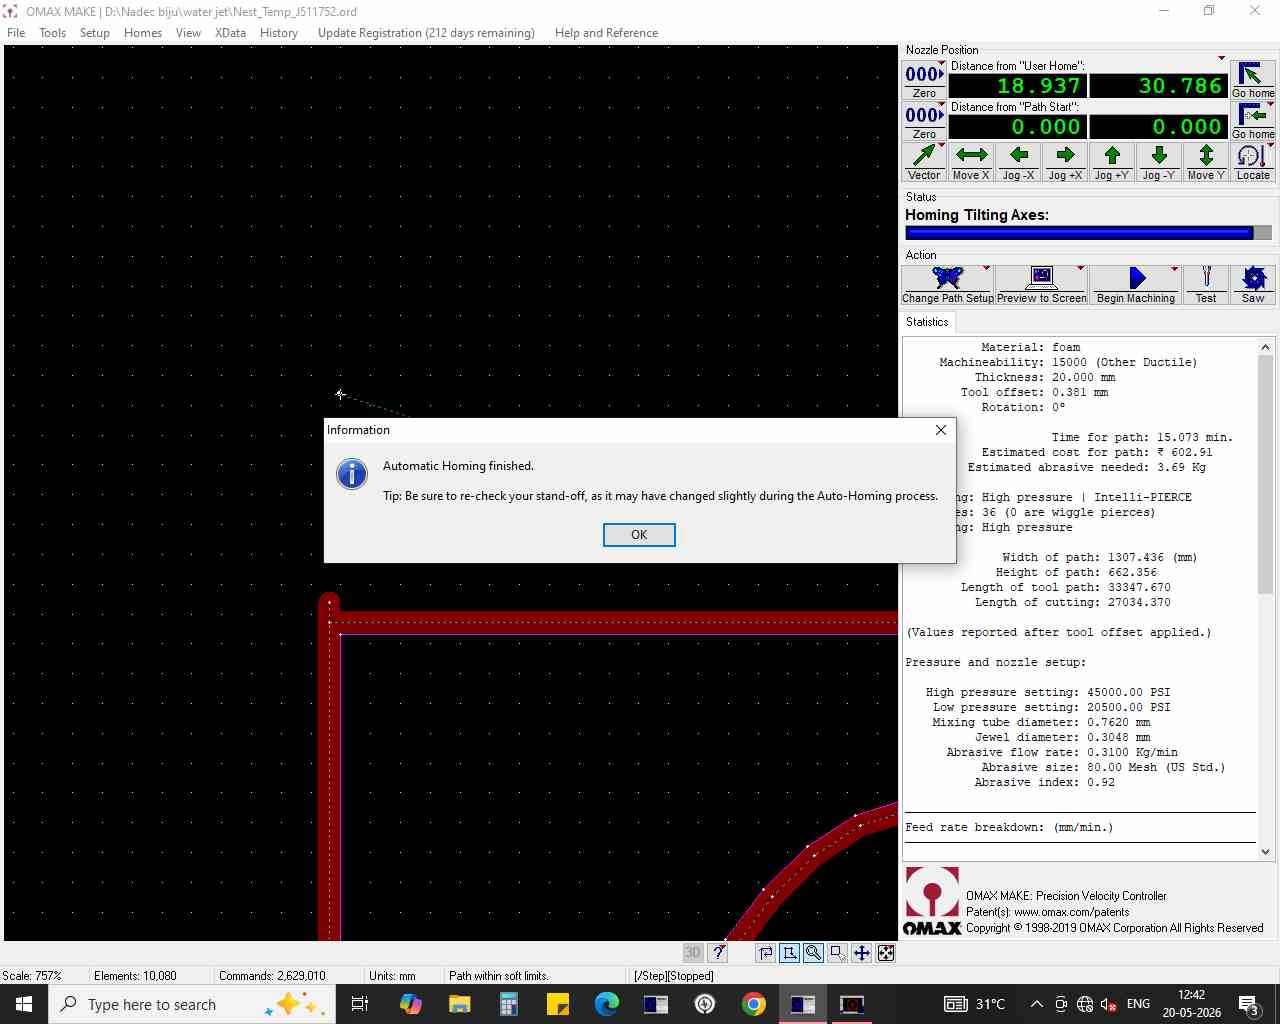
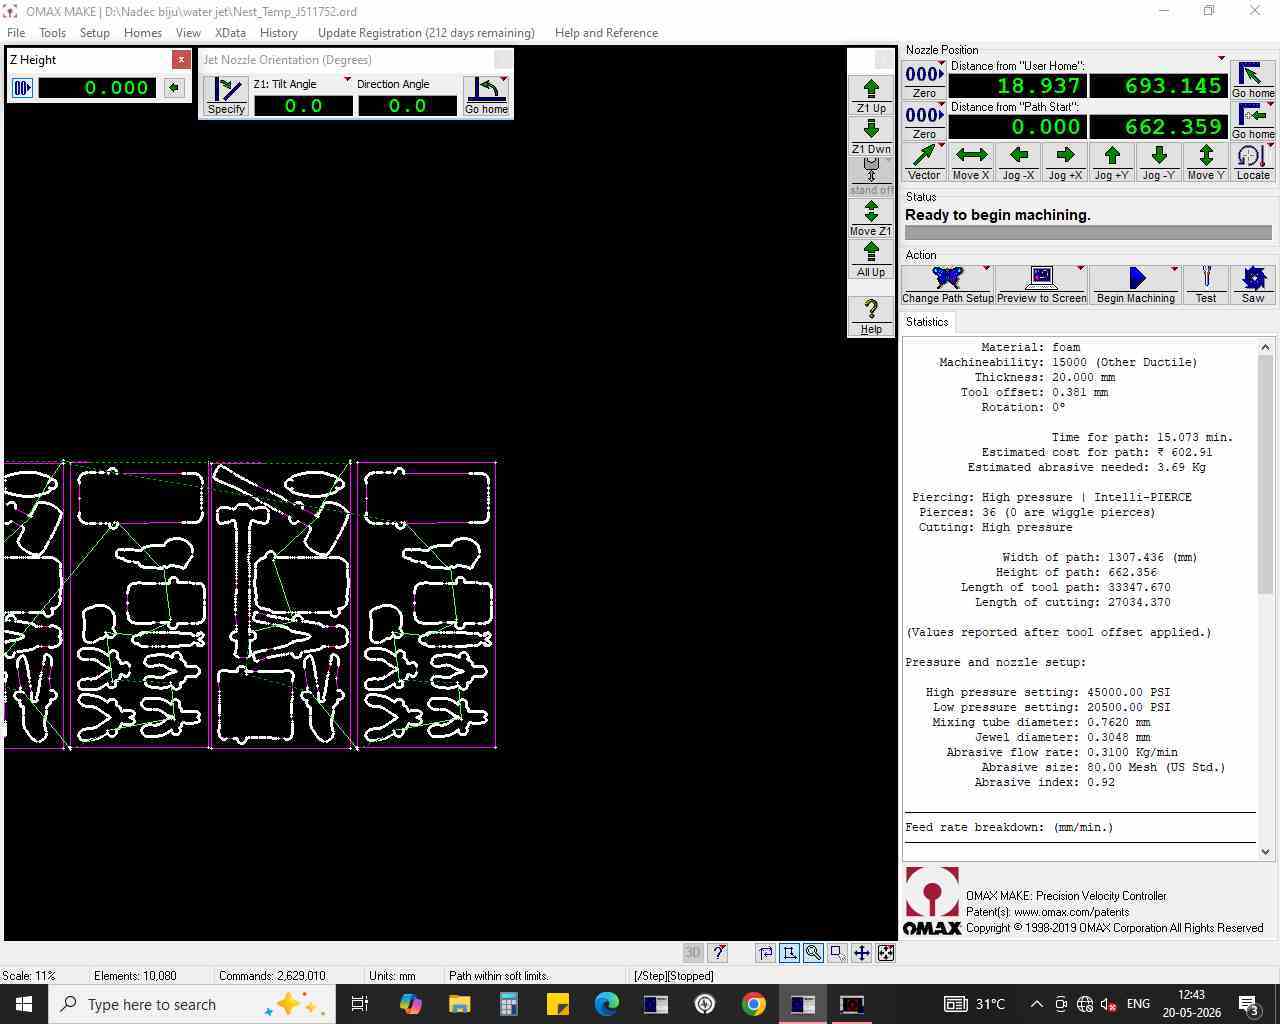
Setting the Origin and Starting the Cut#

Hero Shots#