Week 13. MOLDING AND CASTING
Objectives
Group Assignment:
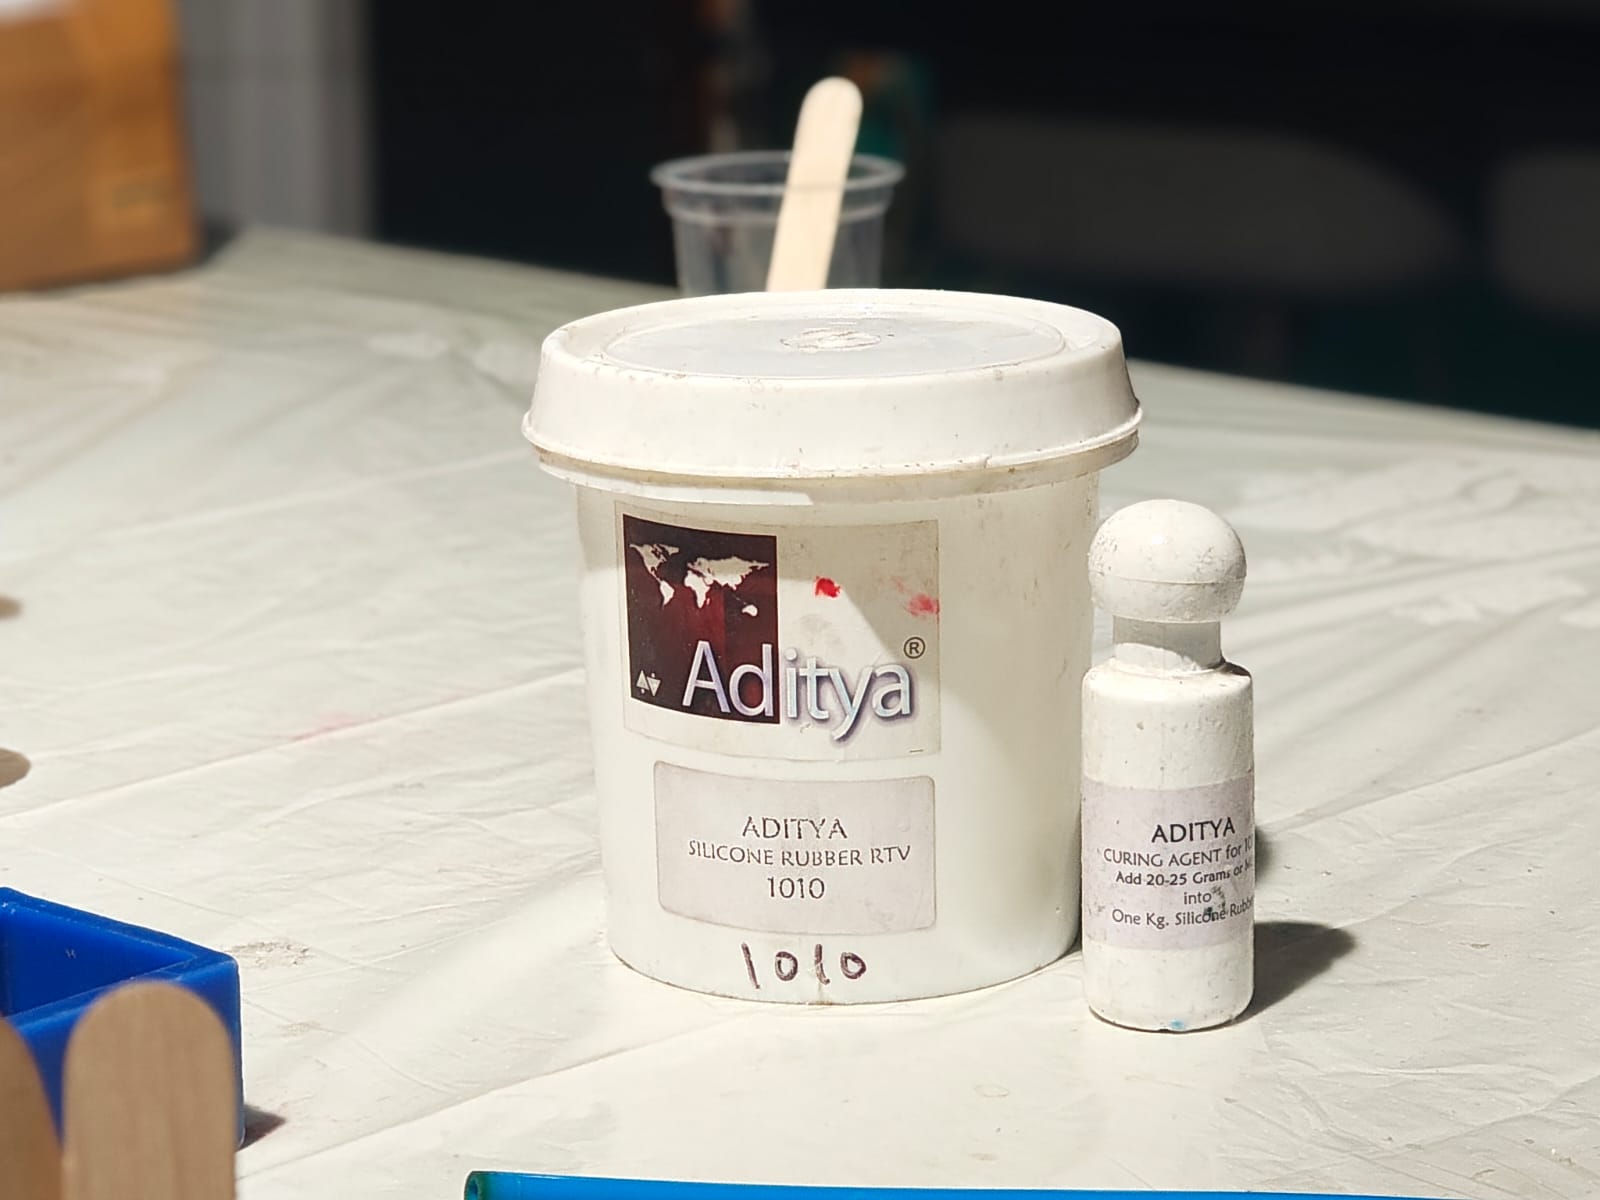
As part of the group assignment, we reviewed the materials available in the lab and went through their safety information, mixing ratios, curing times, and handling requirements. The materials we worked with were Aditya Silicone Rubber RTV - 1010, Aditya Ultra Clear Cast Epoxy - 37, and Mould Releasing Spray 1083.
We also made test molds and casts to compare how the different materials behave. I learned how important accurate measurement, thorough mixing, and vacuum degassing are for achieving good results. Aditya Silicone Rubber RTV - 1010 produced flexible molds with good detail capture and Aditya Ultra Clear Cast Epoxy - 37 created clear casts but required extra care to avoid trapped air bubbles. Mould Releasing Spray helped with easy demolding and prevented the cast from sticking to the mold.
| Material | Purpose | Mixing Ratio | Working Time | Curing Time | Hardness | Notes |
|---|---|---|---|---|---|---|
| Aditya Silicone Rubber RTV – 1010 | Mold Making | Silicone + 2.5–3% Hardener | 8–10 min | 12–24 hrs | Shore A 10 | Flexible mold material with excellent detail capture and easy demolding. |
| Aditya Ultra Clear Cast Epoxy – 37 | Casting Material | Part A : Part B = 100 : 50 | Moderate | 12–24 hrs* | Rigid after cure | Transparent, low-viscosity resin that produces clear casts with a smooth finish. |
This activity helped me understand the differences between mold-making materials and casting materials, along with the practical workflow involved in molding and casting before moving on to my individual assignment. It also helped me understand the importance of material selection-typically using a harder mold to cast softer materials for easier demolding, and using flexible mold materials such as silicone when casting harder materials with complex geometries or undercuts, allowing the finished part to be removed without damage.
To know more, visitGroup Assignment.
Individual Assignment:
Design a mold around the process you'll be using, produce it with a smooth surface finish that does not show the production process toolpath, and use it to cast parts
Extra credit: use more then two mold parts
— Types of Molding
| TYPE OF MOLDING | DESCRIPTION |
|---|---|
| Injection Molding | Molten plastic is injected into a mold under pressure and cooled before ejection. |
| Blow Molding | Used for hollow plastic products such as bottles and containers. |
| Compression Molding | Material is placed in a heated cavity and compressed into shape. |
| Rotational Molding | Creates hollow parts by rotating a mold while resin coats the interior. |
| Extrusion Molding | Material is pushed through a die to create continuous profiles. |
| Thermoforming | Heated plastic sheet is shaped over a mold and cooled. |
| Casting | Liquid material is poured into a mold and solidified. |
| Die Casting | Molten metal is injected into a die under pressure. |
AI Image Prompt
ChatGPT prompt: this comparison table is made with chat gpt the exact Prompt what i give is missing but i will attach Prompt almost what i give to genarate . Prompt : classify different types of molding process in industries make it in rows and column give html format."
AI Tool Used: ChatGPT
— Materials Used for Molding
| MATERIAL | DESCRIPTION |
|---|---|
| Plastics |
Thermoplastics: PE, PP, PS, PVC can be melted and remolded. Thermosetting Plastics: Epoxy, phenolic and melamine become permanently set after molding. |
| Rubbers |
Natural Rubber: High elasticity and resilience. Synthetic Rubbers: Silicone, neoprene, nitrile and EPDM for heat, oil and weather resistance. |
| Metals |
Aluminum: Lightweight and corrosion resistant. Steel: Strong and wear resistant for molds. Zinc / Magnesium / Copper Alloys: Used in die casting for precision parts. |
| Ceramics |
Porcelain: Heat resistant ceramic for specialized products. Alumina & Zirconia: Used where hardness and thermal stability are needed. |
| Composites | Fiber Reinforced Polymers (FRP): Fiberglass, carbon fiber and aramid composites with high strength-to-weight ratio. |
| Foams |
Polyurethane Foam: Cushioning and insulation products. Polystyrene Foam: Used for packaging and insulation boards. |
| Glass | Borosilicate Glass: High thermal and chemical resistance for labware, optics and lighting components. |
AI Image Prompt
ChatGPT prompt: This comparison table was created using ChatGPT. The exact prompt used is unavailable; however, the following prompt closely resembles the one provided to generate the output:
Prompt: "Classify different types of Materials Used for Molding used in industries. Present the information in rows and columns, and provide the output in HTML table format."
AI Tool Used: ChatGPT
Designing Molds
When designing molds, consider the following factors:
Important Things to Remember for Silicone Mold Making
- Use a simple design so the mold can be removed easily.
- Avoid shapes that can get stuck inside the mold.
- Make sure the master model has a smooth surface.
- Keep the mold thick enough so it does not tear.
- Add small air vents to help remove trapped air bubbles.
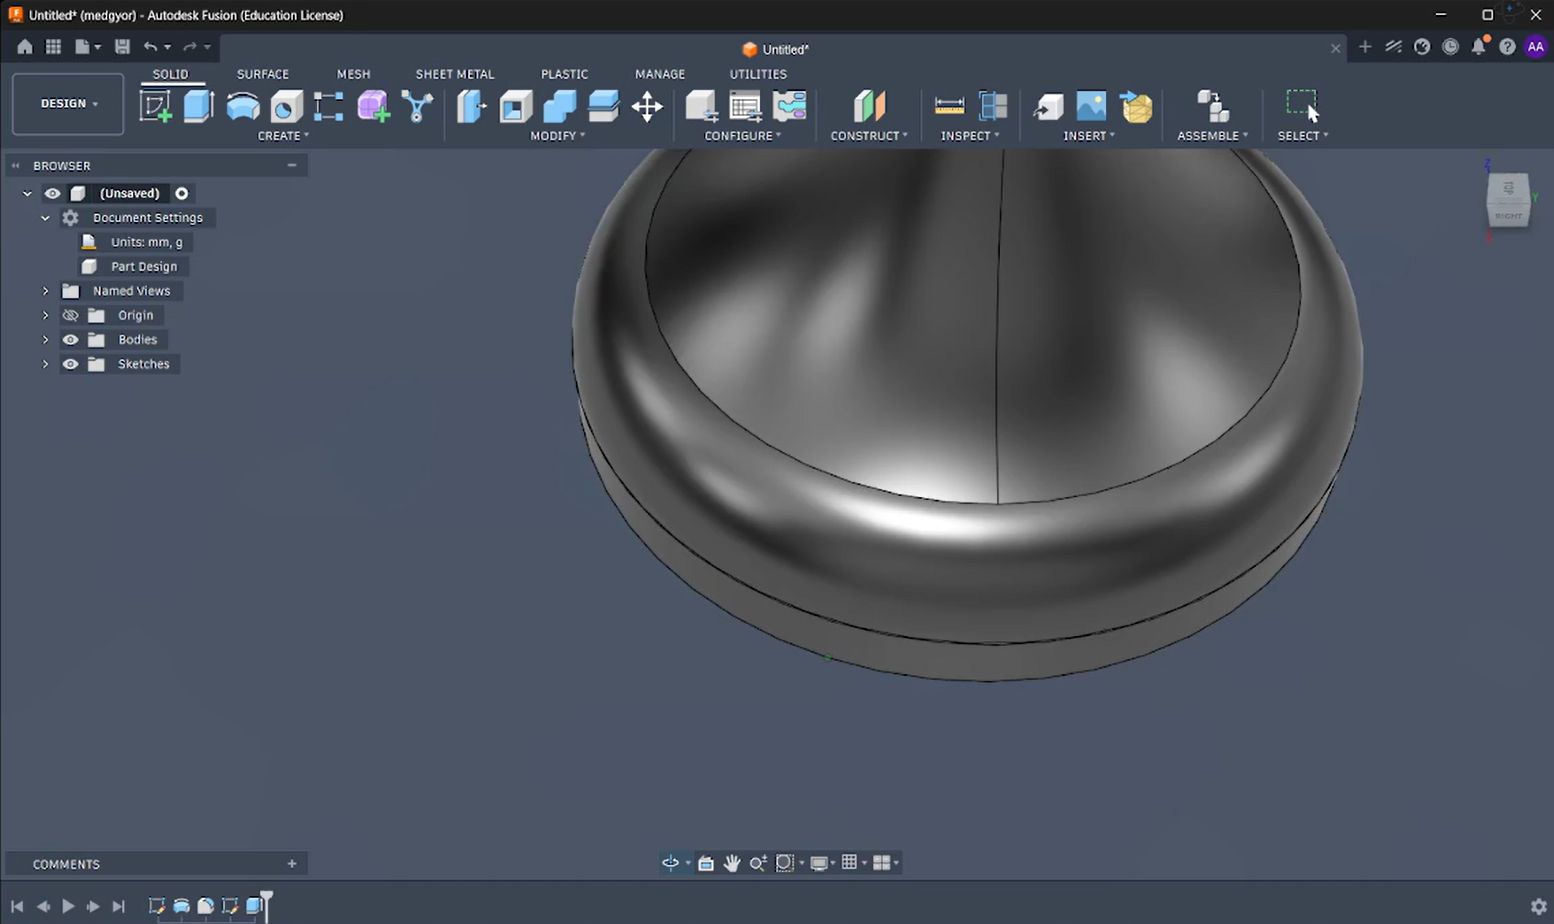
For Molding and Casting iam trying to make Stamp . to make mold i created a simple design through fusion 360
Fusionusing circle spline tool i created a simple shape of stamp
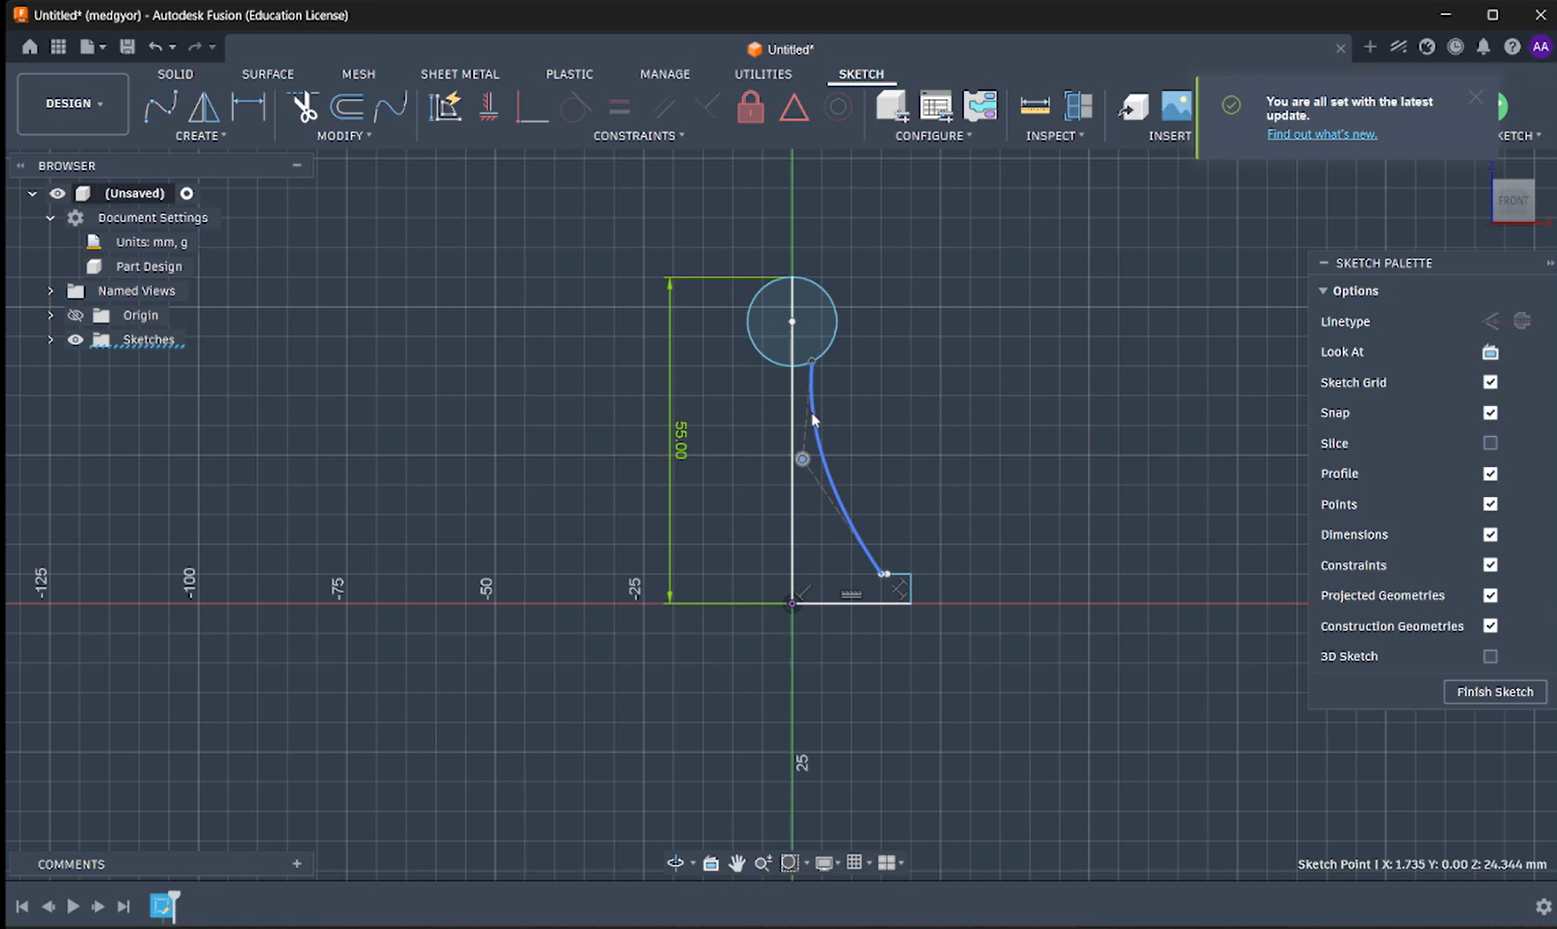
using revolve option i created 360 degree of model
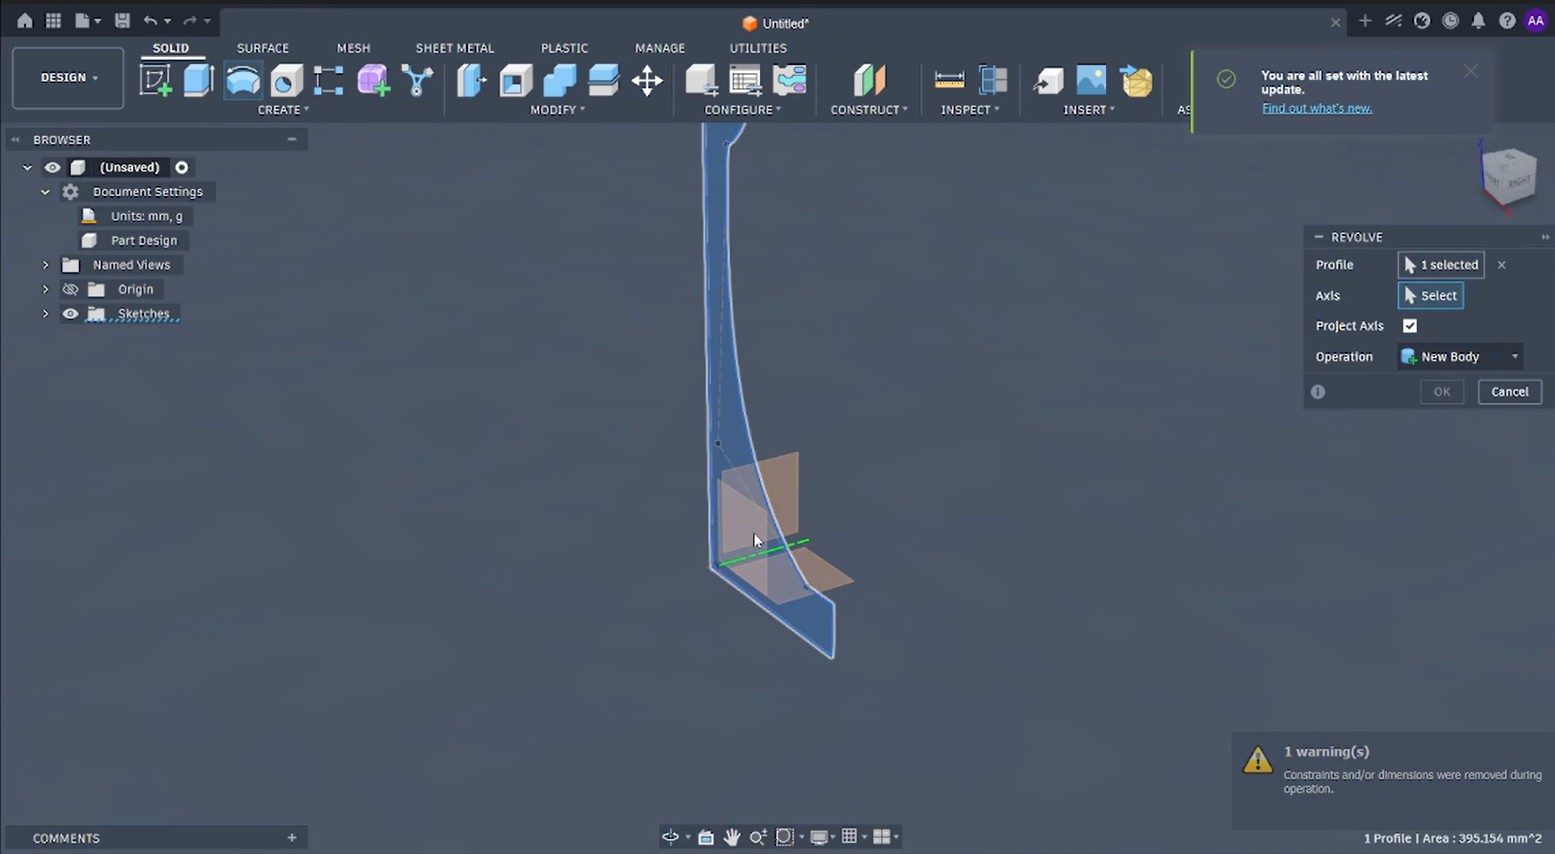
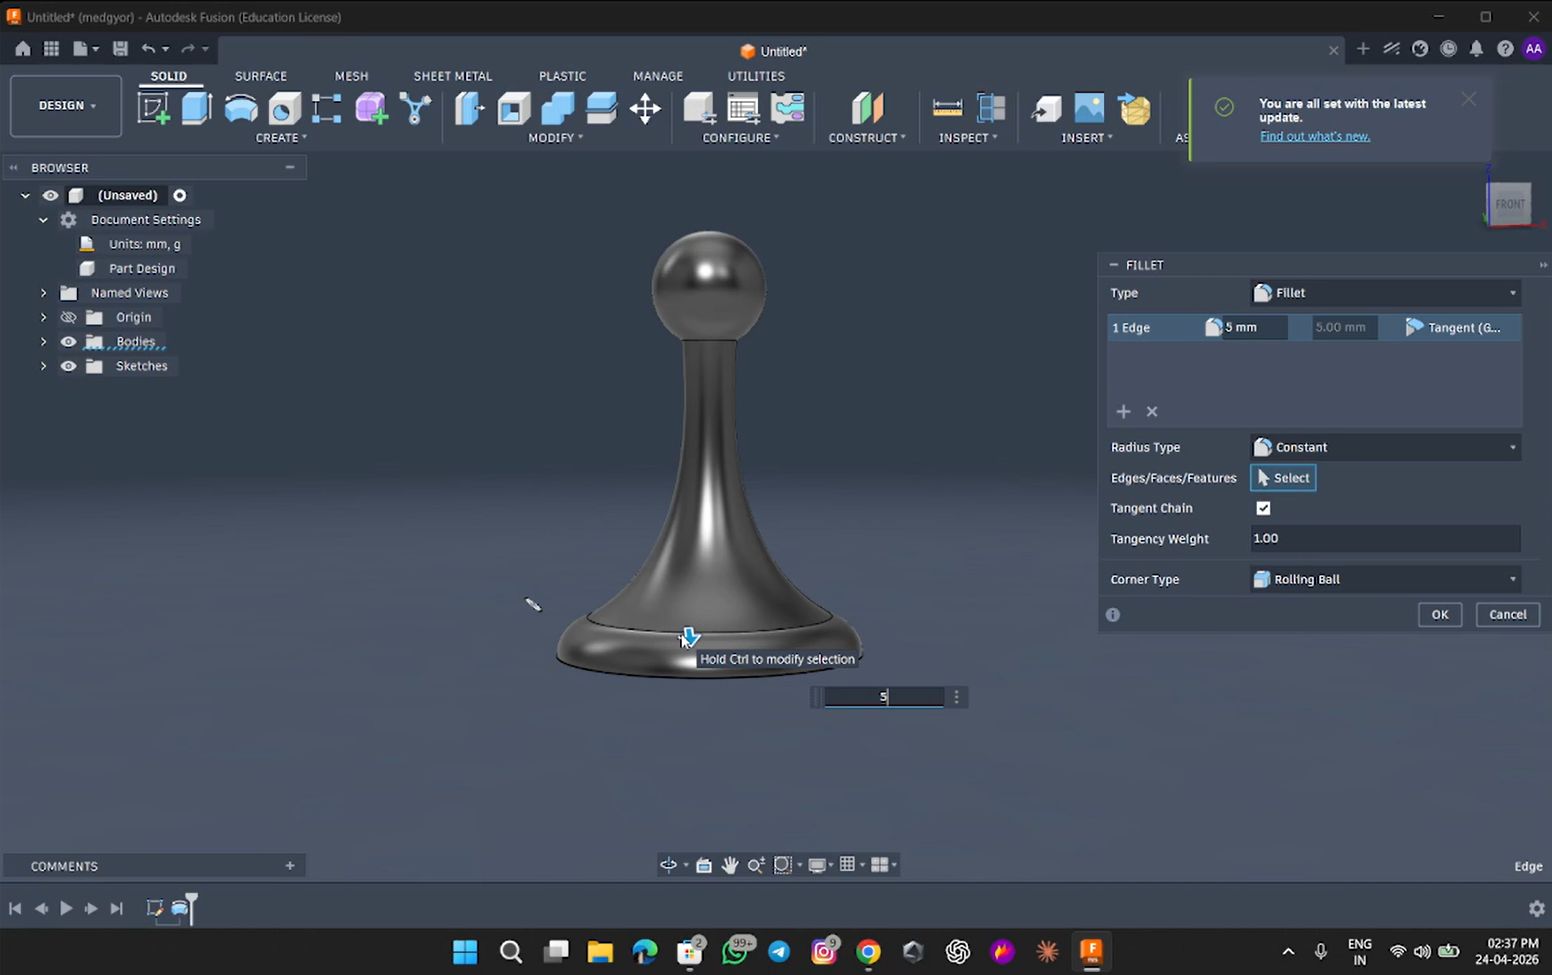
I give fillet for avoiding sharp cut i give fillet 5mm
then i created new component of 5mm height for making stamp logo
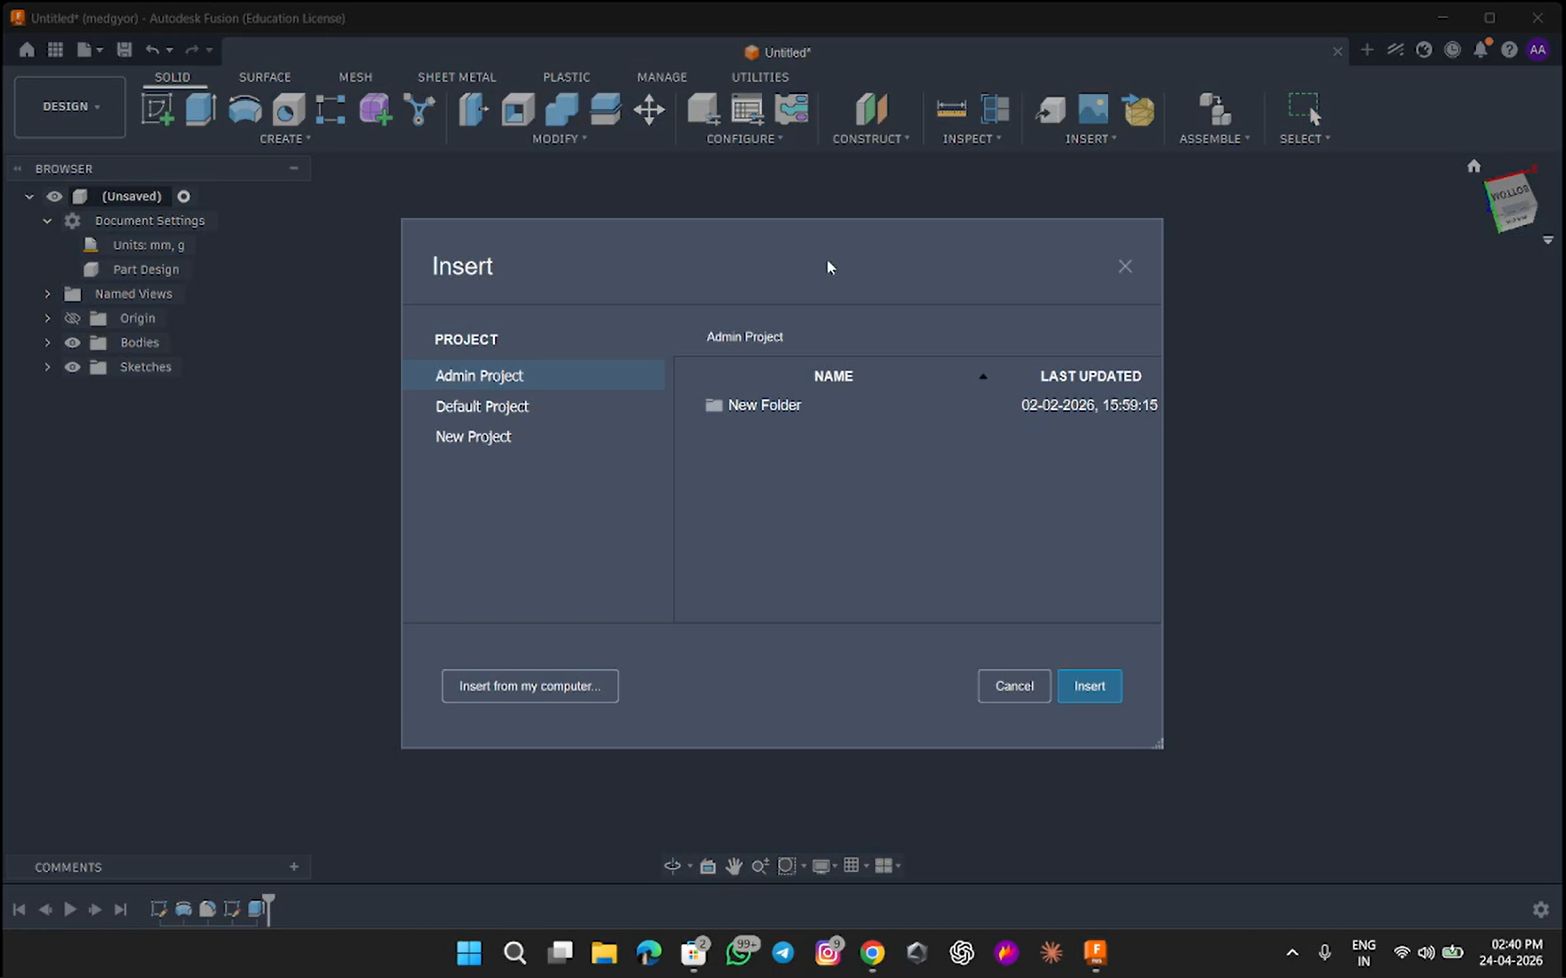
for creating logo on stamp I imported svg file using import svg's
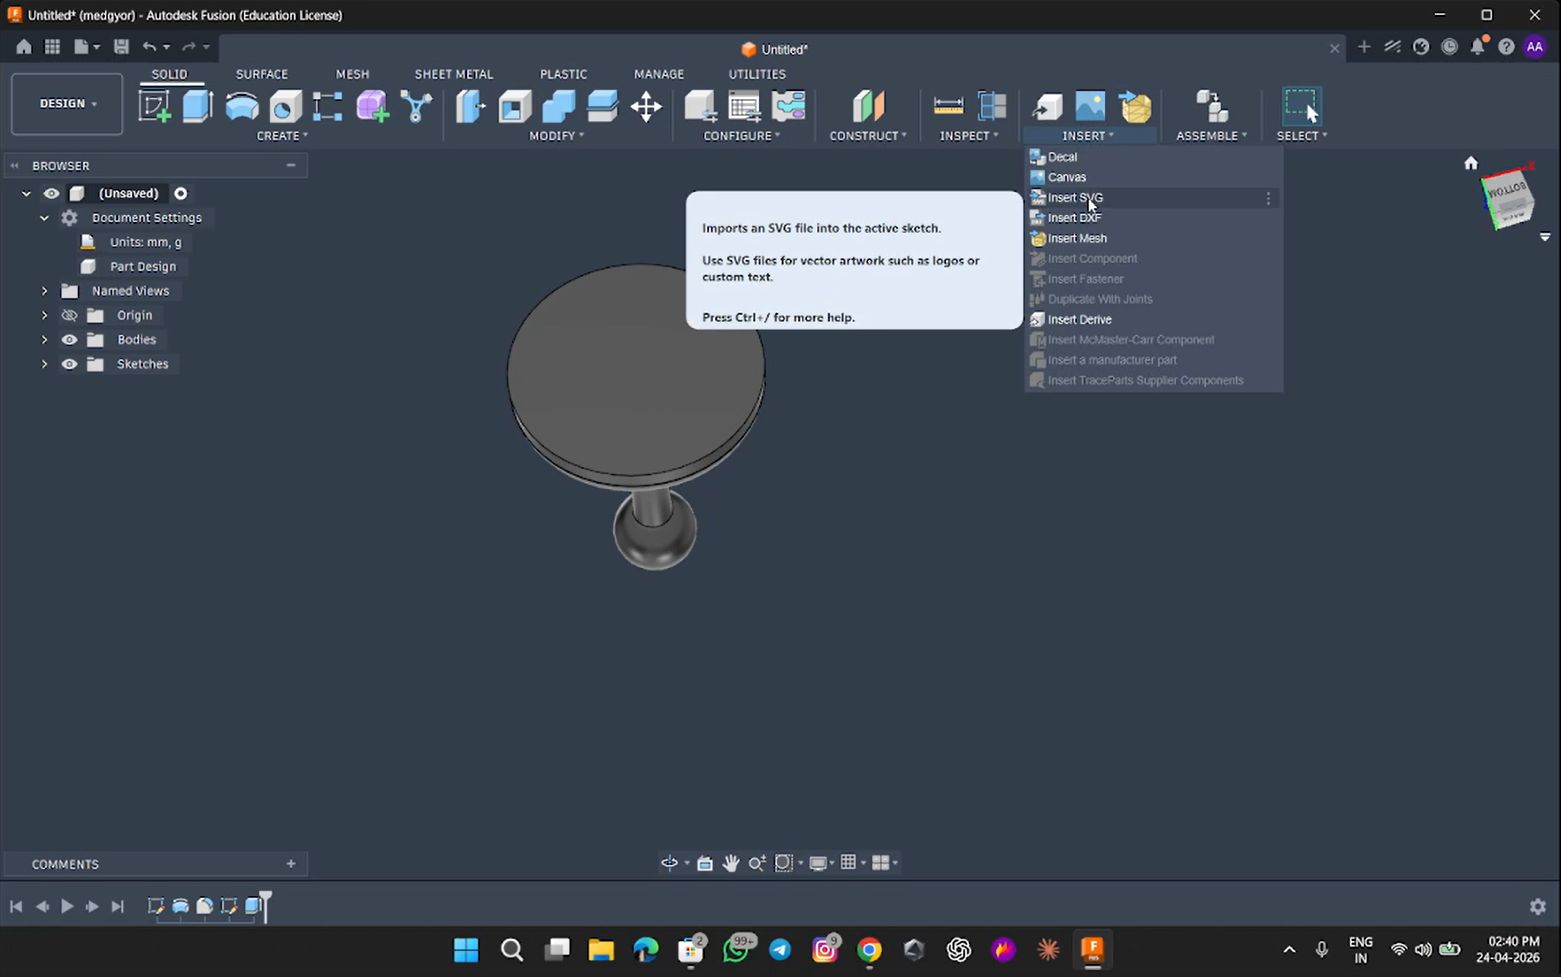
To insert svg select folder from my computer to insert
next need to arrange svg accordingly
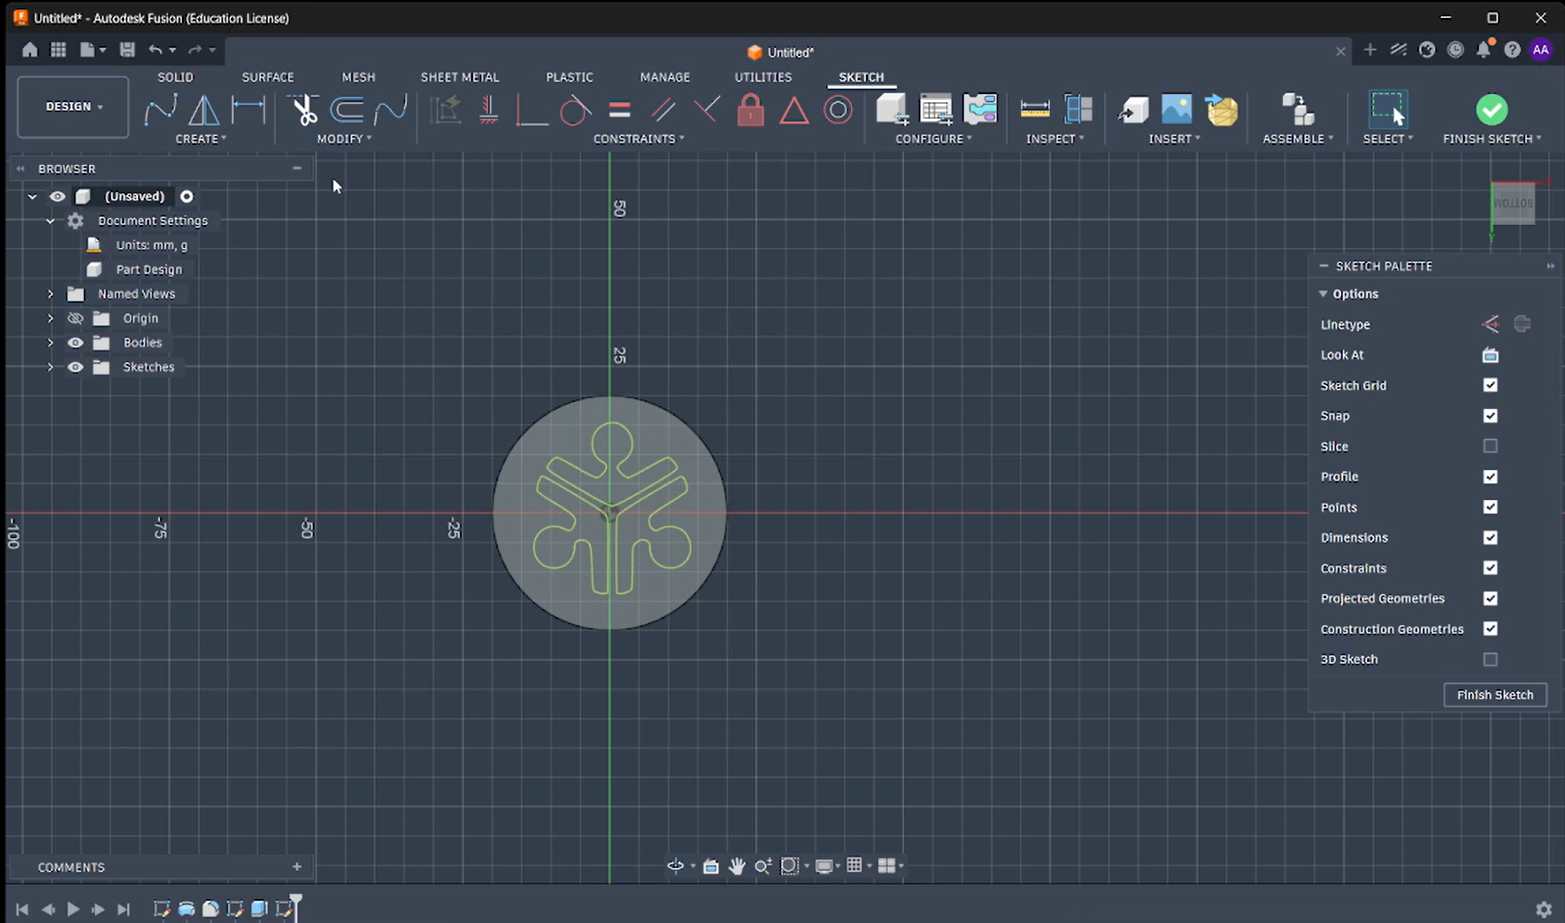
then I extroded svg 1mm
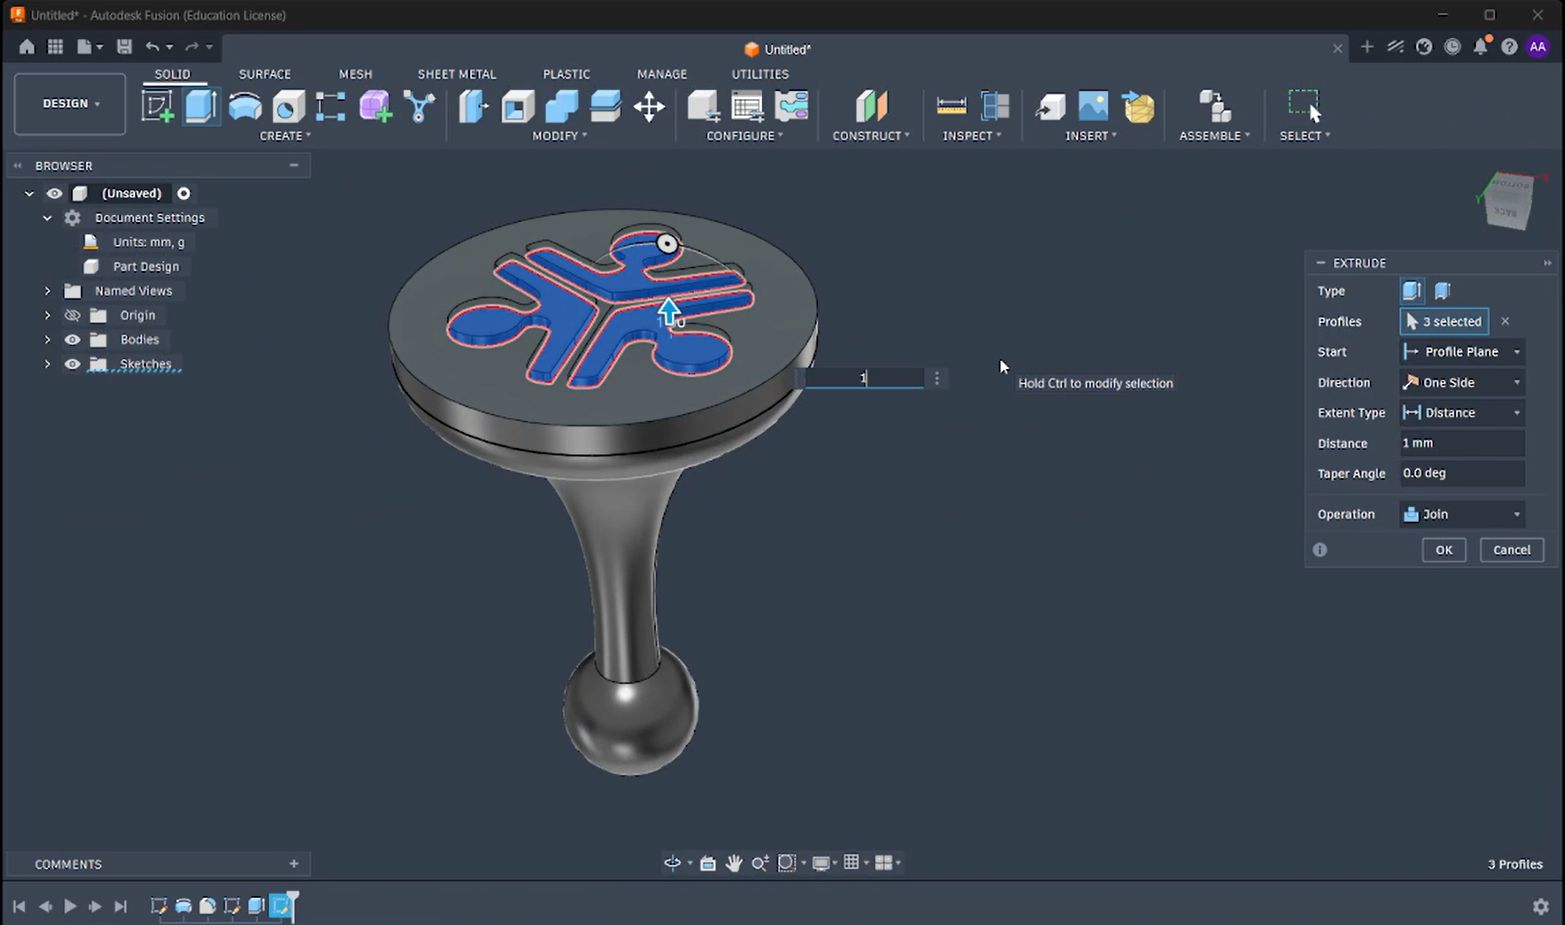
then i planed to 3d print logo using 3d printer.then i made 2 components
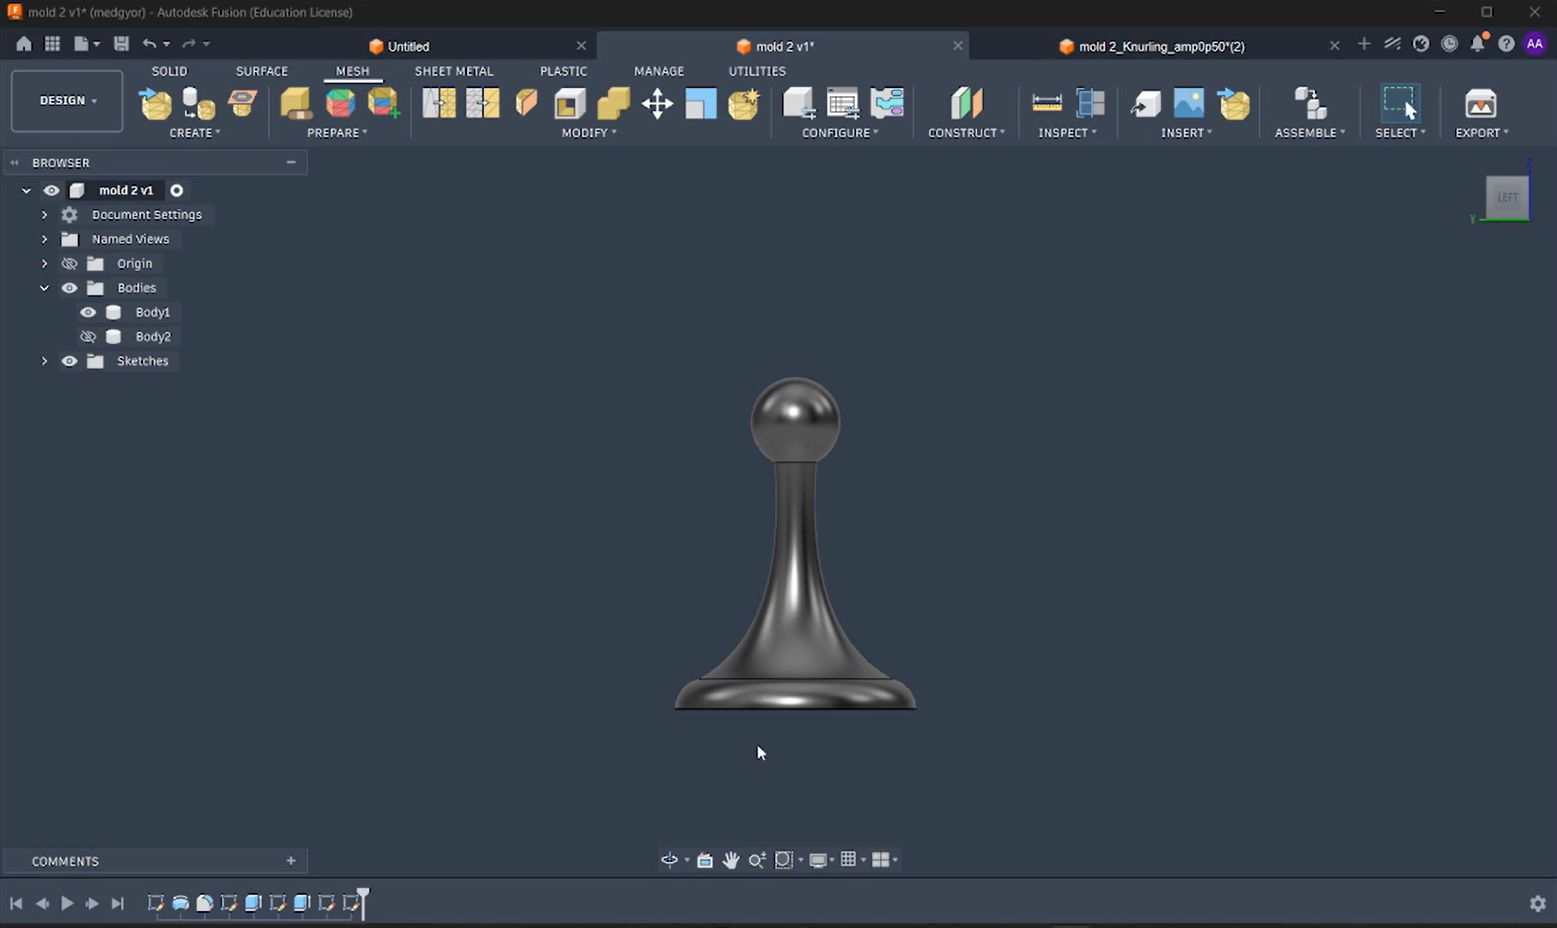
Slicing and Printing
Here, I am trying SLA printing, so I used the ELEGOO Satellite application for the mold-making process. This process was carried out by Amaljith A.M.
I imported the mold design files into the slicer software and arranged them on the build plate for printing
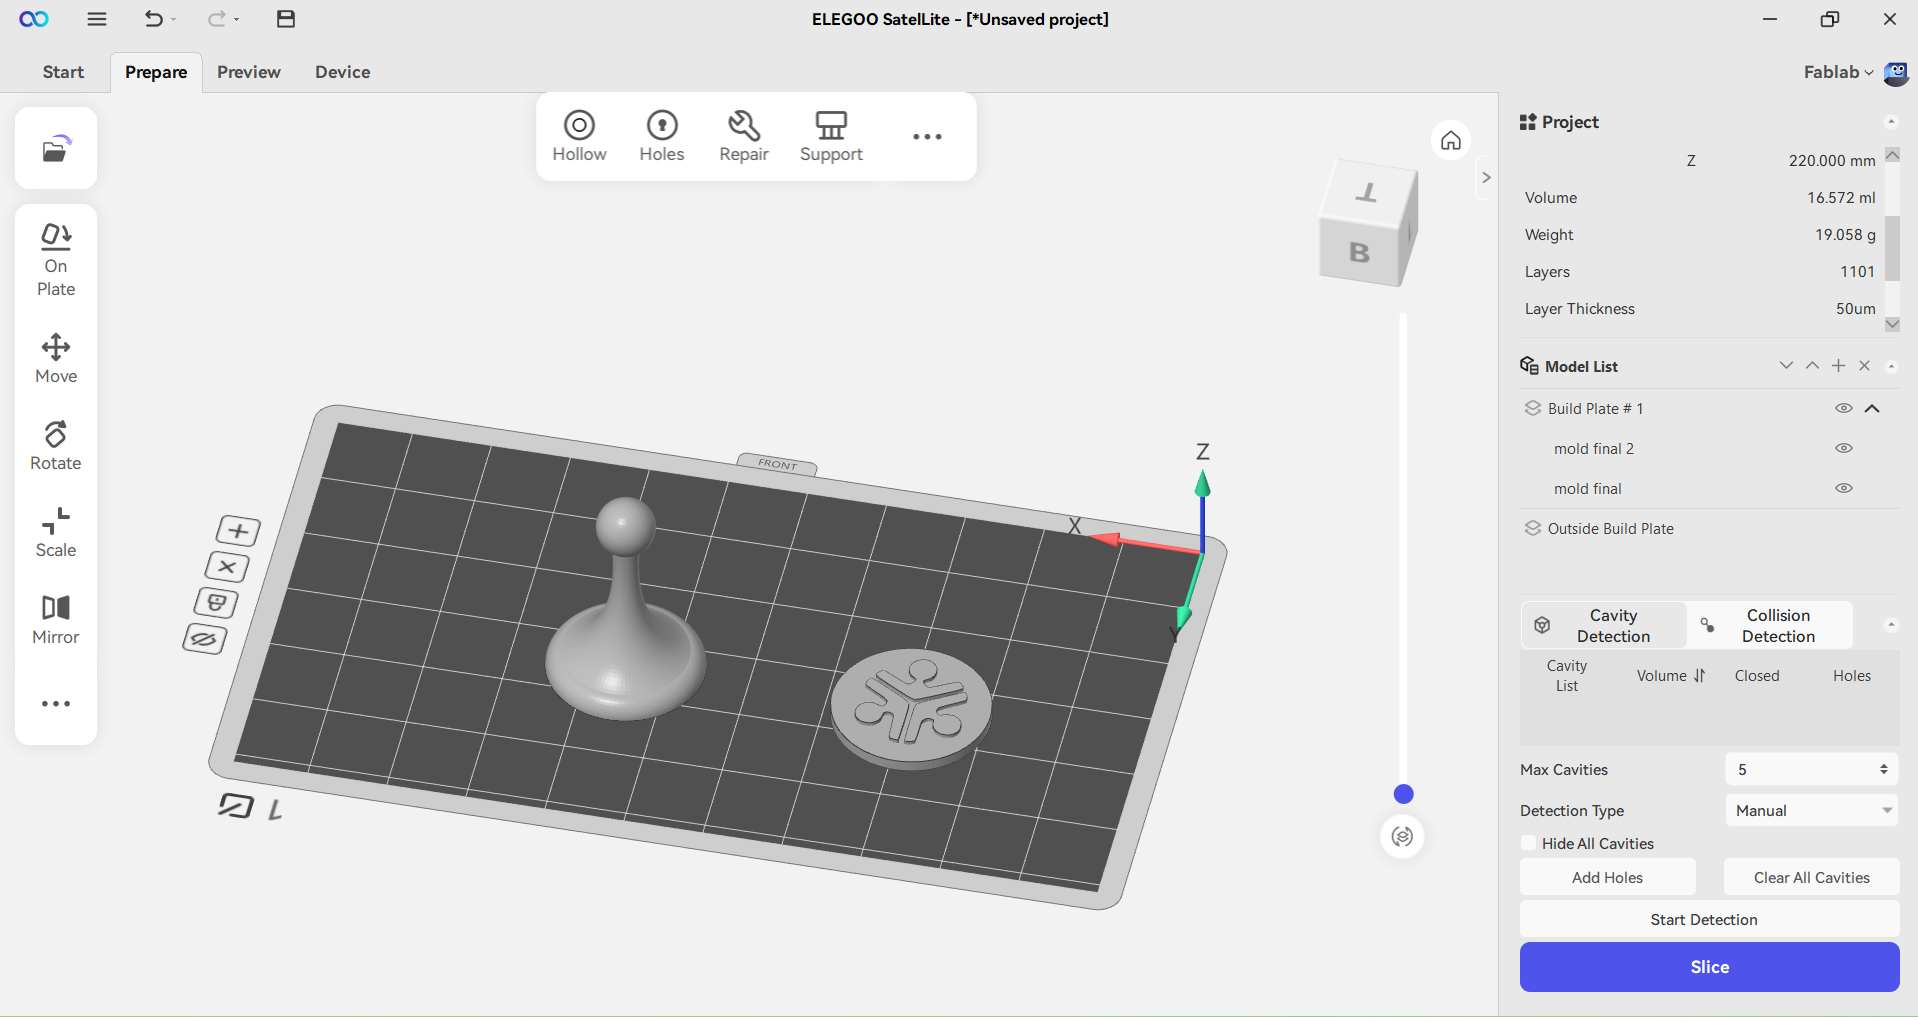
I generated automatic supports to hold the models securely during the resin printing process
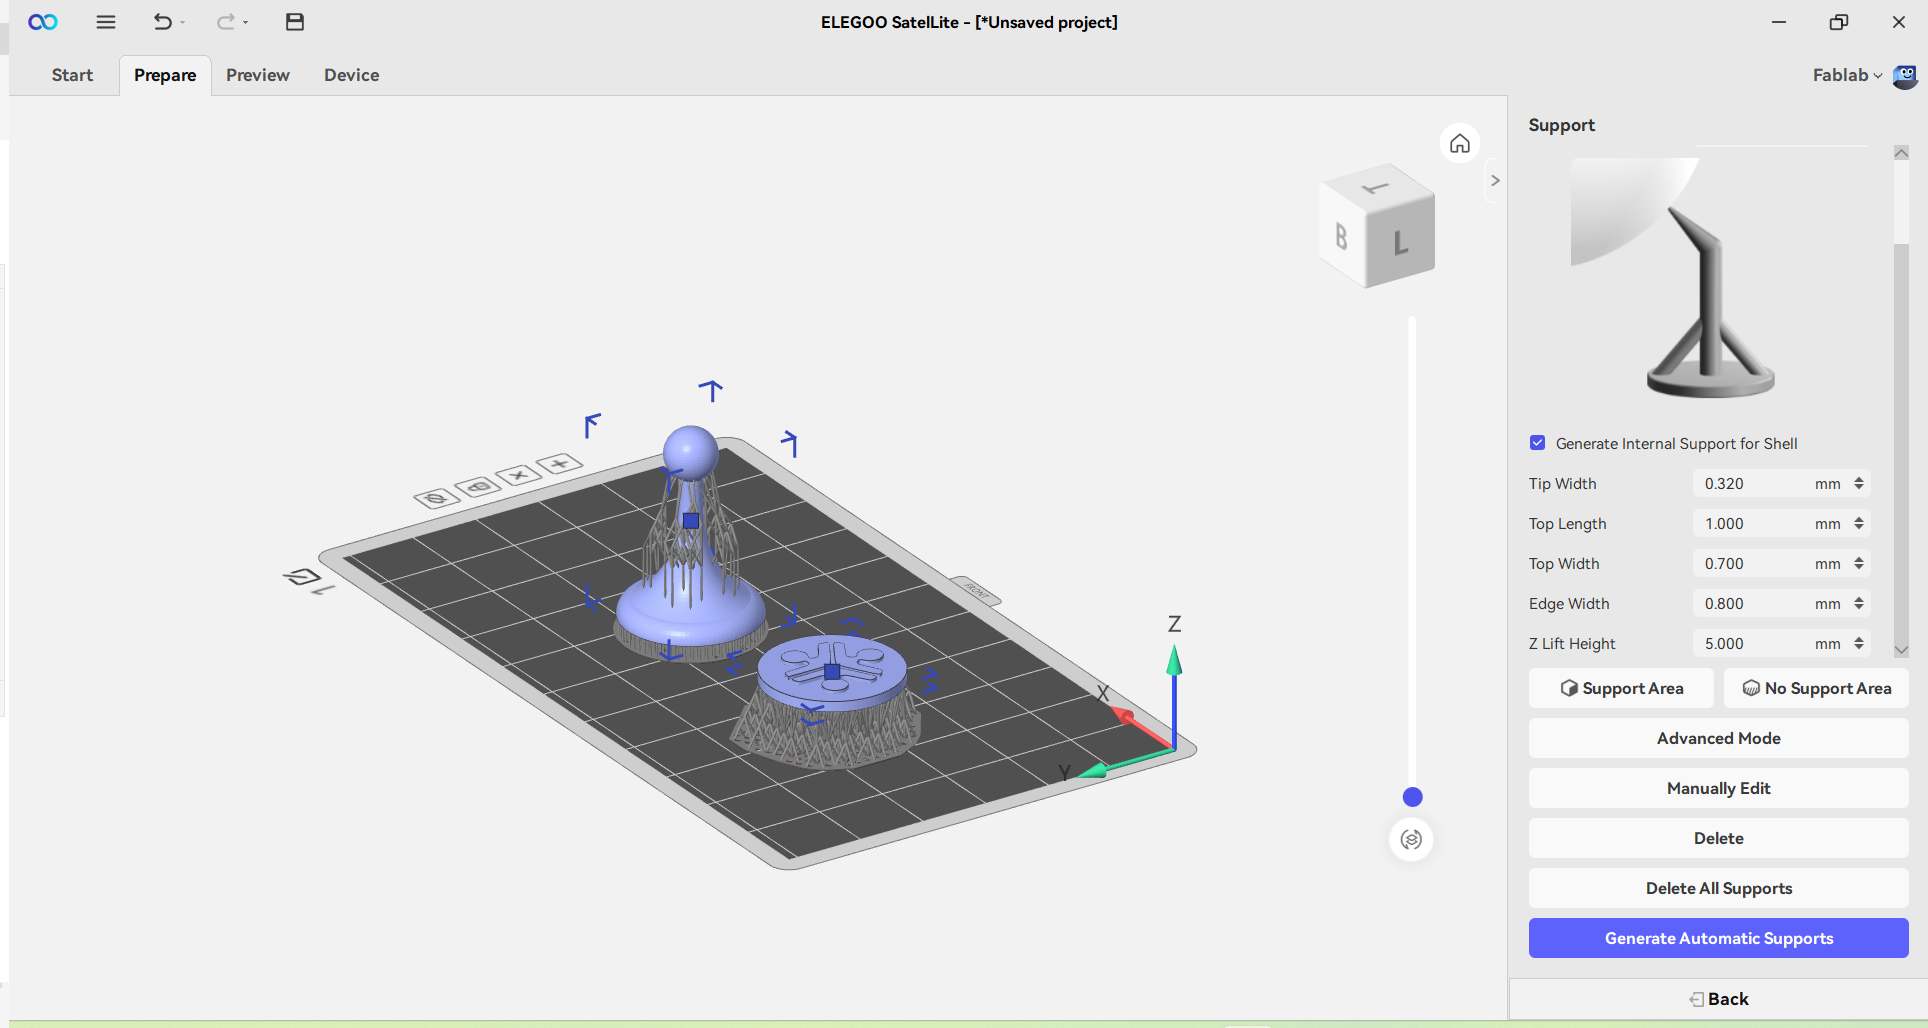
I checked the support placement from different angles to make sure all parts of the models were properly supported
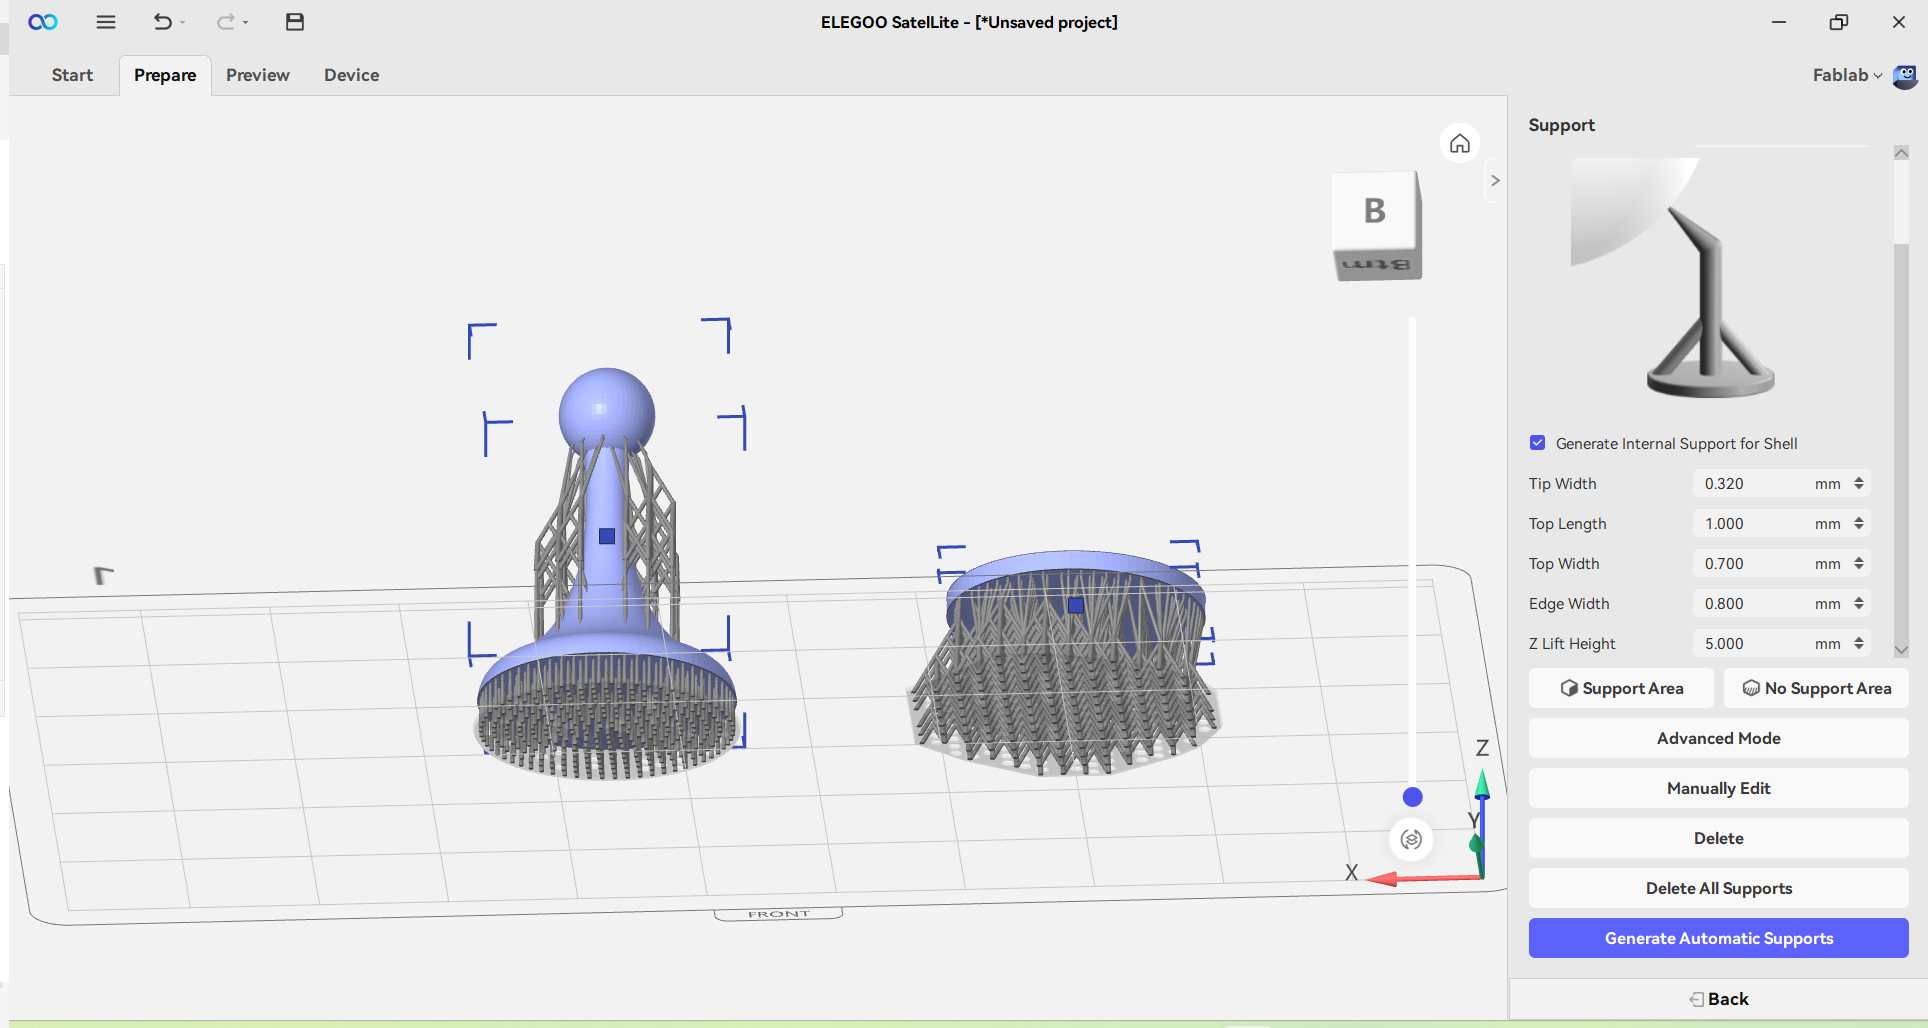
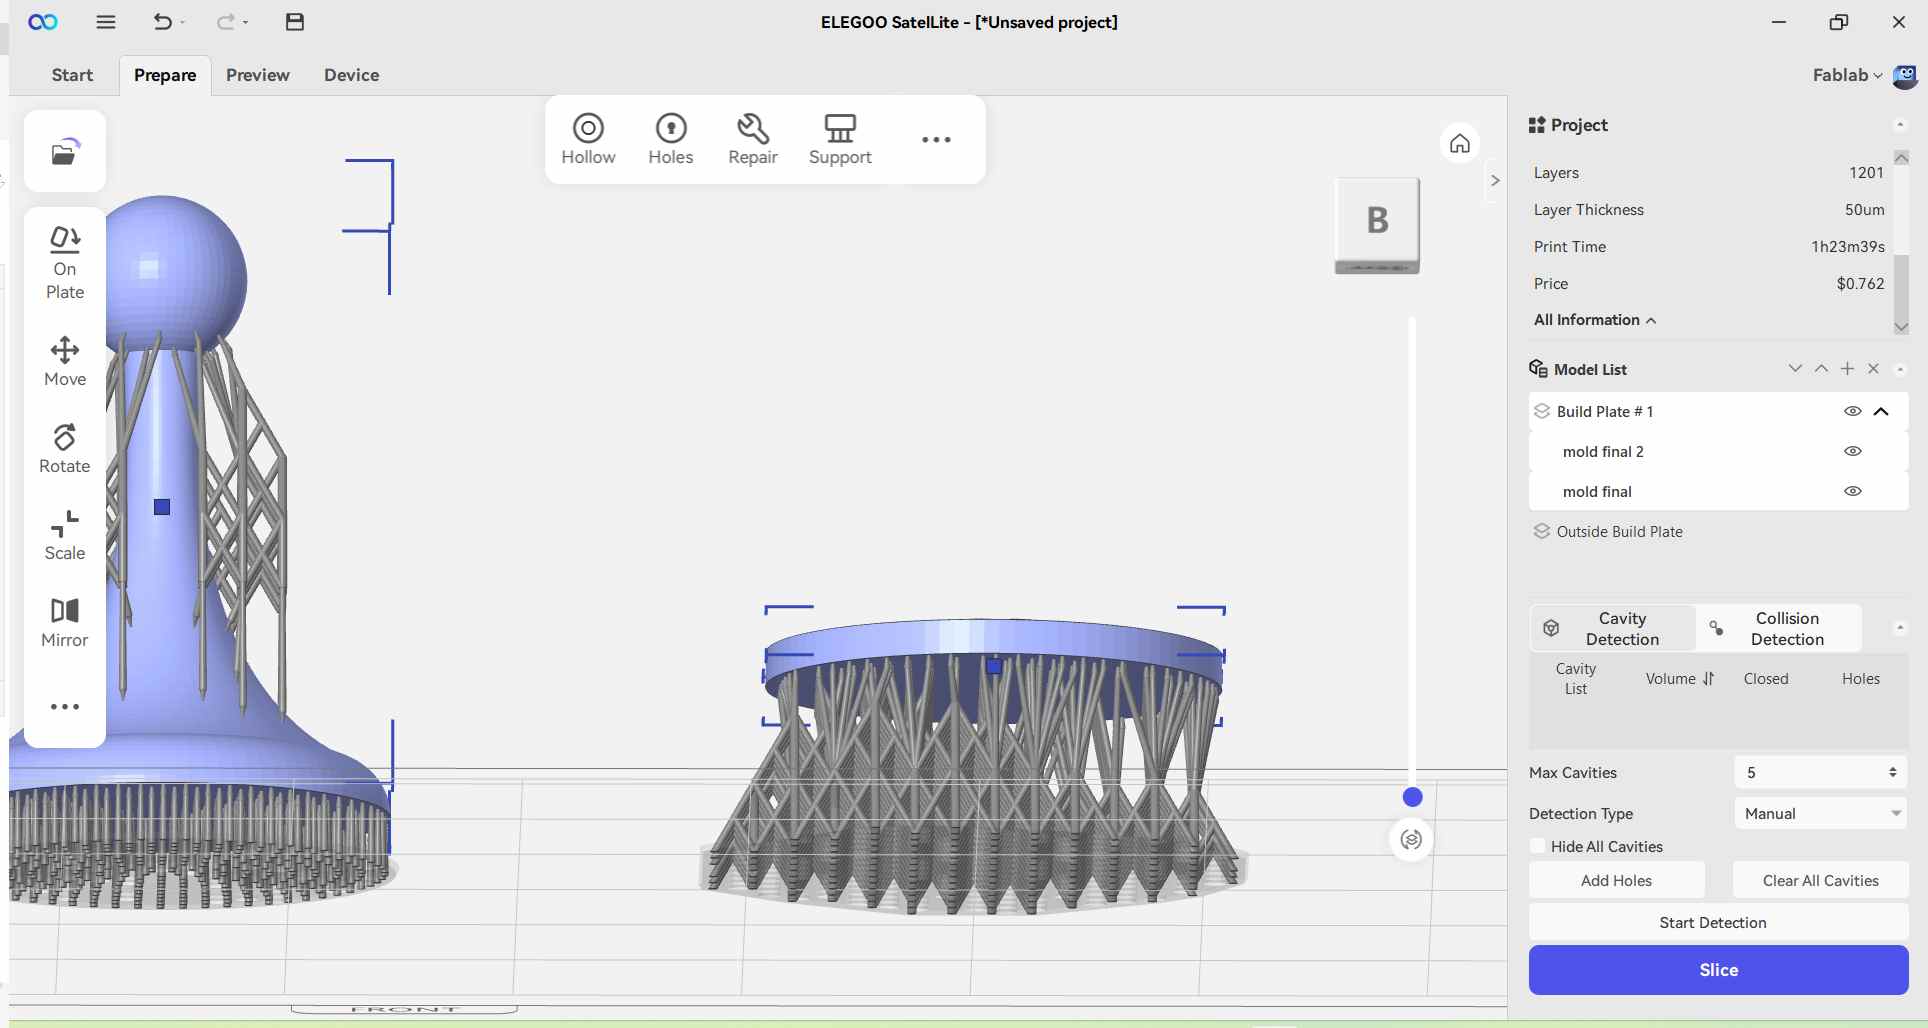
After confirming the model orientation and support settings, I sliced the files to generate the printer-ready output
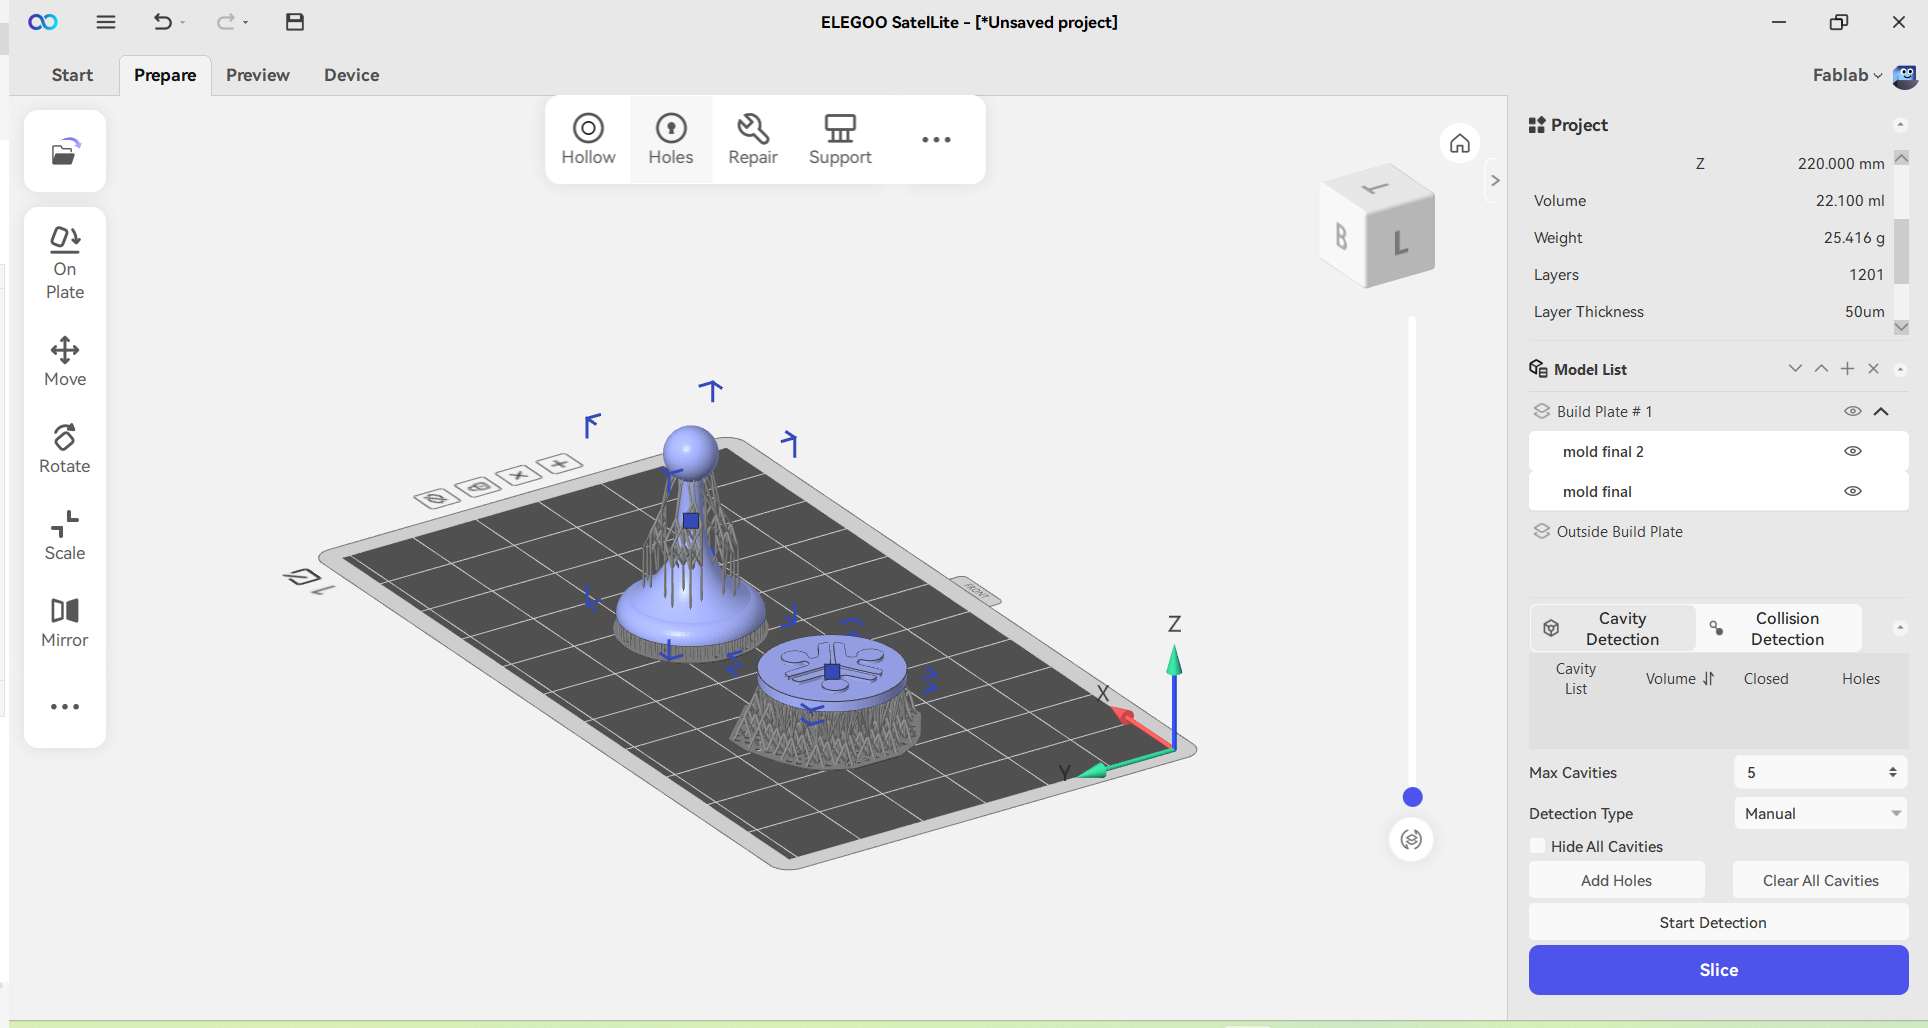
I reviewed the support structure closely to ensure the models would print successfully without deformation or failure
I previewed the sliced layers to verify that the models and supports would print correctly before saving the final file
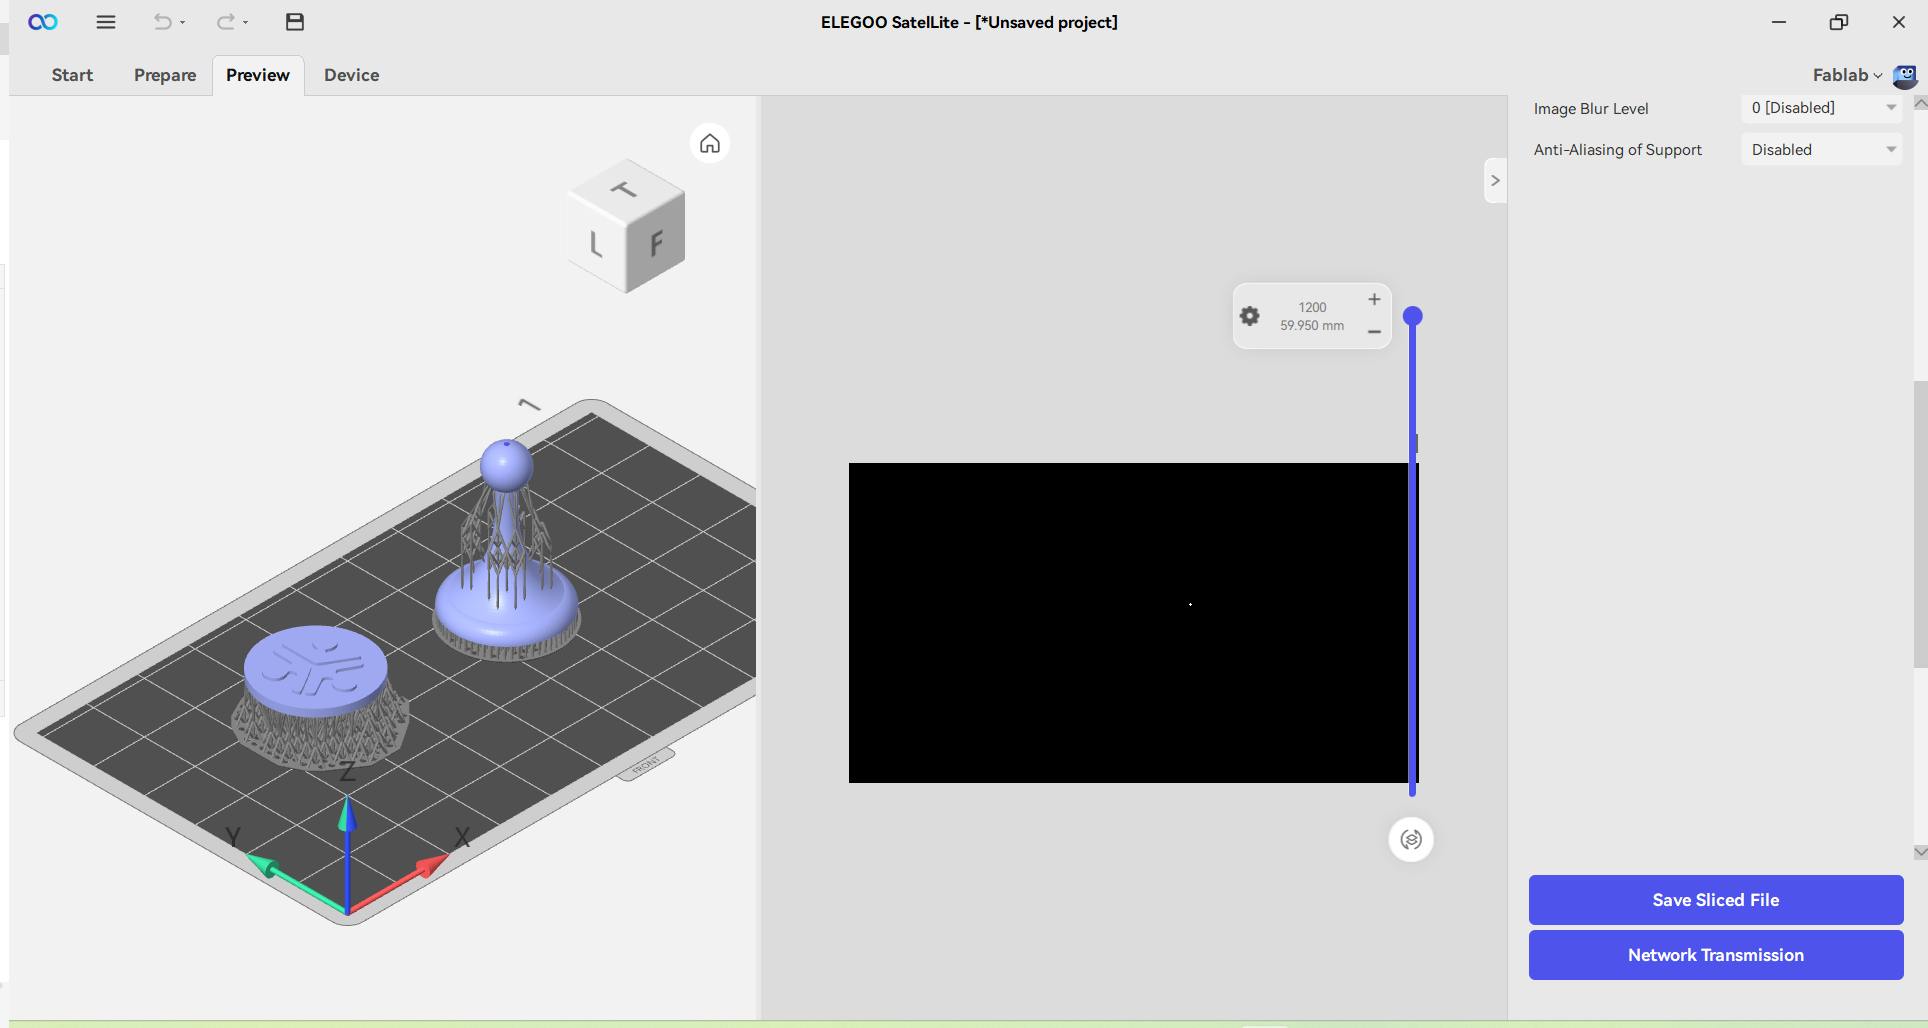
I examined the layer-by-layer preview to confirm that the sliced model would be printed accurately from start to finish.
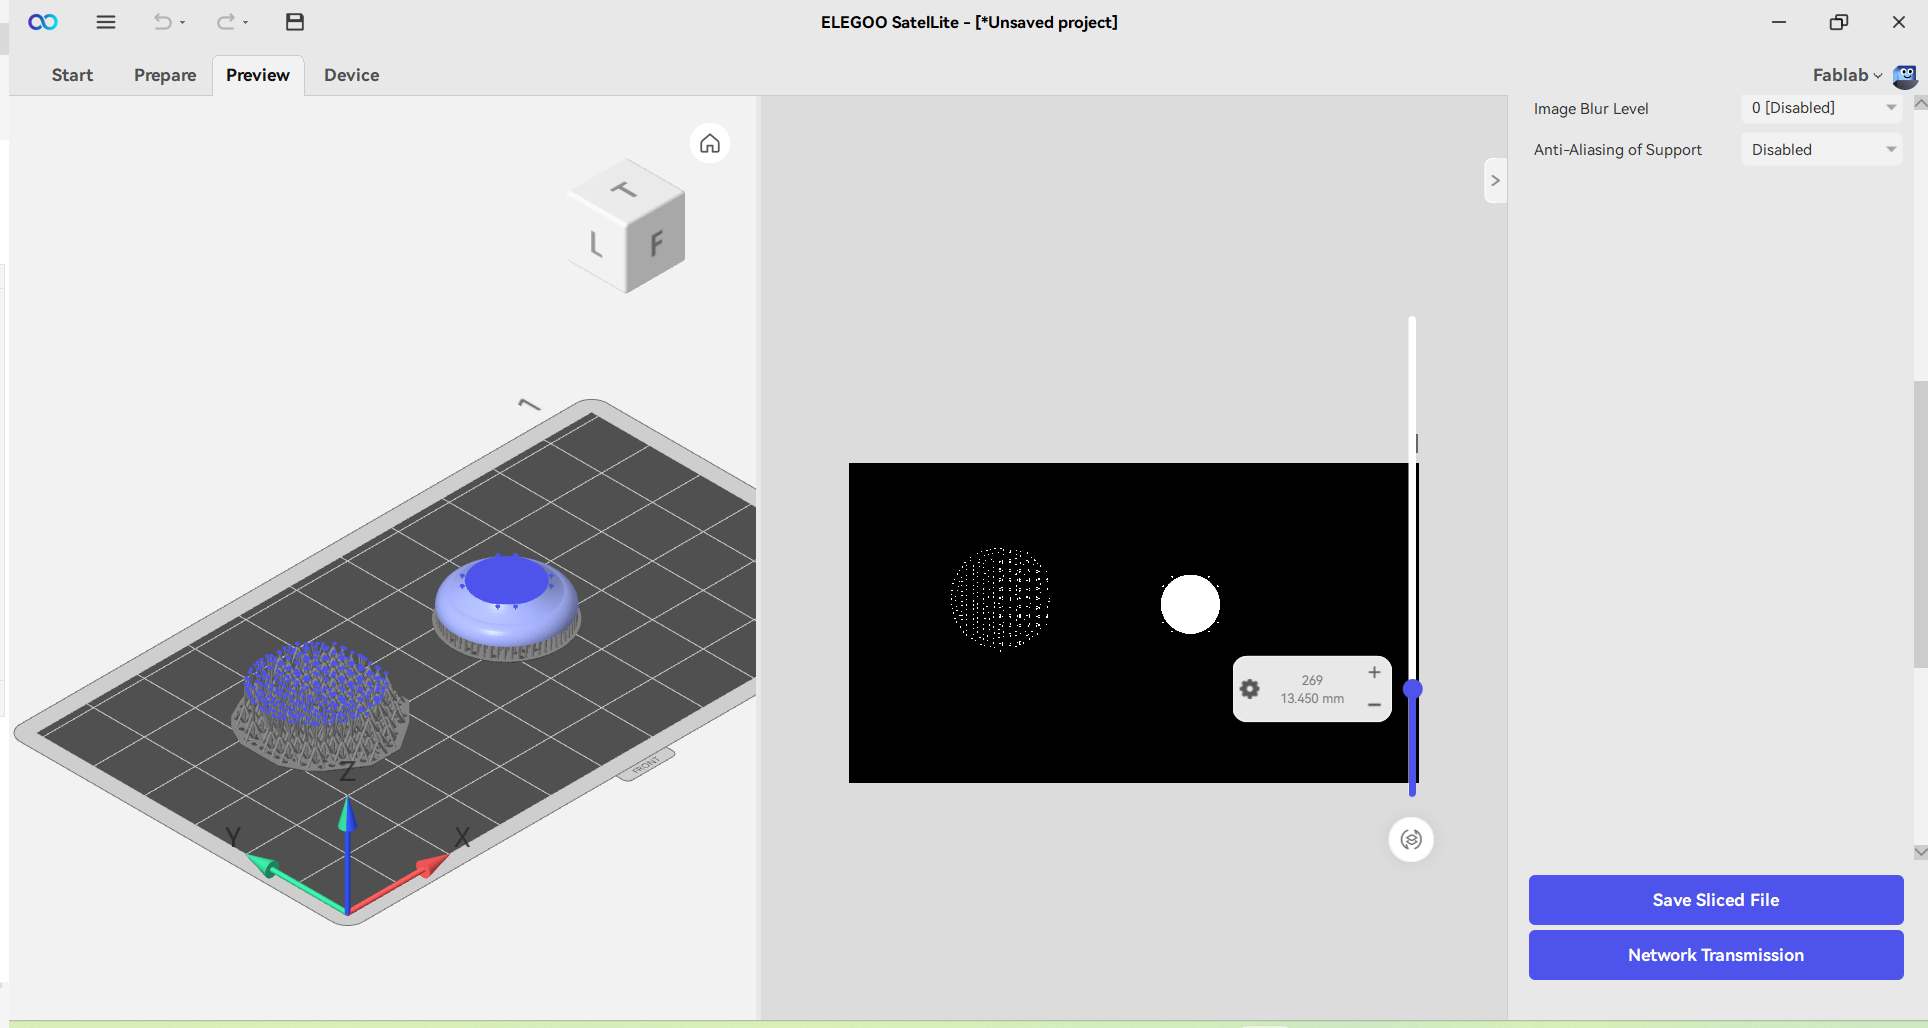
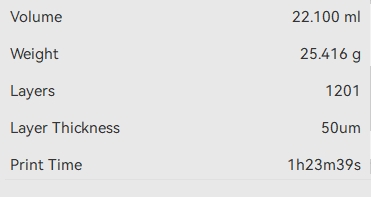
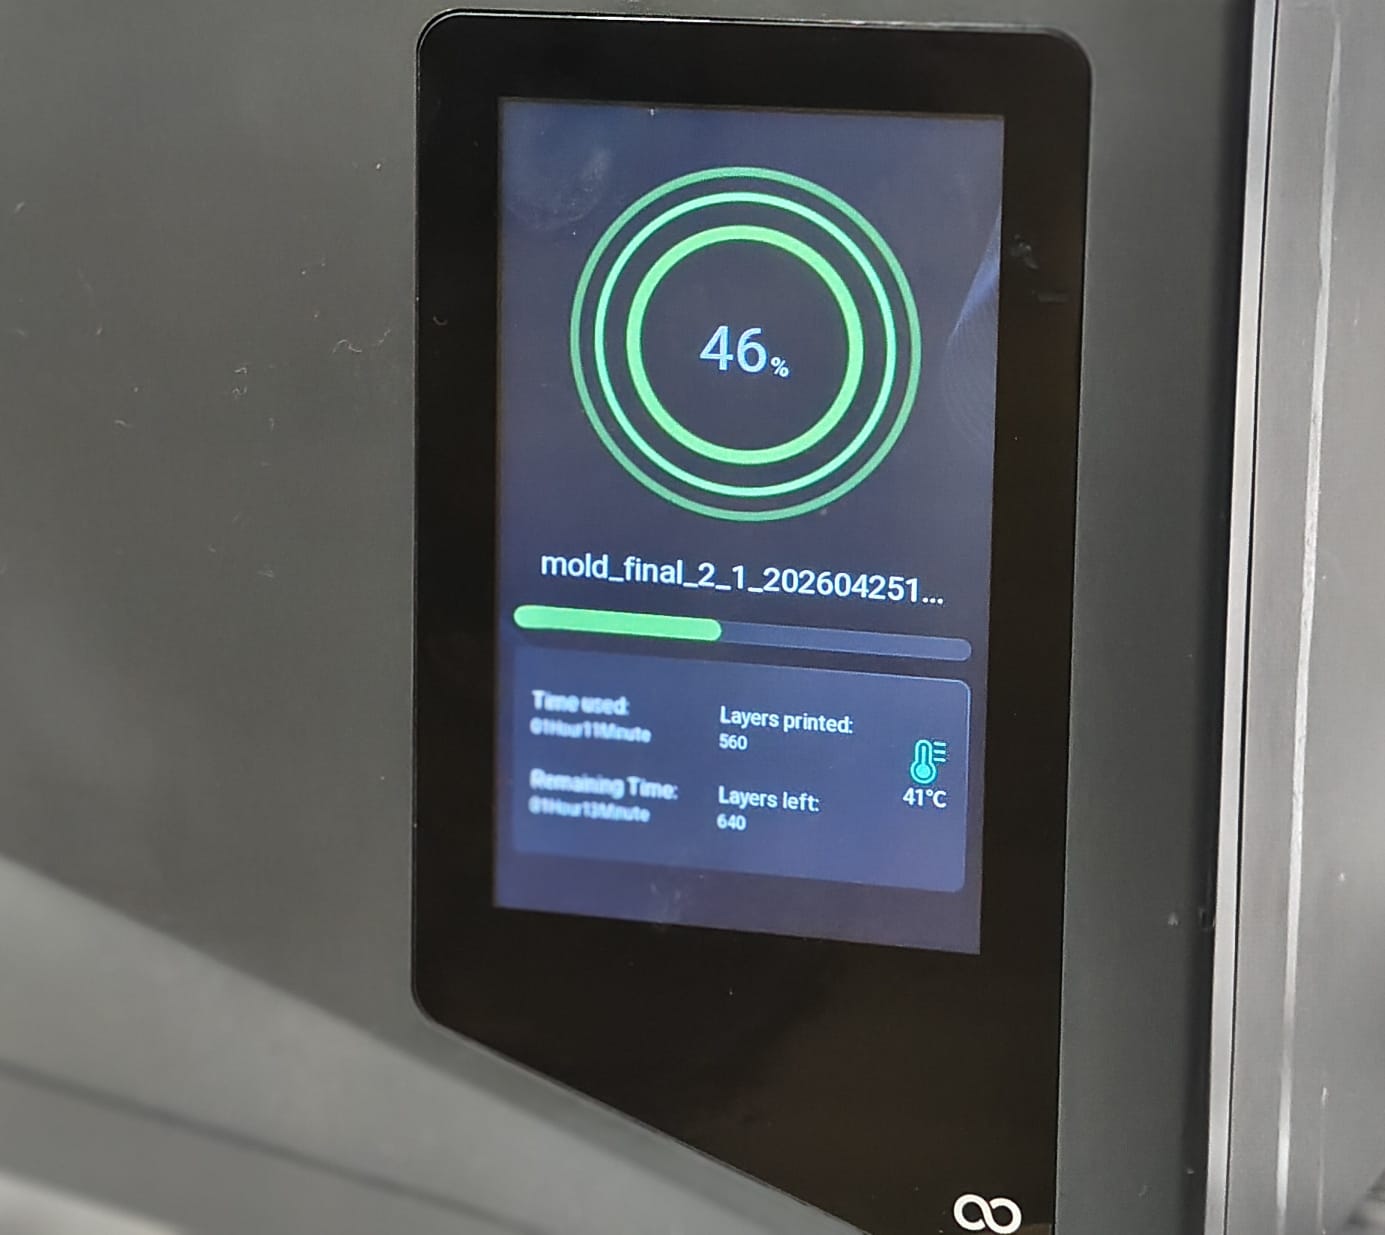
The slicing settings were finalized with a layer thickness of 50 um, resulting in a total of 1201 layers for the print.
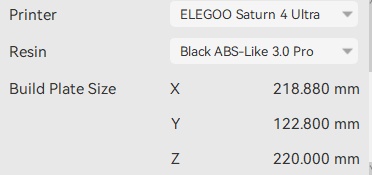
I selected the ELEGOO Saturn 4 Ultra printer and Black ABS-Like 3.0 Pro resin from esun before starting the slicing process.
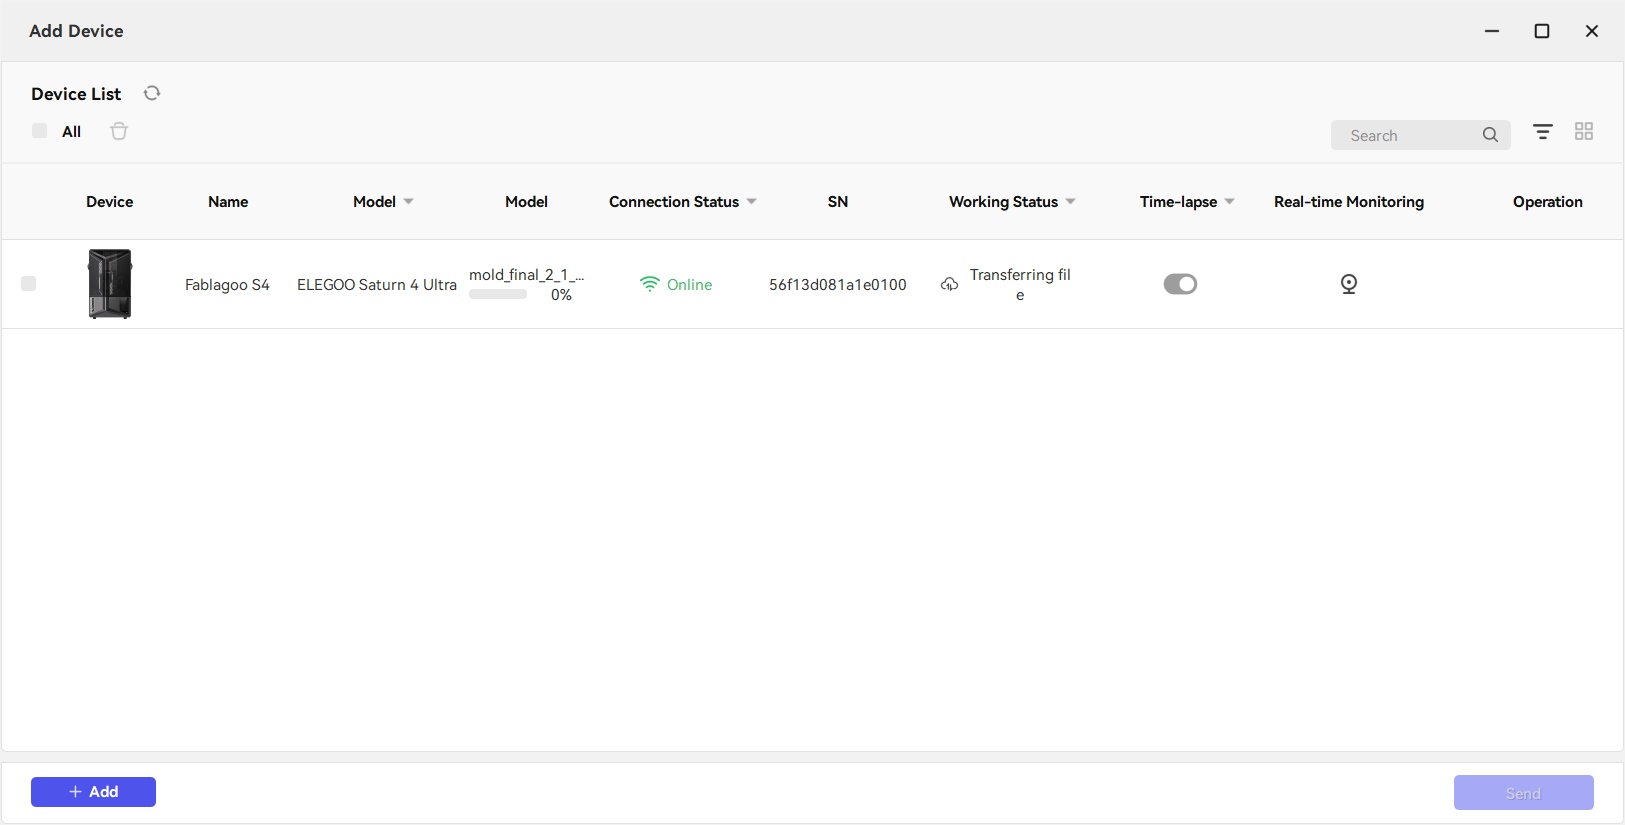
I transferred the sliced file to the ELEGOO Saturn 4 Ultra printer through the network connection to begin the printing process.
printing started
mold after printing
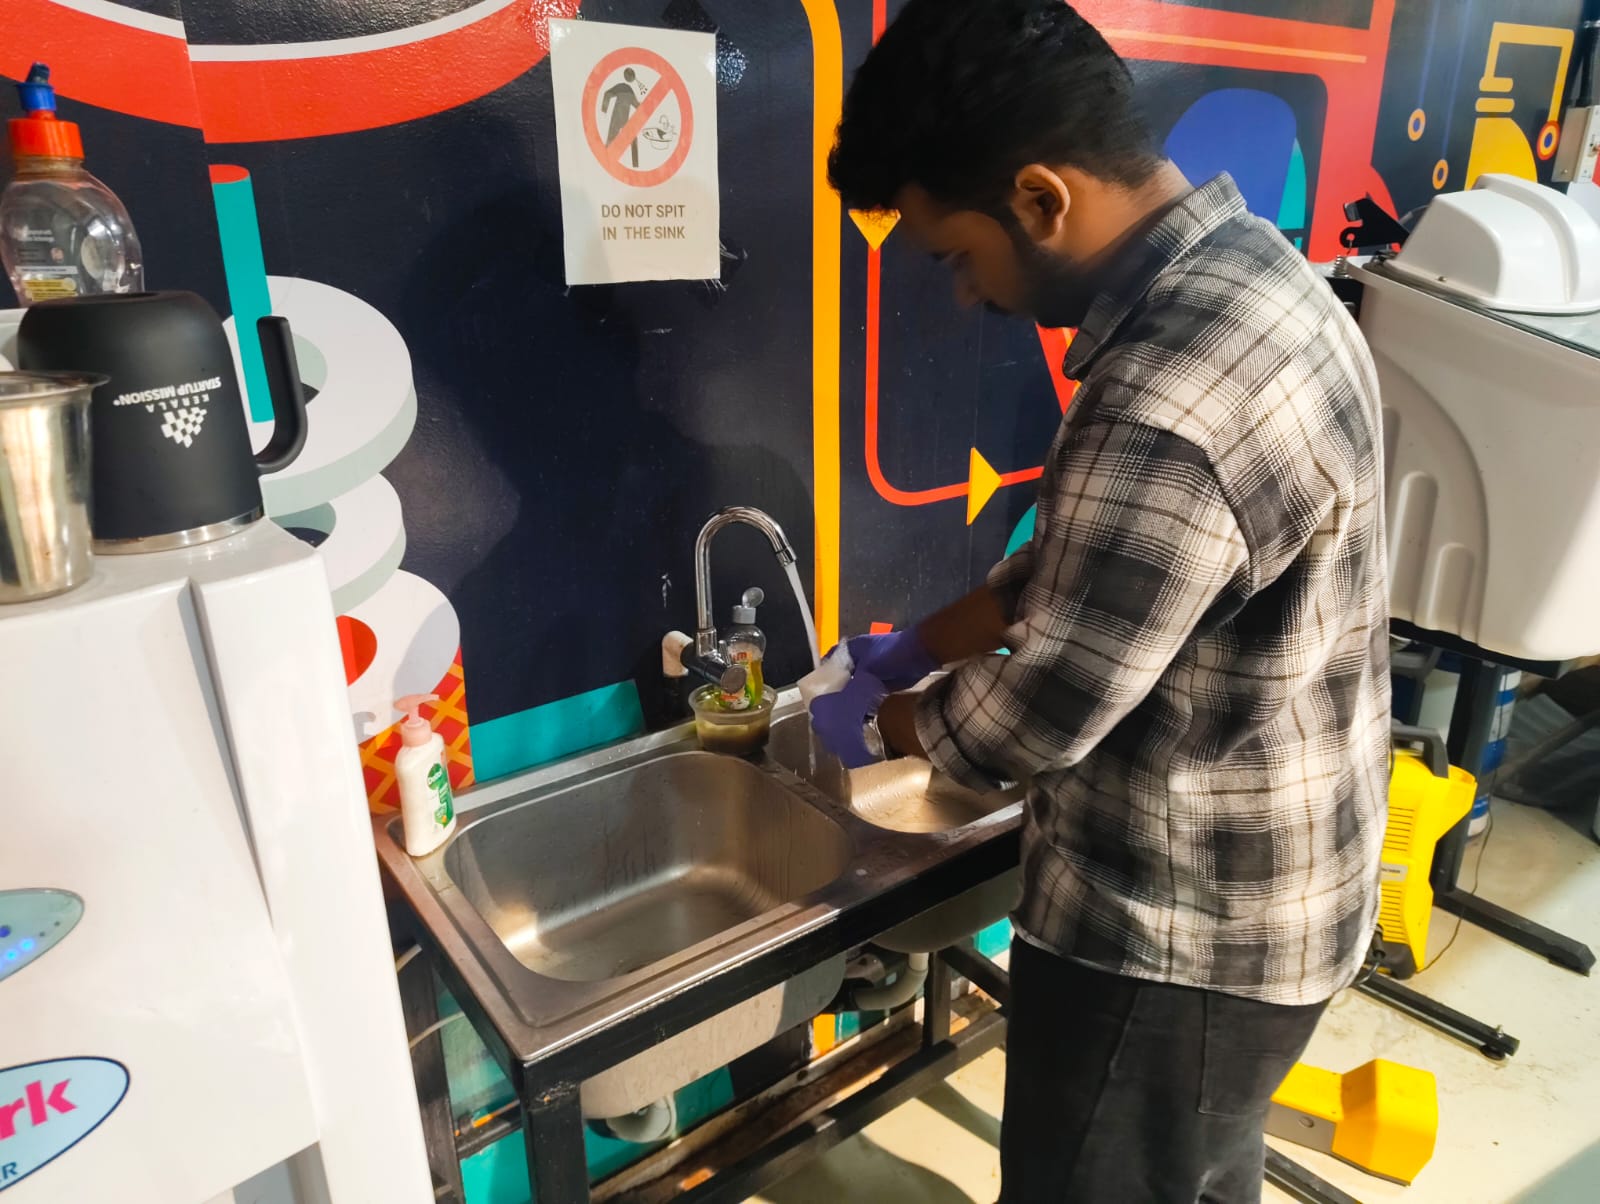
Using a scraper and isopropyl alcohol, the model was removed from the build
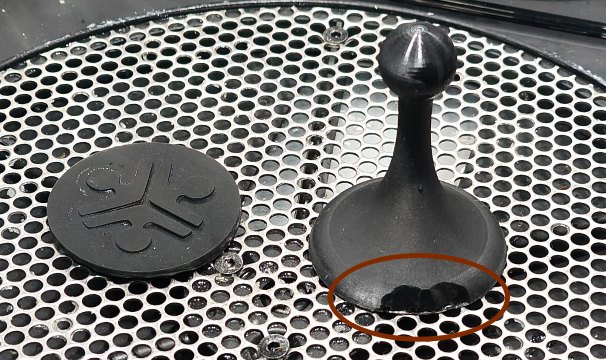
while removing from the build plate some damage was caused by the scraping process.
after removing the model from the build plate next need to keep model in uv chamber to cure the model with out cure model may get soft or deform
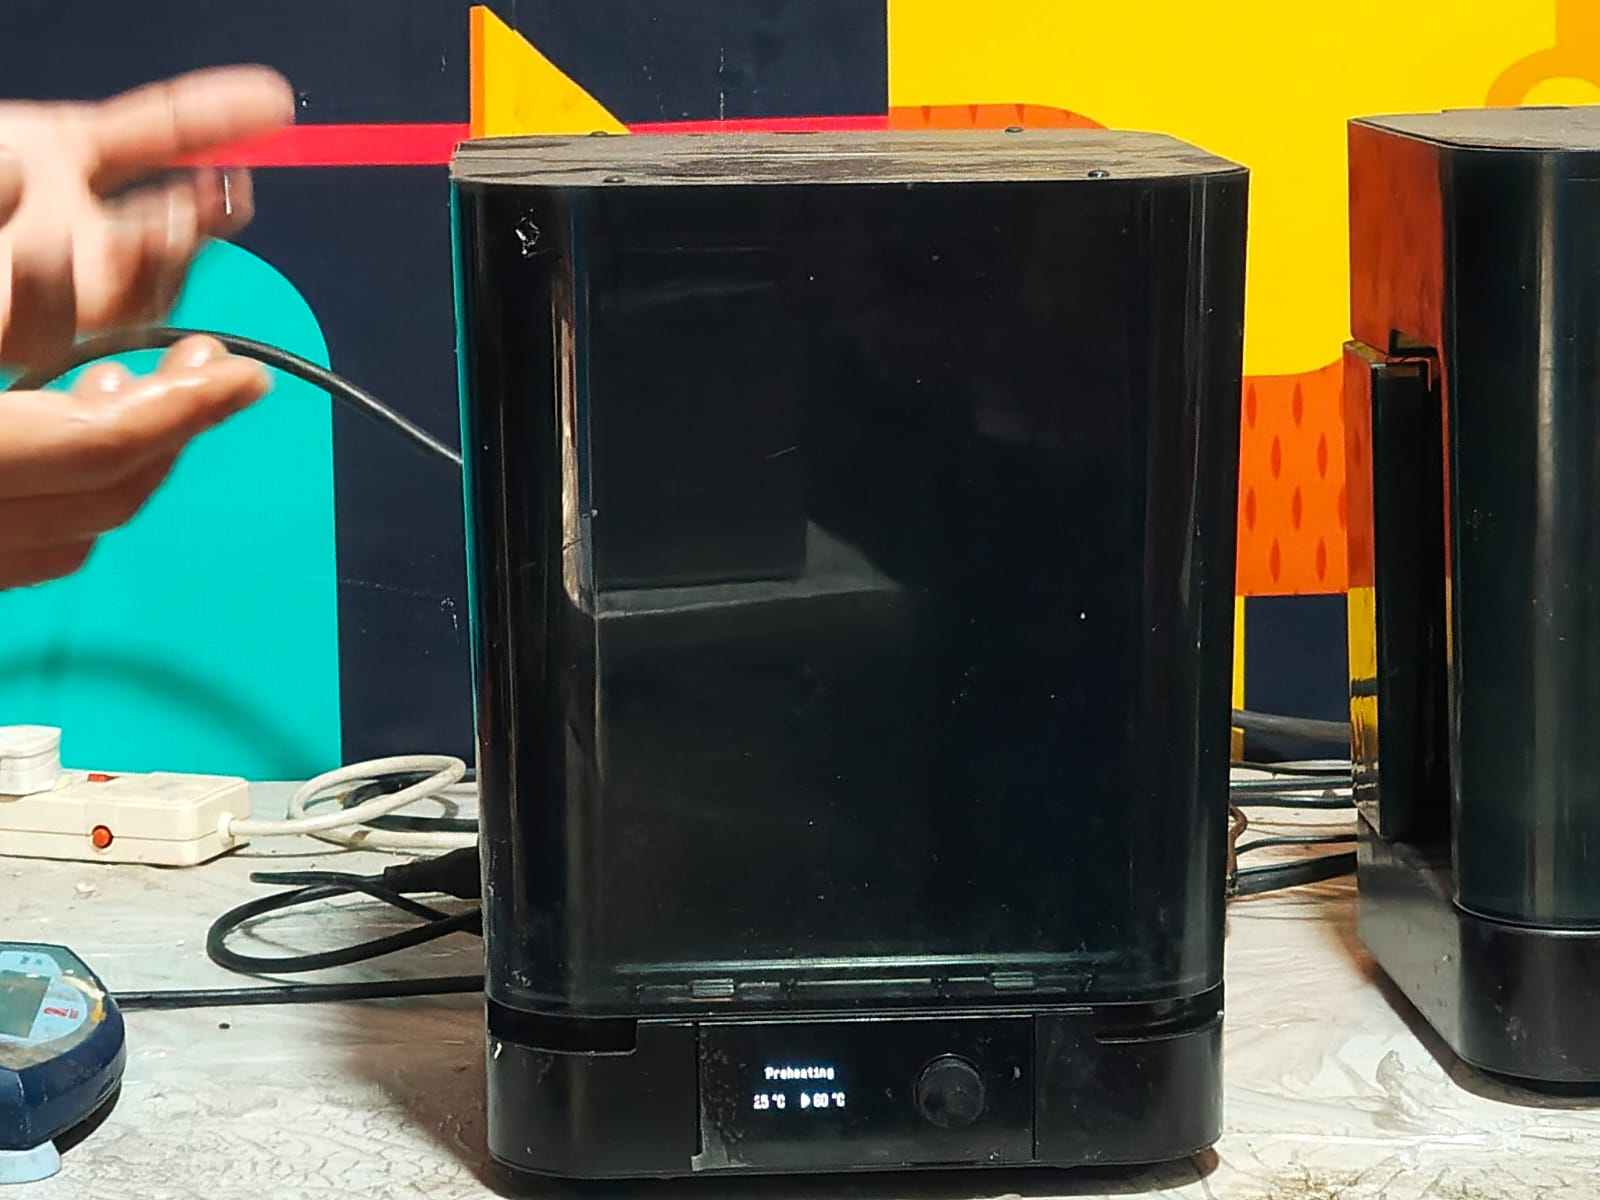
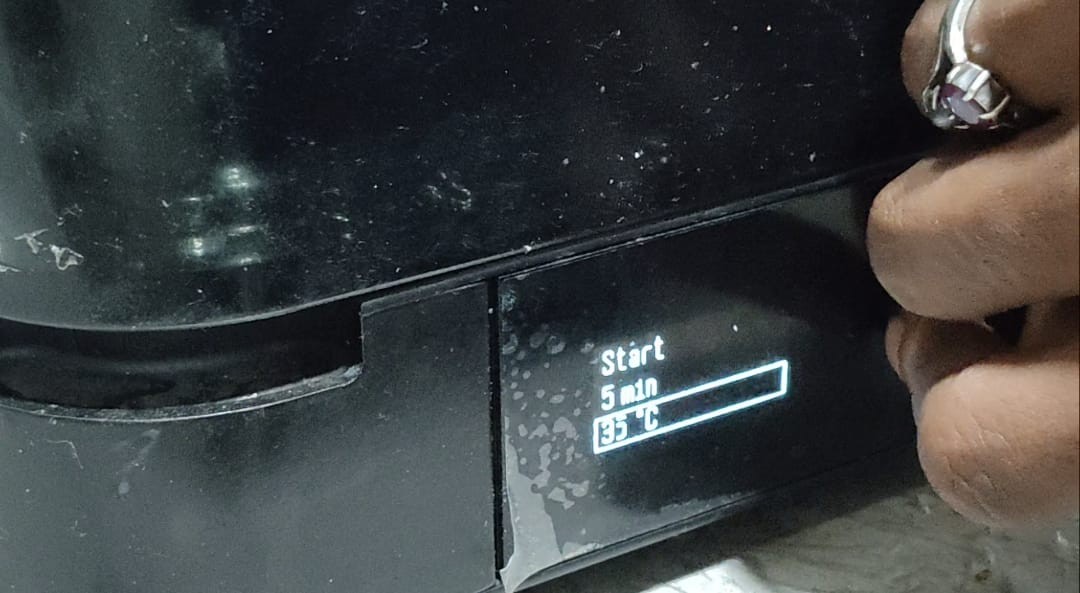
for cureing the model i put temperature at 35°C and exposure time at 5 minutes
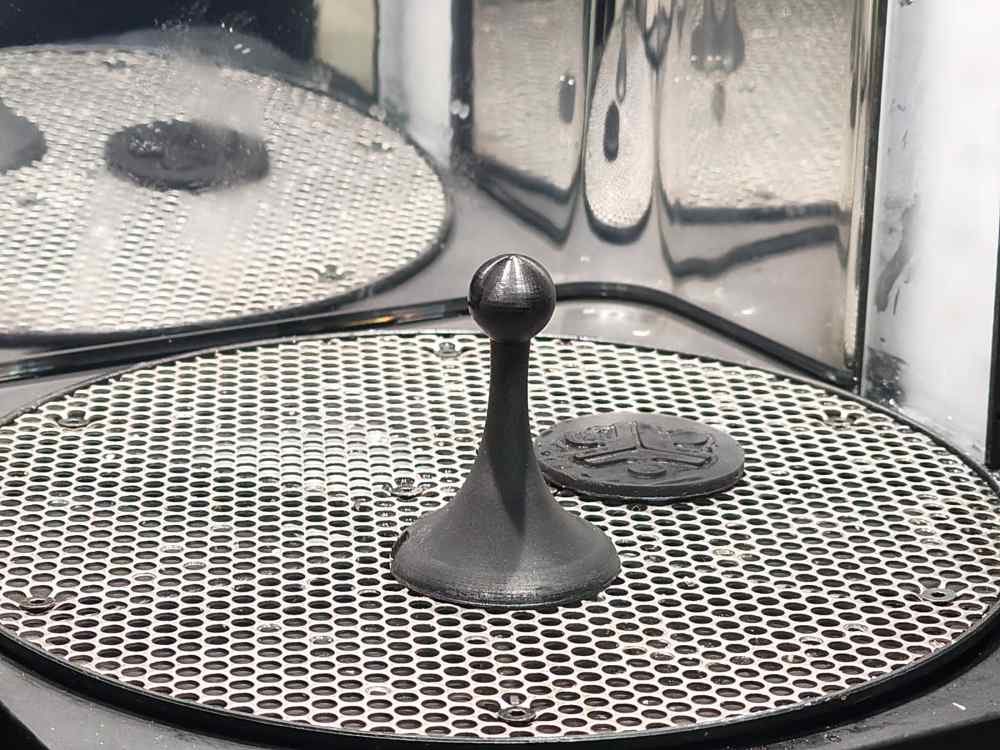
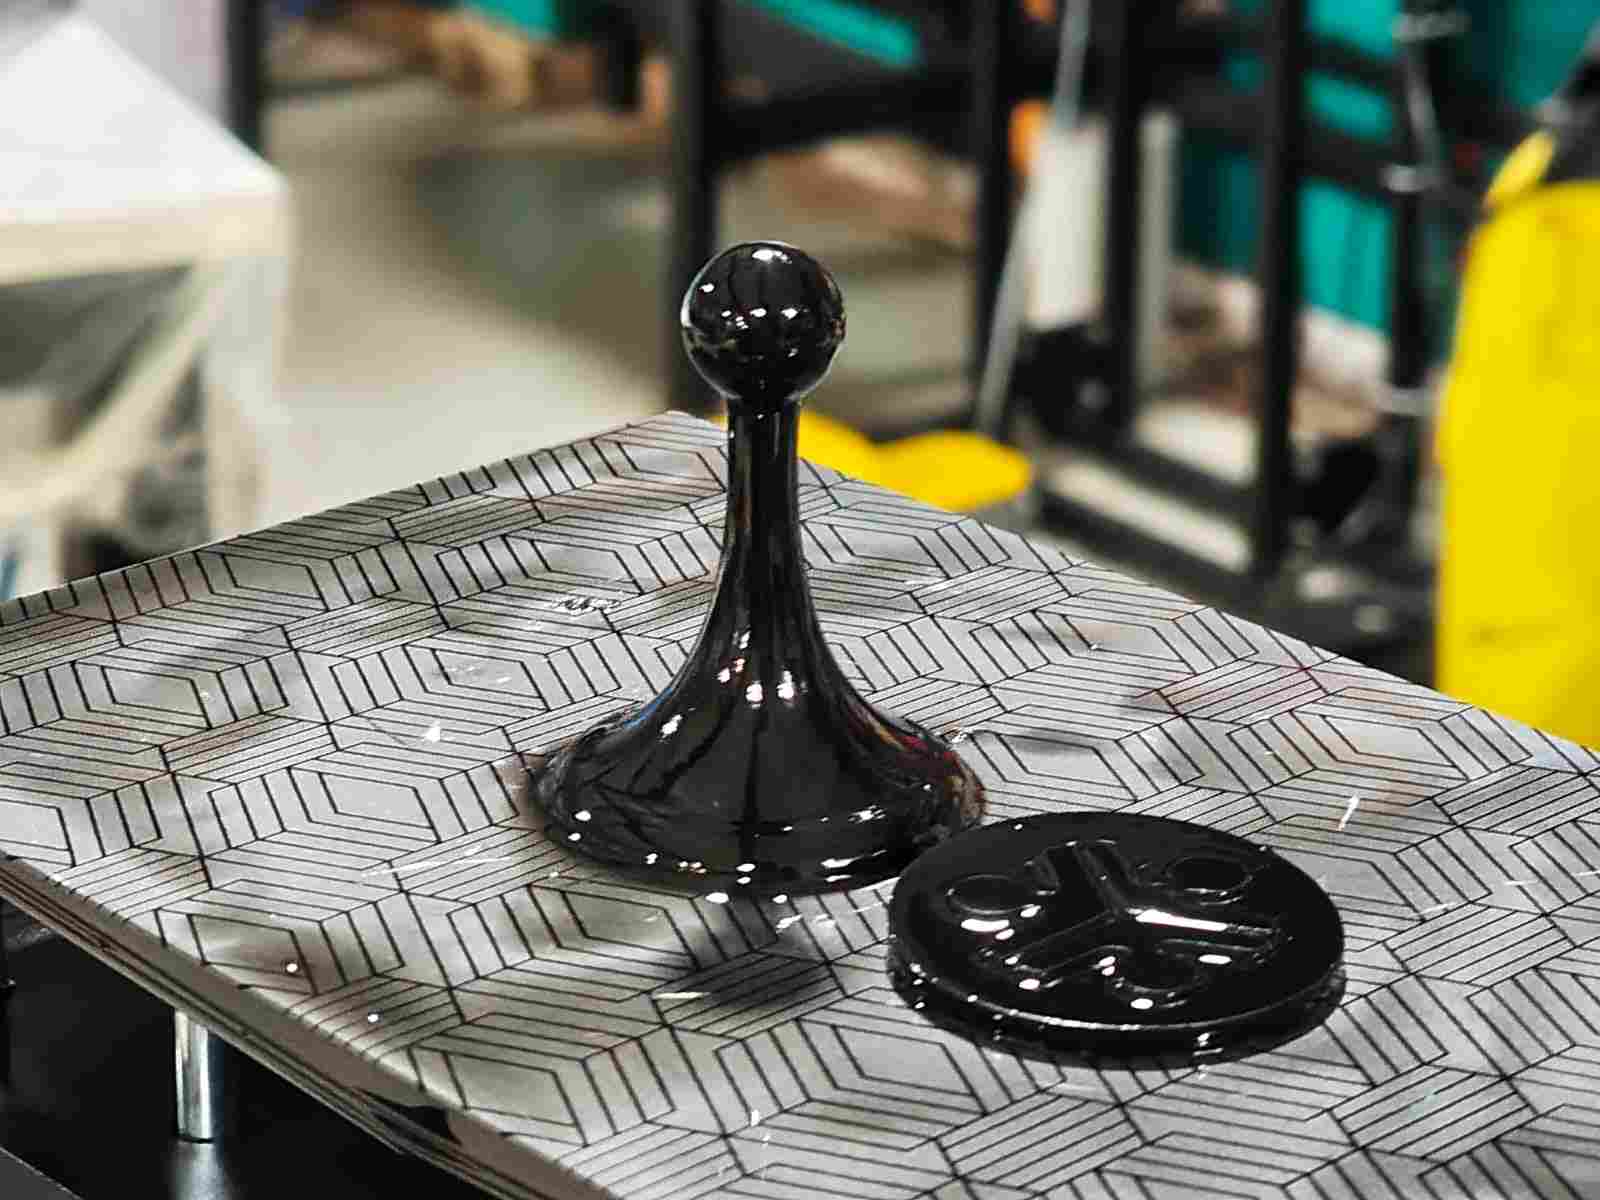
this is how looks after curing
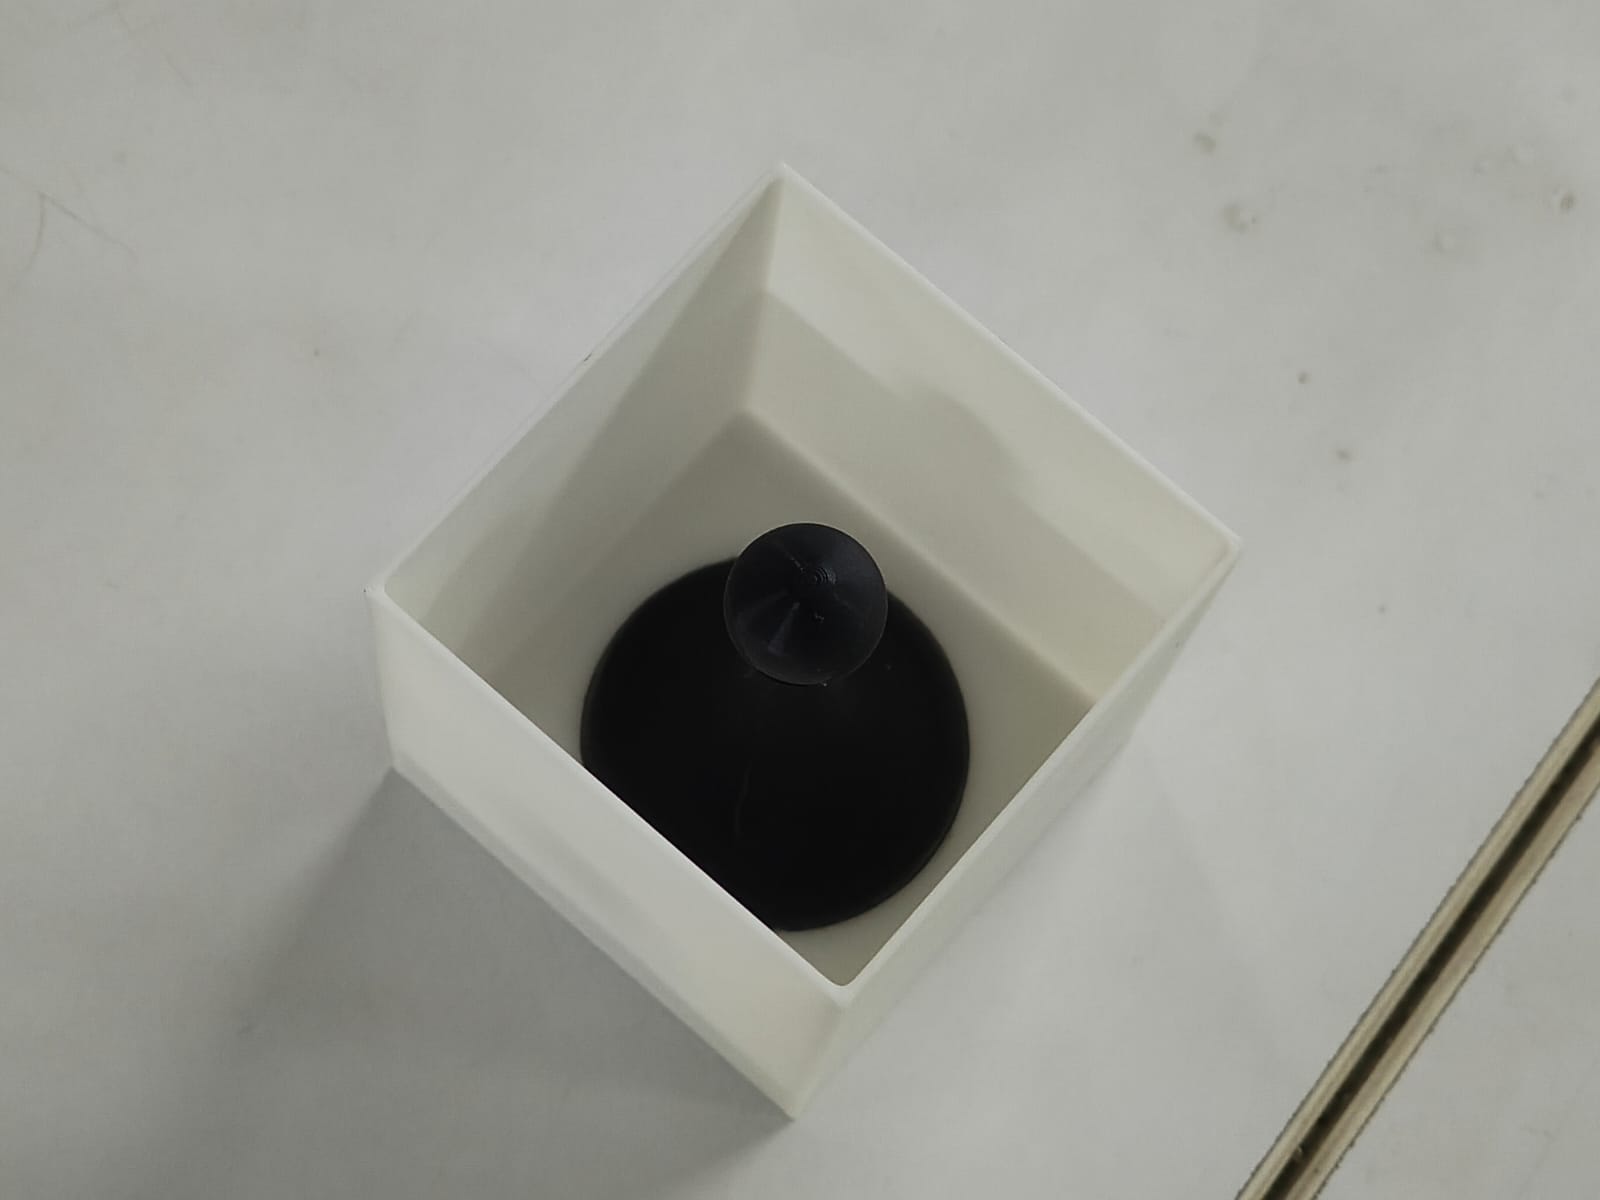
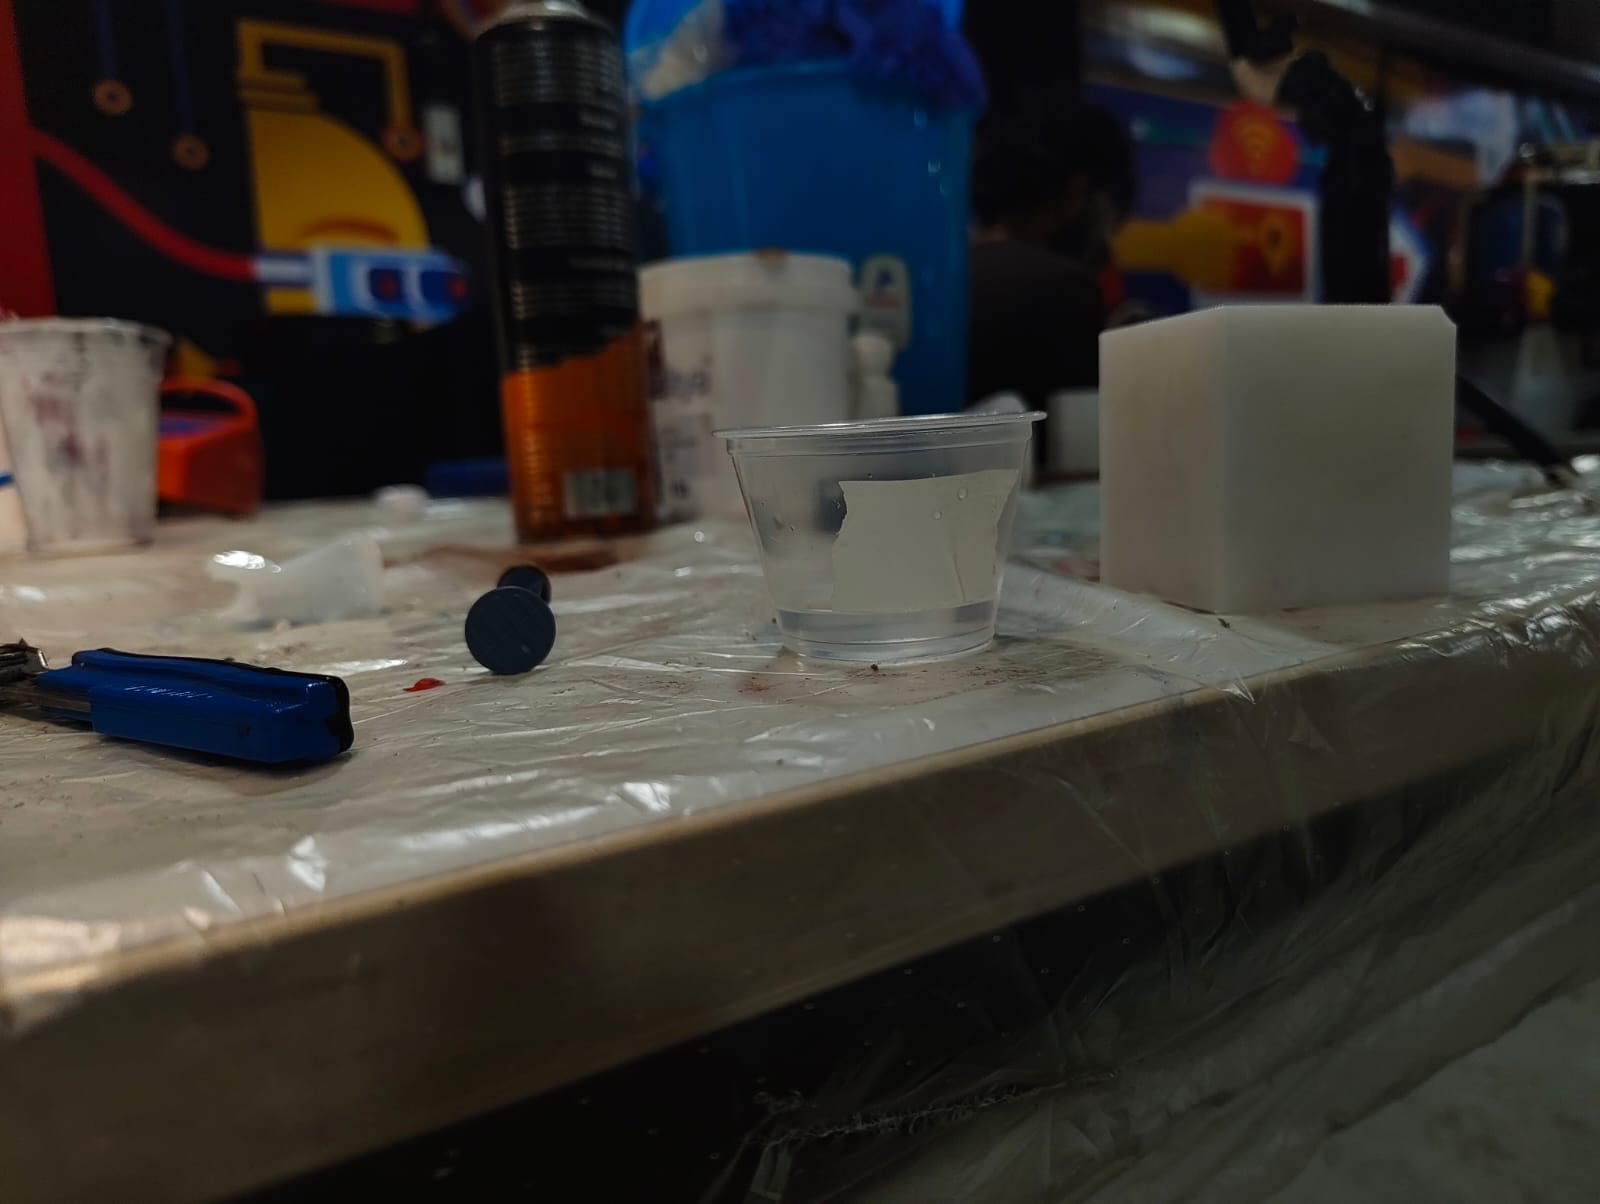
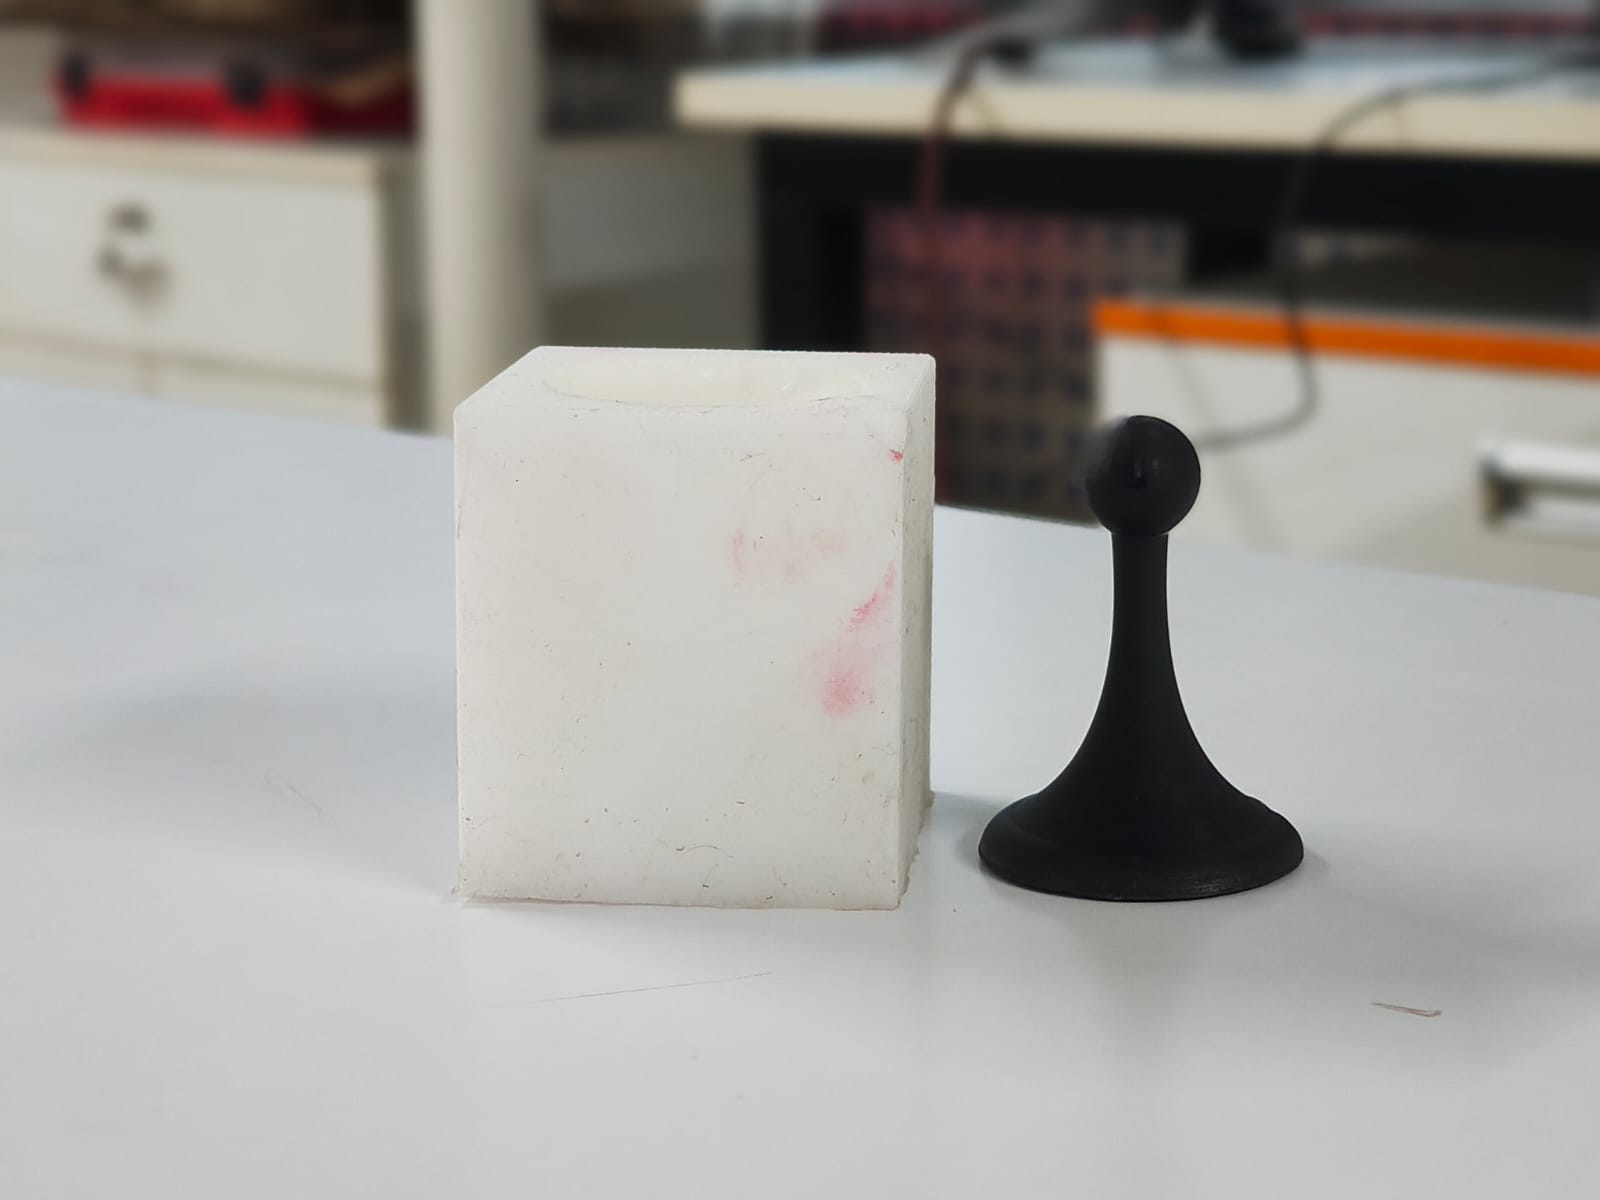
after curing I made rectangular shape box for molding silicone size of 55mm x 55mm x 60mm after that i 3d printed the box with 1mm wall thickness 5% infill with esun pla white filament
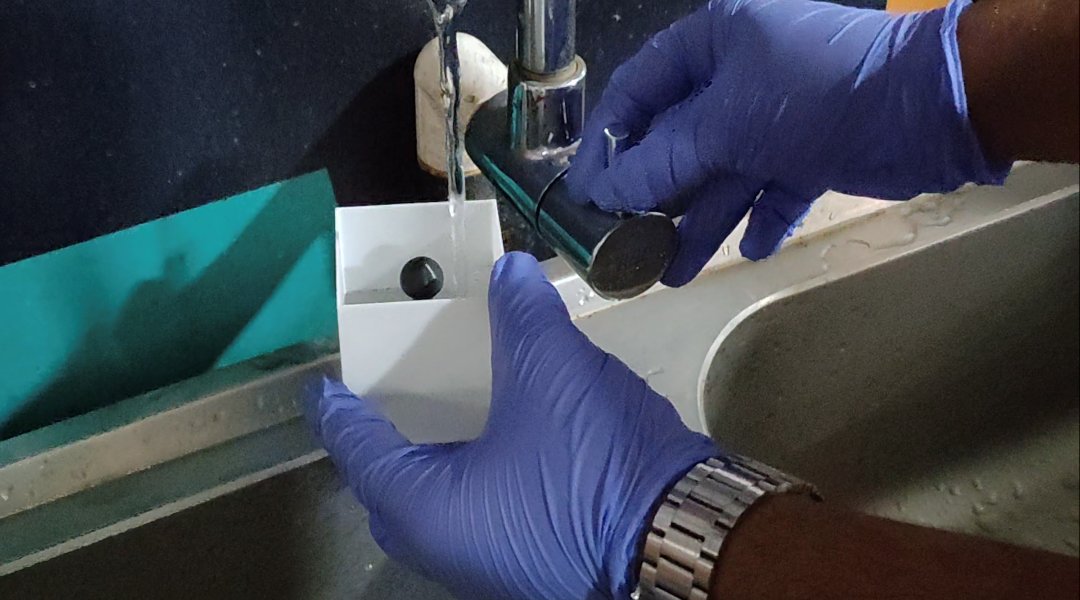
using double side tape to secure the model in the mold i stick the model to the base
Remove the sticker from the model and fix model centre of the box
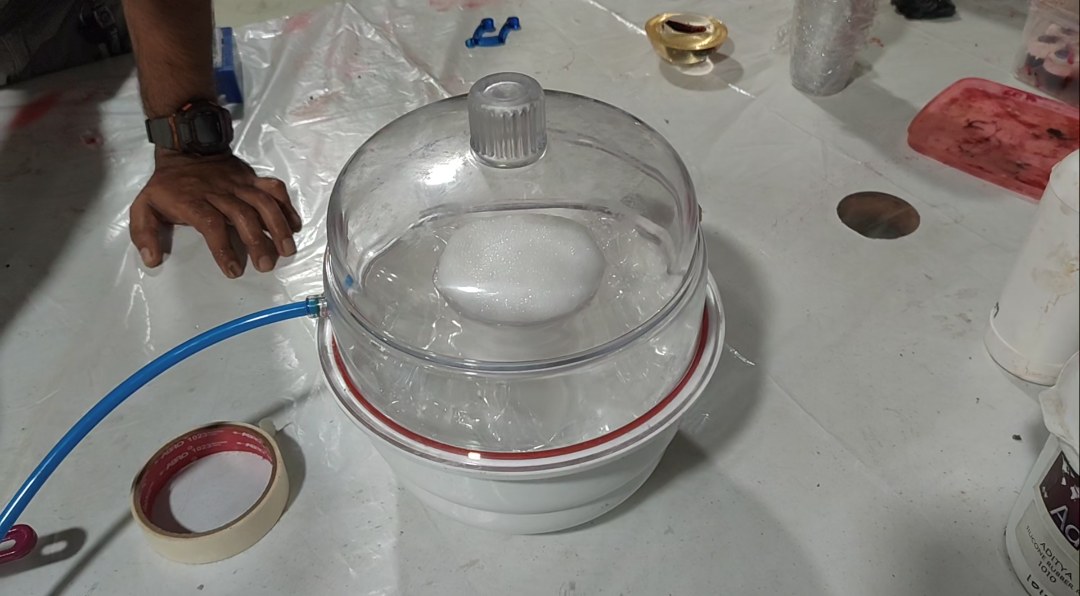
Silicone Molding
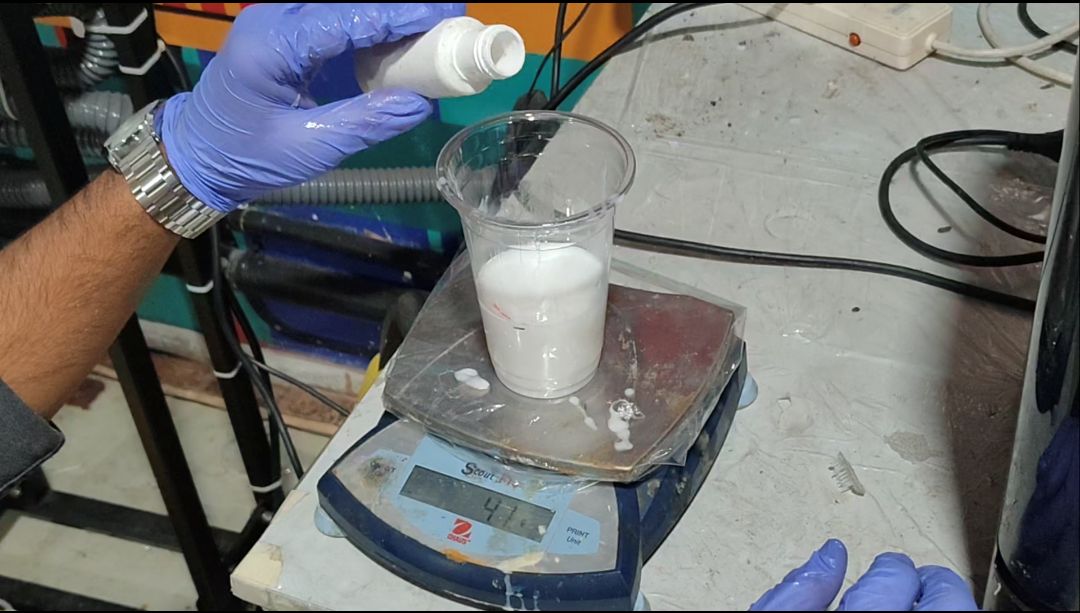
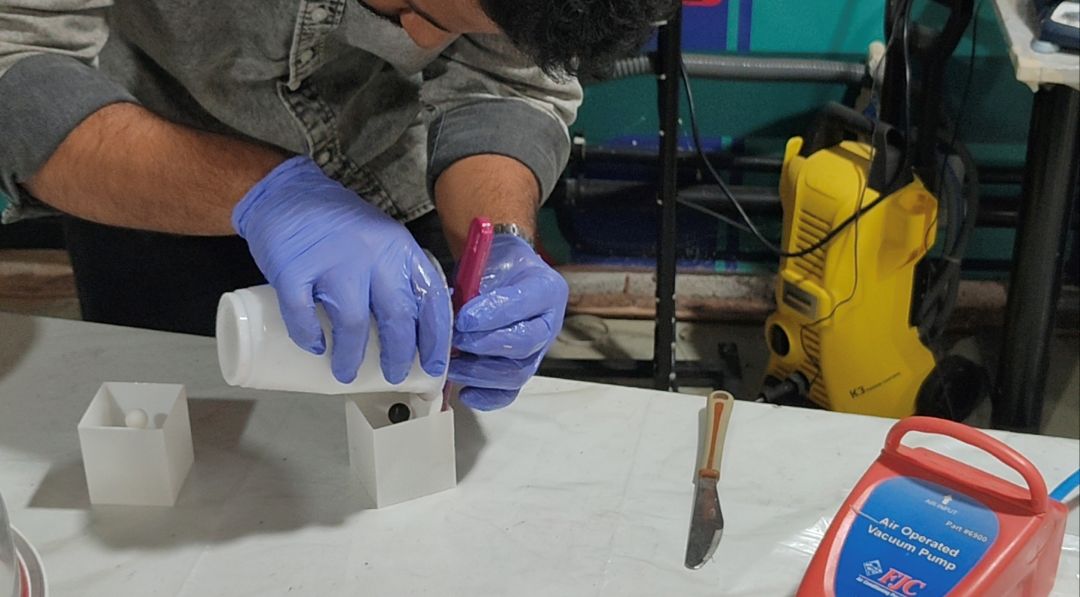
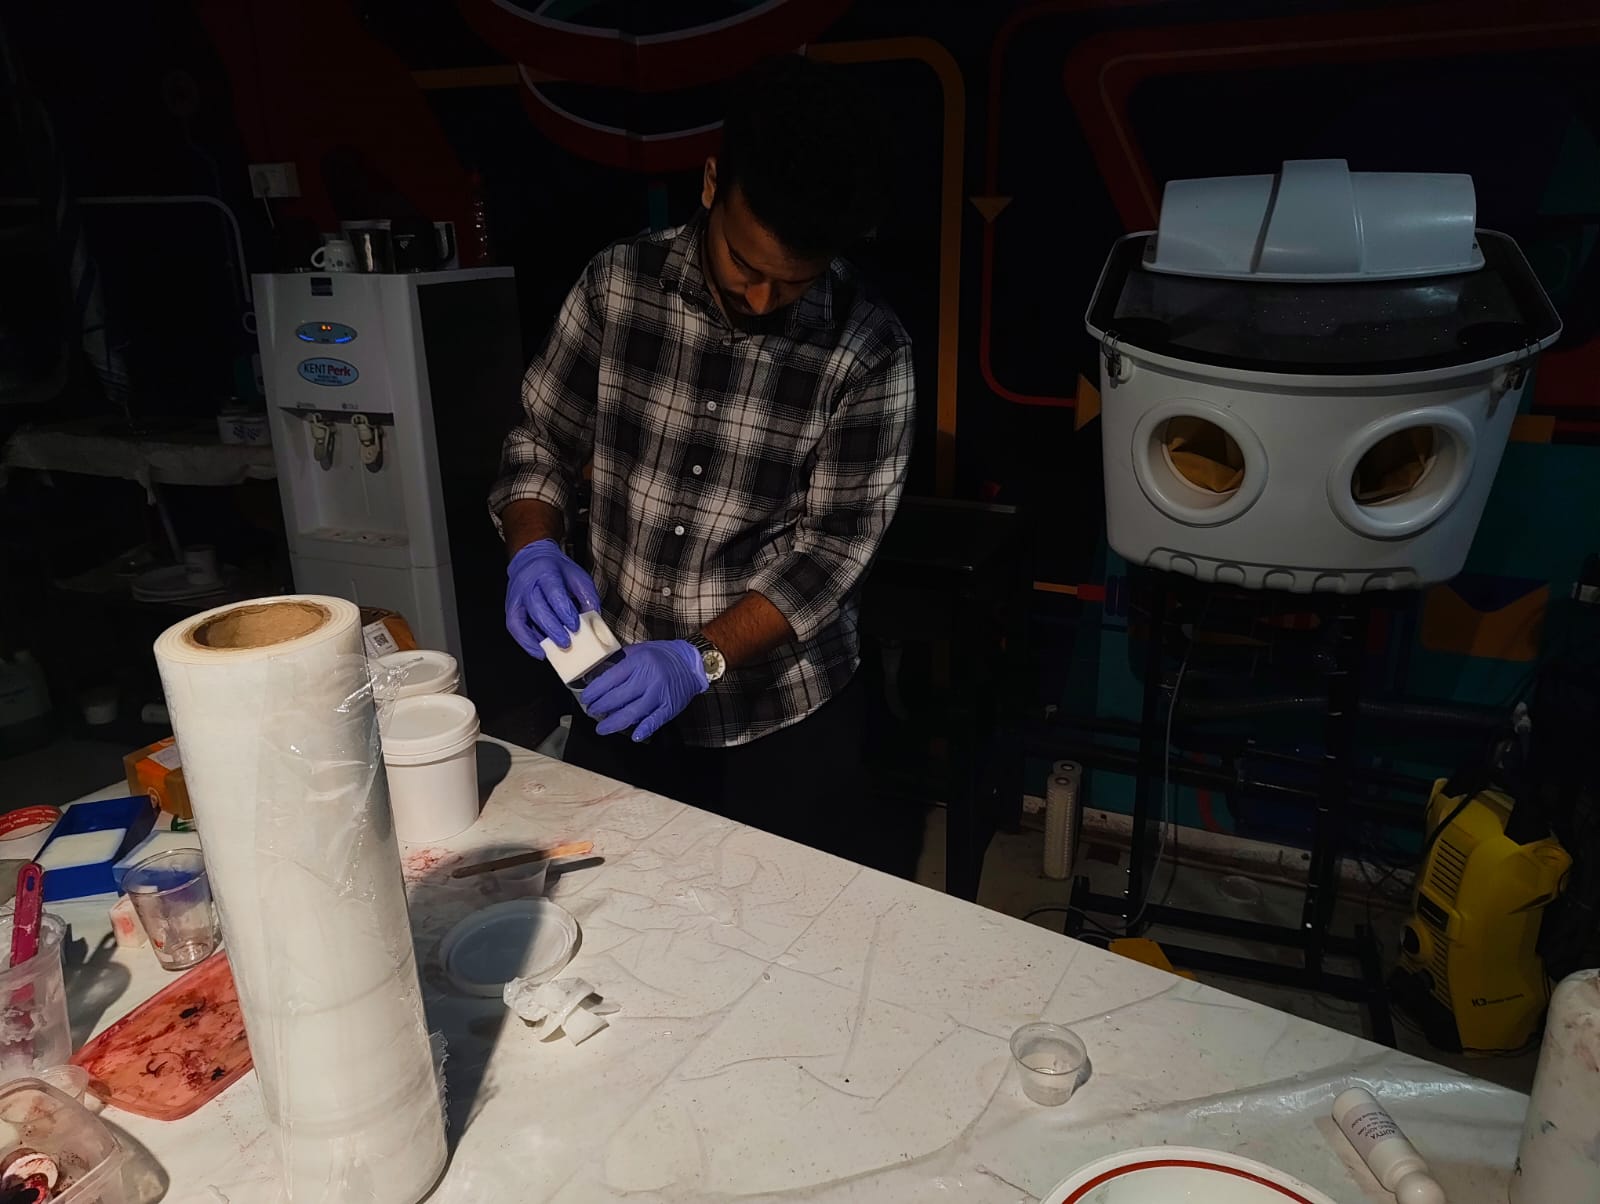
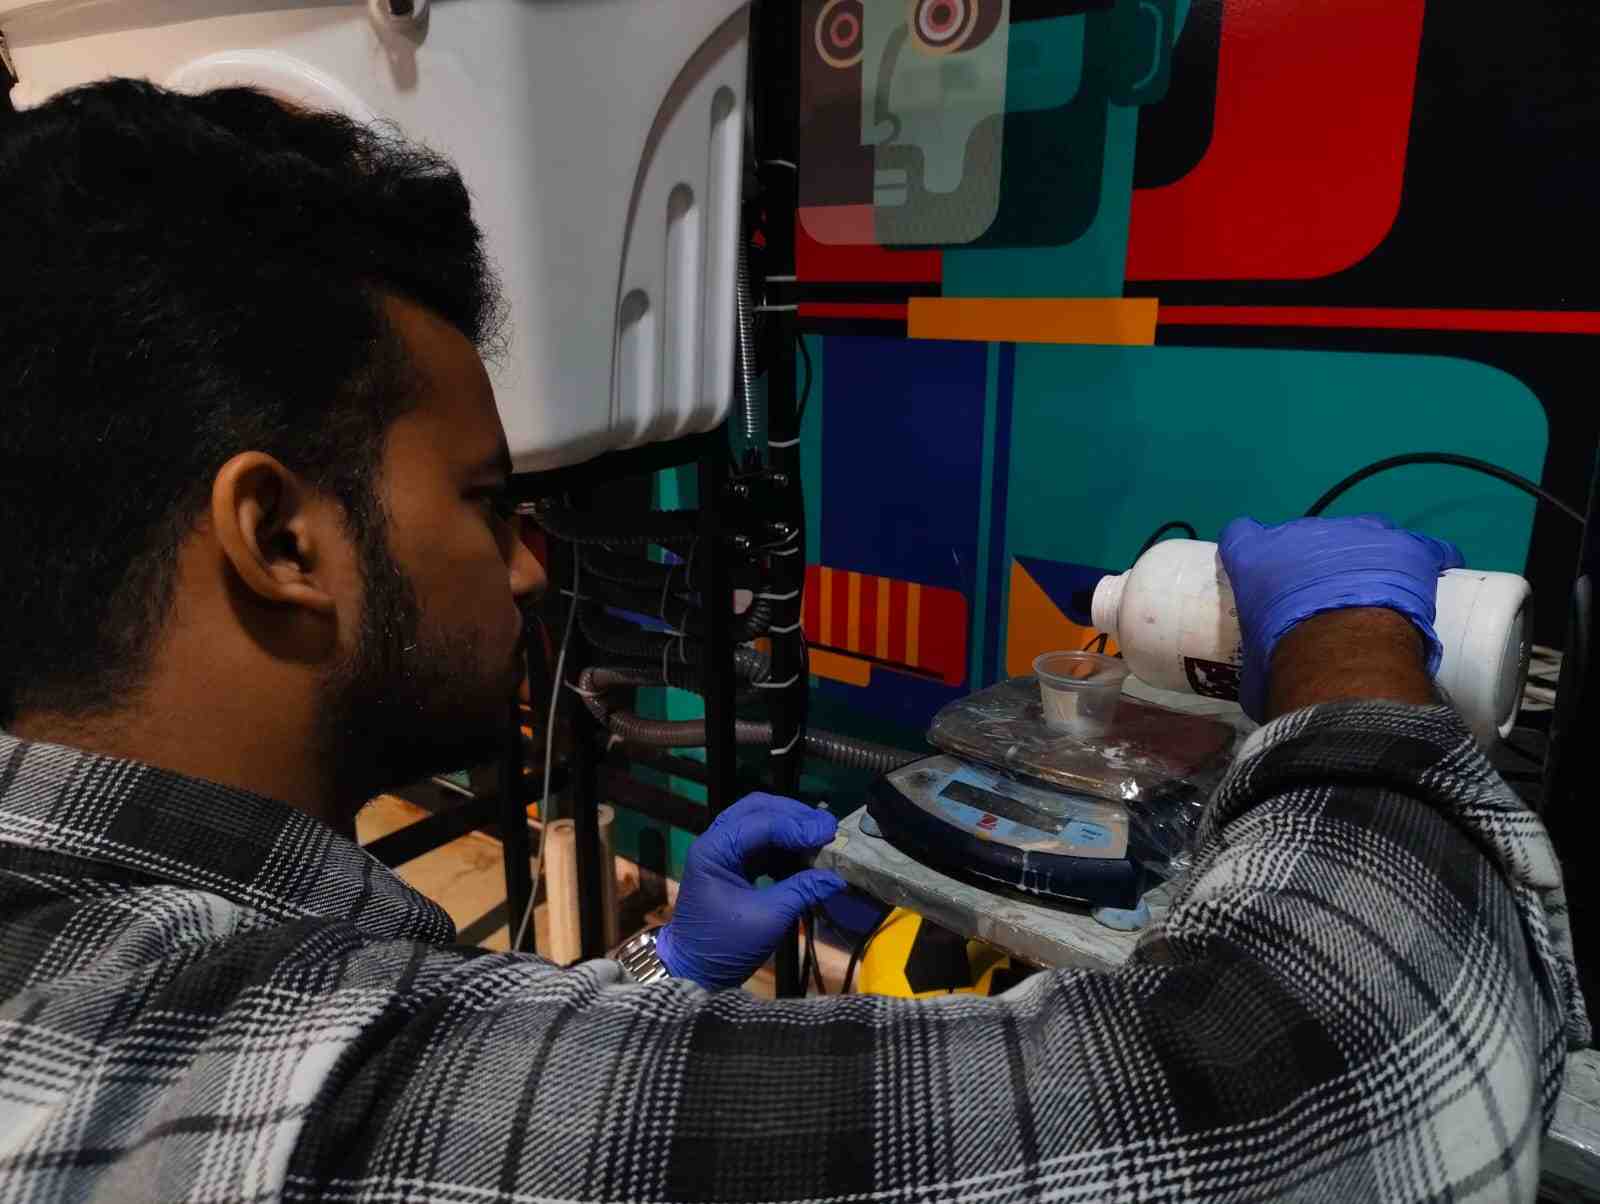
1st we need to know the volume of silicone required for the mold
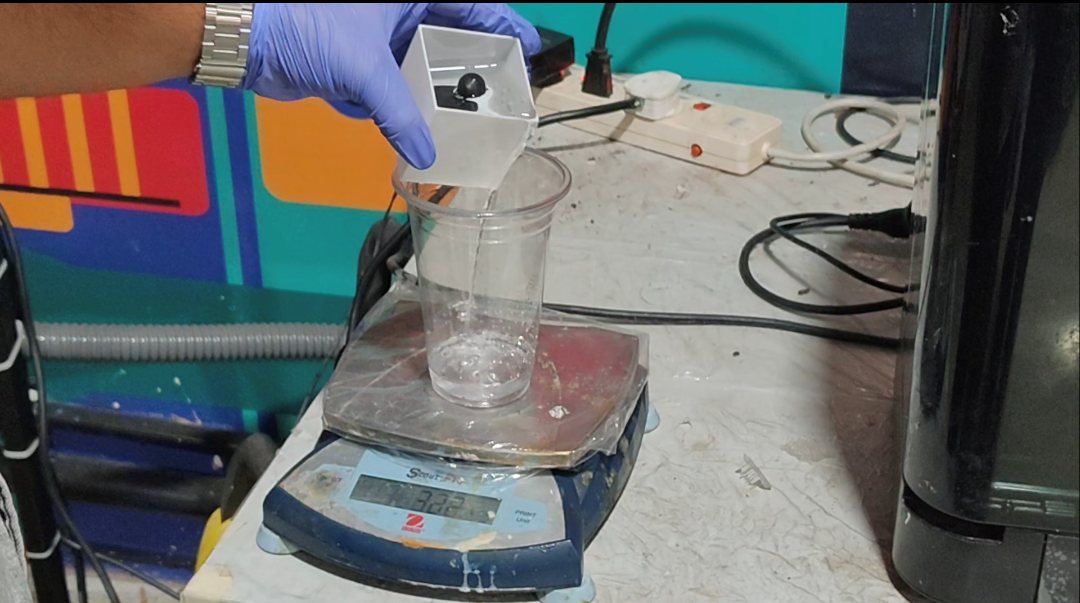
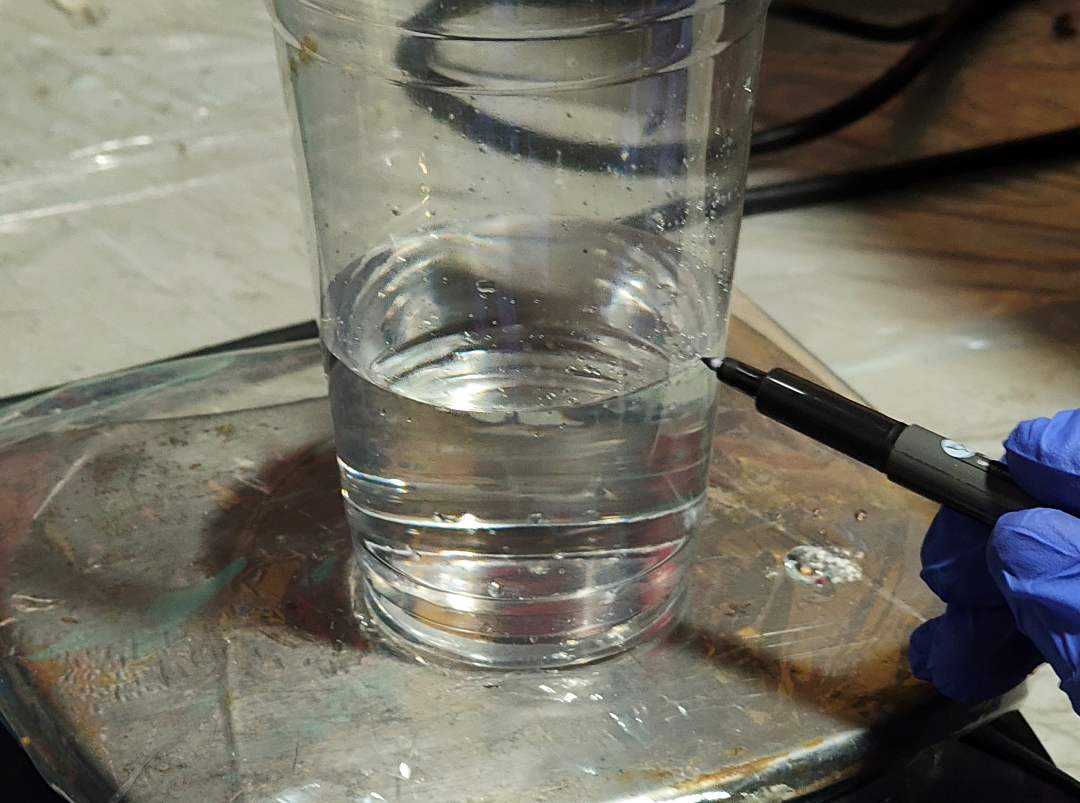
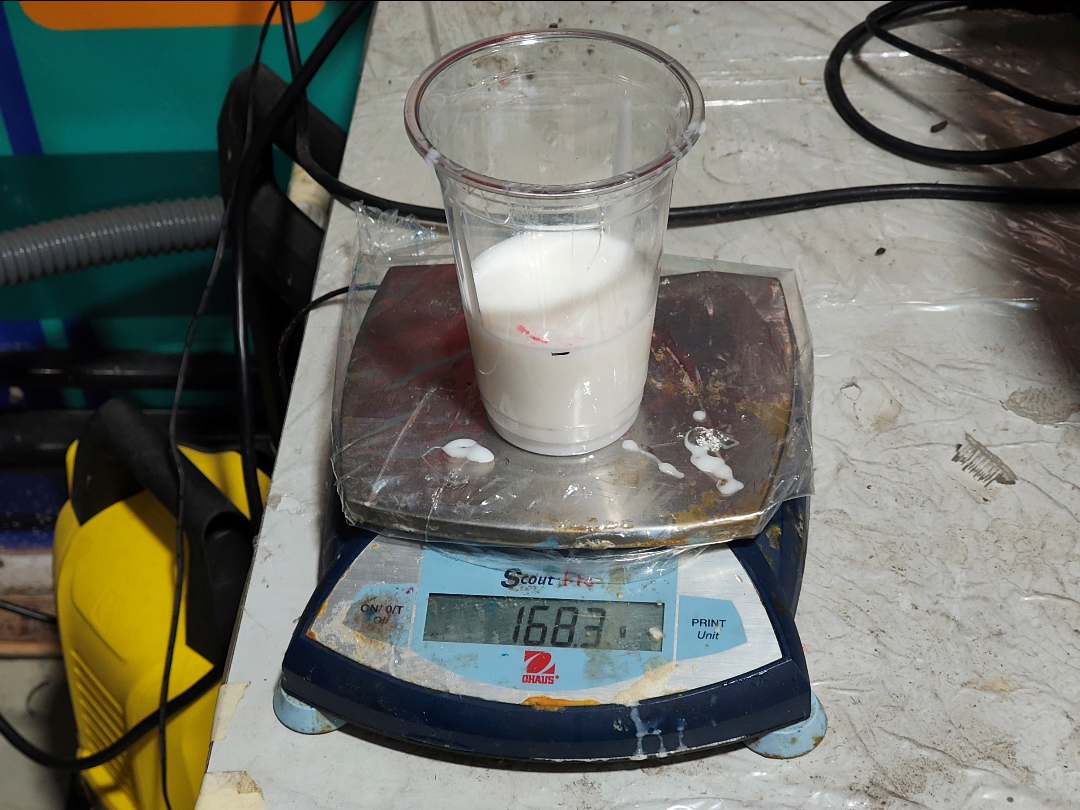
To calculate the required hardener amount, I used a ratio calculator. The original silicone mixing ratio was 1000 g silicone : 25 g hardener. Since I only needed 168.3 g of silicone, I calculated the corresponding hardener amount using the same ratio.
Calculation:
1000 : 25 = 168.3 : X
X = (168.3 × 25) / 1000
X = 4.21 g
Therefore, for 168.3 g of silicone, I added 4.21 g of hardener to maintain the correct mixing ratio.

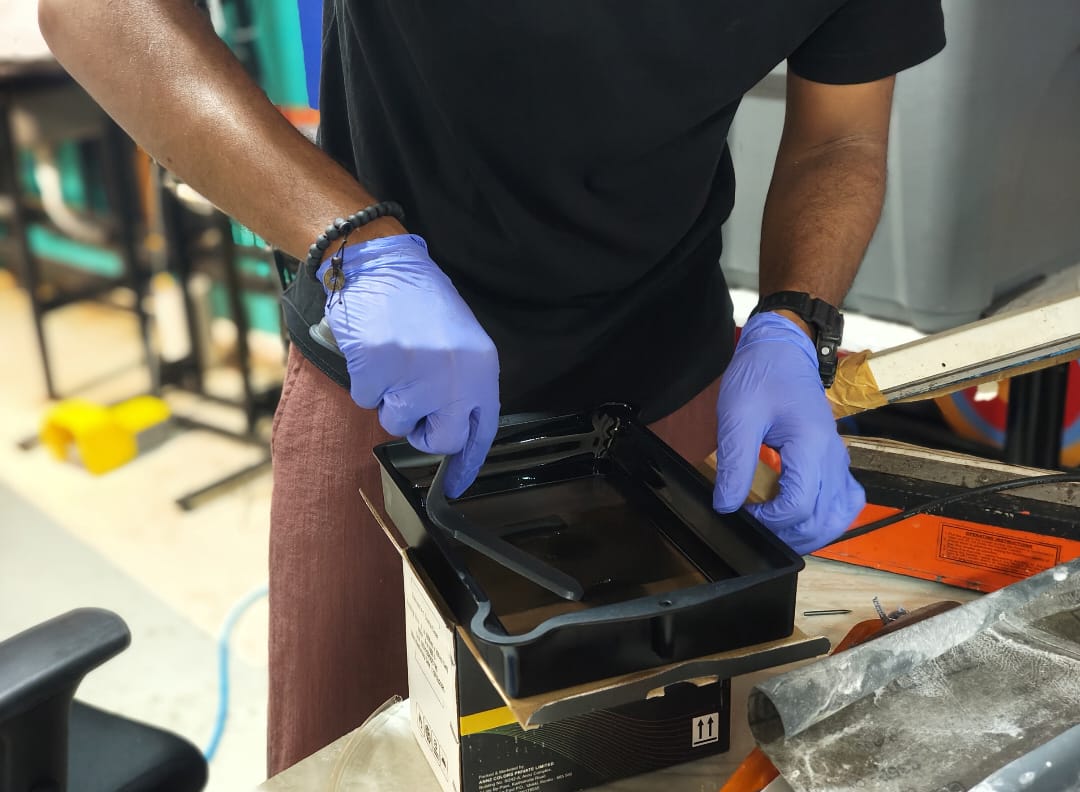
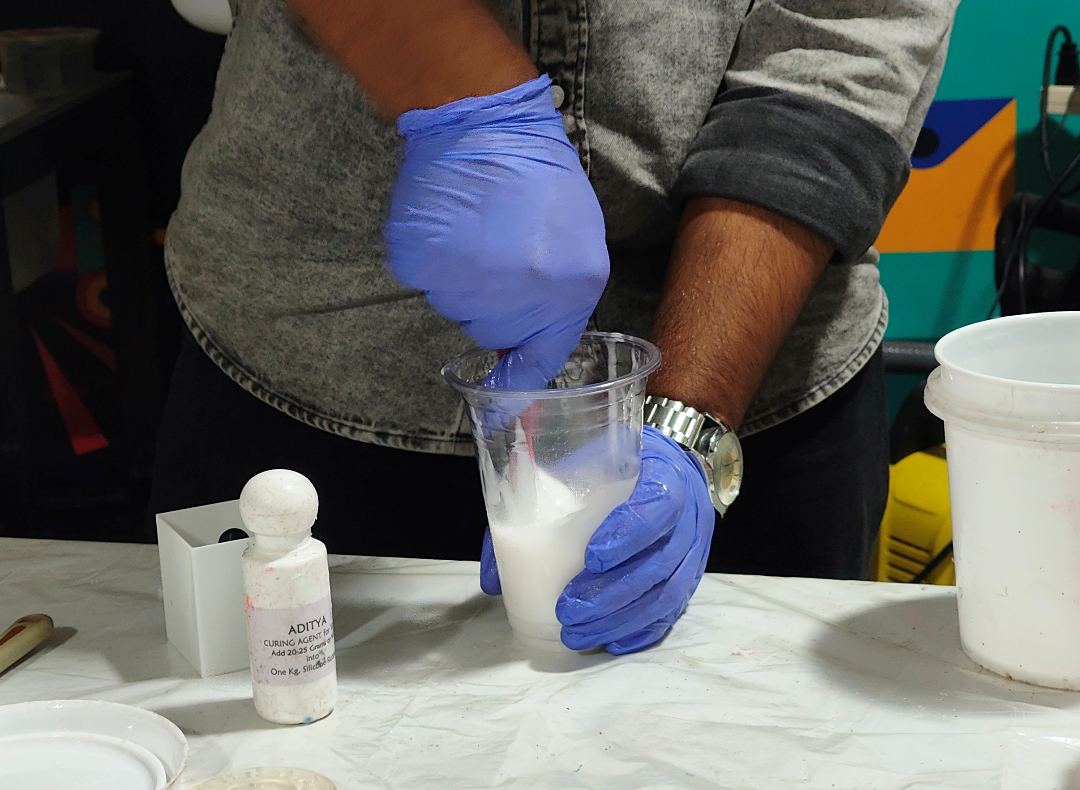
Now I will proceed with the silicone molding process.Here Iam using Aditya Silicone
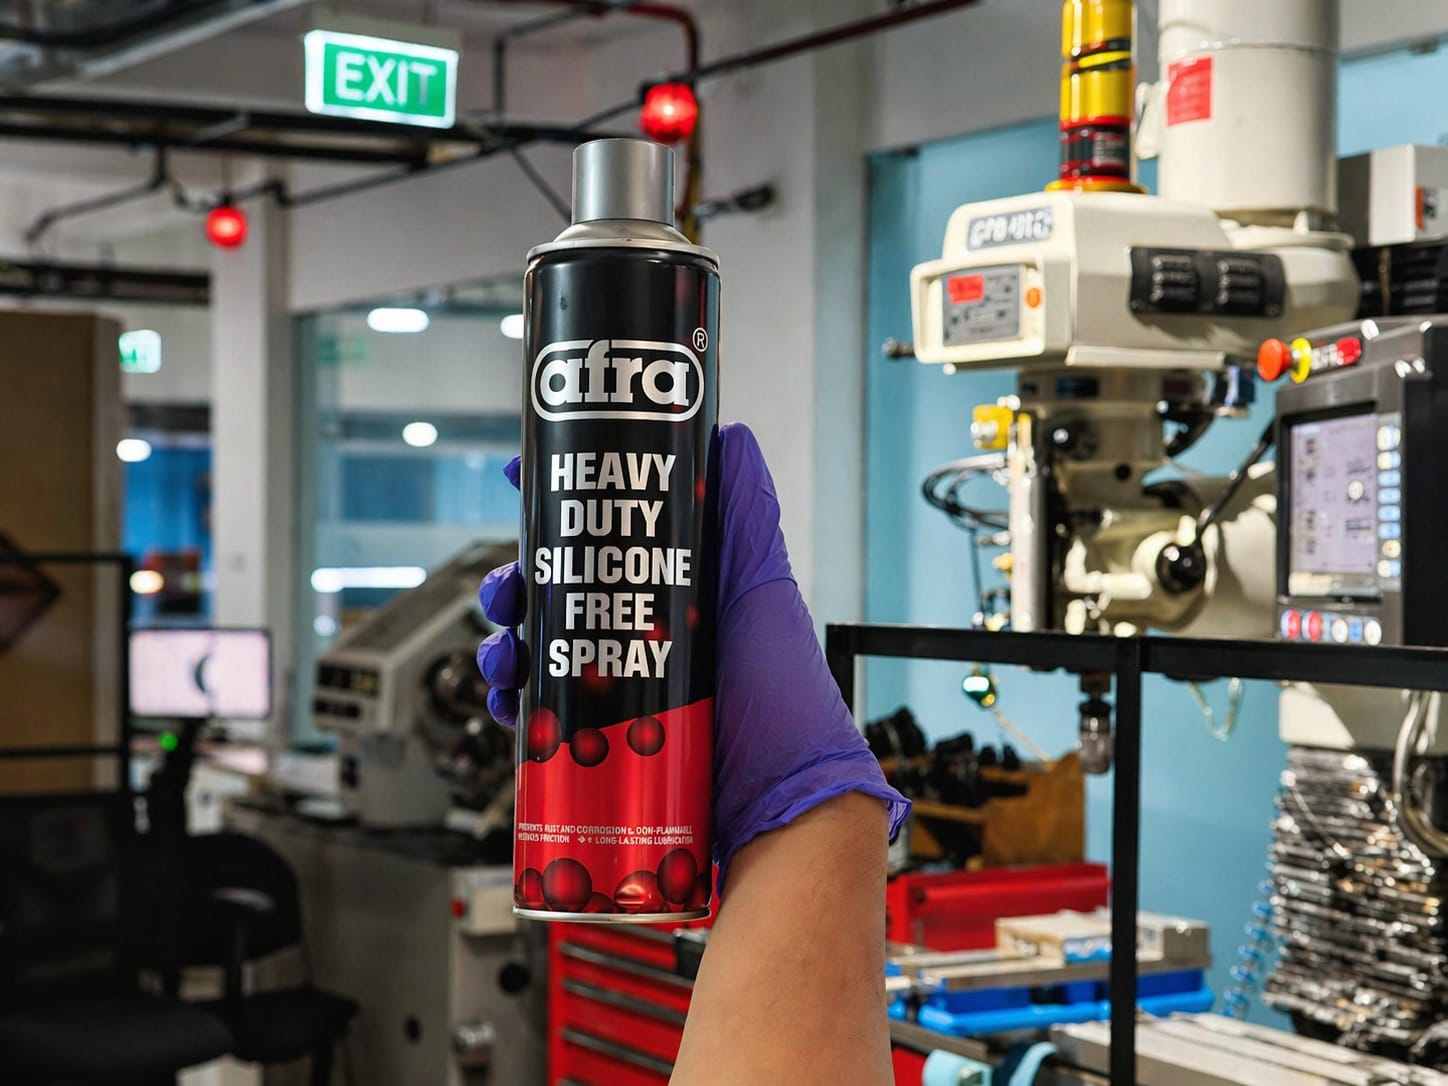
Note: I forgot to take image of the releasing agent sparying
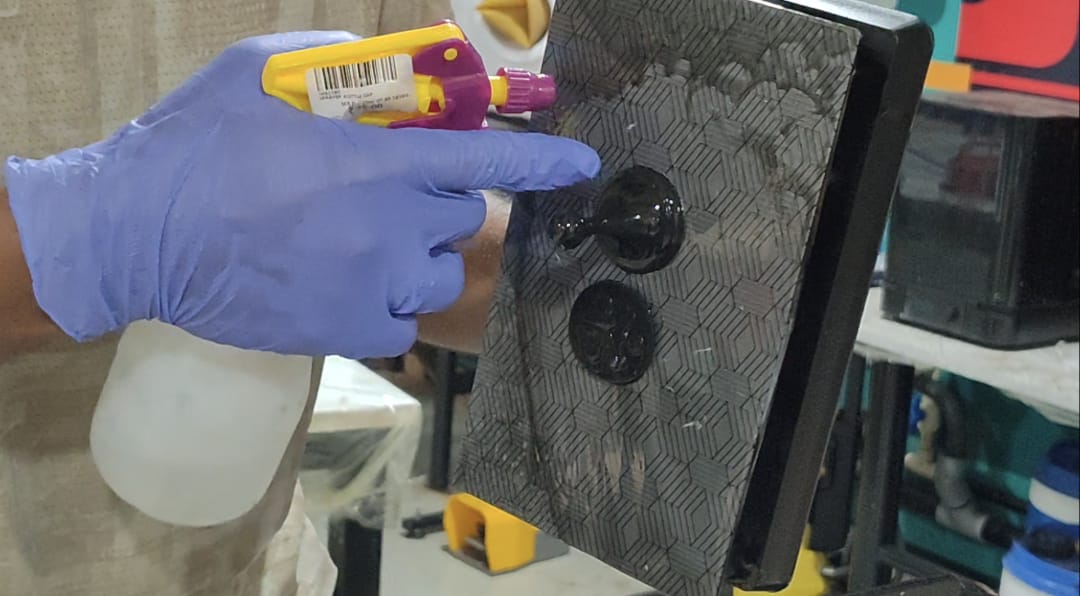
this how I removed the cured silicone from the mold
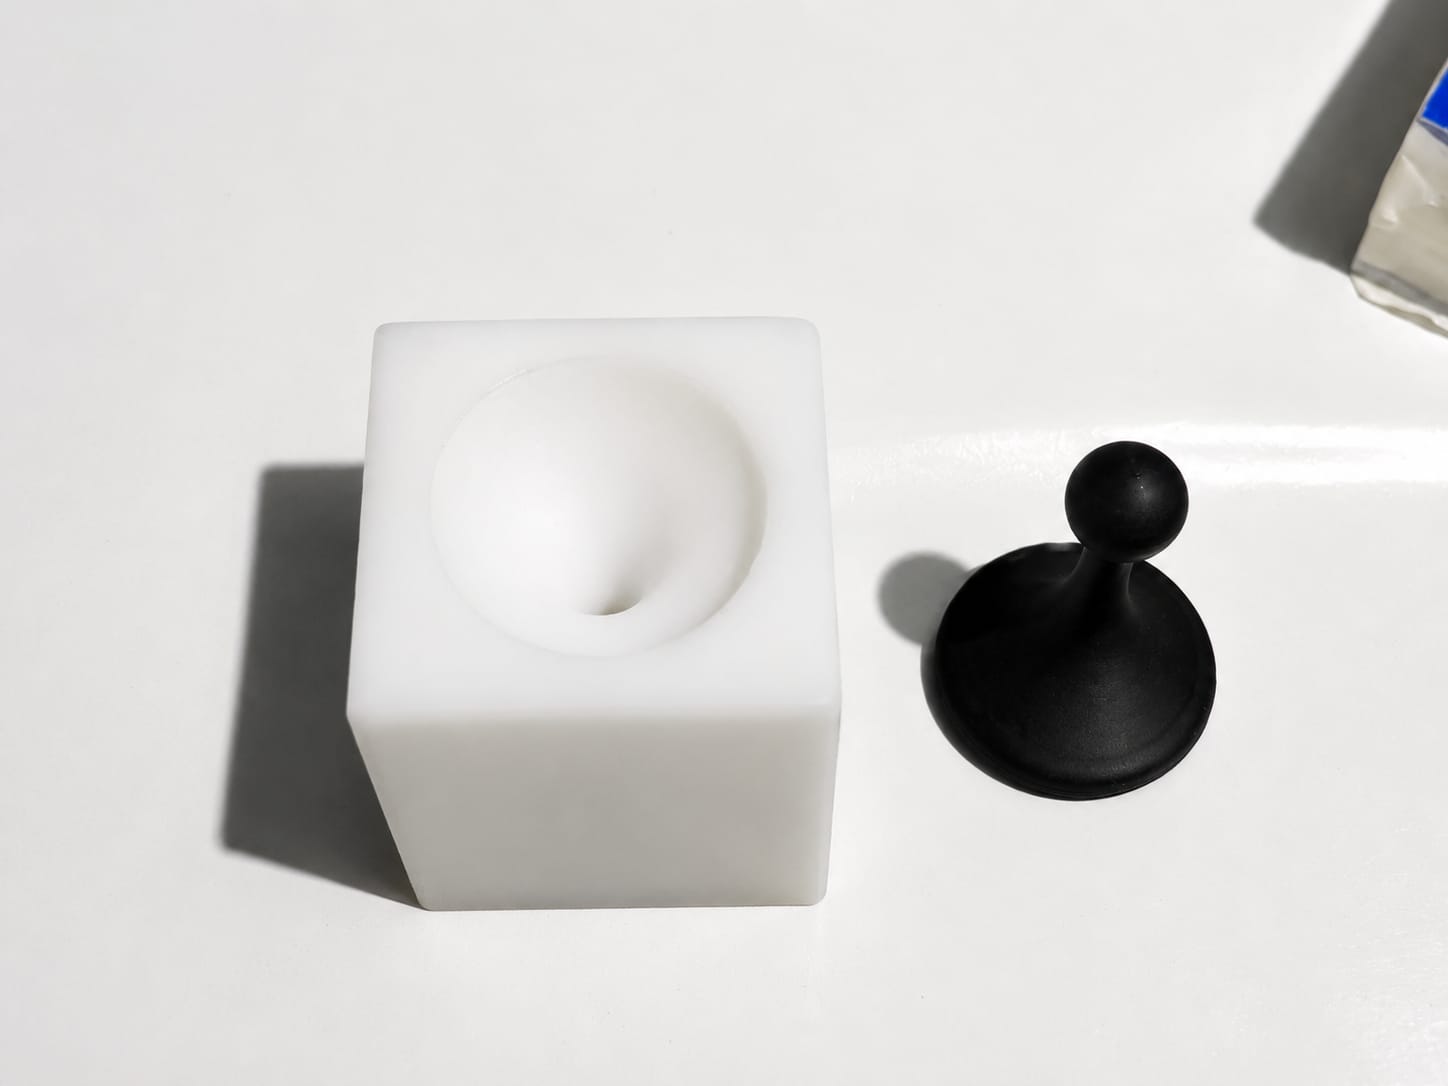
Note: here in resin i added 2 drops of black pigment iforgot to take a picture then i fill resin to silicone mold
after filling the resin, I will let it cure for 12 to 24 hours
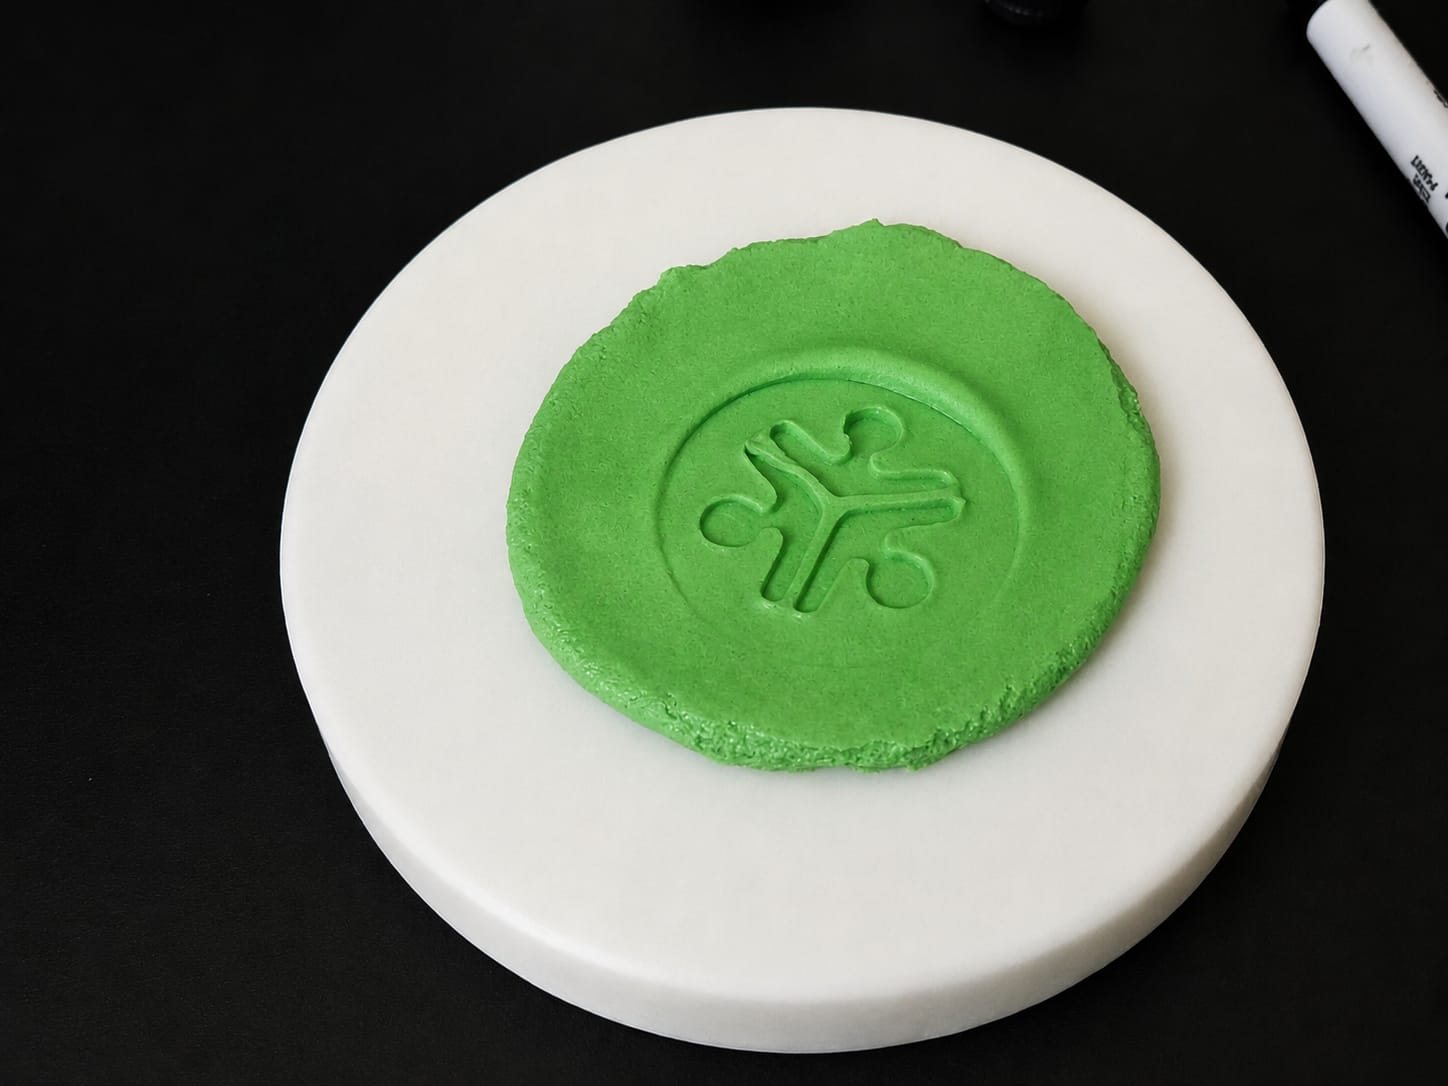
Hero Shot 1
mistakes
there are some air bubbles trapped in silicone mold. it effect the final project
how to improve
next time i will take care of this mistakes
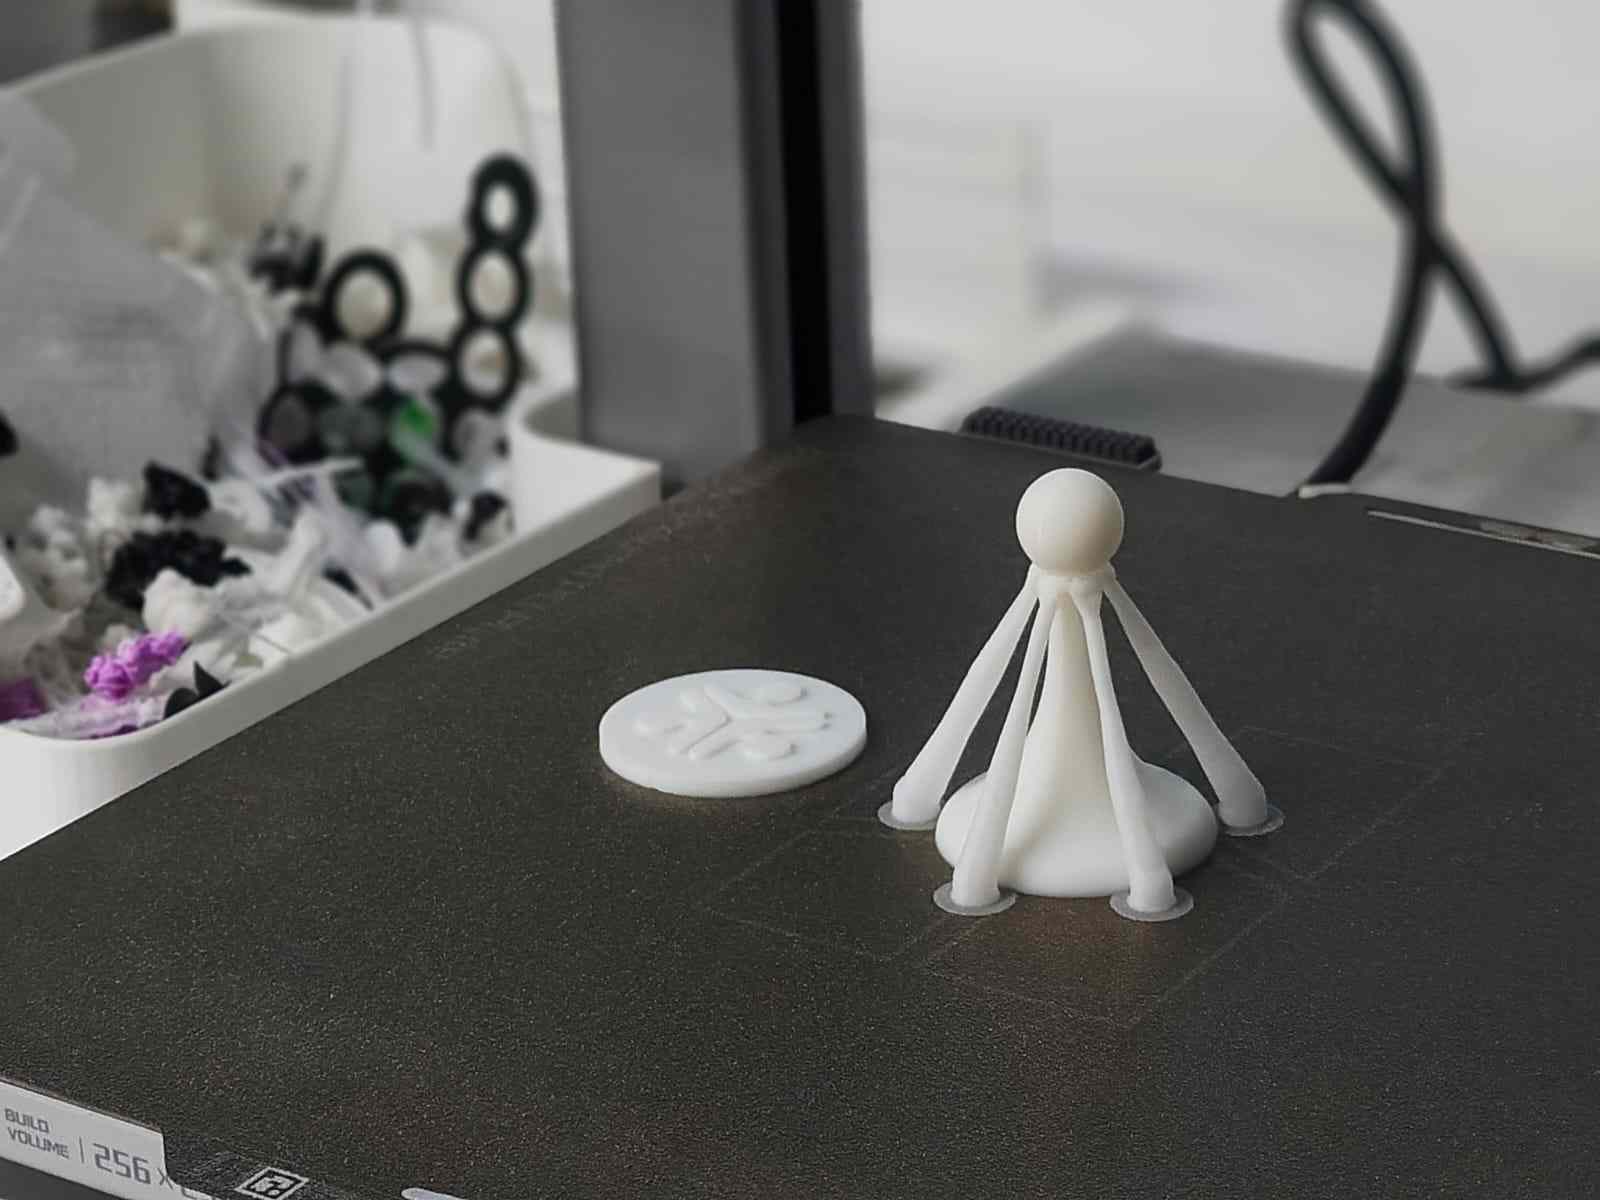
Method 2 FDM Printing
Note:For the Molding and Casting assignment, I tried two approaches for mold making: FDM and SLA printing. I created two different products, but I made a silicone mold for only one of them (sla)
Here iam trying to print a part using FDM printing For that Here I choosed
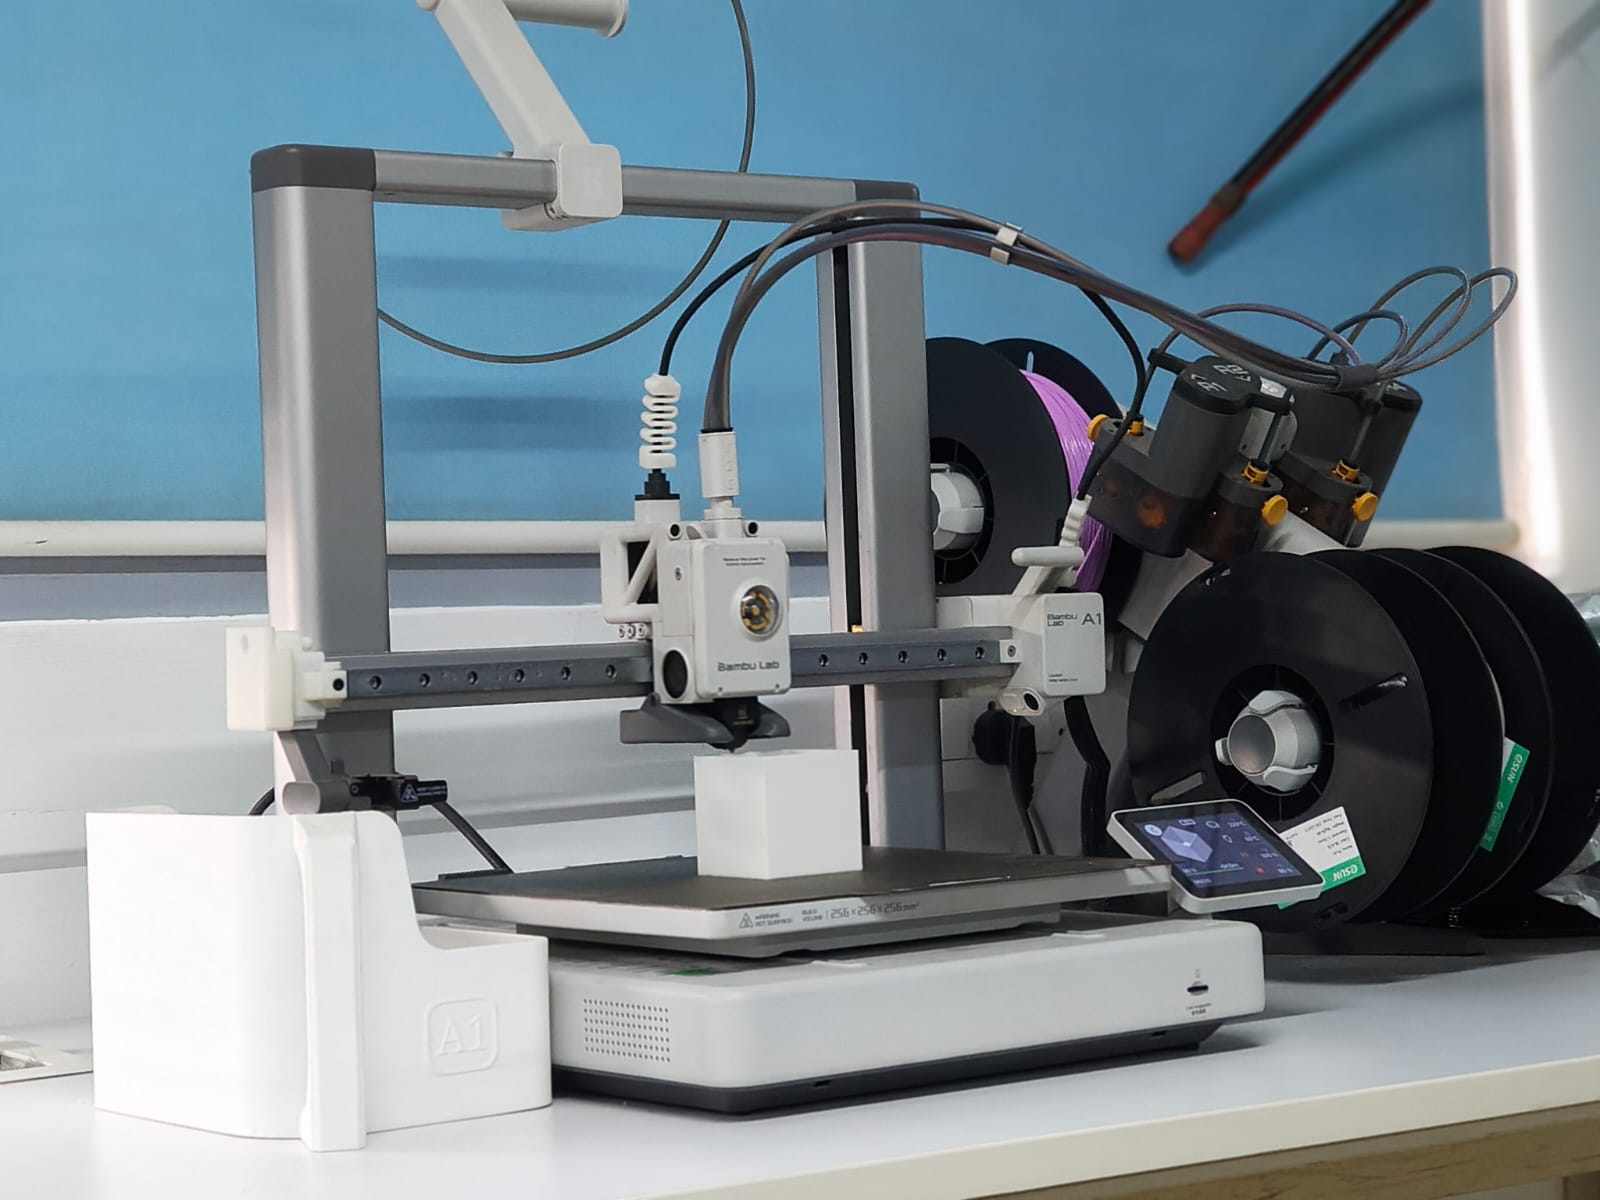
Now I will proceed with the silicone molding process.Here Iam using Bambulab A1 printer
EsunPla Filament is used to print
For slicing and printing here iam using Bambu Studio
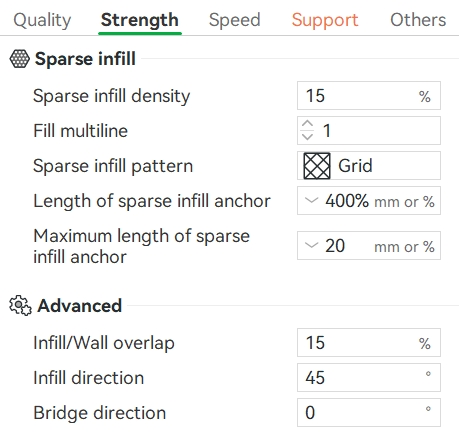
3D Printing Strength Settings
- Sparse Infill Density: 15%
- Sparse Infill Pattern: Grid
Advanced Settings
- Infill/Wall Overlap: 15%
I used a 15% grid infill pattern to provide sufficient strength while reducing material usage and print time. The infill direction was set to 45° to distribute internal support evenly throughout the model.
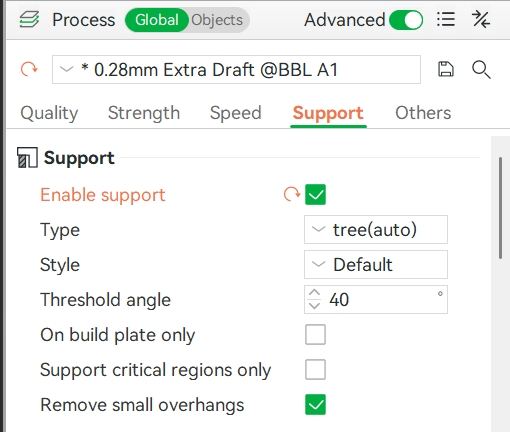
Support Settings
- Support Enabled: Yes
- Support Type: Tree (Auto)
I enabled tree supports with a threshold angle of 40° to provide support for overhanging areas while minimizing material usage and making support removal easier after printing.
ready for printing

after printing
 Note:
Note:saheen instructed me to paste resin on top of the printed part
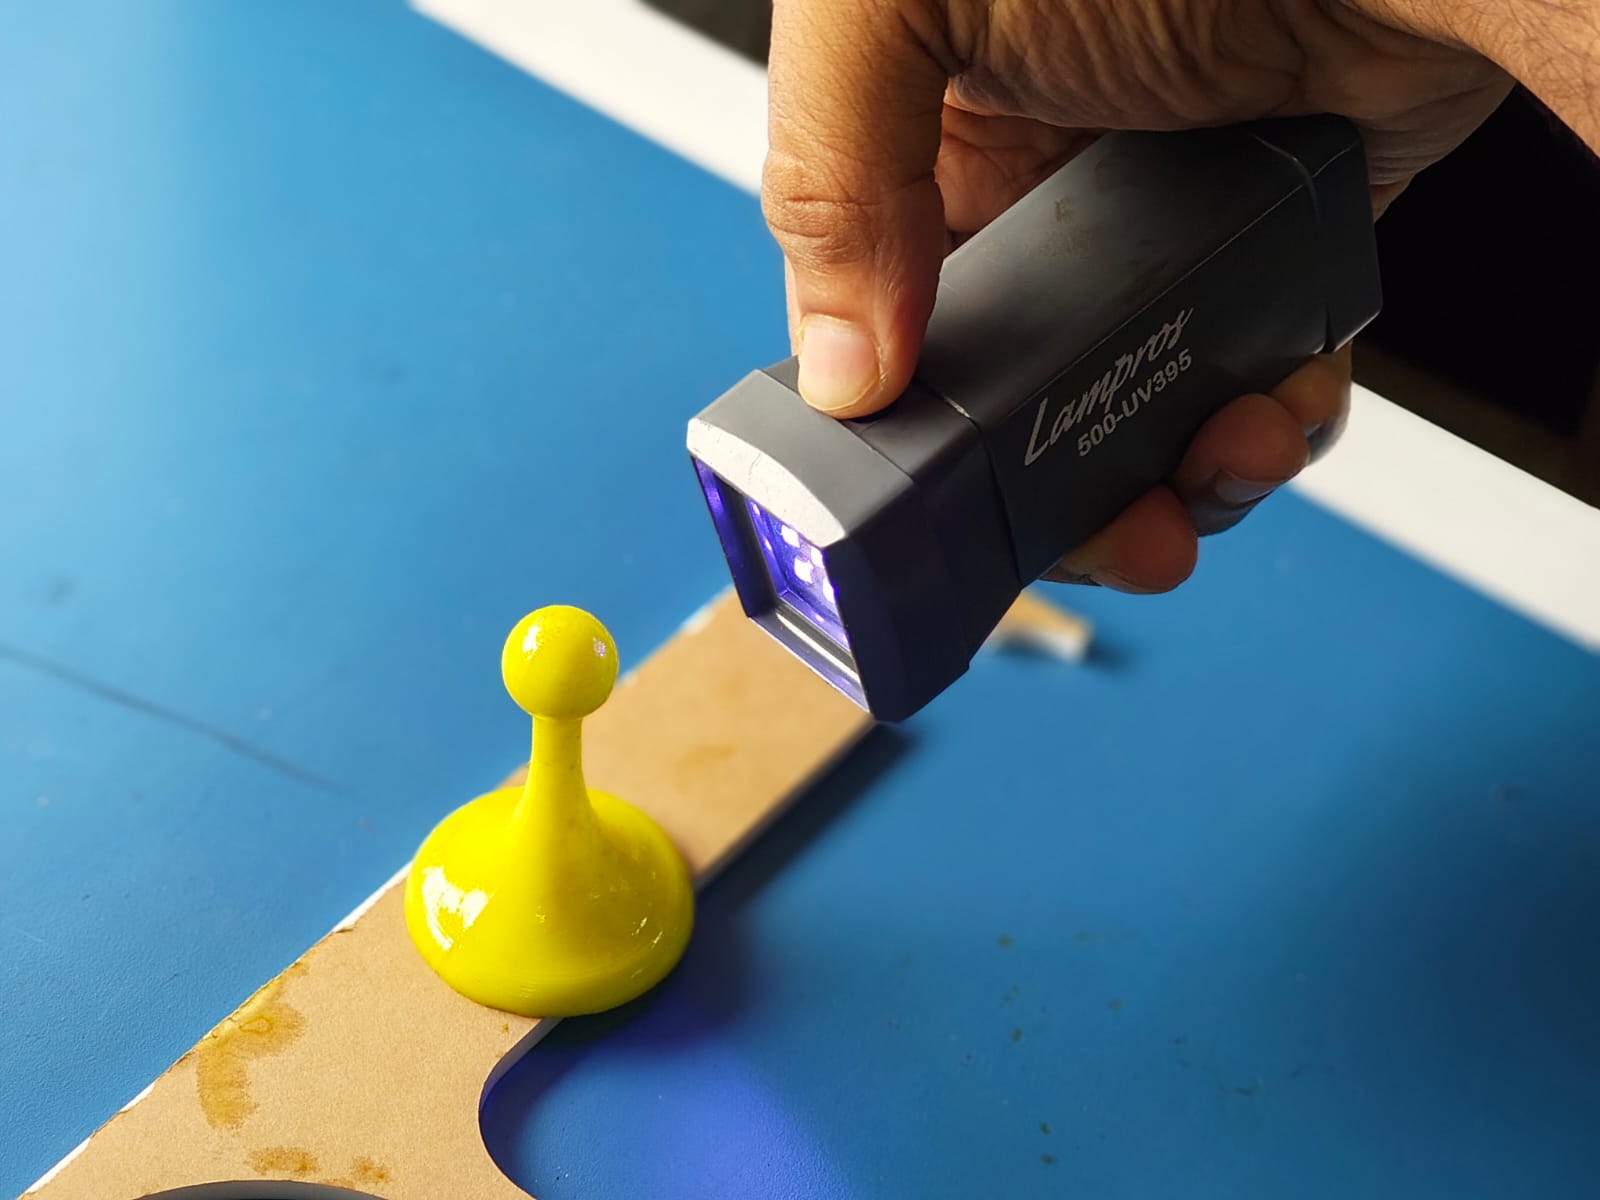
Resin Casting
the resin didn't cure I dont know exactly why but i Think it's due to the expired resin and the wavelength of the uv light need to cure also may different
 Note:
Note:I again 3d printed the part to try again with out resin coating but I didnt get enough time to do.i will do in future
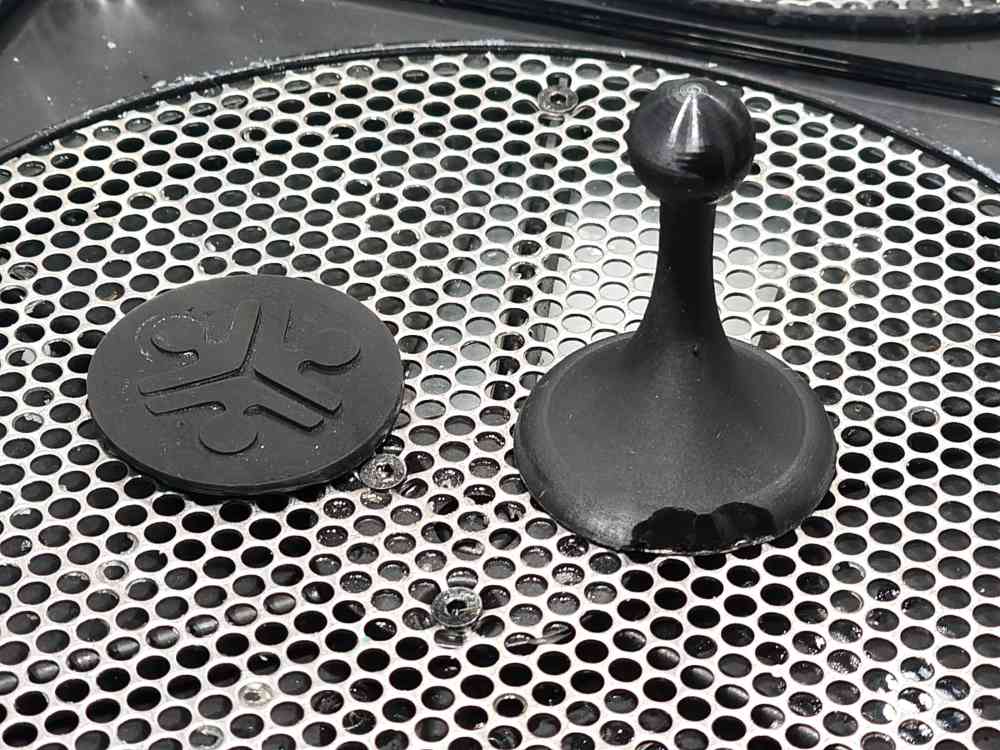
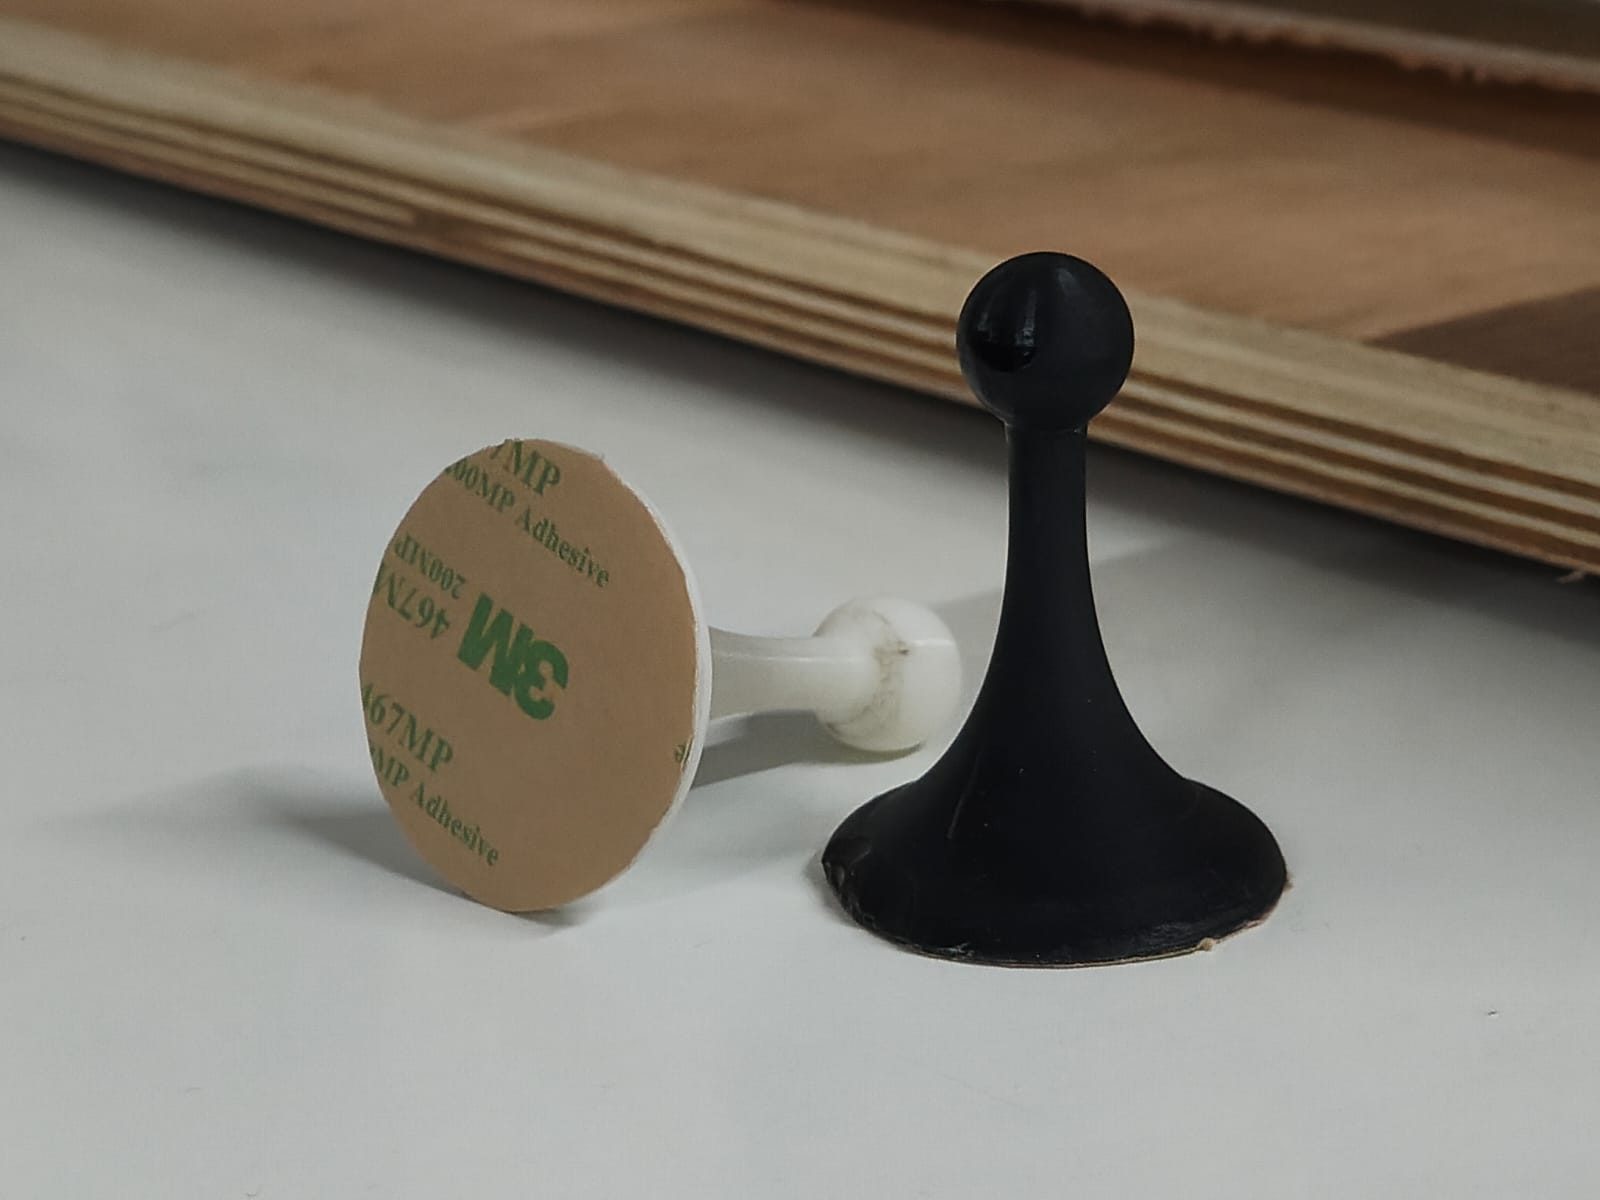
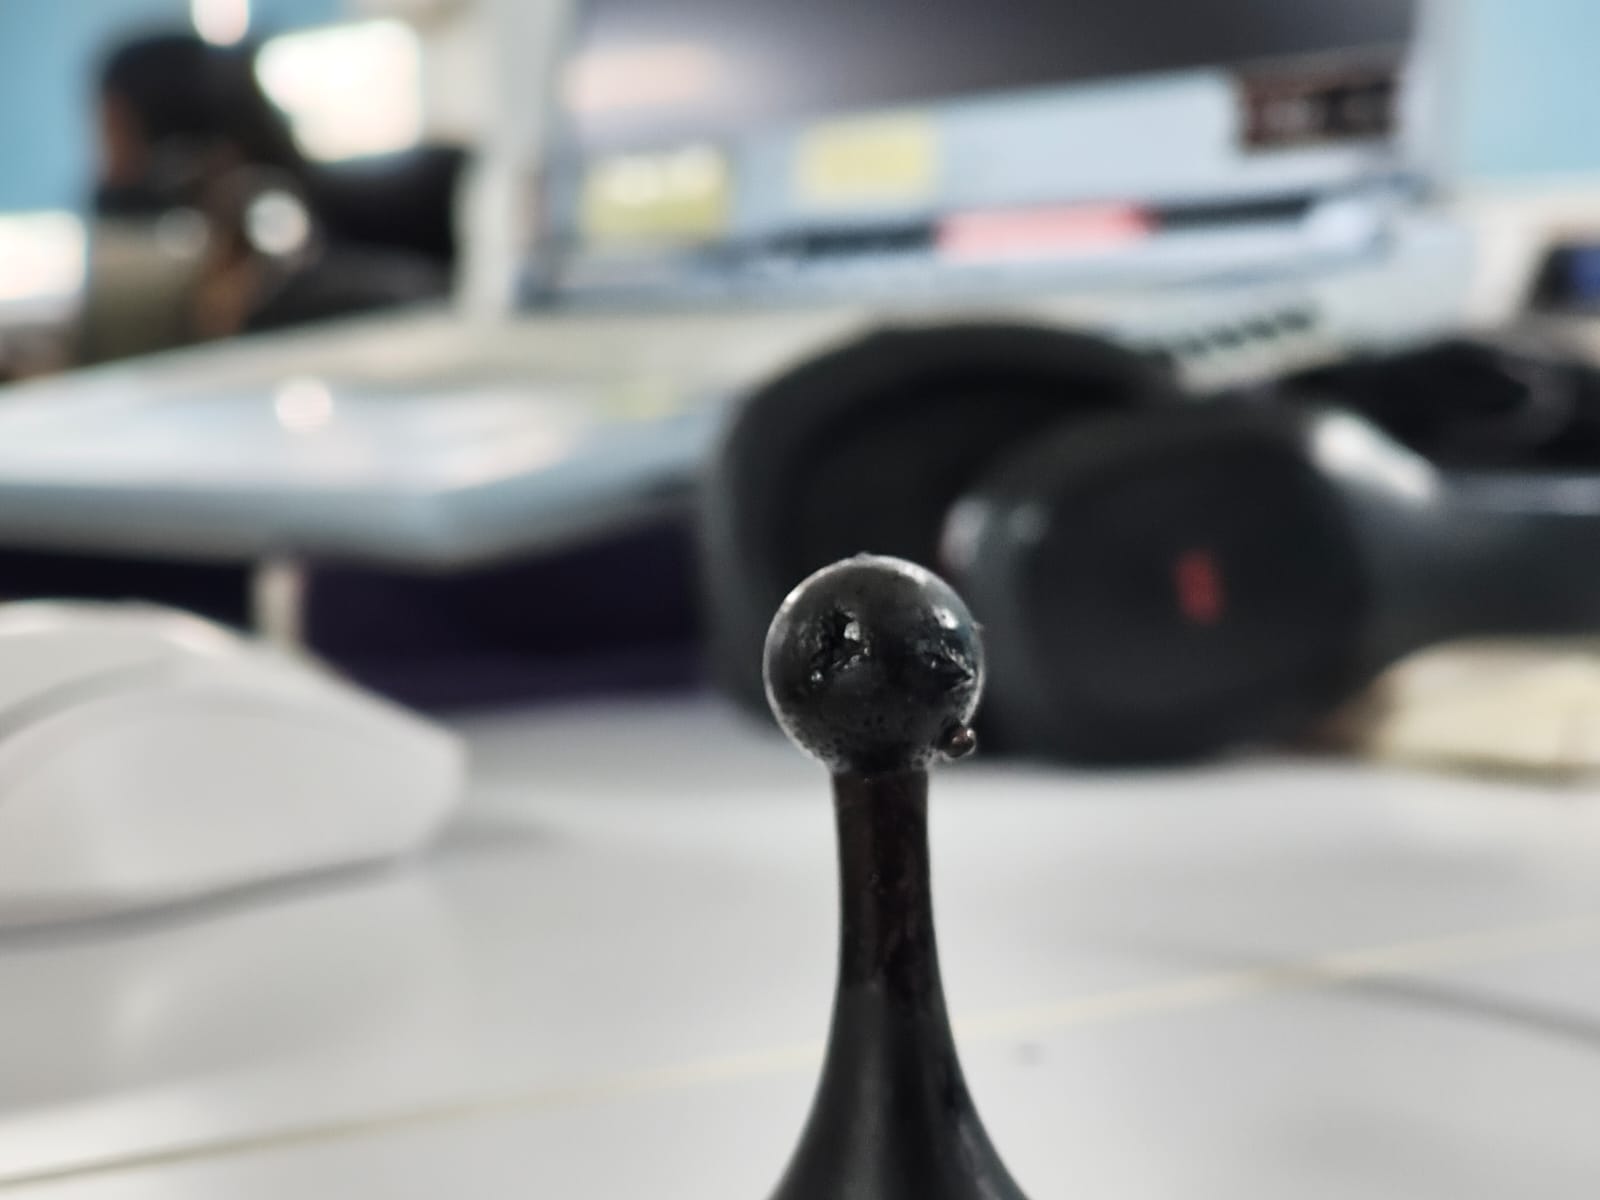
then I take my resin mold and 3d printed fablogo I stick together useing double sided tape makeing stamp.Note:I dint take sla printed logo because the logo didnt come i expected and finshing of it was not ok for me
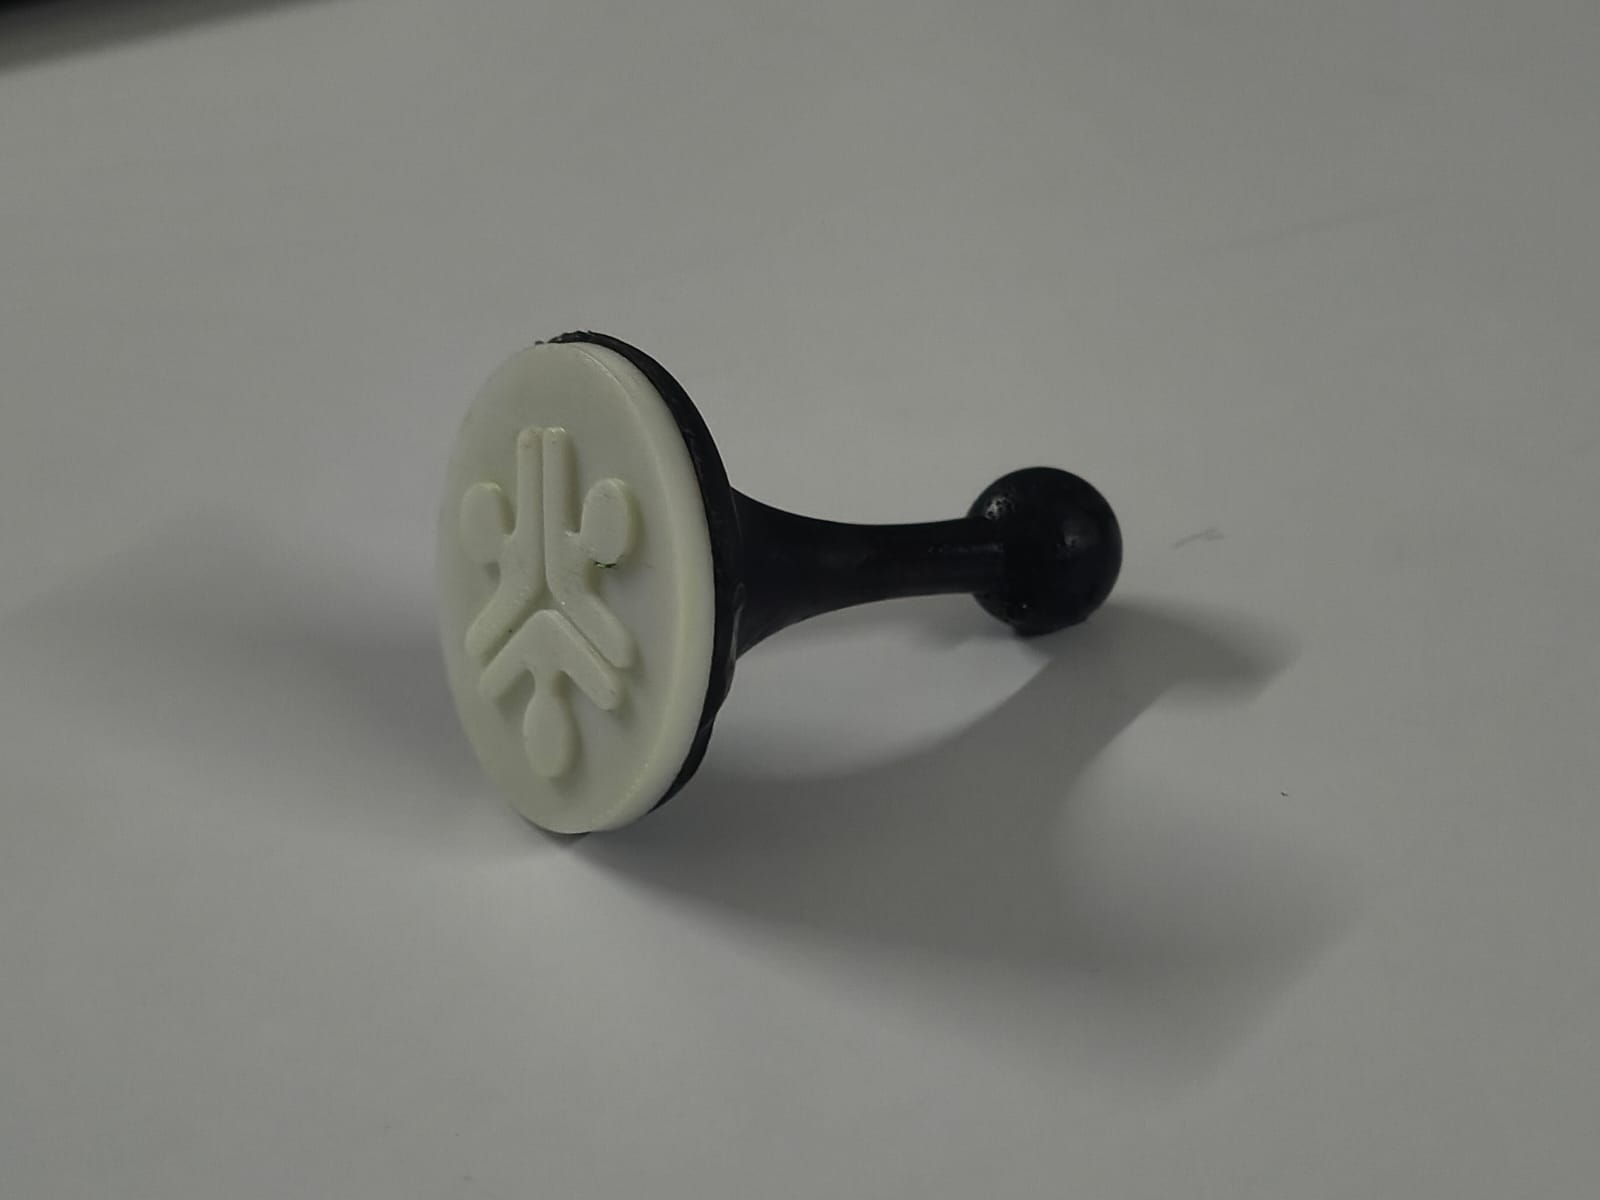
I put small clay on top of a plane plate then ipressed to create the desired shape and it workes
Final Output