Week 14 — Molding and casting
Week 14 follows the official Moulding and Casting module. For Forest Fairy I ran two mold-and-cast paths: a 3D-printed cylindrical shell with raised “forest fairy” text on the inside (PLA positive → silicone negative → crystal-epoxy test cast), and a block mold from a downloaded sprite mesh with a rigid epoxy figure. The group assignment summarizes our Chaihuo material and safety comparison.
Individual assignment
I split Week 14 into two exercises tied to Forest Fairy: a text mold I modeled and printed myself, and a block mold from a community mesh (next section). Both used the same AB silicone kit at home; the sprite path also used rigid epoxy. The nueval brief asks for a designed mold workflow and a successful cast. I logged each stage as I finished it.
Forest Fairy text mold: 3D design and print
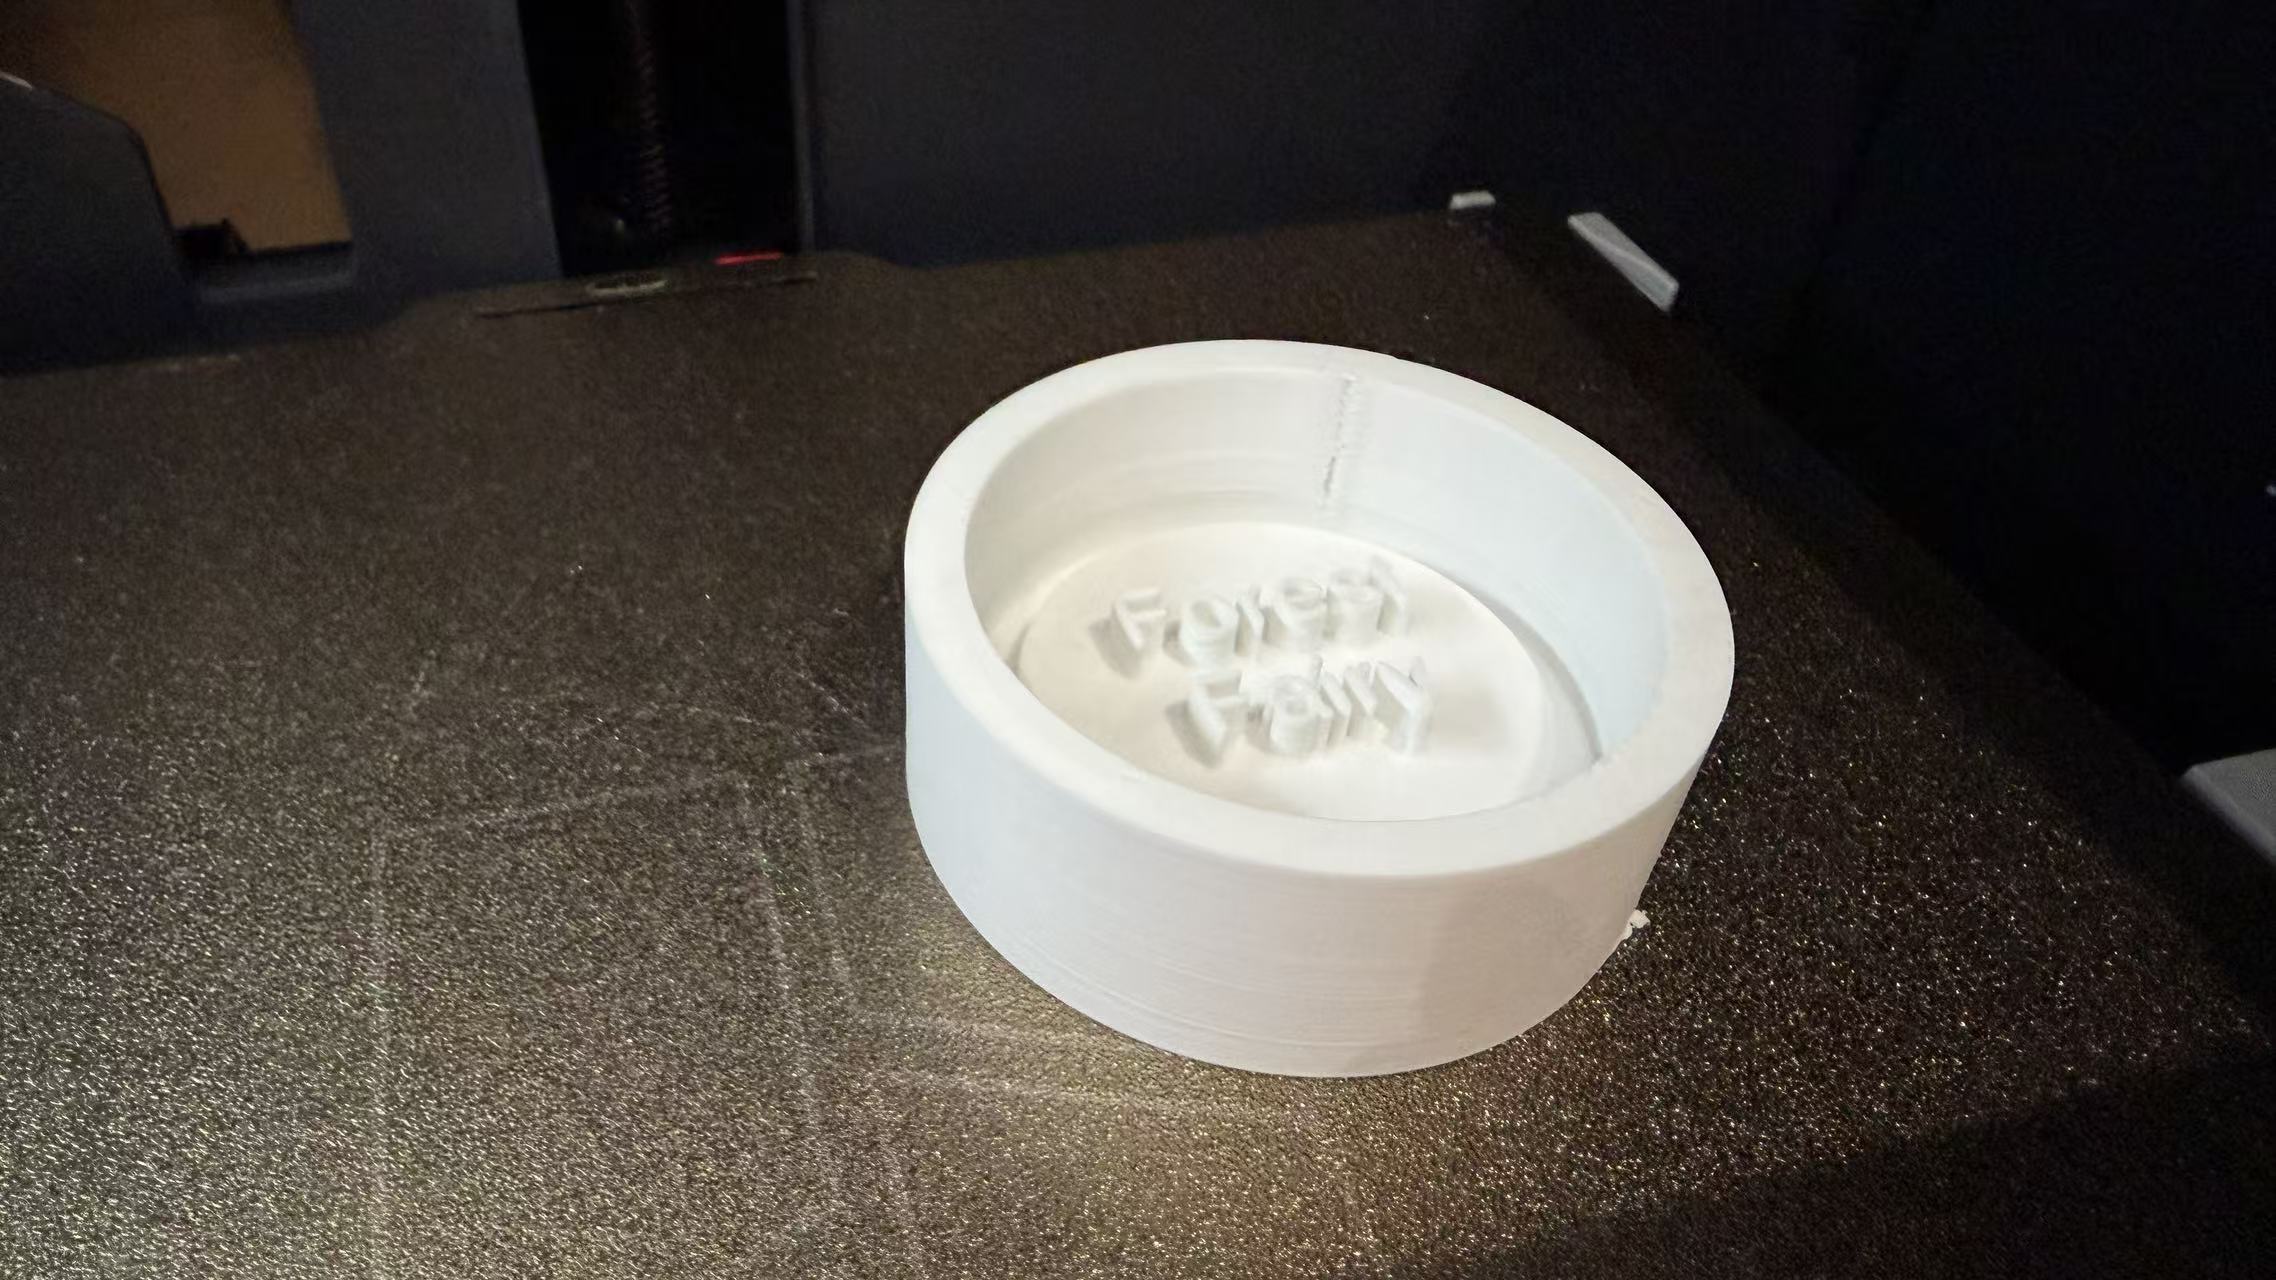
For the final project I want repeatable “forest fairy” lettering on soft props and packaging, not one-off FDM layer lines every time. I printed a rigid hollow cylinder with raised text on the inner wall, poured addition-cure silicone into that shell, and peeled out a flexible negative that can stamp or pad many copies of the same wordmark. The PLA shell is the positive; the silicone insert is what I keep for later pours.
Task, geometry, and plan
The cylinder is open at the top so I can pour and degas silicone without trapping a sealed air pocket. The lettering sits on the inner surface so cured silicone picks up readable relief when I demold. After the flex negative is clean I can press it into clay, wax, or a thin skin of resin for batch copies. It works like a rubber stamp, but sized for the Fairy branding on my enclosure art.
- Model hollow cylinder + raised inner text in CAD → export STL.
- Slice for PLA on the Bambu printer (~49 min job) → print and inspect inner wall detail.
- Release agent on the printed shell → weigh/mix silicone A/B → pour, cure, demold flexible negative.
- Cast a test part from the flex negative (crystal epoxy); log mix ratio, degas, and demold.
Steps 1–3 are done and photographed below. Step 4 is done too: I poured crystal epoxy into the first silicone negative and demolded the wordmark disc (photo at the end of this section).
3D modeling and print log
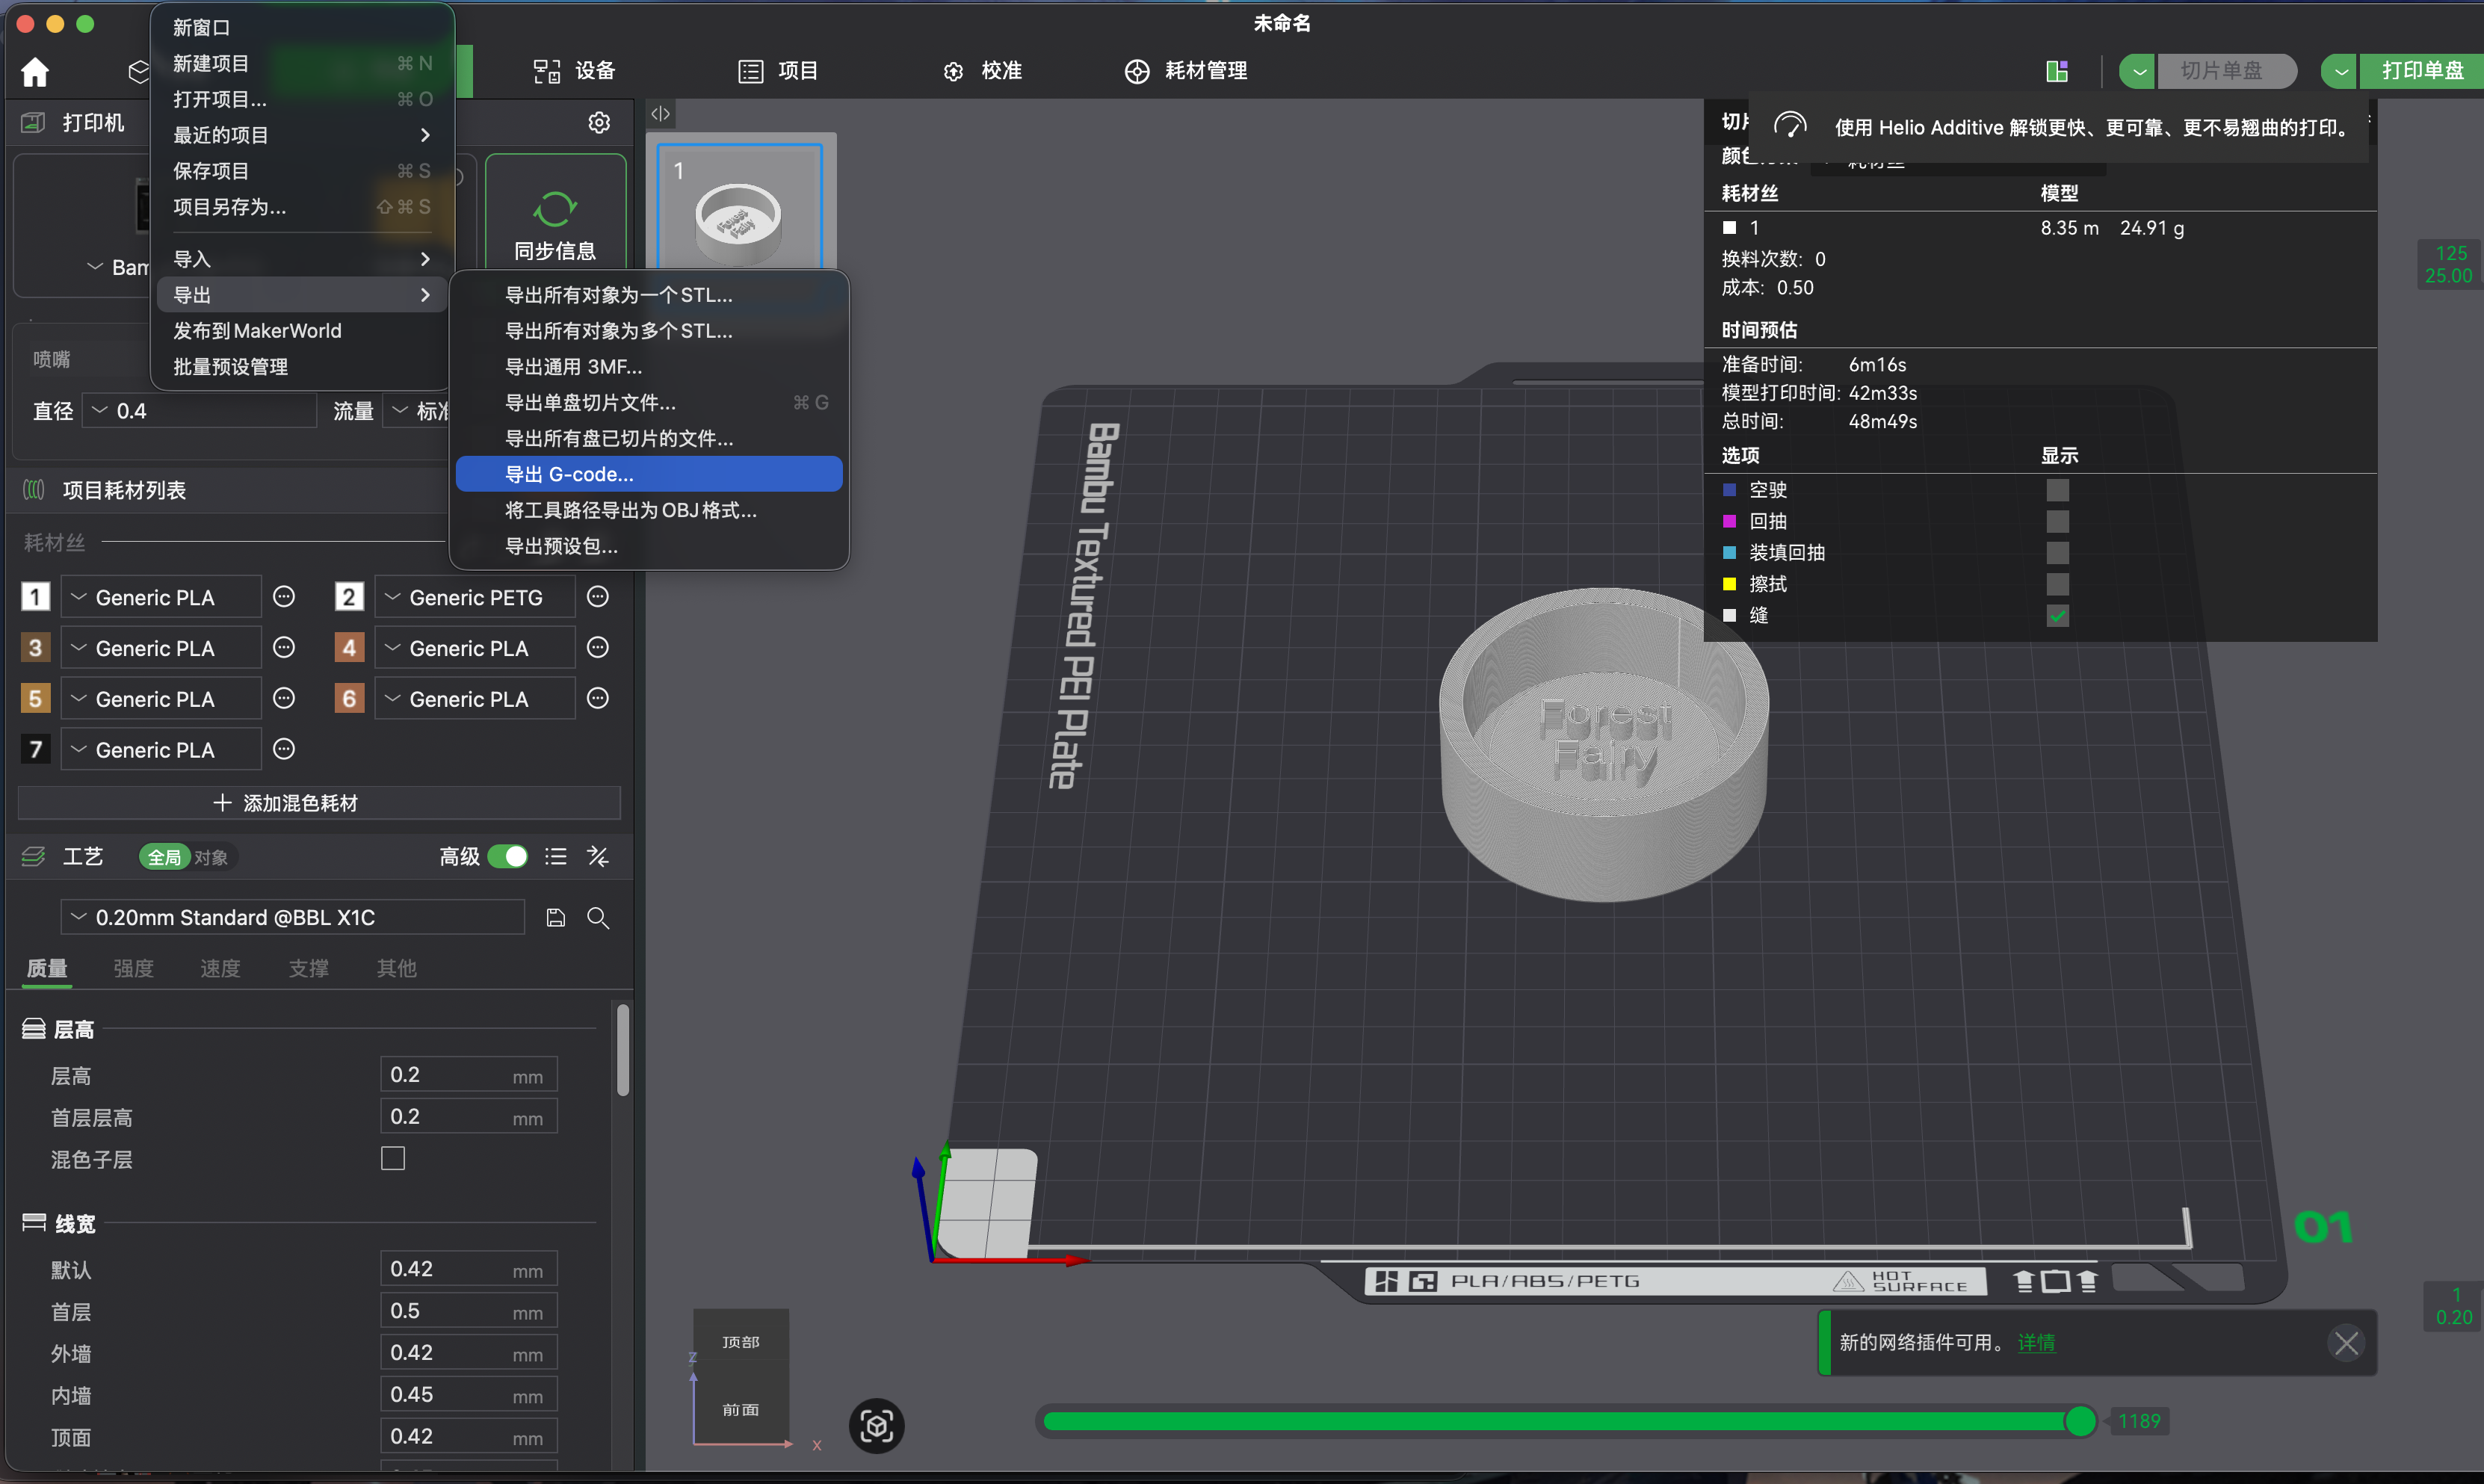
raised_forest_fairy: checking wall thickness, inner text
overhangs, and estimated print time before sending the job (~48 m 49 s on PLA).
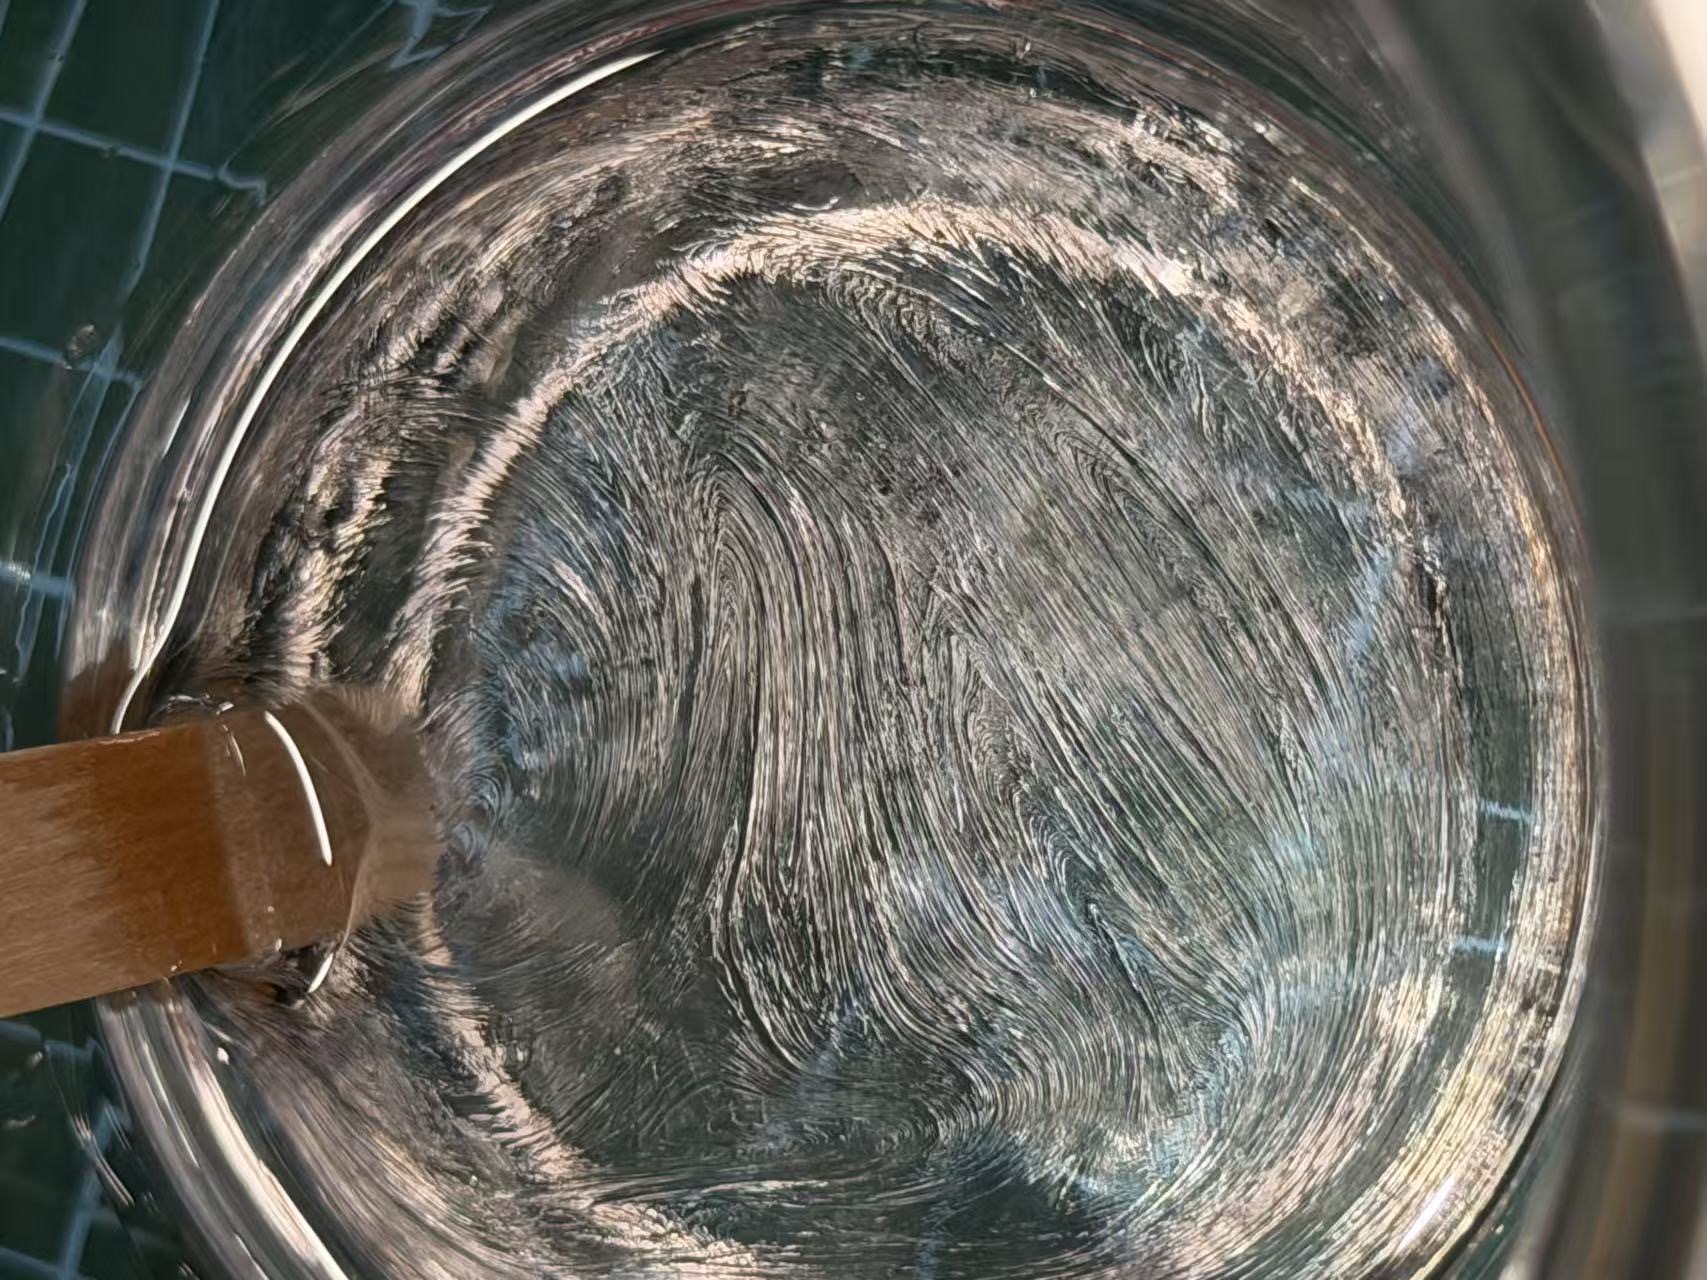
Silicone pouring and demolding
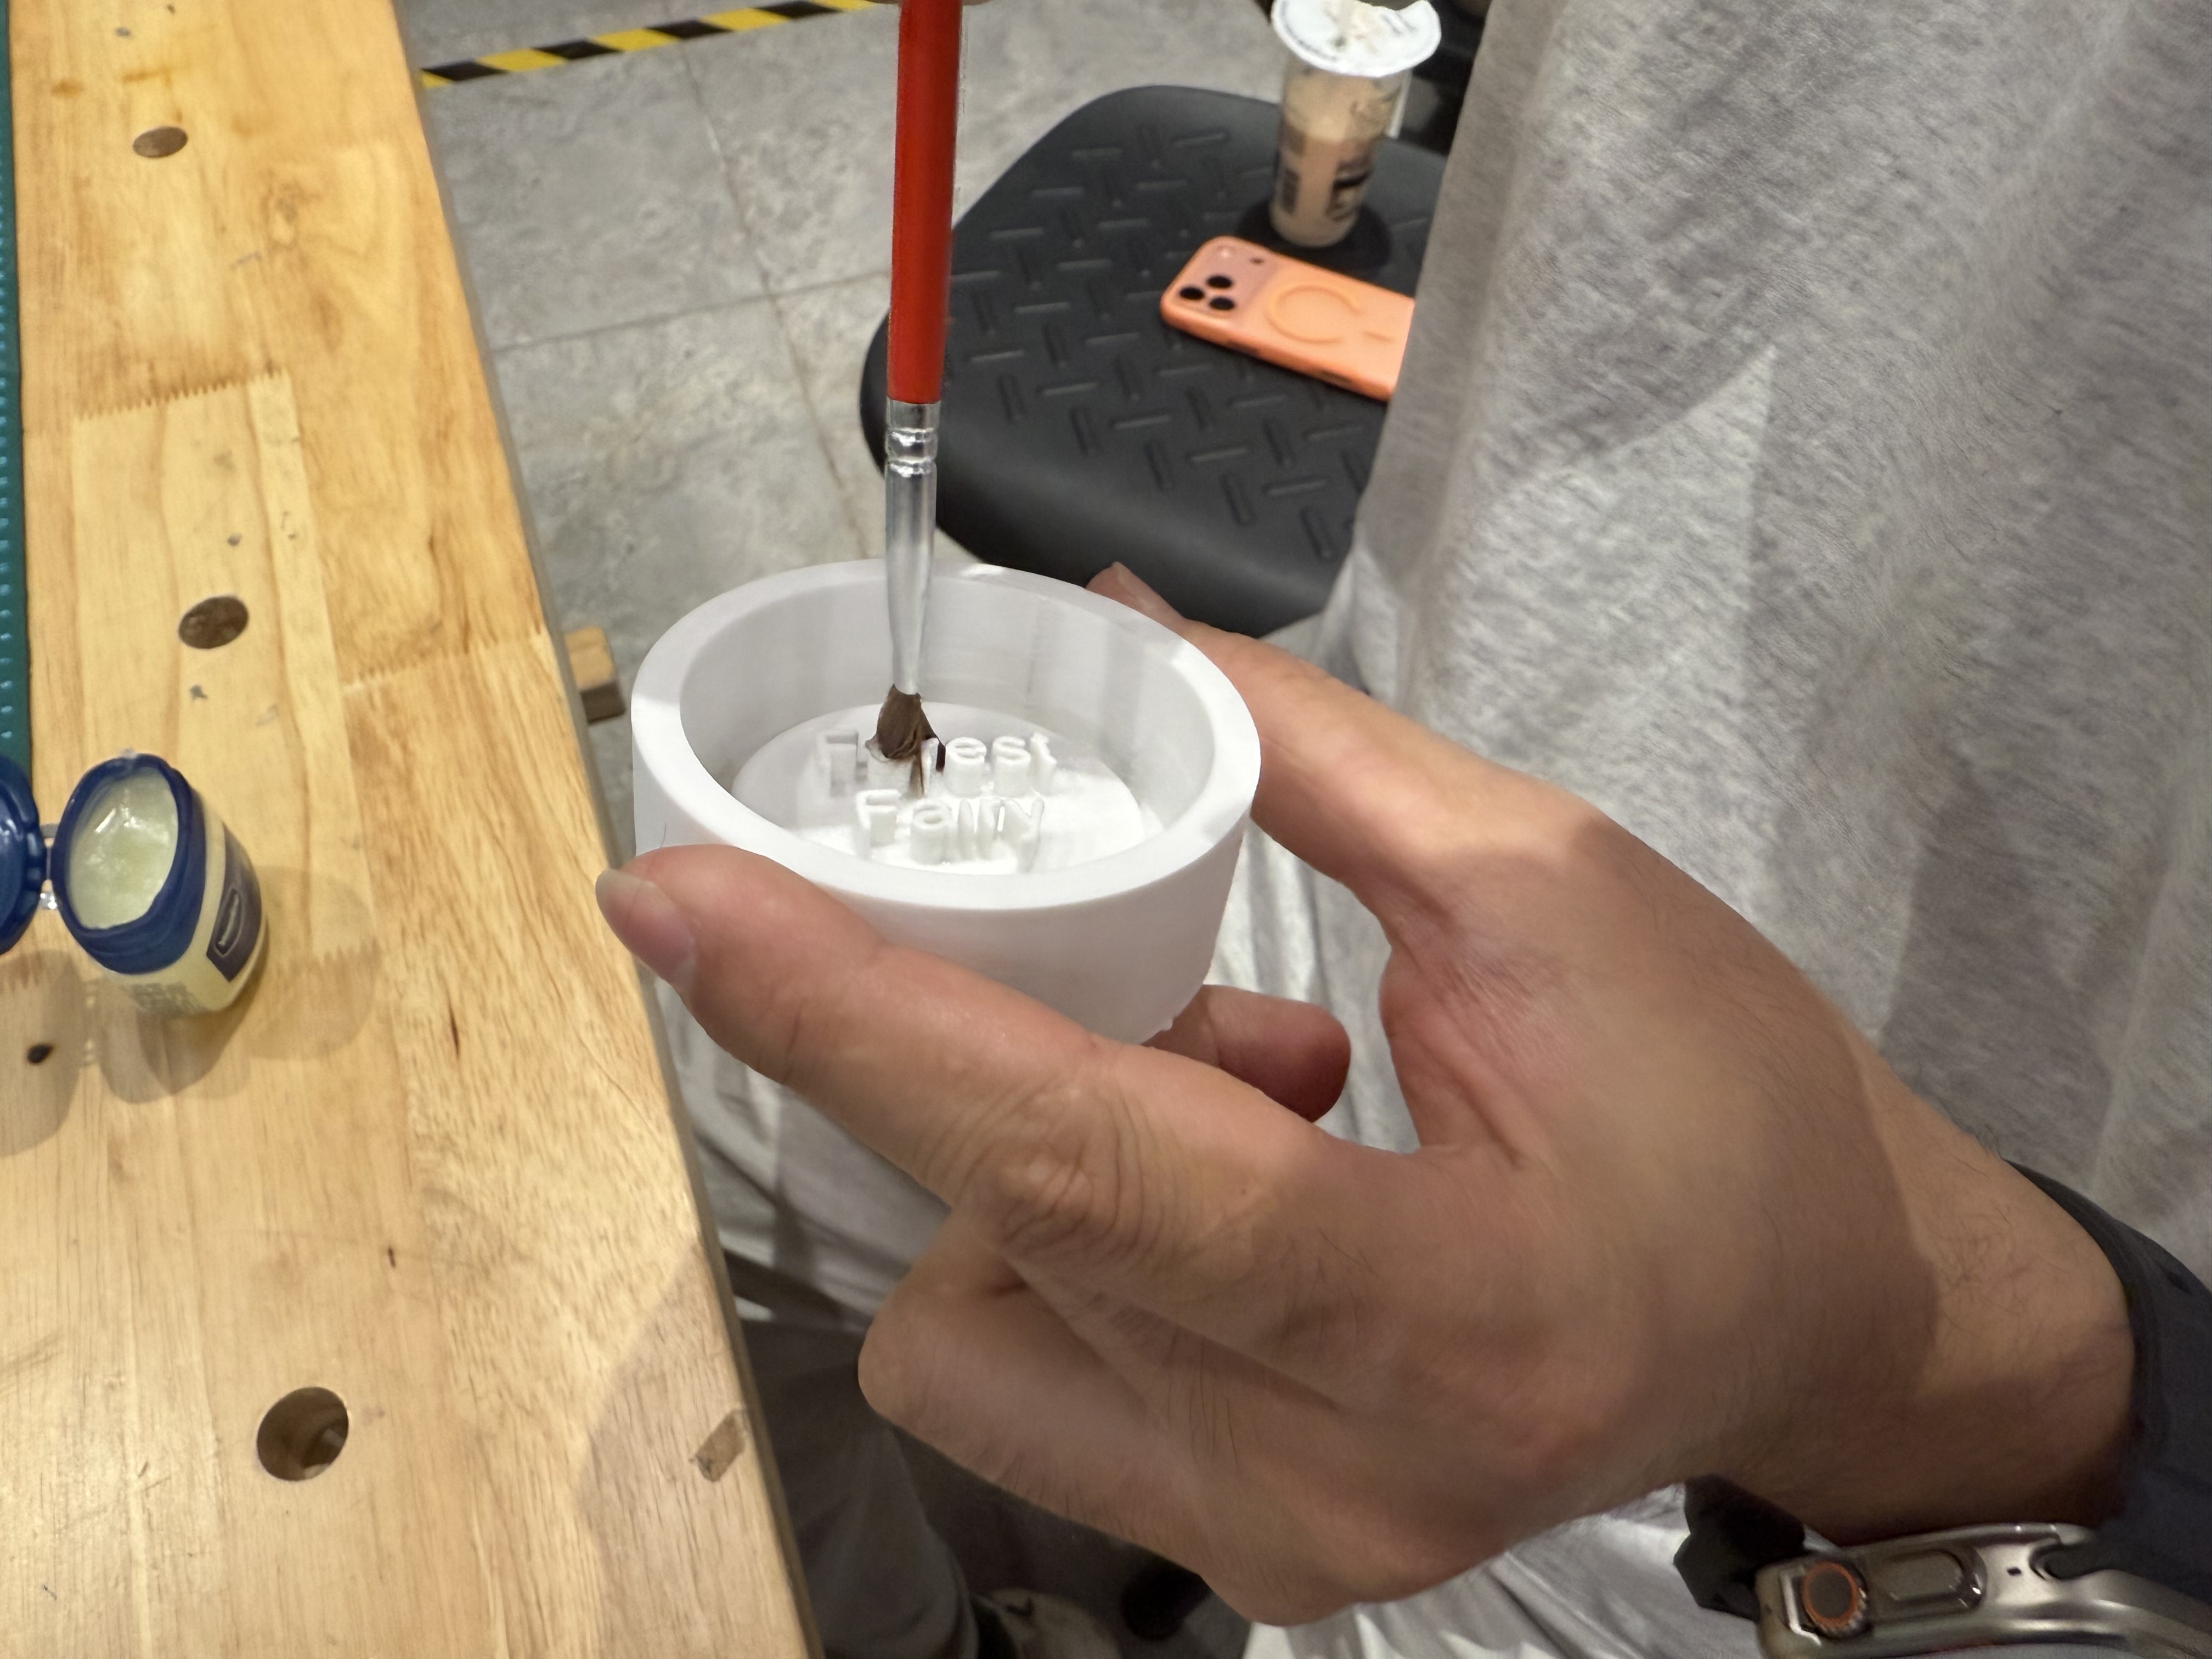
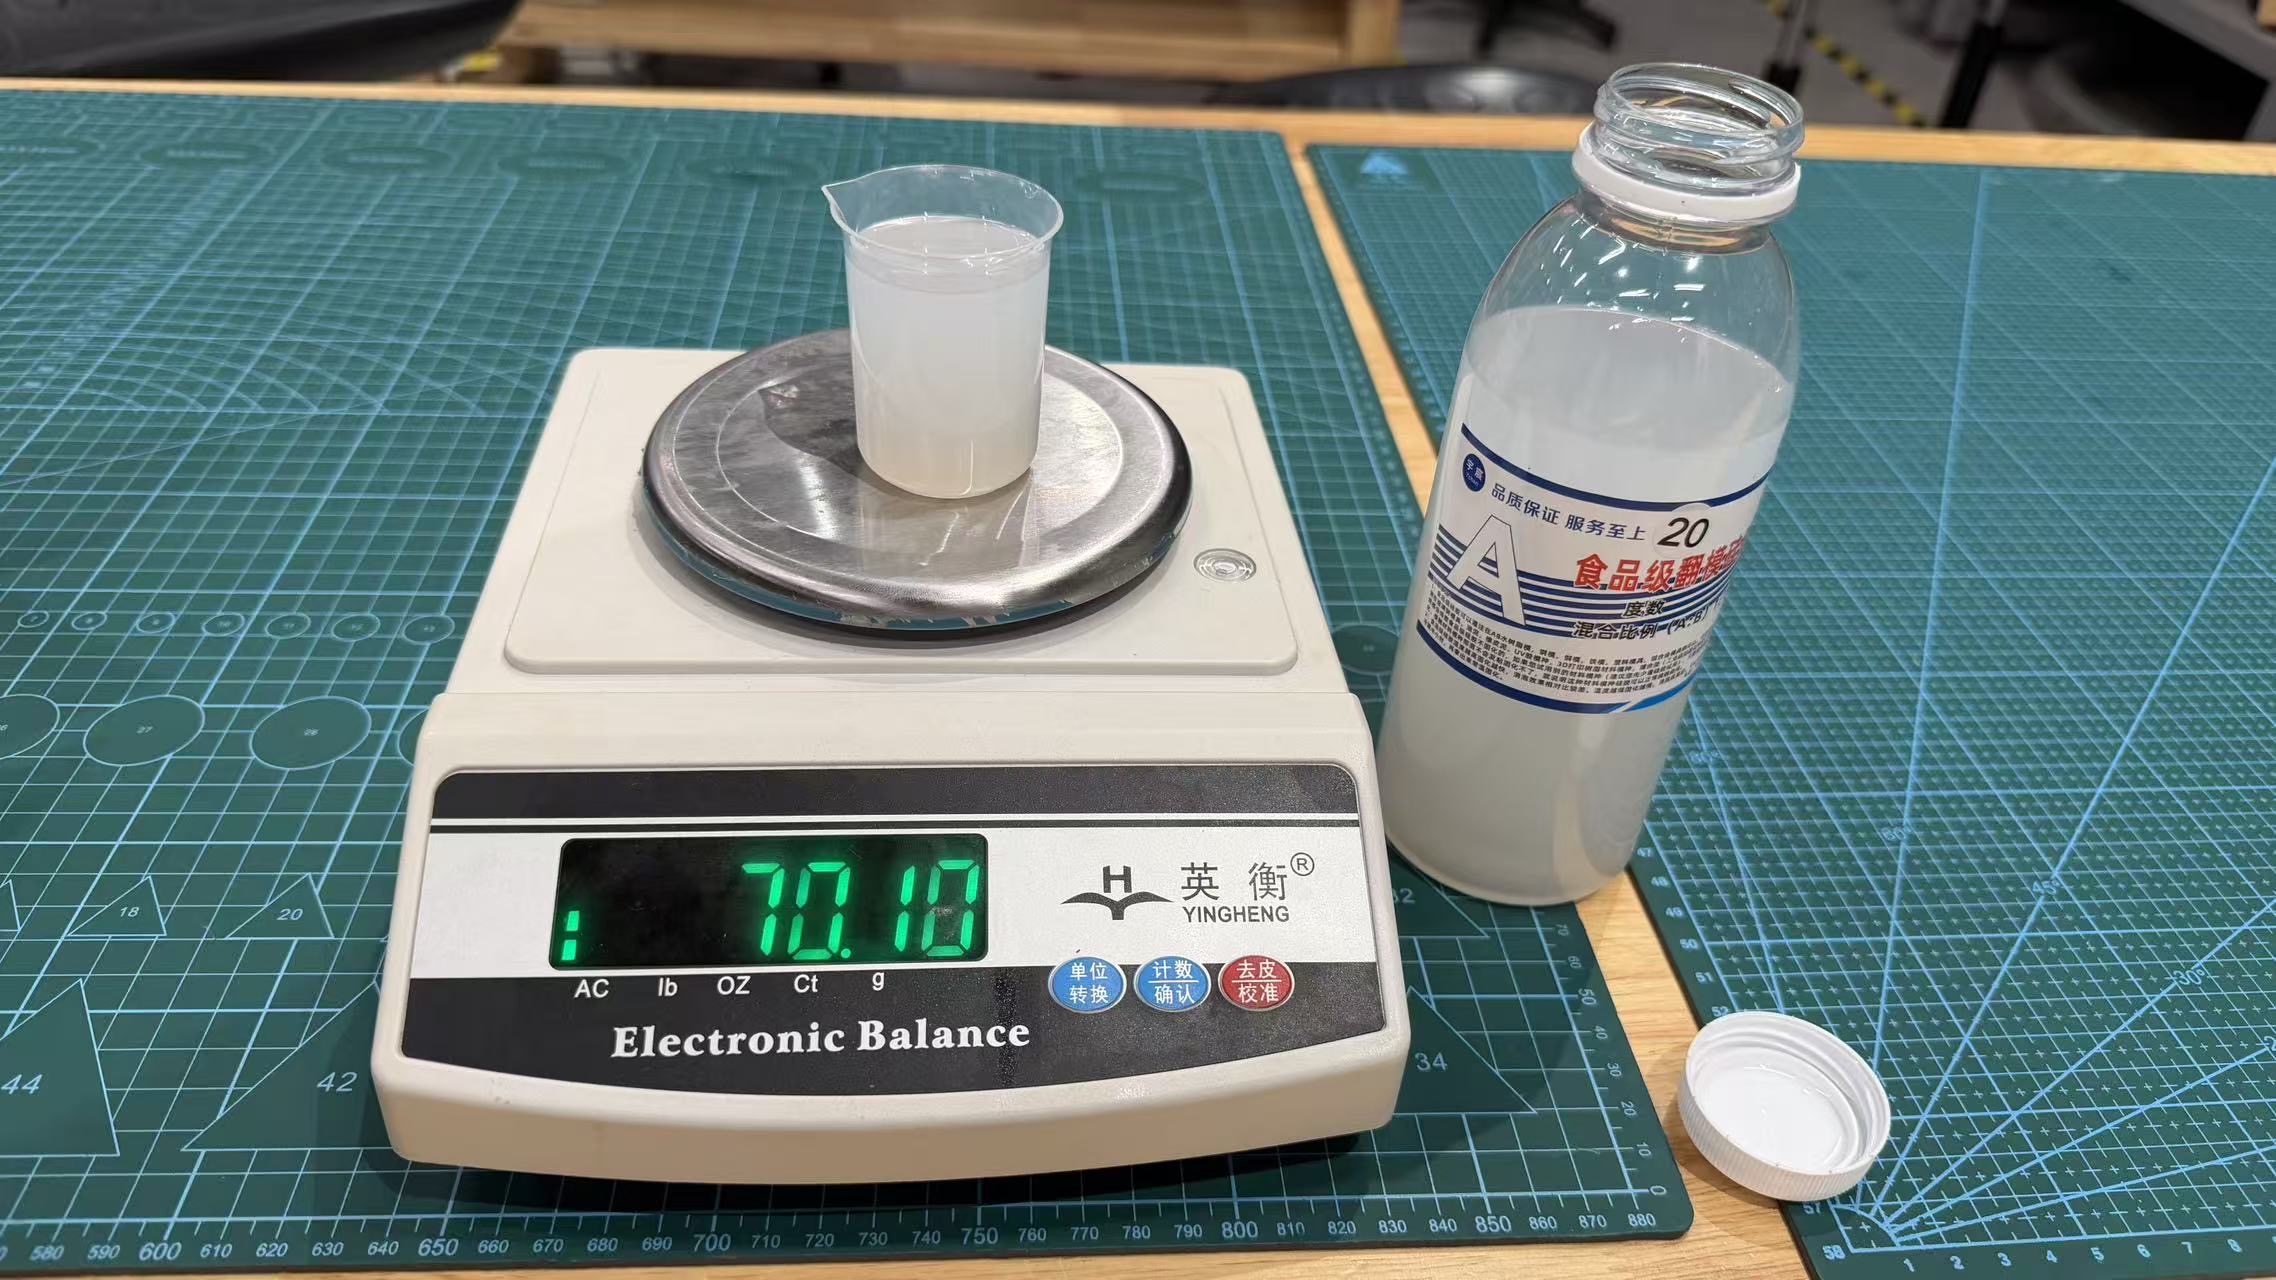
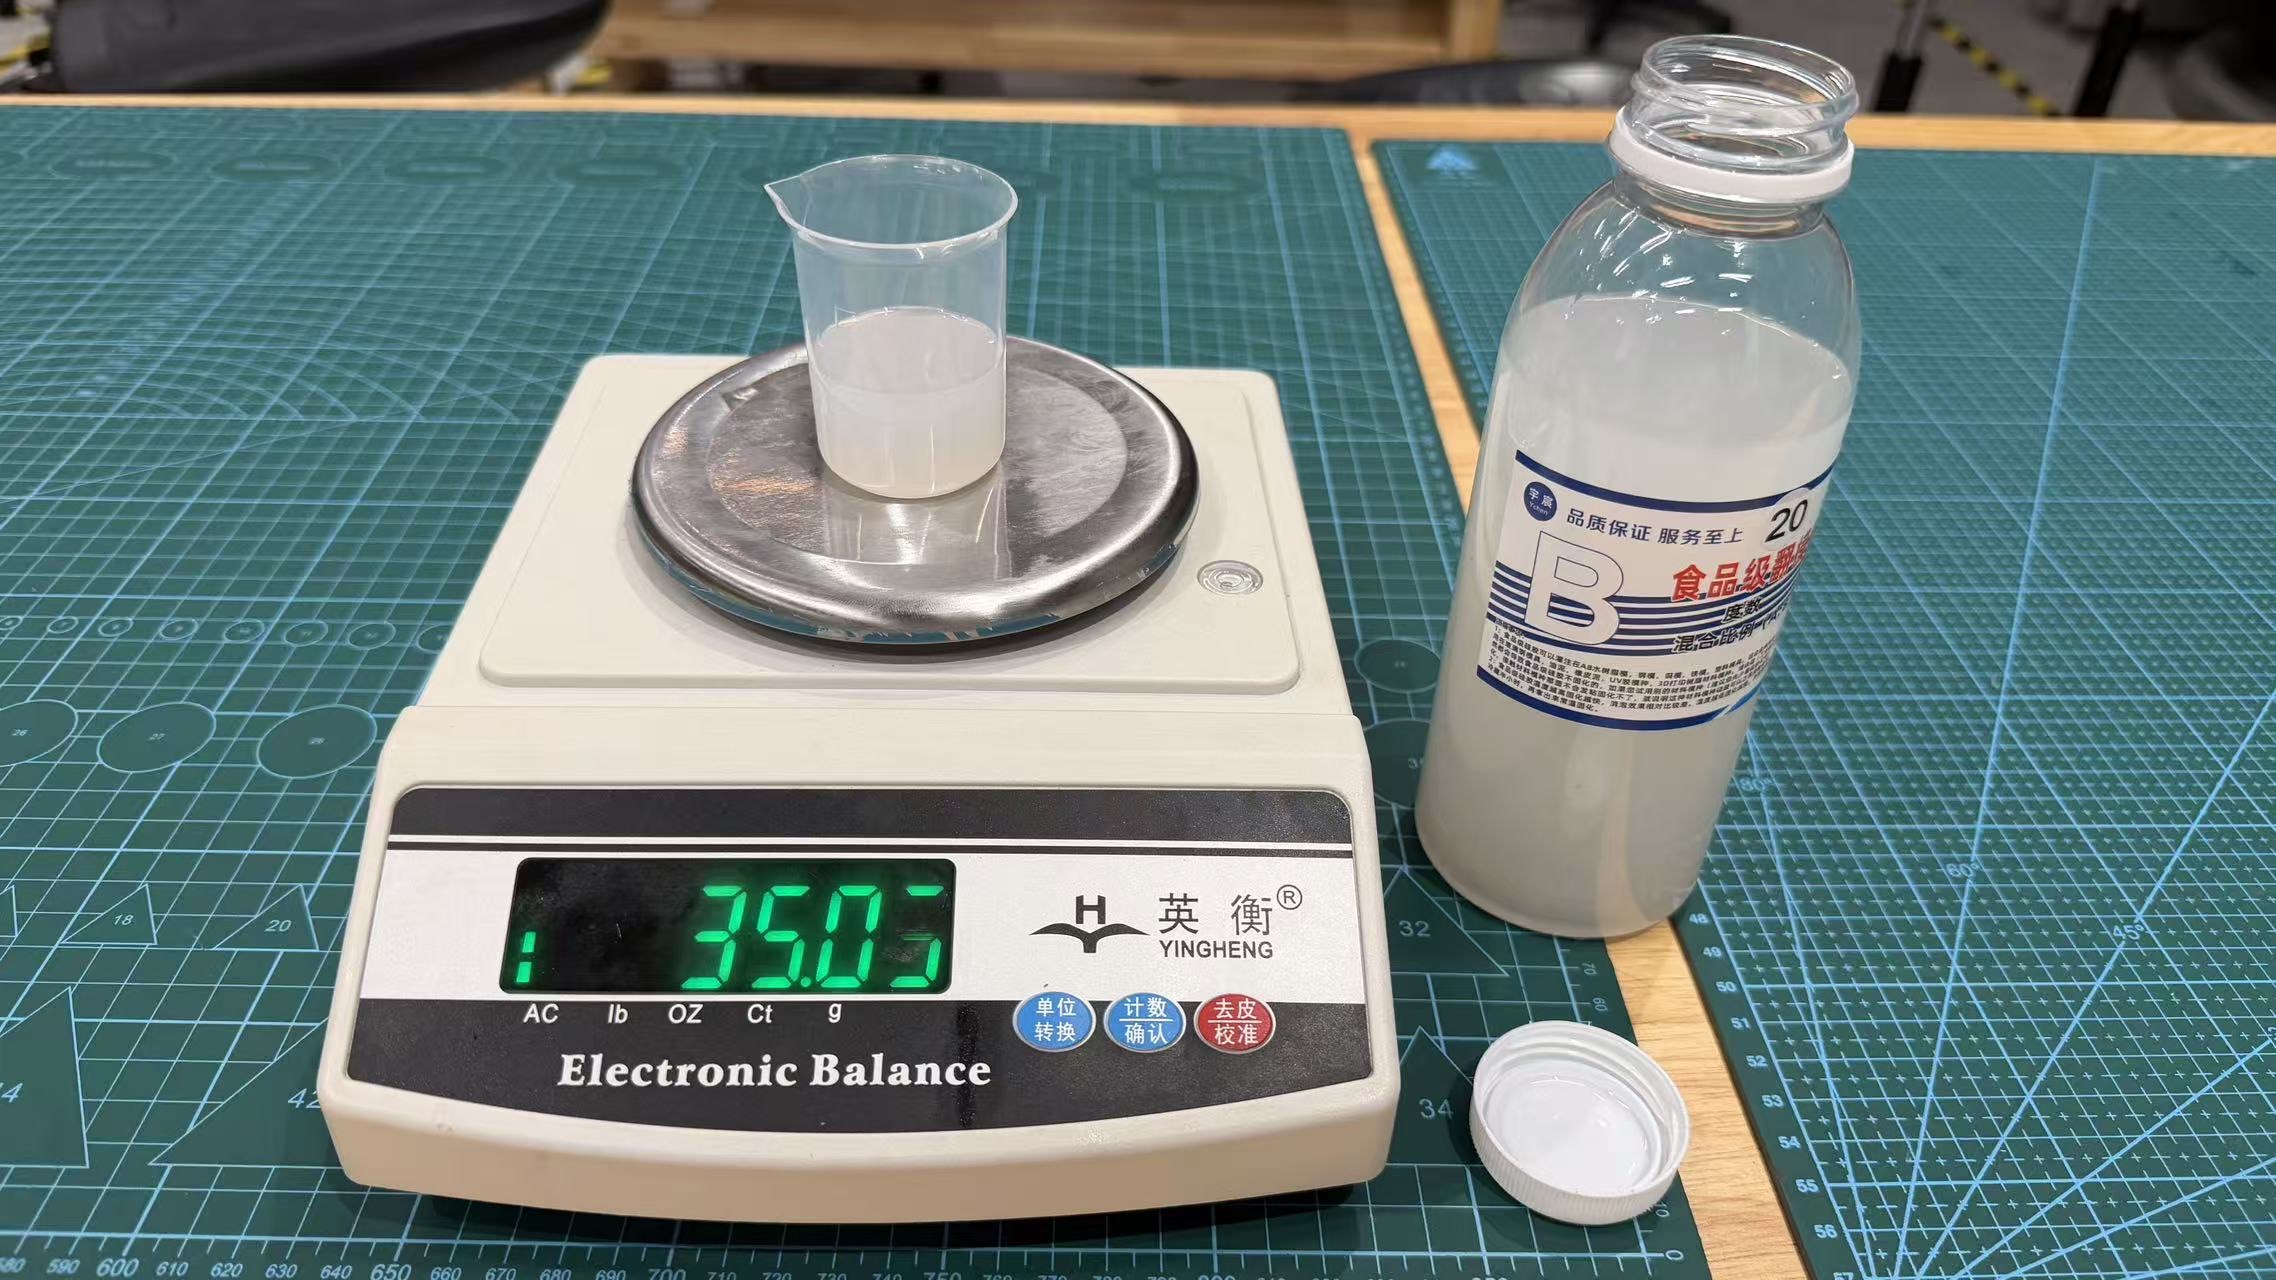
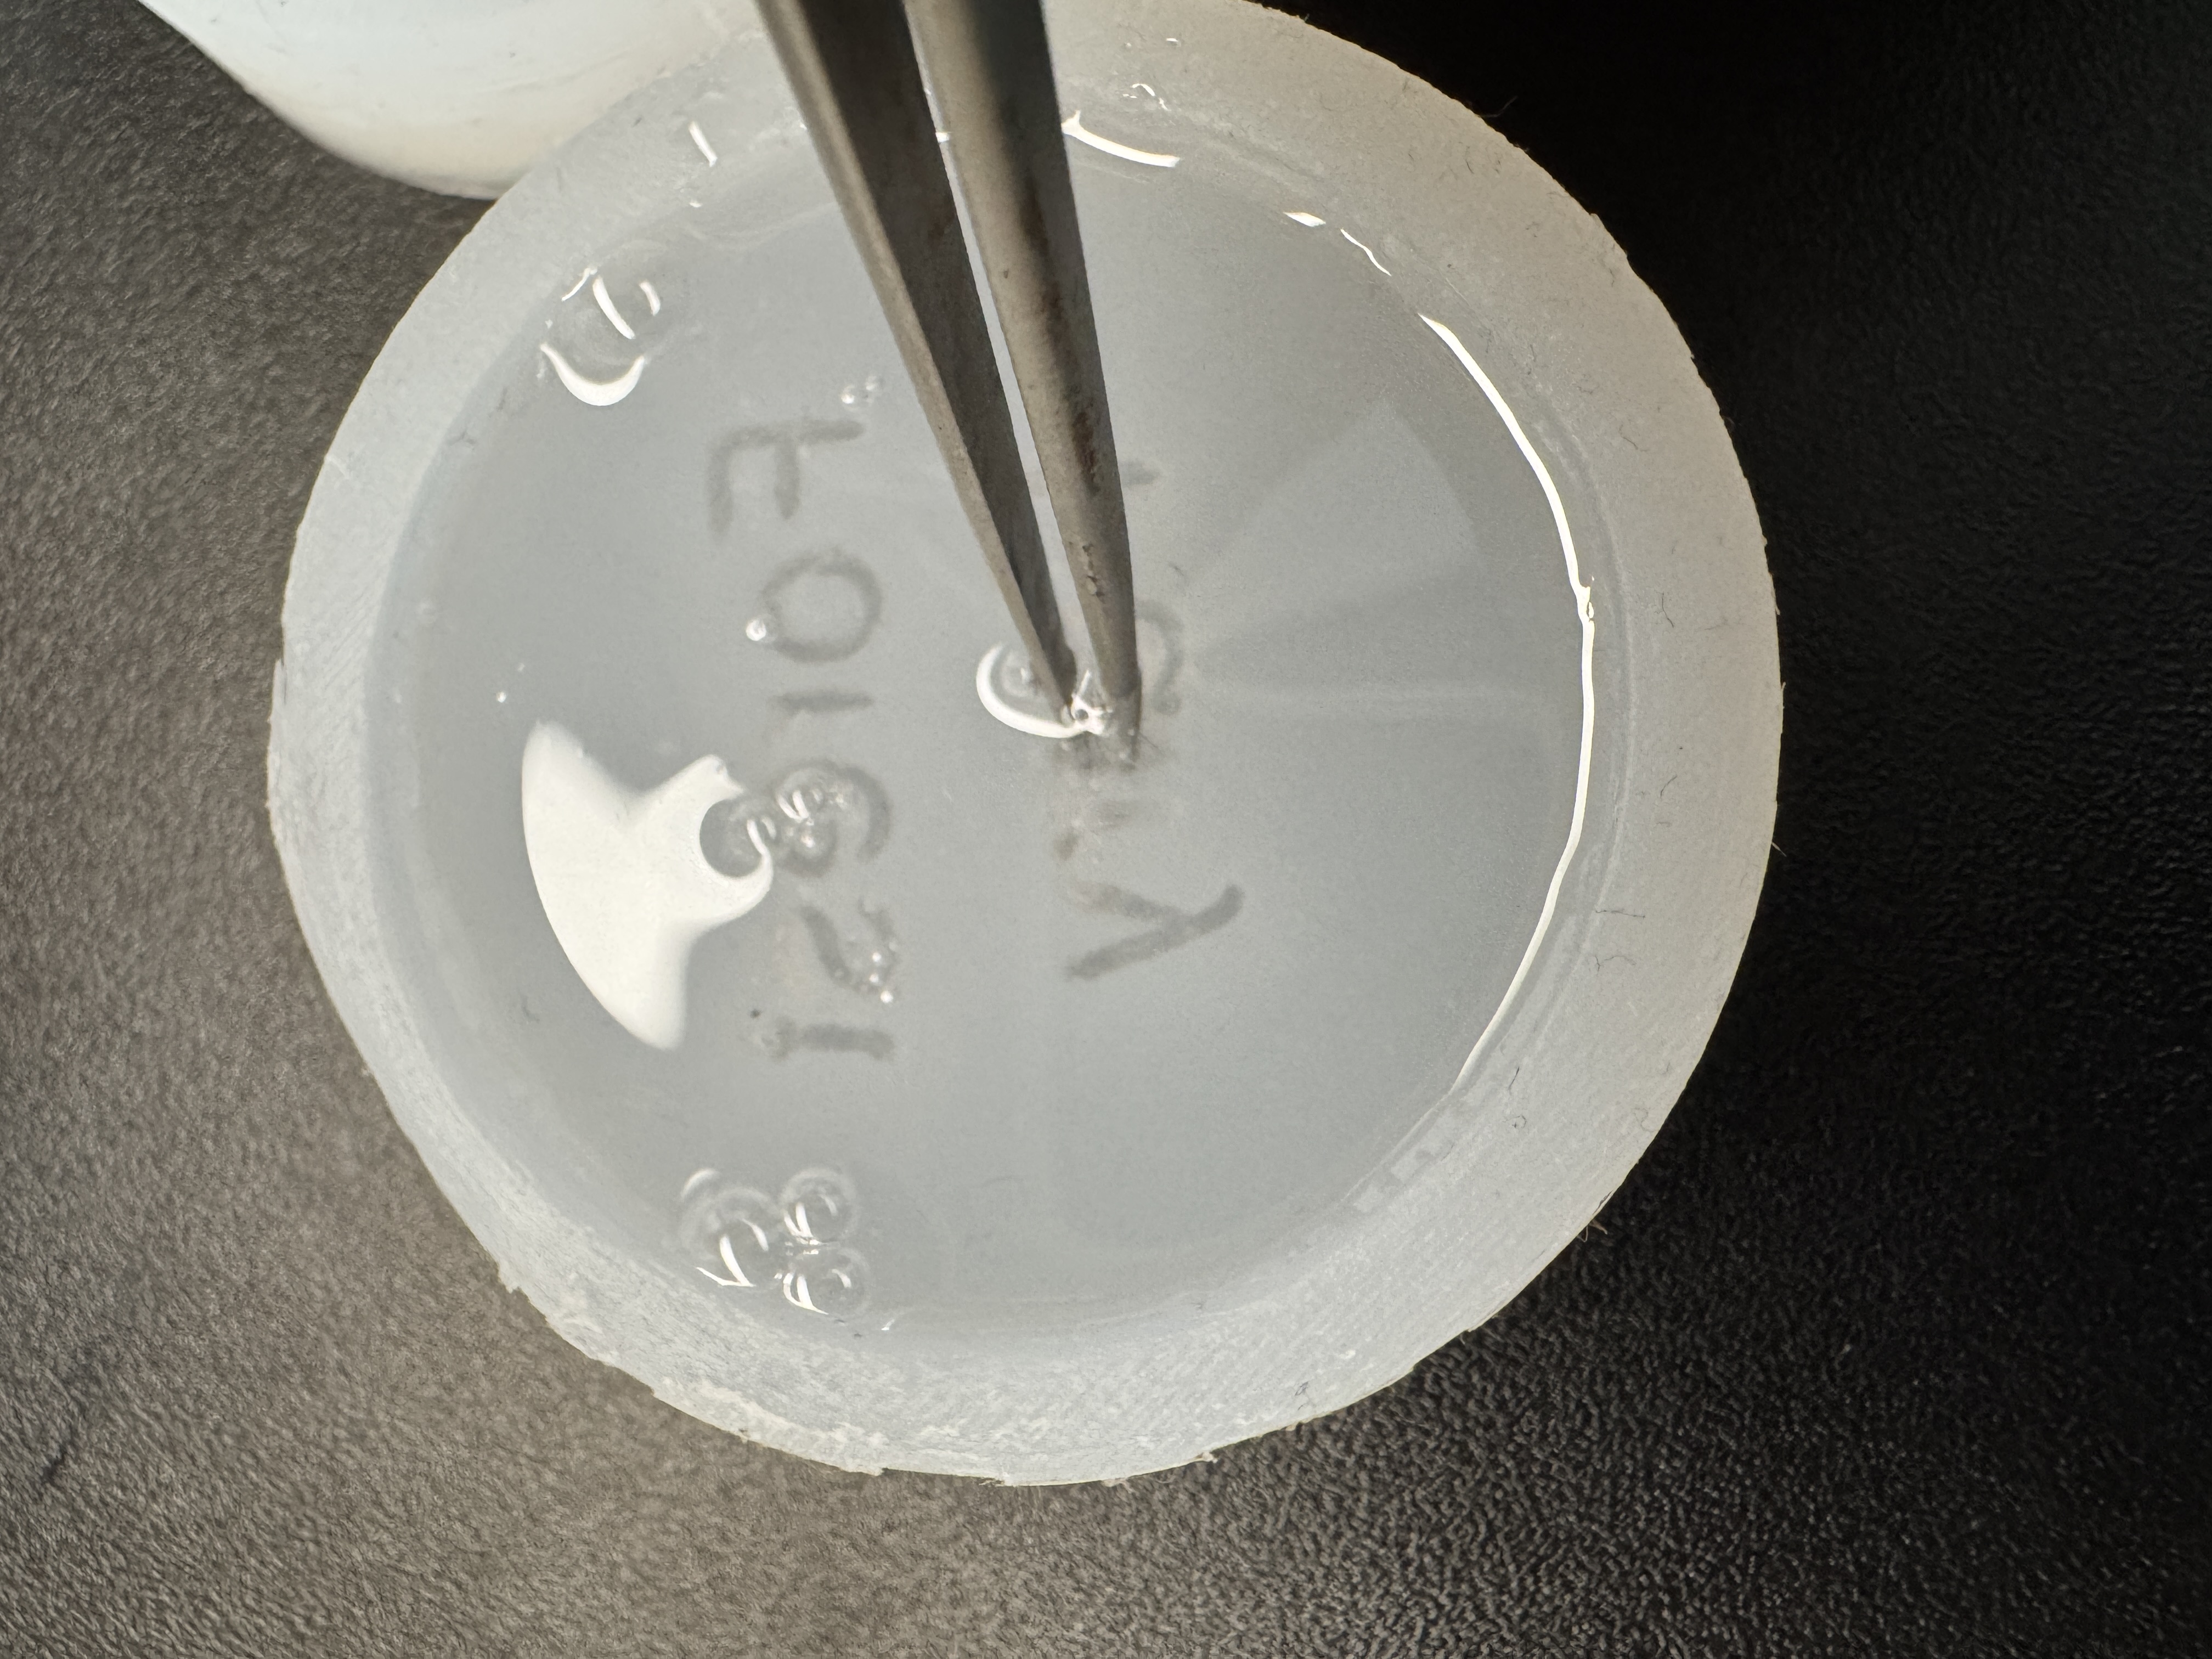
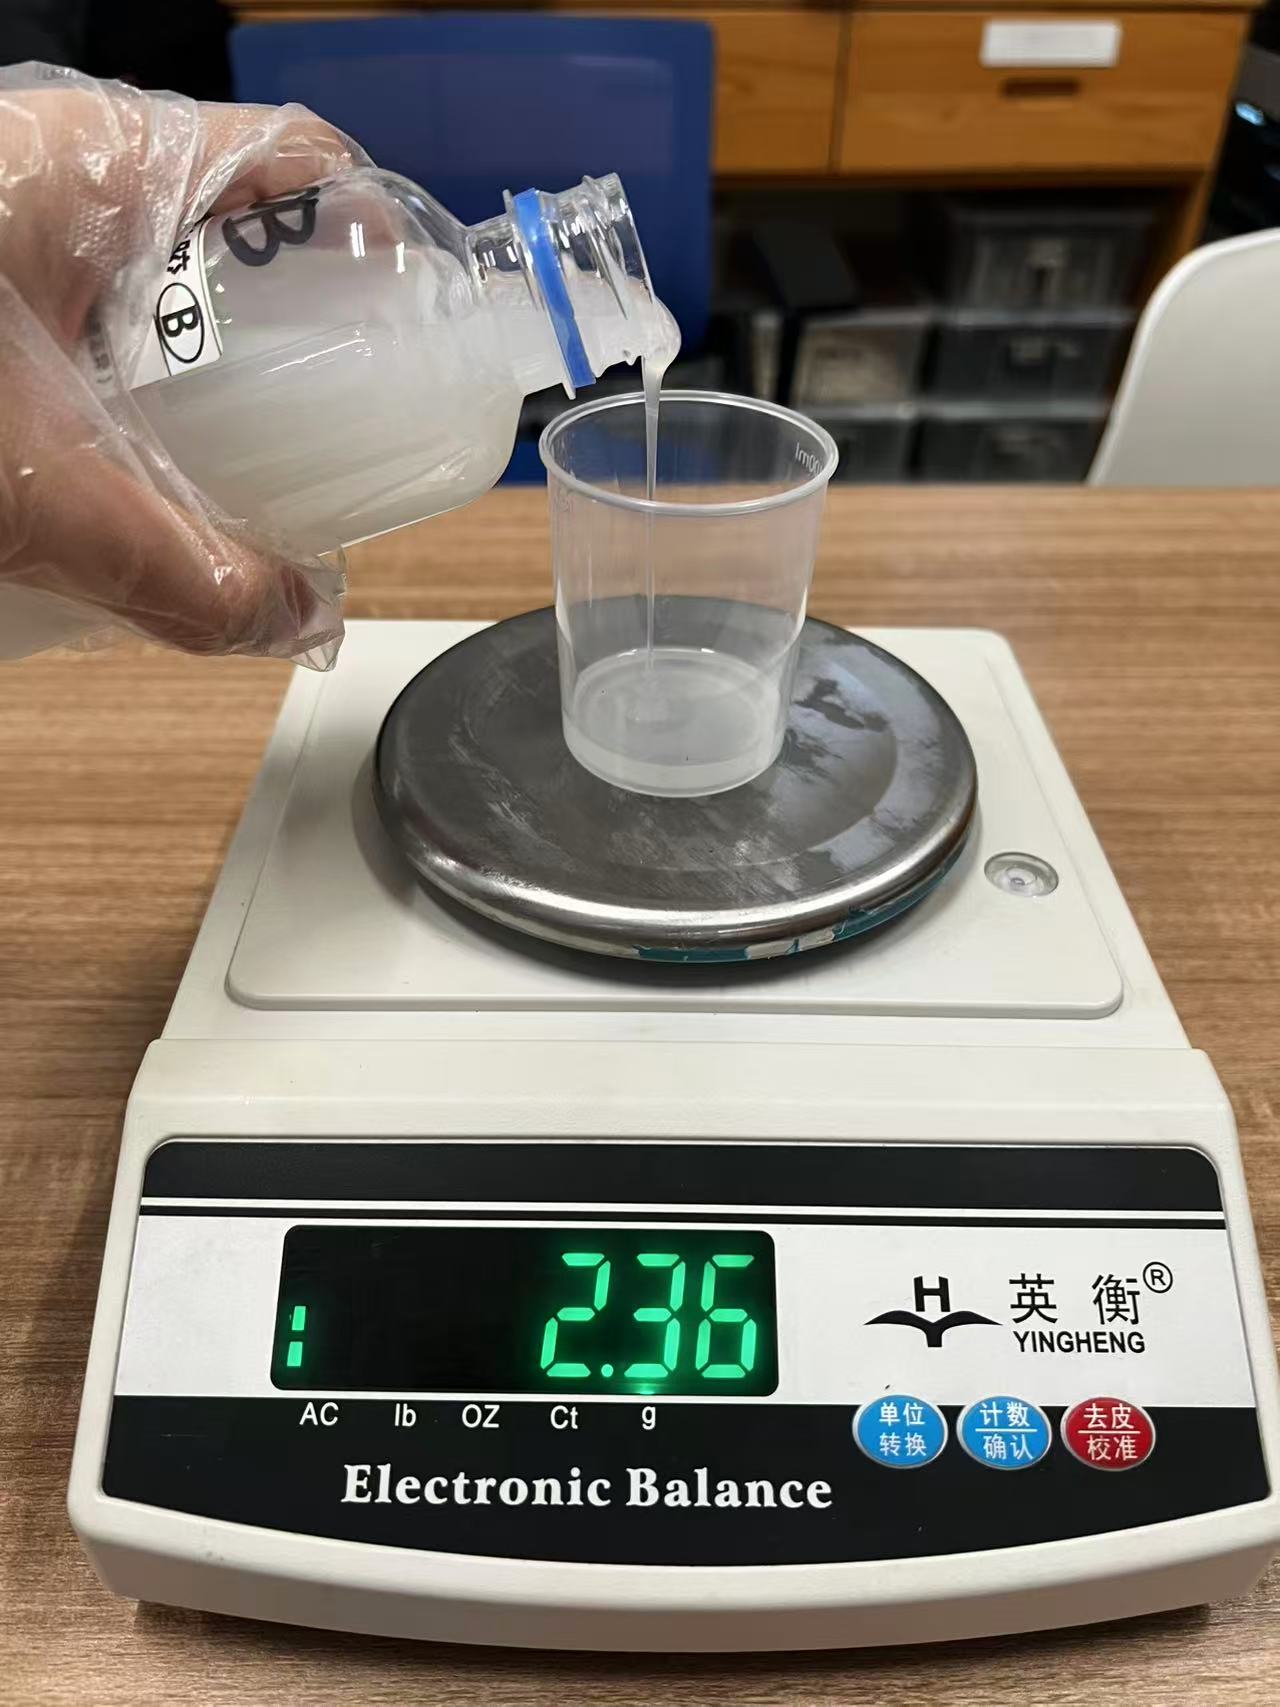
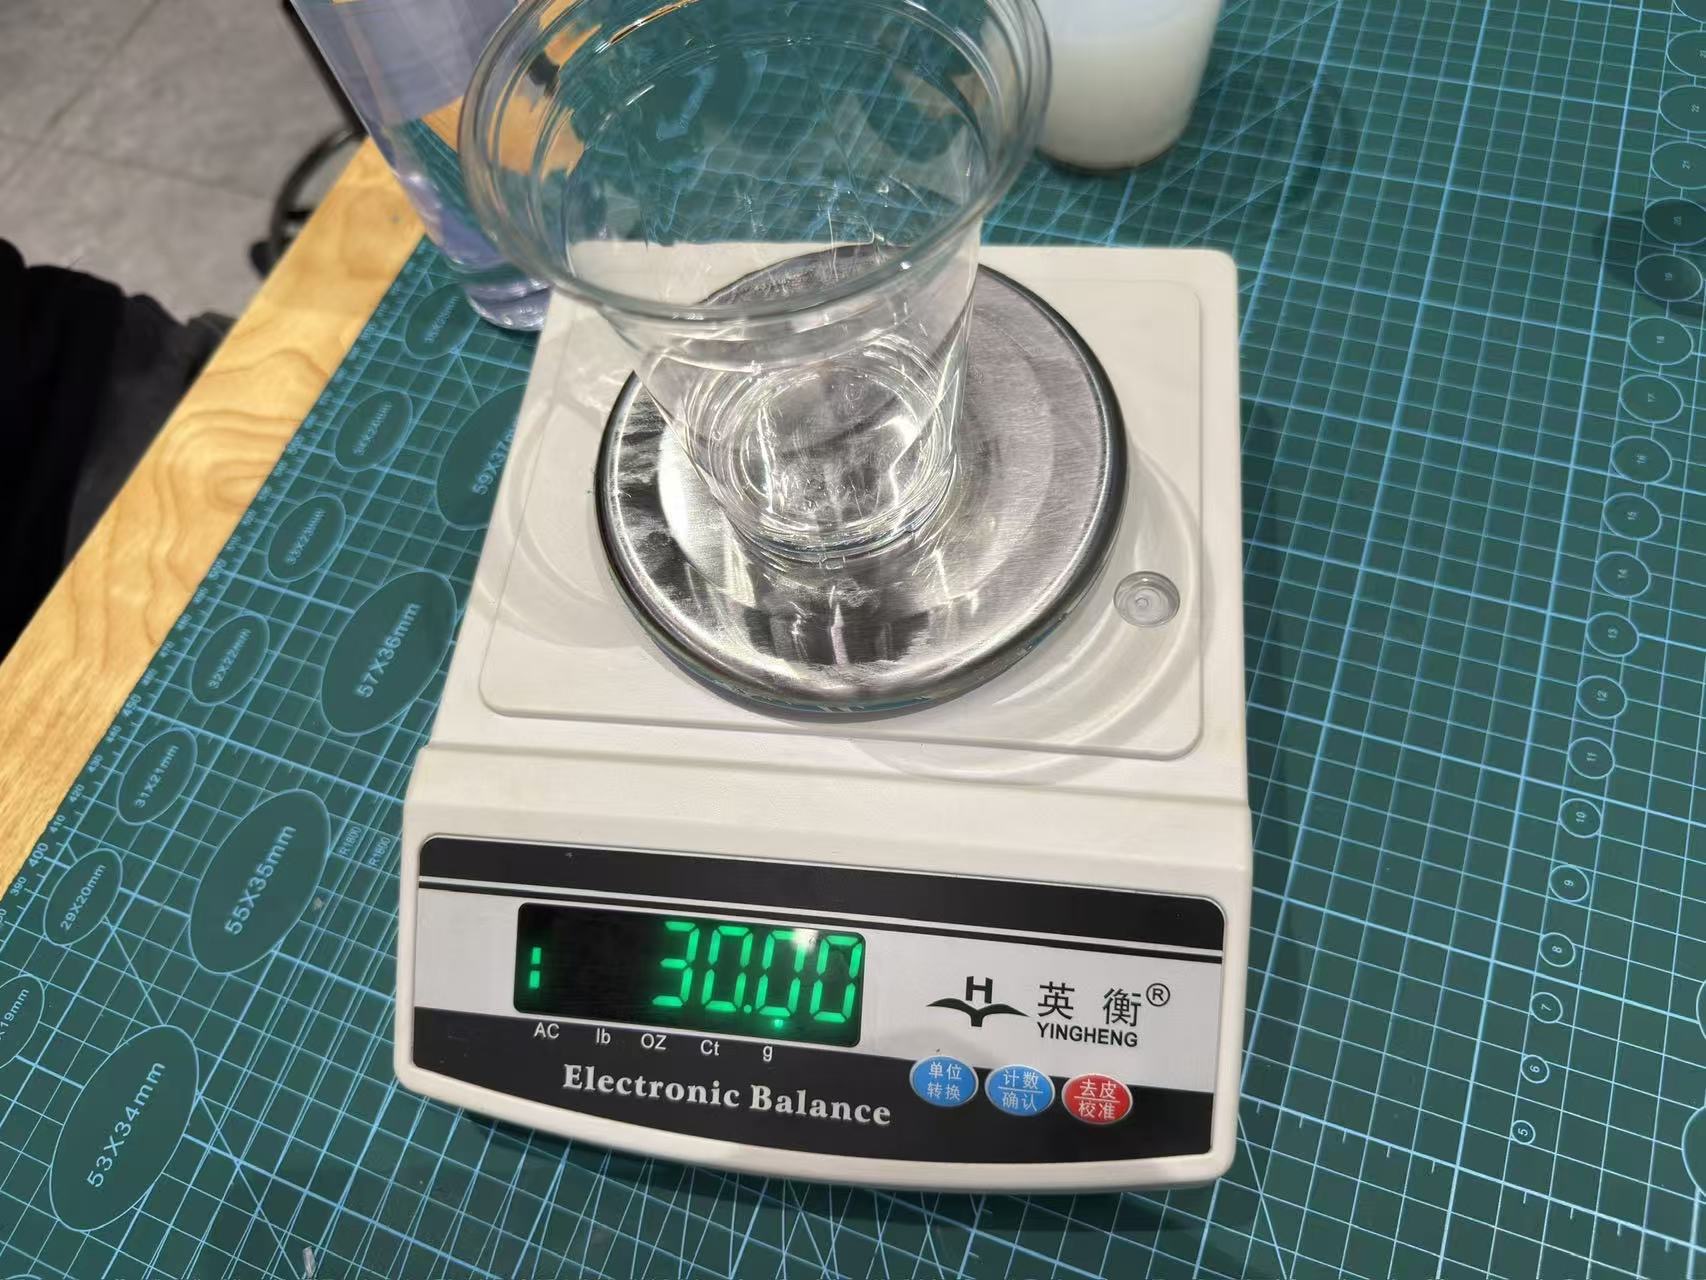
After the PLA shell was printed, I treated it like a small casting tool rather than a final object. My main concern was demolding: the text relief and the round inner wall could mechanically grip the silicone, so I added a thin Vaseline layer before mixing the AB silicone. I weighed equal masses: 35 g A and 35 g B.
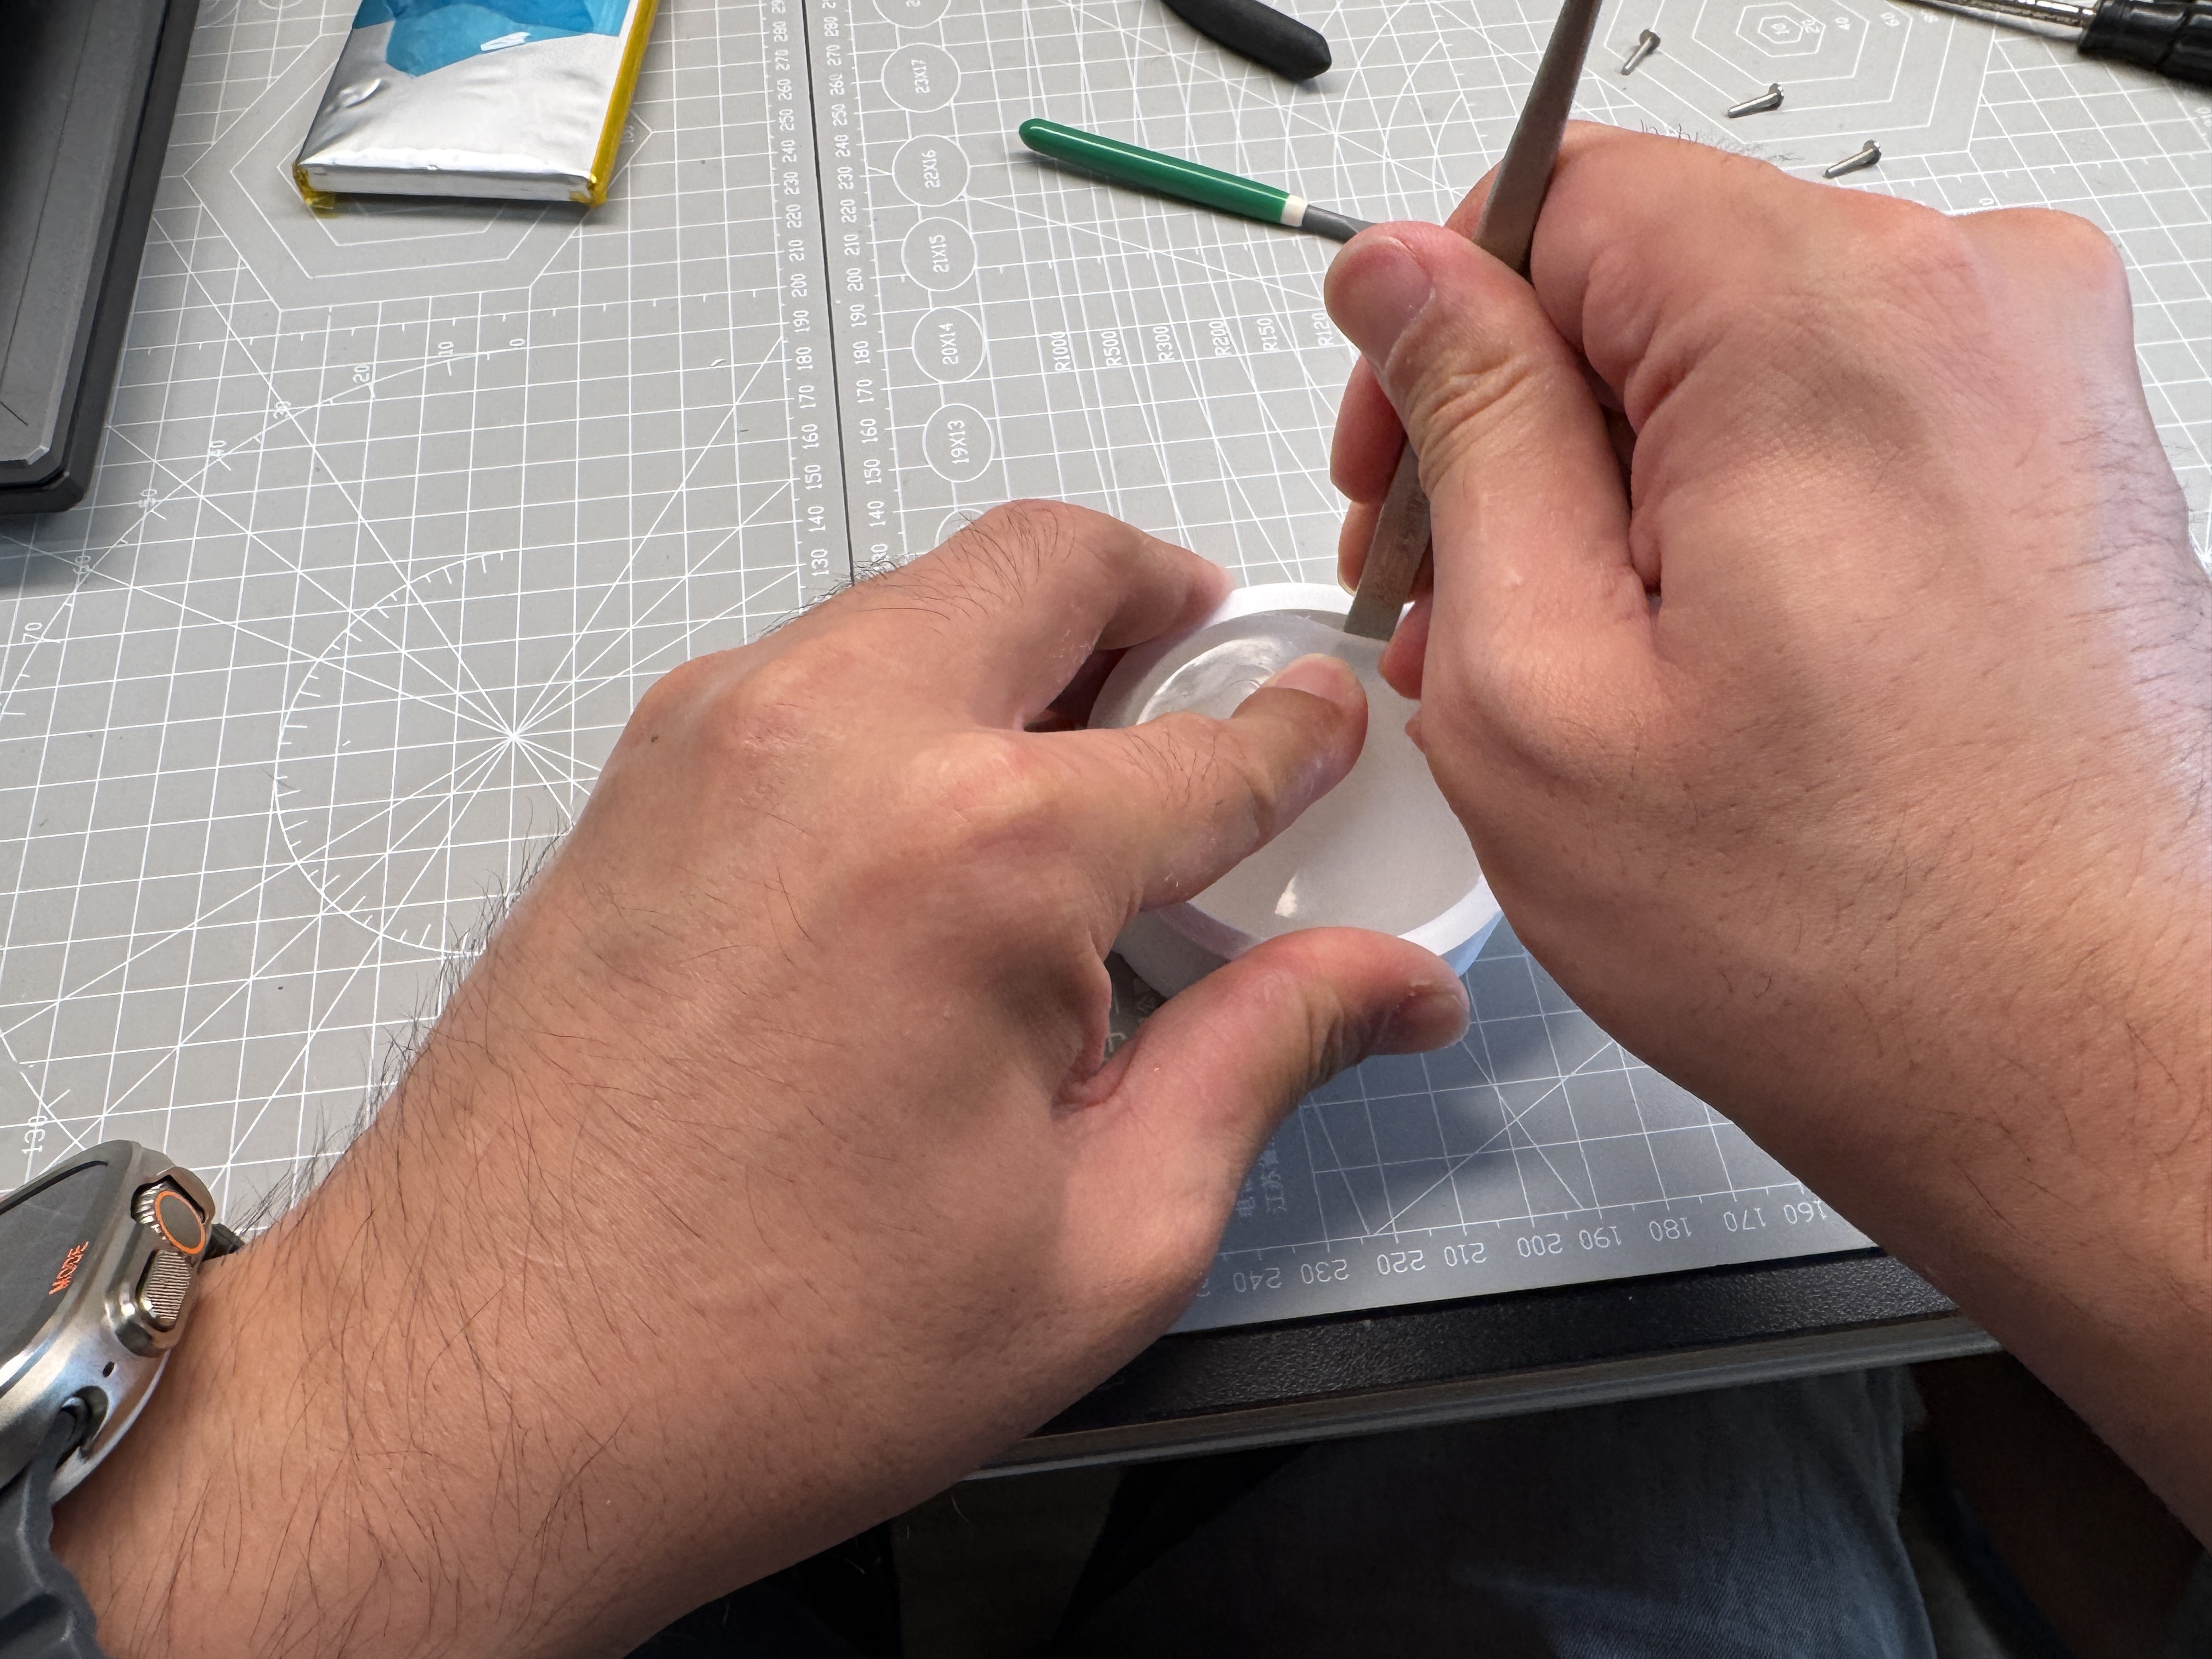
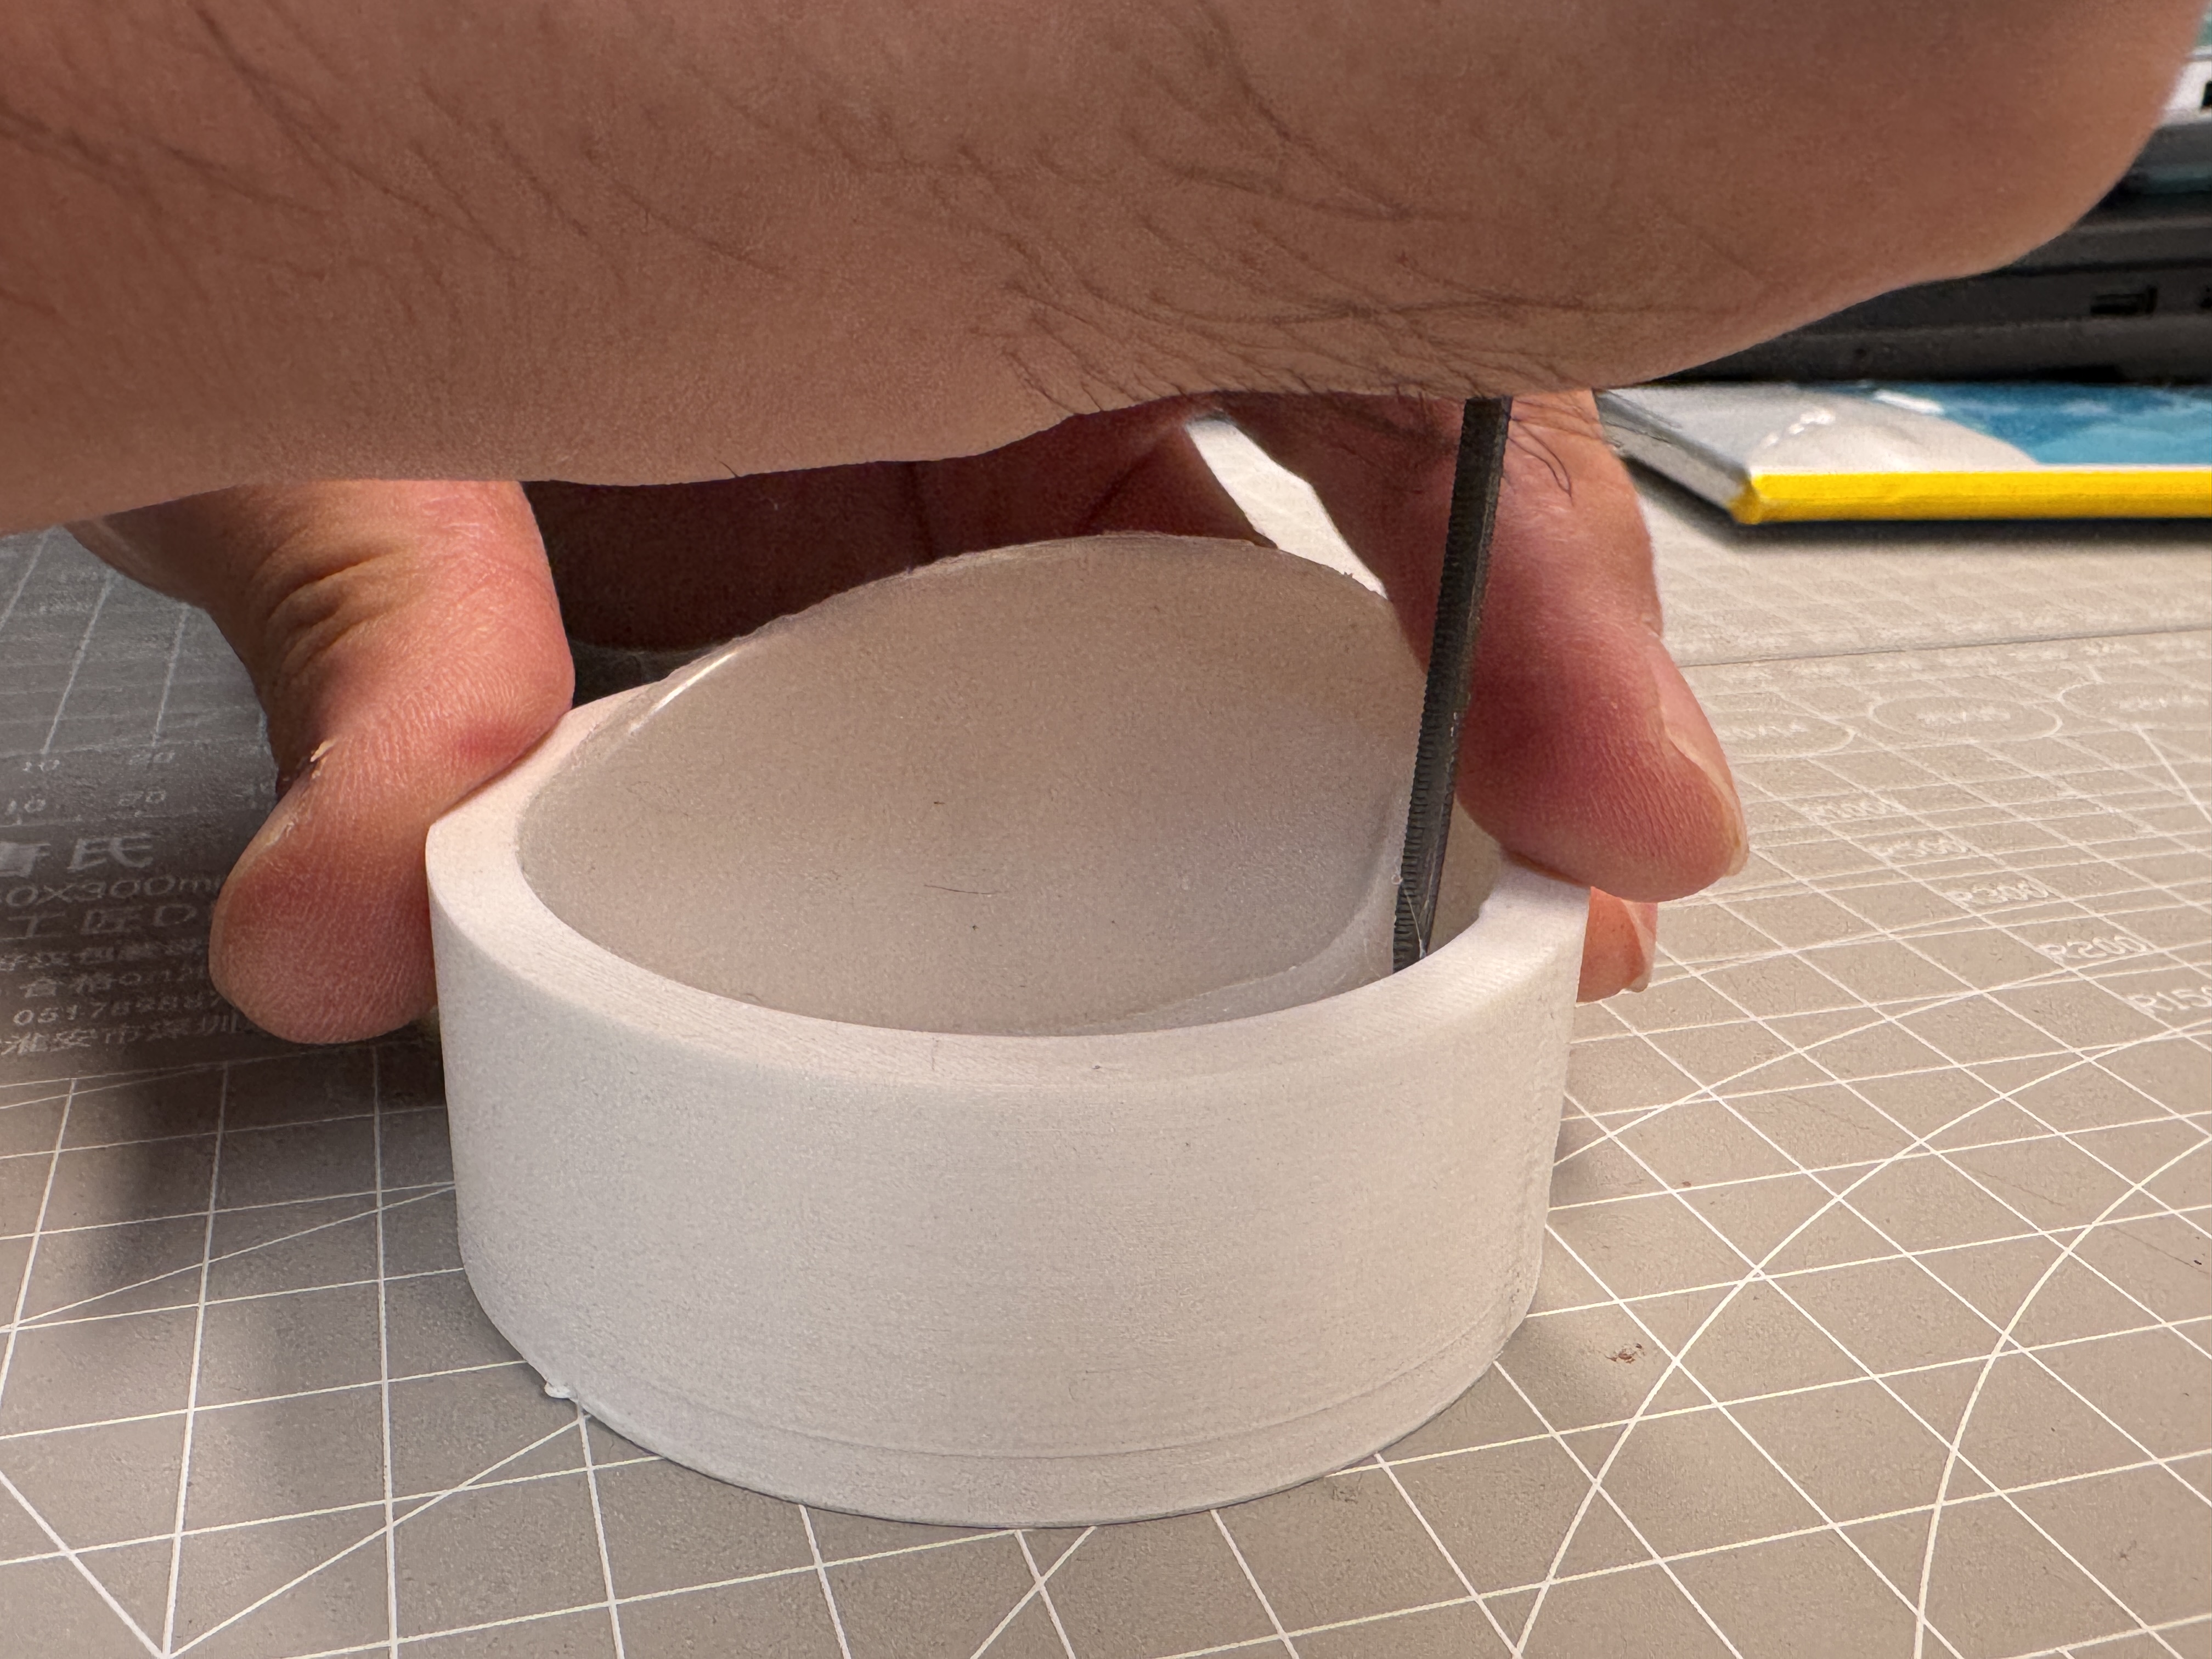
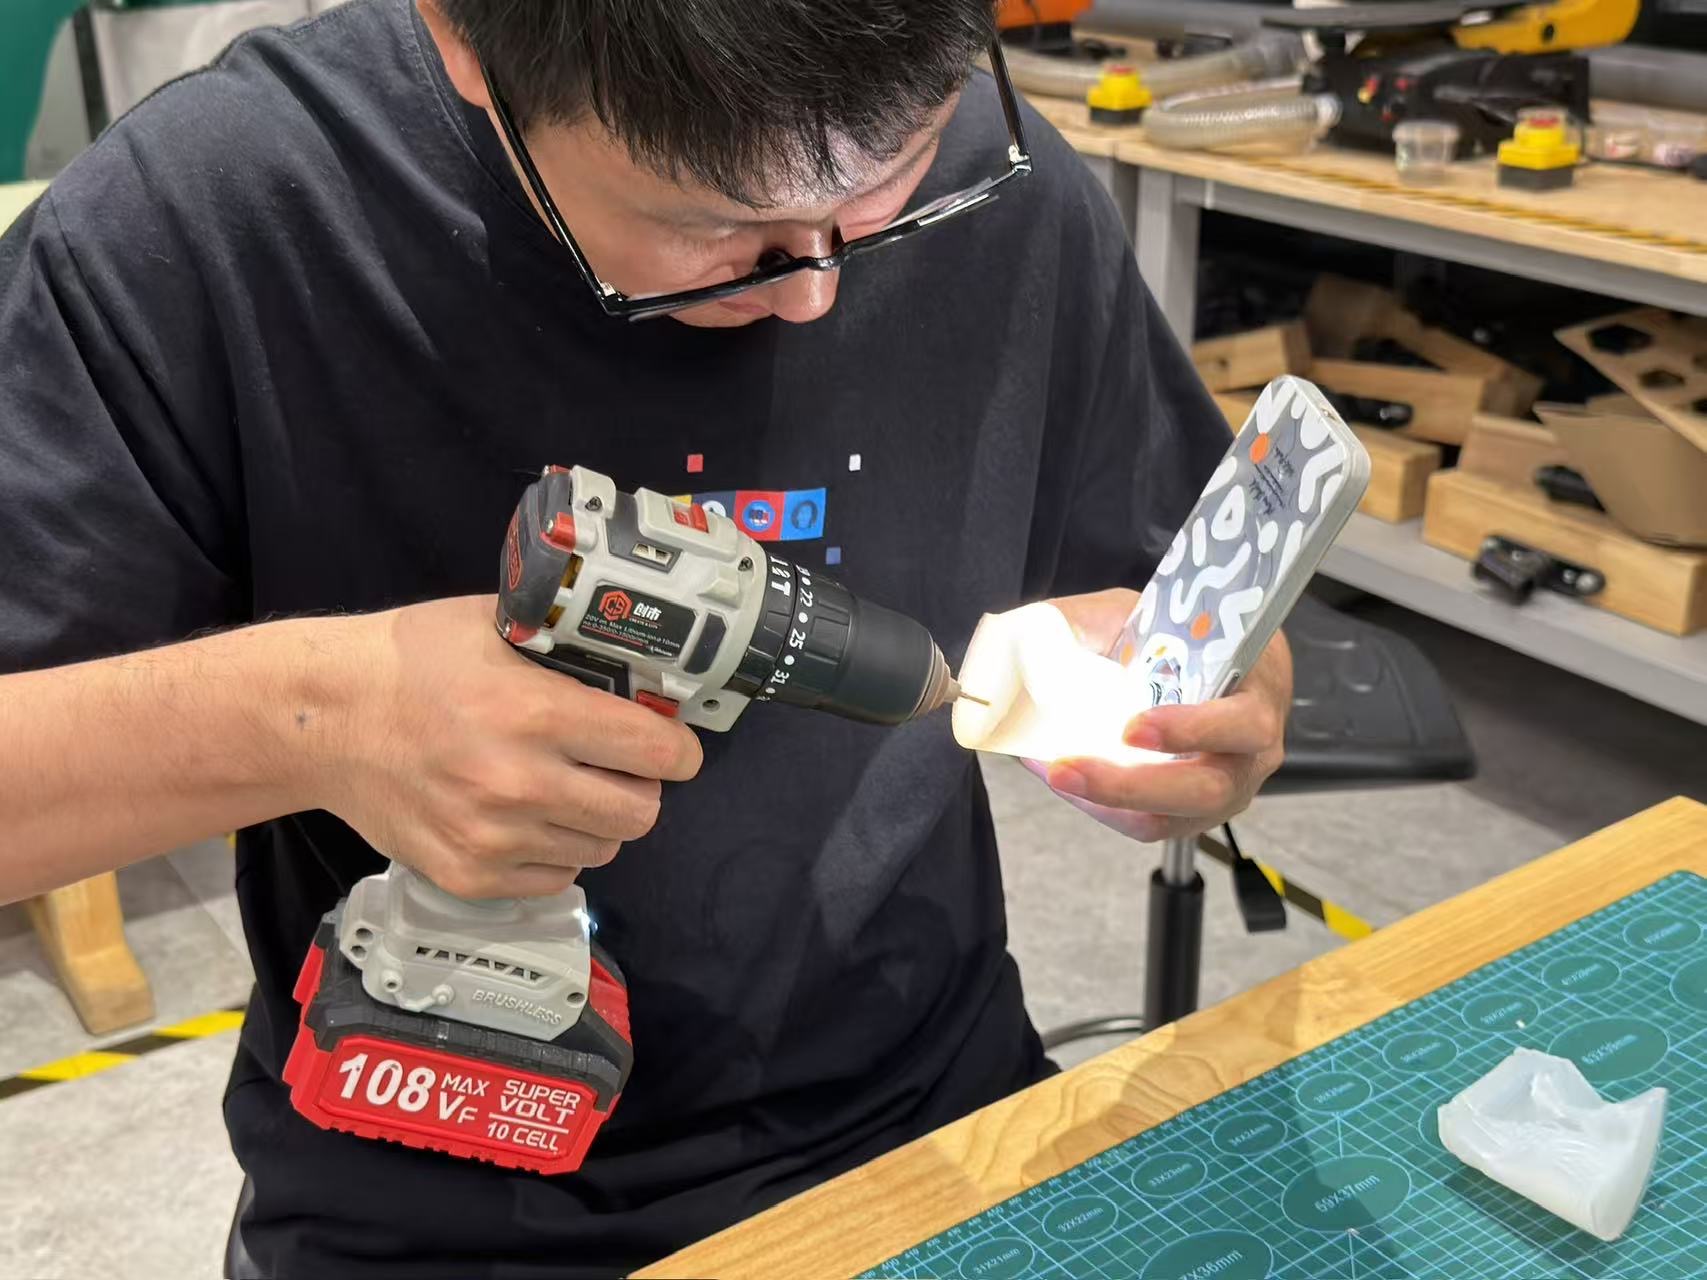
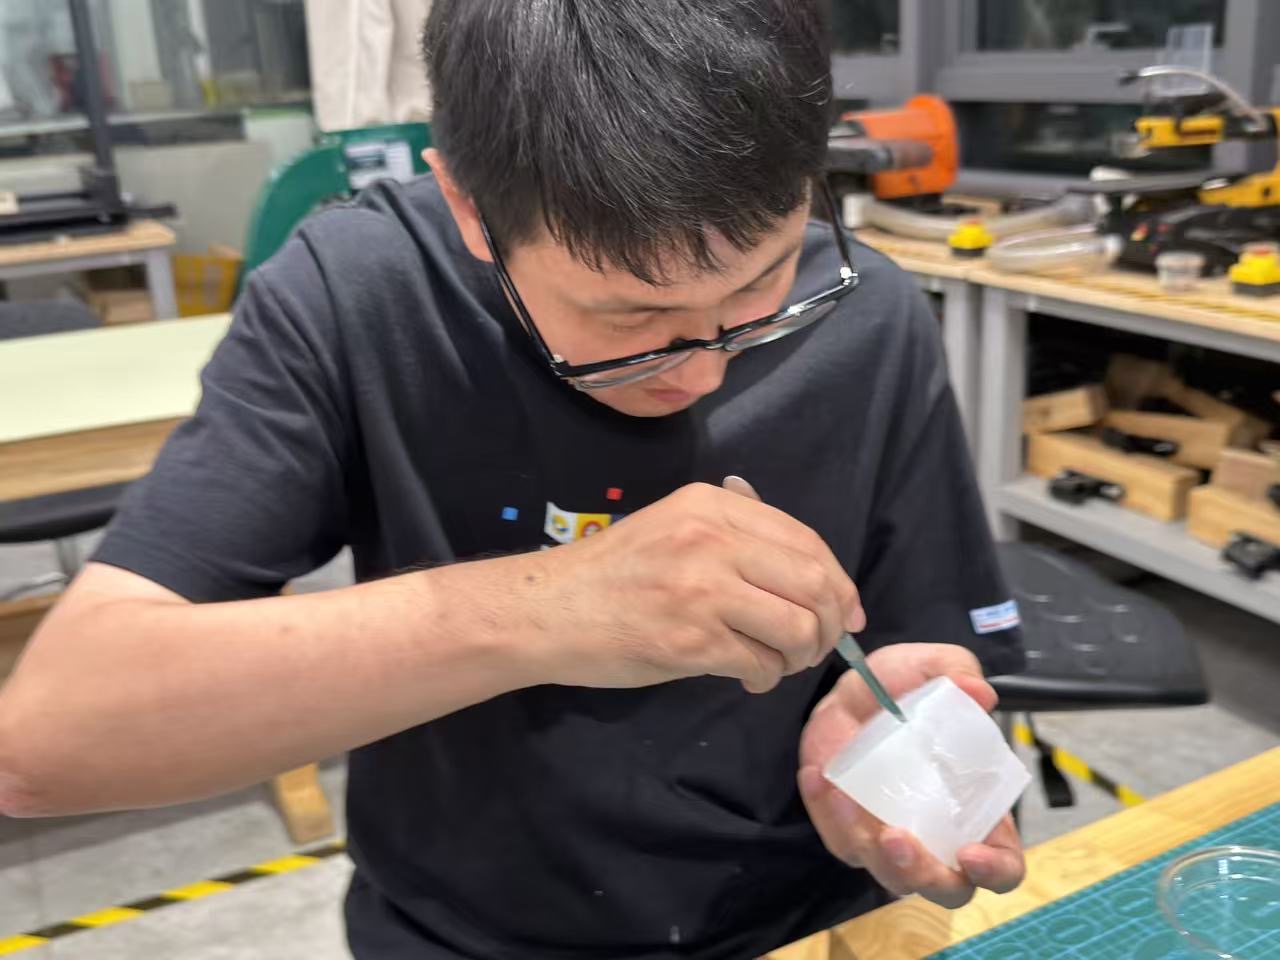
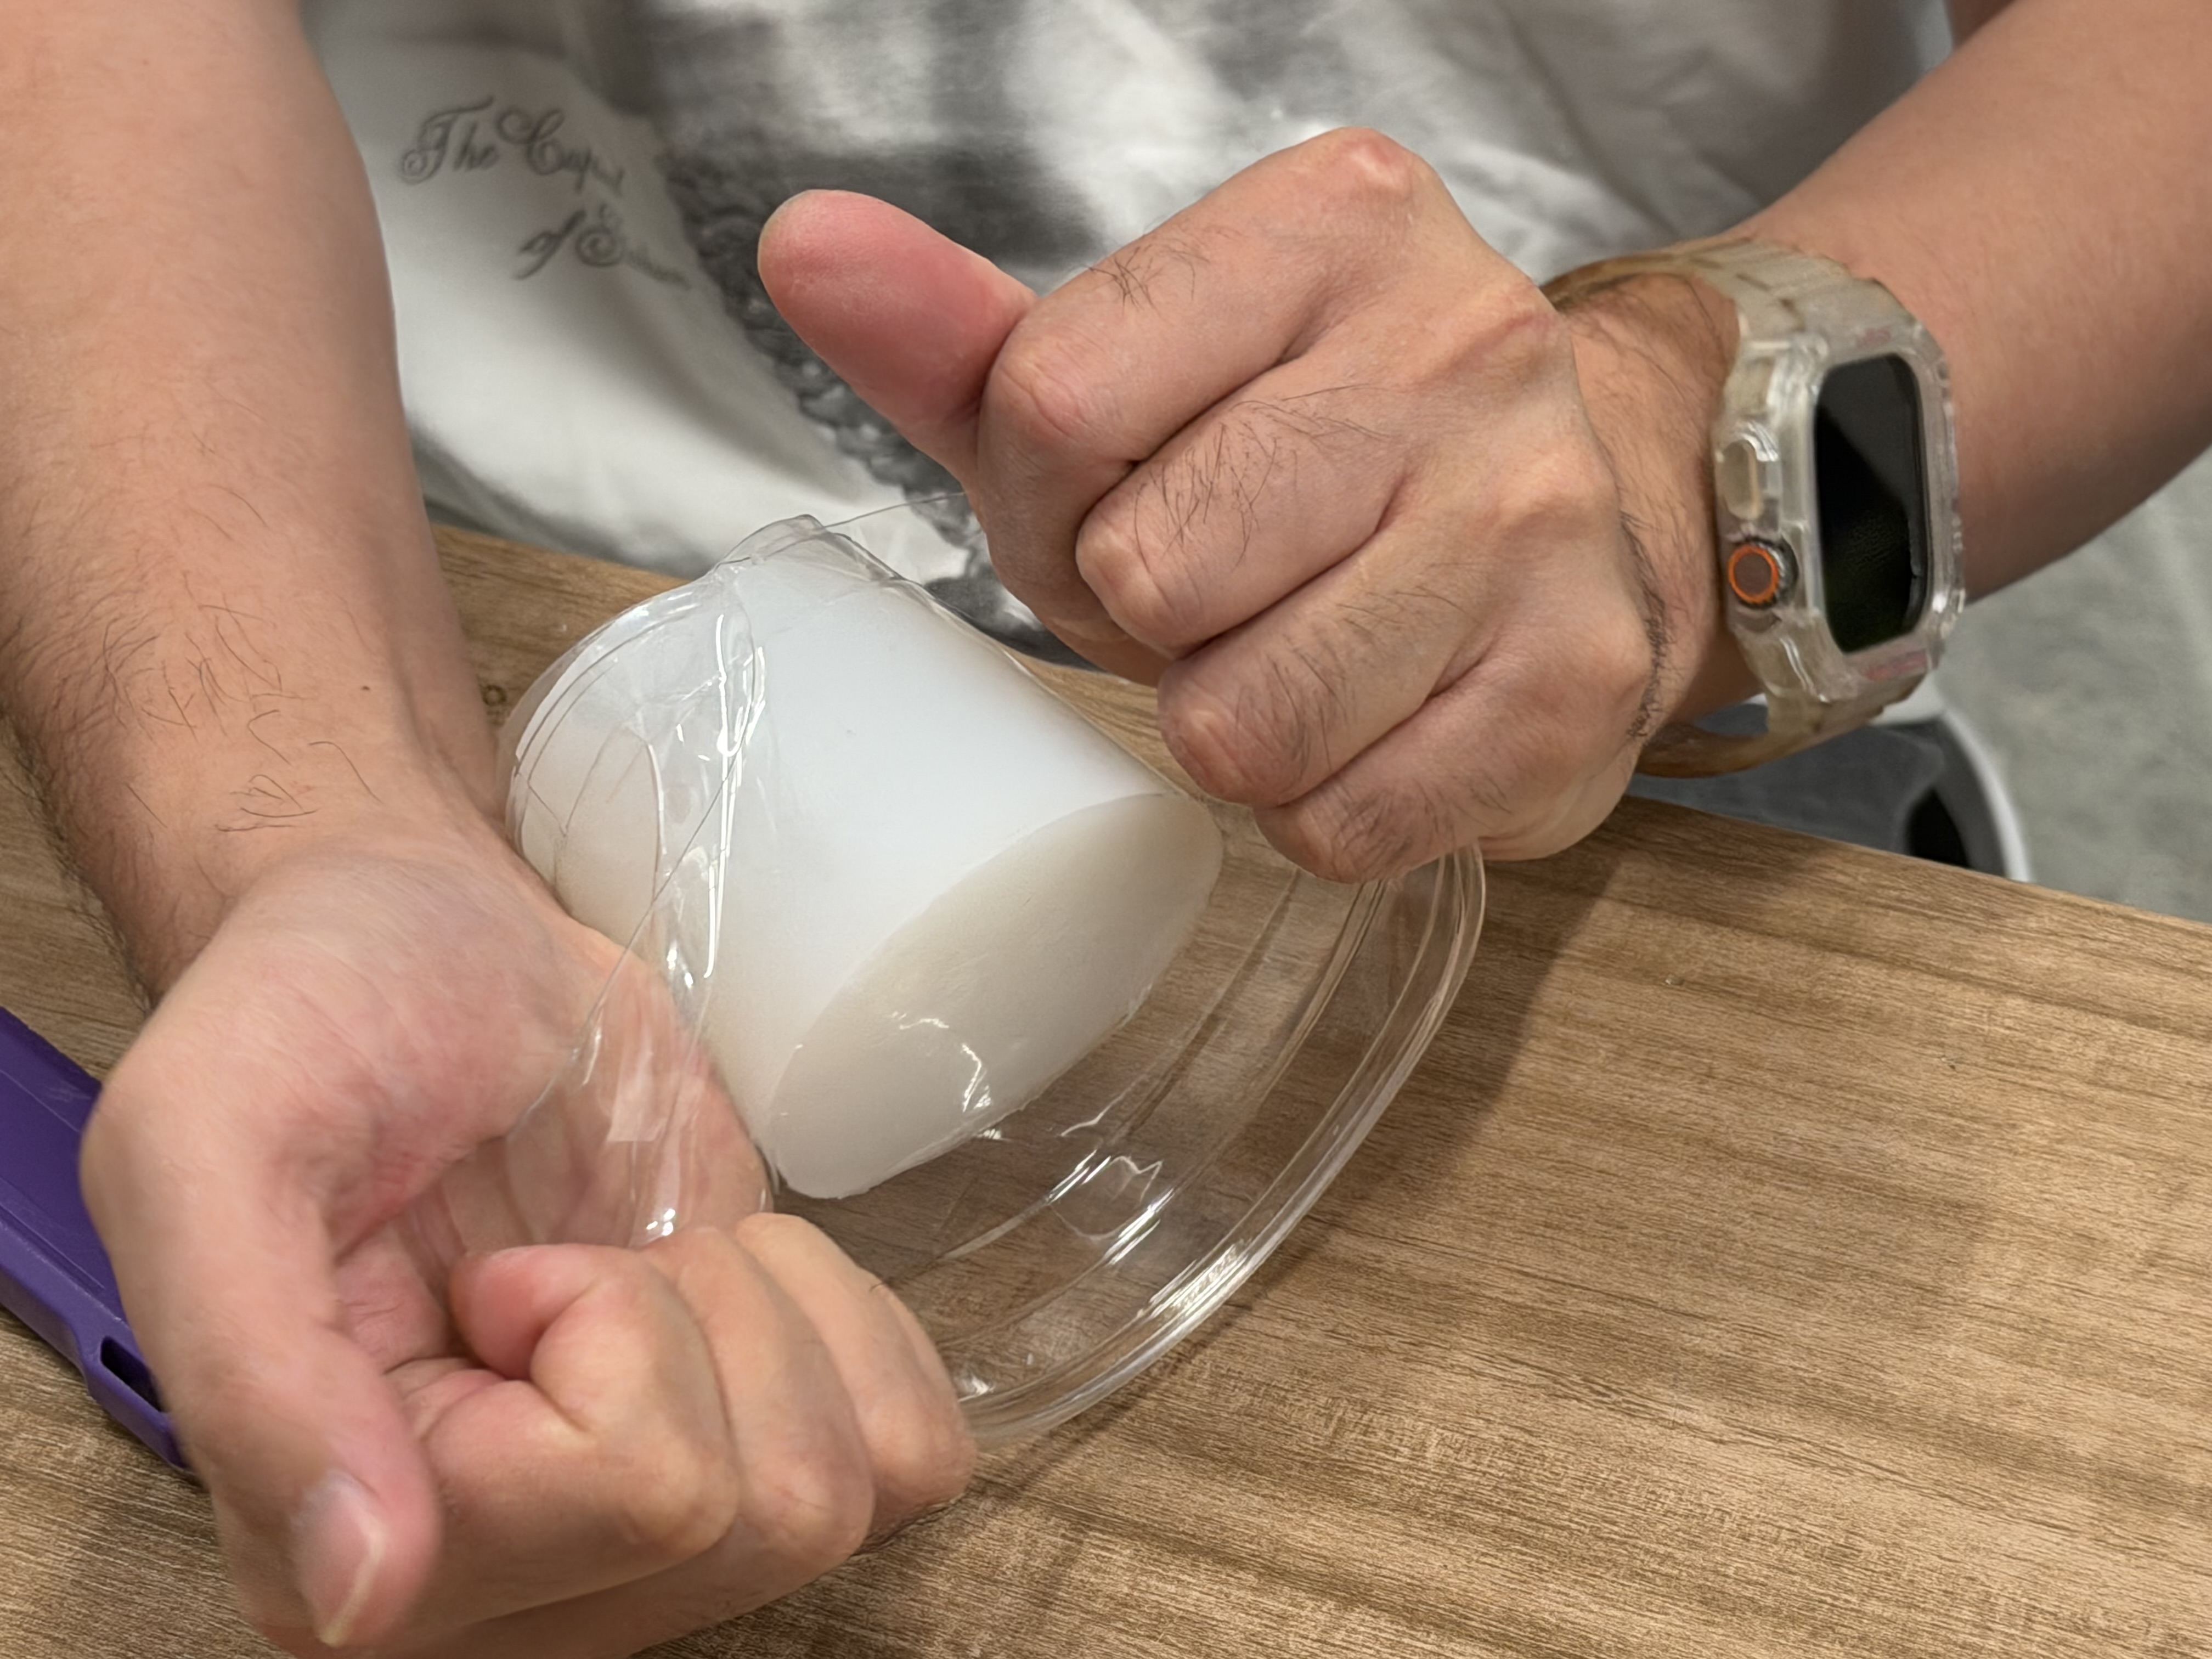
Demolding was the hardest part of this mini-project. The silicone was flexible, but the 3D-printed wall was rigid and the lettering created small undercuts. I used tweezers to gently separate the edge first, then worked around the circumference instead of pulling from one side and tearing the mold.
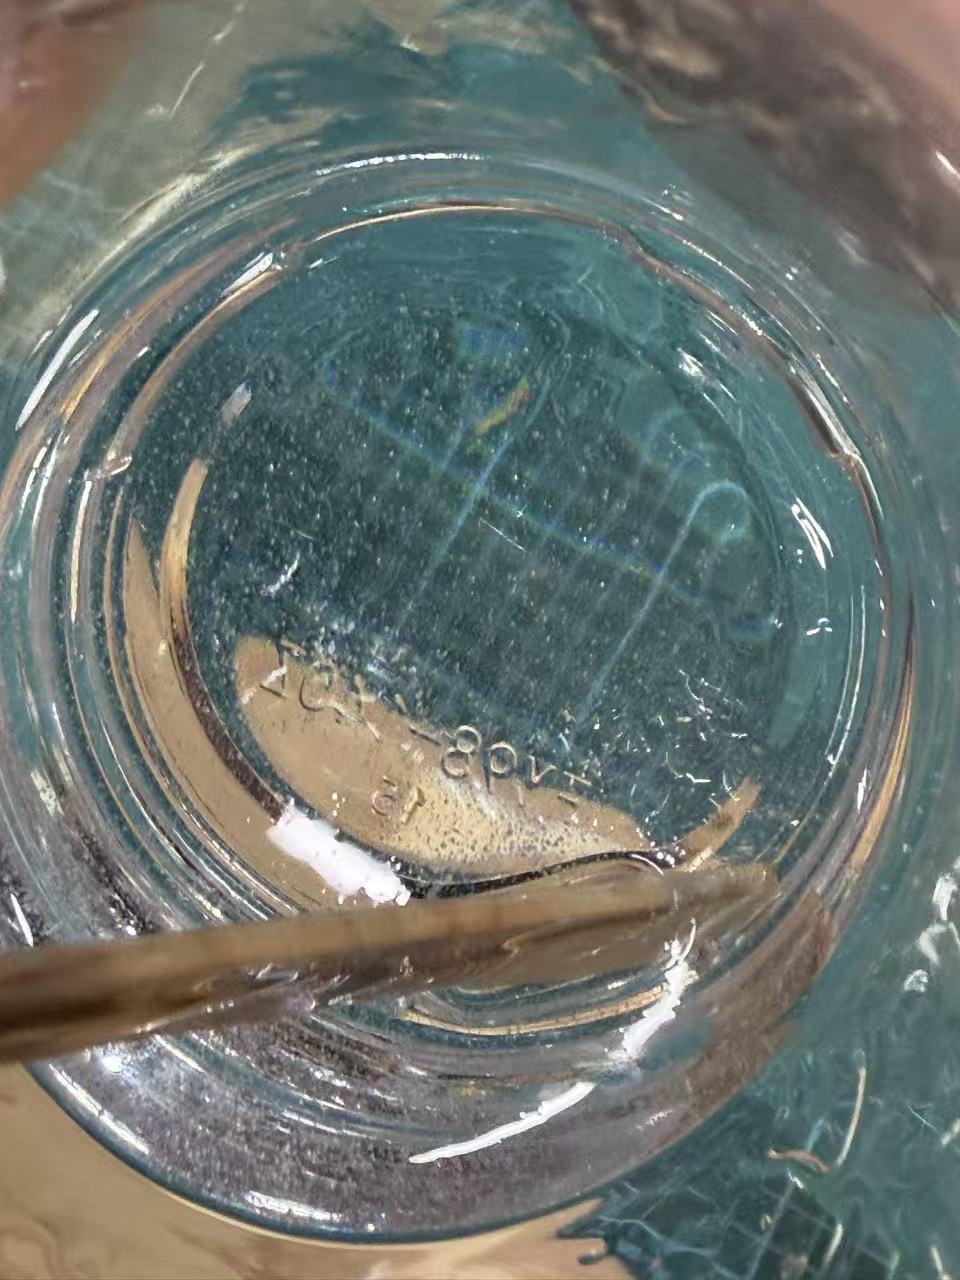
First cast from the flexible negative
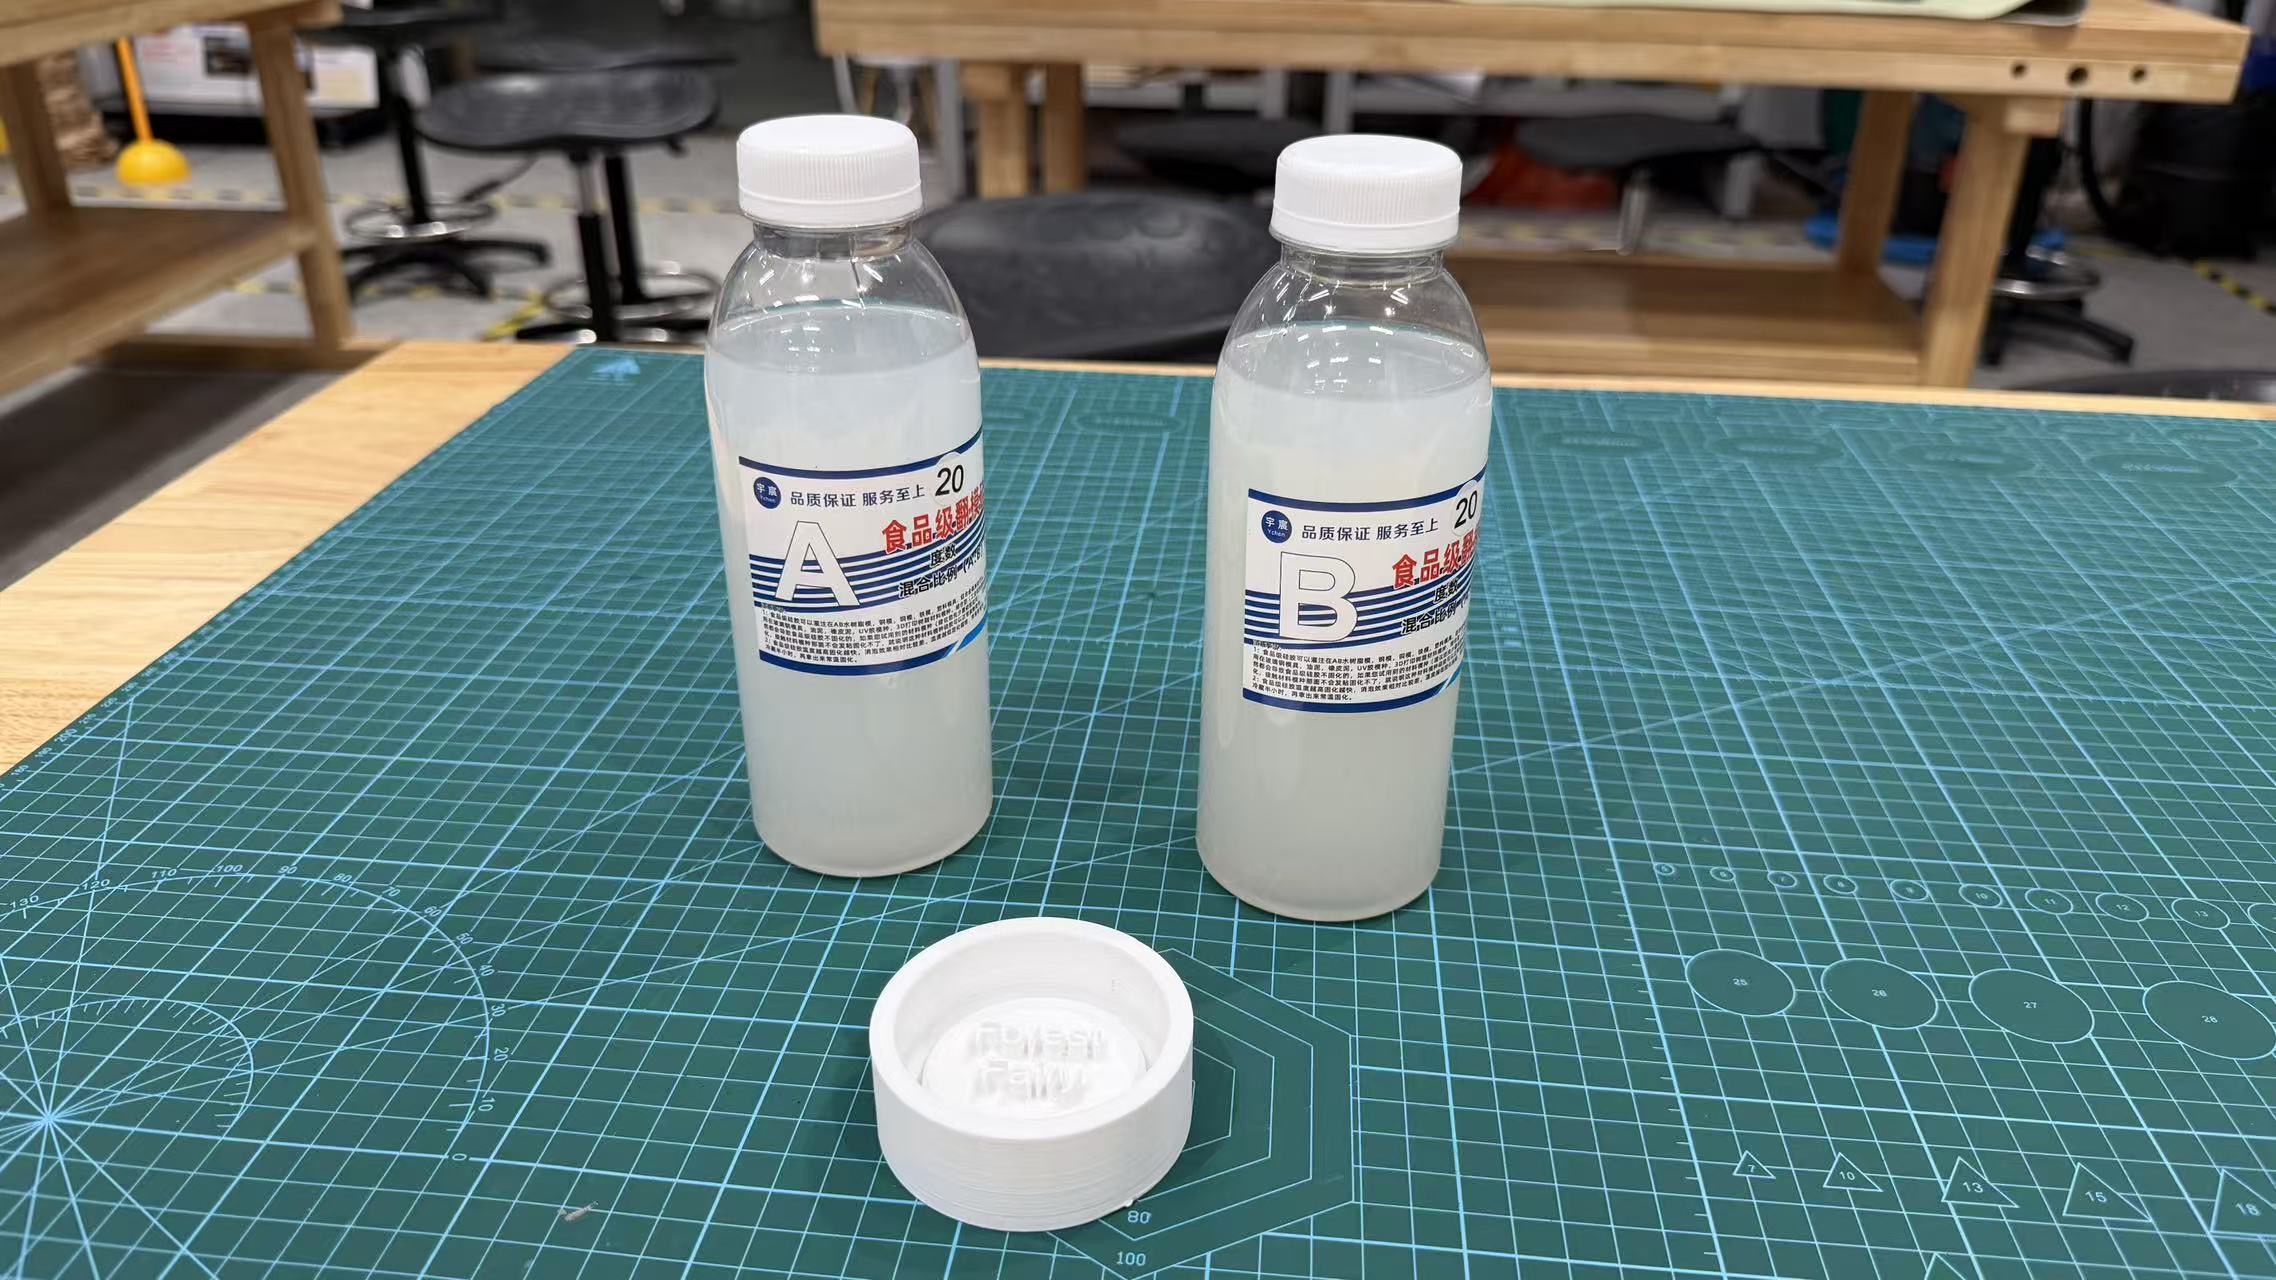
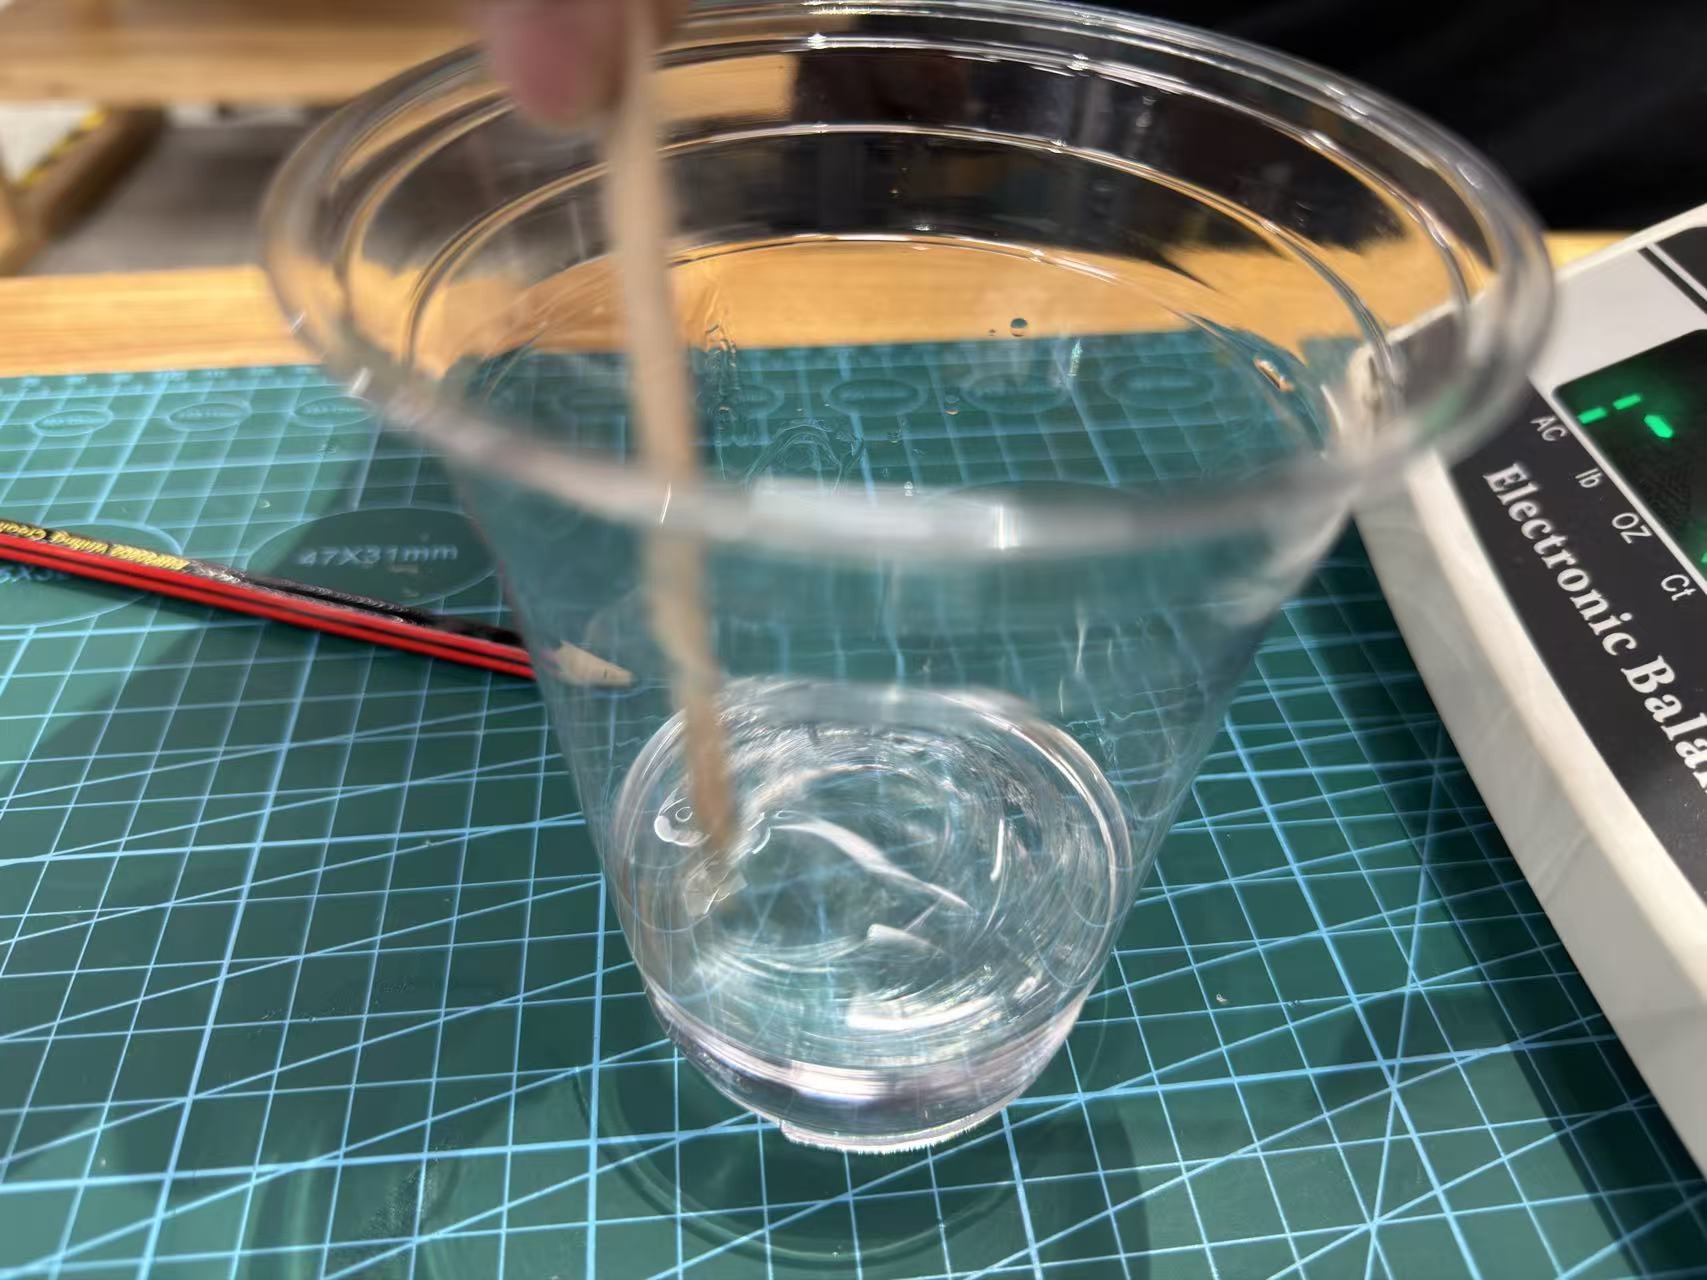
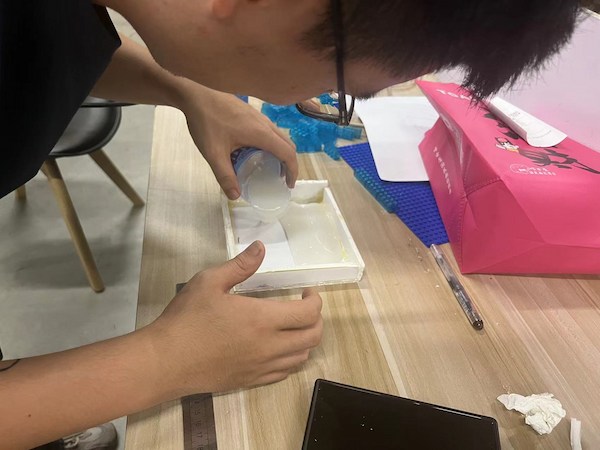
Once the silicone negative looked clean, I wanted to know if it could copy the wordmark or just look good on the bench. I poured crystal epoxy (clear AB resin) into the flex negative I had just demolded, using the same gloves and ventilation as the sprite cast. Cups, stir stick, and the negative were on the table before I opened either bottle.
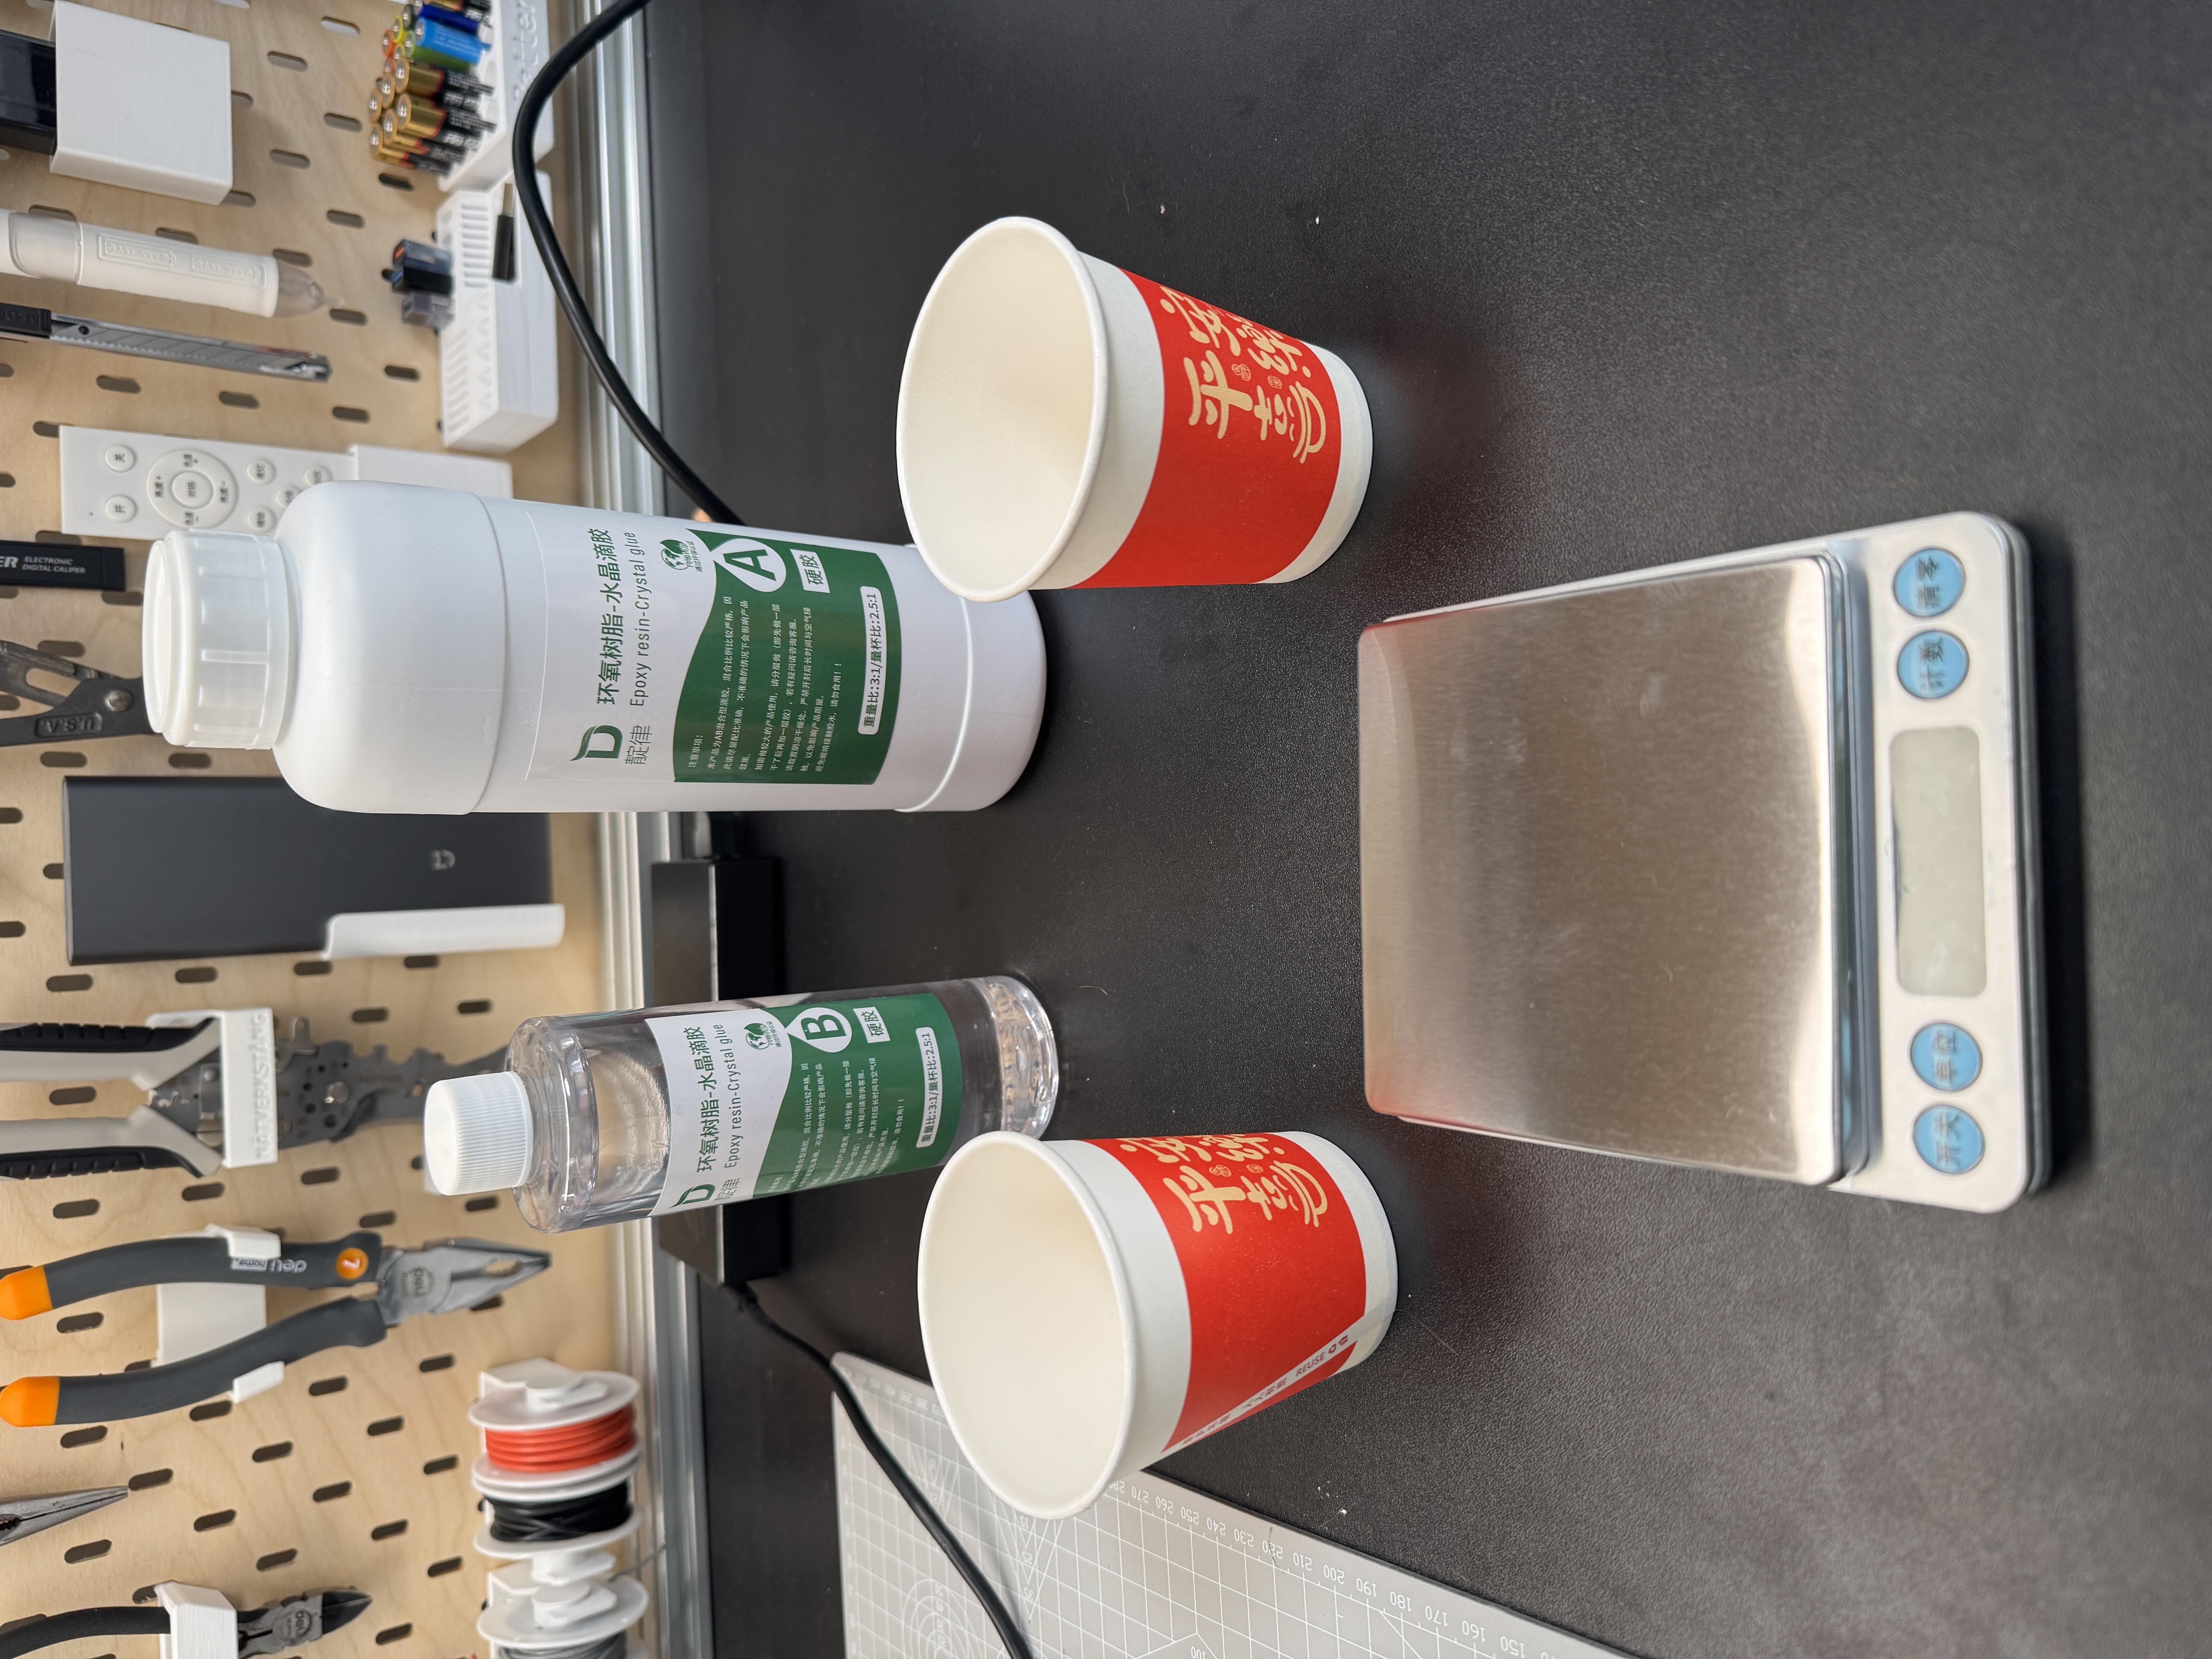
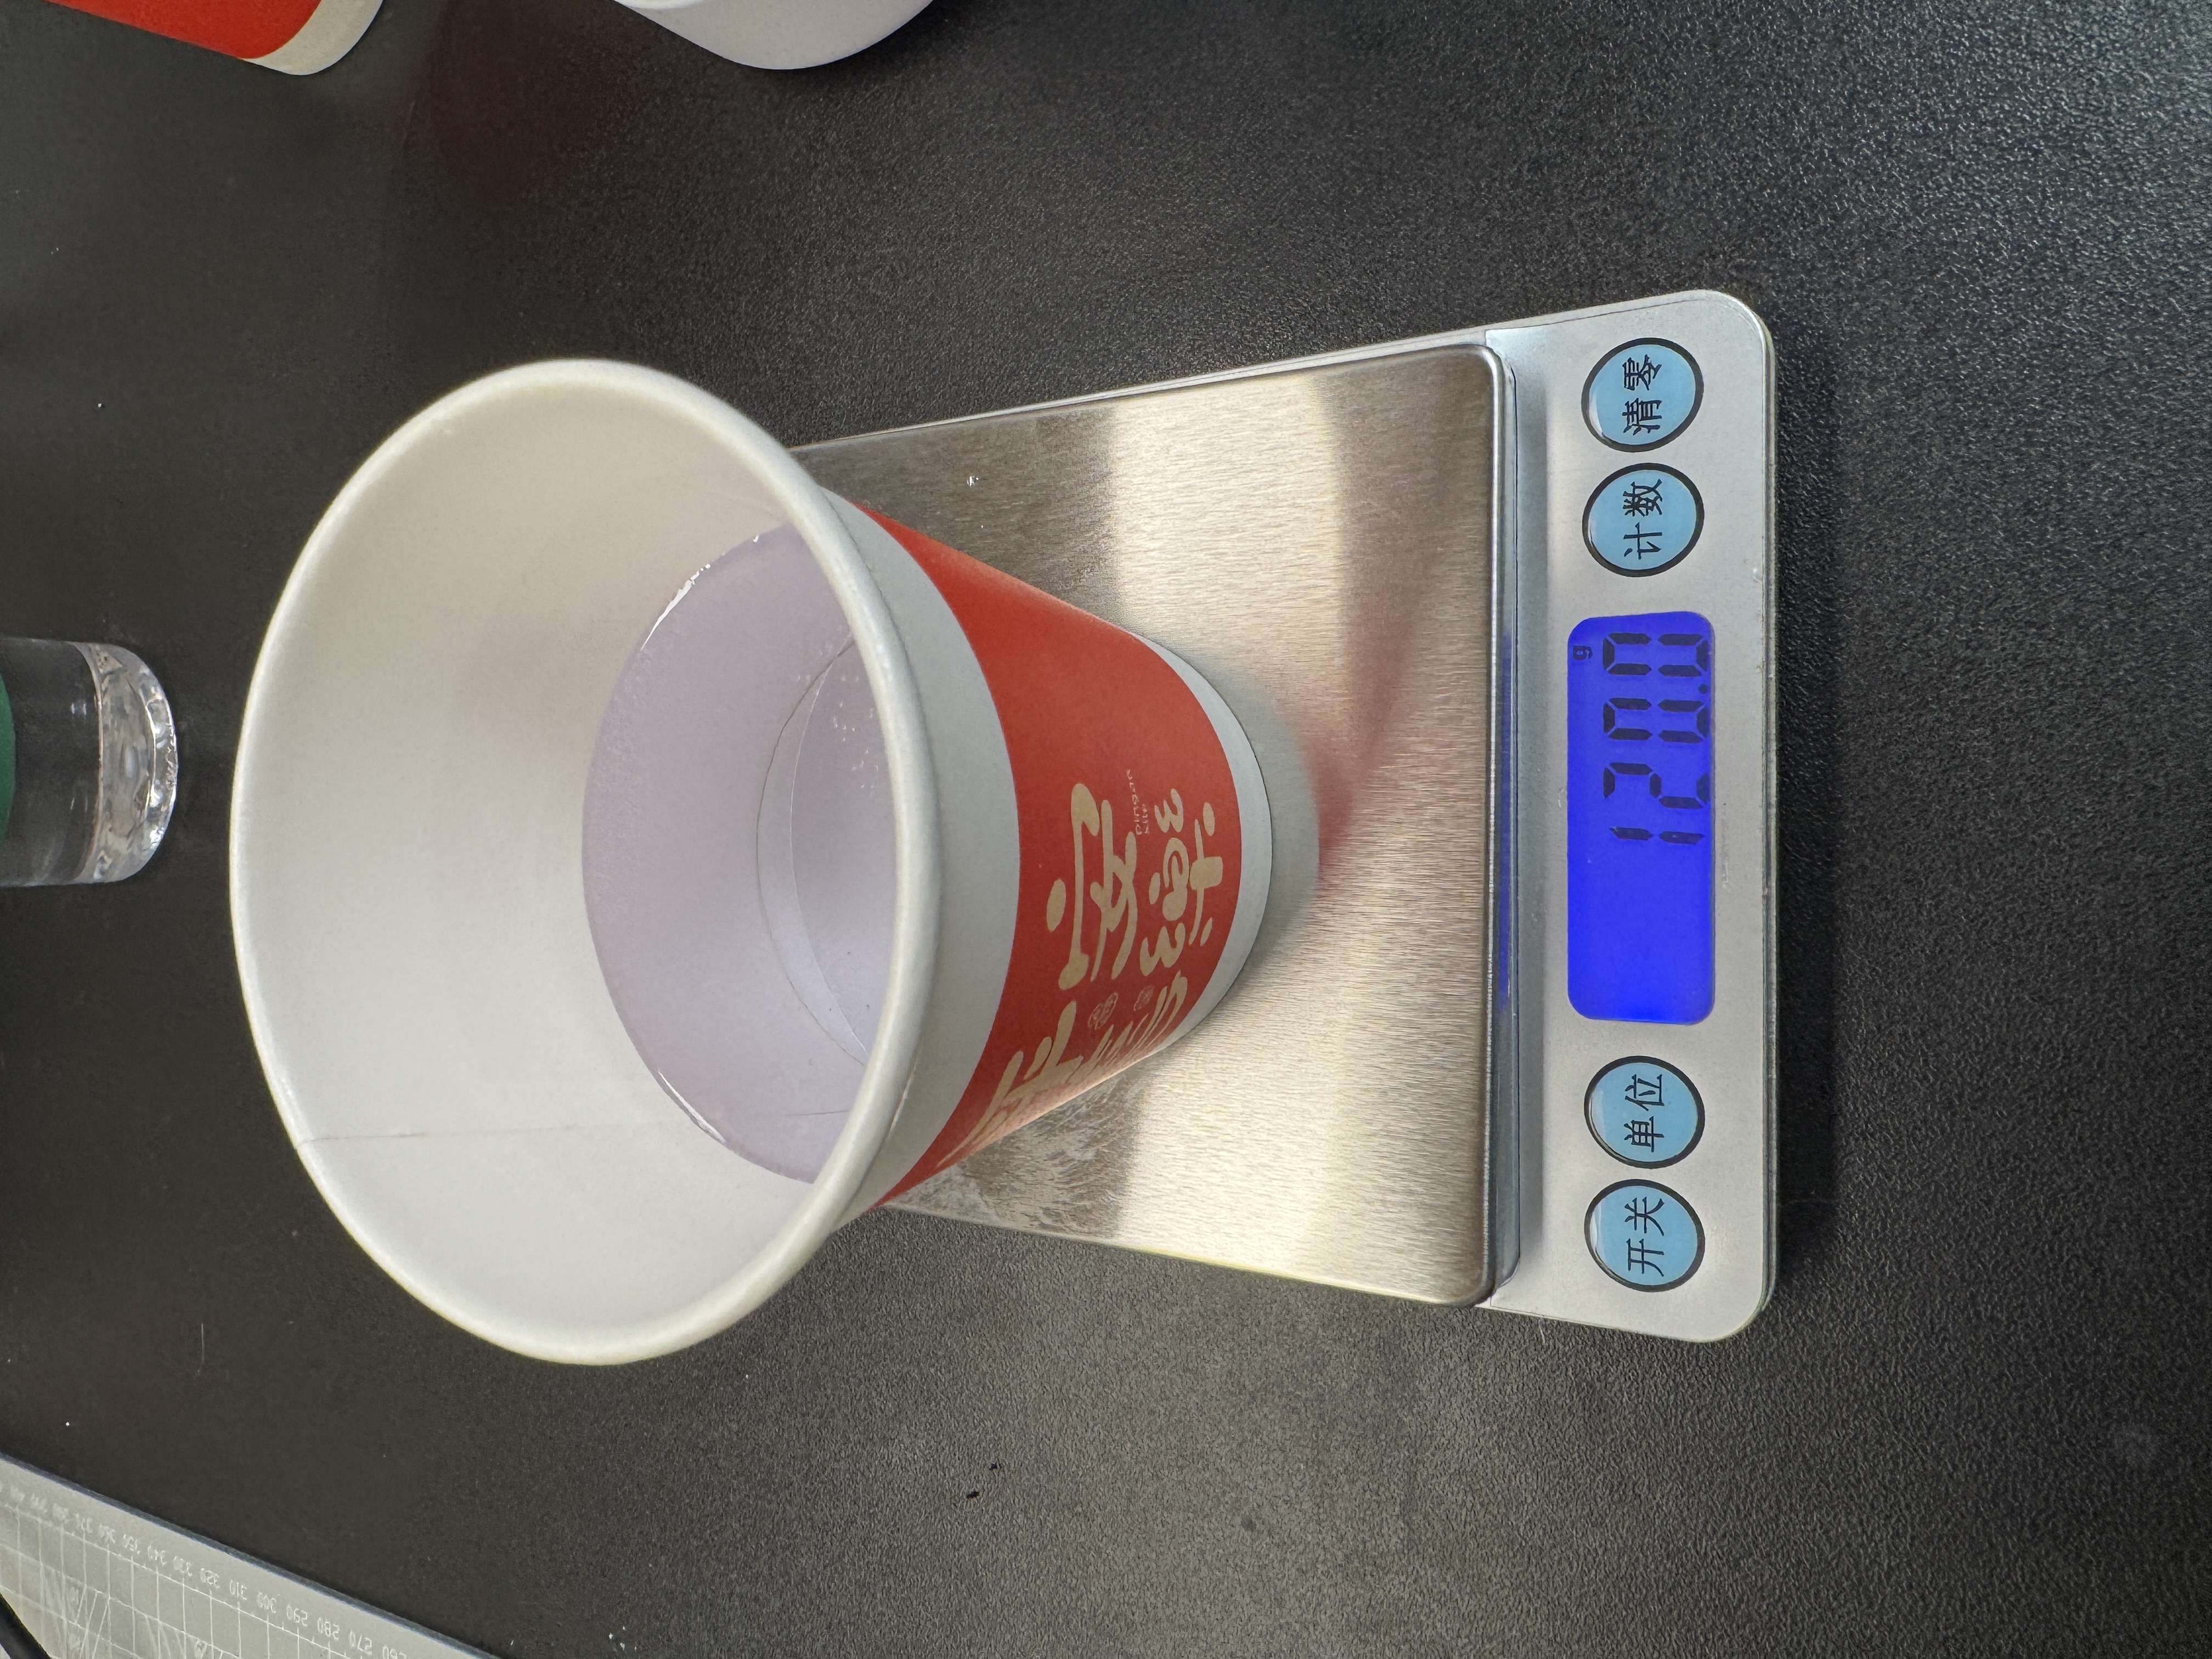
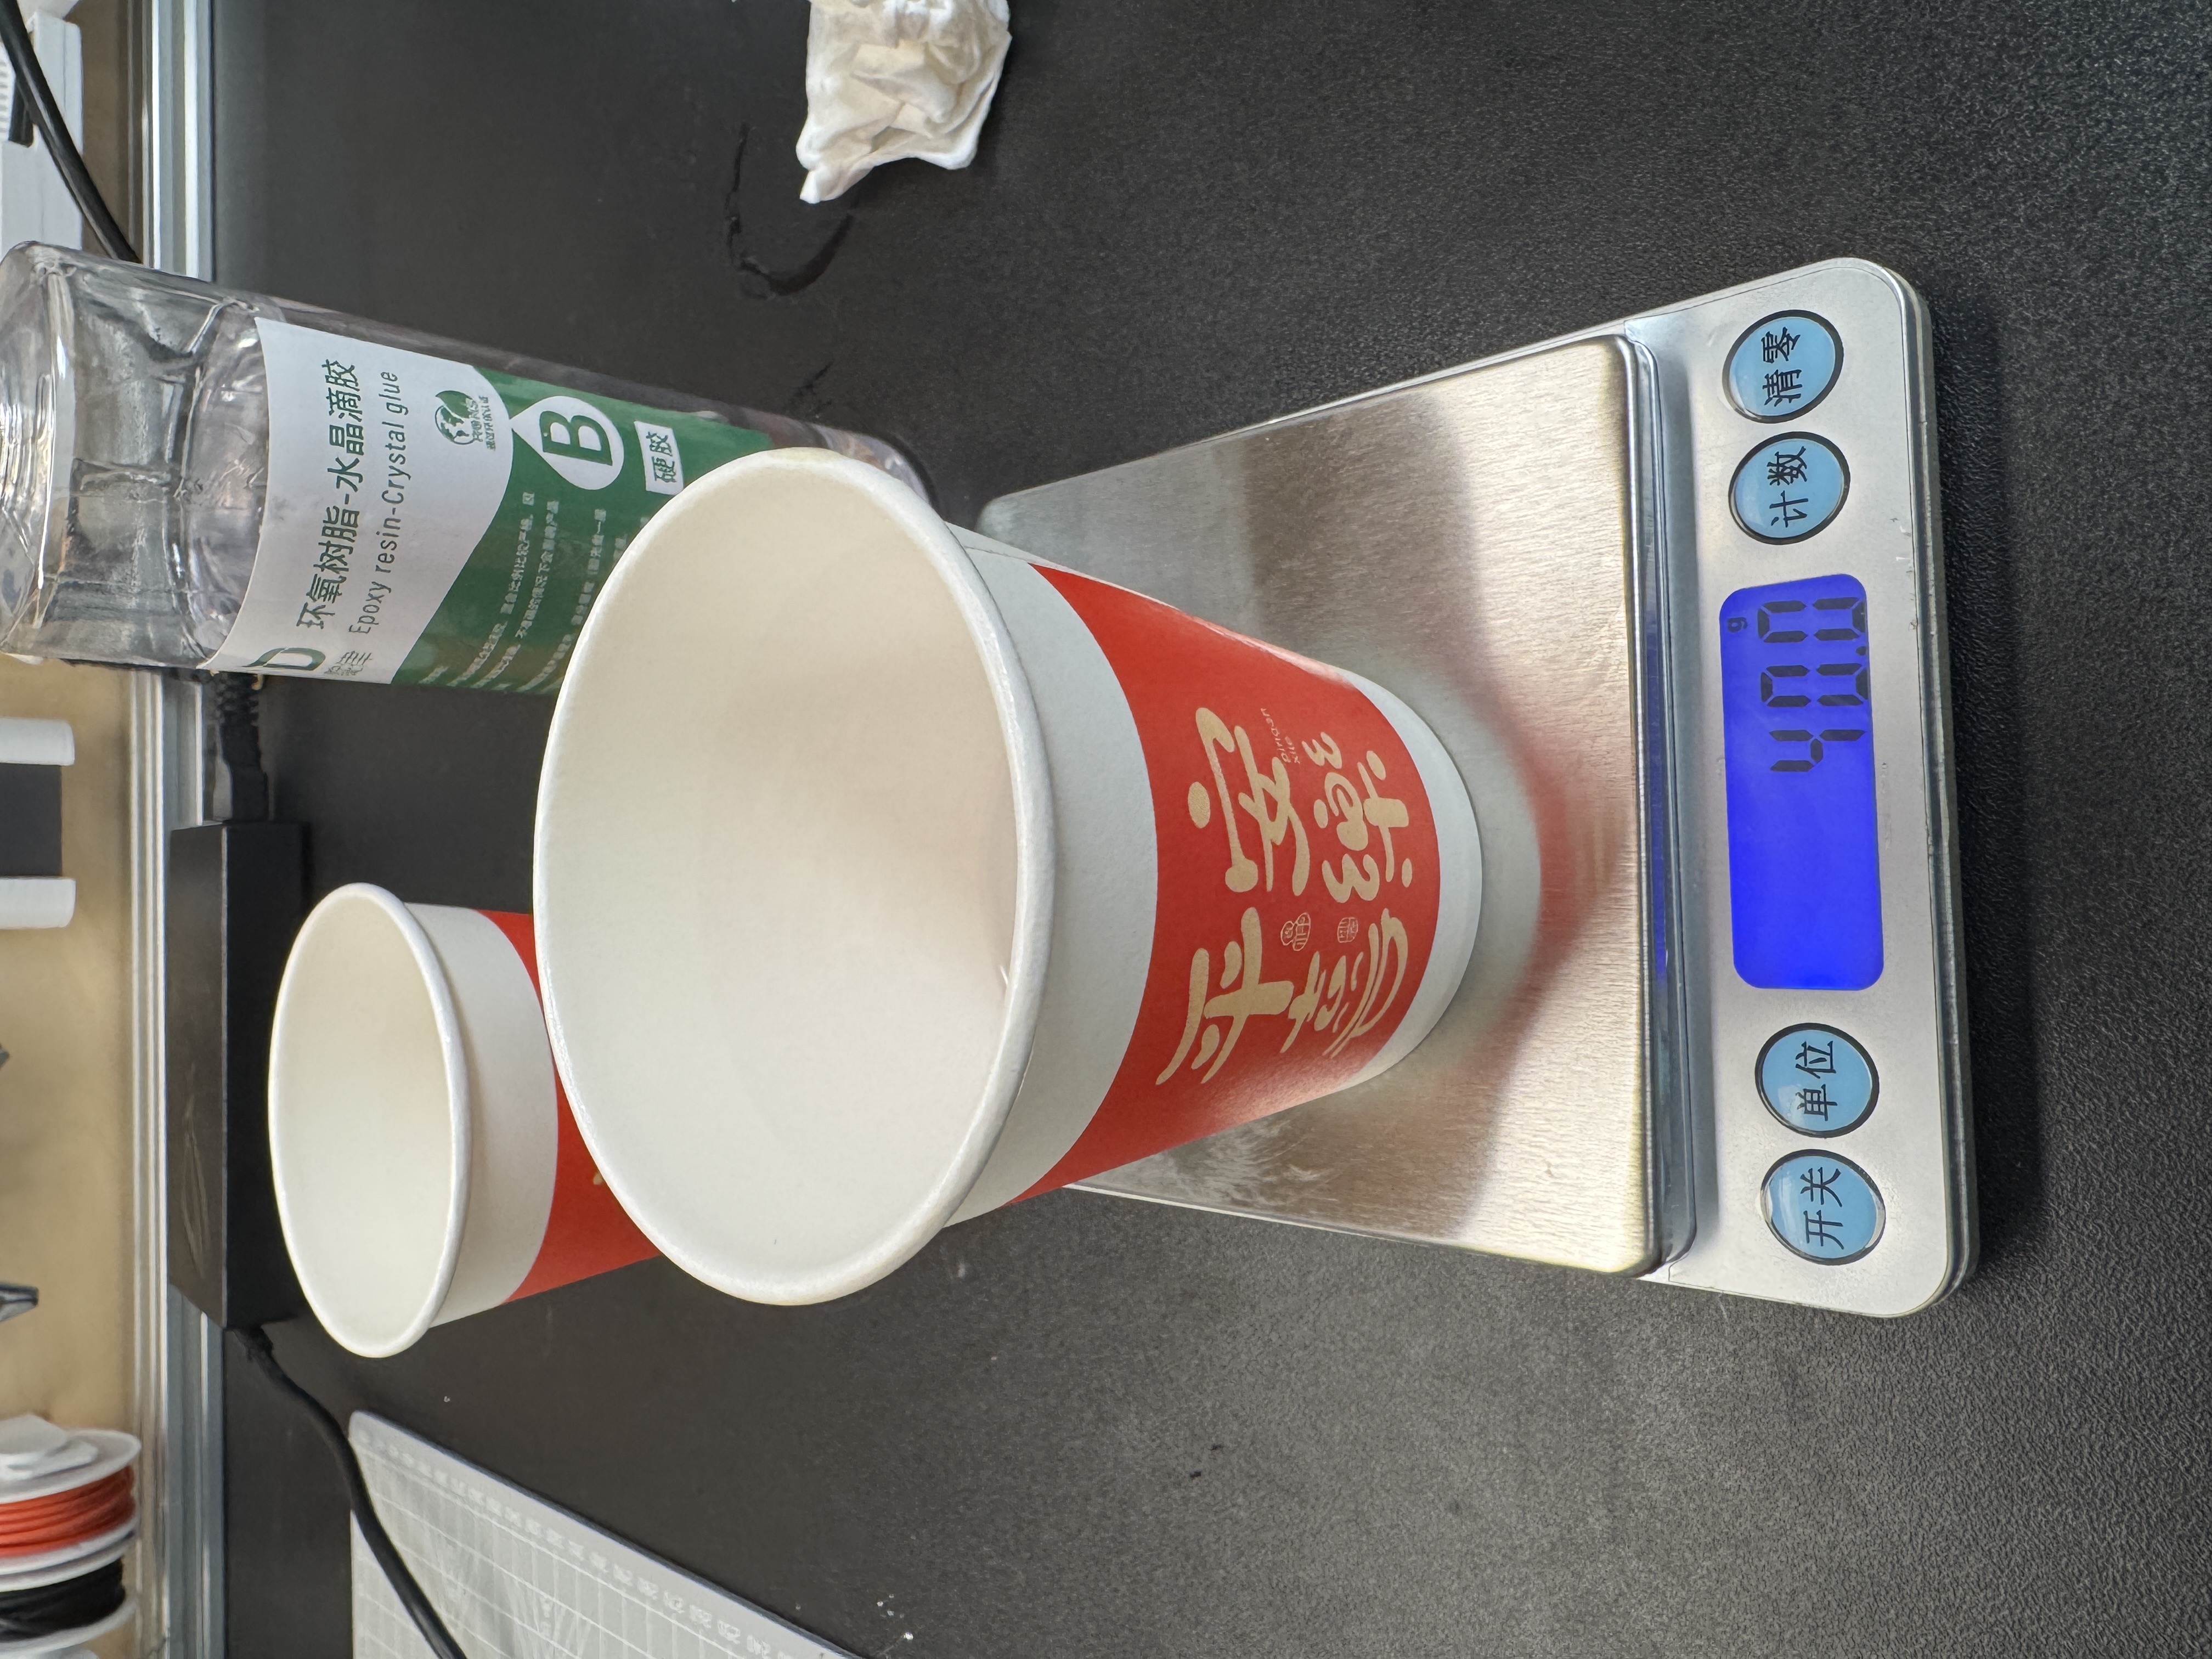
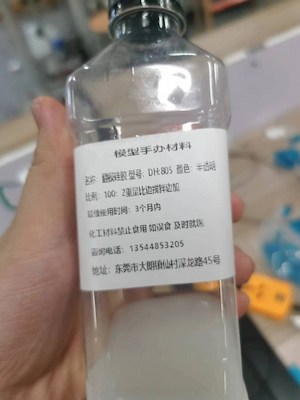
The bottle ratio for this crystal epoxy is 3 : 1 by weight (A : B). I weighed 120 g of A and 40 g of B on the kitchen scale and wrote both numbers down so the next batch would match.
I folded the two parts together until the mix looked even, then poured into the flexible negative. I worked slowly so the resin could flow into the letter recesses instead of skating over the top.
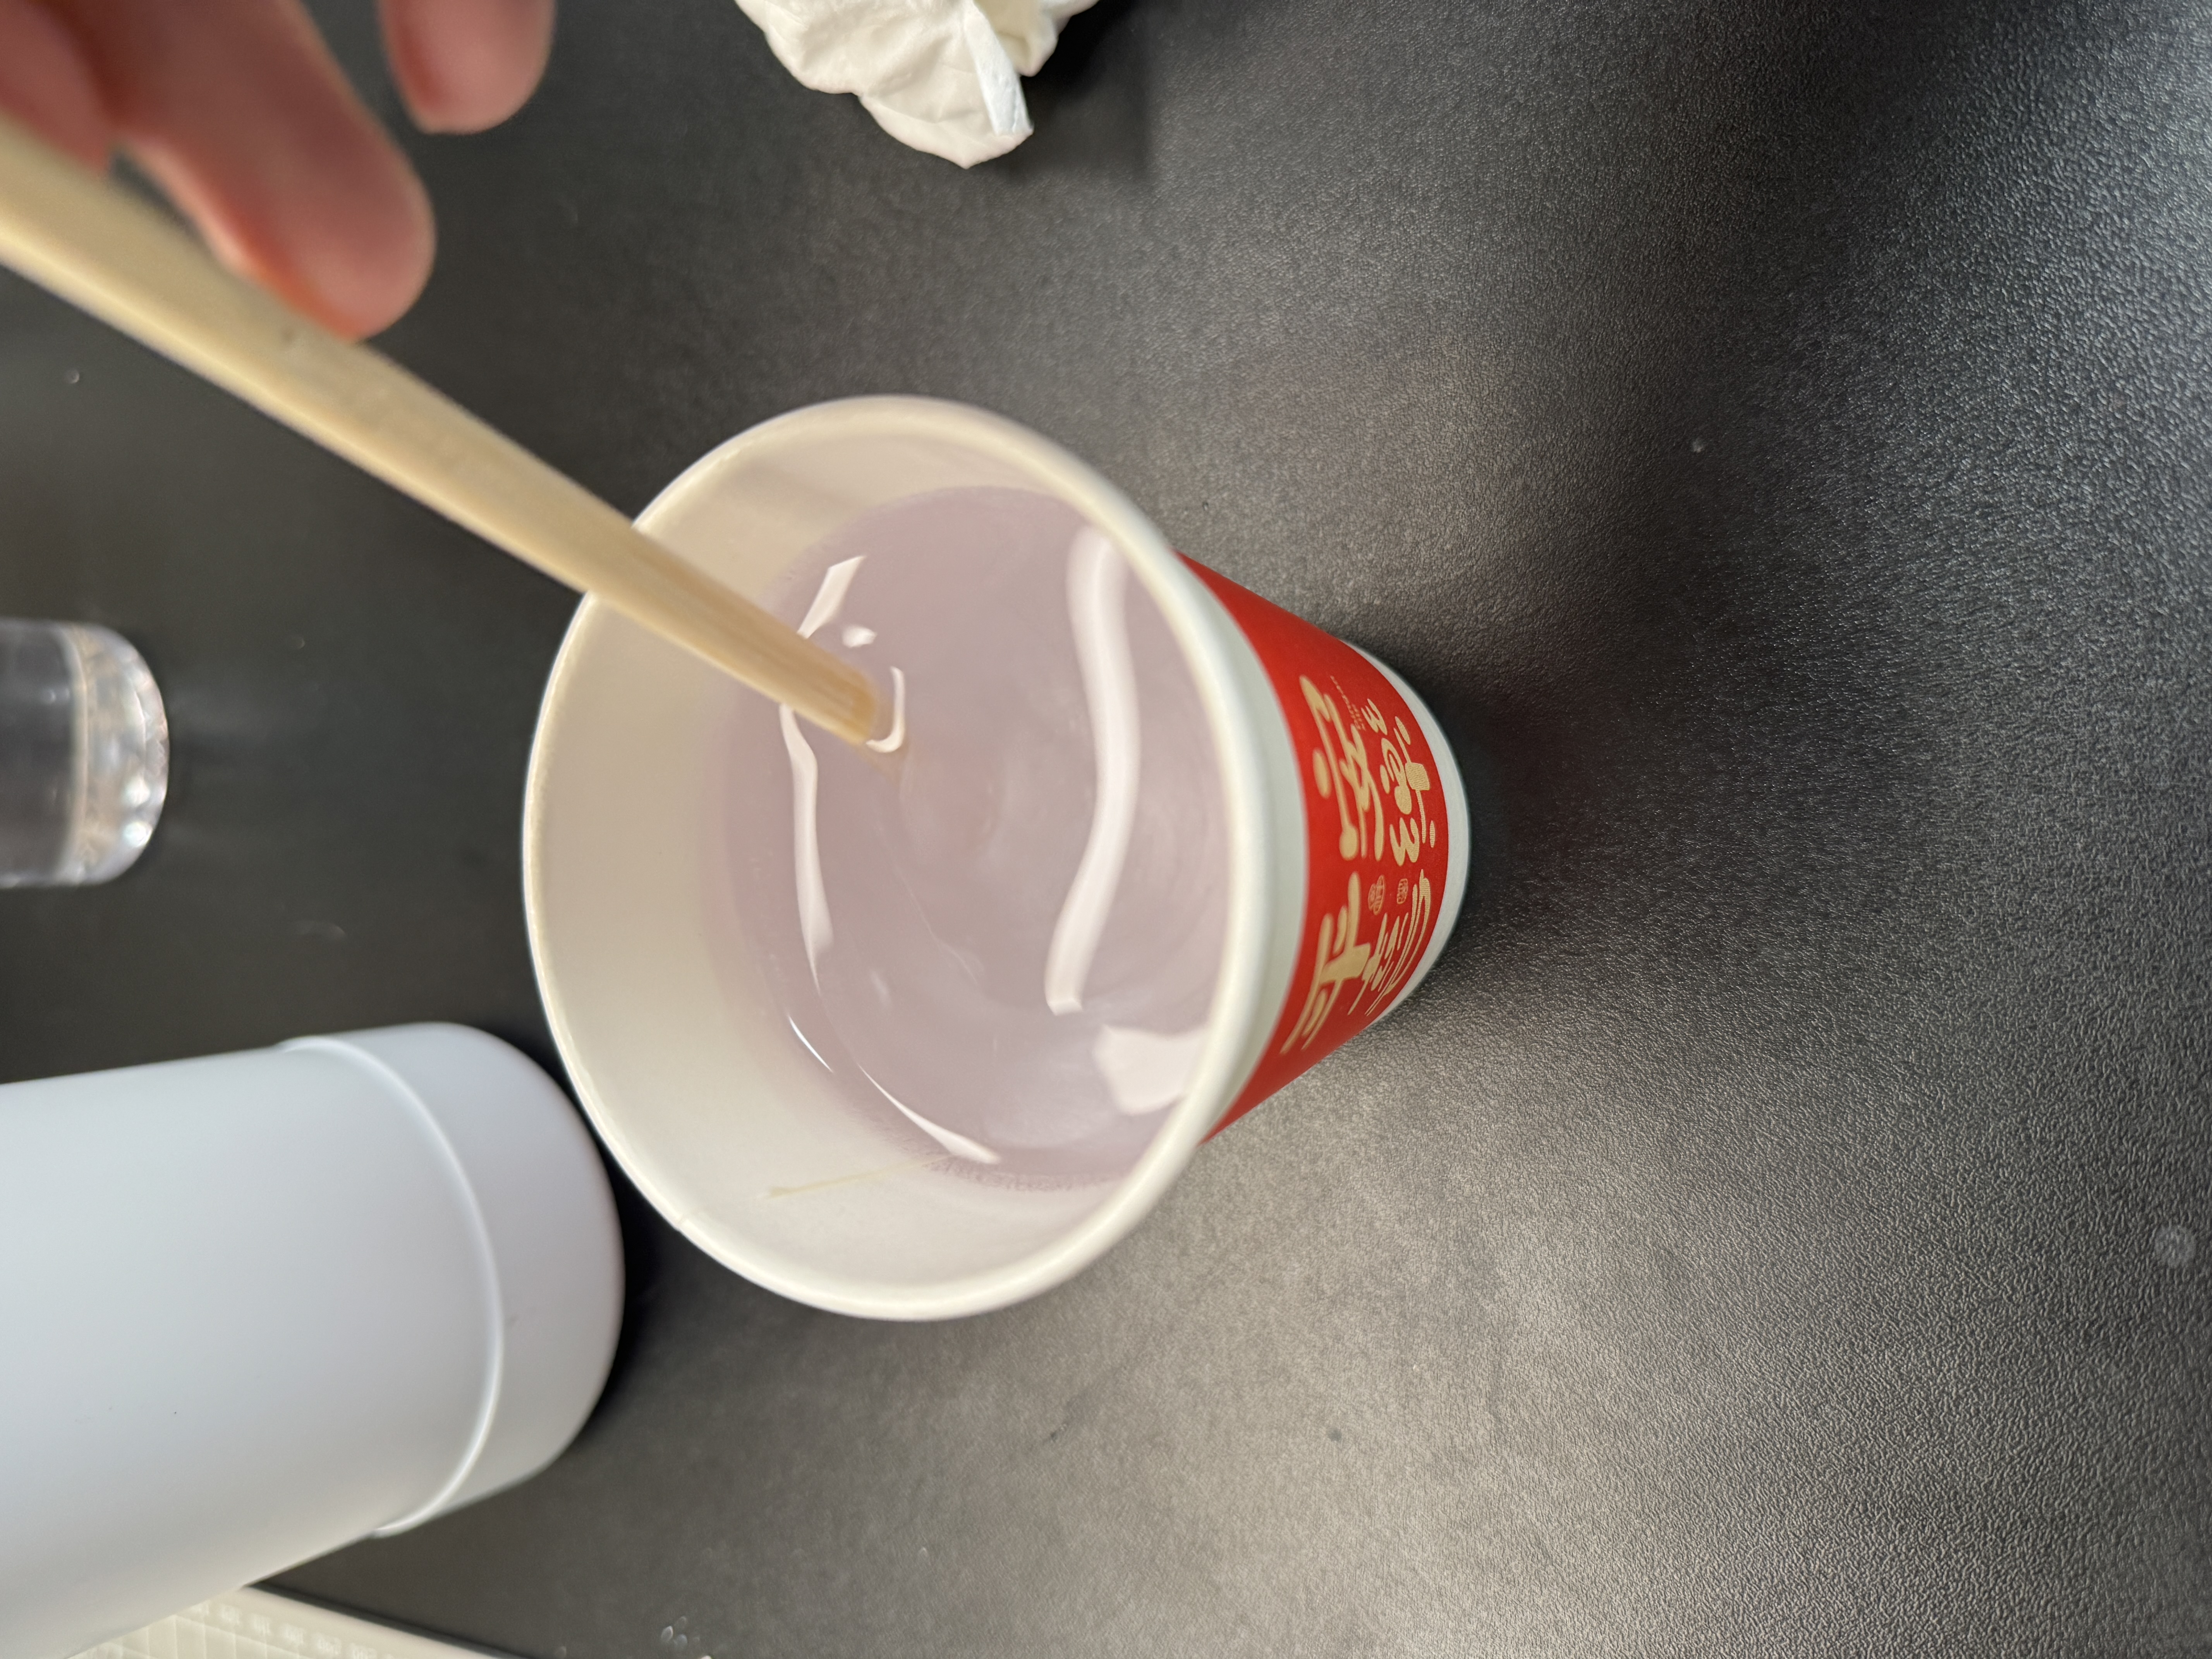
Right after the pour I spent a few minutes chasing bubbles. Trapped air shows up as shiny pits on a clear cast, and the text is shallow enough that one bubble can wipe out a letter. I tapped the cup and used a stick to nudge air away from the rim and the lettering zone.
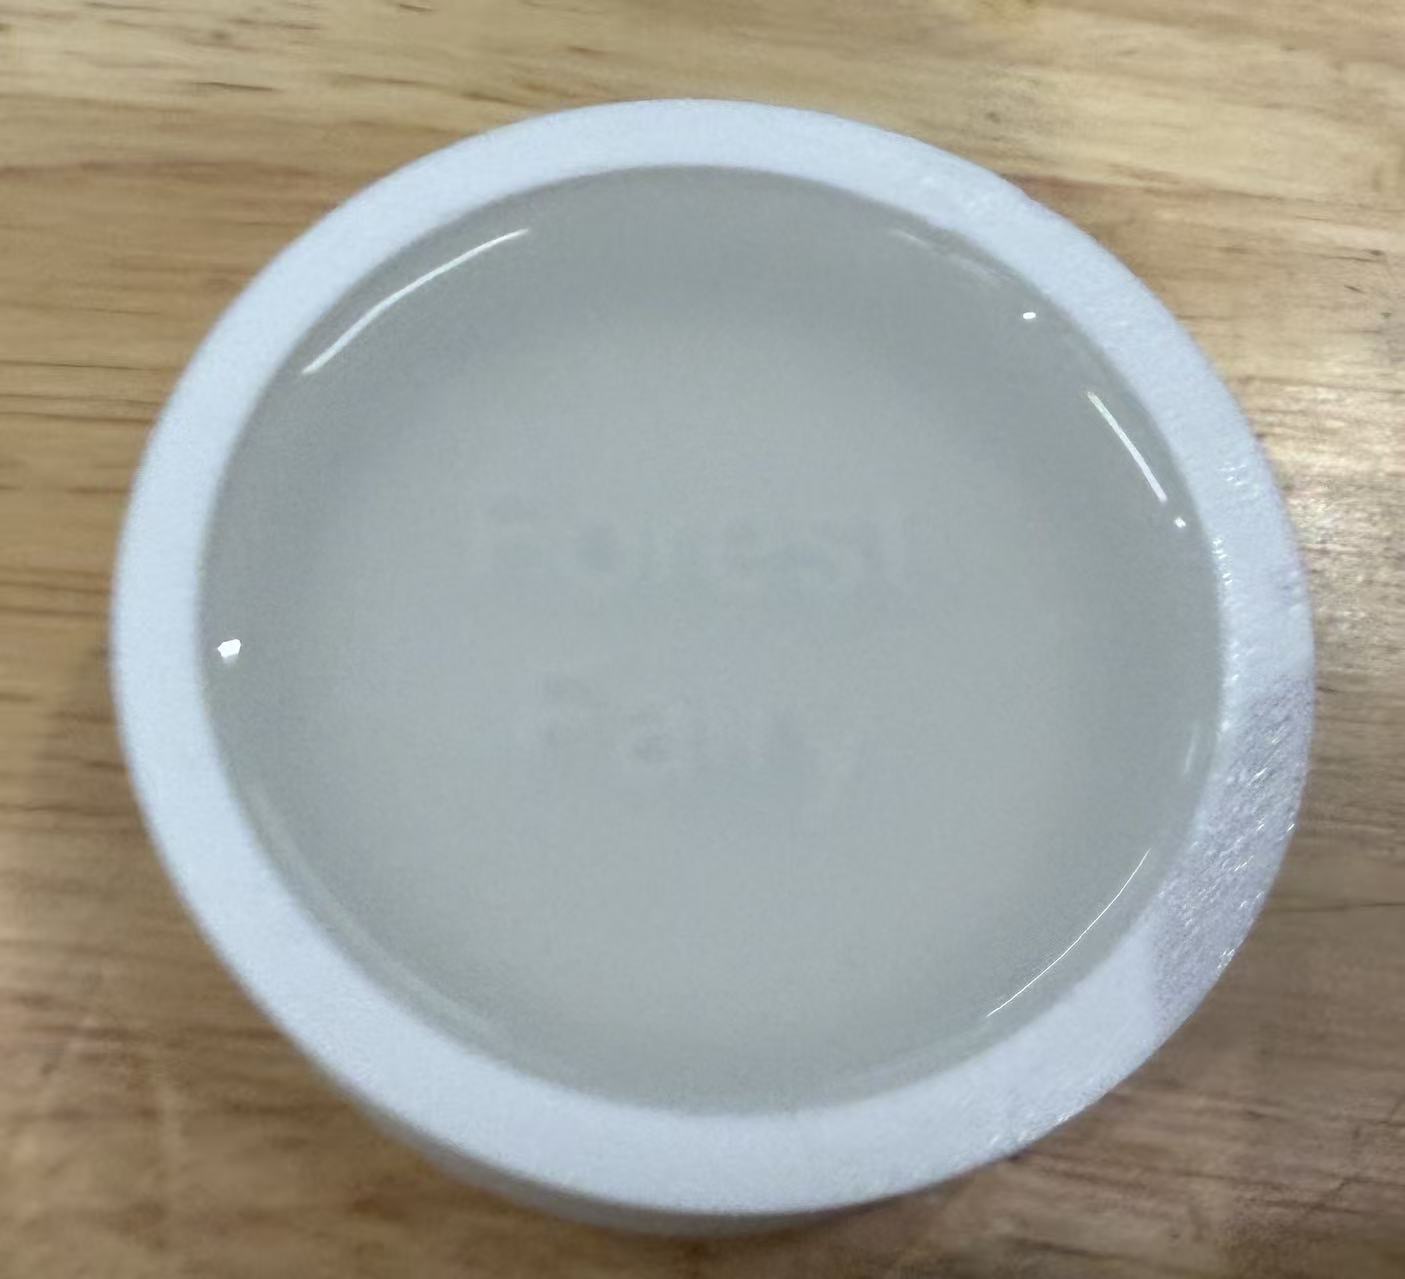
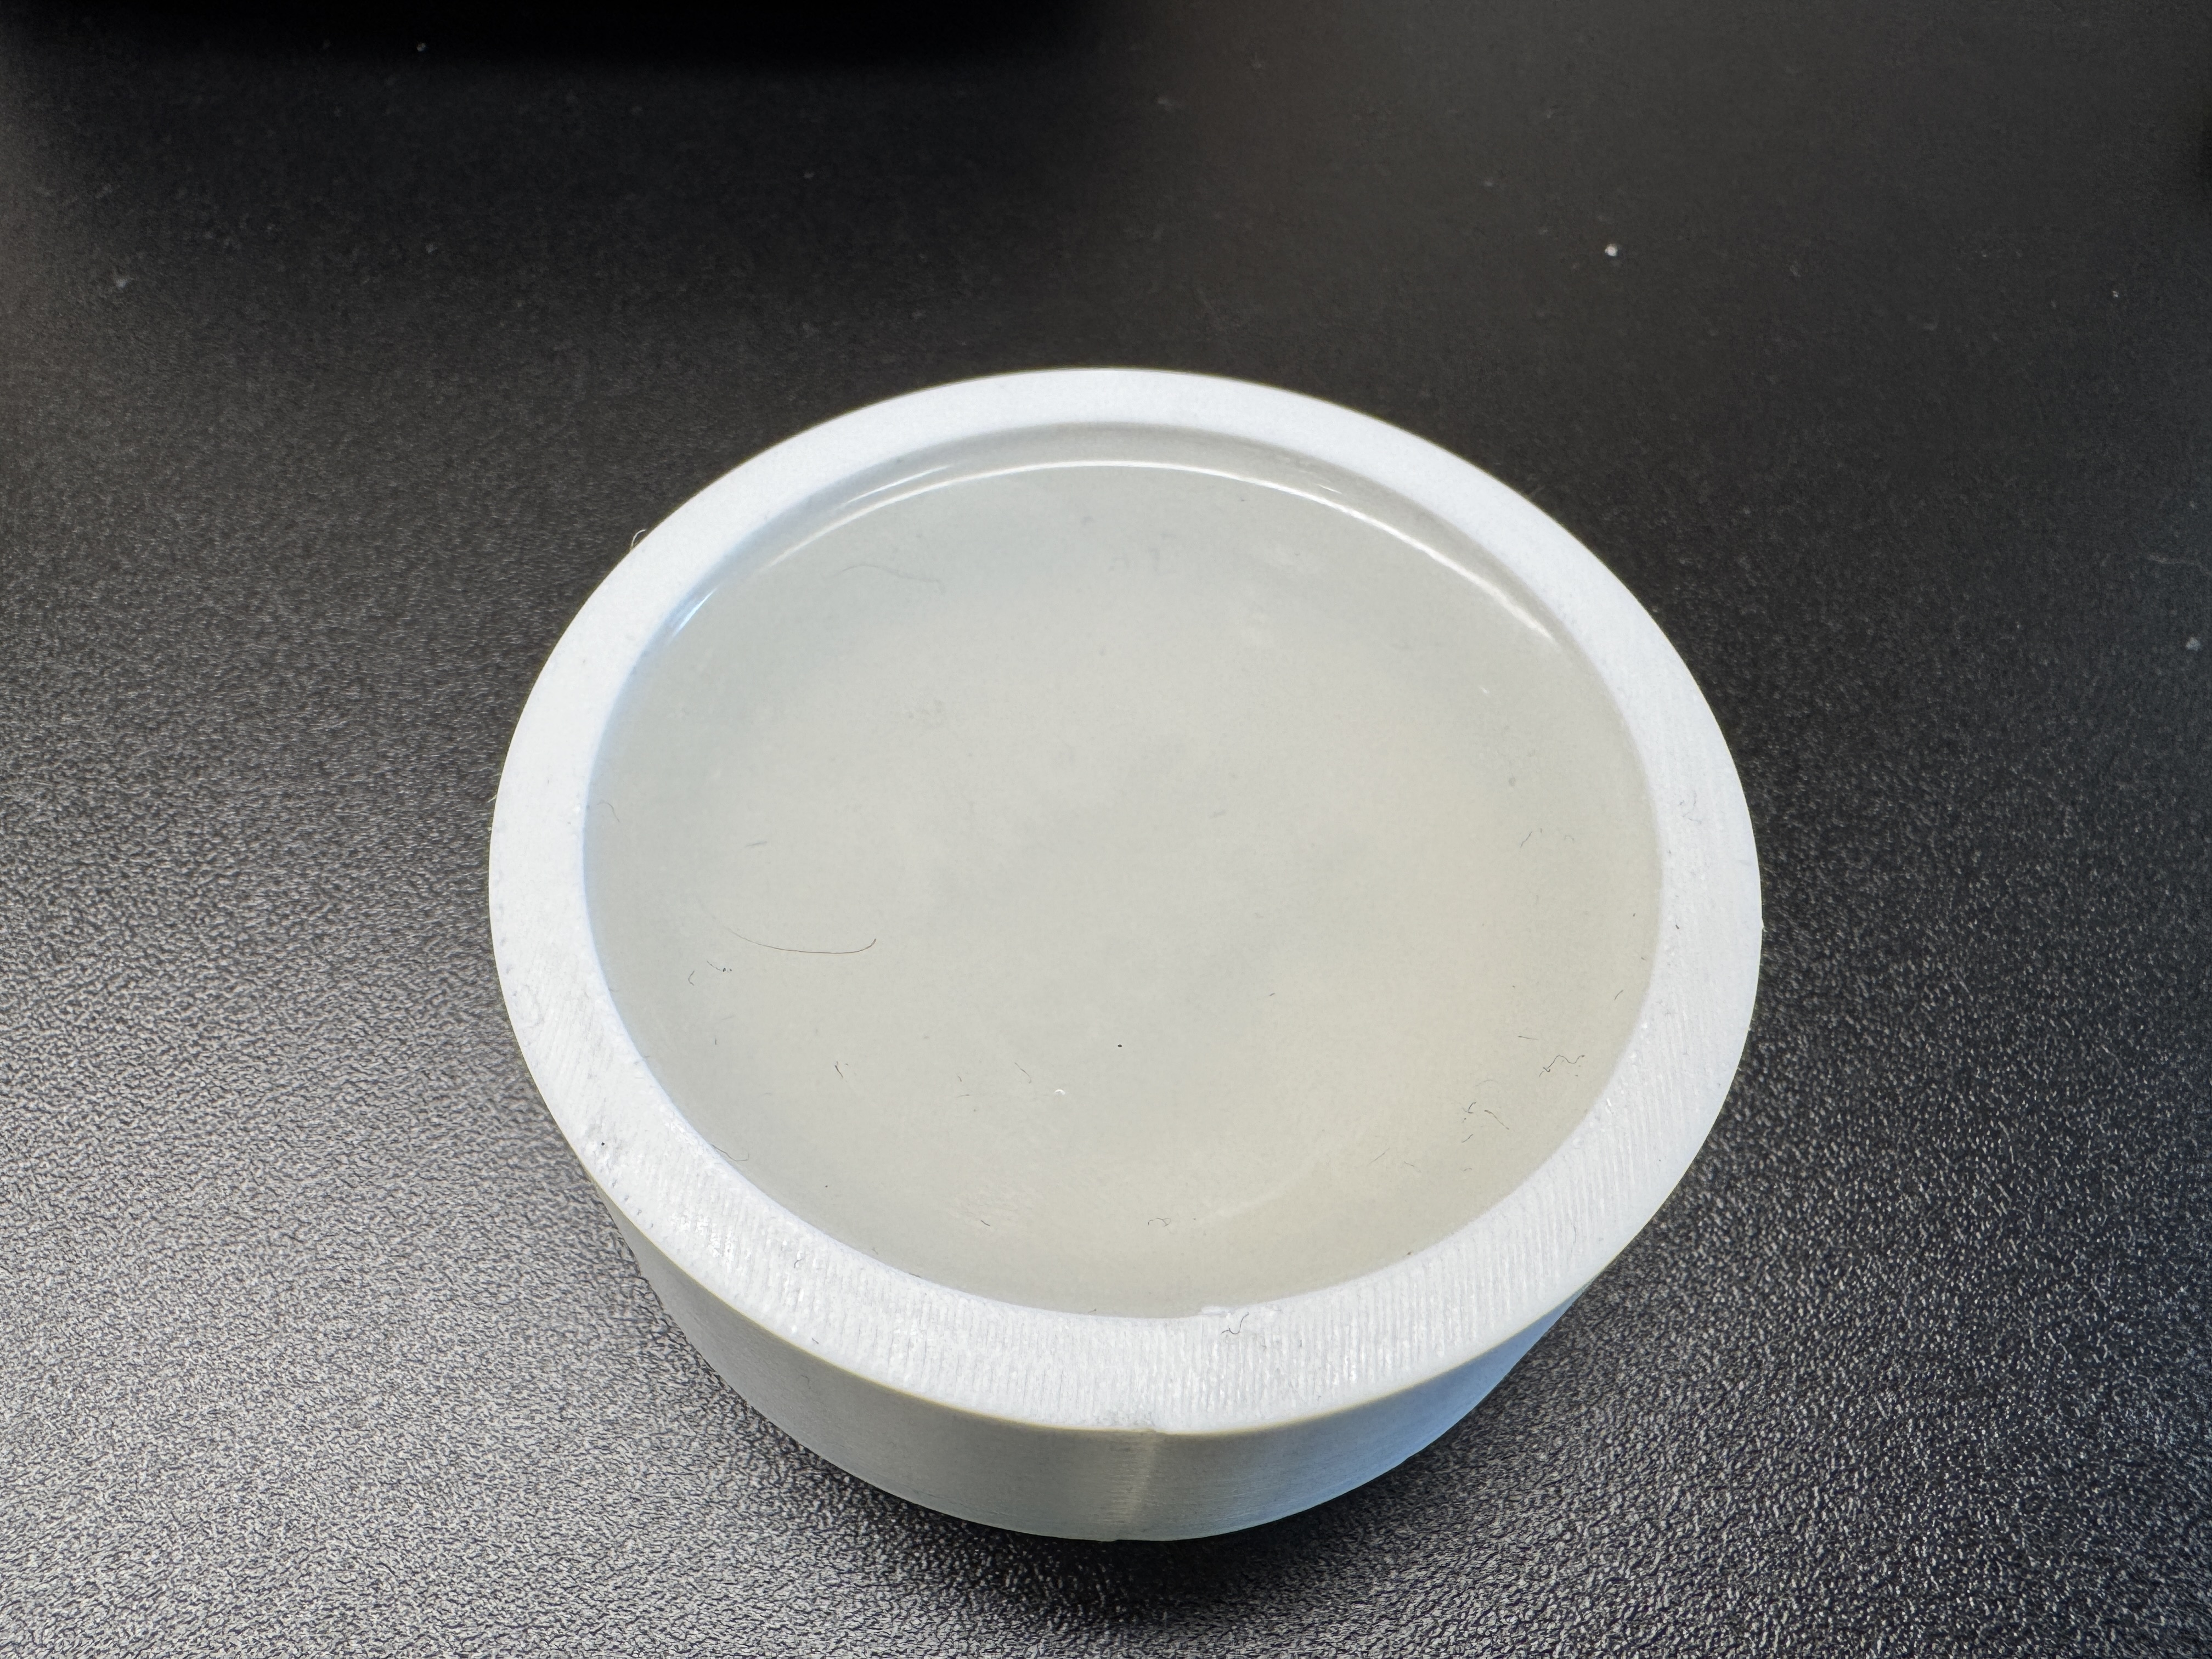
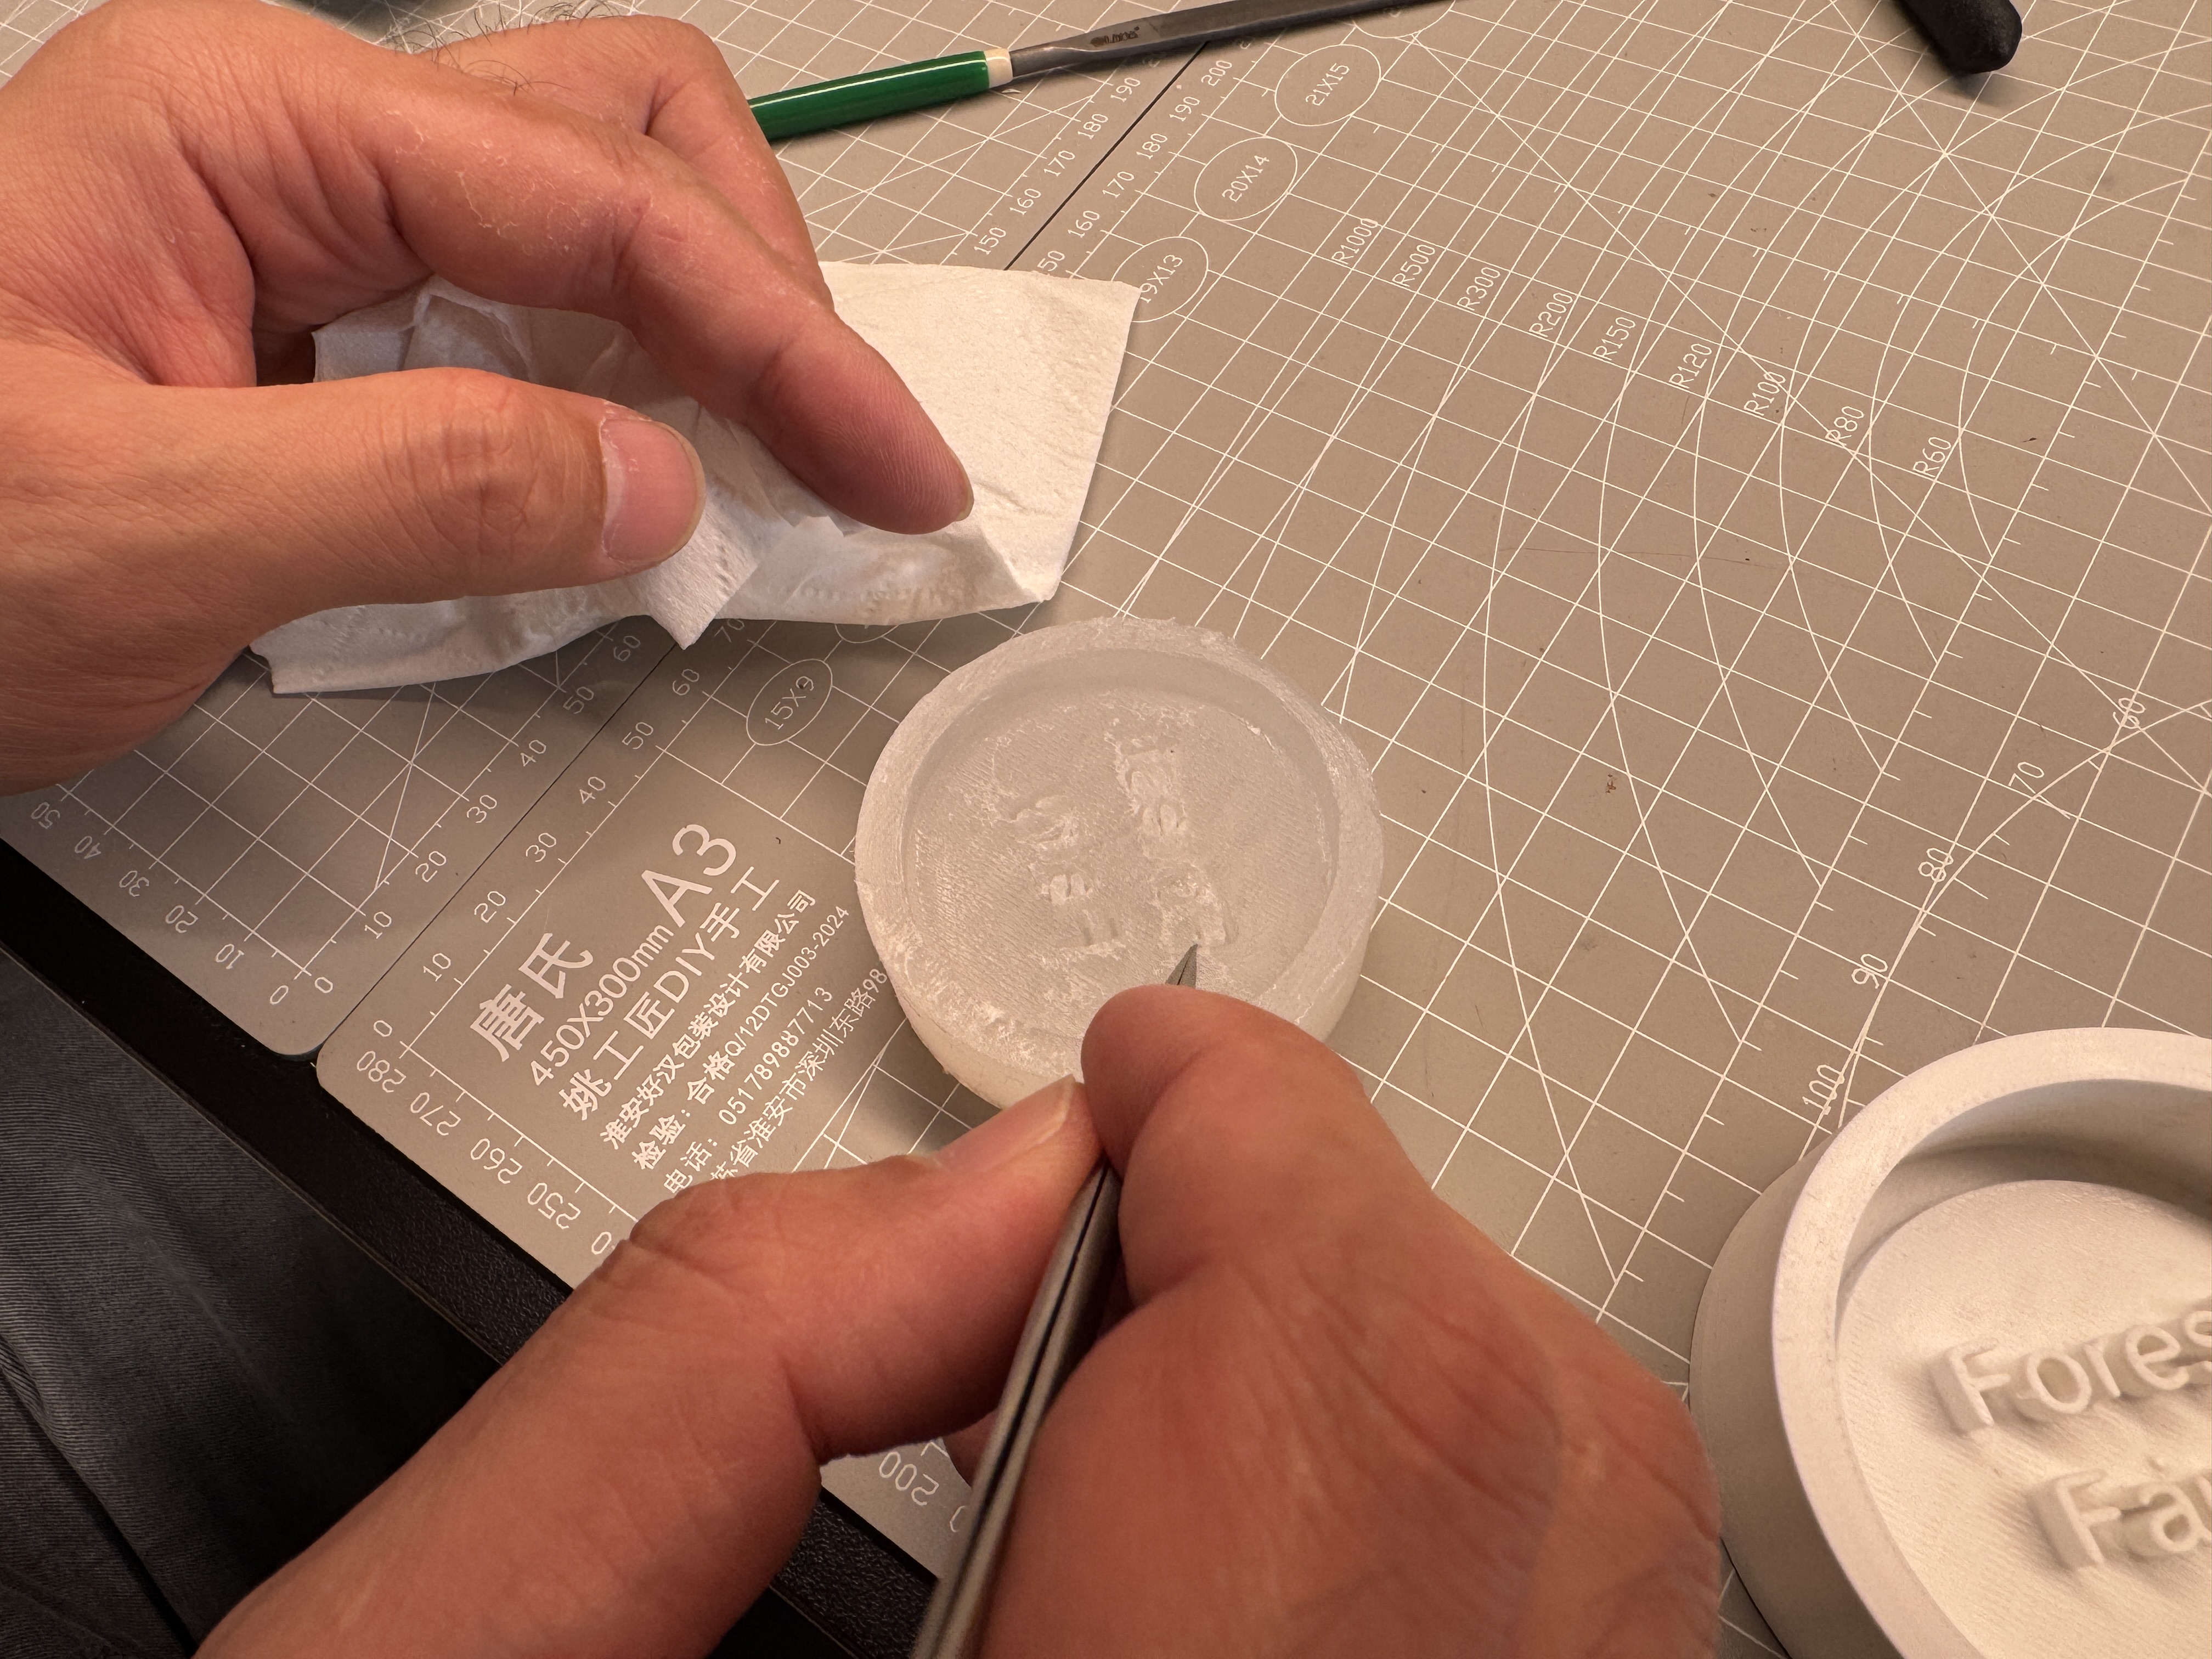
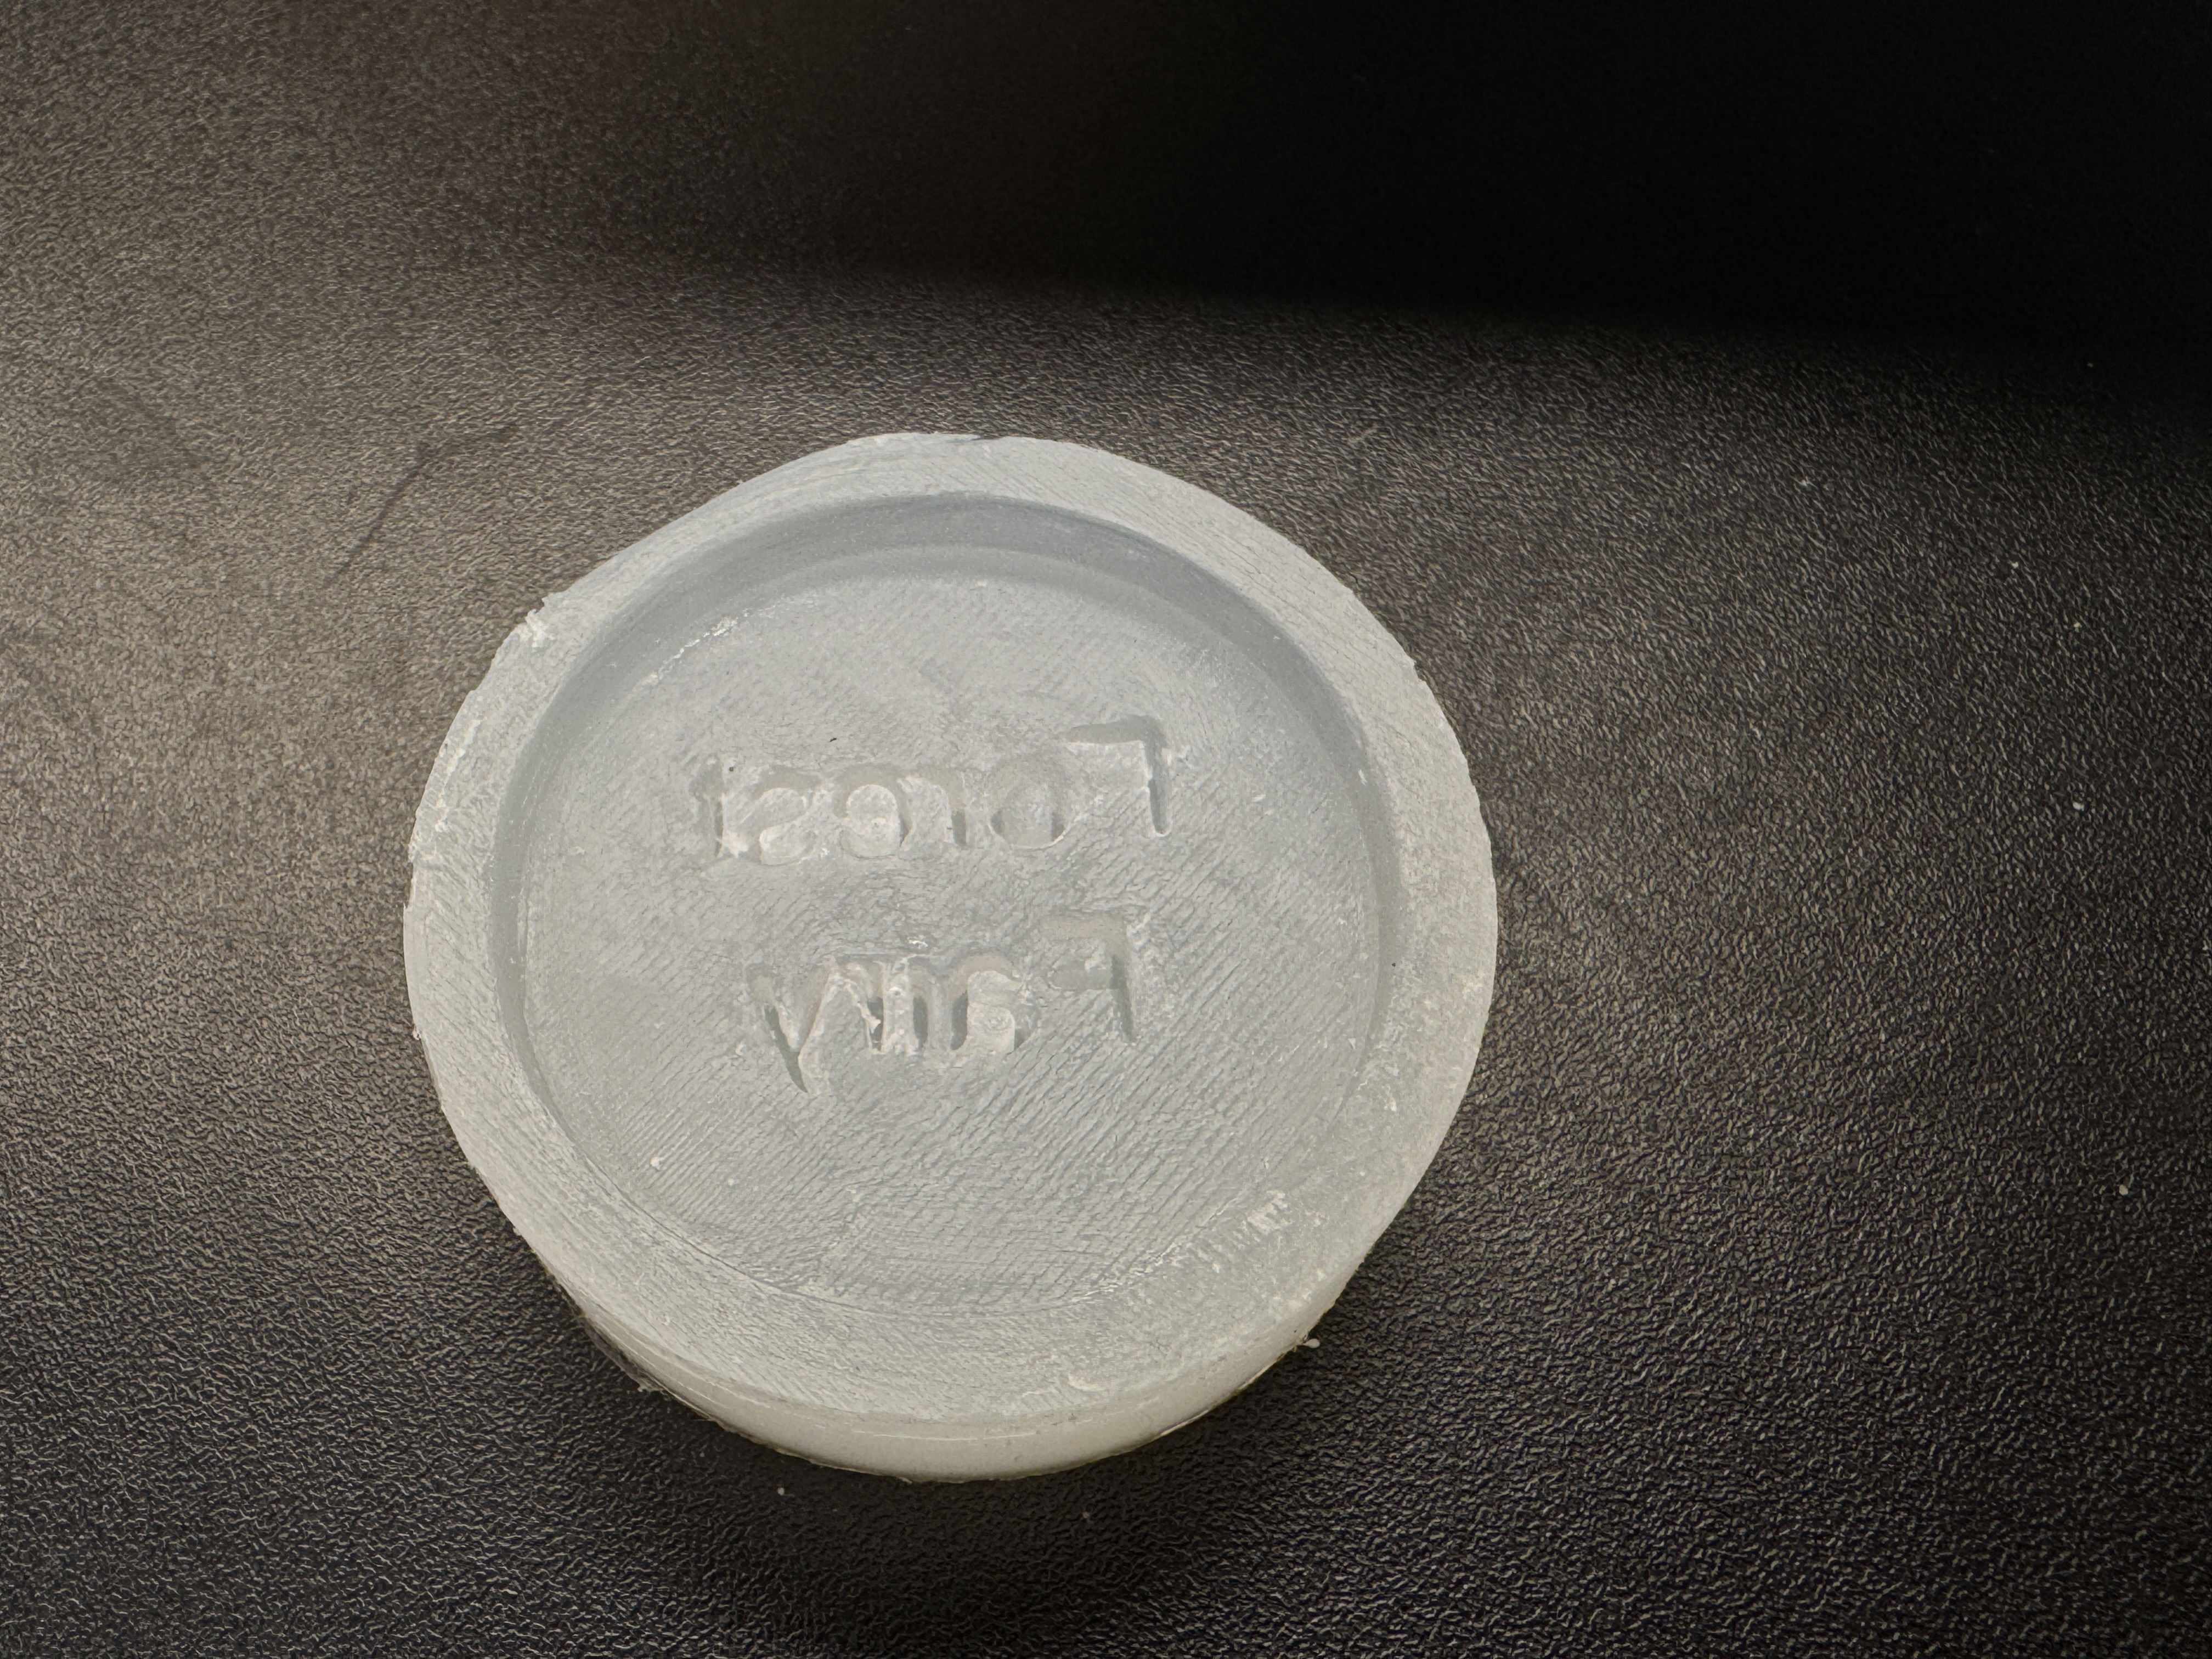
I left the filled negative on a level surface to cure. After it hardened I peeled the disc out of the flex negative slowly, working from the edge so the shallow letters did not tear. A few tiny bubbles stayed in the clear field, but the wordmark read cleanly.

Design files (archived in repo): raised-forest-fairy-master.stl, raised_forest_fairy_PLA_48m49s.gcode.
Sprite figure: silicone block mold and epoxy cast
At the same time I tried the block-mold approach from the assignment FAQ: disposable cup as containment, a printed positive I could sacrifice inside the first pour, addition-cure silicone for the negative, then rigid epoxy for the part.
Task and design choice
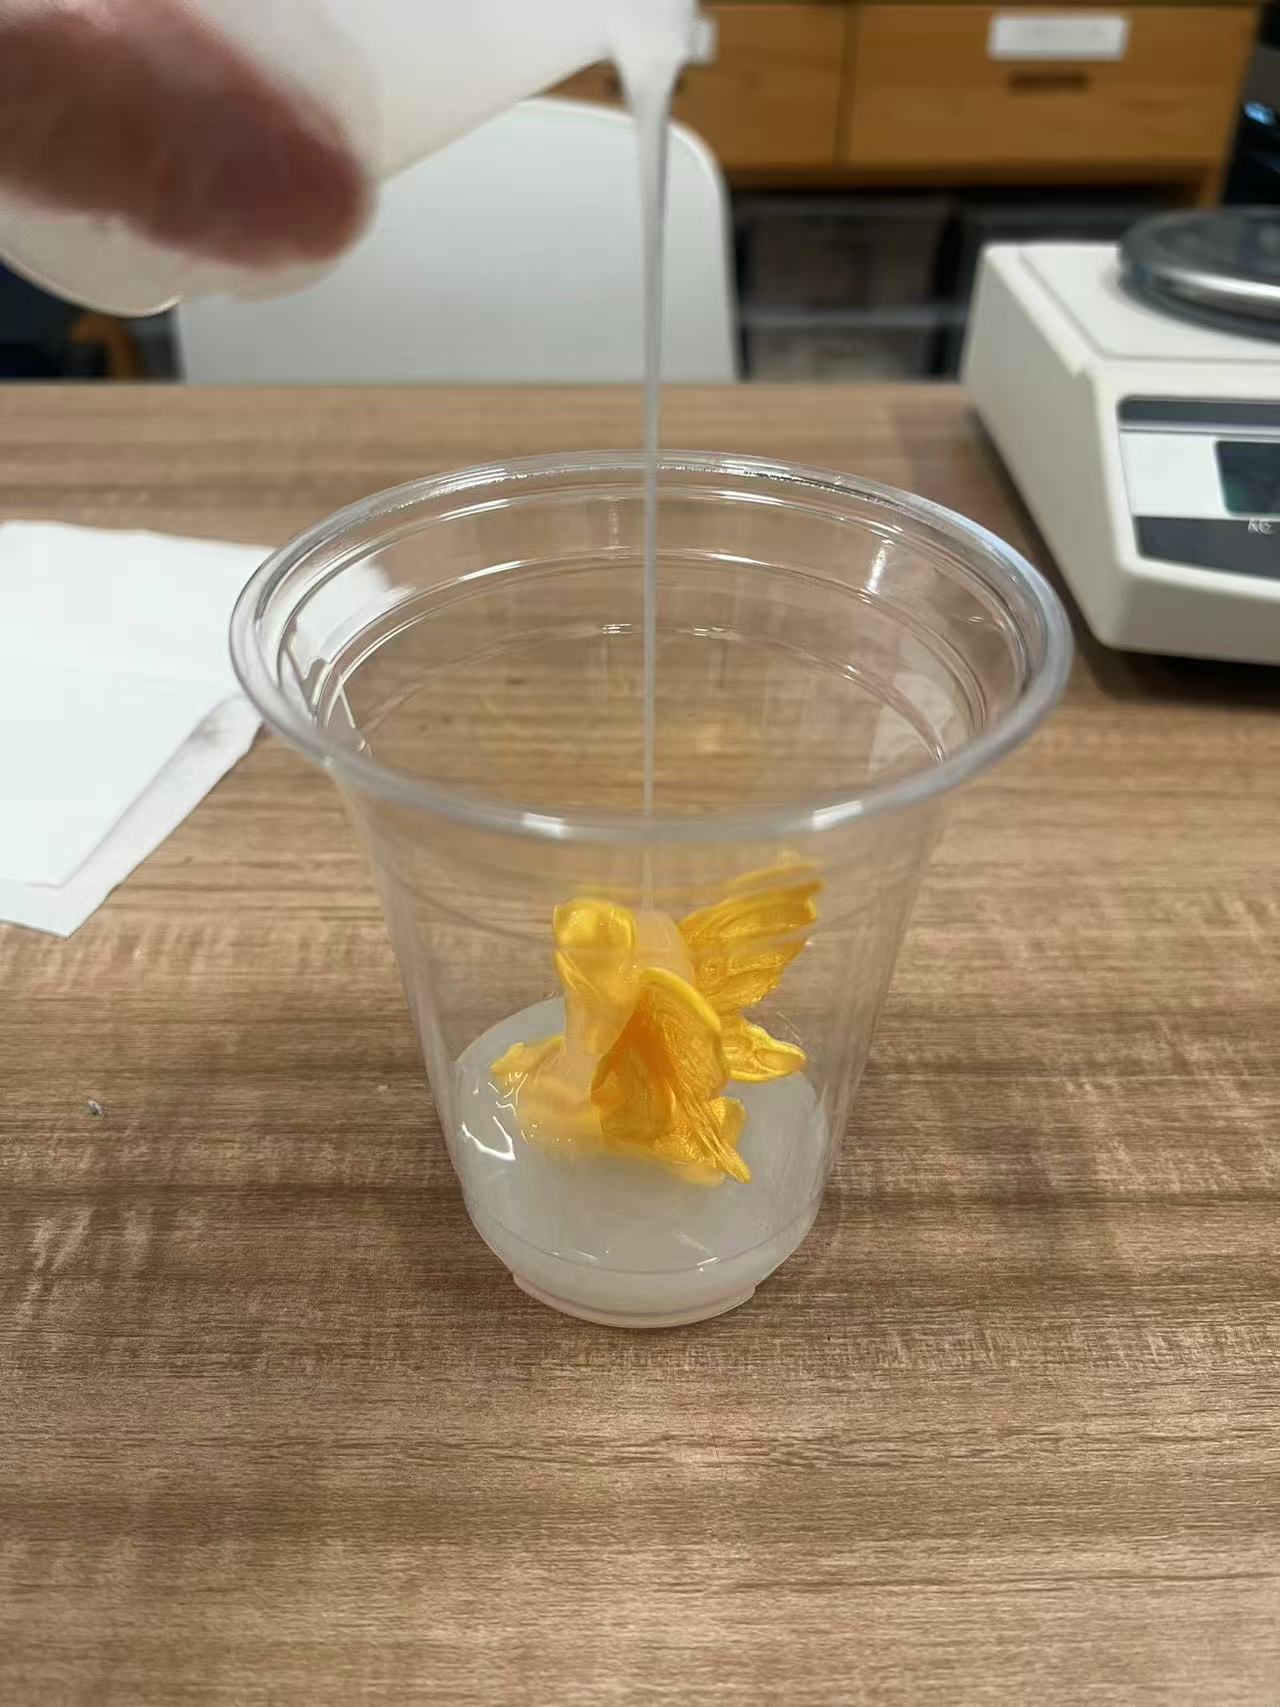
My final project has a set of three spirit-like characters. For Week 14 I wanted one resin replica as practice and as a physical prop. I downloaded a sprite-like mesh from a community 3D-printing platform, printed it in PLA as the master, and poured silicone around it inside a plastic cup. Cutting the cured block open for a parting line beat designing a two-part printed mold with the time and silicone I had at home.
Learning from datasheets, the group page, and trial
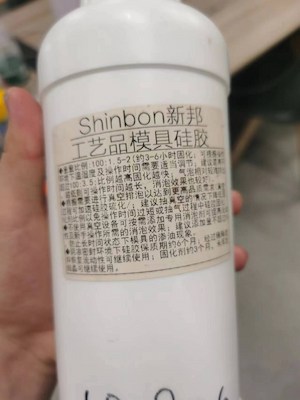
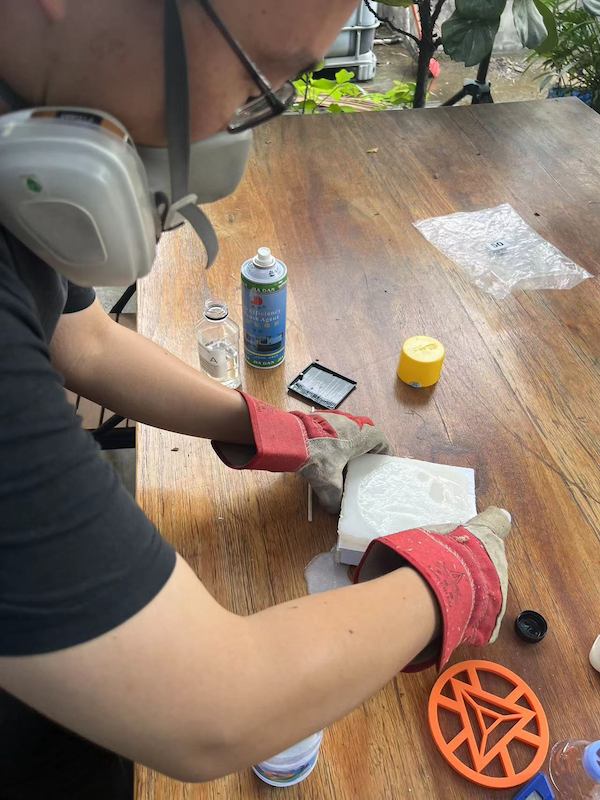
Before mixing anything I read the bottle labels for mix ratios, pot life, and cure time, and I kept the same safety checks as in our group assignment: ventilation, gloves, slow stirring. The group comparison showed that viscosity and cure profile change bubble behavior. I also wanted to know whether uncured silicone would attack the PLA master, so I ran a small contact check before the full pour (photo below).
Plan
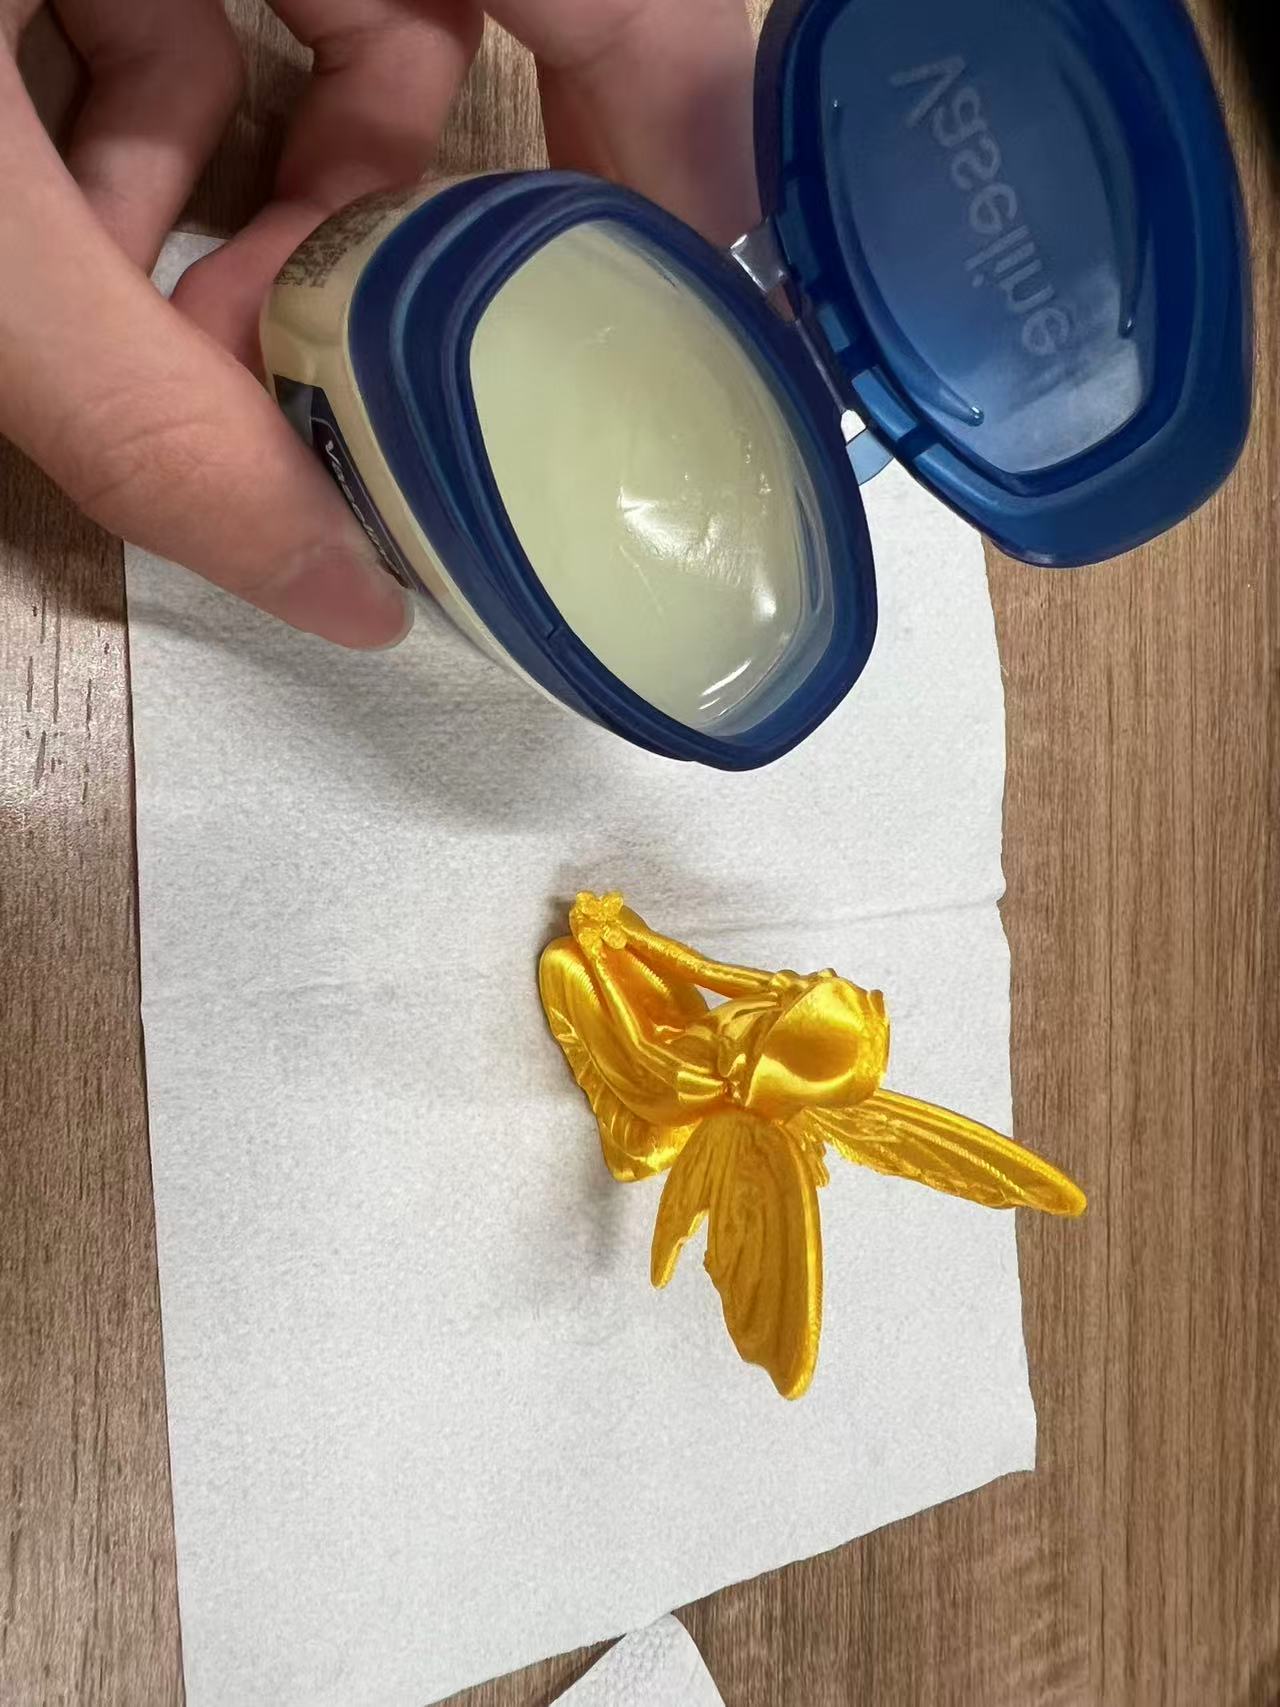
- Print master → mount / center in cup → Vaseline as release on the PLA only.
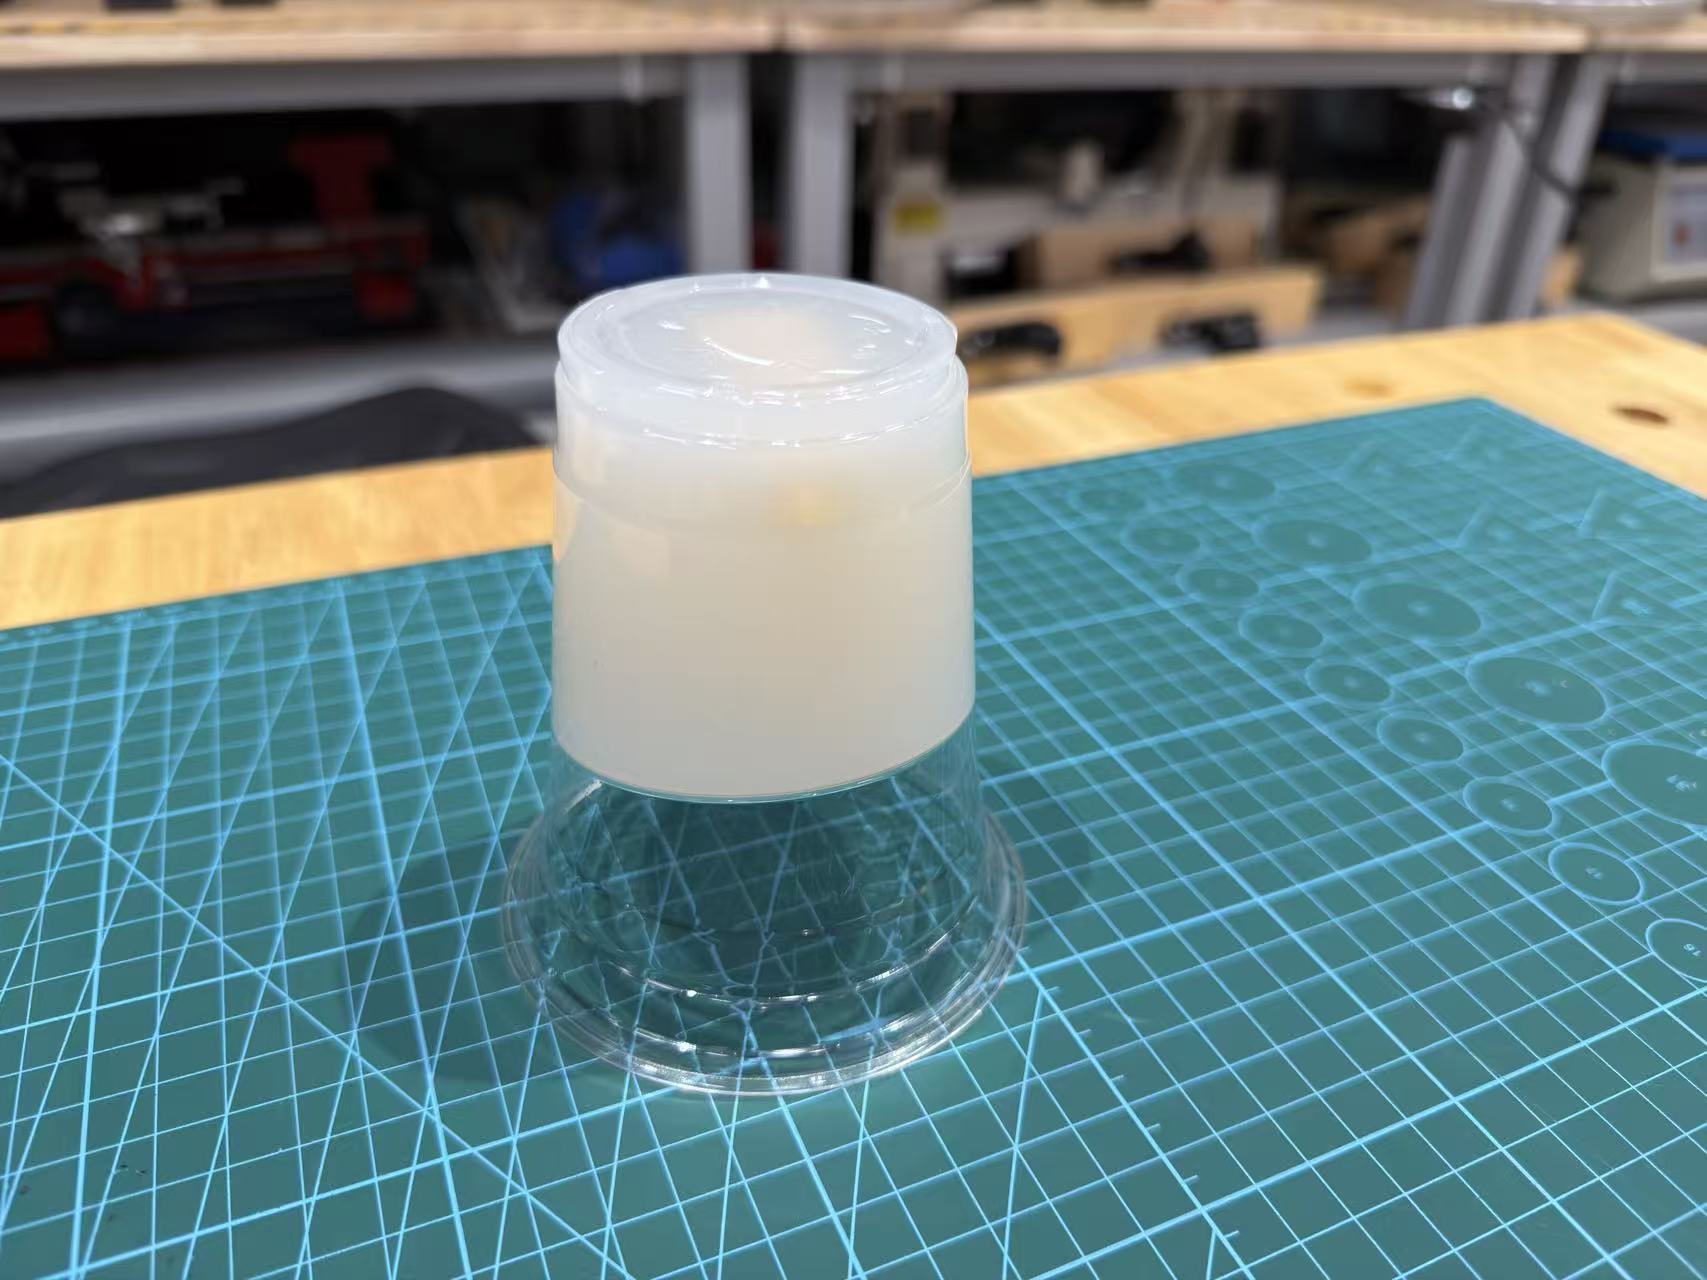
- Weigh silicone A/B, mix, pour, cure (~one day at room temperature).
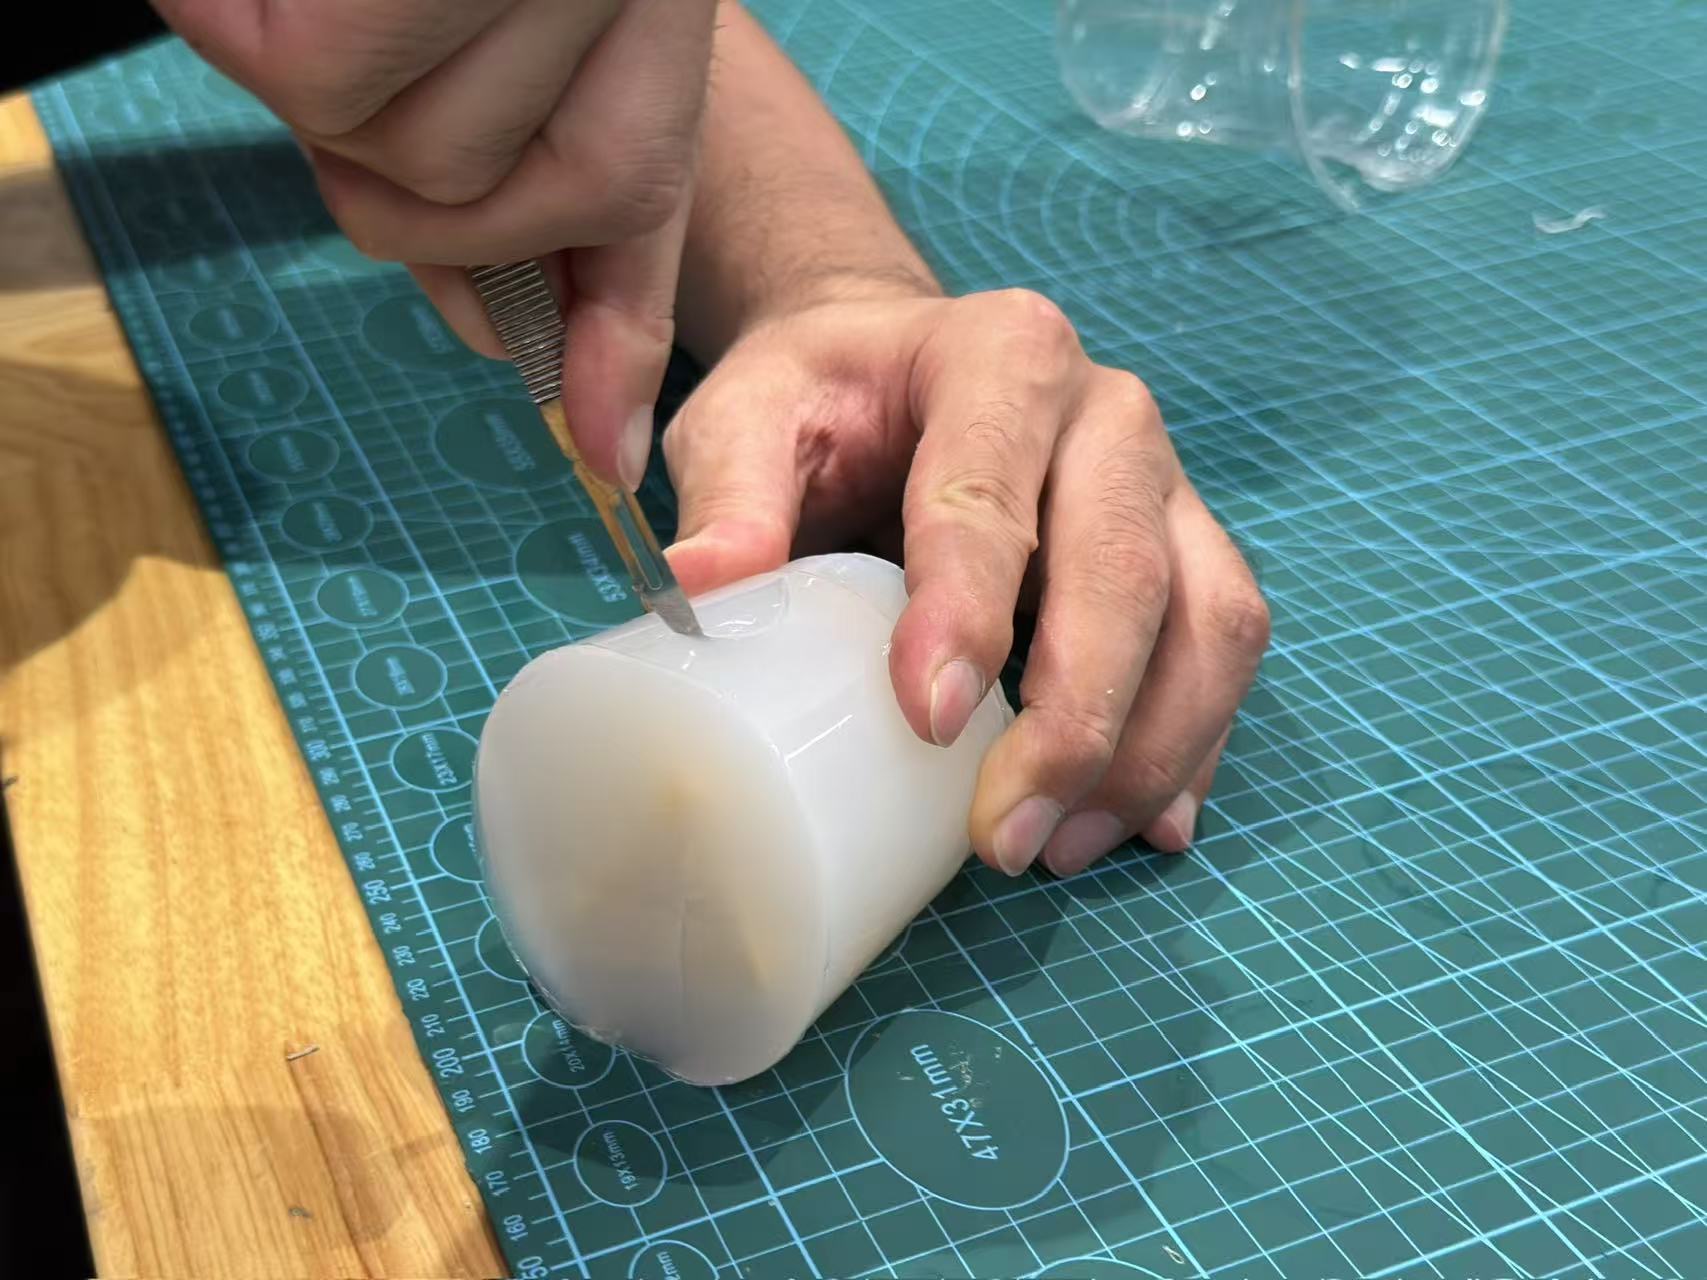
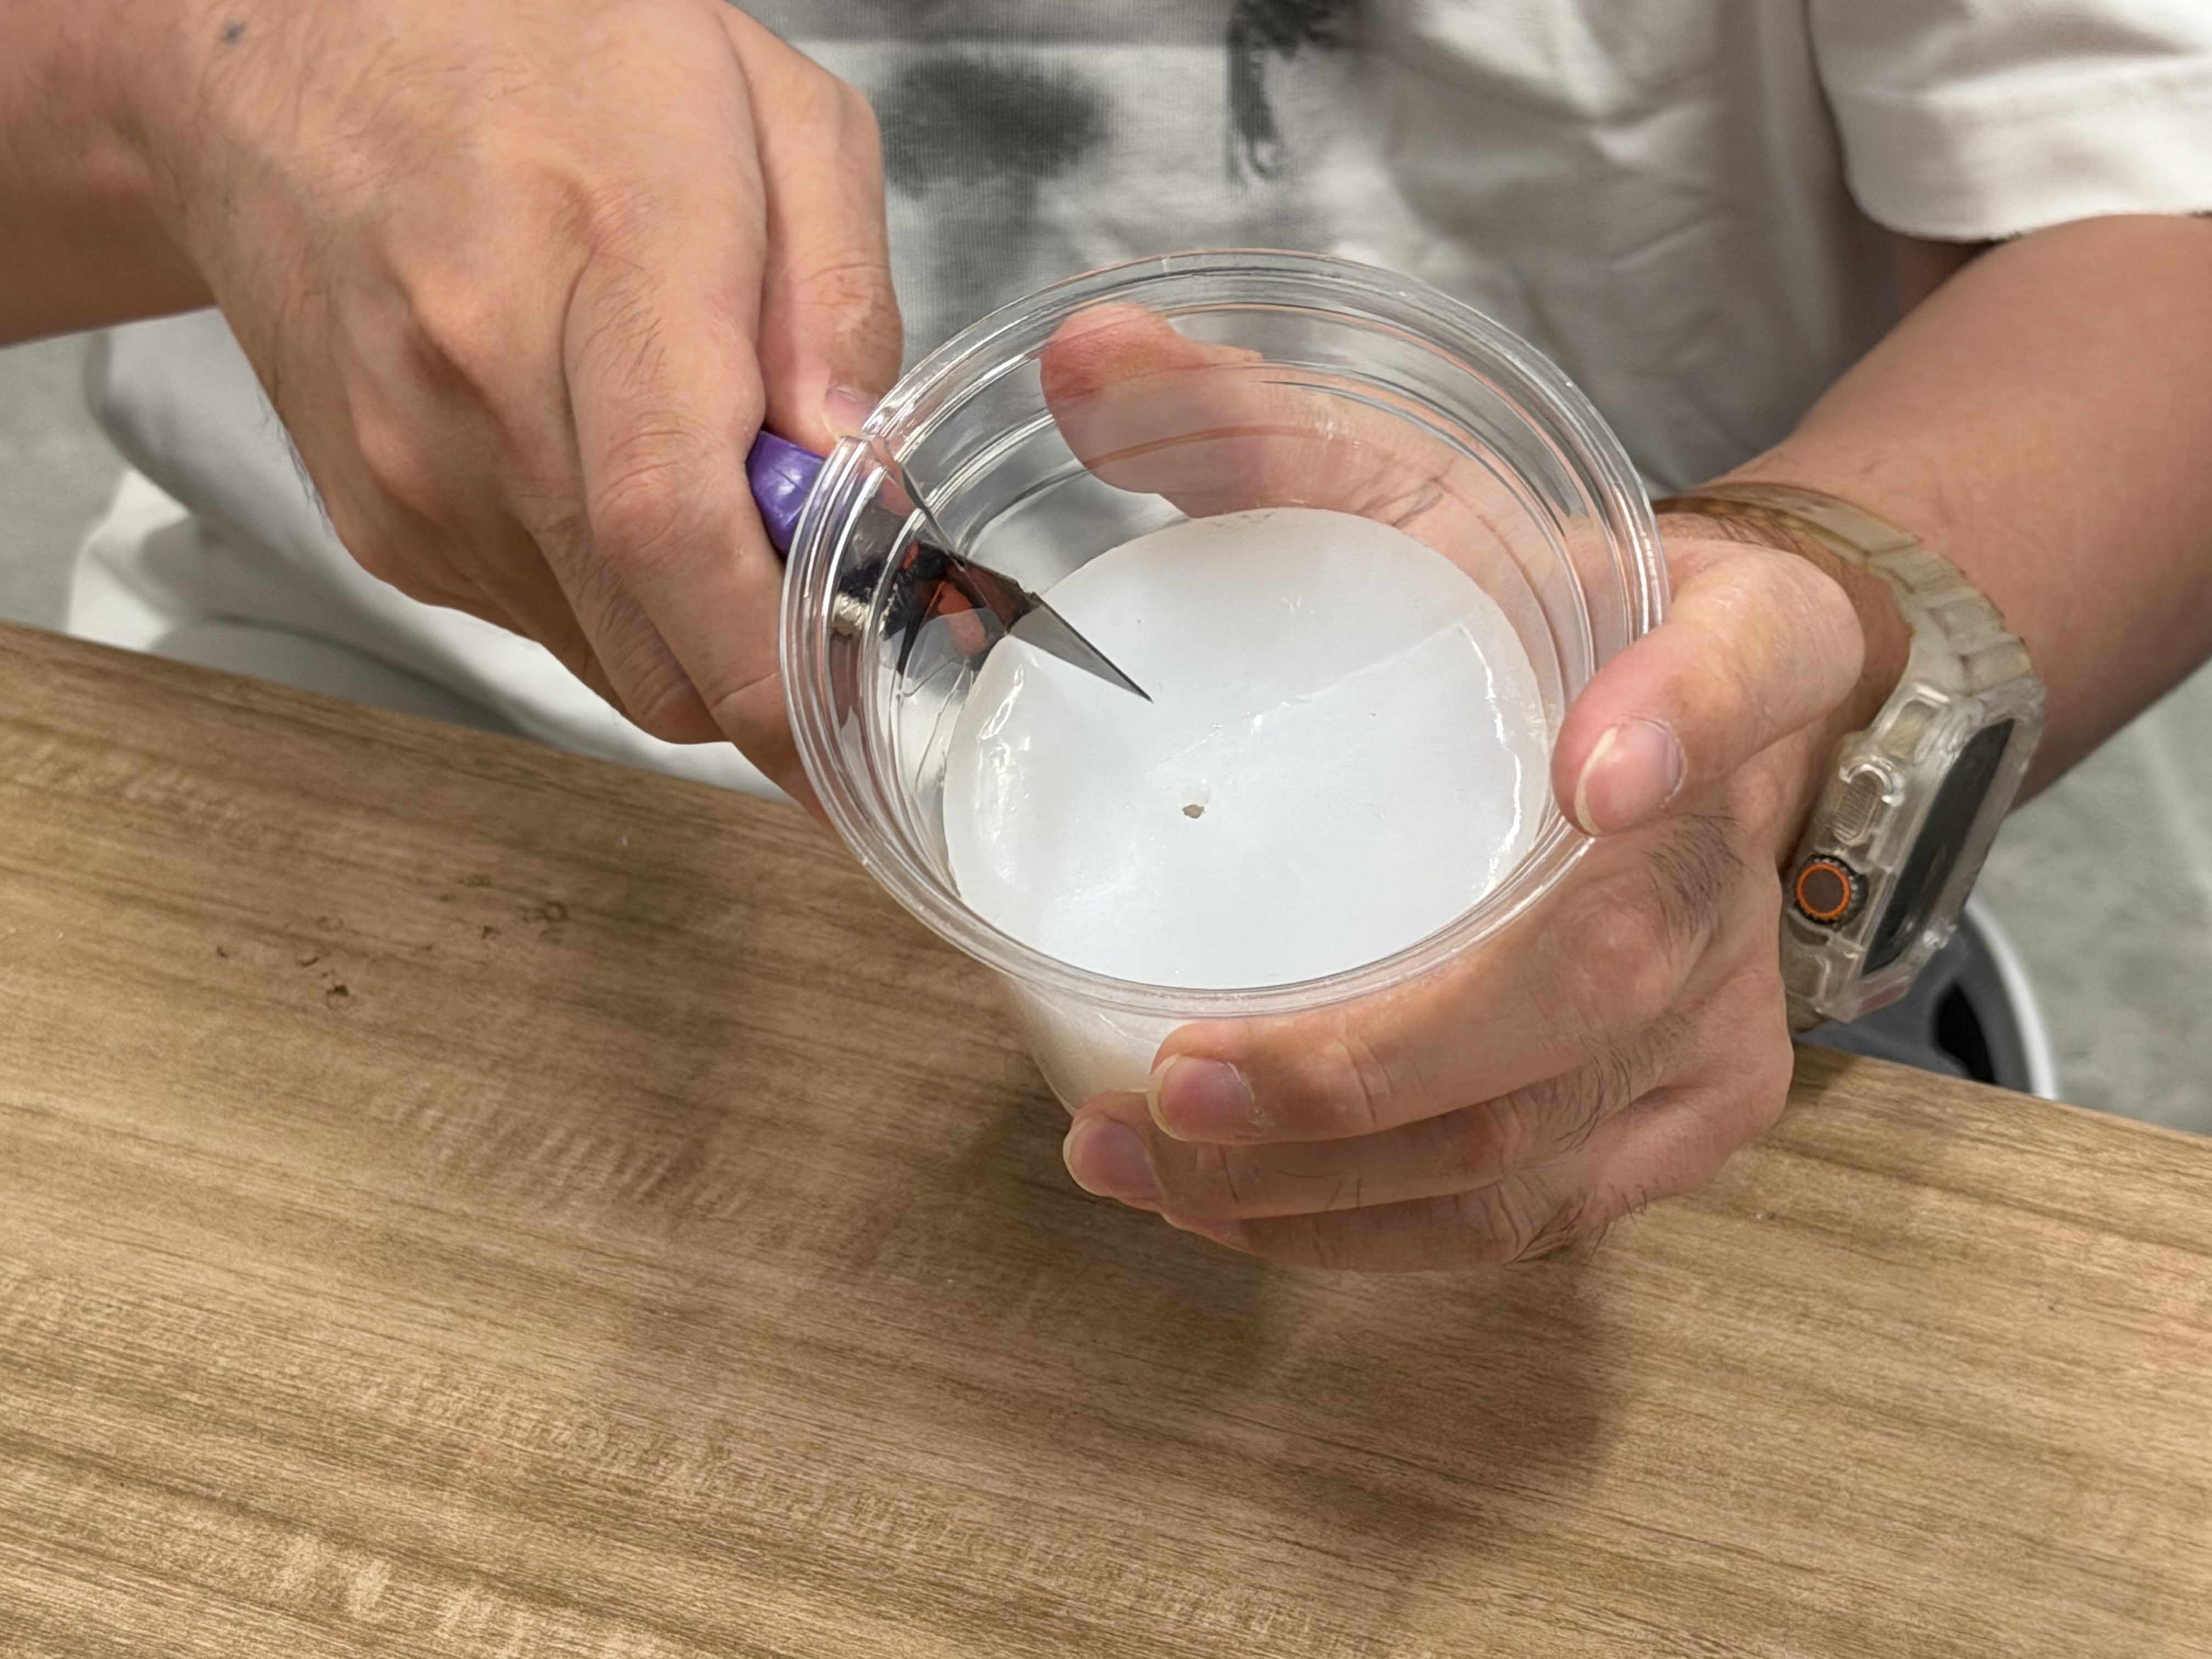
- Cut a parting path, drill vent ports, demold and clean the cavity.
- Weigh epoxy A/B at the manufacturer ratio, mix until uniform, pour, cure (several days).
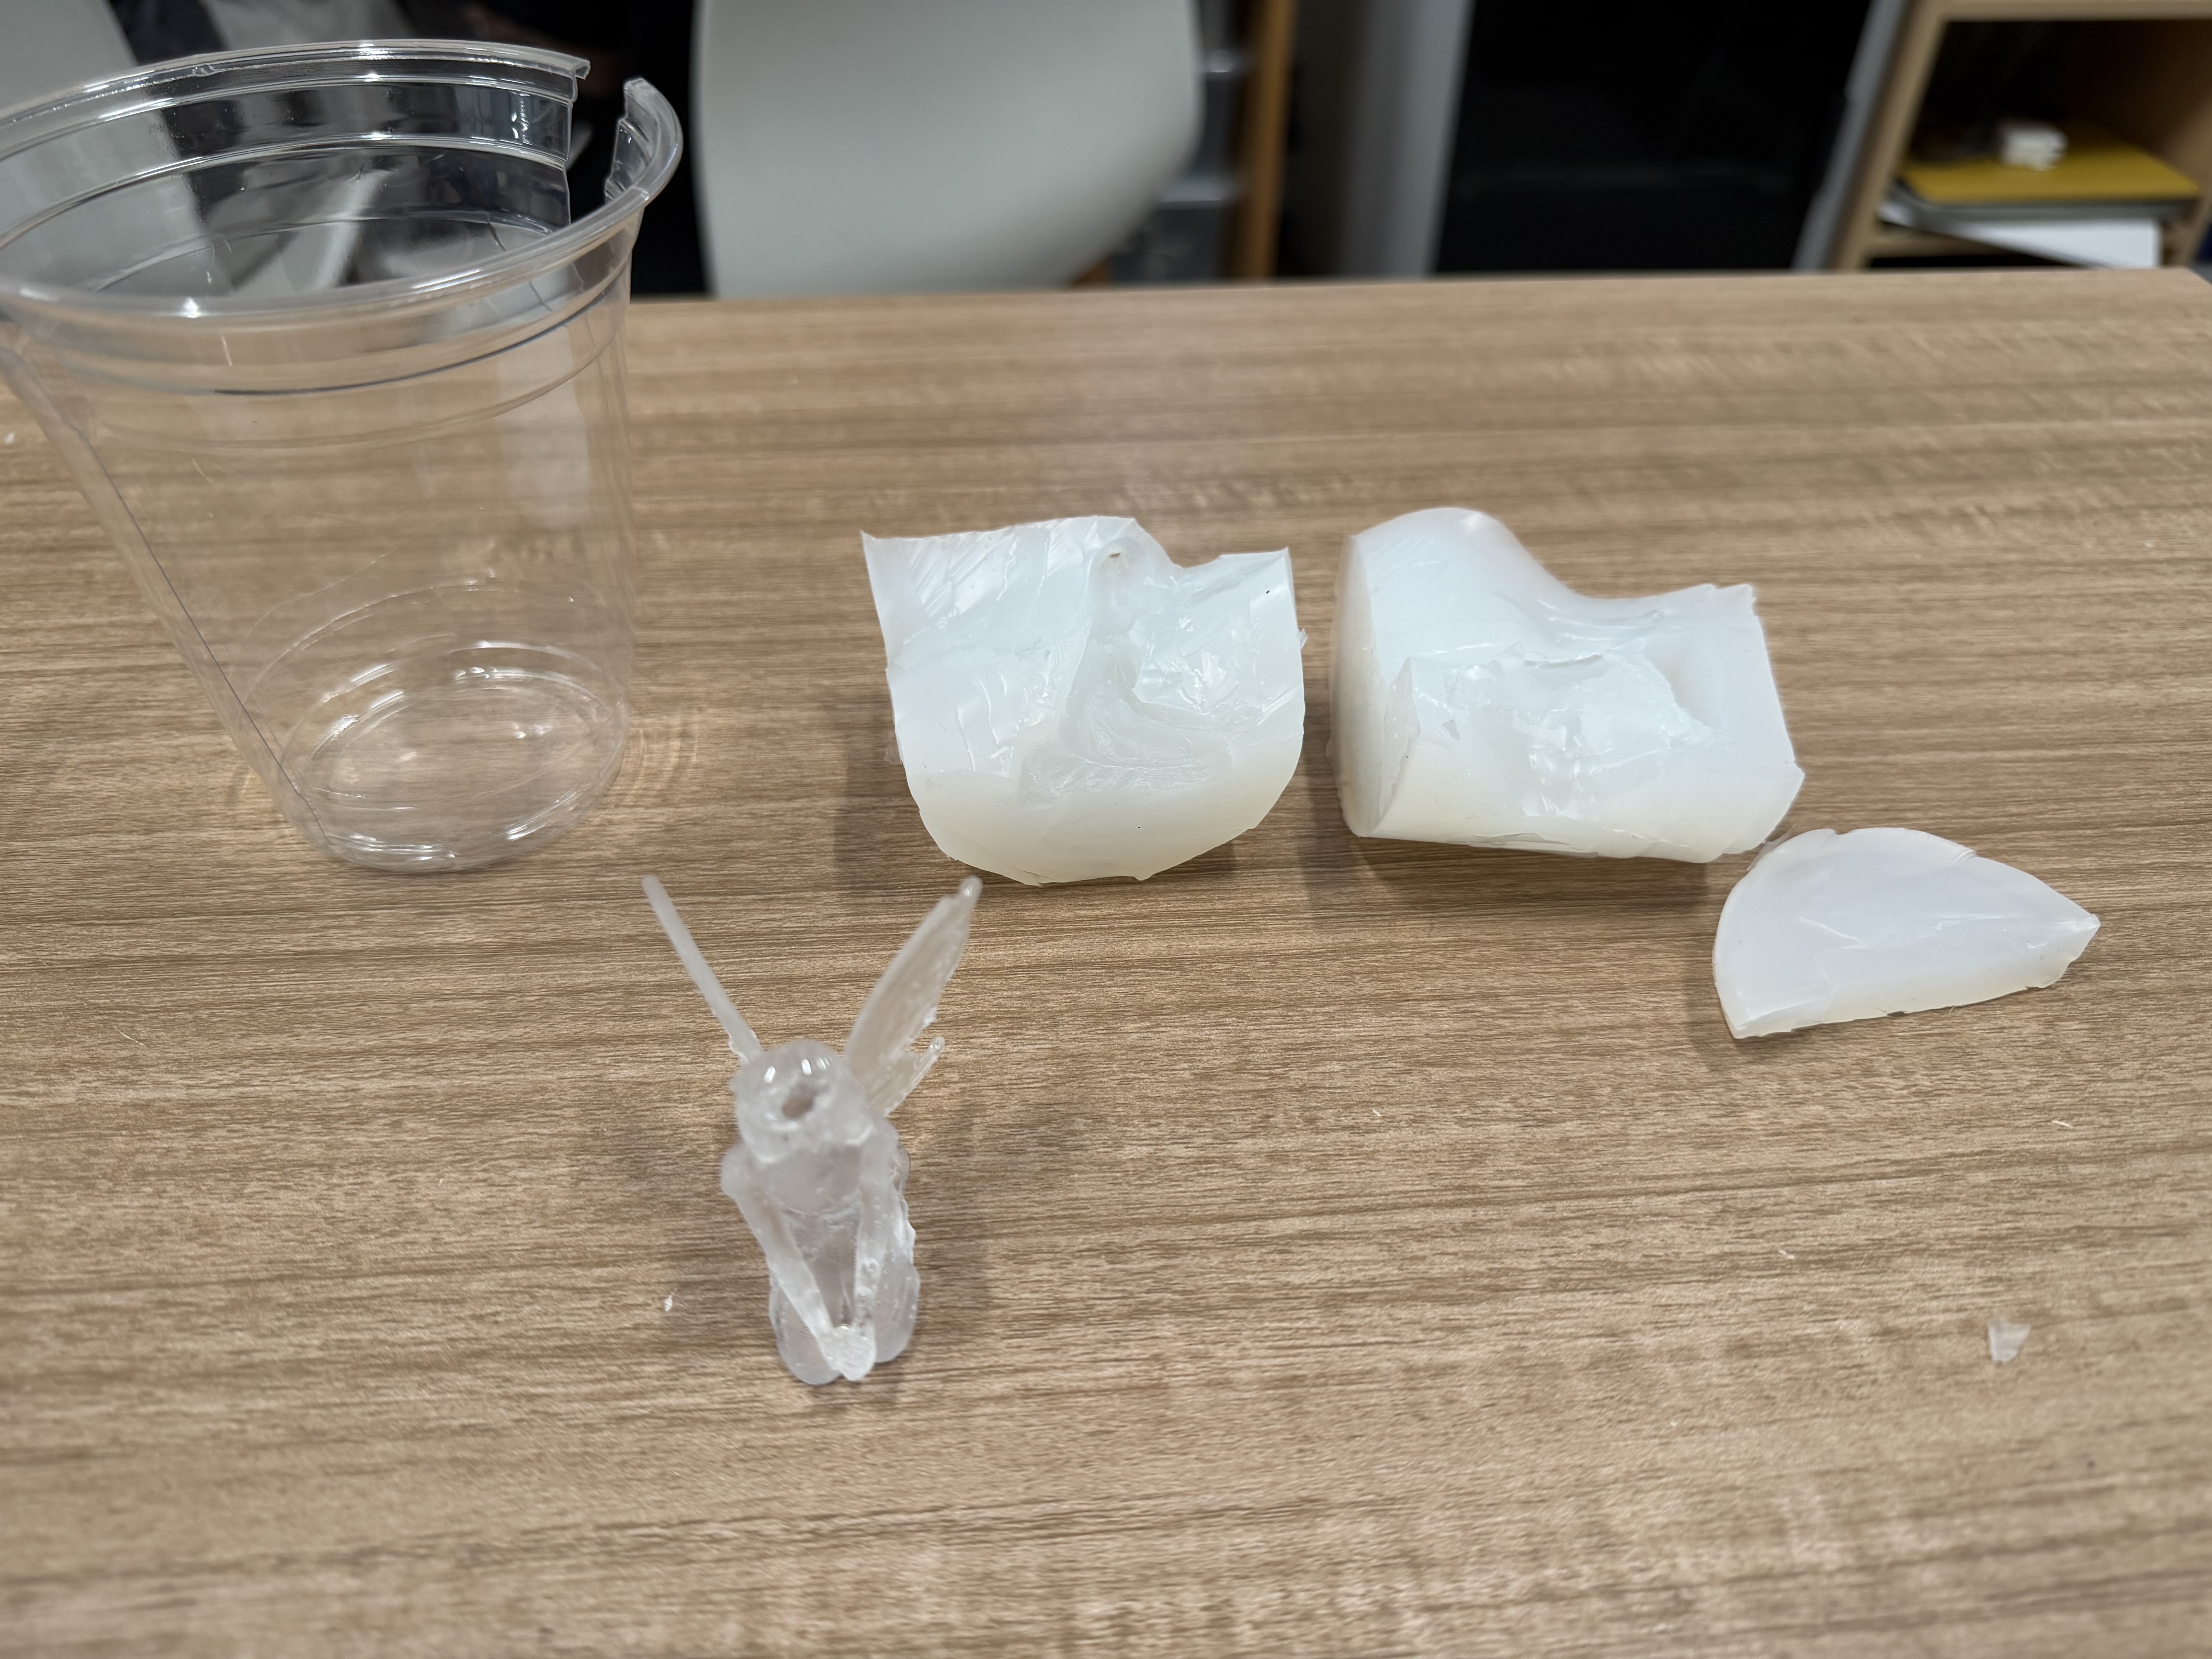
- Open silicone and photograph the epoxy cast.
Process log

Problems, fixes, and link to the group write-up
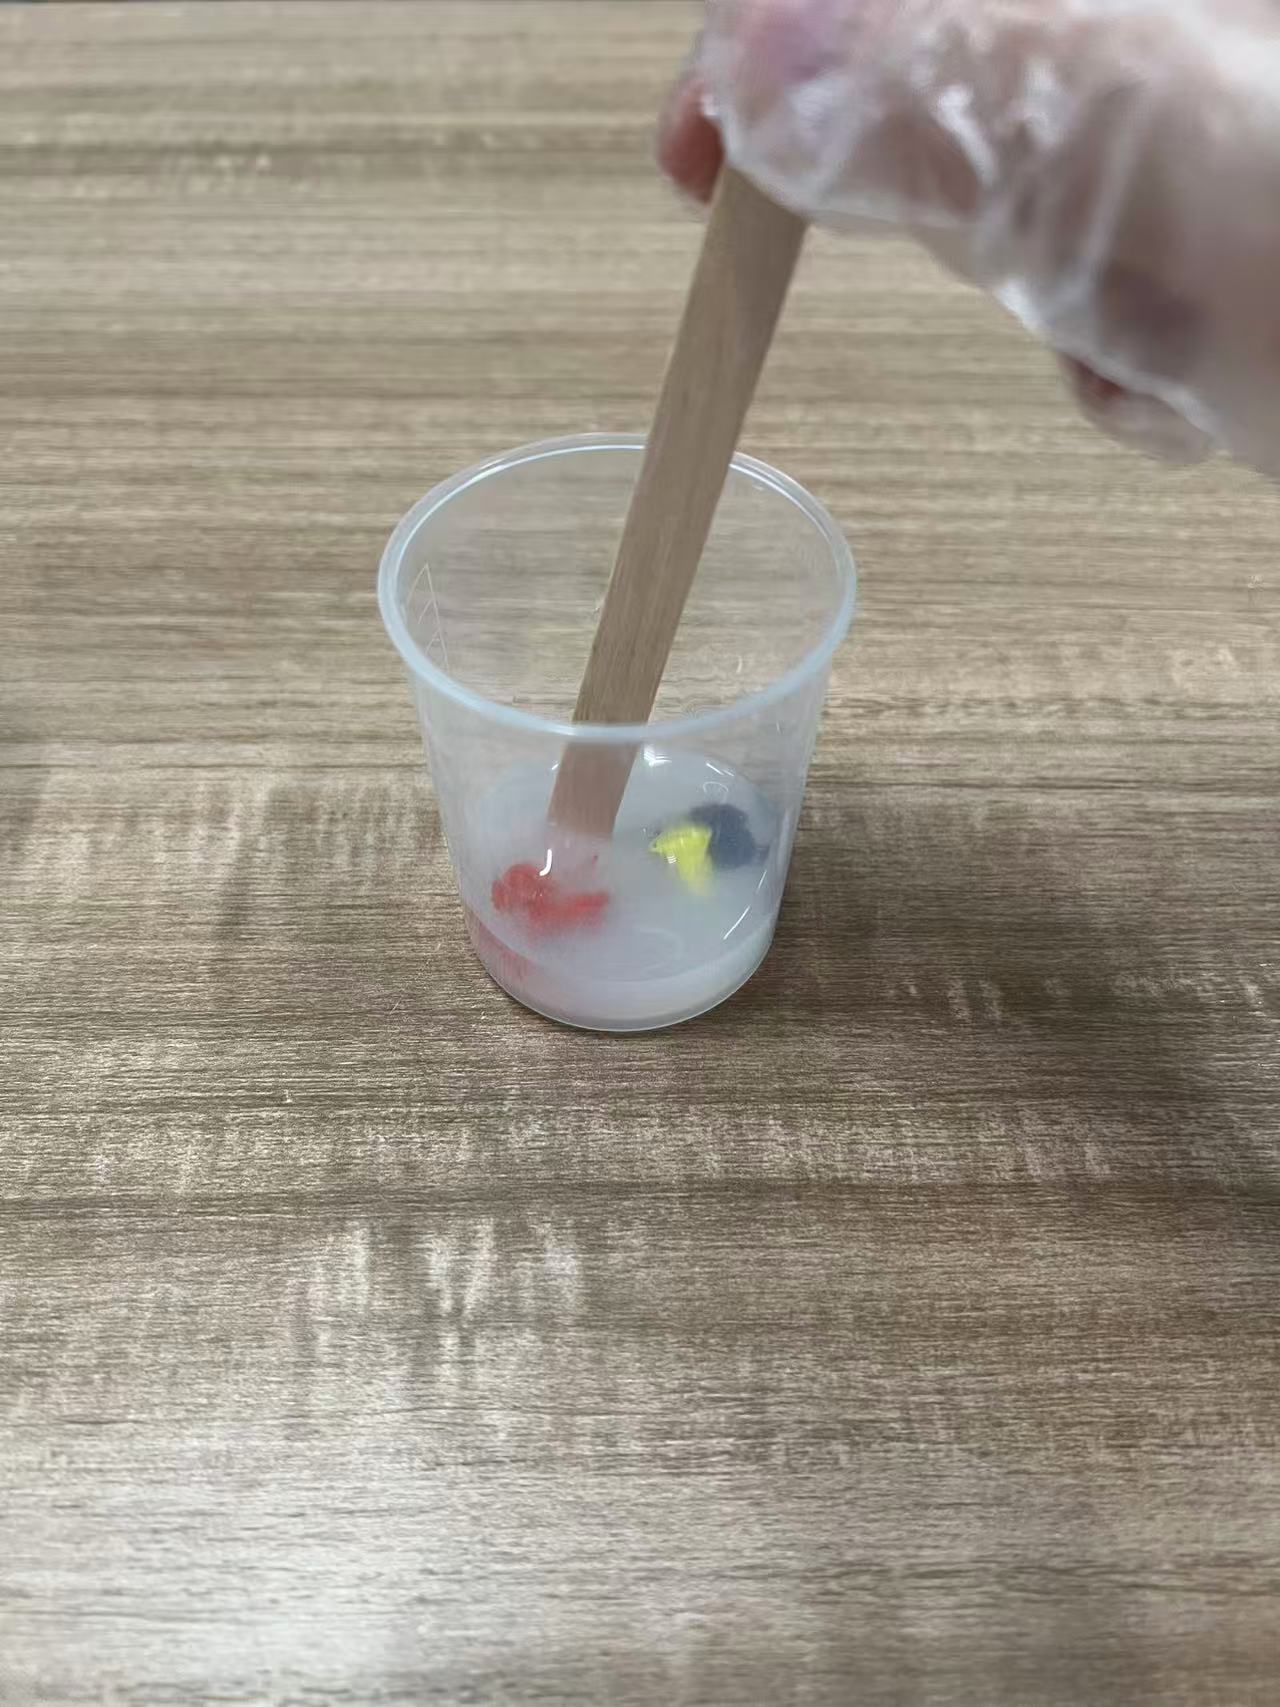
The epoxy photos show the near-miss: under-mixing looks fine in the cup but leaves soft or sticky patches after cure. I restarted the stir until the streaks disappeared, then accepted some entrained bubbles rather than whipping air in blindly. Same lesson as the group AB-glue notes: weigh, mix until streak-free, pour. The curved parting cut on the silicone block took a while but kept the two halves aligned when I opened it.
The official page reminds you to aim for smooth mold walls without FDM toolpaths. My mold is silicone (no layer lines), but the cast surface still echoes the FDM master. Next time I would sand or fill the PLA, or print the master on a finer process, if I want a toy-like finish.
Files and checklist
- Forest Fairy text mold: STL, G-code, print + slice photos (above); silicone negative, demolding, crystal-epoxy pour, and demolded wordmark cast documented.
- Sprite master: printable mesh from the community platform I used for the figure; I can zip the exact STL/3MF here once I mirror it into the repo for permalinking.
- Final photos: Forest Fairy printed shell + flexible negative + crystal-epoxy wordmark cast; sprite silicone cavity shots + final epoxy figure.
- Group link & reflection: aligned with Chaihuo Week 14 group page on materials and PPE.
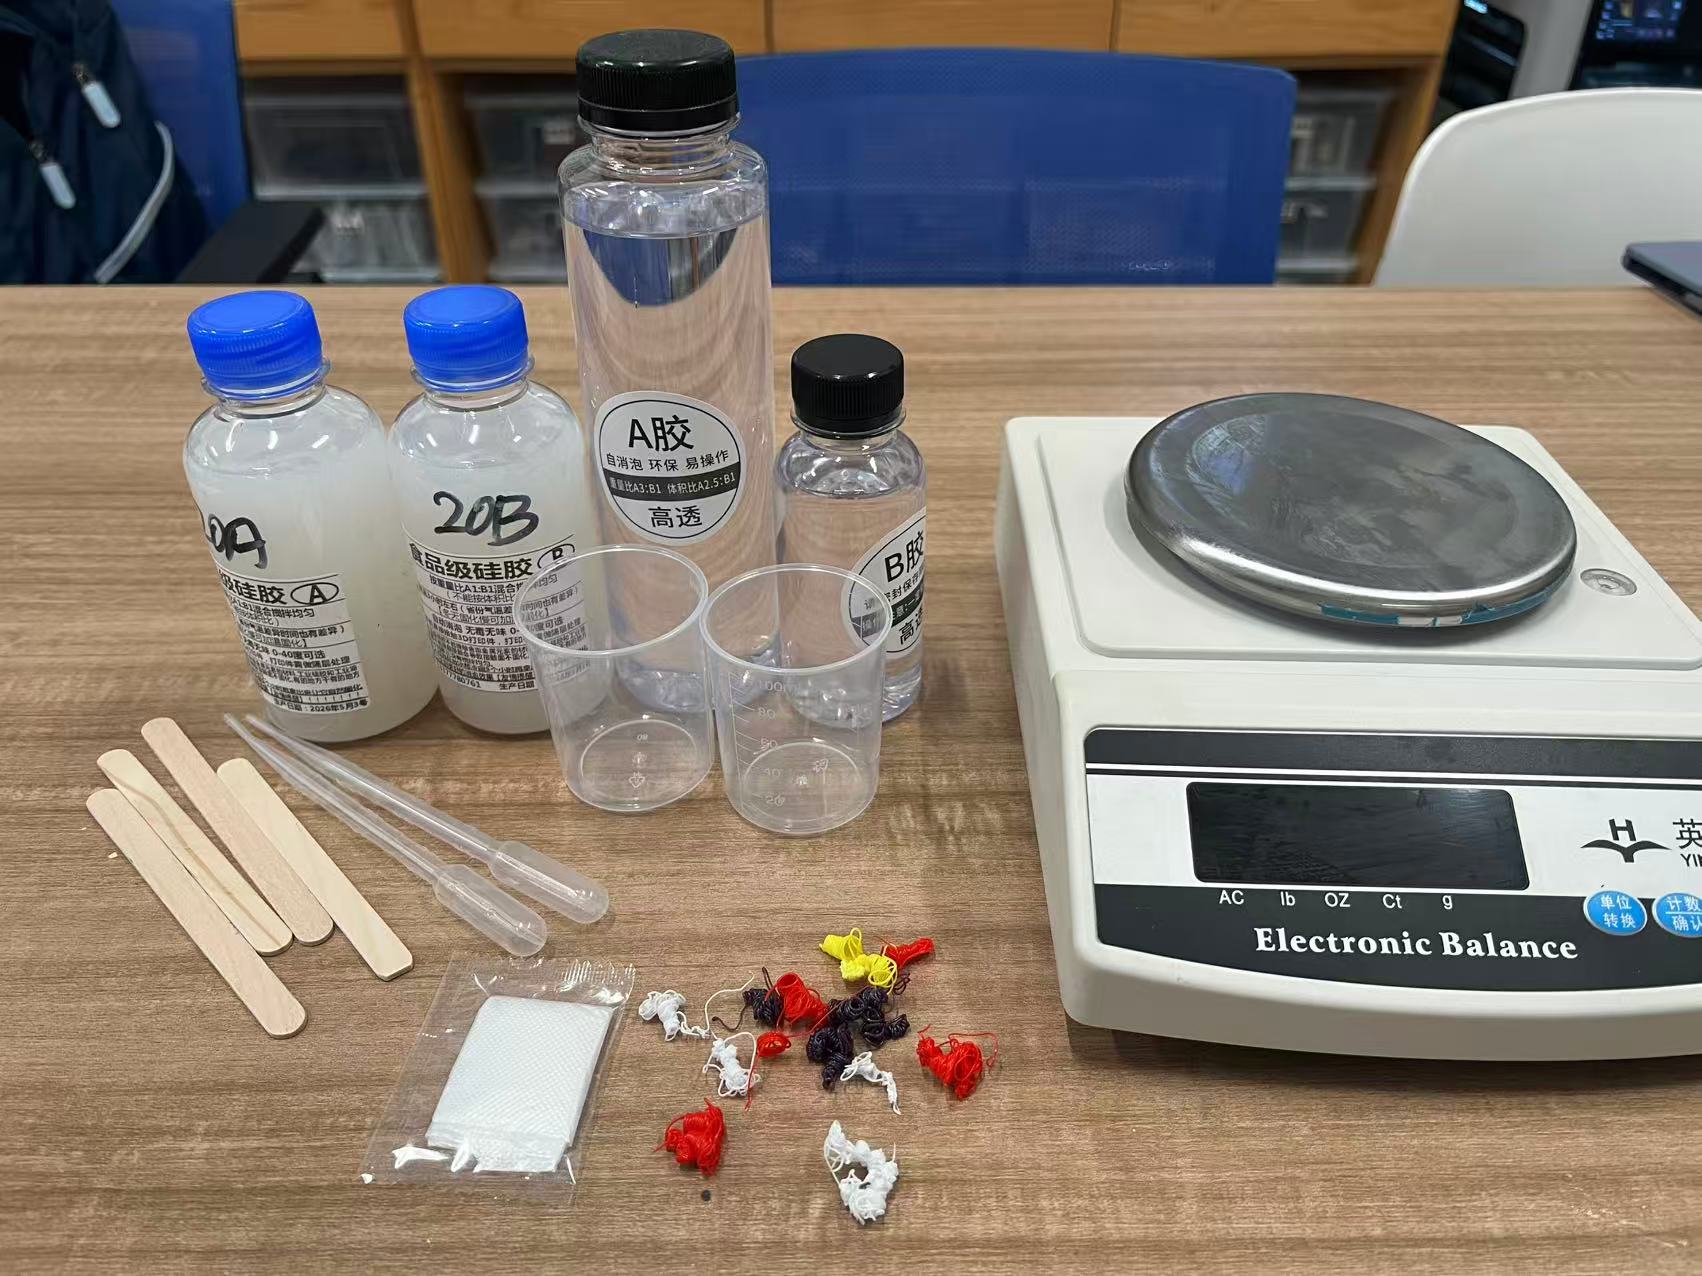
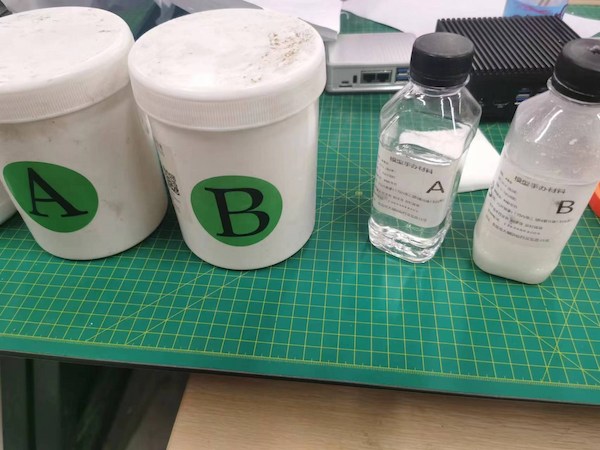
- MSDS/TDS: key ratios, cure windows, and ventilation notes are logged from the product sheets that shipped with the four bottles; I will attach PDF links when I mirror them next to the design files.
This week’s deliverables are mold and cast files, not new MCU firmware. I used Cursor on the side to refactor Forest Fairy firmware from Week 8 hub bring-up through Week 11 networking while I lined up the mechanical parts with the same pin map.
Group assignment
Guangzhou (Chaihuo): group documentation comparing molding and casting materials, safety practices, and process workflows.
Chaihuo’s Week 14 group page compares silicone brands, PPE habits, and AB epoxy mixing. I pulled their photos below (lab material, not my kitchen bench) and noted what I changed before my solo pour.
Silicone comparison: pick by pour behavior, not sticker price
HongDa vs ShinBon differed in viscosity and cure speed enough that bubble traps and demold effort changed on the same cup geometry. We agreed on a small test slug before any detailed mold; the cheaper bottle was not cheaper once I counted rework on a detailed sprite shape.
Safety practice: gloves and ventilation before the scale
The group “bad habits” slide was direct: skin contact and poor airflow with addition-cure silicone or AB resin is not a last-minute fix. We listed PPE, vent location, and waste cup placement in the same checklist as mix ratio so nobody treats safety as optional when the pour is already mixed.
AB glue casting: ratio and stir time
Sticky or soft patches showed up when ratio drifted or mixing stopped while streaks remained. That matches what I saw on my epoxy pour (see individual section): brand name mattered less than weighing both parts and folding until the flecks disappeared.
What I kept for later weeks
Before mixing I now write down geometry (flex vs rigid), target finish, and the failure I expect first: bubbles, soft cure, or a stuck master. That checklist came from the group comparison and kept me from skipping the PLA/silicone spot test on my own mold.
- Pilot cast on scrap geometry before the real master.
- Pick silicone by viscosity/cure for the shape, not catalog price alone.
- PPE + ventilation on the same checklist as A:B weights.
- Log grams, ambient temp, and cure time for the next pour.
Source
Group template and media source: Week 14 — Group Assignment: Molding and Casting.