Week 5 — 3D scanning and printing
Group assignment for this week is on the Chaihuo Week 5 group assignment page. The rest of this page is my individual work.
Individual assignment
Two deliverables this week: a 3D-printed enclosure shell that is hard to make subtractively, and a photogrammetry scan of a real object with the Luma app on my iPhone. The print reuses the brain-fog device shell from Week 2; below I focus on why additive made sense and how the part came off the Bambu printer. The scan section covers capture through export.
3D printing: enclosure shell
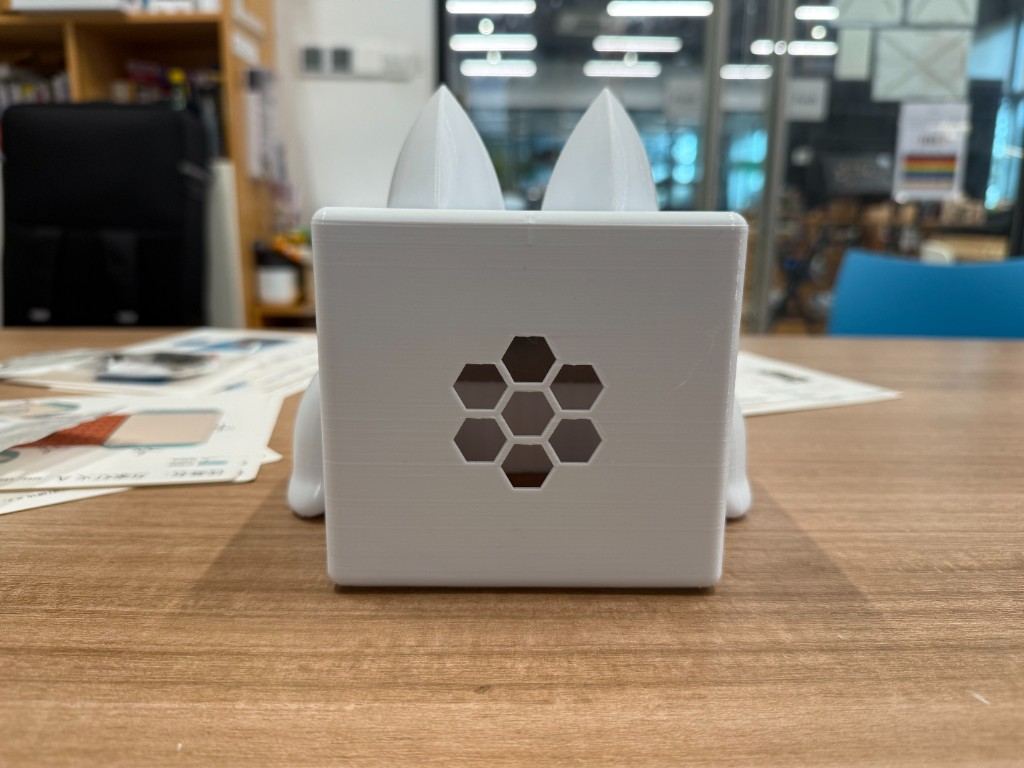
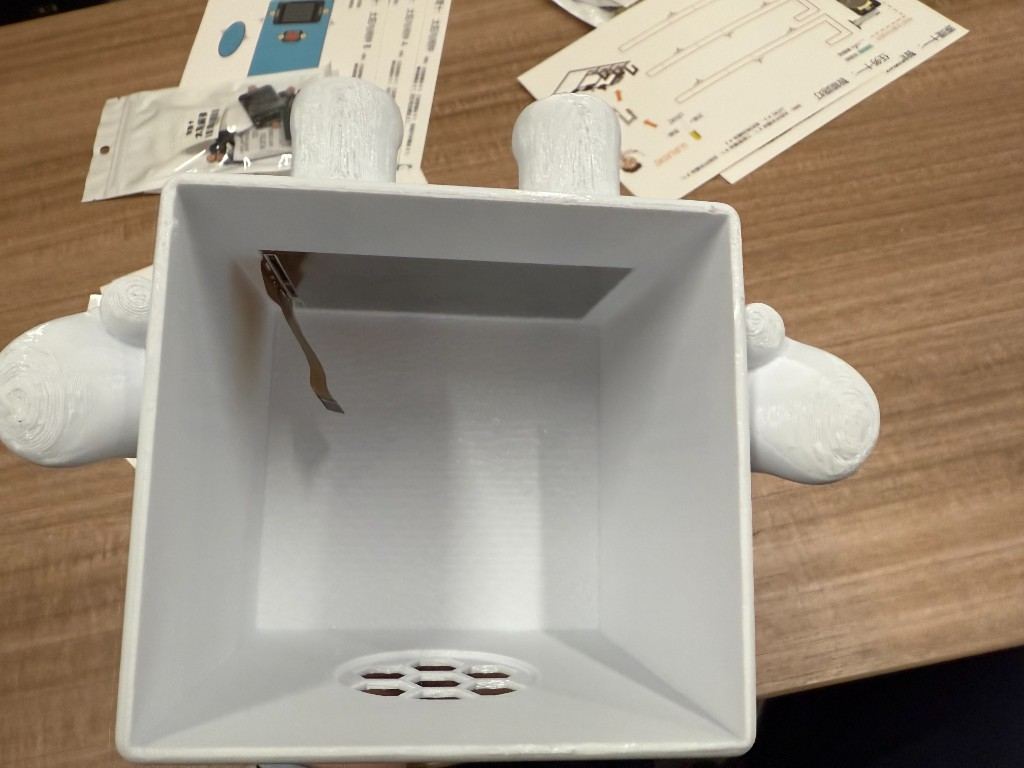
I chose the version-2 enclosure for this assignment because it combines several features that are awkward or impossible on a three-axis mill: a closed organic outer shell, an internal cavity sized for a display module, a front window recess, and a honeycomb speaker grille on the back. You cannot release the inner volume with a single subtractive toolpath without splitting the body into many pieces and reassembling them.
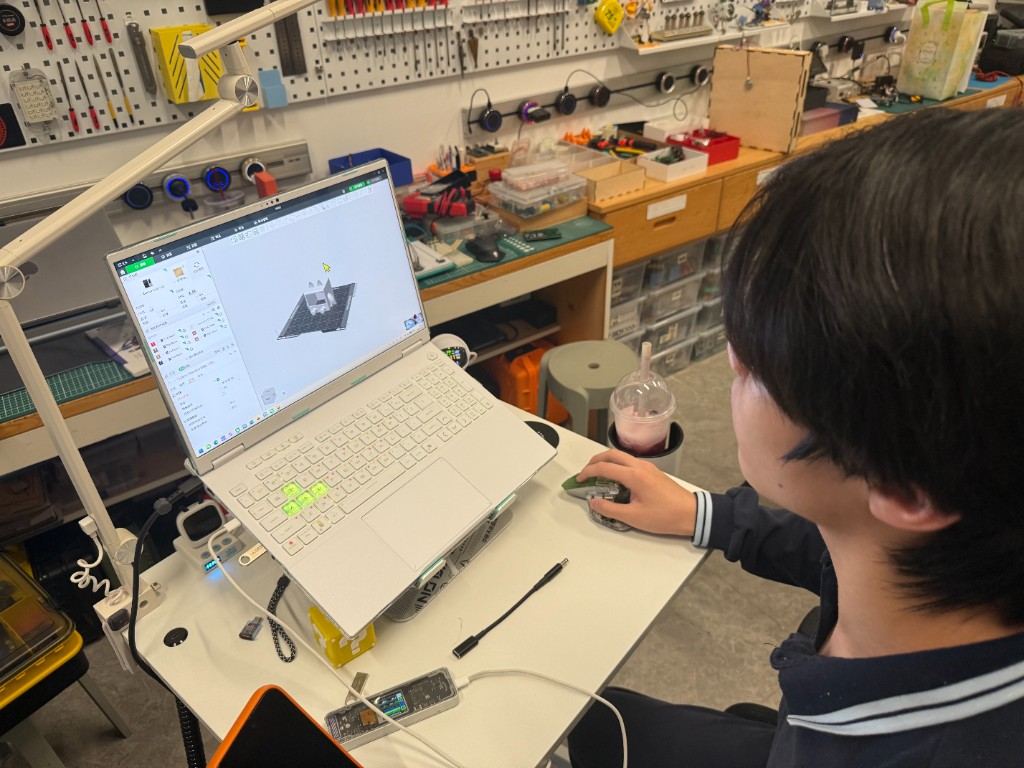
The part was modeled in Blender during Week 2. I exported the mesh as STL for this week, opened it in Bambu Studio on the lab Bambu printer, and added tree supports under the front opening and other overhangs. The print used the same PLA baseline the group tested in the assignment below, so I already knew roughly what bridge and overhang behavior to expect.
Why 3D printing, and where it is limited
I used this shell to check the Week 5 learning outcome directly: 3D printing is strong when the geometry grows around an internal volume, but the process still has limits that affect design decisions before slicing.
| Point | What it means for this part | Design decision |
|---|---|---|
| Advantage: enclosed cavity | The body can wrap around a display space and internal electronics without machining from several sides. | Print the shell as one piece with an open bottom for access. |
| Advantage: small repeated features | The honeycomb speaker grille is easy to generate in the mesh and print with the nozzle path. | Keep the grille in the printed back panel instead of cutting it separately. |
| Limitation: overhangs | The front screen opening and curved shell create unsupported regions. | Add tree supports in Bambu Studio and remove them after cooling. |
| Limitation: clearance and fit | Printed walls, supports, and slight shrinkage can make the screen recess tight. | Test-fit the screen module after printing and keep the wider version-2 internal body. |
| Limitation: surface finish | Layer lines remain visible on the curved outside surface. | Accept the surface for prototype documentation rather than sanding before function testing. |
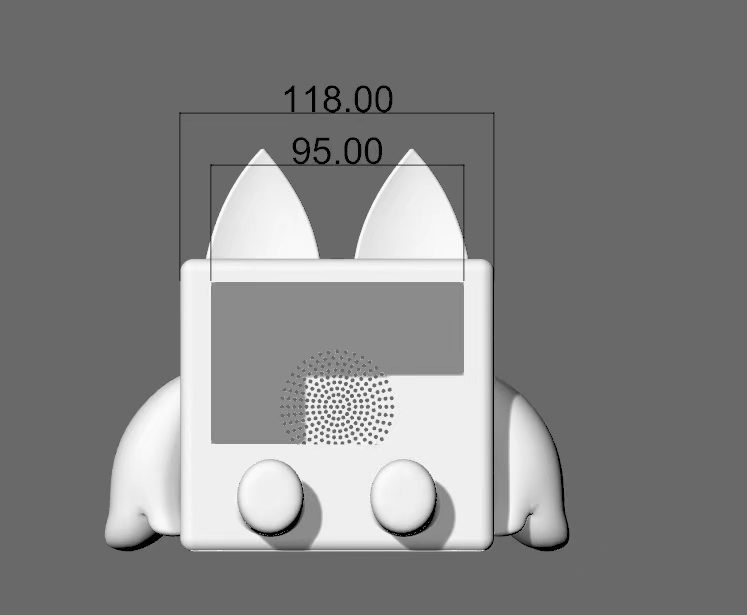
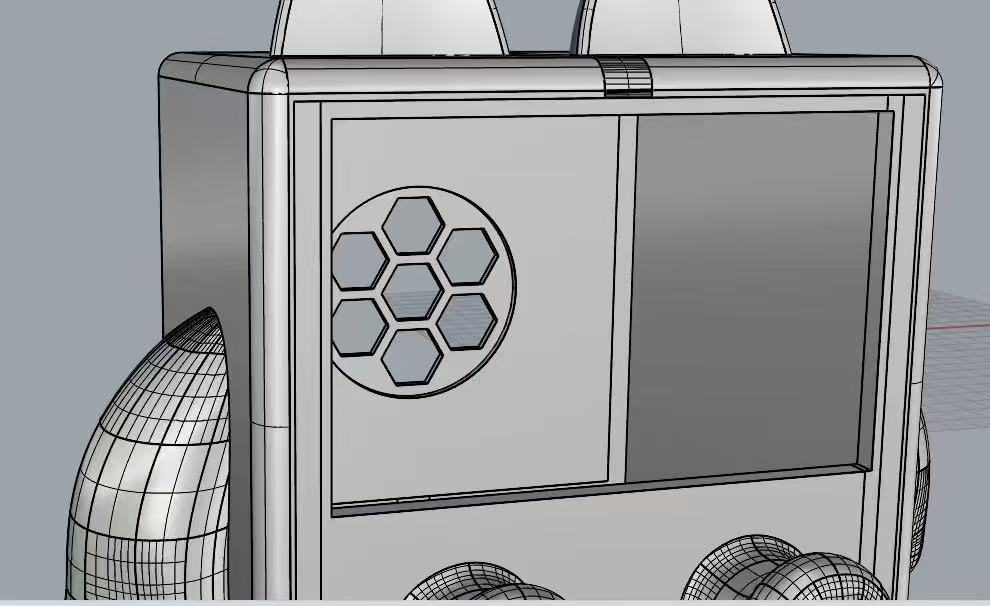
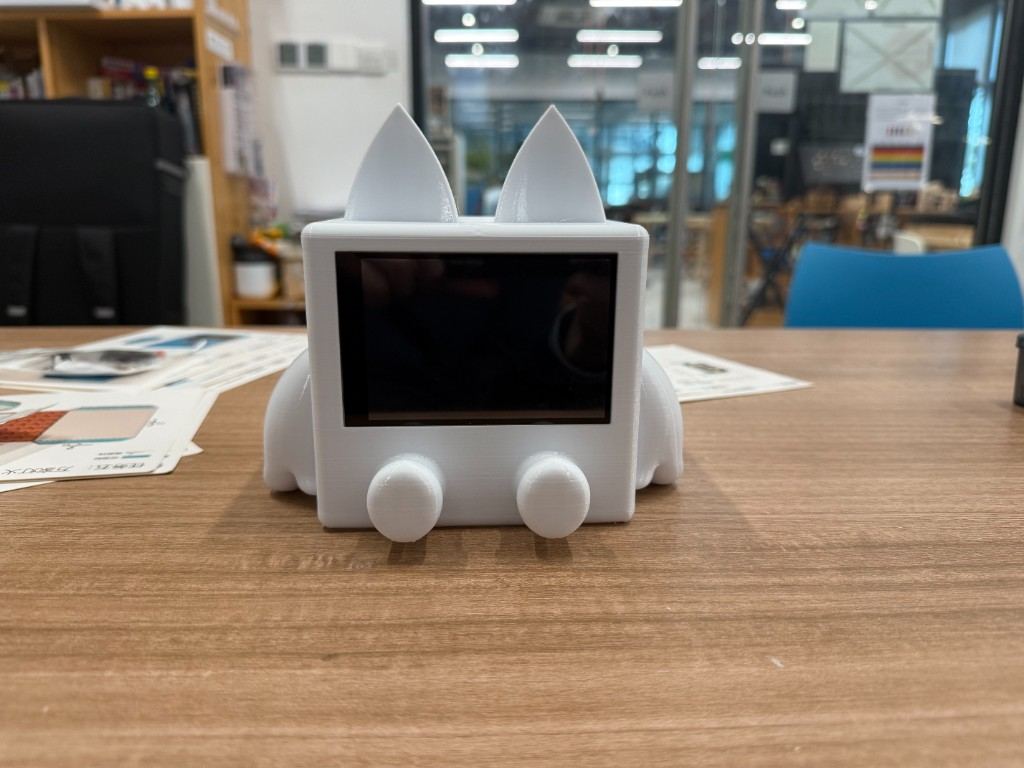
The job ran without warping. After cooling I removed the supports and test-fitted the display module from the front. The wider internal body from version 2 left enough room for the SPI adapter board behind the panel, which was the main functional goal of this print iteration.
Design source files from the modeling stage are linked on
Week 2 (week2-brainfog-enclosure-v2.stl).
3D scanning: water bottle with Luma
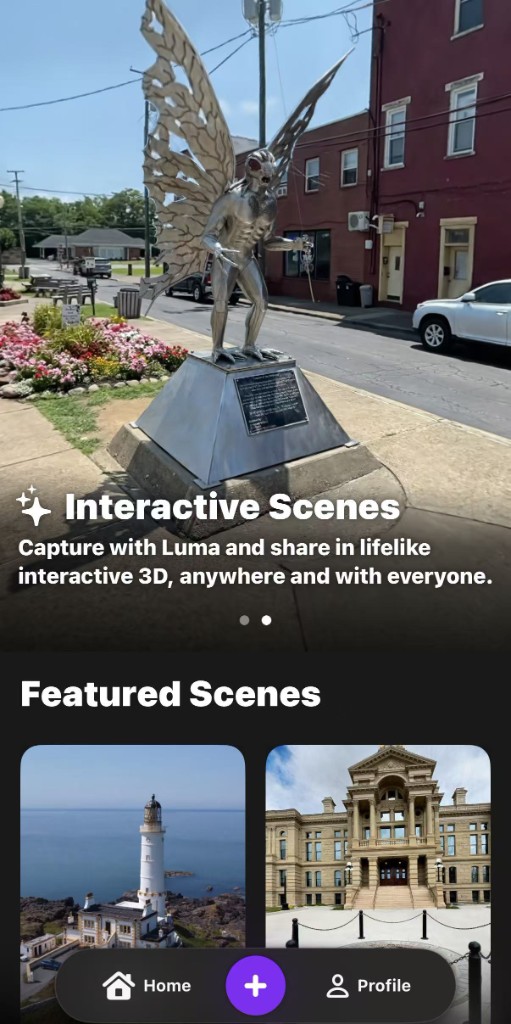
For the scan I used Luma (Luma AI / Luma 3D Capture), a photogrammetry app that turns phone video into interactive 3D scenes. According to the App Store listing, Luma builds lifelike captures with NeRF-style reconstruction and does not require LiDAR or external hardware beyond an iPhone 11 or newer. The app home screen highlights Interactive Scenes: you capture in the field, upload to Luma’s cloud, and share or export the result on the web. That workflow fits the Week 5 goal of digitizing a real object with scanning technology rather than modeling it from scratch.
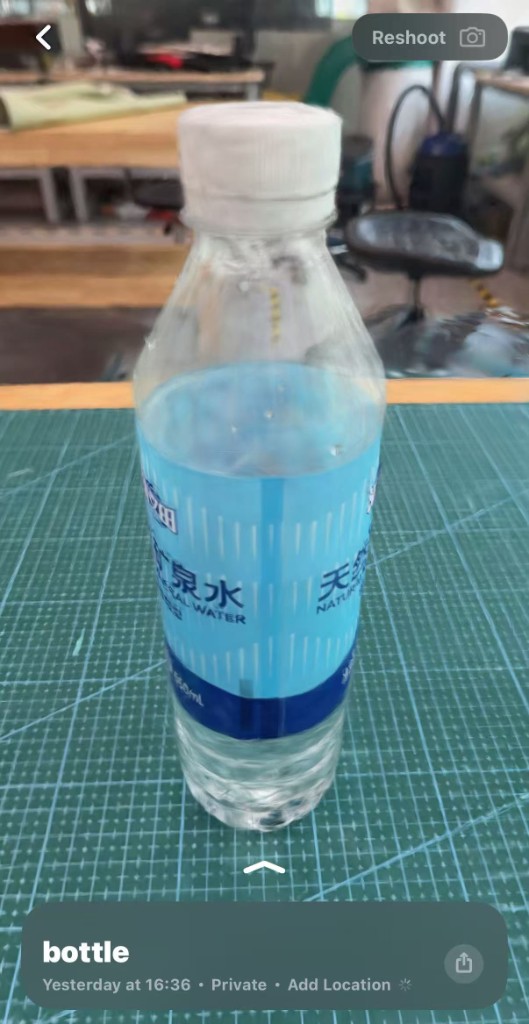
I scanned a plastic water bottle on the green cutting mat at Shenzhen Chaihuo. Bottles are a reasonable test object: they are small, matte enough on the label, and common enough that I could compare the result against the real thing afterward. I avoided glassy backgrounds and kept the mat in frame so the app had texture to track.
The capture starts in Object mode. Luma asks you to roughly enclose the subject in an adjustable 3D box before recording. I scaled and rotated the box until the bottle sat inside with a little margin, then confirmed. This step tells the reconstructor which volume to prioritize and cuts down stray background geometry later.
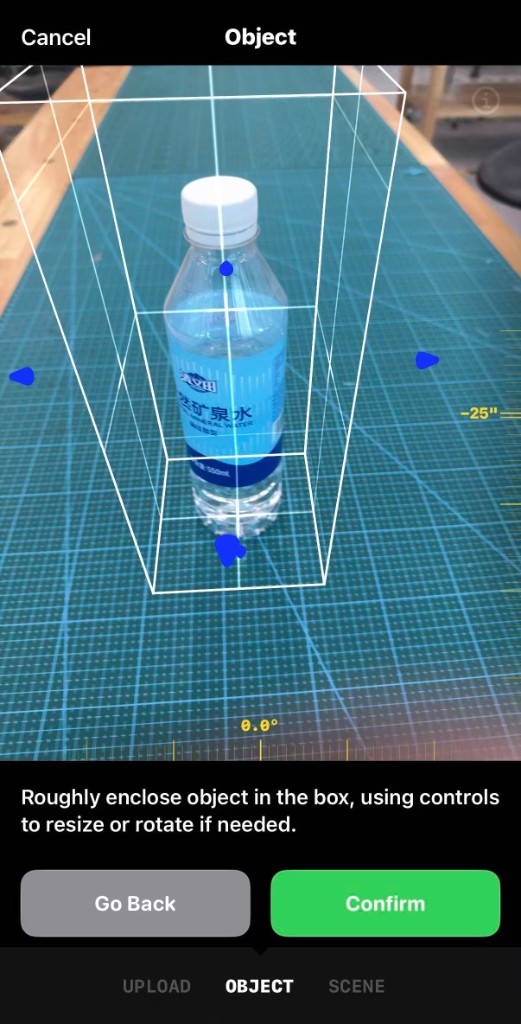
After confirming the box, Luma switches to guided capture. The interface overlays three loop paths at different heights around the object: upper, middle, and lower. You move slowly, keep the bottle centered, and complete each loop so the camera sees the label and cap from many angles. Rushing creates motion blur and holes in the mesh, so I paused when I lost the on-screen alignment guides.
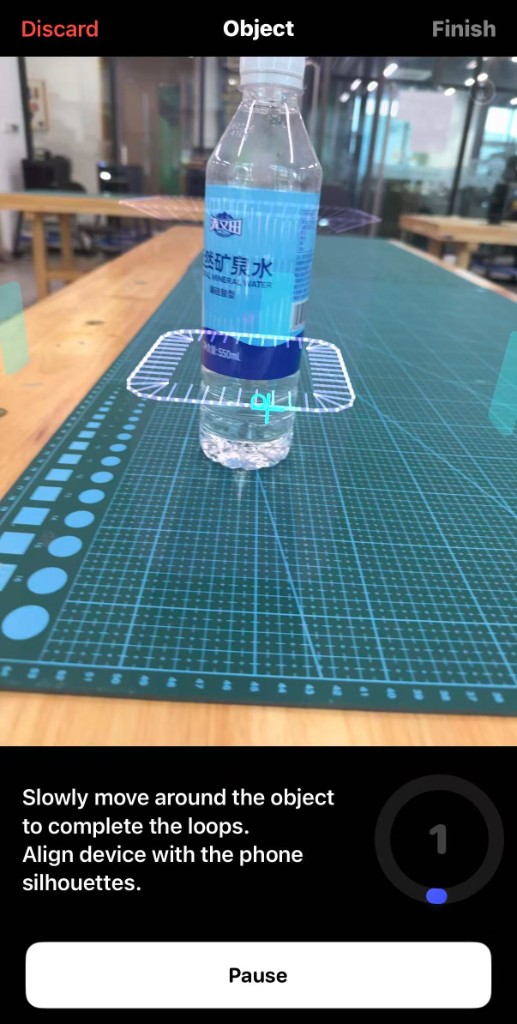
Upload and cloud processing took a few minutes on lab Wi-Fi. When the job finished, the app opened an interactive preview I could orbit in place. The bottle shape, cap, and label graphics were recognizable, which is enough for documentation. Luma can export meshes such as GLB or OBJ if I want to print a copy later; I have not printed the scan yet, but the result is usable as a starting point for a scaled replica.
Reflection
The print assignment showed that “hard to make subtractively” does not have to mean exotic geometry. A shell with an enclosed cavity and a fine grille is already a good example. The scan assignment was faster to set up than I expected, but quality still depends on pacing, lighting, and how cleanly you frame the object in the first box step.
Our group FDM design-rule tests were the other half of the week. Watching bridge spans sag and thin walls wobble on the coupon plate made slicer warnings concrete. I placed tree supports on my enclosure opening because I had already seen where unsupported PLA gives up on our Bambu baseline. Recording one shared nozzle, filament, and profile also matters: without that, “it printed fine once” is not a rule classmates can reuse.