Week 14 - Molding and casting
Group assignment for this week is on the Chaihuo Week 14 group assignment page. The rest of this page is my individual work.
Individual assignment
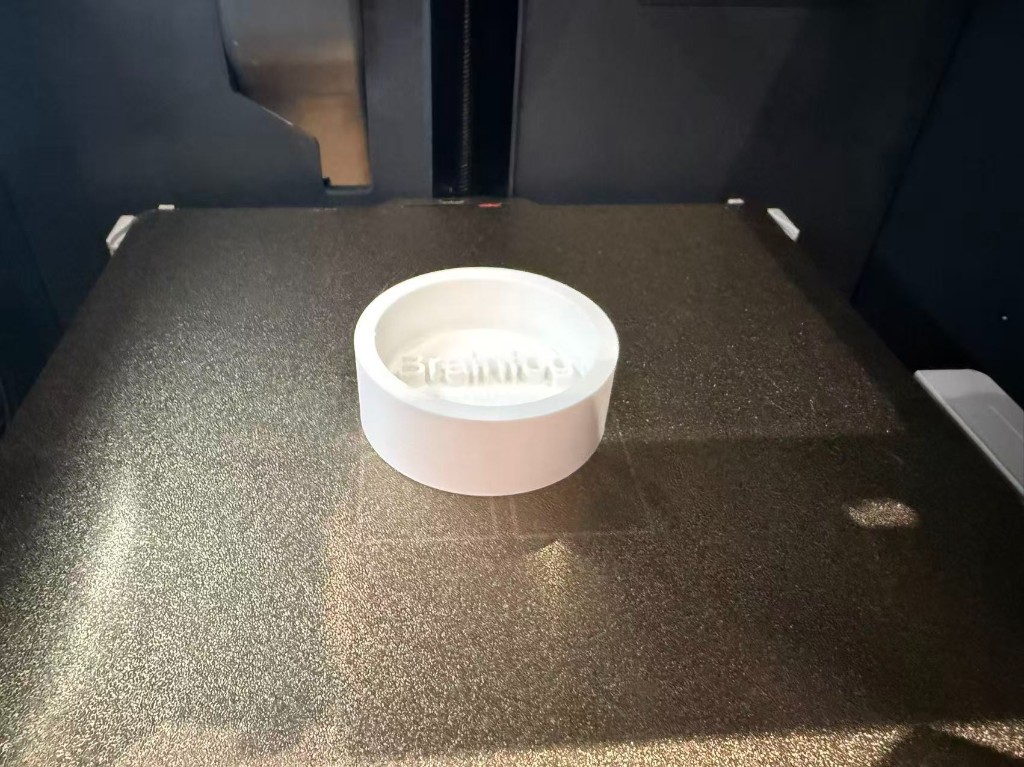
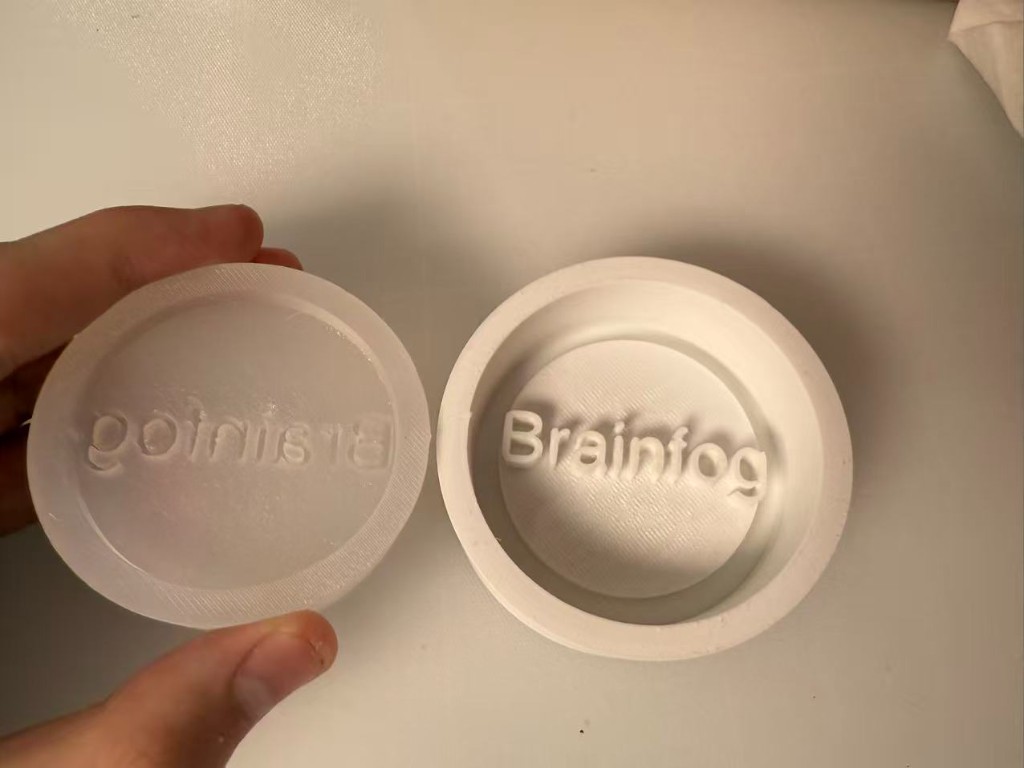
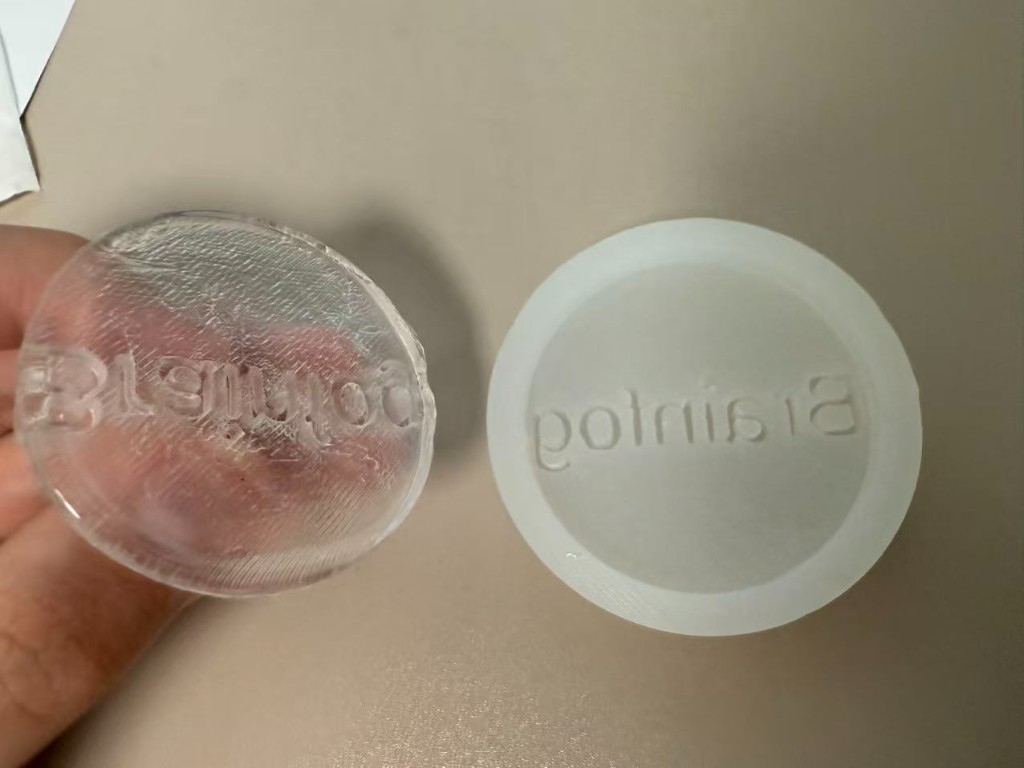
I cast a small Brainfog nameplate for my final project. The workflow is a two-step mold: 3D-print a rigid master, pour silicone inside it to get a flexible negative, then pour clear epoxy resin into that silicone to get the finished part.
| Assessment item | Where it is covered |
|---|---|
| Design a mold around your process and cast parts | CadQuery master design, 3D-printed cup master, silicone negative, resin cast. |
| Smooth surface finish without visible toolpath | 0.2 mm layer height on the logo face; silicone hides most print texture on the cast face. |
| Document mold design and machine settings | Design workflow, Bambu Studio settings table, step photos below. |
| Safe mold making and casting | Scale weighing, gloves, ventilation, release agent, bubble removal with tweezers. |
| Problems and fixes | Problems table at the end of this section. |
| Design files and hero shot | STL download; demold photo with master, silicone, and cast together. |
What I wanted to make
The part is a 48 mm circular badge with raised "Brainfog" text. I tied it to the final project branding instead of making a random test shape. The geometry is simple on purpose: one open cup, no side undercuts, so the silicone pad can peel out without a multi-piece mold.
Master design
I modeled the master in CadQuery: a flat block with a recessed
circular basin and mirrored text cut into the floor. The text is mirrored on X so the silicone
copy, and later the resin copy, read forward. I exported brainfog.stl and sliced
it in Bambu Studio on the lab X1C.
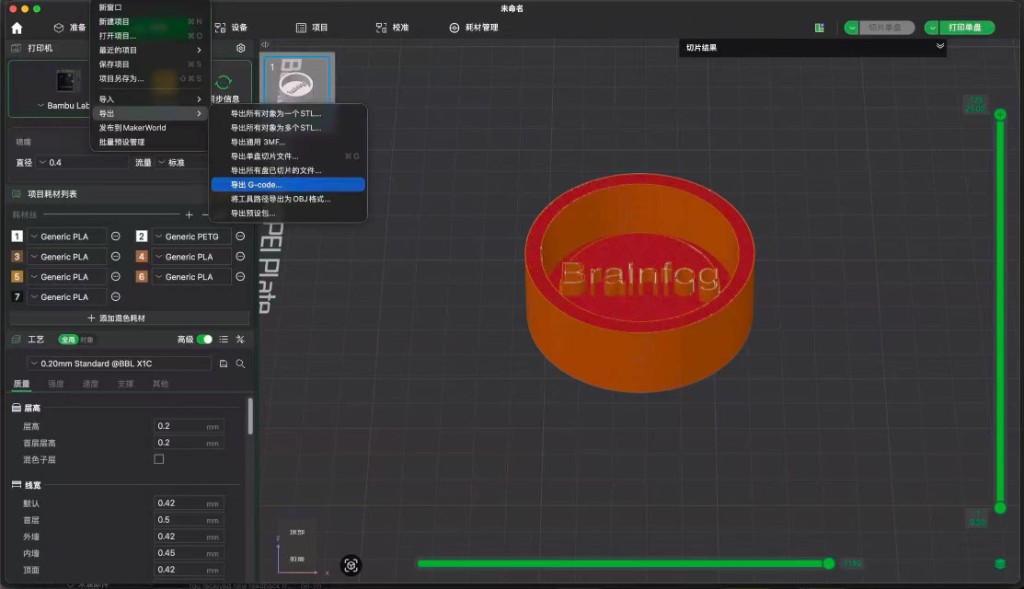
| Setting | Value |
|---|---|
| Printer | Bambu Lab X1C |
| Plate | Textured PEI |
| Profile | 0.20 mm Standard @BBL X1C |
| Material | PLA |
| Nozzle | 0.4 mm |
Silicone negative mold
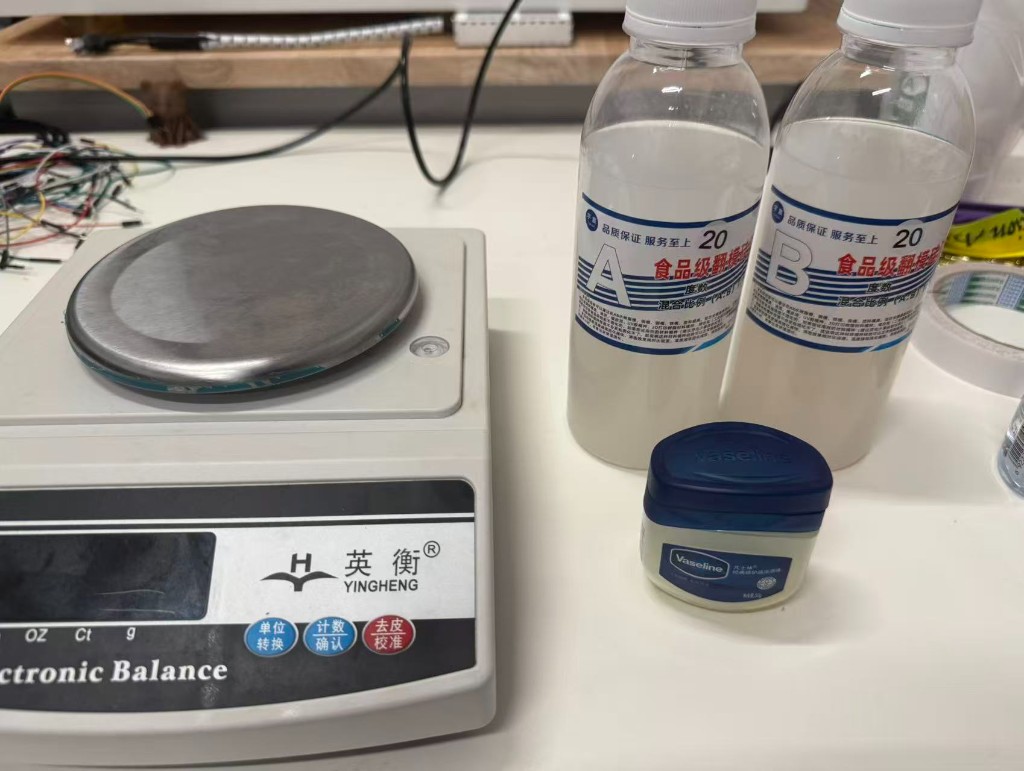
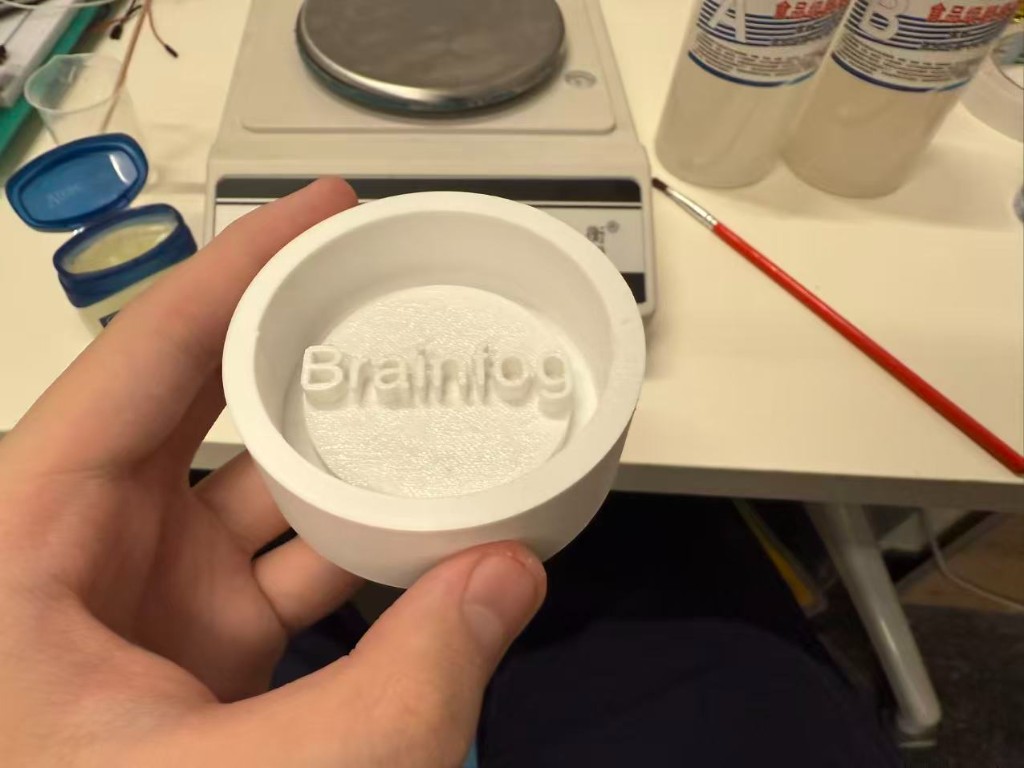
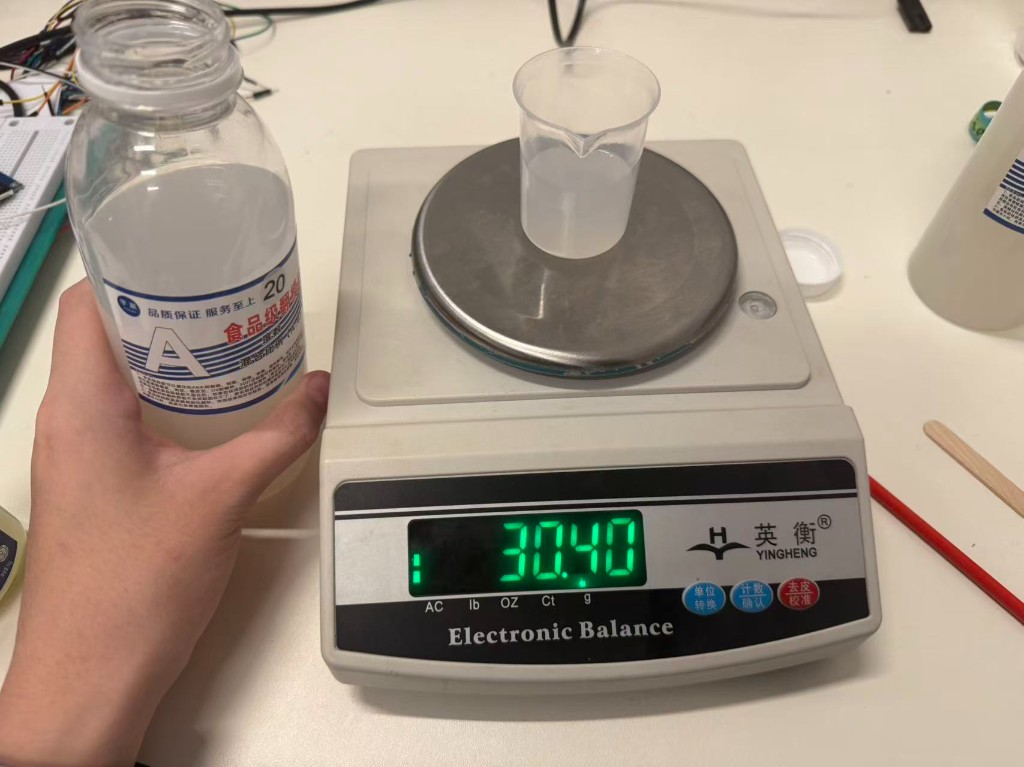
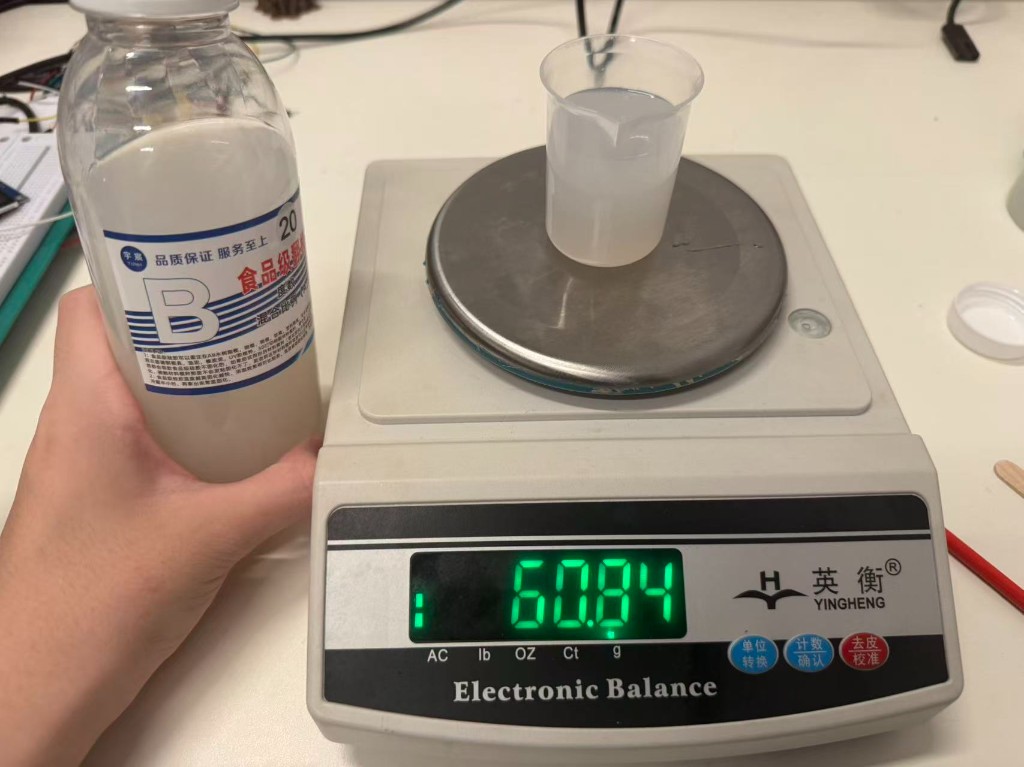
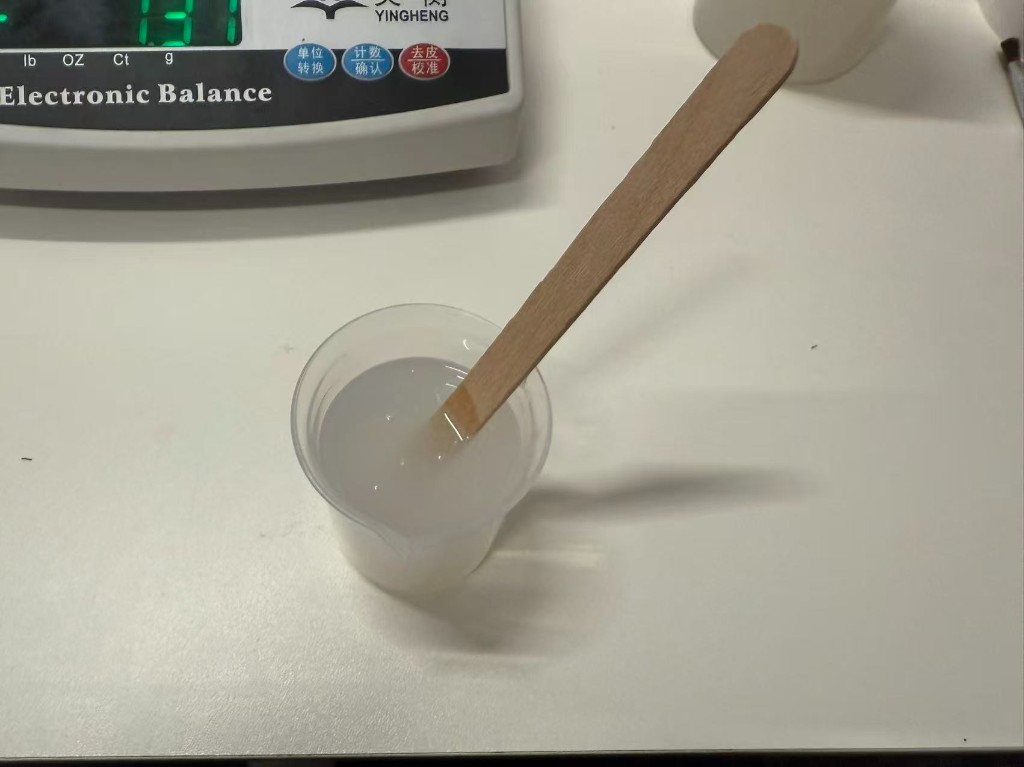
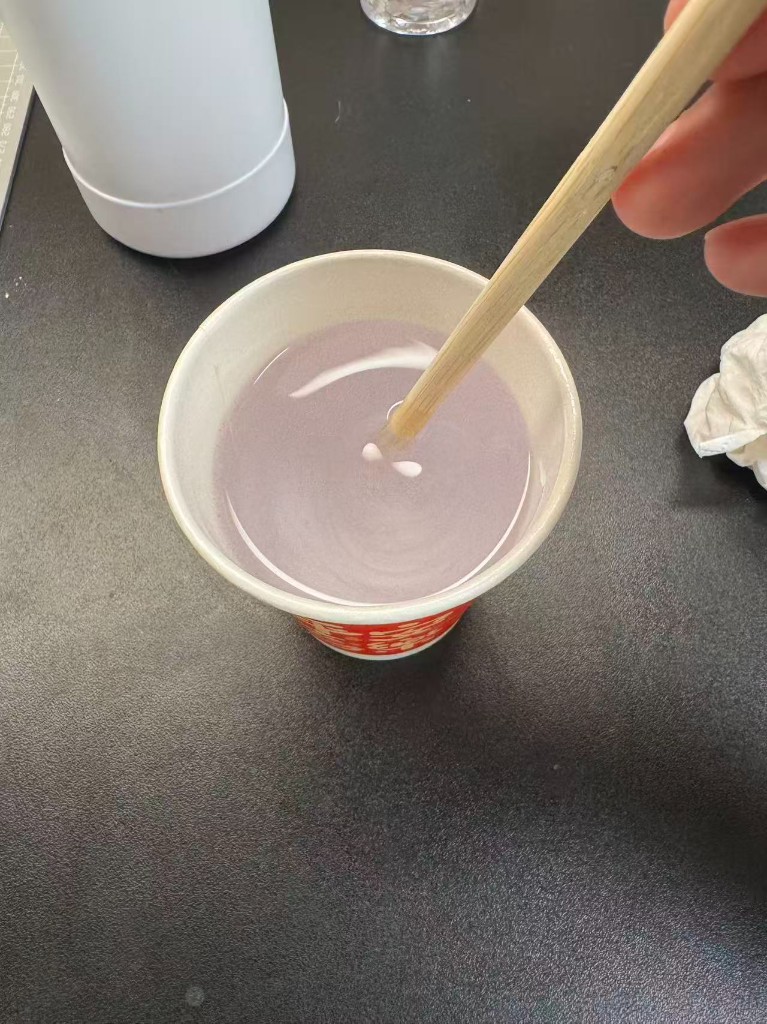
I used food-grade addition silicone (Shore 20, parts A and B). The label calls for a 1:1 weight ratio. I weighed both parts on a digital scale, mixed in one direction with a wooden stick, and kept the working time short once A and B touched.
| Material | Mix ratio (by weight) | Notes |
|---|---|---|
| Silicone A + B | 1 : 1 | Match weights on the scale; do not guess by volume. |
Resin cast
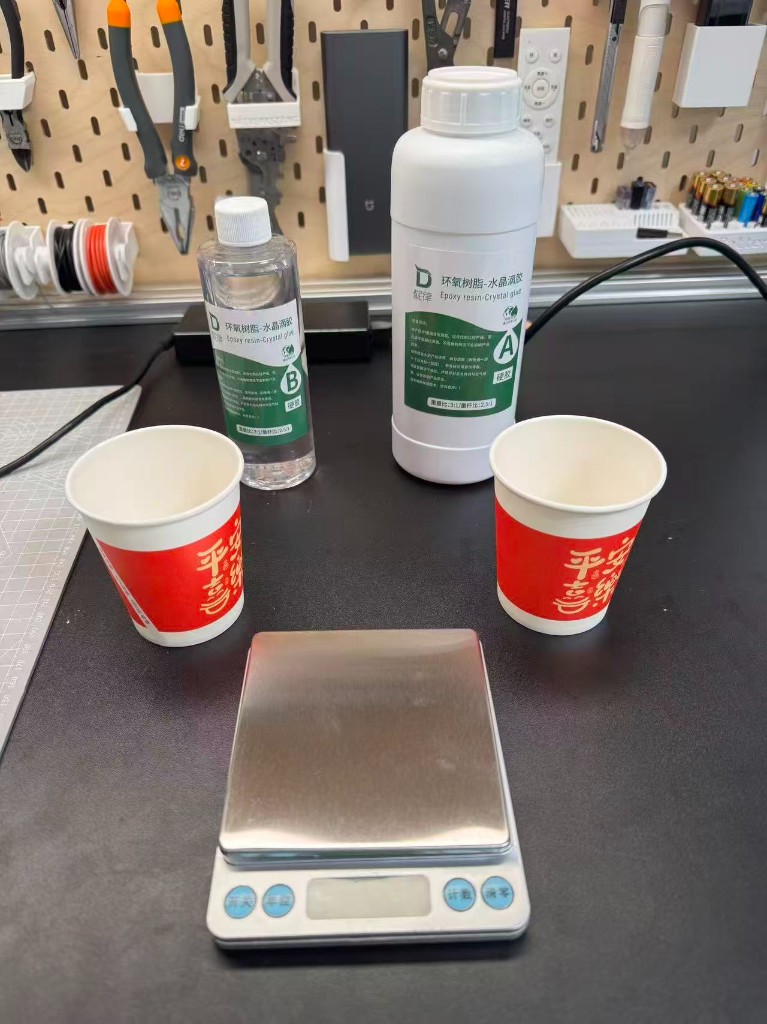
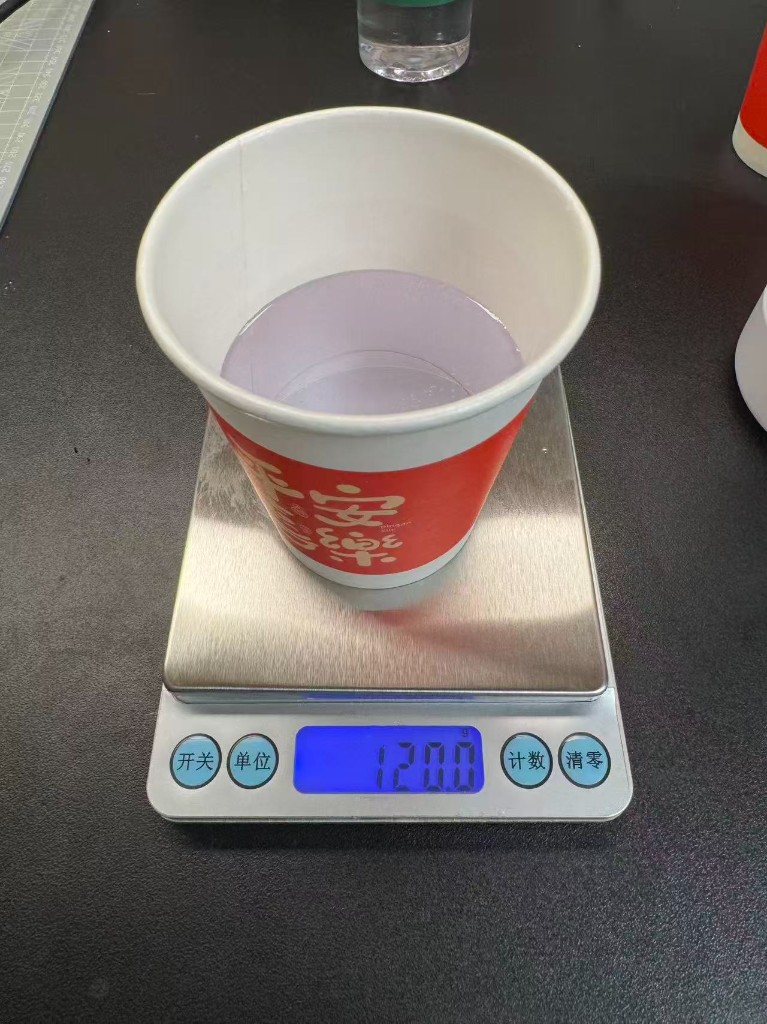
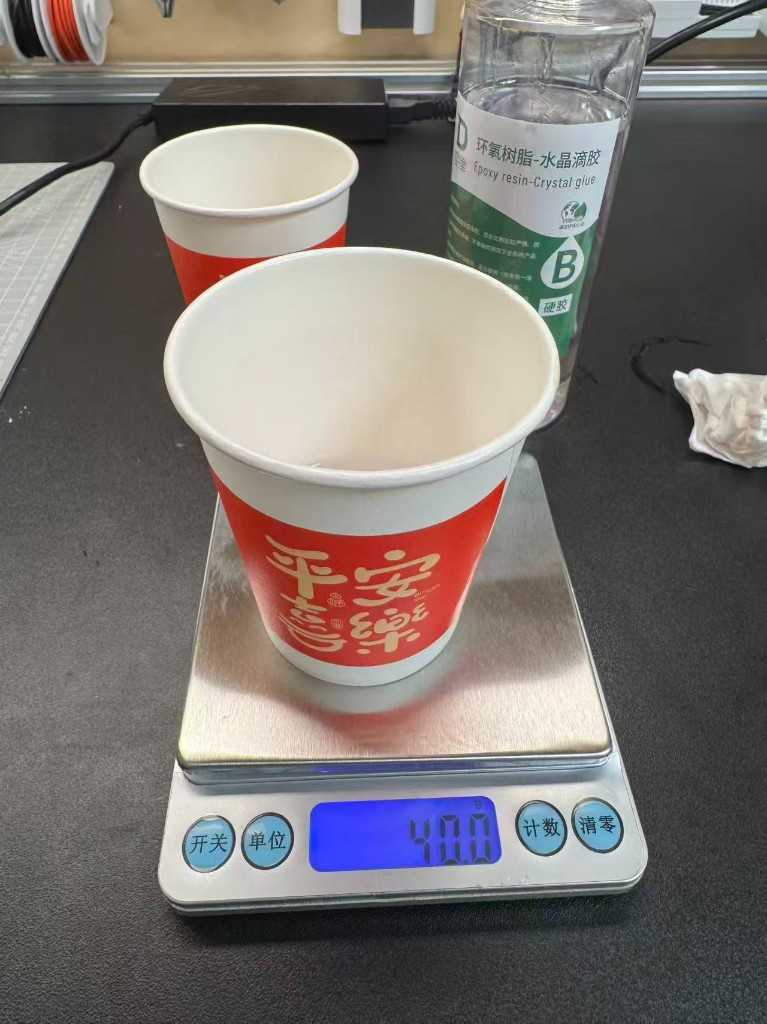
For the final part I used two-part crystal epoxy (hard glue A/B). The bottle label specifies 3:1 by weight (A : B). I poured 120 g of A and 40 g of B in one run so the ratio stayed exact, stirred until the streaks disappeared, then poured slowly into the silicone mold.
| Material | Mix ratio (by weight) | Example batch |
|---|---|---|
| Epoxy A : B | 3 : 1 | 120 g A + 40 g B |
Demolded resin cast
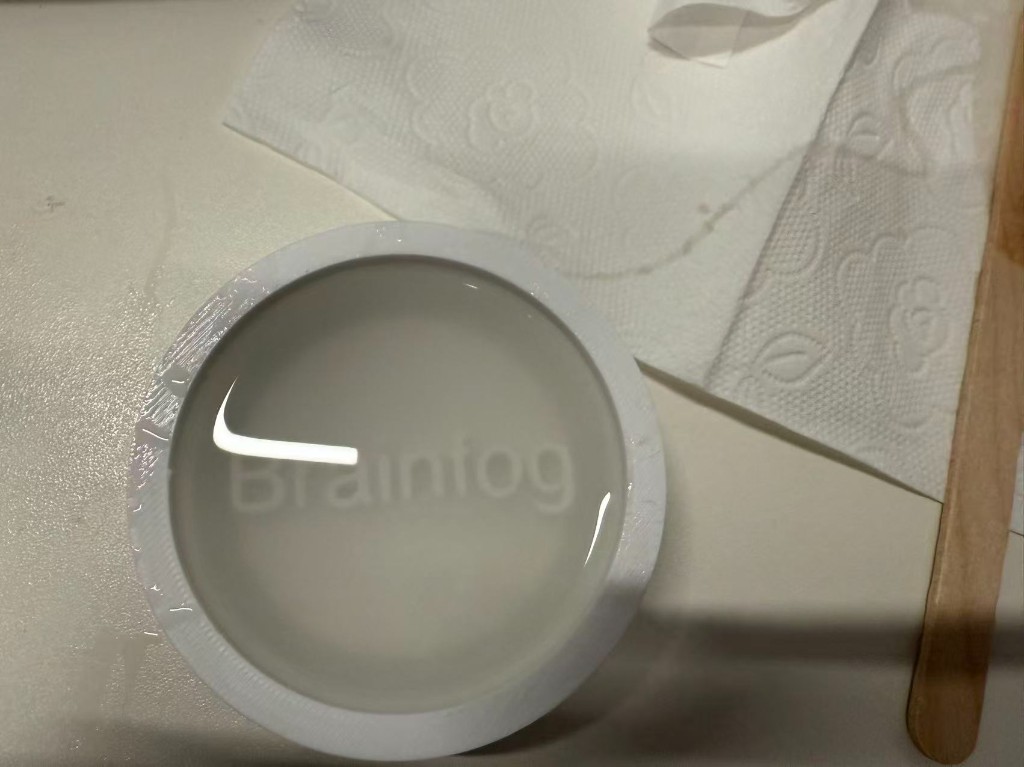
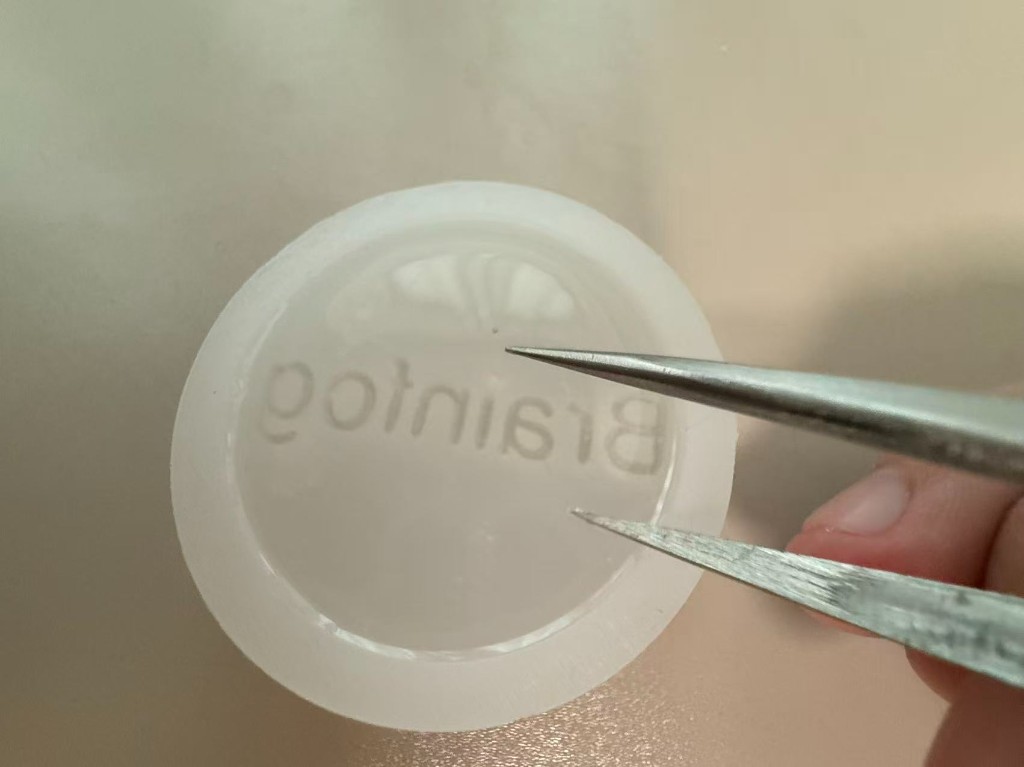
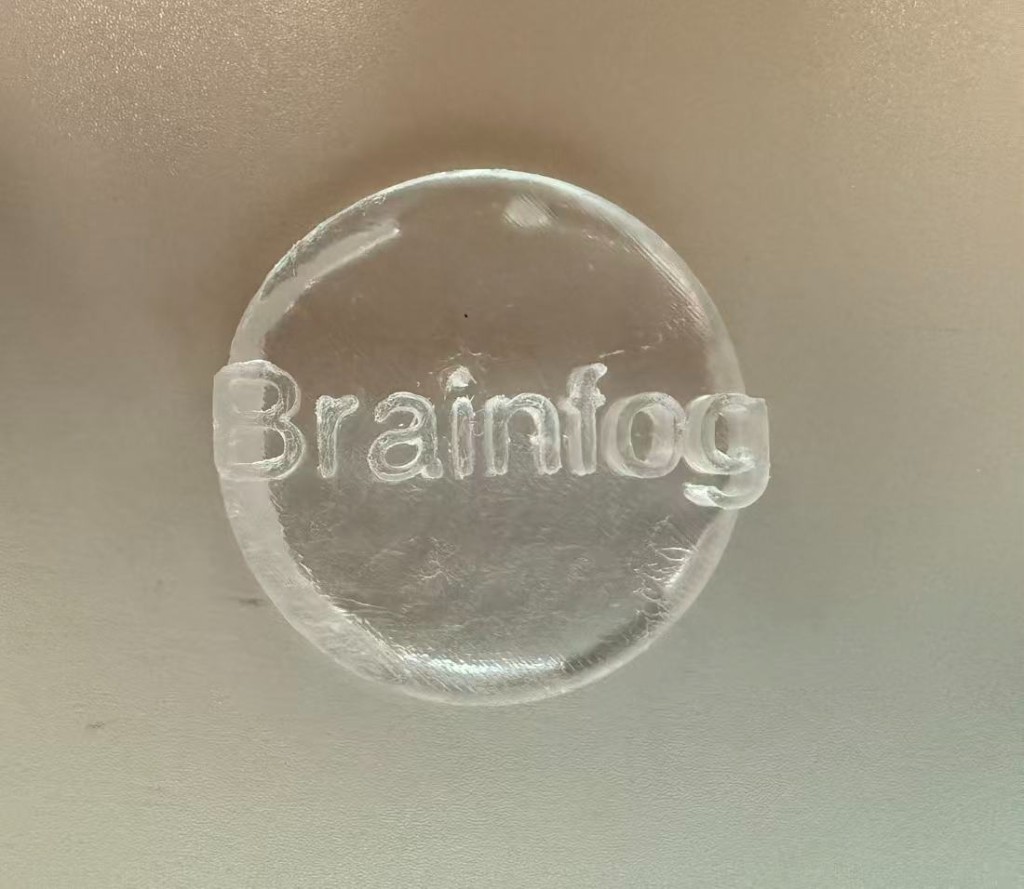
After the epoxy fully cured, I peeled the flexible silicone negative off the part. The text came out readable on the resin disc, and the silicone mold stayed intact for another pour if I need one.
What I learned from group work
The group silicone comparison (HongDa vs ShinBon) and the AB-resin safety review changed how I ran my individual pour. I weighed both silicone and resin instead of guessing, kept gloves on for the whole mix-and-pour window, and did a small test mindset even on a single badge: check ratio, mix time, then pour. Viscosity differences between silicone brands would have changed bubble retention; I picked the food-grade A/B pair we had tested in group and stuck to the labelled ratios.
Problems and fixes
| Problem | What I did |
|---|---|
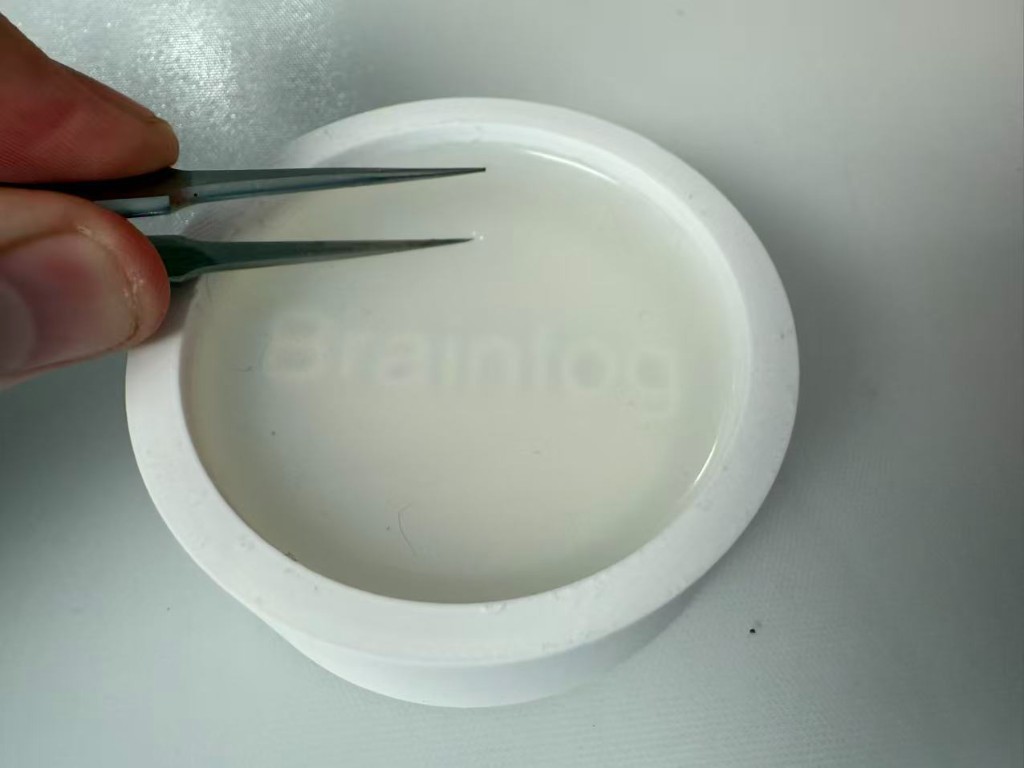
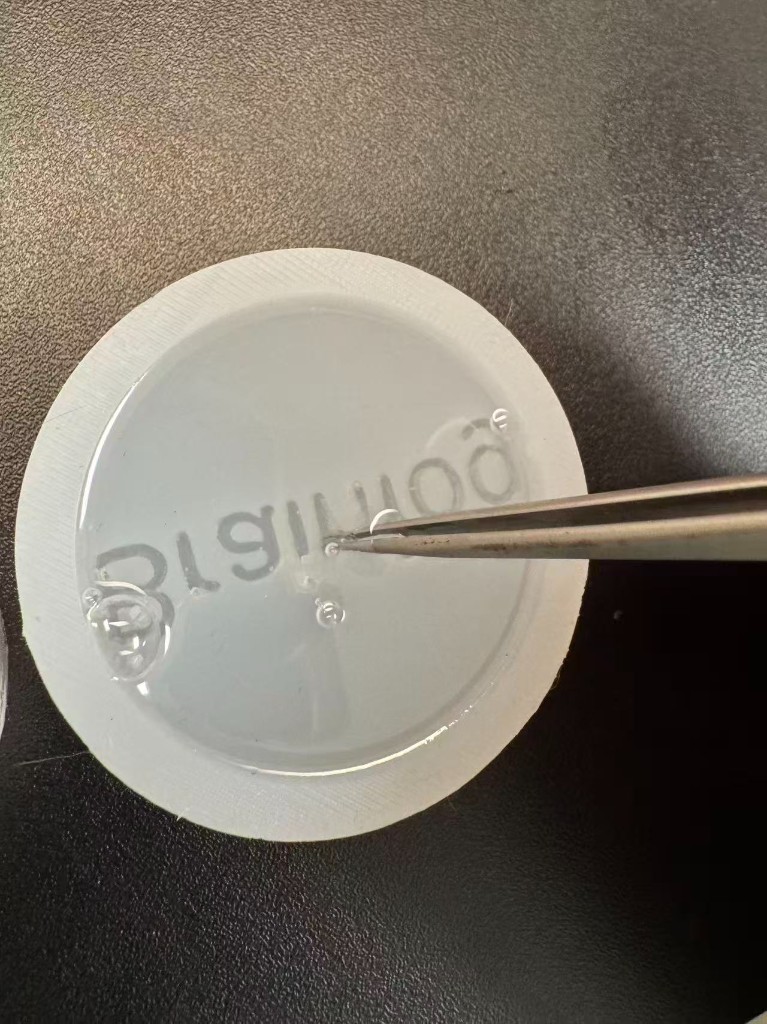
| Small bubbles on the silicone surface after pour | Waited until the mix was slightly thicker, then popped bubbles with tweezers before full cure. |
| Layer lines on the PLA cup wall | Accepted on the non-cosmetic outer wall; the logo floor is the mating surface and copied cleanly into silicone. |
| Silicone sticking to PLA | Brushed Vaseline on the master before the first pour. |
| Resin bubbles in the final cast | Slow pour, same tweezers pass on the surface, full 3:1 weight mix before pouring. |