What I did in Week 01
My work was organized into four tracks: (1) initial design workshop, final project planning, (2) Git setup and practice. (3) VSCode (4) building a personal site to document weekly progress using VSCode
- Final project: early planning, initial decisions & Design Workshop.
- Git: installation, configuration, SSH keys, and basic workflow.
- VSCode: installation, learned basic tools and structure.
- Personal site: VSCode setup and navigation structure improvements.
- Draft a plan and apply design methodologies for a potential final project.
- Publish a personal site in the class archive using VSCode (profile + final project section).
- Complete a Git tutorial and practice common commands.
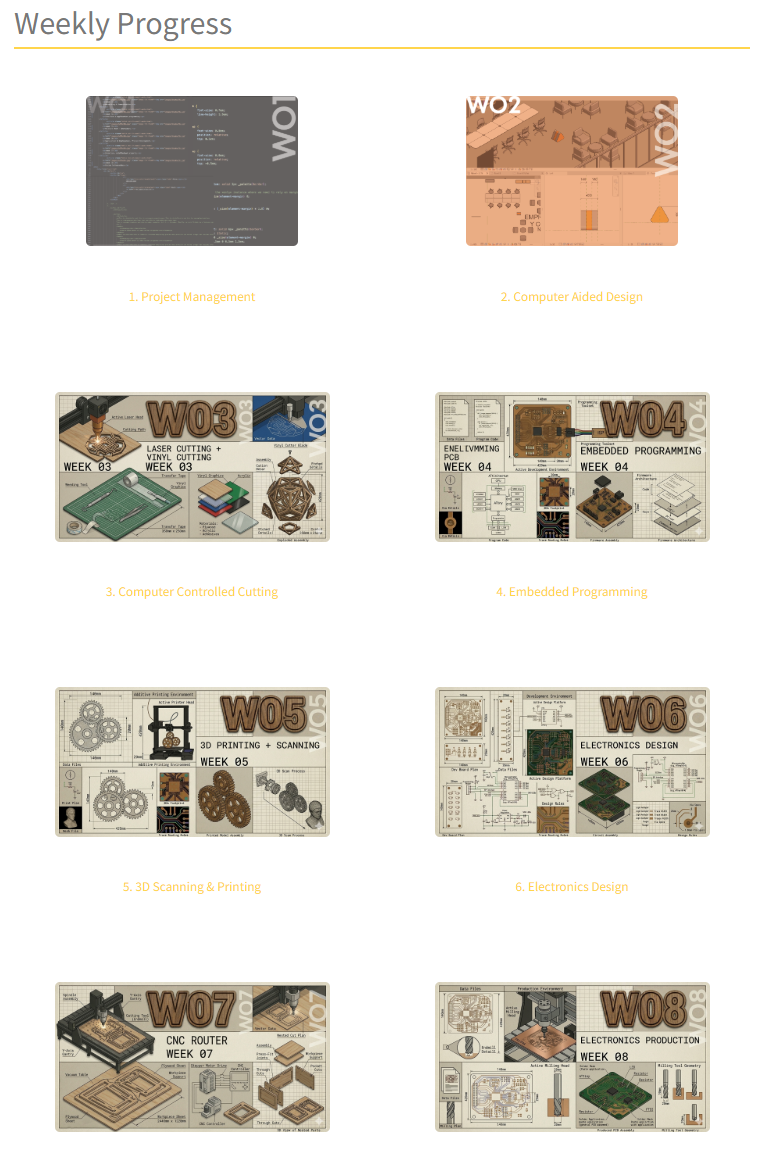
- Setting up the structure of my website to make an efficient workflow.
Student Agreement
Final Project
This section explains how my final project will be developed in terms of planning.
GitLab Set Up
This section documents the complete workflow I followed to connect my computer to GitLab using SSH. Unlike HTTPS authentication, SSH uses a cryptographic key pair — one private key stored locally and one public key registered in GitLab — so every push and pull is authenticated automatically, without entering a password each time. This setup is the foundation for a clean, reliable Git workflow throughout the entire Fab Academy program.
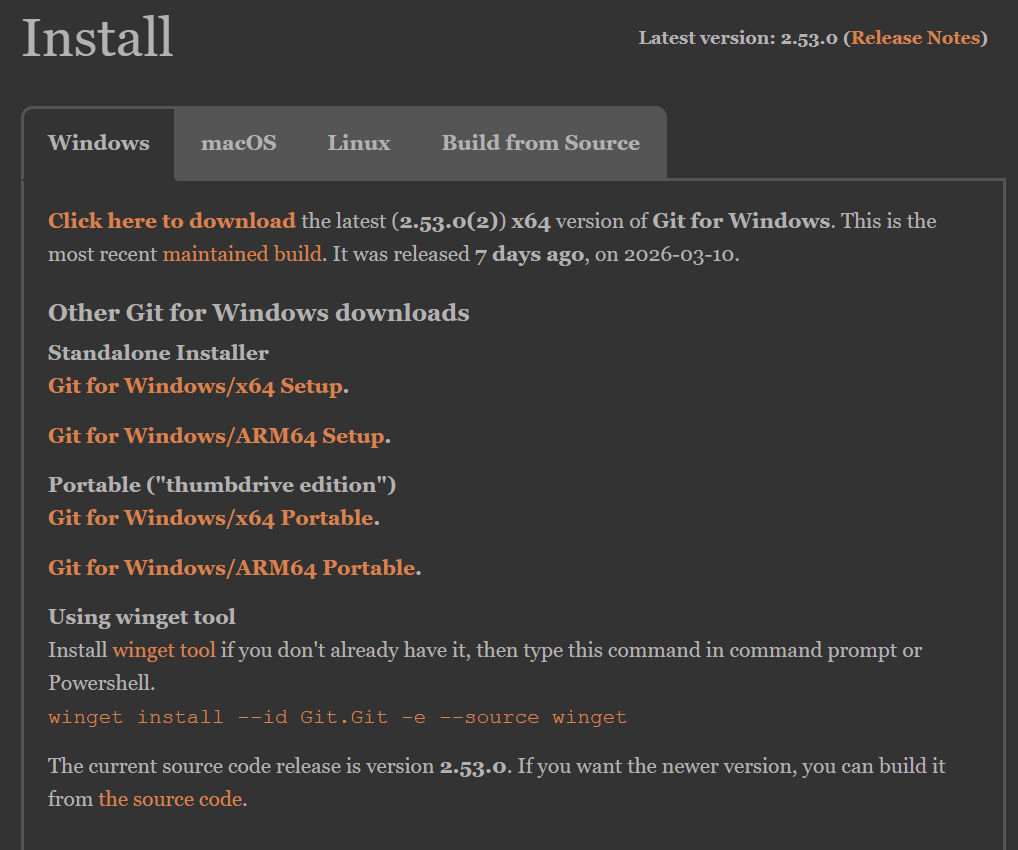
Phase 1 · Install GIT.
Before starting the process of linking to our repository, it is necessary to install Git, which is a free and easy-to-install program. It is available for Windows and macOS.
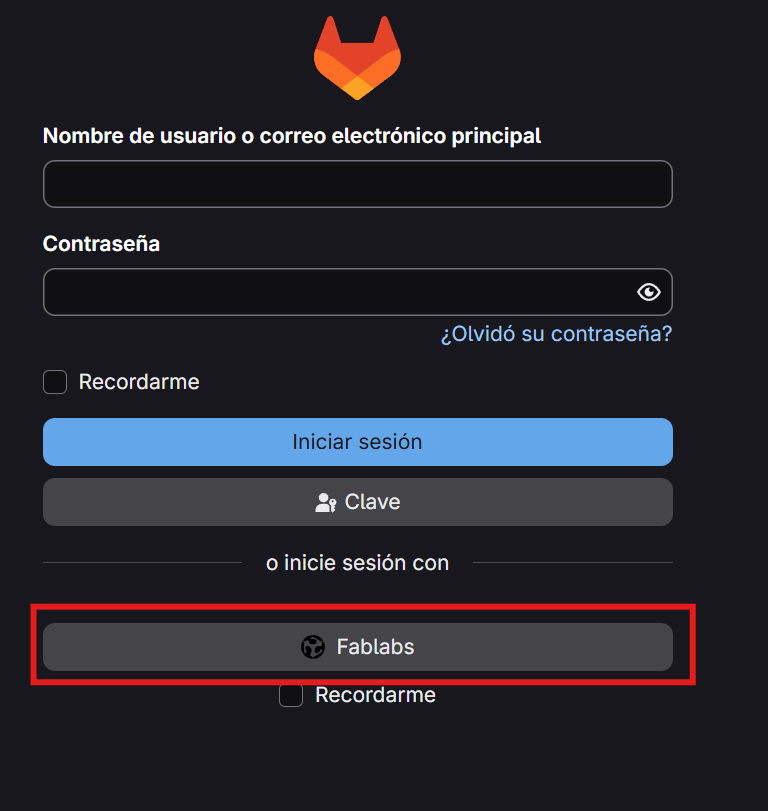
Phase 2 · Open GITlab account.
We log into our Gitlab in the Fablabs section and enter our username and password.
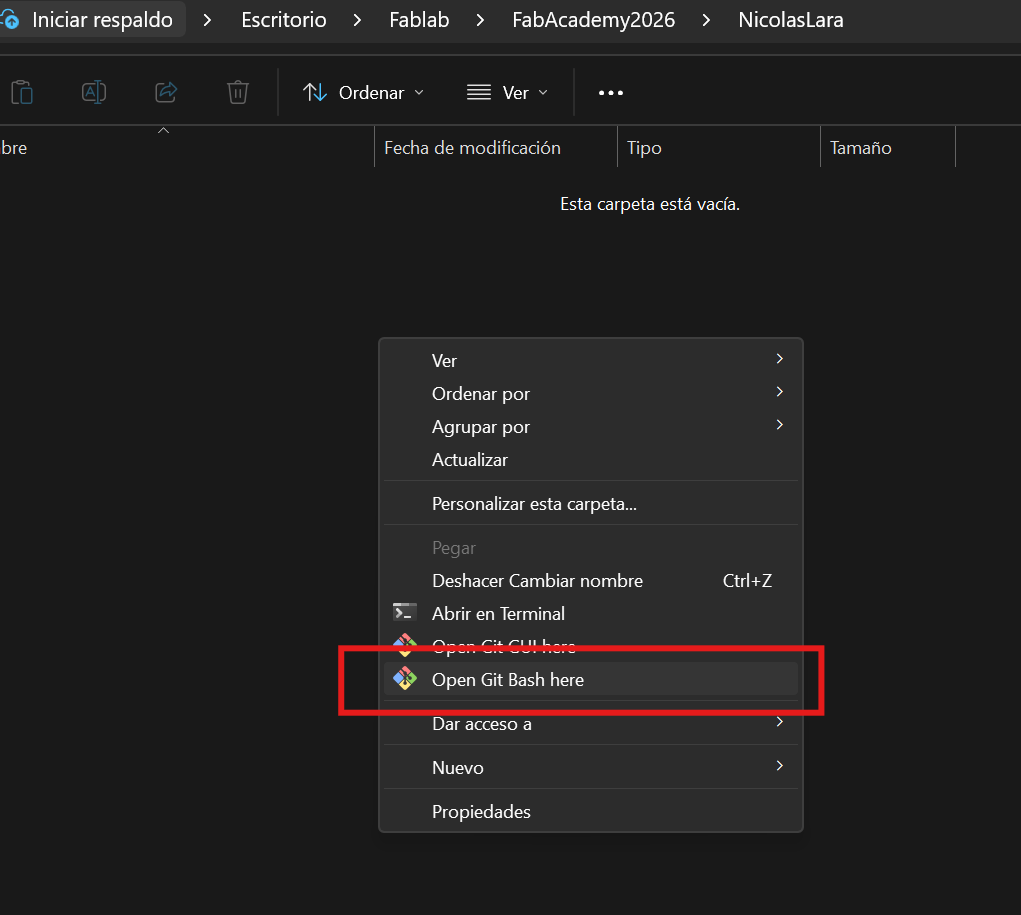
Phase 3 · Open GIT bash.
We're going to generate the SSH key to access our repository. In the folder where we're going to store our repository, open Git Bash here.
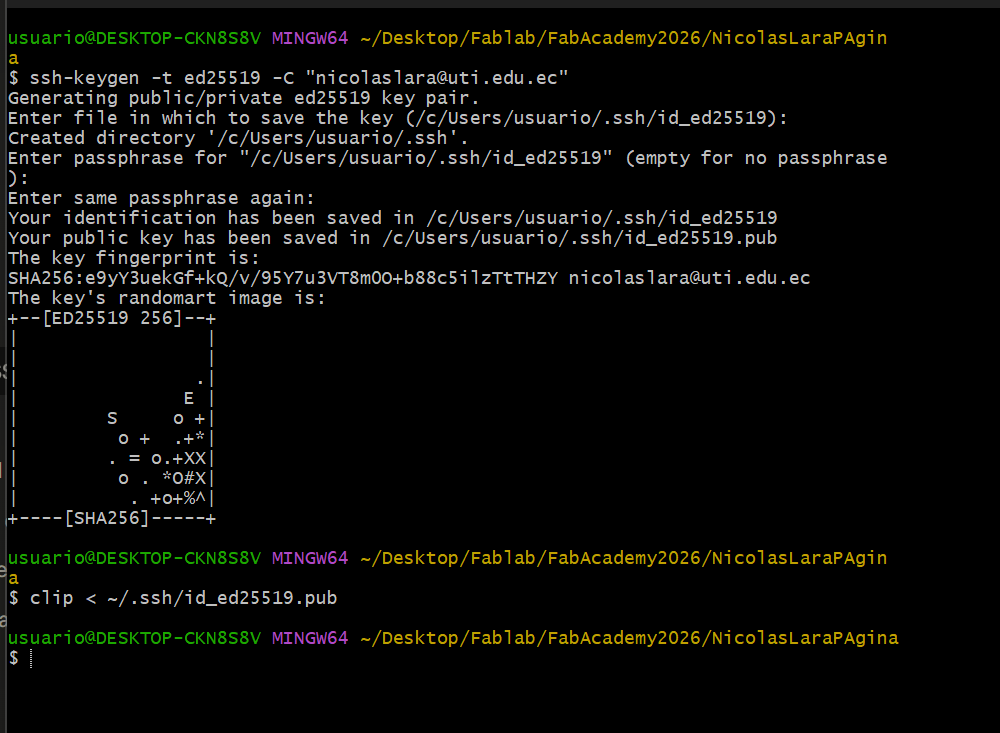
Phase 4 · Generate SSH key.
And we're going to generate the access key with the following command::
ssh-keygen -t ed25519 -C "nicolaslara@uti.edu.ec"We copy the public key with the command.
clip < ~/.ssh/id_ed25519.pub 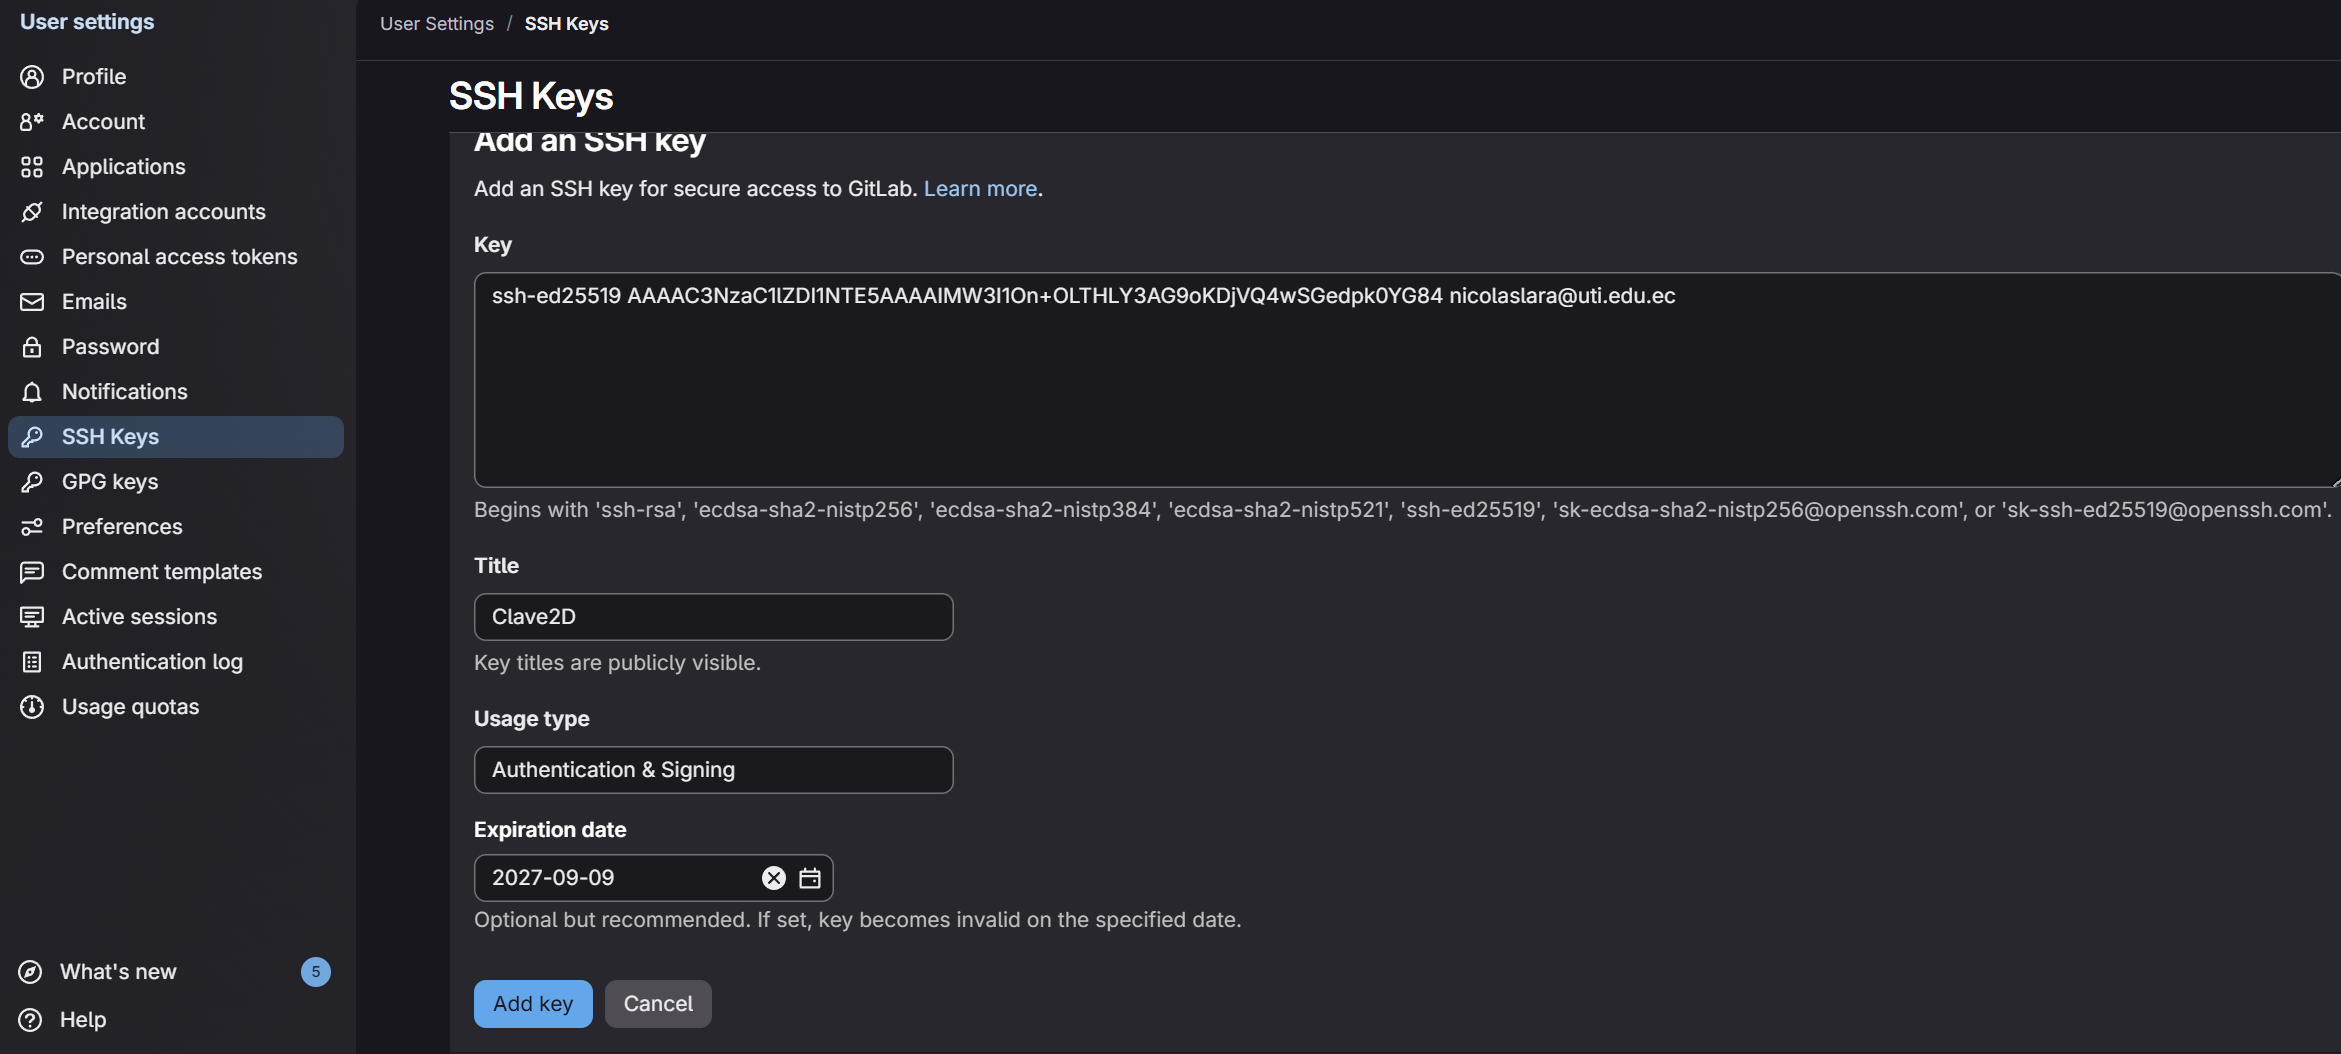
Phase 5 · Add key to GITlab.
Go to your GitLab account and add the public key in the: Preferences -> SSH Key. Create a new key and paste the public key, then enter a name and expiration date.

Phase 6 · Confirm connection.
We confirmed the connection with the command:
ssh -T git@gitlab.fabcloud.orgAnd received the following message:.
Welcome to Gitlab, @nicolaslara! 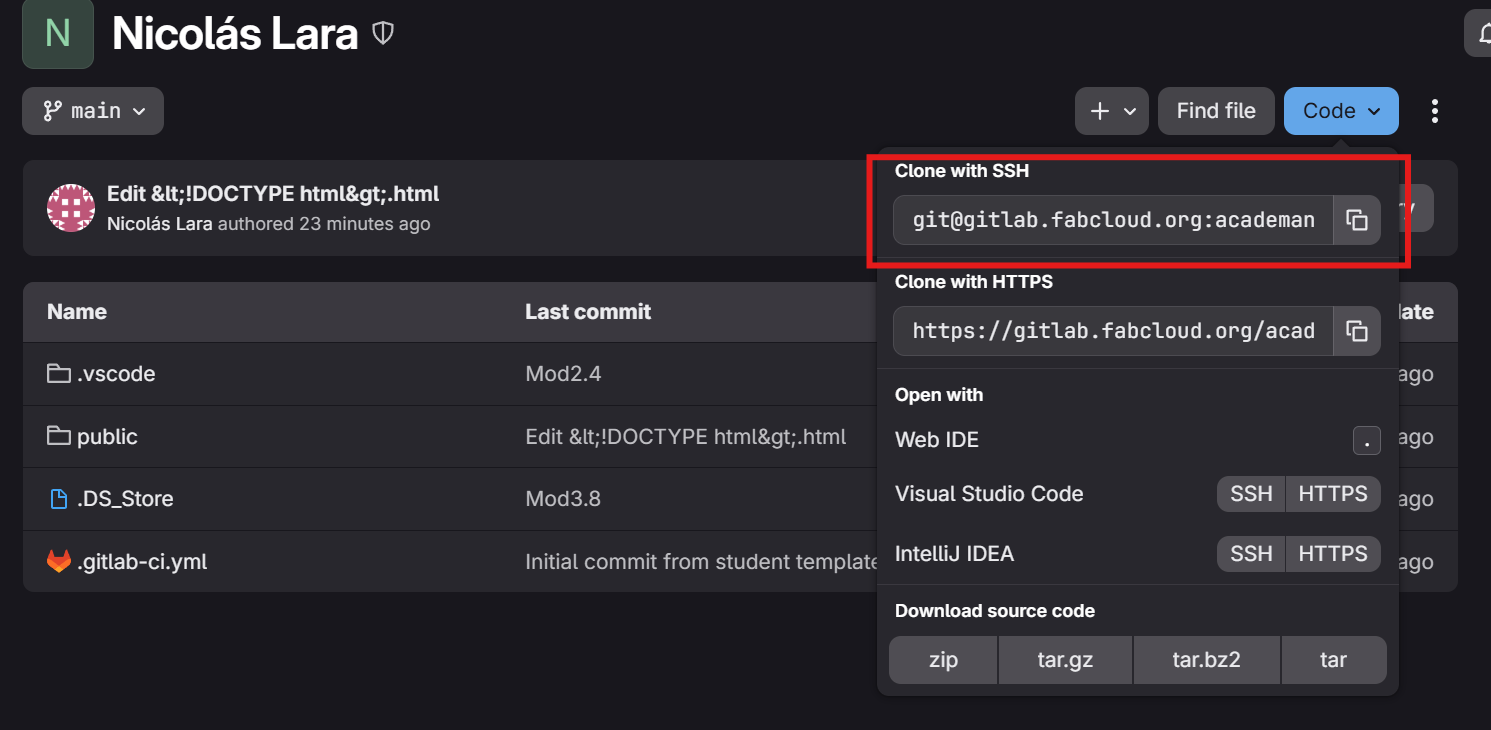
Phase 7 · Copy SSH .
Now, to clone the repository, we go to our repository and in the main folder we copy the SSH clone link.

Phase 8 · Clone .
Then in the terminal we type:
git clone (URL SSH clone). VSCode
This section explains how I set up and learned Visual Studio Code step by step, starting from the basic interface and moving through essential commands, the integrated terminal, Git integration, and a minimal extension set tailored to this documentation workflow.
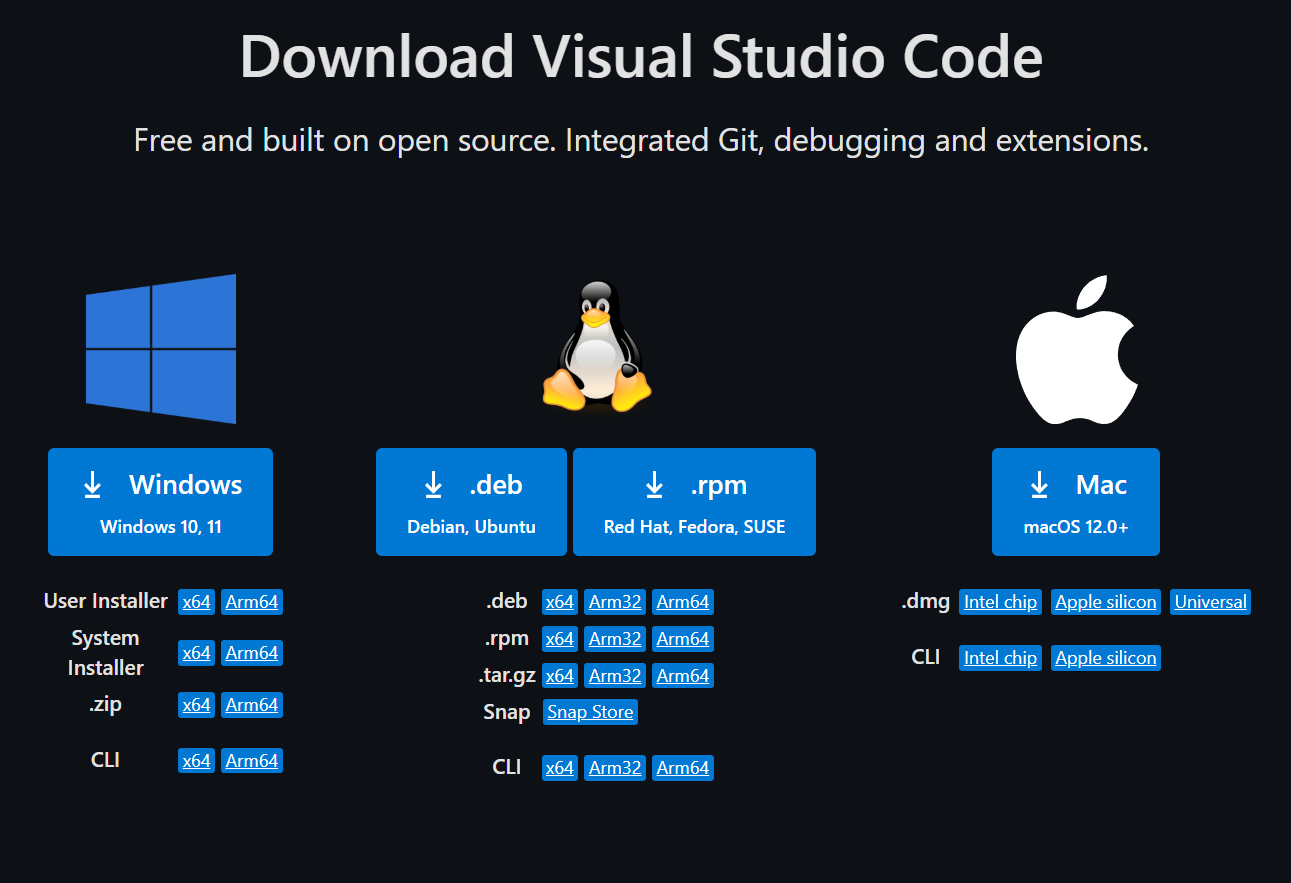
Step 1 · VSCode install.
The Visual Studio Code program is free to access and easy to install; it can be obtained for installation on Windows or iOS.
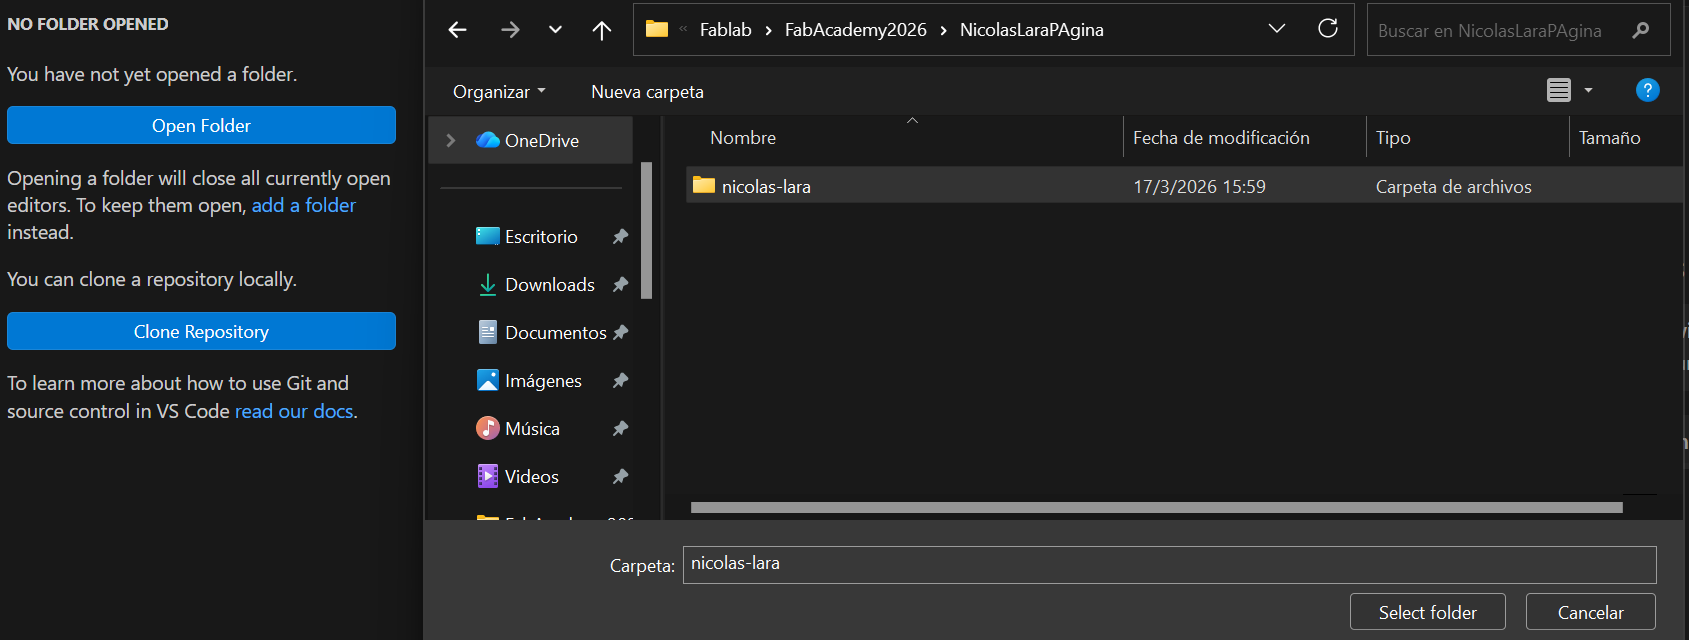
Step 2 · Open folder
TWe need to open the folder we cloned from our GITlab repository.
Step 3 · Web structure.
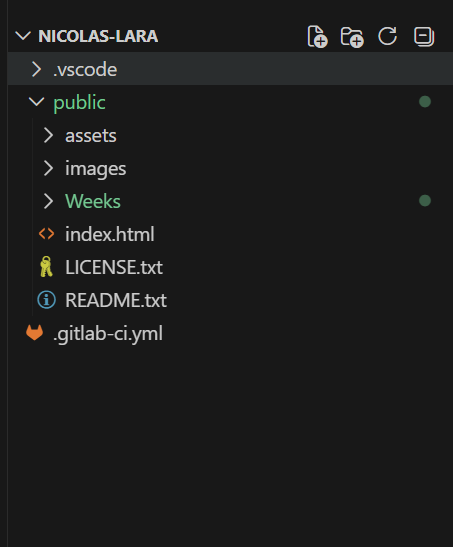
When you open the project folder, its structure will be displayed, showing all the folders and subfolders..
Step 4 ·Modify personal Web.
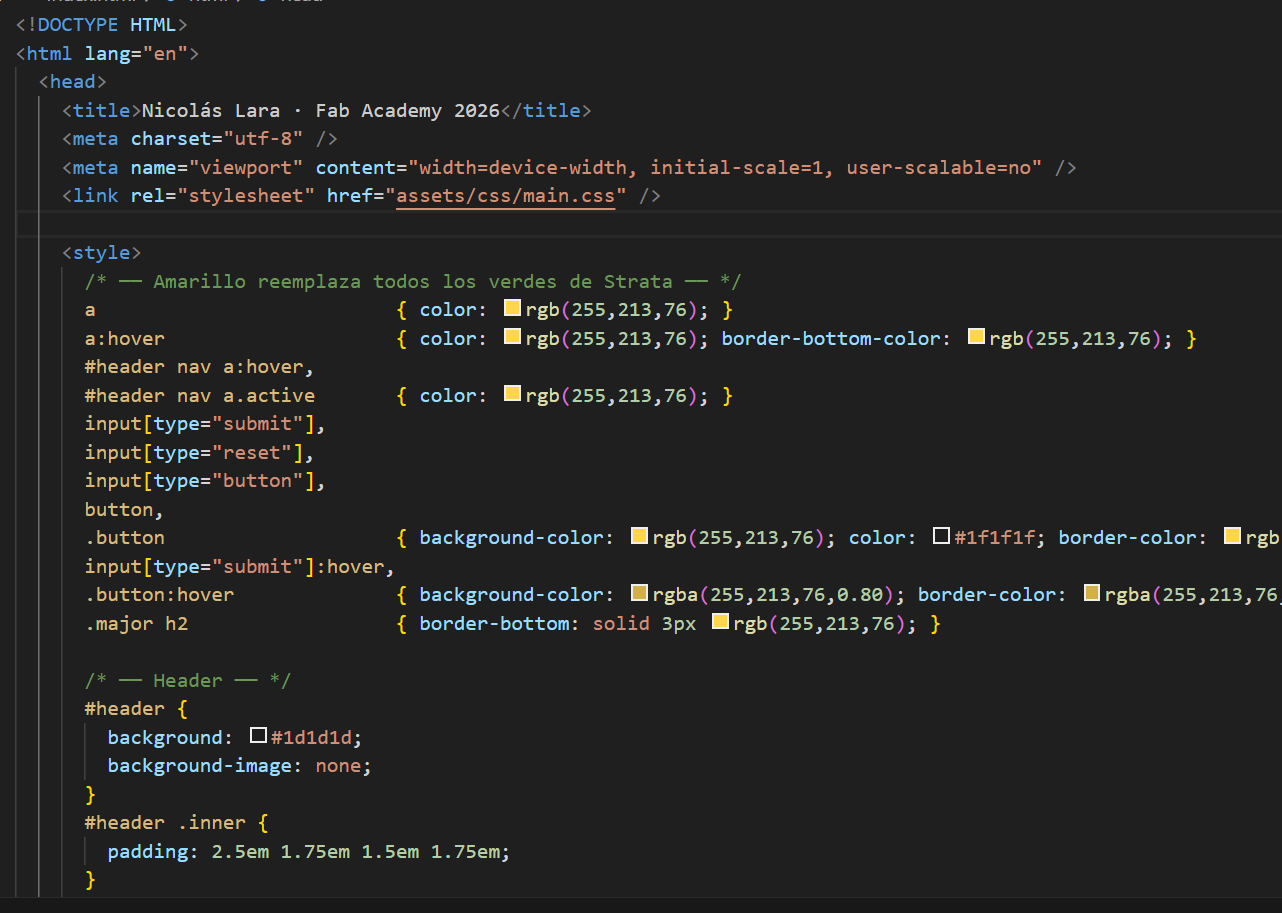
Here we can modify our personal website where we can add text, images, and other subpages. We can download a template from the internet and modify it based on our personal website.
Step 5 · Link with Gitlab.
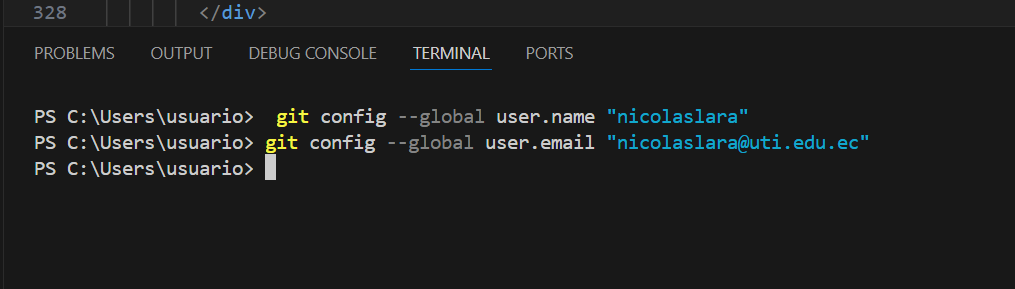
To link to Gitlab, you need to enter the following commands in the VScode terminal.
git config --global user.name "nicolaslara" git config --global user.email "nicolaslara@uti.edu.ec" 
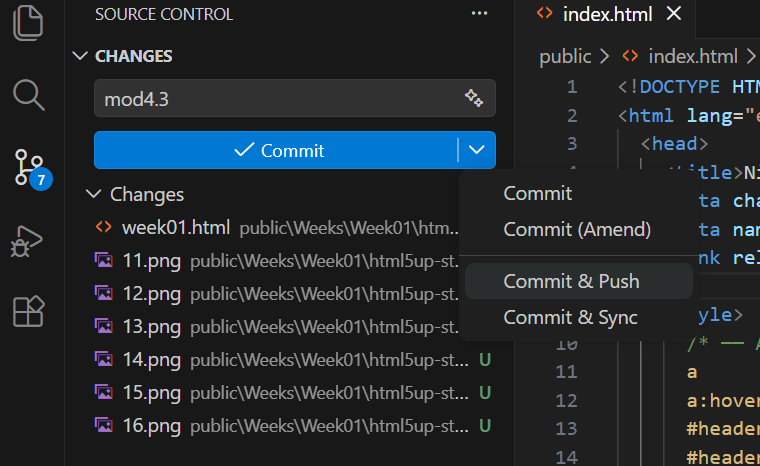
Step 6 · Commit and push.
Once we've finished making changes to our personal website, we save the changes and to upload them to the server we click commit and push.
Step 7 · GIT confirm.
In our Gitlab account we can confirm that there was an update on the personal website.
Step 8 · Personal web site.
Once we have completed all the steps described, we can view our personal website.
CODES
In this section I will show some of the most commonly used codes in VScode.
Bold type
<strong>texto</strong>
Italics
<em>texto</em>
code
<code>texto</code>
Underlined
<ins>texto</ins>
line break
<br>
Title
<h1>texto</h1>
Design Workshop
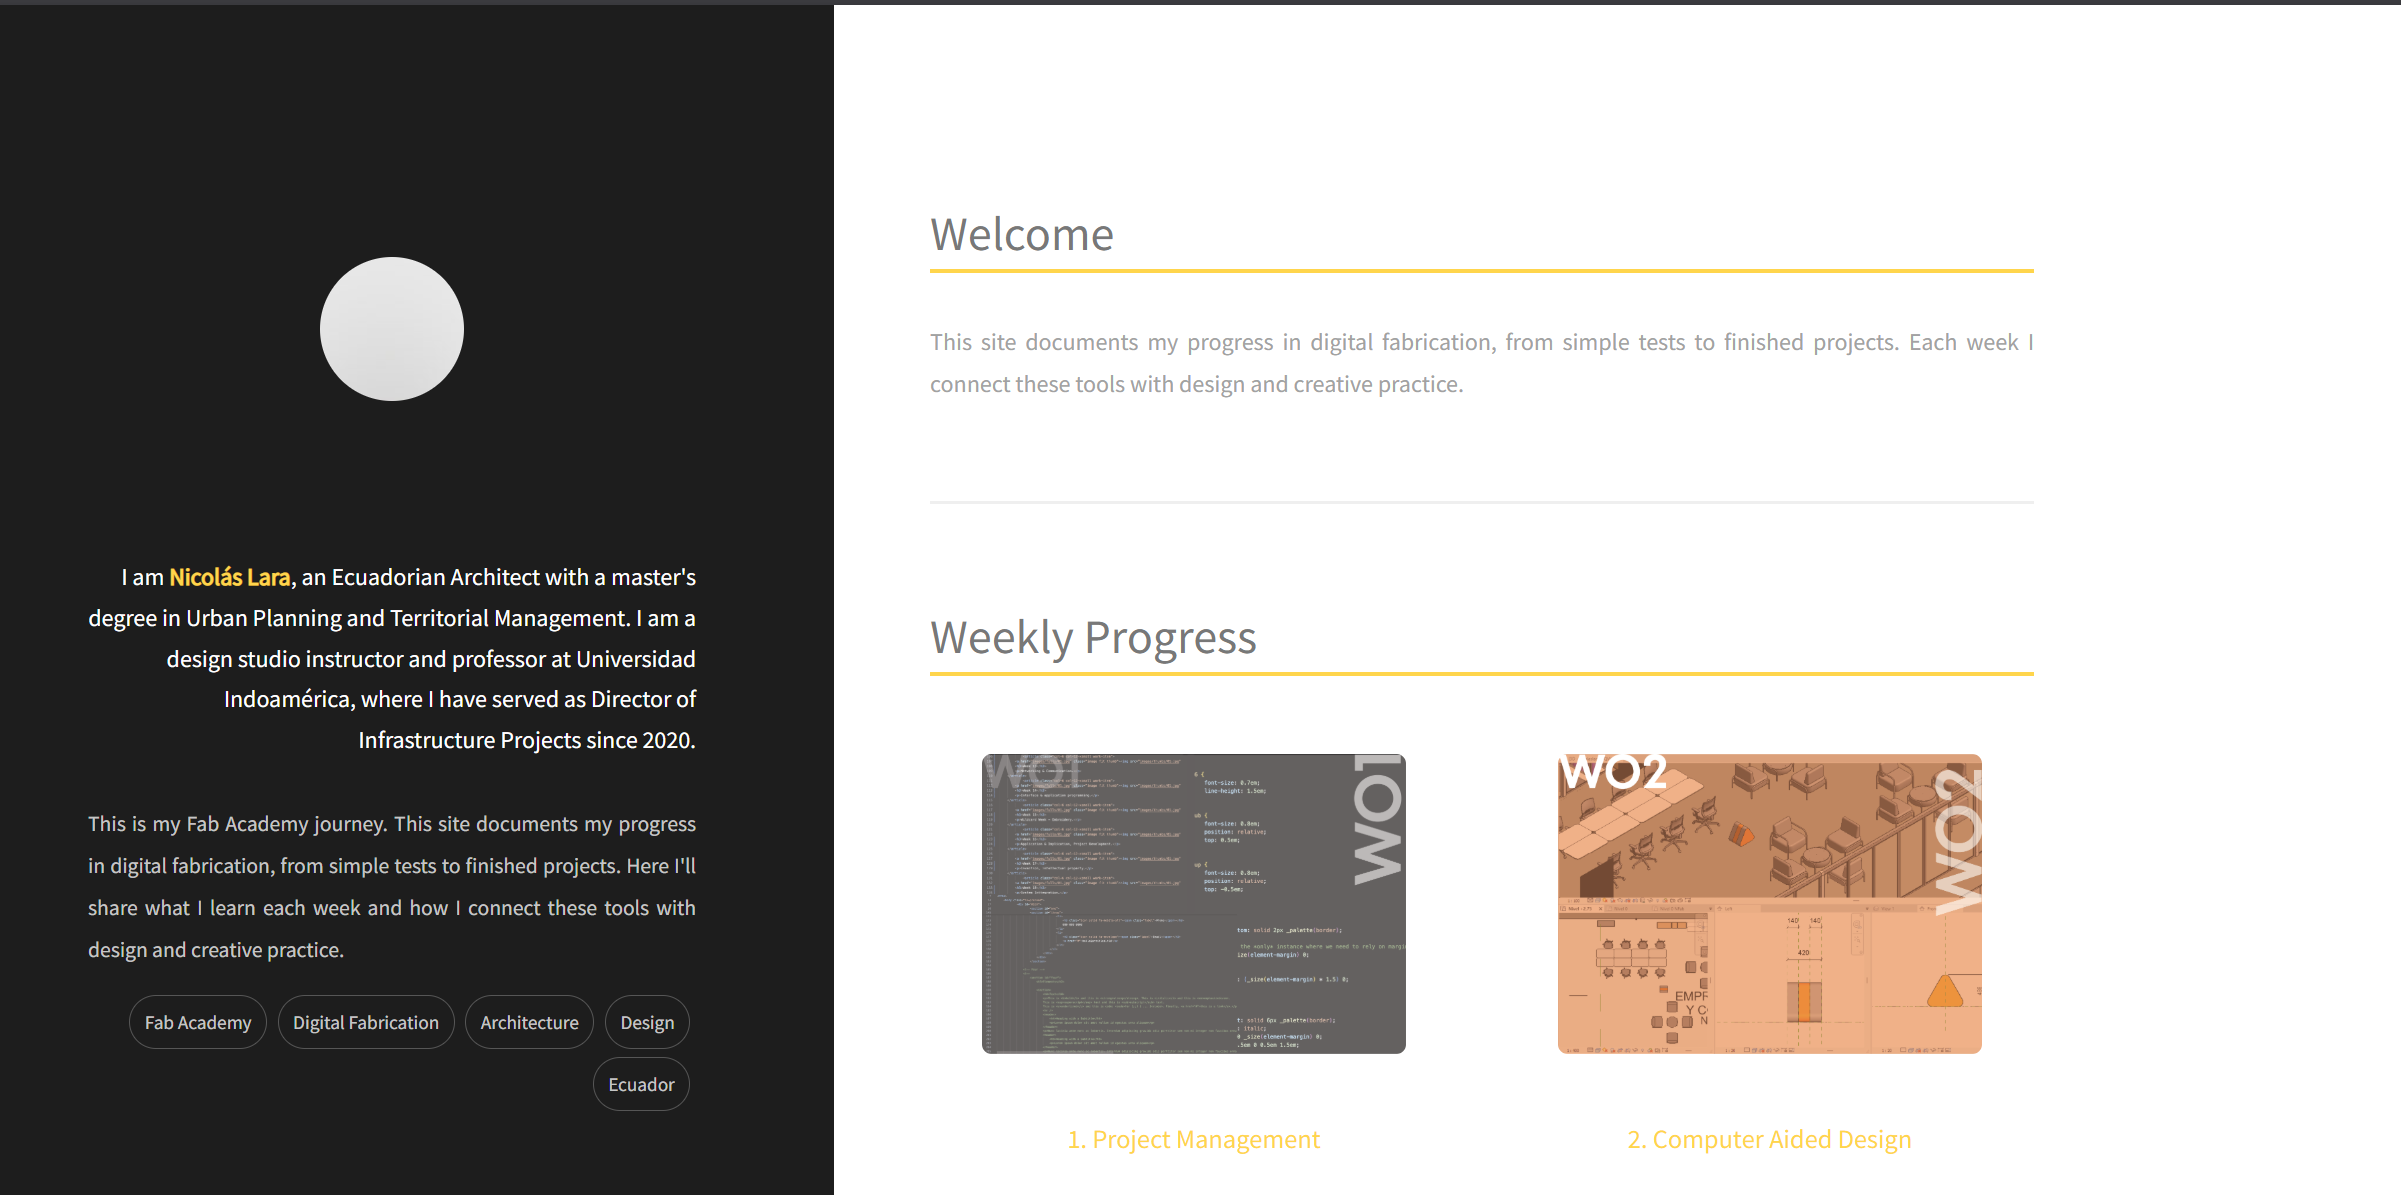
Early design workshop for the documentation site and final project — defining visual language, navigation structure, and a sustainable content workflow. To create my website, I used a template that I downloaded from https://html5up.net/. This site has a large number of website designs, and I chose this template because I really liked its design and it's perfect for organizing all my Fab Academy information.
Information hierarchy.
Mapped the main sections — weekly assignments, final project, references, gallery — and defined how they relate to each other.

Visual consistency.
Adjusted typography, spacing, and color accents so screenshots, diagrams, and text blocks feel coherent from week to week.
Content workflow.
Tested export times, caption writing, and linking to detail pages to estimate weekly documentation effort.
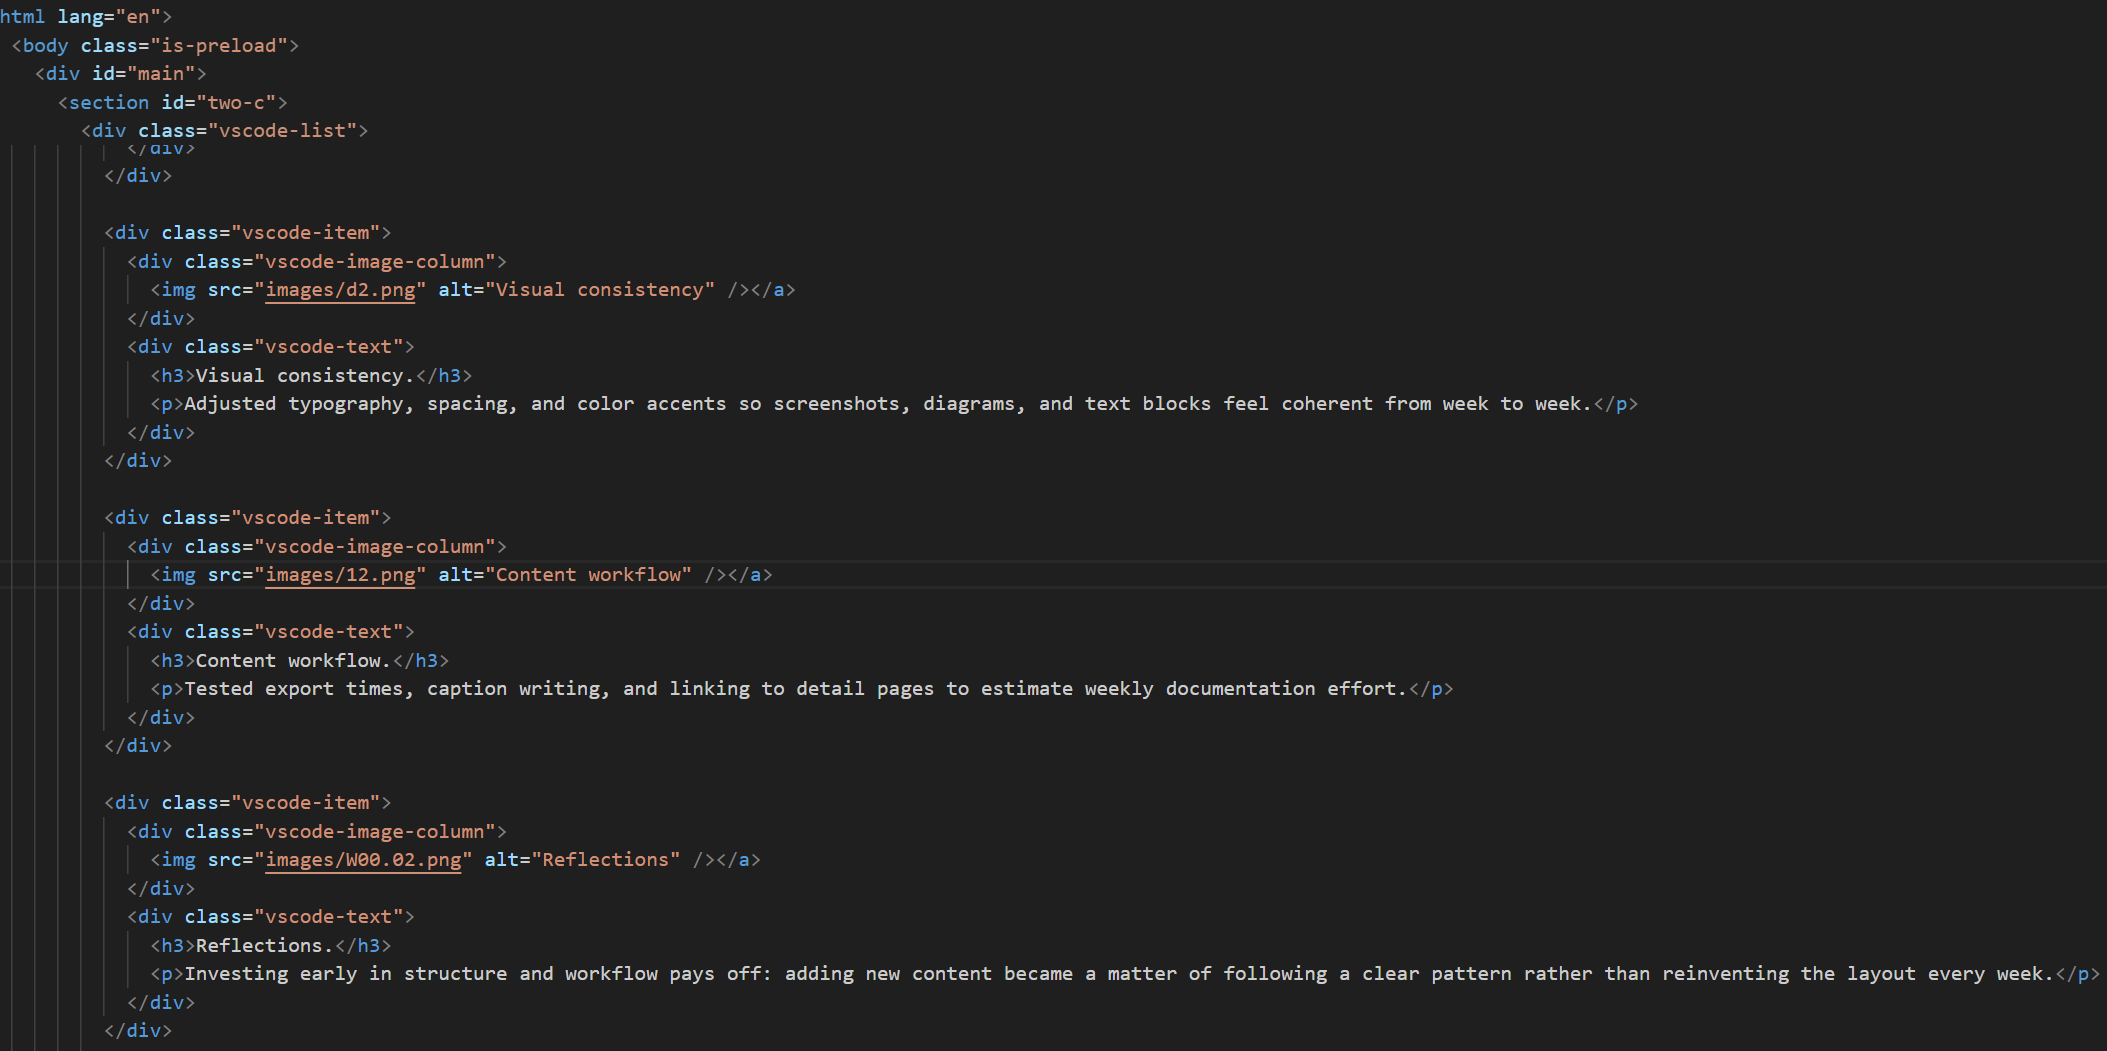
Reflections.
Investing early in structure and workflow pays off: adding new content became a matter of following a clear pattern rather than reinventing the layout every week.
Conclusions
This week helped me understand the need for a proper documentation system, where it's essential to have all the information organized, including text, images, and files. Creating the website allowed me to acquire knowledge of HTML and GitLab. Planning the final project gave me a clearer idea of what I want to achieve by the end of Fab Academy. The biggest challenge this first week was how to publish and update the website; however, having overcome these difficulties, it's now easy for me.