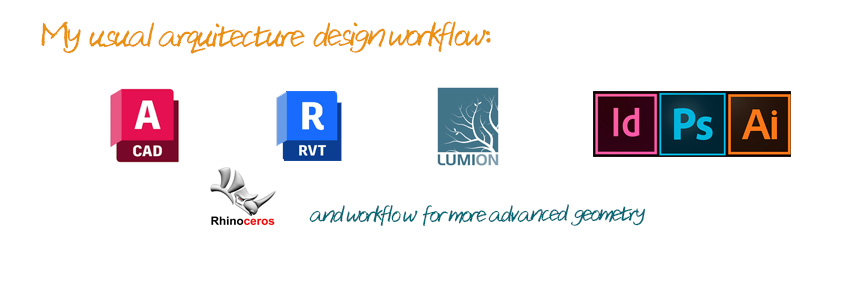
Rhinoceros
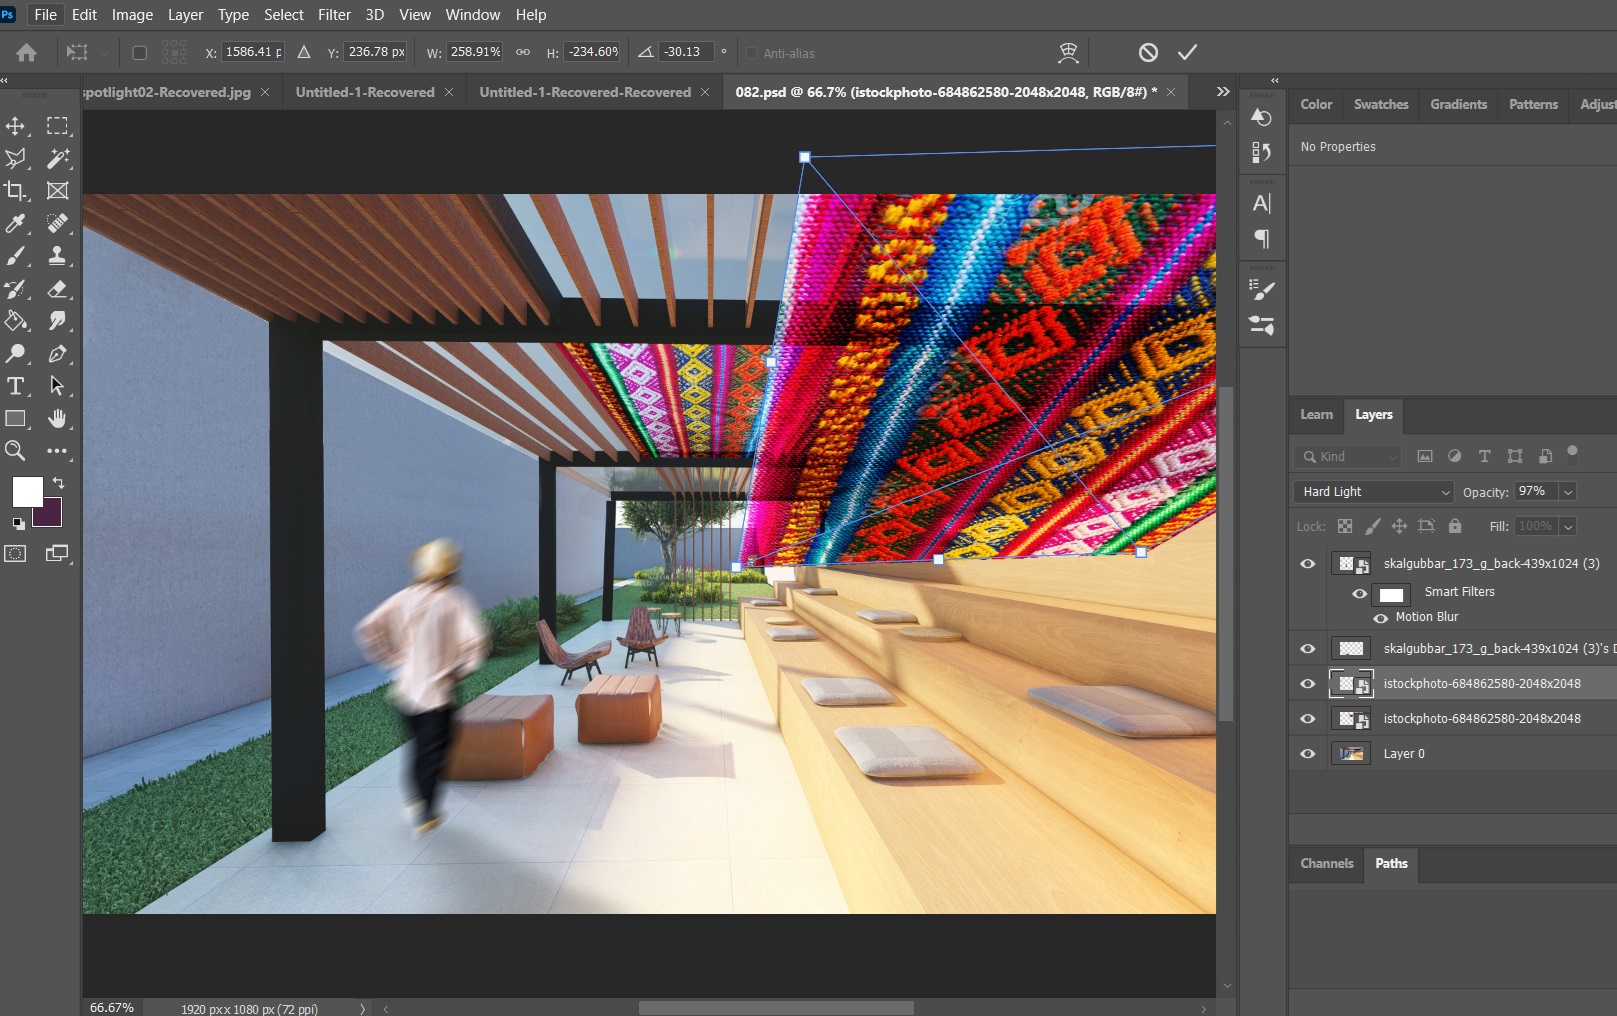
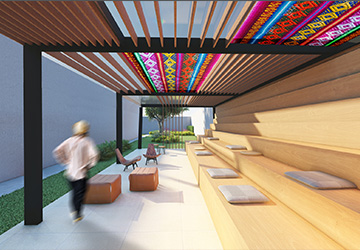
Let’s develop some details in Rhino. The micro-architecture proposal
should include interactive elements that encourage play and physical interaction.
The idea is to incorporate components such as small games, movable manual mechanisms,
or elements that users can touch, turn, climb, or manipulate.
This approach transforms the structure into a more dynamic and engaging spatial experience,
especially for children.
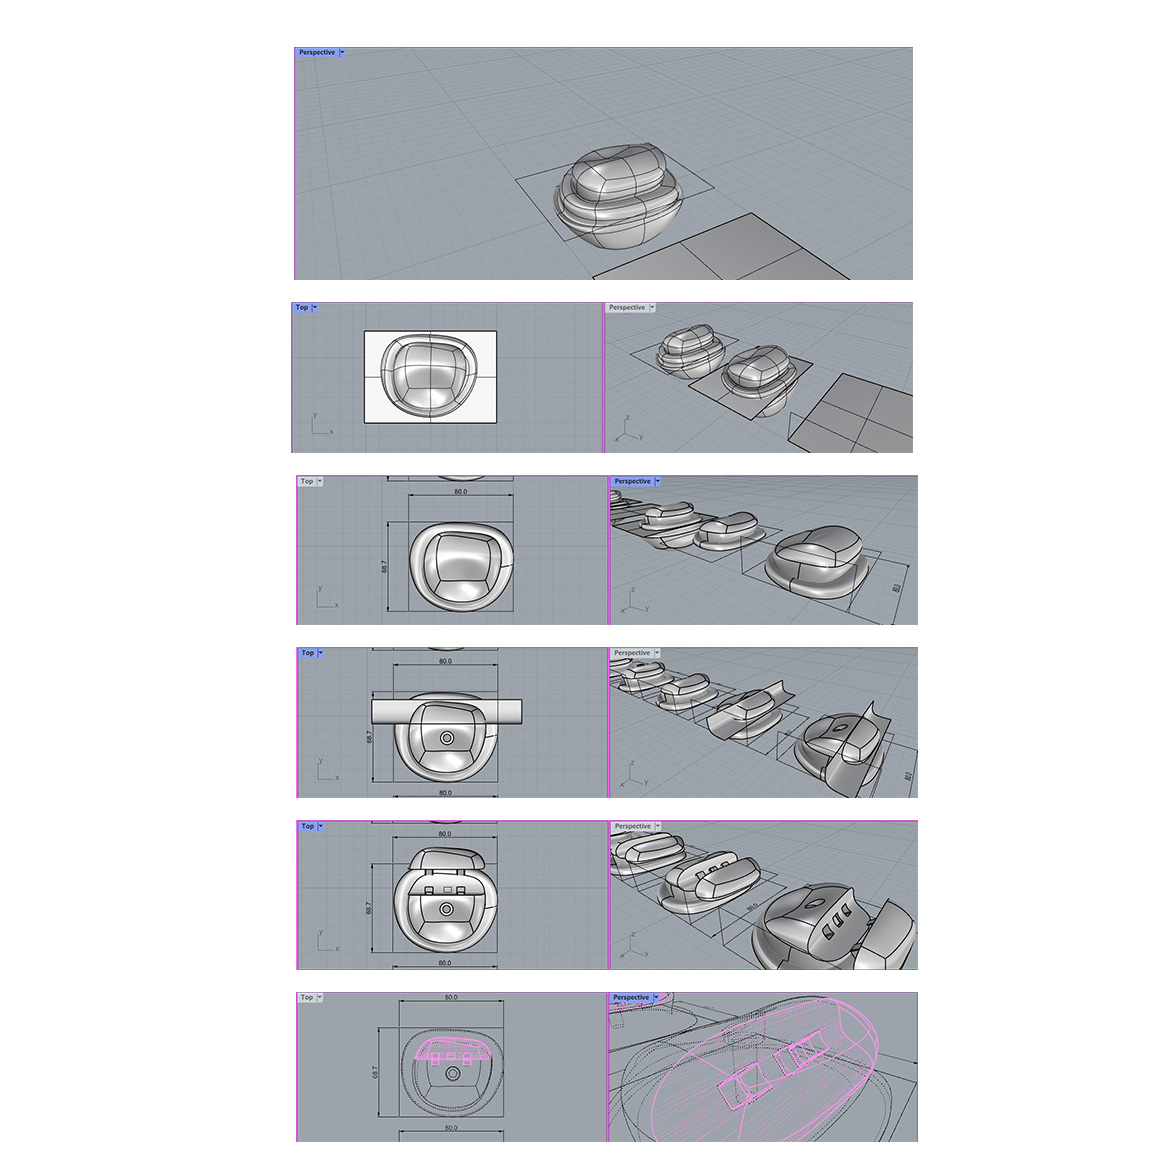
Modeling Steps
1. We started by creating a Sub-D geometry with a 4-4-4 subdivision in
the X, Y, and Z axes, shaping the climbing hold and adding a support base.
2. A reference plane was generated to create a flat surface using
Boolean Split, allowing the piece to fit correctly onto a wall.
3. The dimensions were adjusted according to ergonomic considerations for a
6-year-old child, ensuring a comfortable grip and interaction.
4. We modeled a bolt system and applied boolean operations to create the internal
space required for the assembly and integration of an LED push button.
5. Finally, guide geometries were added to achieve a precise fit between the two
components, preparing the model for 3D printing and future mold fabrication.