Computer Aided Design
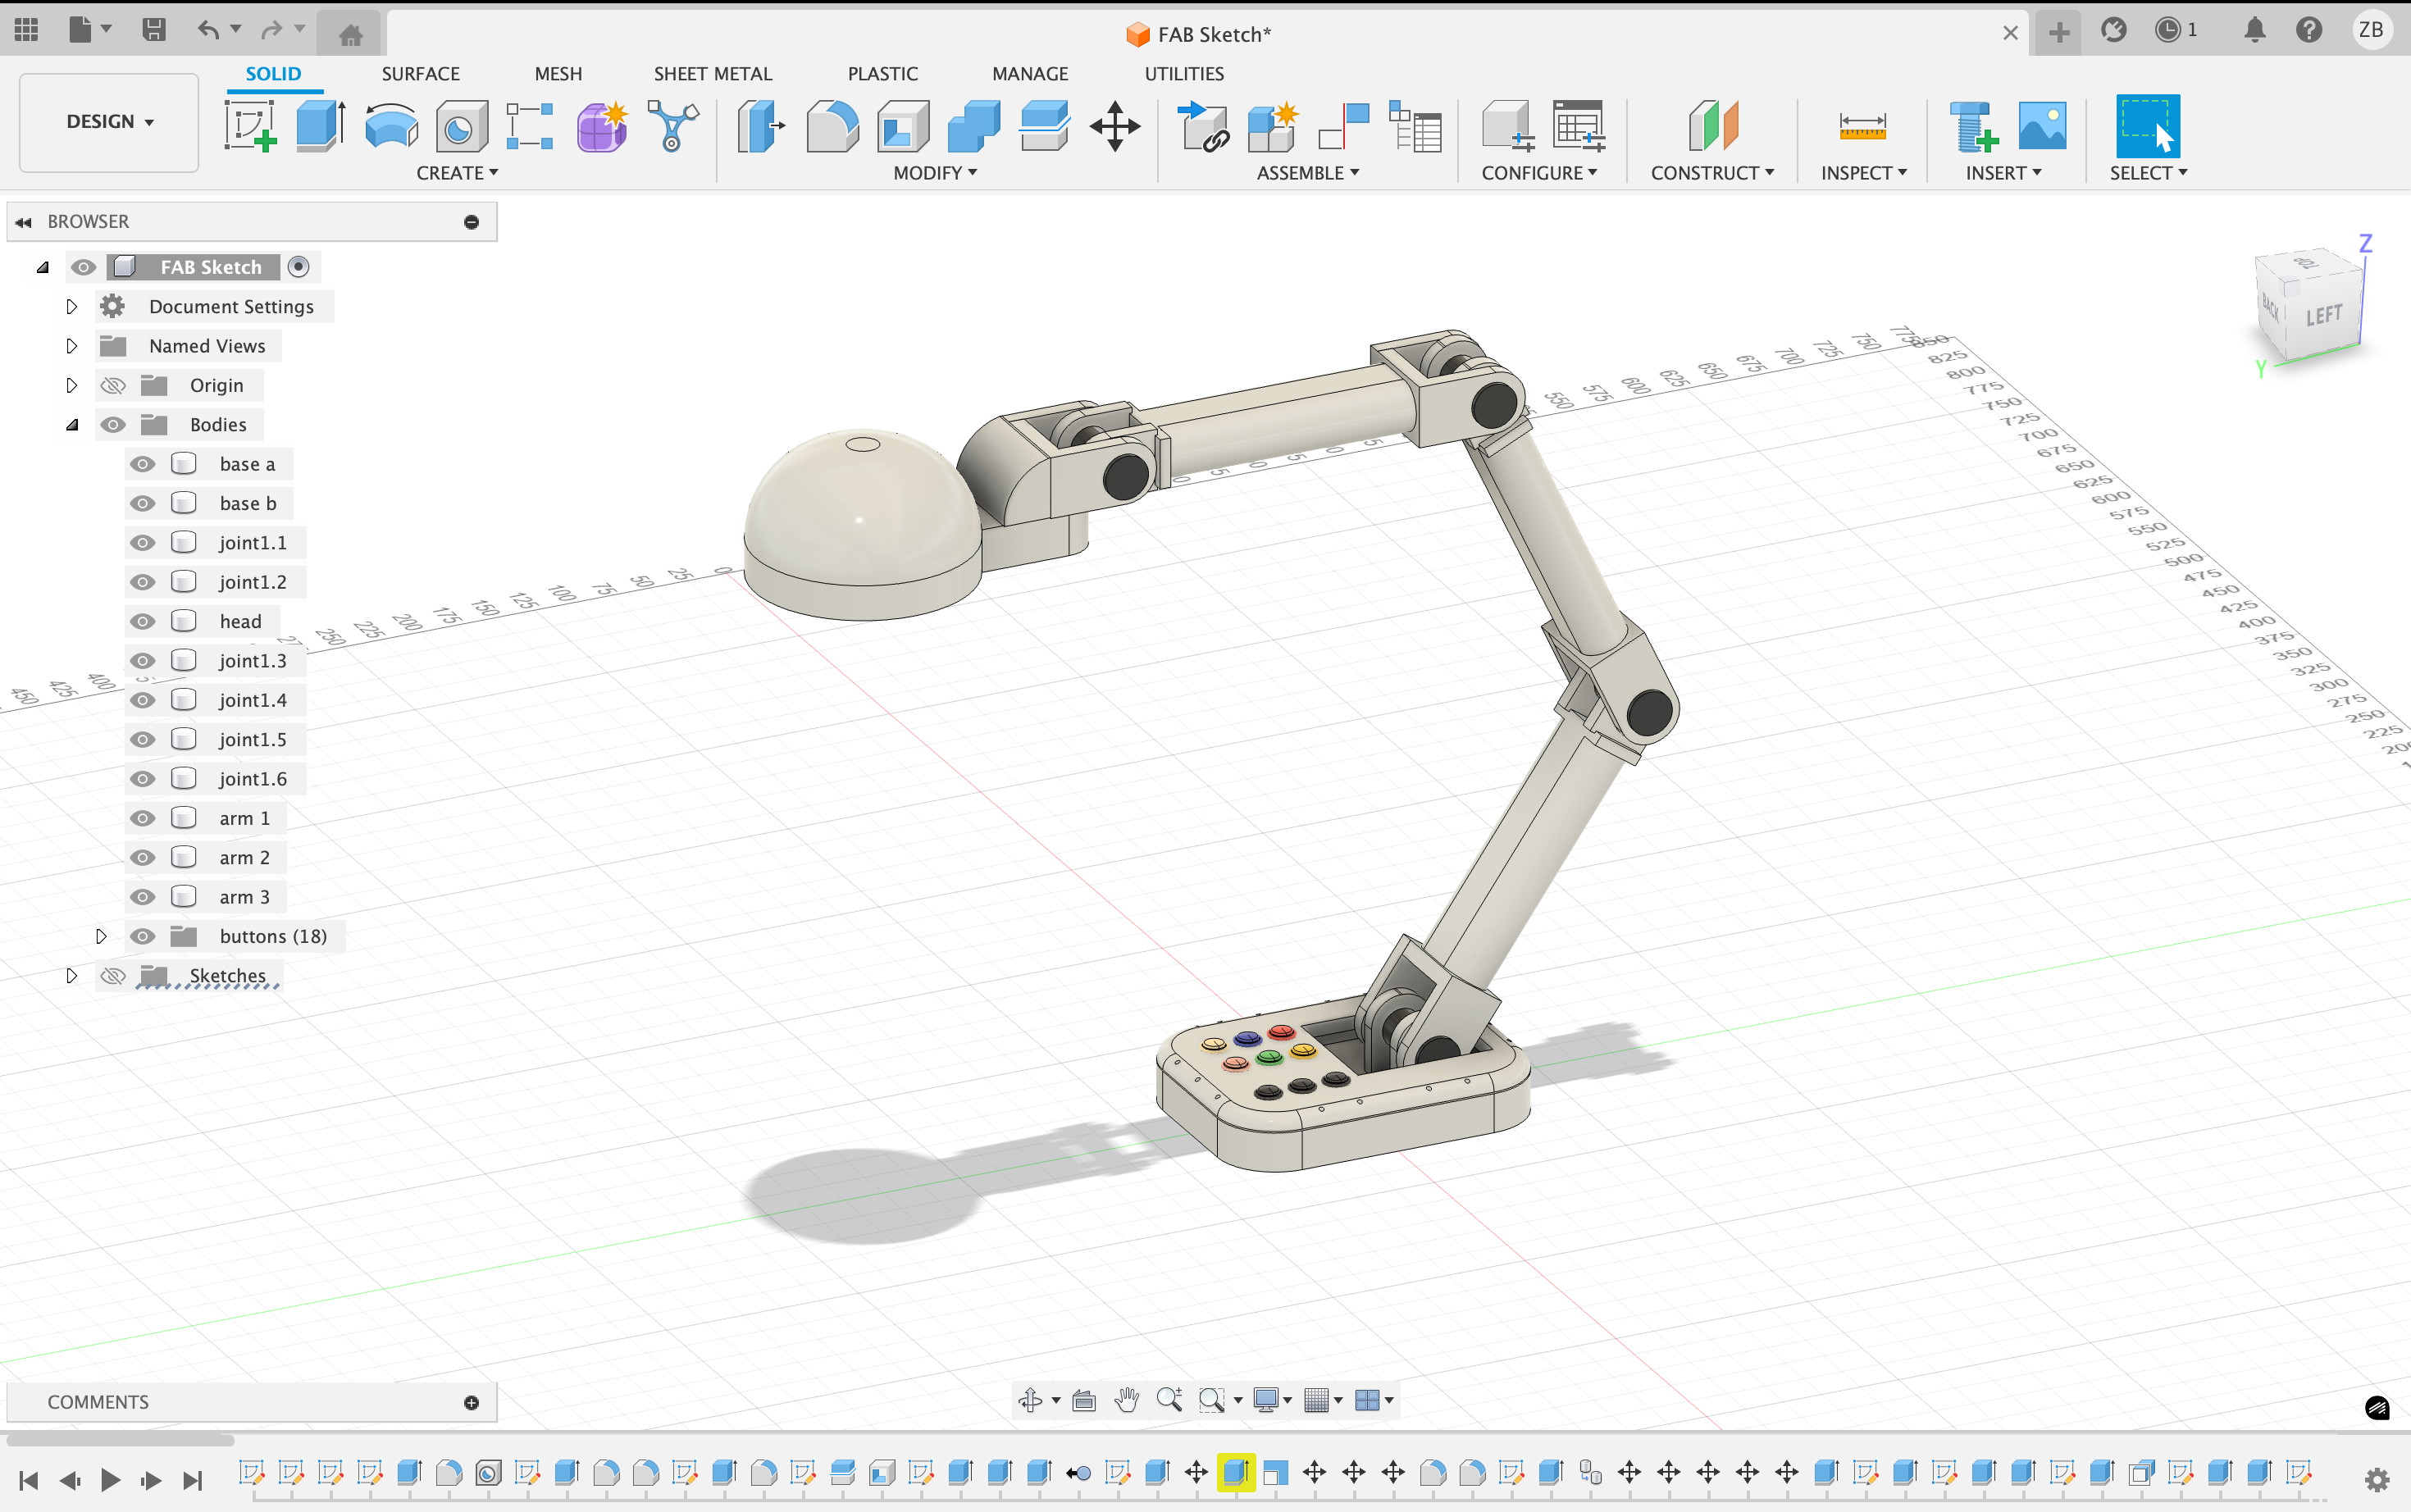
Hero Shot
Overview
Sketch
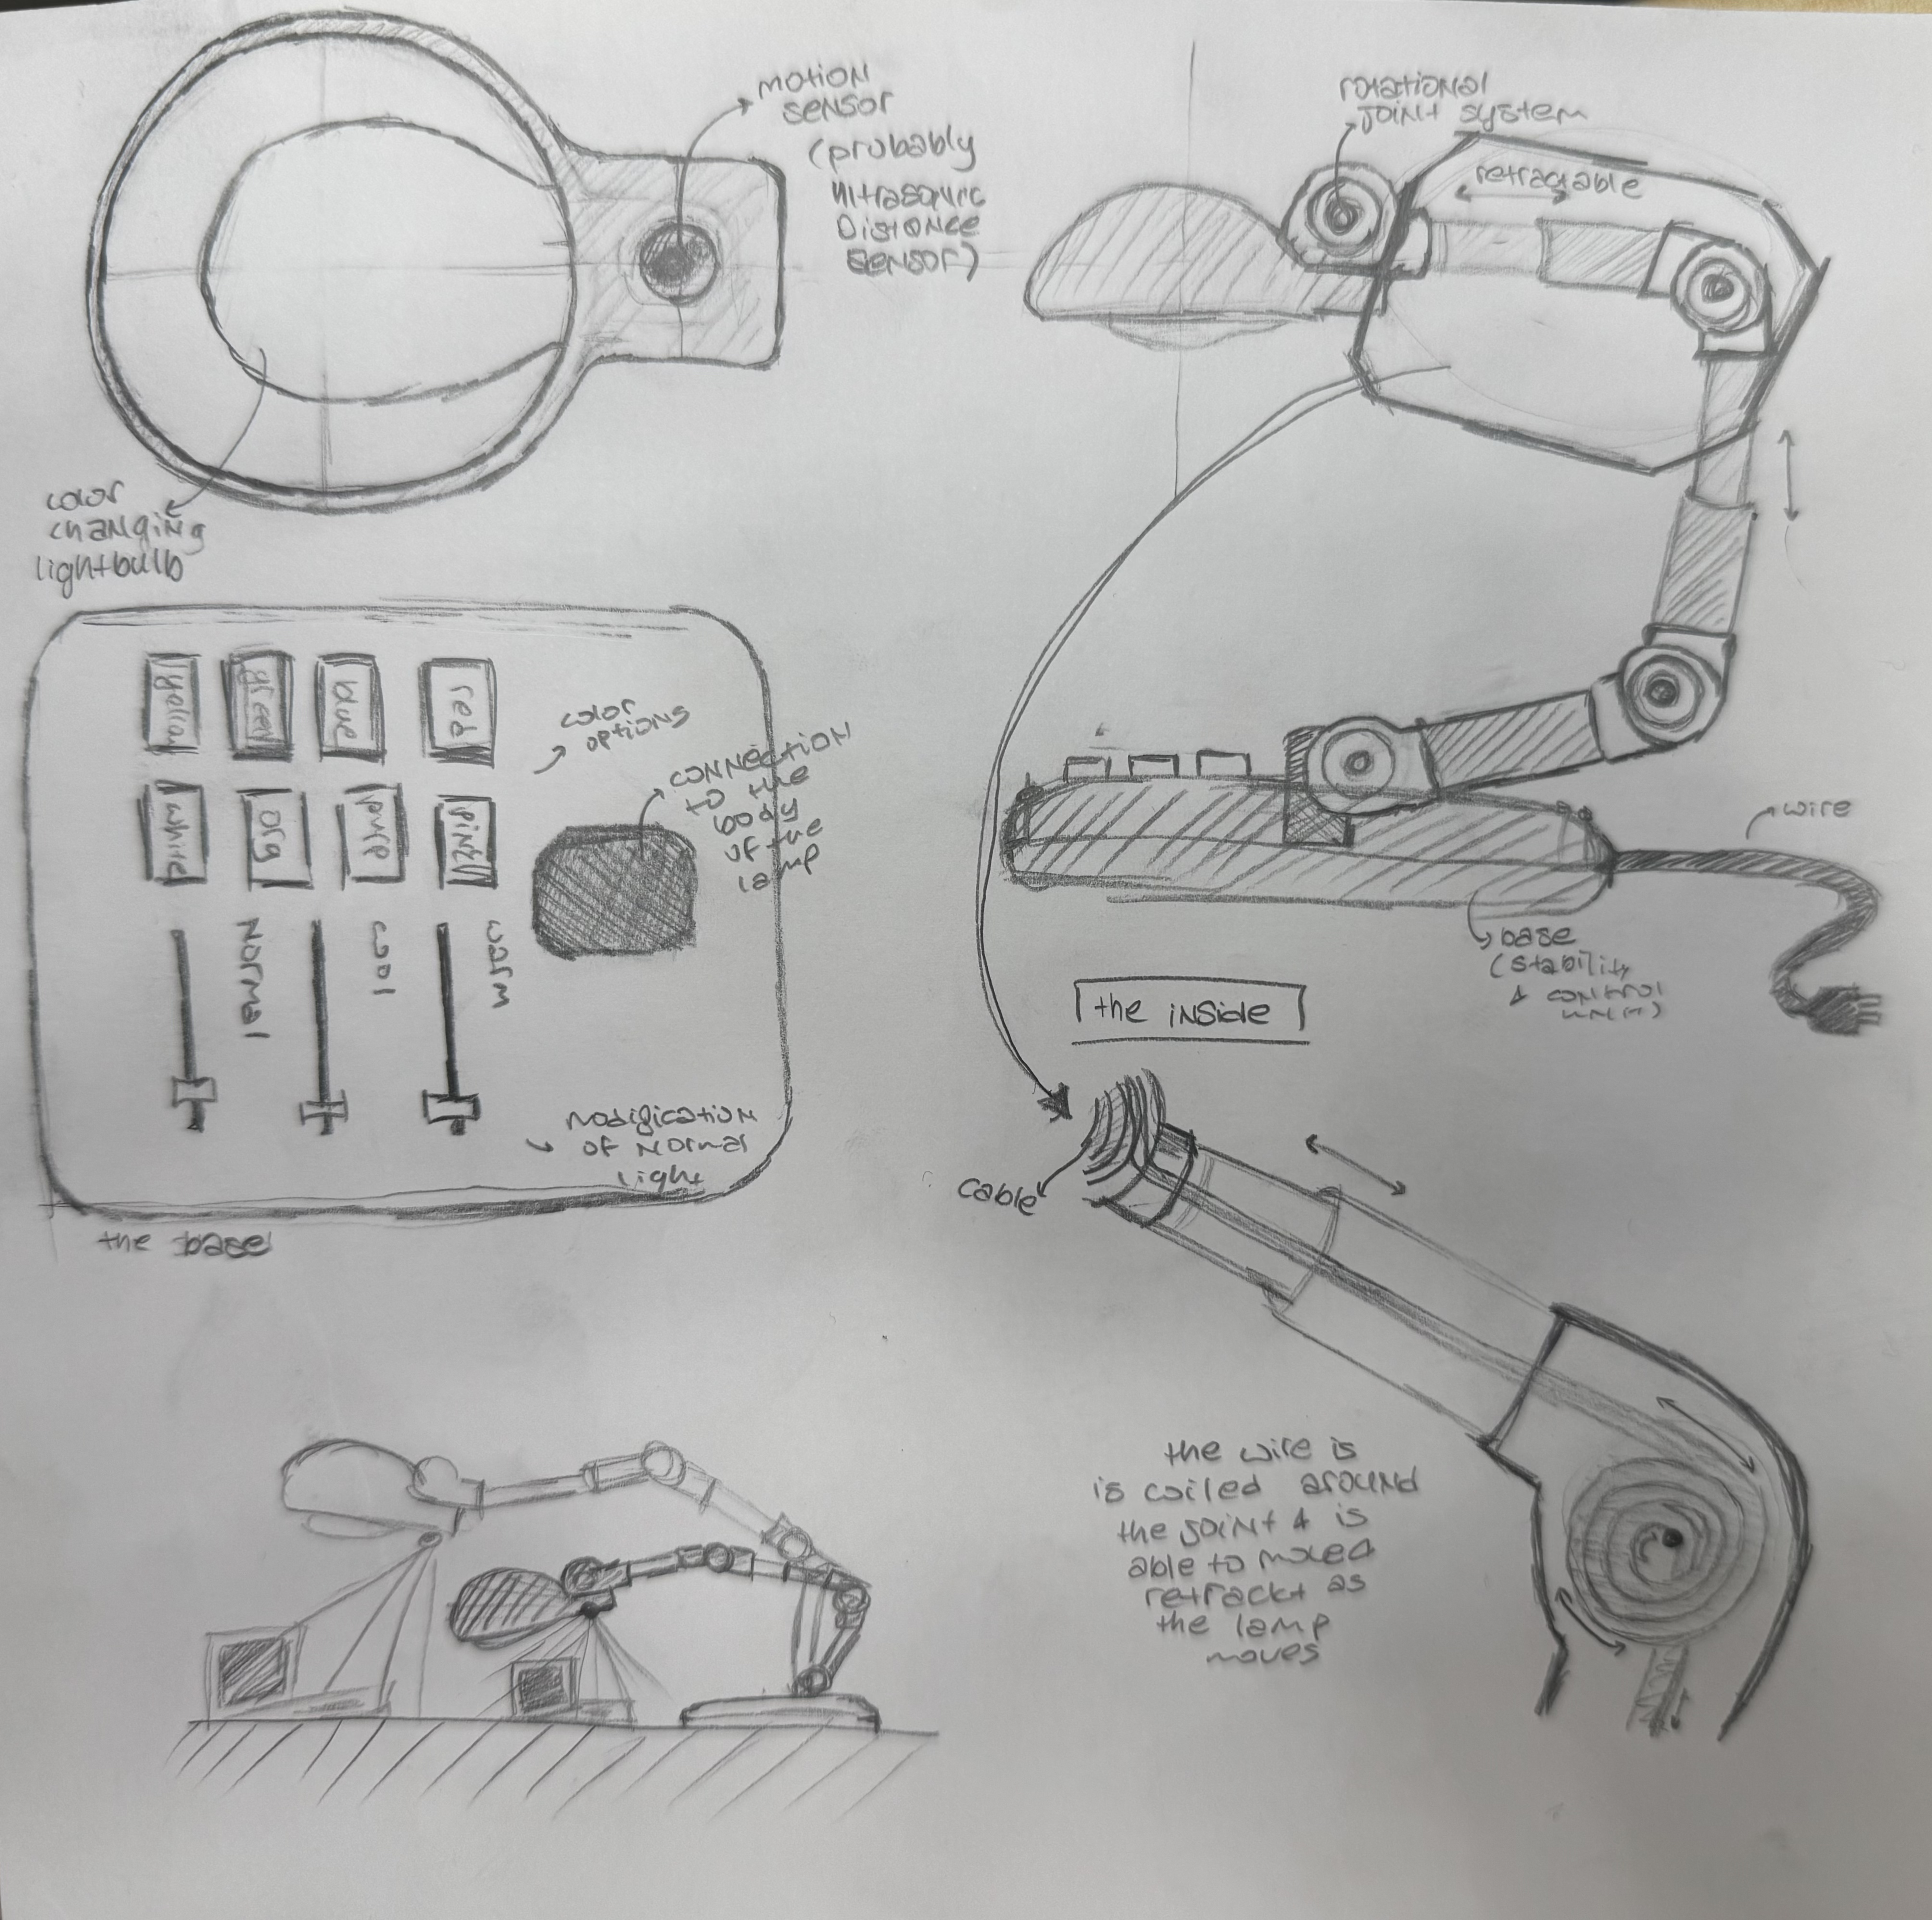
Prior to 2D or 3D modeling, I sketched my idea on paper. This sketch captured multiple aspects of the initial concept, ensuring that key details were not overlooked and that the design could clearly be visualized during the modeling process.
2D Modeling
There are two main options for 2D designing,
Raster Designing: This type of designing relies on pixels, where images or designs are made up of fixed grid od dots. Because of this the quality of the designs are directly dependent on resolution, and lose their clarity once scaled up or zoomed in. Raster designing is mostly seen in photo editing and detailed images yet it is less suitable for creating something that will later be fabricated. Vector-Based Designing: This type of designing uses mathematically defined lines, shapes and paths in place of pixels. Allowing designs to be scaled to any size without using neither clarity nor quality. Vector-based designs are ideal for fabrication tools such as laser cutters or vinyl cutters as they provide clean and precise lines for the machines to easily interpret.
Considering these factors i decided on using Vector-Based designing instead of Raster designing.
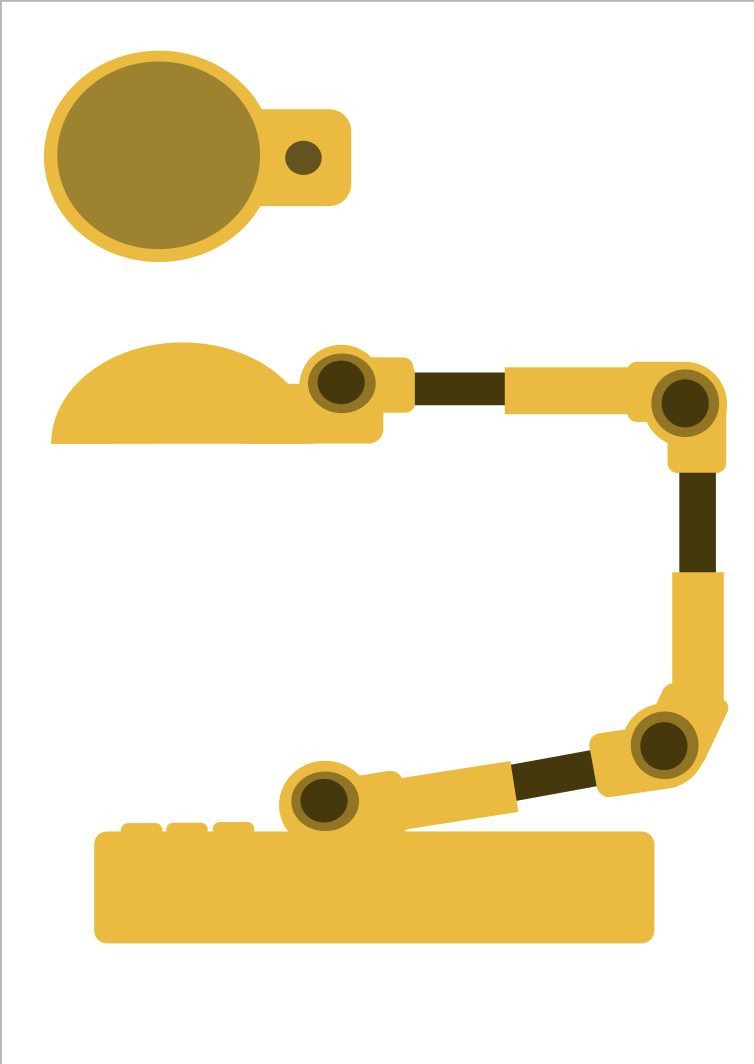
For the 2D Vector-Based modeling, I used Inkscape, a free and open-source vector graphics editor, in order to digitally re-sketch my initial hand-drawn design. Using Inskape, I was able to convert the sketch into precise vector forms allwhile preserving the original concept. I first created a close-up view of the lamp’s head to visualize the placement of the motion sensor, and then proceeded to model the side view of the entire lamp.
3D Modeling
Software: Fusion 360
Design Process
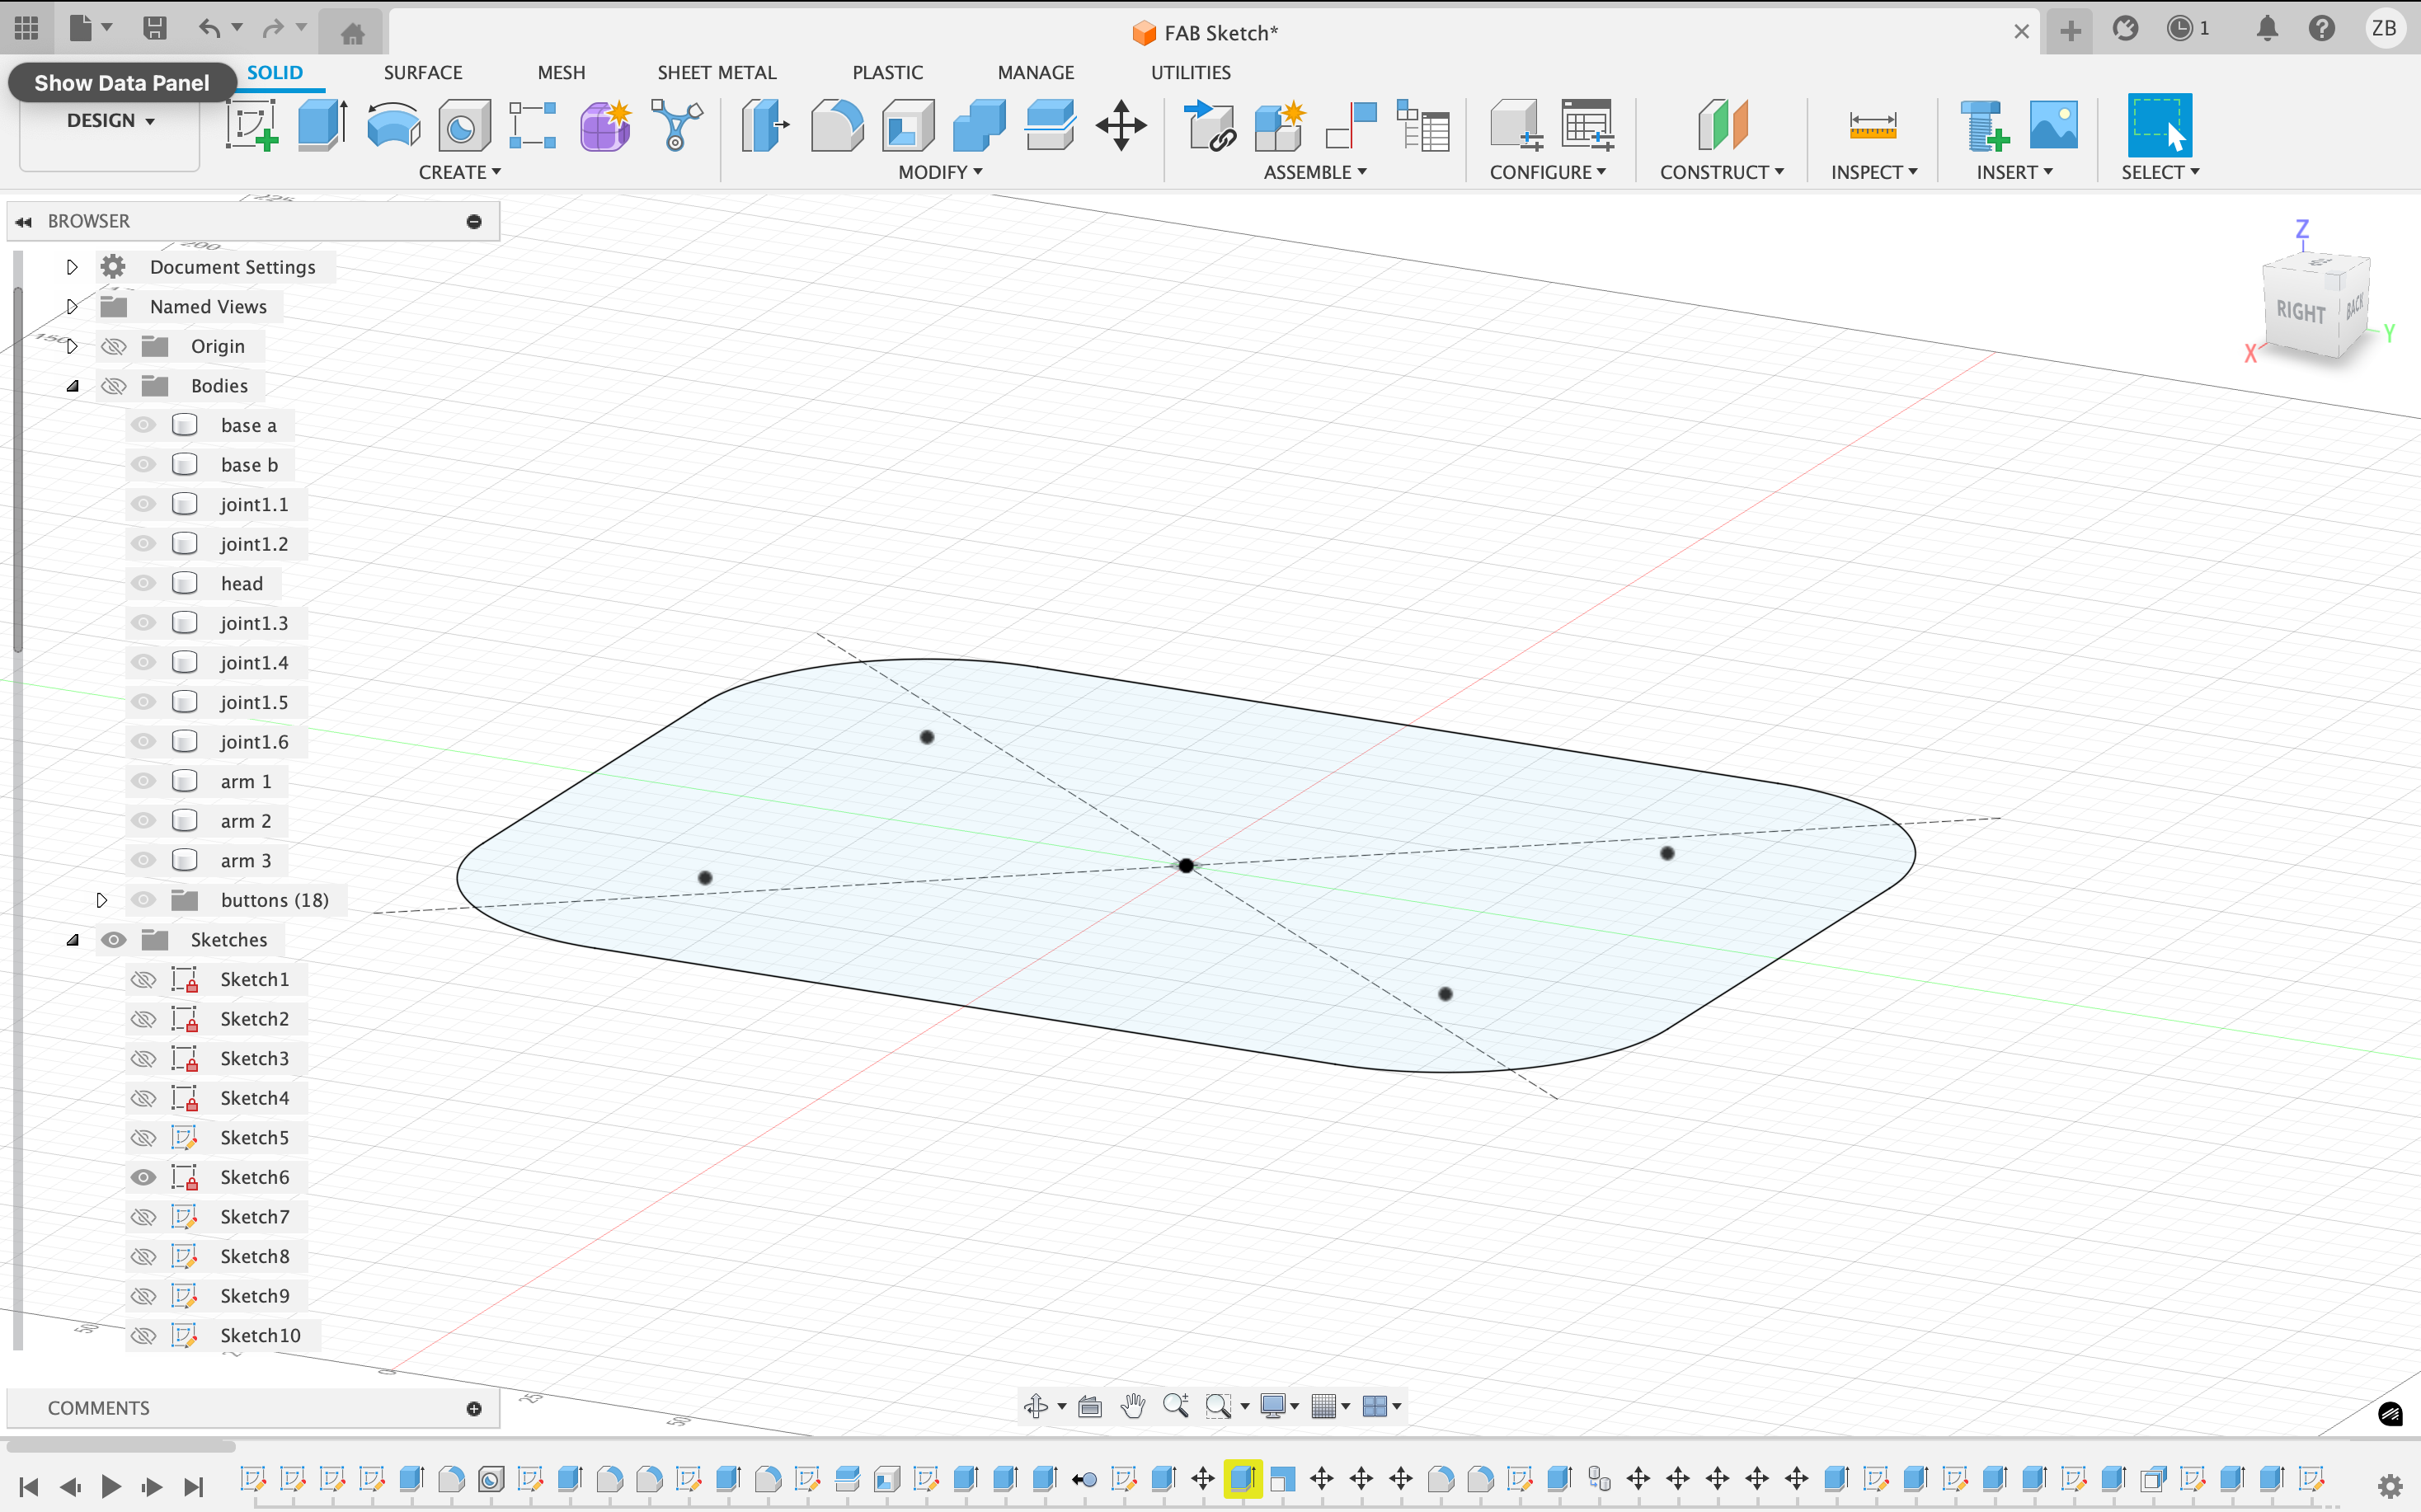
Base
I began by creating the base of the lamp.
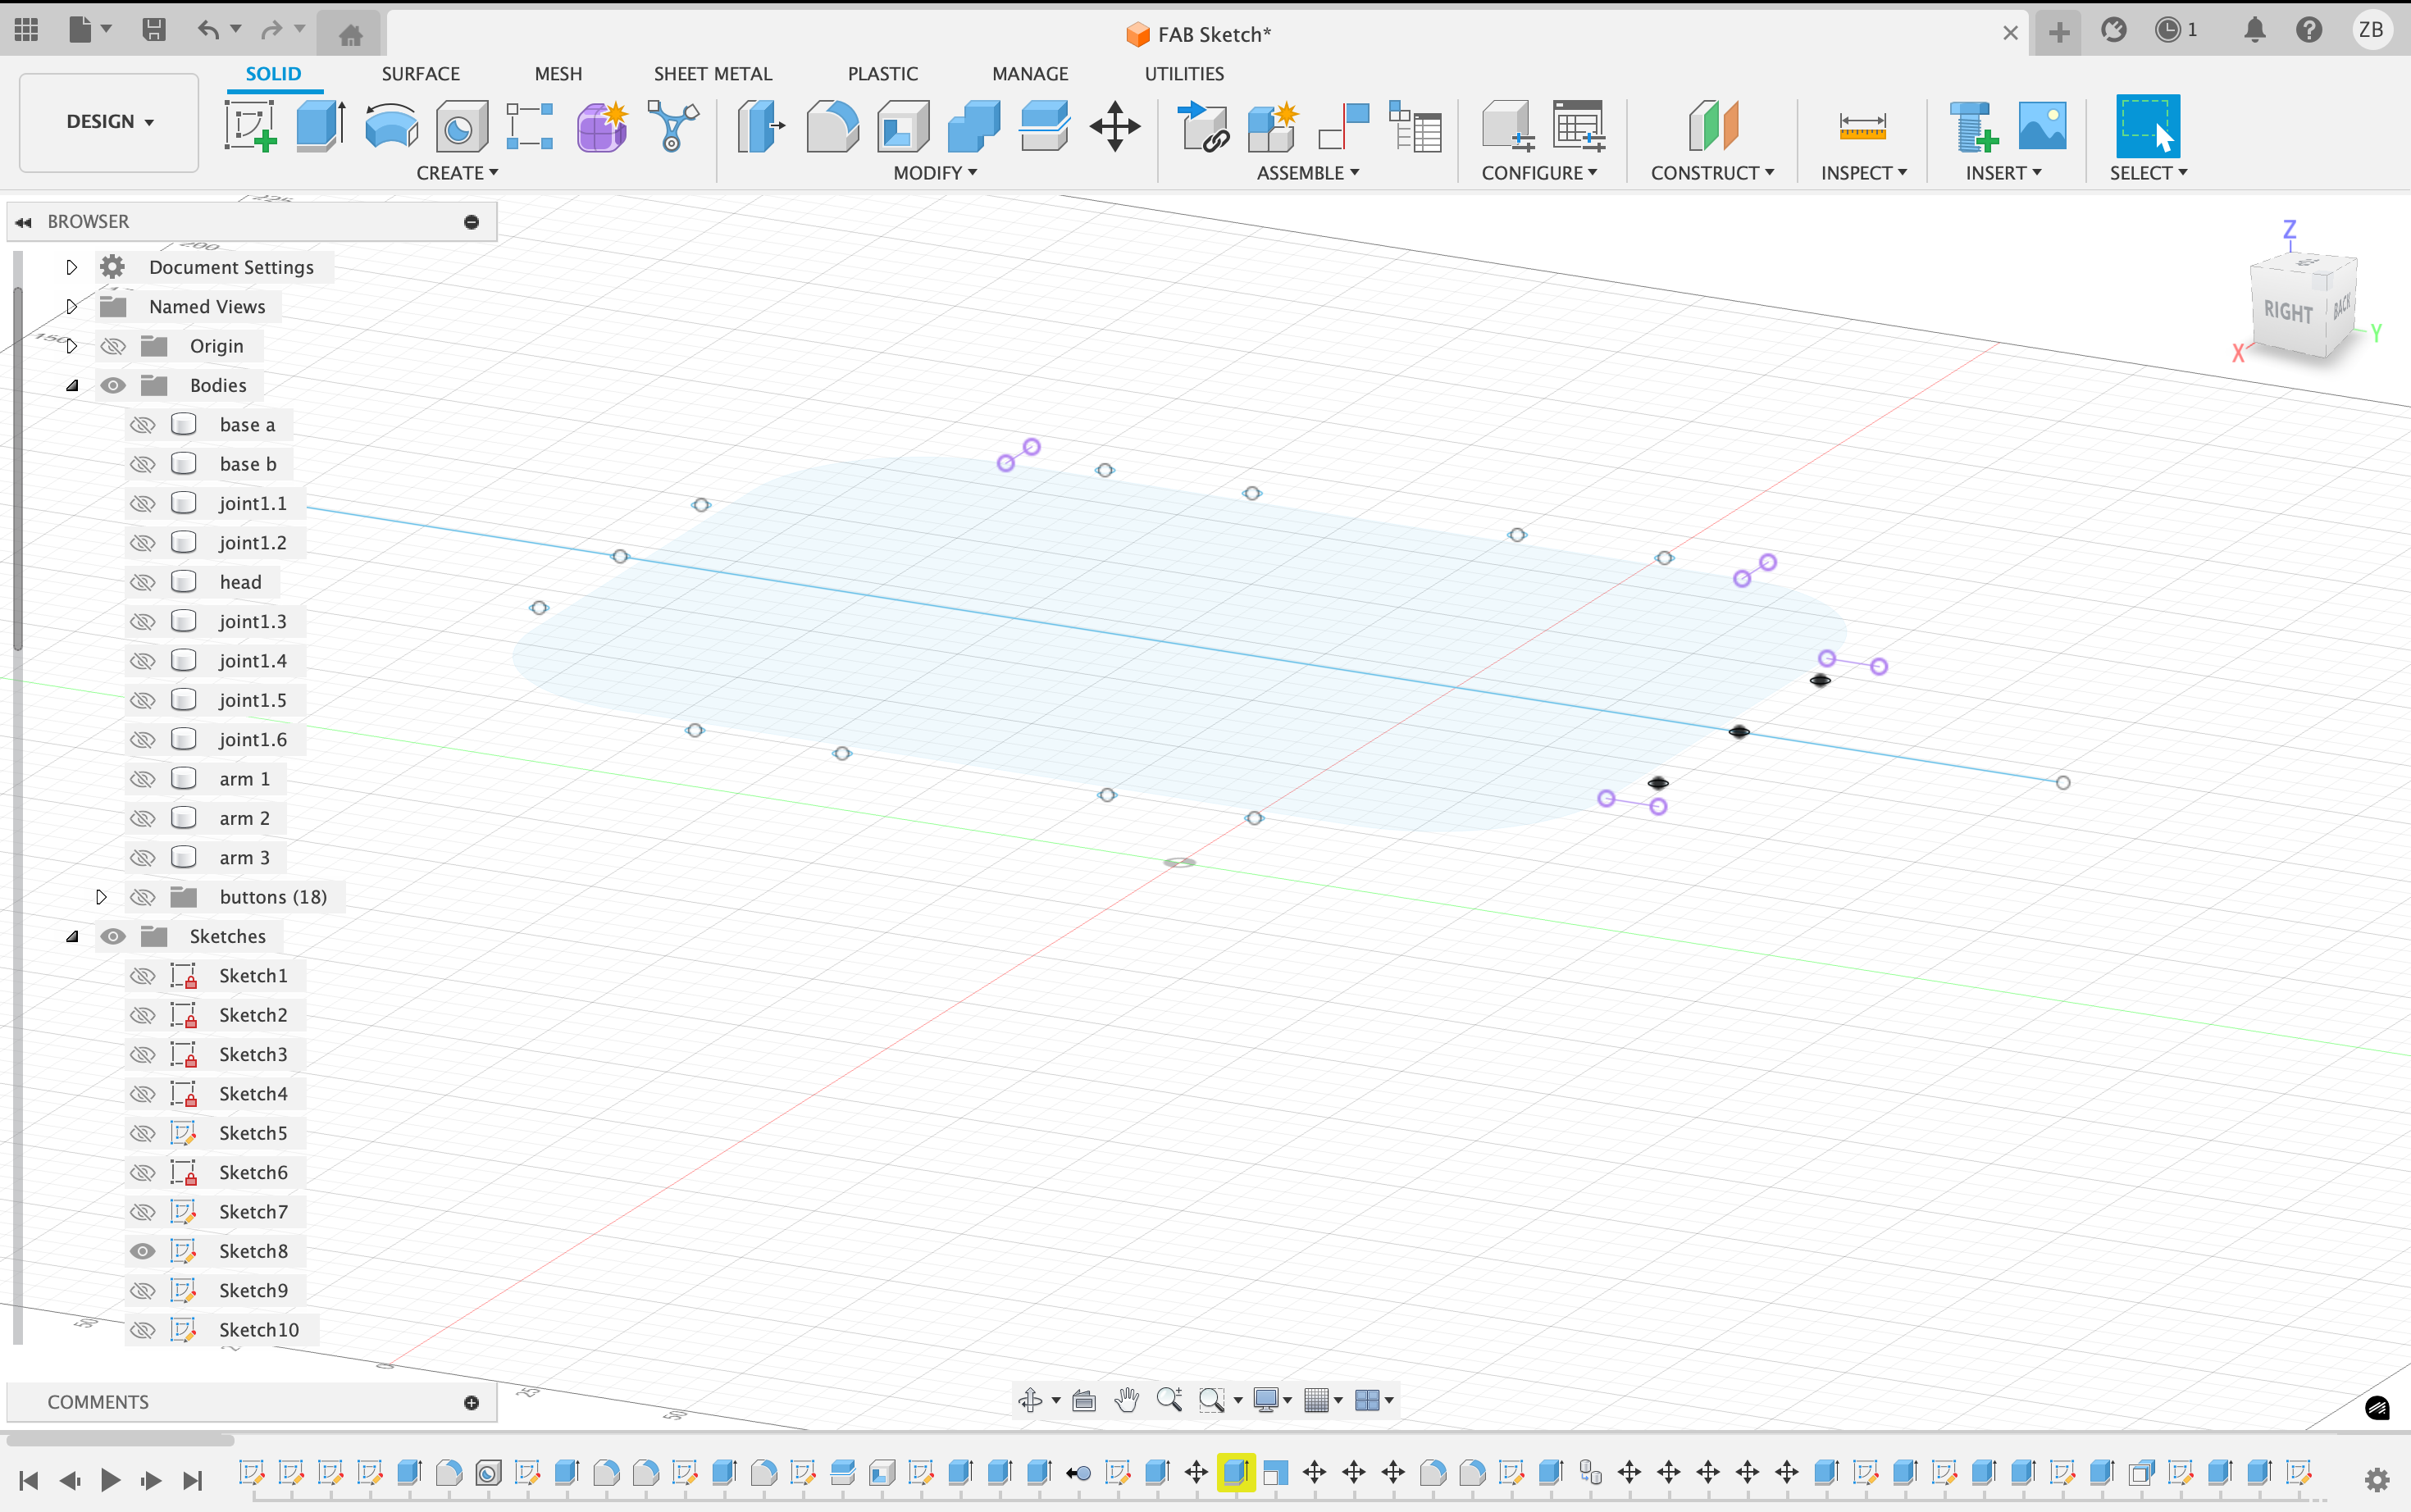
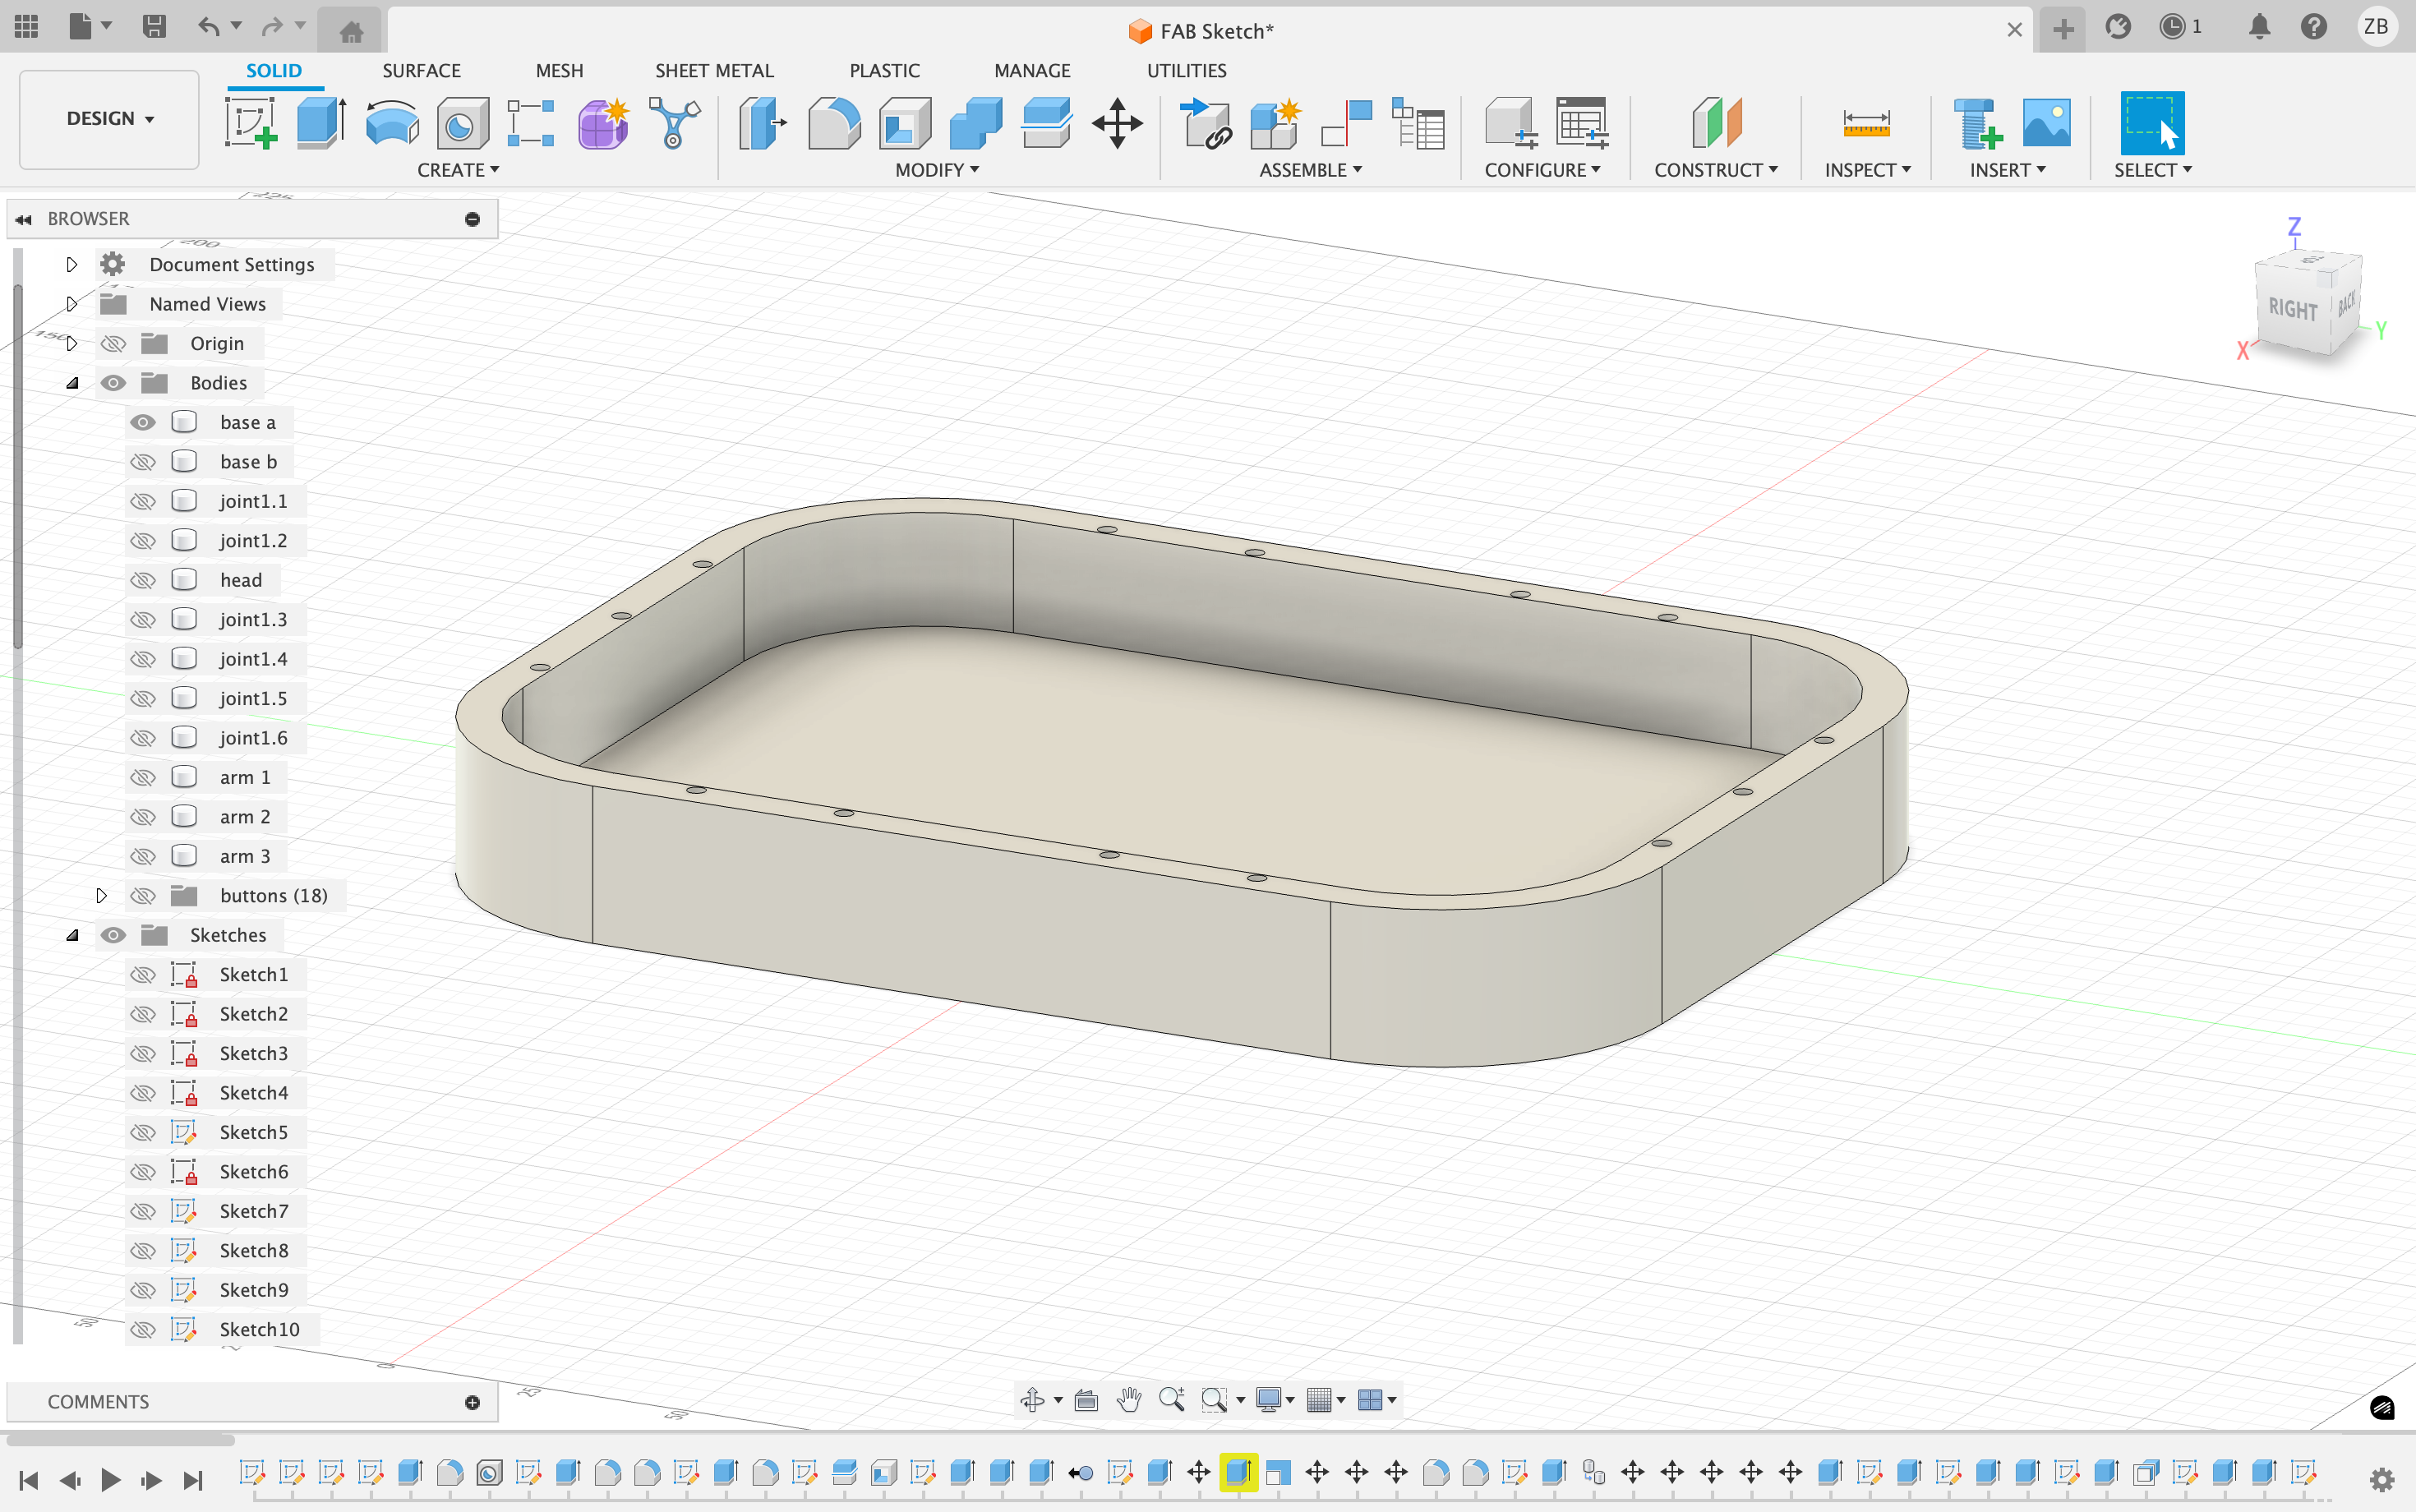
Using Sketch > Rectangle, I created a profile on the base plane. To avoid sharp edges, I applied rounded corners using Sketch > Fillet. The base of the lamp serves as the housing for the electronic components and internal mechanism.
Since the lamp requires internal electronic components, a secure enclosure is necessary. So I designed a removable lid system. Screw holes were added to allow fastening between the lid and the base, ensuring that all internal components remain safely contained.
Next, I converted the base into a 3D solid using Create > Extrude and selecting New Body as the operation. Then, in order to carve out the interior of the base for components, I applied Modify > Shell. The screw holes were then created using Extrude > Cut, enabling proper alignment and fastening of the lid.
Lid
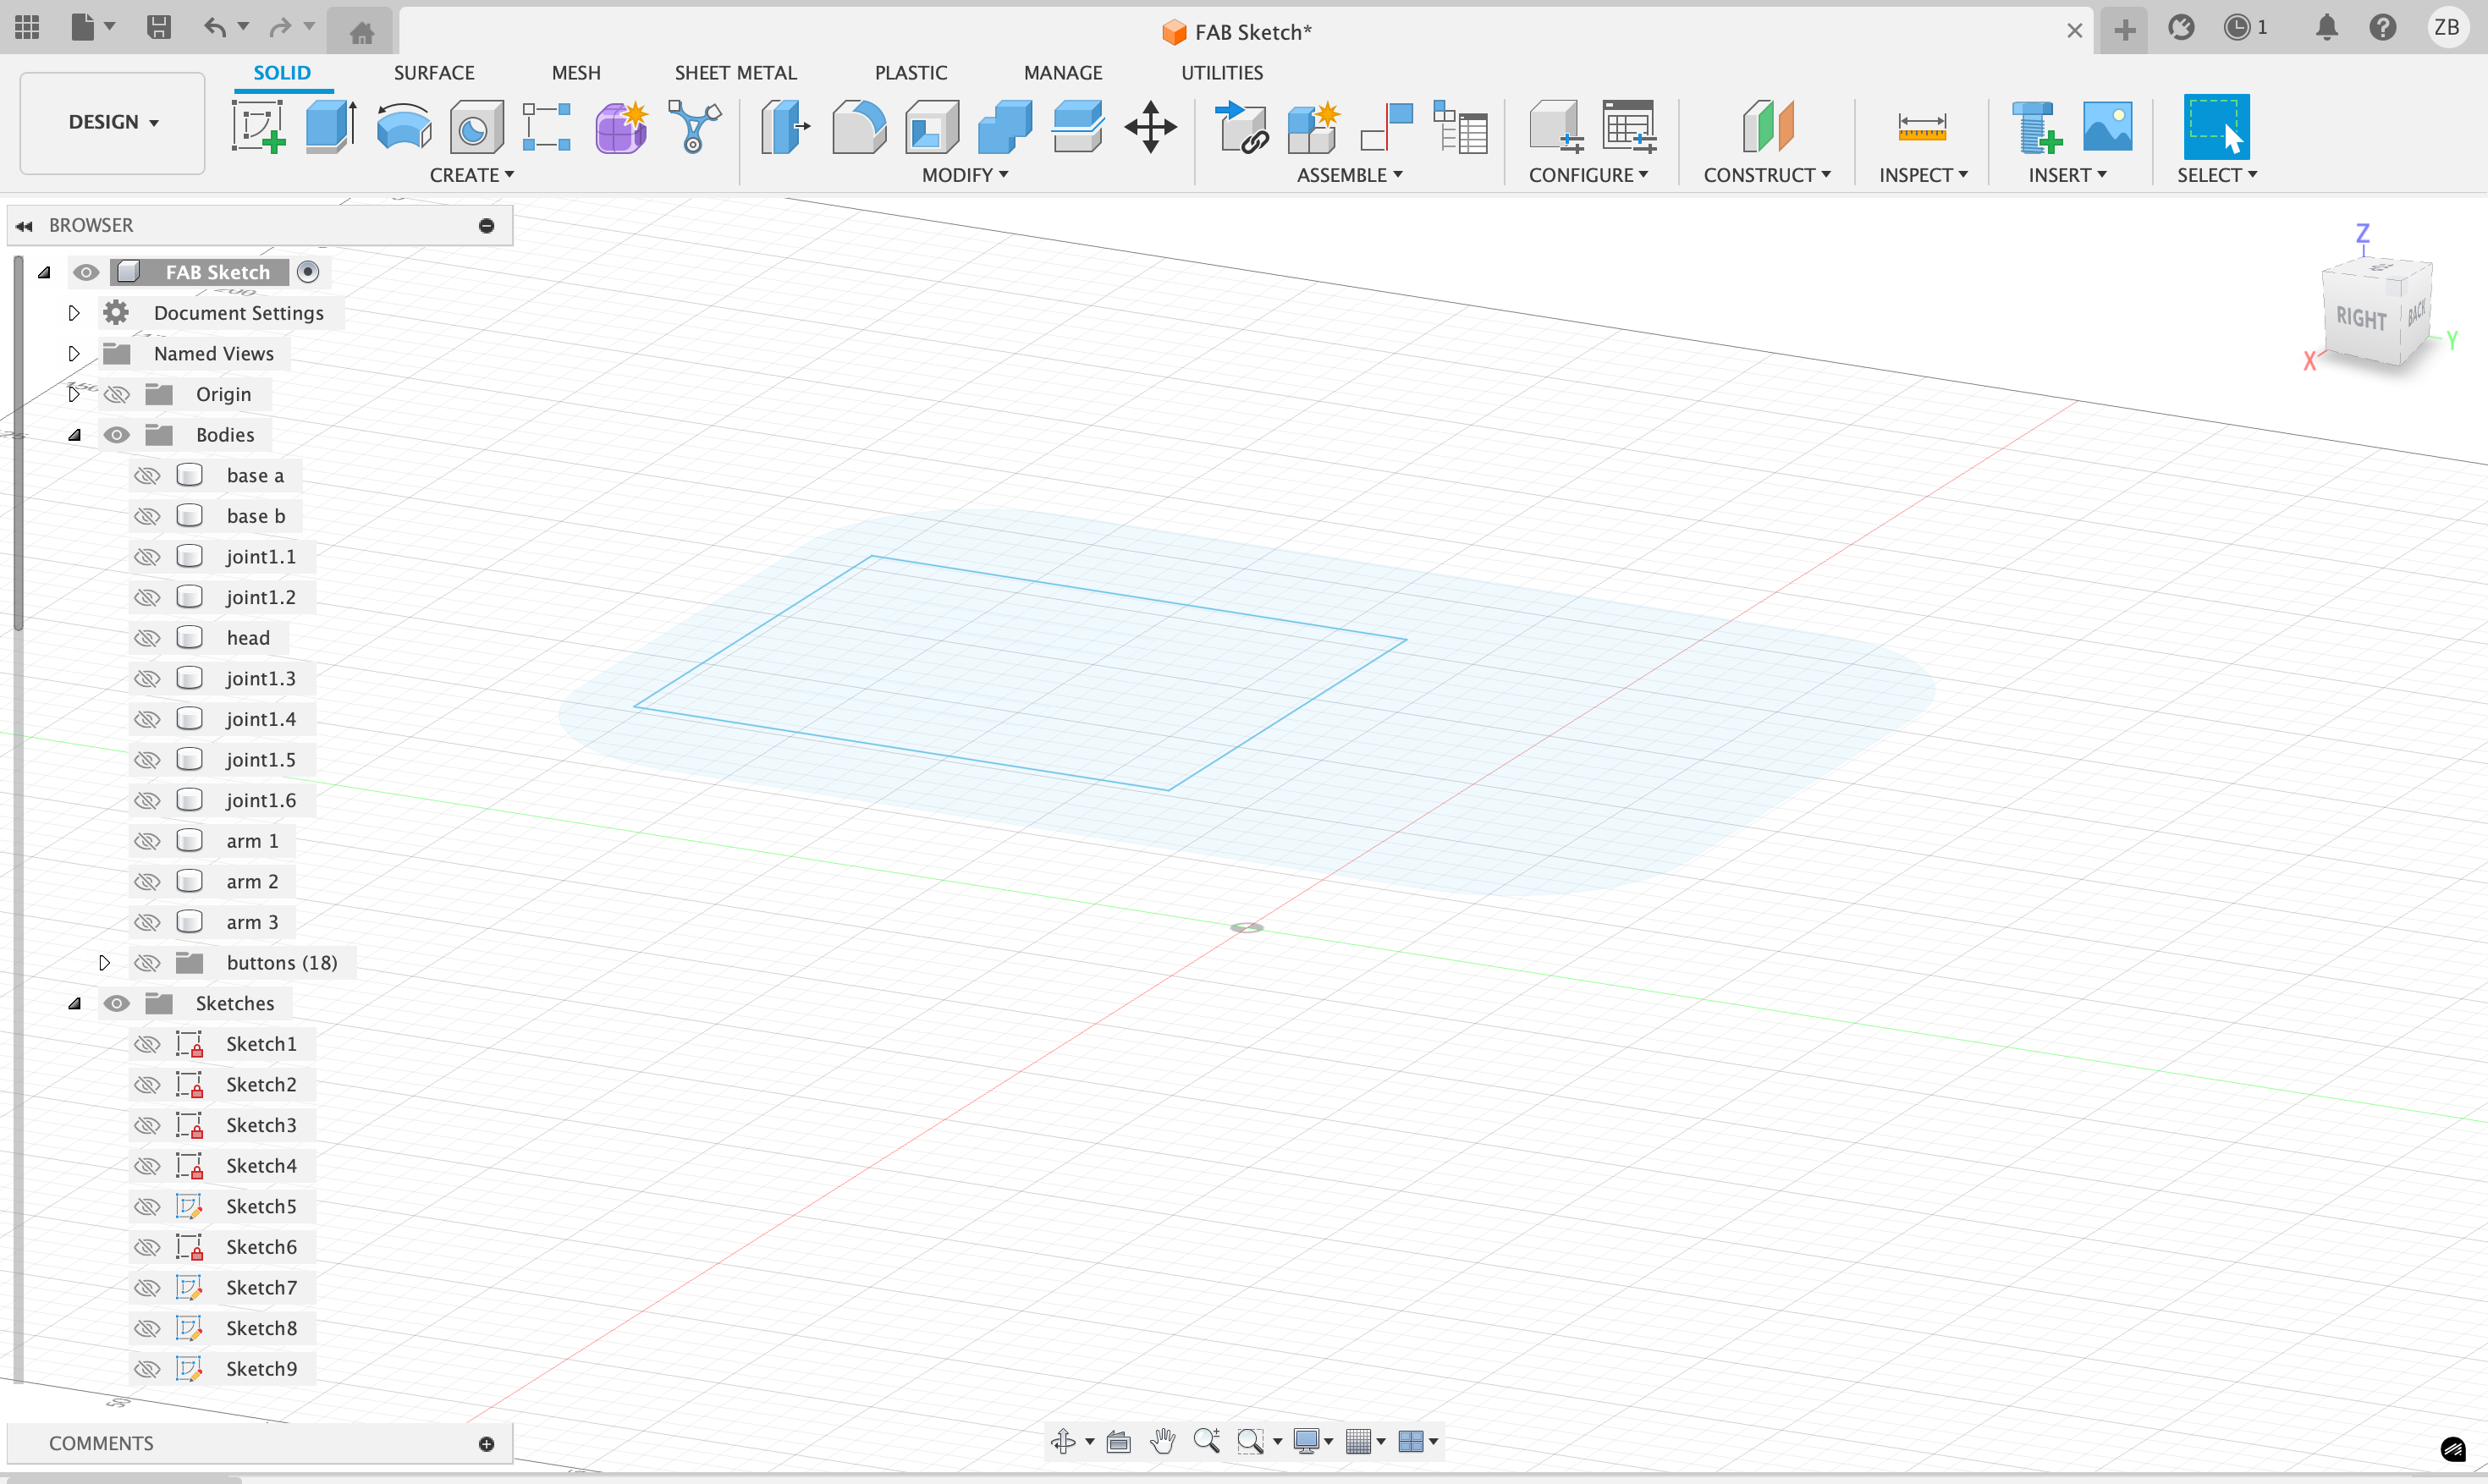
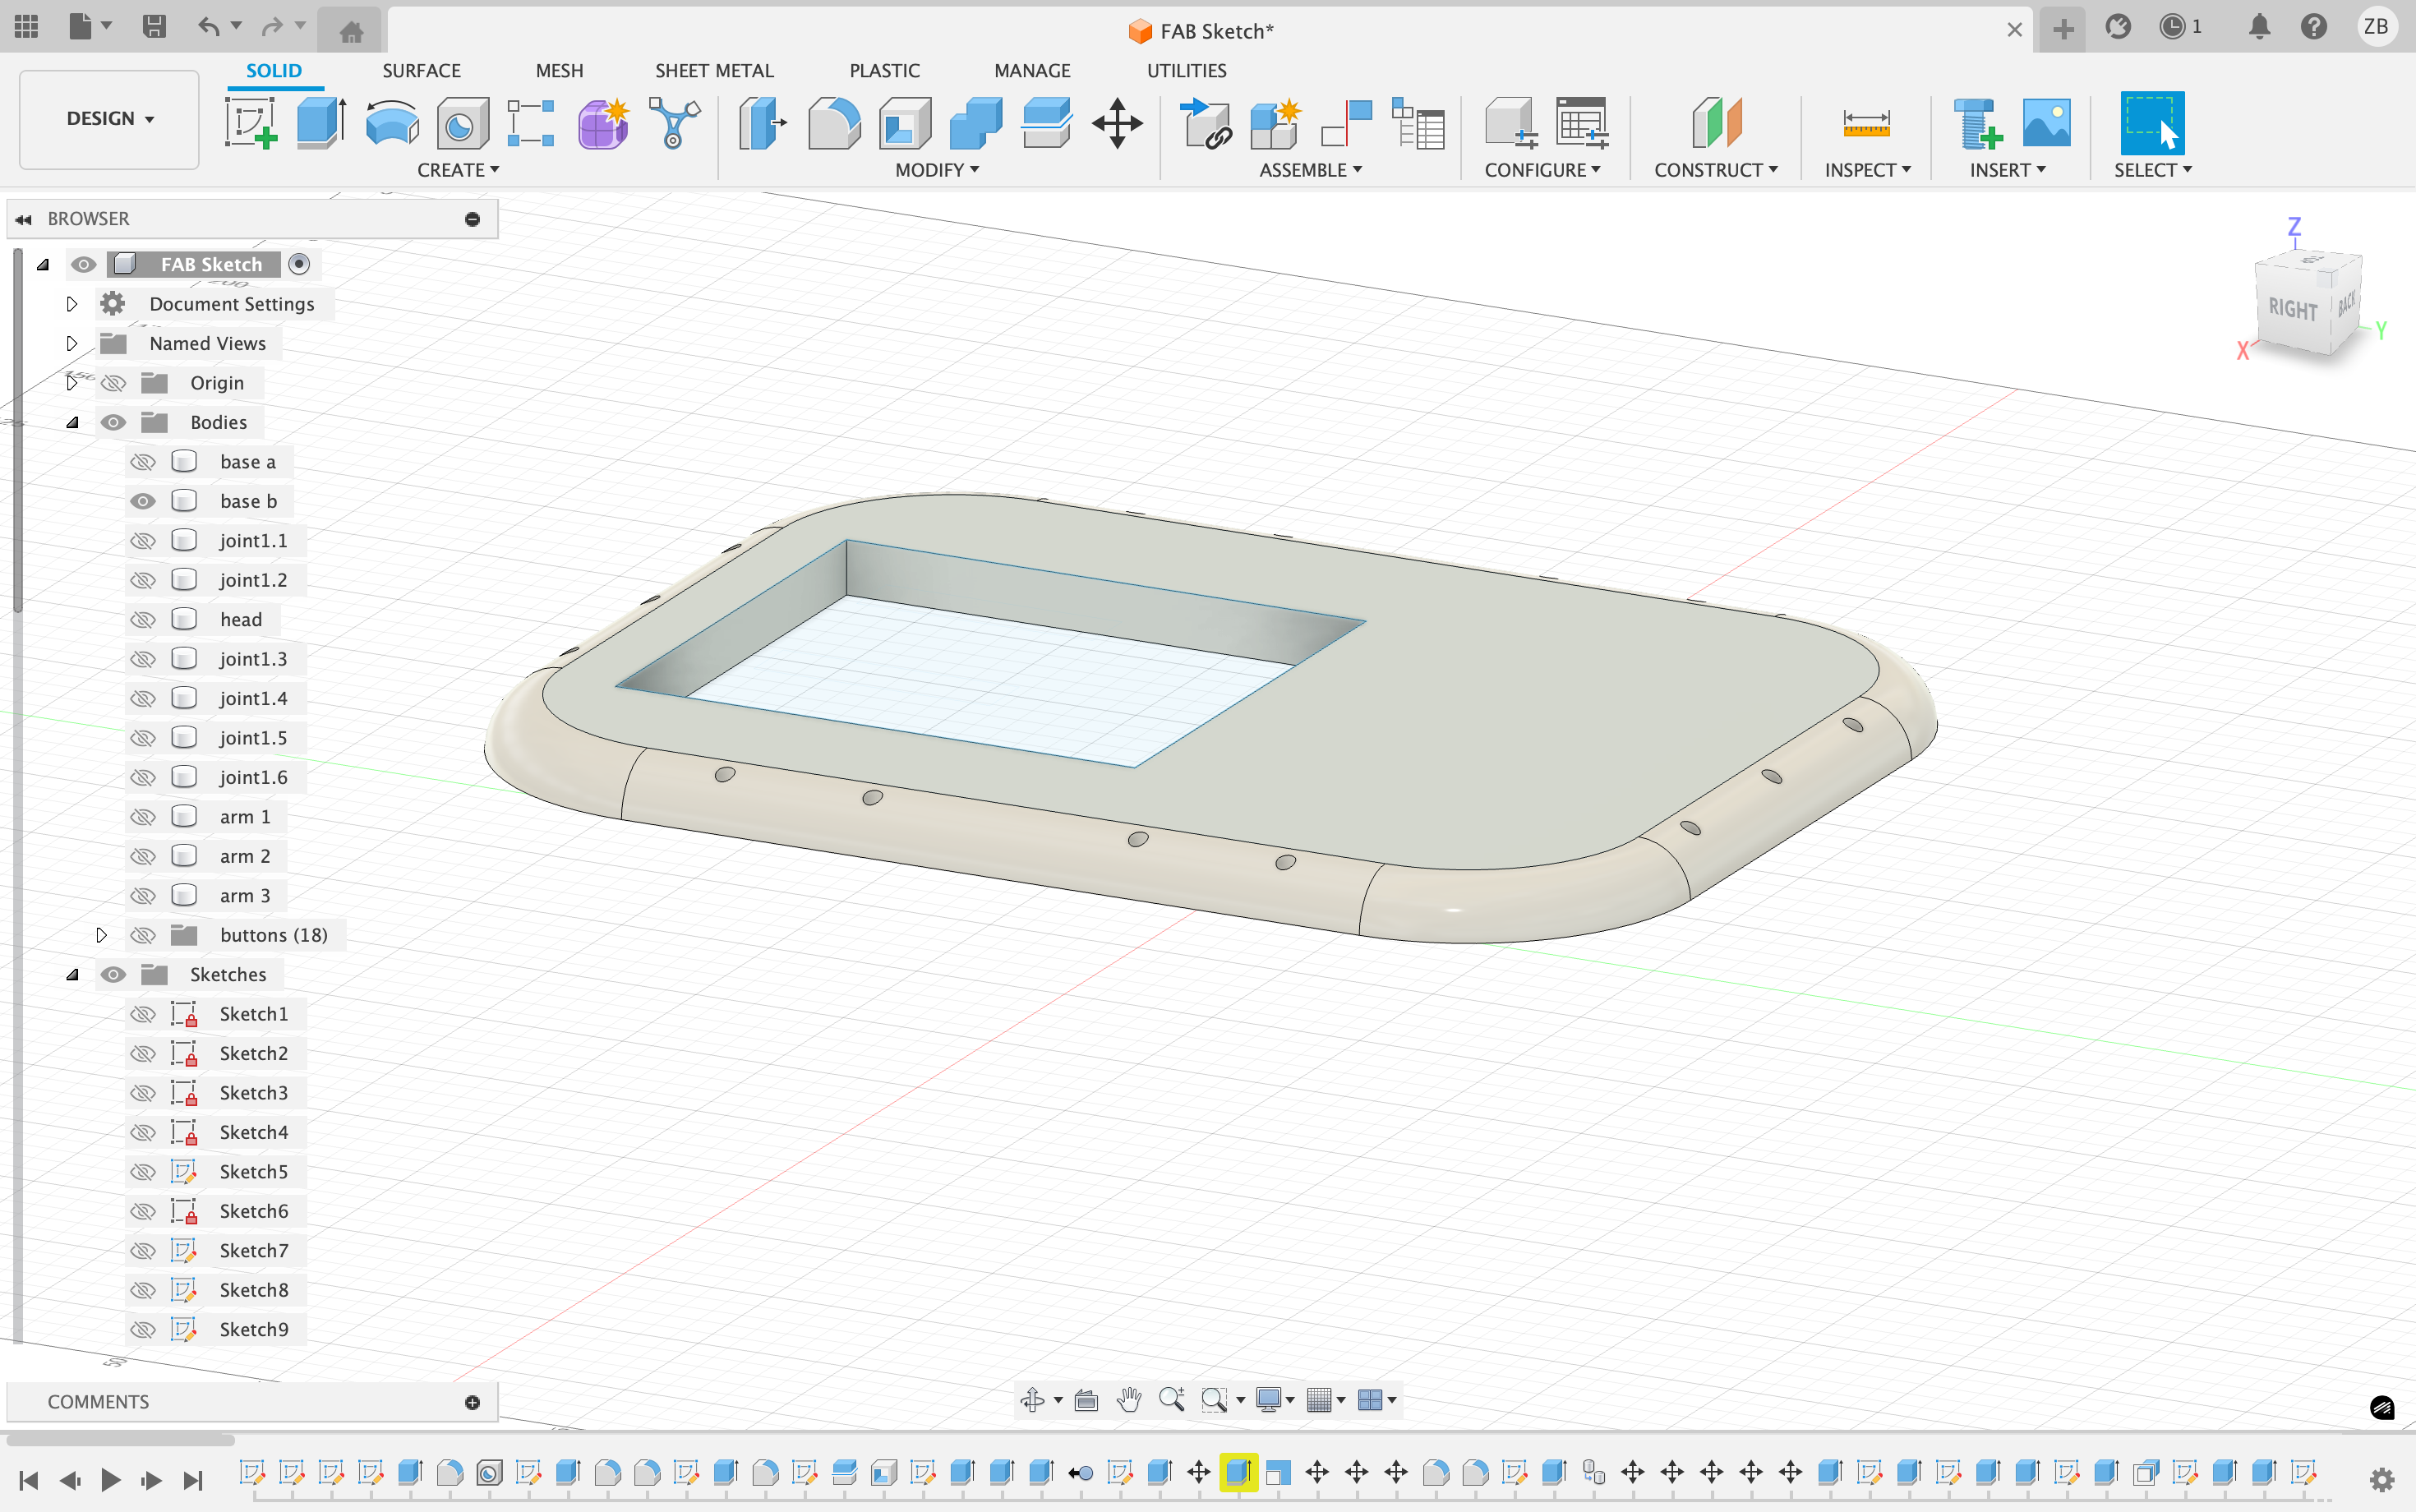
I created a separate sketch for the lid using Sketch > Create Sketch on the top plane. To allow motor movement, I added a rectangular cutout at the top-center of the lid and this opening ensured efficient motion of the internal mechanical system.
I then extruded the lid sketch using Create > Extrude to form a new solid body. Added screw holes were using Extrude > Cut, matching the holes on the base to ensure accurate assembly.
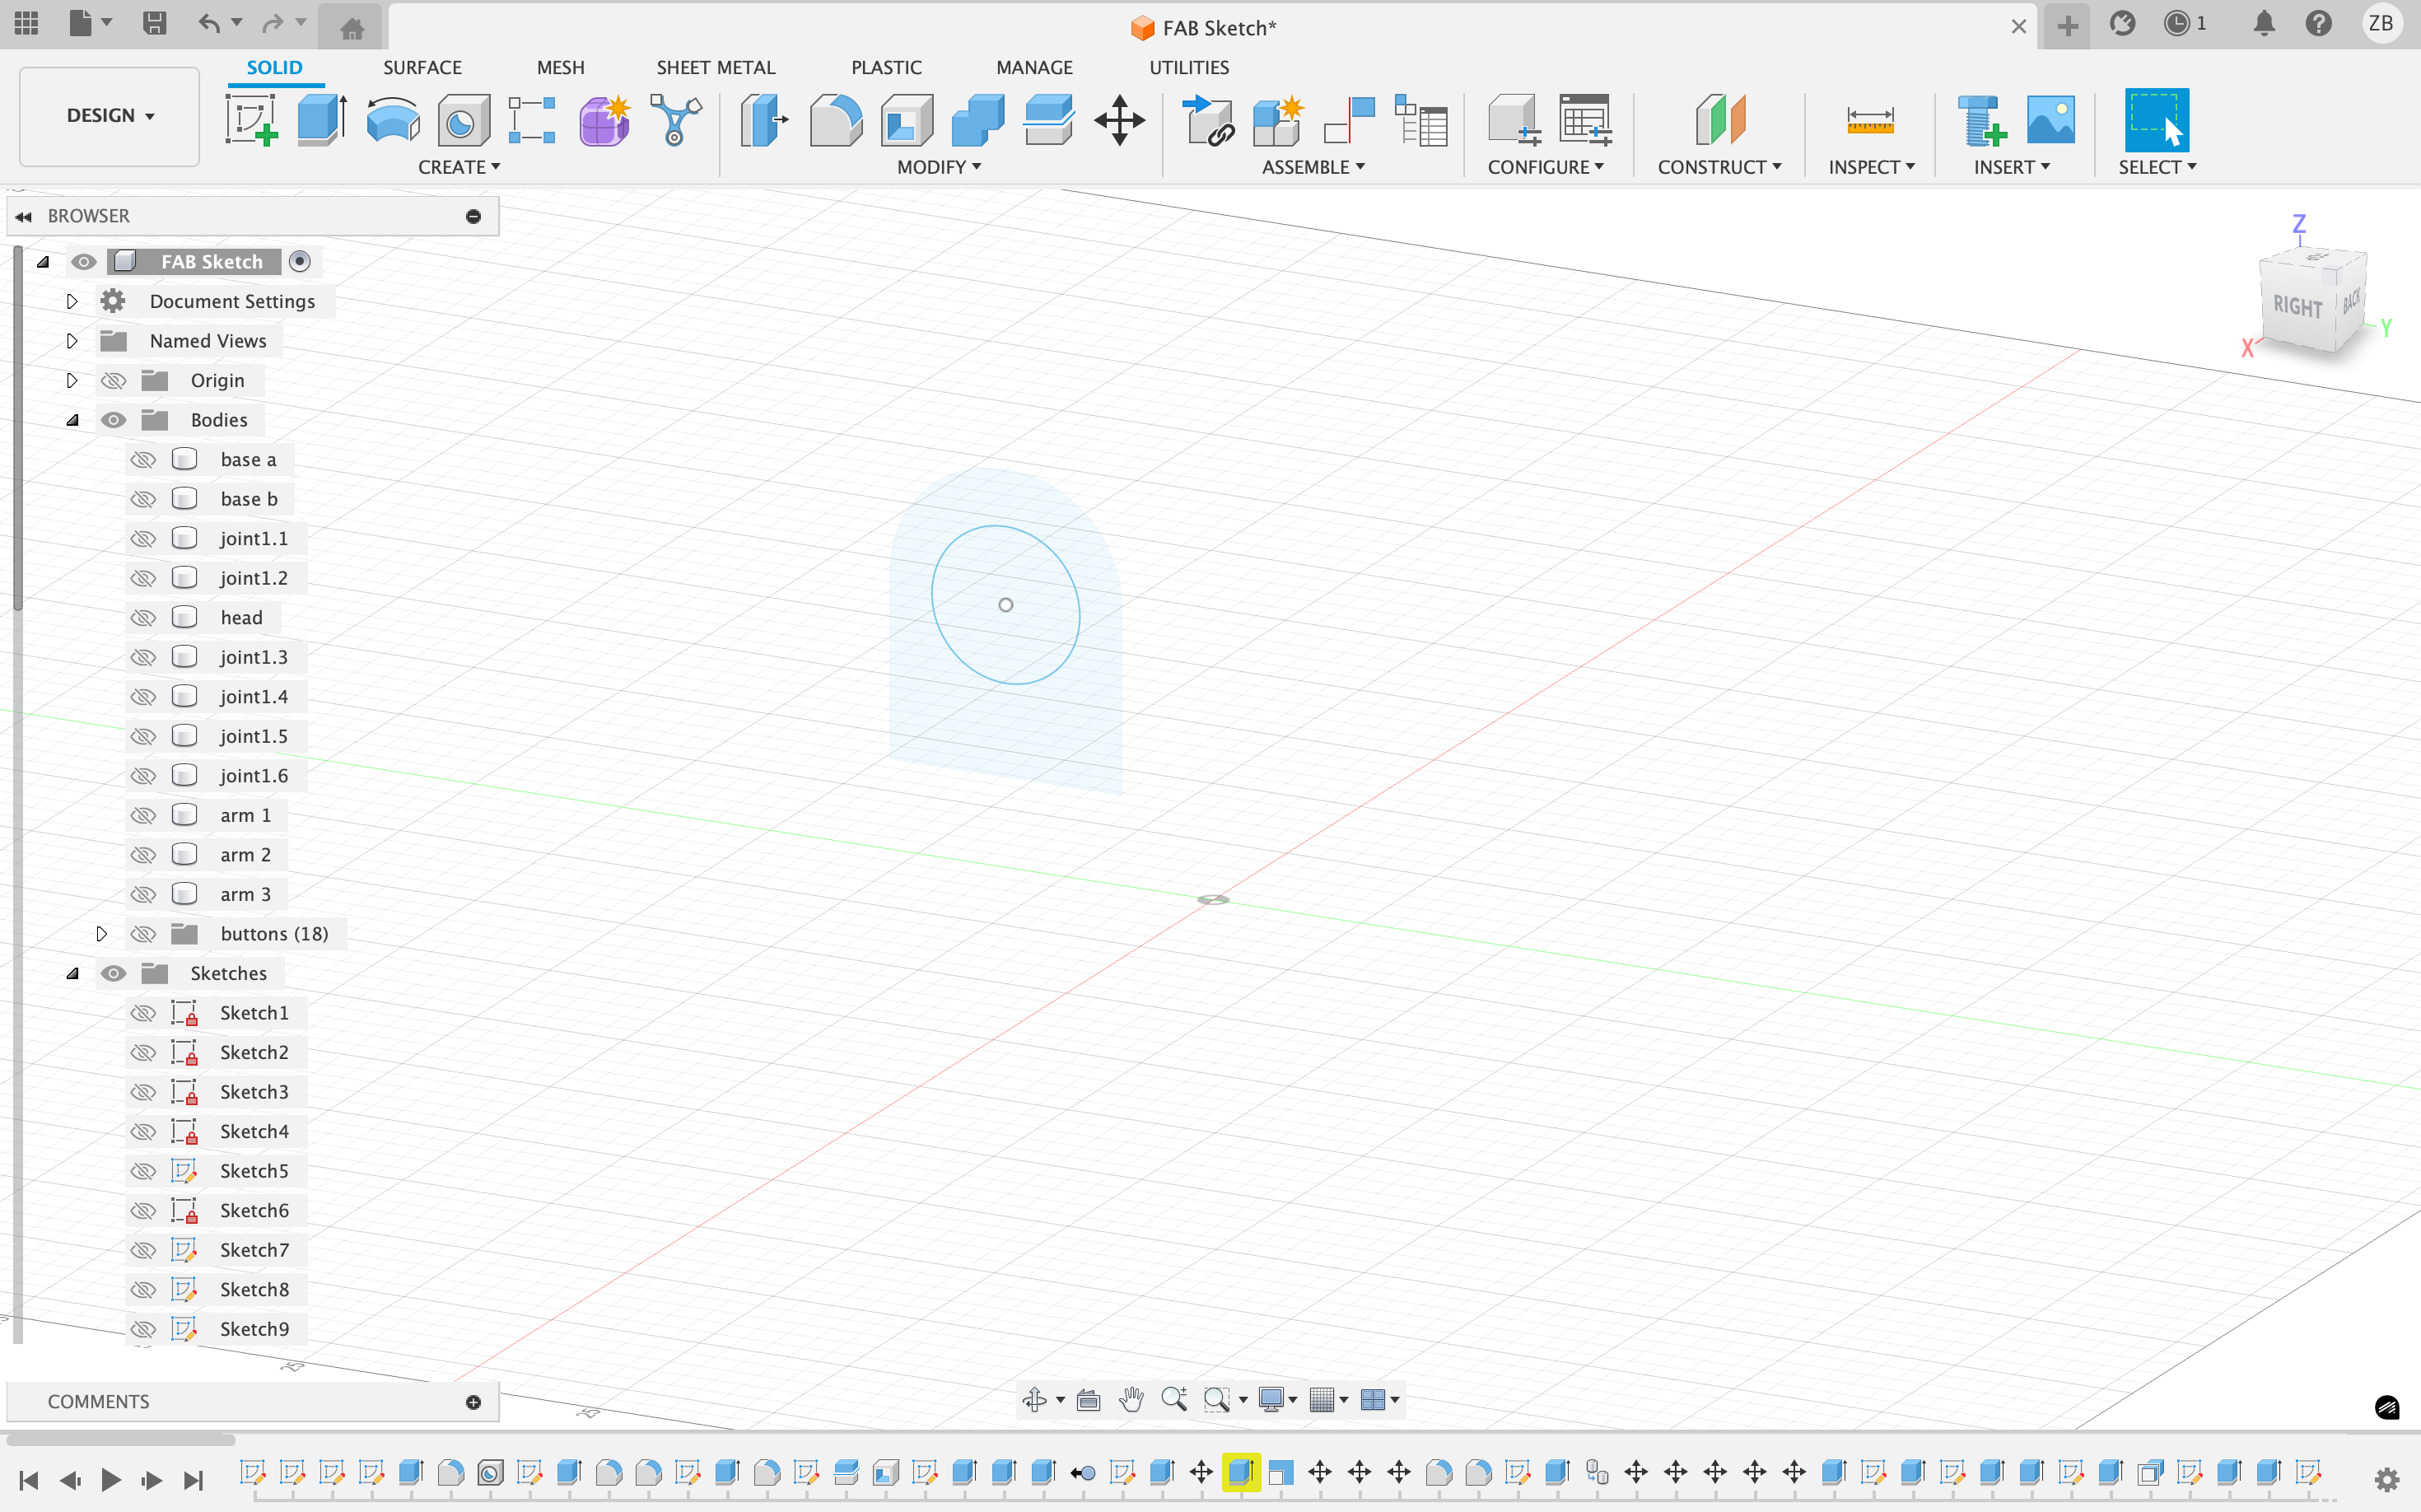
Pivot Bracket
Next, I designed the pivot brackets. Which is a structural component designed to support a rotating or hinged joint, these allow controlled movement between the lamp arms and joints. I created the profile of the pivot bracket using Sketch tools.
I extruded the pivot sketch using Create > Extrude with the New Body option.
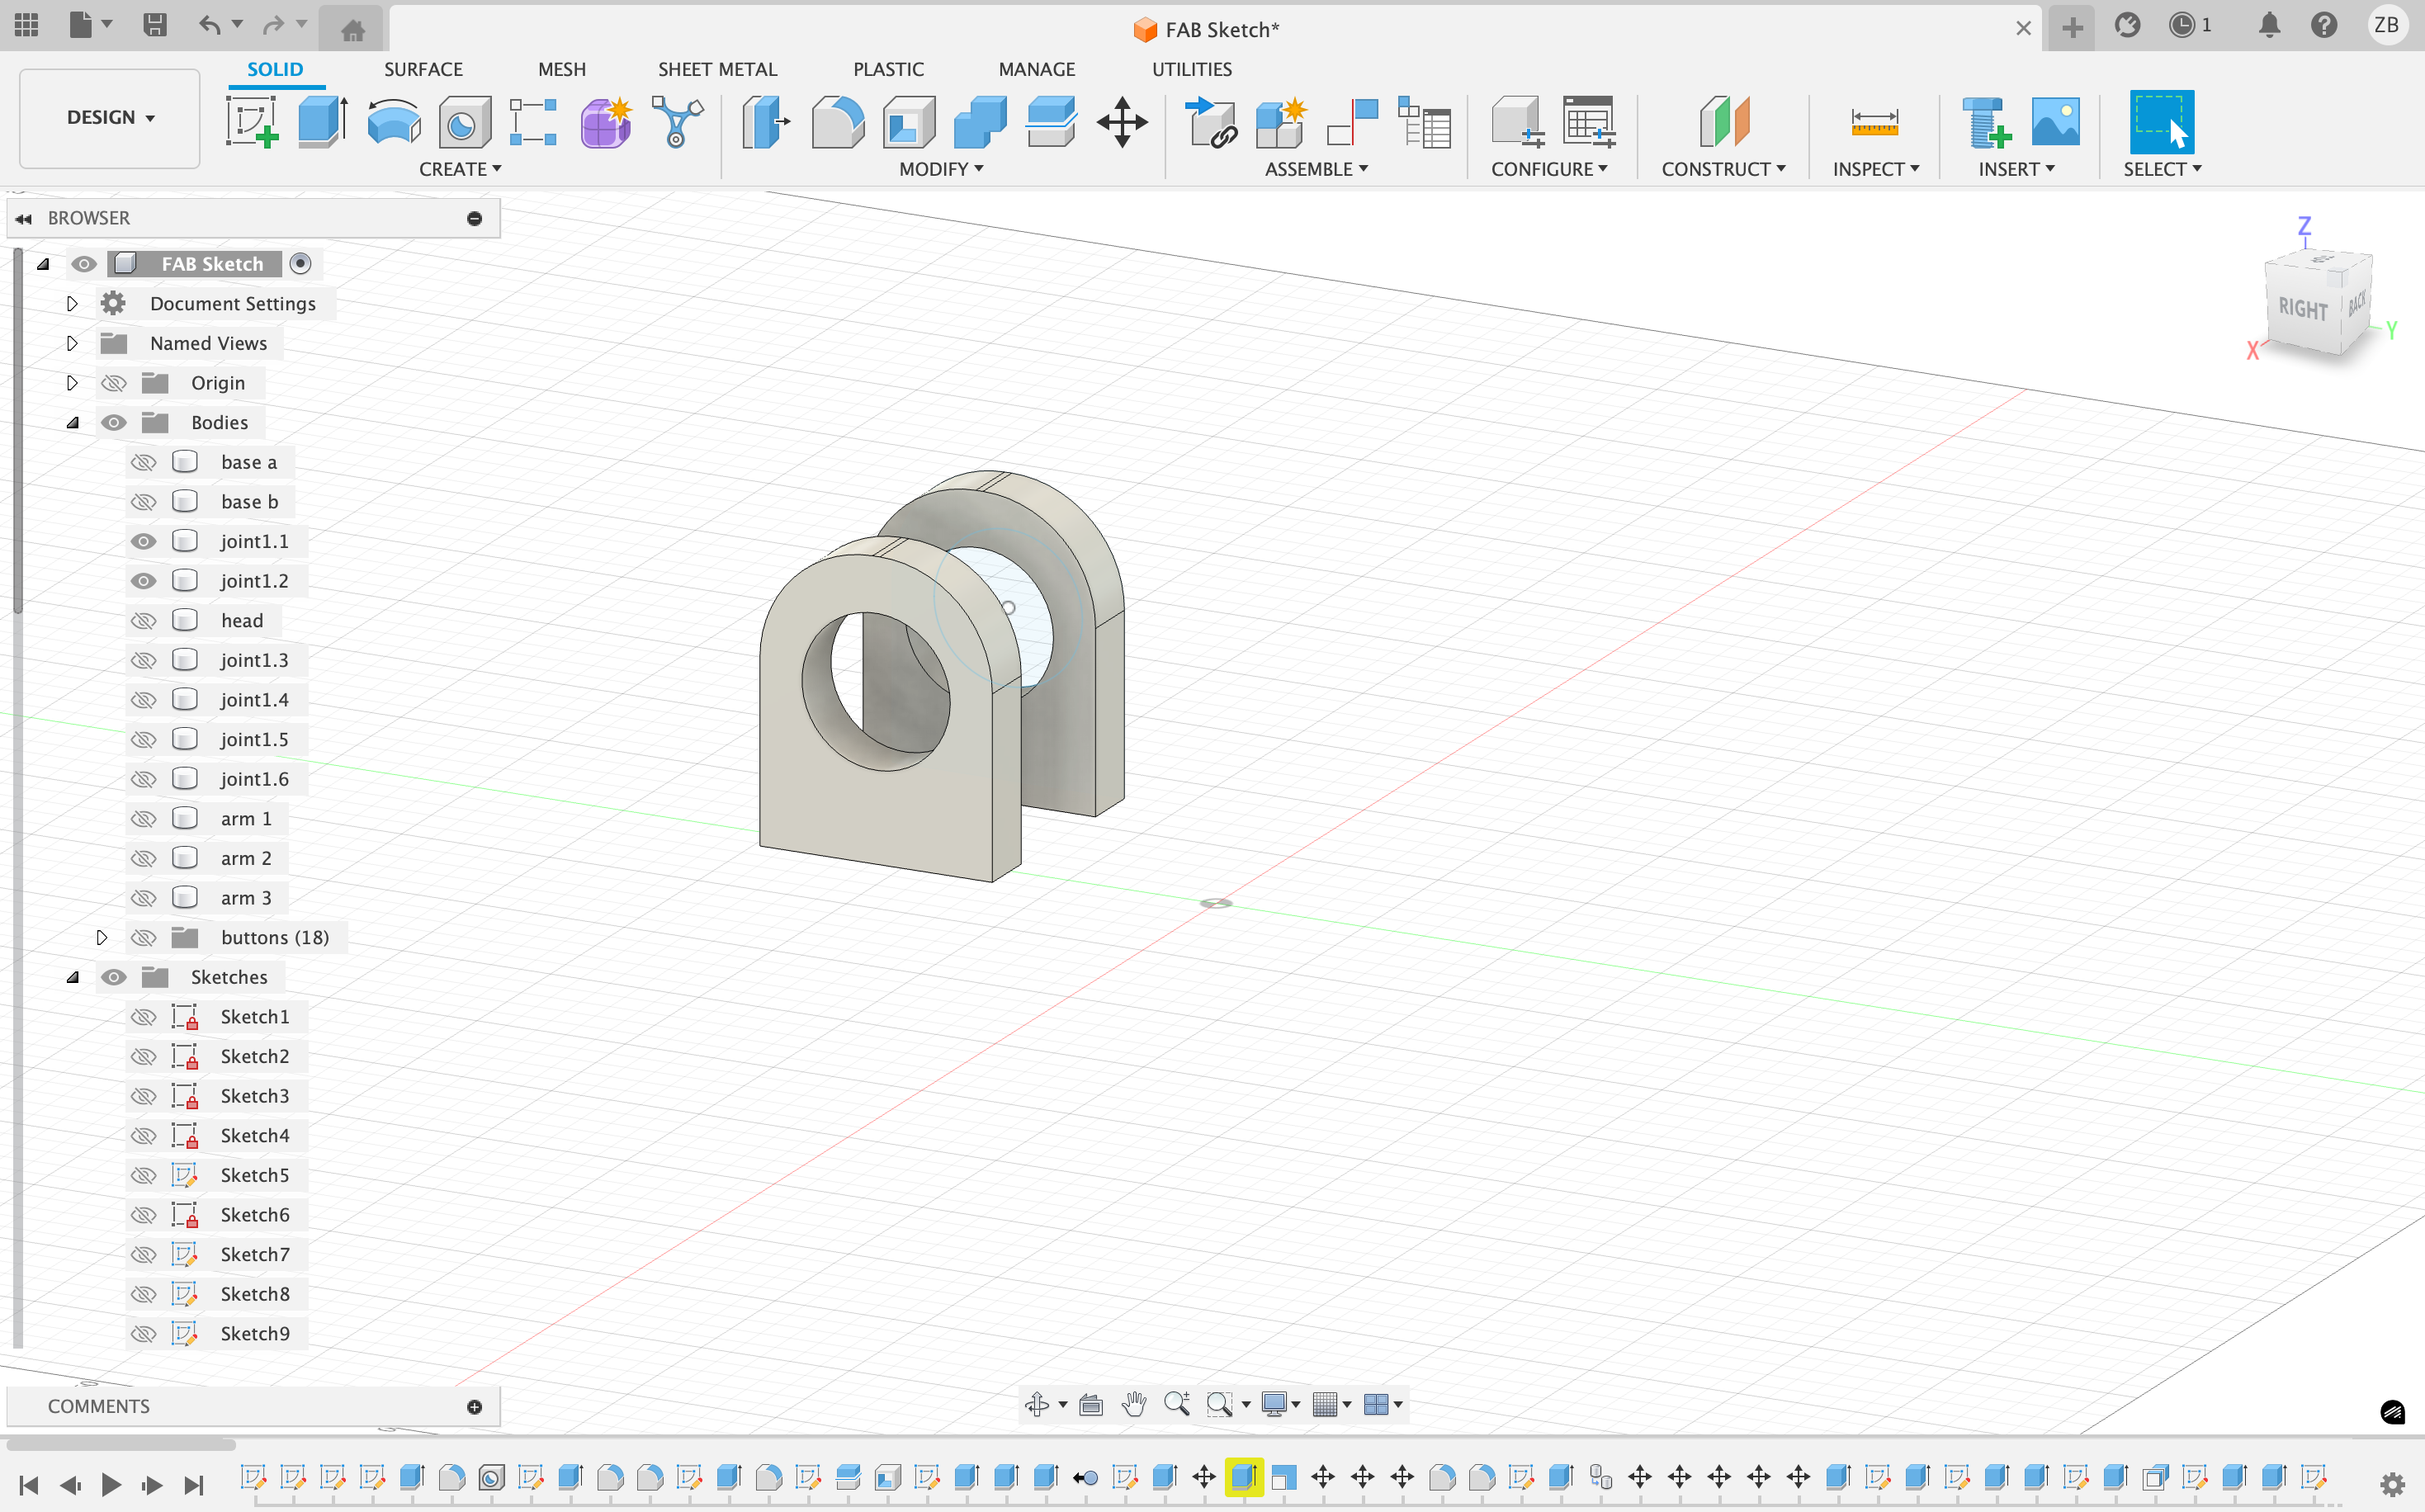
Afterwards, I duplicated the pivot bracket thus resulting in many identical pivot brackets as separate bodies.
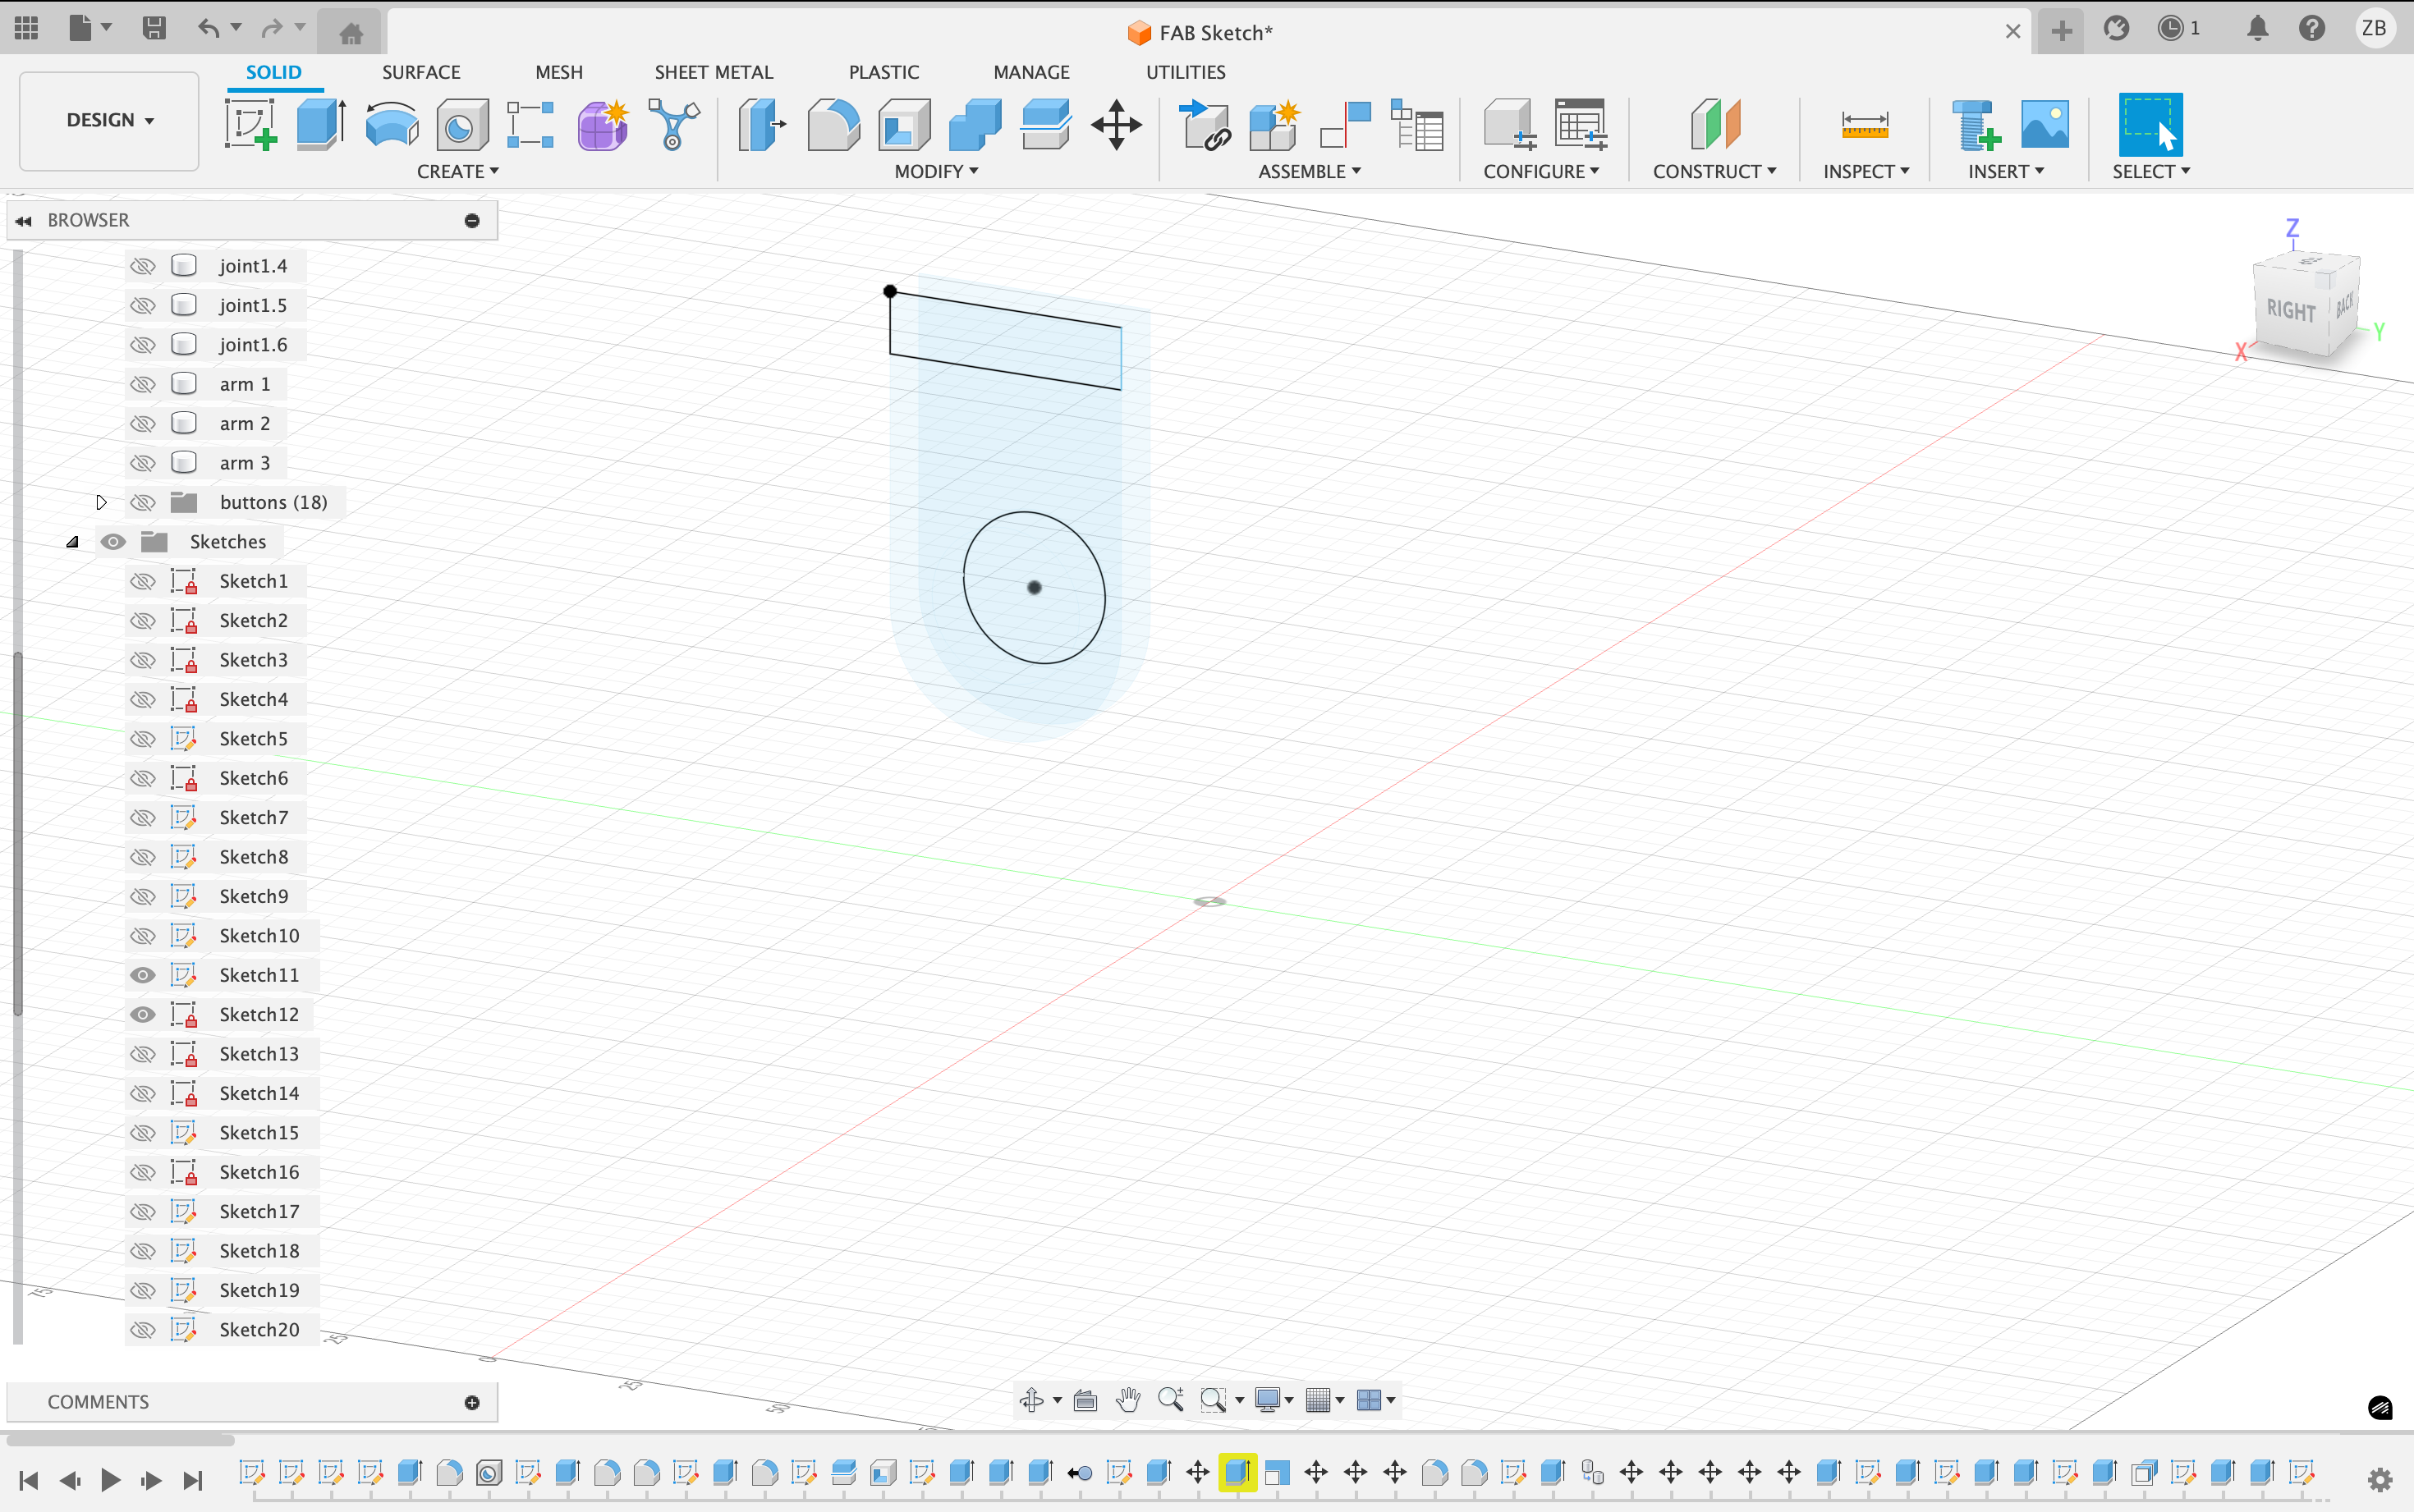
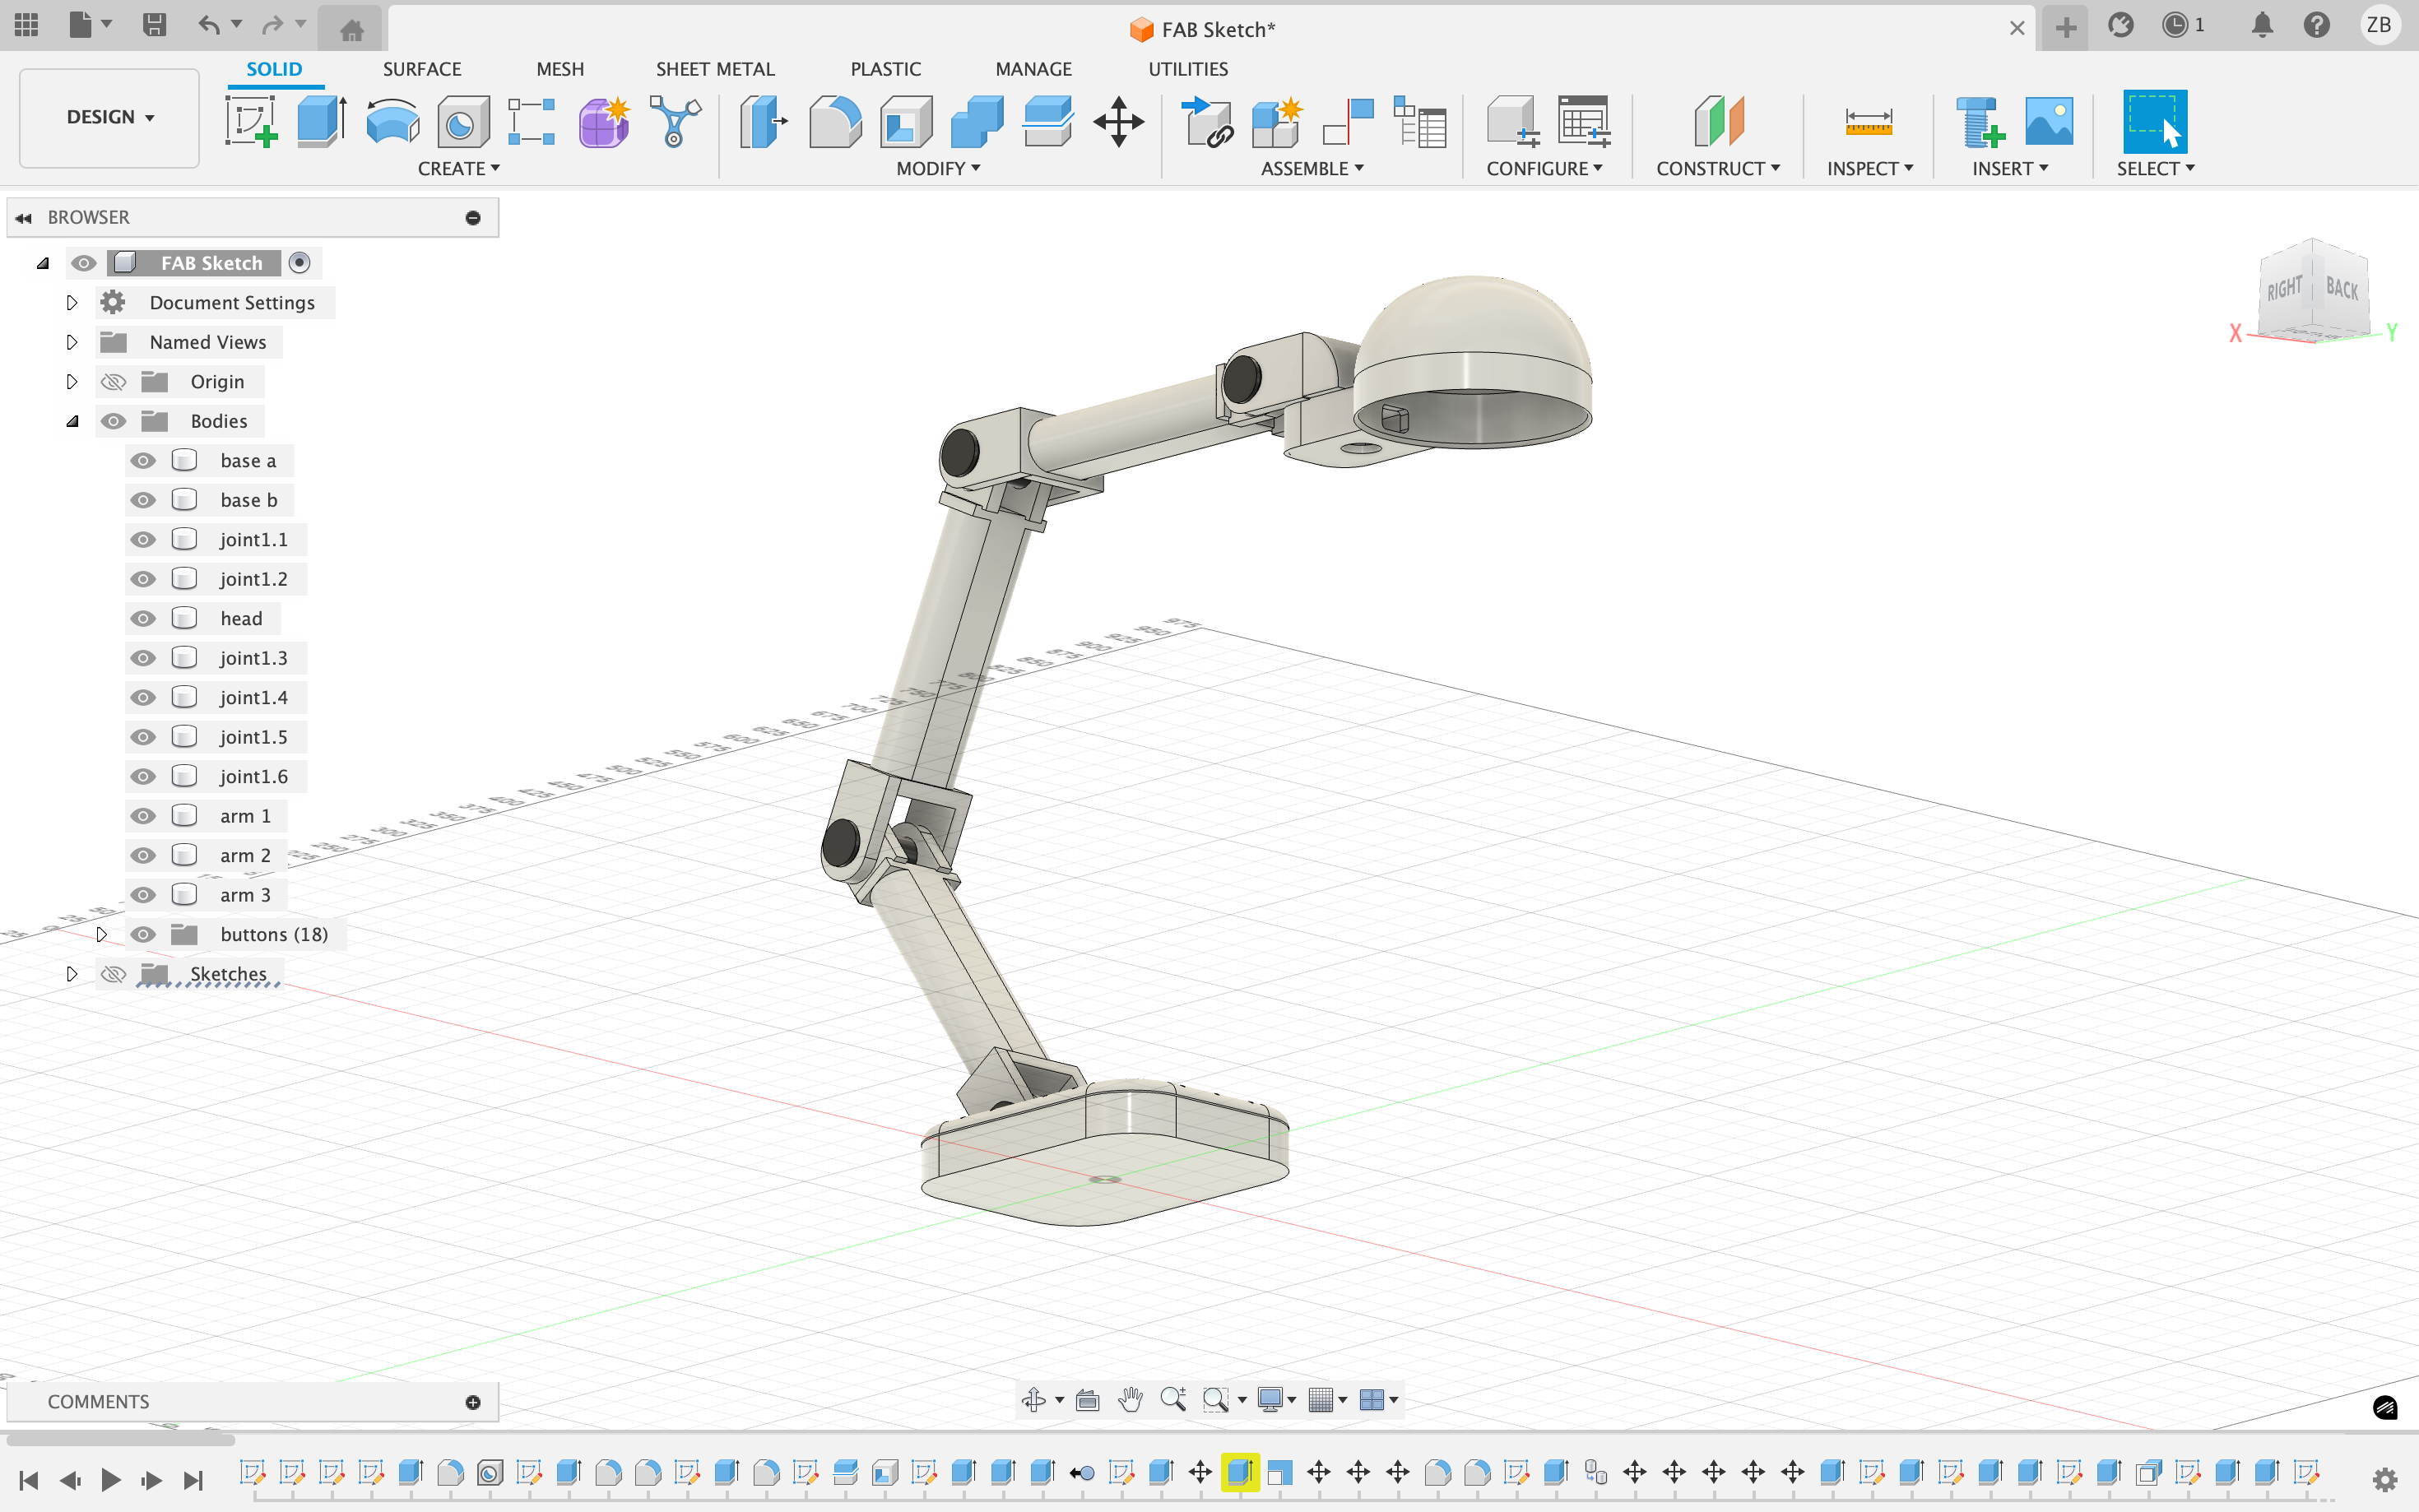
Lamp Head & Arms
I proceeded to sketch the remaining components of the lamp such as the lamp head and arm segments. These parts were designed with proportional dimensions to maintain balance within the whole structure.
Lastly, I extruded each component individually using Create > Extrude and assigned different colors to different parts. Therefore allowing the overall structure and functionality of the design to be clearly visualized.
What I Learned
Despite having little prior experience or knowledge on CAD beyond sketching, i believe that i did a fairly good job. The software applications were new to me, so adapting to them took some time. Through plenty of experimentation, I was able to get the hang of the tools and eventually produce a design that i am proud of.
This week