Computer-Controlled Cutting
Vinyl Design
For the vinyl Design, i will be using Cricut Maker 4.

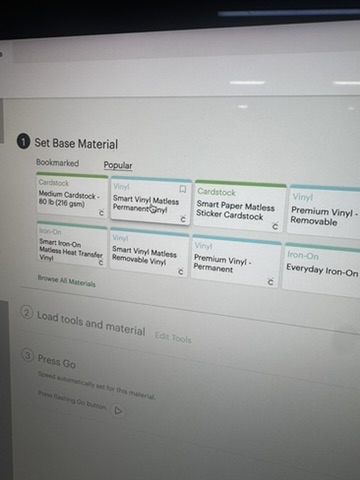
I first created my design ,a UFO, via Cricut Design Space. I adjusted the shapes and changed some details of the design. Afterwards i changed the colors according to my preference and selected the corresponding vinyls sheets. I made sure that all the materials i used were Smart Vinyl’s rather than Iron On’s, as this was a mistake i made on my first try.


After completing the design, i placed the vinyl sheet onto the Cricut cutting mat. In order to prevent the sheet from moving during cutting, i made sure it was secure by rolling over it with a roller. I then loaded the mat into Cricut Maker 4.
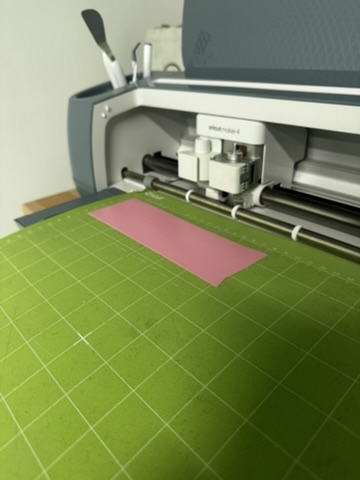
Next, i selected the material as “Smart Vinyl” for the blade pressure and cutting depth were optimized for the material. I then clicked “Make It” to start the cutting process.
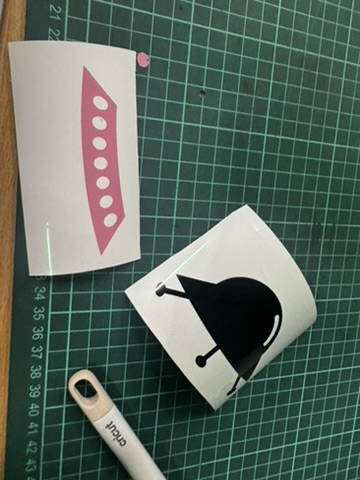
I repeated this multiple times using different colored vinyls sheets so each part of the UFO could be roduced seperatly with different colorrs. Once all parts of the UFO were cut, i weeded the excess vinyl and began to layer the different colored vinyl on top of each other.

Additional: Versa Studio BN-20A
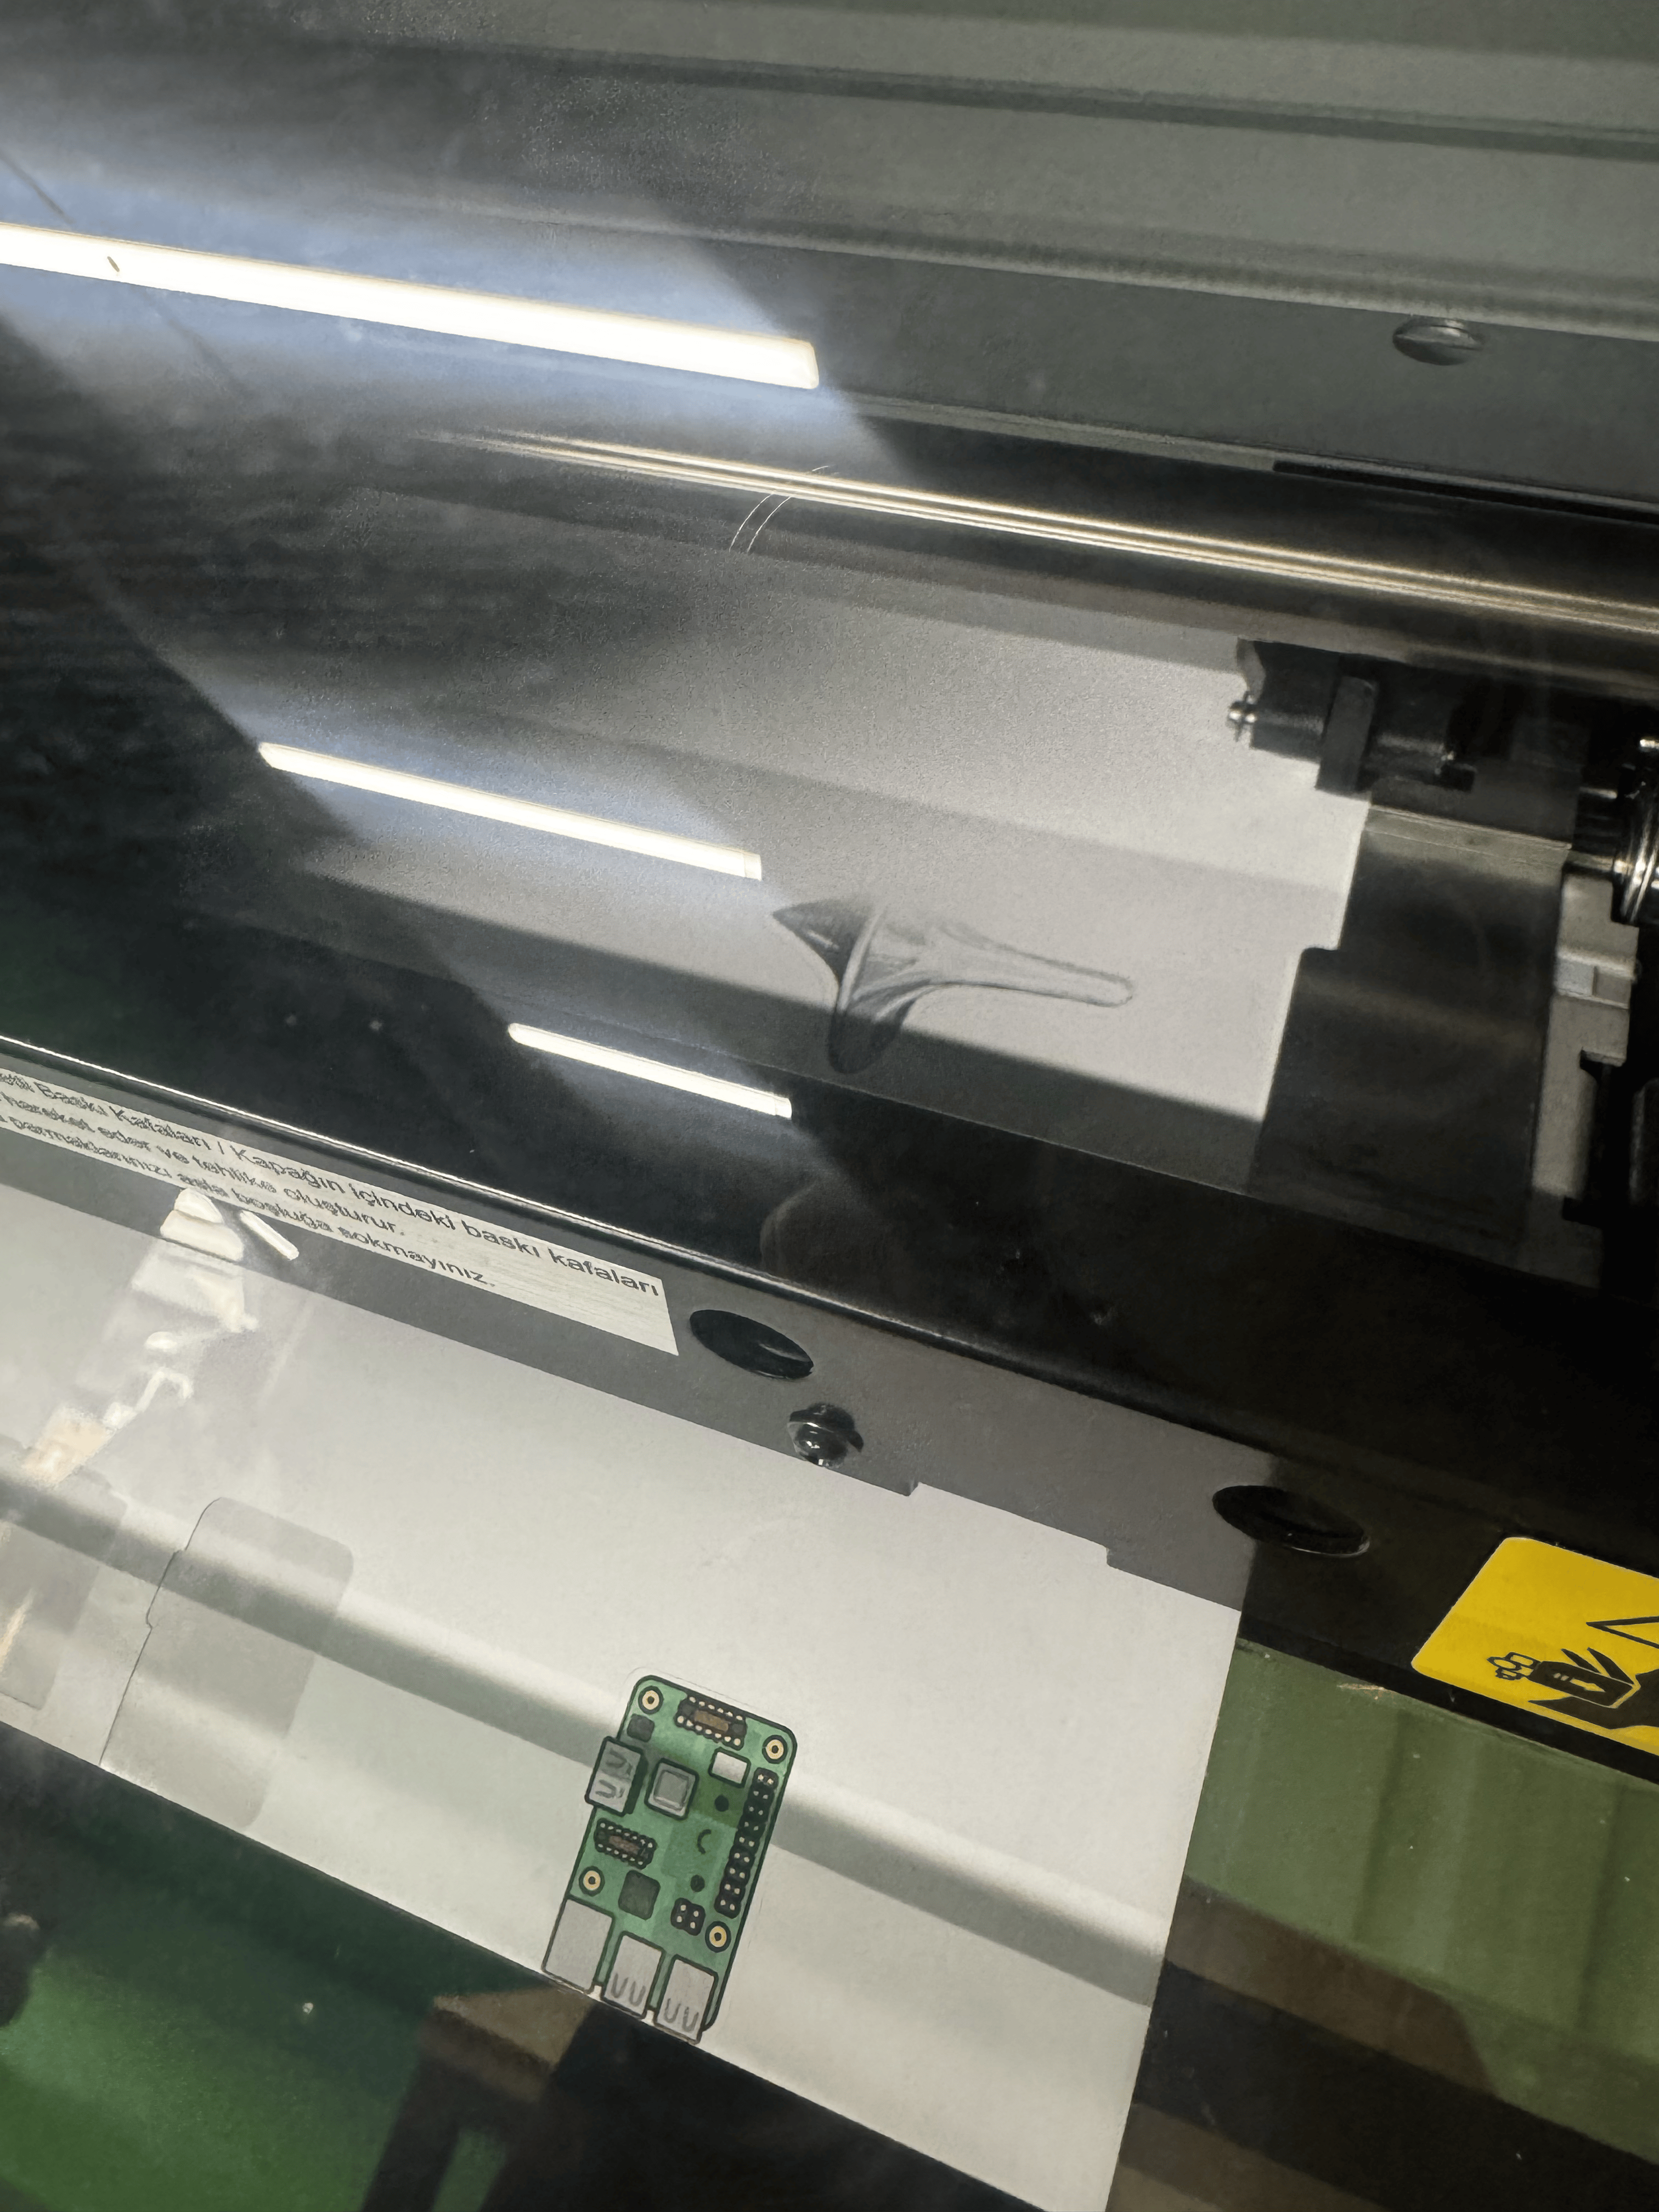
For this part i created a custom sticker inspired by the movie ‘Inception’ using the machine Versa Studio BN-20A. I began by dowloading the image i wanted to use and converted it into a PNG file. After that i uploaded the image into Adobe Illustrator where i traced over and refined the areas i wanted the machine to cut by creating an outline.

In order to ensure that the cutting pathways were recognized by VersaWork i changed the outline color to pink. I then saved and exported the file in .EPS format.


Subsequently, i uploaded the file into Versa Works, adjusted the size and placement according to my preference and proceeded with the printing process!