Project Management
Laptop Specifications
- Device: MacBook Air
- OS: macOS 15.3.1
- Code: VSCode
- The terminal integrated VSCode editor
Git
Git is a version control system that aids me in tracking and managing changes made to my website files. It allows me to have access to my edit history, safely update my work, and keep my files synchronized with my Fab Academy GitLab repository. Also by pushing changes to GitLab, my website gets automatically updated, which makes publishing my documentation and keeping it up to date much easier.
In order to confirm that Git was installed correctly, I first checked the version by running the following:
git --versionThe output should look like this:
git version 2.39.5 (Apple Git-154)Hugo
Hugo is a static site generator that turns Markdown (.md) into a fully functional website. It generates HTML, CSS, and JavaScript from simple text files, allowing fast and efficient site development without the need of writing raw code.
To check the version of Hugo I ran:
hugo versionThe output was:
hugo v0.139.2+extended+withdeploy darwin/arm64For theme styling and custom design modifications to work effectively, the extended version of Hugo is required for processing CSS and SCSS.
SSH Keys
Generate keys by running the following line:
ssh-keygen -t rsa -C "personal@gmail.com" -f ~/.ssh/id_rsa_gitlabThis creates a private key (id_rsa_gitlab) and a public key (id_rsa_gitlab.pub).
Afterwards copy the public key to the clipboard:
pbcopy < ~/.ssh/id_rsa_gitlab.pubAdd the public key to GitLab:
Go into GitLab → Log In or Sign Up → Edit Profile → SSH Keys and paste the copied key.
Register the key locally:
ssh-add ~/.ssh/id_rsa_gitlabTest the connection:
ssh -T git@gitlab.fabcloud.orgOnce you type in yes and if the authentication successful, the return should look like:
Welcome to GitLab, @[username]!Project Setup
I created a new GitLab project using the Hugo Pages template, which provides a ready-made Hugo website where the following are already included: a .gitlab-ci.yml file to automate building and deploying the site, a working GitLab pipeline that updates the site after each push, and a config.toml file with basic site settings, theme selection, and navigation.
I then cloned the repository locally. Thus allowing me to edit content, add media, and customize the website.
Adding A Theme
Instead of adding the theme files into the project, I used Hugo Modules to include the PaperMod theme directly from GitHub.
In the file config.toml I added the line:
theme = ["github.com/adityatelange/hugo-PaperMod"] This basically tells Hugo to use the theme from the remote repository, and to fully set it up I typed the following:
hugo mod init your-module-name  # prepare the project to use Hugo Modules
hugo mod get -u github.com/adityatelange/hugo-PaperMod  # download the theme
hugo mod tidy  # ensure everything is properly listed in go.mod and go.sum
This method keeps the project clean, makes updating the theme simpler, and ensures consistent theme versions.
Configuring (Setting Up) the Website
The website is set up using the config.toml file, which defines the website’s identity, appearance, navigation, and functionality.
Site Information: The title, author, and description are the main components of the website. This information appears in the header and is also used by search engines.
Theme Settings: PaperMod allows customization without touching the code. Like how the defaultTheme can automatically switch between light and dark mode depending on the device or user preference, or the table of contents and reading time.
Navigation Menu: The menu is defined under menu.main and controls the main links, such as Home and About Me, their labels, where they link to, and the order they show up in.
Creating Pages & Weekly Posts
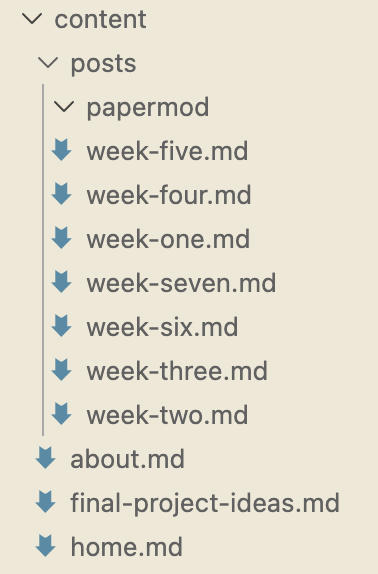
Standalone pages are stored under content/ as name.md, for instance:
home.md
about.md
final-project-ideas.md
home.md
about.md
final-project-ideas.mdWeekly assignments are stored under content/posts/ as:
week-one.md
week-two.md
(and so on…)
Media & Formatting
All media files, including images and videos, are organized to keep the website consistent and easy to maintain.
Images:
Images are stored in the static/images/ folder. Anything placed here is copied directly into the website during the build process. They are easy to reference in Markdown files, like shown below
Custom Image Shortcode:
To maintain consistent formatting for all images, a custom Hugo shortcode was created in:
layouts/shortcodes/img.htmlSo images can then be added using the formatting:
<img src="/2026/labs/hisar/students/zeynep-basligil/images/example.png" alt="Example image" loading="lazy" />Videos and Other Media:
Videos and other larger media files are also stored inside the static/ folder. They can be referenced in posts using relative paths.
Adding Content & Updating the Webstie
Prewieving changes locally
Before publishing any changes it is useful to see how changes look in the browser, that can be done using Hugo’s local server hugo server which launches a preview in http://localhost:1313 Acting as a very practical tool for checking formatting, layout and content.
Saving & Uploading Changes
Once all desired edits are done and checked locally, these changes are tracked and uploaded using git.
git status #shows modified files
git add . #stages all changes
git commit -m "" #saves changes with a descriptive message inside ""
git push #uploads the changes to GitLab
Deployment
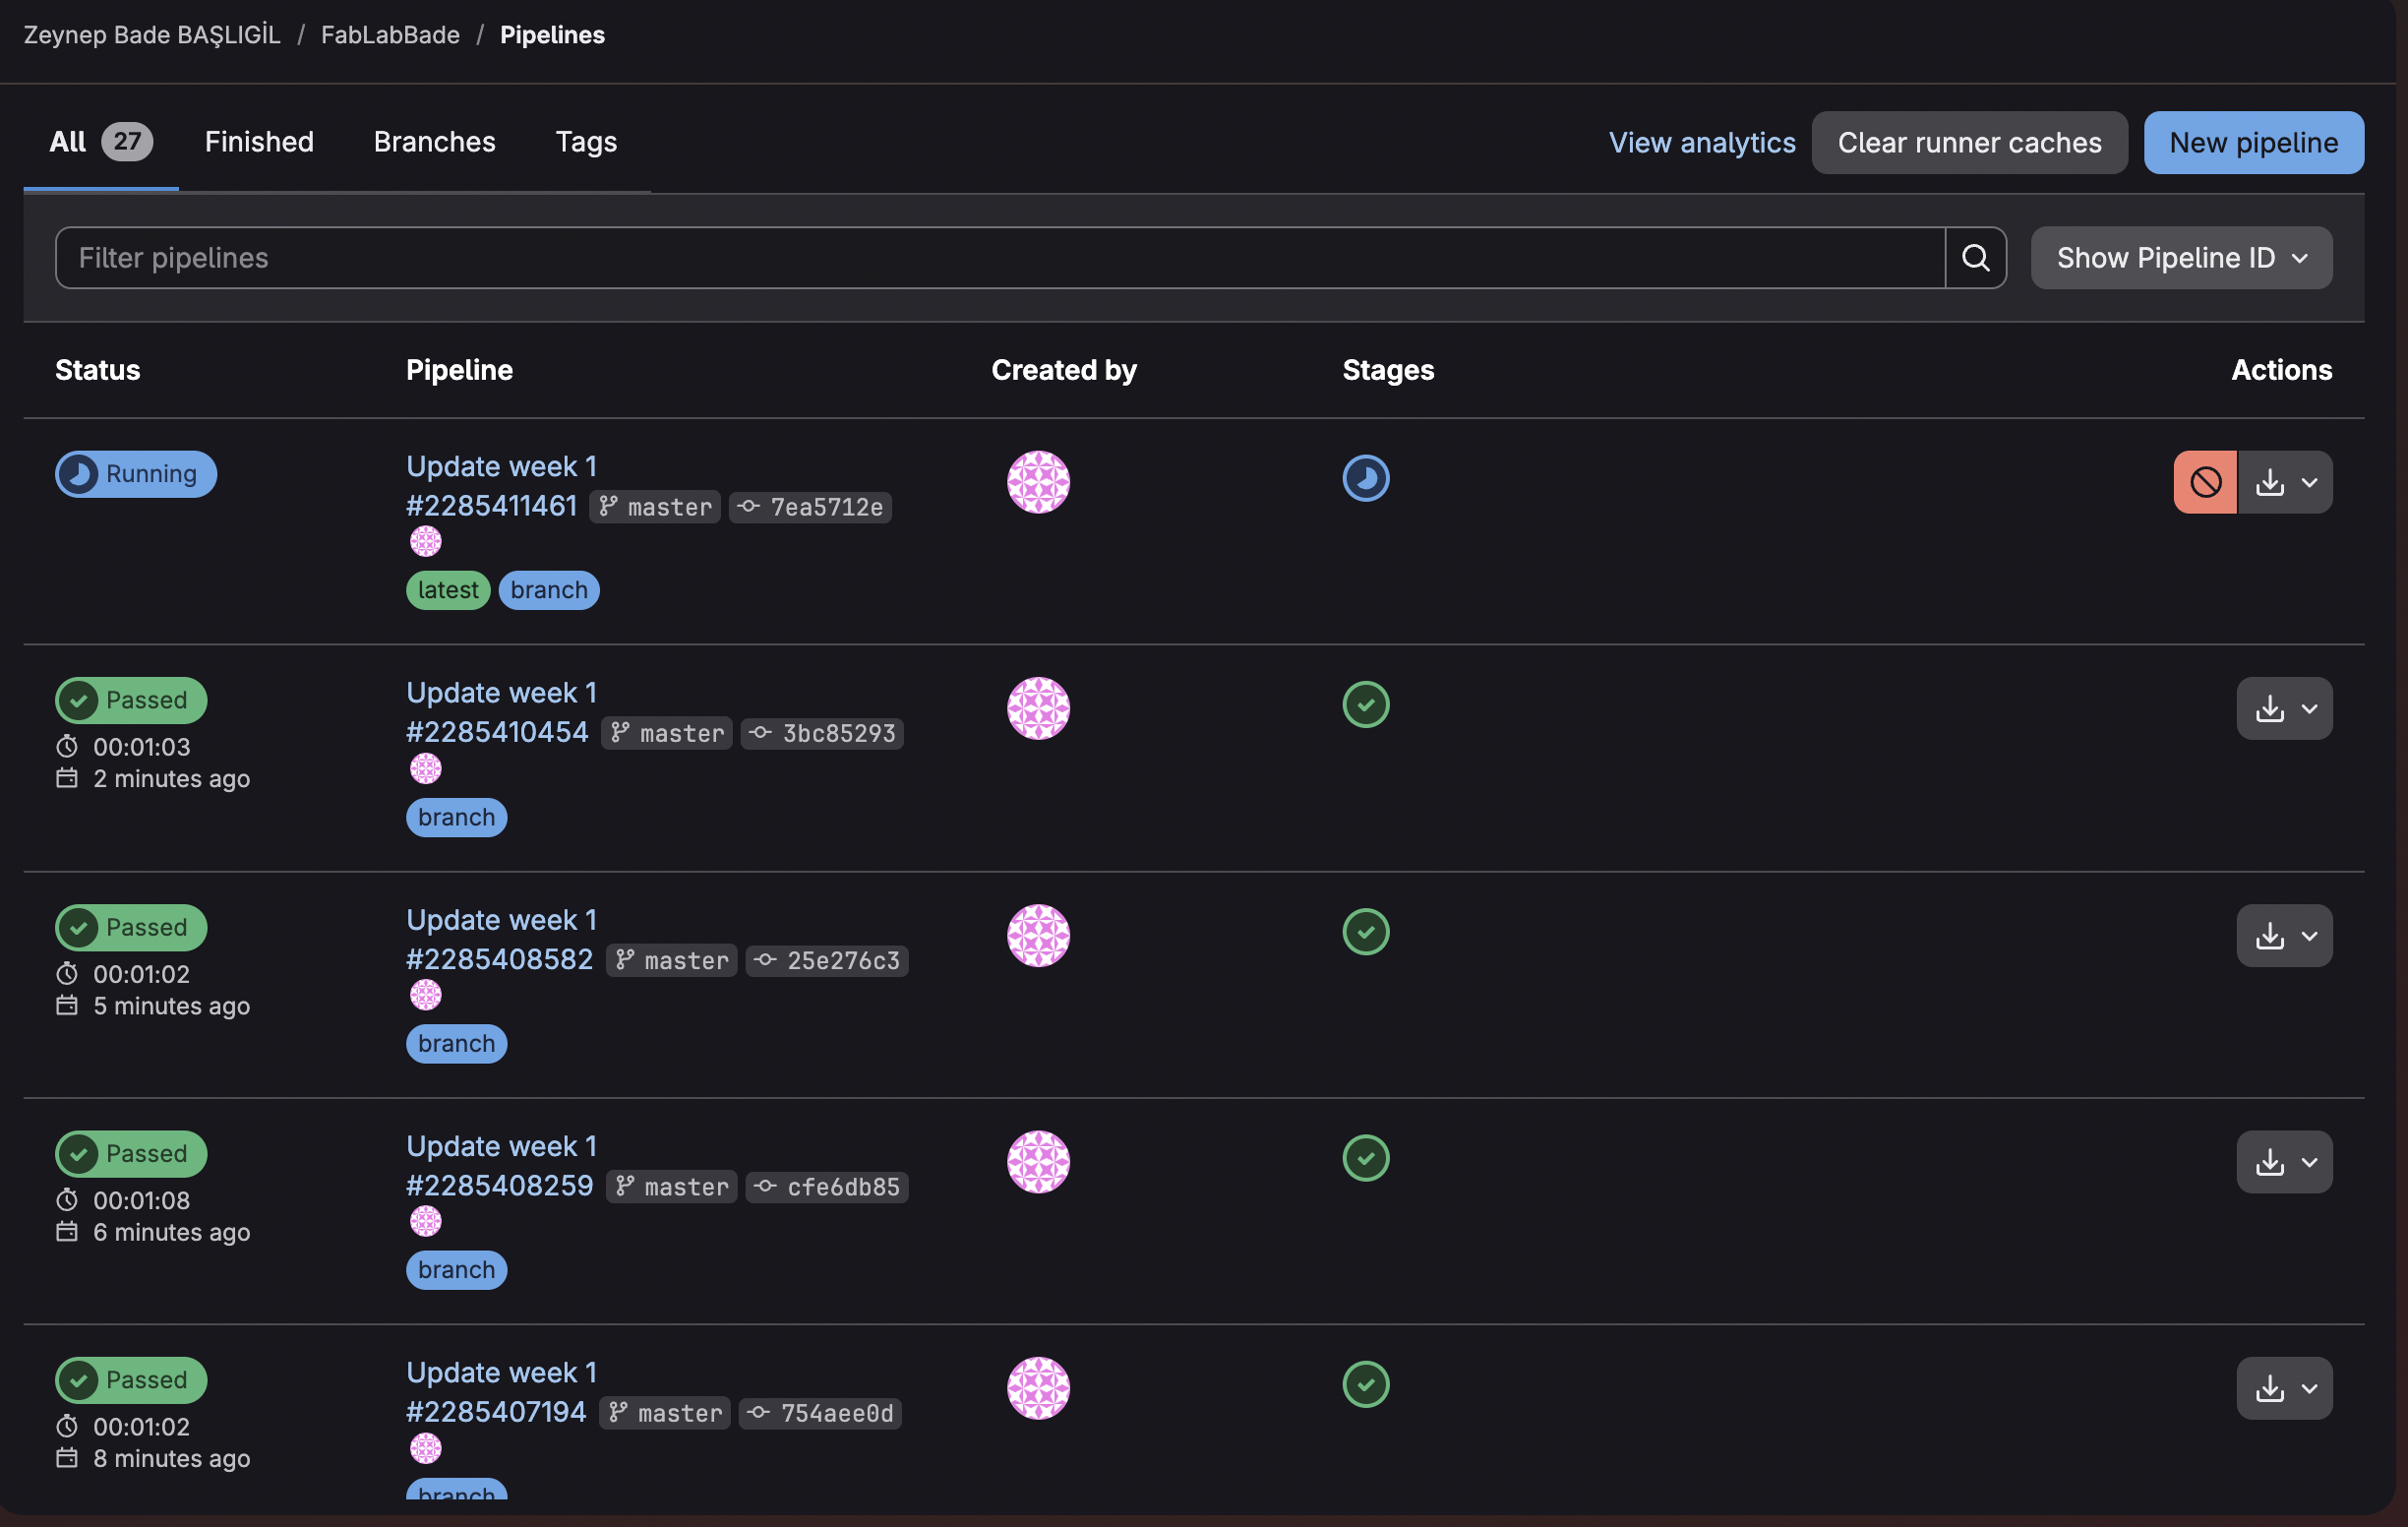
The website is deployed automatically via GitLab CI/CD whenever changes are pushed into repository and the pipeline, defined in .gitlab-ci.yml, runs Hugo in order to build the static site.
As the deployment goes on, Hugo generates the website files within the public/ folder, minifie them for faster loading and sets the baseURL to make sure all links and assets work correctly on Pages.
After the website is built, the public/ folder is hosted by GitLab Pages, making any changes live immediately.