Week 1, Project Management
Table of Contents
- Overview
- Resources
- Final Project Idea
- Creating My Website
- Post-Upload
Overview
This week, I though an idea for my final project. I created an SSH key and cloned my site. I also edited the css file to give my website some style.
Resources
- I used this website to get help for my website.
- I used this website when creating an SSH key.
- I used this website when cloning my website.
- I used this website to get help for my css file.
Final Project Idea
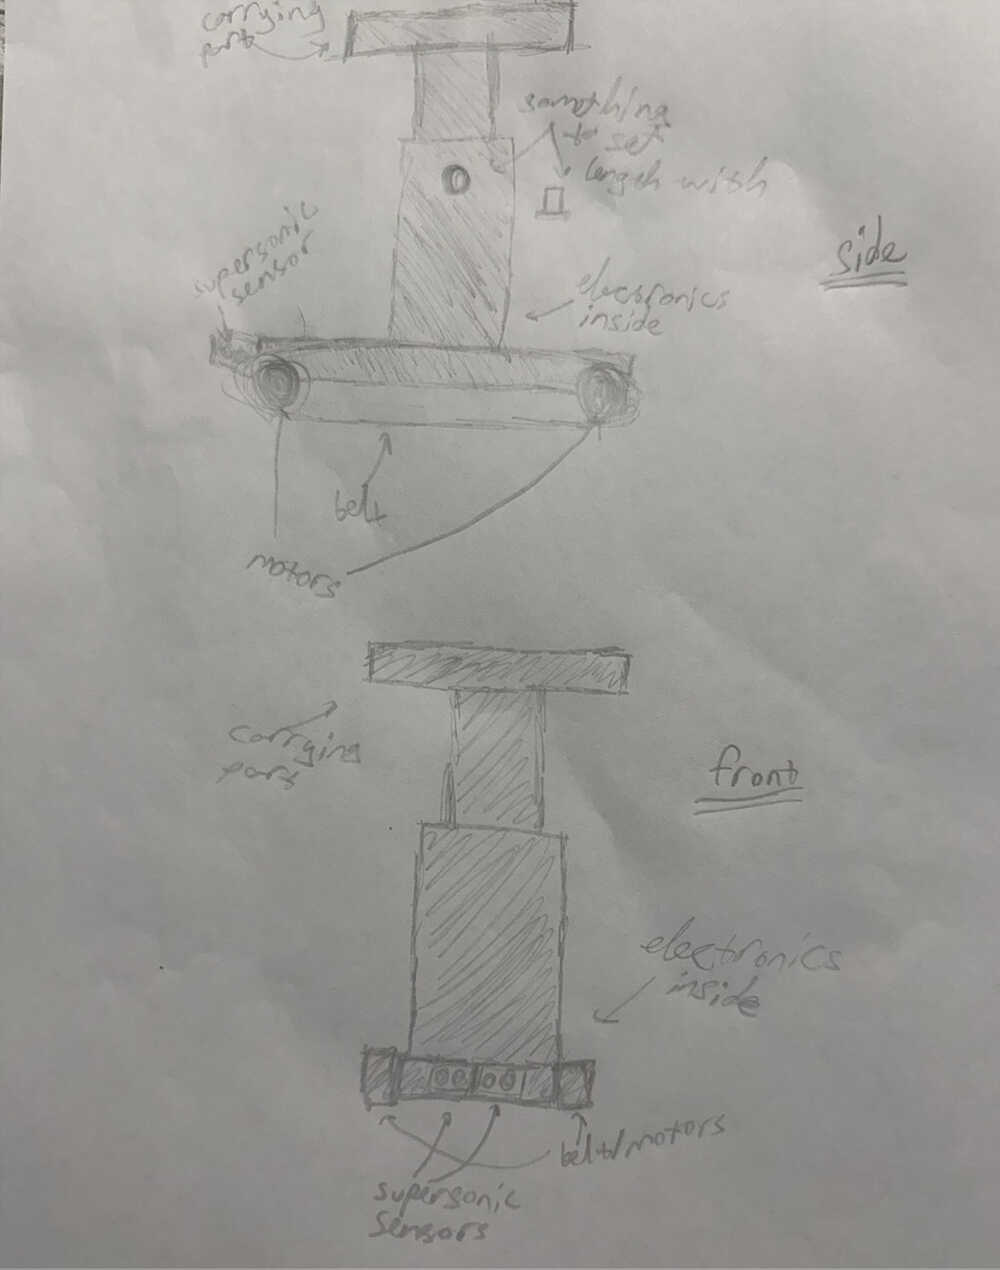
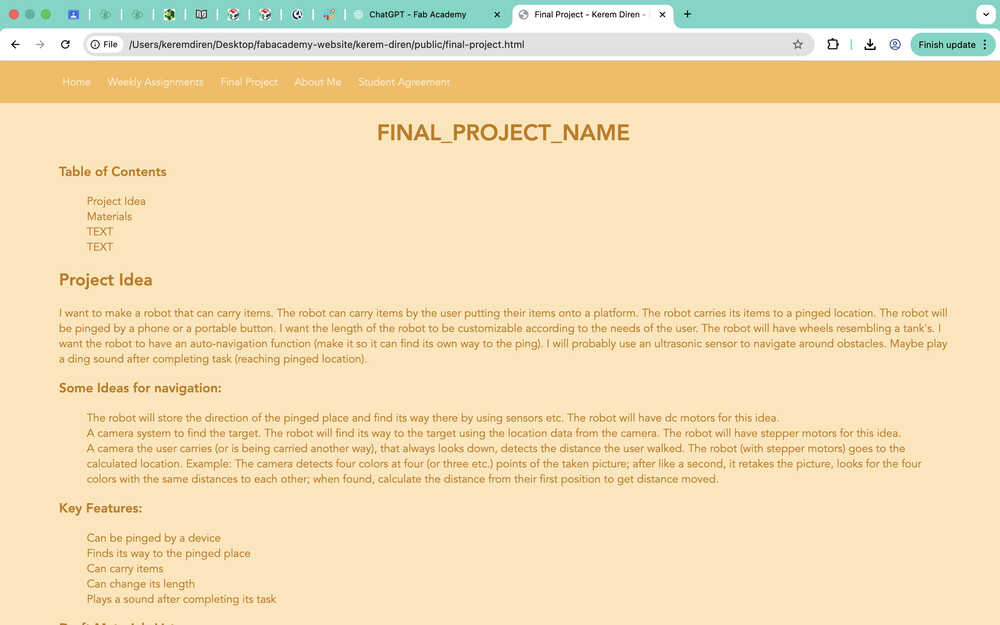
I want to make a robot that can carry items. The robot can carry items by the user putting their items onto a platform. The robot carries its items to a pinged location. The robot will be pinged by a phone or a portable button. I want the length of the robot to be customizable according to the needs of the user. The robot will have wheels resembling a tank's. I want the robot to have an auto-navigation function (make it so it can find its own way to the ping). I will probably use an ultrasonic sensor to navigate around obstacles. Maybe play a ding sound after completing task (reaching pinged location).
Some Ideas for navigation:
- The robot will store the direction of the pinged place and find its way there by using sensors etc. The robot will have dc motors for this idea.
- A camera system to find the target. The robot will find its way to the target using the location data from the camera. The robot will have stepper motors for this idea.
- A camera the user carries (or is being carried another way), that always looks down, detects the distance the user walked. The robot (with stepper motors) goes to the calculated location. Example: The camera detects four colors at four (or three etc.) points of the taken picture; after like a second, it retakes the picture, looks for the four colors with the same distances to each other; when found, calculate the distance from their first position to get distance moved.
Key Features:
- Can be pinged by a device
- Finds its way to the pinged place
- Can carry items
- Can change its length
- Plays a sound after completing its task
Draft Materials List:
- Ultrasonic sensor
- DC/Stepper motors
- PCB (motor driver, capacitor, resistor etc.)
- A portable power source (probably some batteries)
- 3D printed parts
- Something to play sound with
- A camera
Sketch:
Creating My Website
For anyone planning on following my steps, I'm using an Apple MacBook Pro with an M1 chip.
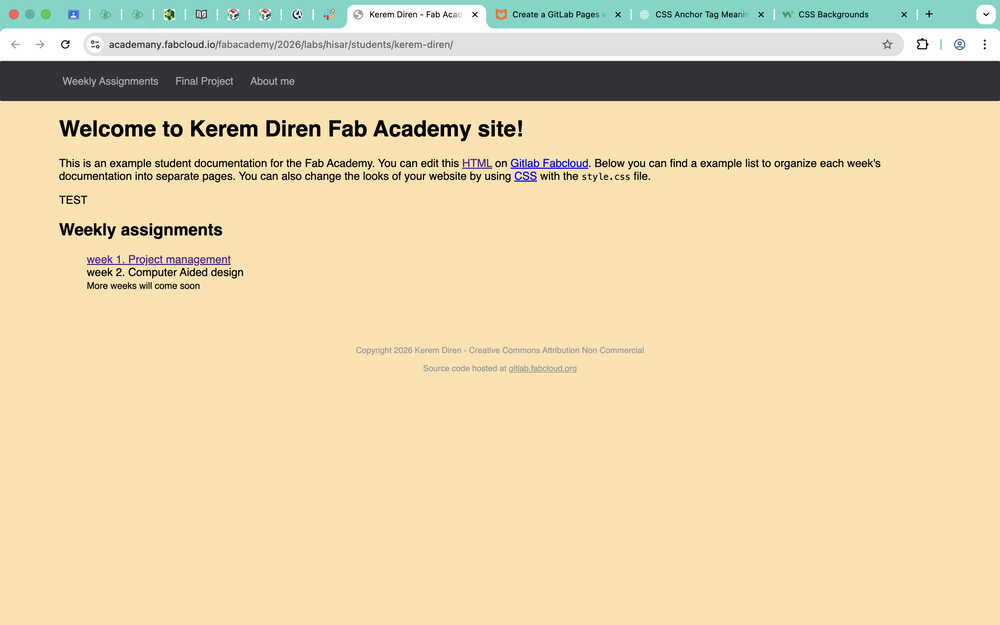
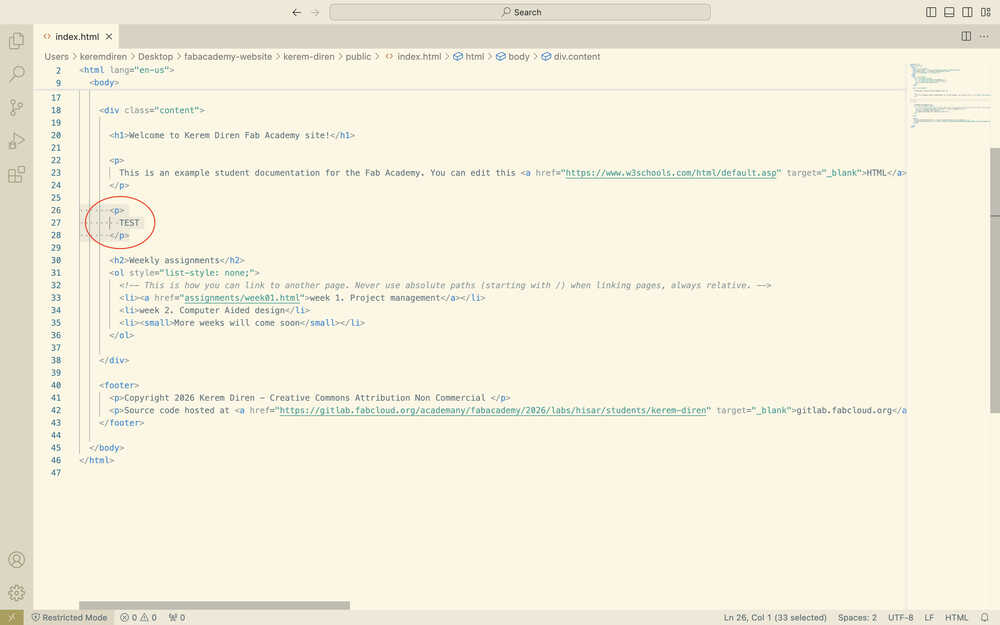
I first opened the website I gave in the resources section about websites and started reading the information written in it. After some time looking through the website and going back and forth from my GitLab repository, I realized that my website was already deployed. I tested this by changing something in the "index.html" file.
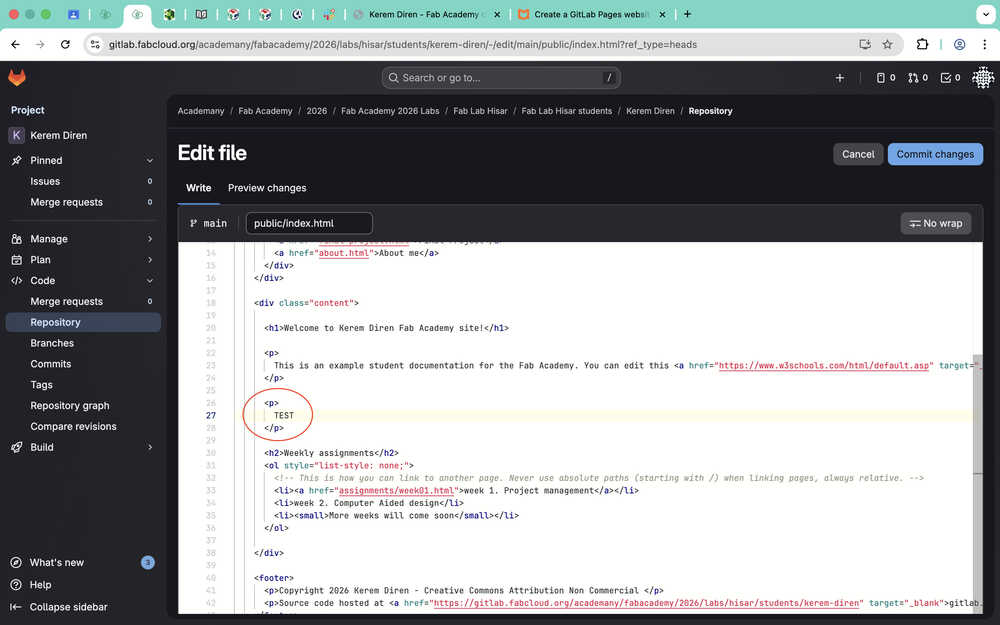
Then, I selected the "commit changes" button.
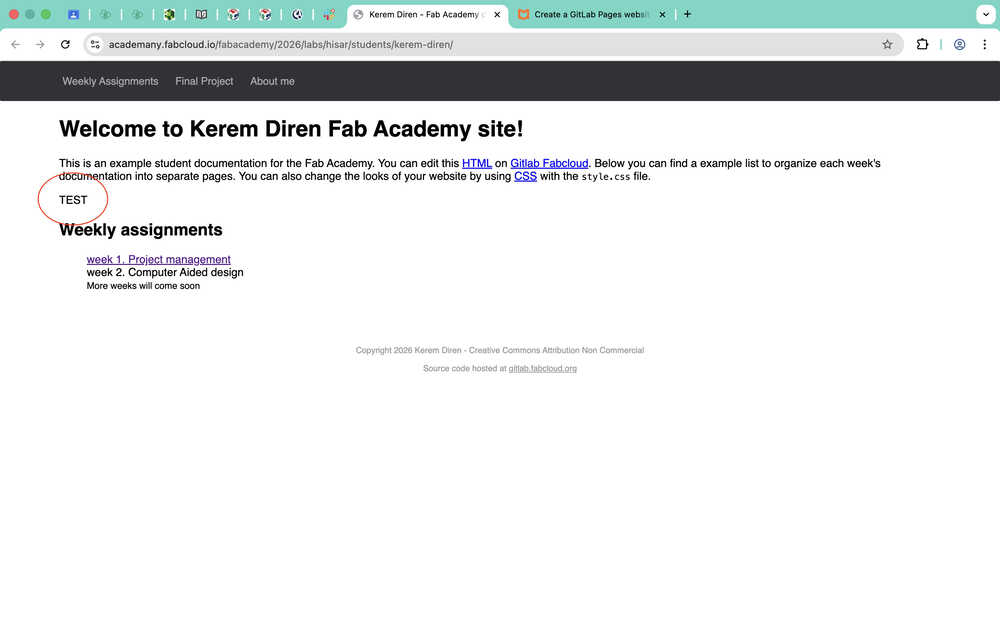
The result:
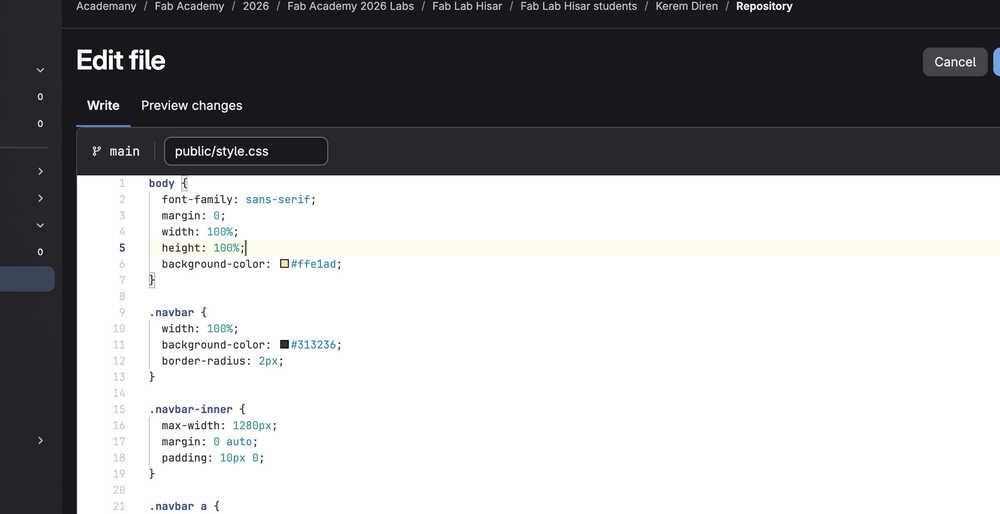
Before adding any information to my website, I wanted it to look better. That's why I decided to create a template on my own. That's why I started to read the .css file.
I asked this to ChatGPT.
After some time comparing what was written in the css to the index file, I very much understood how to navigate the files. I started to imagine what I wanted my site to look like.
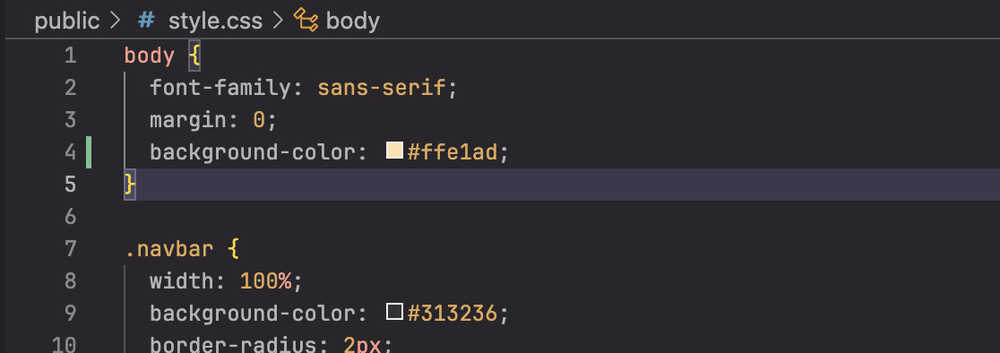
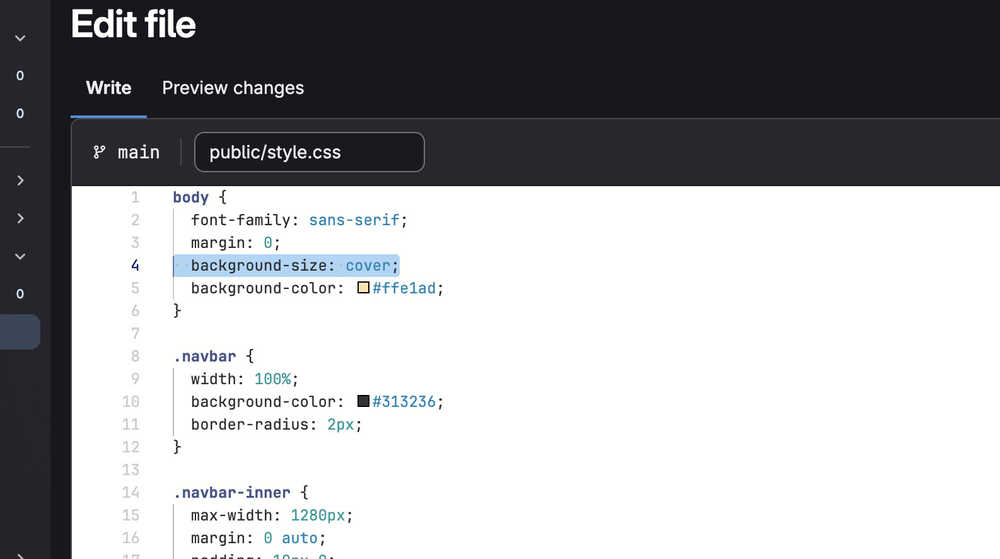
I decided to change the background to cream color. I asked ChatGPT for the code of the color. After some testing, I decided to settle for "#ffe1ad".
The code didn't work, so I changed it.
This also didn't work, so I tried this:
This also didn't work, so I looked at the website I gave in the resources section about css backgrounds. What I did first seemed correct, so I decided to ask ChatGPT.
I was about to apply what ChatGPT told me. I opened my website one last time before changing the code. Apparently, what I wrote before DID work; the background color was what I intended it to be. I just wasn't patient enough to wait until the site updated.
I decided to make the background color lighter. Now it's "#ffe4b8".
I changed the font to Ubuntu. I asked ChatGPT What font family is the font ubuntu? However, the font didn't work because it wasn't something already loaded in. Because I didn't wan't to load a font from elsewhere, I asked ChatGPT for alternative fonts. I decided to use Avenir. I chose "Avenir Next" and "sans-serif" as alternatives.
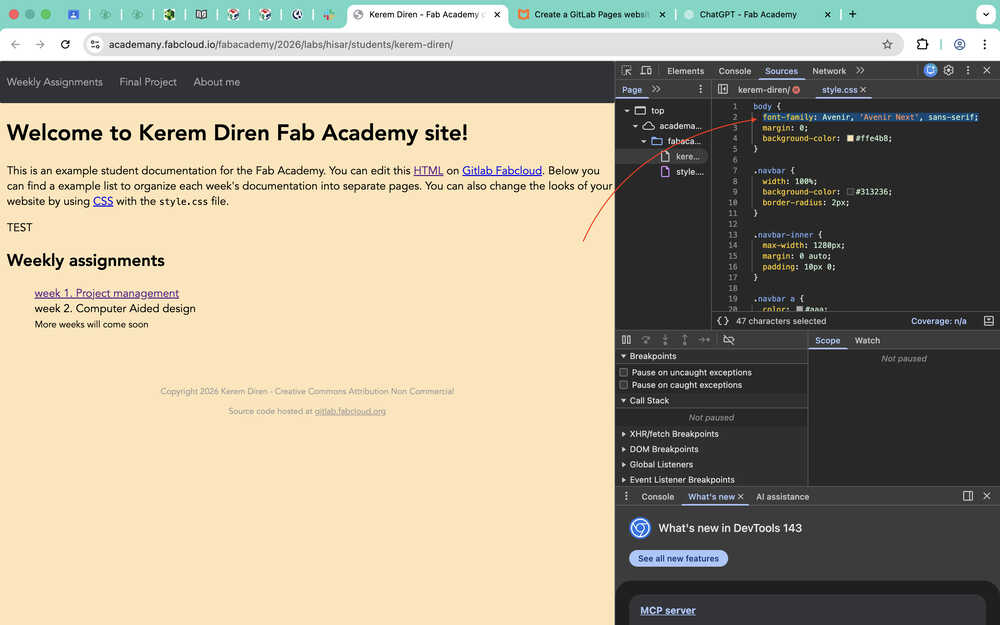
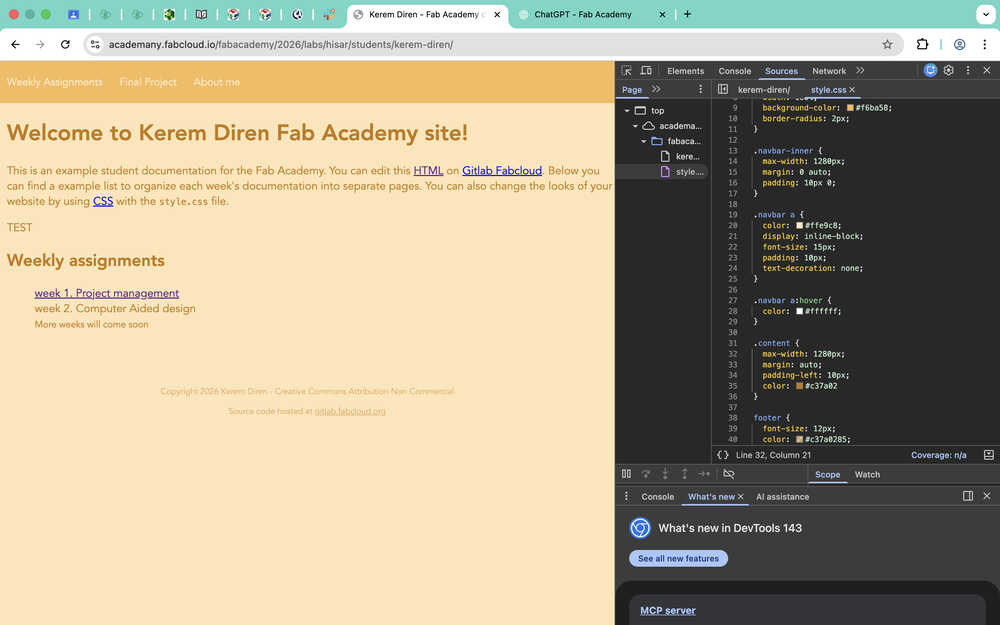
I decided to change the navigation bar color and text color.
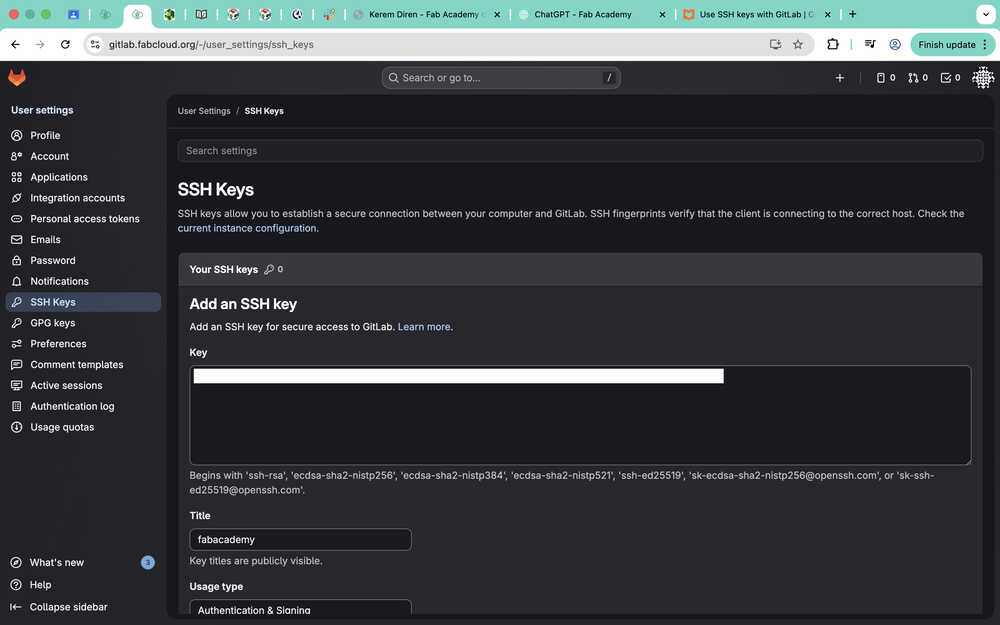
I realized that I kept committing every little change. That's why I decided to connect my website to a repo in my desktop using an SSH key.
Now, I'll be creating an SSH key. You can find the website I used in the resources section.
I wrote ssh-keygen -t ed25519 -C "fabacademy" into terminal. Because I already had an SSH key, the terminal asked me this:

I said "n" and asked ChatGPT:
I wrote ssh-keygen -t ed25519 -C "fabacademy" -f ~/.ssh/id_ed25519_fabacademy into the terminal and kept following the tutorial.
I entered a password.

According to the guide, I had to enter ssh-add ~/.ssh/id_ed25519 next. I asked ChatGPT What does 'ssh-add ~/.ssh/id_ed25519' do?. Apparently, it adds my SSH key into the SSH agent, which makes it so that I only have to enter my password only once every session. I entered the command into the terminal.

I copied my public key using tr -d '\n' < ~/.ssh/id_ed25519_fabacademy.pub | pbcopy.
I added my SSH key into my GitLab account.
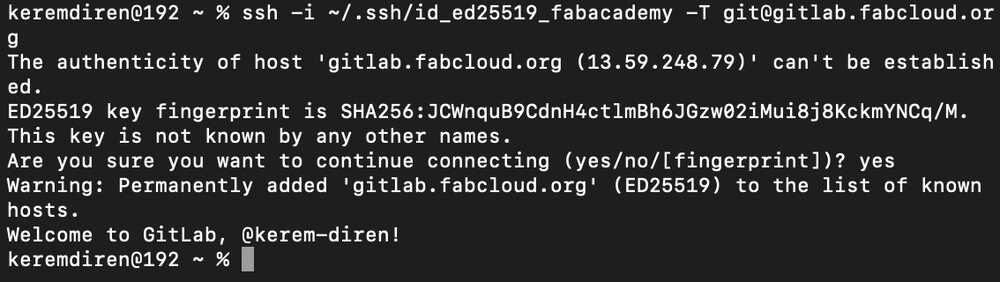
To test my computer's connection to GitLab, I wrote:
I used the website I provided in my resources section to clone my project into my desktop.
I copied the URL of my project.
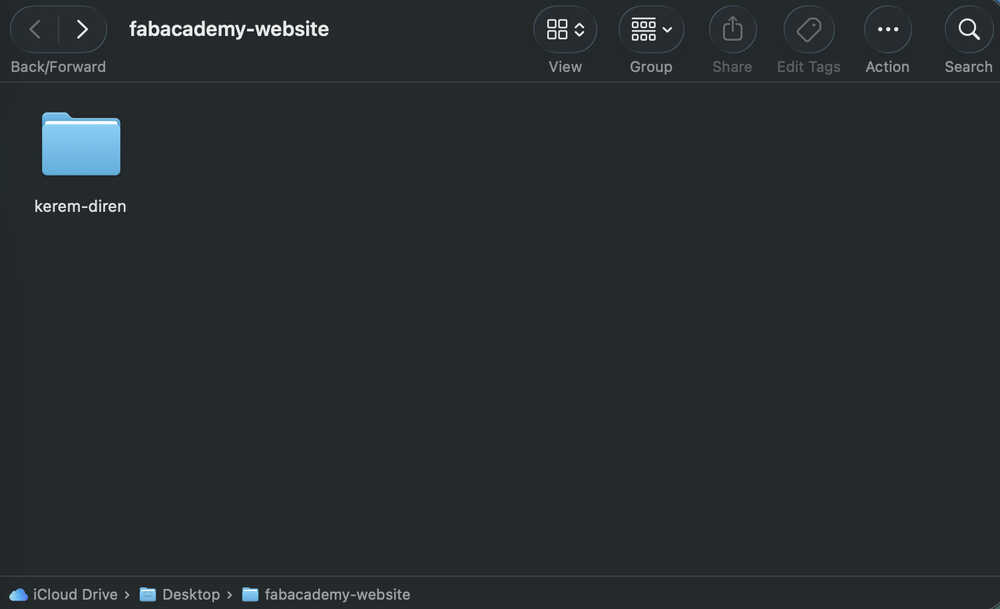
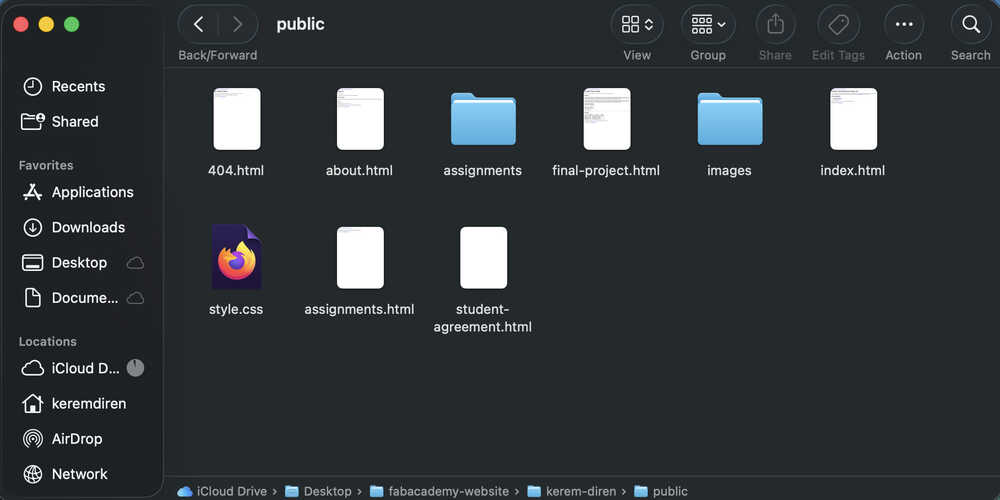
I created the file I want to clone my project into.
I wrote cd desktop/fabacademy-website into terminal to get to choose my target file.
I wrote git clone <the-URL-I-just-copied> into terminal to clone my project.
My files are here!
To test pushing, I first deleted this text from the file in my desktop.
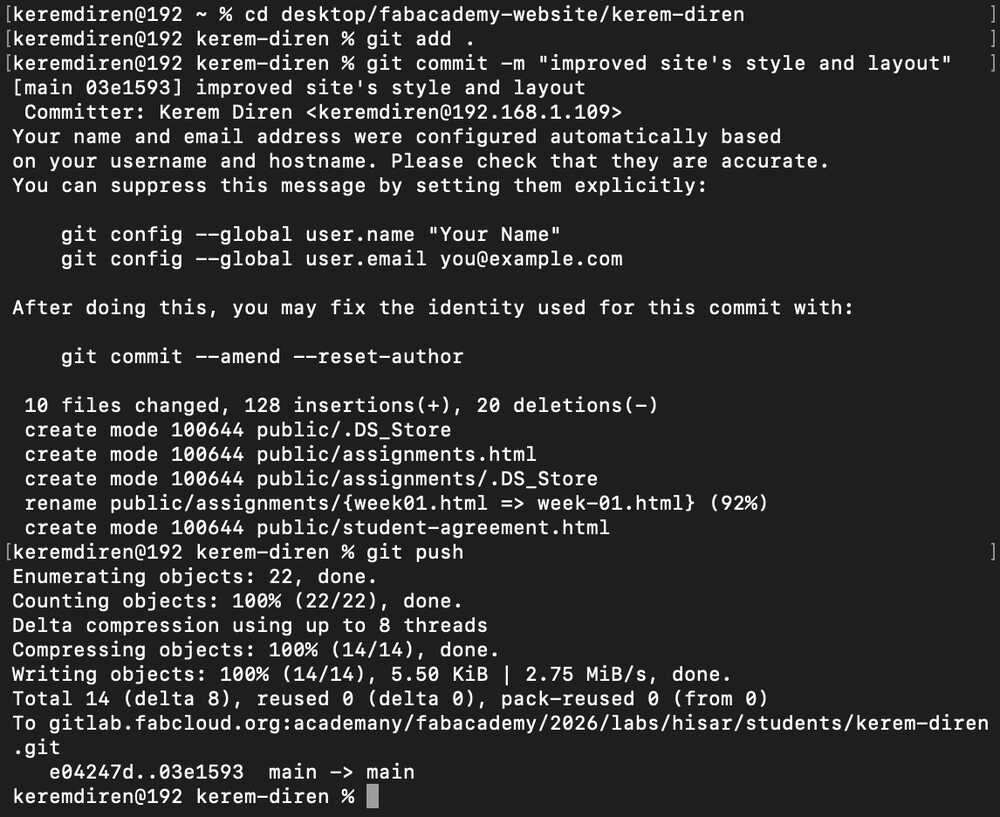
Then, I opened my terminal again and navigated to my project file "kerem-diren". Then, I wrote git add . into the terminal to basically select all changes I did in my project files. Then, I wrote git commit -m "some message" to commit the changes I just did. Finally, I wrote git push to push every change I committed previously. This basically updated my GitLab project files with the changes I just did to the project files in my desktop.
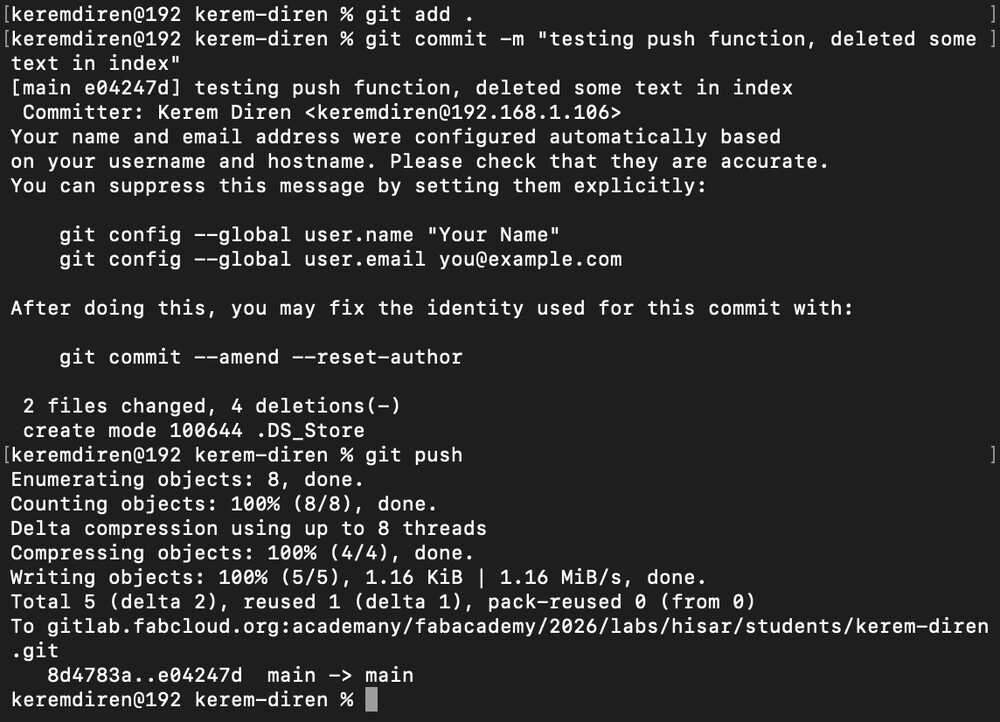
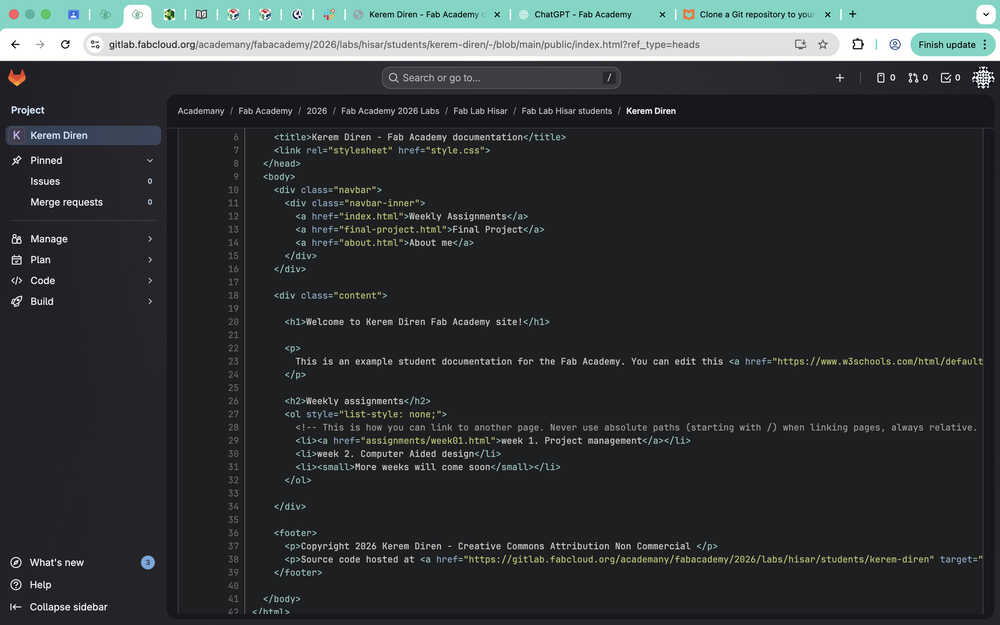
As you can see, the changes took place in my GitLab project files!
Now that this is finished, I'll go back to editing my website.
First, I want to separate the weekly assignments part from the main page of the website.
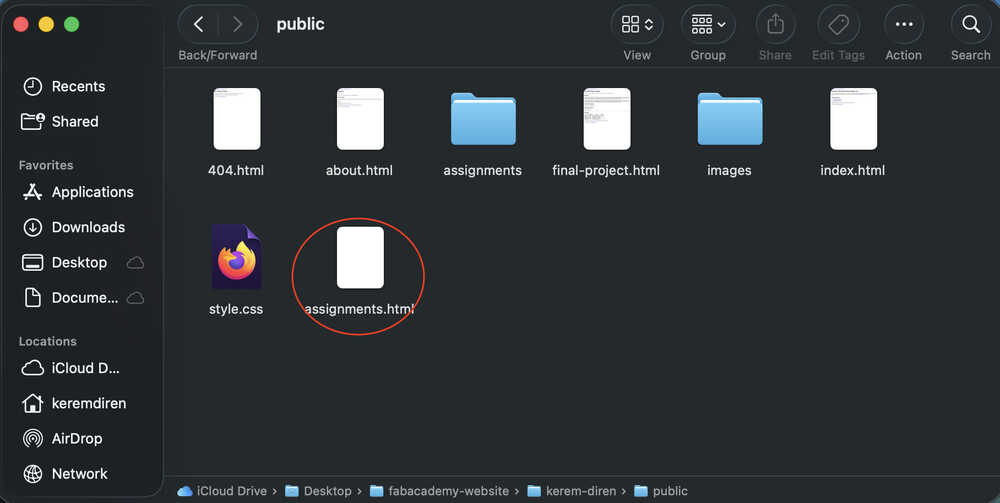
I created a file named "assignments.html".
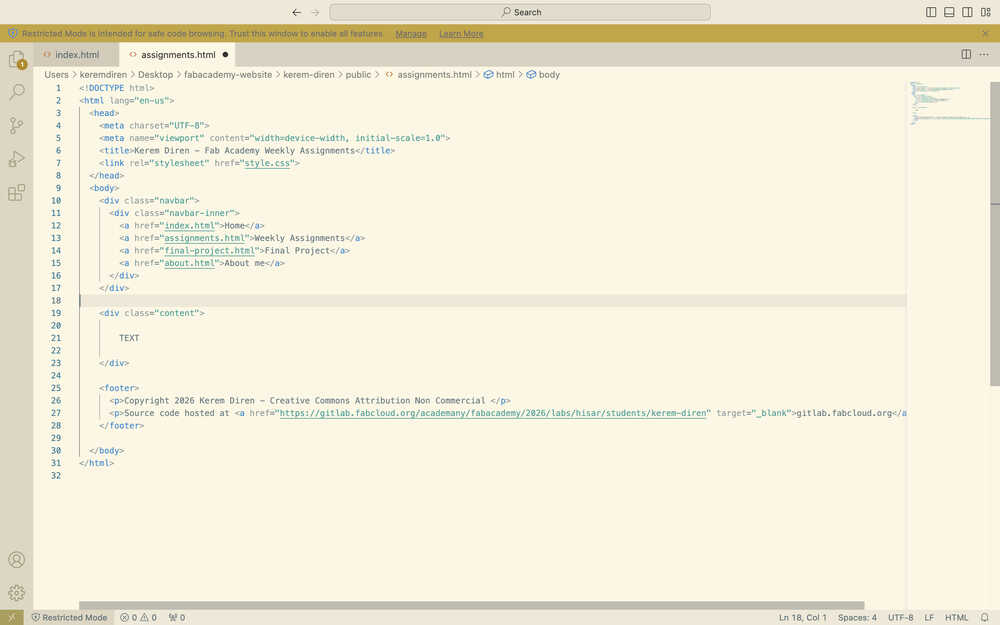
I opened index.html and changed the title of the button referring to the index to "Home" and added a new button for assignments.html.
I copied and pasted everything inside index.html to assignments.html and deleted the content part.
Now, the home page and the weekly assignments page are separate.

While doing this, I also changed the navigation bar of my other pages to match the ones in home and the assignments page. I also changed some file names and replaced the instances of "your name" in some of my files with "Kerem Diren".
Now, I'll be adding a part for student agreement.
I created a file named "student-agreement.html".
I copied and pasted index.html to student-agreement.html and erased the content.
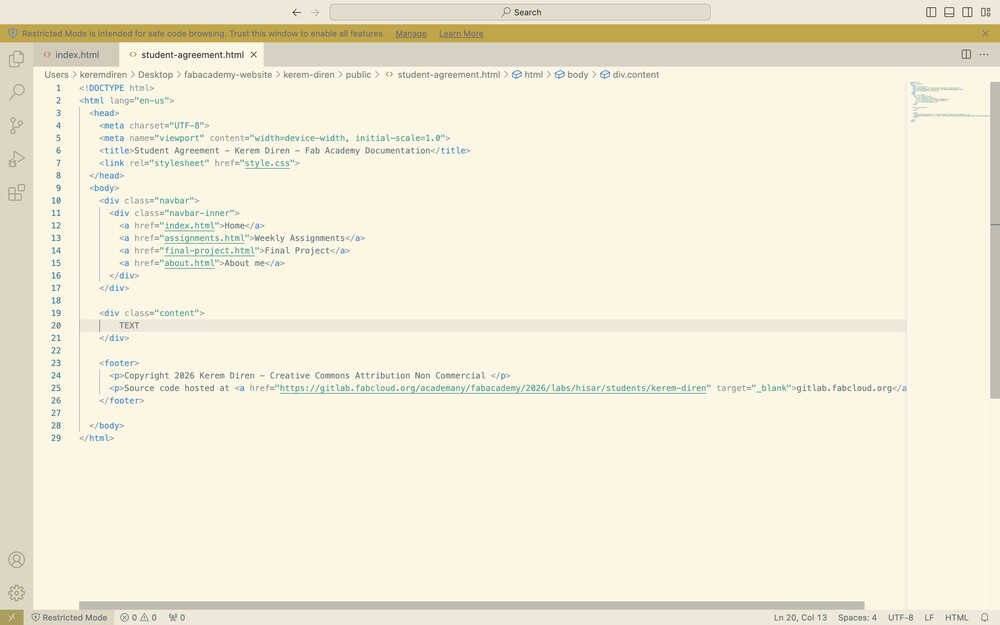
I added the student agreement into student-agreement.html.

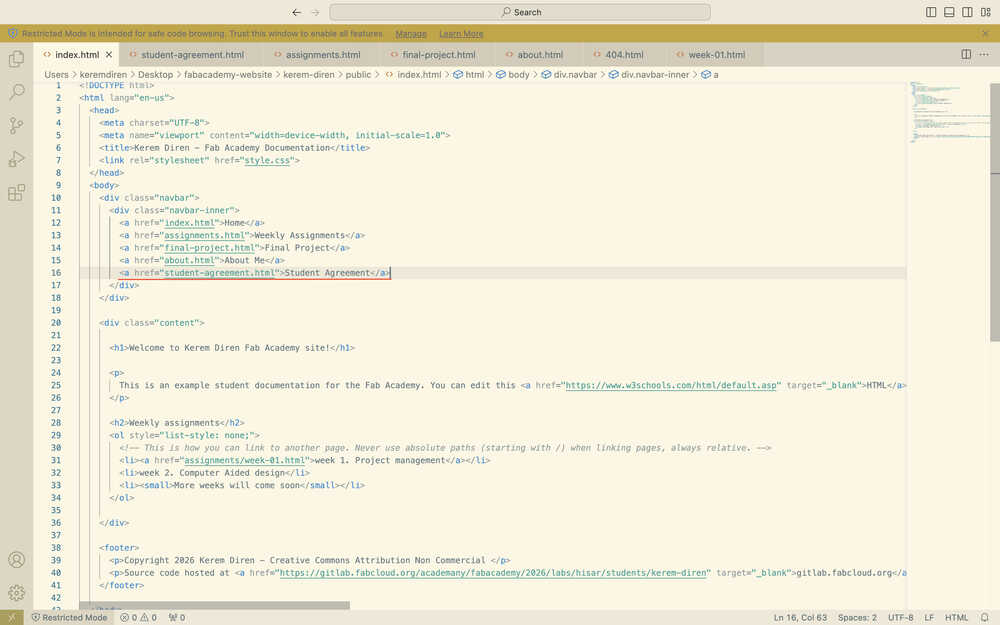
I added the student agreement part to the navigation bar in index.html.
I also did this for the other pages as well.
I wanted to align every h1 type heading in the center, so I asked ChatGPT How can I edit an HTML title like "h1"?.
I edited the css file:
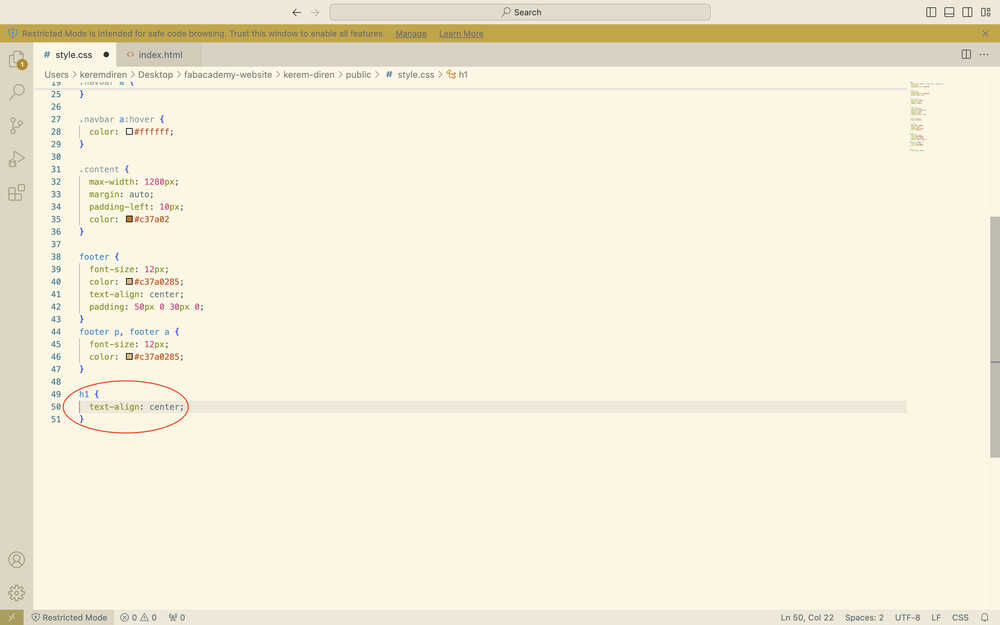
It worked.
I pushed my changes into GitLab.
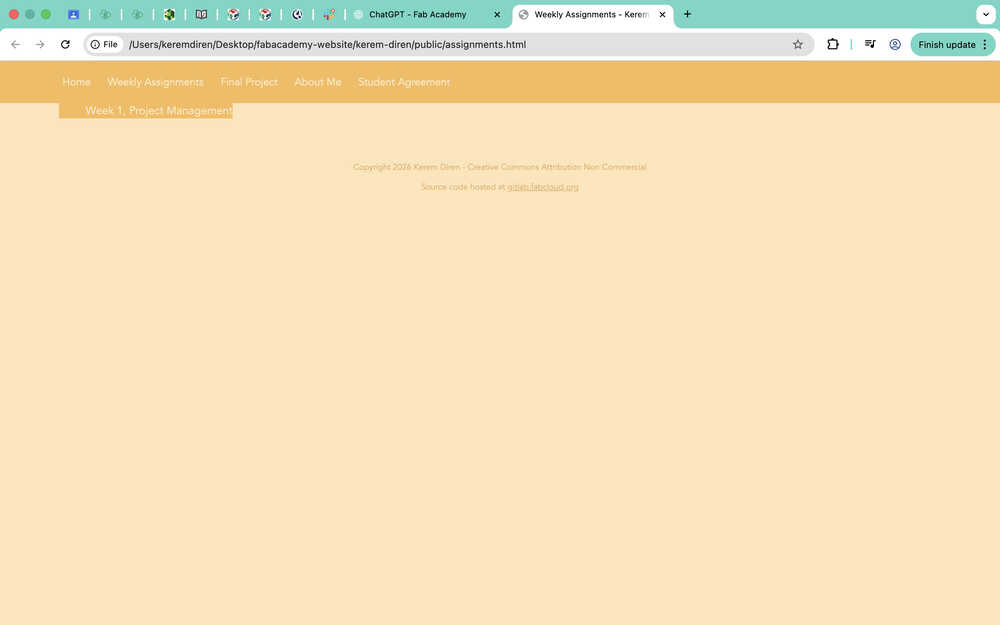
I want to change my assignment selection page so that an assignment's page can be entered using buttons.
While doing this, I asked ChatGPT In css, if I say "size: 1.2;", does it make the size of the element 120%?.
I added this part to my css file:
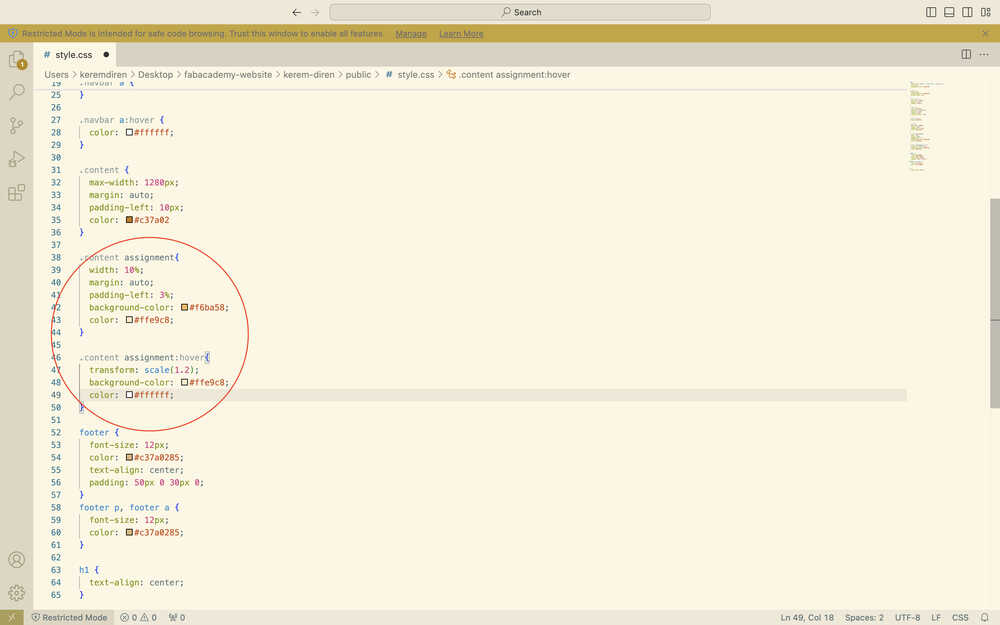
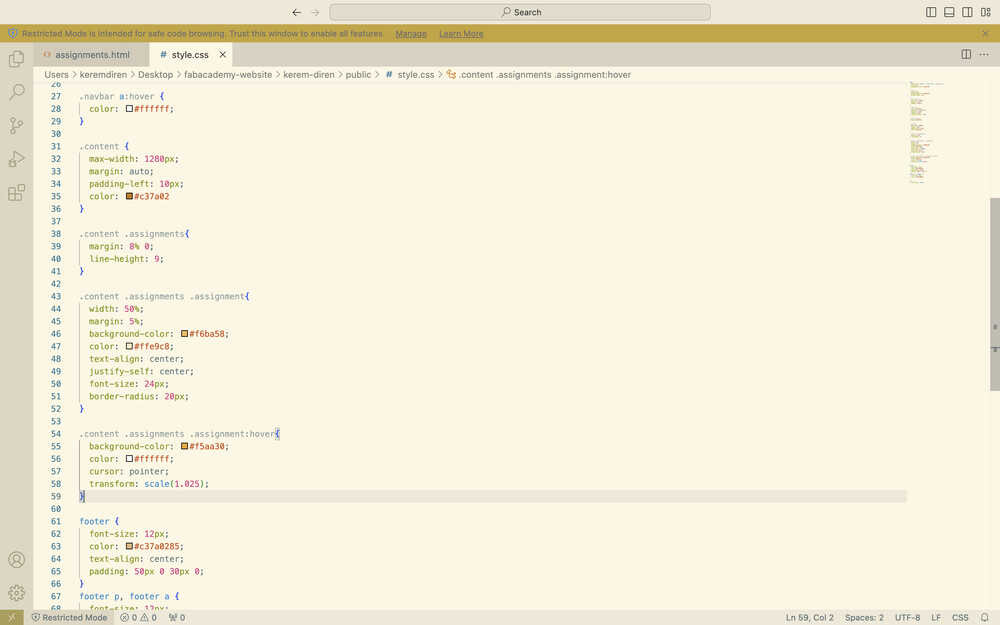
I added this part to my assignment.html file to test the changes I just made:
What I did kind of worked. There is a button and it changes color when hovered; however, it's text is at the wrong location. I kind of mixed up margin and padding. Also, I forgot to align the text in the center, make the edges of the rectangle softer, and give the rectangle some height.
While editing, I realized that I wrote some code wrong. Also, I changed the color of the button when the user hovers on it. I also asked ChatGPT:
How can I make an element stay at a certain distance below the top of the screen?
How can I increase the space between texts?
Can I create an element inside a class that's inside a class?
I want to make a button using an element. How can I make it so that the button has a specific size?
How can I change text size?
How can I make the edges of a box I created in css softer?
This is the current version of the css file:
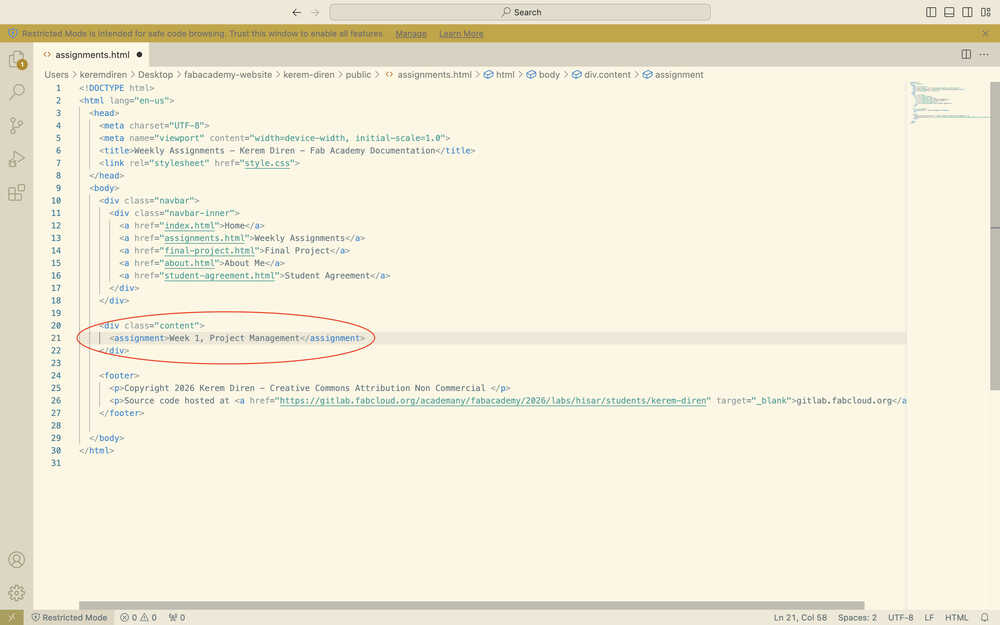
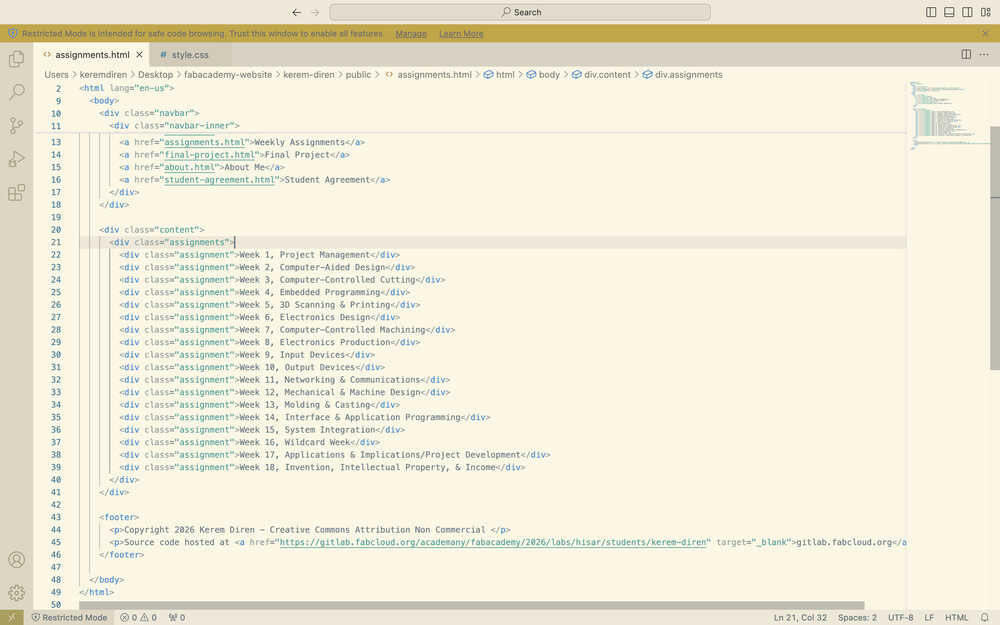
This is the current version of assignments.html file:
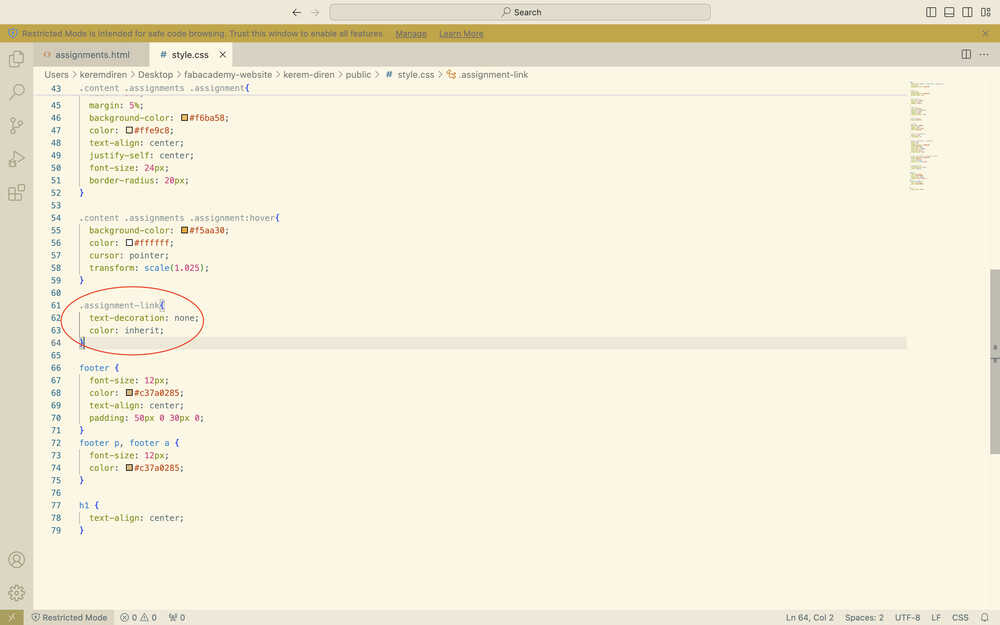
I asked ChatGPT How can I add a link to "<div class="assignment">Week 1, Project Management</div≶"? because I wanted the buttons to direct the user to their corresponding pages.
I added this to the css file:
I added these to assignments.html:
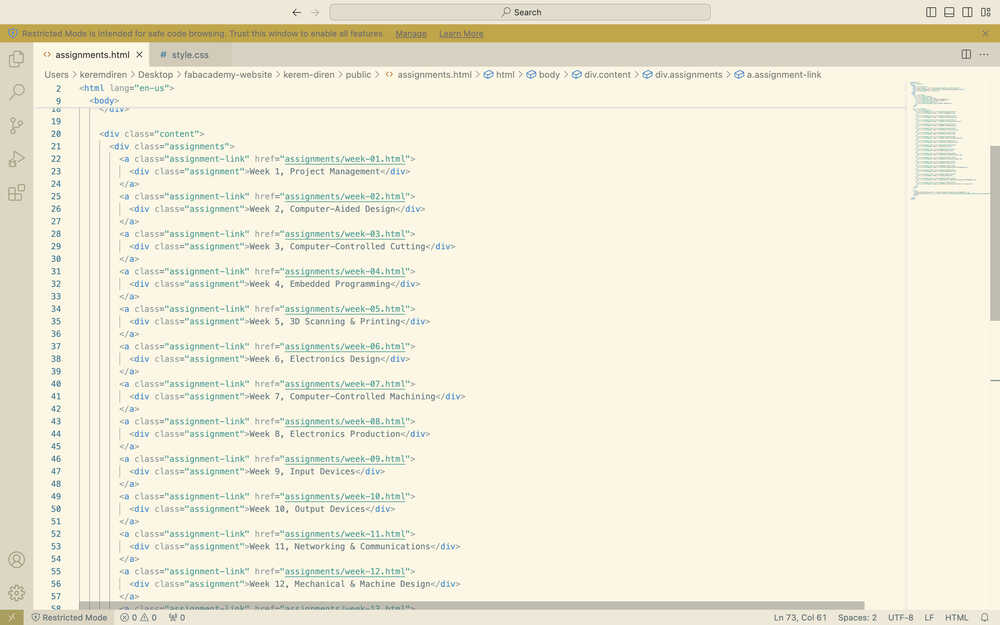
I also created a corresponding "week-##.html" file for each week.
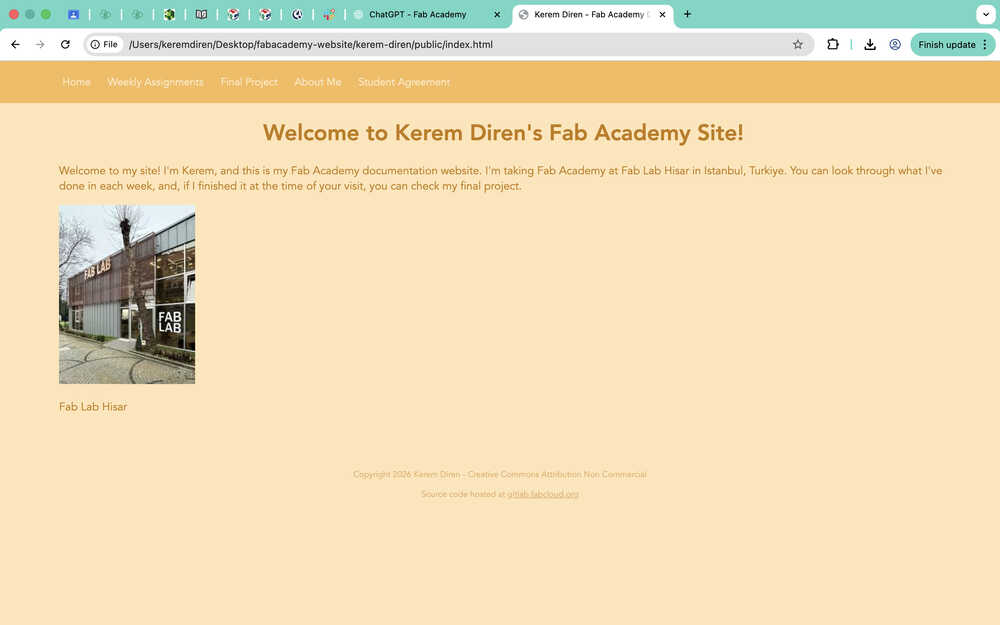
I wrote some text for my home page and added the photo of the Fab Lab I will be using through Fab Academy.
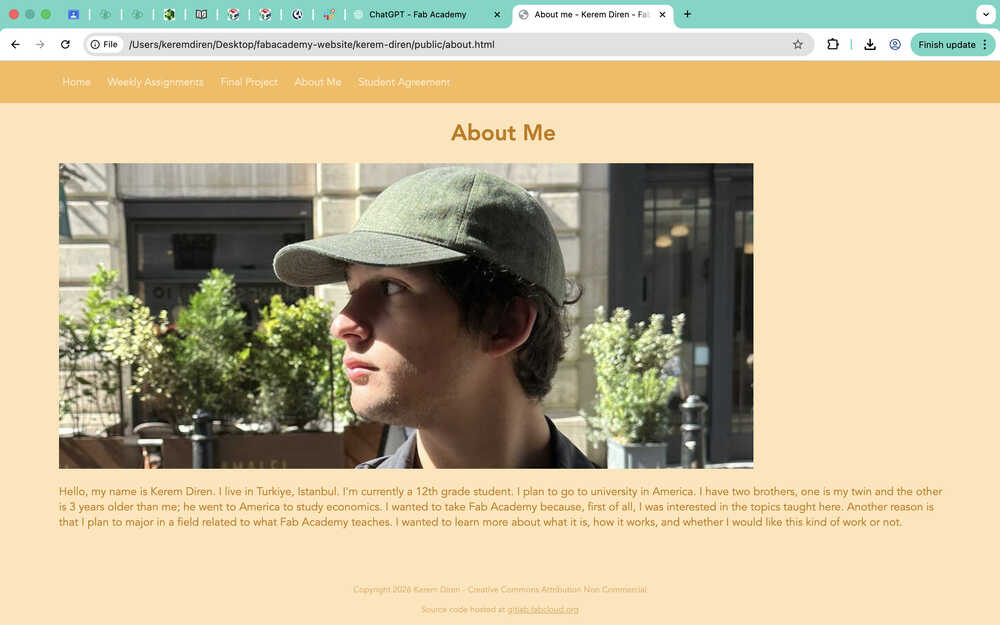
I wrote some text for my "About Me" page. I also added a photo of me there.
I also added my project idea to the final project page.
Post-Upload
This place is for the things I changed or did while or after uploading my documentation to week-01.html that is also directly related to this week.
- I created a new class called "block" to highlight some text.
- I changed the line height of .content to 1.7.
- I put <br> to some places to increase the space between sections.
- I created a .link class to hide the blue line at the bottom of the text while putting links to them.
- I used image magick to change the size and format of my images.
- I deleted border-radius from the navigation bar.
- I added border-radius to the img tag.
- I added a colored border around the images.
- I made the position of the navigation bar fixed and gave it top: 0;. I also gave .content padding-top: 60px;.
While doing these, I asked ChatGPT:
- How can I give a border to the img tag?
- I made the position of the navigation bar fixed and the position of content relative. I already gave the content "top: 60px;". How can I make it so that the text stays below the bar when I'm moving down the page?