Week 03 – Computer Controlled Cutting
Han Ferik
Weekly Assignments:
Check Out Our Group Assignment
Group Assignment:
Do your lab’s safety training
Characterize your lasercutter’s focus, power, speed, rate, kerf, joint clearance and types.
Document your work to the group work page and reflect on your individual page what you learned.
Individual Assignments:
Design, lasercut, and document a parametric construction kit, accounting for the lasercutter kerf, which can be assembled in multiple ways.
Cut something on the vinyl cutter.
Lab Safety Reflection
During this lab safety training, I learned how to safely operate various laser cutters and vinyl cutting machines in our FabLab. I completed machine-specific safety instruction covering fire prevention, ventilation requirements, emergency stop procedures, proper material handling, and safe blade operation. Throughout the characterization tests, I followed all safety protocols, including ensuring that ventilation systems were active, keeping clear of moving components, and never leaving machines unattended during operation. This training helped me understand the importance of safe fabrication practices and gave me the confidence to use digital fabrication equipment responsibly while minimizing risks to both users and machines.
Construction Kit - Puzzle
! Essential: Please first read out the whole documentation beforehand starting with it because there are disclaimers out there, which will assist your process, as I tried to wrote down the stuff that seem to make your process easier, which are written with an exclamation mark. Also, don’t forget to give name to your variables, sketches, pieces, so simply anything, as it will make your process more easier to understand and develope. !
.png)
First select the units into mm from units and settings
Creating the Puzzle Piece:
.png)
create these parameters under your project
.png)
Create master tile and write the specific parameters to its scale
.png)
Create master puzzle tab and write the specific parameters to its scale
Put the puzzle tab to the right side of the right side of the puzzle tile pulling it from tabs corner and group them
.png)
Select both cubes center by using shift and the align the tab into the center
.png)
On the left side of the puzzle piece there is 3 signs, click on the middle one
.png)
Voila, now you should be seeing something like this
Select both cubes and apply Boolean Union
.png)
! Important: Dont group the puzzle tab and puzzle before this as cuttle will automatically do thaat for you, so you don’t have to do it. But, if you still accidentally did that your Union and Difference will not work out properly !
Create another puzzle tab with the specific parameters. This will be used as our left tab, and it will be at inside of our our puzzle tile. Apply the same steps to put it towards the center of our puzzle tile, but the thing is that for this one you should put the tab inside our puzzle tile.
.png)
.png)
.png)
Old Steps
.png)
Now you should use boolean difference.
.png)
You should come up with something like this
! Disclaimer: I realized that using boolean difference is easier to do and start with rather than starting with the boolean union, so if you haven’t started yet, I would reccomend you first doing the boolean difference !
Now lets do the top tab
.png)
We will apply the same steps and same parameters, but there are a few changes. For this one, we will use boolean union.
.png)
.png)
! Important: Here, we wont be able to use the centering steps because since this is a group, it will count the whole length of the puzzle with its tabs and the main tile, so center will move to right. Rather than that, we can just select the middle point of our cube and then we will put that towards the middle point of the of the main puzzle tile !
.png)
Now apply boolean union
.png)
Lets now do the bottom tab. This will be facing inside of the puzzle tile, just like the left tab.
First, create the tab.
.png)
! Important: Again, this one also has a different center if you use the tools that we used in the first two tab, the right and left, as the length of the x and y axis changes as we group our tabs with union and with difference. So, it aligns into a different center. !
Just use the same steps as we used with our top tab, but now we will use boolean difference.
.png)
.png)
Apply boolean difference.
.png)
This will be our Final Puzzle Piece with its methods and order we used on the top right corner.
.png)
Creating the Horizontal Linear Repeat (Row):
Alright now lets create multiple pieces aligned on x-axis.
First select our main final puzzle, which on mine is at group 4, or you can just select it by create a square that fits the whole puzzle piece with your cursor.
.png)
Now click modify and select linear repeat.
.png)
.png)
You will have multiple pieces that aligns next to each other. Calm down, this is not wrong, we just need to change our parameter, which is on the right named as linear repeat. For displacement, write down this “Vec(piece, 0)“; and for repetions, write down “cols”
With this, you will have 15 pieces aligned next to each other, don’t think the “15” pieces as the final value, the number of pieces can increase or decrease when we adjust our image’s pixel amounts, which are the parameters “image_px_w” and “image_px_h”
.png)
Creating the Vertical Linear Repeat (Grid):
Now, again, select our main puzzle piece
.png)
Apply modify and linear repeat.
.png)
.png)
It looks like all messed up again, but don’t worry. We just need to change our parameters, again, which is on the right named as linear repeat. For displacement, write down this “Vec(0, piece)“; and for repetions, write down “rows”.
Good work! Now, we will have our puzzle board.
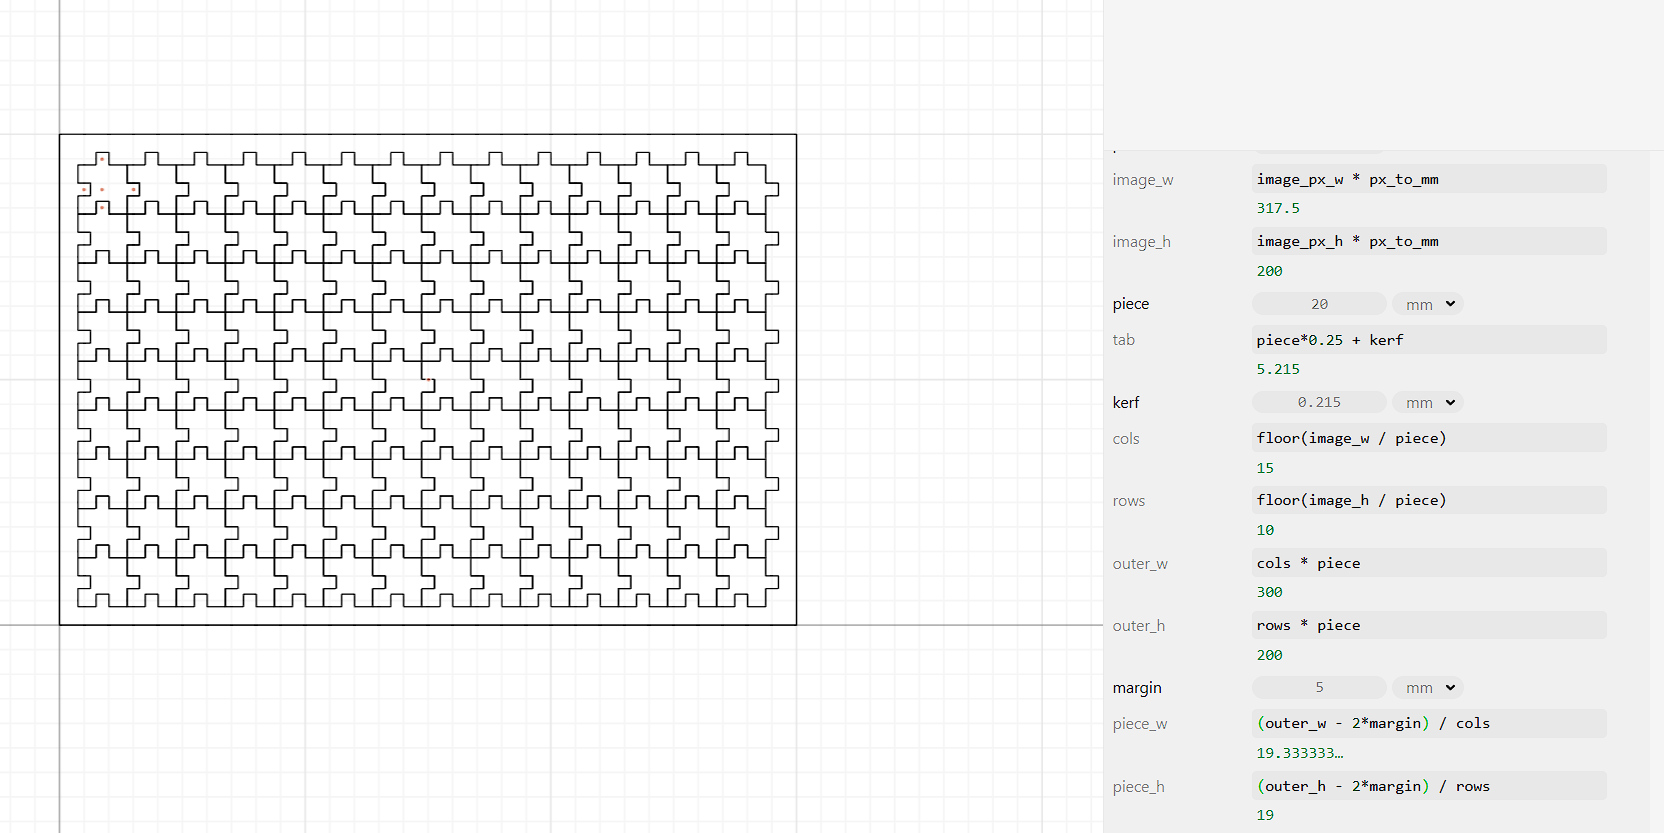
.png)
If you align it into the origin, you will be clearly able to see you measurements. On the grid, it says that our board has 200mm as its height and 300mm as its length.
.png)
Building a Perfect Rectangle / Square Puzzle (Didn’t work out, follow after fail):
Now we will get rid of the excess holes and tabs that are used in our puzzle. So, lets create a Crop Rectangle.
.png)
Put down a rectangle, and then change its scale into this “Vec(cols * piece, rows * piece)”. This means that width is cols * piece, and height is rows * piece.
By holding its corner, place the rectangle exactly to our origin, where we placed our puzzle at.
.png)
Now, select the entire puzzle grid and select the rectangle. Later, use boolean intersect for outer borders to become flat, interior tabs to remain, no holes left on the edges, and to it look like real puzzle
! Disclaimer: Using boolean intersection didn’t work out as I thought. I thought it would leave the puzzle pieces’ grid, but rather it removed the grid, and it just left the excess tabs and holes, so rather than that I thought of creating a rectangular/square ring that we will subtract from the outer surfuce of the actual grid. In order to do that lets change what we did, and add some parameters. !
.png)
I added outer and inner dimensions. and also created another rectangle above, which is hard to see. But, anyways, lets put the outer dimensions parameters to our Crop Rectangle and inner dimensions parameters to our Offset Rectangle.
.png)
.png)
Now we have two rectangles like this. I also adjusted the tabs in the inner rectangle parameters, as the tabs stick out roughly one tab depth beyond the tile boundary, so this will be a better fit to remove excess tabs in our puzzle grid.
.png)
Now lets use boolean difference in Modify to create our rectangular ring.
.png)
.png)
Now lets put our outer ring to the center of our puzzle grid, and their centers must match. Also, copy the same ring and paste it. And make those cover all of the excess surfaces of to delete the holes.
! Disclaimer: This also didn’t work out. So, I just went to create vertical lines that matches the dimension of the, and then I will boolean difference and subtract those through our main puzzle grid. We will be left out with line of blocks that we will use to either remove the whole, or fill the tabs. We can get rid of the Inner parameters !
.png)
We will use this for the top tabs. Name it as Outer Top Tabs Remover.
Copy and paste this again. Rename it as the Bottom Tab Holes Adder.
.png)
I will do the same sort of thing for the right excess tabs and also another one for the left tab holes.
.png)
Alright now we created two same rectangles that we will use to fill our fillings. But, first, lets copy our initial grid and paste it into 4 different places.
.png)
Alright now we got total of 5 grids and 4 different rectangles as our fillers or removers.
Hold our Outer Top Tabs Remover from its corner and put it to the corner of one of the grids.
.png)
Now select both objects, and then apply boolean intersect. We are left out with the excess tabs we got, and we will use these to remove the excess top tabs on our master puzzle grid.
We can rename this as Top Puzzle Tabs
.png)
Hold Outer Right Tabs Remover from its corner to drag and match one of the copy puzzle grid’s corner.
.png)
Use boolean intersect again.
.png)
Result:
.png)
Now lets move on to the holes that we should fill. Let’s pull Left Tab Holes Adder from its corner to drag and match one of the copy puzzle grid’s corner.
.png)
This time we will use boolean difference in order to create holes to fill our main grid’s holes.
.png)
.png)
Now for our final hole filler. Grab Bottom Tab Holes Adder from its corner to drag and match one of the copy puzzle grid’s corner.
.png)
Again use boolean difference
.png)
.png)
And we are done. Now we got all parts to either fill or remove the holes.
.png)
Lets start with the excess tabs removal. Add all objects that we created, which here for the excess tabs, we will use Right Puzzle Tabs and Top Puzzle Tabs to get aligned exactly on the right and top of our master puzzle grid, respectively.
.png)
Here its you can see the puzzle on top of each other. This is not perfectly aligned, but its rather used to give you an idea. So, hold it from its corner, and align our Right Puzzle Tabs and Top Puzzle Tabs in both right and top, respectively.
.png)
Alright now that we are out of our Right Puzzle Tabs and Top Puzzle Tabs as they are perfectly aligned. Now, select all everything in our master grid, and from modify use remove overlaps.
.png)
! Important Disclaimer: When I boolean many repeated solids together, the software tries to create one single solid body. A single solid body cannot contain internal cut boundaries. So, Cuttle removes internal edges. This is why this solution also didn’t work out, and the grid lines has vanished. Therefore, I need to find another solution, or start from scratch. !
So, as I solution, I just came up with a frame for the puzzle therefore, it will be just a simple solution for now, but it will work out. For the frame, I created a rectangle with the given parameters
Failed, so Building a Frame Instead
.png)
After that Select both our puzzle grid, and also the rectangle that will work as a frame.
.png)
With this, now select align center
.png)
After this, select align vertical center.
.png)
And after several limitations and wrong designs. Hopefully our puzzle design is finished.
.png)
Final Puzzle Kit
.png)
Lasercutting The Puzzle Kit
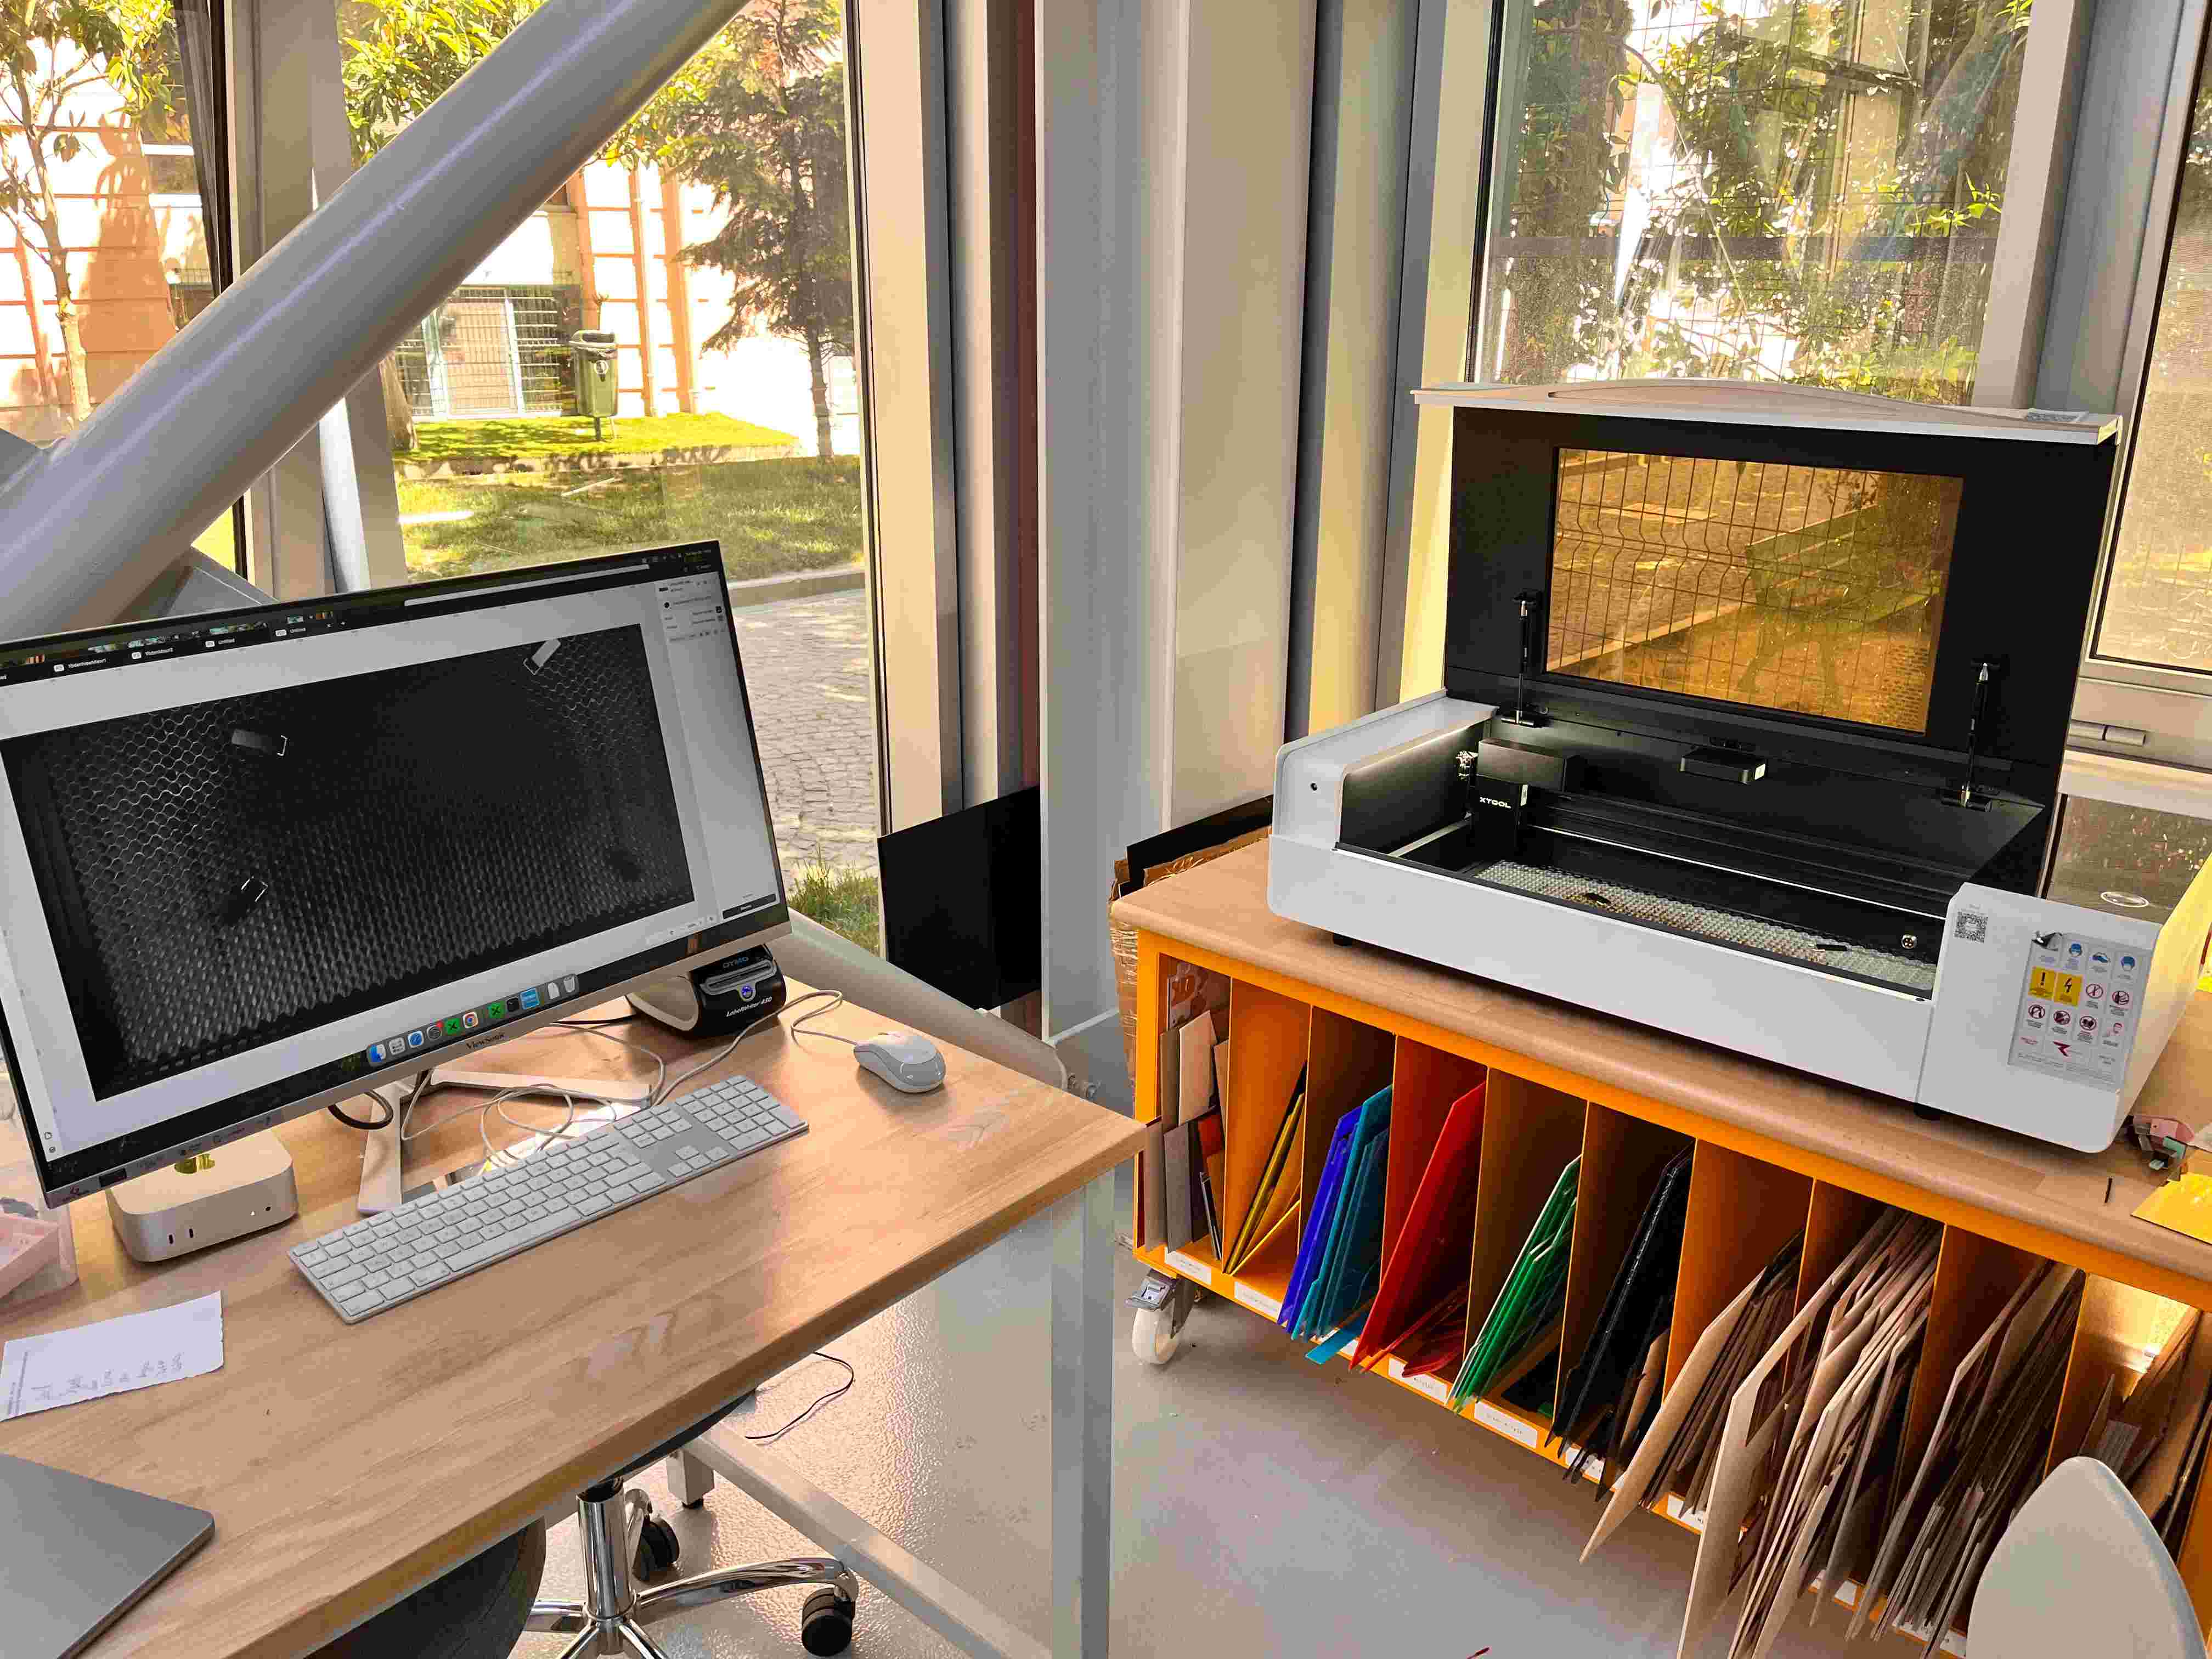
This will be my working environment and I will try to both use XTool P2S and XTool P3.
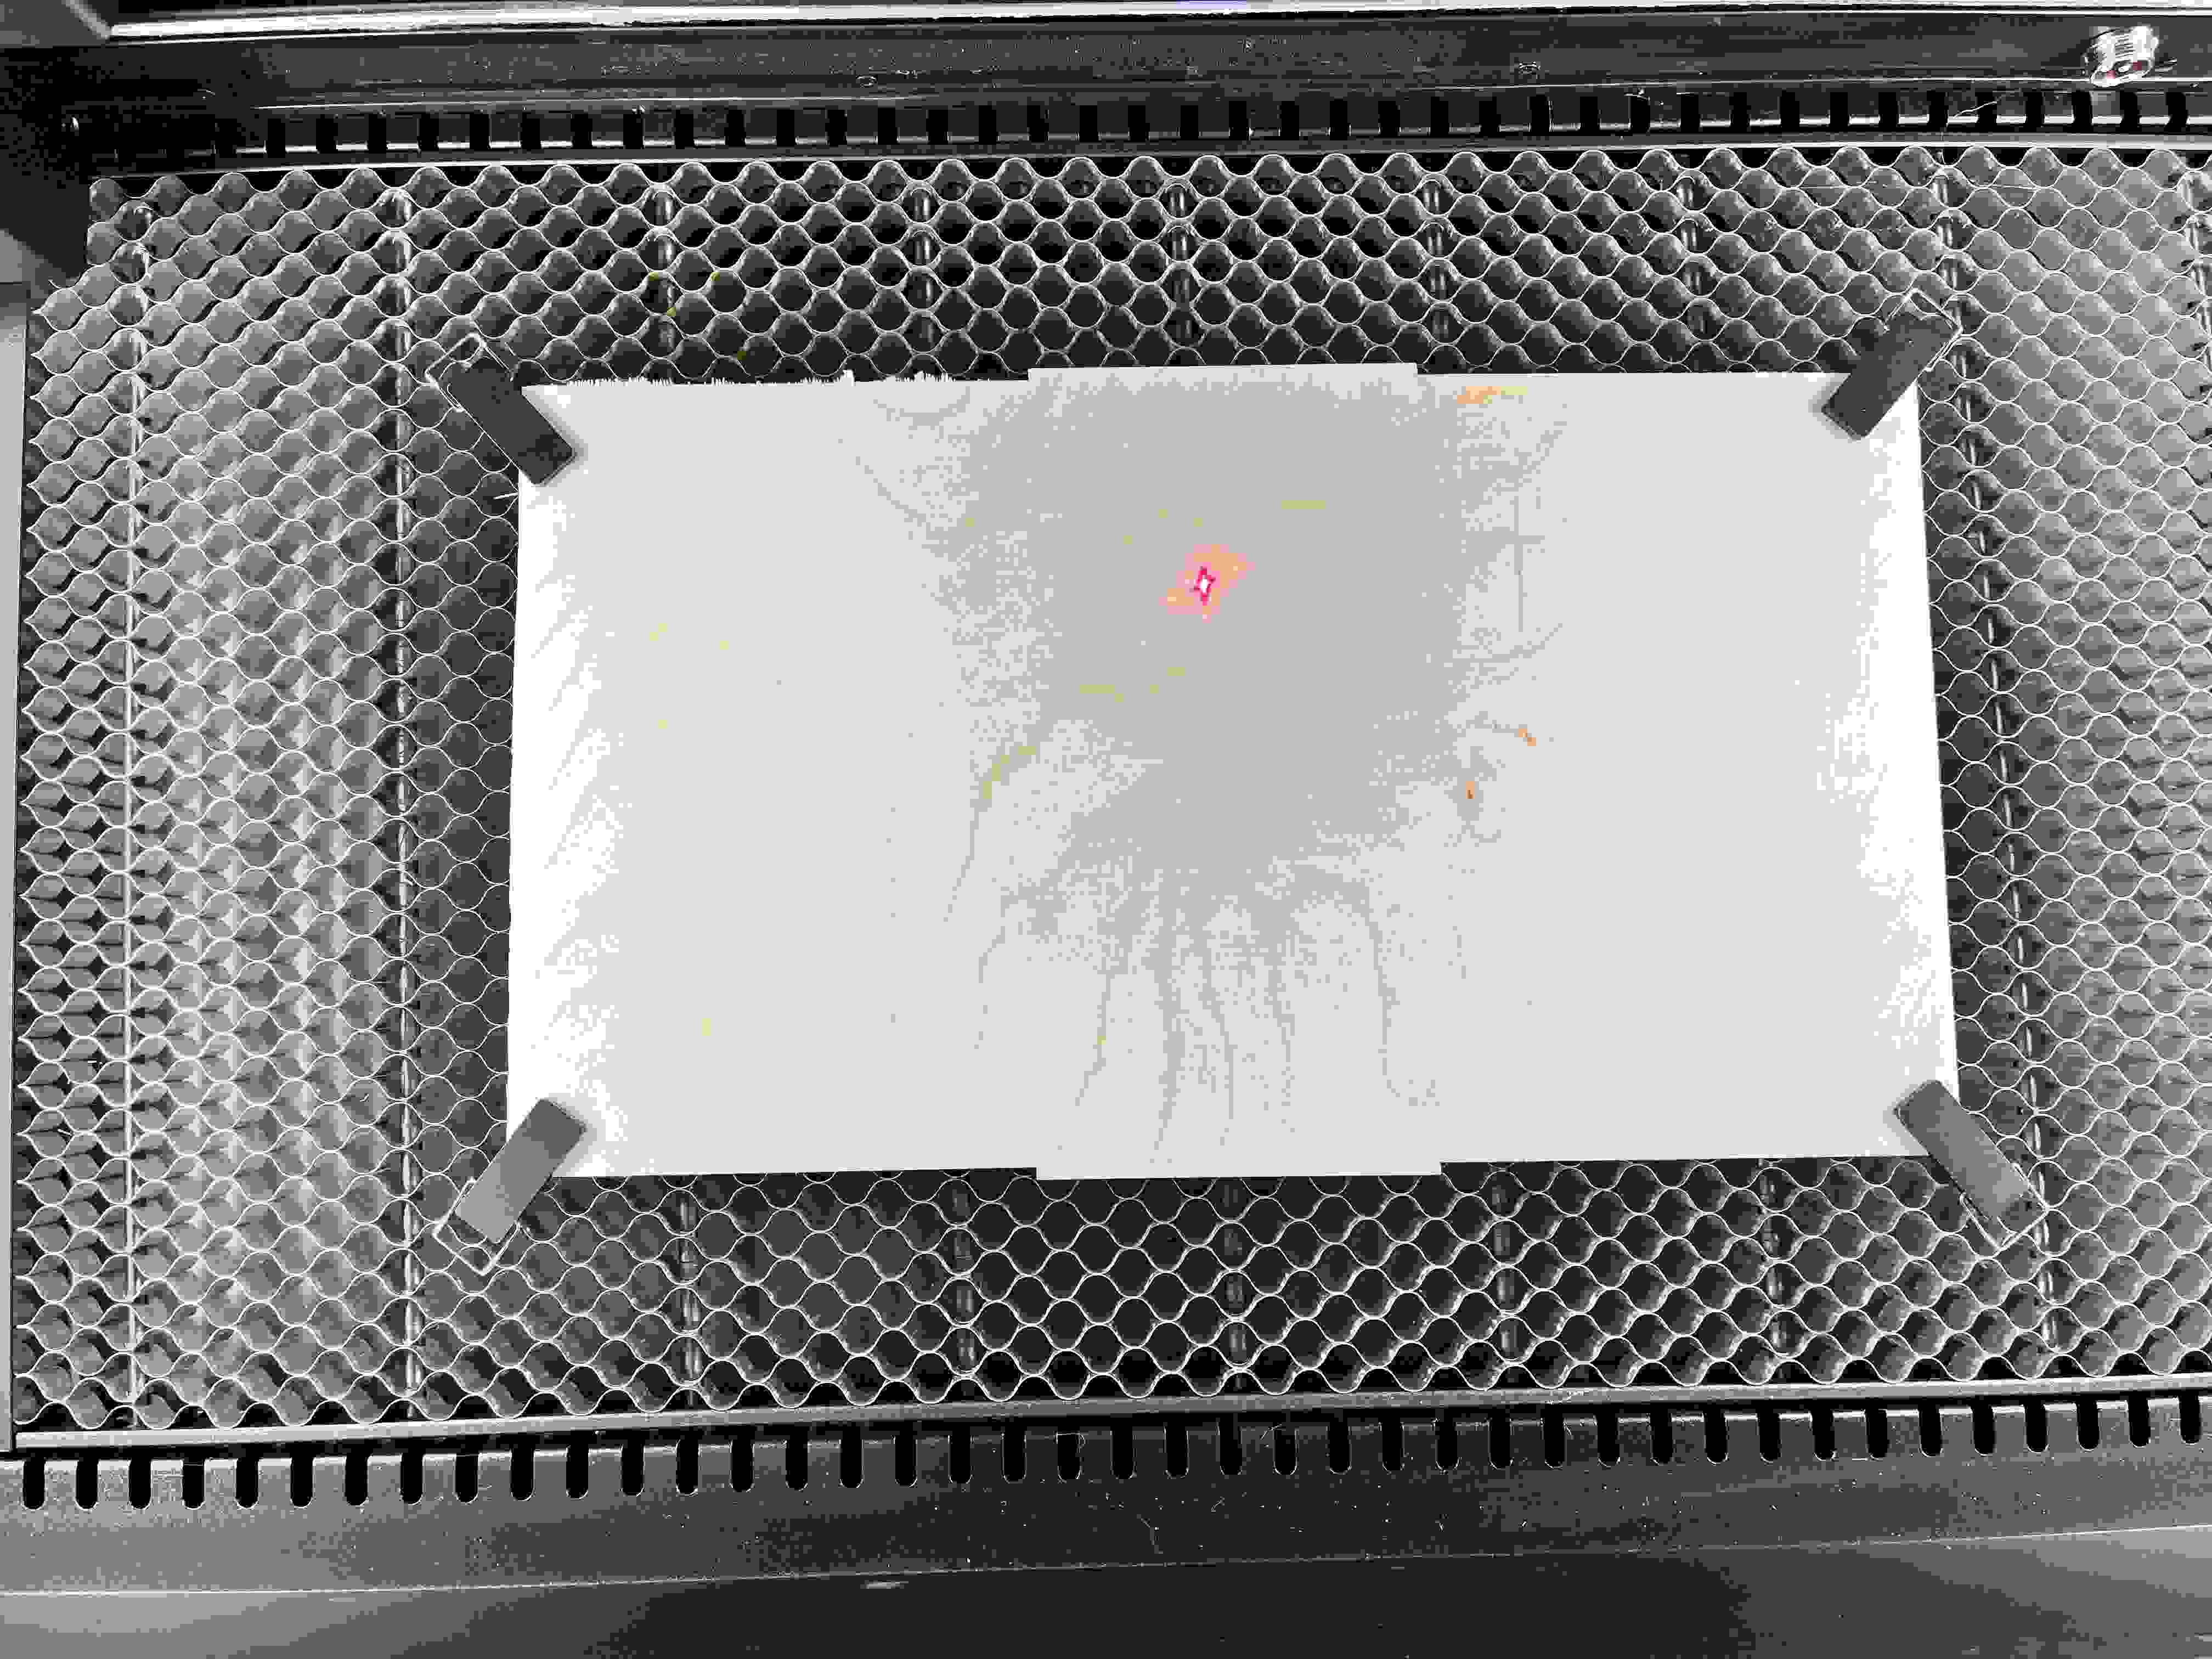
After I chose my plywood board. I placed my board on the honeycomb panel.
And, I used 4 magnetic pins to secure the material to prevent it from moving during the laser cutting process.
Here be careful that the pins are placed with the metal part down towards the panel !
After placing, colse the lid. On xTool Studio, click on the camera button on the right panel to refresh the image.
It will look like this.
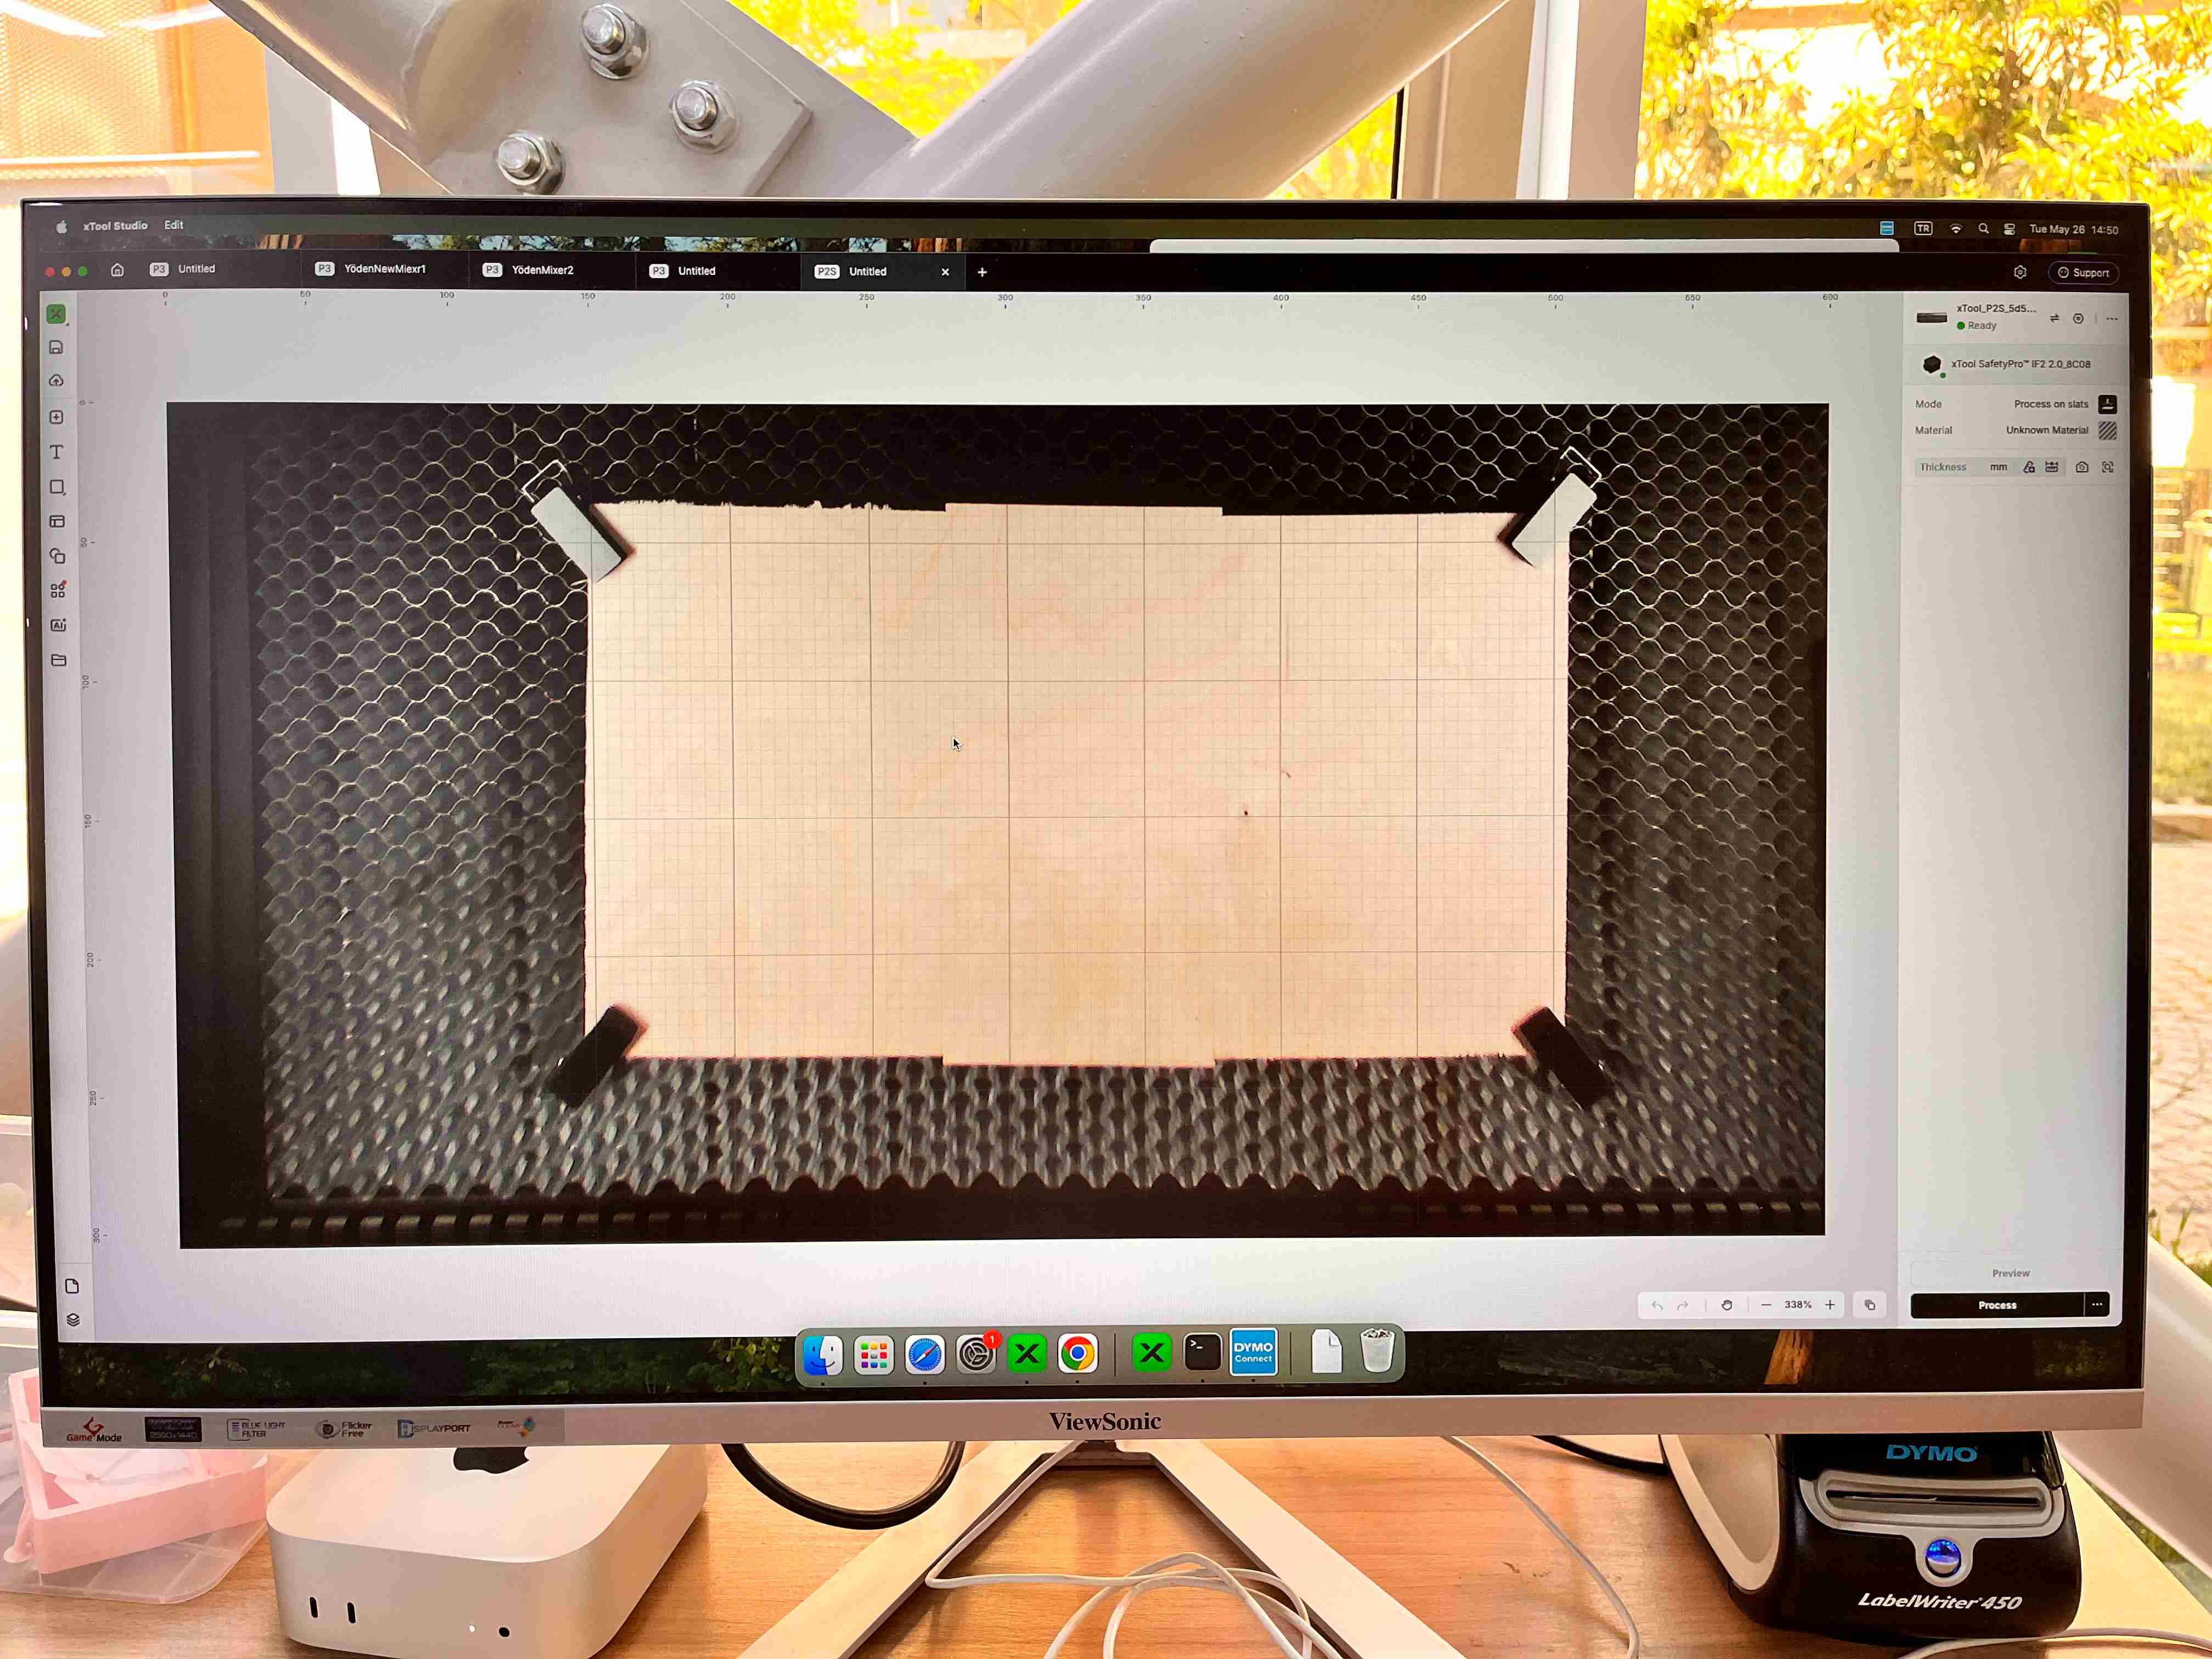
Again on the right panel, choose a material by clicking on “Unknown Material”.
Now, choose the material you put on the honeycomb panel. On the left, you can choose the type of the material.
I chose 3mm Basswood Plywood.
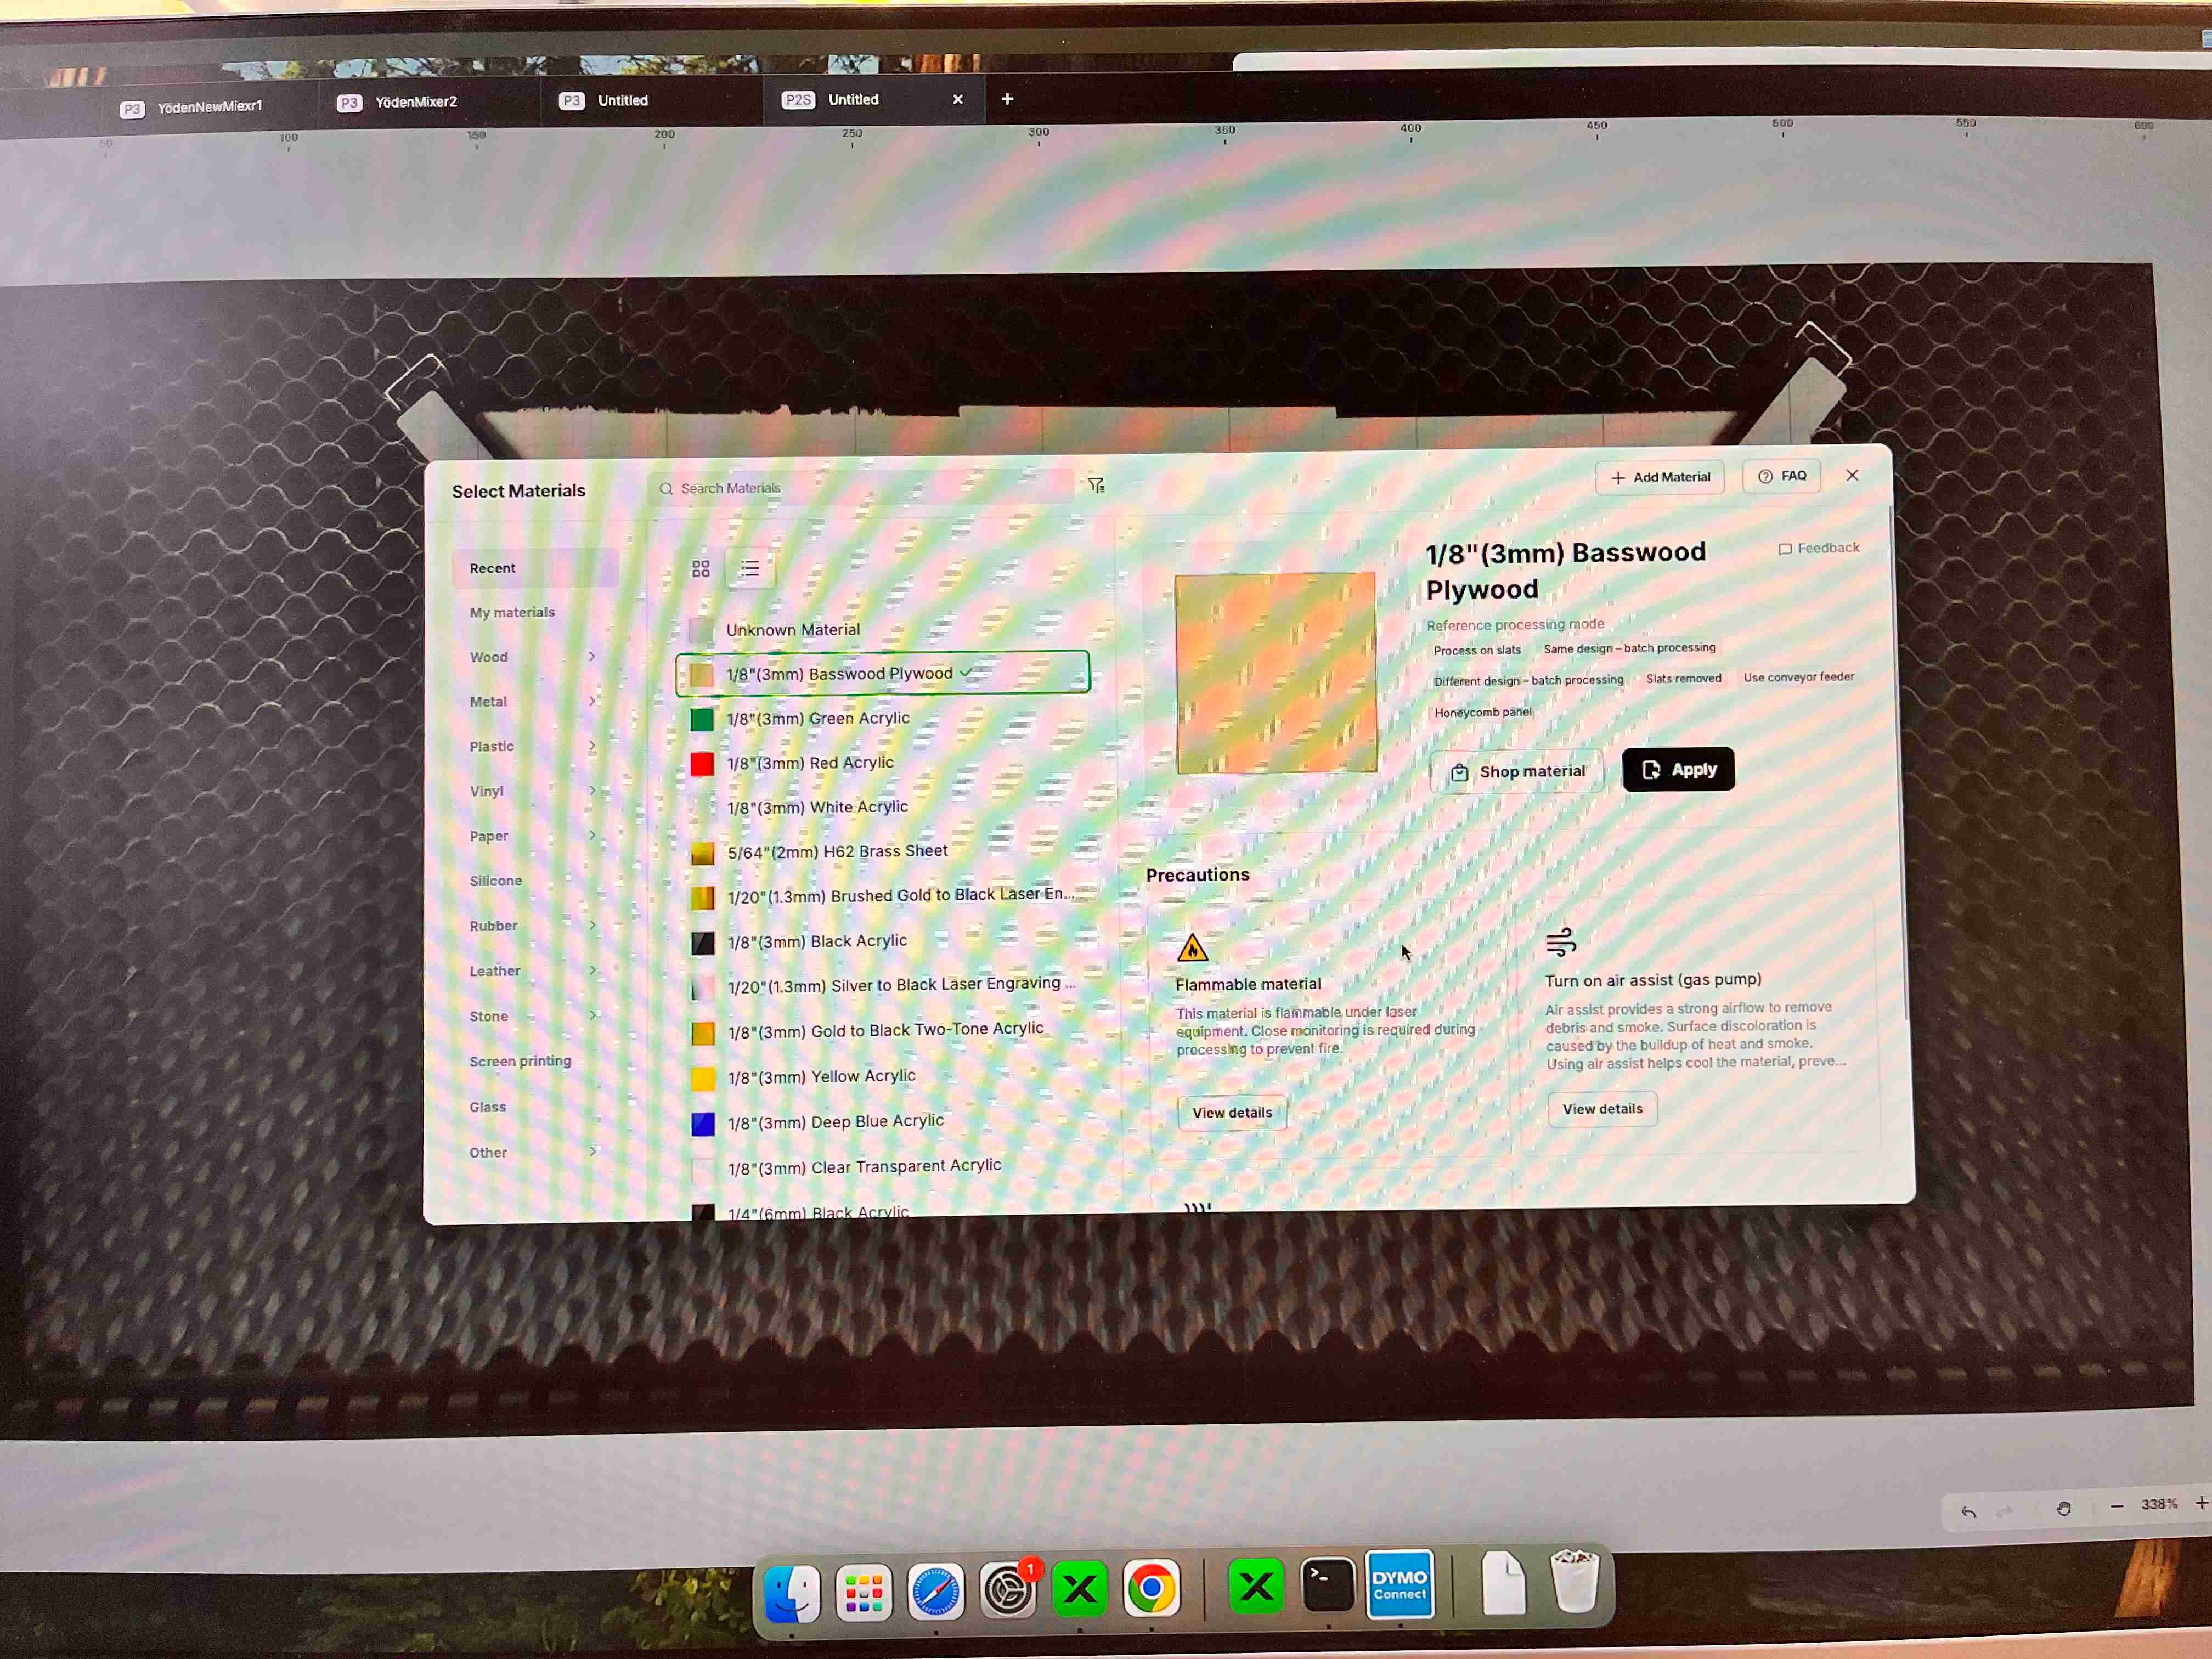
Also, Choose the right material with the correct thickness. You should measure the thickness via a caliper. Read the precautions at the bottom. Click on “Apply”.
If your material is flammable, there will be a caution sign appearing on the screen. Read it and click on “Got it”.
If you have measured the thickness of your material with a caliper, you can add the thickness property manually. If not, use this button to automatically measure the thickness.
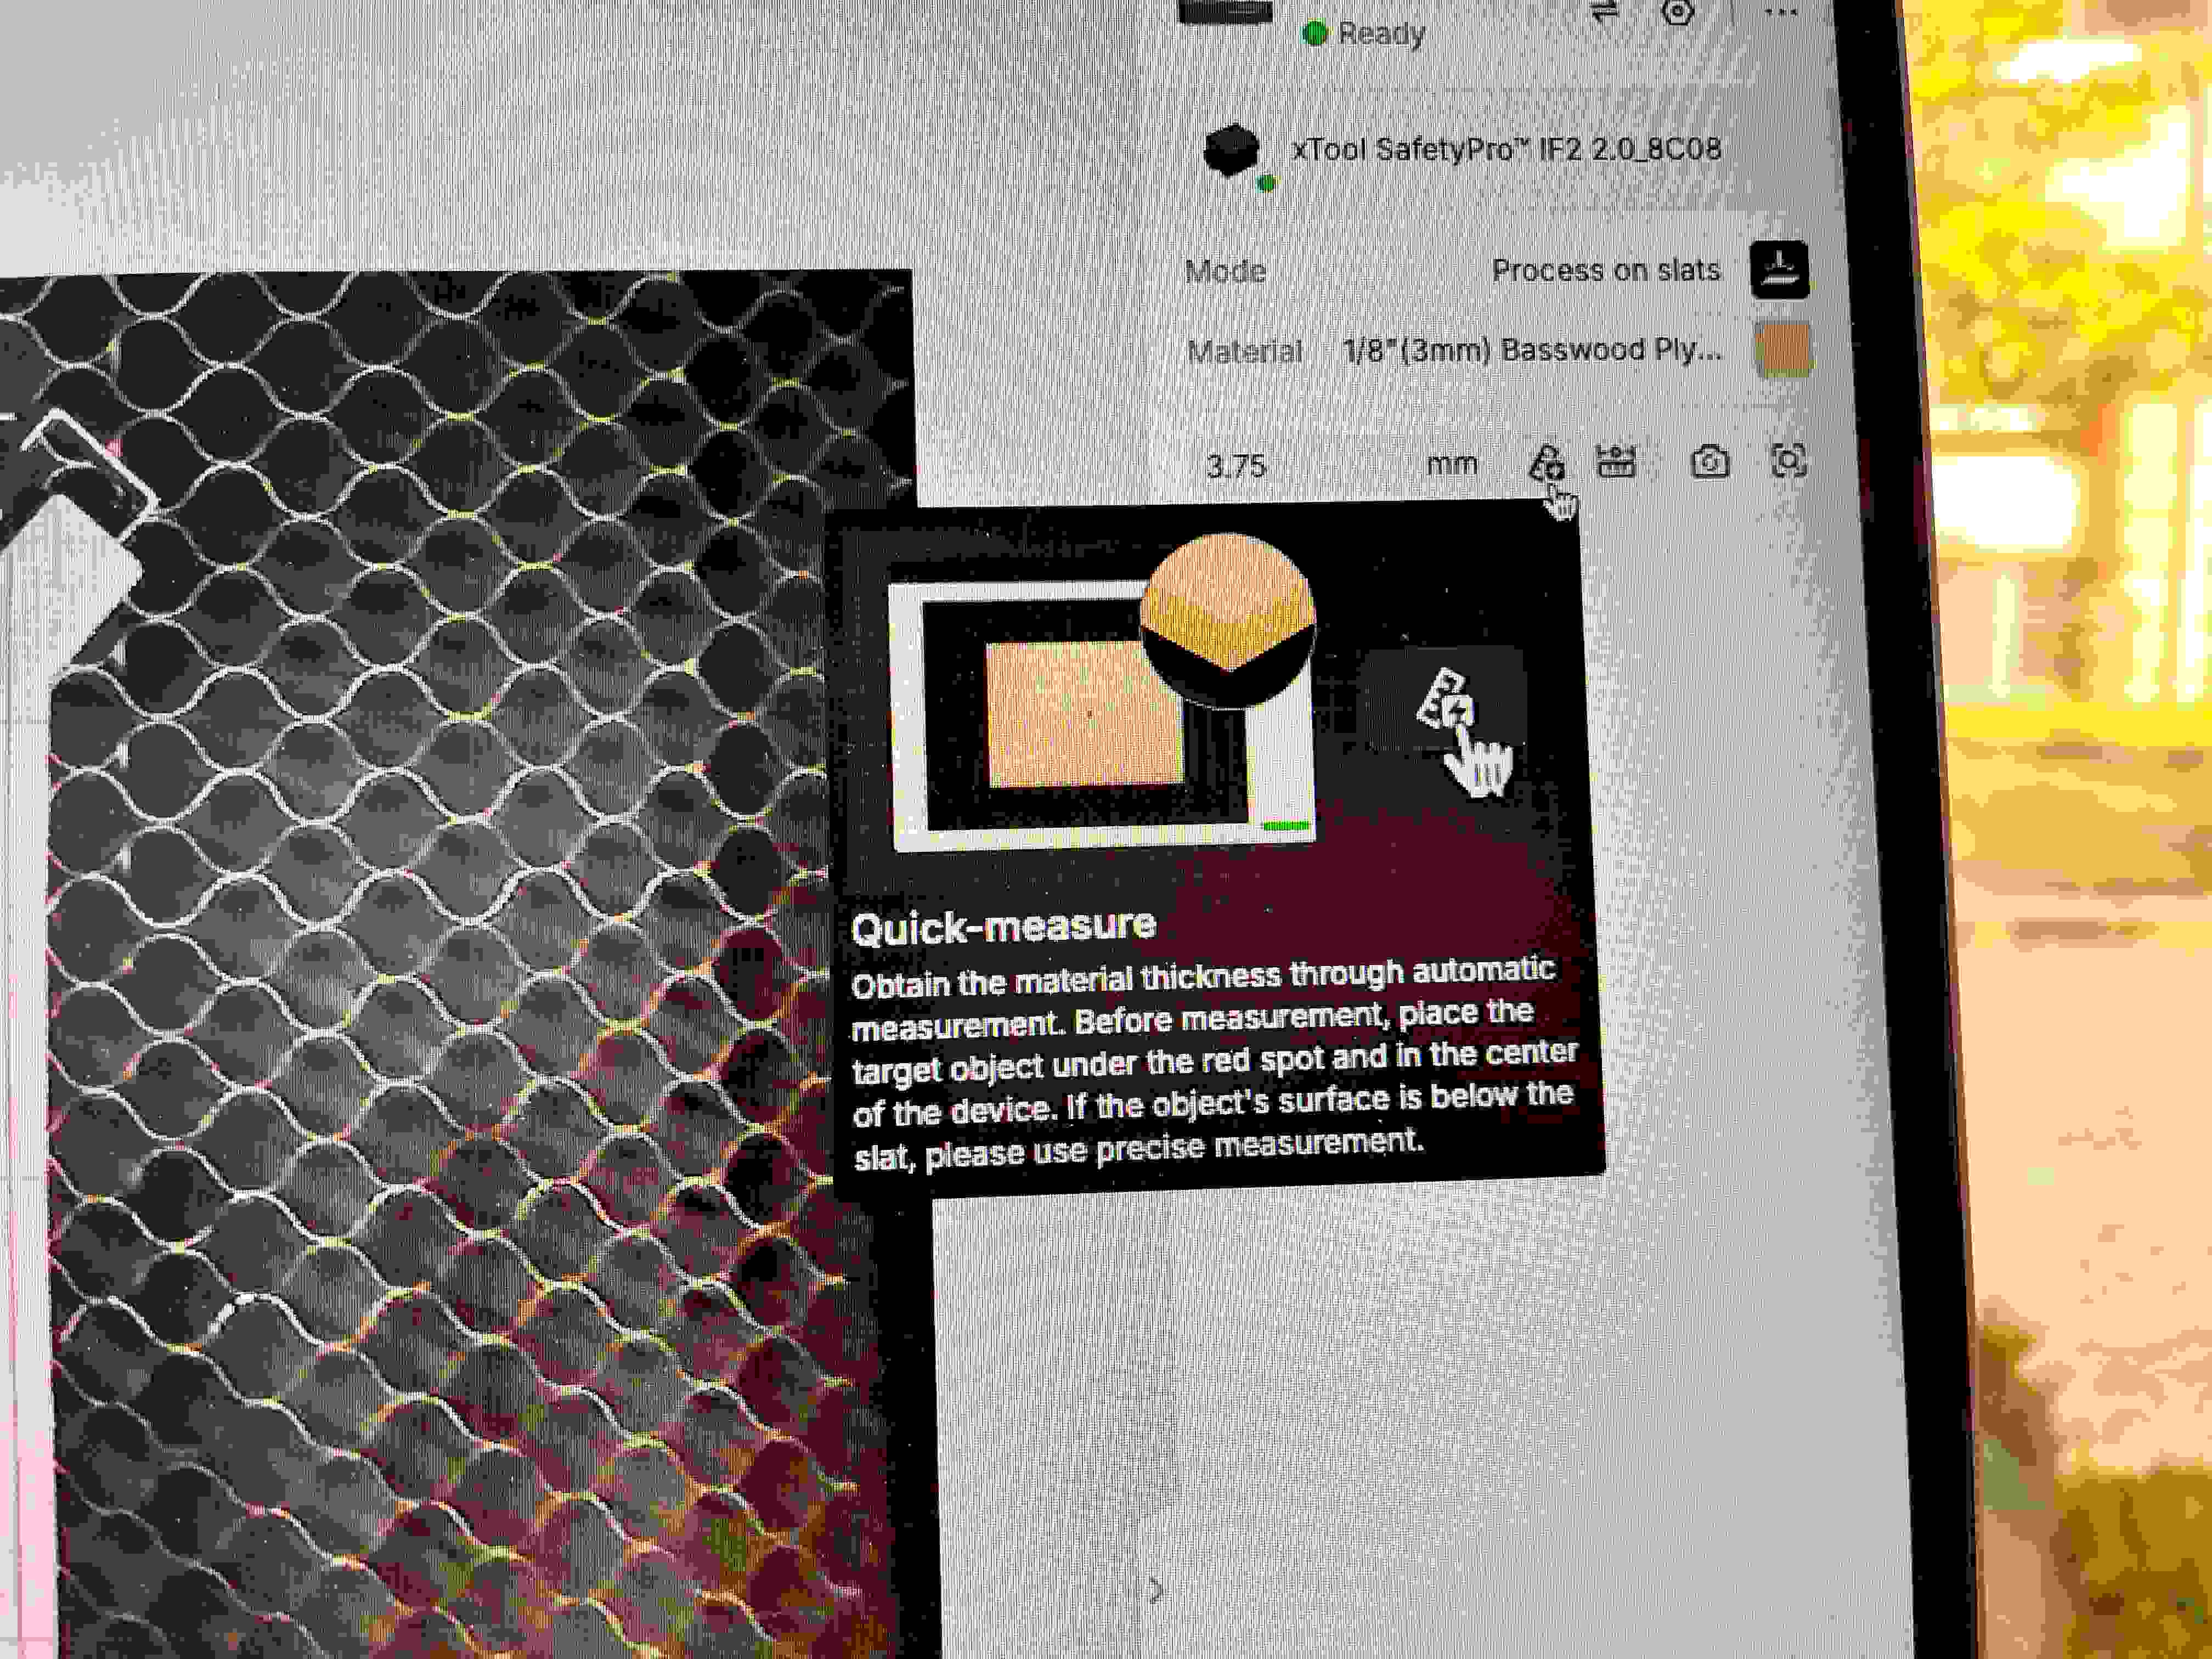
You can also measure the thickness of a specific area on the material, preferably the area you are going to work on. Click on the button to the right of the button I told you before, and then click on the area you want to measure.
On the left side, you can browse through some pre-made examples. If you want to use from these templates, make sure that the example you choose is suitable for the device and the material you will use.
If you have your own design, like me, you can drag and drop it on the canvas. If you choose a template, click on “Open”.
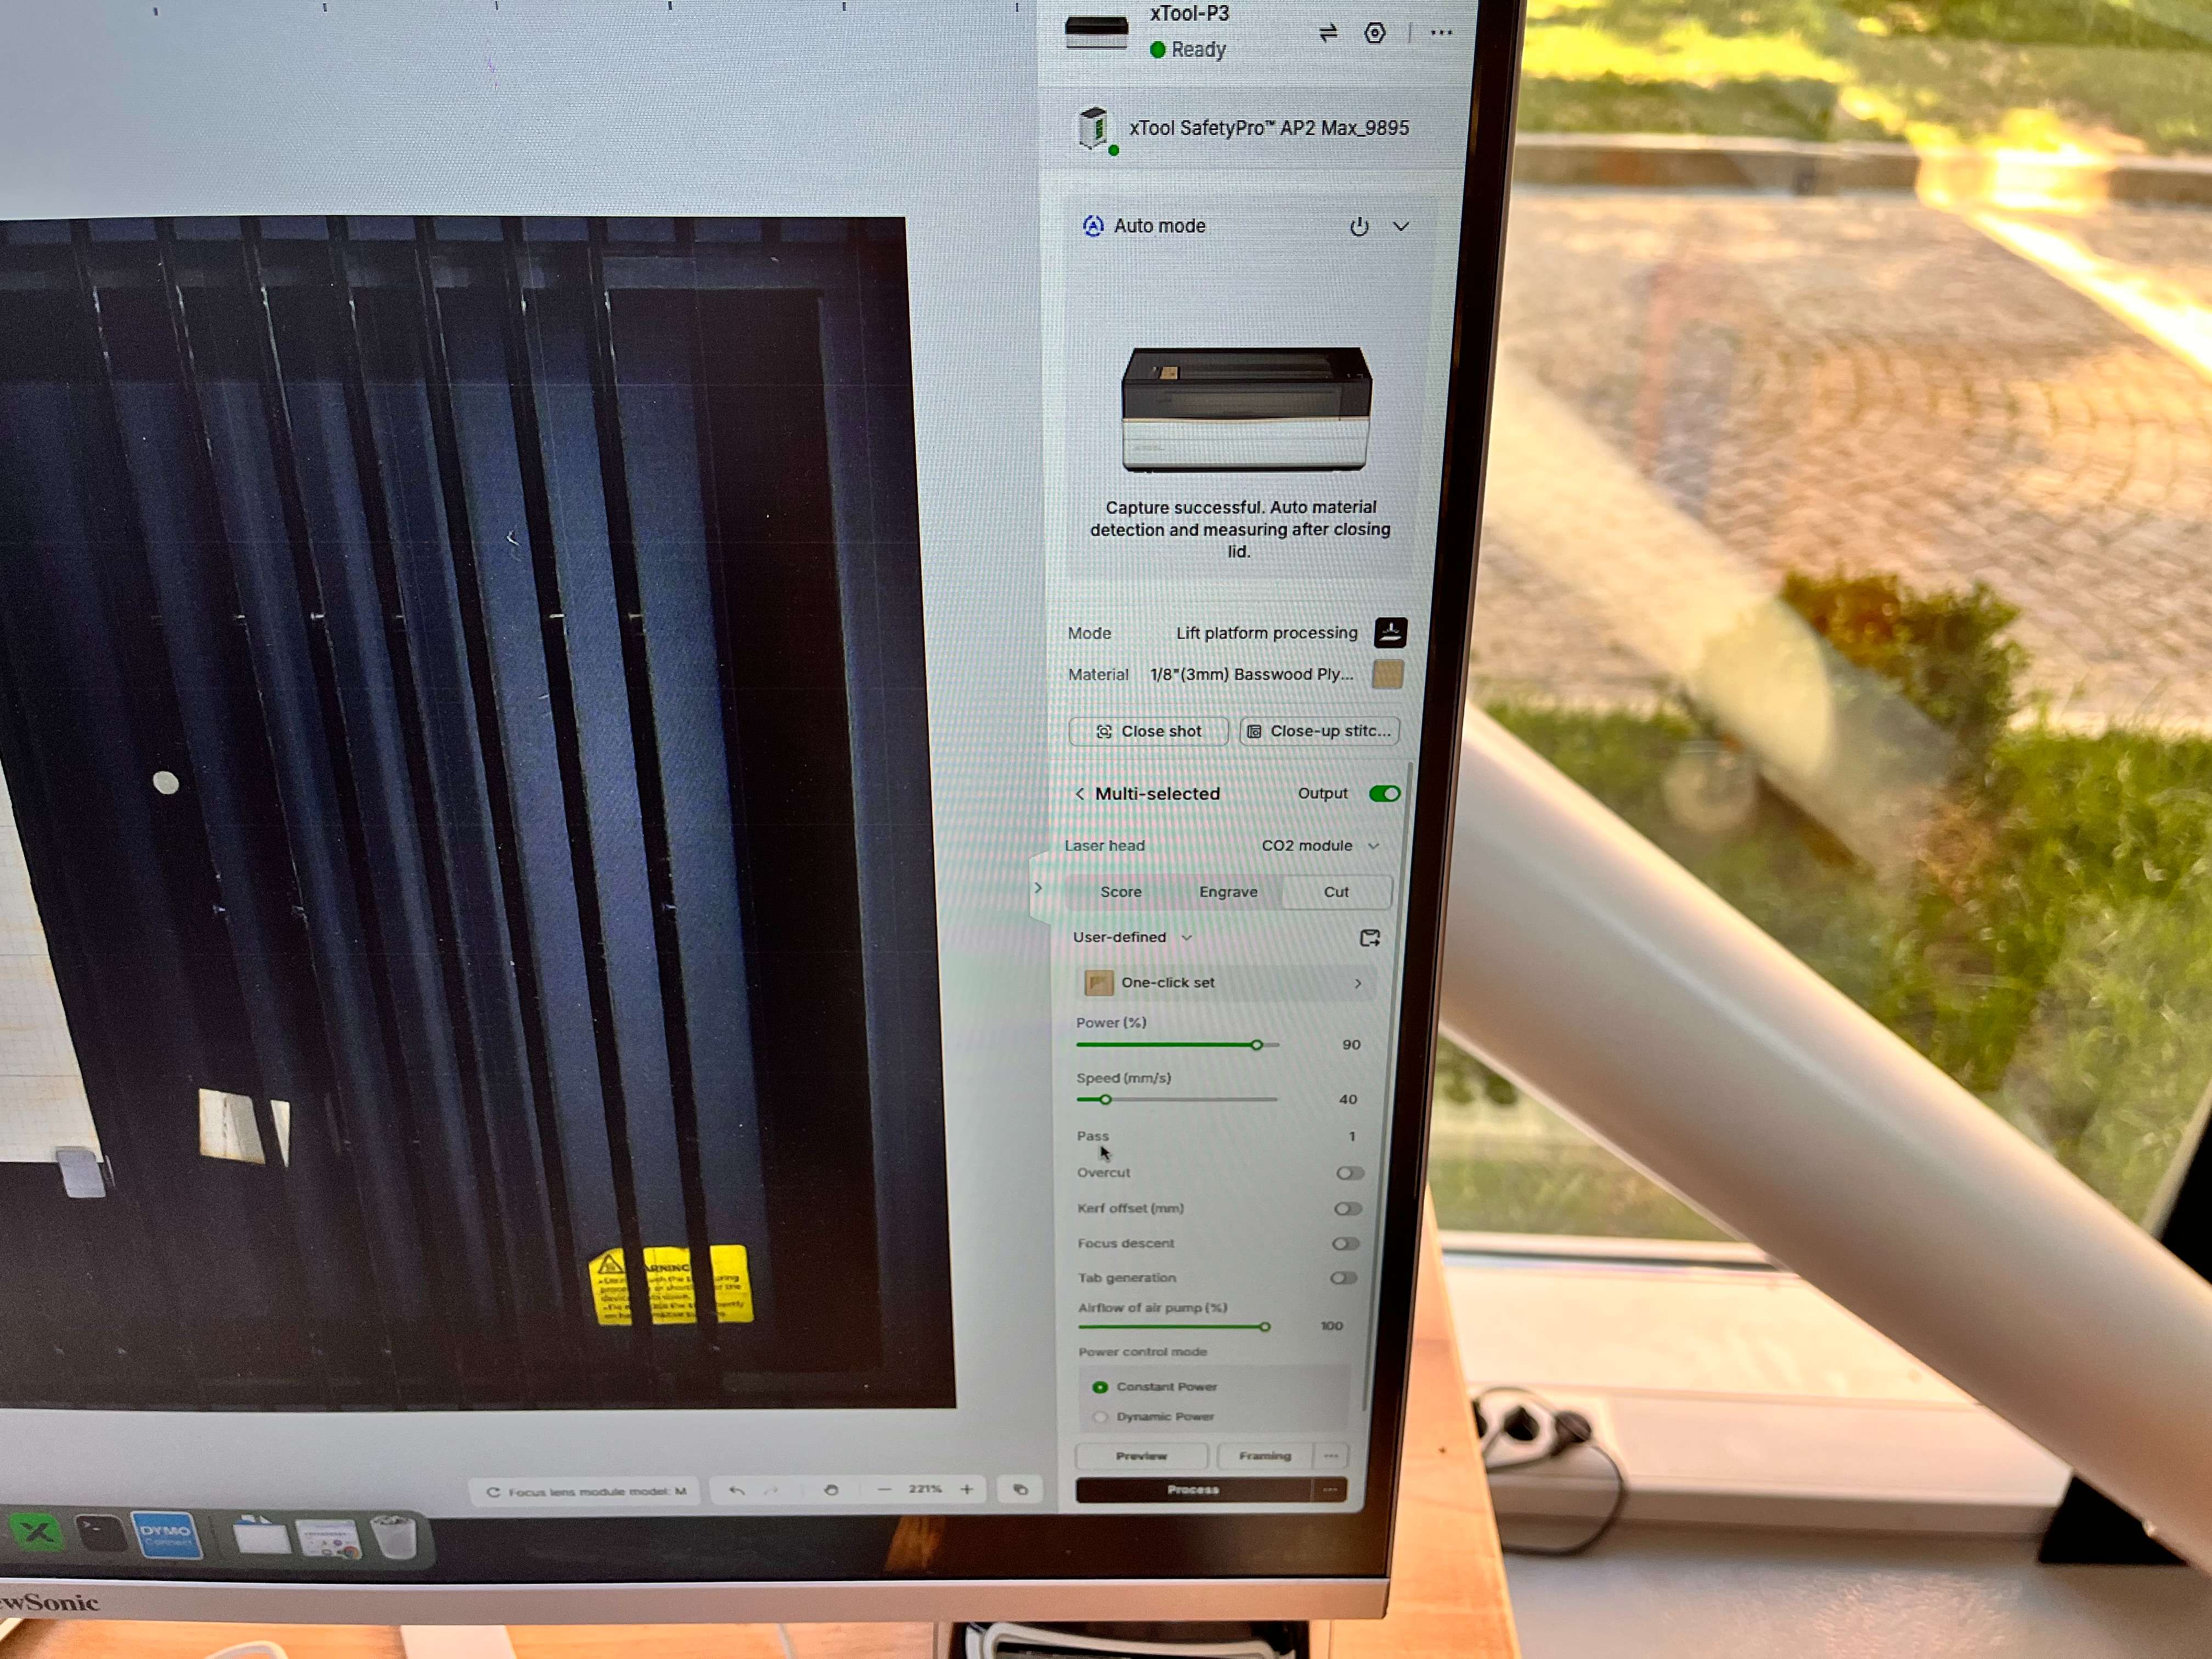
You can resize, rotate, or copy-paste the design, if needed. On the right panel, now you can see the processing settings. Click on a setting to modify it.
You can set the process as “Score”, “Engrave” or “Cut”. And below that, you will see some additional settings. The main parameters are the “Power” and “Speed”.
But be careful, too much power and too little speed might make your material catch fire.
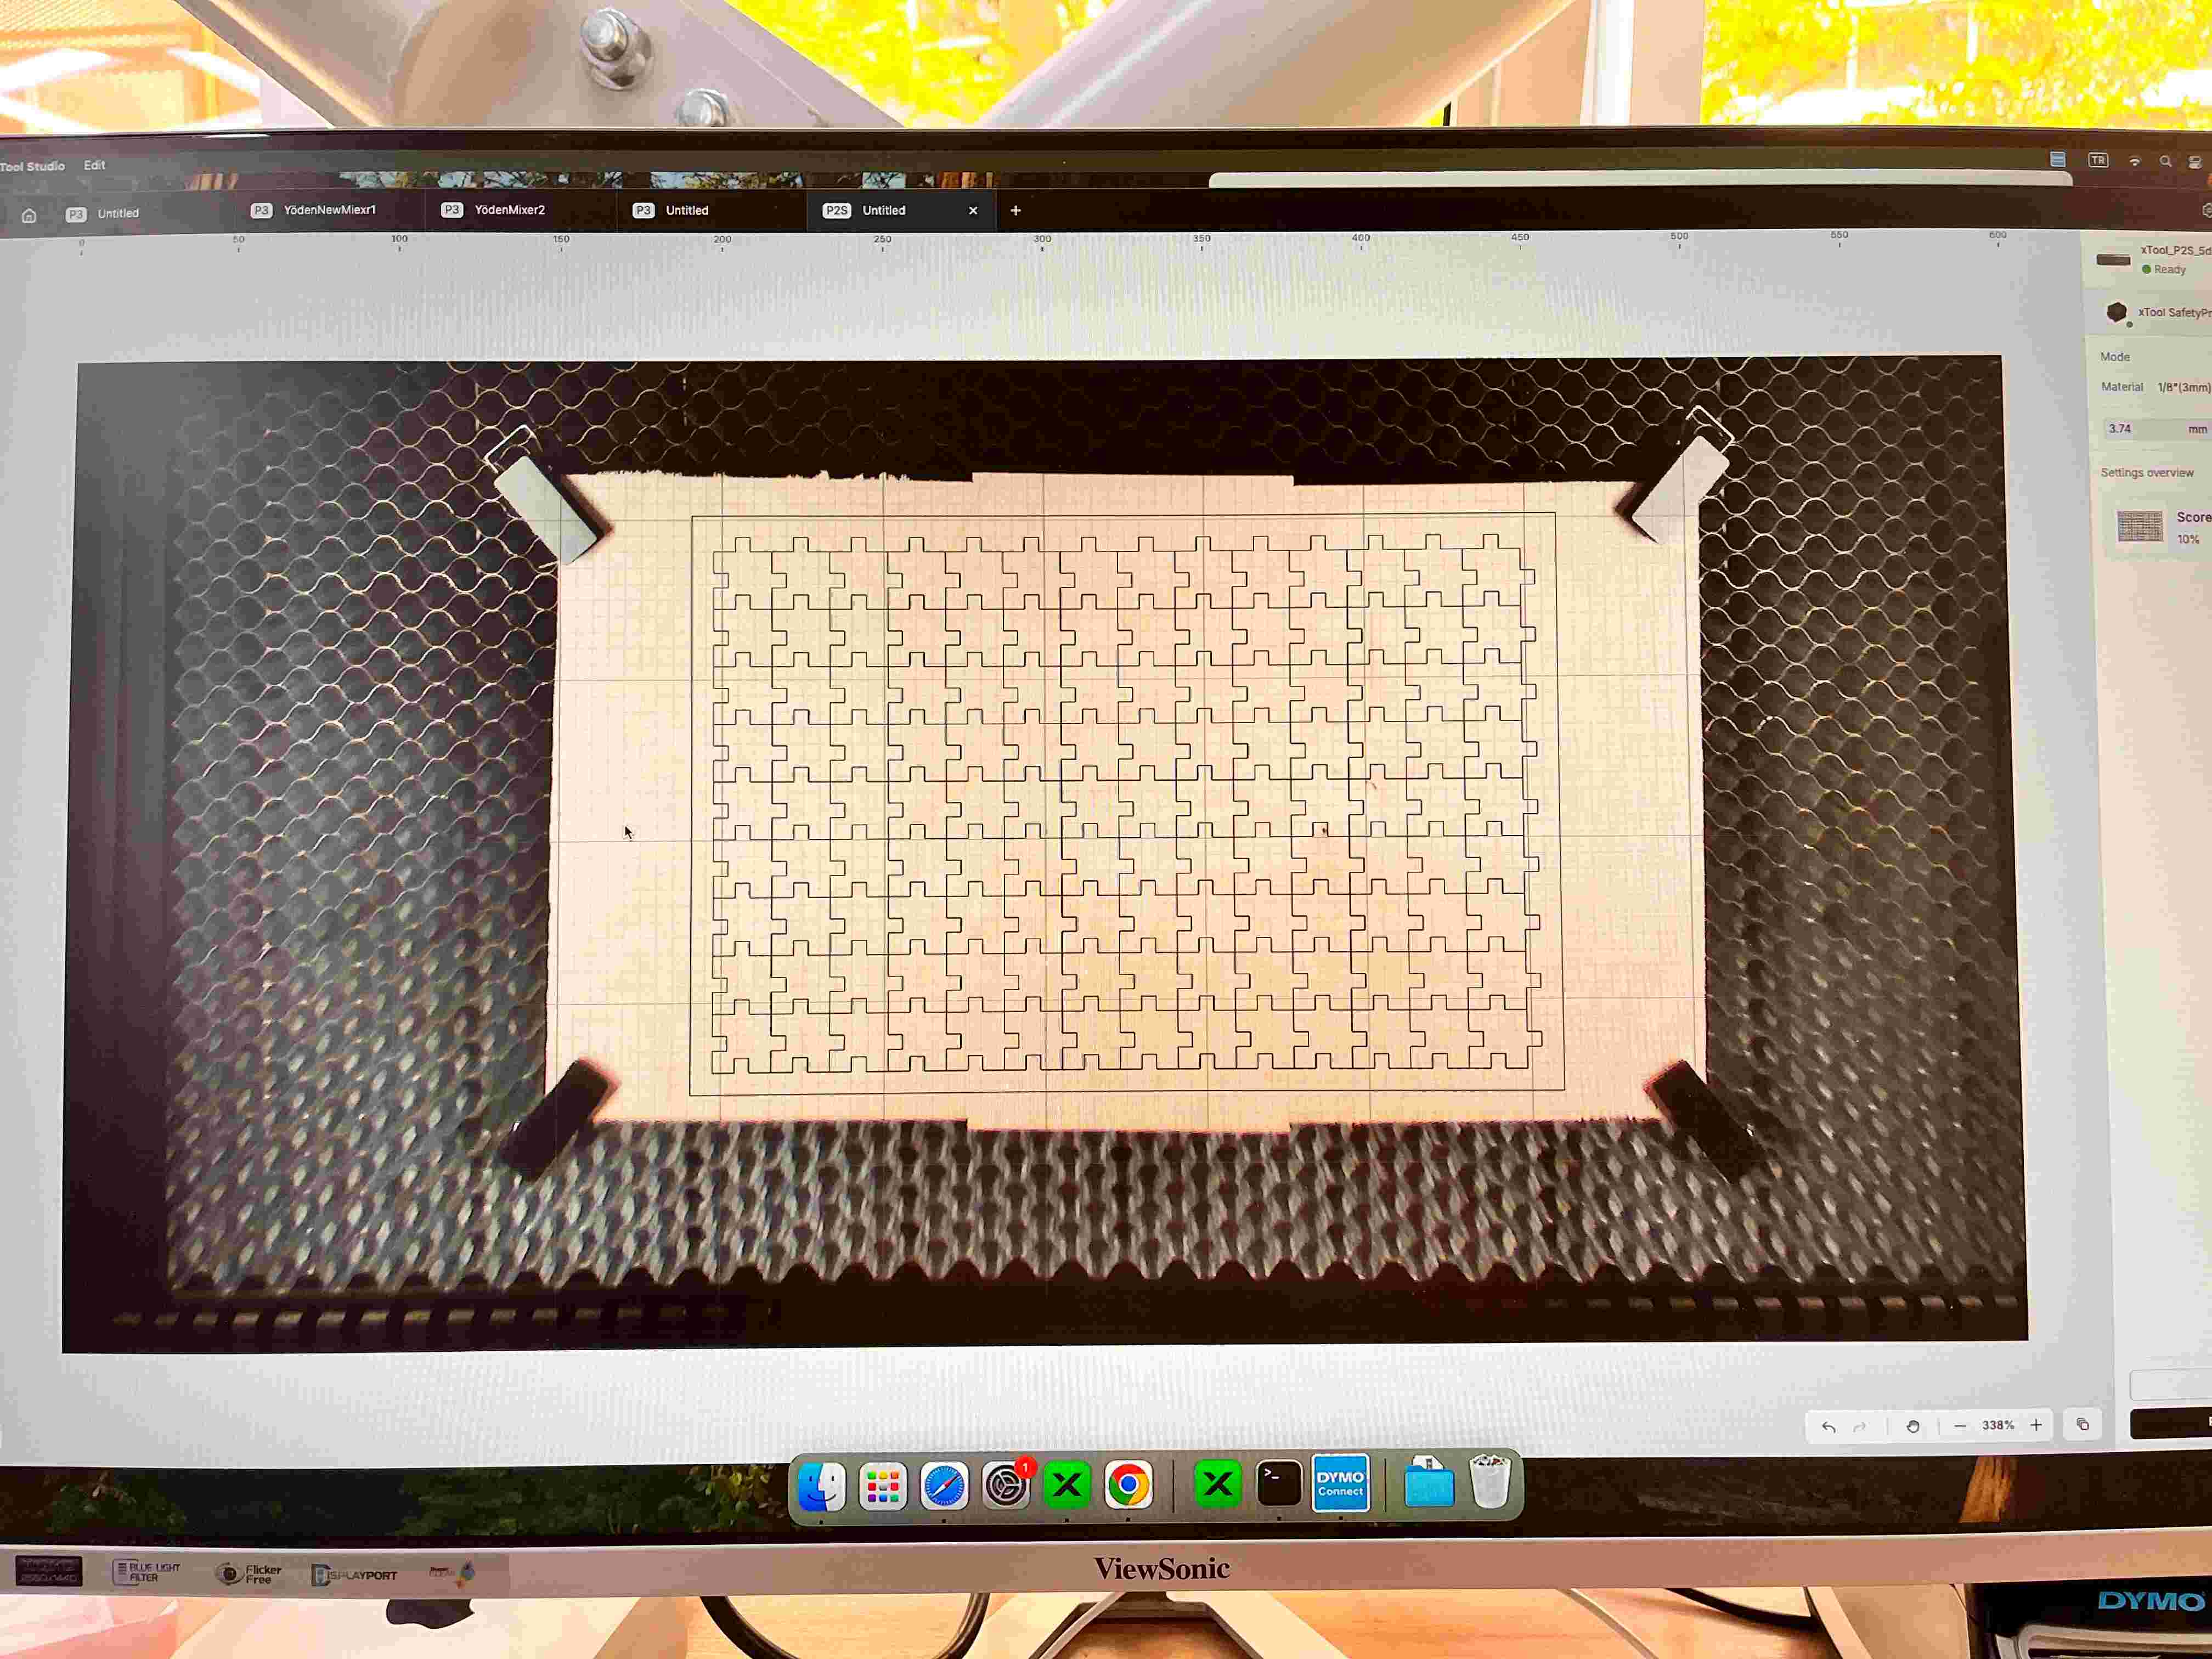
On my process, I will just cut it. So, I selected Cut.
But before that, I created two small squares to calculate the kerf of my design.
And, I also moved my design to P3, but all the other step before was still the same.
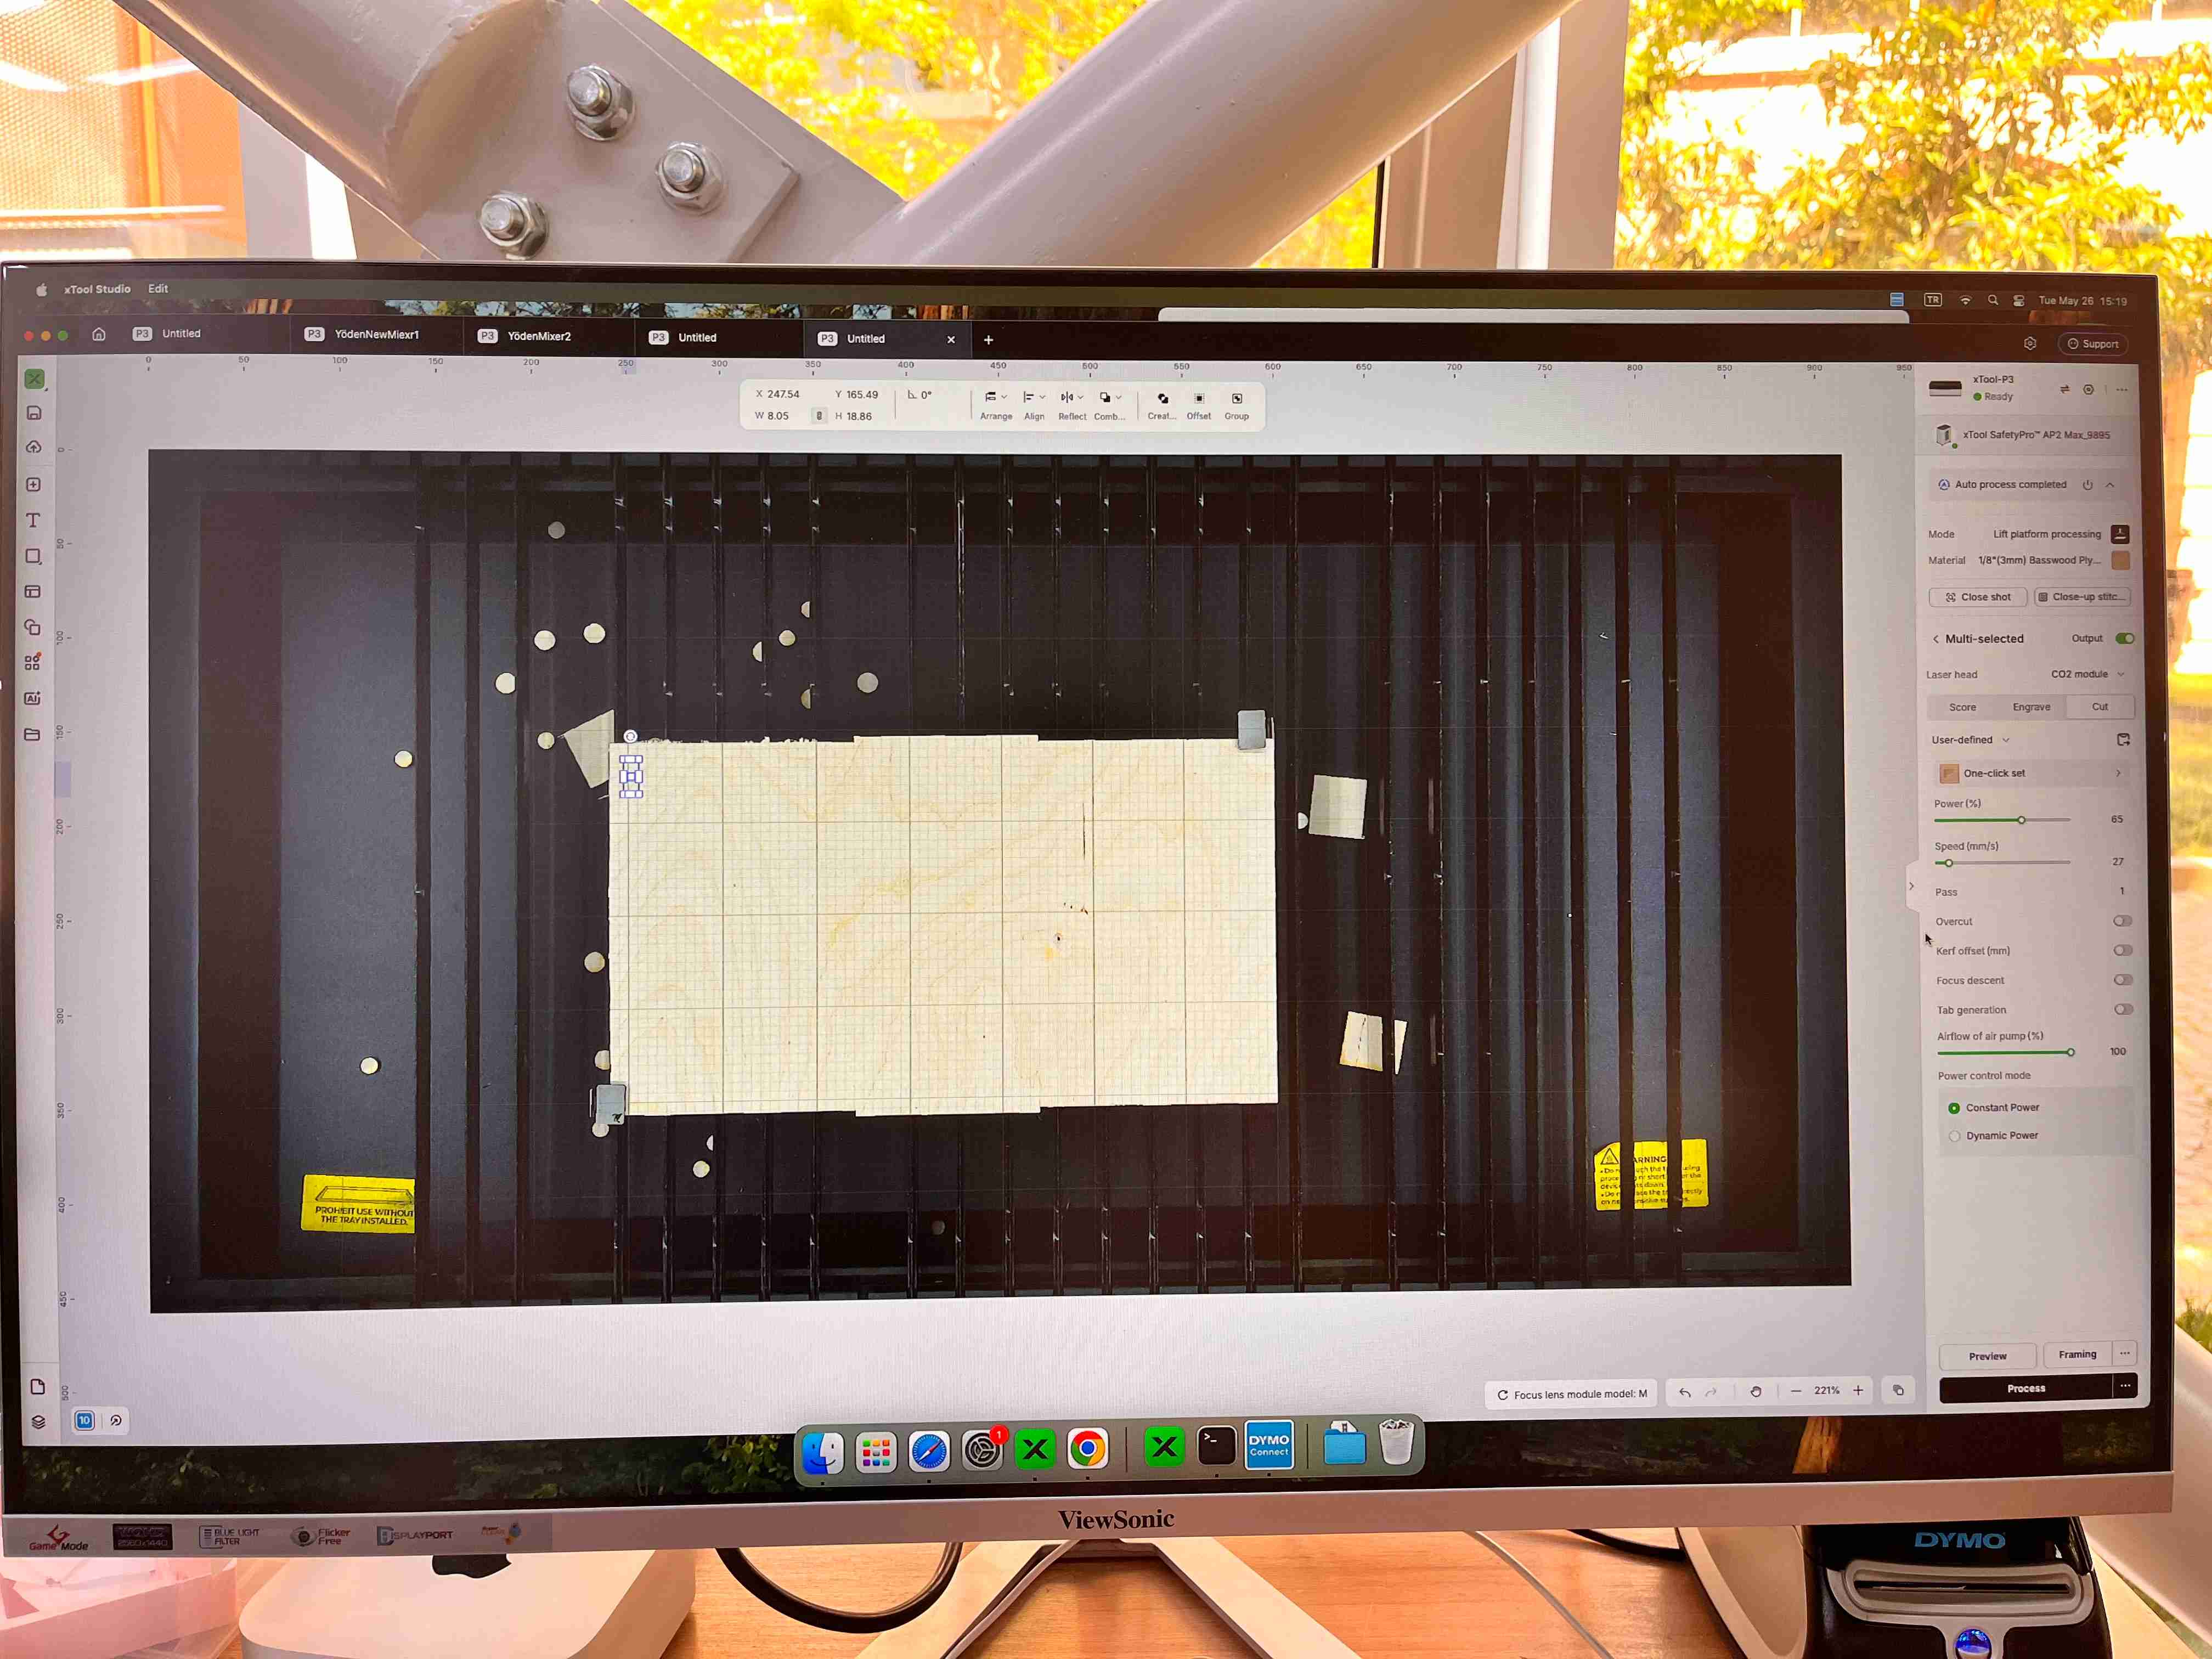
I selected the power as 65% and the speed as 27%, and cut.
After that, with a caliber, I calculated the length of my squares.

It was 57.07mm. But it was supposed to be 57.5.
So, I calculated my kerf was 0.215mm. (57,5 - 57.07) / 2
According to this, Update your kerf variable on the design according to your kerf value, which is shown on the right side of the image below.
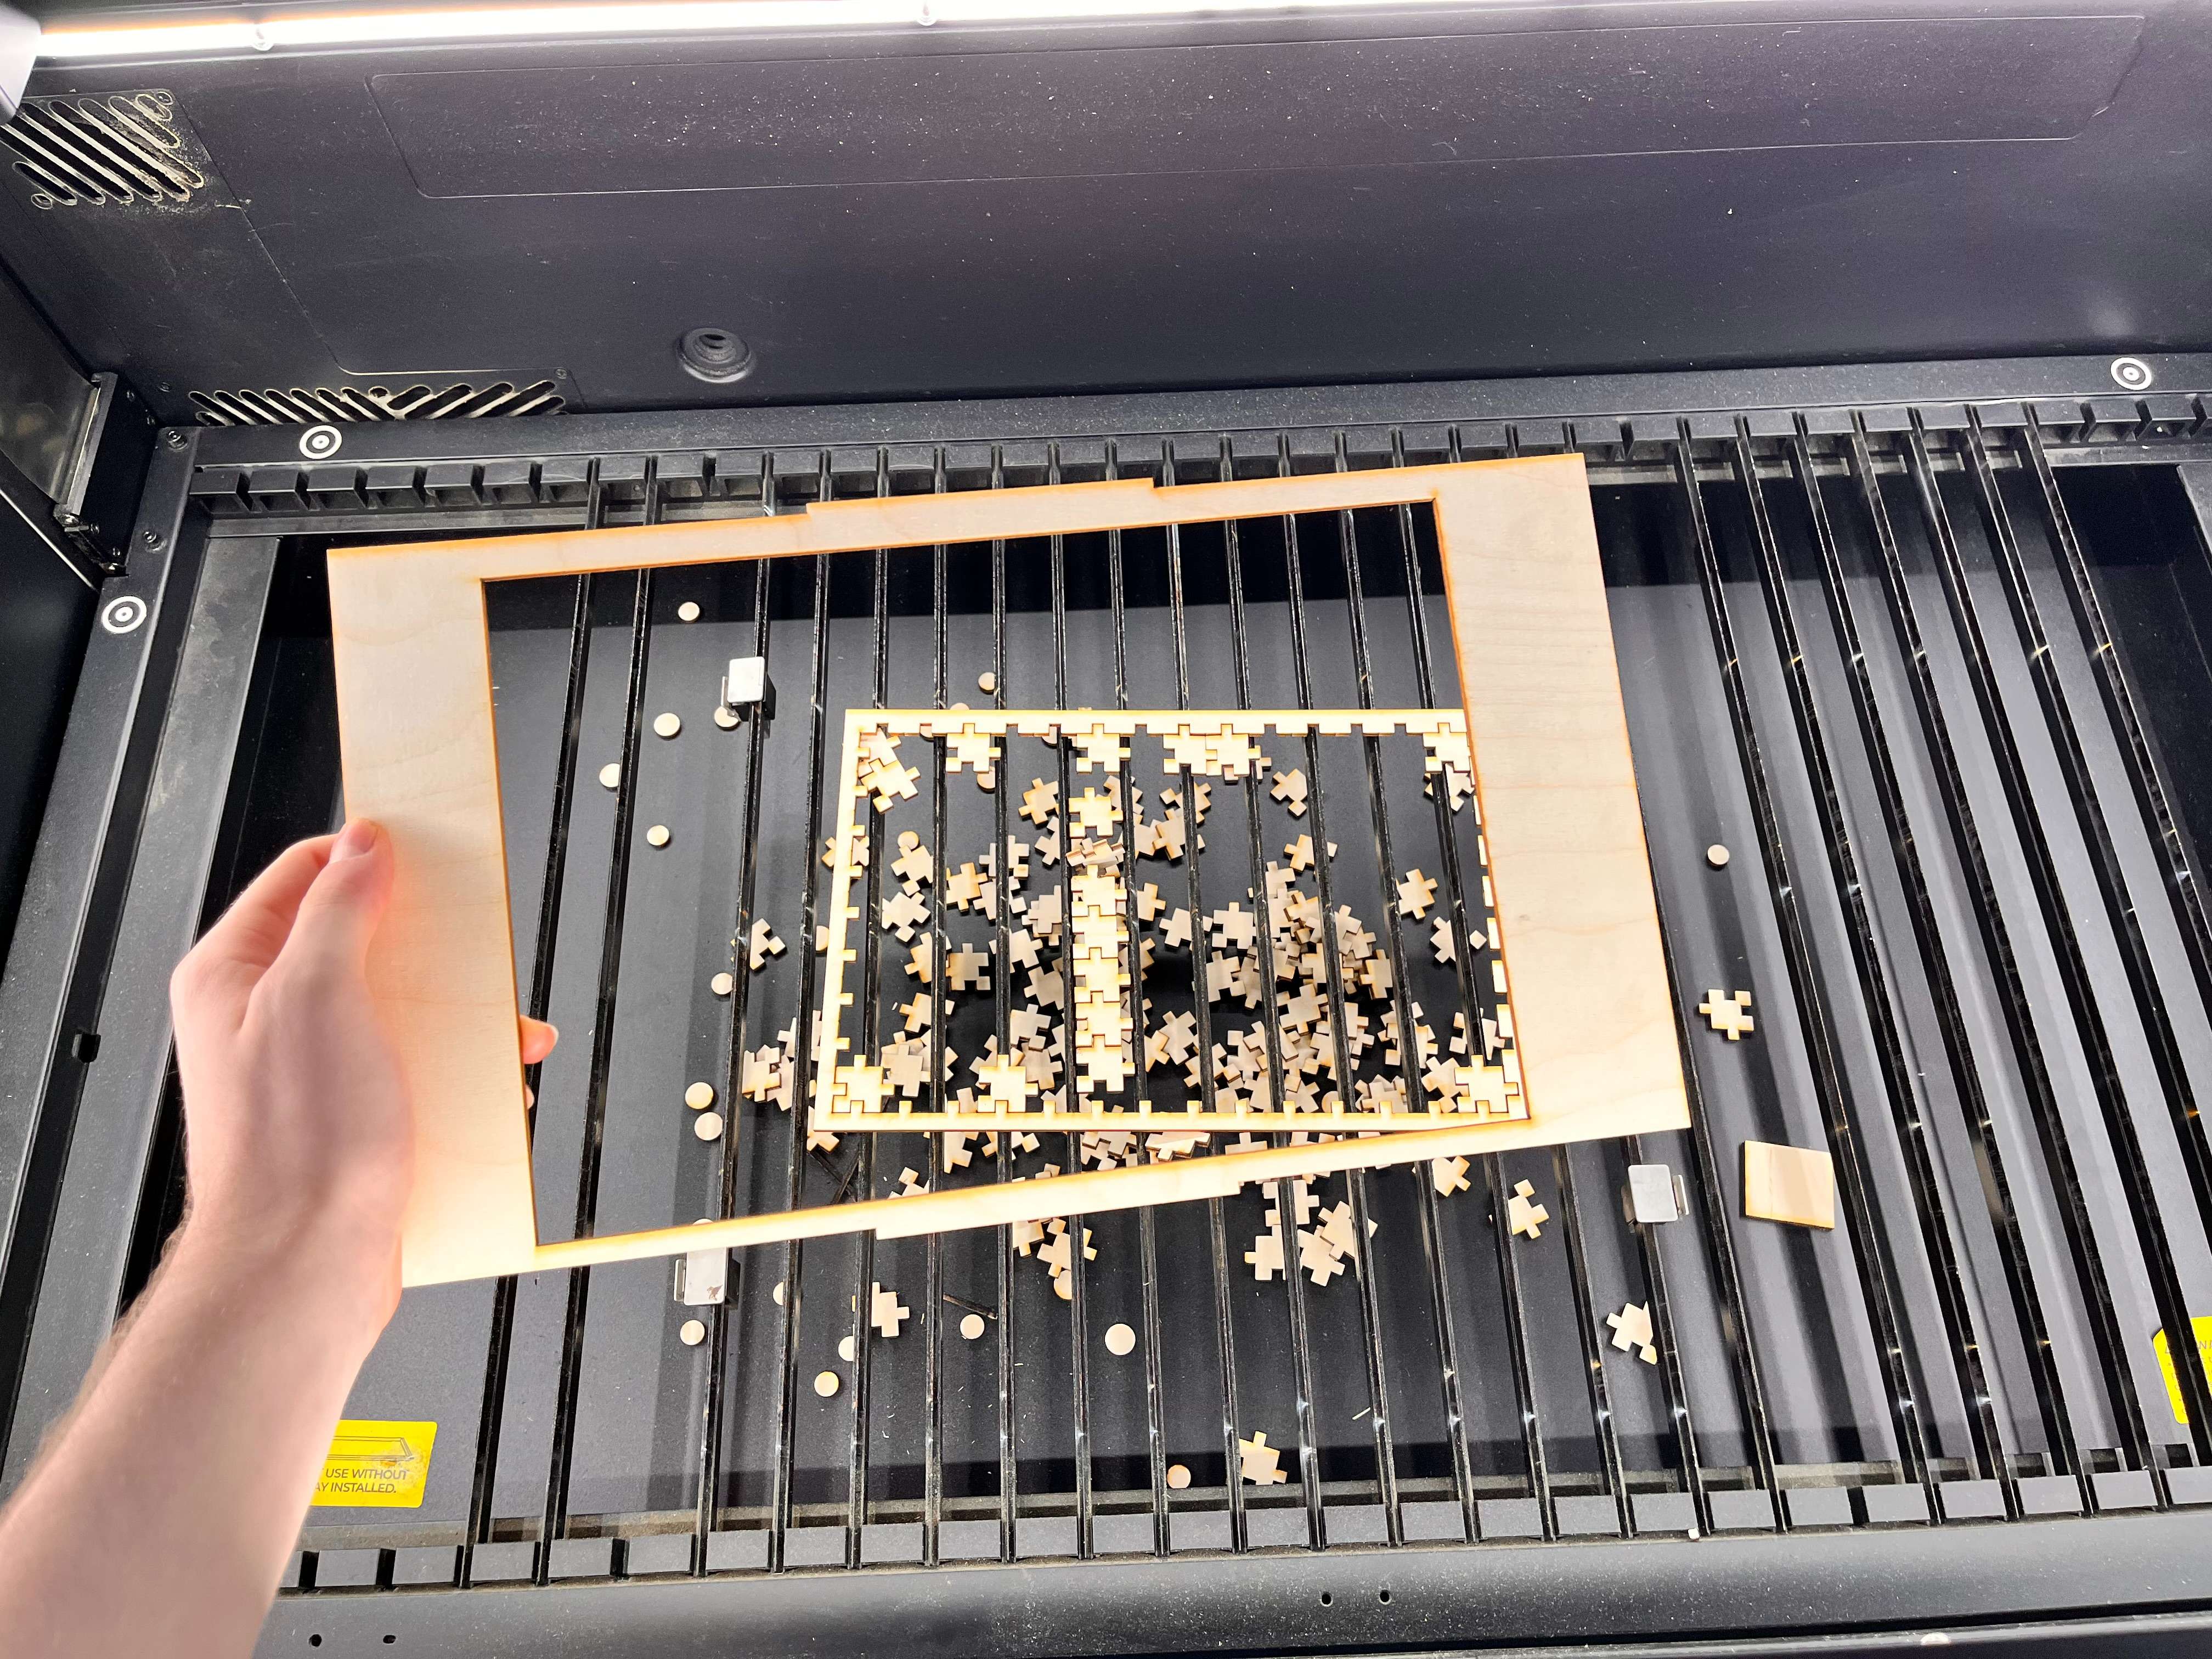
Later, I cut my whole puzzle with a speed of 50 m/s and 90% power, but it didn’t fully cut.
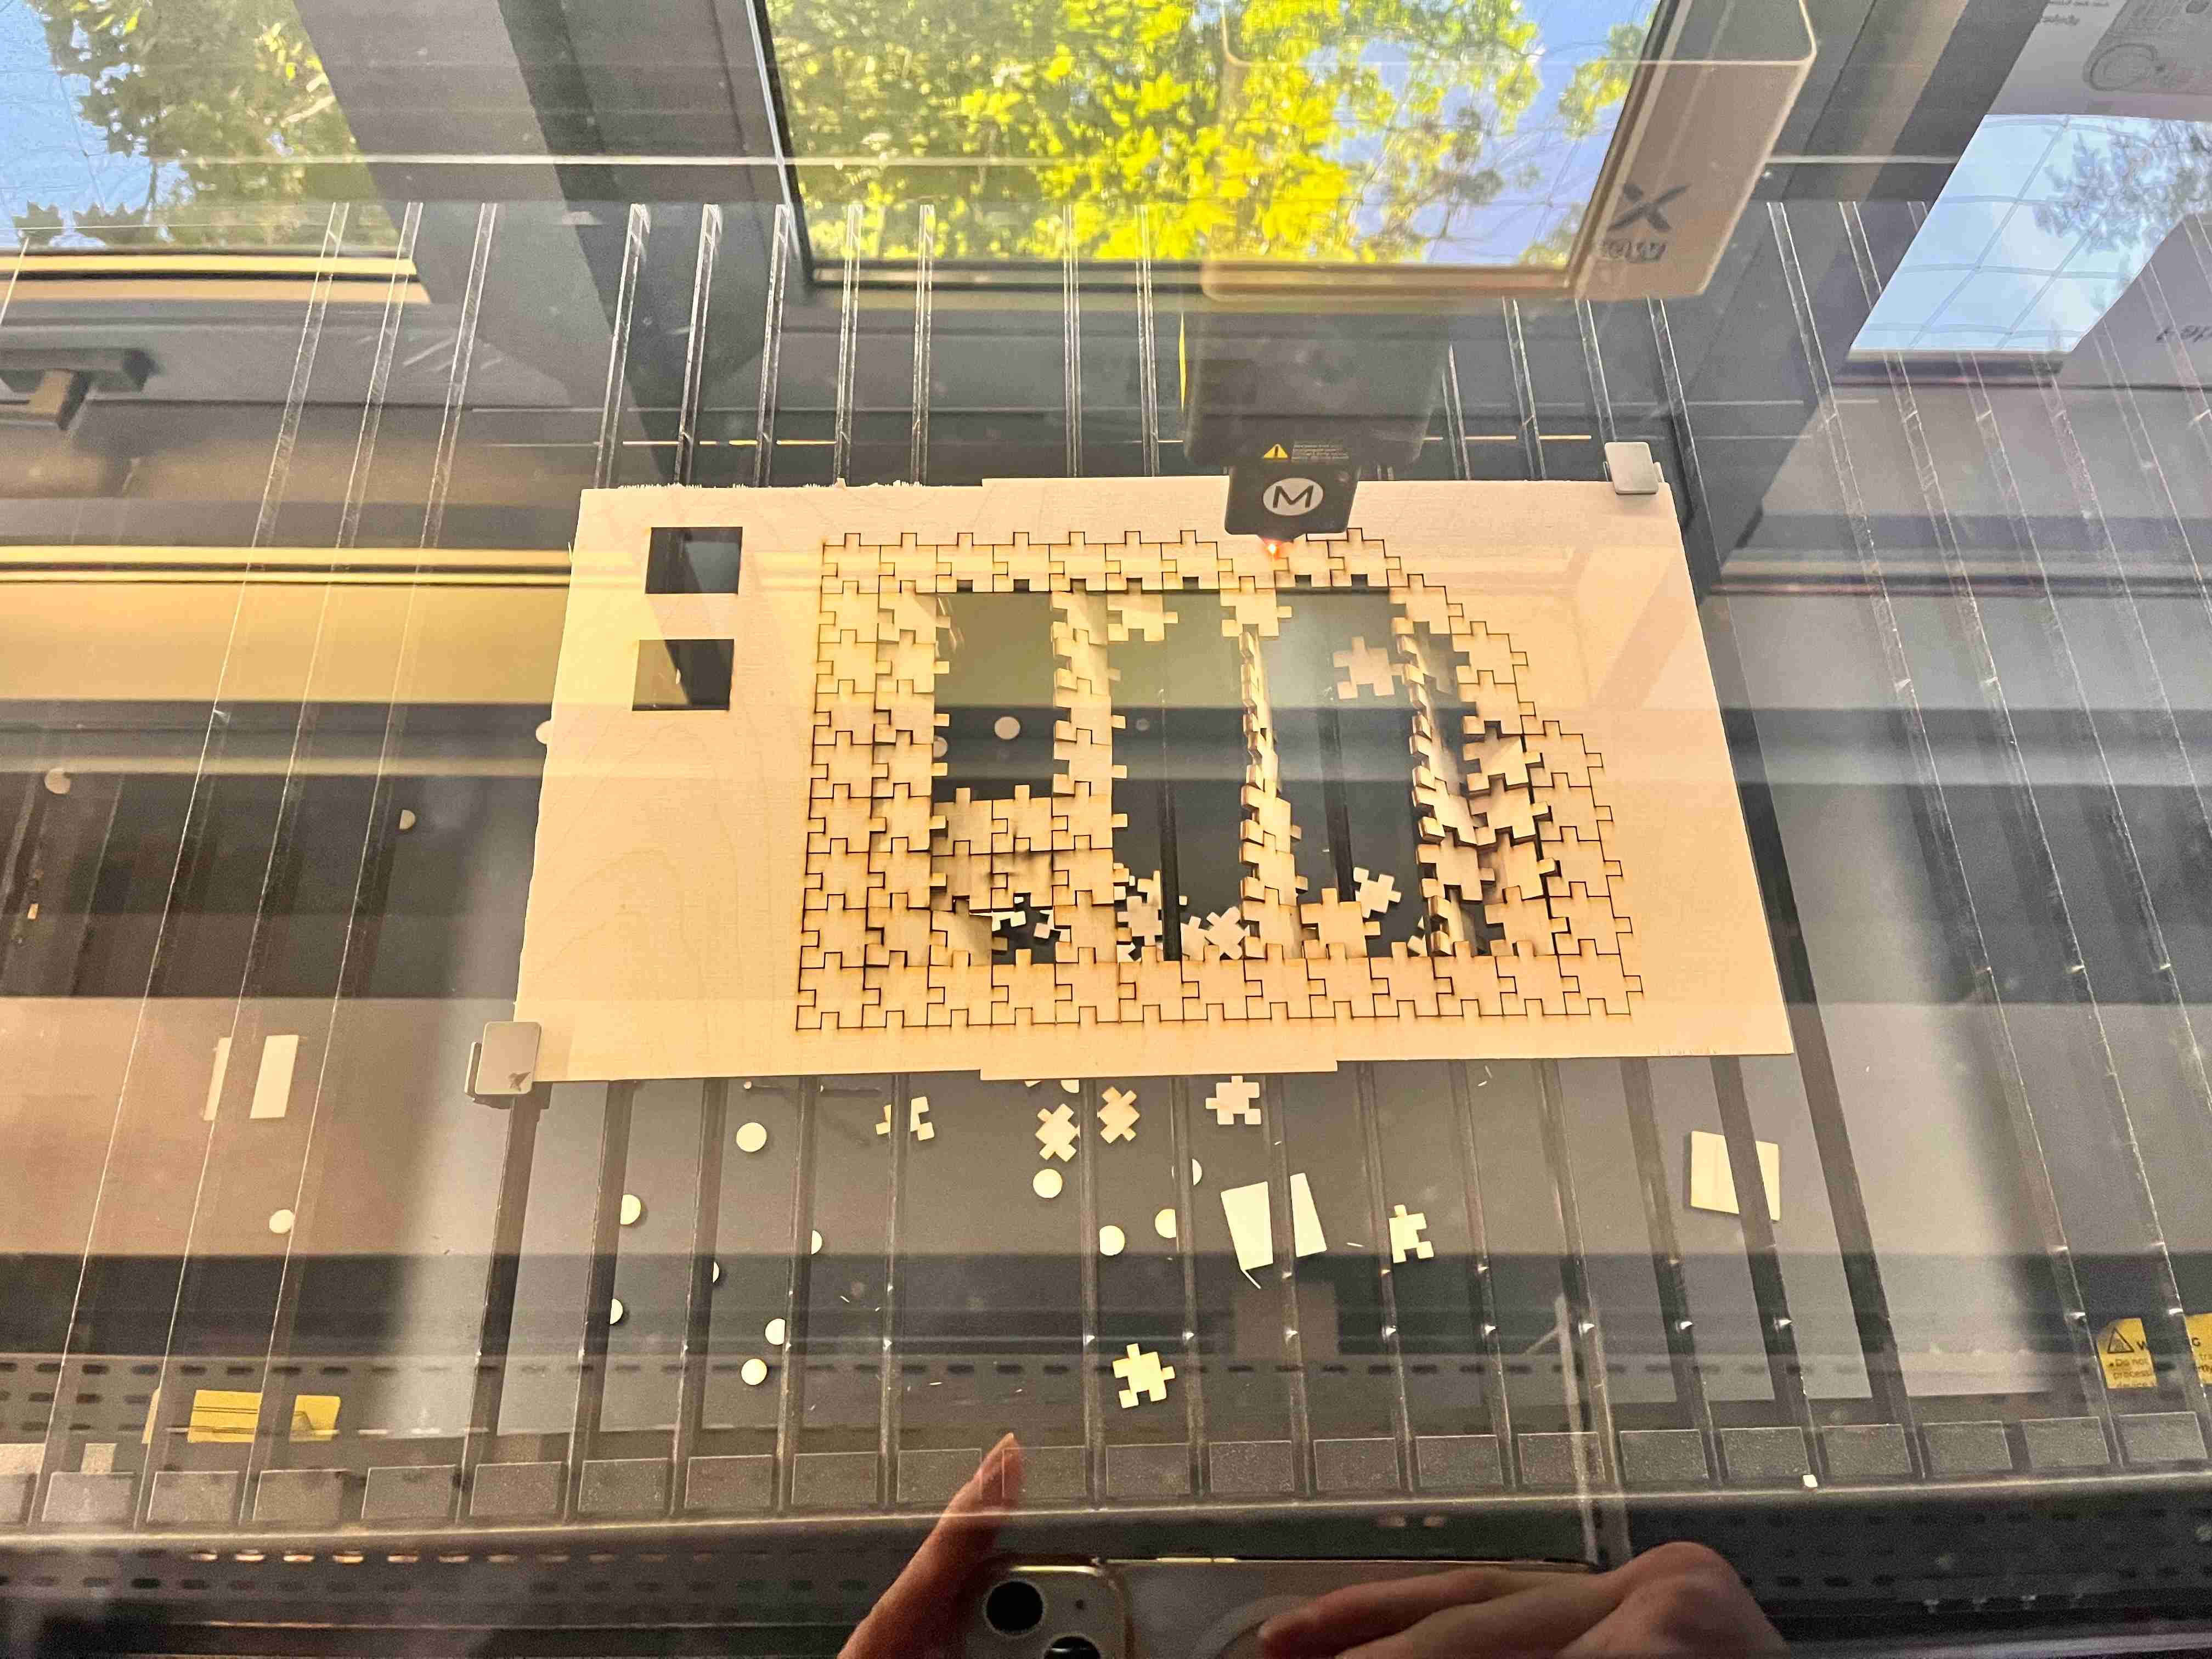
So, I decreased my speed to 40 m/s, and that worked without having fire.
Here is a video of the second cut.
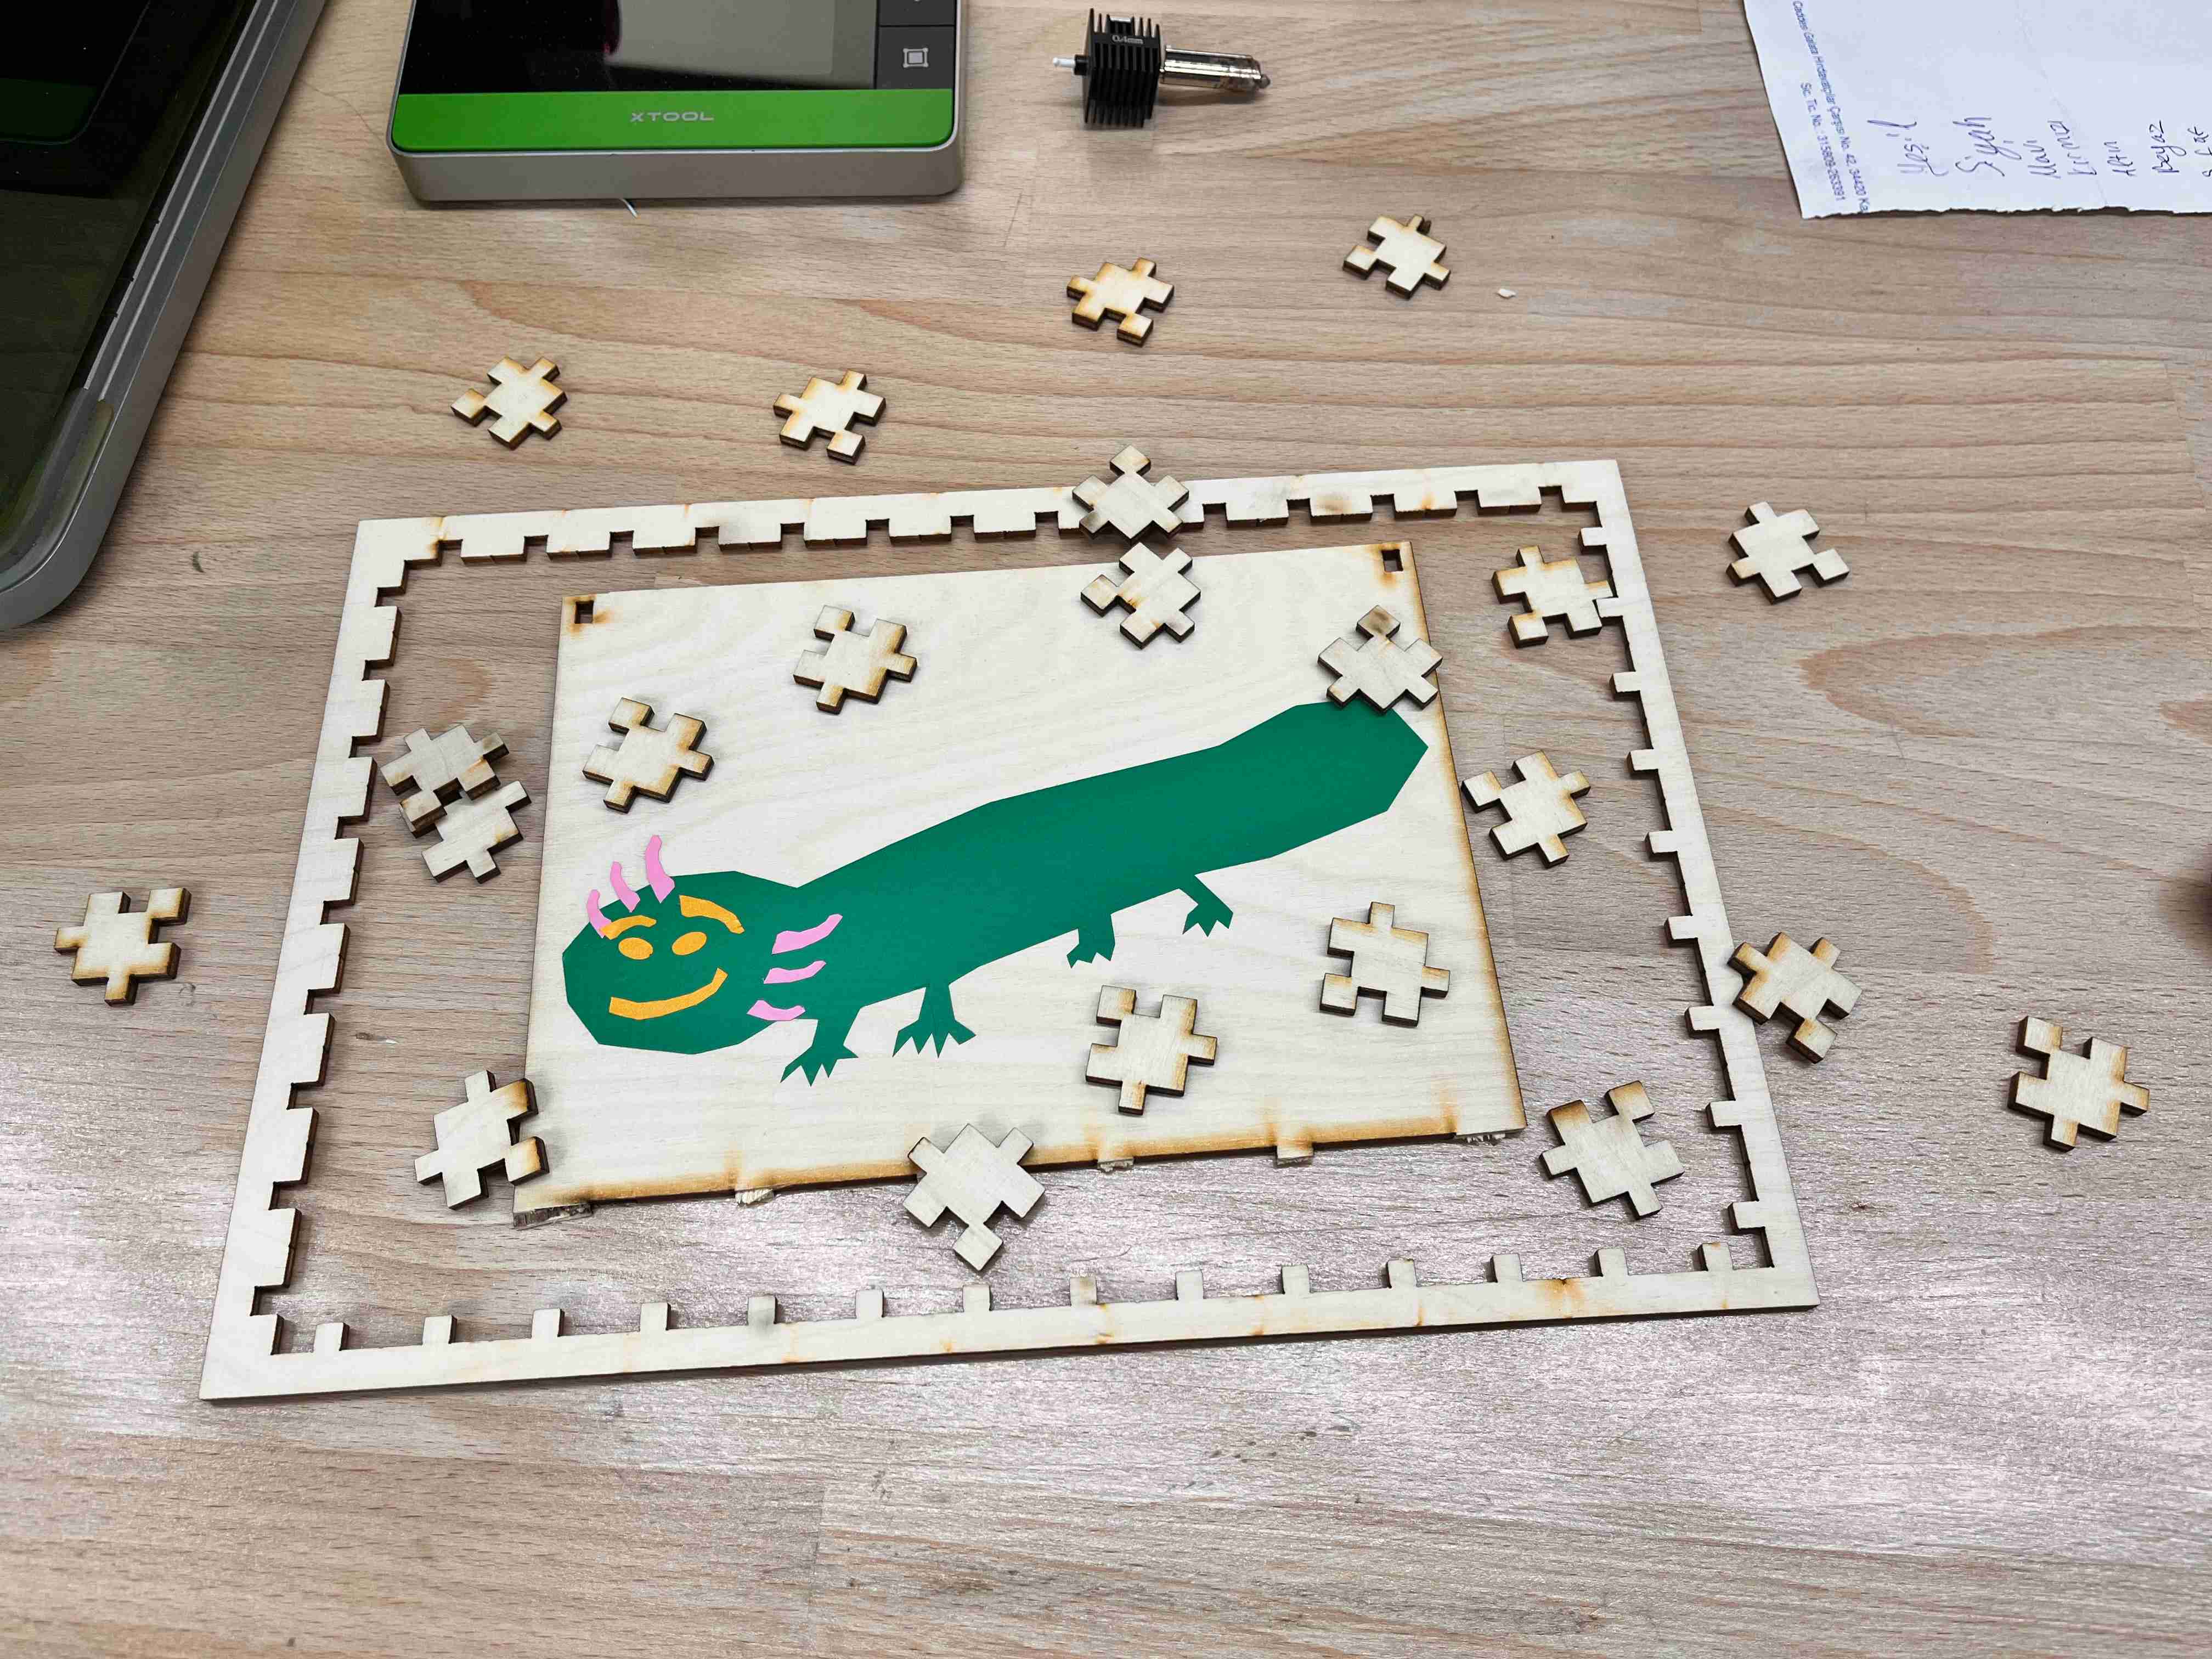
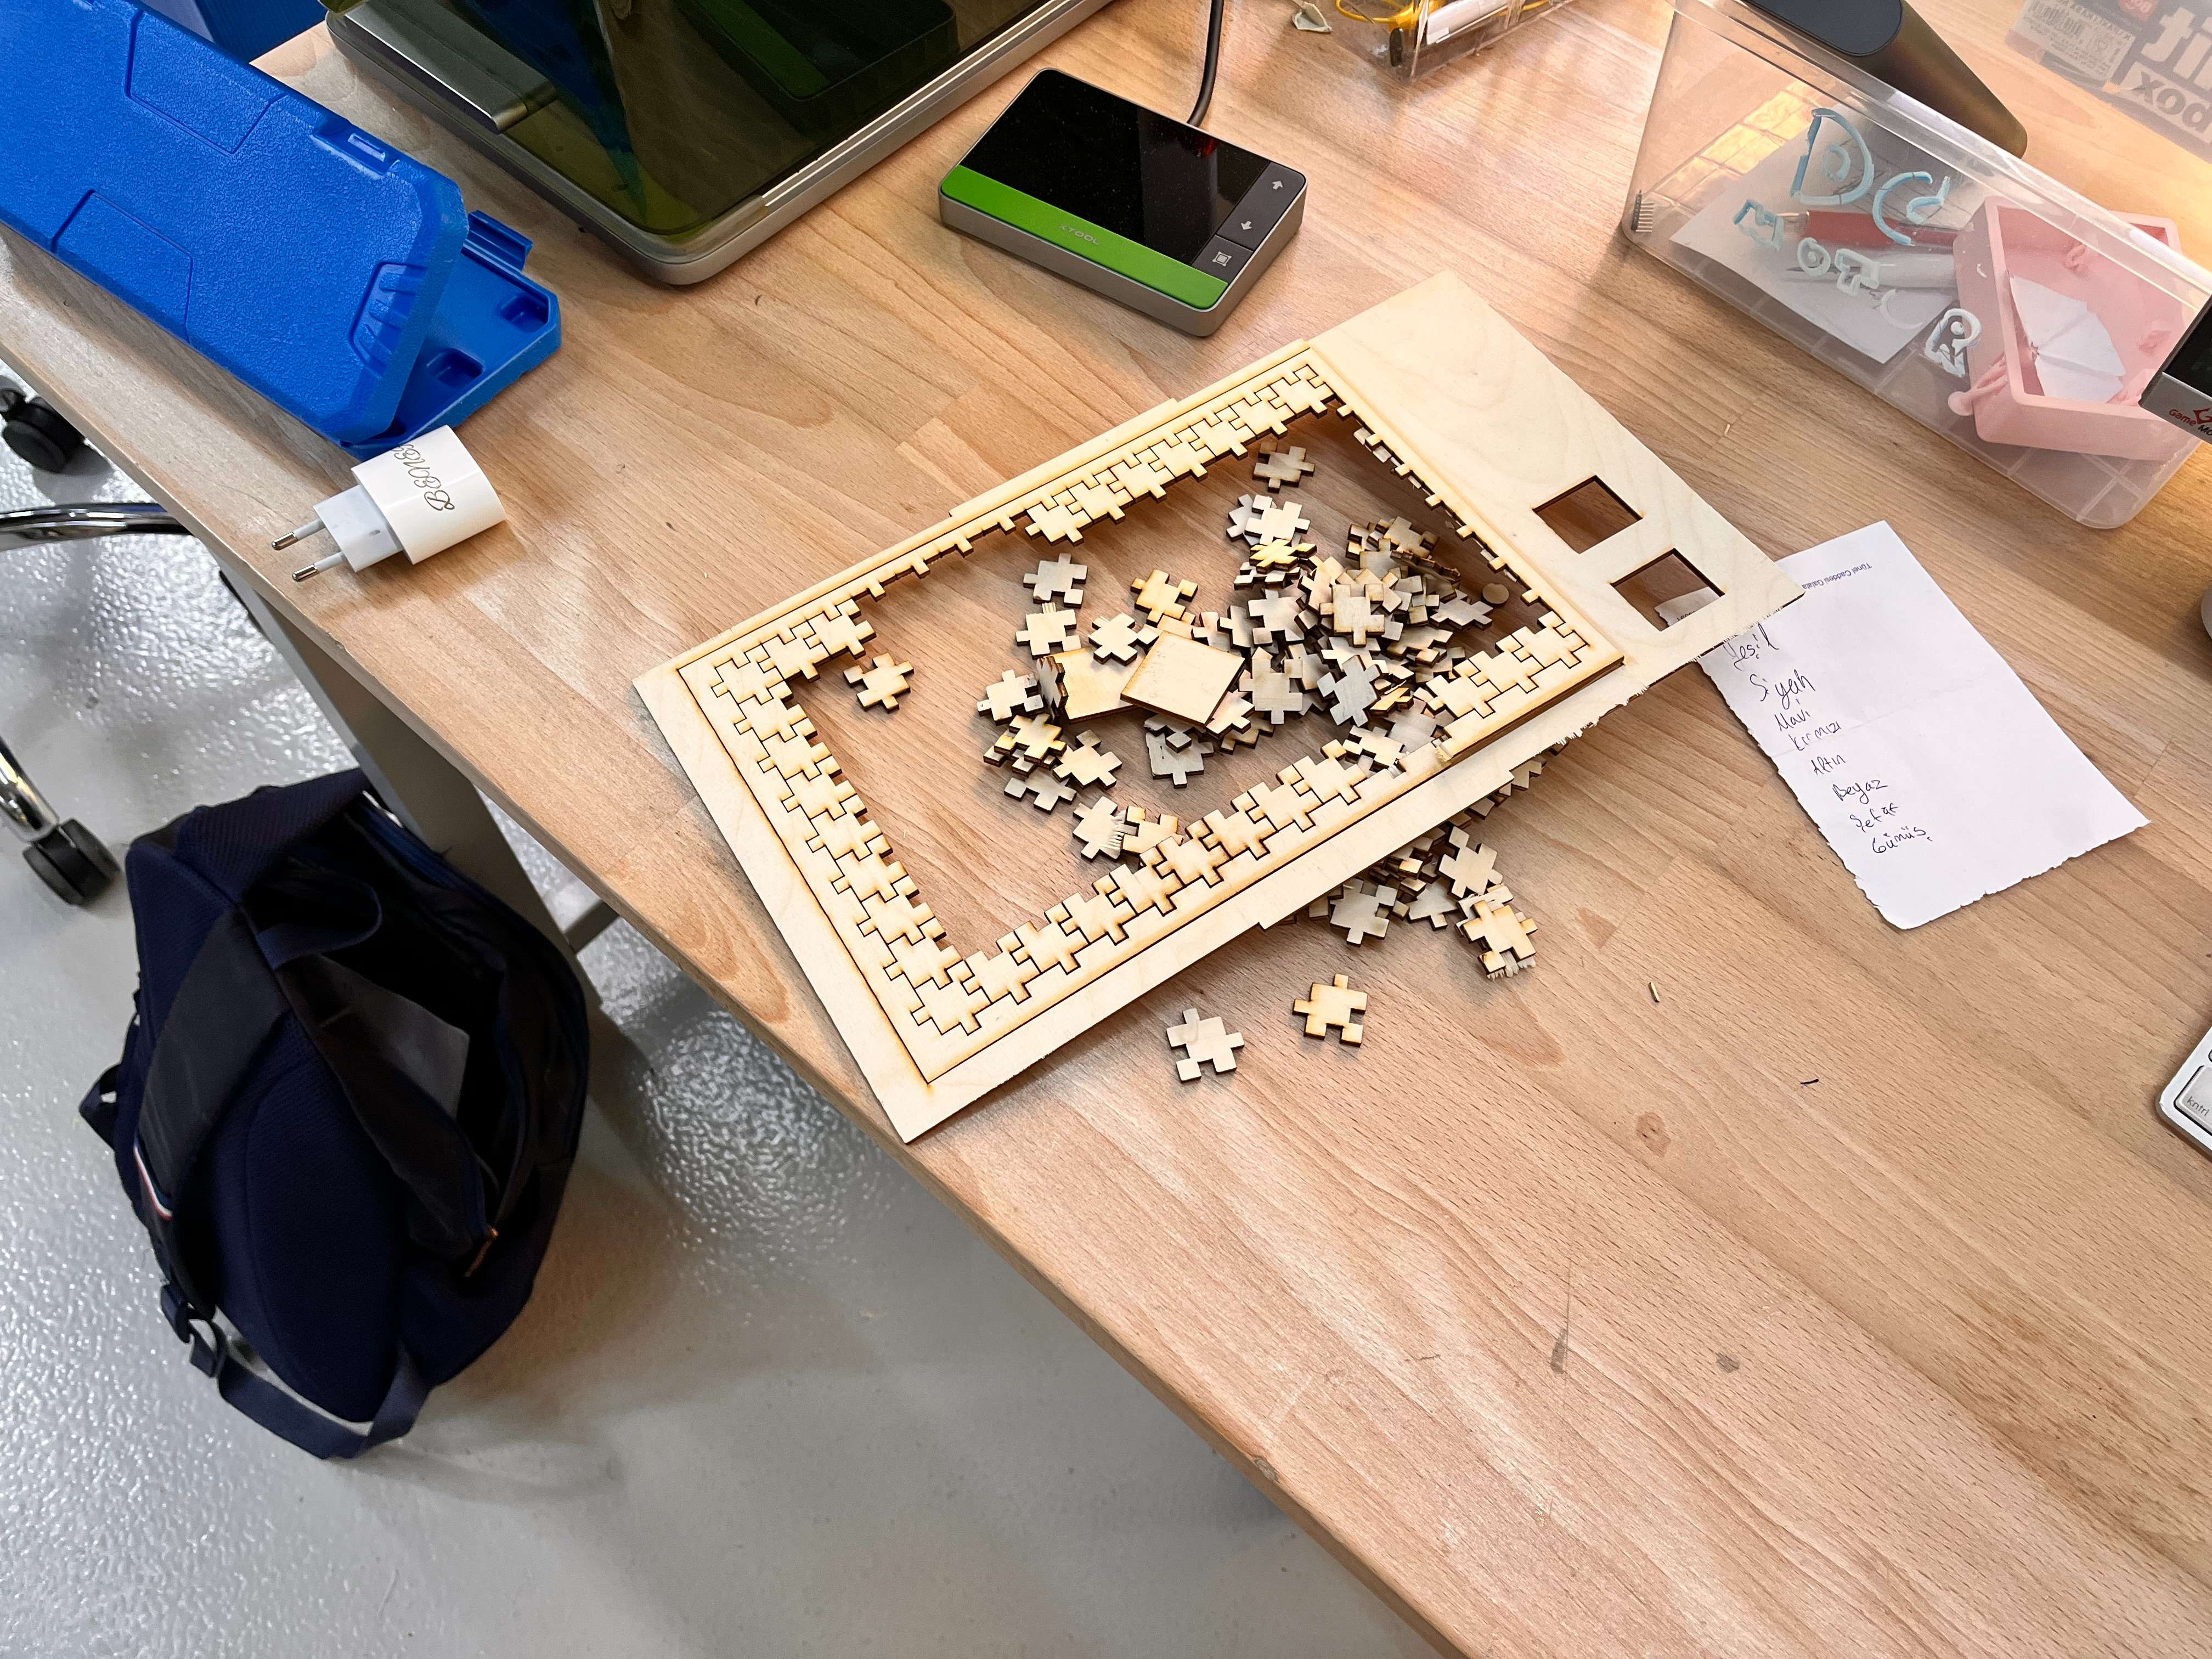
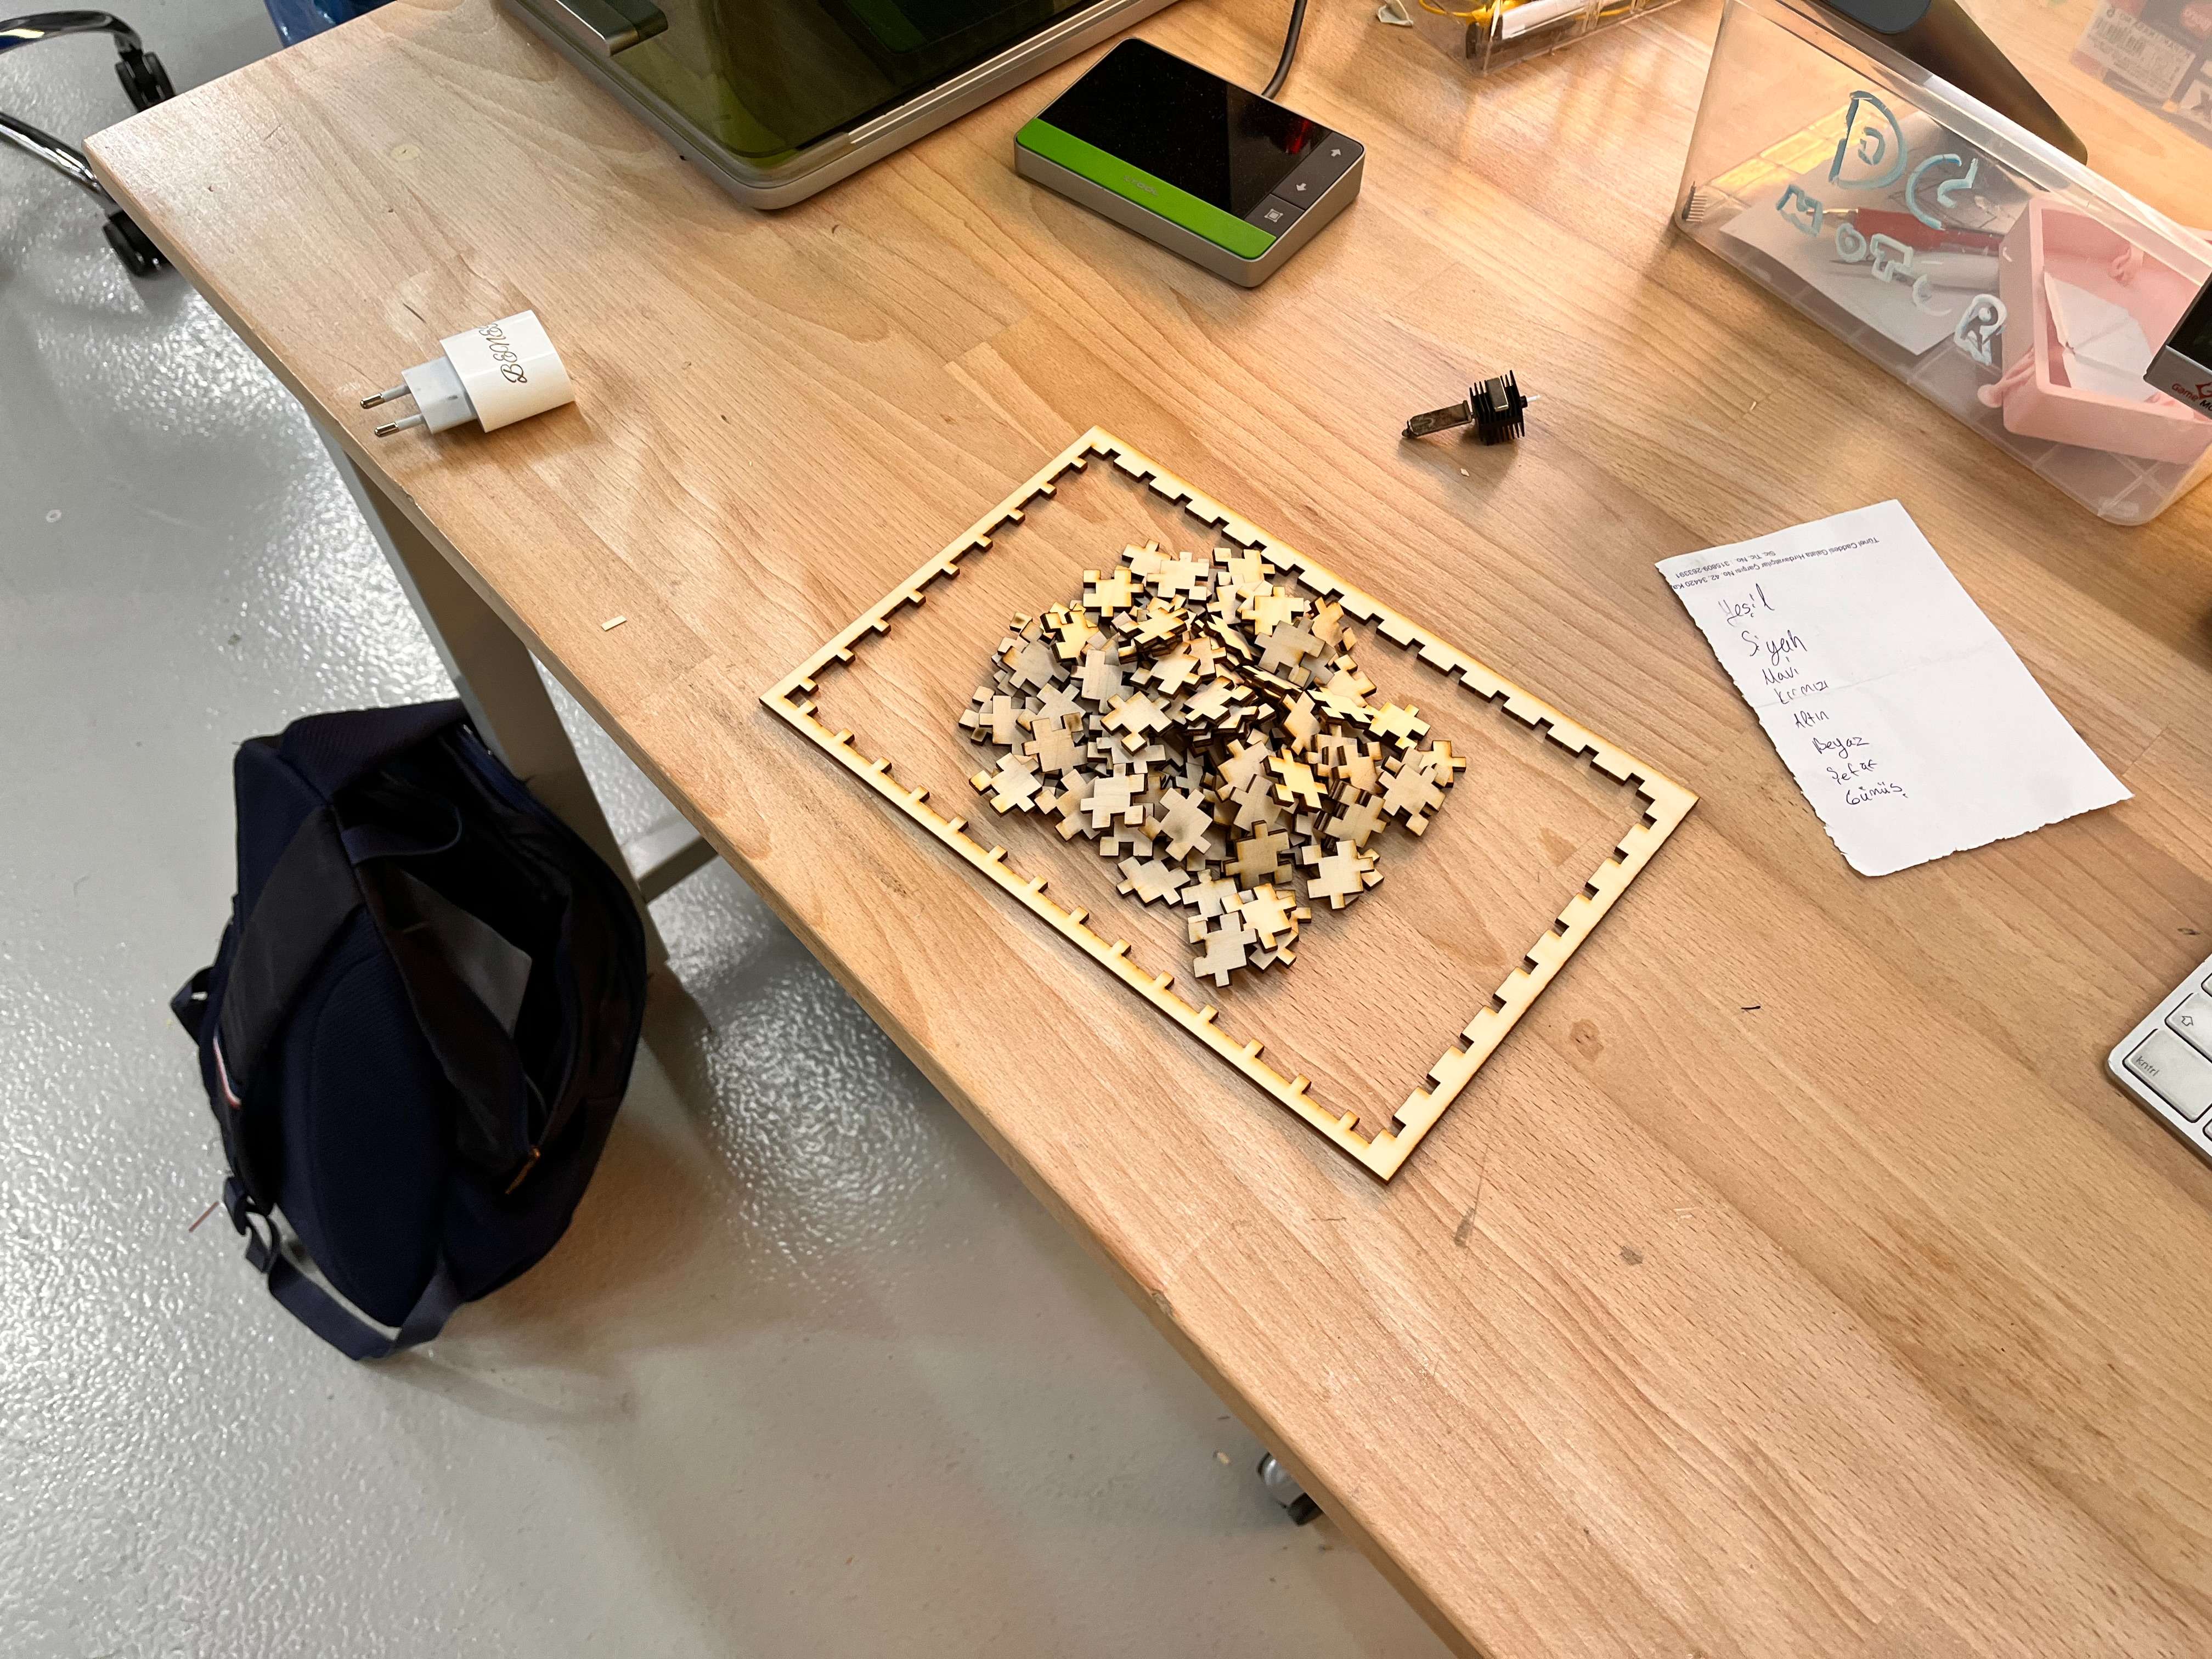
This was my final product.
Cutting with Vinyl Cutter
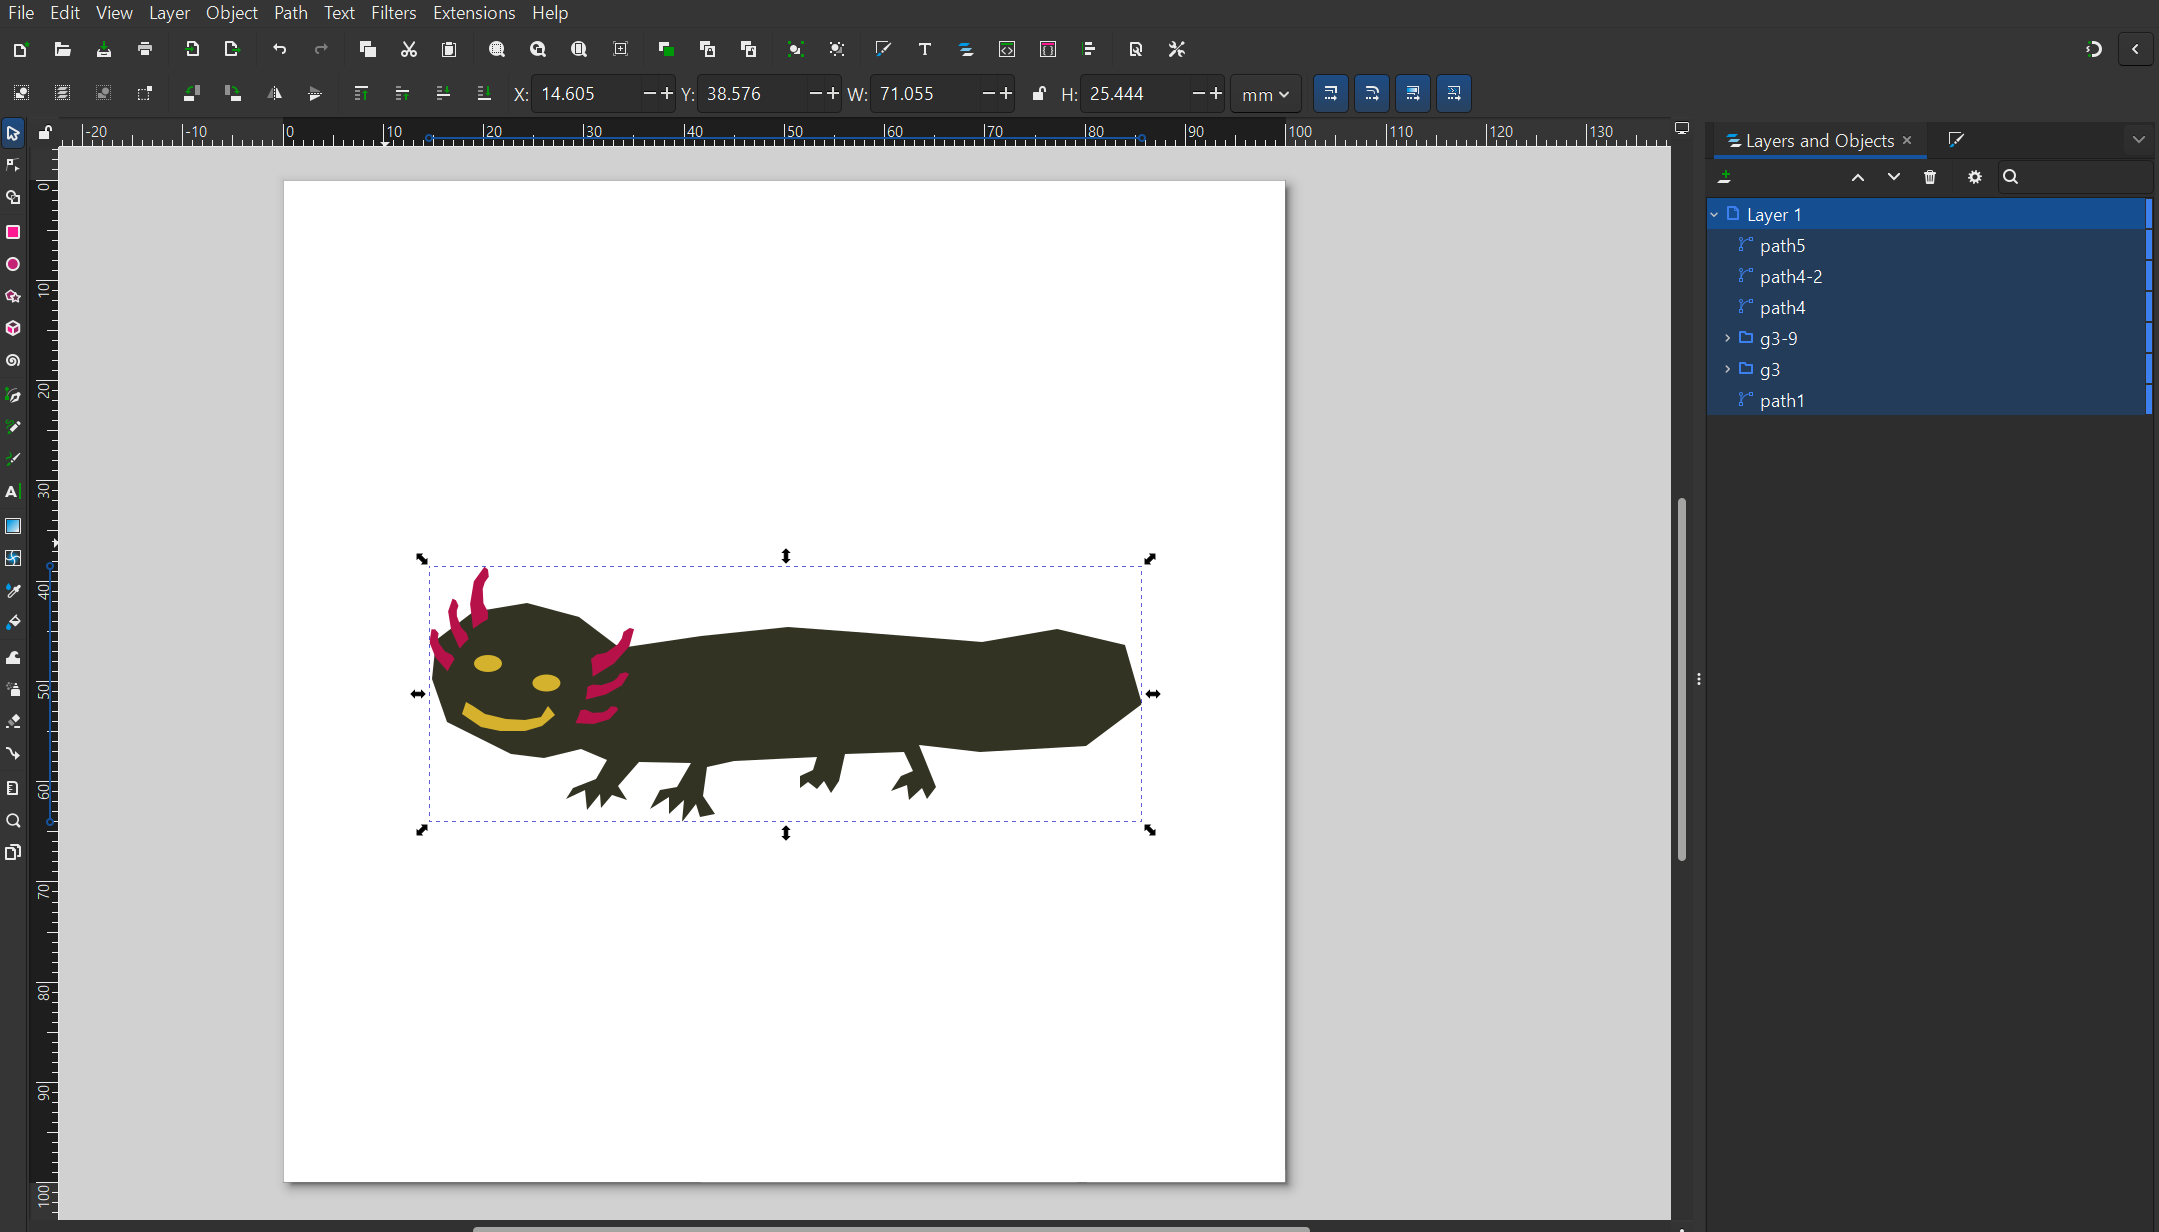
Inkscape Axolotl Design
Method 1: Draw Your Own Axolotl (Best for Learning)
Open Inkscape
Create a new project
Go to File and then Document Properties
Set units to mm
Create a page roughly the size you want your sticker (e.g., mine was 100 × 100 mm)

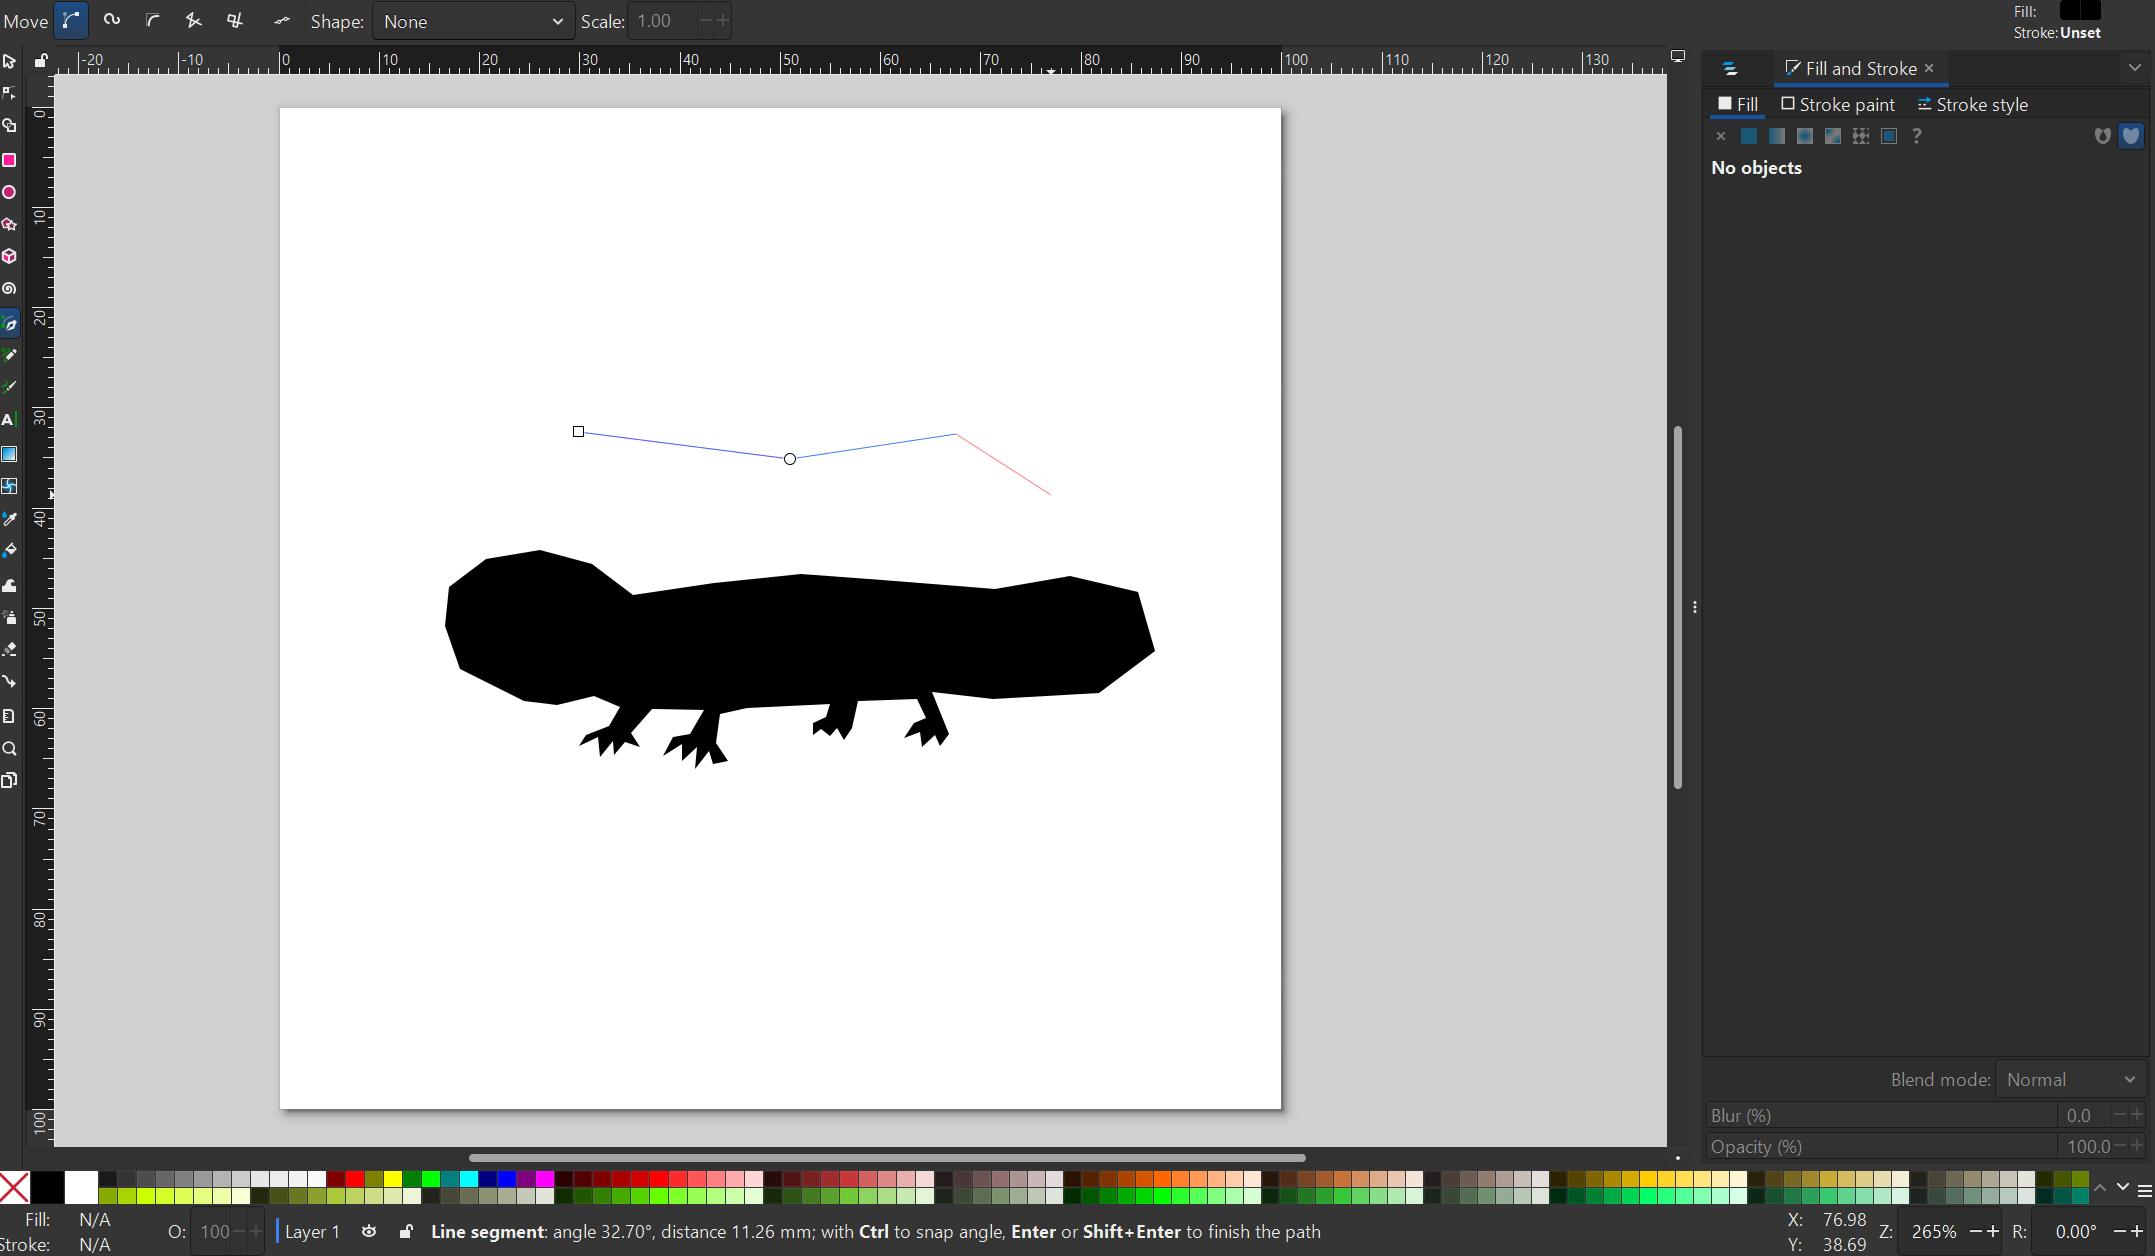
Select the Bezier Tool (B)
Click around the outline of an axolotl
Press Enter to finish
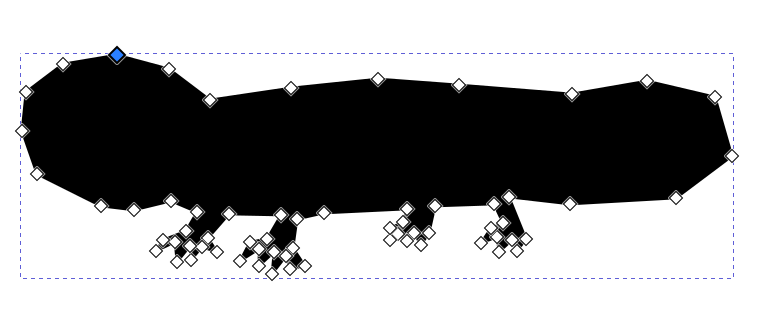
Use Node Tool (N) to smooth the shape
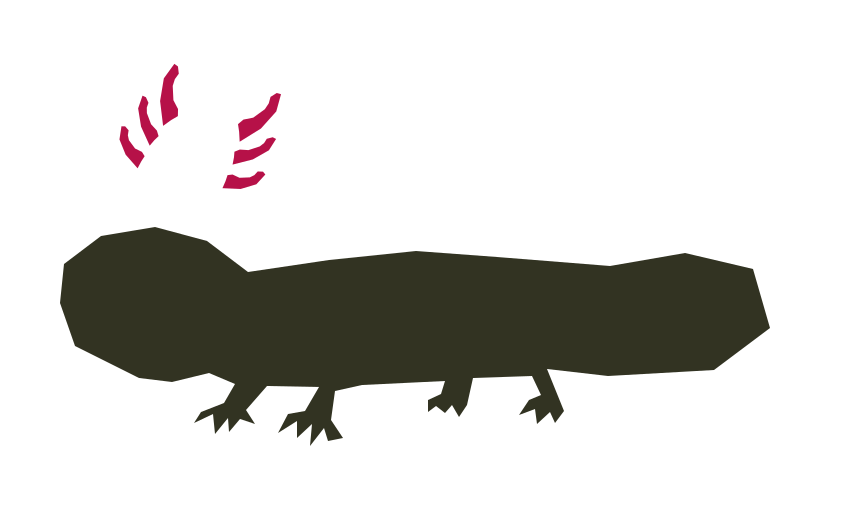
Draw one branch-like gill using the Bezier tool
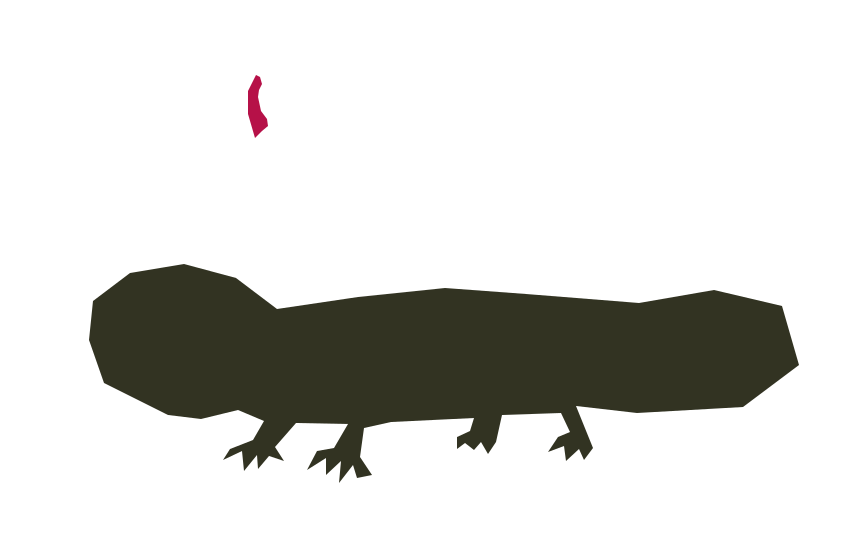
Rotate and position several copies on one side of the head.
Group them.
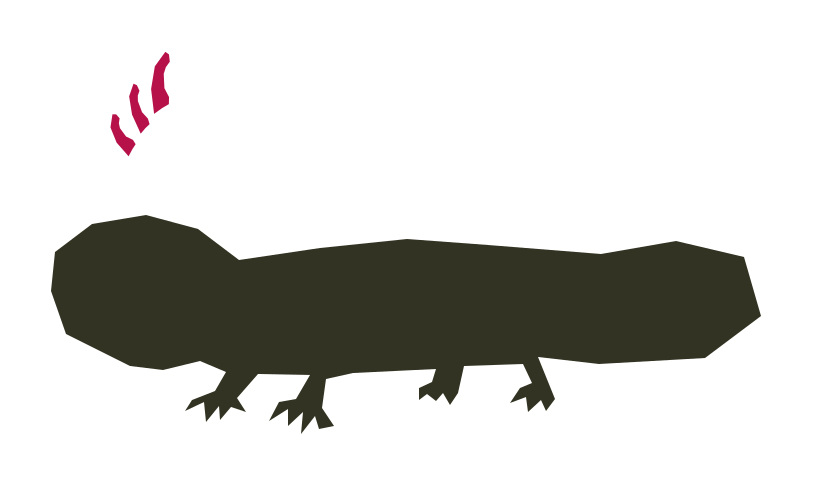
Duplicate and mirror for the other side.
Rotate and position that one too.
Draw two small circles and Keep them solid black to Create eyes
And, ofcourse, don’t forget the smile :D
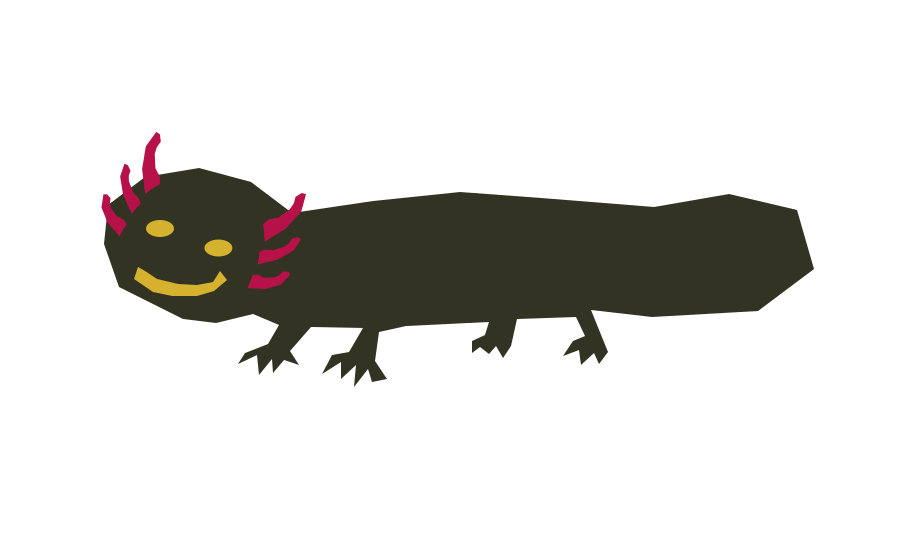
Convert Everything to One Shape
Select all objects
Path → Object to Path
Path → Union
This creates a single cuttable shape
Method 2: Trace an Existing Axolotl Image
If you have a picture:
Import the image:
File → Import
Select the image.
Choose:
Path → Trace Bitmap
Use:
“Single Scan”
Brightness Cutoff around 0.5–0.7
Click Apply.
Delete the original image.
Clean up extra nodes with the Node Tool.
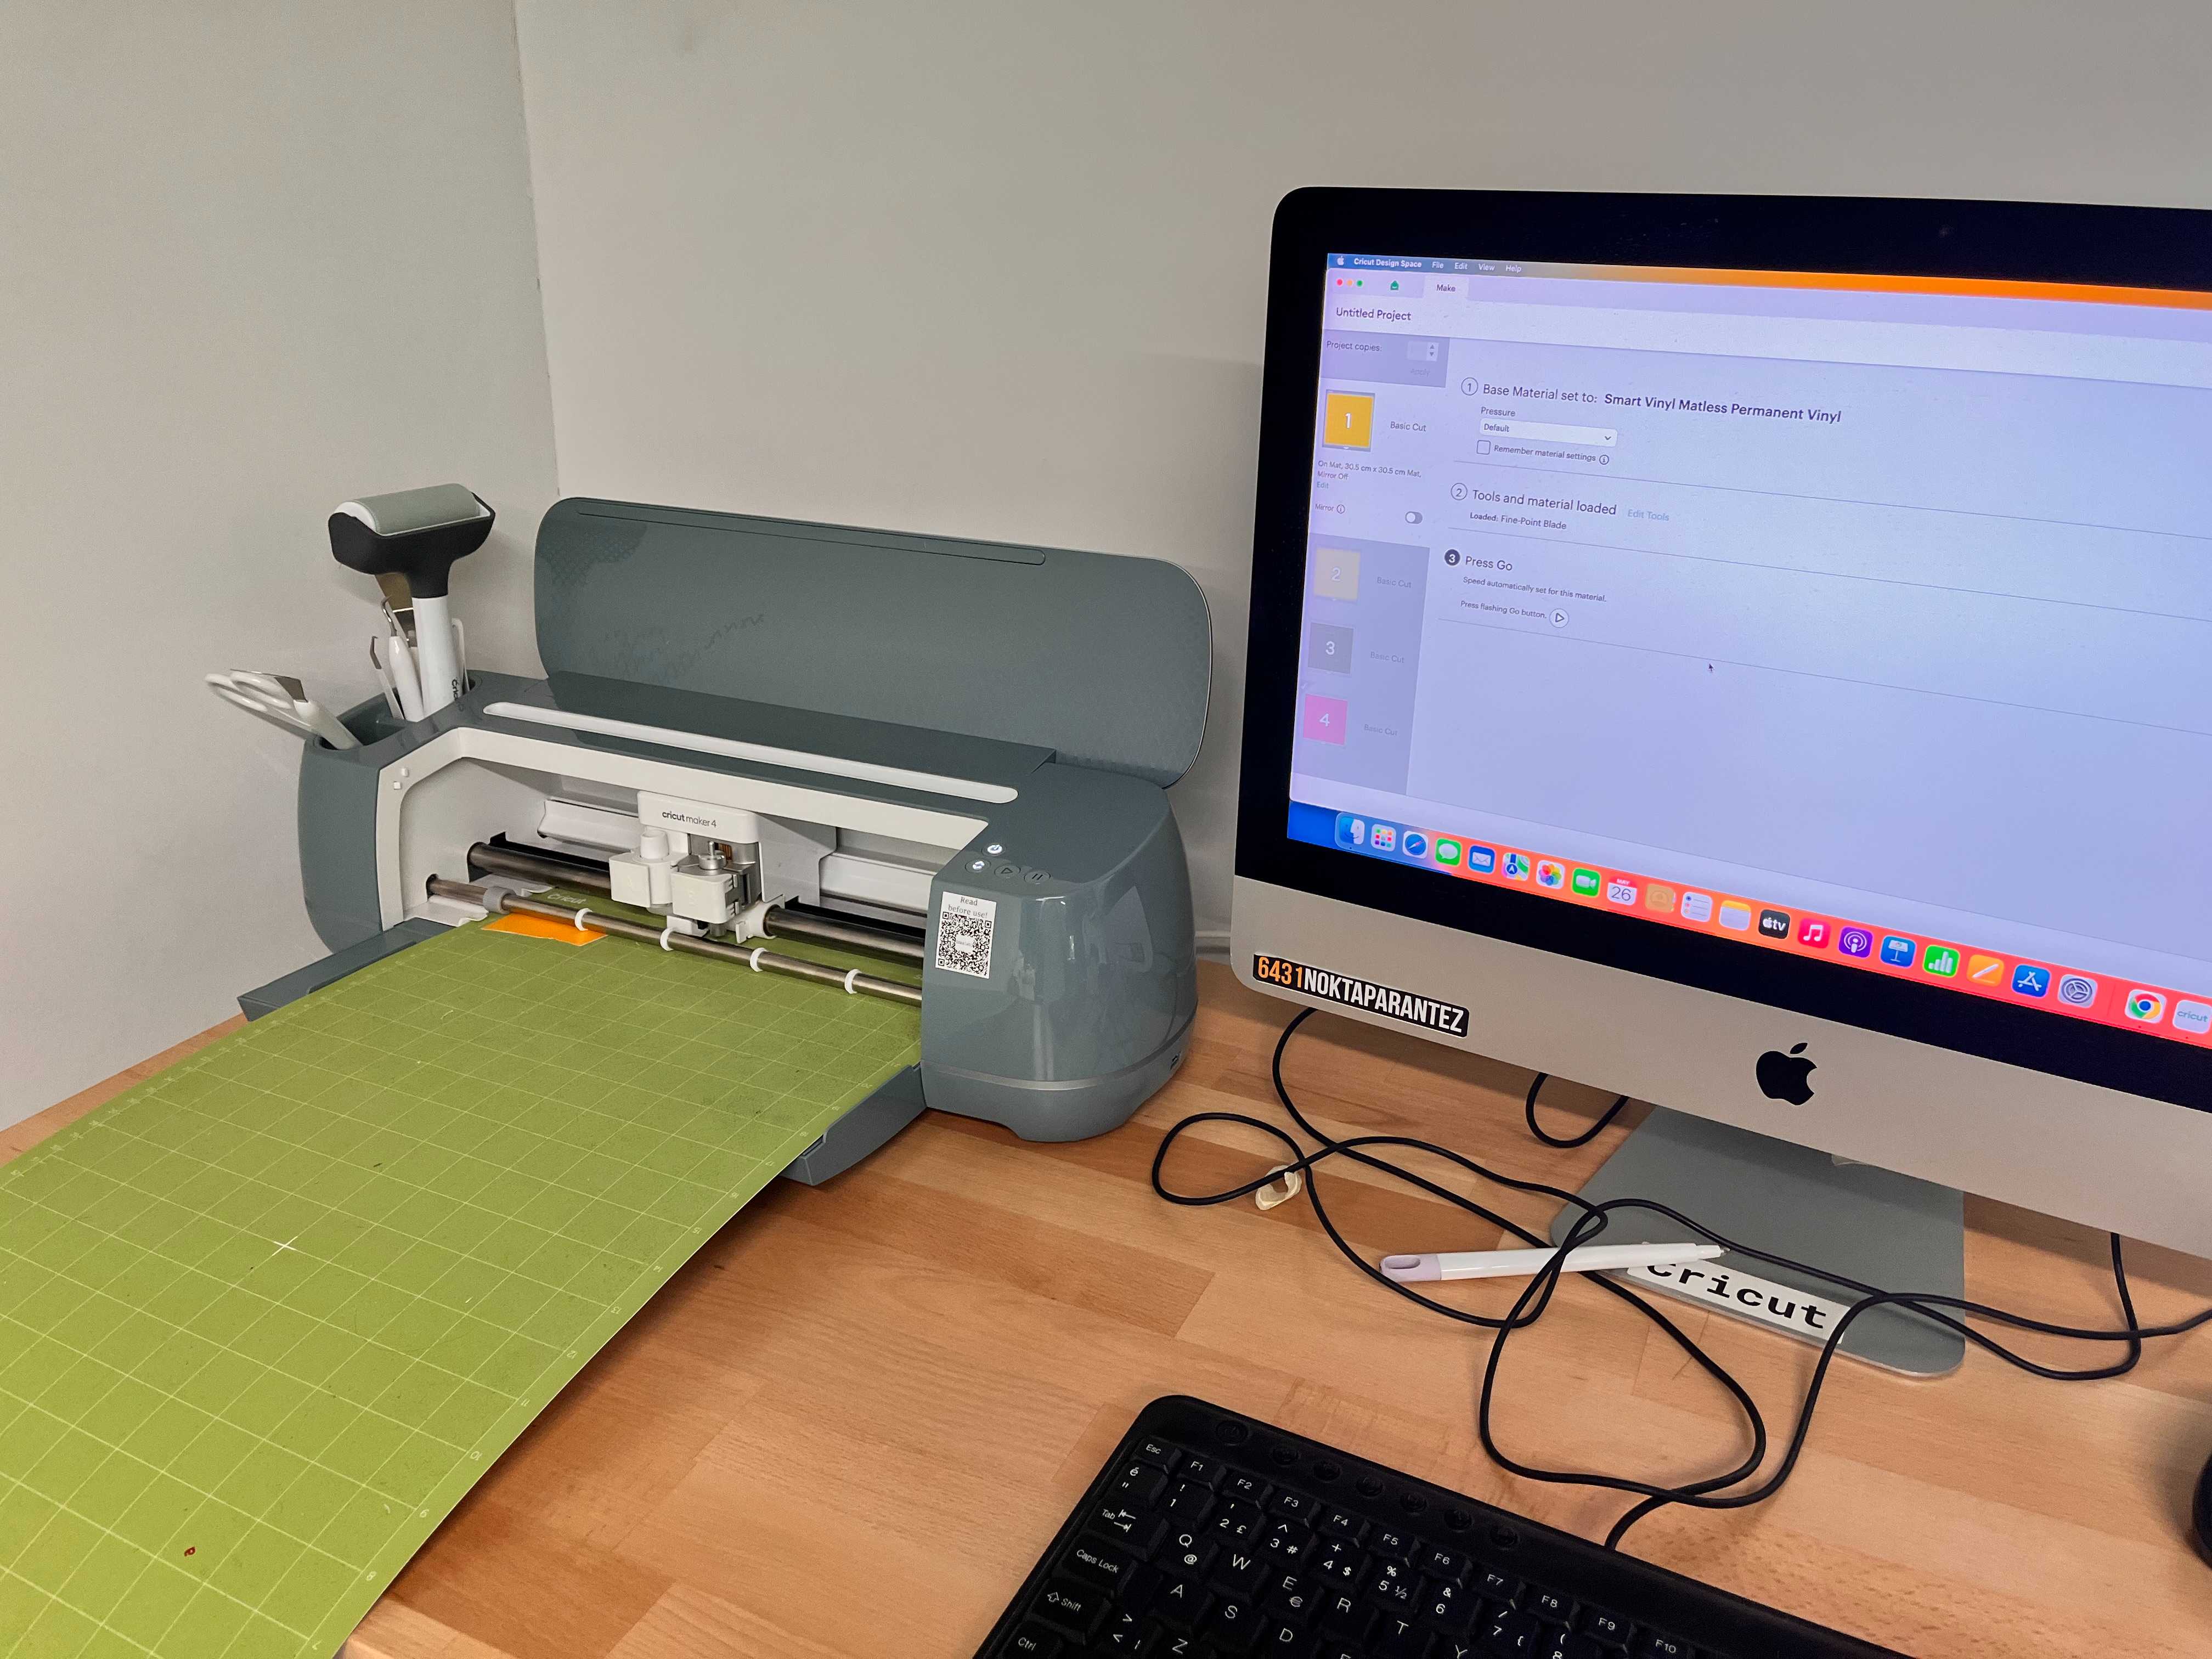
Cricut
For Cricut, first open the Cricut application.
Here, upload your design. I uploaded my axolotl design as SVG.
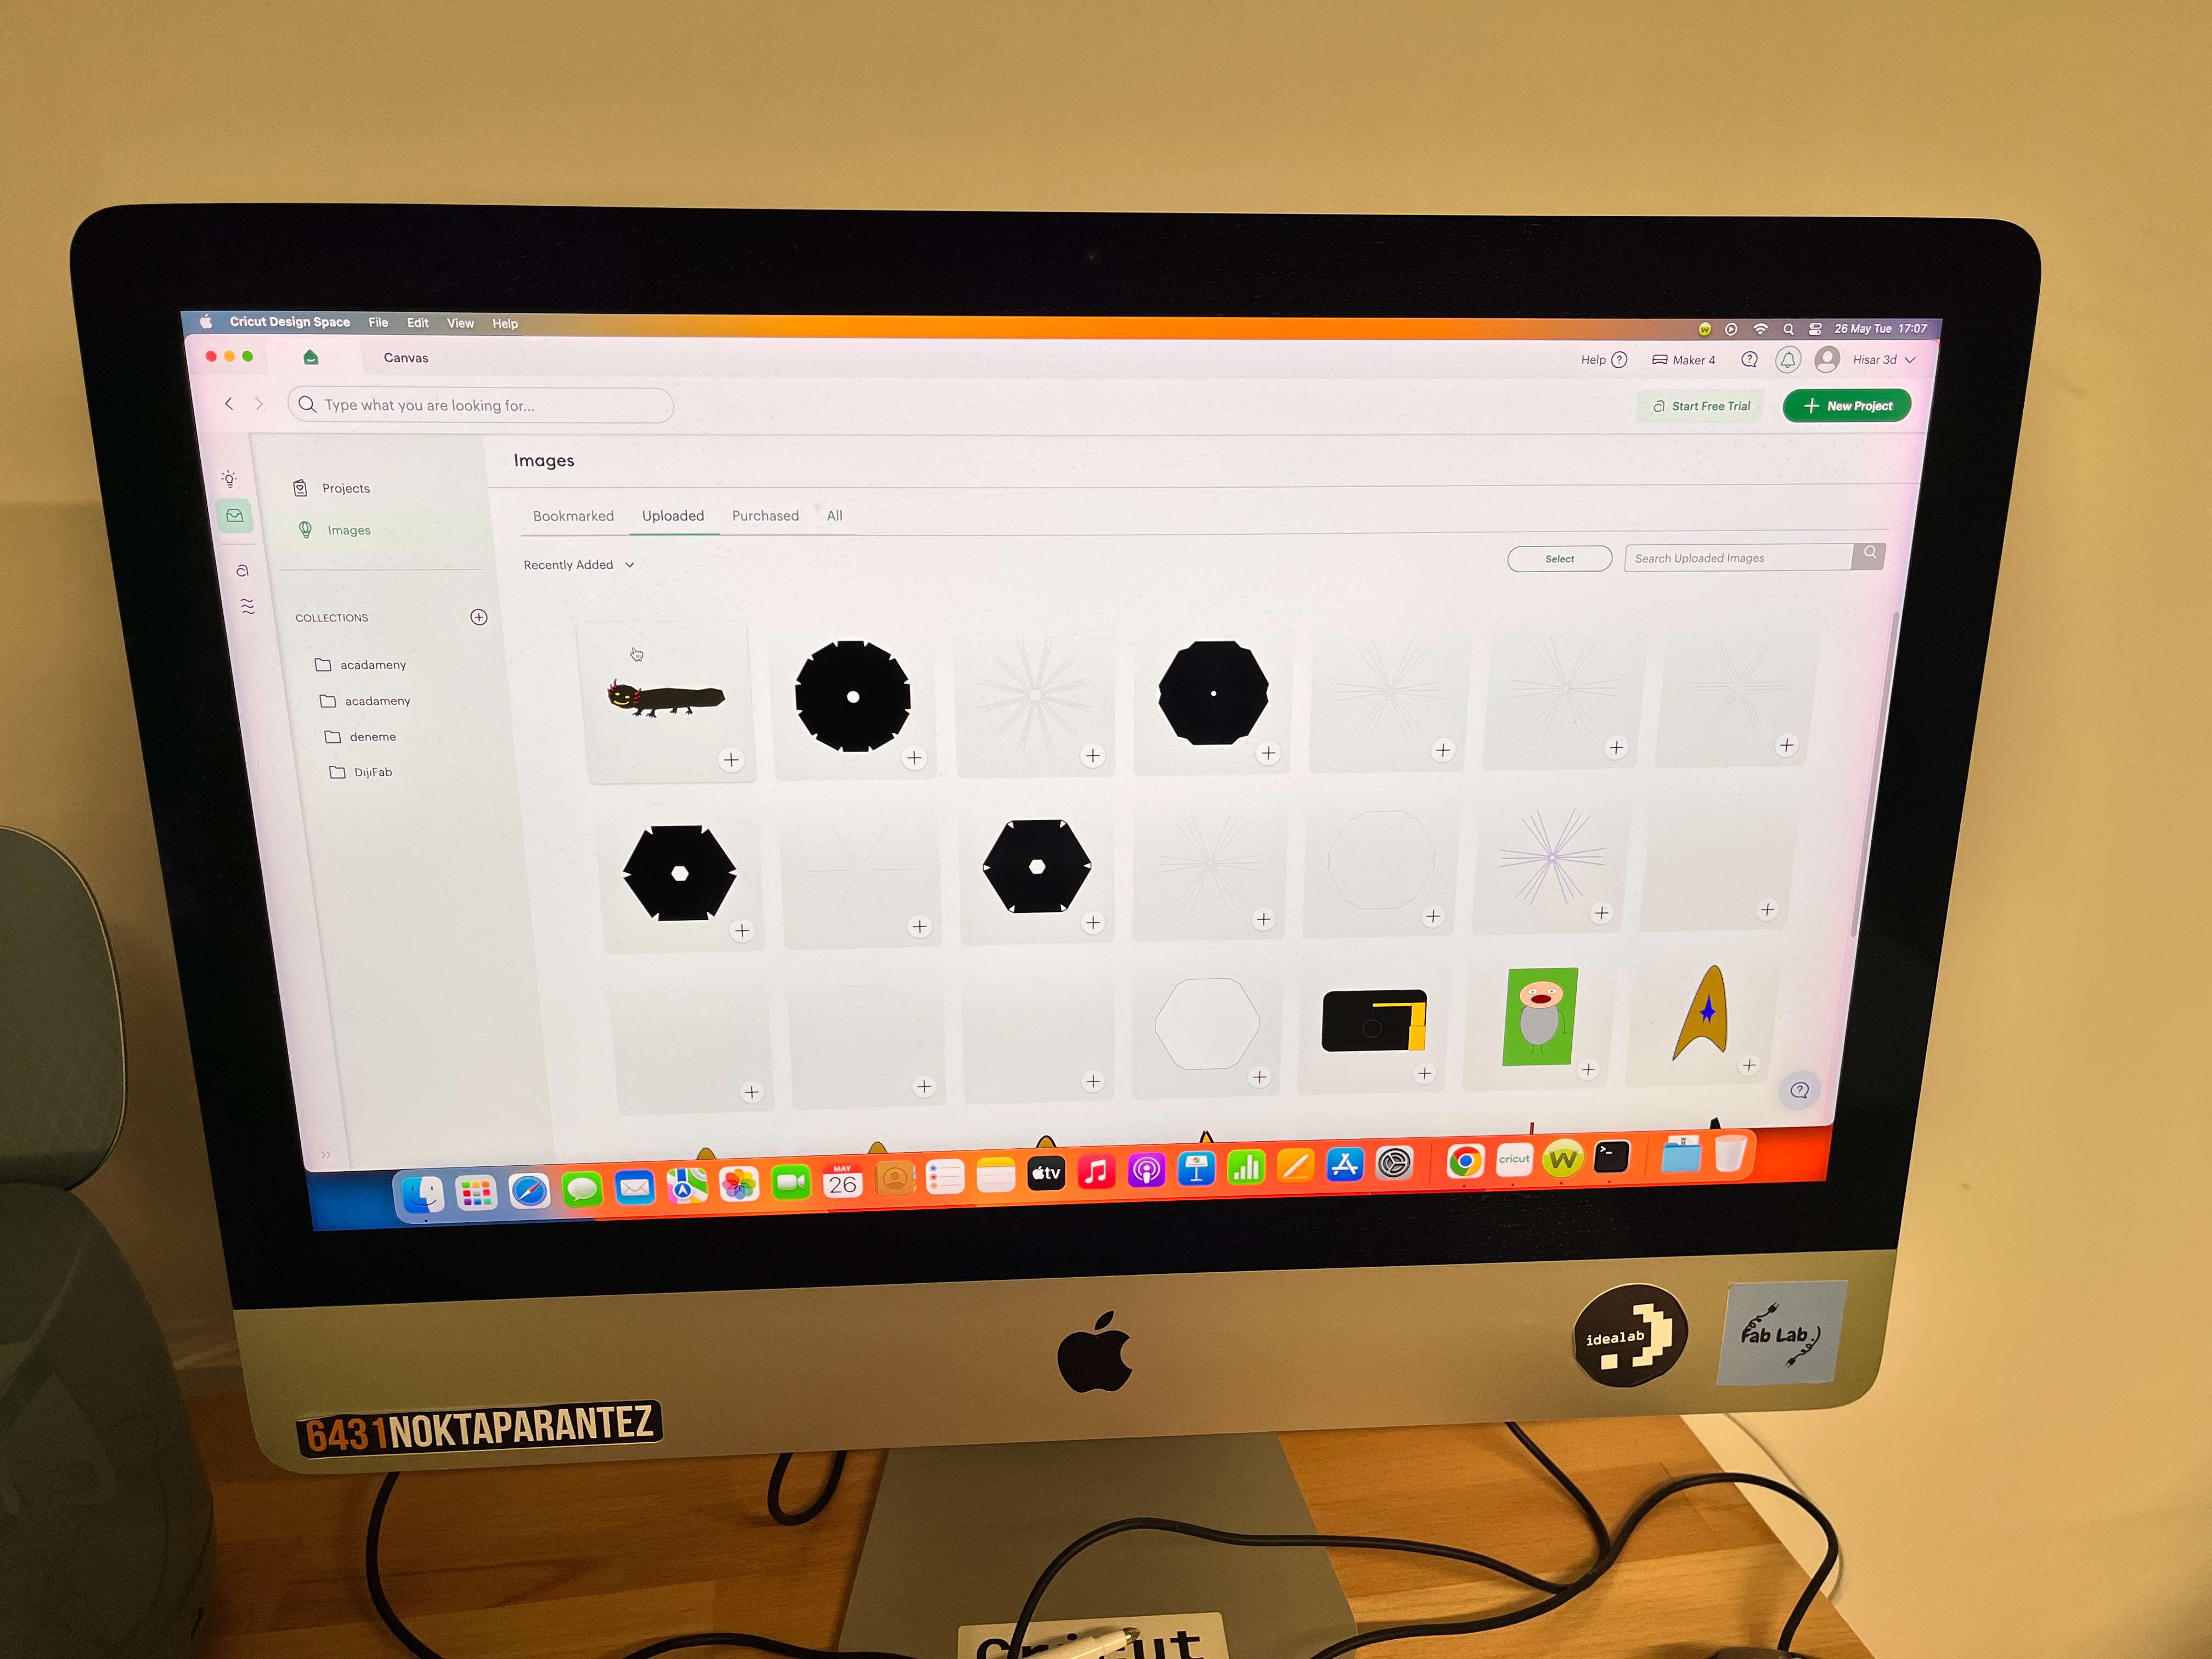
After that, create a new Canvas project, and import your design.
Click to Make.

It will automatically separate your design according to the colors.
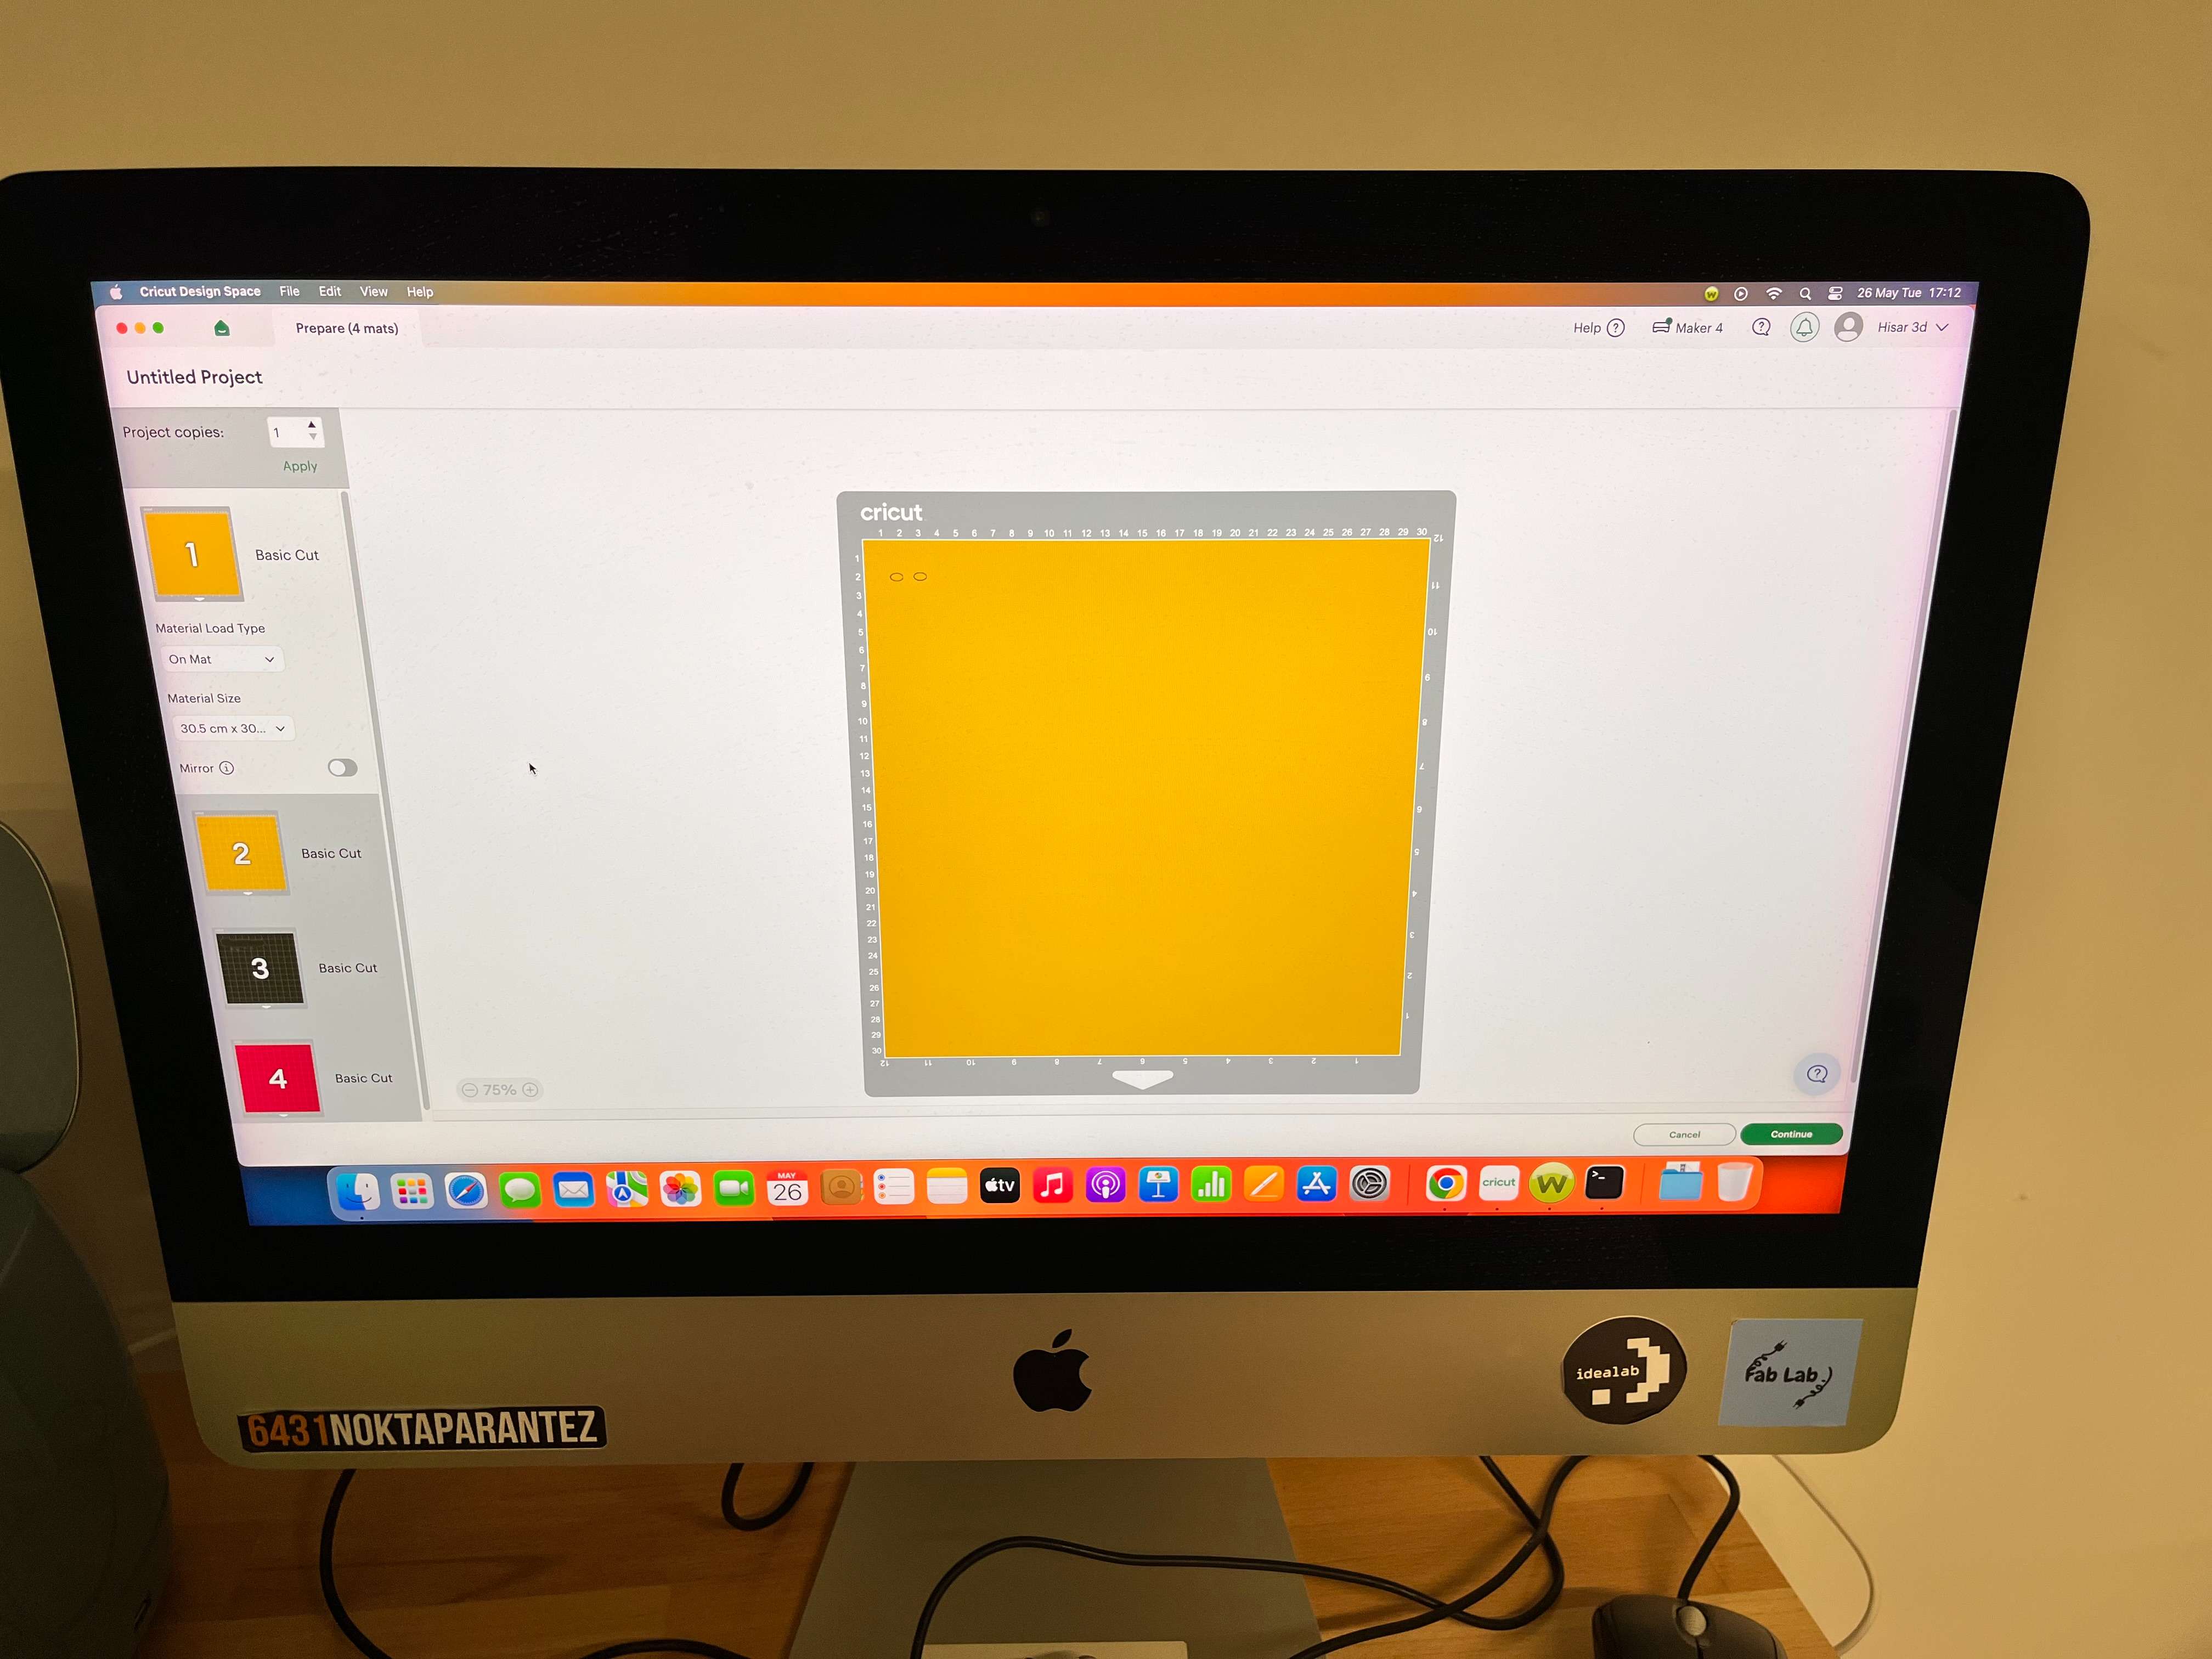
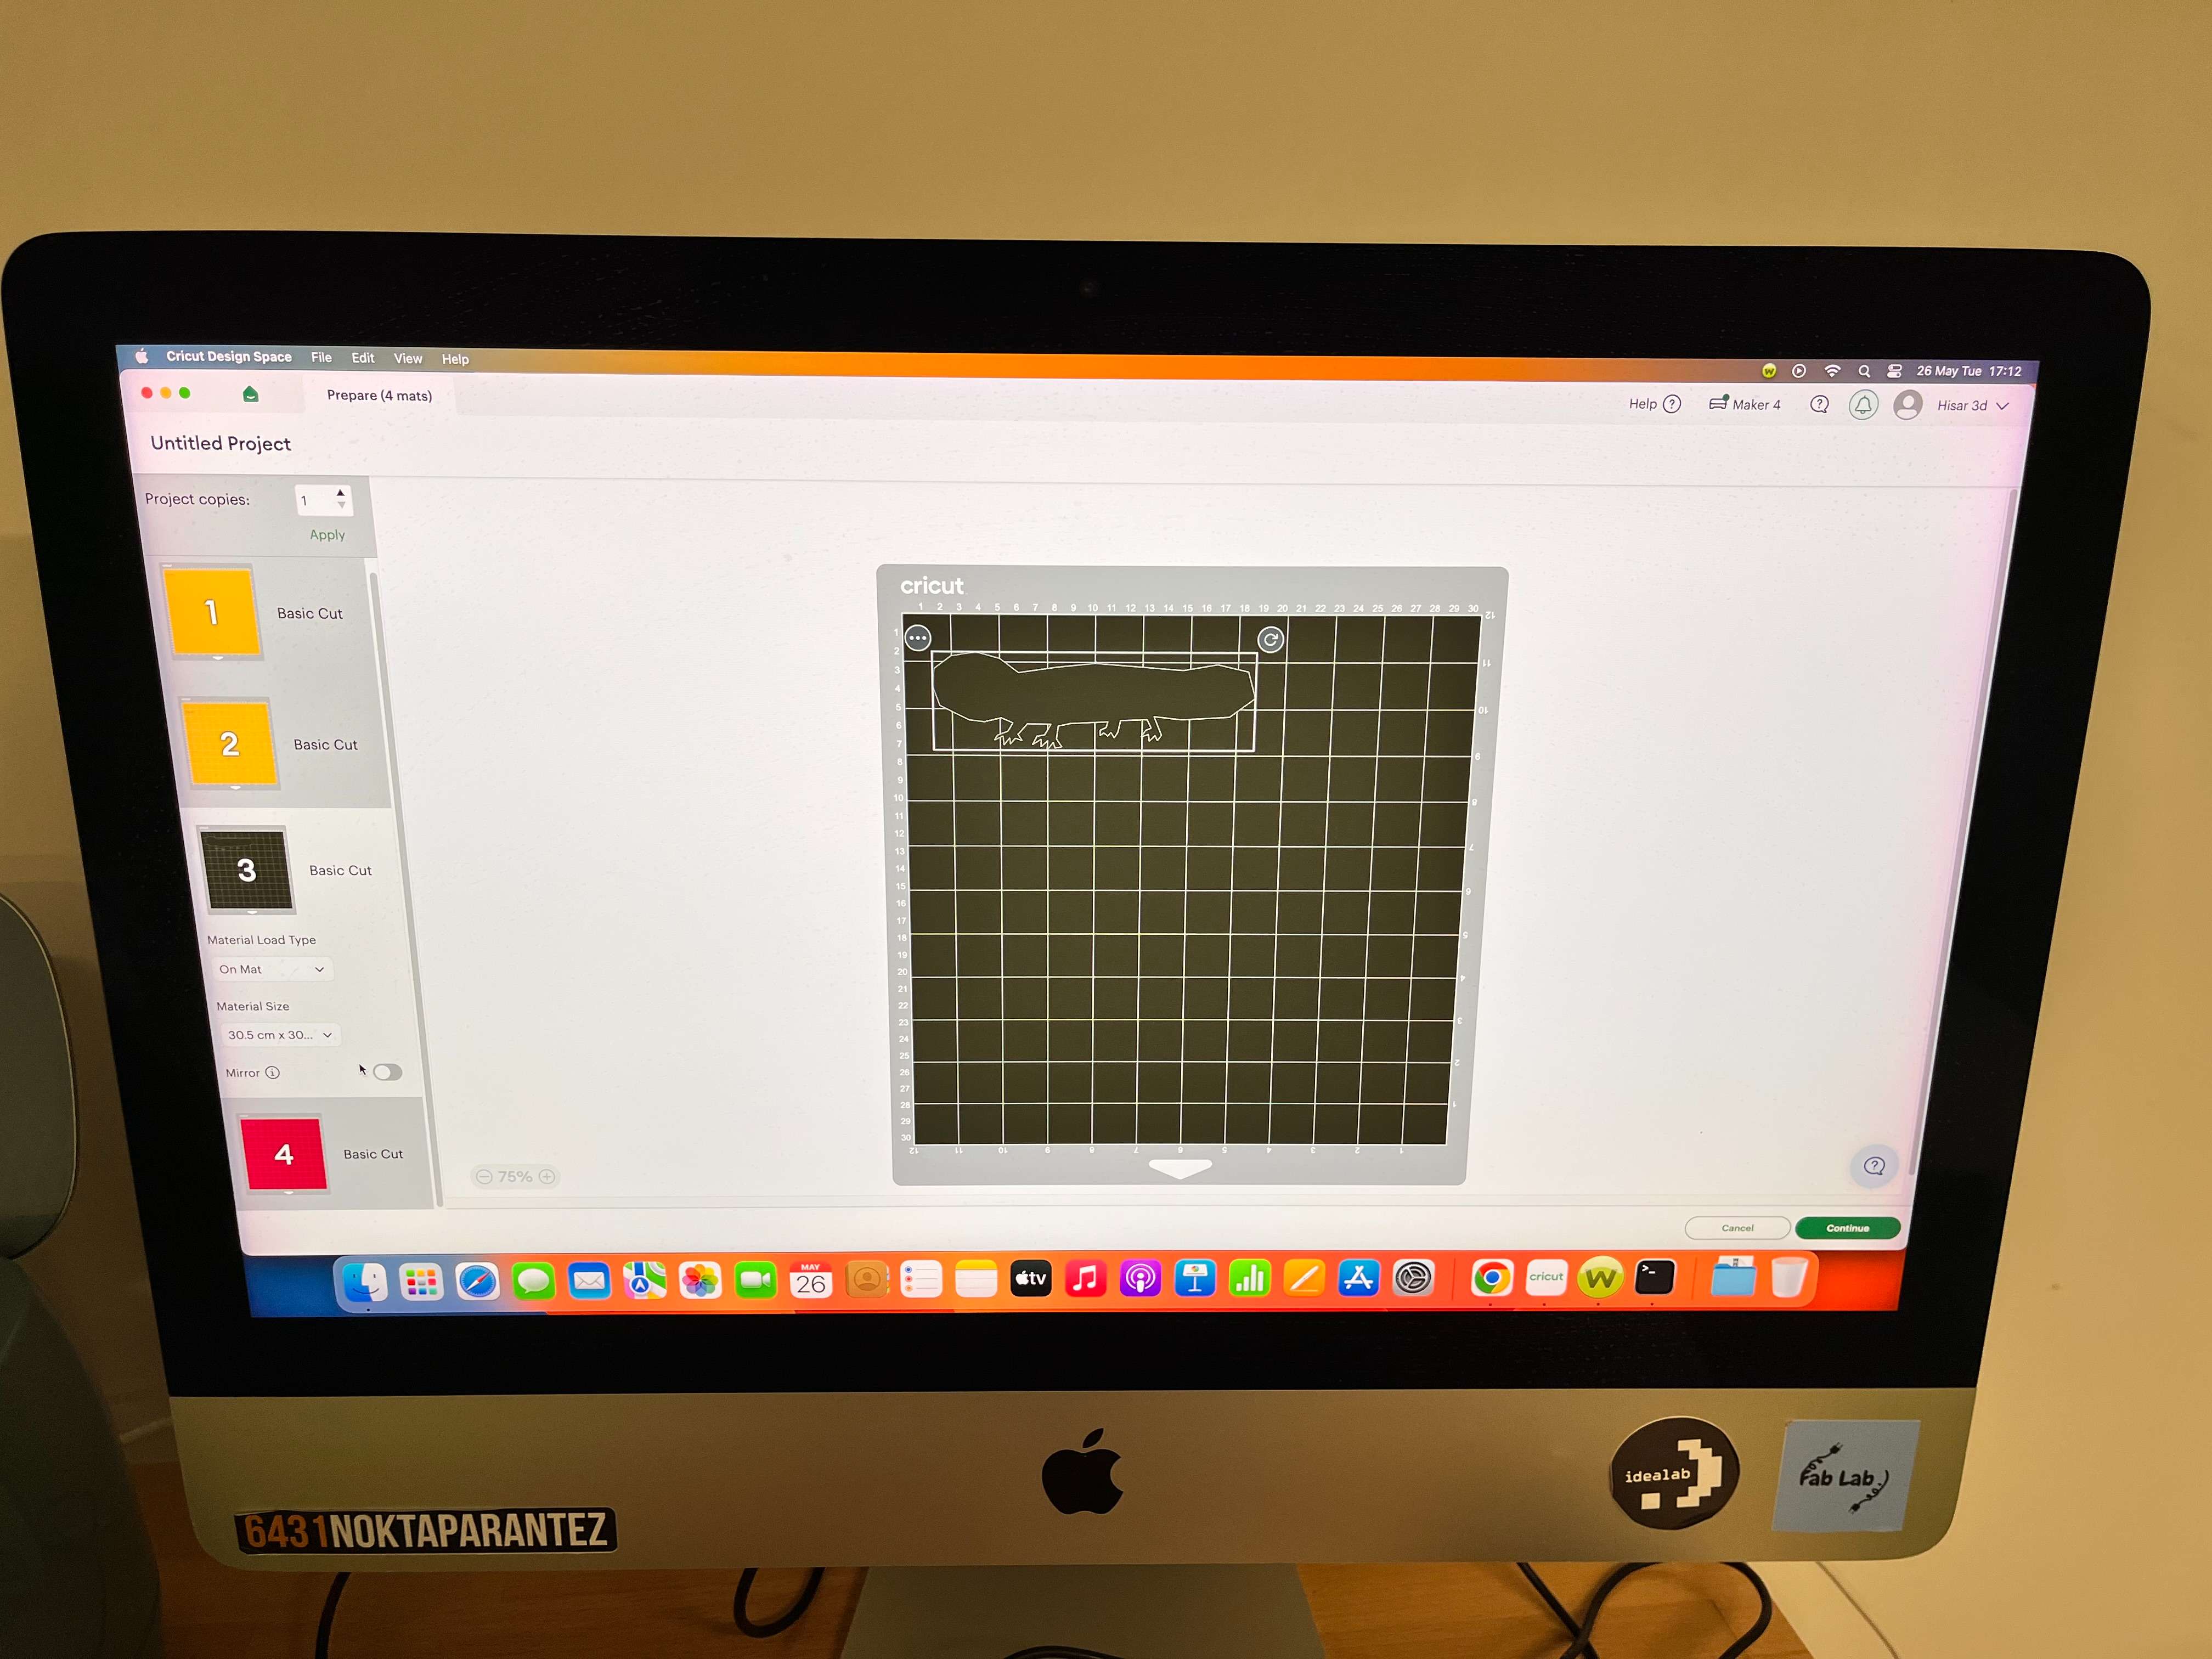
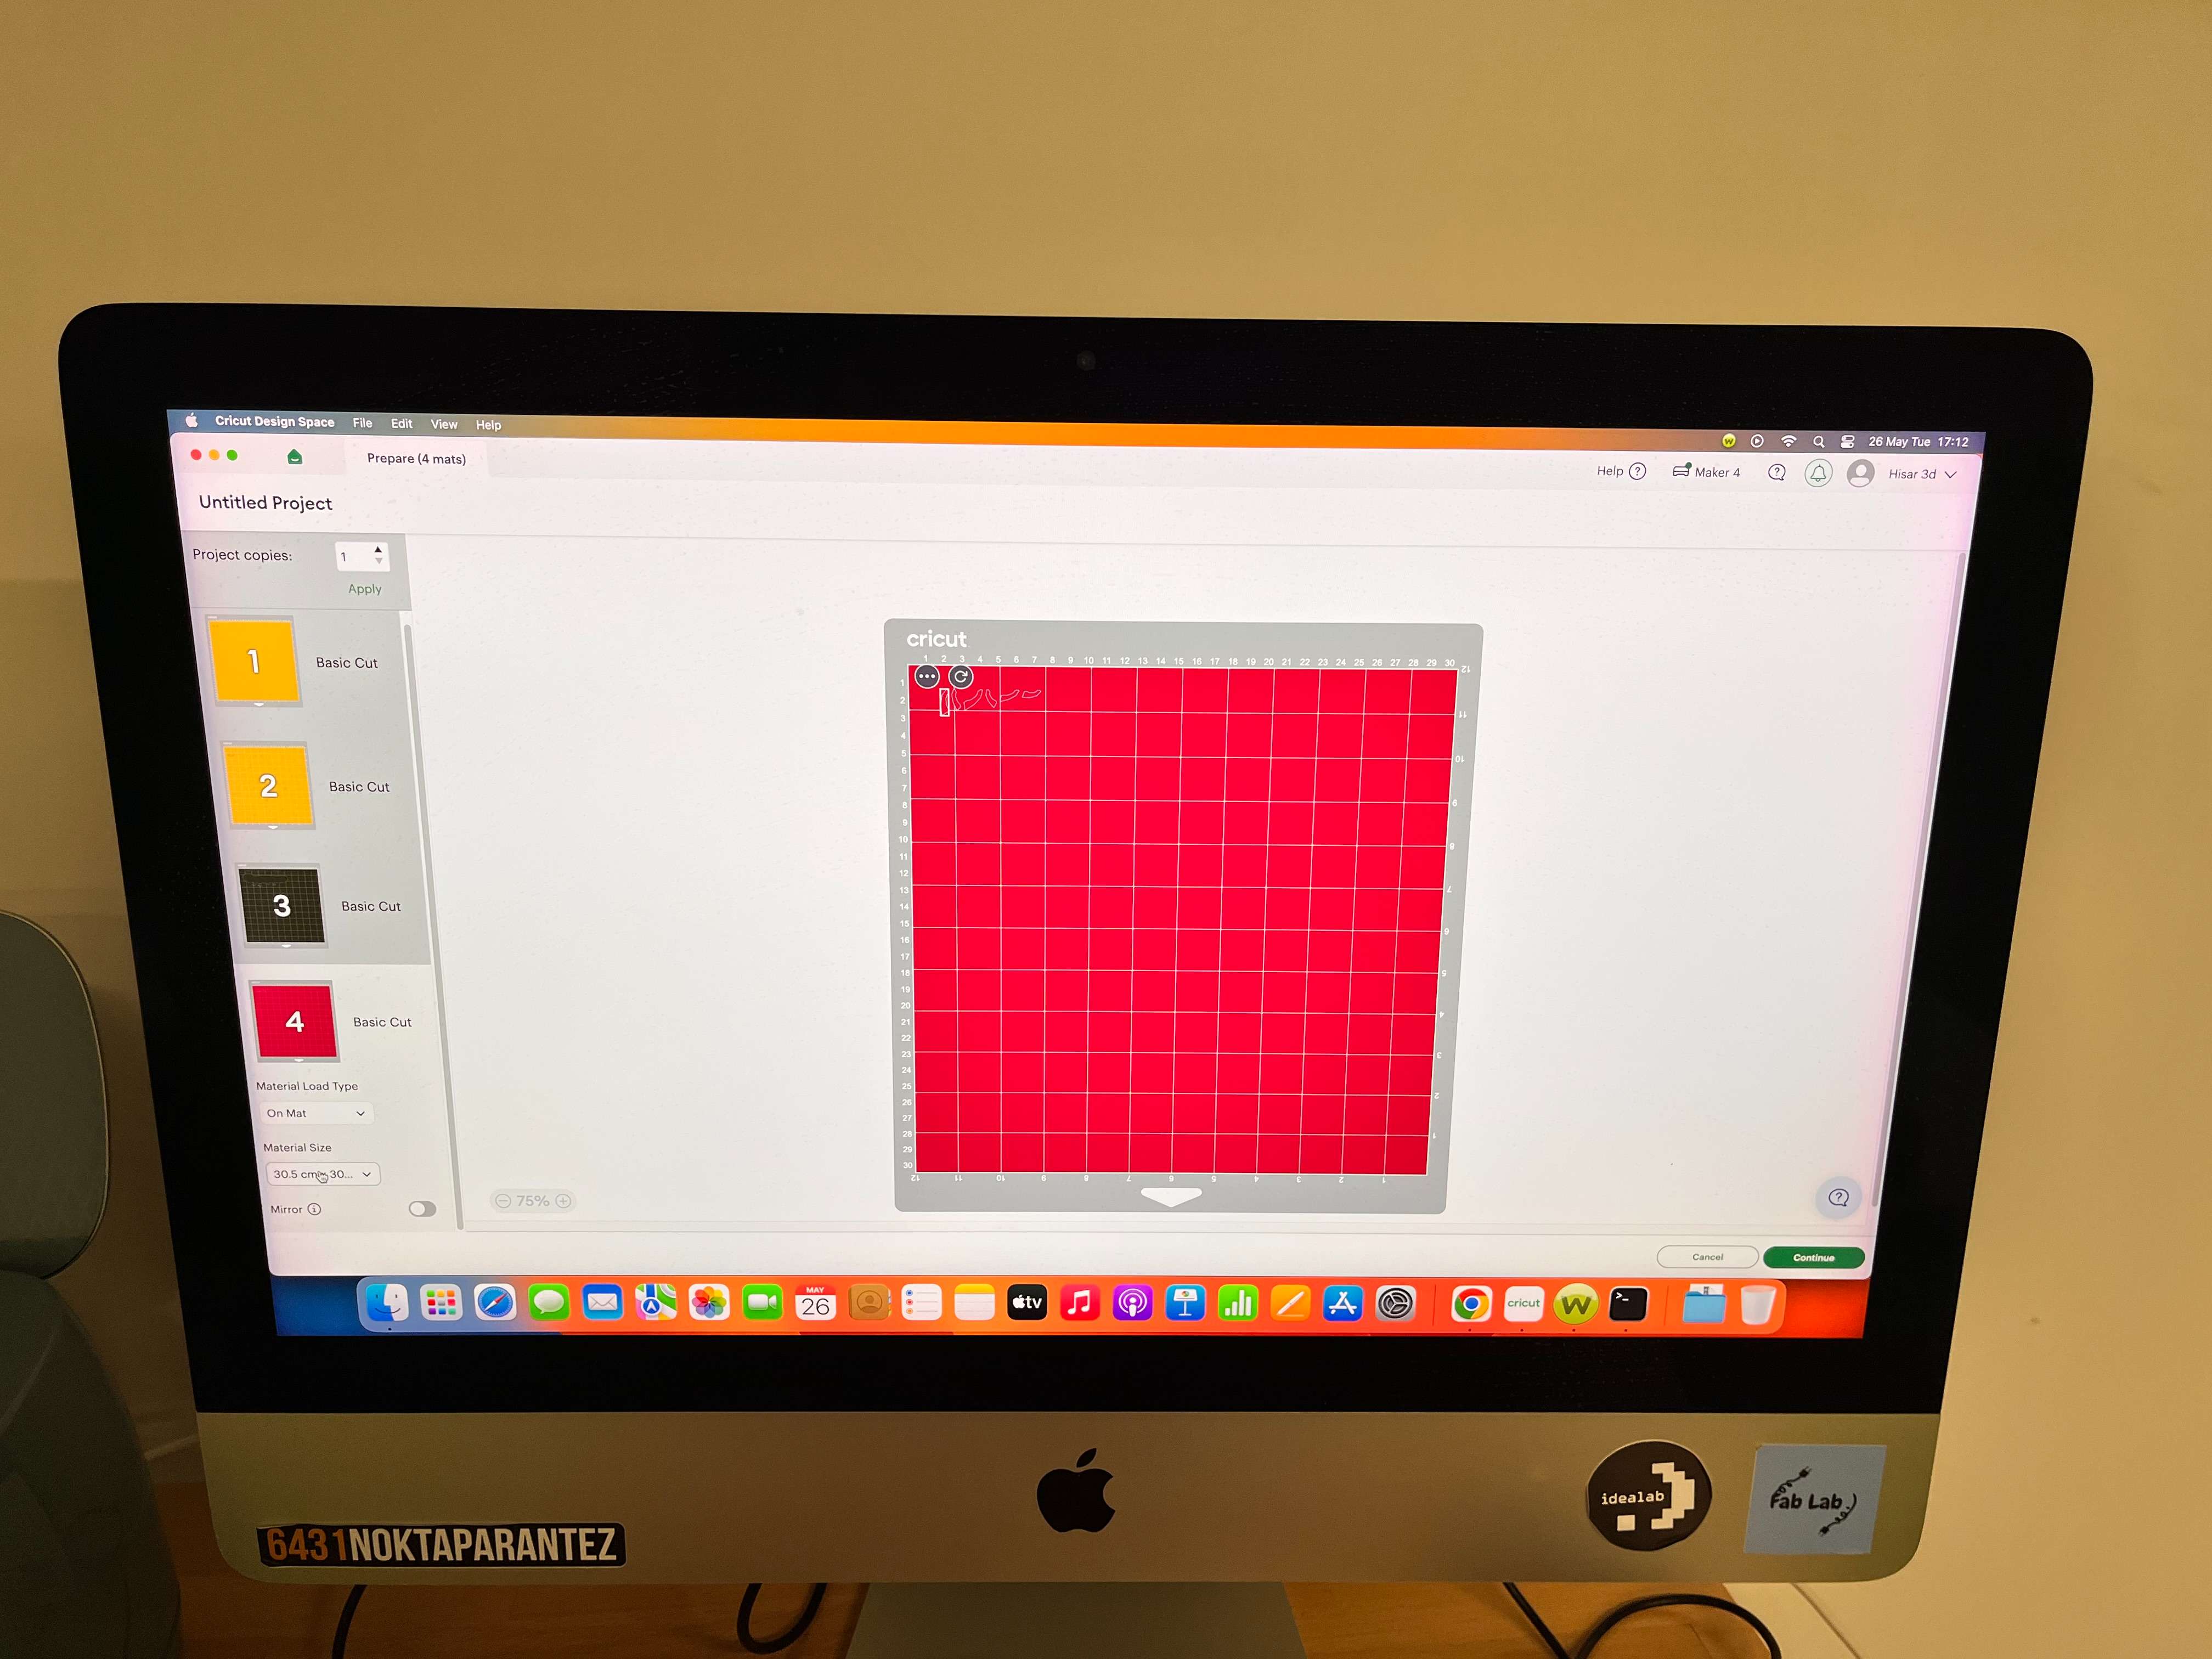
Here a thing that I found from my work is that your can move each object to different colors and transfer them. So, I transfered the same colored object into same trays, and minimized the material used in that colored cuts. But, by doing this, you need to do the same color respectively like right after each other.
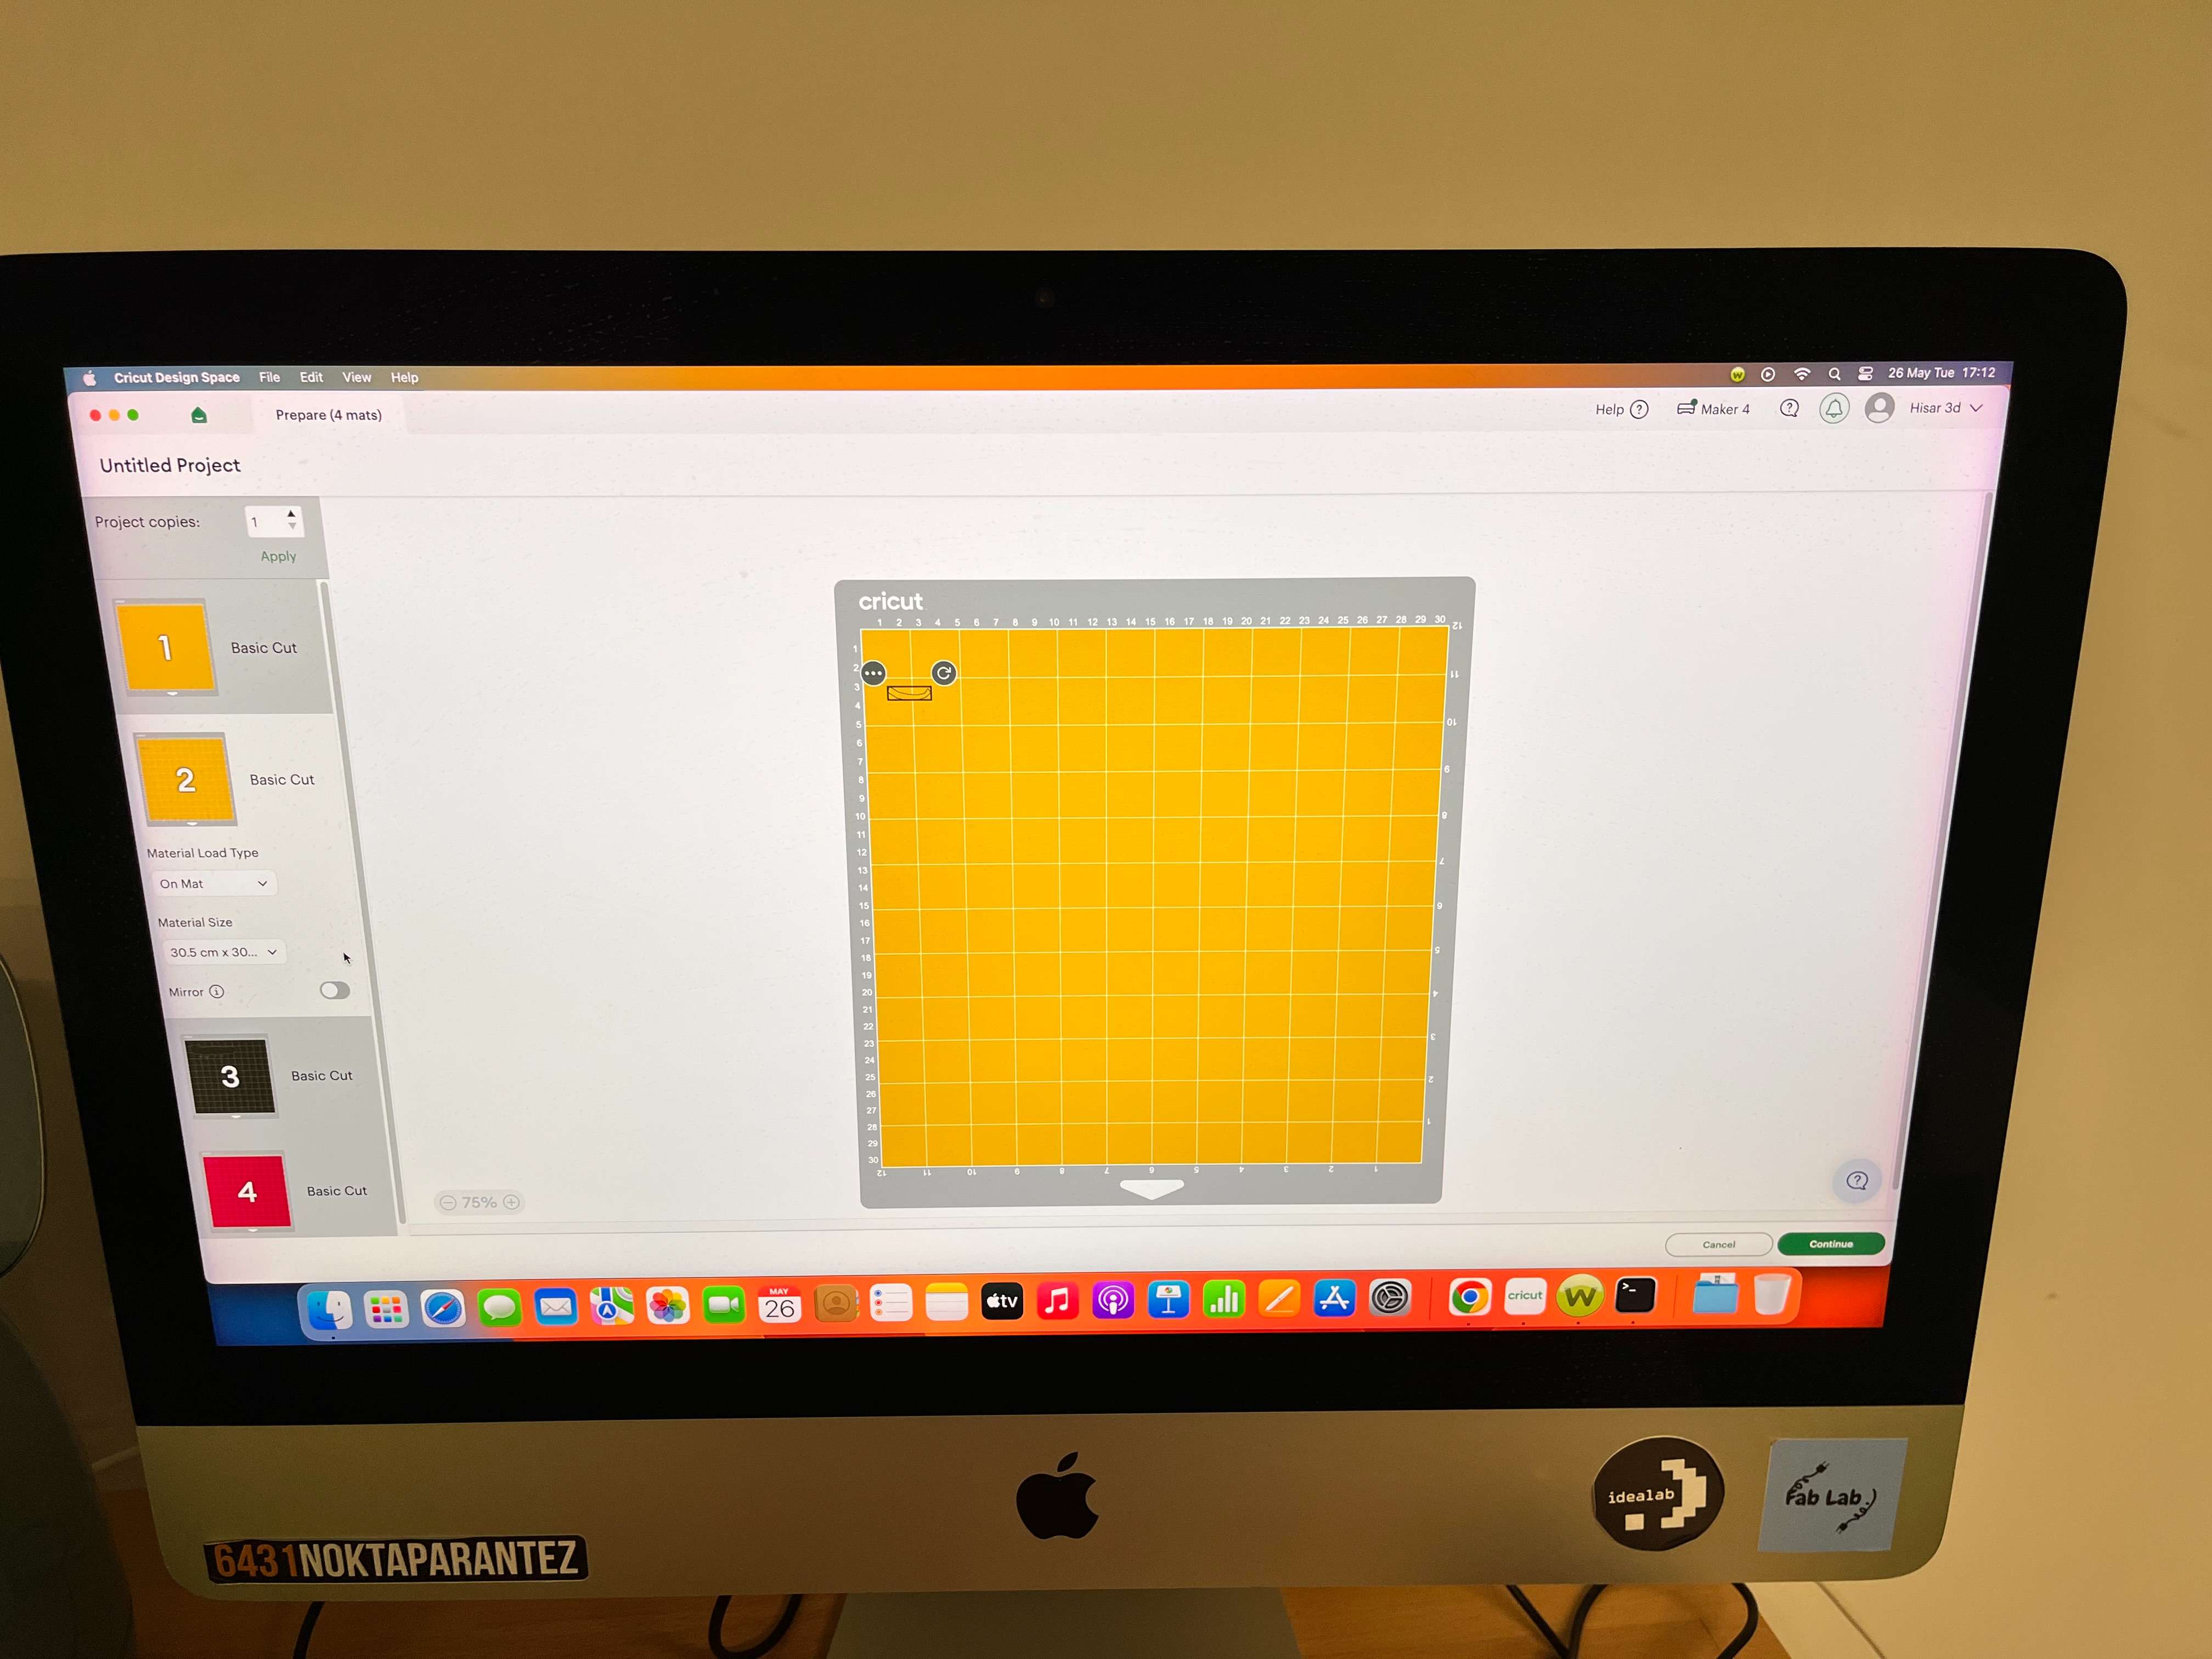
Anyways, click on Continue.
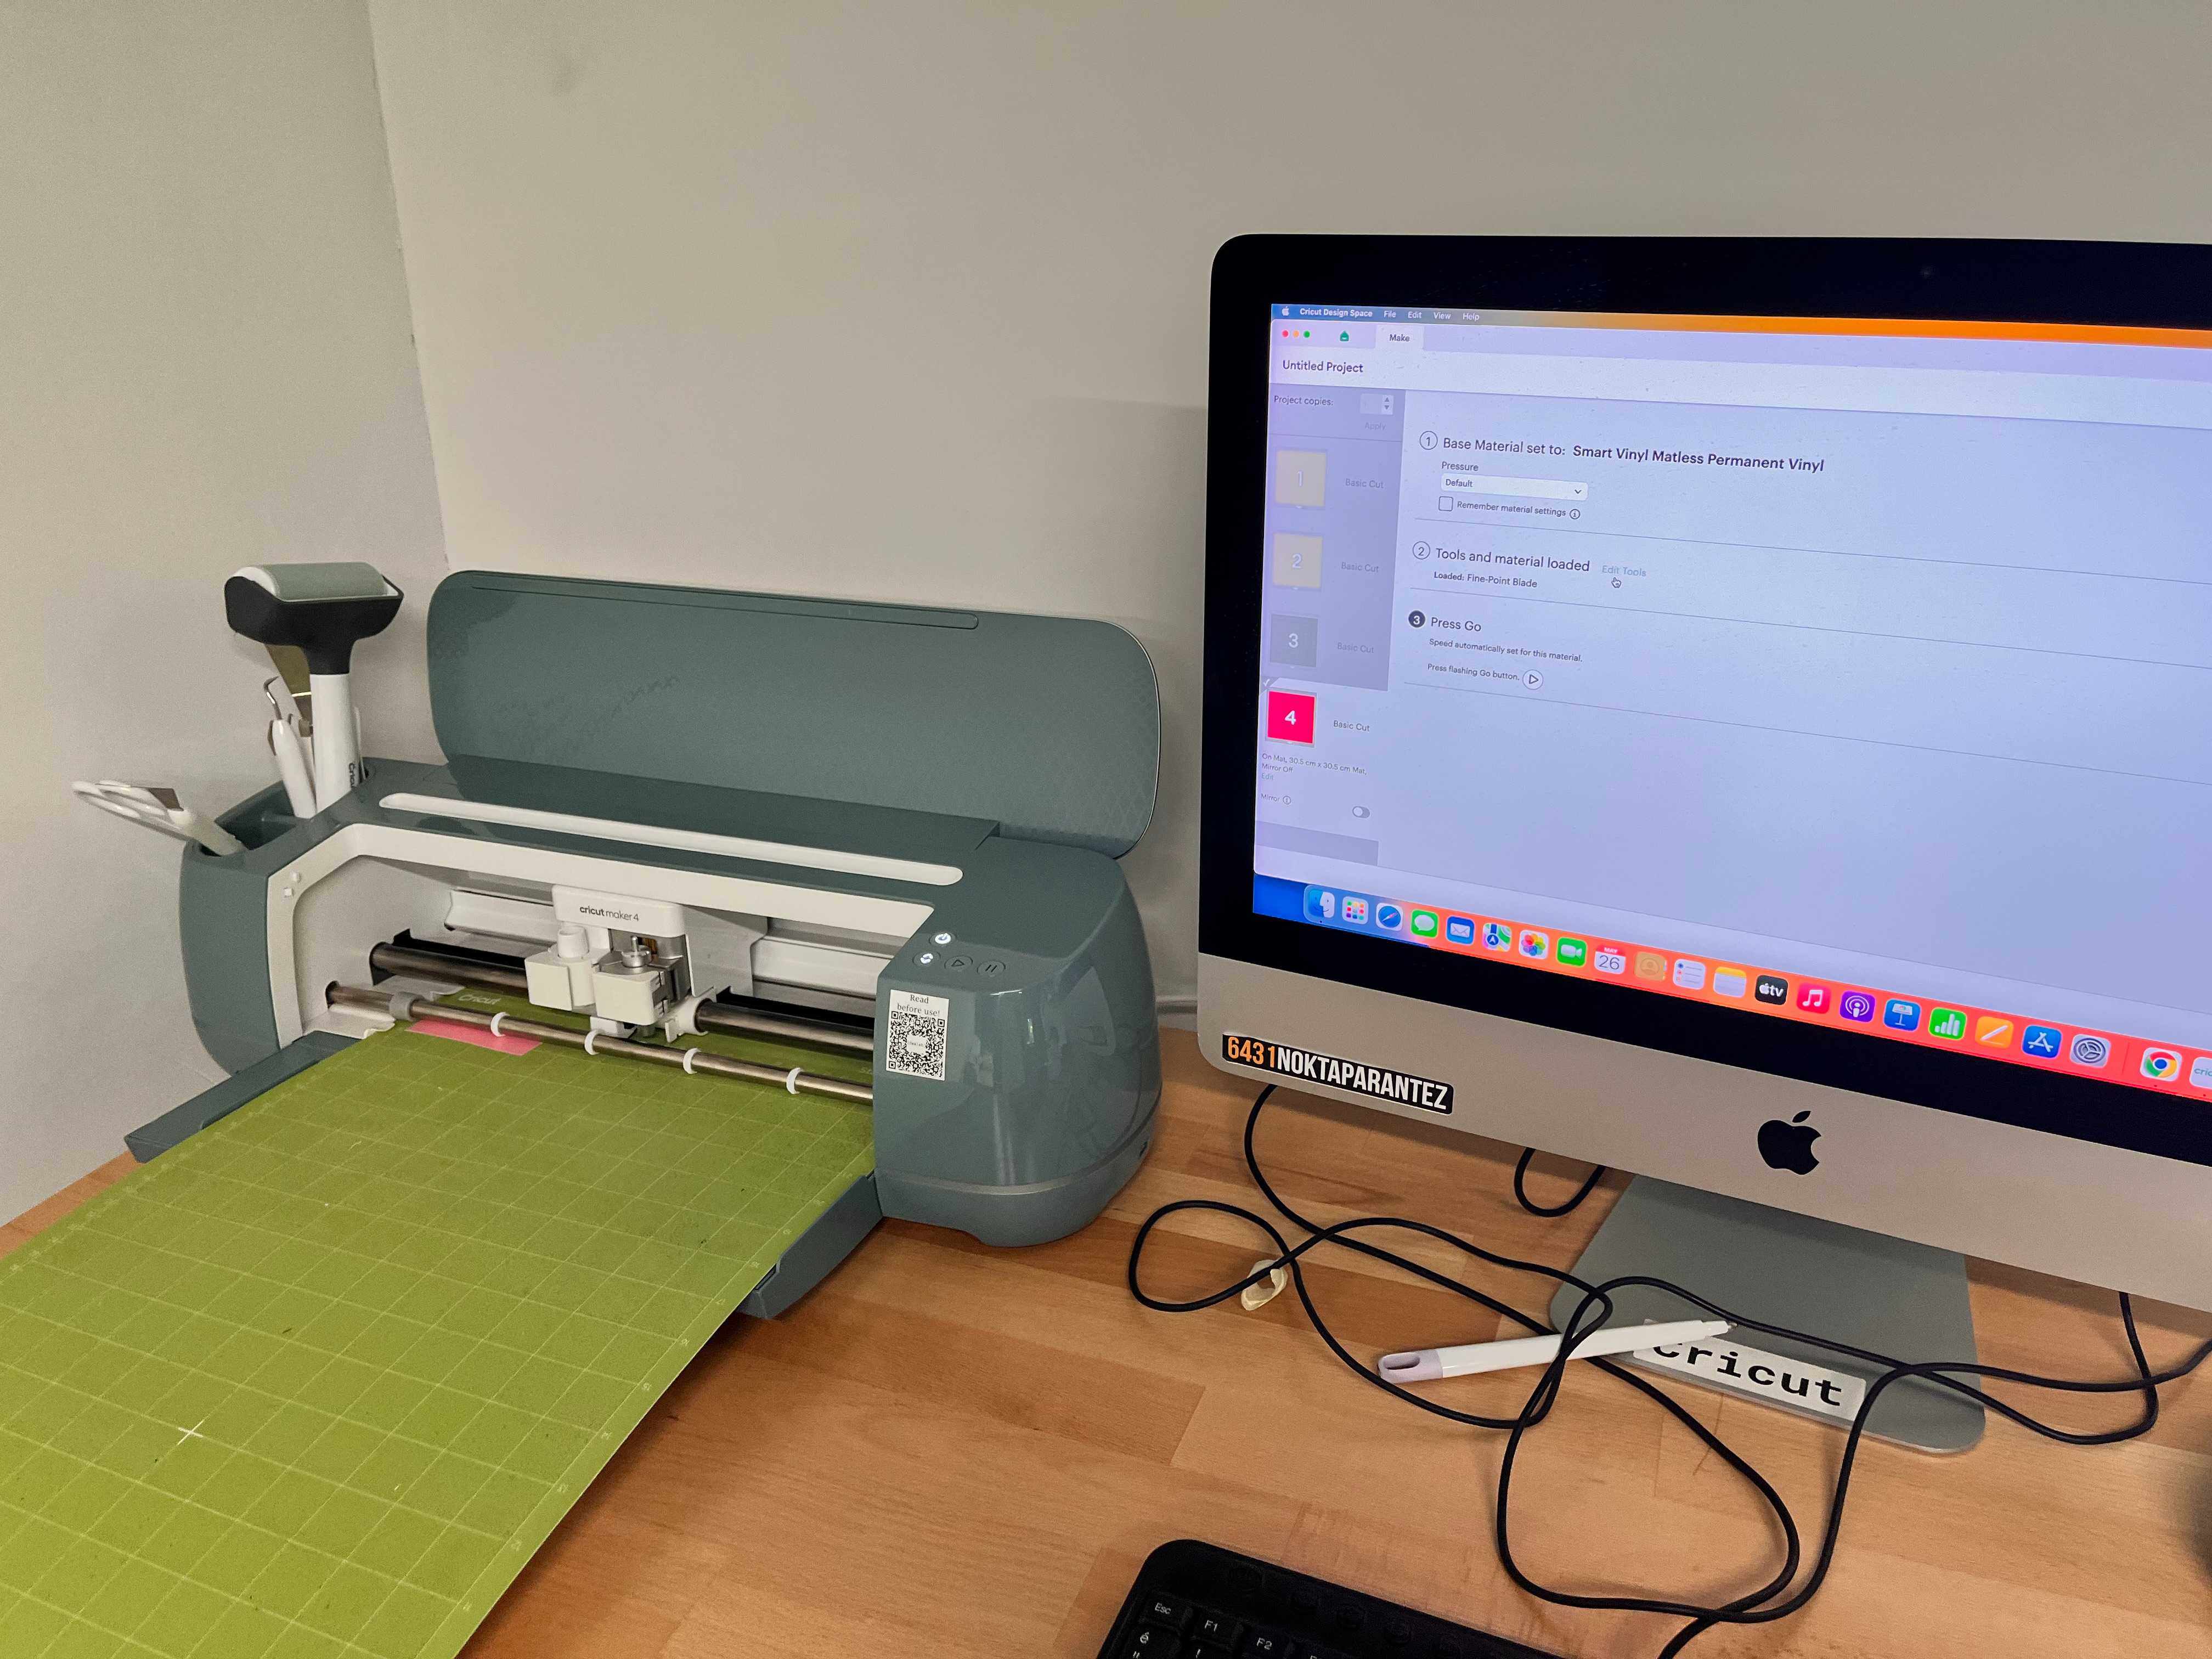
Select your material. Mine was Smart Vinyl.
! Important: Load or Change the Clamp on your machine to Fine-Point Blade. !
Cut your materials.
Load your tray with the material. And, cut each of them.
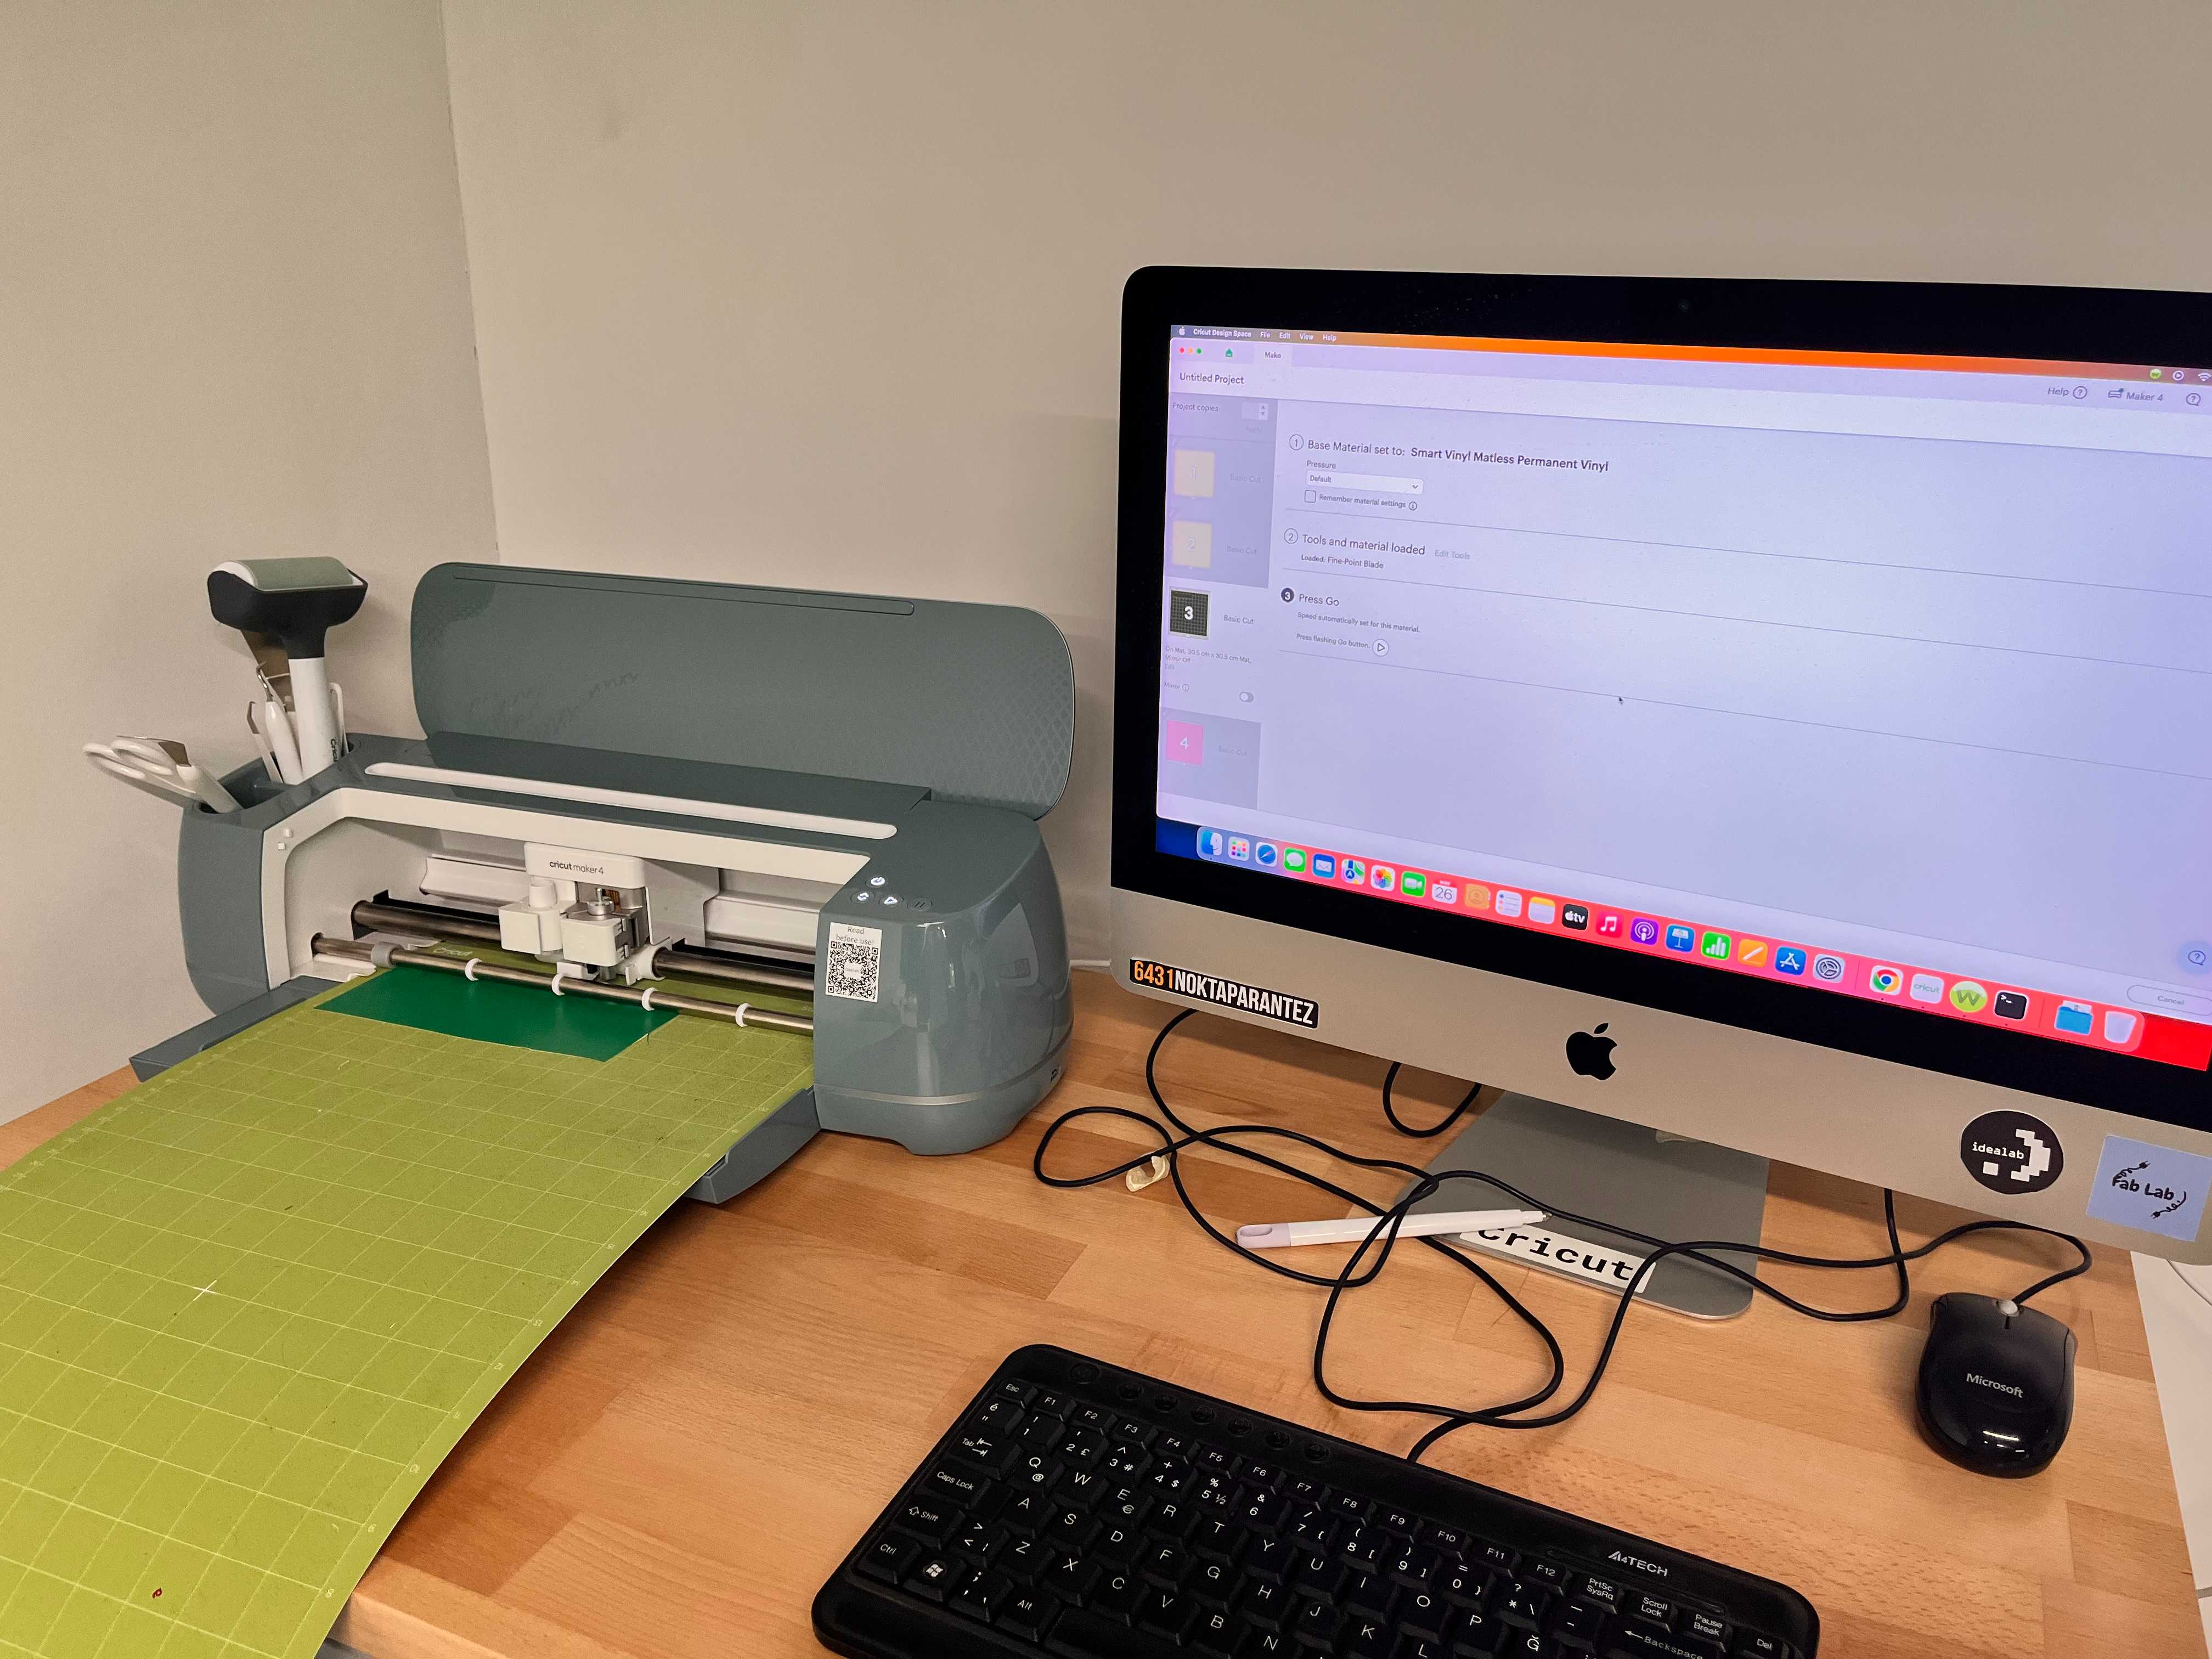
Here is a video of the cutting process.
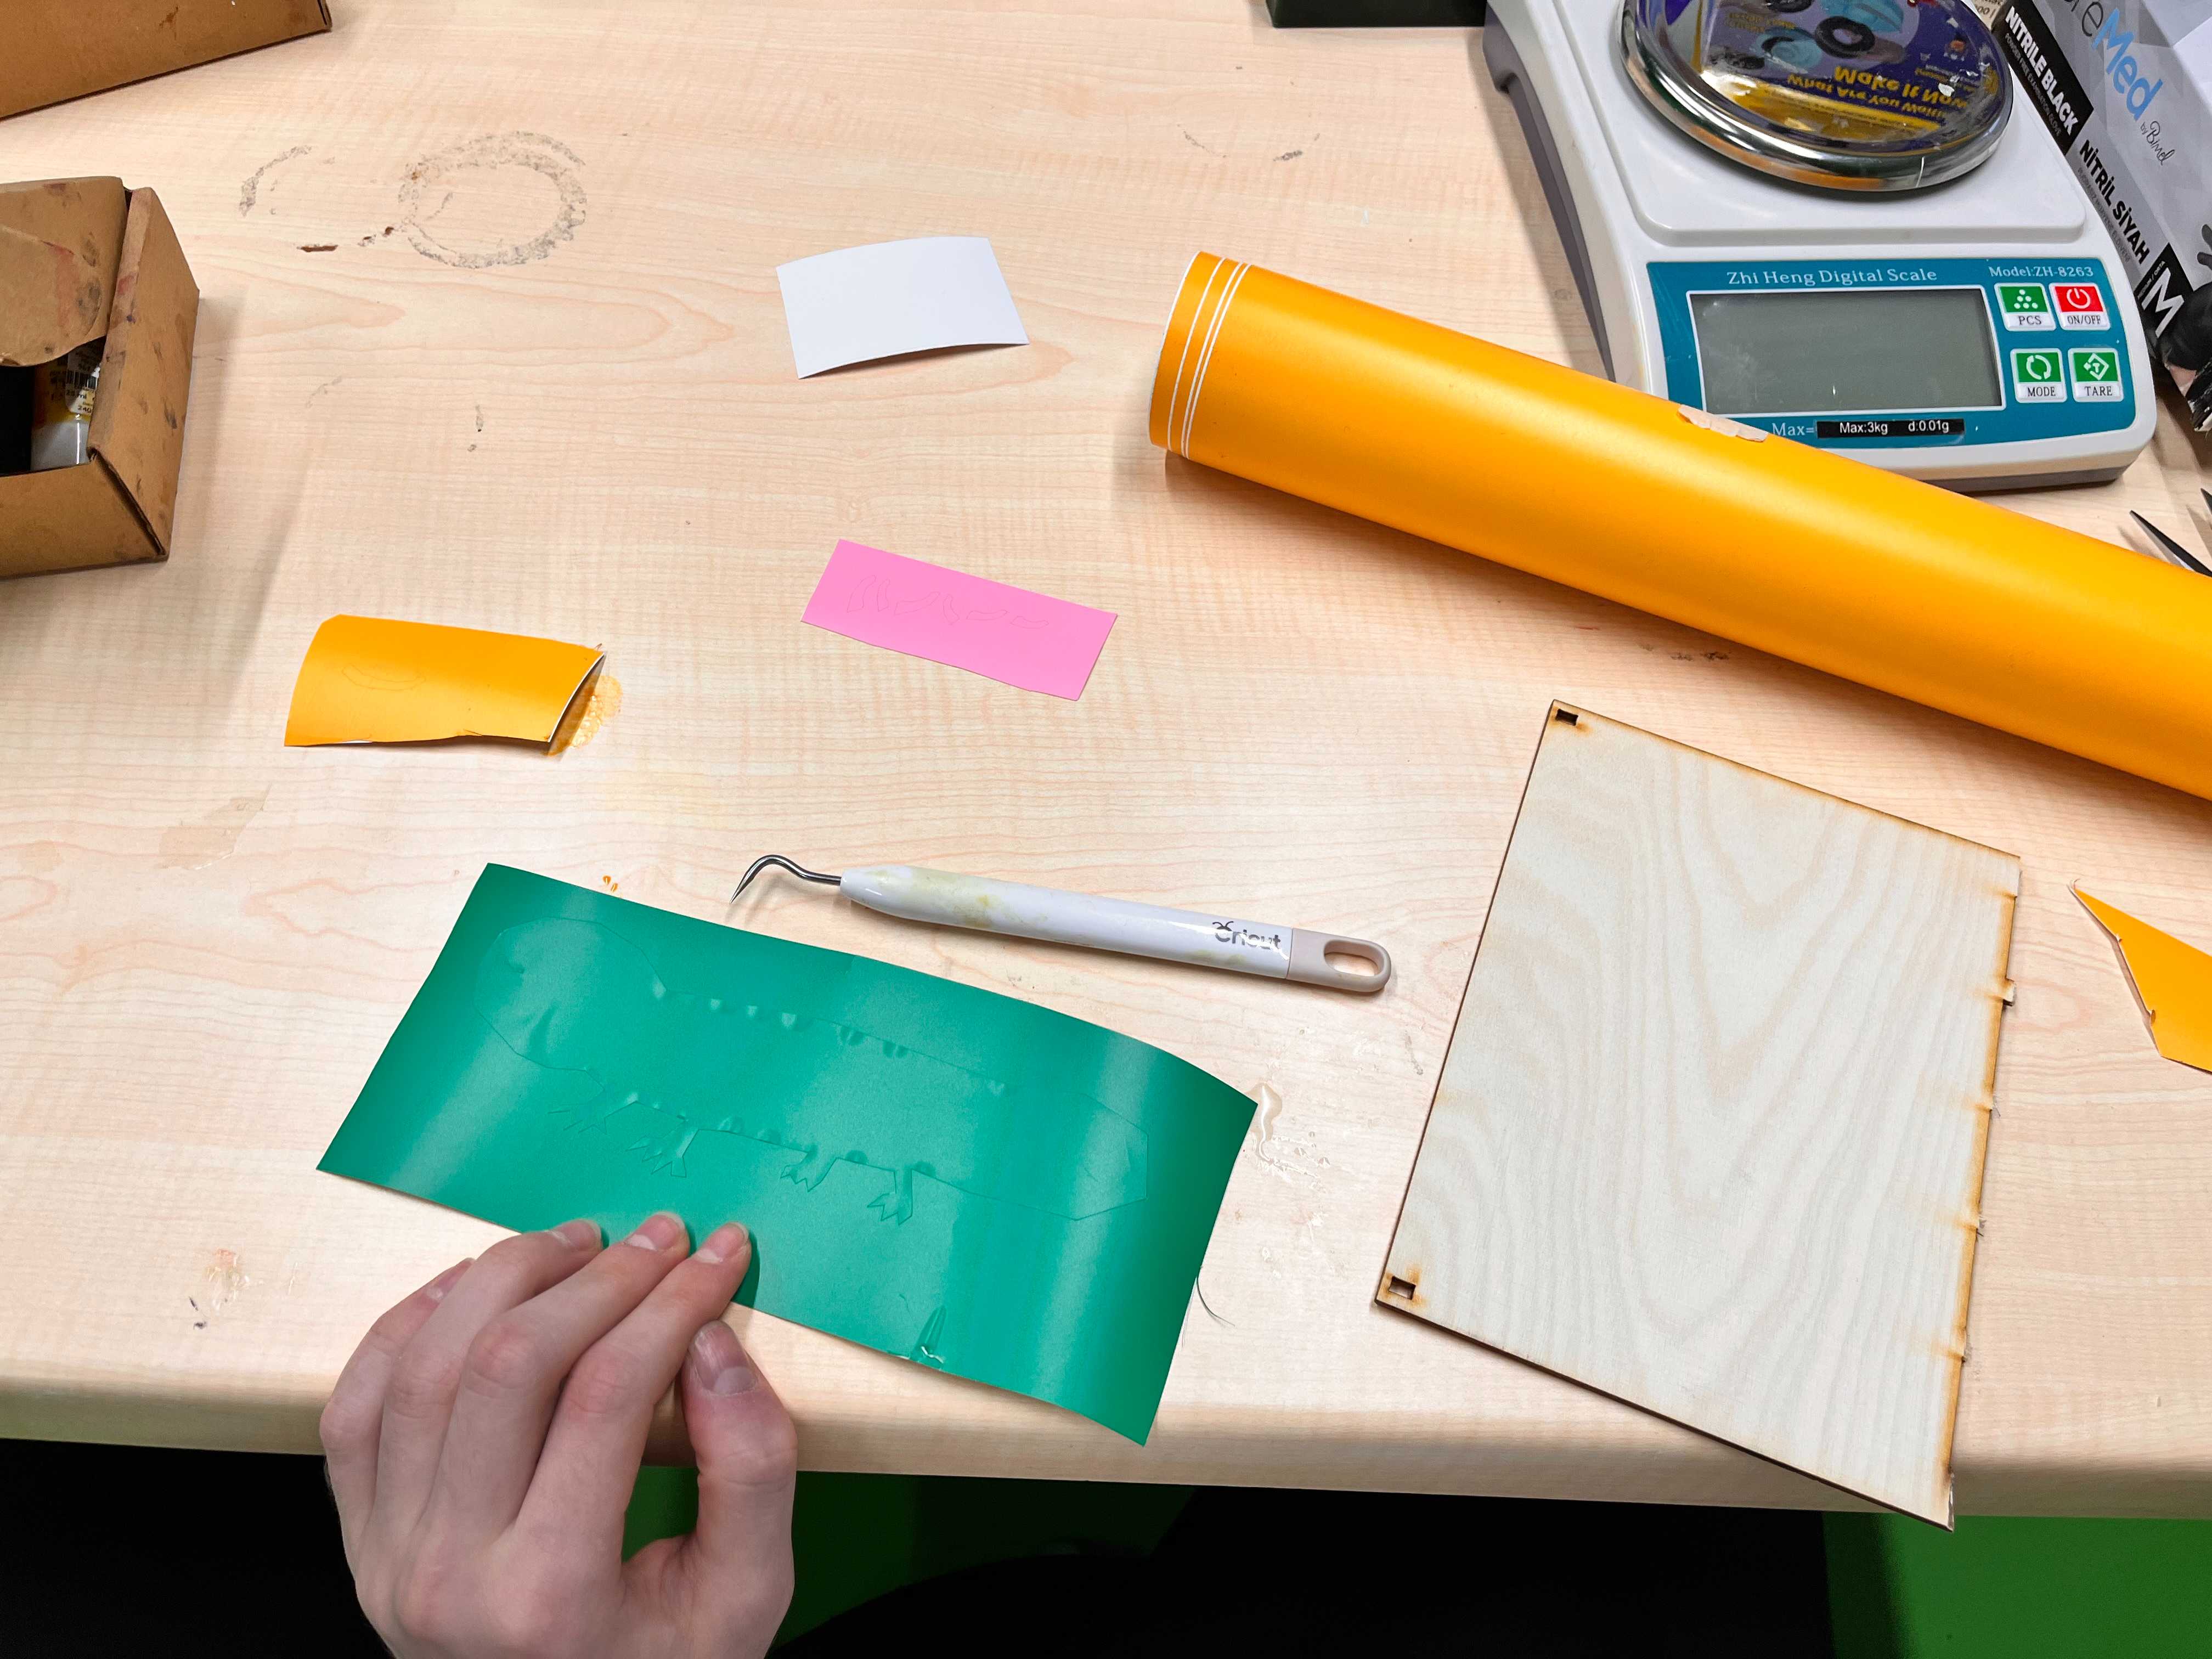
Unload your mat, and click Done.

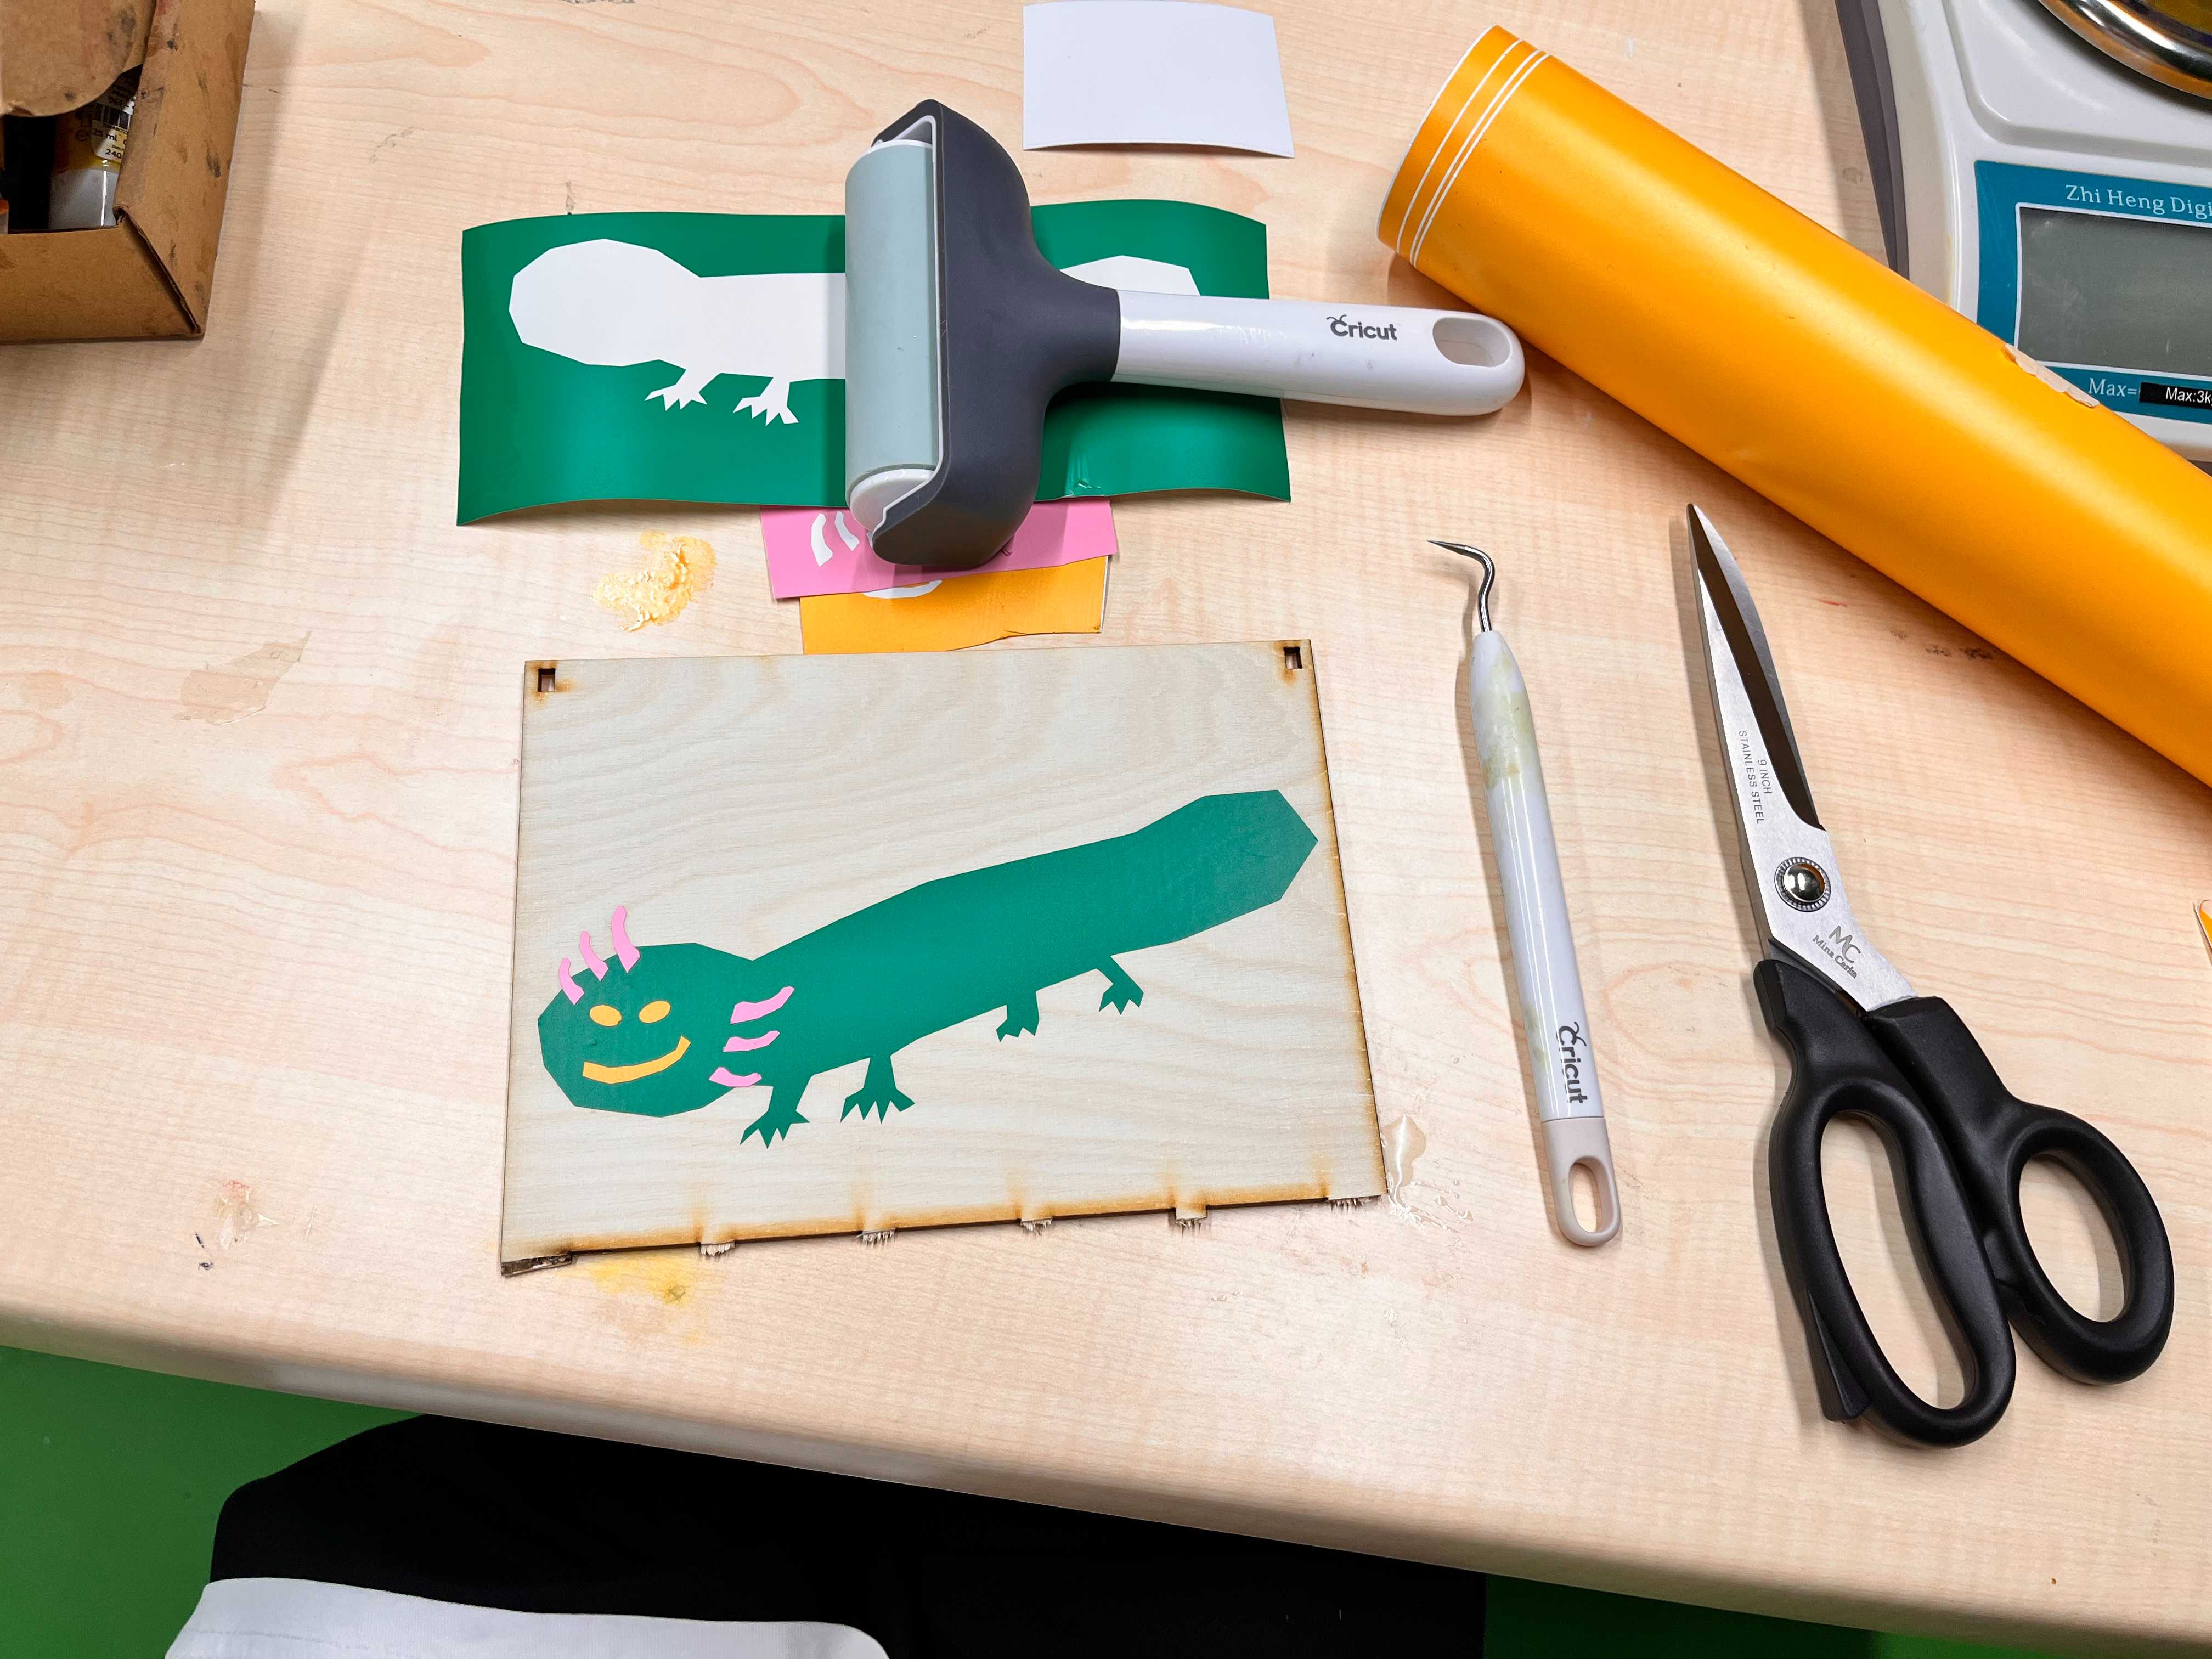
Finally, with your motor skills and with the materials, remove the stickers and put those into the places you want.
Here is my final result. I also added eye brows to my axolotl sticker with the excess vinyl.
Files
You can access to the files of this week from the link below.
Don’t forget to edit your kerf based on your cuts.