Week 13: Molding and Casting
Planted April 16, 2026

Group assignment
Overview
This page is reserved for Week 13 molding and casting documentation. Molding and casting was a week I expected to go through great trials and tribulations, but turned out to be the most fun week. I liked molding and casting and it’s proposotions, process very much. It is the furthest week from my background, but incredibly fun!
Design
To pay amige to my childhood I decided to make the logo of Star Trek the Next Generation
the reference image
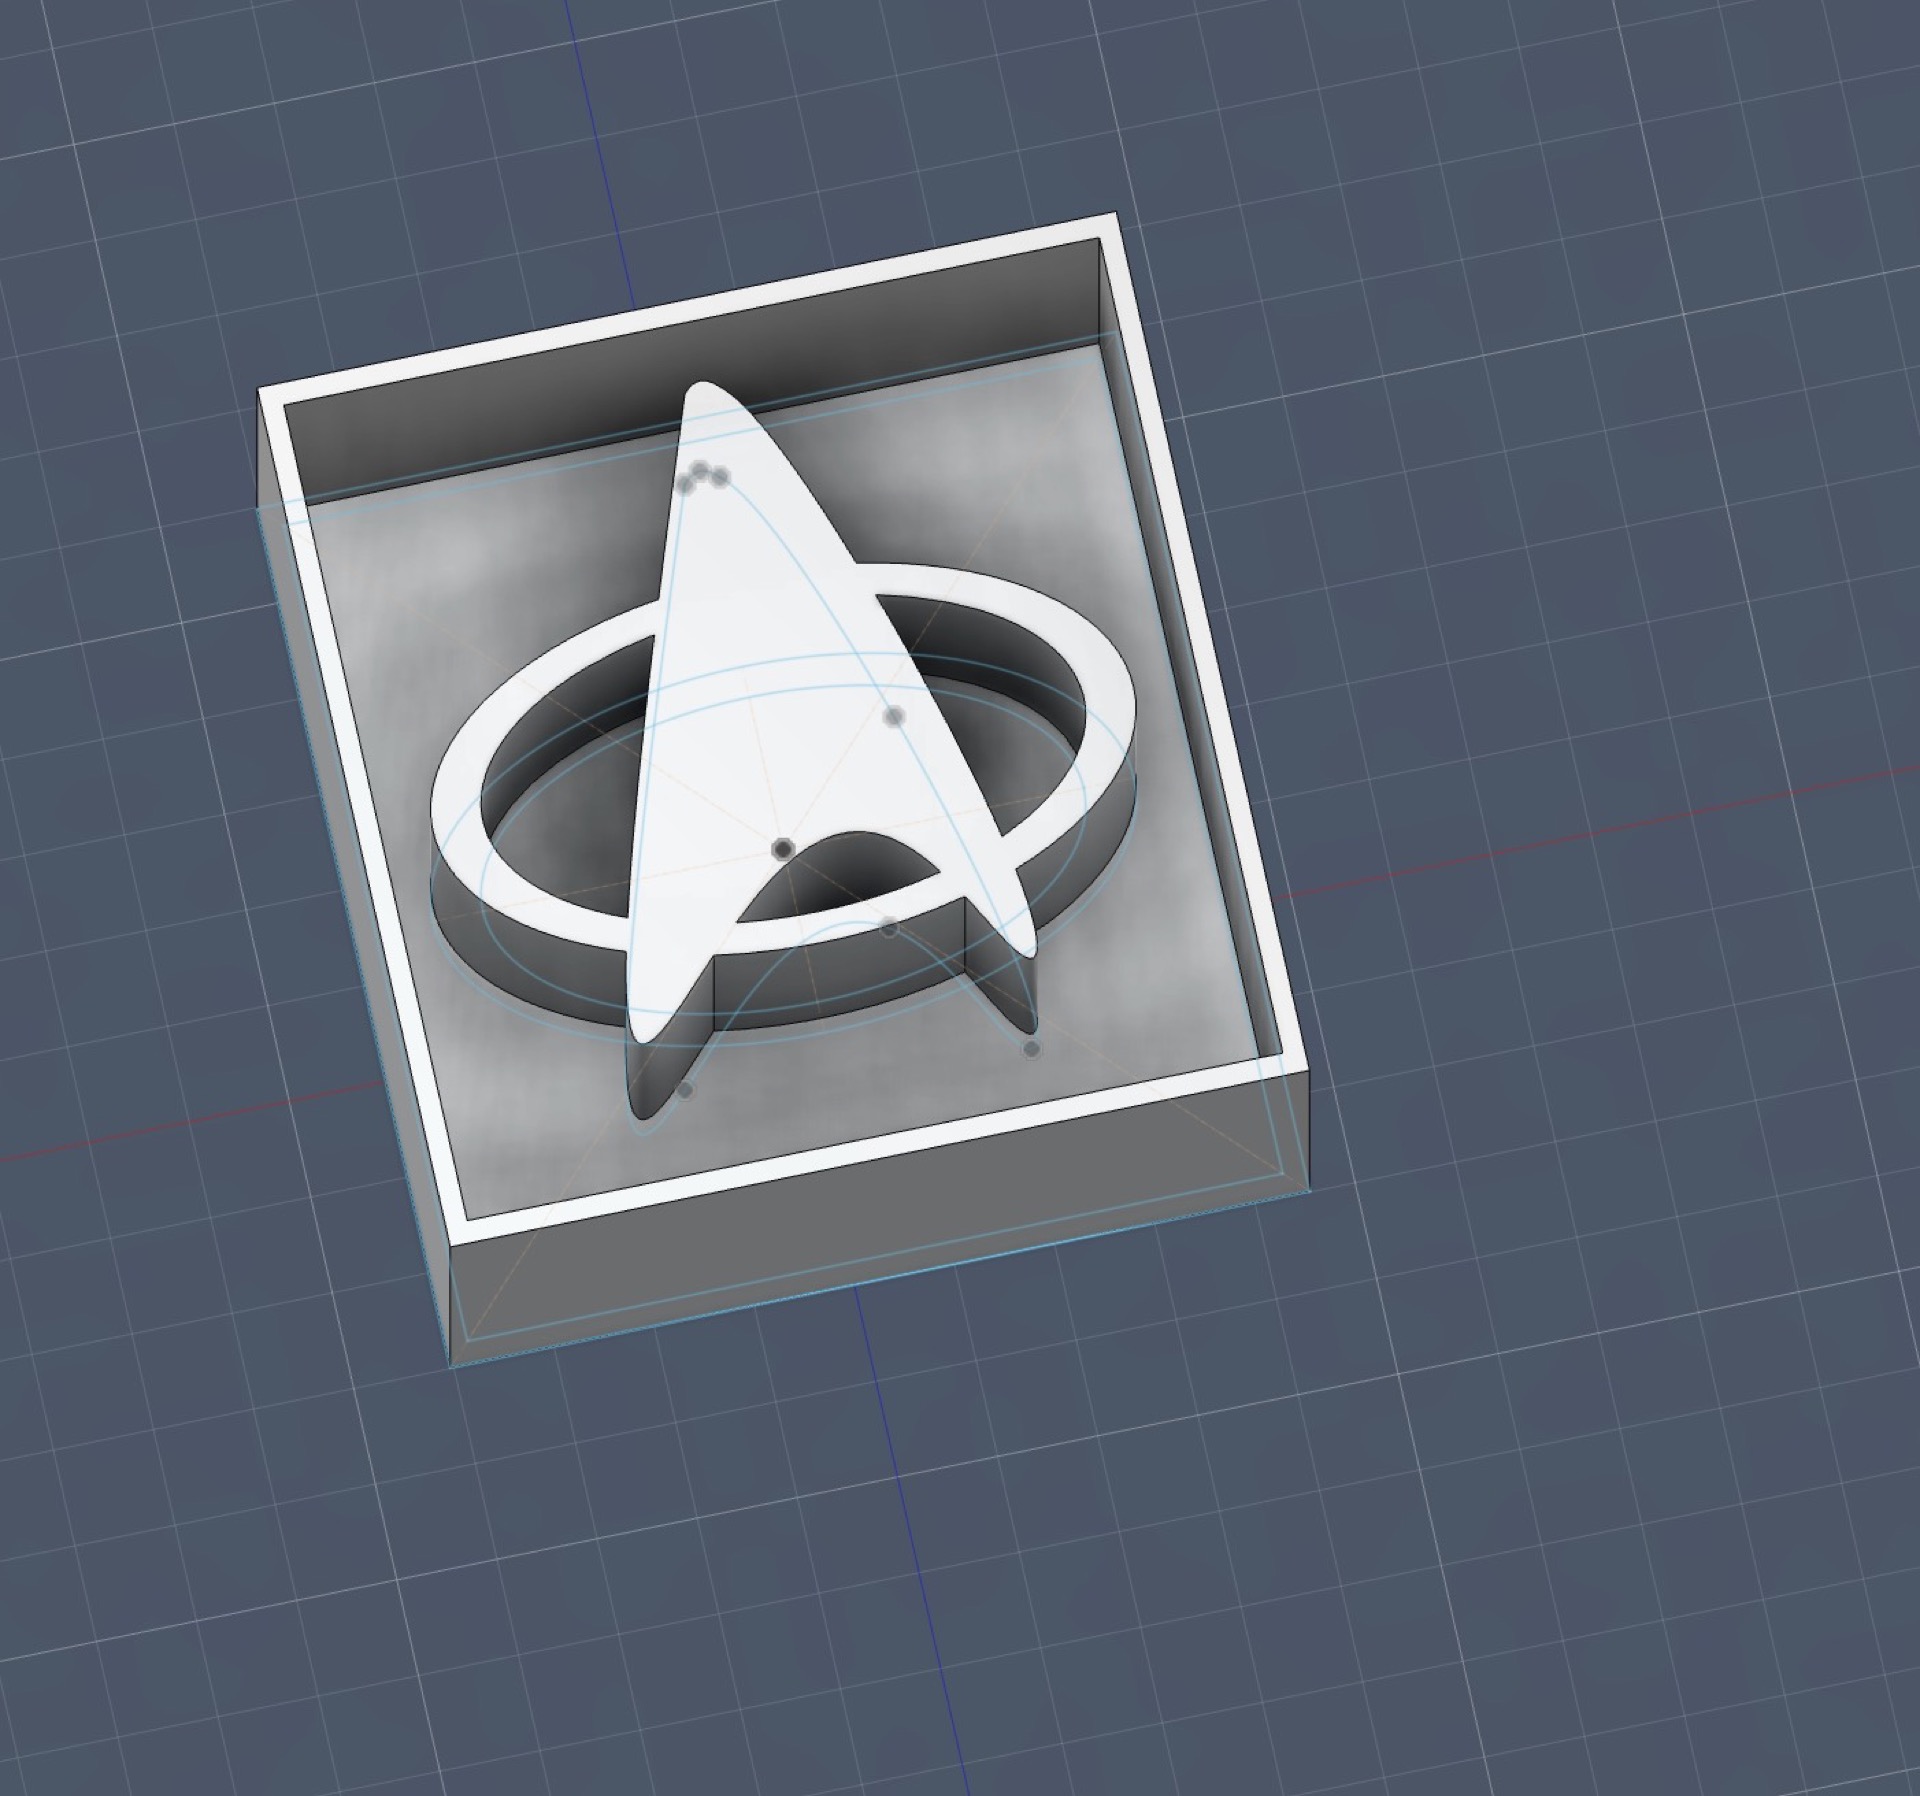
the cad
then I exported this as a DXF and it was onto V-Carve
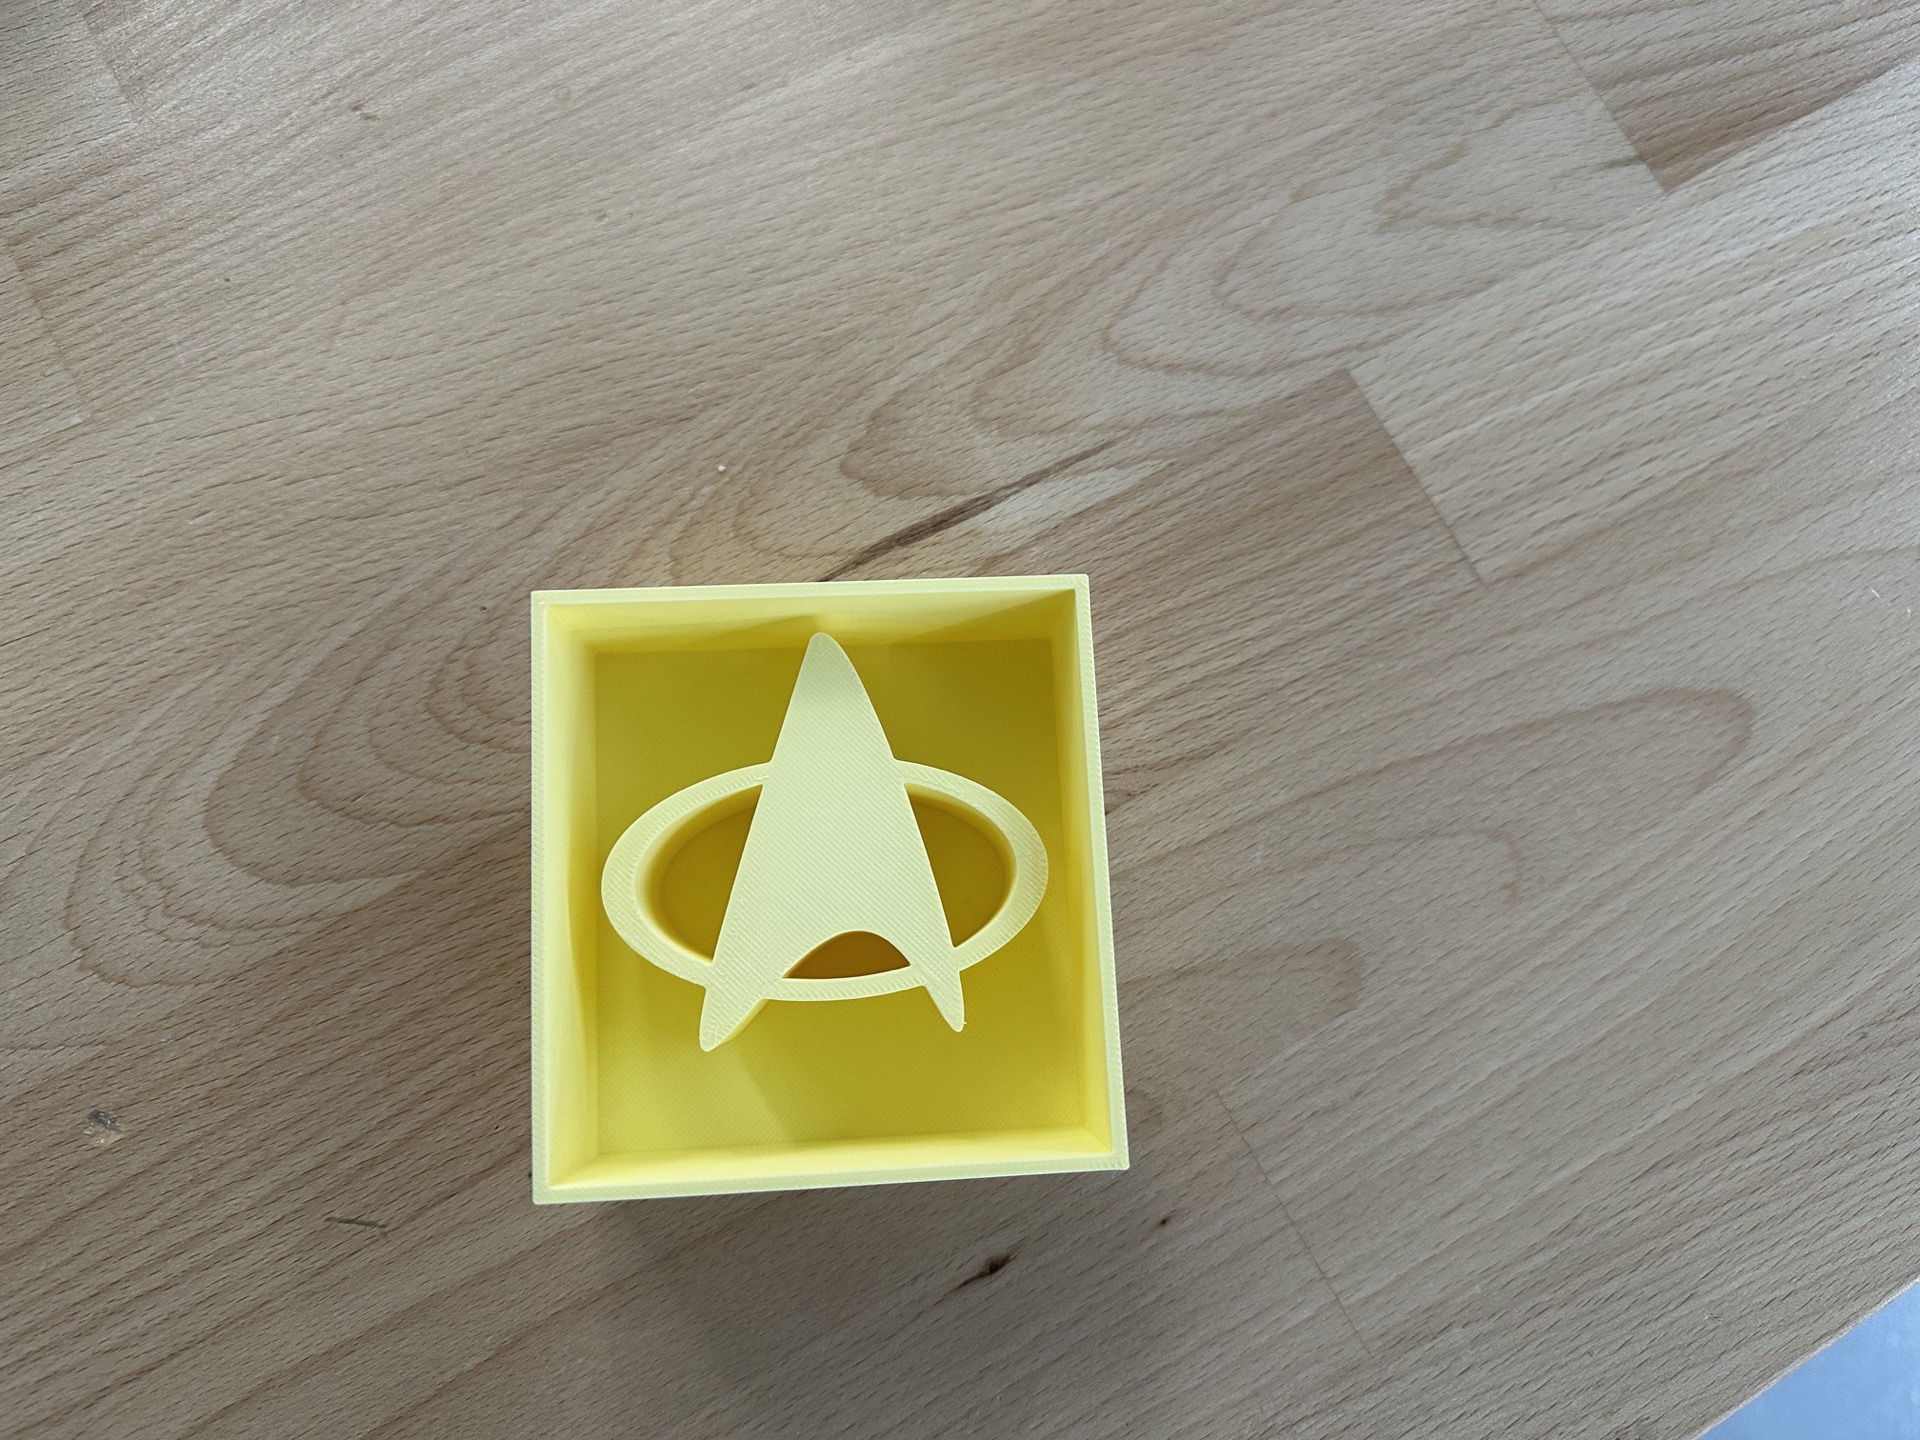
Also since I looked at the prior years students I thought I could just 3D Print the mold for the mold, but as I was informed by Kris from Aaolto that wasn’t allowed still I did print it so it is below
VCarve and manufacturing
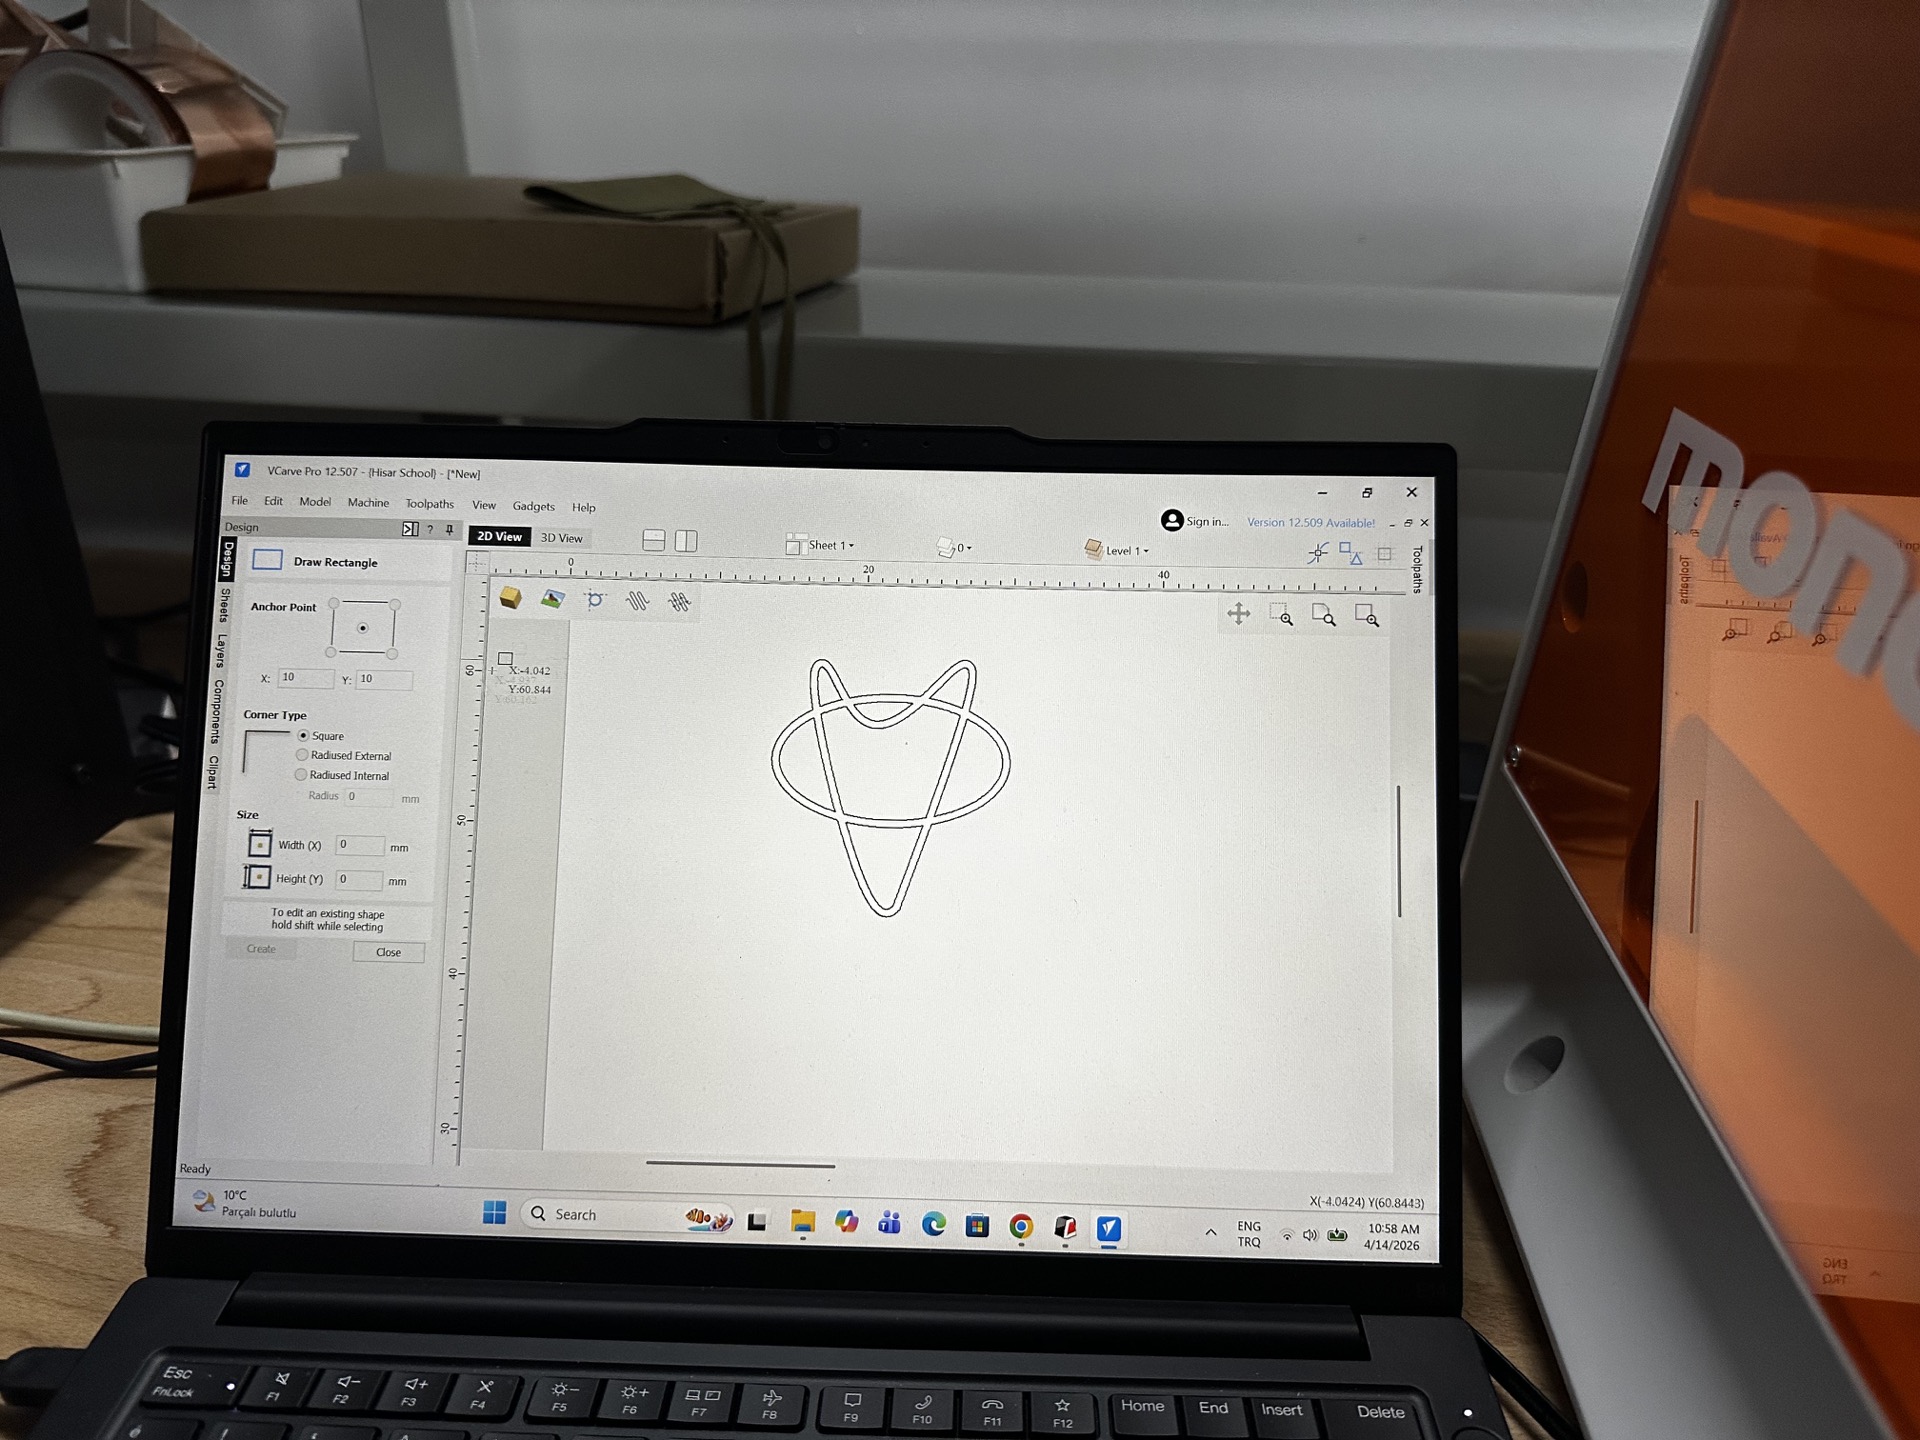
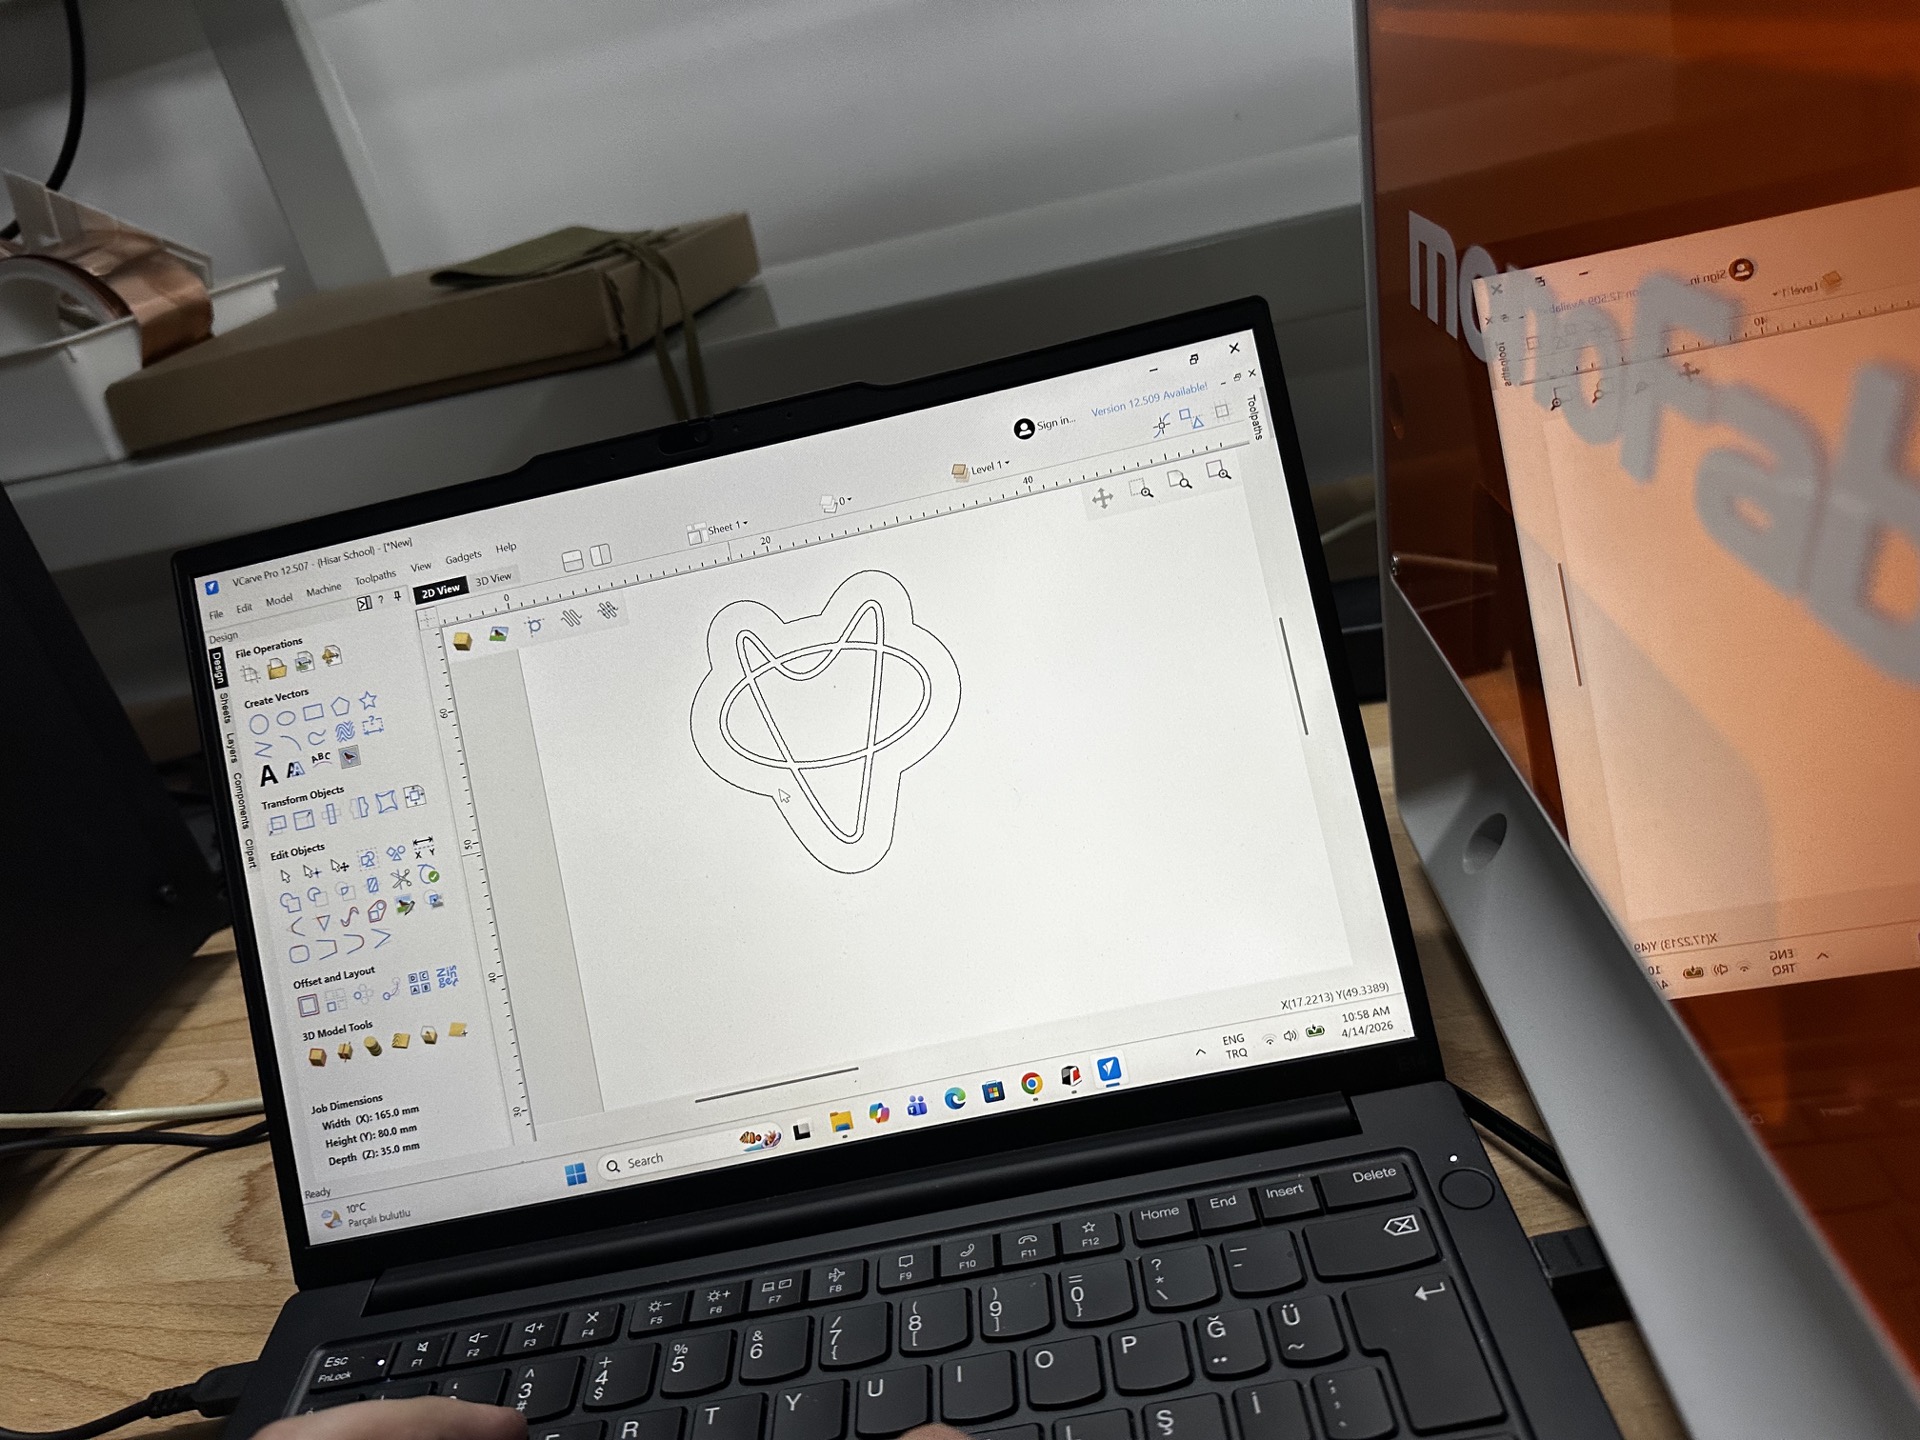
I imported the dxf into V-Carve
Then added an offset of 6 mm so it would be the shape and an outline for the rubber
next I joined the vectors ensuring a full cut
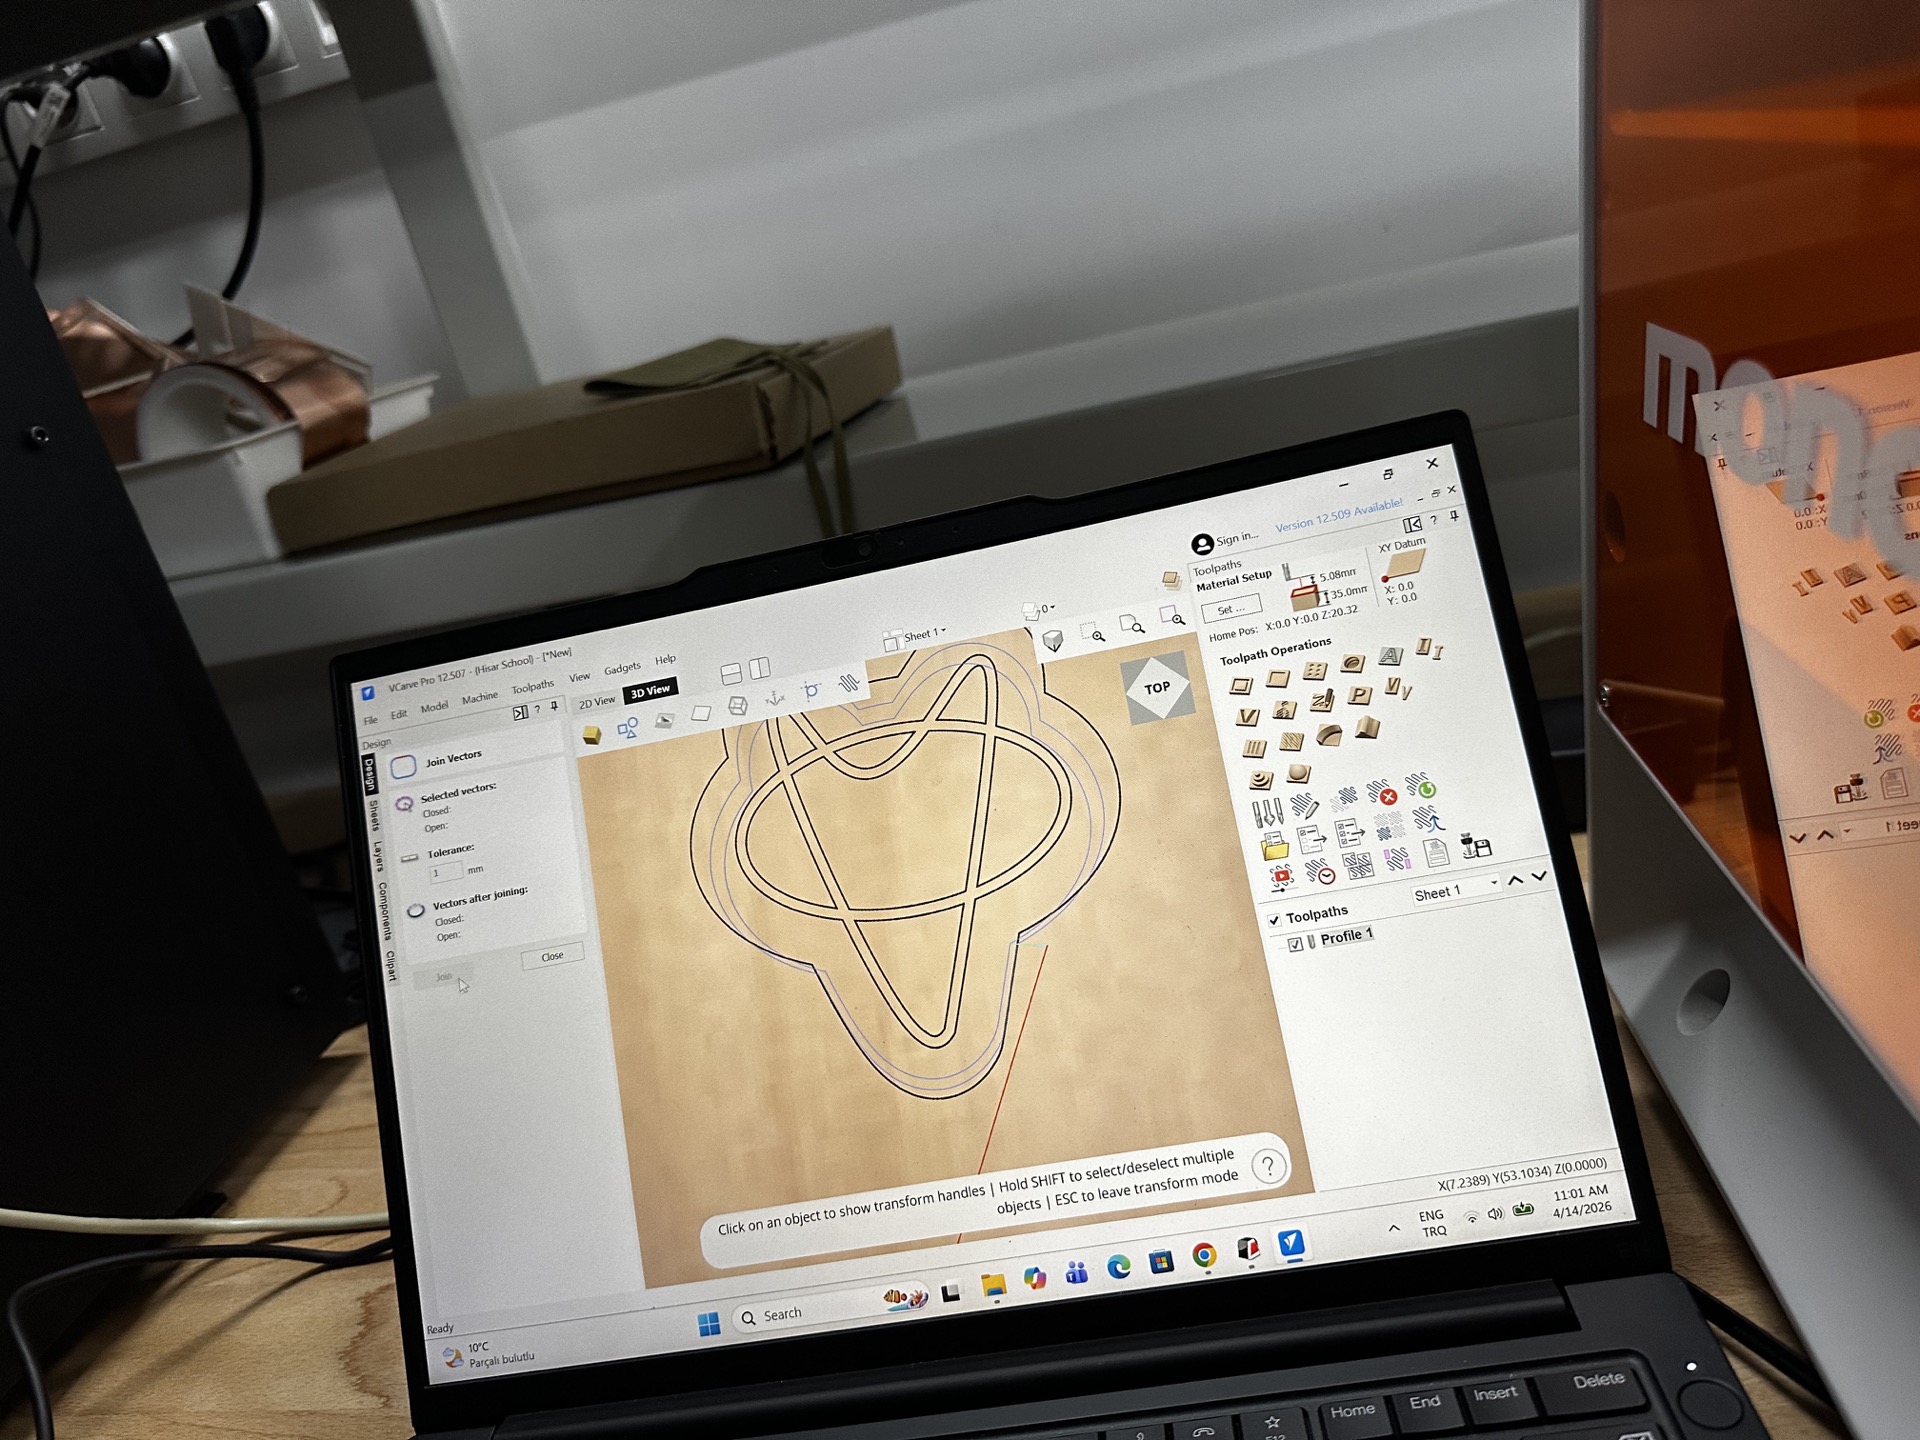 Then I did the initial toolpaths and simulated it
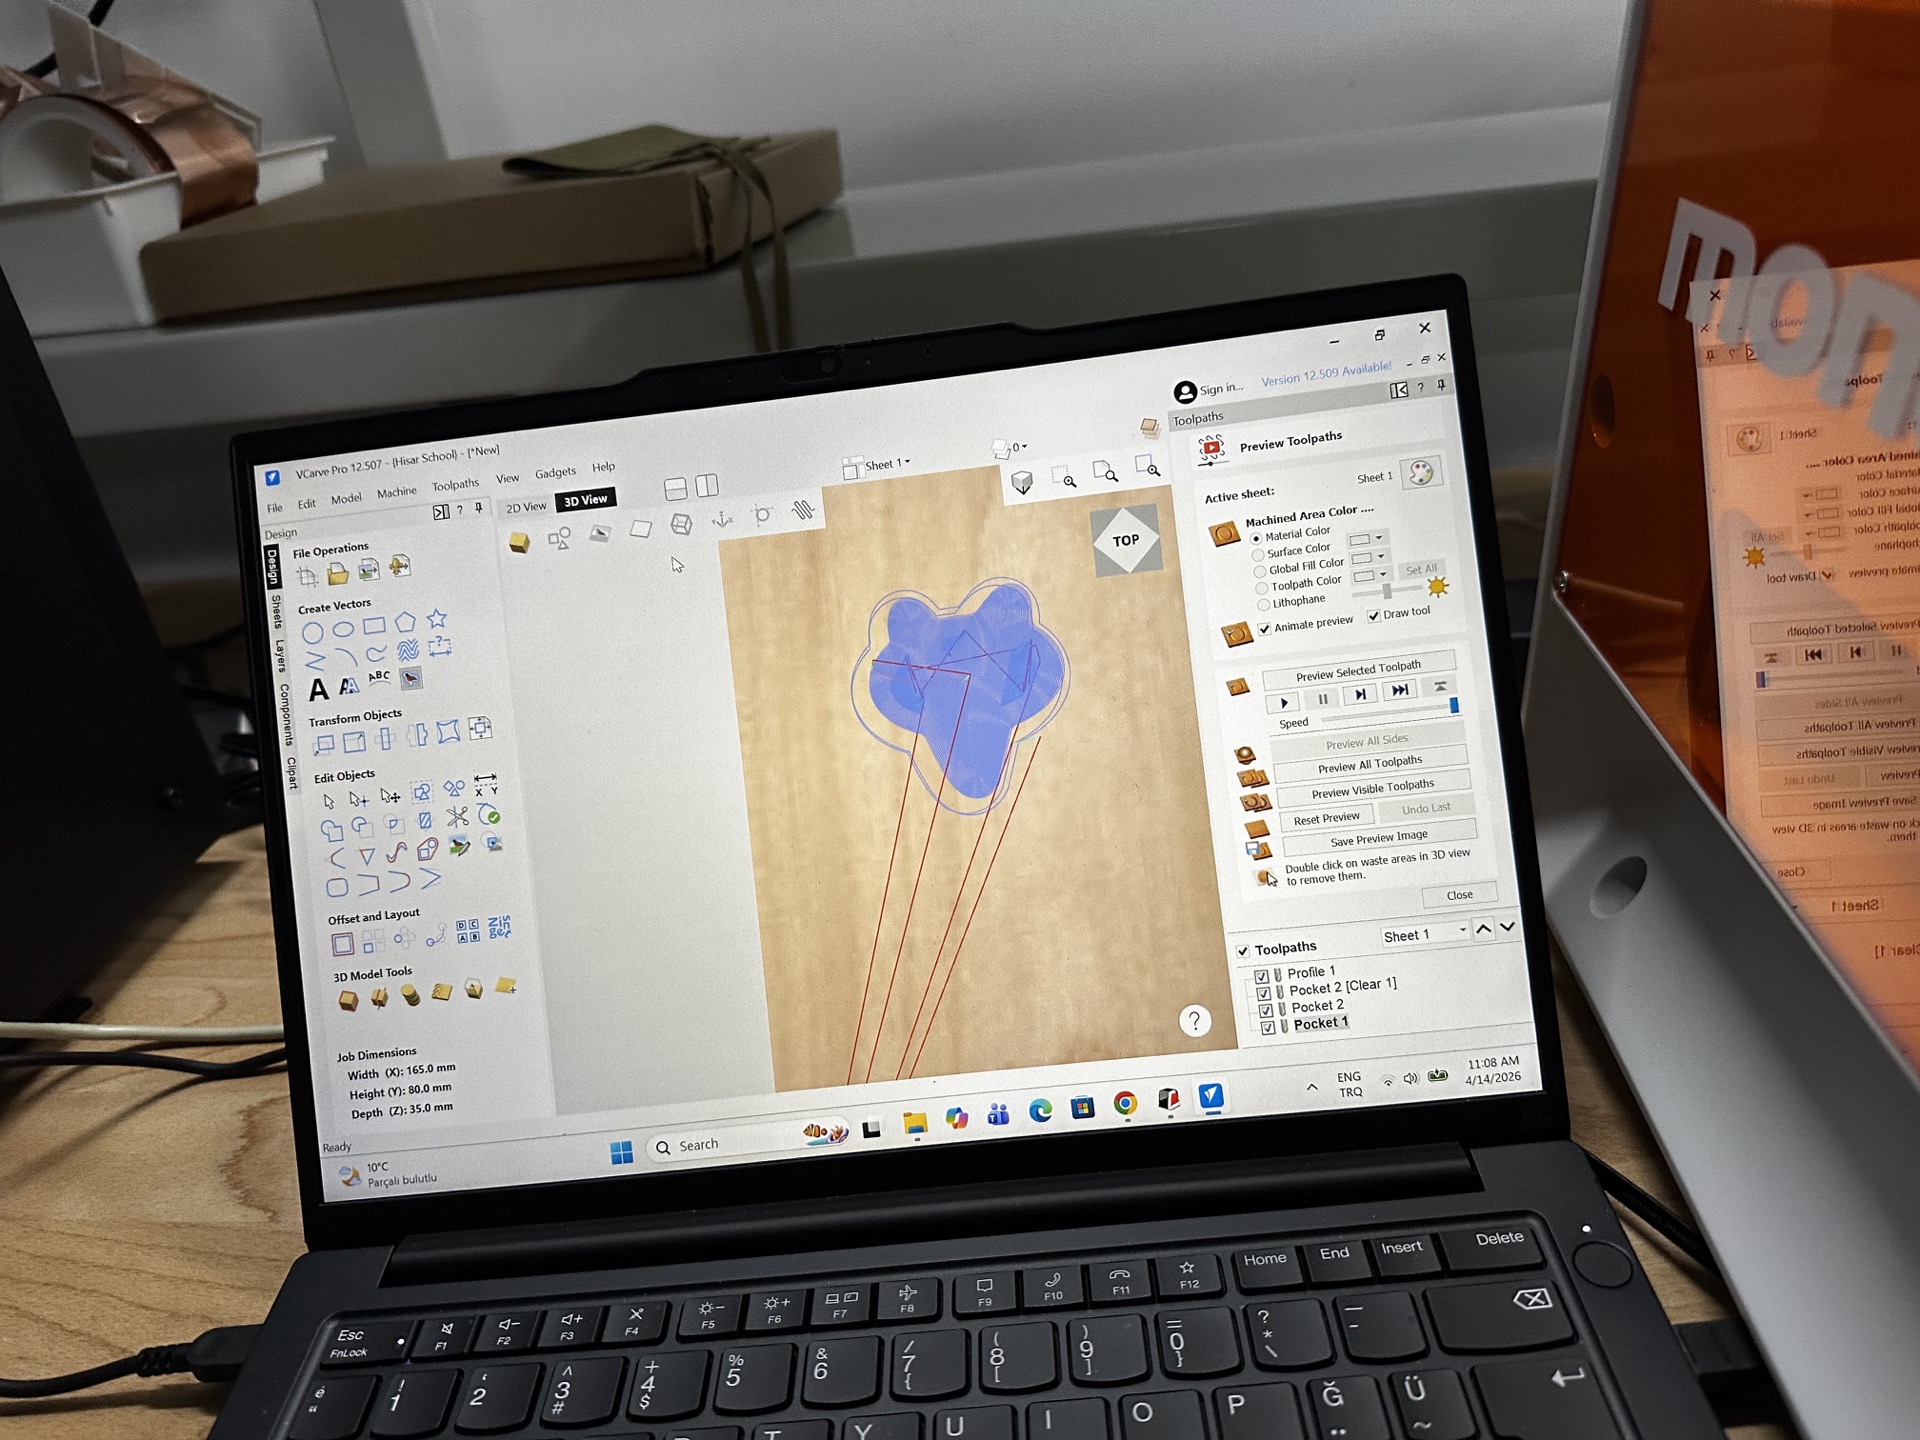 result
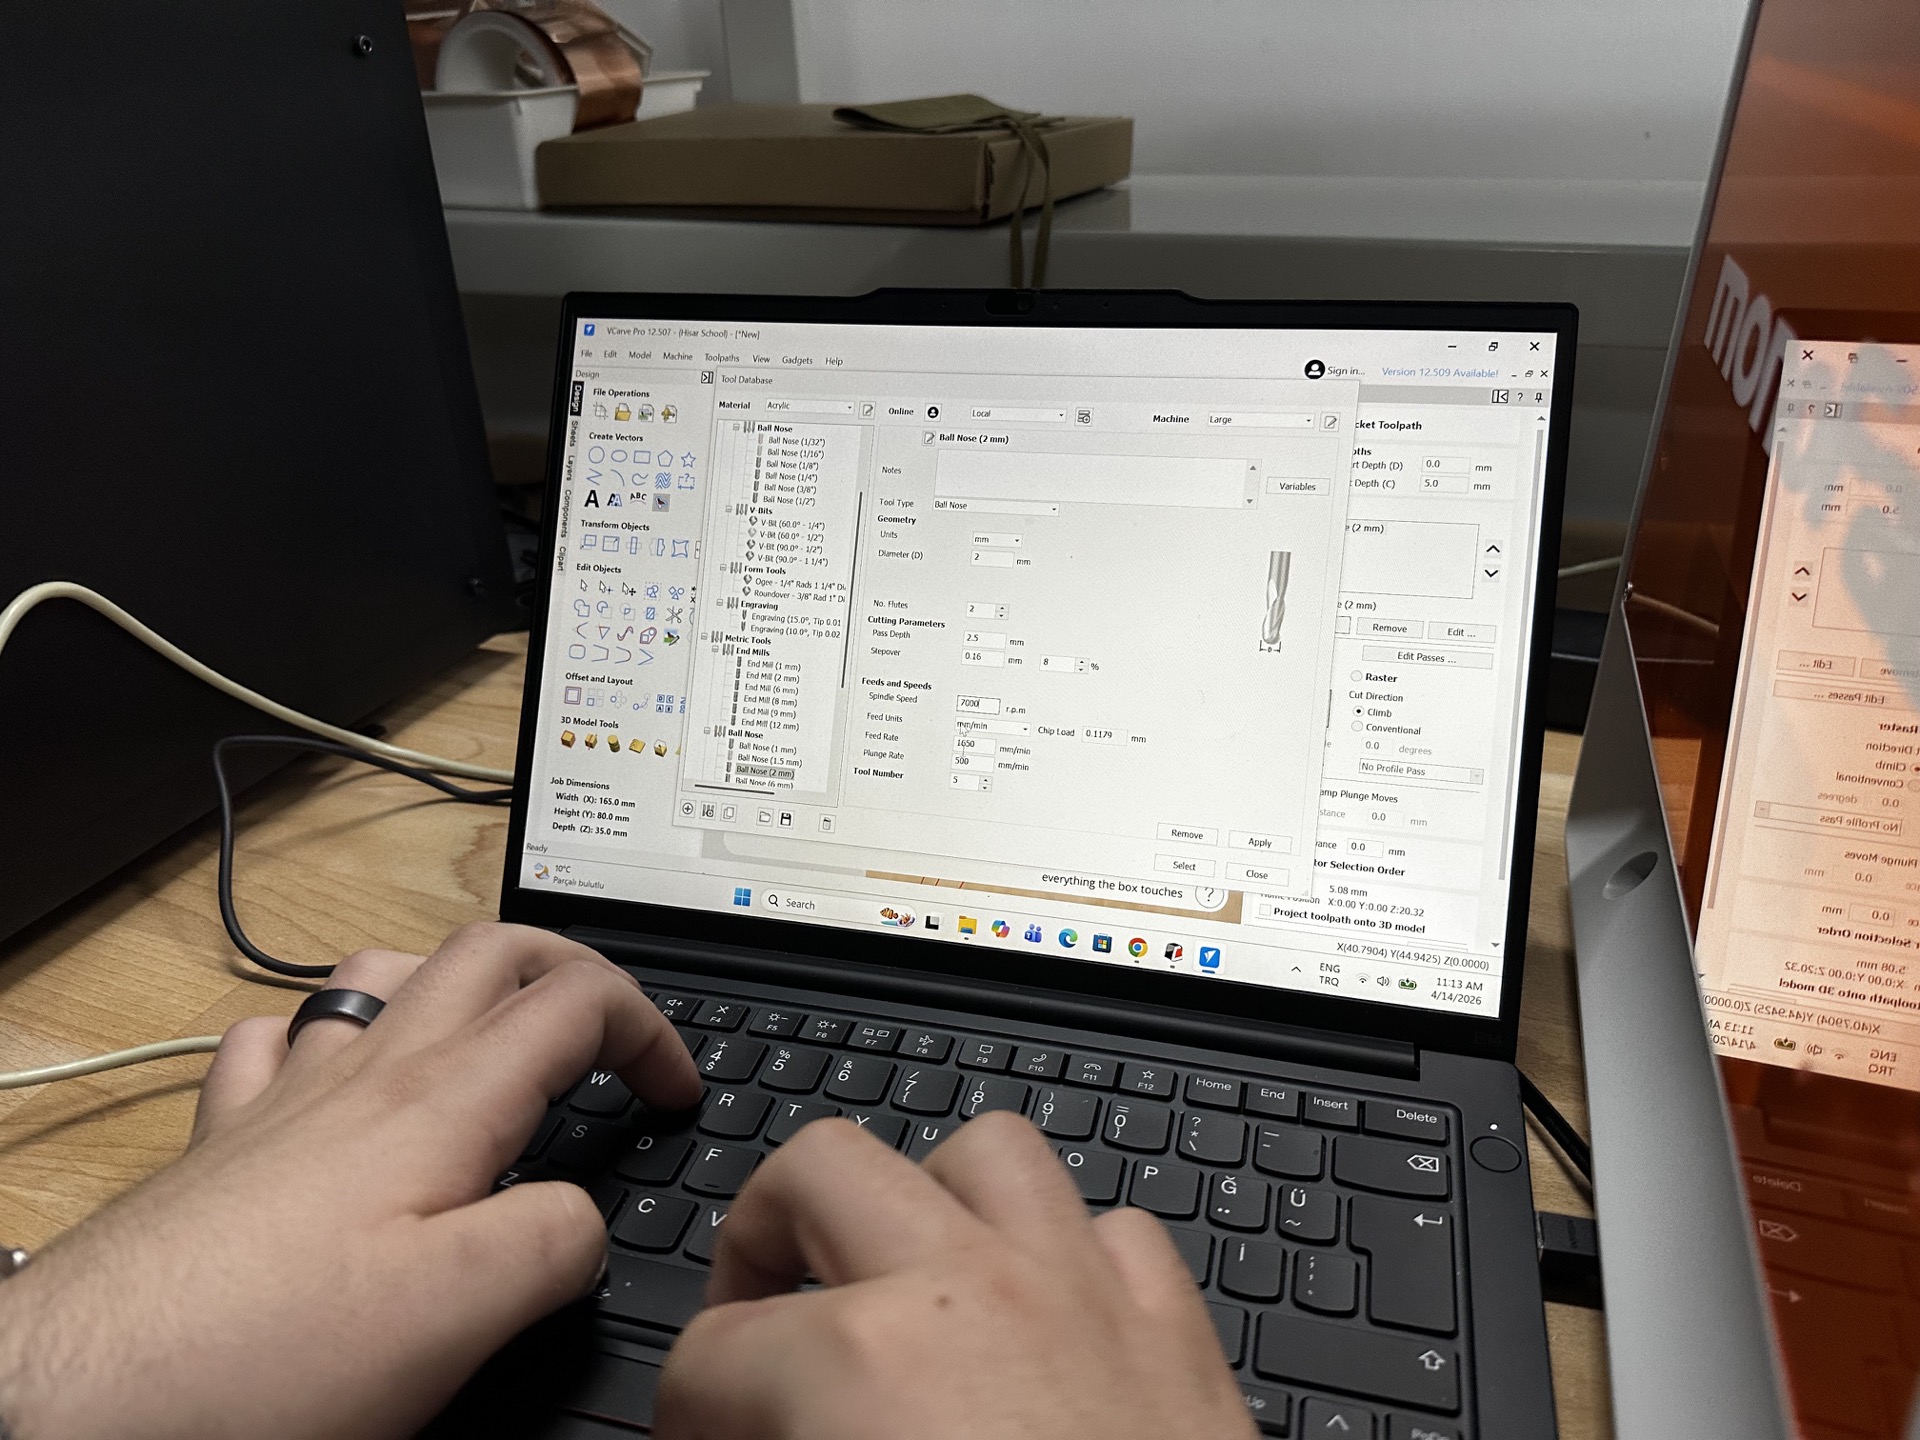
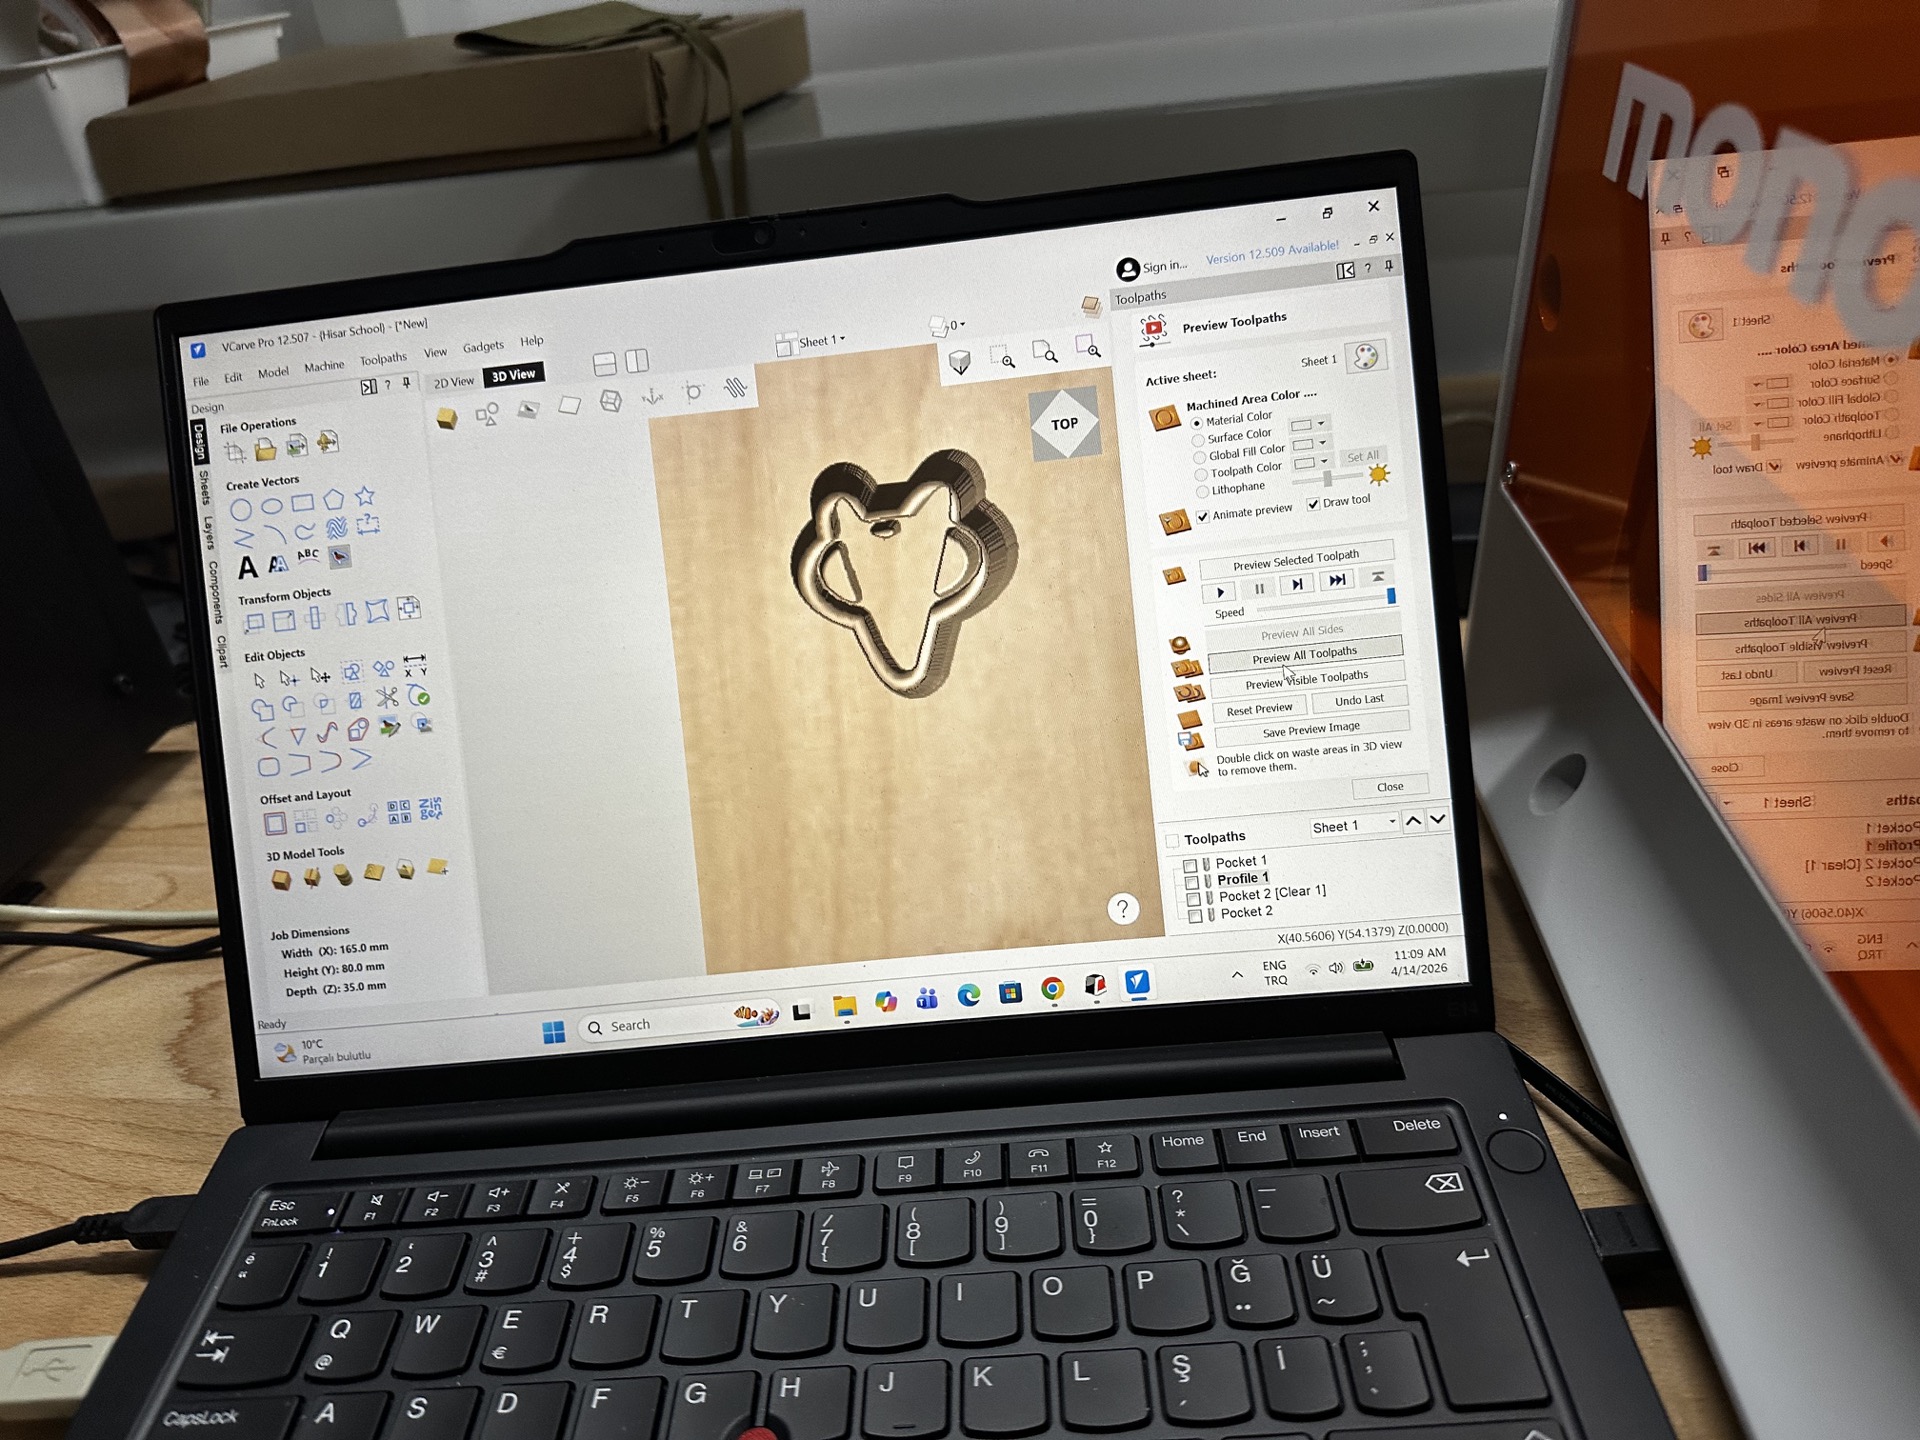 next I checked the bits at hand and decided to use a 2 mm ball end bit and adjusted my toolpaths accordingly
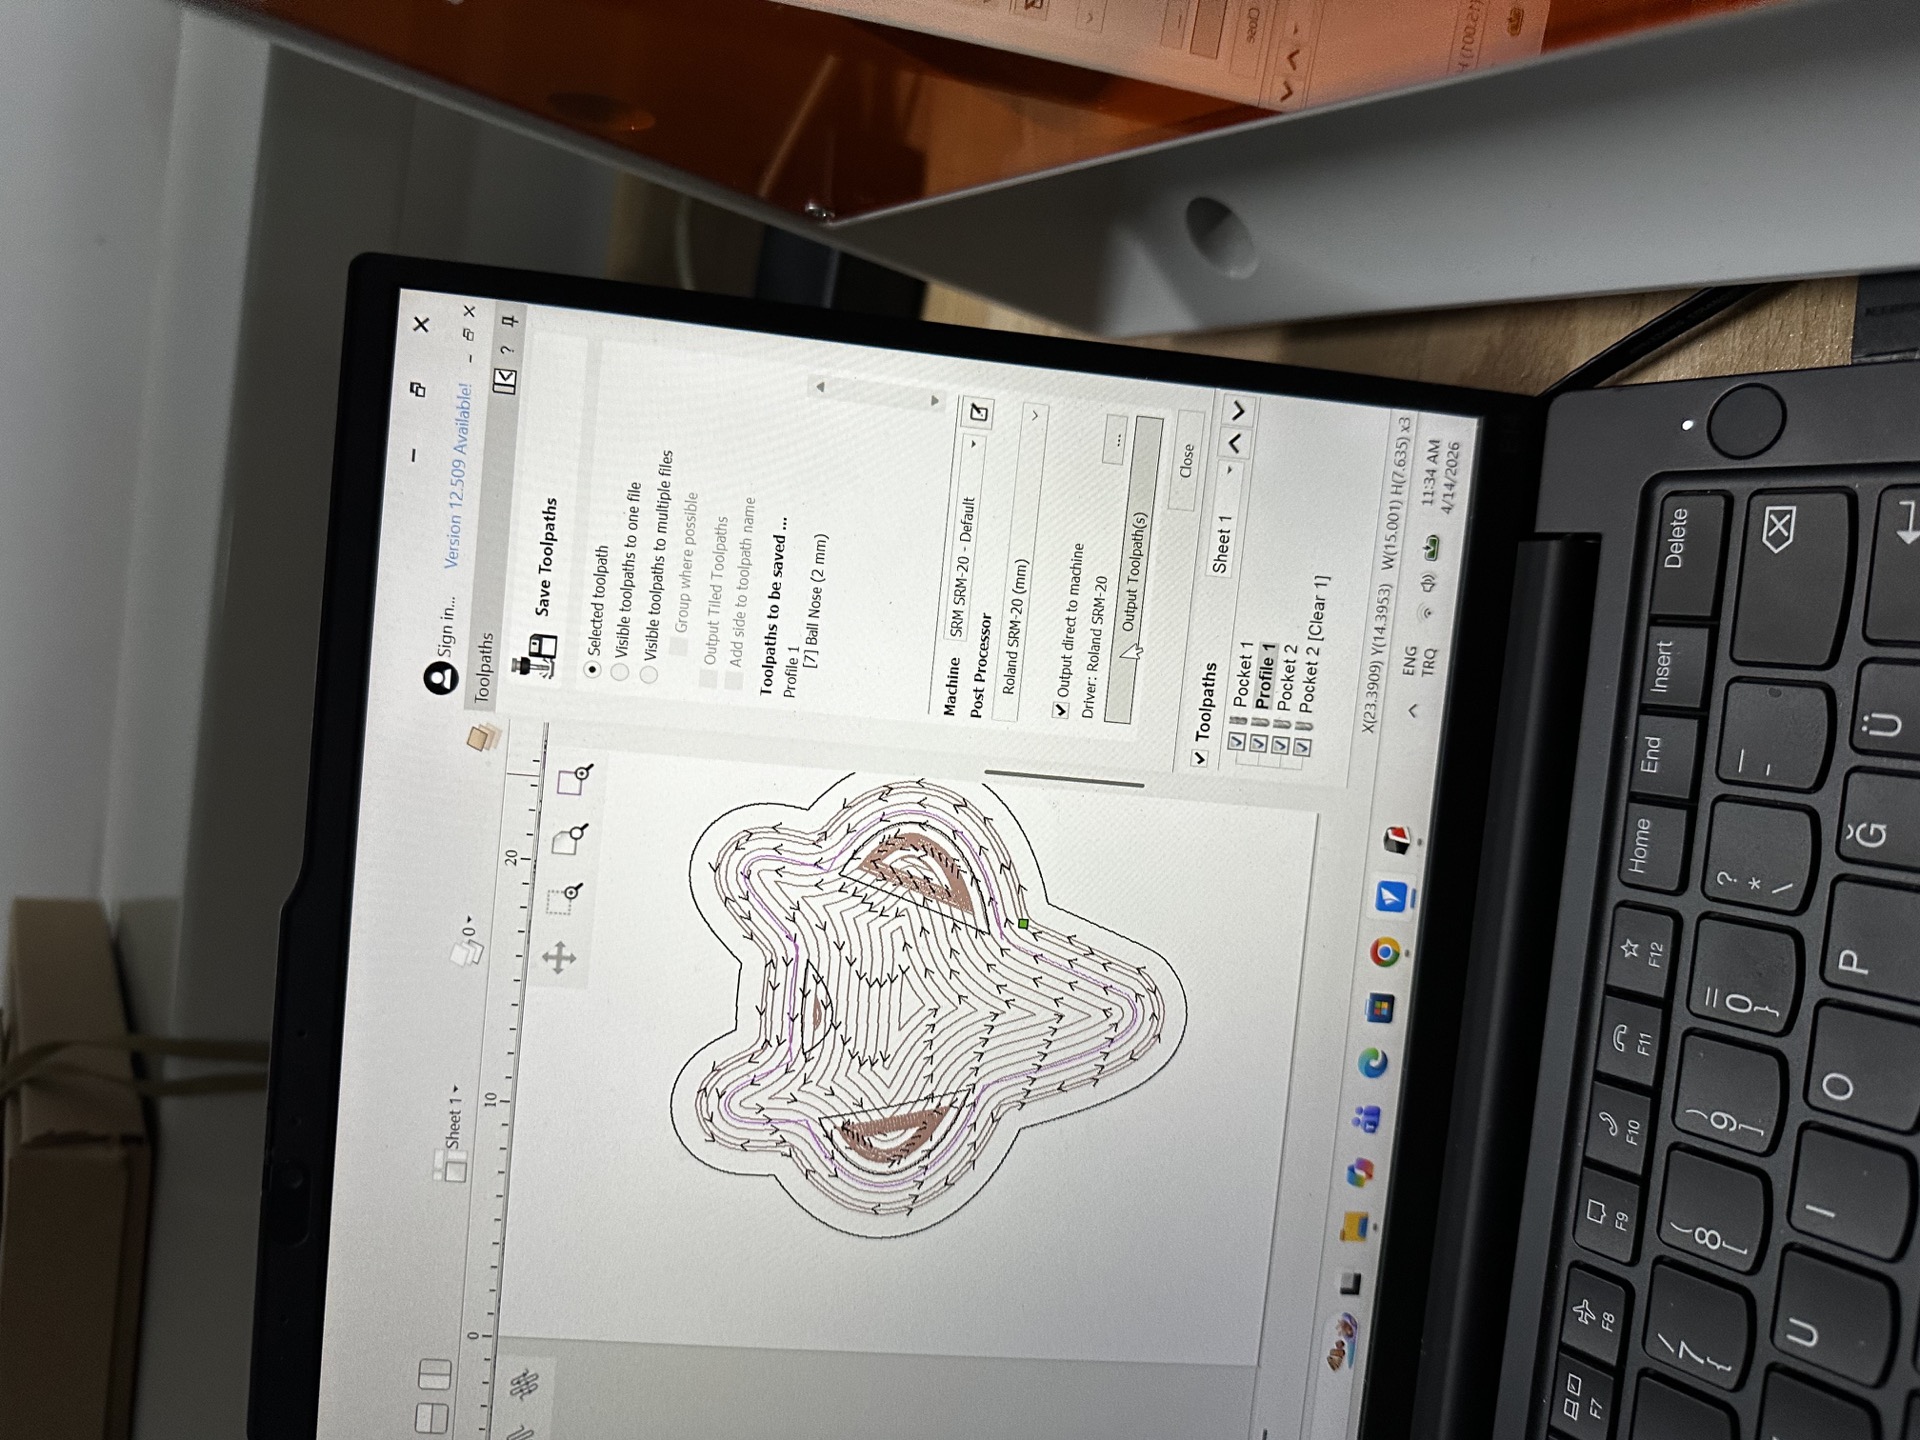
 next using the in app feature I sent the toolpaths to the machine one by one
 cutting videos from different stages
1
2
3
A key change that occured here was the changing of the intended shpaed. When I tried to do the holes which reside inside the rigid body of the outline it would break the walls of the circular part causing the shape to break down. Thus I pivoted to doing the gitlab logo.
ref image

next it was onto molding and casting
molding and casting
mold preparation
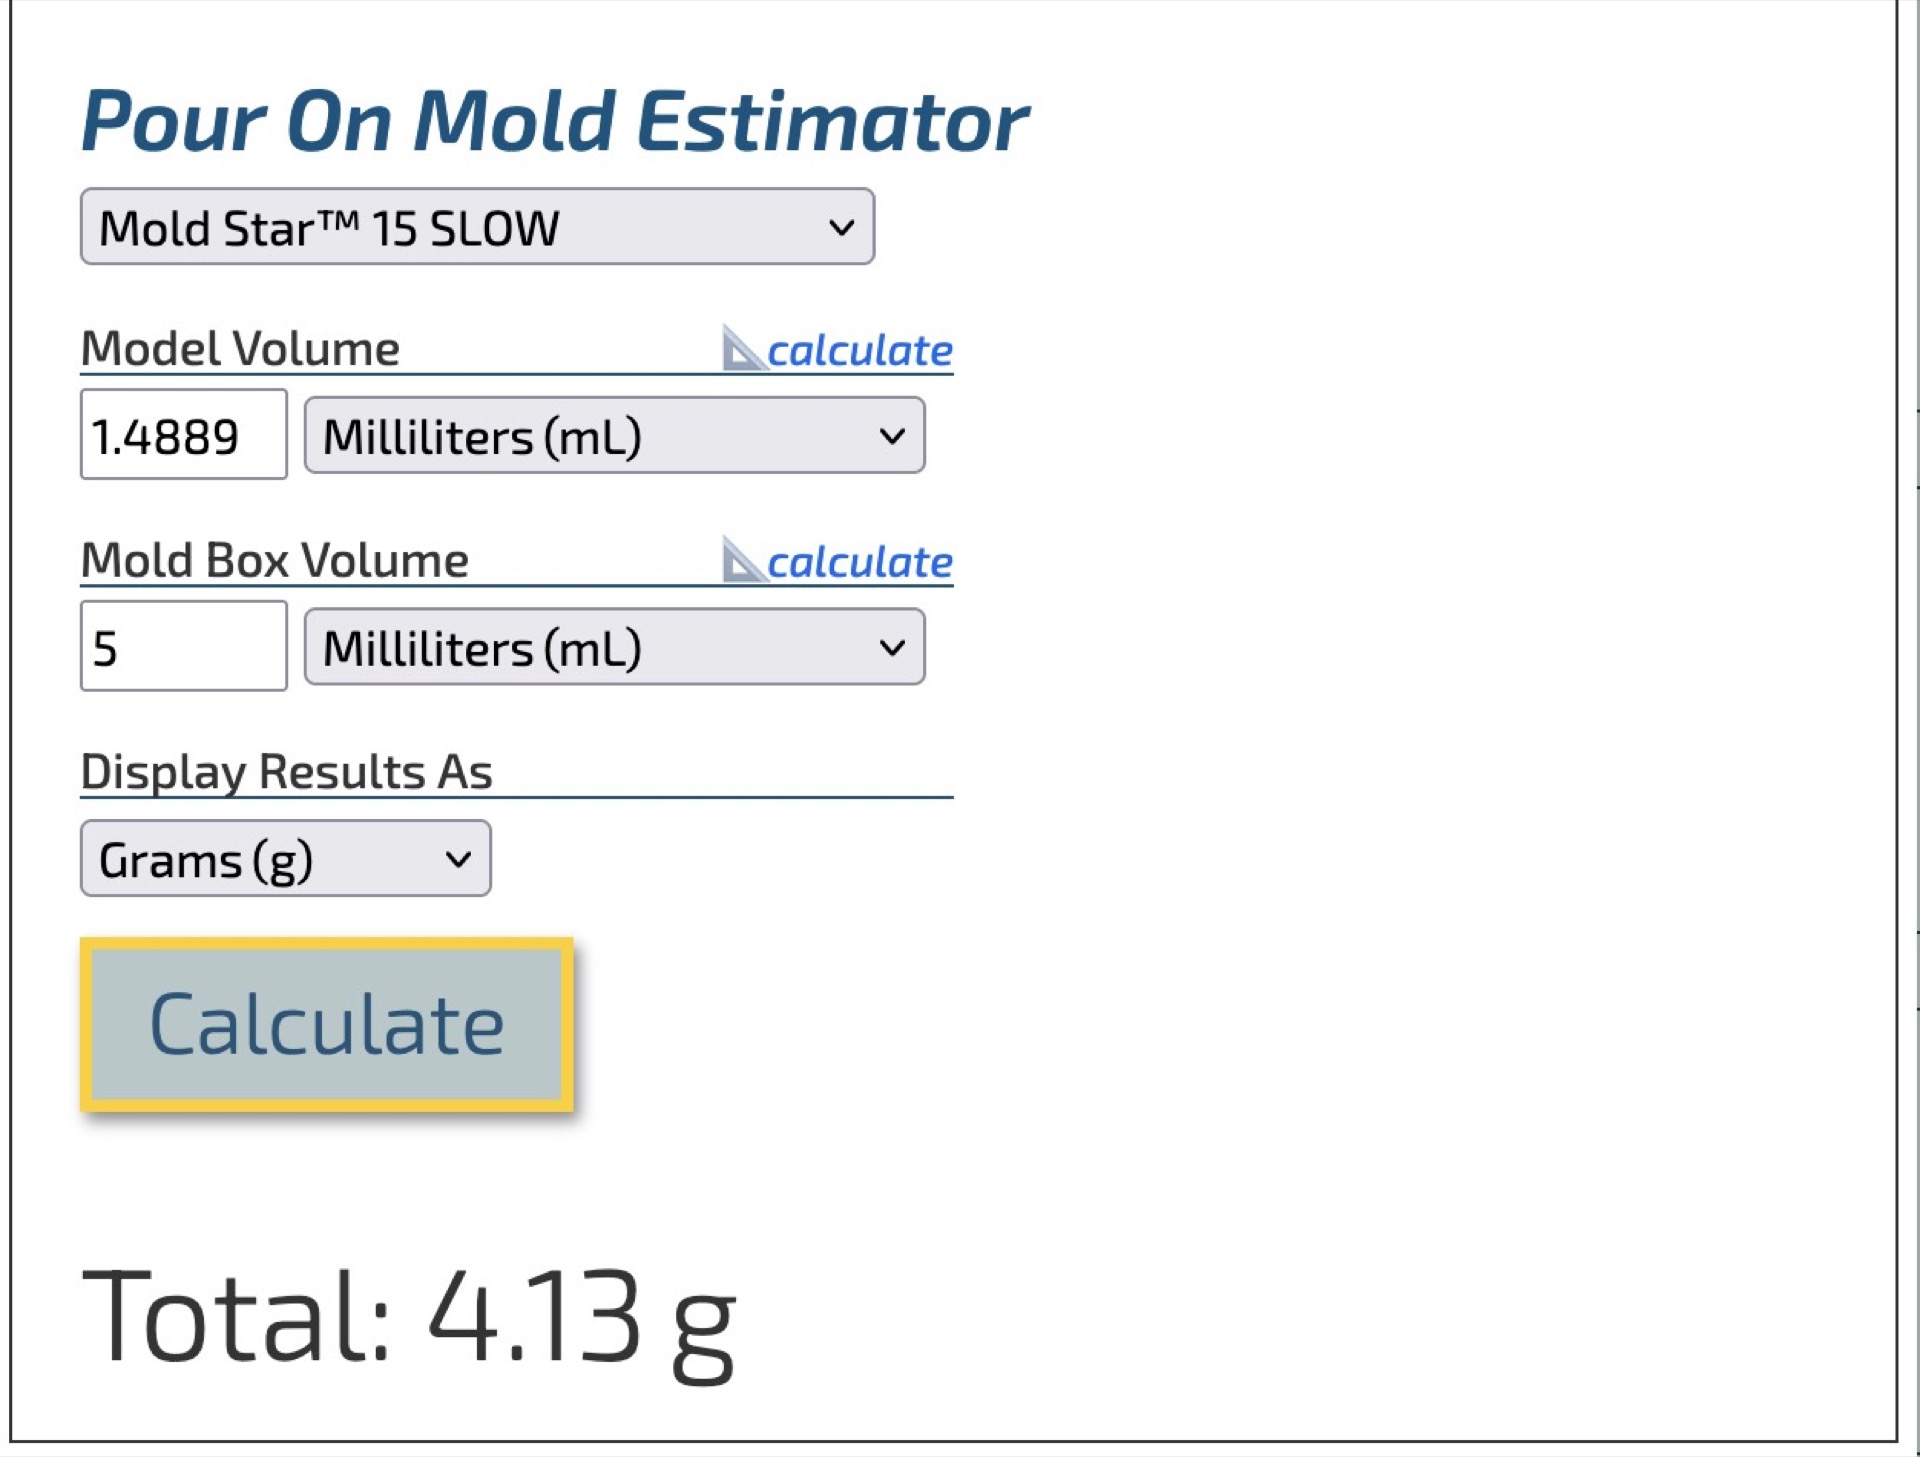
I was gonna use the moldstar 15 slow so I used this calculator to find out how much of the molding rubber I needed
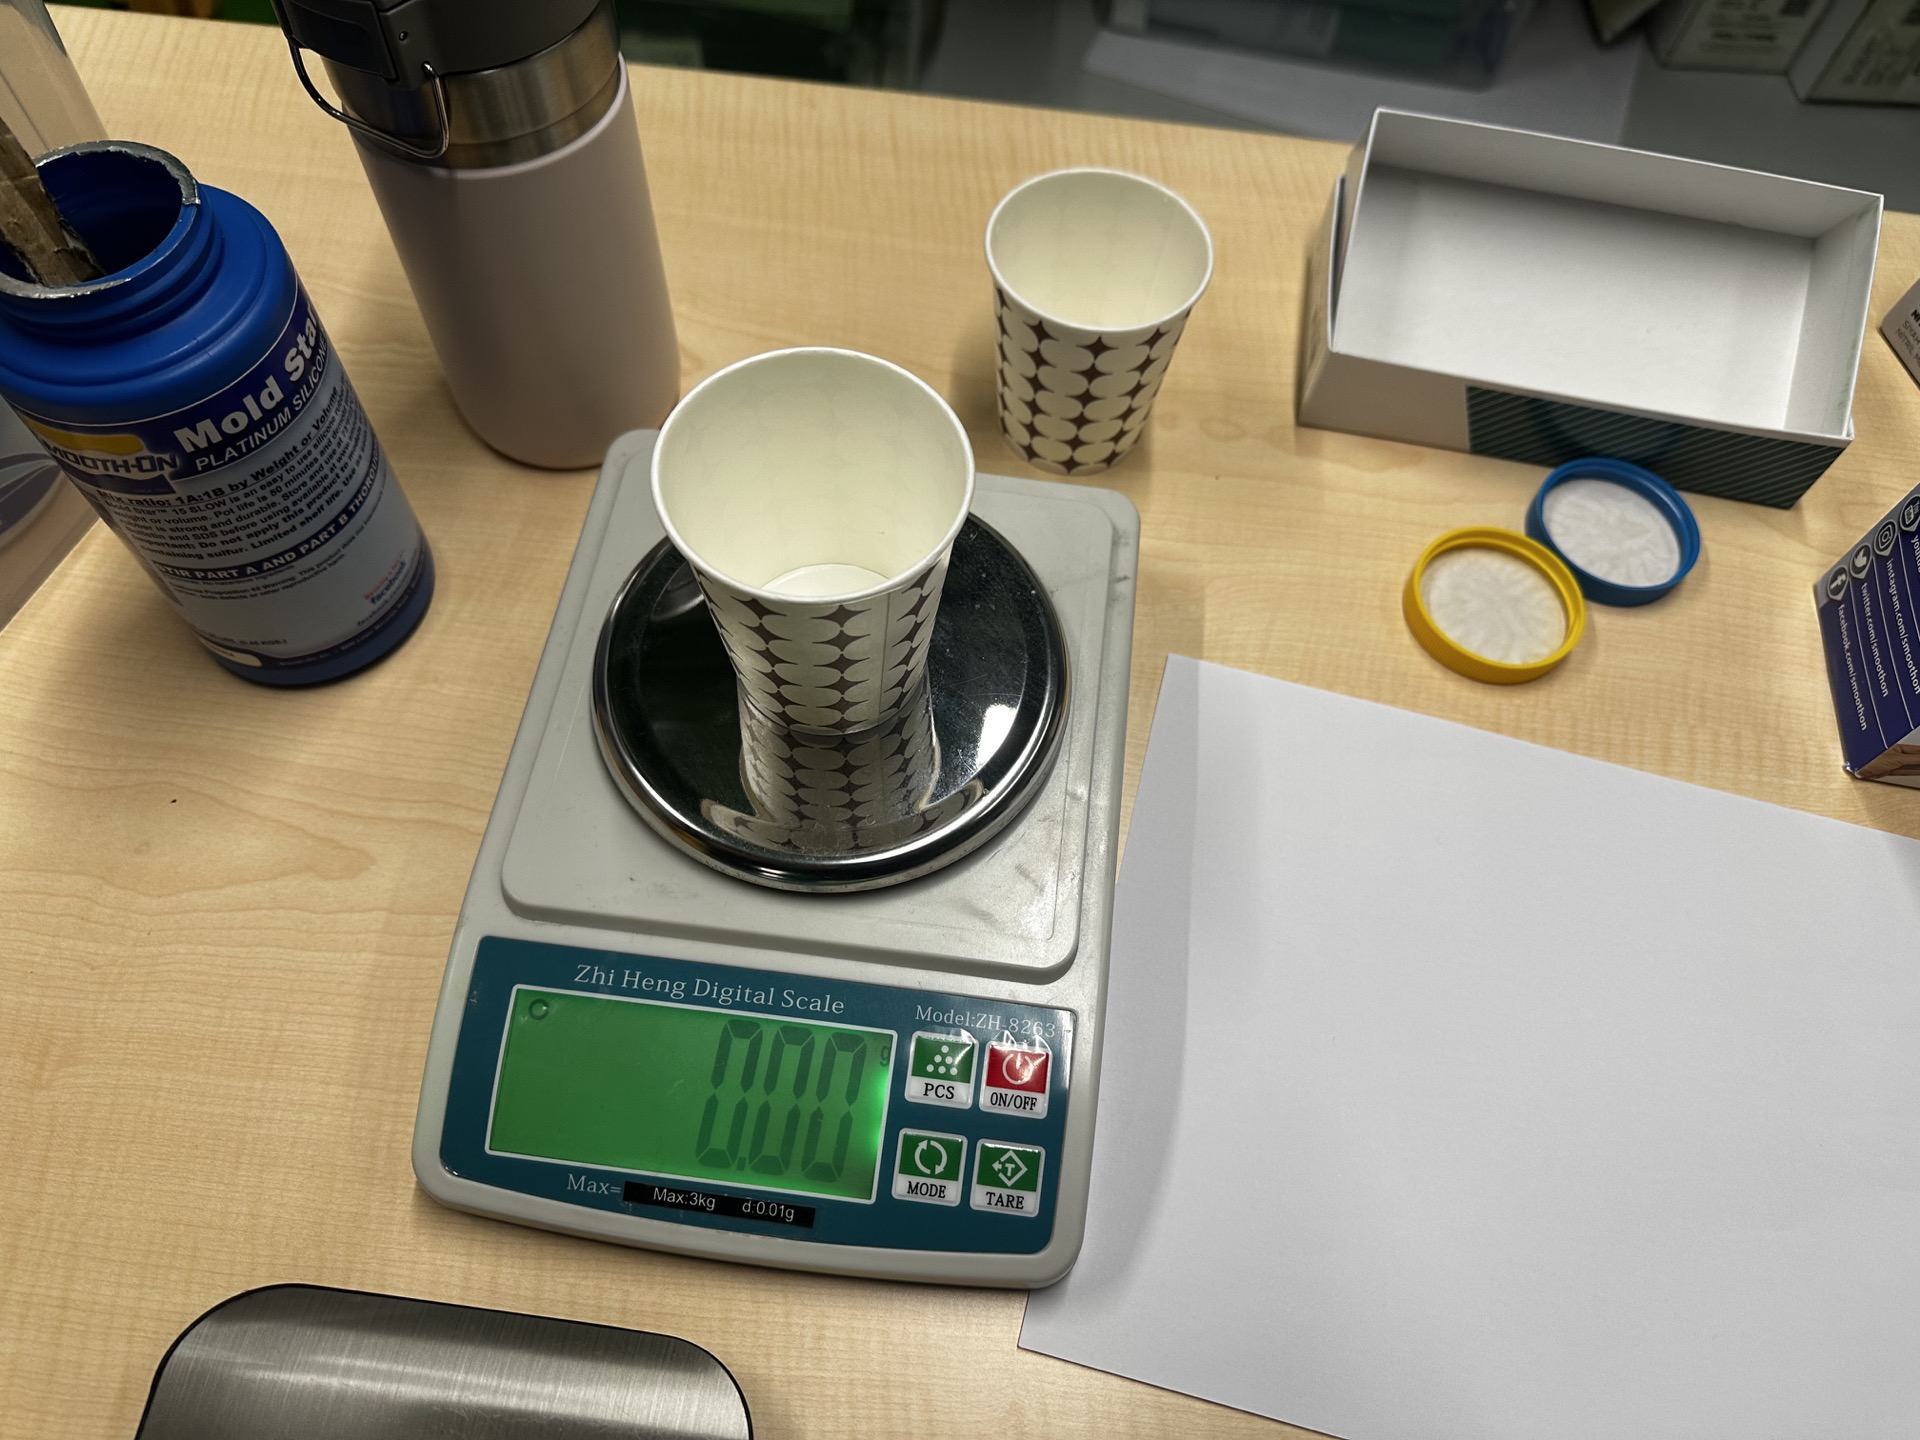
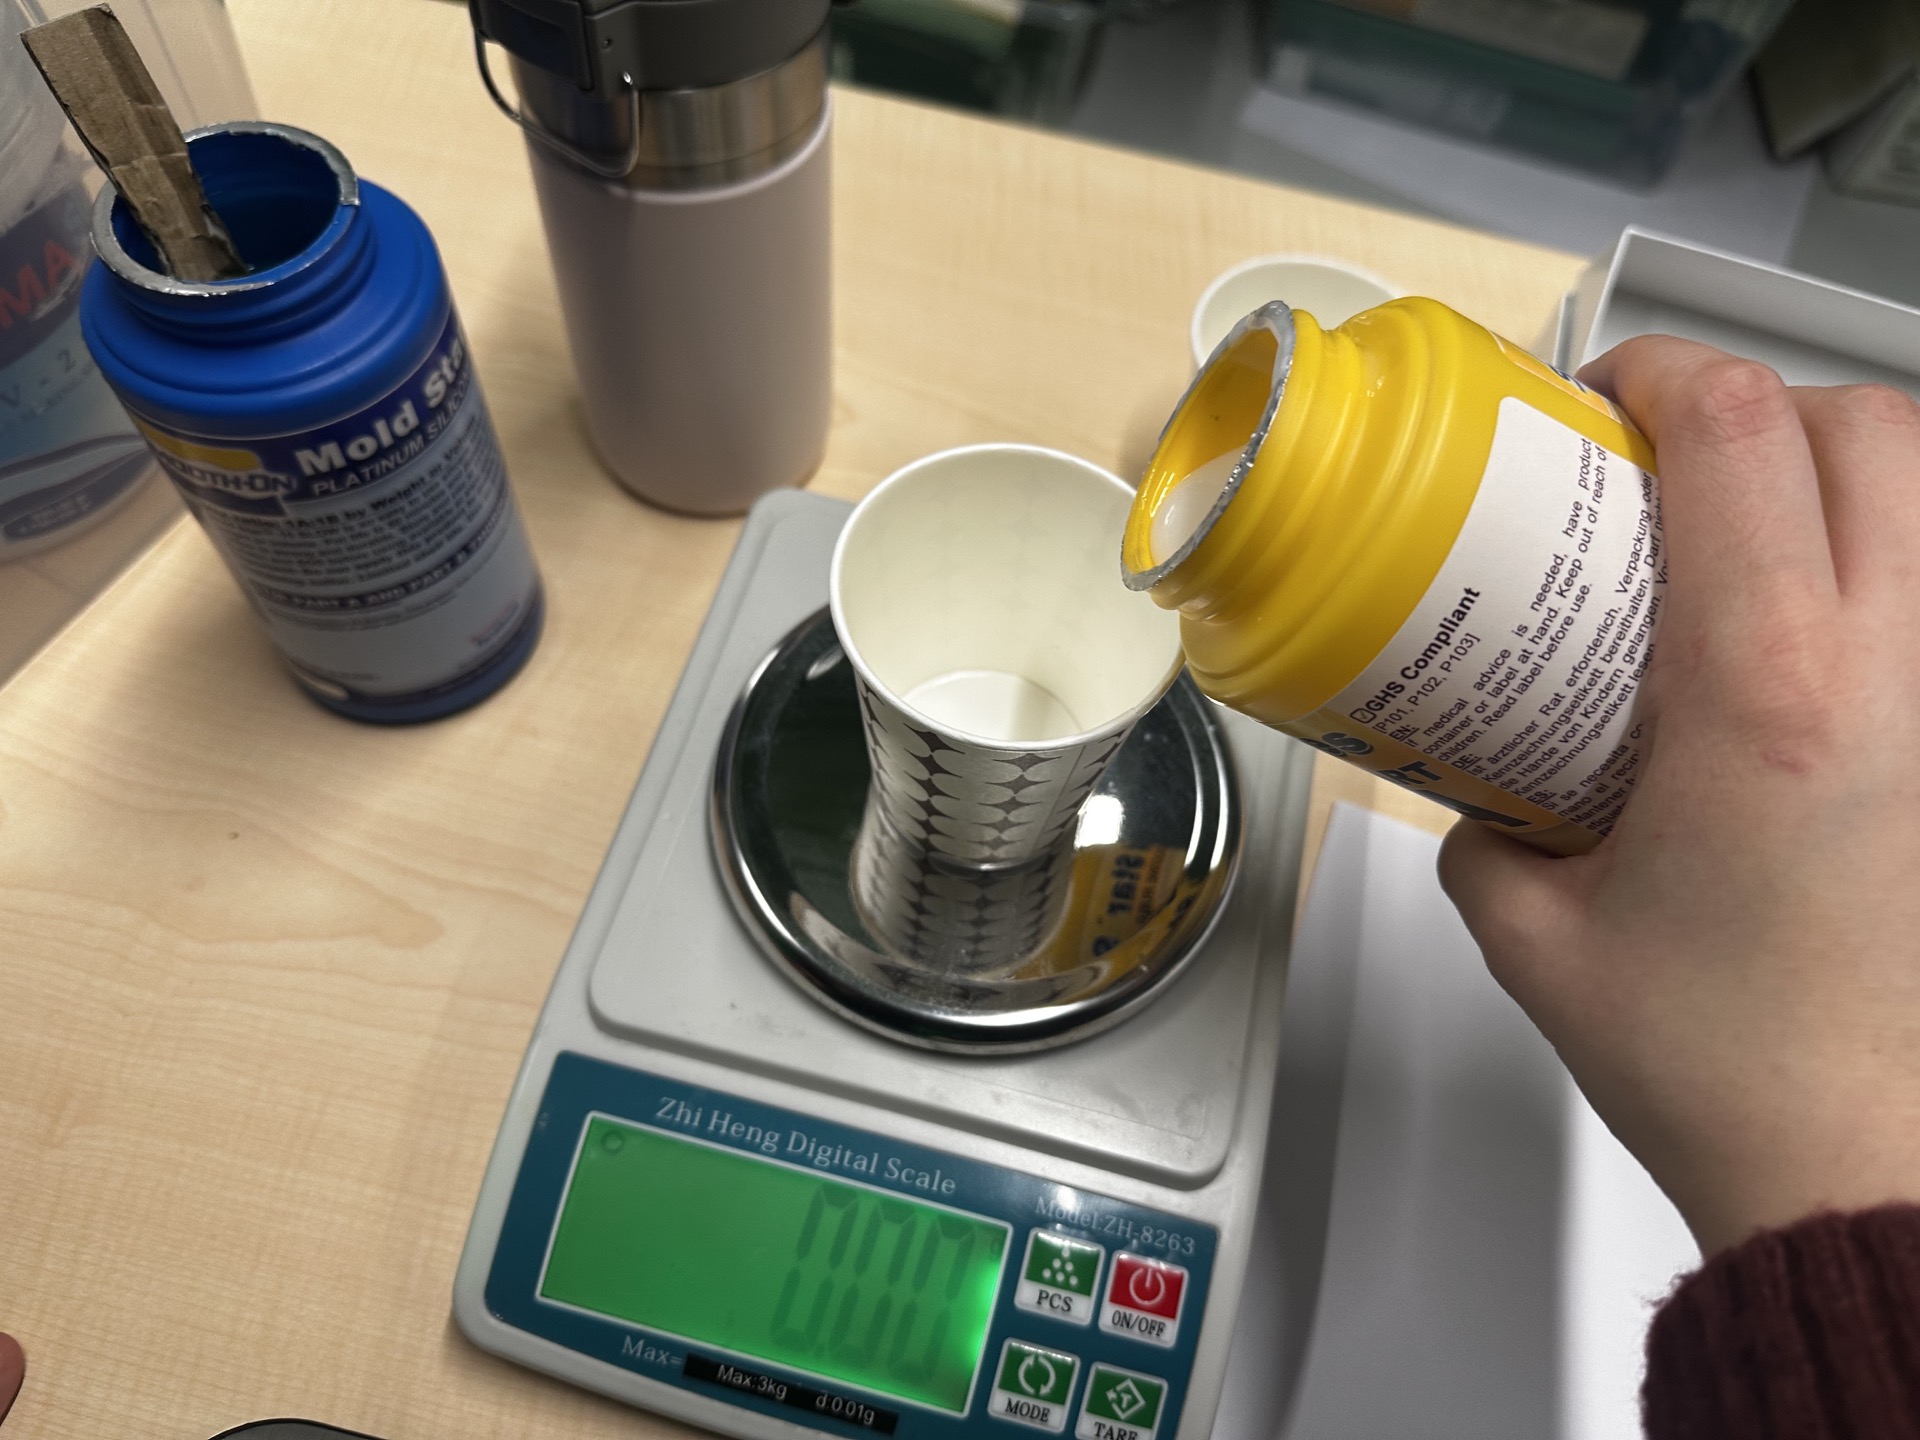
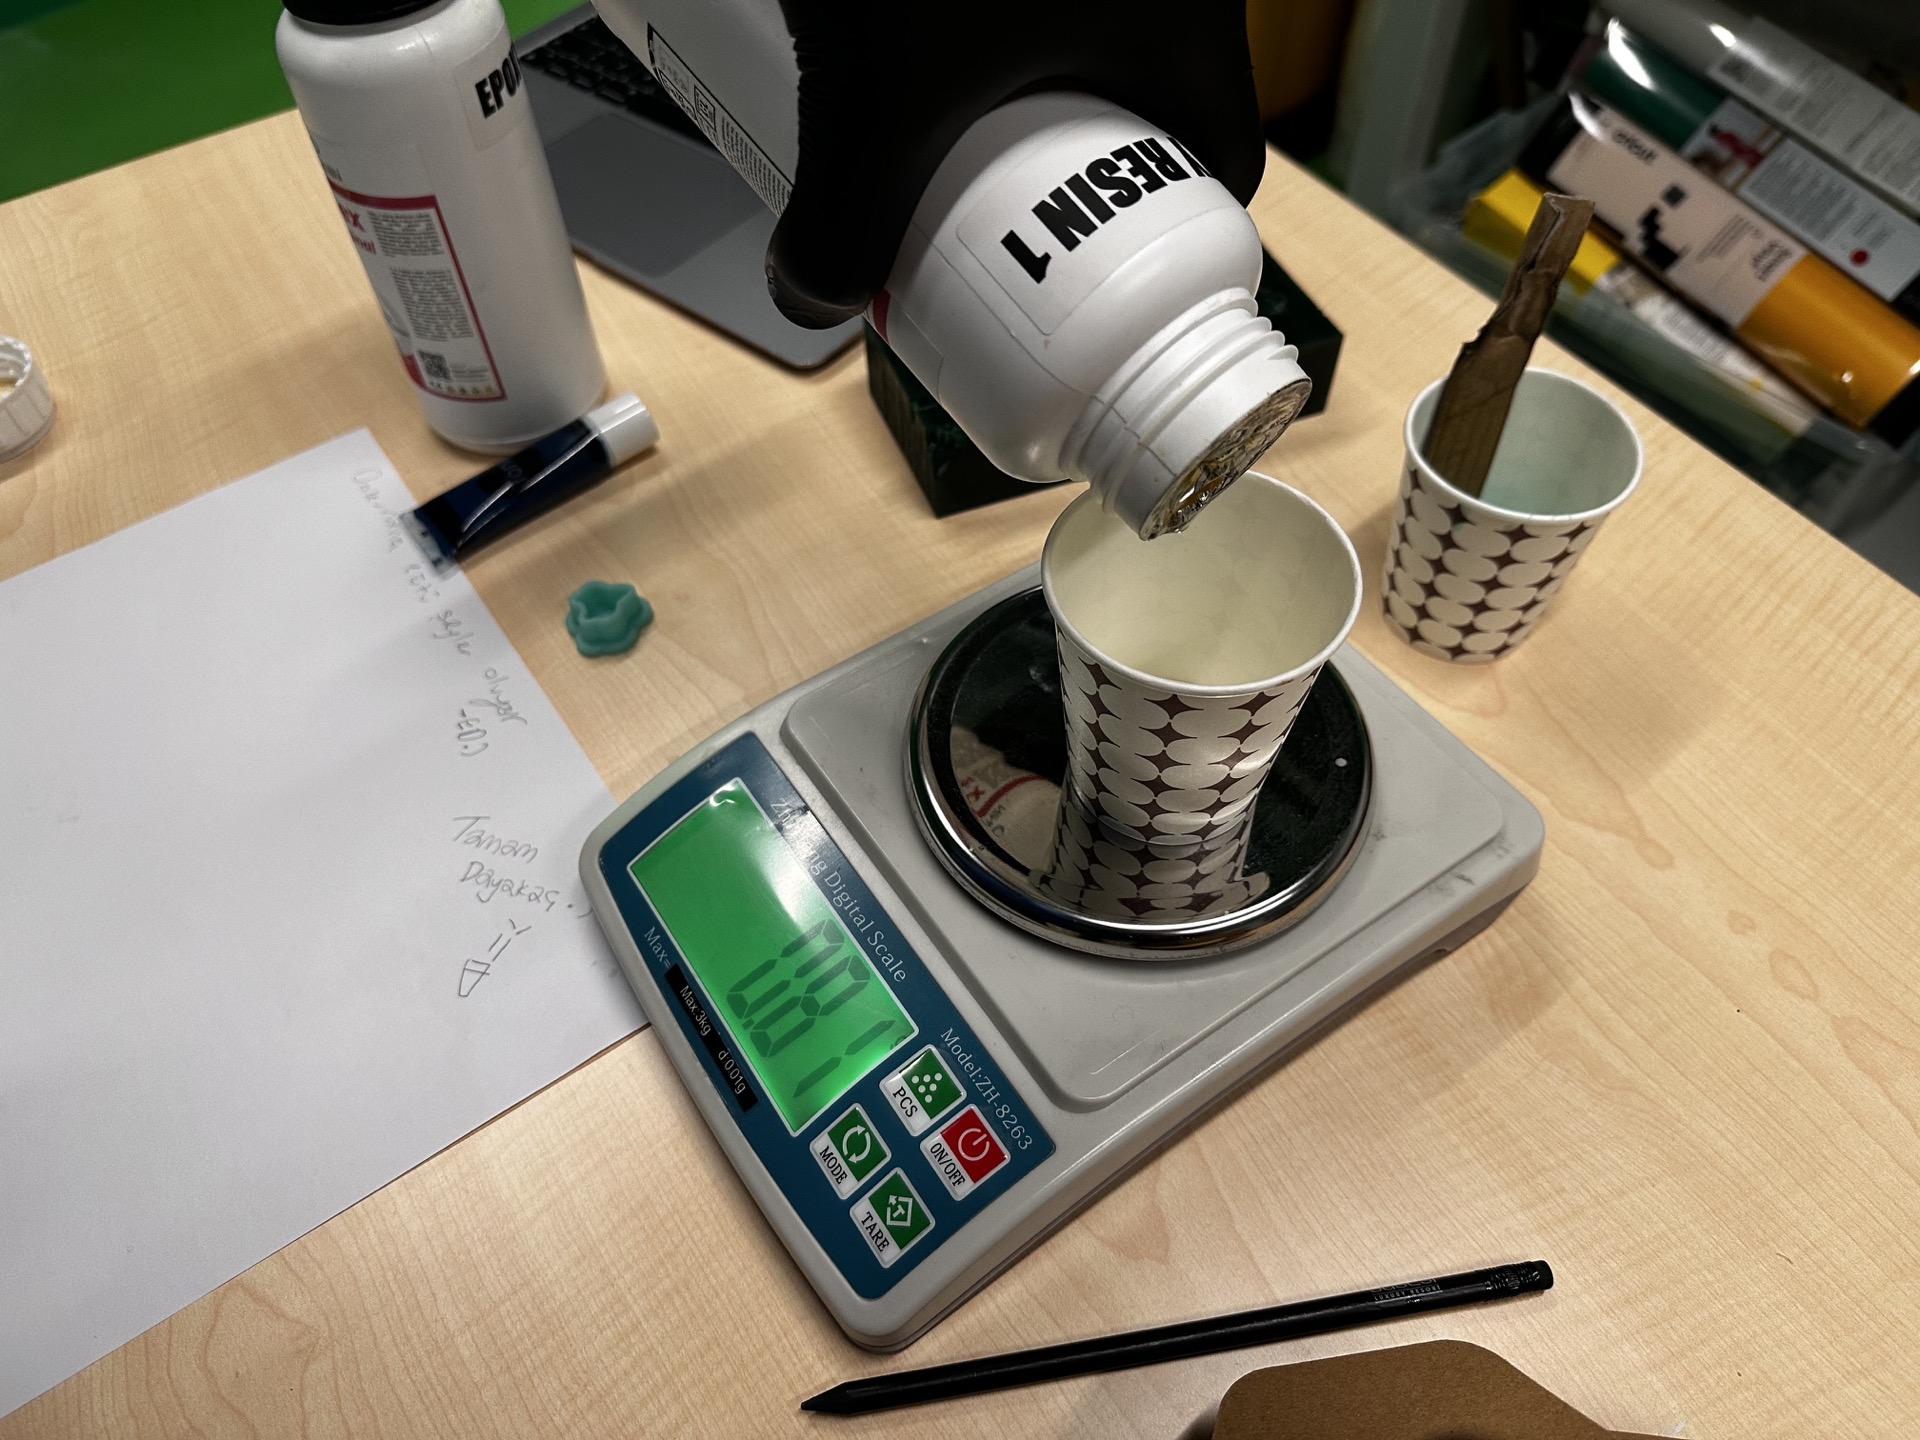
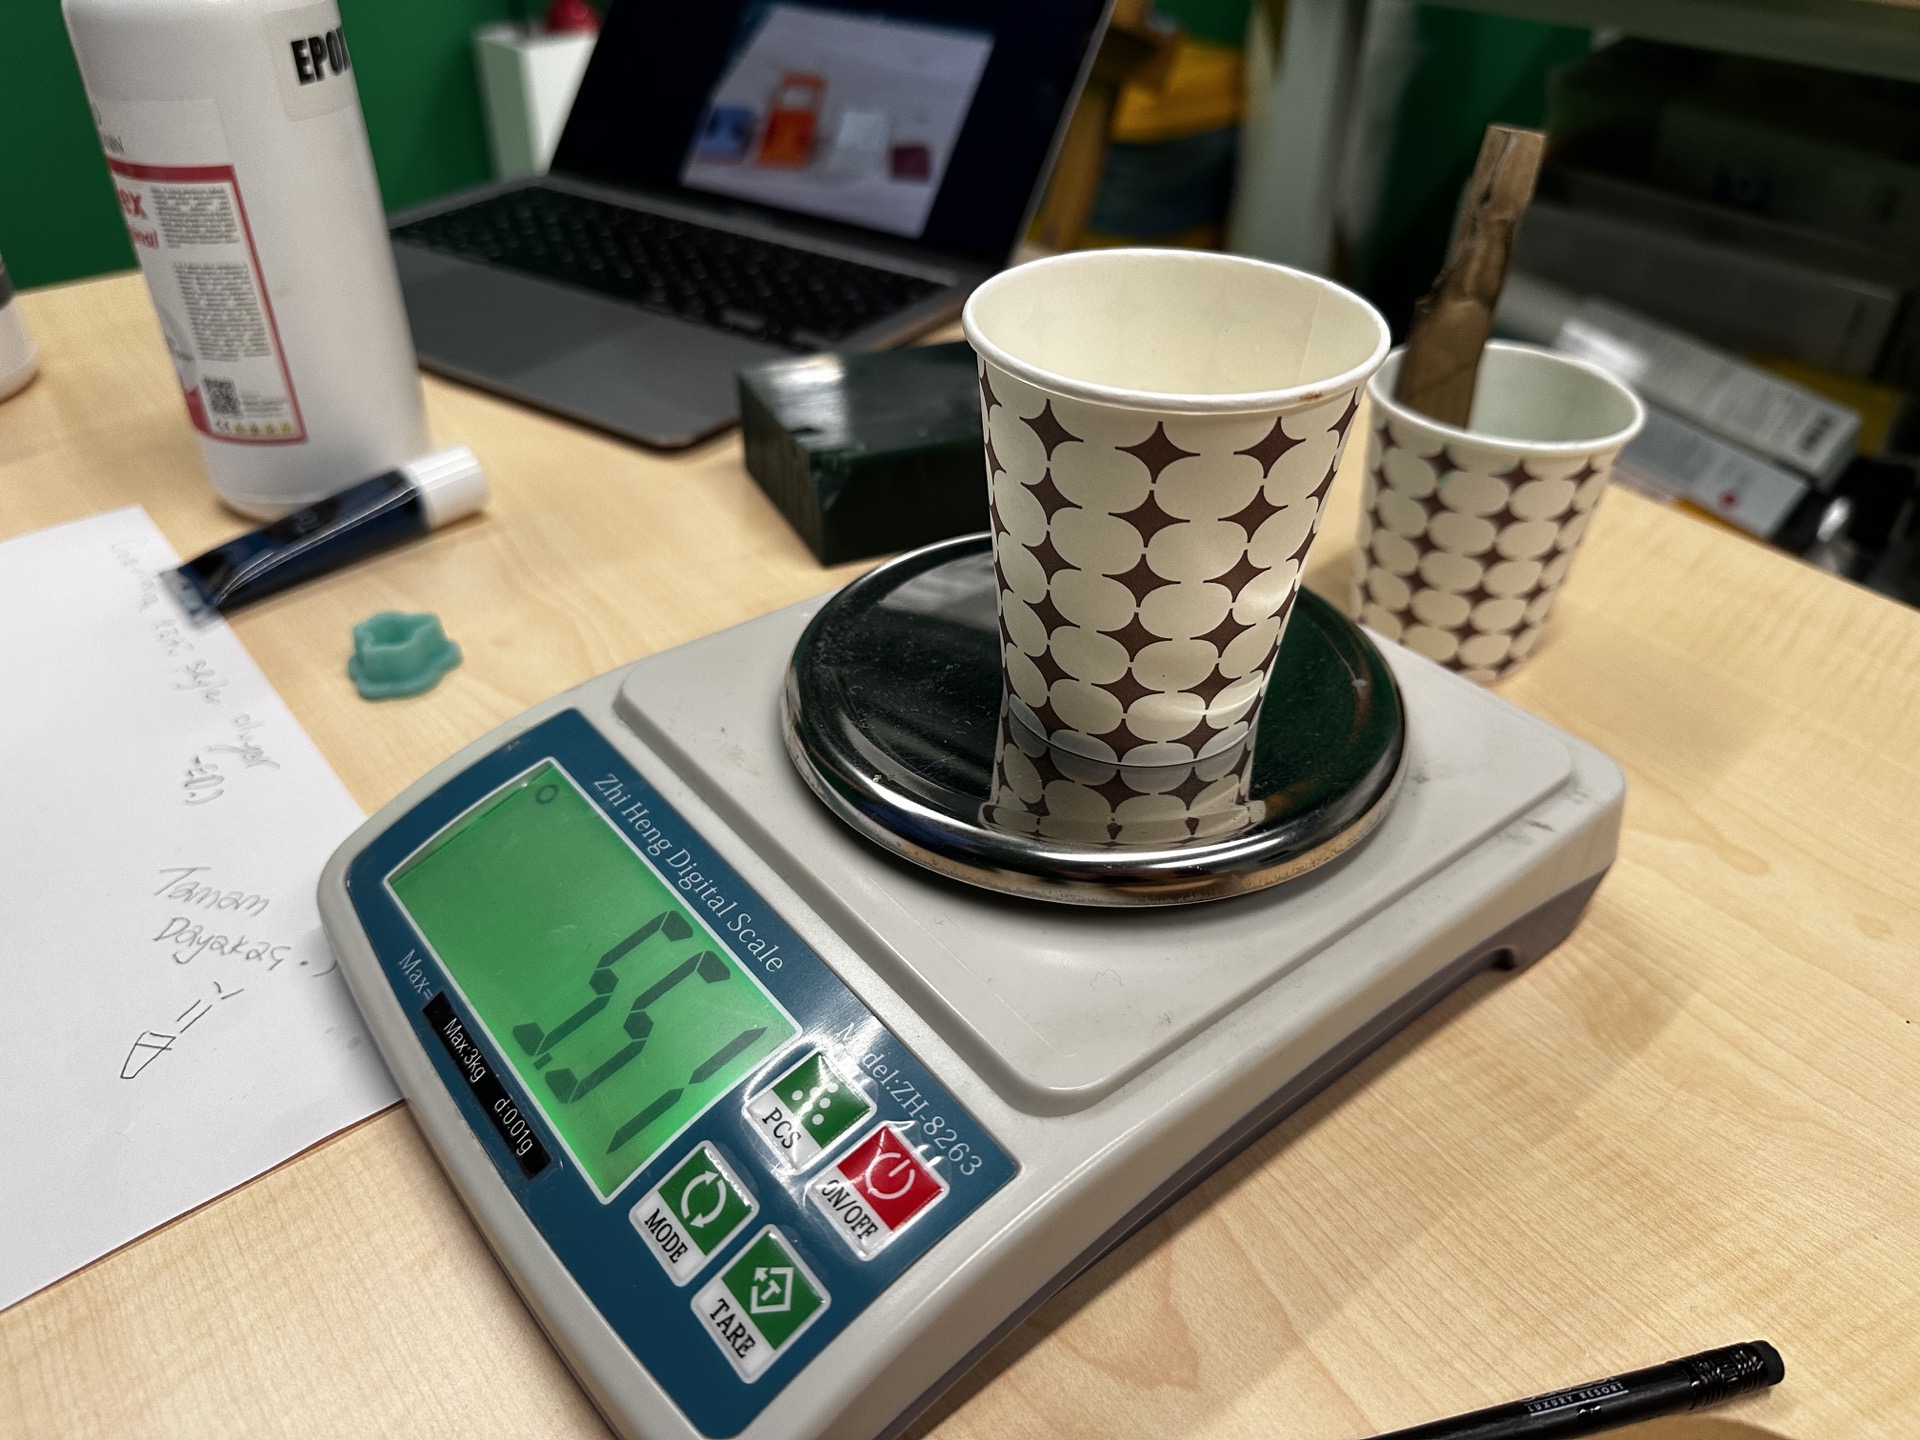
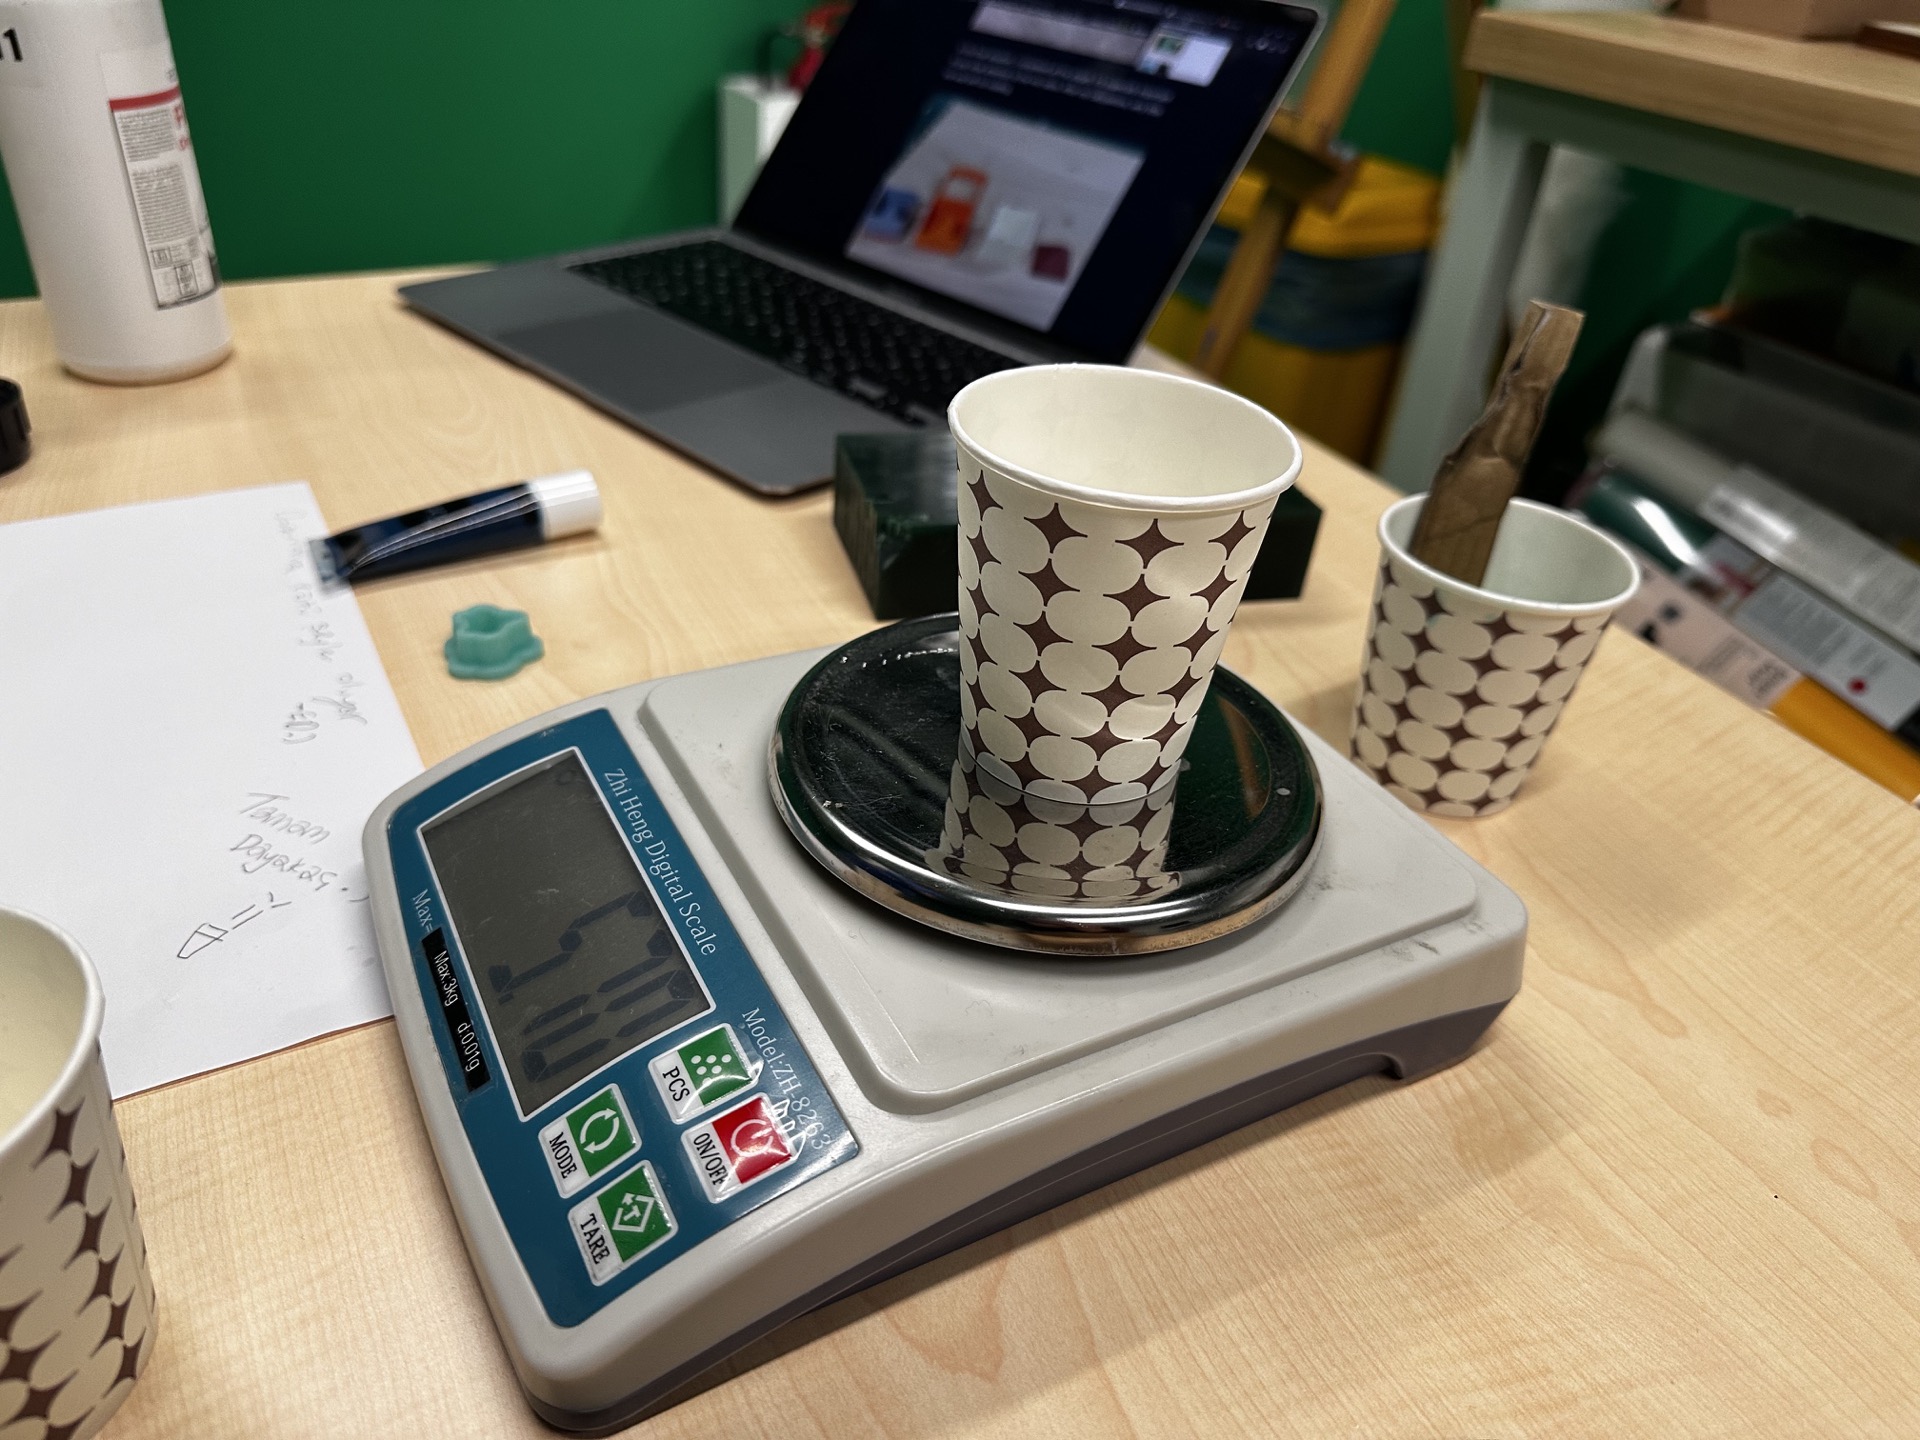
next I fetched a precise balance and got a cup to measure the rubber
 then I got pouring and prepared the solution
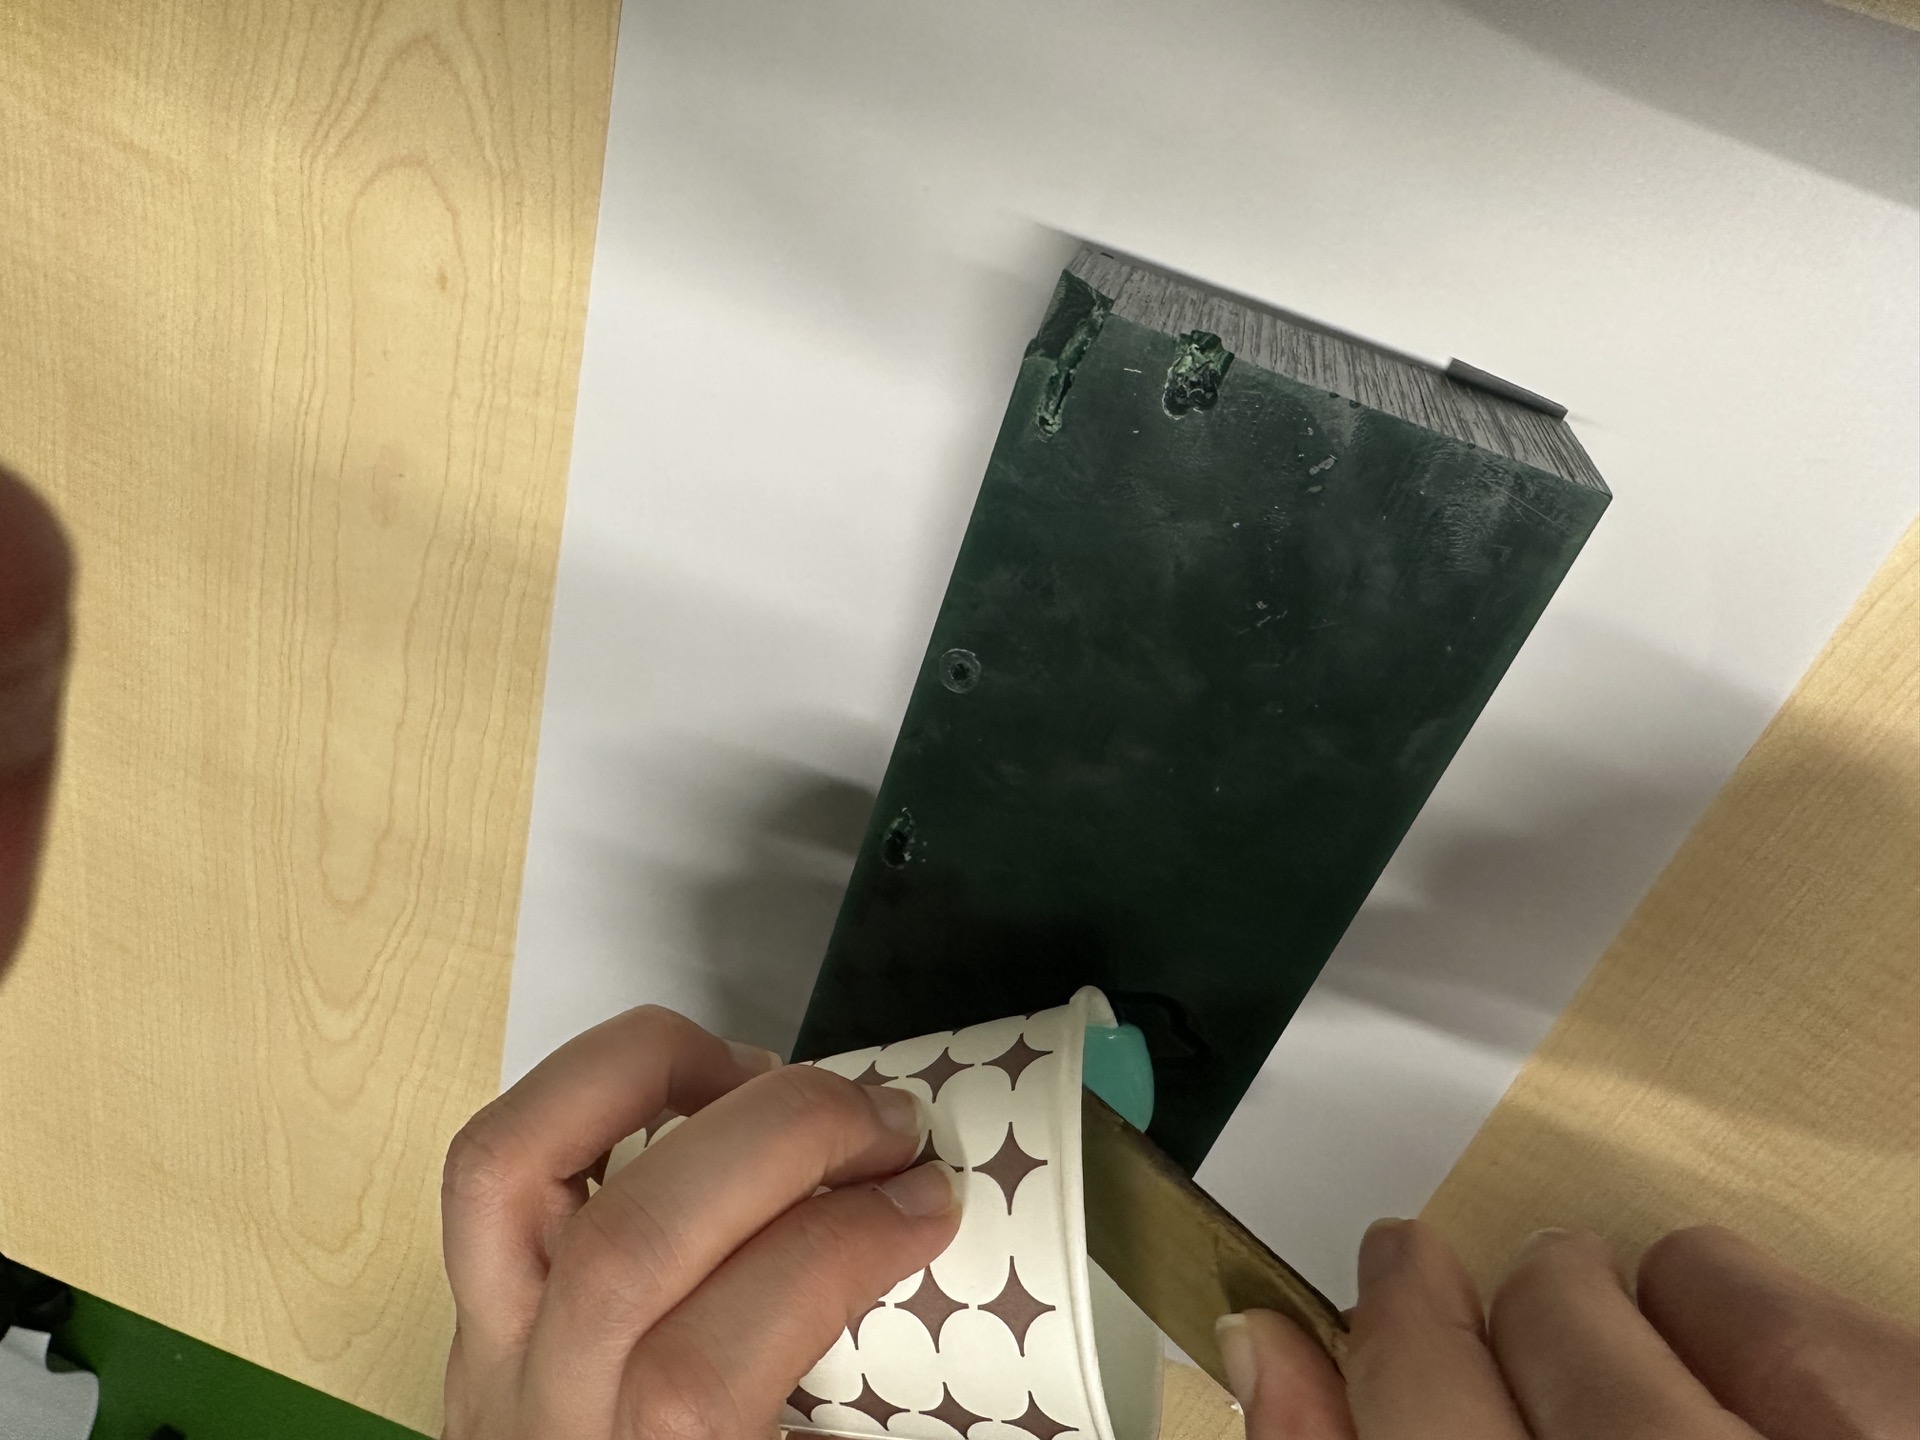
 than I poured it into the mold
 after that it was onto waiting for 4 hours– starting shot
also at the start I tapped the wax block to the ground a couple of times to get rid of air bubbles
 ending shot
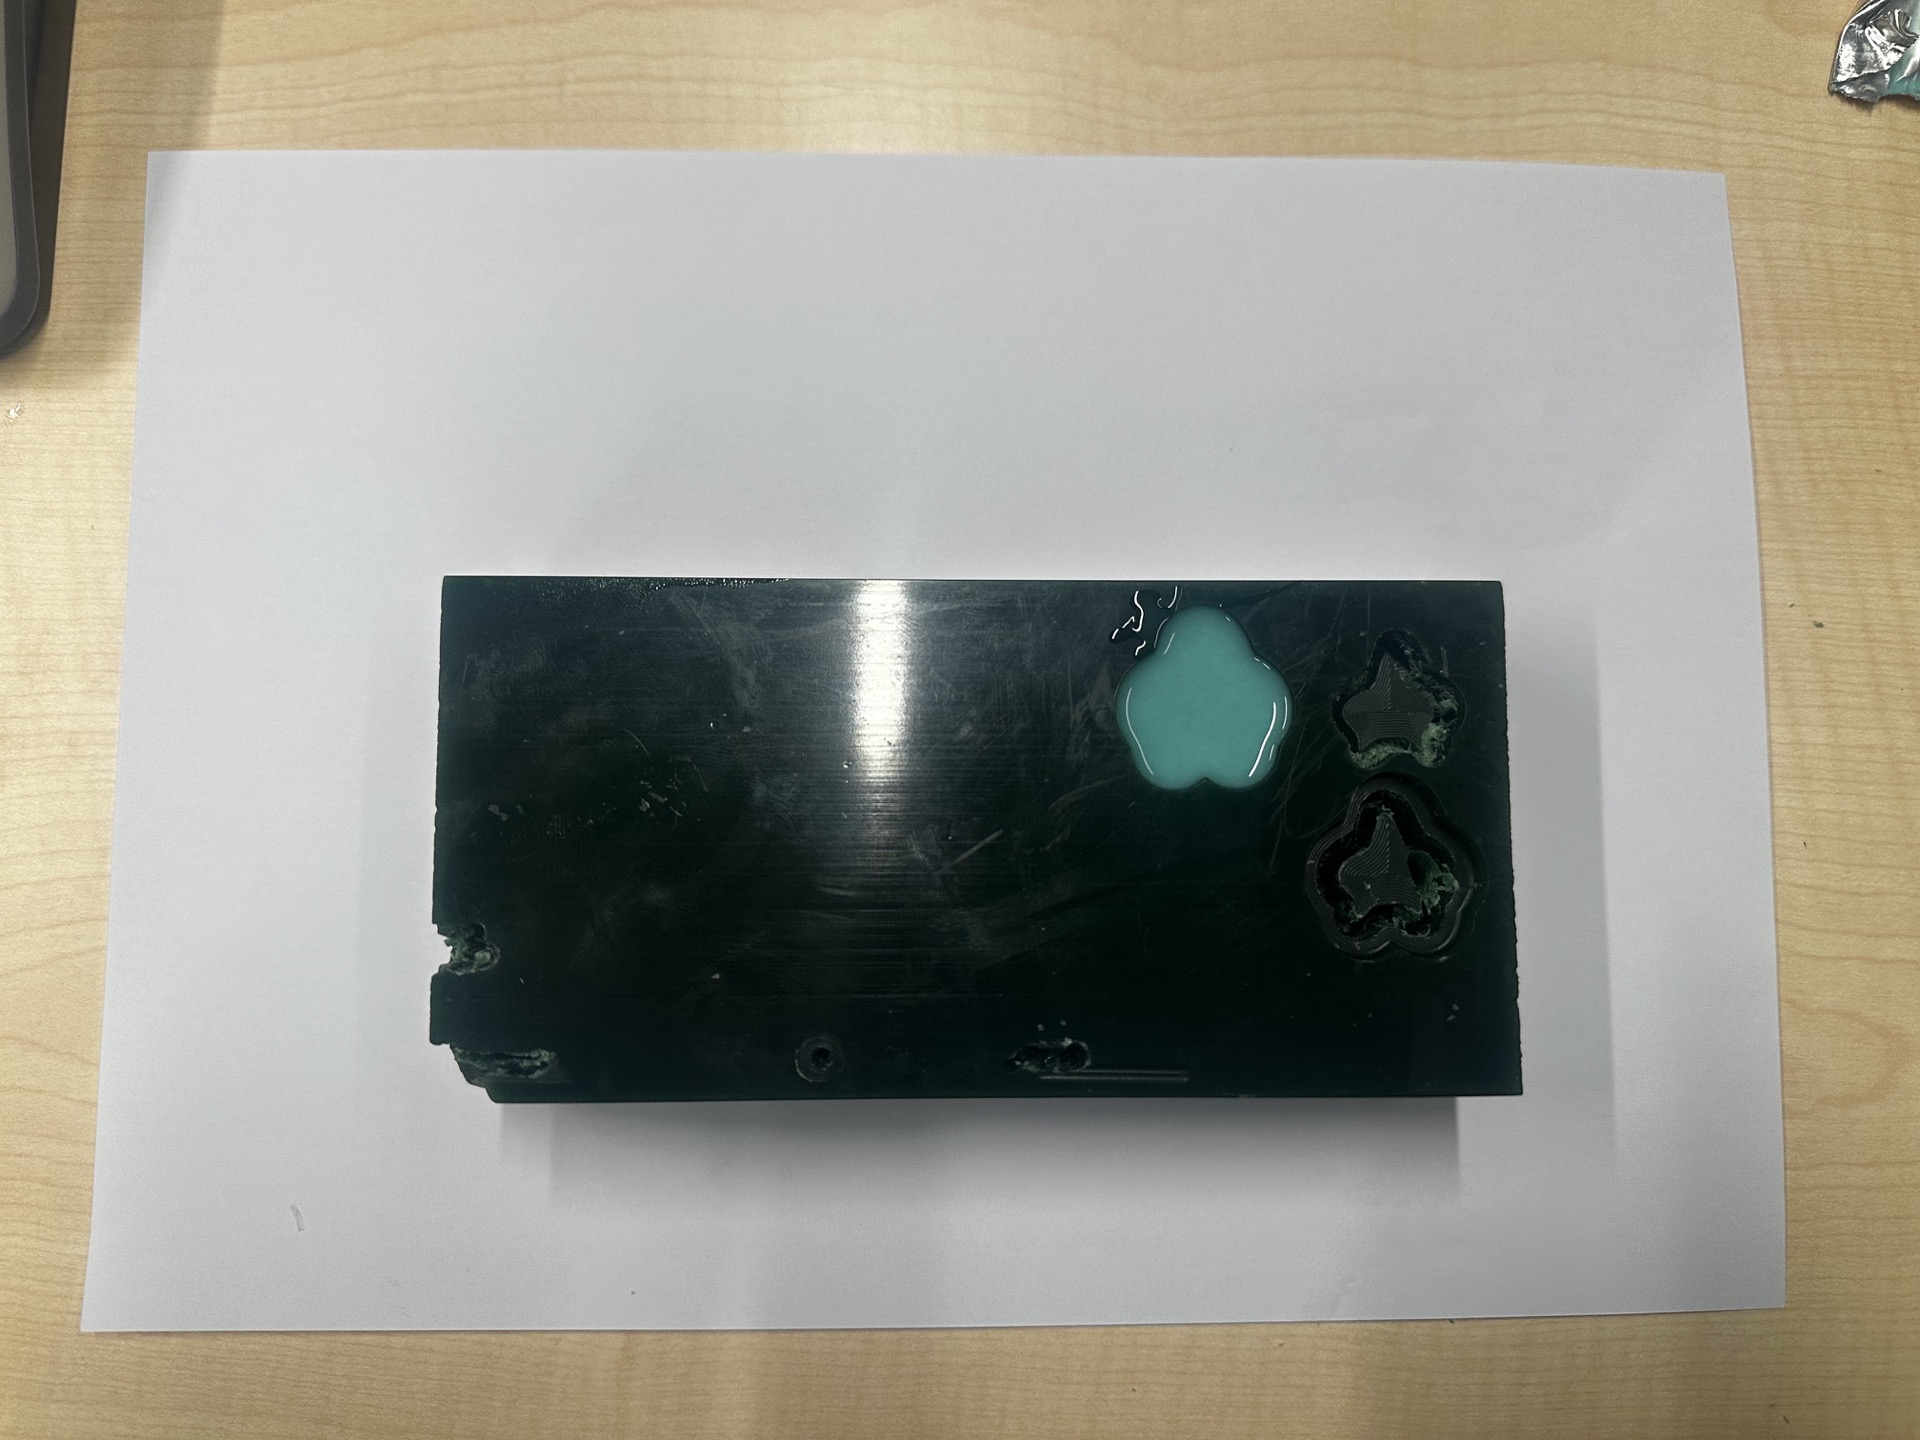
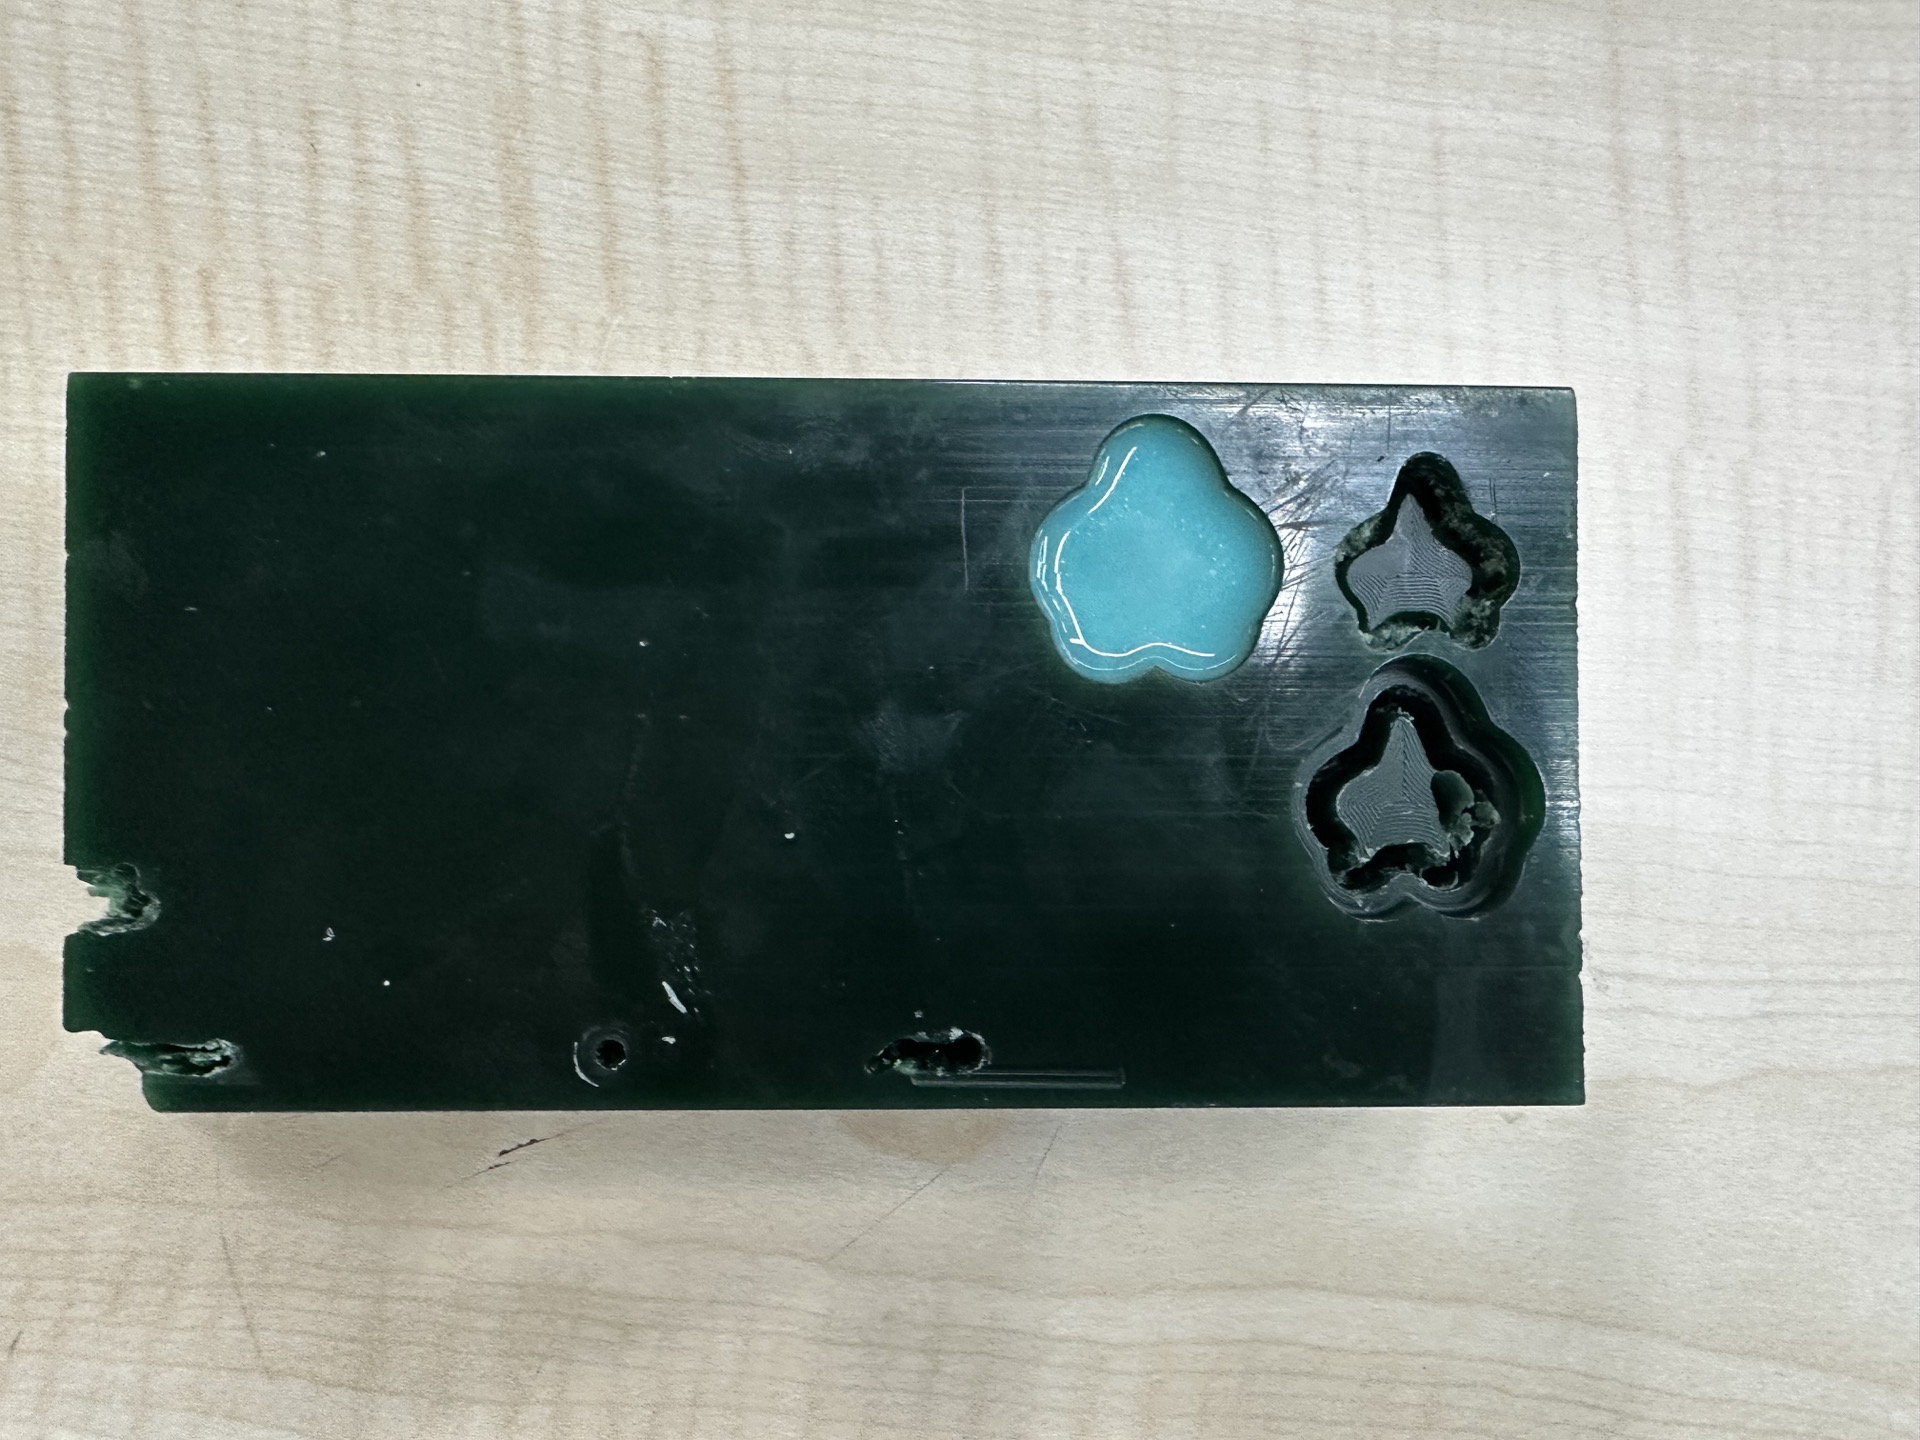 final mold

casting
the cast for the process
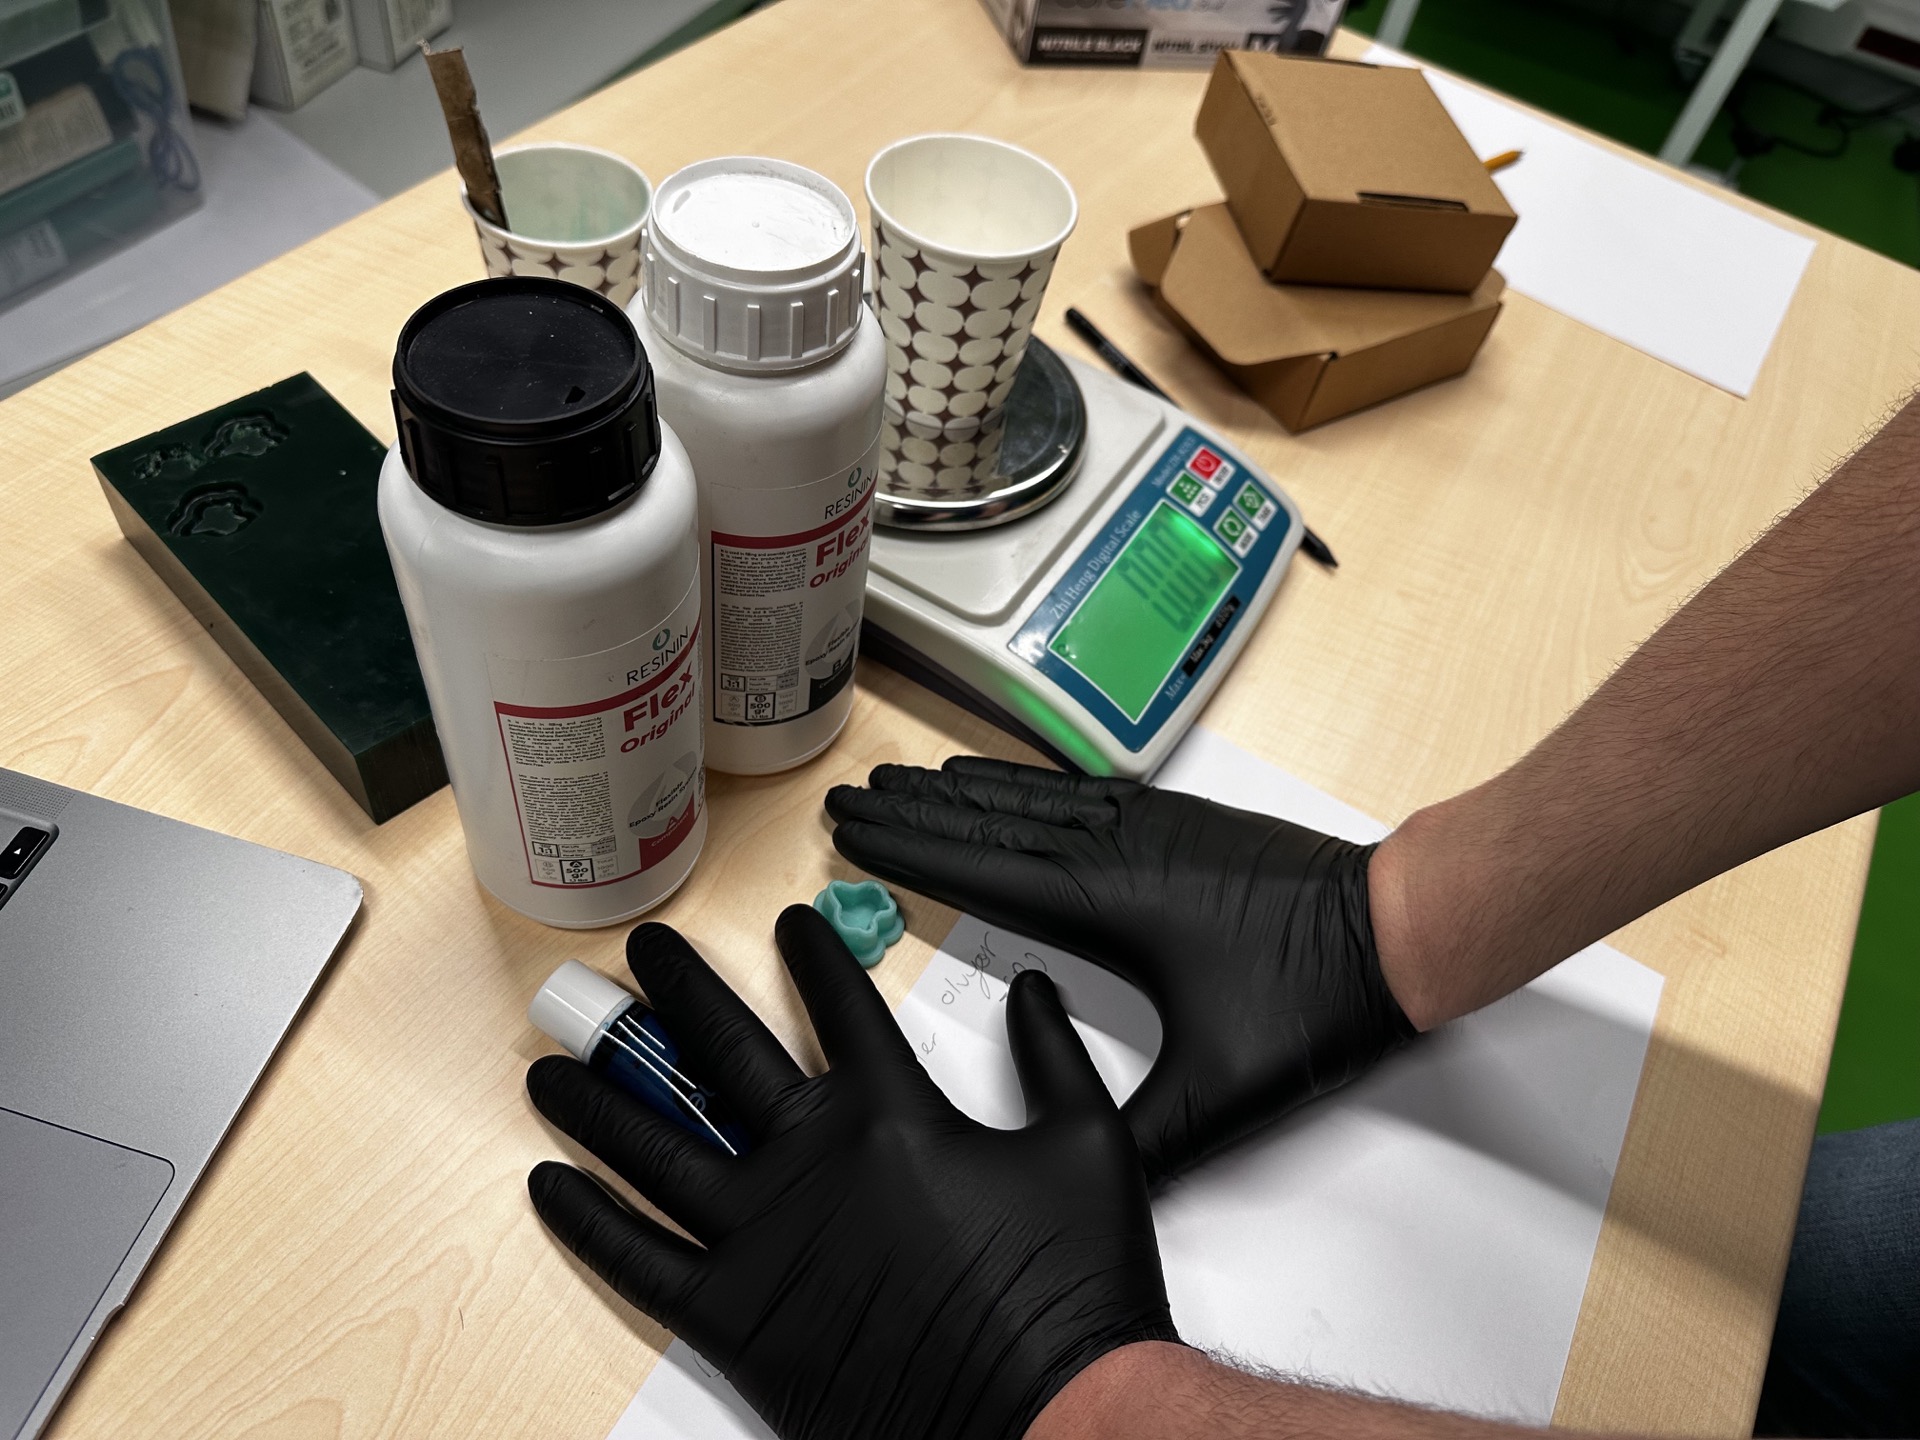
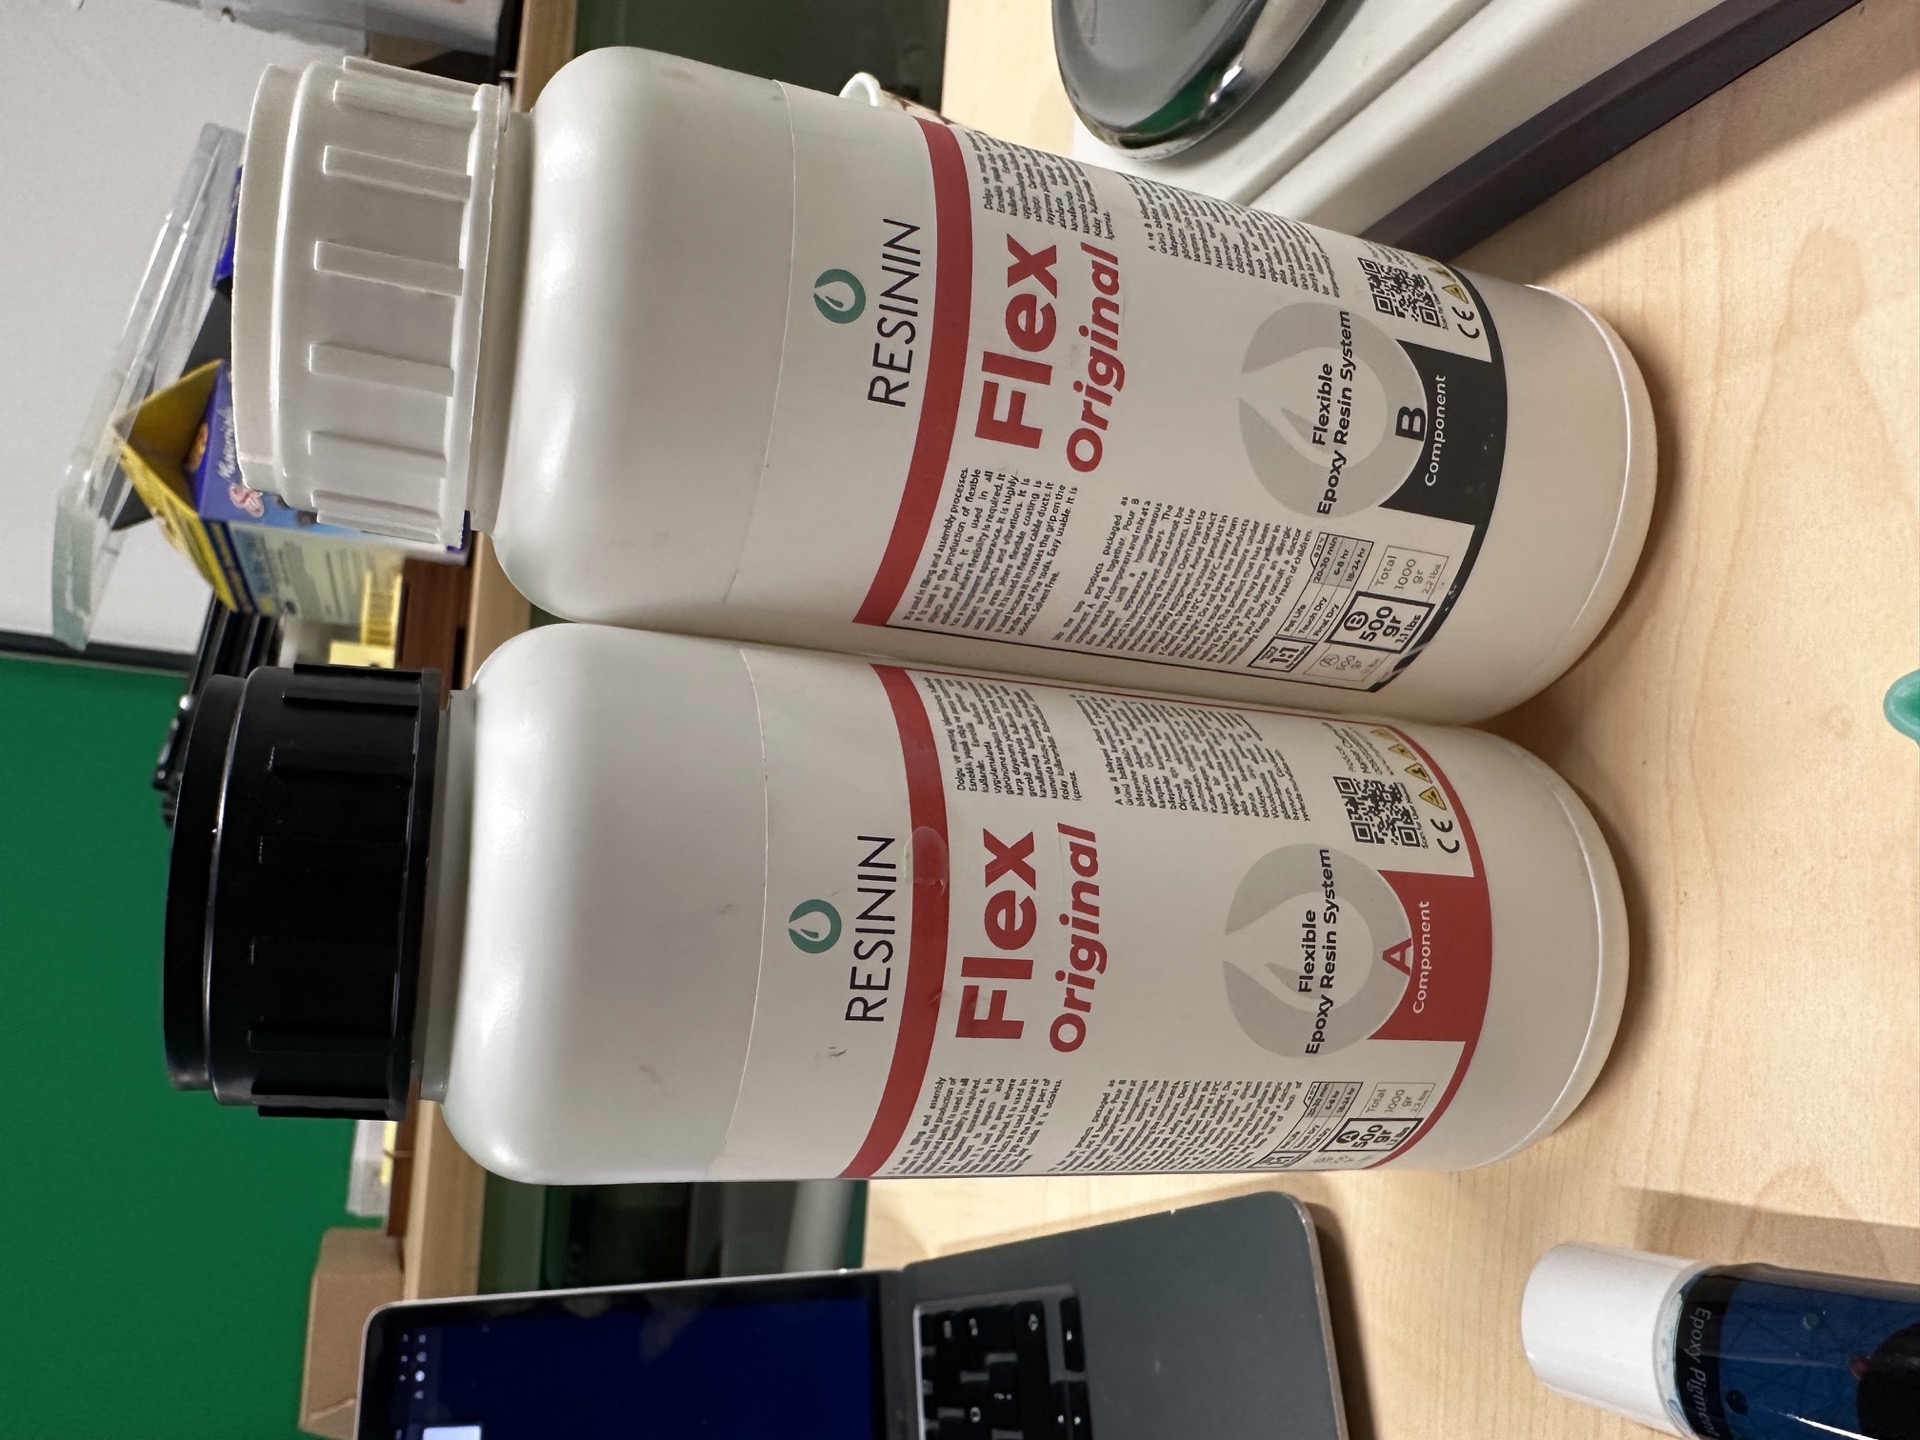
the resin I will use
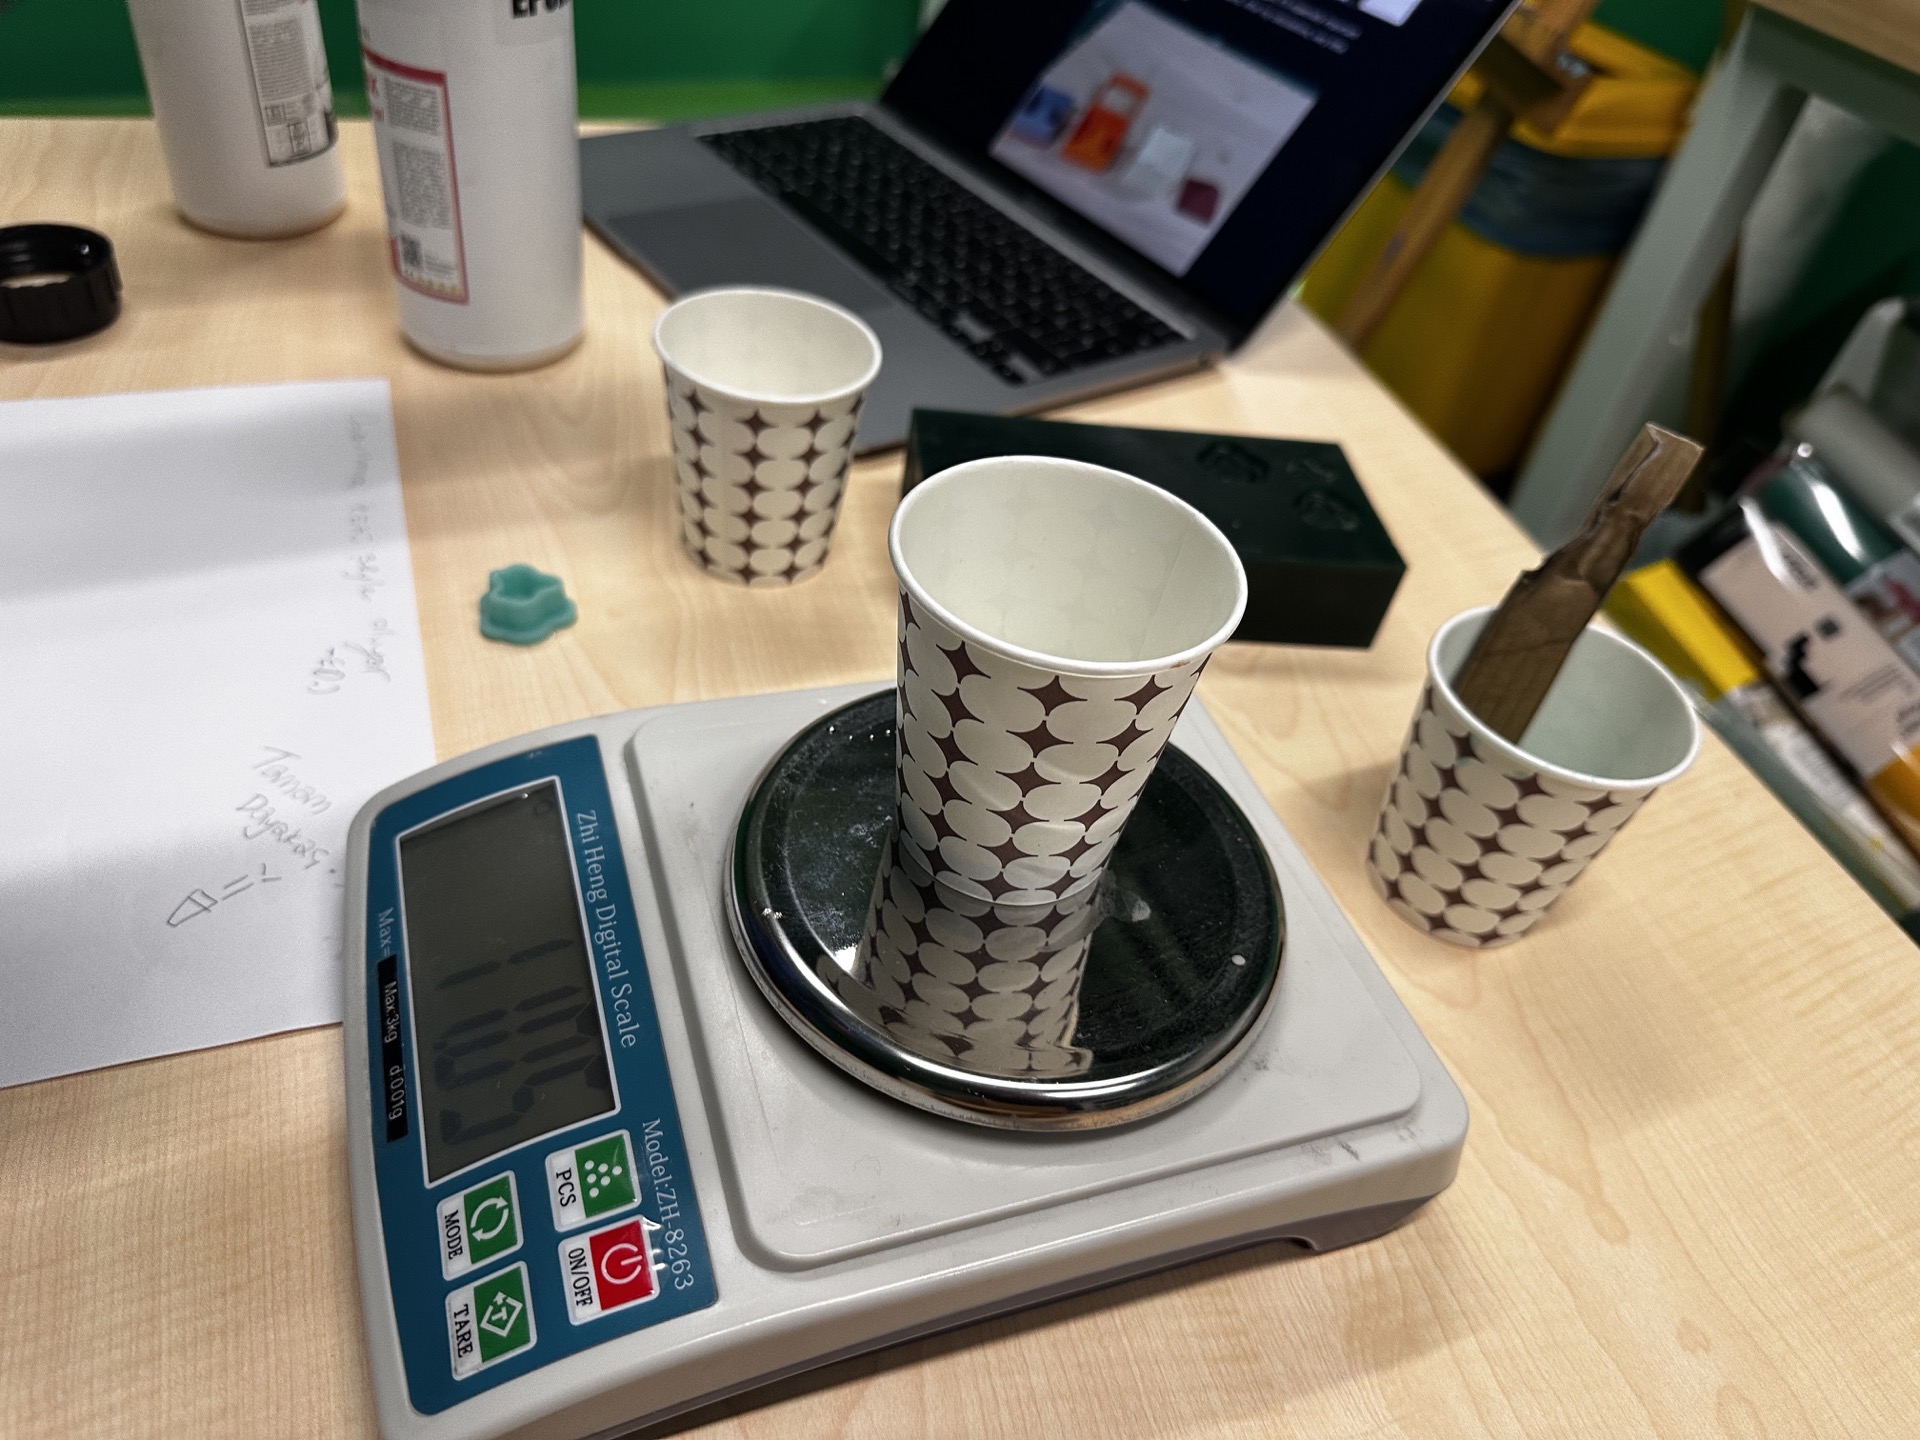
again onto the precise balance and cup combo for pouring
1
 2
2
 3
3
 4
4
 next I added the color I wanted, navy for the first trial
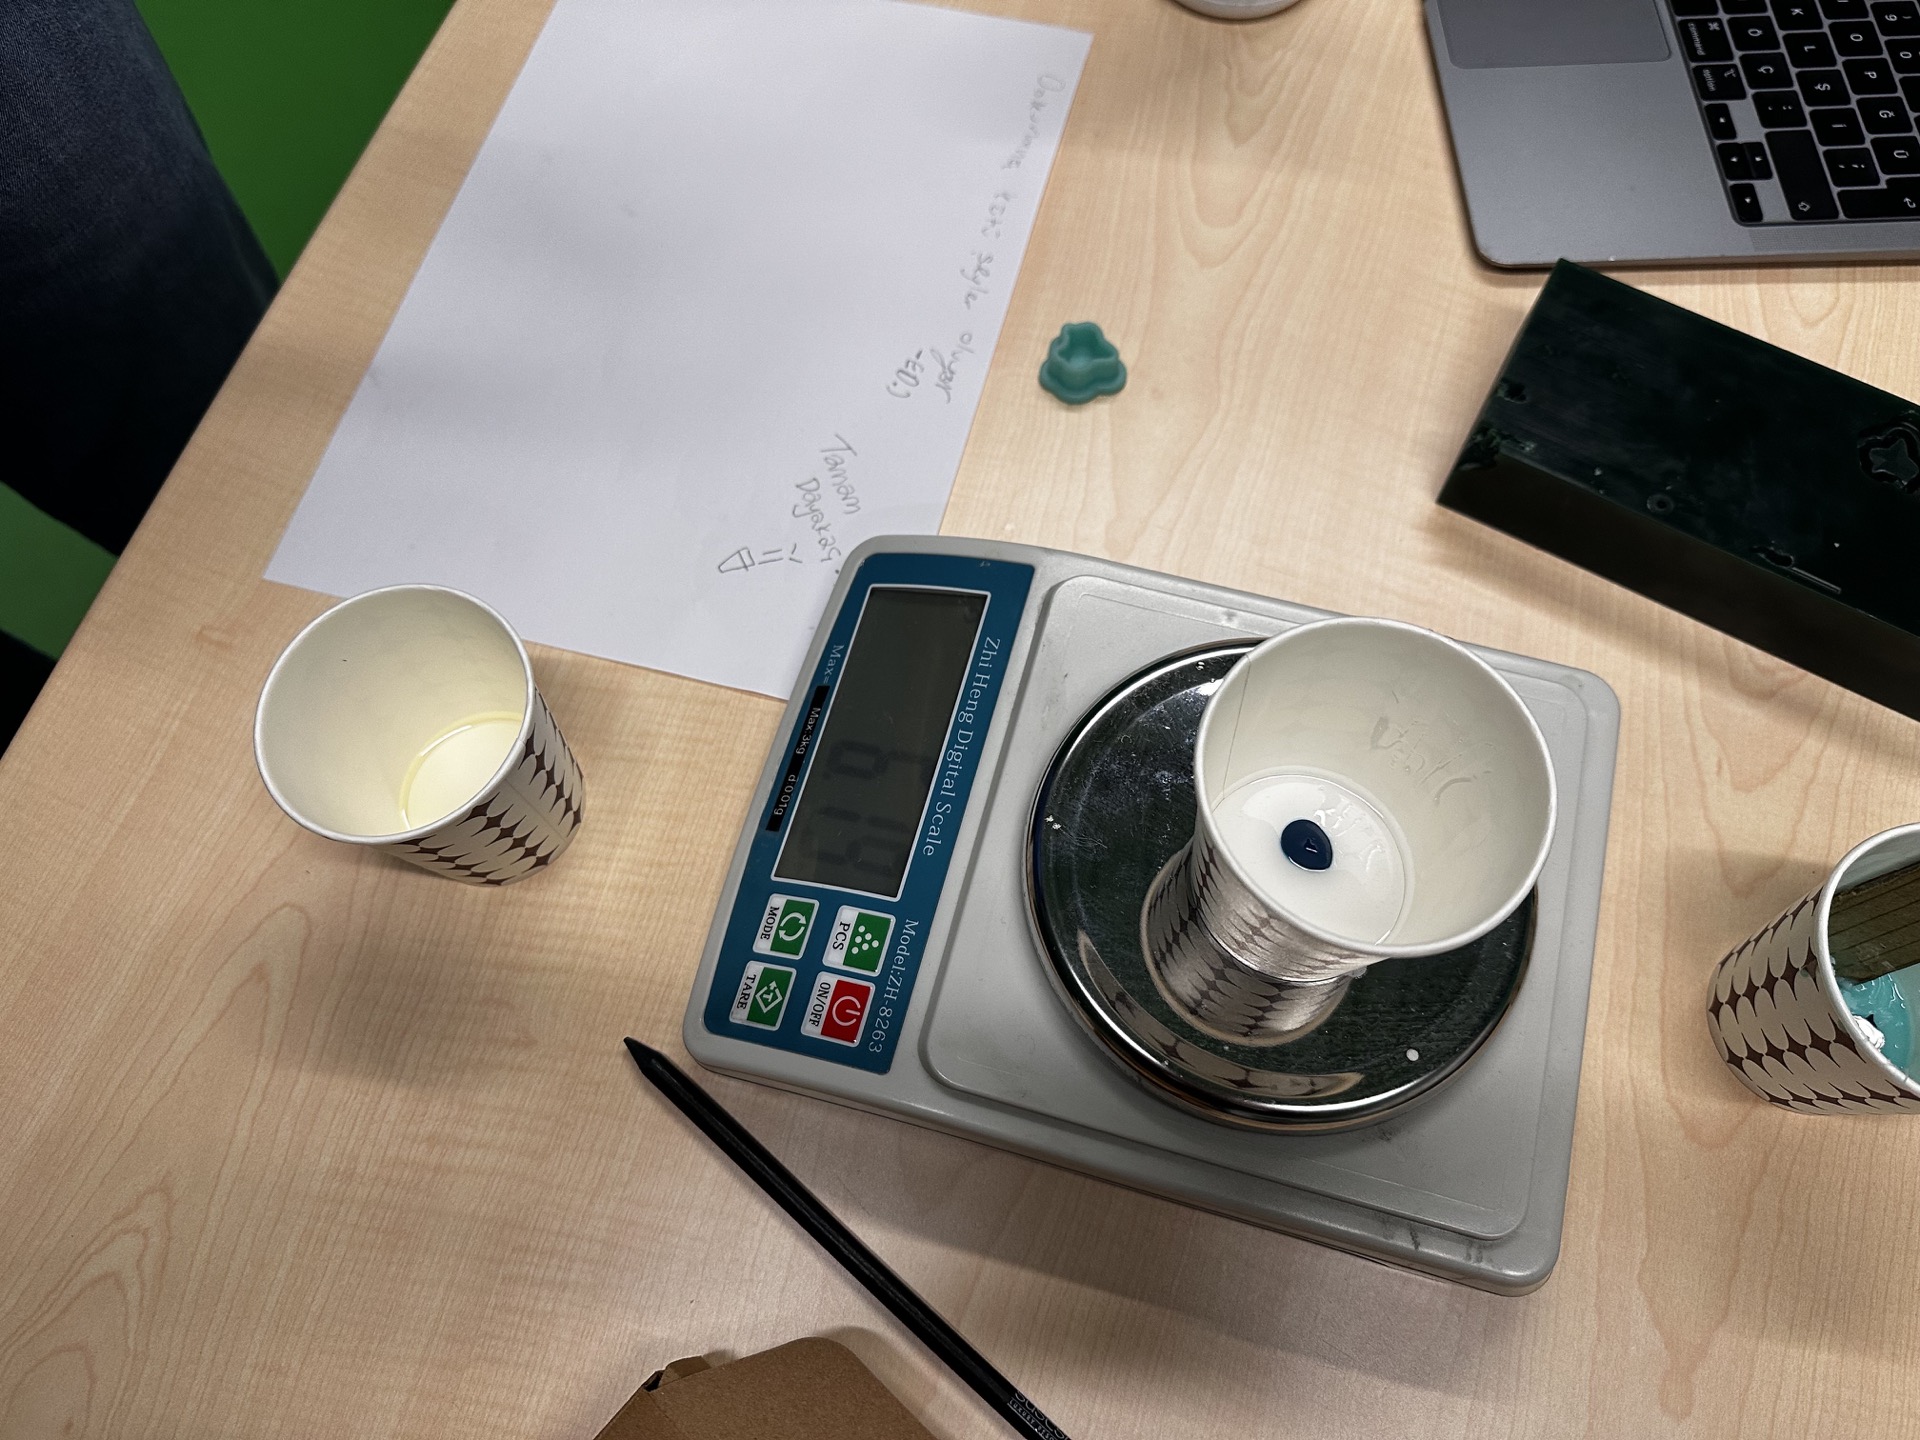 final mass
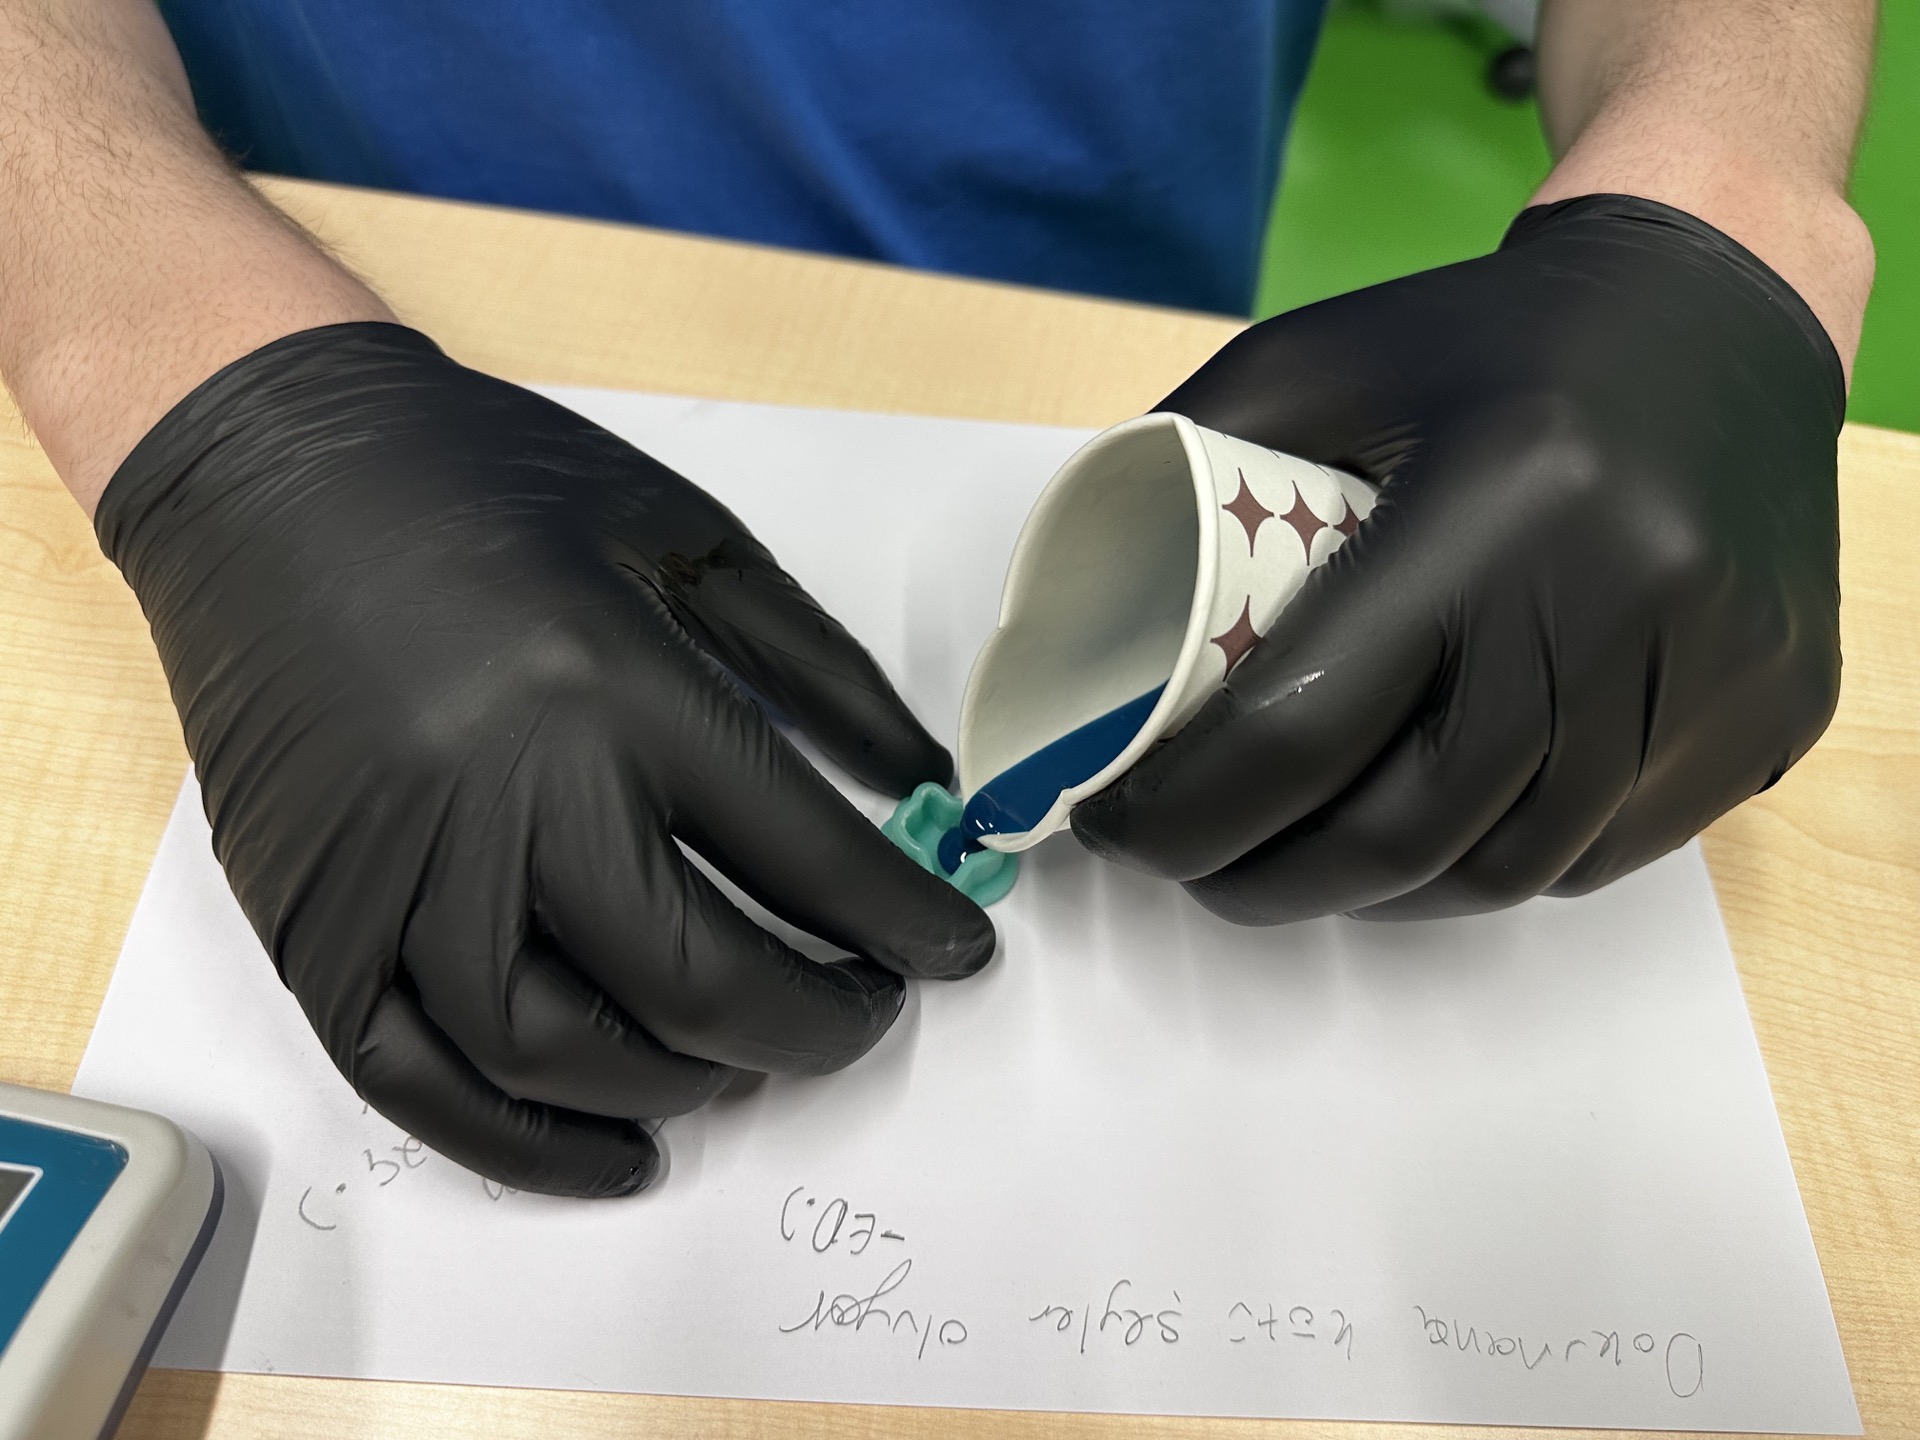
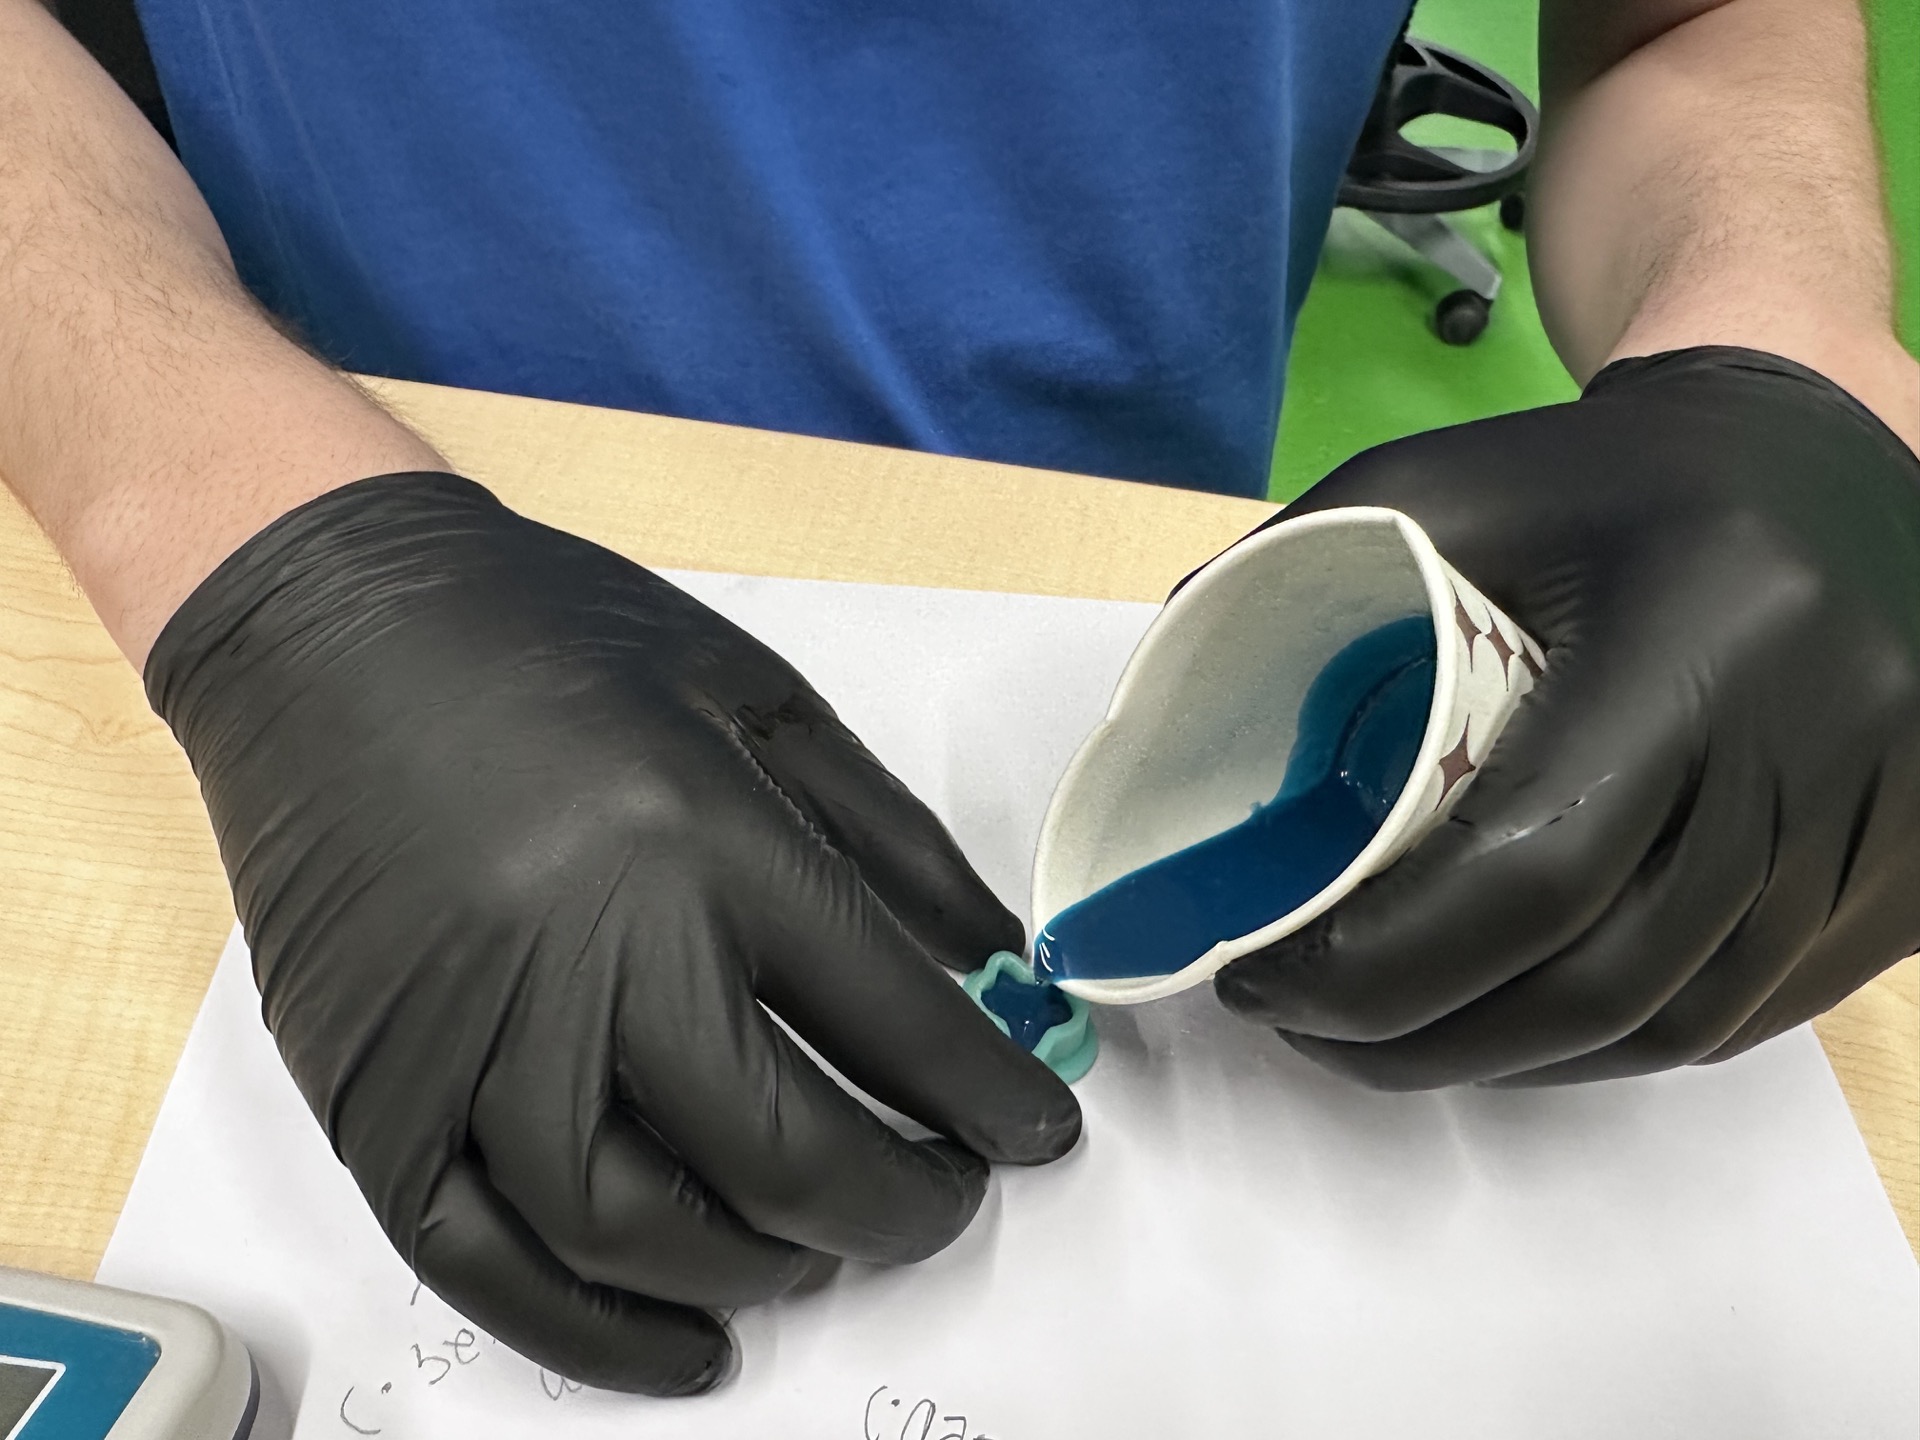
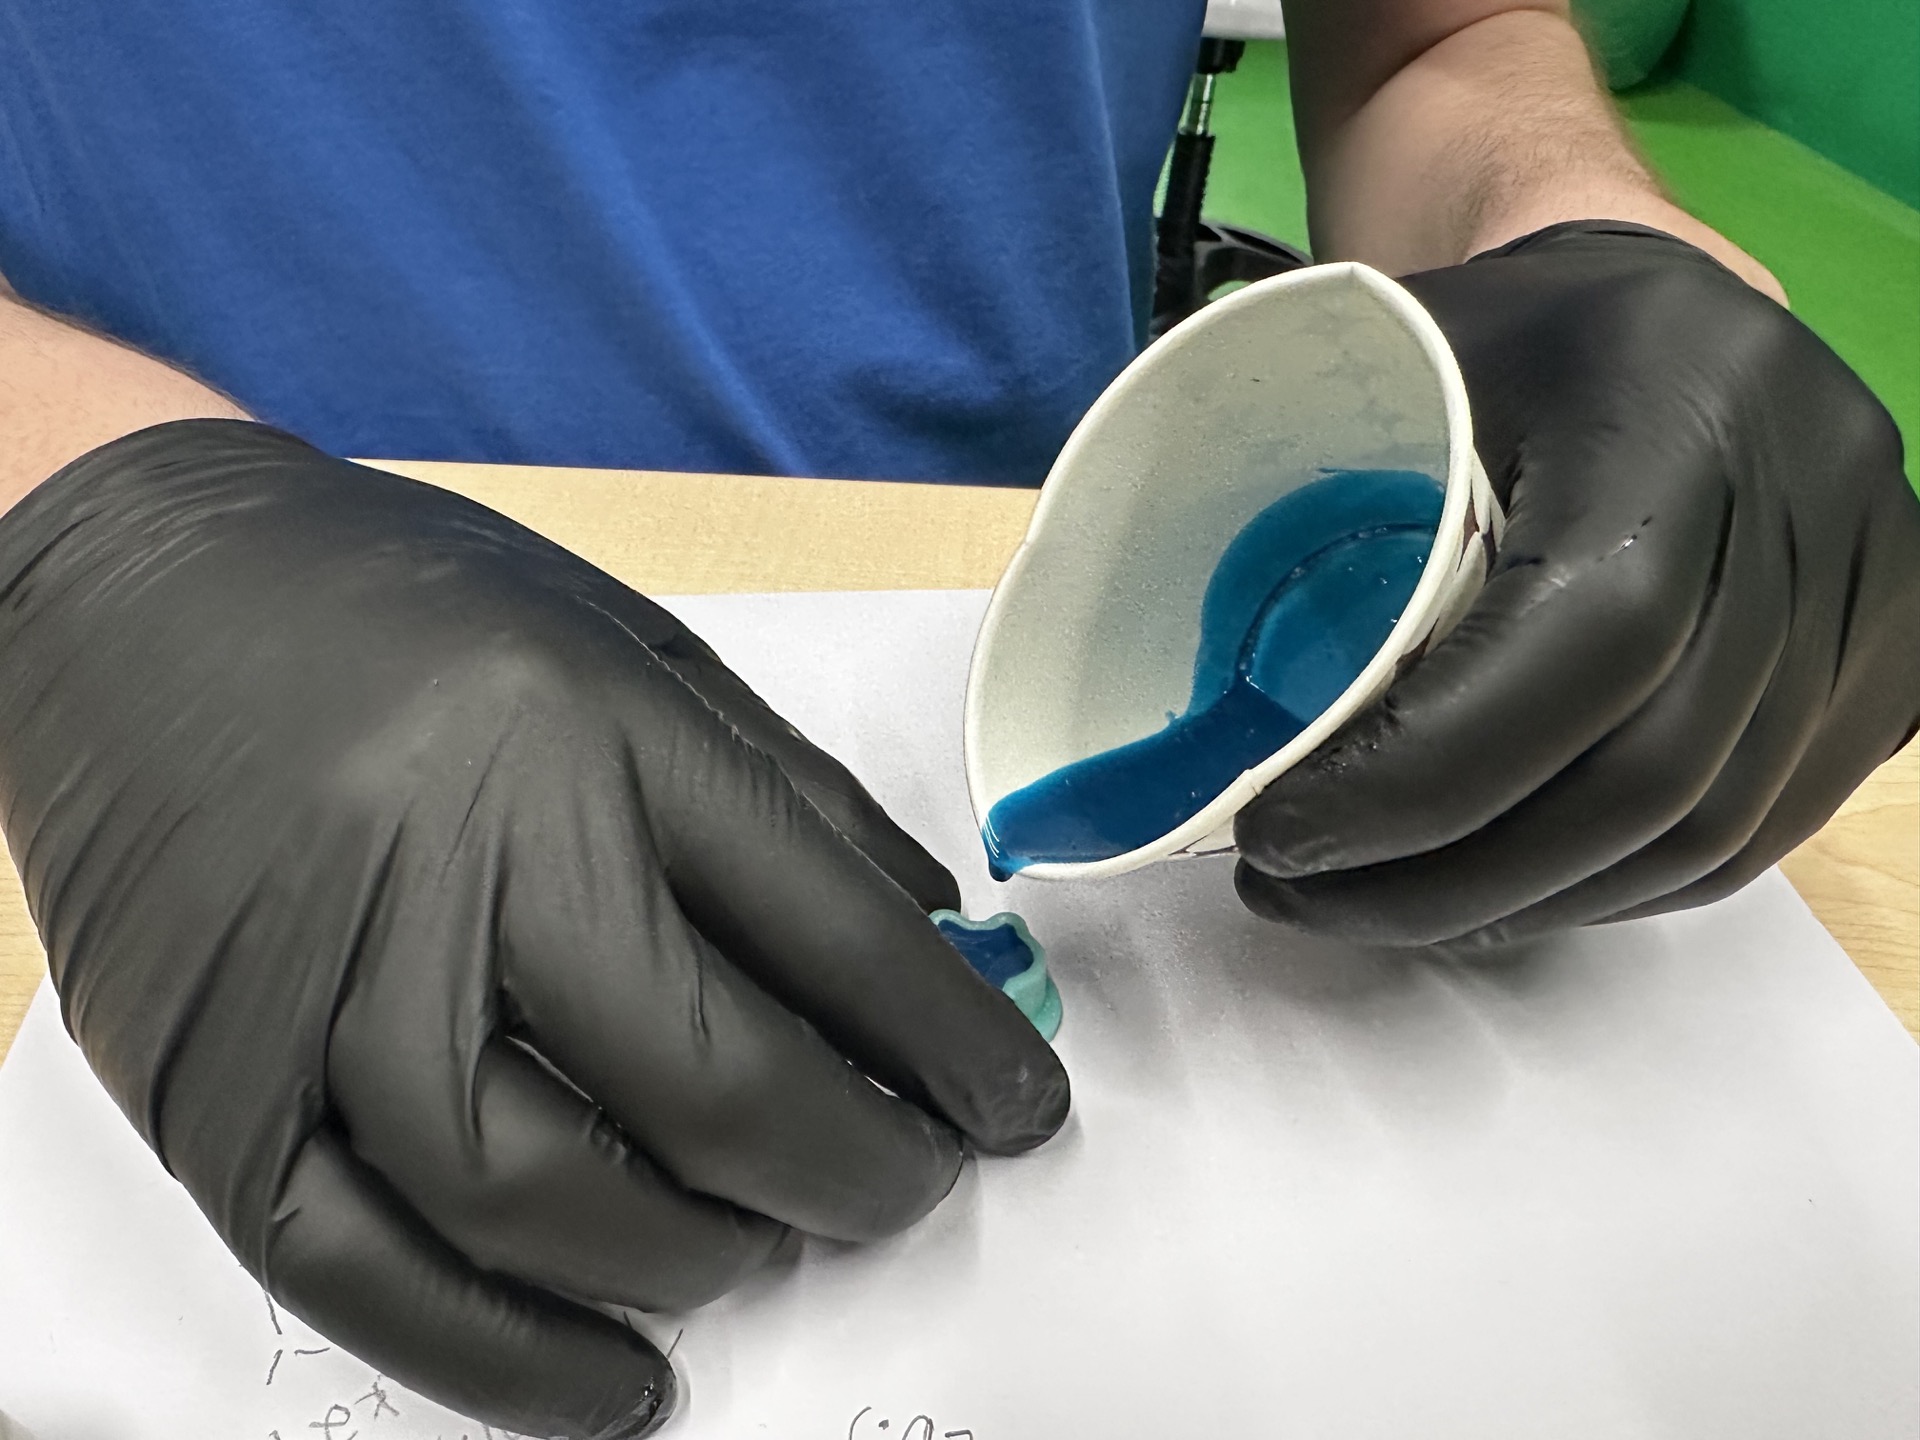
 pouring
1
 2
2
 3
3
 bubble popping to prevent air bubbles
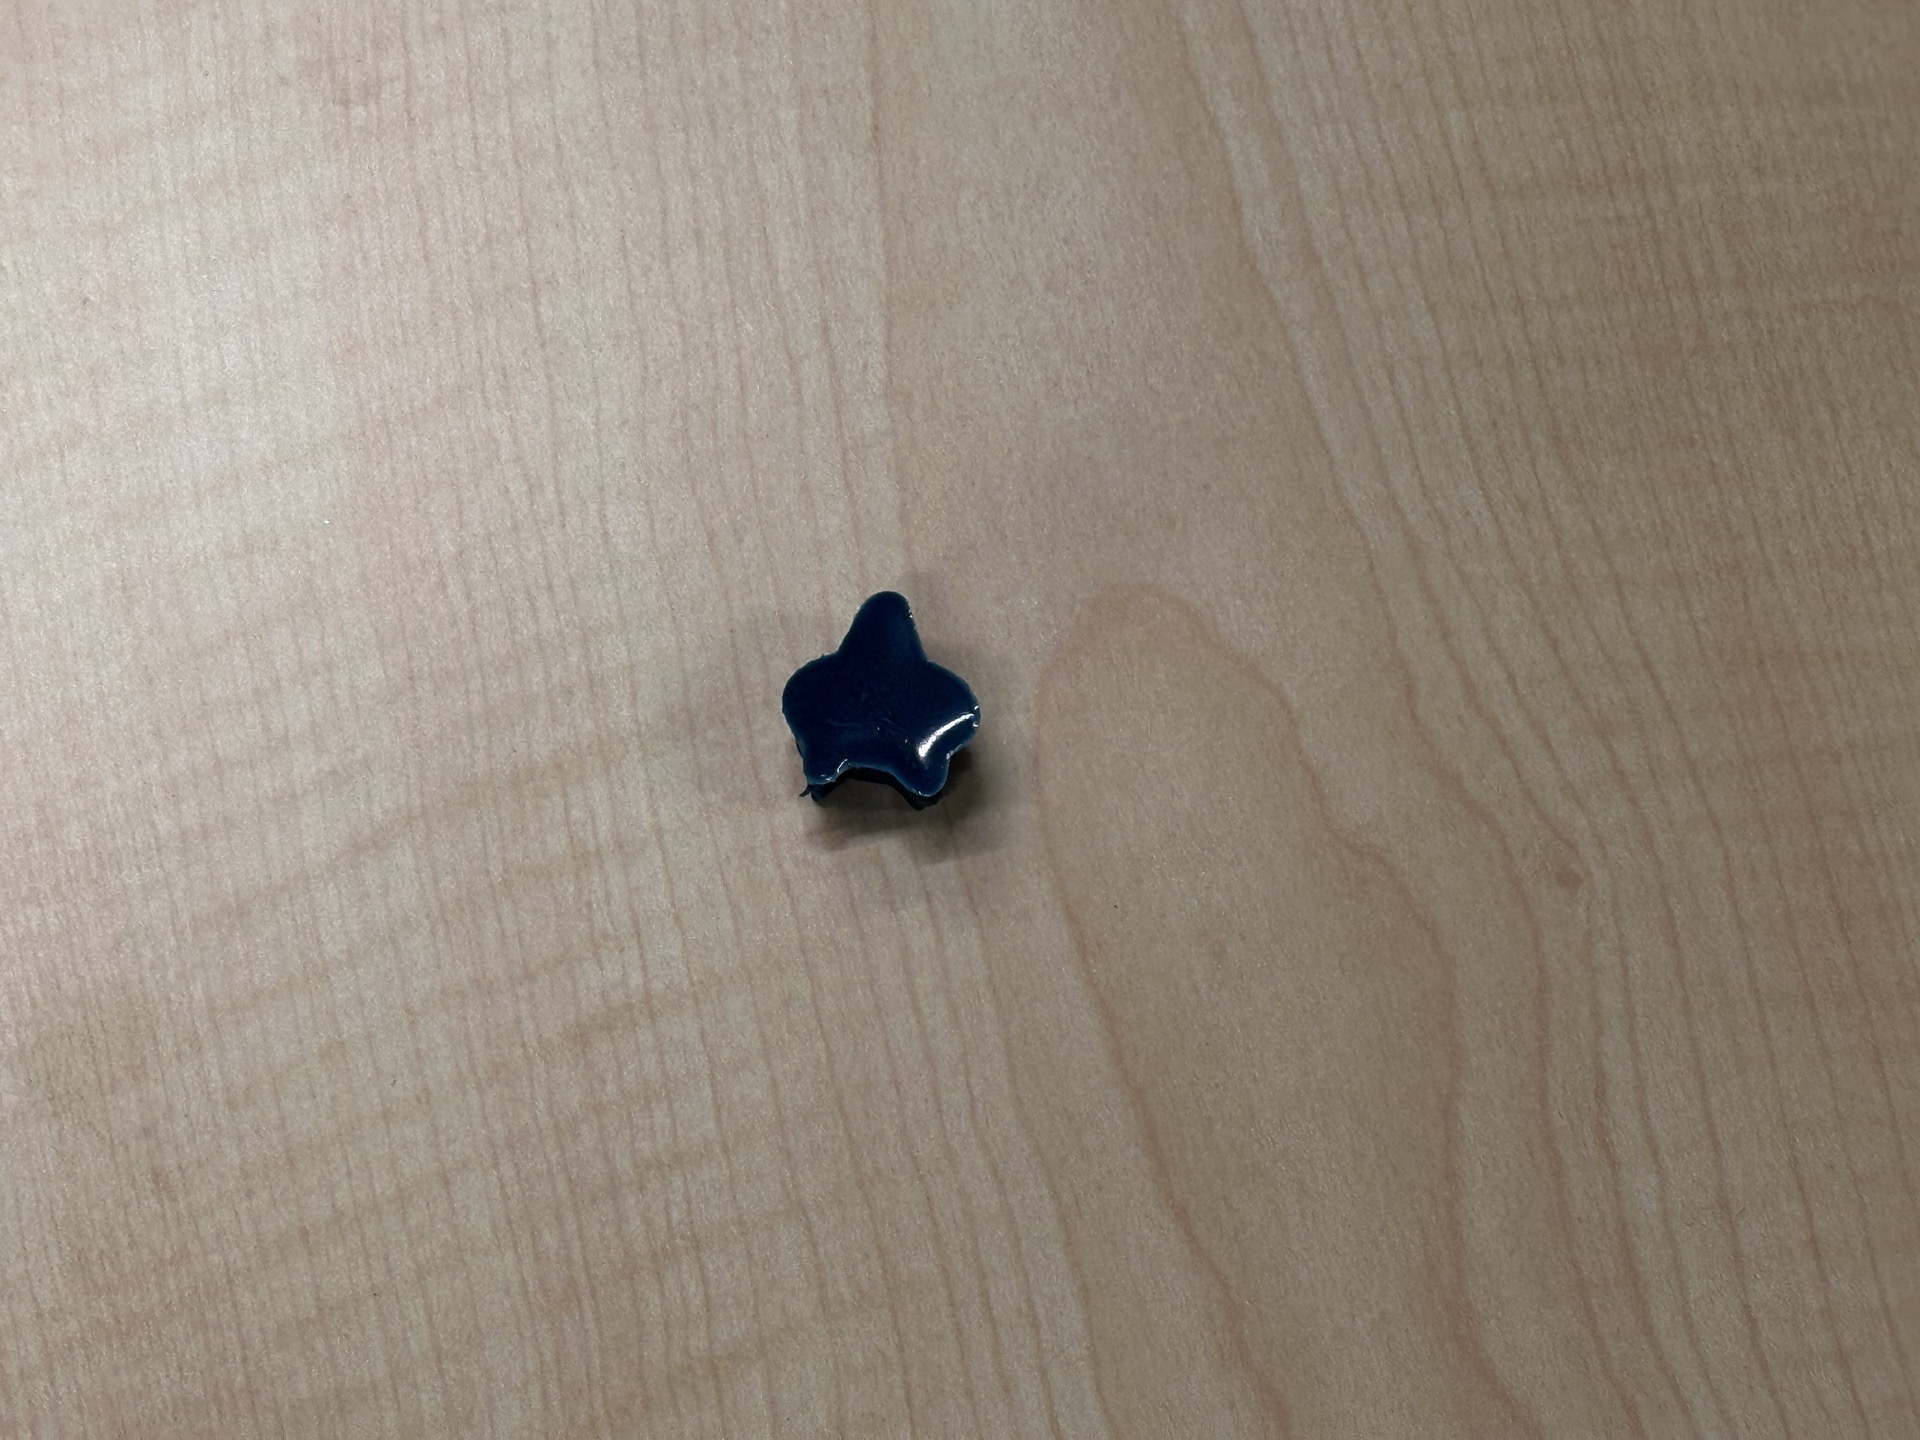
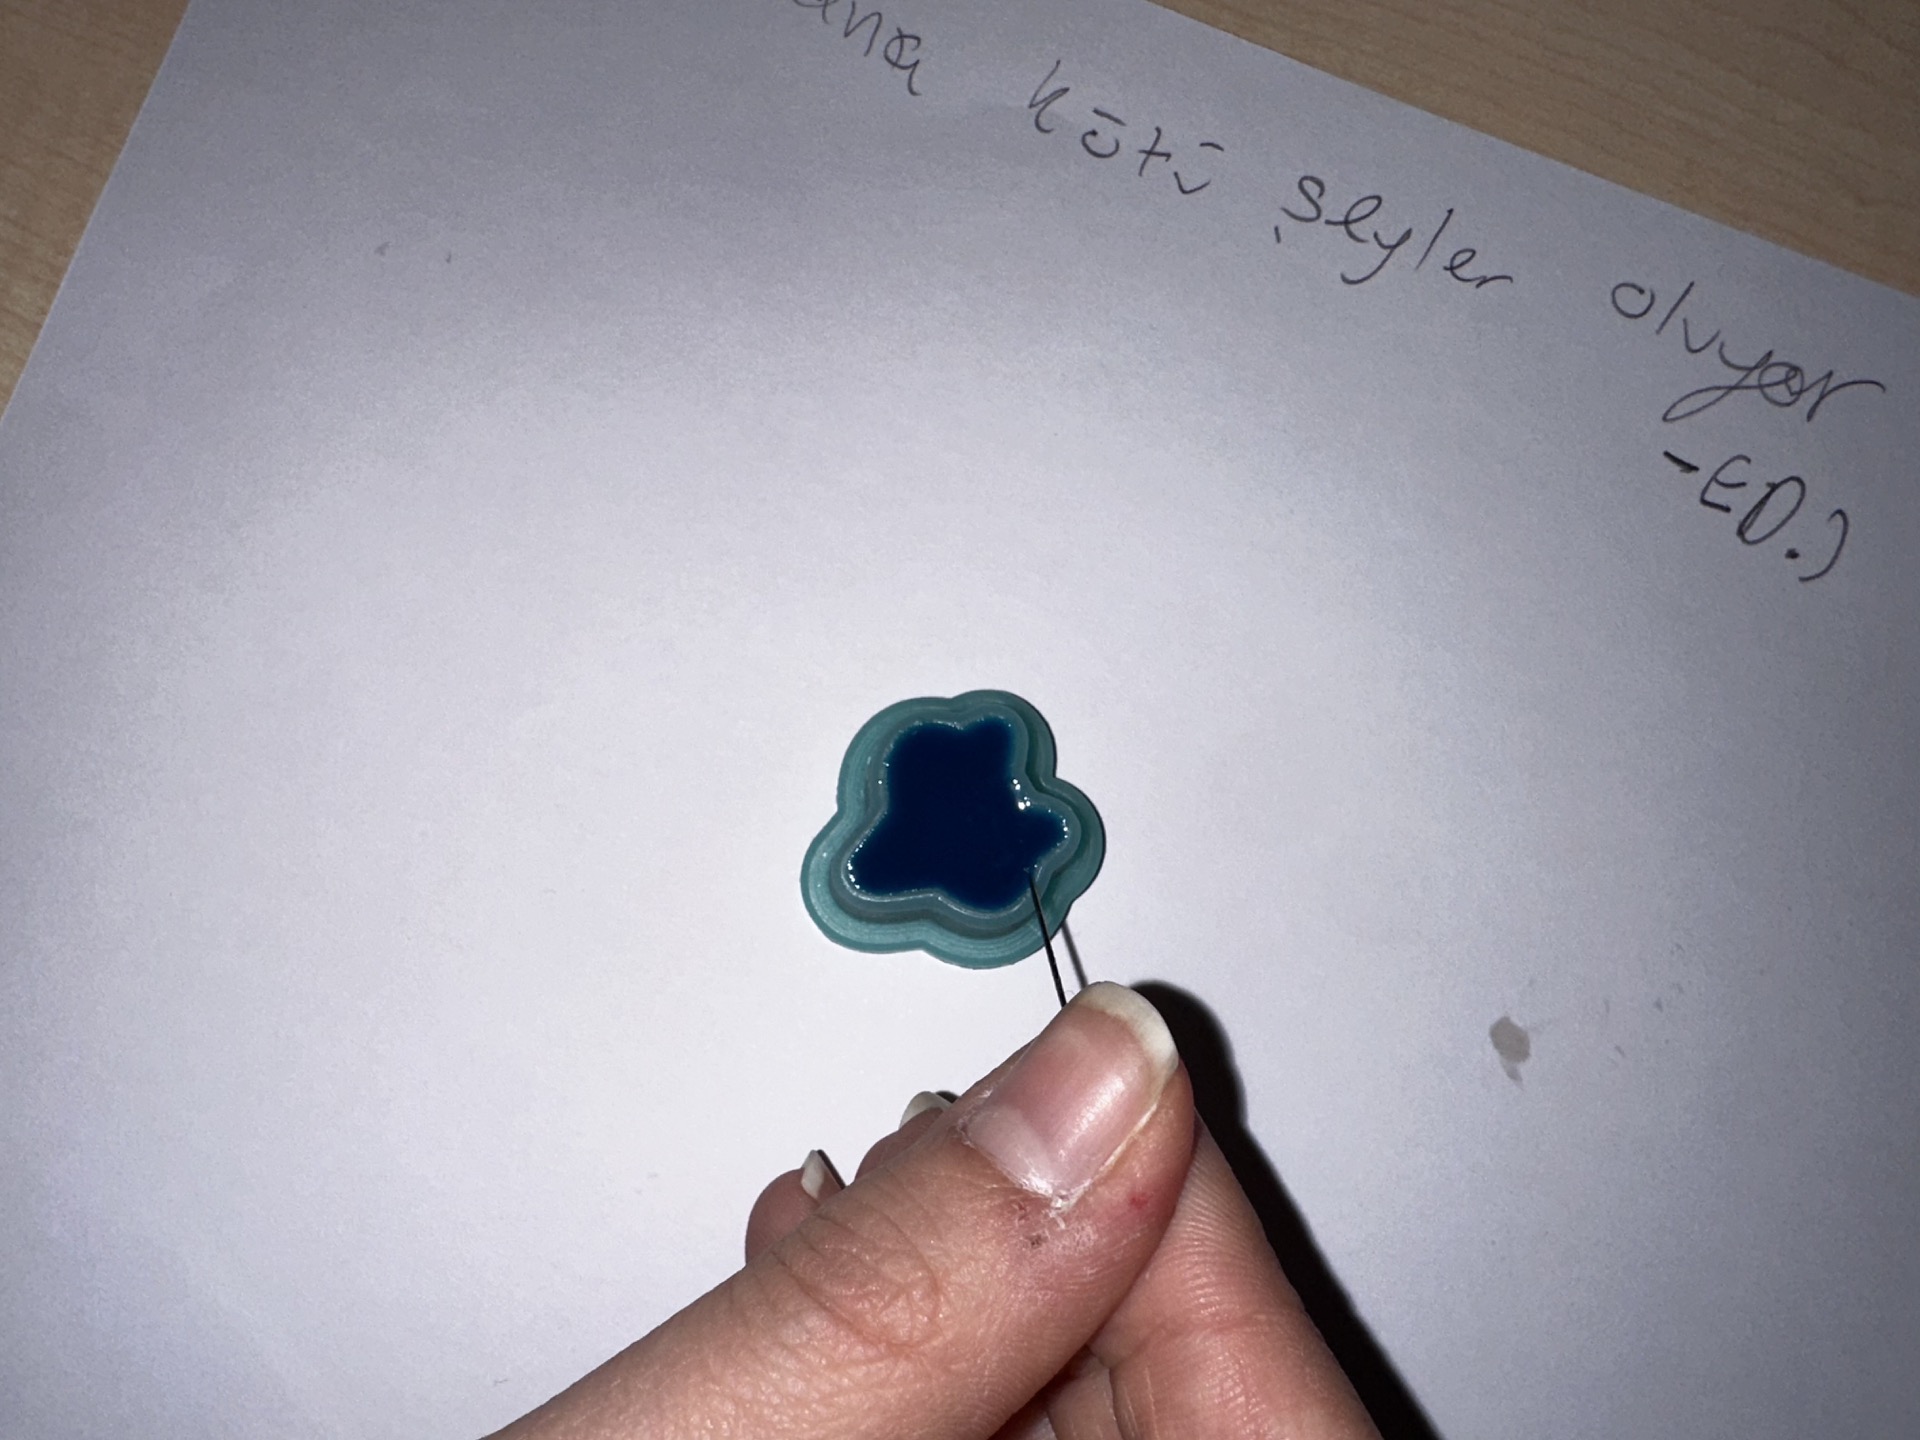 final result
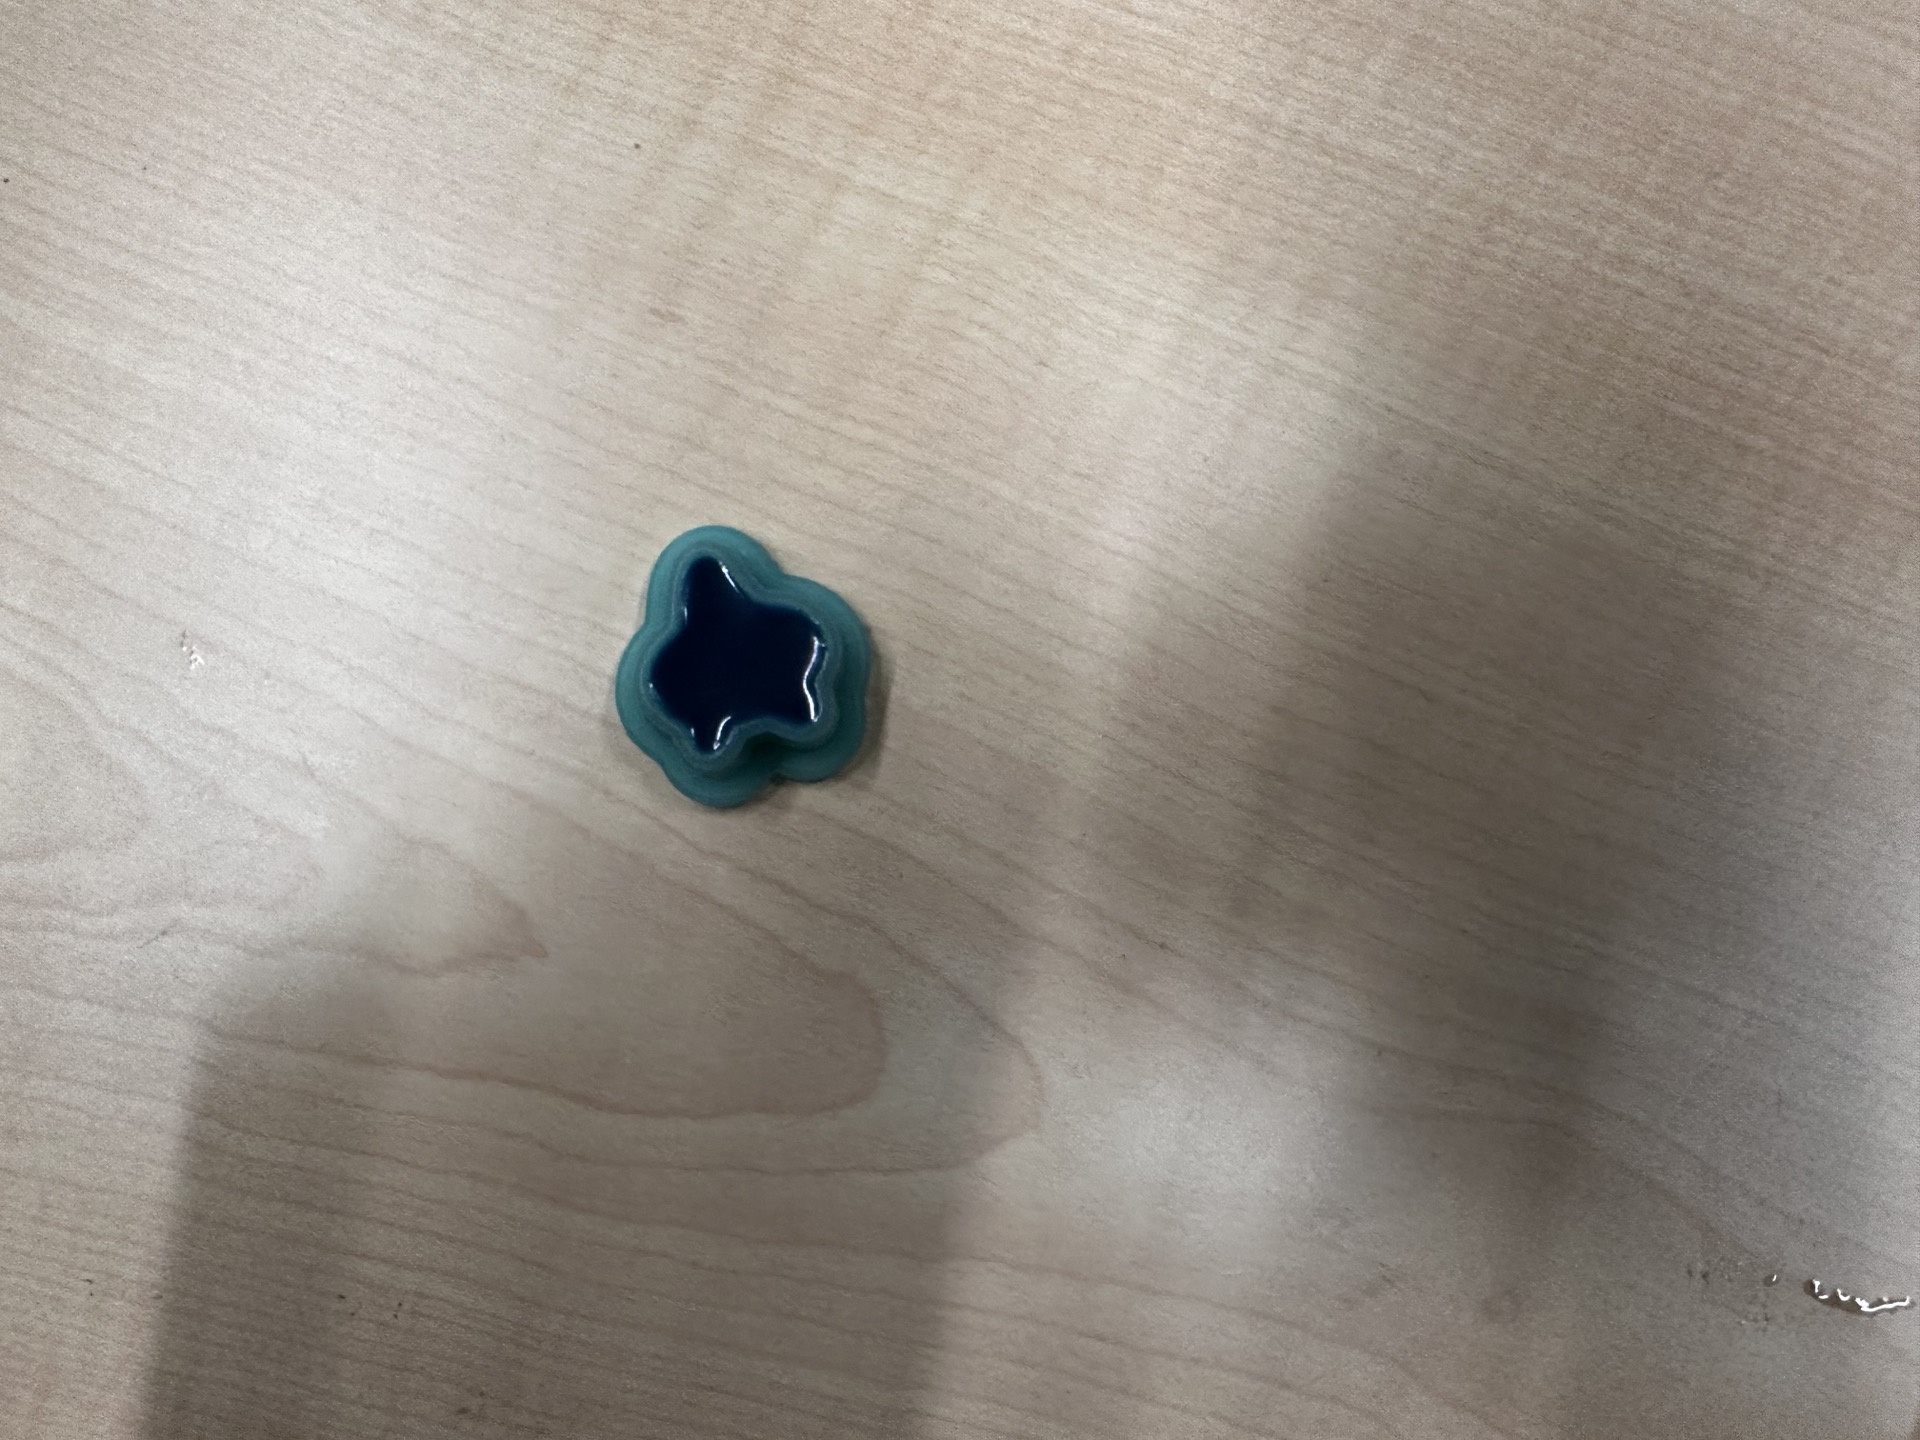 out of the mold
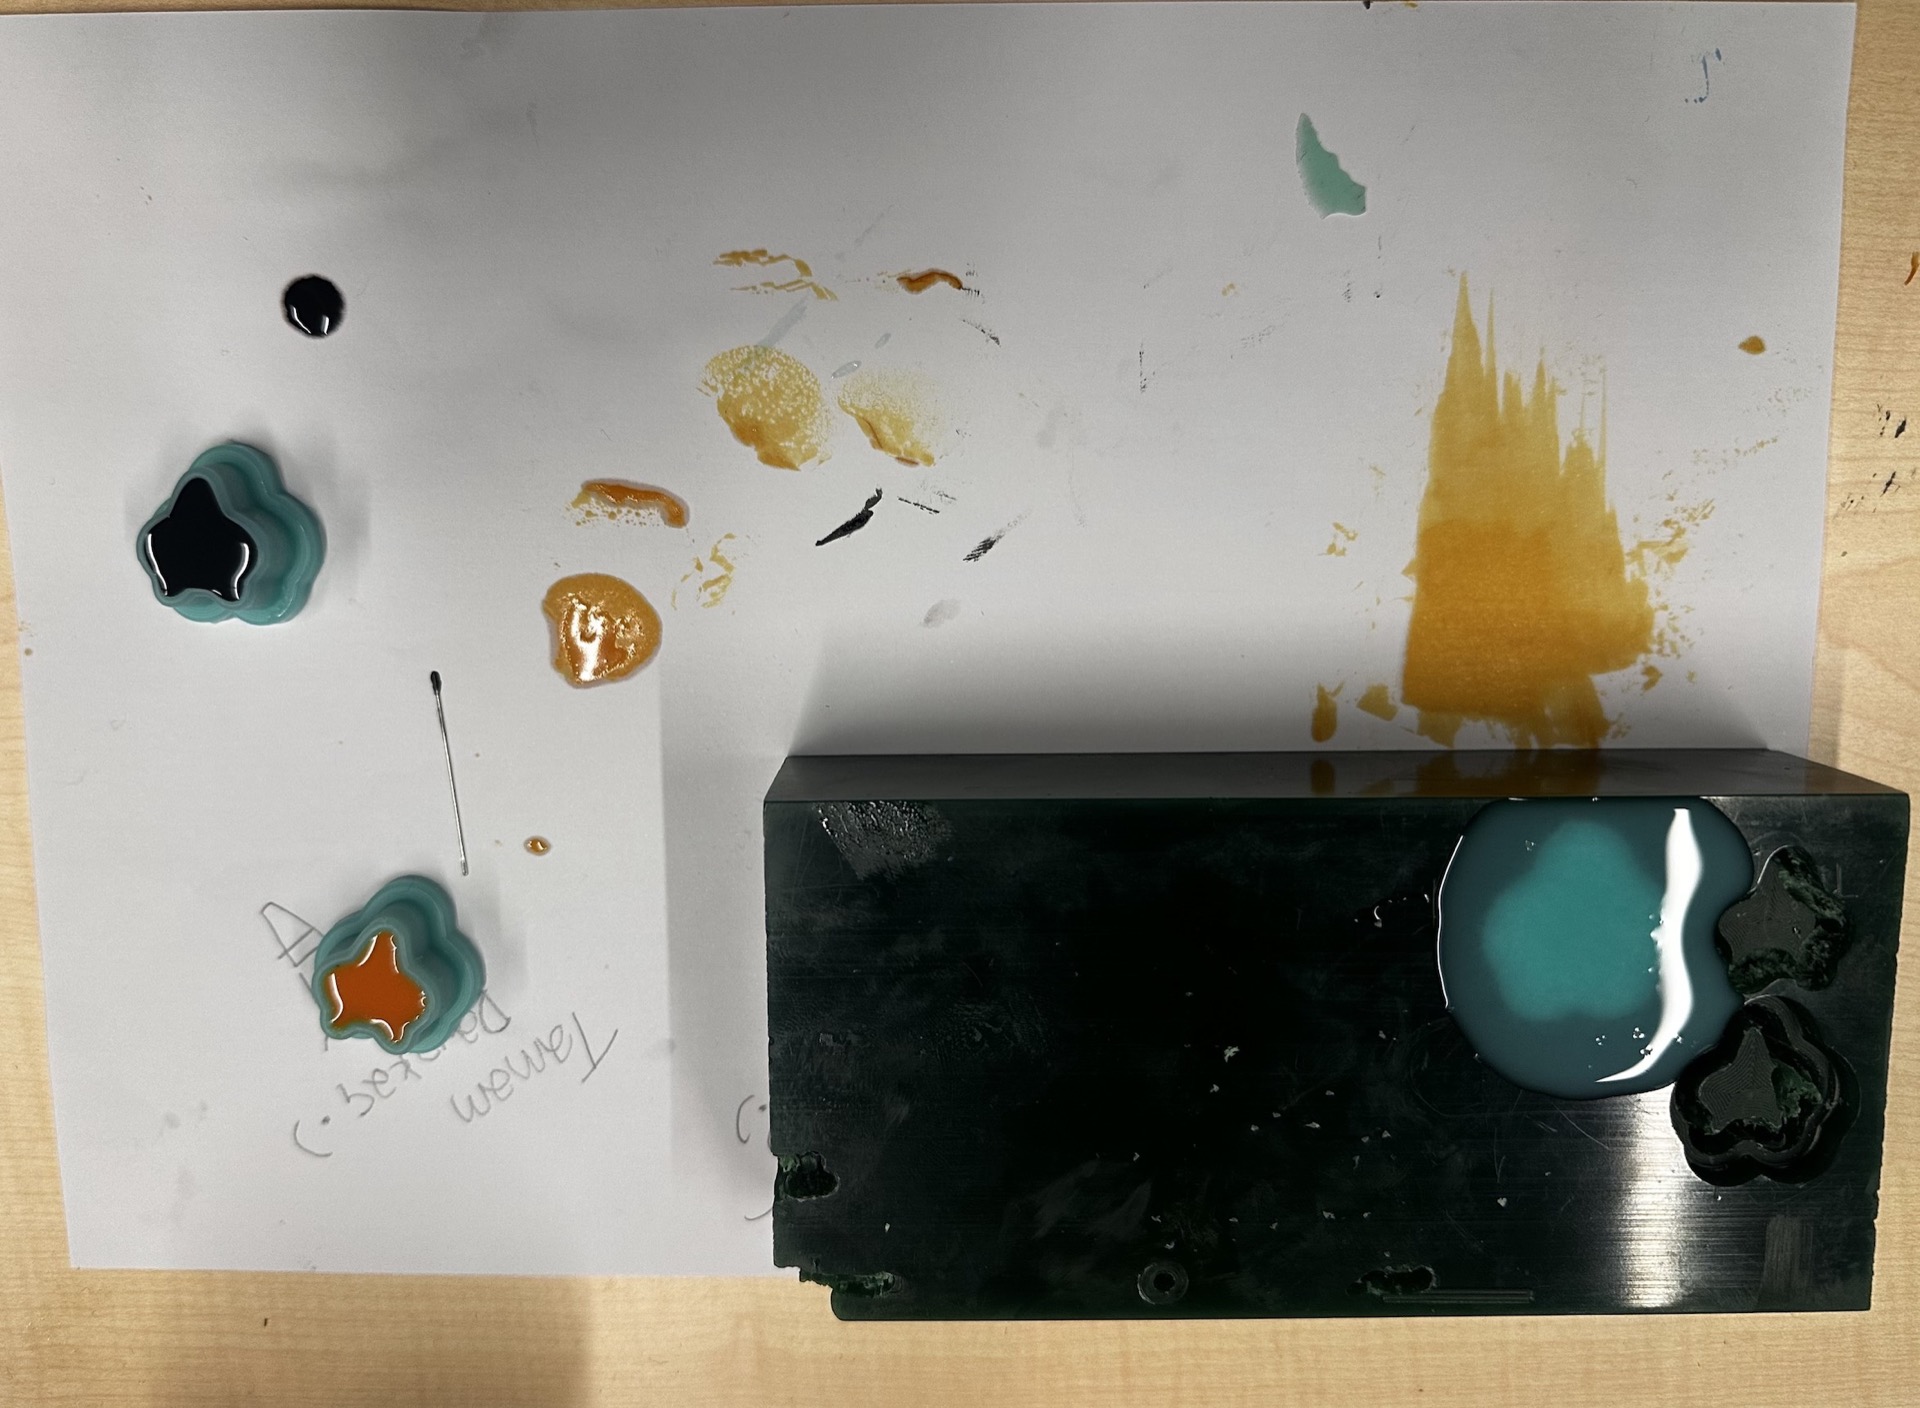
mass production
I liked the process so much that I wanted it to mass produce it so I am making more molds and more casts as below
Acknowledgments
Thank you Ömer for his help with V-Carve toolpaths
overall
Overall, it was a rewarding and fun week, and I learned a lot about practical mold preparation.