Week 03 - Computer controlled cutting
This week it was the first ever week that had machines in it, such as a vinyl and a laser cutter, and here are the names and the details of the machines that I used in this week’s assignment: XTool P2S Carbon Laser Cutter and XTool F1 Ultra, Cricut Maker 3, and the Roland Versastudio GS2-24 Vinyl Cutters
Learning Targets
- Design, test, and build a parametric press-fit construction kit.
- Show and explain how to create 2D designs using parametric modelling.
- Explain how to use a laser cutter step by step.
- Explain how to use a vinyl cutter step by step.
Hero Shot (Laser)
Laser Cutting
To design the parametric, I used CutleXYZ, and here are the designs I made with the program to achieve this.
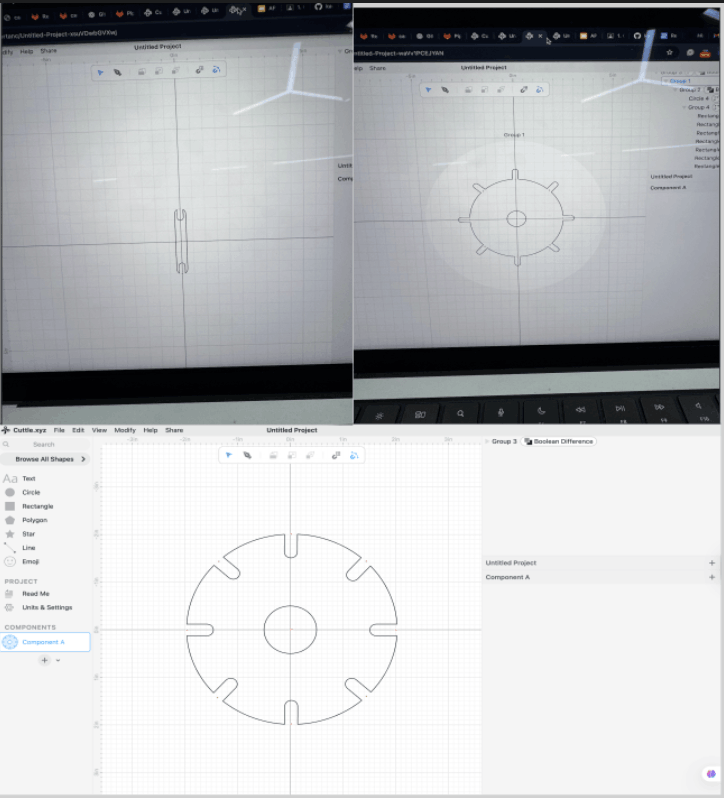
I designed this part using Cuttle.xyz. First, I created a main circle and placed it at the center of the canvas. Then, I added a smaller circle in the middle to make the center hole.
After that, I designed one slot shape and used rotation to copy it evenly around the circle. This helped me create symmetrical connection slots on all sides. I used a boolean difference to cut these slots from the main circle.
All shapes were aligned to the center using the grid and guide lines. Grouping and boolean tools were used to combine and clean the final design.
This design is modular and can be easily adjusted by changing the size of the circles or the slots. After finishing, I exported the file as a DXF for laser cutting.
Modular Structure and Components
My design is a circular part with a center hole and multiple slots around the edge. I created the main circle first and placed it in the center. Then I designed one slot and copied it around the circle using rotation to keep everything symmetrical.
All parts were aligned using the grid and guide lines in Cuttle. I used grouping and boolean difference tools to cut the slots from the main shape.
Advantages of Parametric Modeling
This design method allowed me to:
- Easily change the size of the circle and slots
- Adjust the design for different materials
- Reuse the same model for other projects
- Test different slot sizes for better fitting
Cutting Process
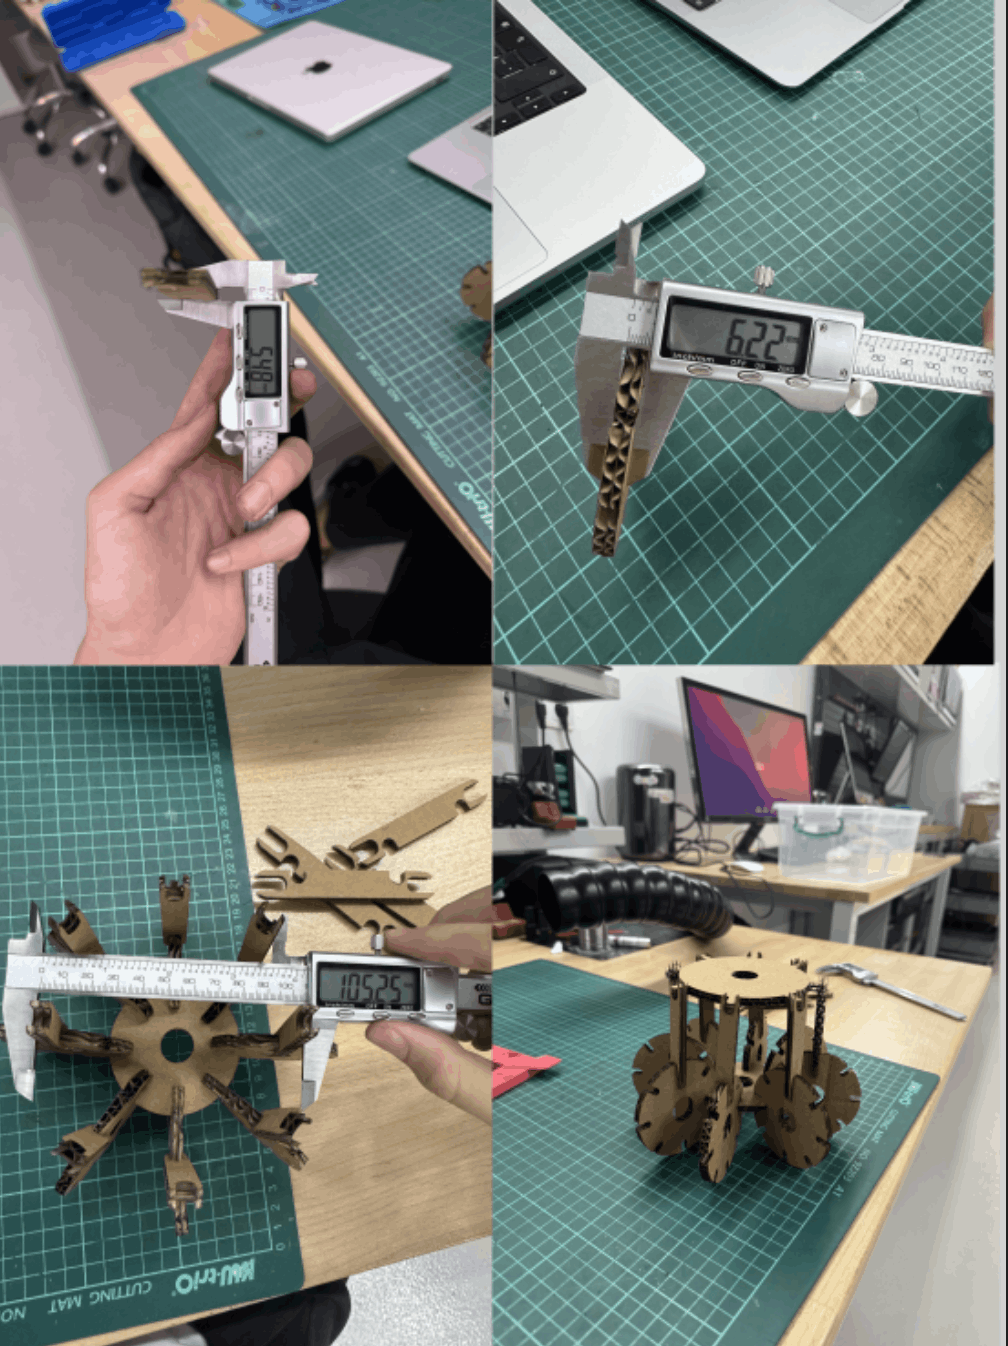
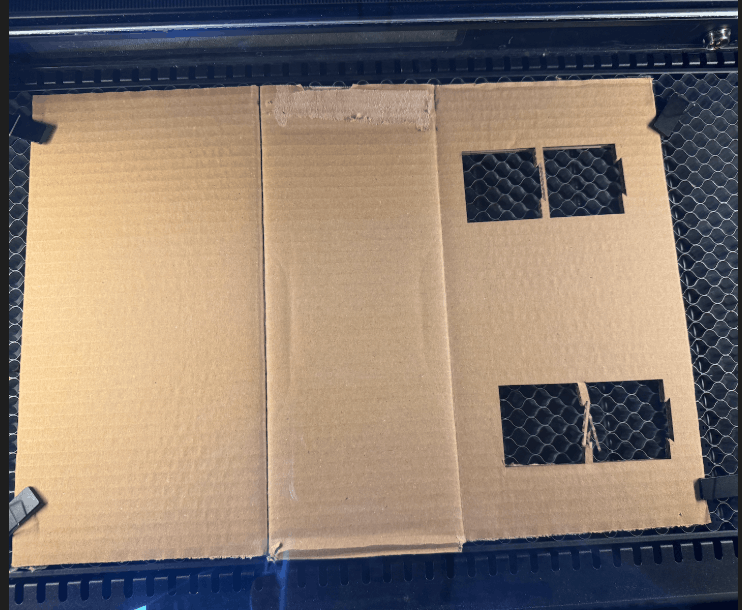
I cut the design on flat cardboard. I adjusted the slot size according to the thickness of the cardboard. In the X tool software, I selected the cutting mode and set suitable power and speed with the options on the right side for cardboard.
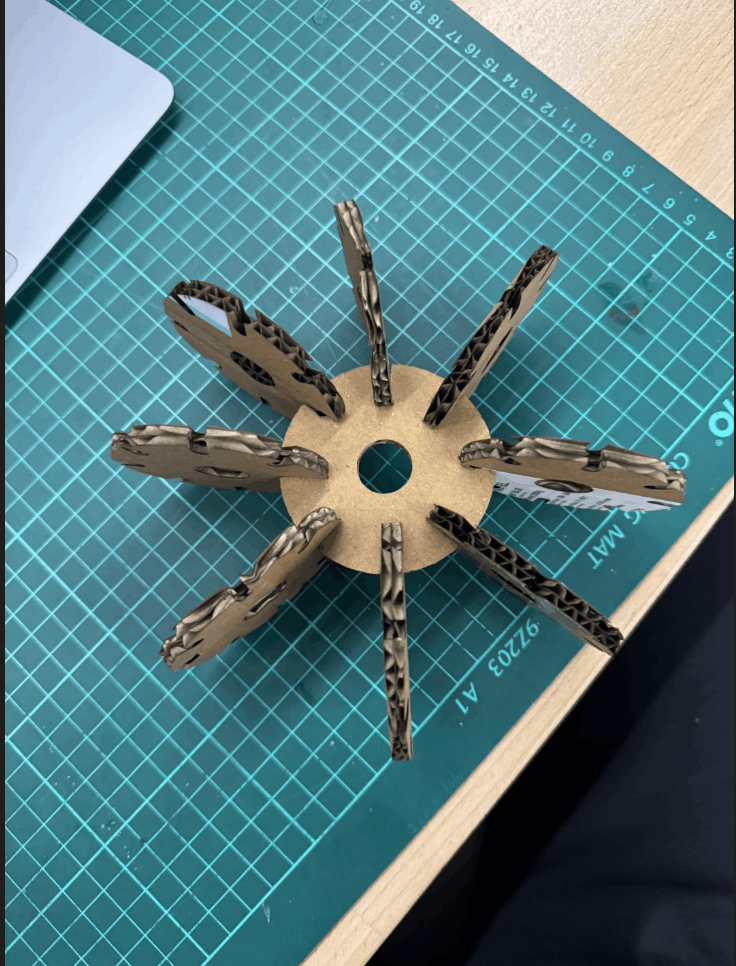
Below is a photo of the final cut design with only basic circles:
XTool Laser Cutter
And below is a video and a photo of the sample process of cutting:
Laser Engraving With X-Tool
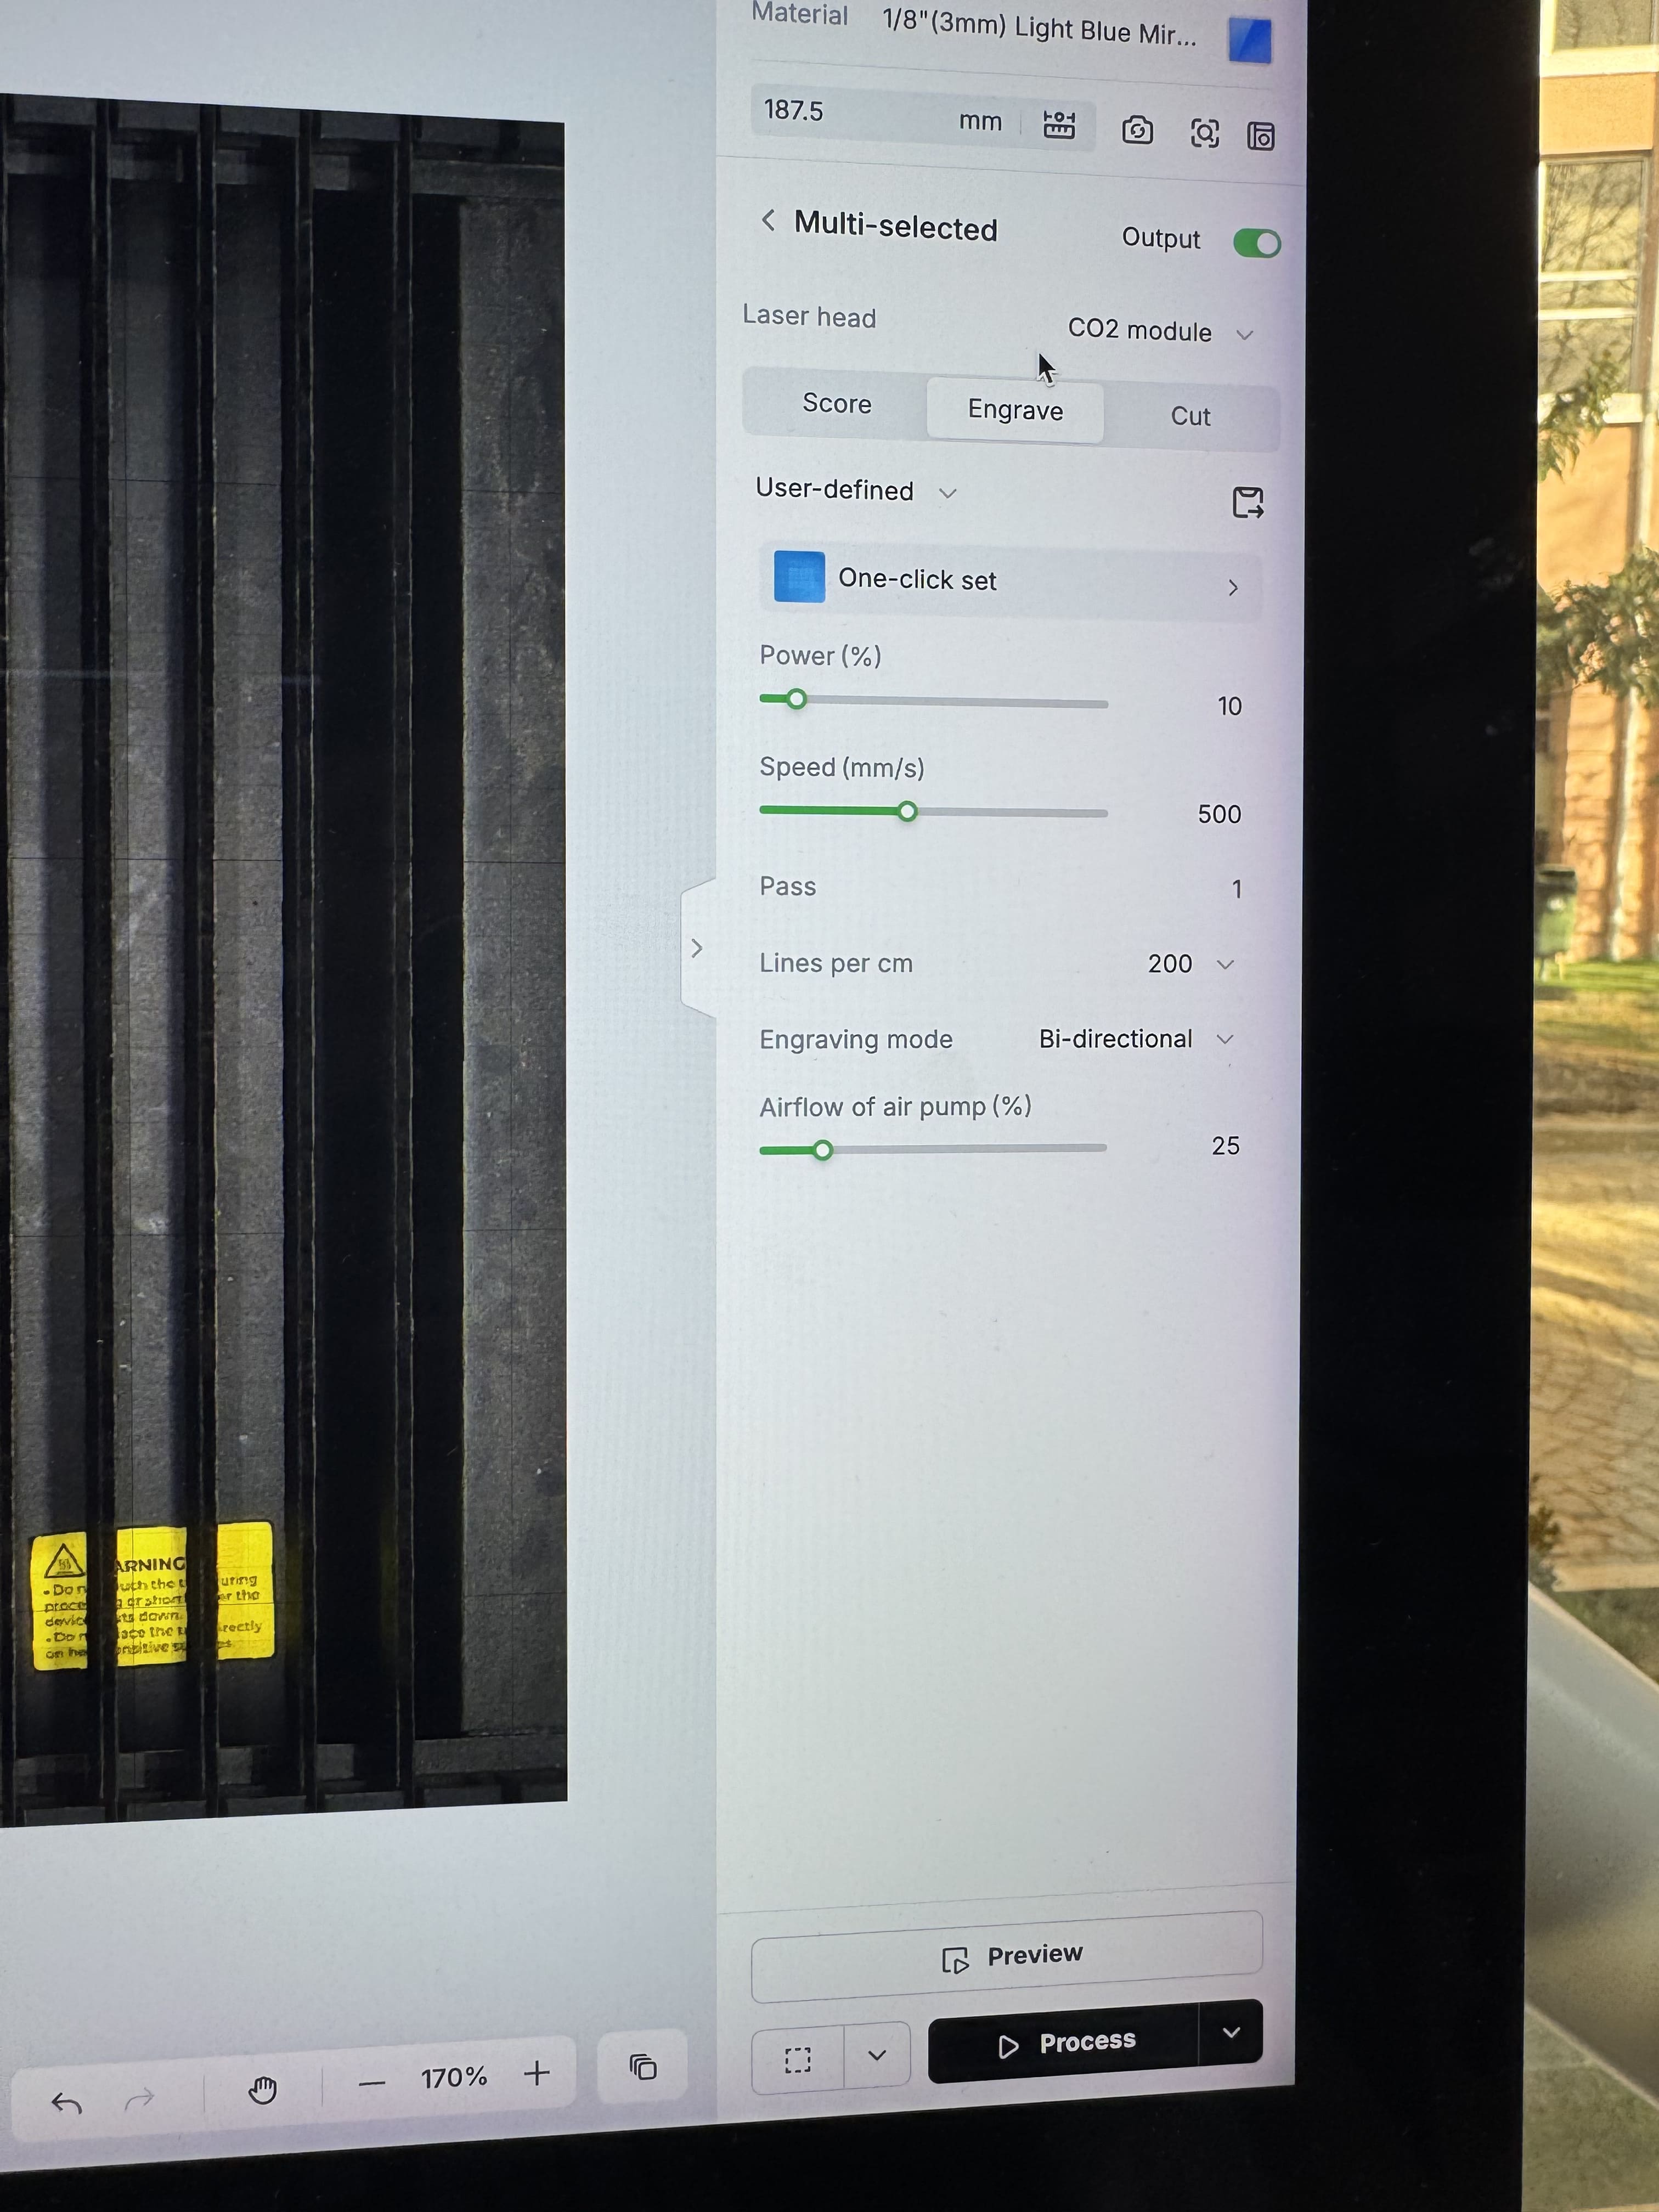
I chose the leftover cards that i did from plastic for Brownie Wars that we did in our lab, and here are the best settings for the engraving on Light Blue Plastic:
After that, I selected what I should write. I wrote my friends’ names and printed it for them. Here are the texts:
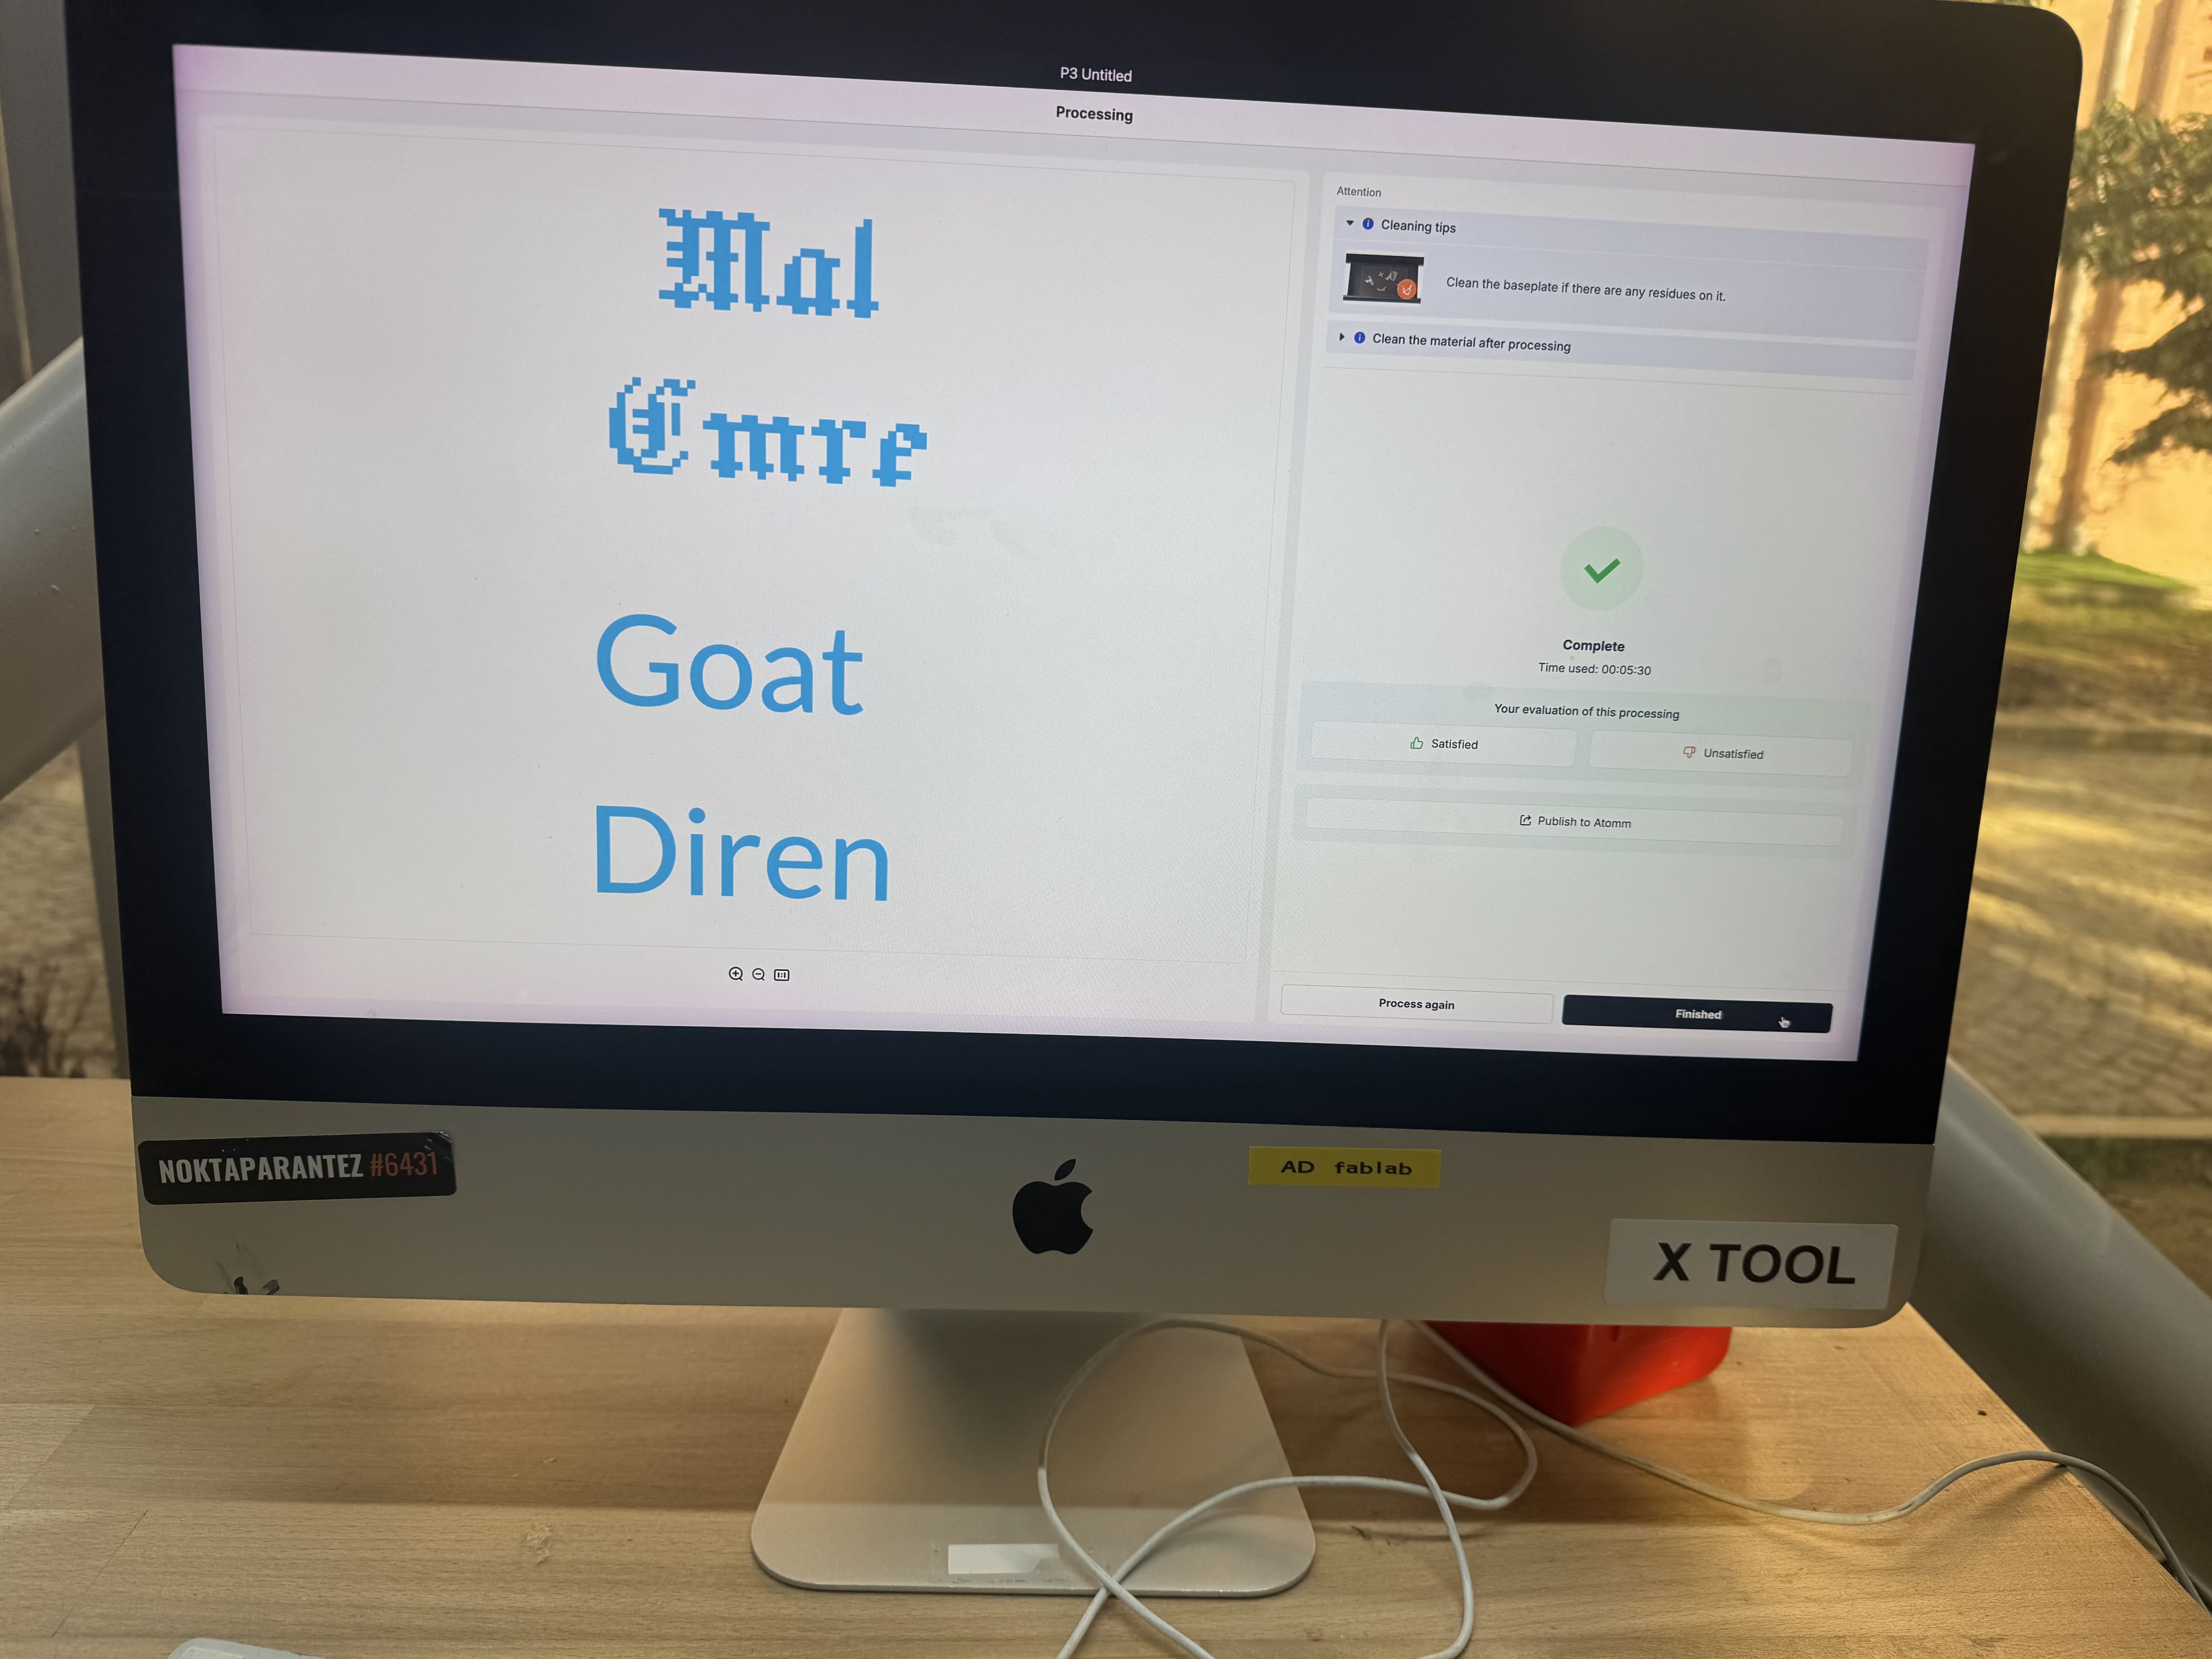
And as you can see below, the engraving is finished, and it looks cool, clear, and very authentic. Here is the final look at it :

Vinyl Cutting
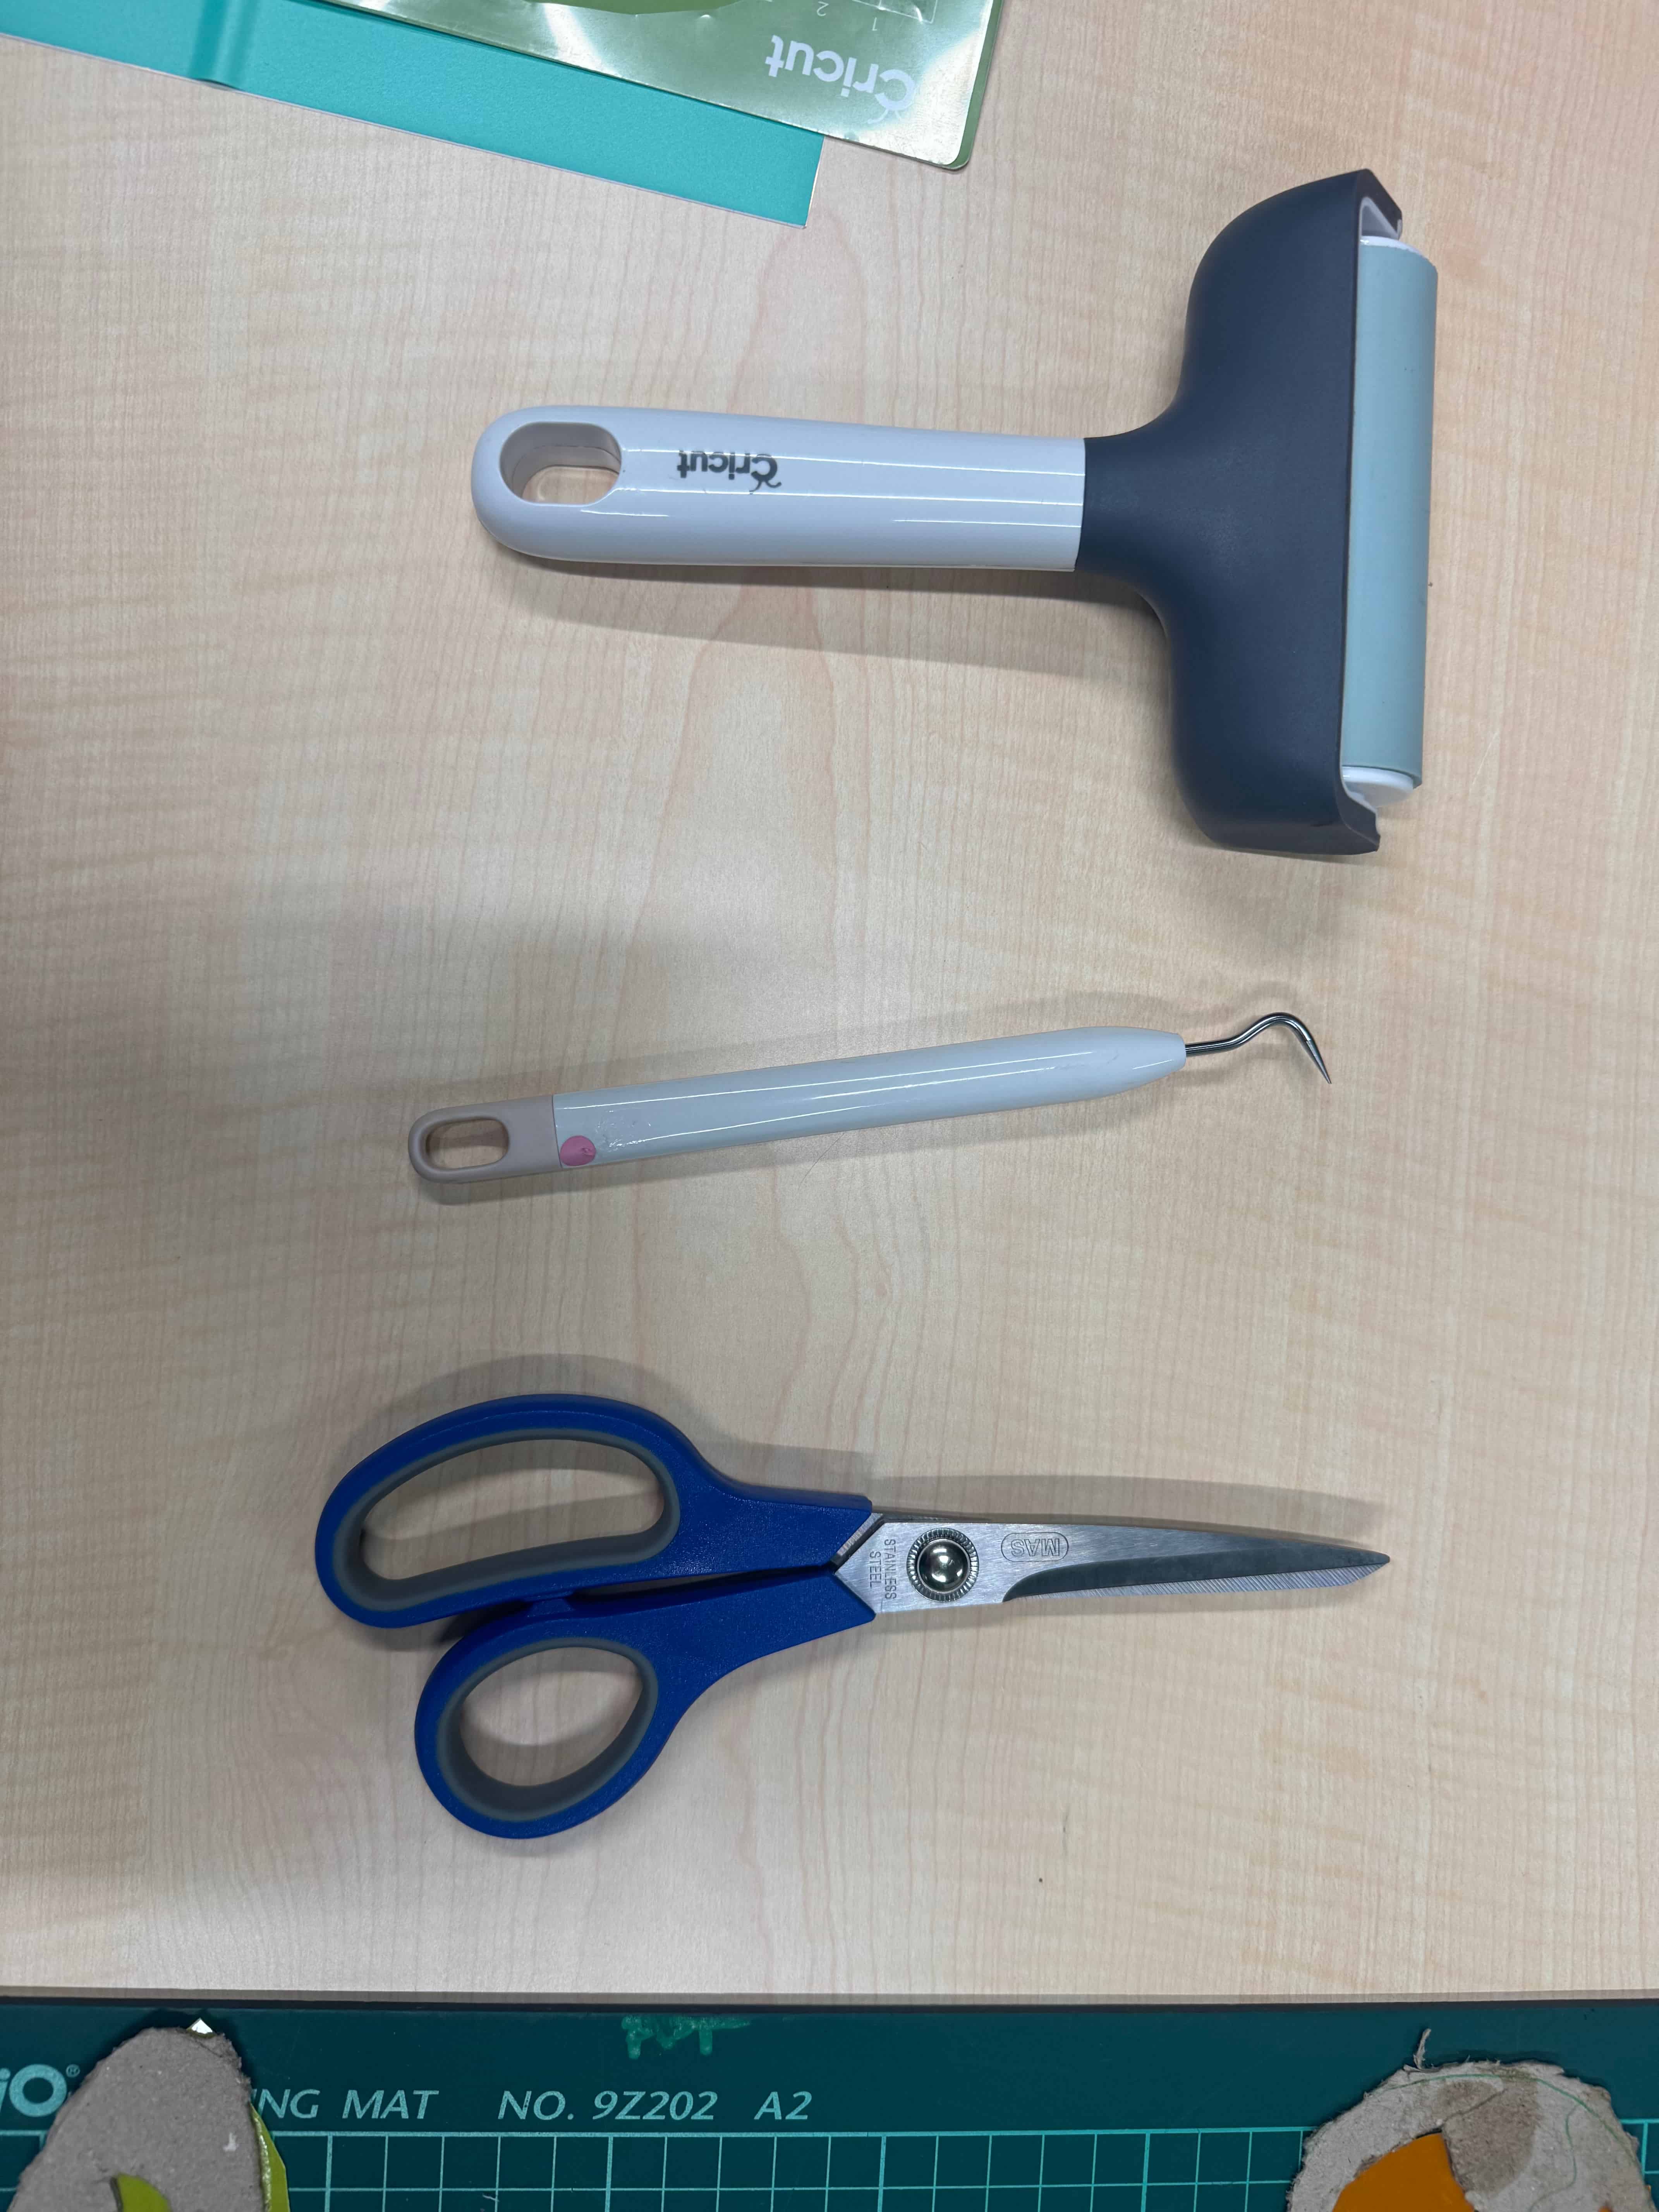
Firstly, there are some very important pieces of equipment for this process, and here are all of the necessary tools that are being used in the Vinyl cutting process:
In Vinyl Cutting, at first, I thought about what I should do as a sticker and tried to decide on my colour for the design I was going to use, and my first pick was this bright, shiny yellow.
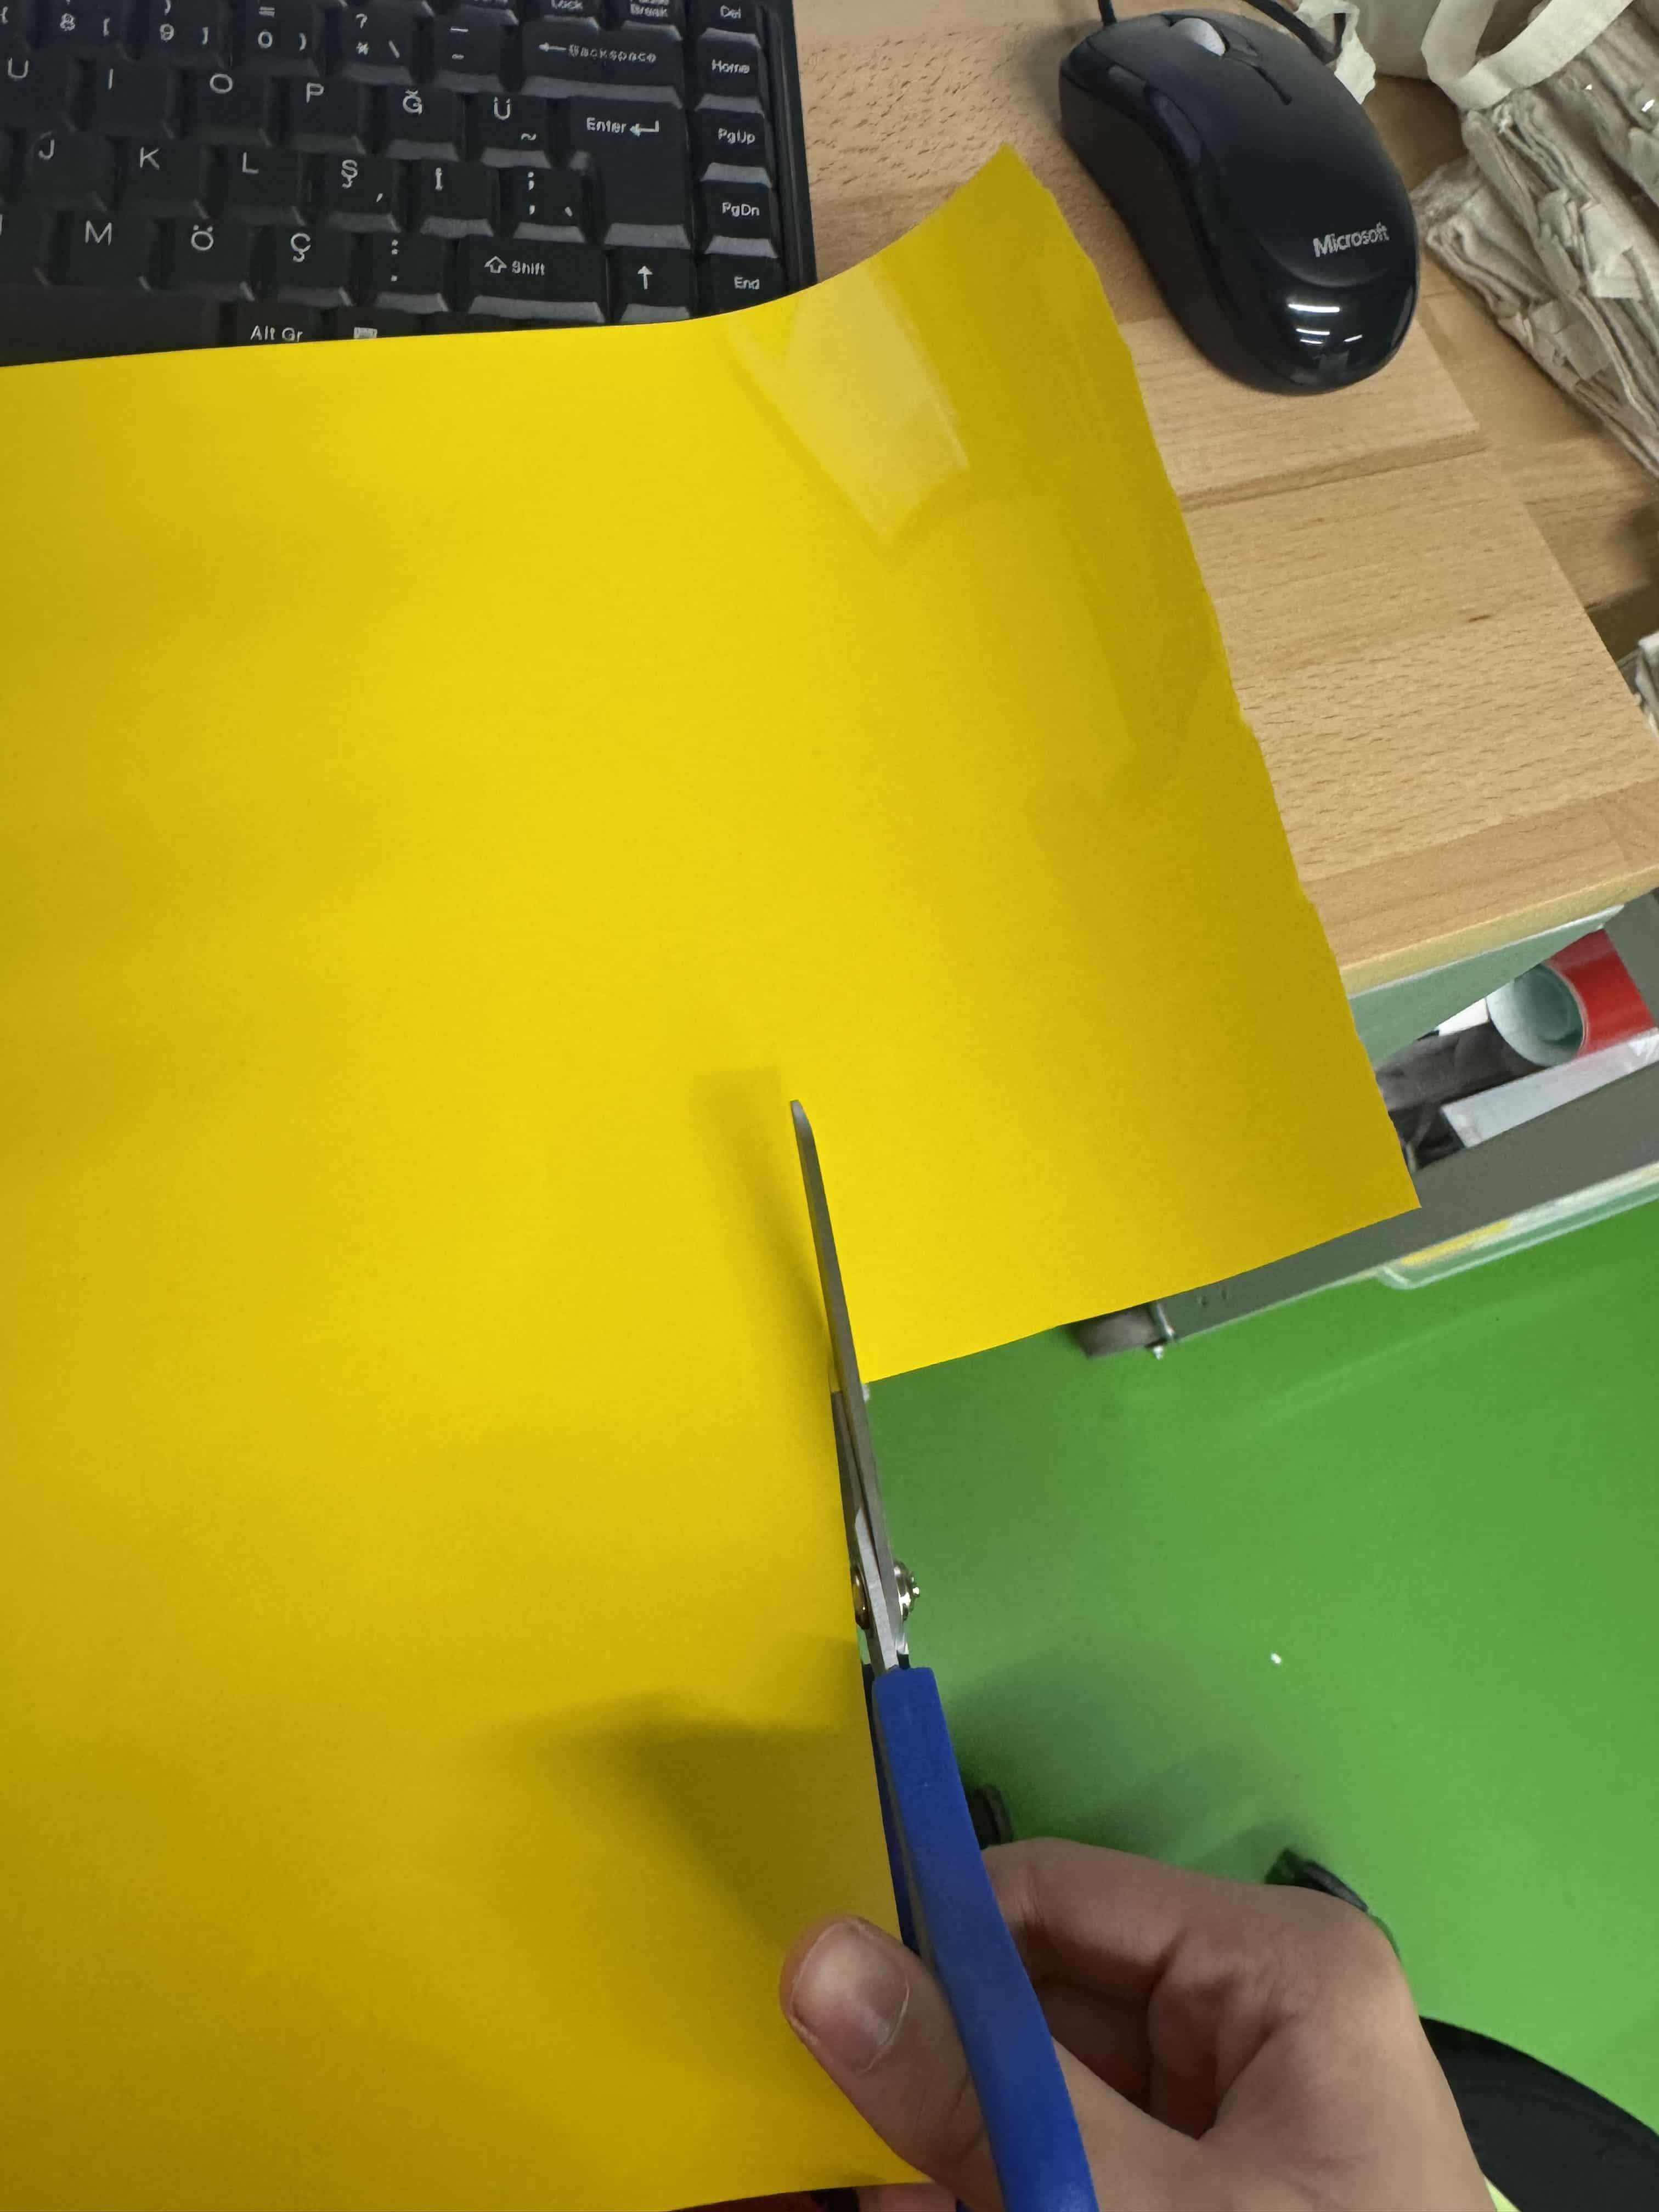 And I created a pyramid because i like pyramids and symbols, and because of that i decided that I was going to make a pyramid on an ancient symbol, and this was my pyramit design that I did
 After that i didn’t like the colour yellow because it was like a stereotype on pyramids because of that i changed my vision and changed its colour to a mat red like this:
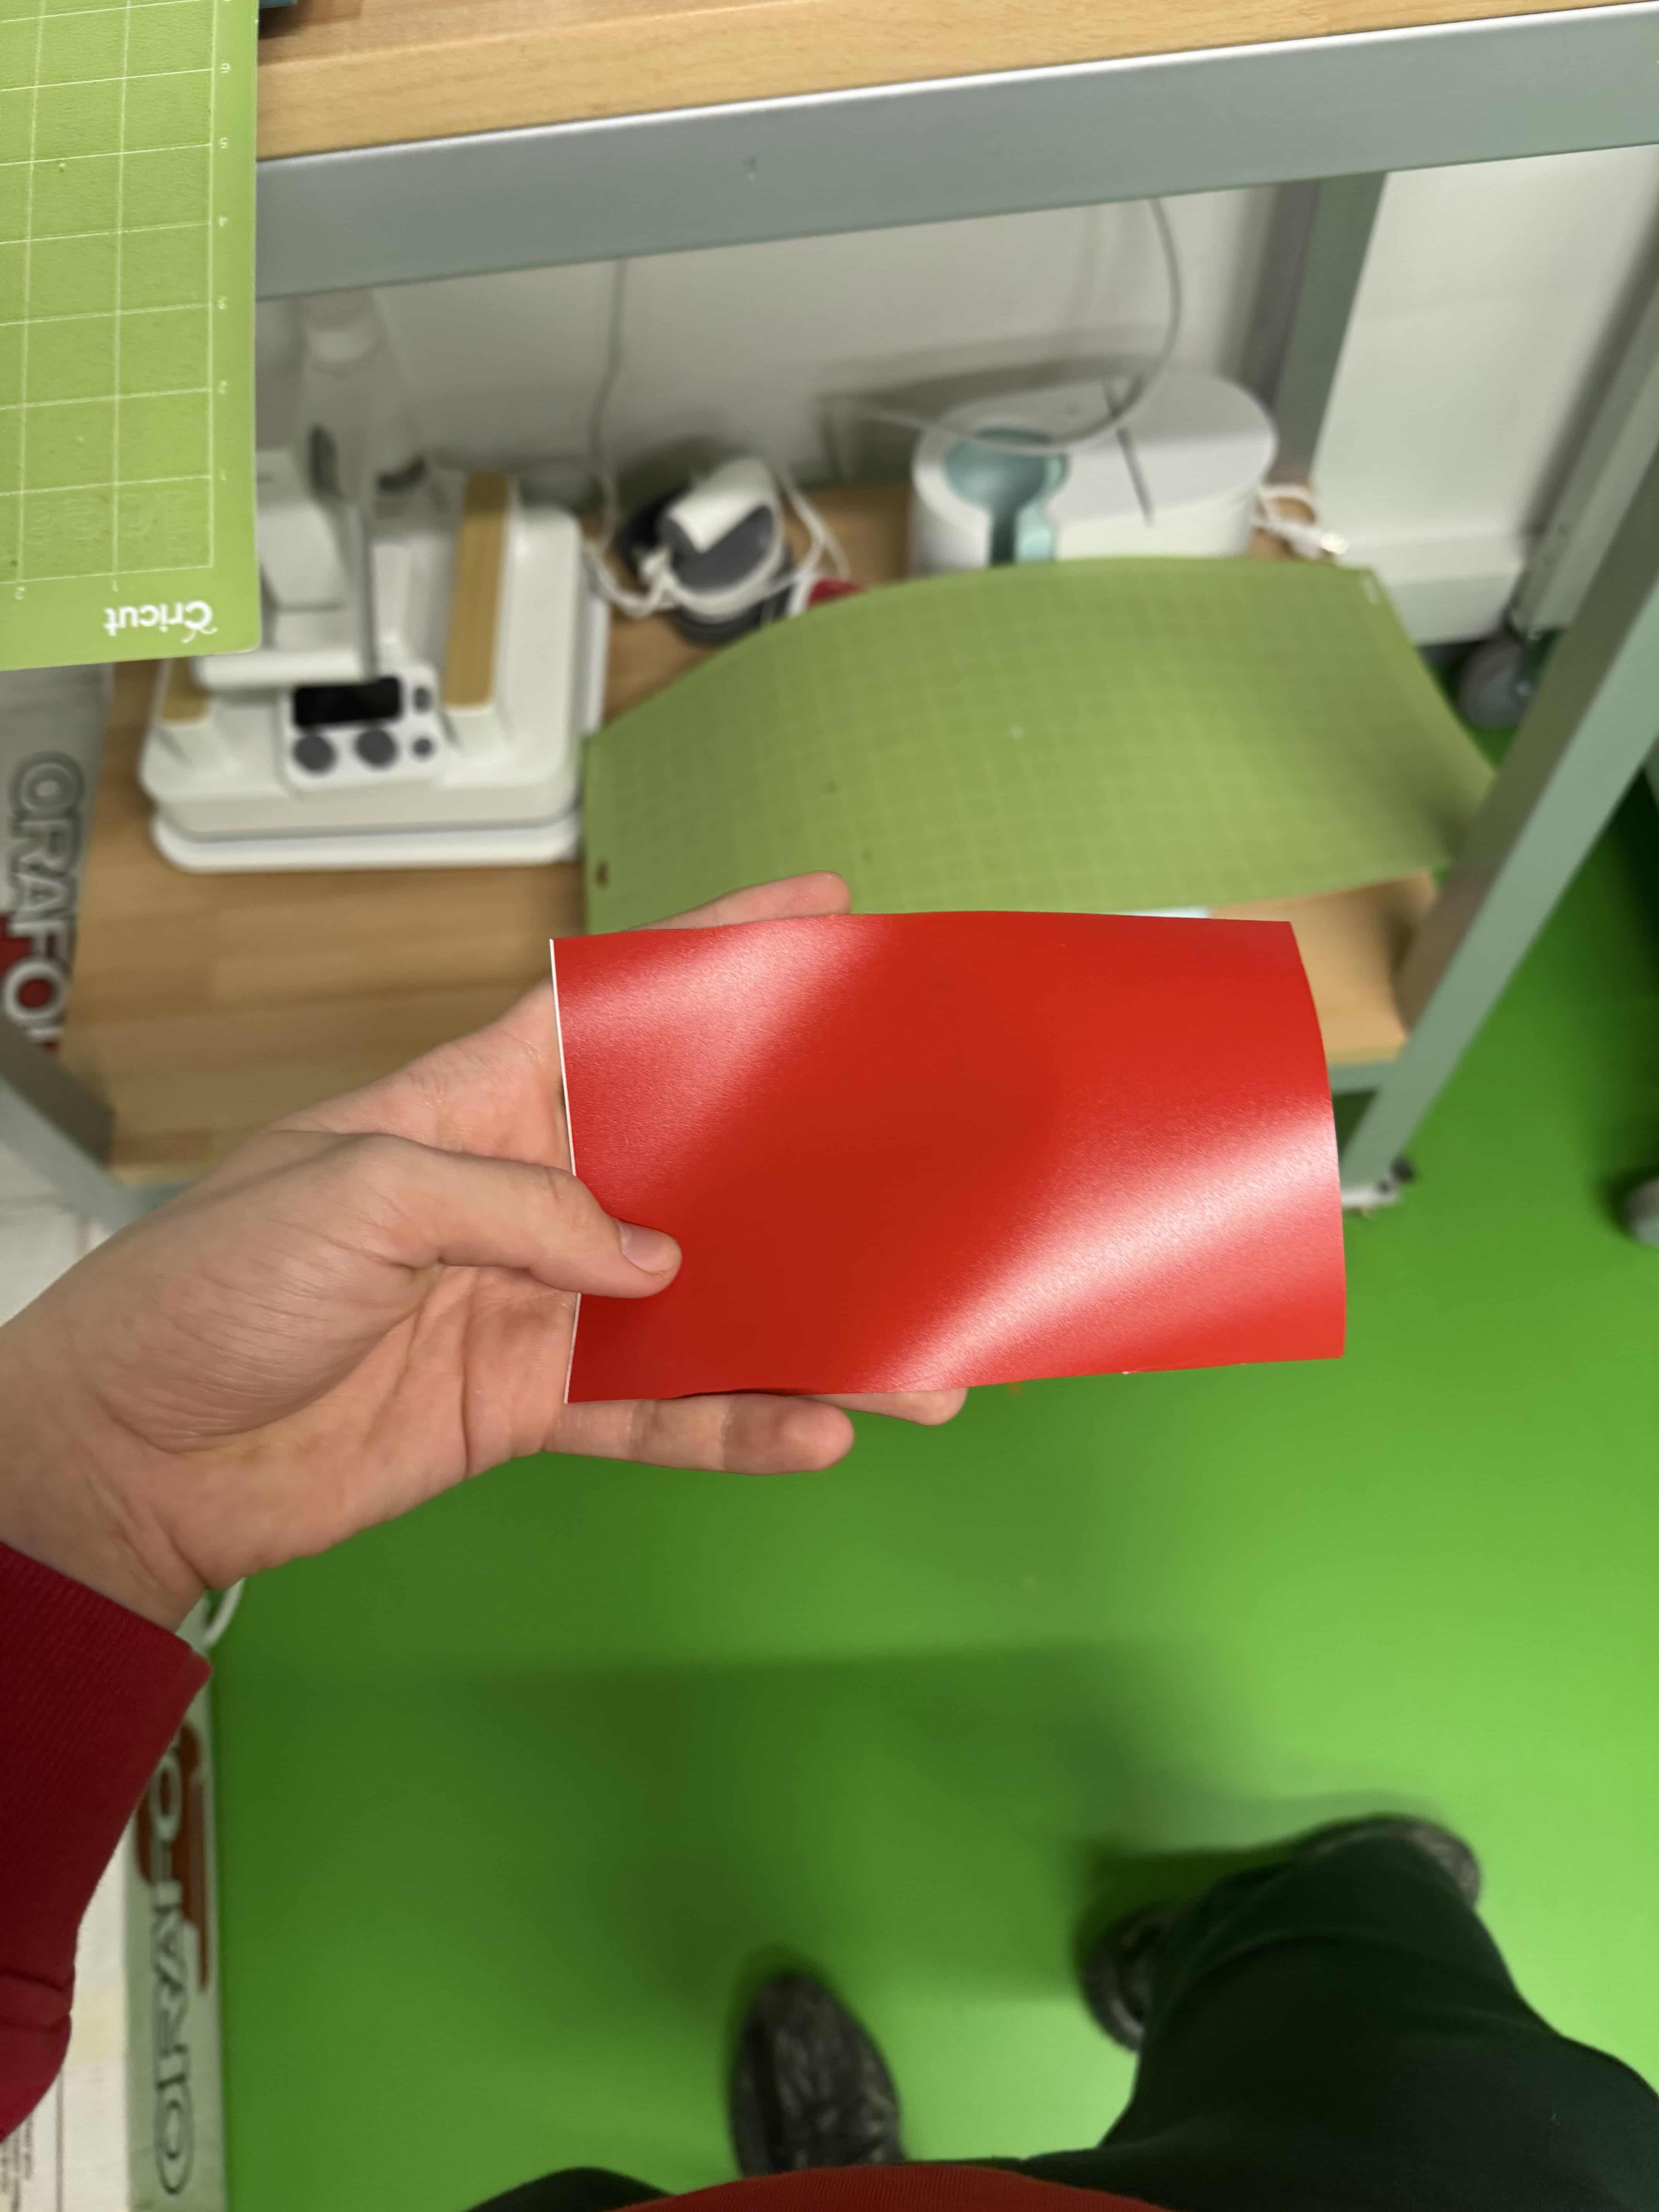
And I adjusted the size of the pyramid by selecting where to put in the system and clicked the play button to start the sticker cutting part of the vinyl, and the difference between the yellow and red vinyls is that the red one is a smart permanent, but the yellow was a normal type of vinyl. Here is a video of the process:
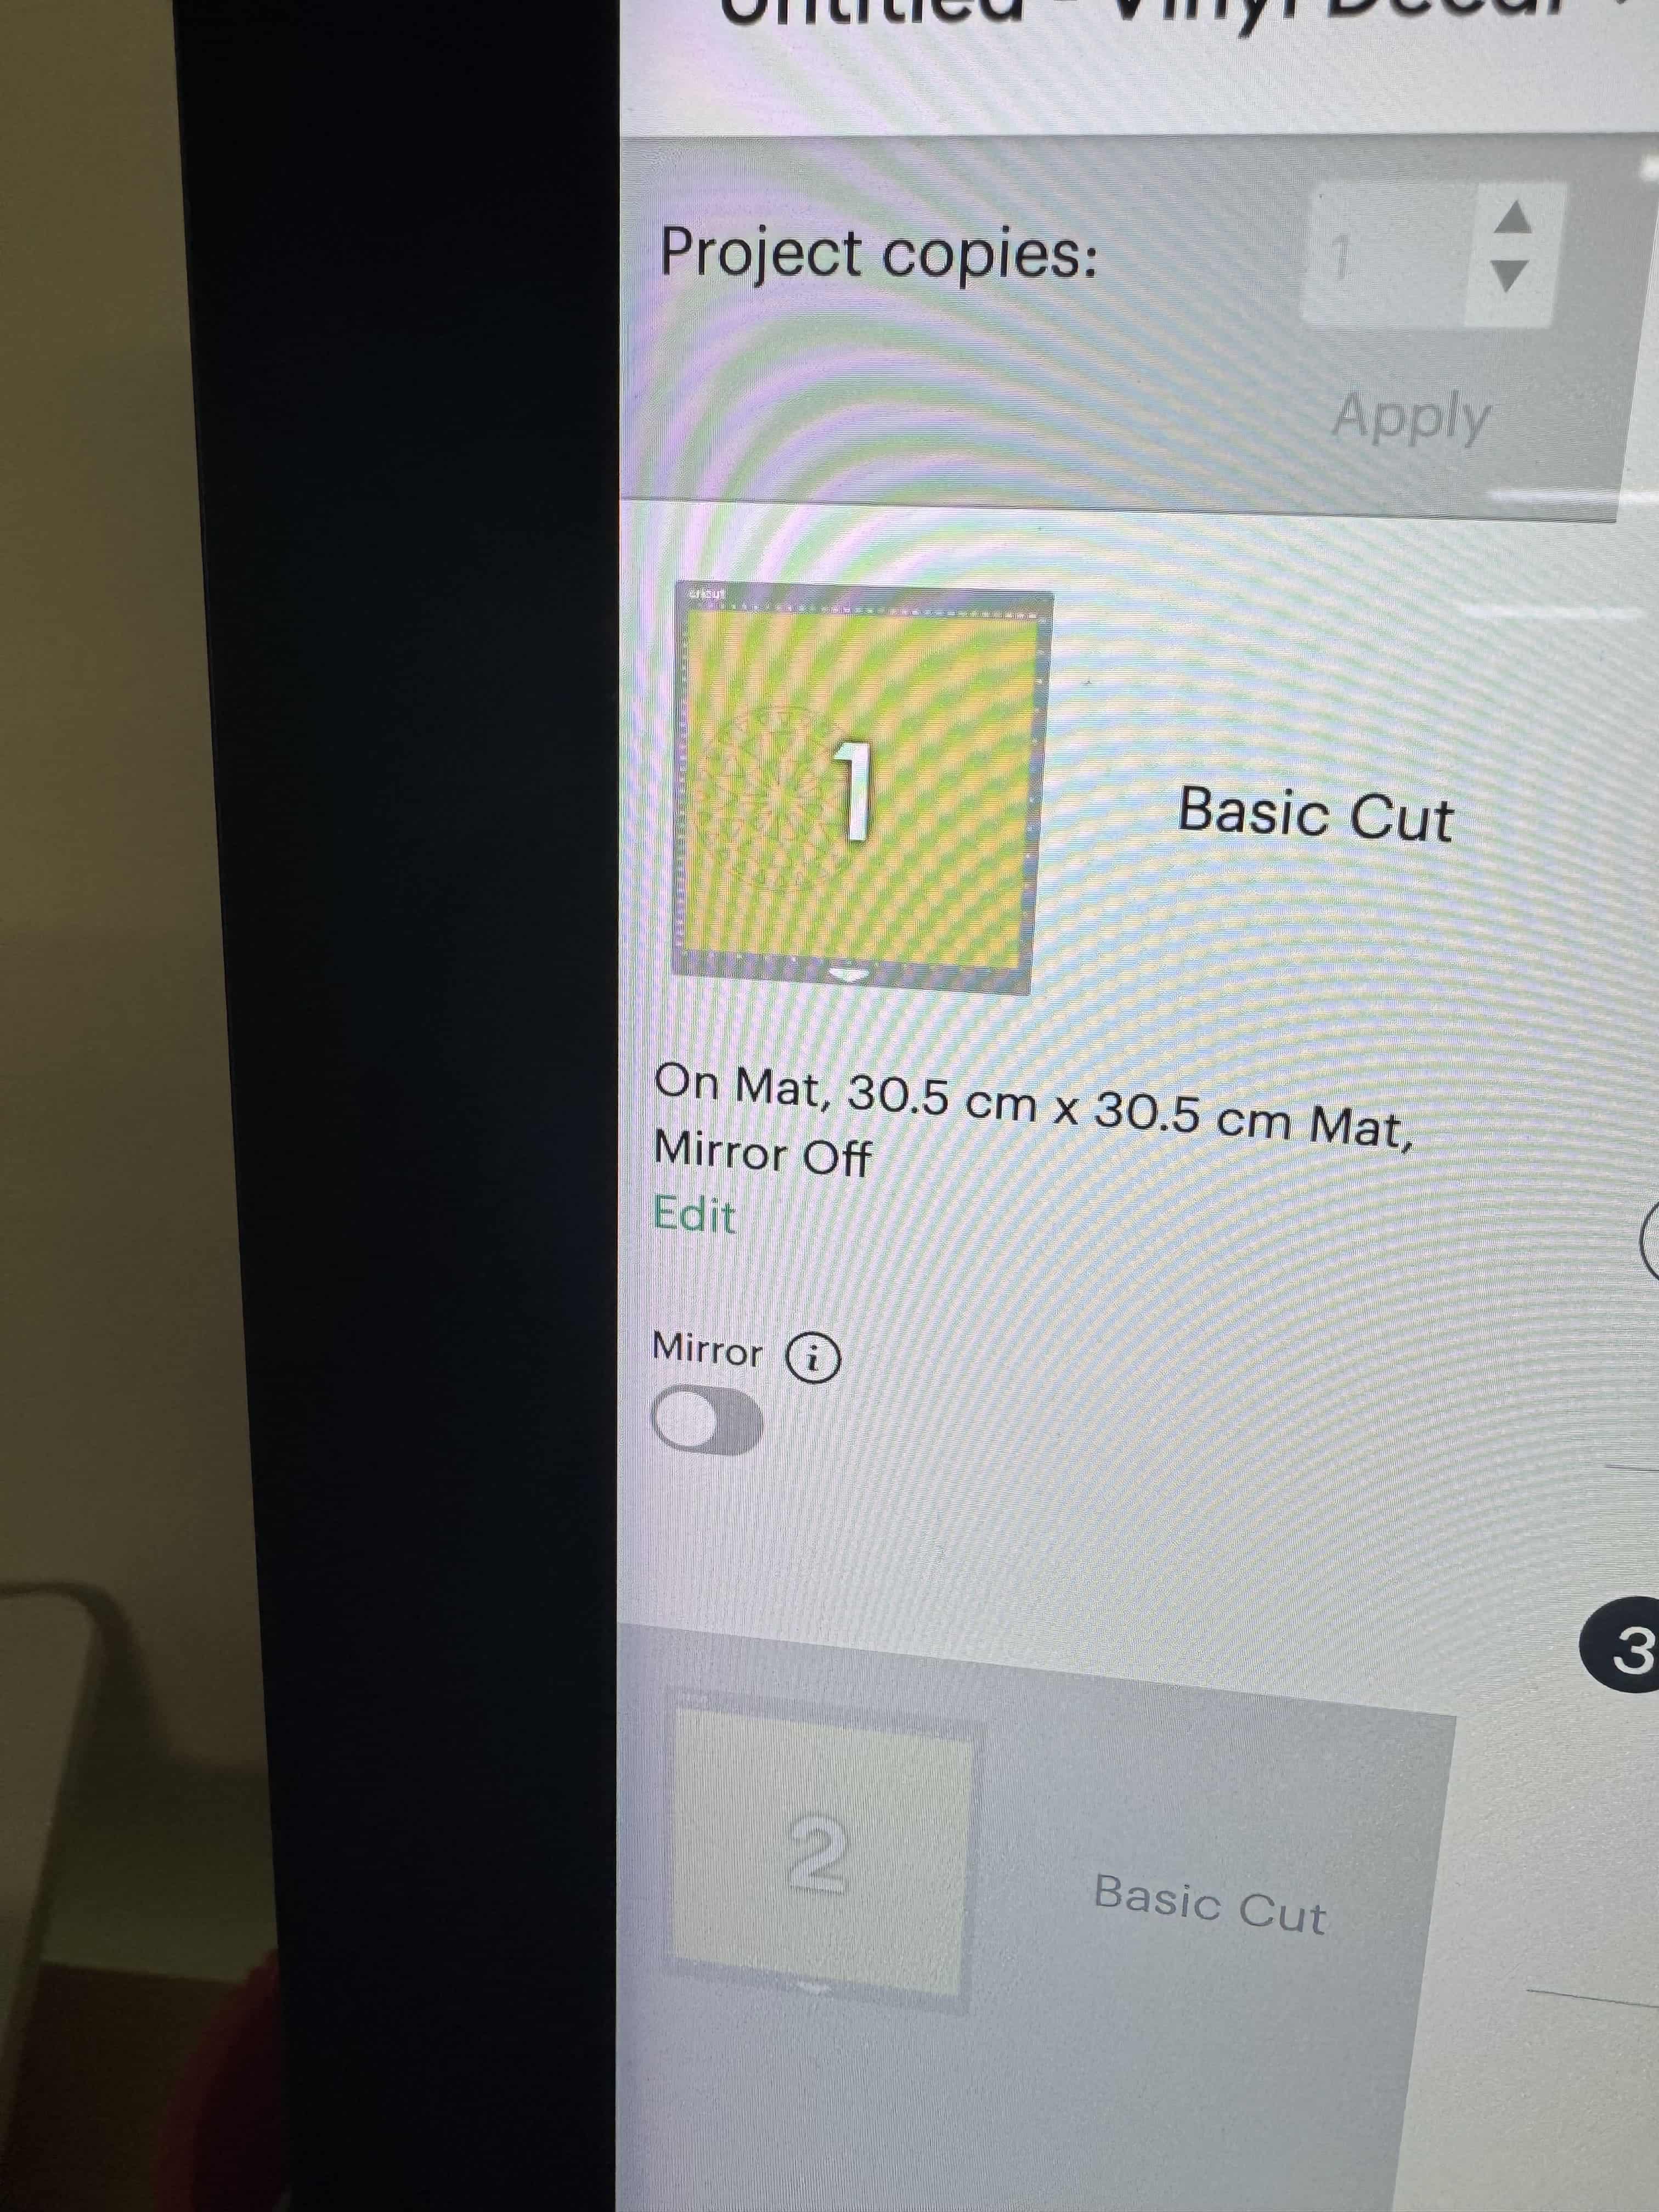
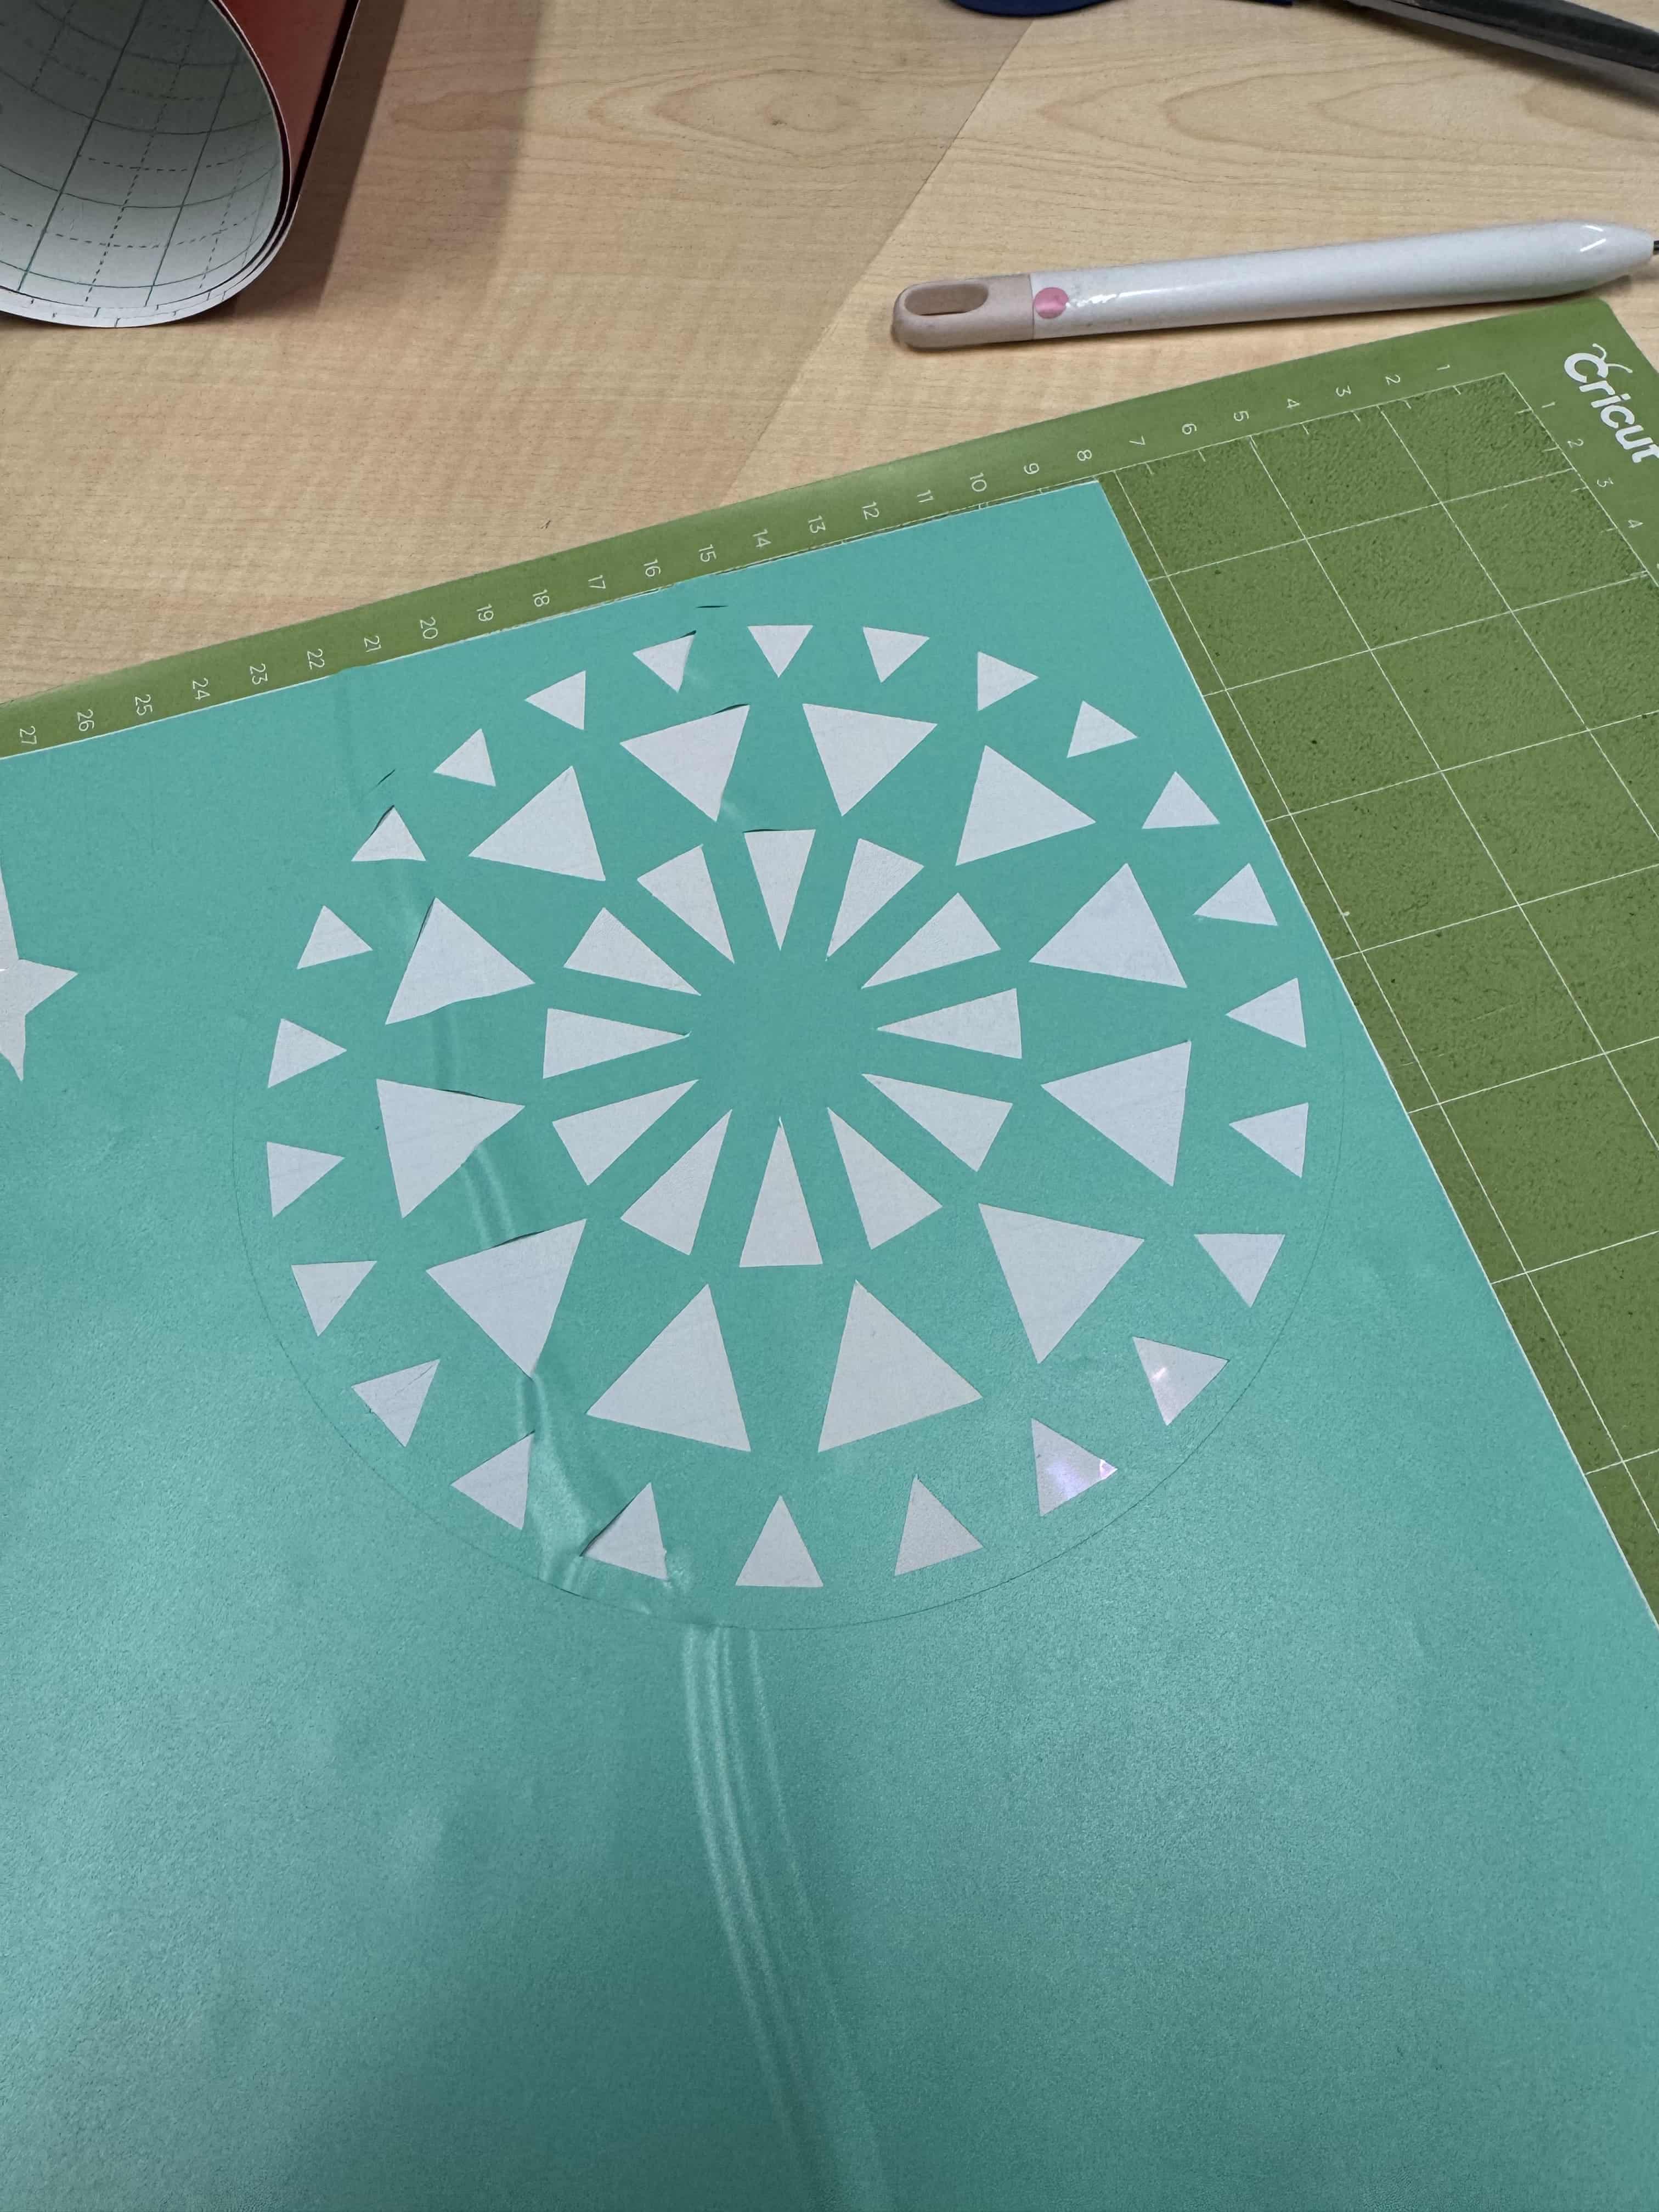
After all that I wasted no time and readied the other design that I named “Sand Spiral Symbol” i named it like this because pyramids are at sandy biomes, and it was a circle with spirals in it, creating a depth effect to the overall design of the structure, here is my mat info and the design:
 Btw, I failed with the yellow one because of that, I changed to red :(. I failed because I adjusted the circuit board so badly that the pin of the machine got out of range, and the cutting process stopped. Here is the video of the fail (it doesn’t look like a fail) :
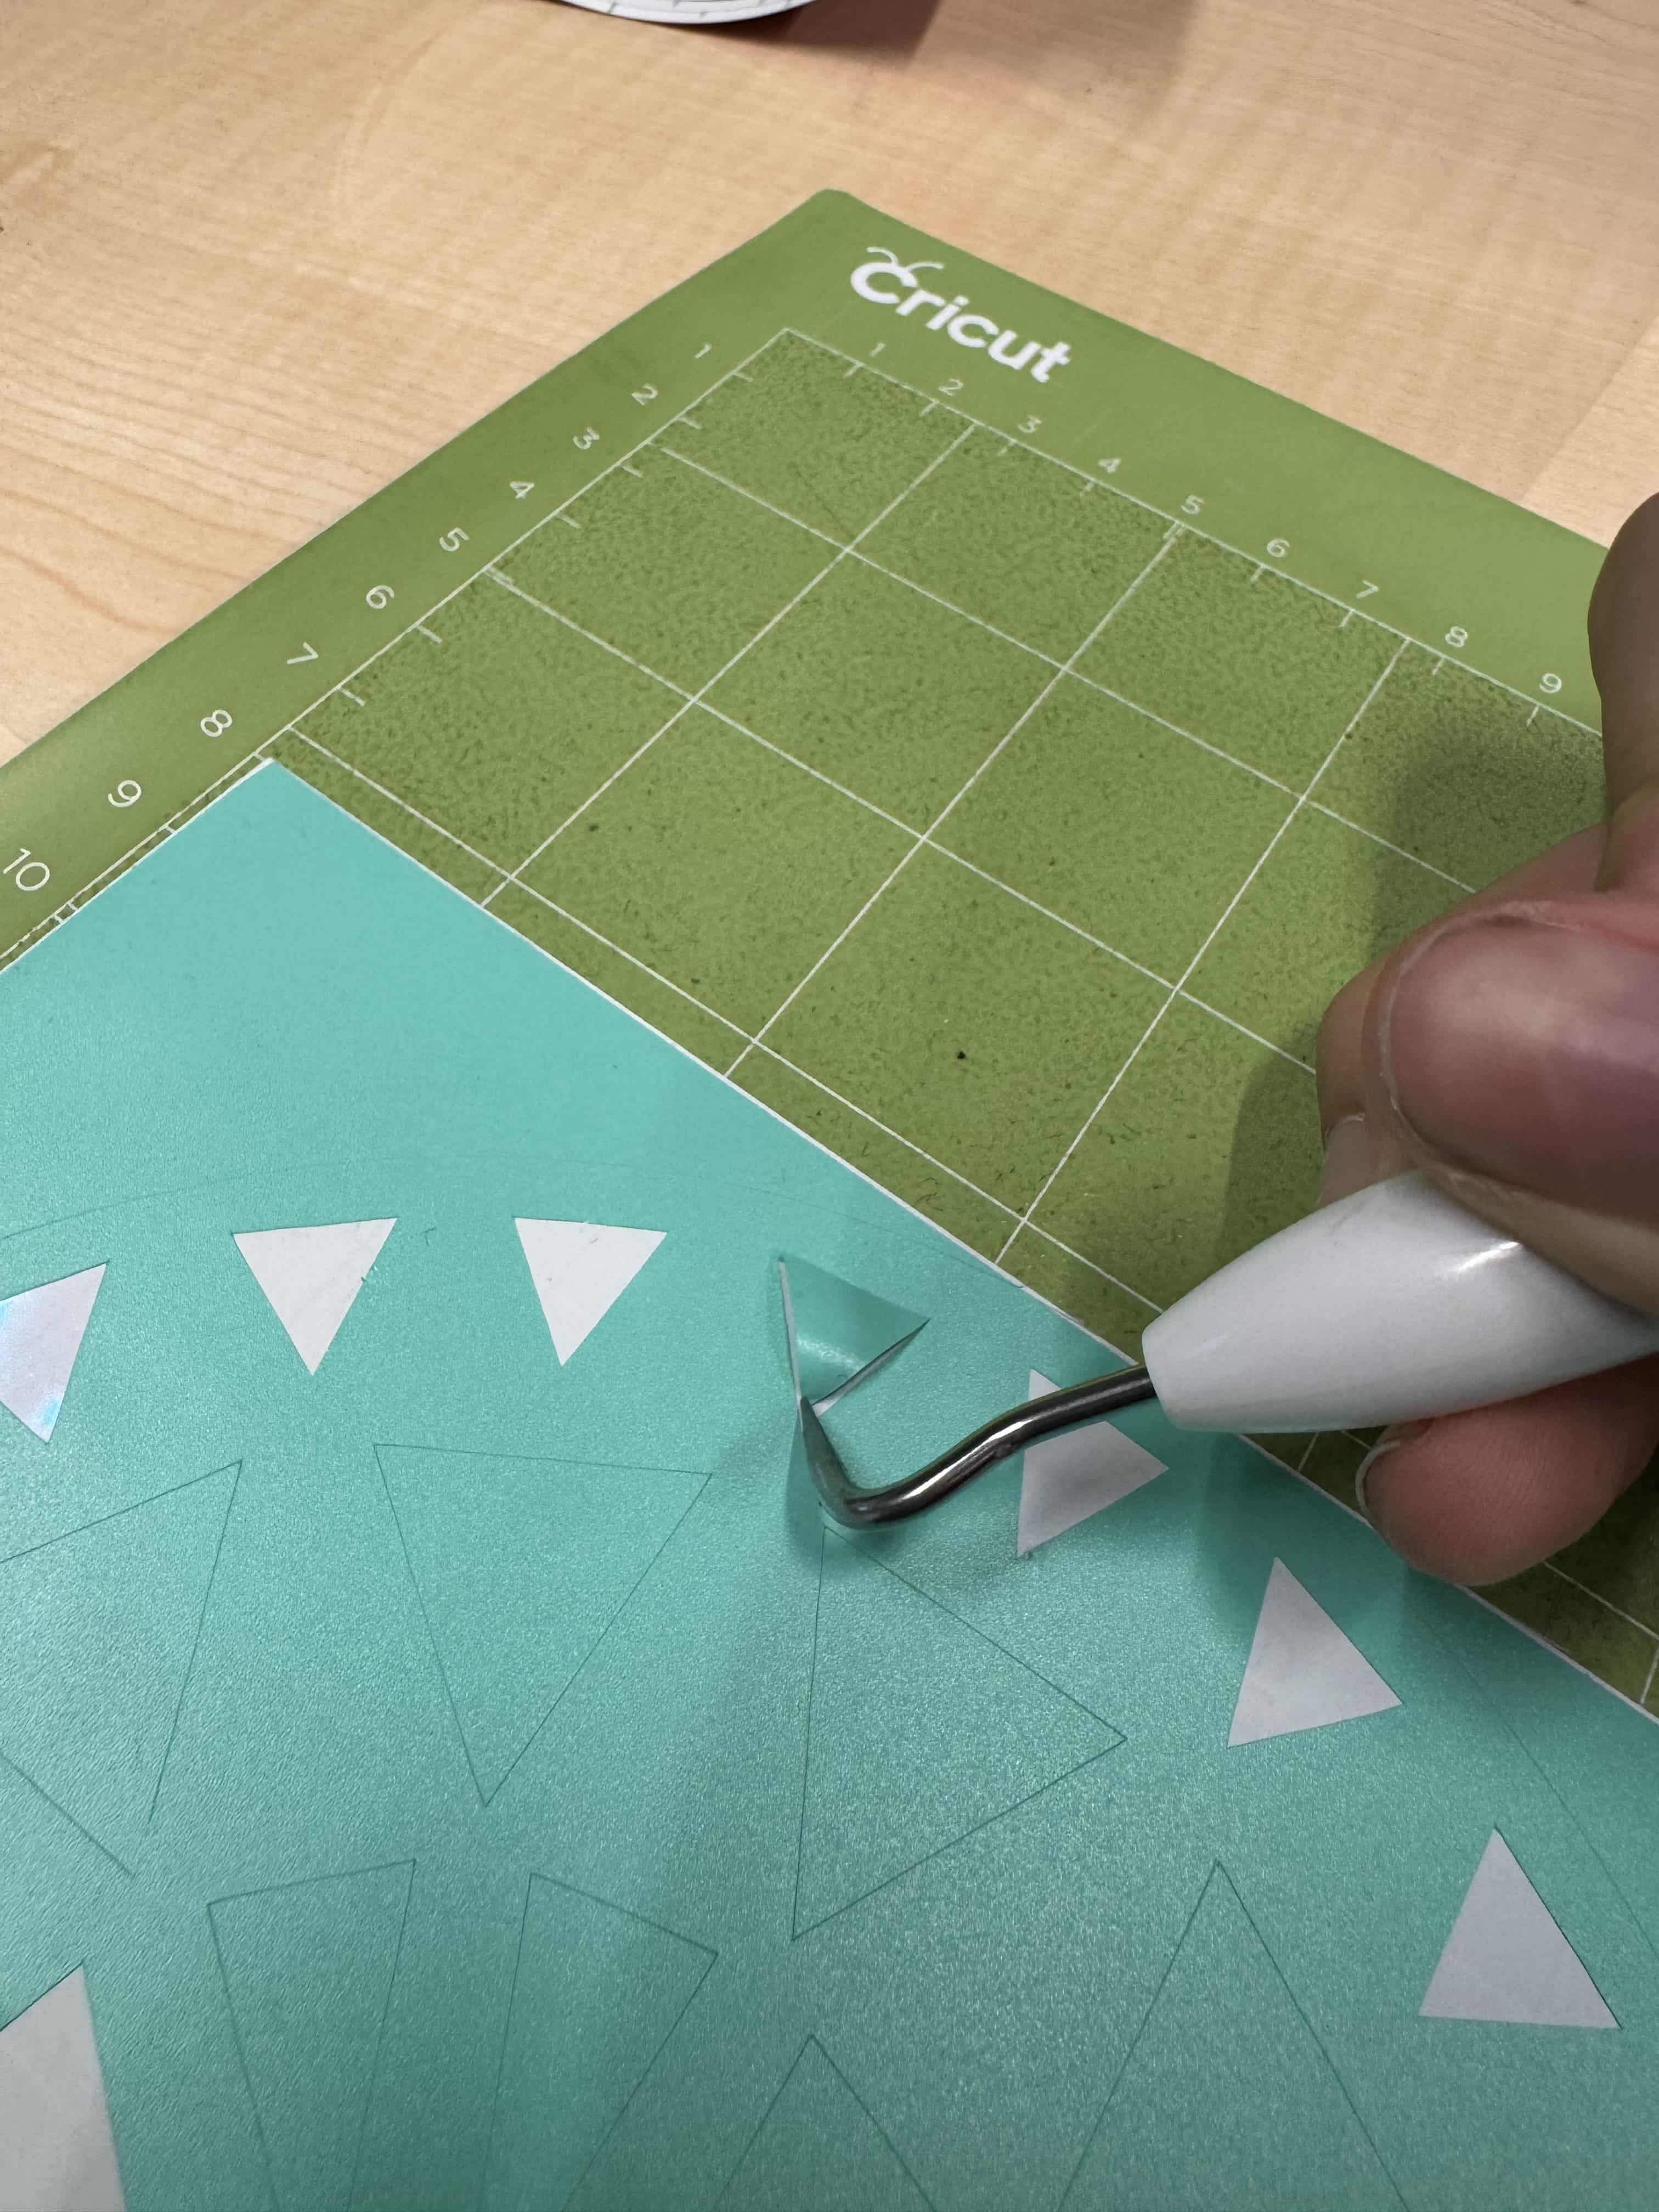
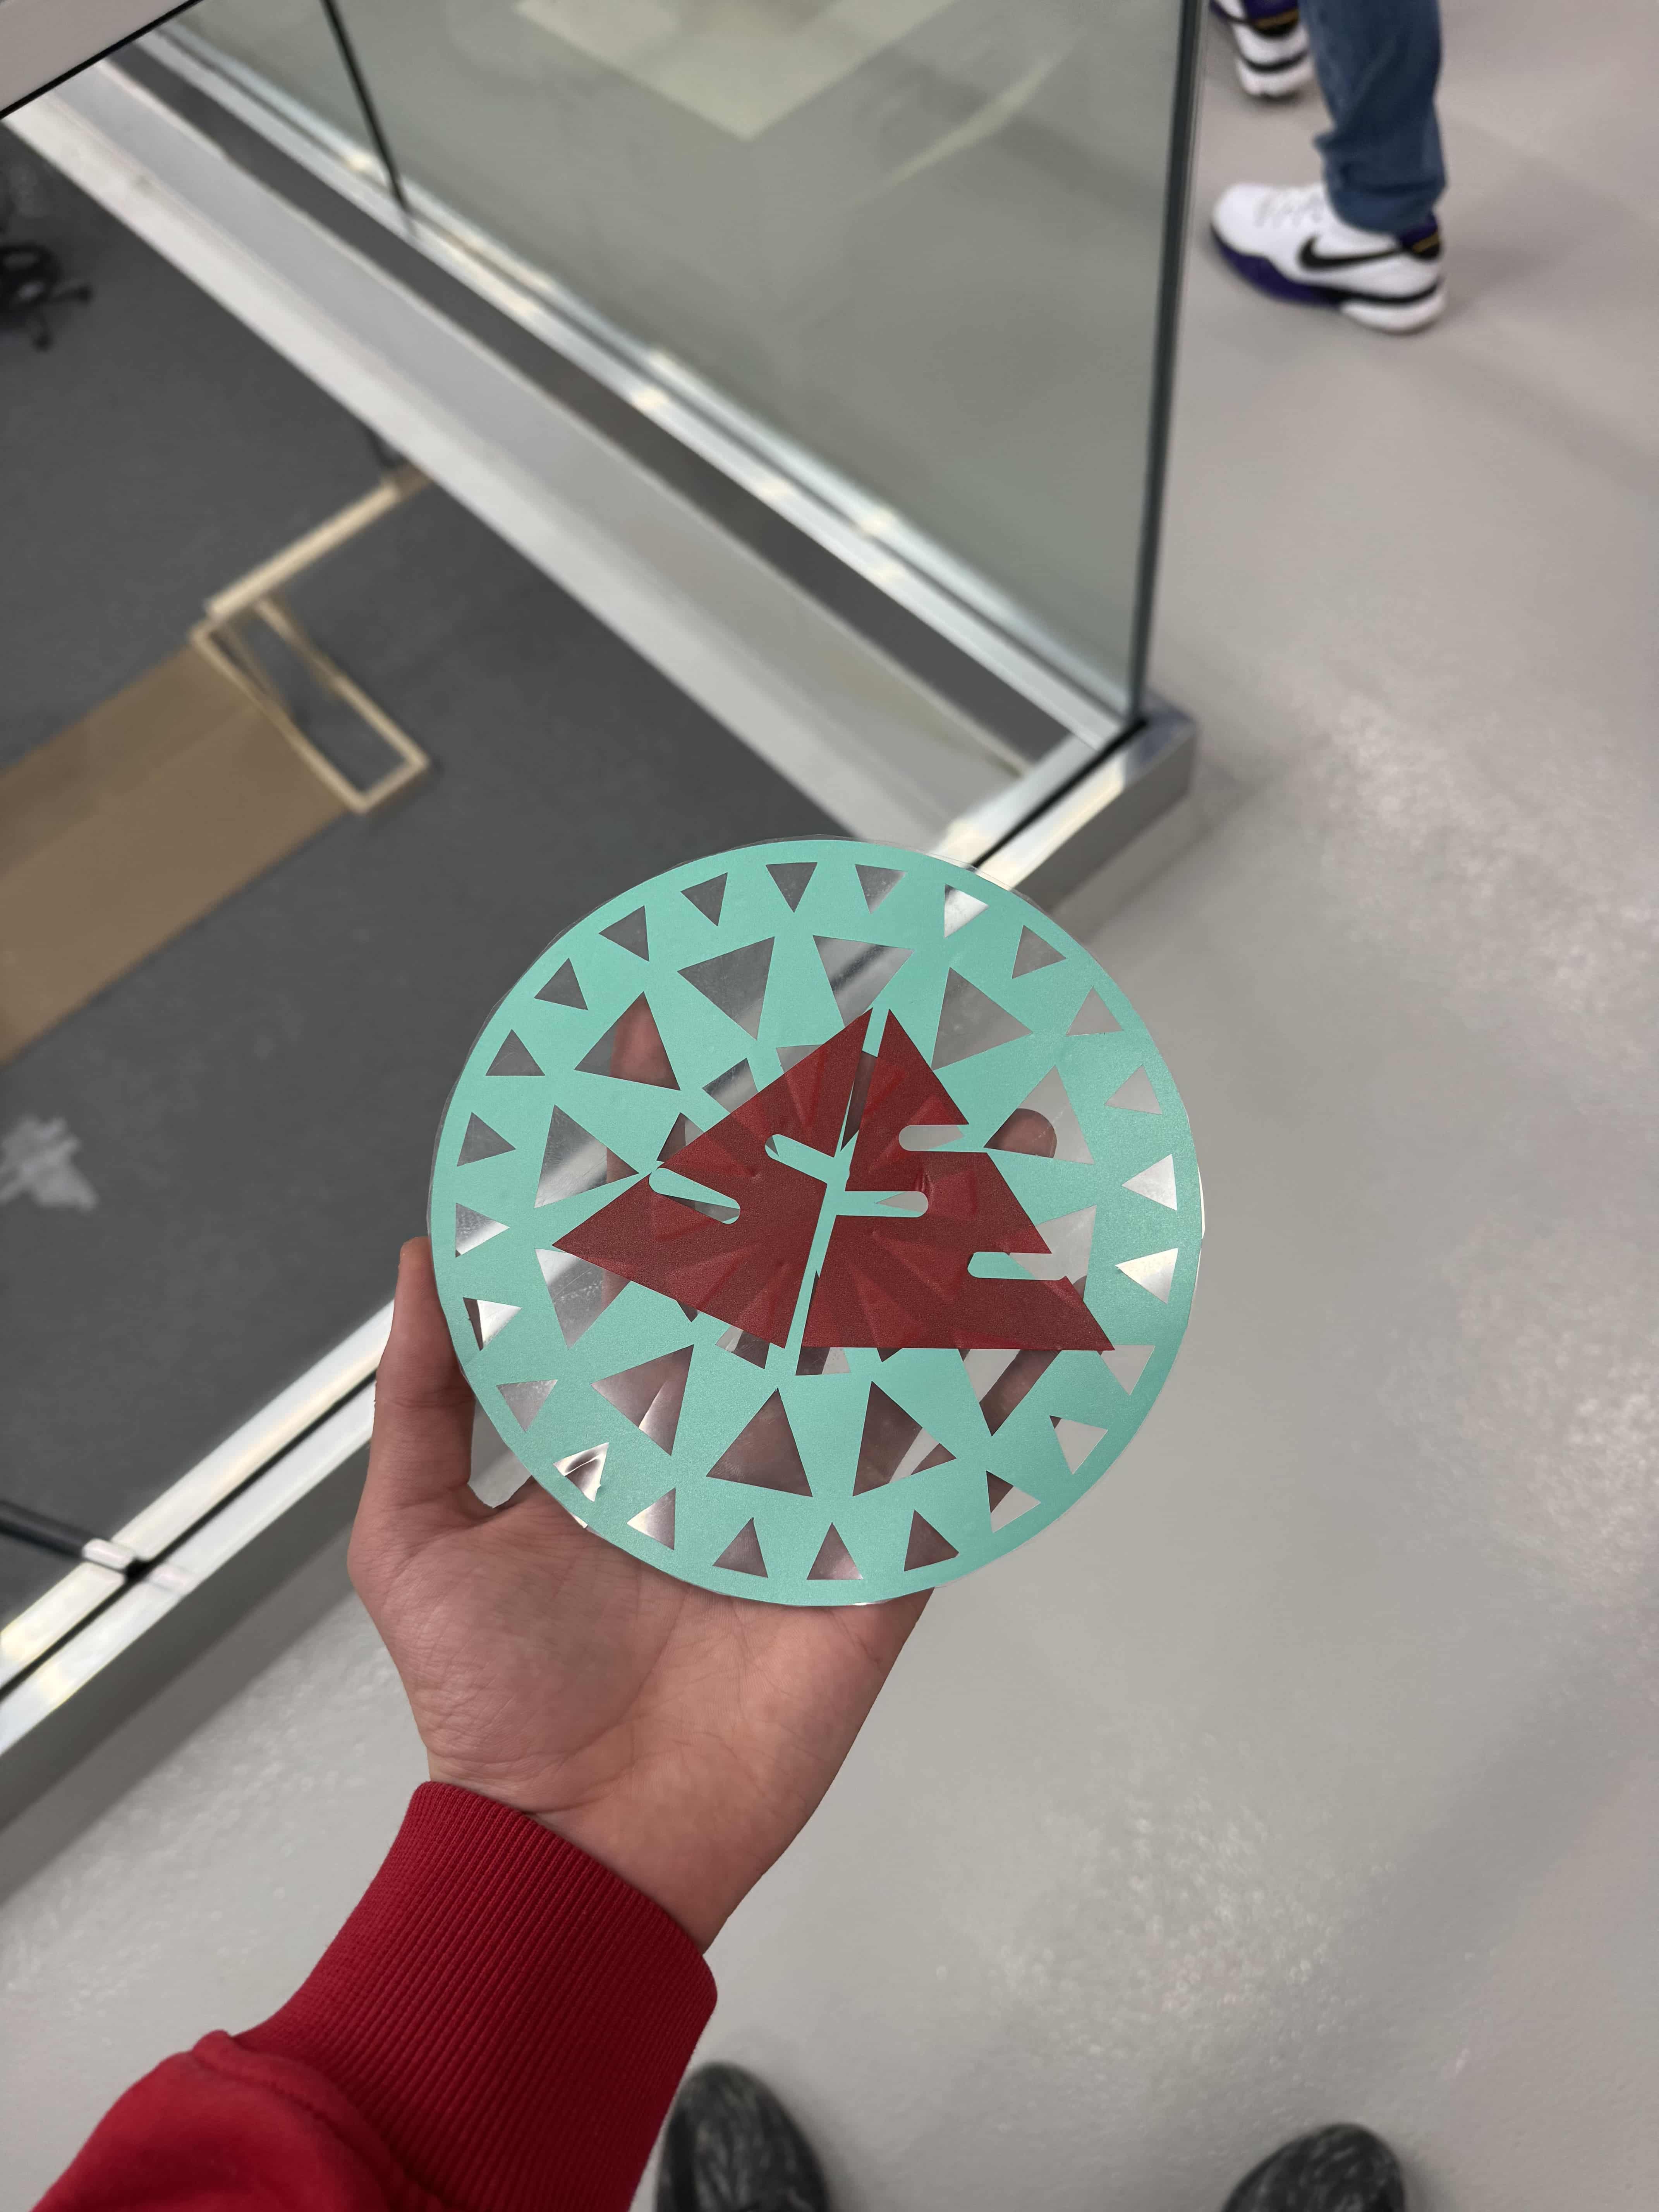
Look here is the all peeled version of the logo, and there was only 1 quest left for me. It was to combine perfectly and create a ancient looking logo for me to store at my home, here is the all peeled version that i mentioned:
And here is the and product as you can see at the below of this text it was a great experience and i learned how to use the vinyl cutter (cricut) and the side tools for peeling combining etc.