Week02
Goal of this week
- model (raster, vector, 2D, 3D, render, animate, simulate, …) a possible final project
- compress your images and videos
- post a description with your design files on your class page,upload all the process and file
my working plan
- choose 2D and 3D software I diceide to learn and install them-----3H it take some boring time to download and install....
- make simple disign with each software: 2D for a beer and 3D for a box
- choose one 2D software to make a sketch of my final project
- choose one 3D software to make a model of my final project (part of the body of my robot)
- do file compression and upload to my website together with all the file
- compare each software
- finally try AI in 2D & 3D design
1. choose 2D and 3D software I diceide to learn and install them
after discuss with my totur Nancy, I decided to use the following software
| 2D | 3D | simulation | audion vidio |
|---|---|---|---|
| GIMP | fusion 360 | blender physics | openshot |
| inkscape | solidworks | ||
| laser maker | Rhino |
I choose these software because it will be helpful for my future work and I know people who are good at these software so I can get help. here is the download link of each software. it is easy to install them, just follow each step. so I just show the download links:
- GIMP: https://www.gimp.org/downloads/
- inkscape: https://www.inkscape.org
- laser maker: https://software.lasermaker.com.cn/ #it is a Chinese verson, its hard for me to open its English website
- fusion 360: https://www.autodesk.com/products/fusion-360/overview
- solidworks: https://go.3ds.com
- Rhino: https://www.rhino3d.com
- blender physics: https://www.blender.org/download/
- openshot: https://www.openshot.org/download/
2. Make simple design for each software
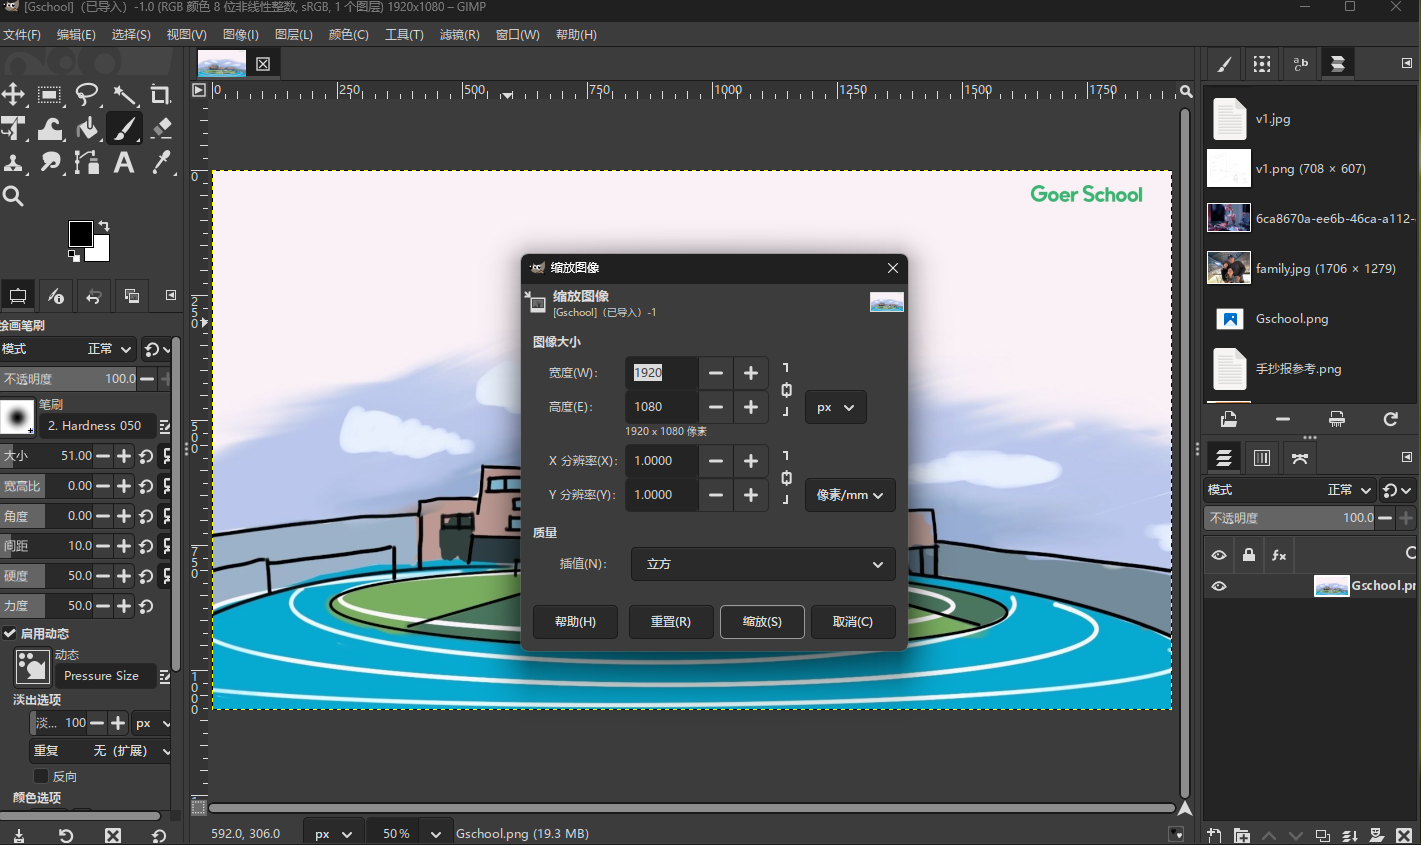
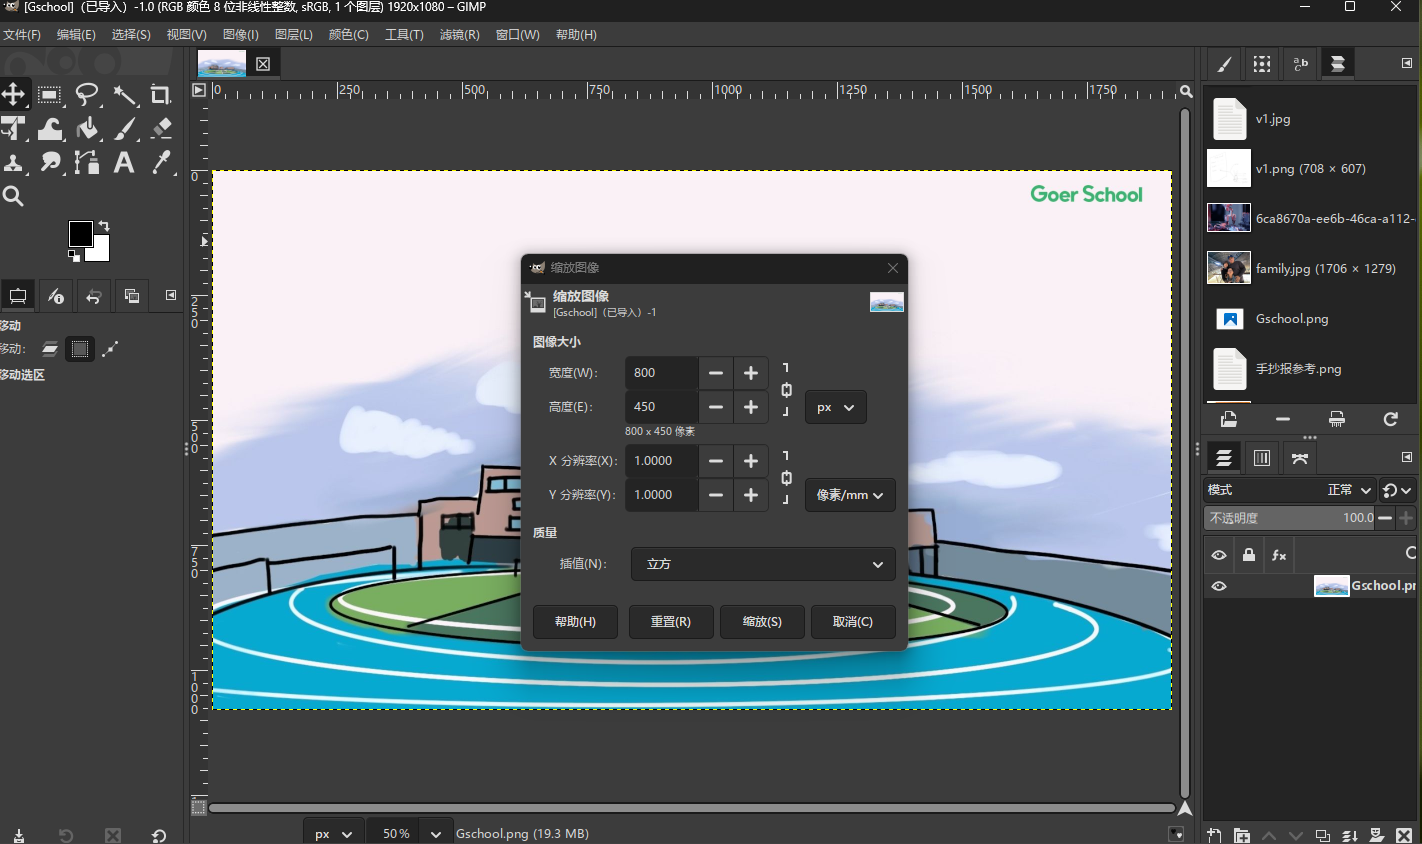
Gimp
- open G school phote and resize it
 |
 |
- add one layer—add a fablab in previous G school pictured
use AI”doubao” to generate a fablab carton picture by typing prompt “I need a fablab carton picture”
open the fablab picture with Gimp and resize it to 600*337

use Lasso Too to cut the fablab out of the whole picture

add one new layer in G school project and paste fablab to the new layer, then we got a fablab in g school campus

export the new picture as png format and upload it to my website and I got new index picture now :)
Inkscape
create new file and modify property to adjust size to 680*800 pixel

change height from 680 to 780 by editing prarameter with XML editor

add another layer and and draw one rectangle on each layer

change color and transarency

laser maker
here is laser maker interface

I decide to create a “task board” for my final project
- defined the size: 500mm*300mm

- add text and arrows and then use matix command to copy 8 task bars

- finally I got a task board:)

fusion 360
to learn fusion I find a helpful online course from Yaro’s website: https://www.youtube.com/watch?v=WKb3mRkgTwg&list=PLrZ2zKOtC_-C4rWfapgngoe9o2-ng8ZBr
I just follow the online course to make a top block first
- create new project by clicking: new project

- create a rectangle and edit the size

- pull the rectangle to a cube with extrude command, the I get a cube:)


- draw a 5mm circle on the top side of the cube, extrude 1.9mm


- use matix command to copy 8 cylinders , be careful the choose type as features

- use shell command to empty the bottom surface

- use fillet command to make the round edge of the all the edges, the I got my first fusion design ready:)

solid works
I will try to bulid the same LEGO brick with solidworks and compare it wiht fusion 360
- build rectengle

- extrude 9.6mm

- draw a 4.8mm circle and place it 3.8mm two both edge, extrude 1.8mm


- write LEGO letters and extrude o.1mm


- use shell command to empty the bottom surface

- fillet all edges and choose a blue plastic material for the brick, and I finish it again with solidworks.

Rhino
I will do the some modelling with Rhino, this time I try python code. I have do not know python but I know AI will help mw I tell “Doubao” write me a rhino 8 code for a LEGO brick 2*4 and receiced these codes
# 导入RhinoPython核心库(CPython 100%兼容)
import rhinoscriptsyntax as rs
import math

# ===================== 乐高2*4积木 标准尺寸常量(单位:mm,可直接修改)=====================
UNIT = 8          # 乐高标准模数(固定8mm)
BRICK_ROW = 2     # 凸粒行数
BRICK_COL = 4     # 凸粒列数
BRICK_LENGTH = BRICK_COL * UNIT  # 总长32mm
BRICK_WIDTH = BRICK_ROW * UNIT   # 总宽16mm
BRICK_HEIGHT = 9.6               # 总高9.6mm(乐高固定值)
DOT_DIAMETER = 4.8               # 顶部凸粒直径
DOT_HEIGHT = 1.8                 # 顶部凸粒高度
DOT_RADIUS = DOT_DIAMETER / 2    # 凸粒半径(自动计算)

# ===================== 步骤1:创建基础砖体(CPython AddBox 8顶点标准格式)=====================
pt1 = (-BRICK_LENGTH/2, -BRICK_WIDTH/2, 0)
pt2 = (BRICK_LENGTH/2, BRICK_WIDTH/2, BRICK_HEIGHT)
# 8顶点列表:底部4点顺时针 + 顶部4点顺时针(CPython唯一支持格式)
base_box_pts = [
    (pt1[0], pt1[1], pt1[2]), (pt2[0], pt1[1], pt1[2]),
    (pt2[0], pt2[1], pt1[2]), (pt1[0], pt2[1], pt1[2]),
    (pt1[0], pt1[1], pt2[2]), (pt2[0], pt1[1], pt2[2]),
    (pt2[0], pt2[1], pt2[2]), (pt1[0], pt2[1], pt2[2])
]
base_brick = rs.AddBox(base_box_pts)
dot_objects = [base_brick]  # 存储实体,后续合并凸粒

# ===================== 步骤2:创建顶部8个凸粒(纯坐标定位,无任何平面函数)=====================
start_x = -BRICK_LENGTH/2 + UNIT/2
start_y = -BRICK_WIDTH/2 + UNIT/2

# 双层循环生成2行×4列凸粒(圆柱+半球经典造型)
for row in range(BRICK_ROW):
    for col in range(BRICK_COL):
        # 凸粒圆柱底部中心/半球球心坐标(纯数值计算,无偏移)
        cyl_center = (start_x + col*UNIT, start_y + row*UNIT, BRICK_HEIGHT - DOT_HEIGHT)
        sphere_center = (start_x + col*UNIT, start_y + row*UNIT, BRICK_HEIGHT)

        # 生成圆柱+半球,CPython完全支持
        dot_cylinder = rs.AddCylinder(cyl_center, DOT_HEIGHT, DOT_RADIUS)
        dot_sphere = rs.AddSphere(sphere_center, DOT_RADIUS)

        dot_objects.append(dot_cylinder)
        dot_objects.append(dot_sphere)

# 布尔并集:合并基础砖体与所有凸粒为整体
combined_brick = rs.BooleanUnion(dot_objects, delete_input=True)

# ===================== 步骤3:创建底部中空卡扣结构(支撑柱+十字轴孔,纯坐标建模)=====================
# 底部结构尺寸常量
support_cyl_height = 8.0
cross_hole_length = 16.0
cross_hole_width = 4.0
cross_hole_height = 8.0

# 1. 4个角部支撑圆柱(挖空用)
support_objects = []
support_centers = [
    (-BRICK_LENGTH/2 + UNIT/2, -BRICK_WIDTH/2 + UNIT/2, 0),
    (BRICK_LENGTH/2 - UNIT/2, -BRICK_WIDTH/2 + UNIT/2, 0),
    (-BRICK_LENGTH/2 + UNIT/2, BRICK_WIDTH/2 - UNIT/2, 0),
    (BRICK_LENGTH/2 - UNIT/2, BRICK_WIDTH/2 - UNIT/2, 0)
]
for center in support_centers:
    support_cyl = rs.AddCylinder(center, support_cyl_height, DOT_RADIUS)
    support_objects.append(support_cyl)

# 2. 2个中部十字轴孔(CPython AddBox 8顶点标准格式)
cross_hole_centers = [(-4, 0, 0), (4, 0, 0)]
for center in cross_hole_centers:
    hole_pt1 = (center[0]-cross_hole_length/2, center[1]-cross_hole_width/2, 0)
    hole_pt2 = (center[0]+cross_hole_length/2, center[1]+cross_hole_width/2, cross_hole_height)
    hole_pts = [
        (hole_pt1[0], hole_pt1[1], hole_pt1[2]), (hole_pt2[0], hole_pt1[1], hole_pt1[2]),
        (hole_pt2[0], hole_pt2[1], hole_pt1[2]), (hole_pt1[0], hole_pt2[1], hole_pt1[2]),
        (hole_pt1[0], hole_pt1[1], hole_pt2[2]), (hole_pt2[0], hole_pt1[1], hole_pt2[2]),
        (hole_pt2[0], hole_pt2[1], hole_pt2[2]), (hole_pt1[0], hole_pt2[1], hole_pt2[2])
    ]
    cross_hole = rs.AddBox(hole_pts)
    support_objects.append(cross_hole)

# 布尔差集:挖空底部结构,形成乐高卡扣功能
final_brick = rs.BooleanDifference(combined_brick, support_objects, delete_input=True)

# ===================== 模型优化(仅保留CPython支持的设置)=====================
rs.ObjectColor(final_brick, (255,210,0))  # 乐高经典黄色(可直接修改RGB换色)

# 运行成功提示
print("🎉 乐高2*4积木模型创建成功!(CPython最终无报错版)")
print("📐 标准尺寸:32mm×16mm×9.6mm(完美匹配乐高标准模数)")
print("🔧 完整结构:8个凸粒+4个角部支撑柱+2个中部十字轴孔")
print("💡 操作技巧:Alt+鼠标右键旋转/Alt+左键缩放,查看模型细节")
after that i copy the code to rhino python editor and got model of the brick!
