Computer-Controlled Machining
Week 07
- Complete your lab's safety training
- Test runout, alignment, fixturing, speeds, feeds, materials and toolpaths for your machine
- Document your work to the group work page and reflect on your individual page what you learned
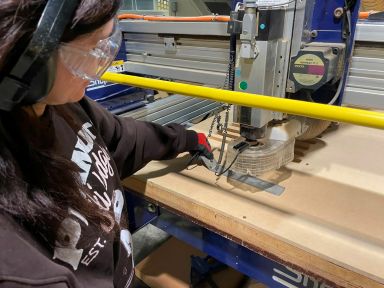
Safety
-
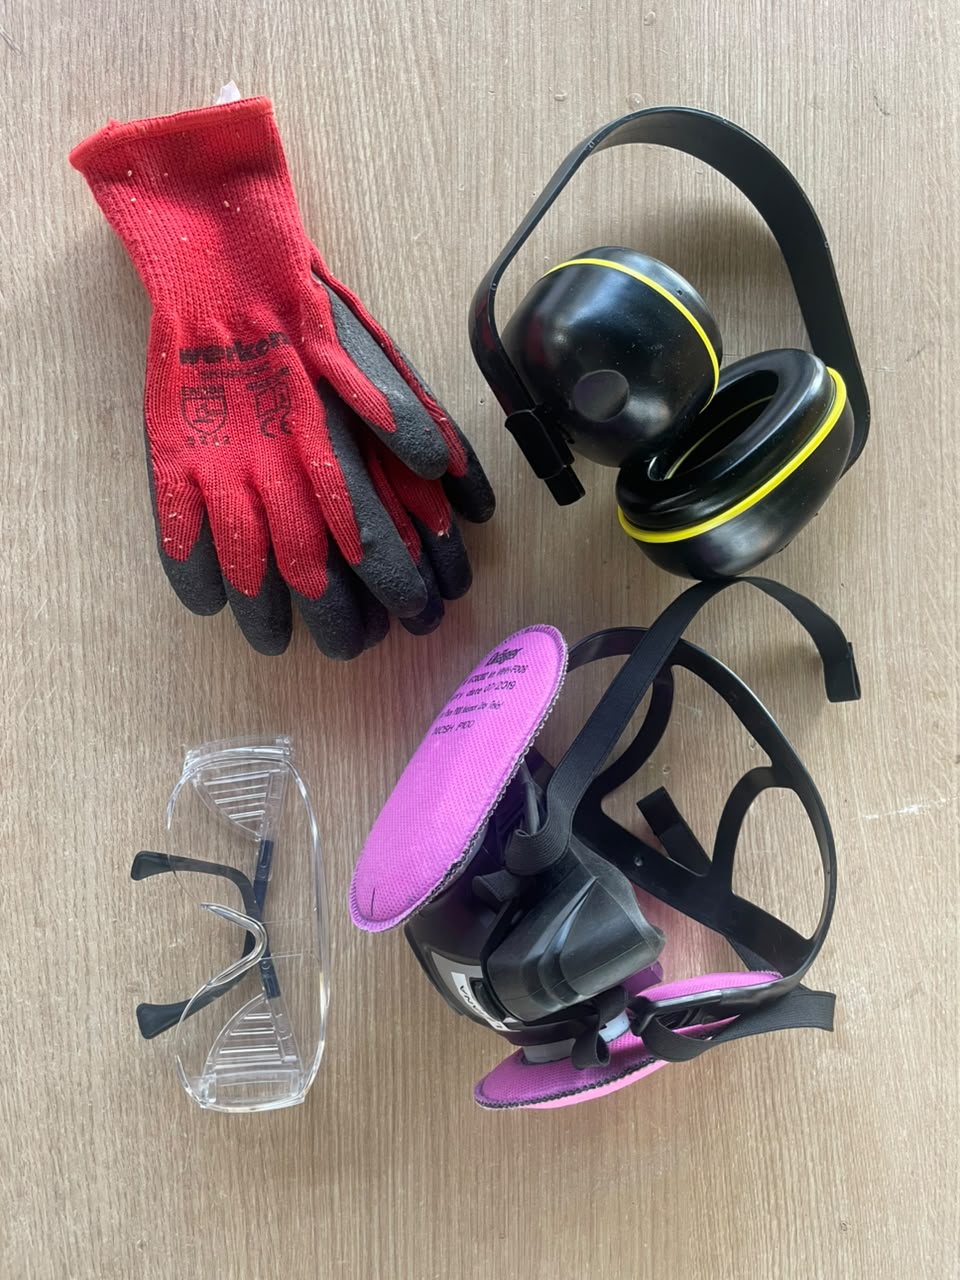
Personal Protective Equipment (PPE)
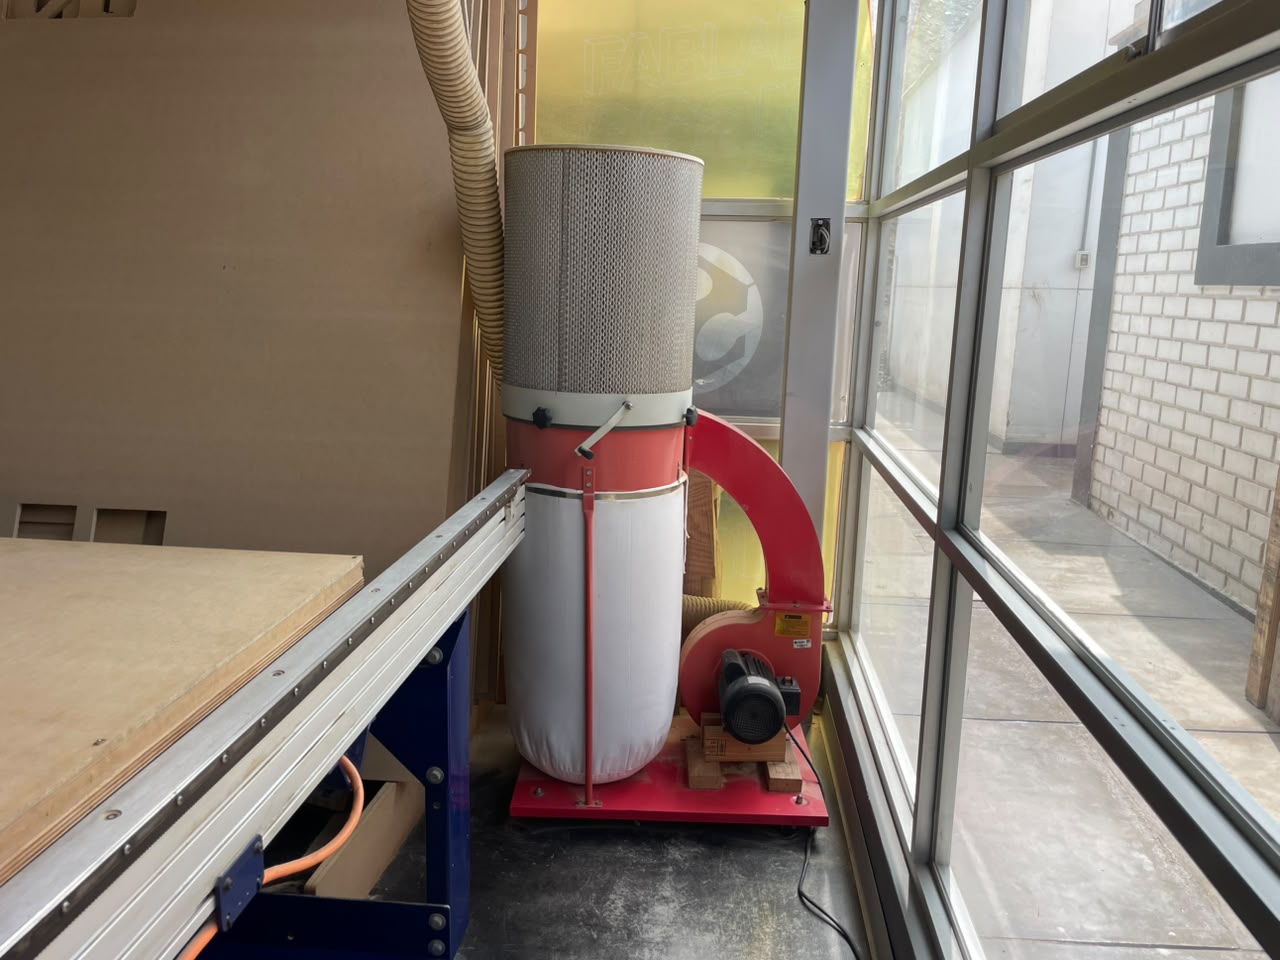
Safety glasses to protect against flying debris, ear protection for the high-decibel spindle noise, and respirators to prevent inhalation of fine MDF dust. Gloves were used strictly for handling the raw material to avoid splinters, but must be removed when operating the machine to prevent snagging. The air filtration and extraction systems should also be engaged prior to running a job. -
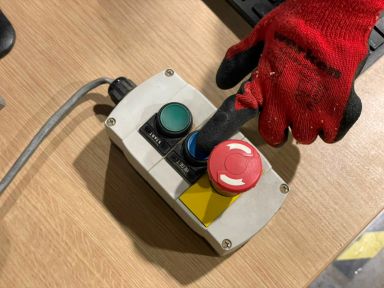
Operational Awareness
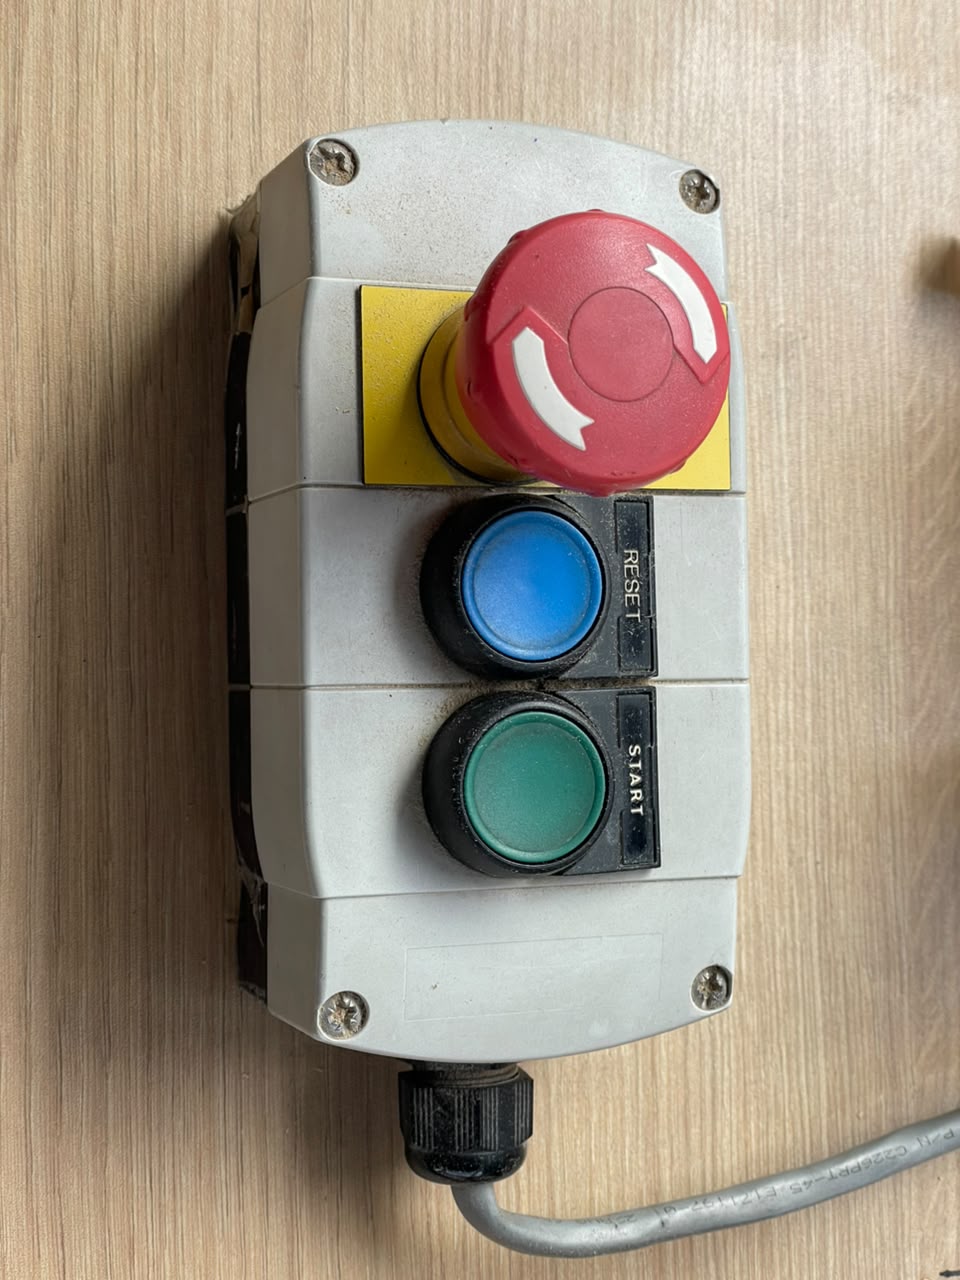
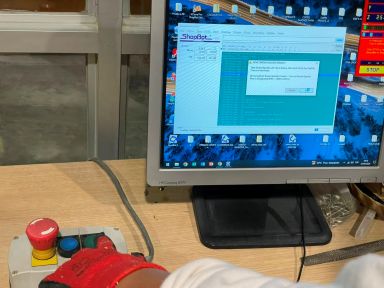
Operators must never reach into the machine while it is active. One person must always remain within immediate reach of the physical E-STOP button and closely monitor the cutting sound and toolpath progression.
Machine Operation Procedure
- Clear the bed of debris and secure the material to the spoilboard.
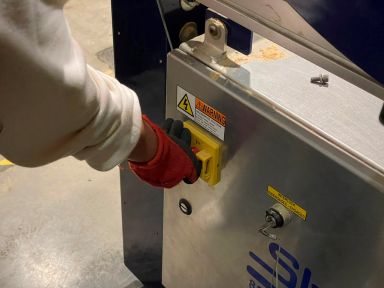
- Engage the CNC power via the physical key.
- Turn on the machine by turning the switch.
- Launch the ShopBot control software and press "RESET" on the remote pendant.
- Calibrate the Z-axis zero by placing the metal leveling plate beneath the bit and attaching the grounding alligator clip to the collet. Run the Z-zero routine.
- Run the automatic homing sequence for the X and Y axes.
- Import the .sbp G-Code file.
- Engage the dust collector and the spindle, confirm the RPM, and start the cut.

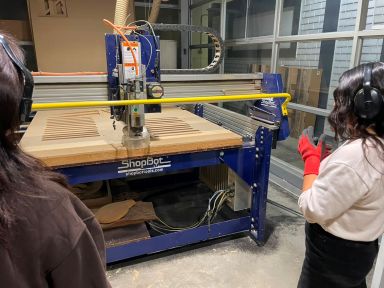
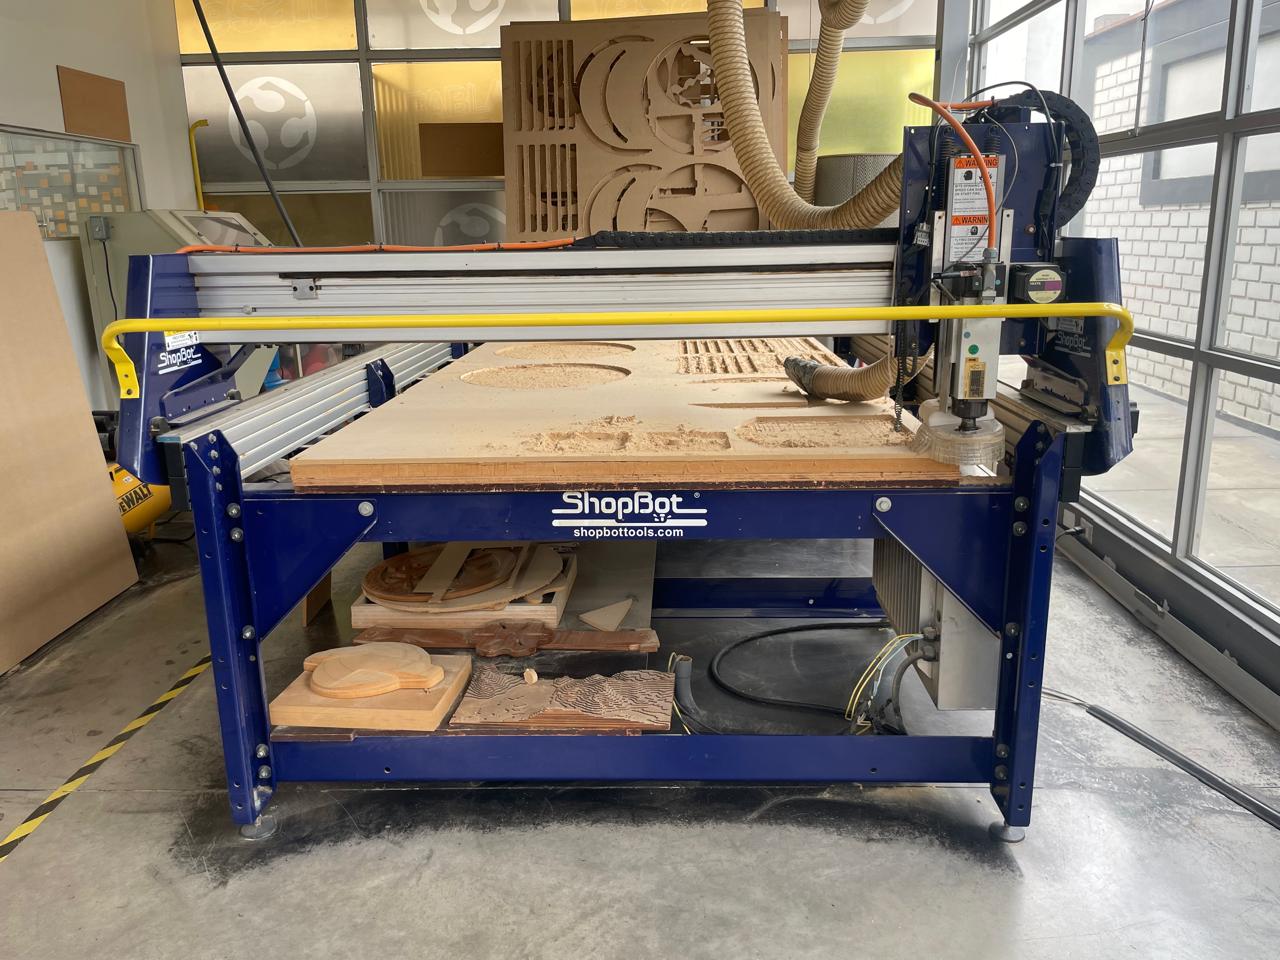
Machine Characteristics
-
Runout
Haven’t done this one yet -
Alignment
We’re actually having some issues with alignment. The X axis is dragging more than the Y axis. Jorge said he is investigating. -
Materials
12-15mm MDF -
Speeds
¼” (6.34mm) endmill, running at 18,000 RPM
Unsure of feed rate
Unsure of plunge rate -
Toolpaths using VCarve Pro
The document was configured to match the machine's 2440mm x 1520mm workbed. We established safe margins (30mm) around the perimeter to account for the physical screws used for fixturing. To ensure clean separation from the waste material, the total cut depth was set to the material thickness +1mm, intentionally grazing the spoilboard. Because a cylindrical drill bit cannot mill a perfect 90-degree internal corner, we can apply "dogbone" fillets to the corners of all slotted joints. This slightly overcuts the corner into a circular shape, allowing mating square parts to slot in flush. -
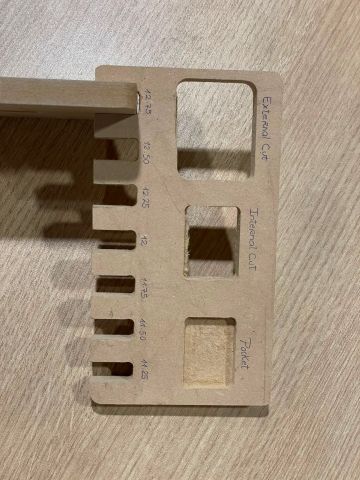
Calculating the kerf
We cut two pieces to see if they fit together. The first one is like a comb with cuts of different sizes. -
Kerf
Thickness material: 12.35 mm
Better fit: 12.75 mm
Kerf = (12.75 - 12.35)/2 = 0.2 mm