Computer-Controlled Cutting
Week 03
- Do your lab's safety training
- Characterize your lasercutter's focus, power, speed, rate, kerf, joint clearance and types.
- Document your work to the group work page and reflect on your individual page what you learned.
Safety
Safety is the foundational step before operating any computer-controlled cutting equipment in the lab.
-
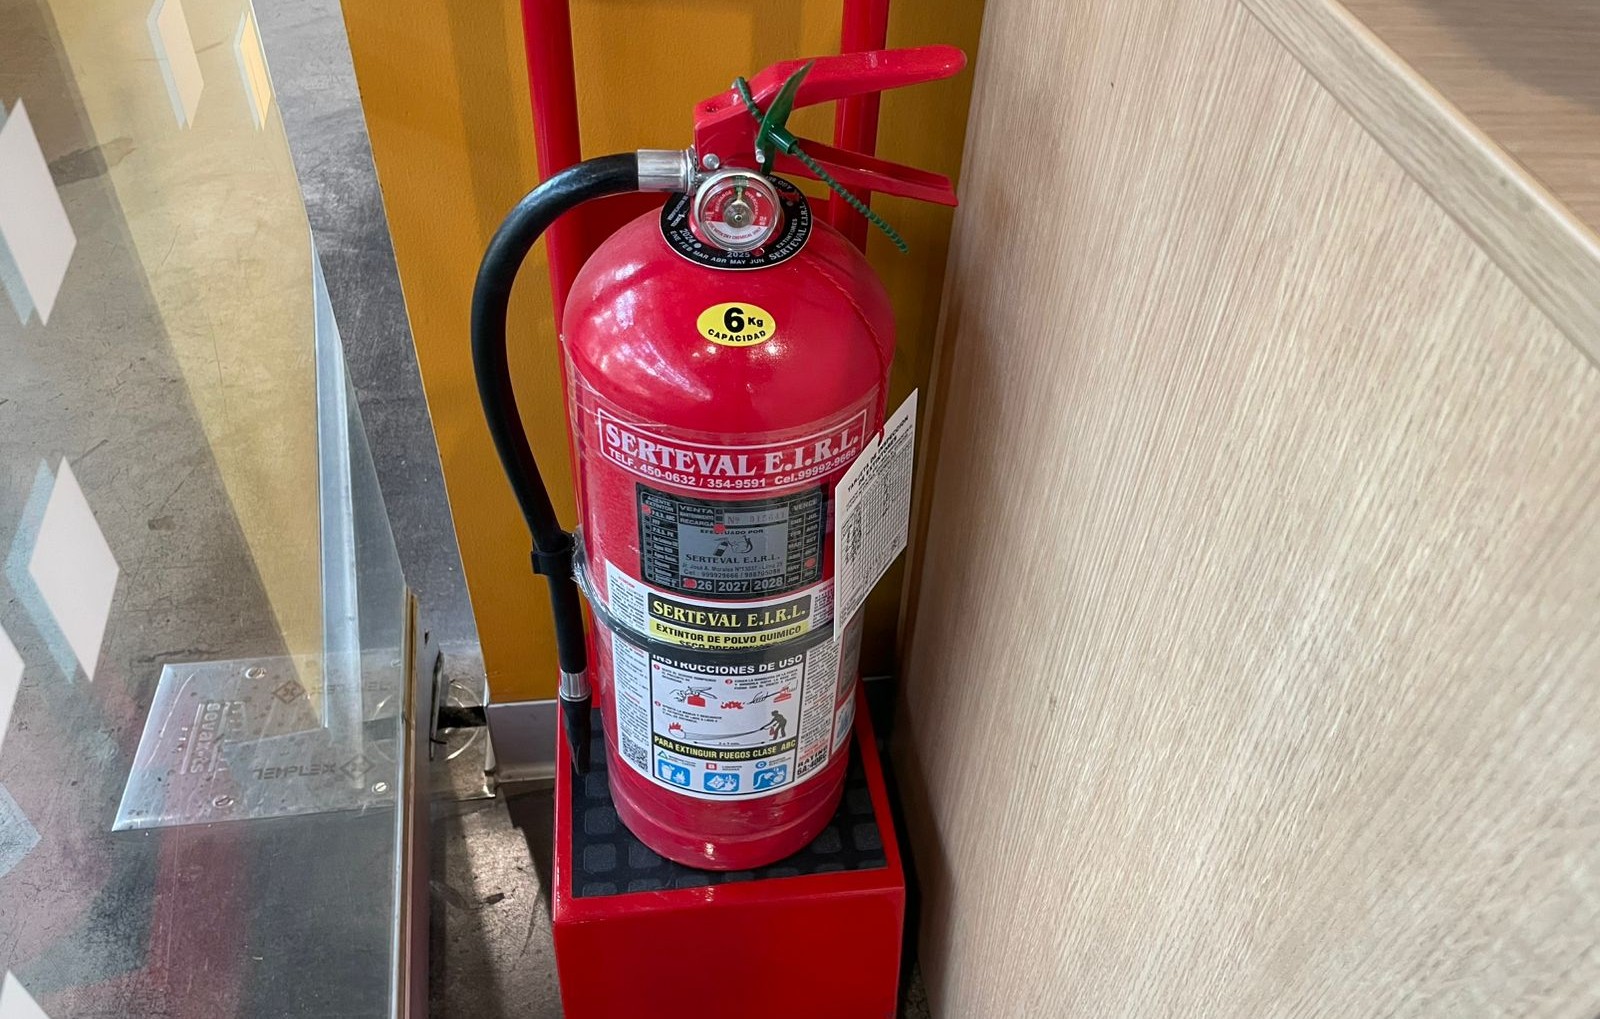
Fire Safety
All students must know the exact locations of the fire extinguishers in the lab before powering on the laser cutters. Machines must never be left unattended while an active job is running, as materials like cardboard, wood, and acrylic pose a significant fire risk.
-
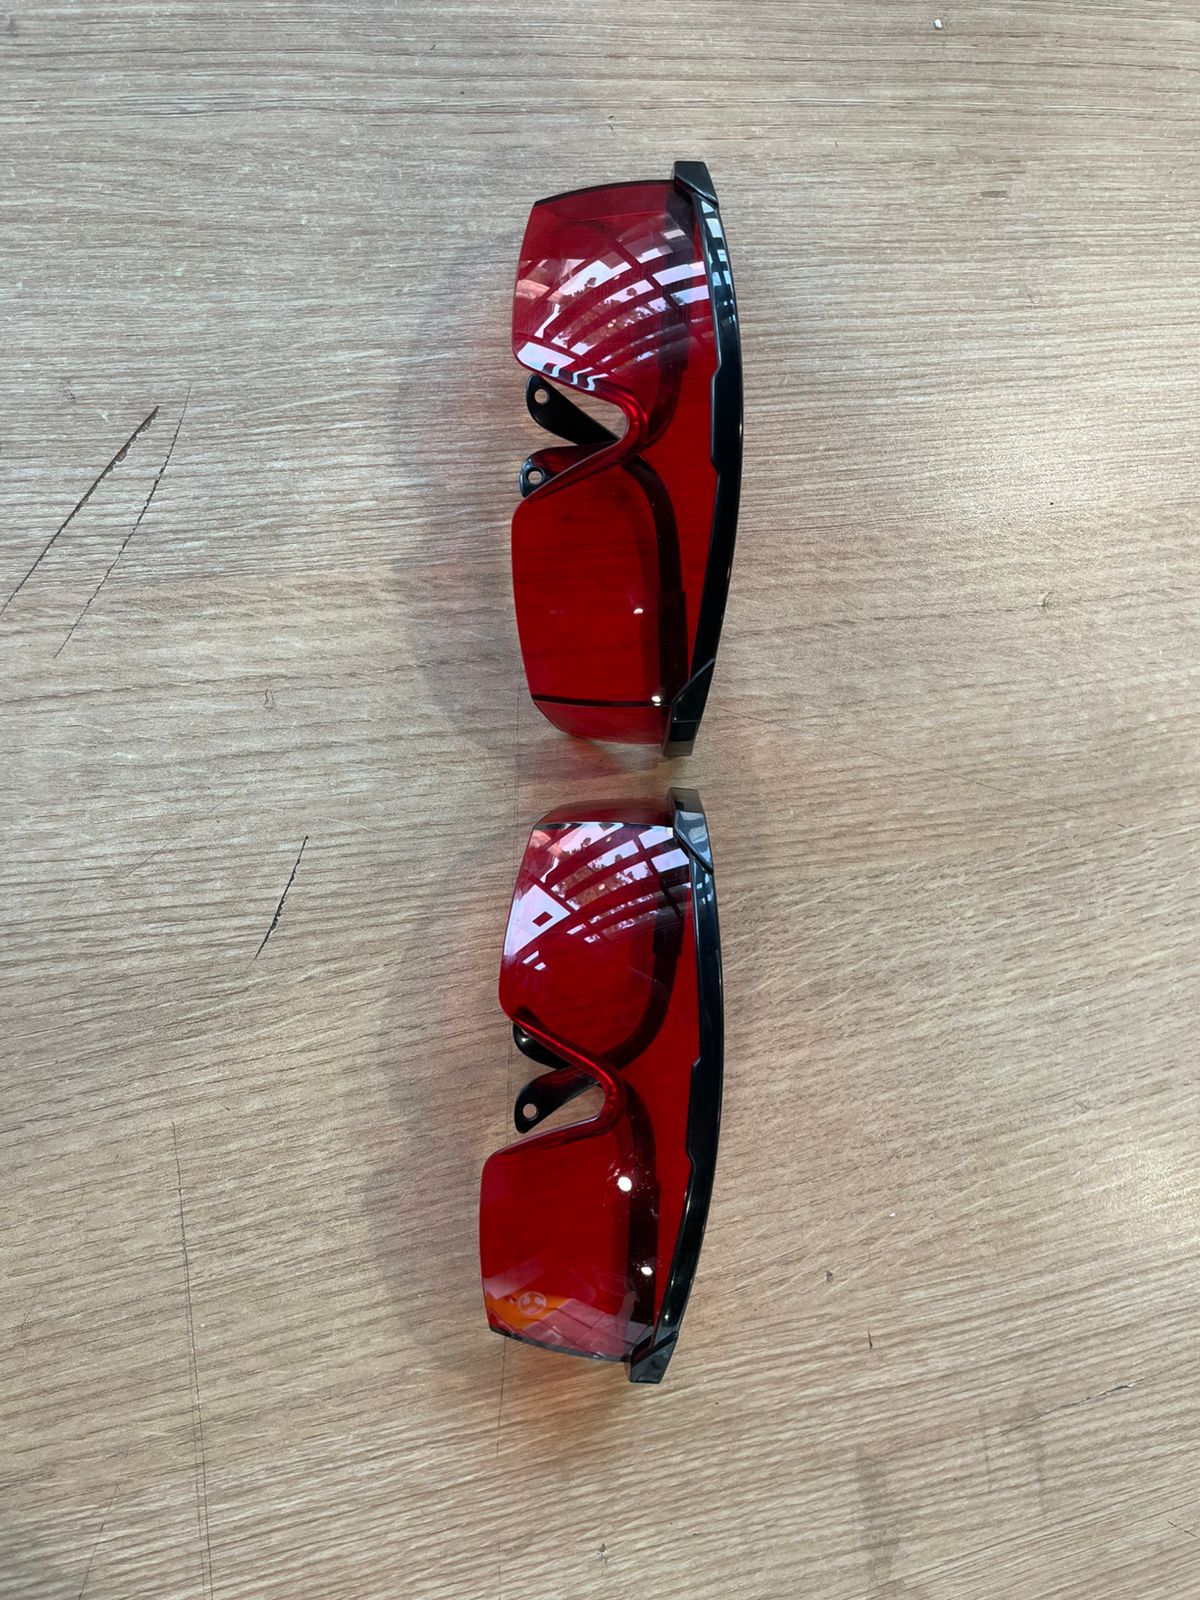
Eye Protection
When operating the laser cutters (specifically the TROTEC Speedy 400 or AVR-1400, which does not have a protective layer), wear protective red goggles to prevent eye damage from scattered laser light. If not wearing goggles, avoid looking at the toolpath.
-
Ventilation
Proper fume extraction must be engaged before starting any cut. We’re working with a lot of MDF, which can produce smoke that not only poses a health hazard but can also cloud the laser lens and reduce focus/cutting power.
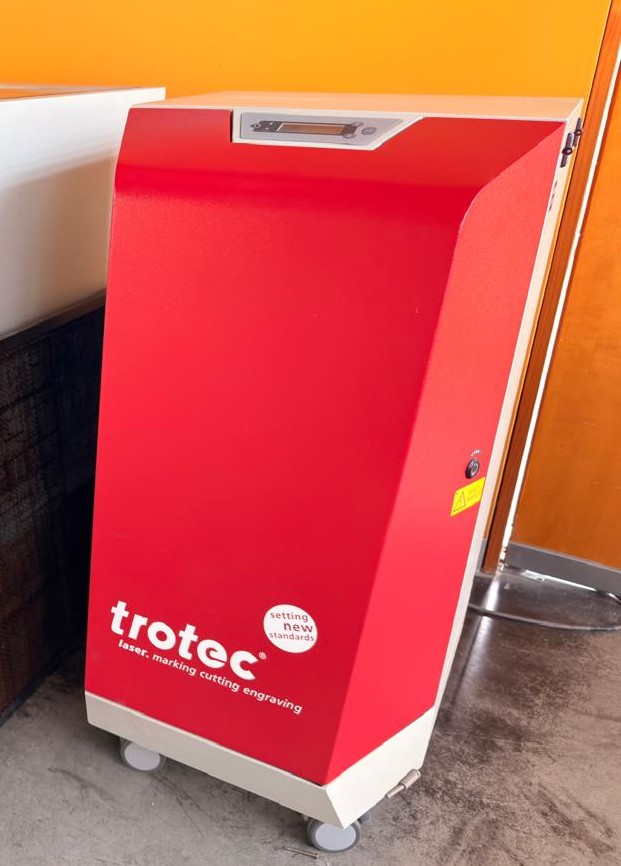
Characterization – TROTEC Speedy 400 CO₂ Laser Cutter (80W)

Machine Type
- CO₂ Laser Cutter and Engraver
Laser Power
- 80 W CO₂ laser source
Work Area
- 1016 mm × 610 mm
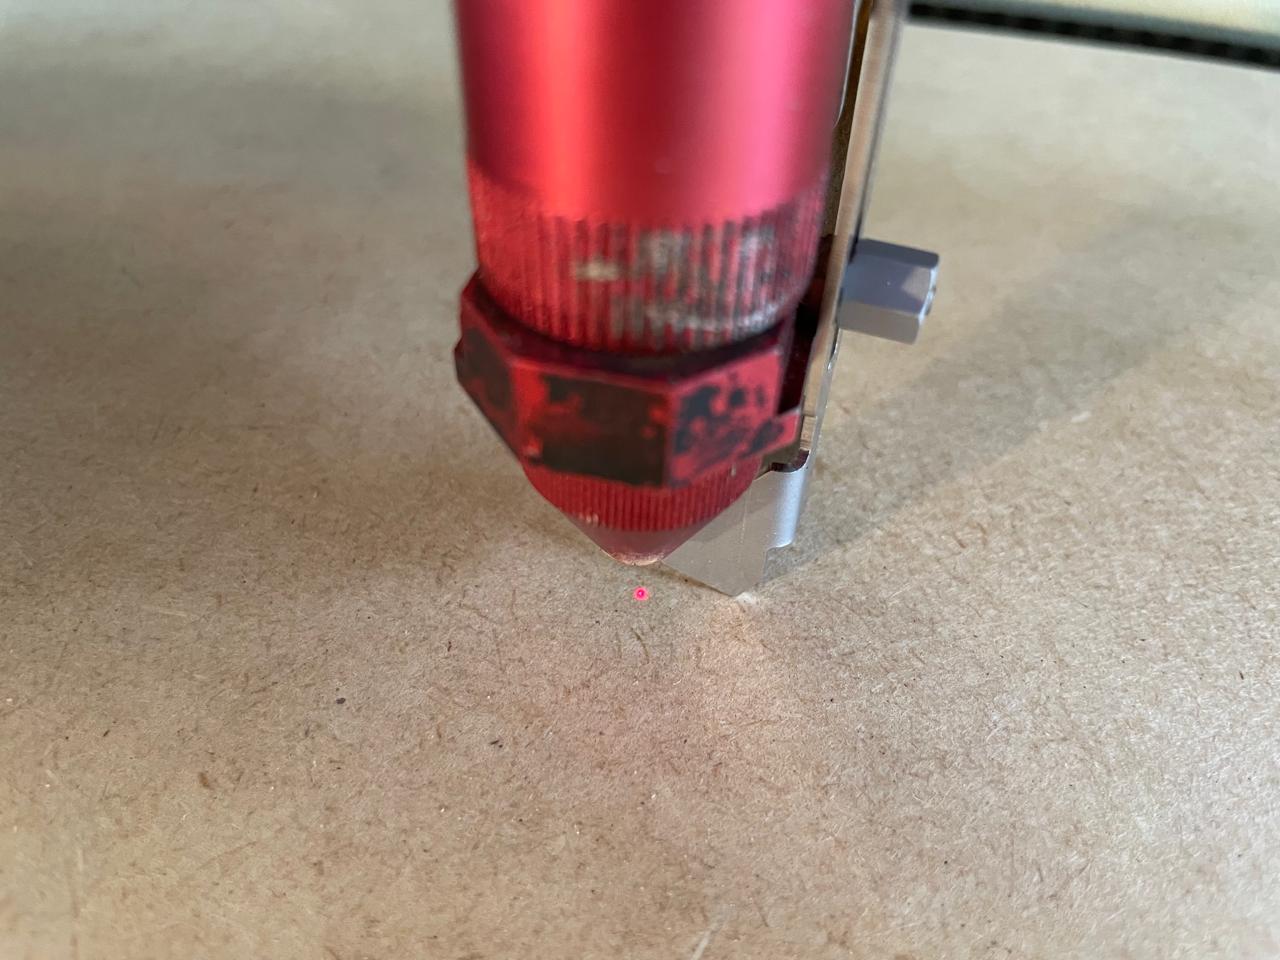
Focus Characterization
- Standard focal lens: 2.5"
- Manual focus tool
Power, Speed and Frequency Characterization
-
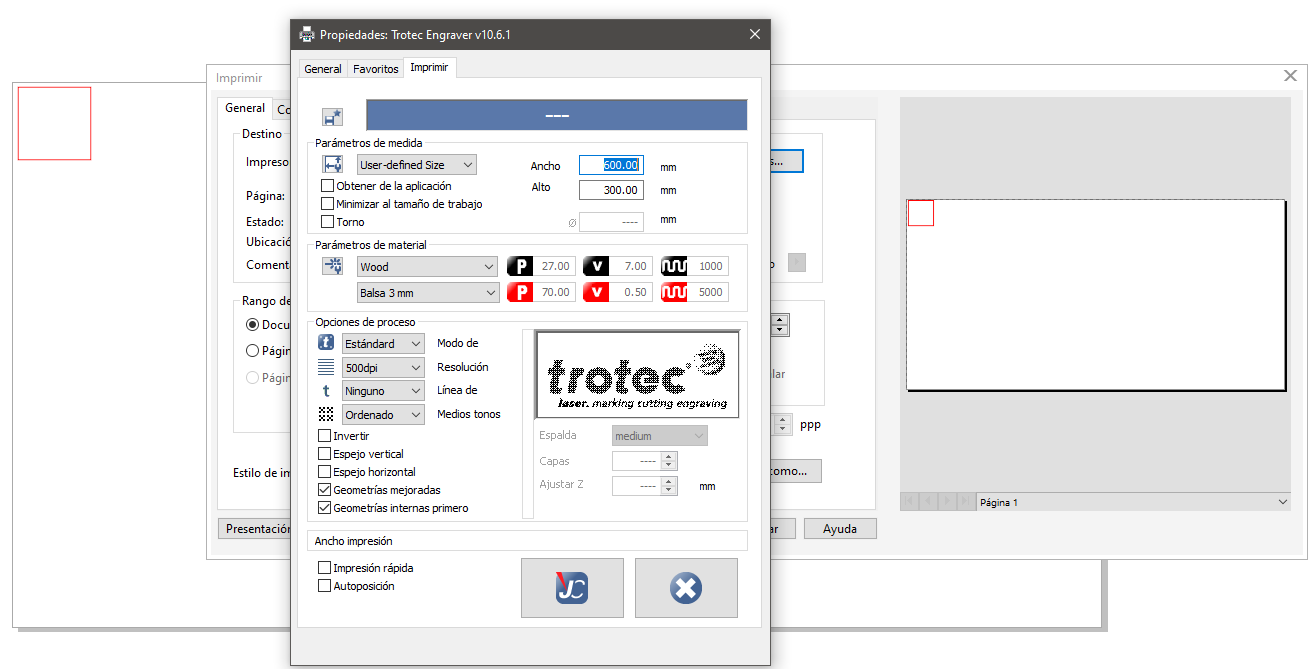
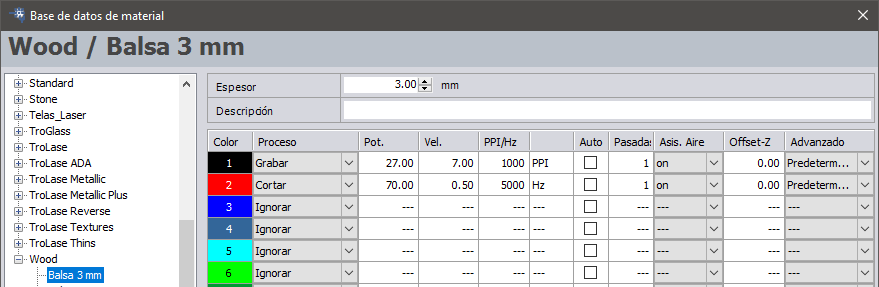
MDF 3mm - Cutting:
- Power: 70.00
- Speed: 0.50
- Frequency: 5000 Hz
-
MDF 3mm - Engraving:
- Power: 27.00
- Speed: 7.00
- Frequency: 1000 PPI
-
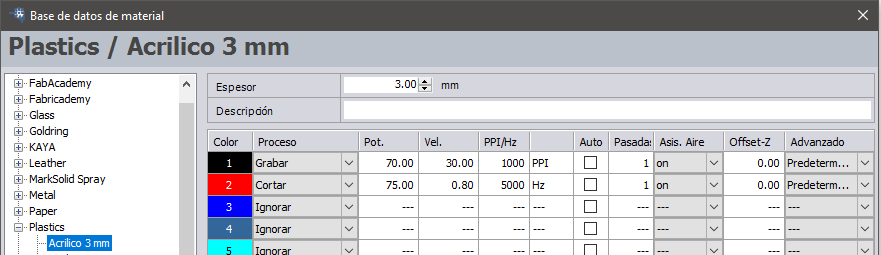
Acrylic 3mm - Cutting:
- Power: 75.00
- Speed: 0.80
- Frequency: 5000 Hz
-
Acrylic 3mm - Engraving:
- Power: 70.00
- Speed: 30.00
- Frequency: 1000 PPI
-
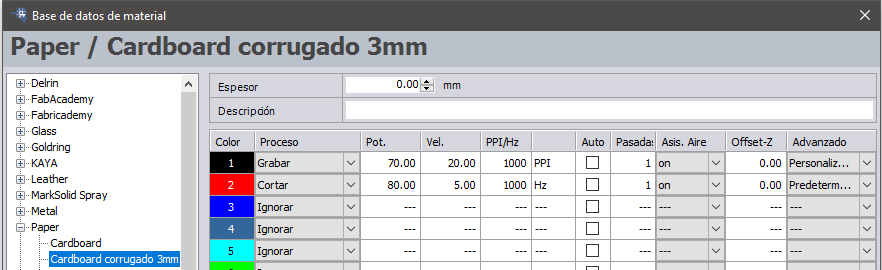
Cardboard 3mm - Cutting:
- Power: 80.00
- Speed: 5
- Frequency: 1000 Hz
-
Cardboard 3mm - Engraving:
- Power: 70.00
- Speed: 20.00
- Frequency: 1000 PPI
Kerf Characterization
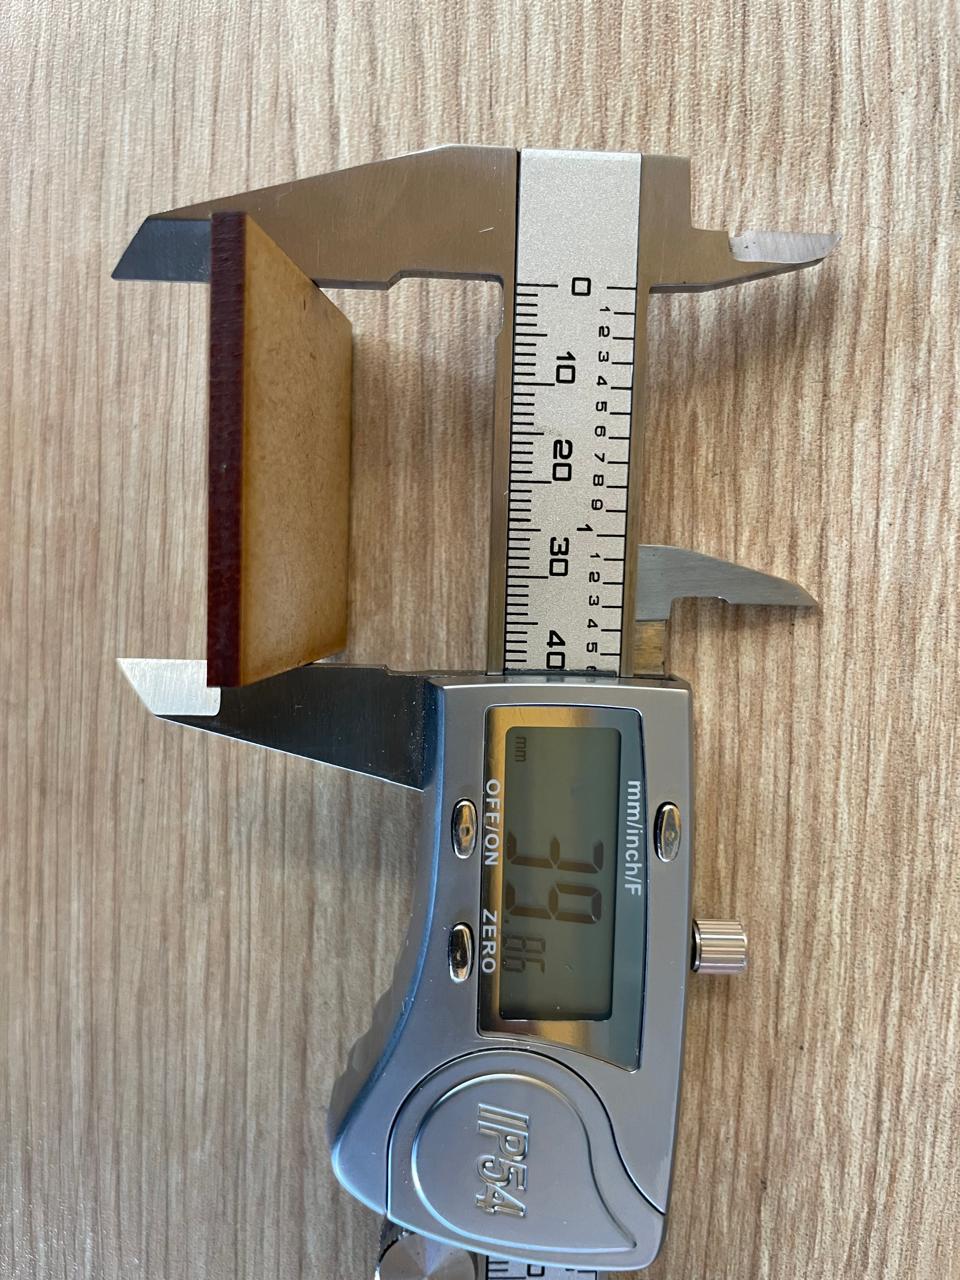
To calculate the kerf:- I draw a 40 mm × 40 mm test square in CorelDRAW, set the line thickness to hairline, and change the line color to red. Then, I send it to the laser cutter using the cutting parameters for 3 mm MDF.
- I measure the exact dimensions of the resulting cut piece using a Vernier caliper. In my example, each side measures 39.86 mm.
-
I apply the following formula:
Kerf = (Original measurement − Resulting measurement) / 2
For my example:
Kerf = (40.00 mm − 39.86 mm) / 2 = 0.07 mm