Week 14:Molding and Casting
Assignments
Group assignment:
1.Review the safety data sheets for each of your molding and casting materials
2.Make and compare test casts with each of them
3.Compare printing vs milling molds
Group Work Assignment Reflection
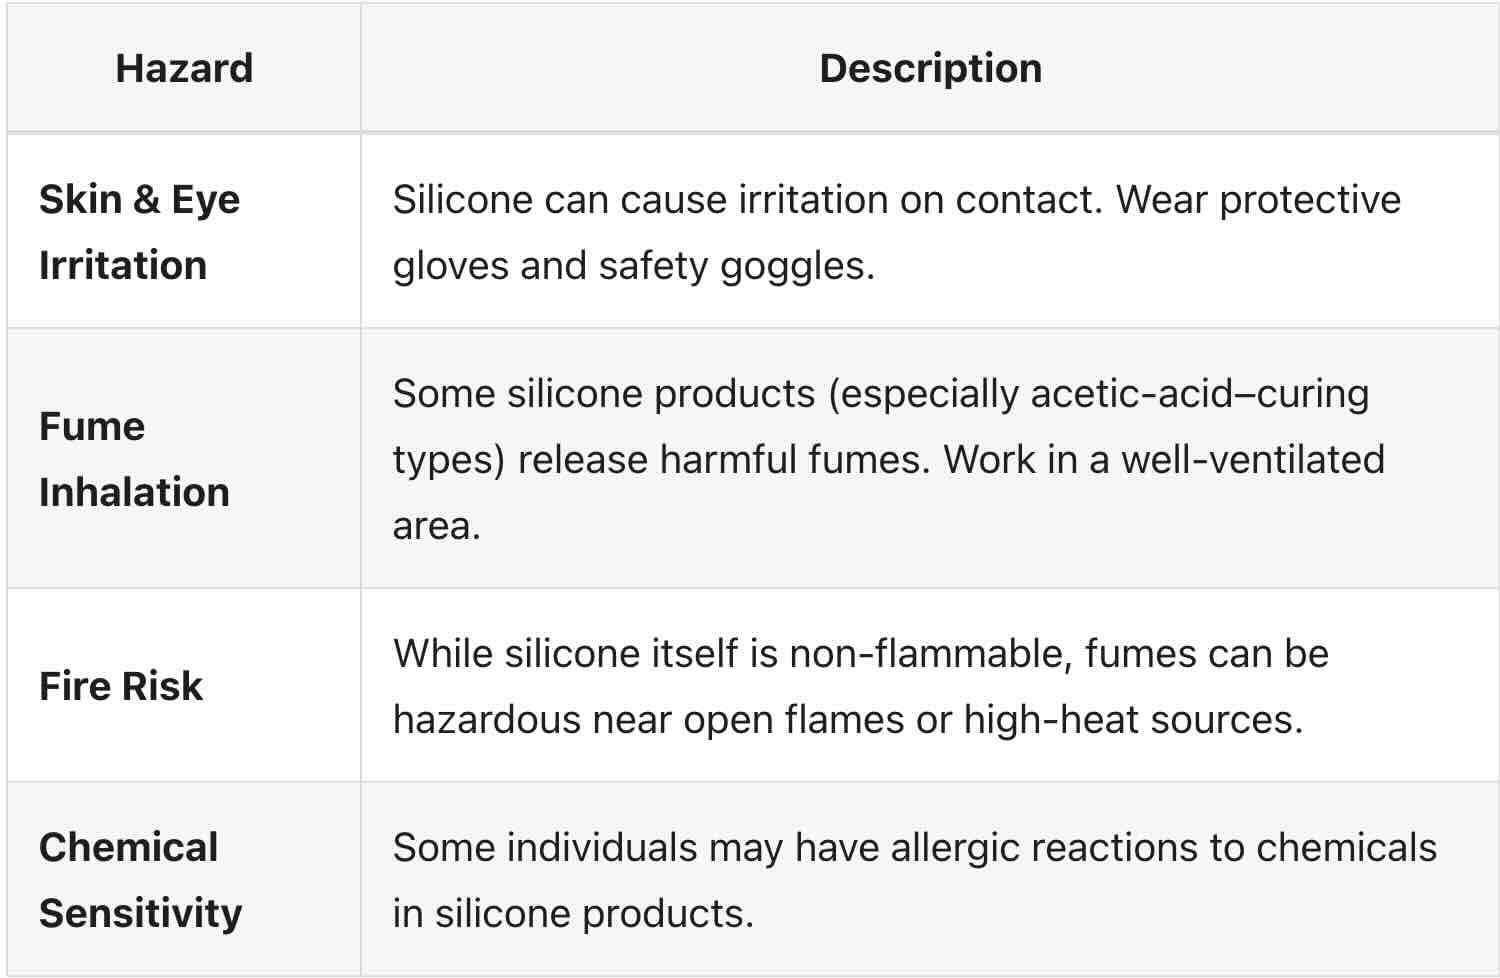
Safety Issues with Silicone
Skin and Eye Irritation: Silicone can cause irritation if it comes into contact with the skin or eyes. It's important to wear protective gloves and safety goggles. Fume Inhalation: Some silicone products, especially those that cure using acetic acid, release fumes that can be irritating or harmful if inhaled. Use these products in a well-ventilated area. Fire Risk: Although silicone itself is generally non-flammable, the fumes can be hazardous near open flames or high heat sources. Chemical Sensitivity: Some individuals may have allergic reactions or sensitivities to the chemicals in silicone products.
Preventative Measures
Wear Protective Gear — Always wear gloves and goggles. Consider using an exhaust fan or working outdoors. Avoid Sensitive Areas — Prevent silicone from contacting eyes, mouth, and other sensitive body parts. Proper Storage — Store in a cool, dry place away from direct sunlight. Keep containers sealed. Follow Instructions — Read and follow the manufacturer's application and curing time instructions. Safe Disposal — Dispose of excess silicone according to local regulations.
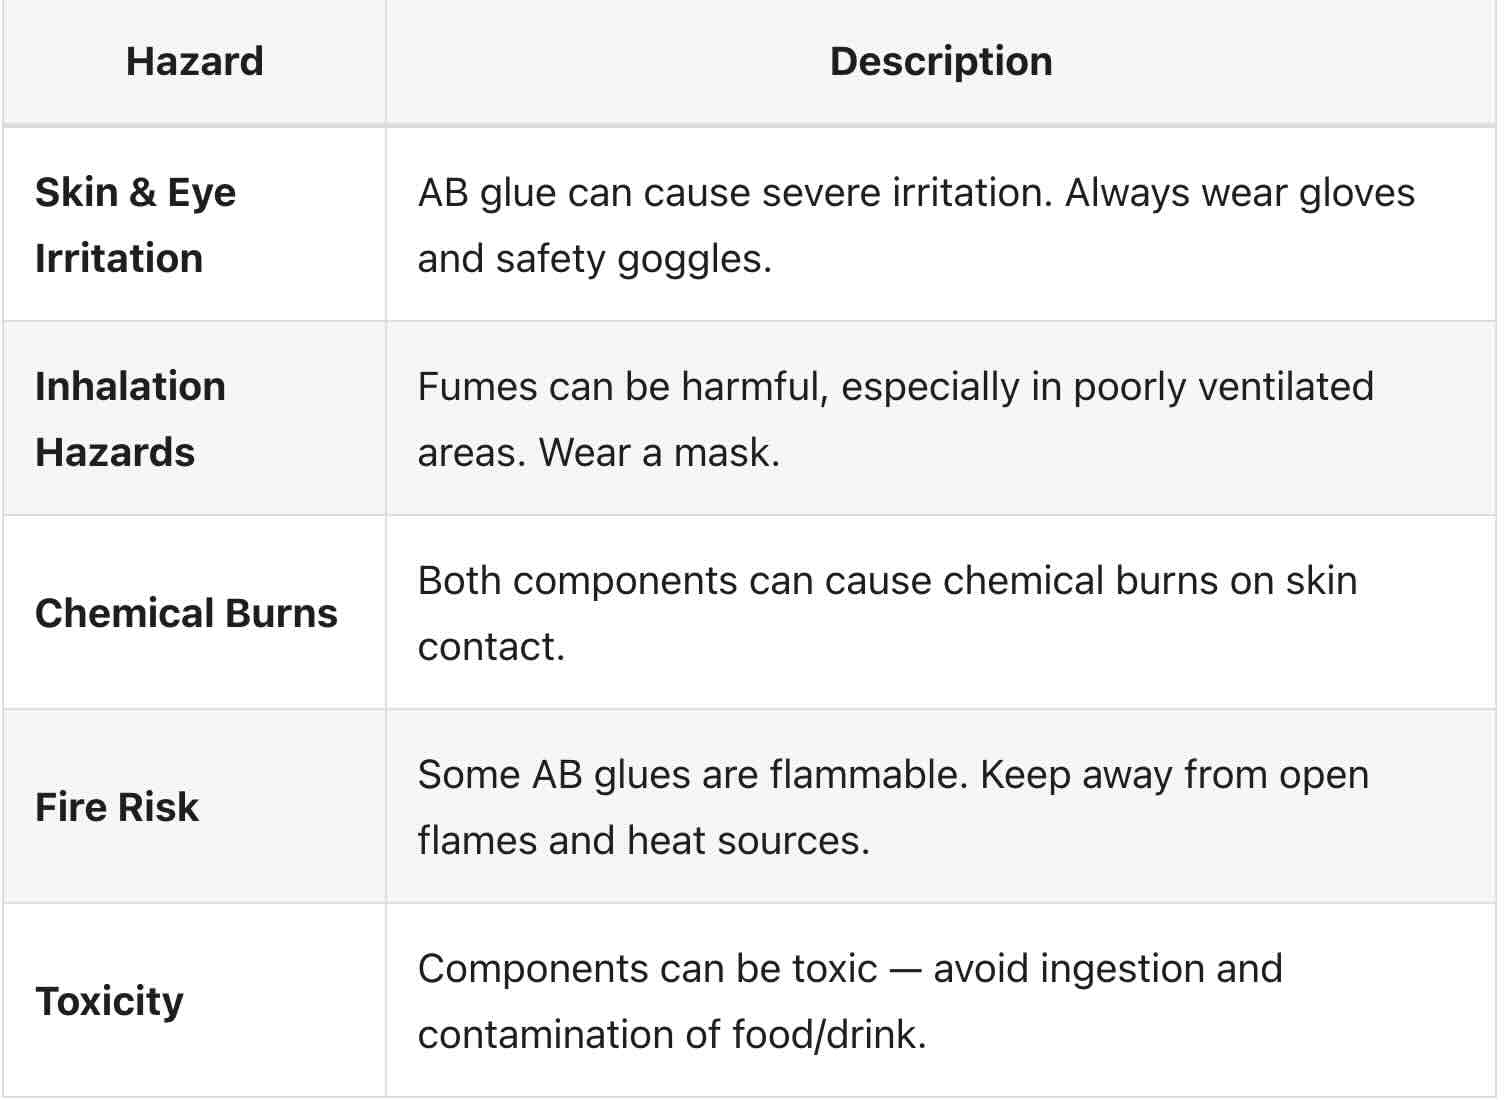
Safety Issues with AB Glue
Preventative Measures
Wear appropriate PPE (gloves, goggles, mask) Work in a well-ventilated area Keep glue away from heat and open flames Follow manufacturer's instructions for safe use and disposal Store in a cool, dry place with containers tightly closed
Individual Assignments
Design a mold around the process you'll be using, produce it with a smooth surface finish that does not show the production process toolpath, and use it to cast parts.
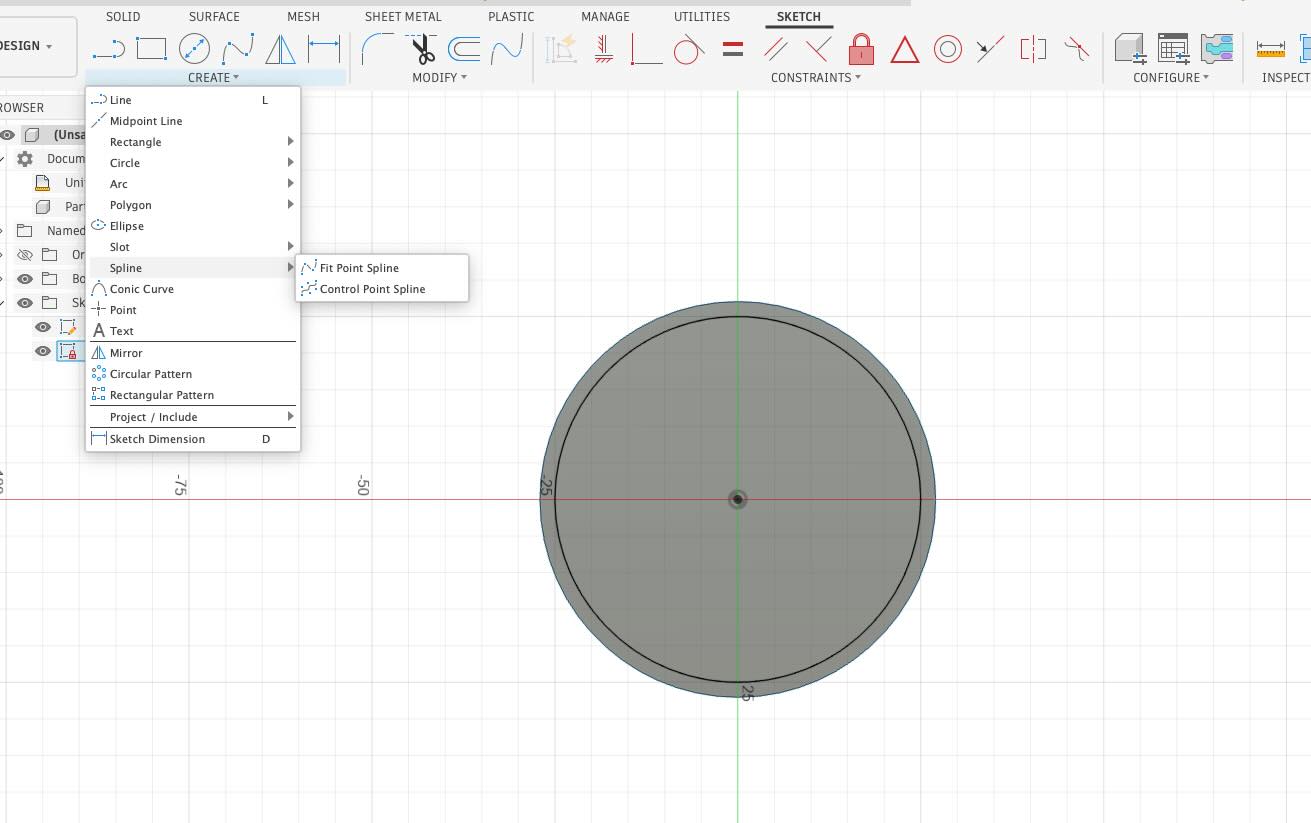
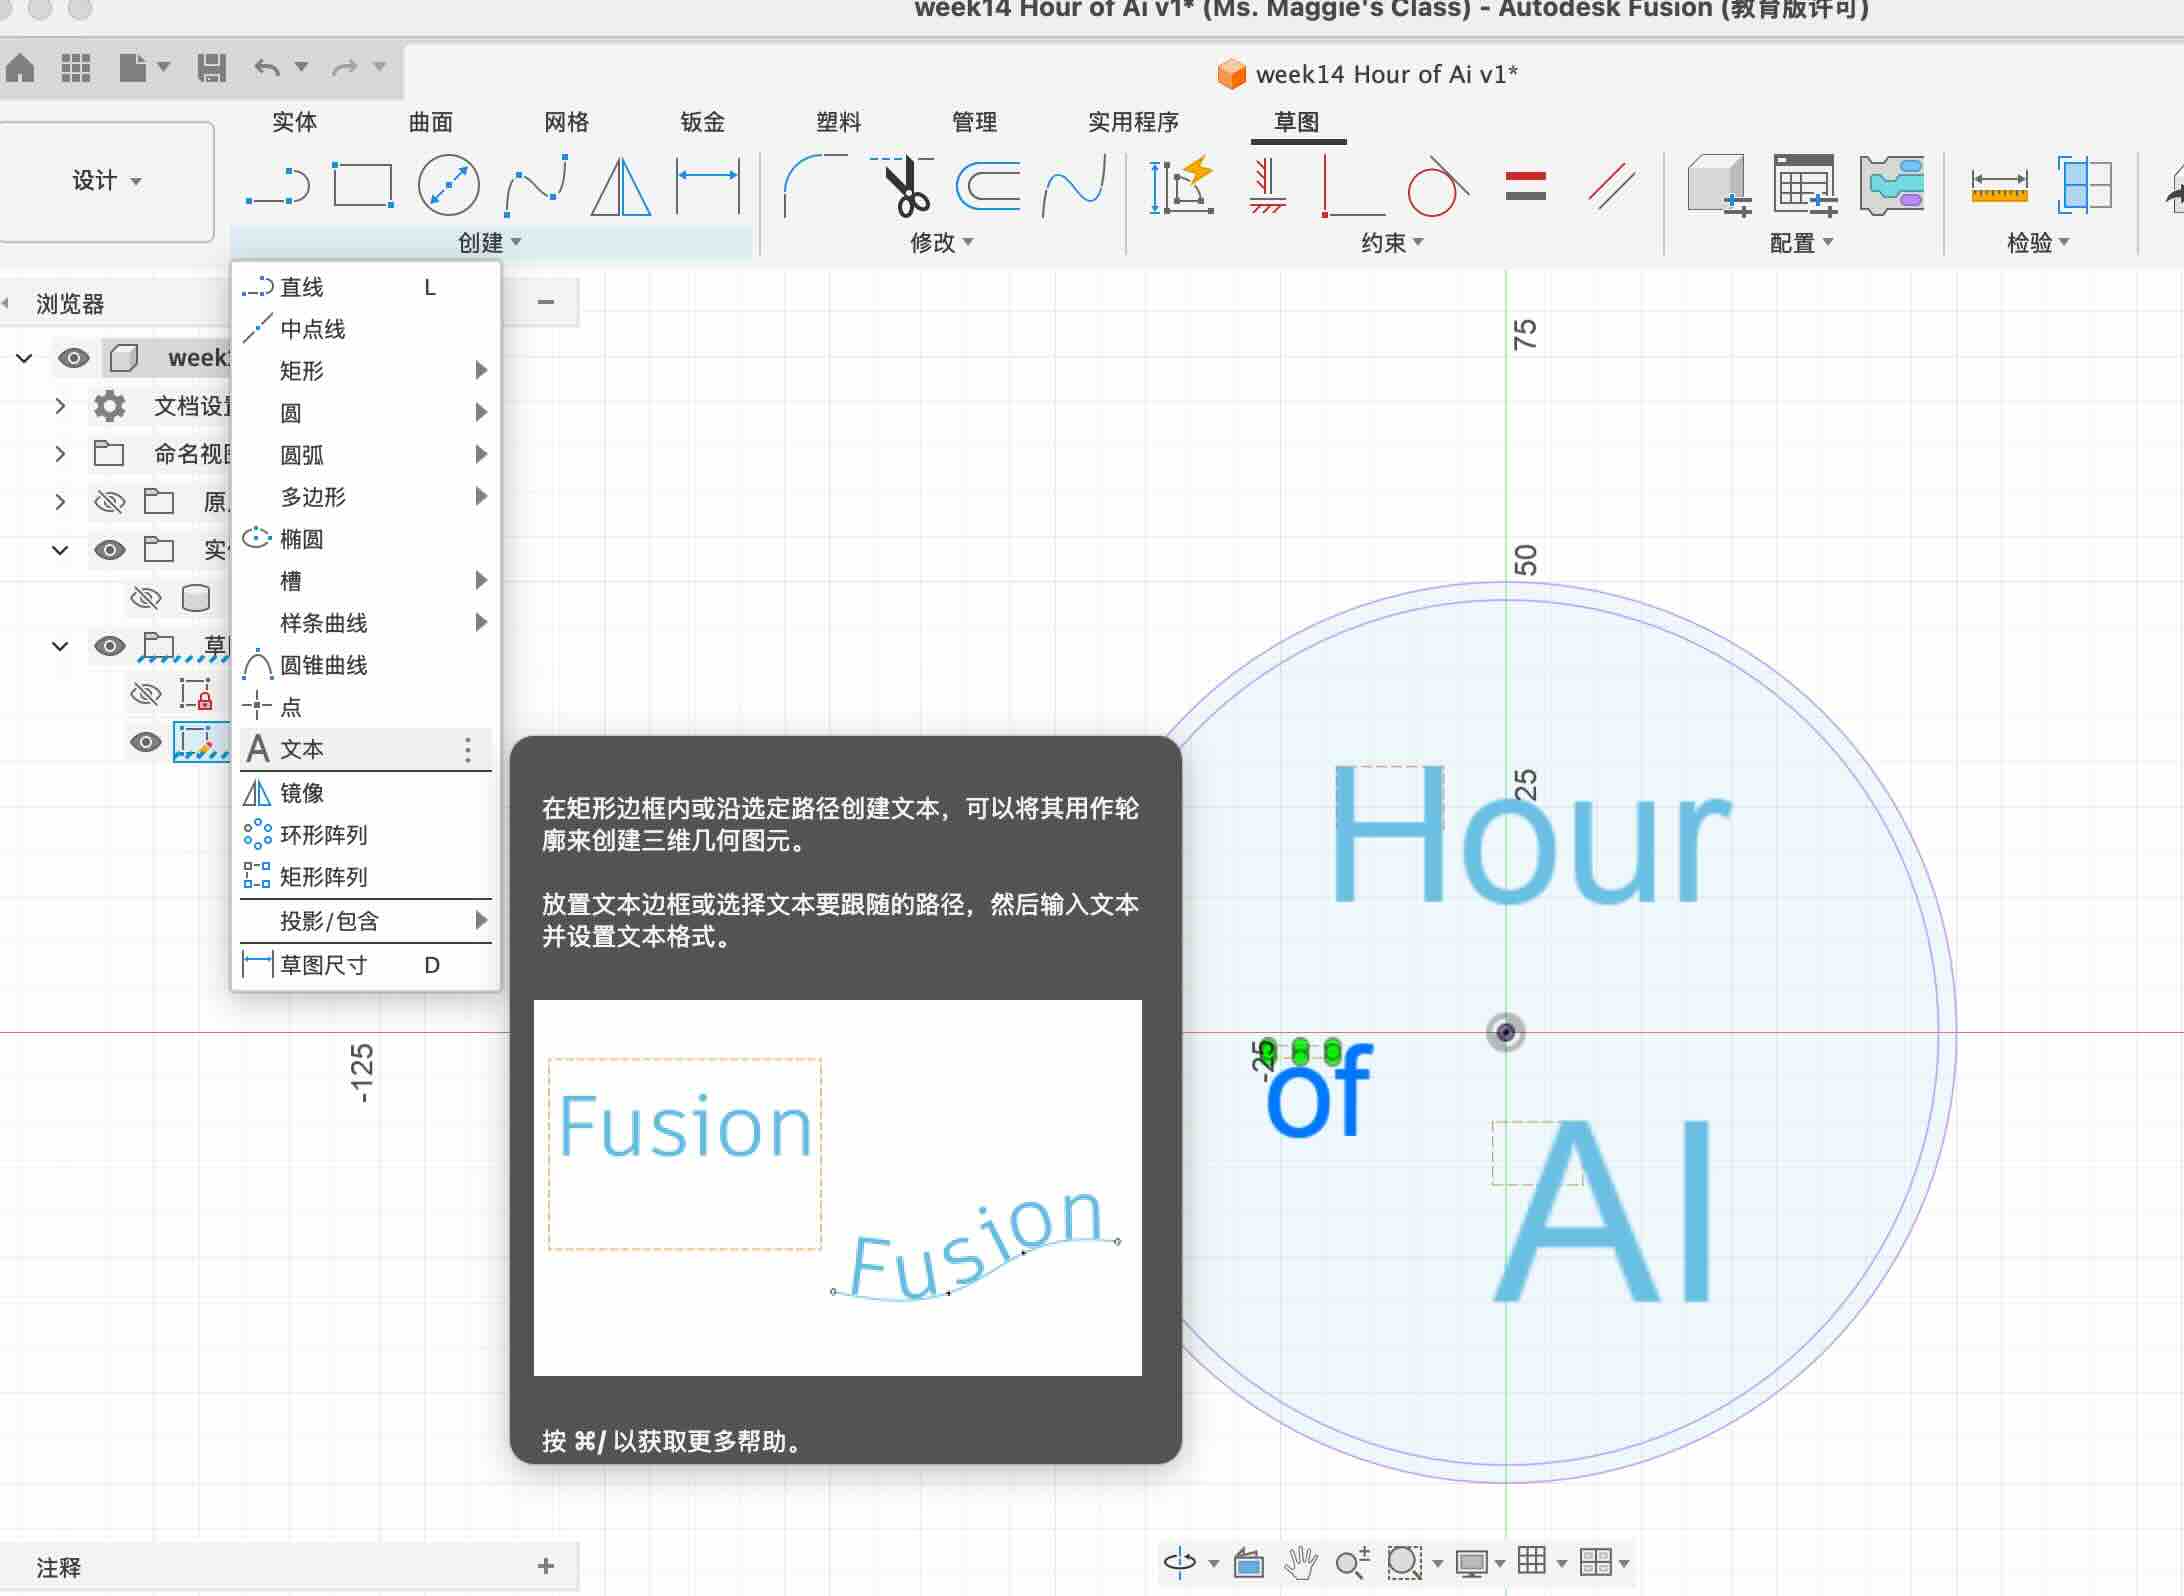
Design and 3D printing the module
I choose fushion 360 to design the module,and then use Bambu Studio to print the module.
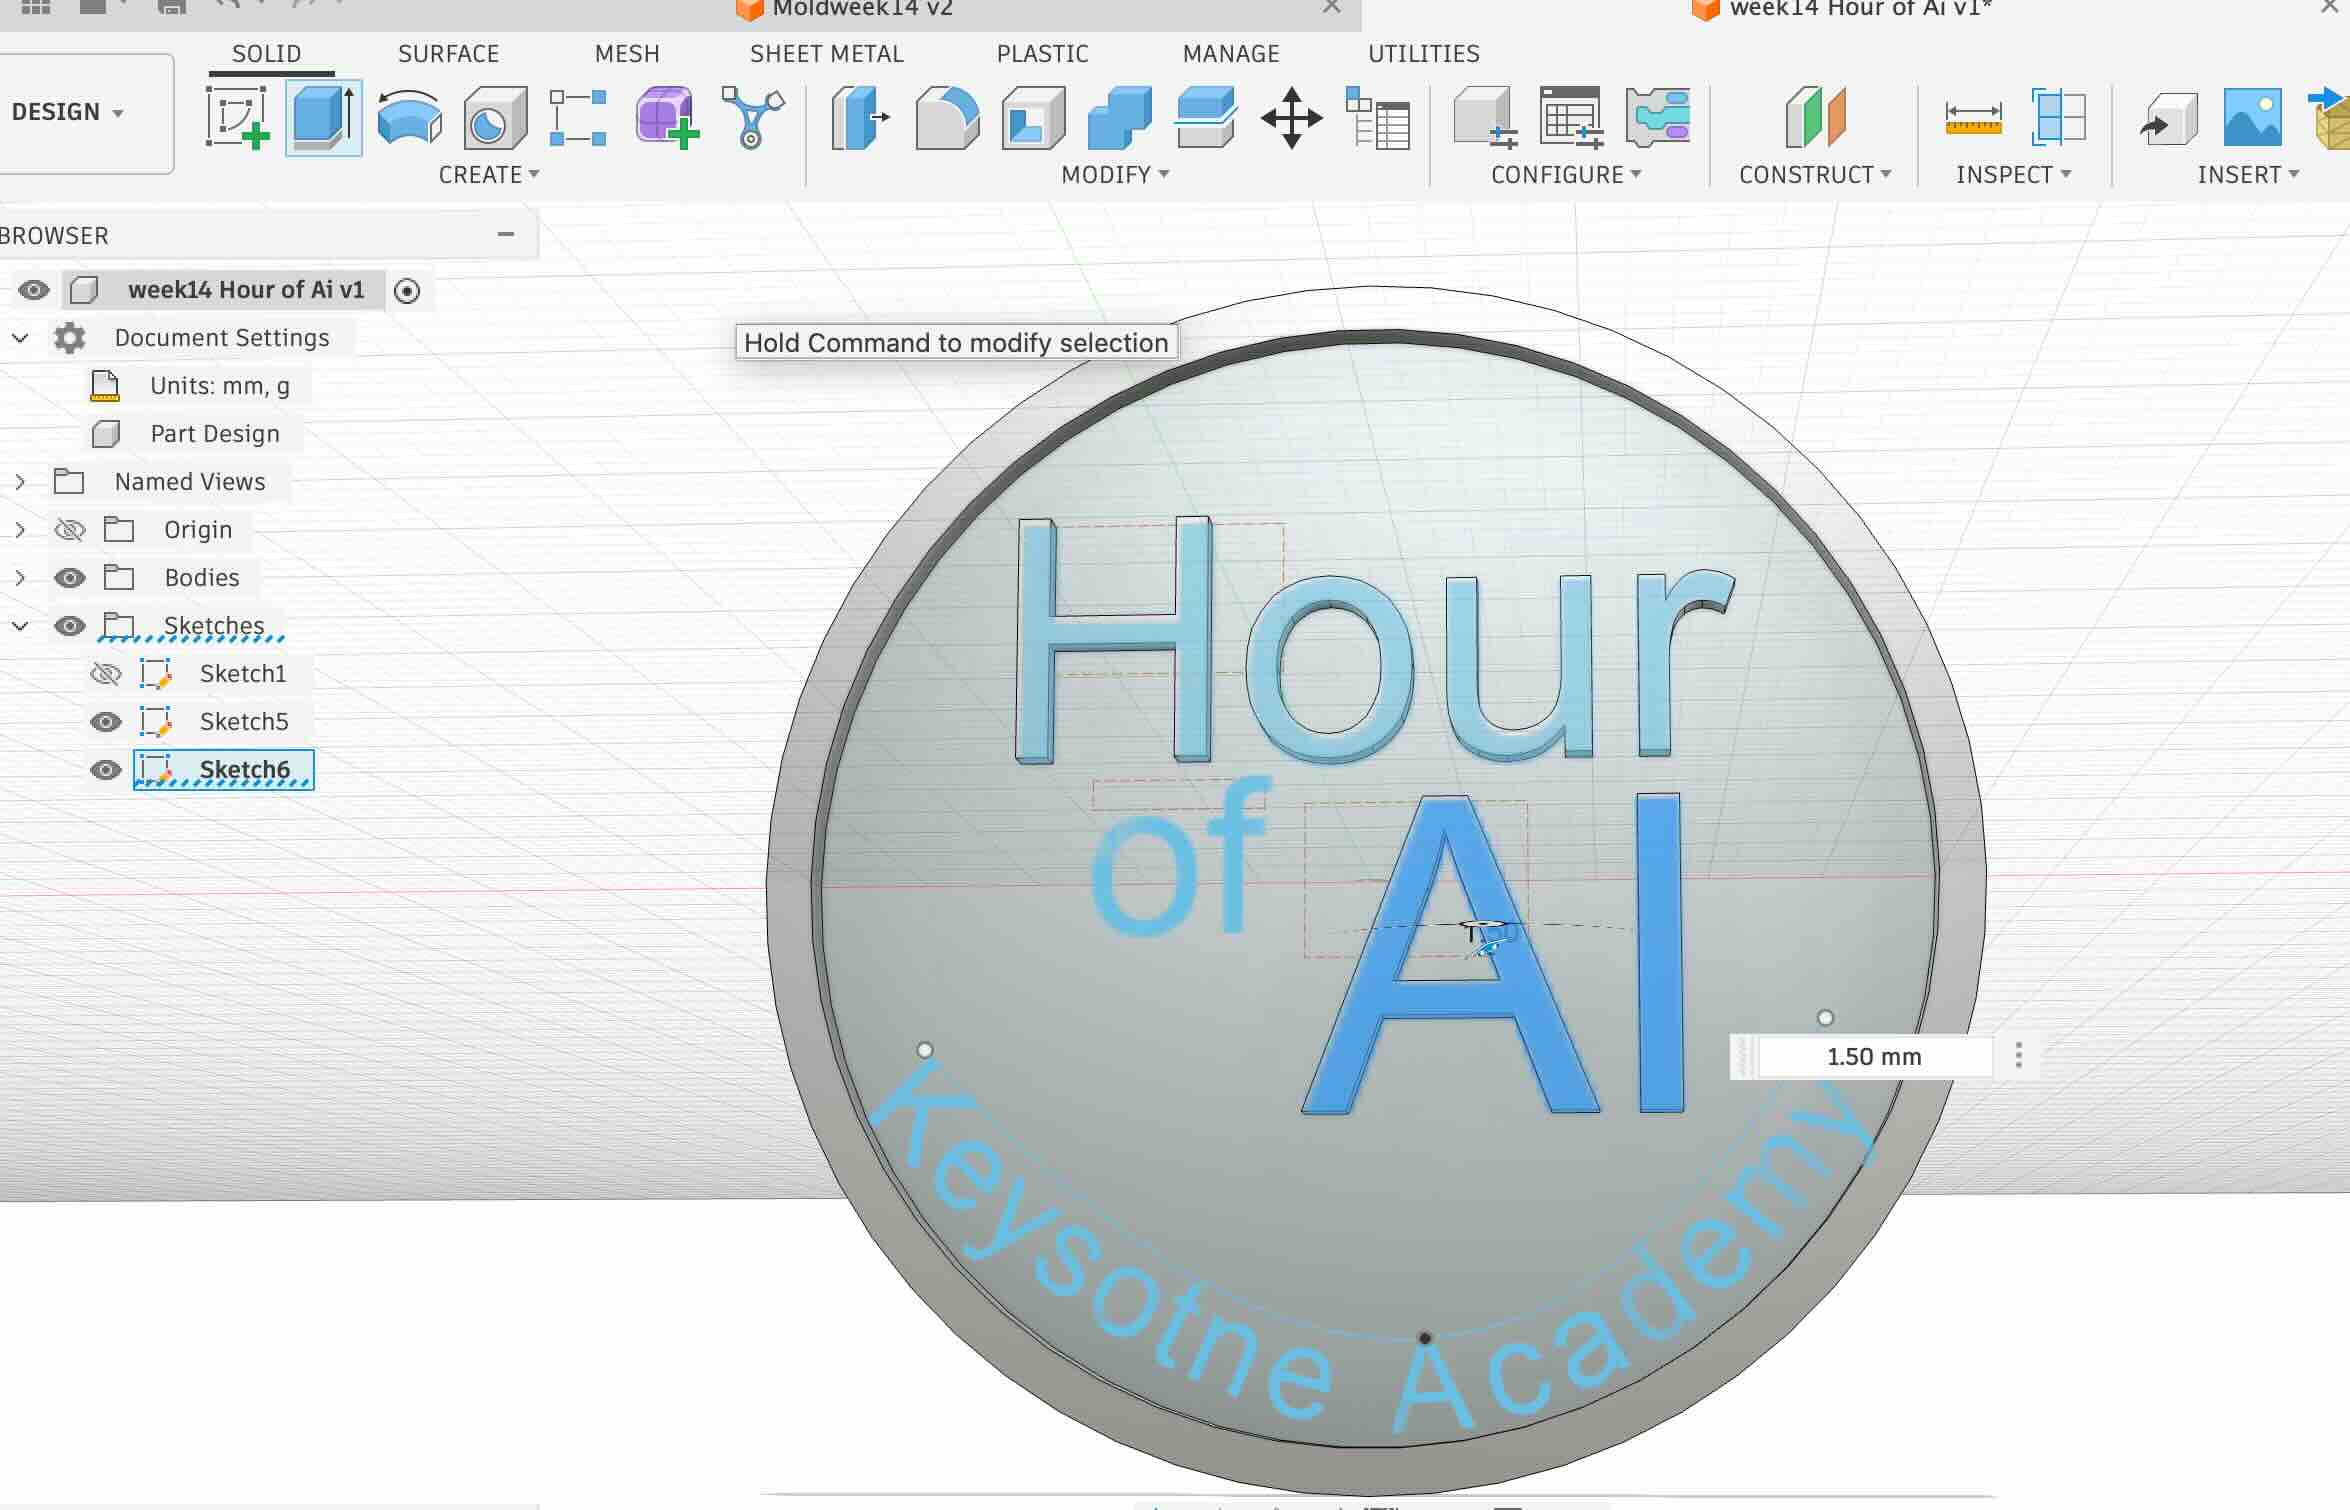
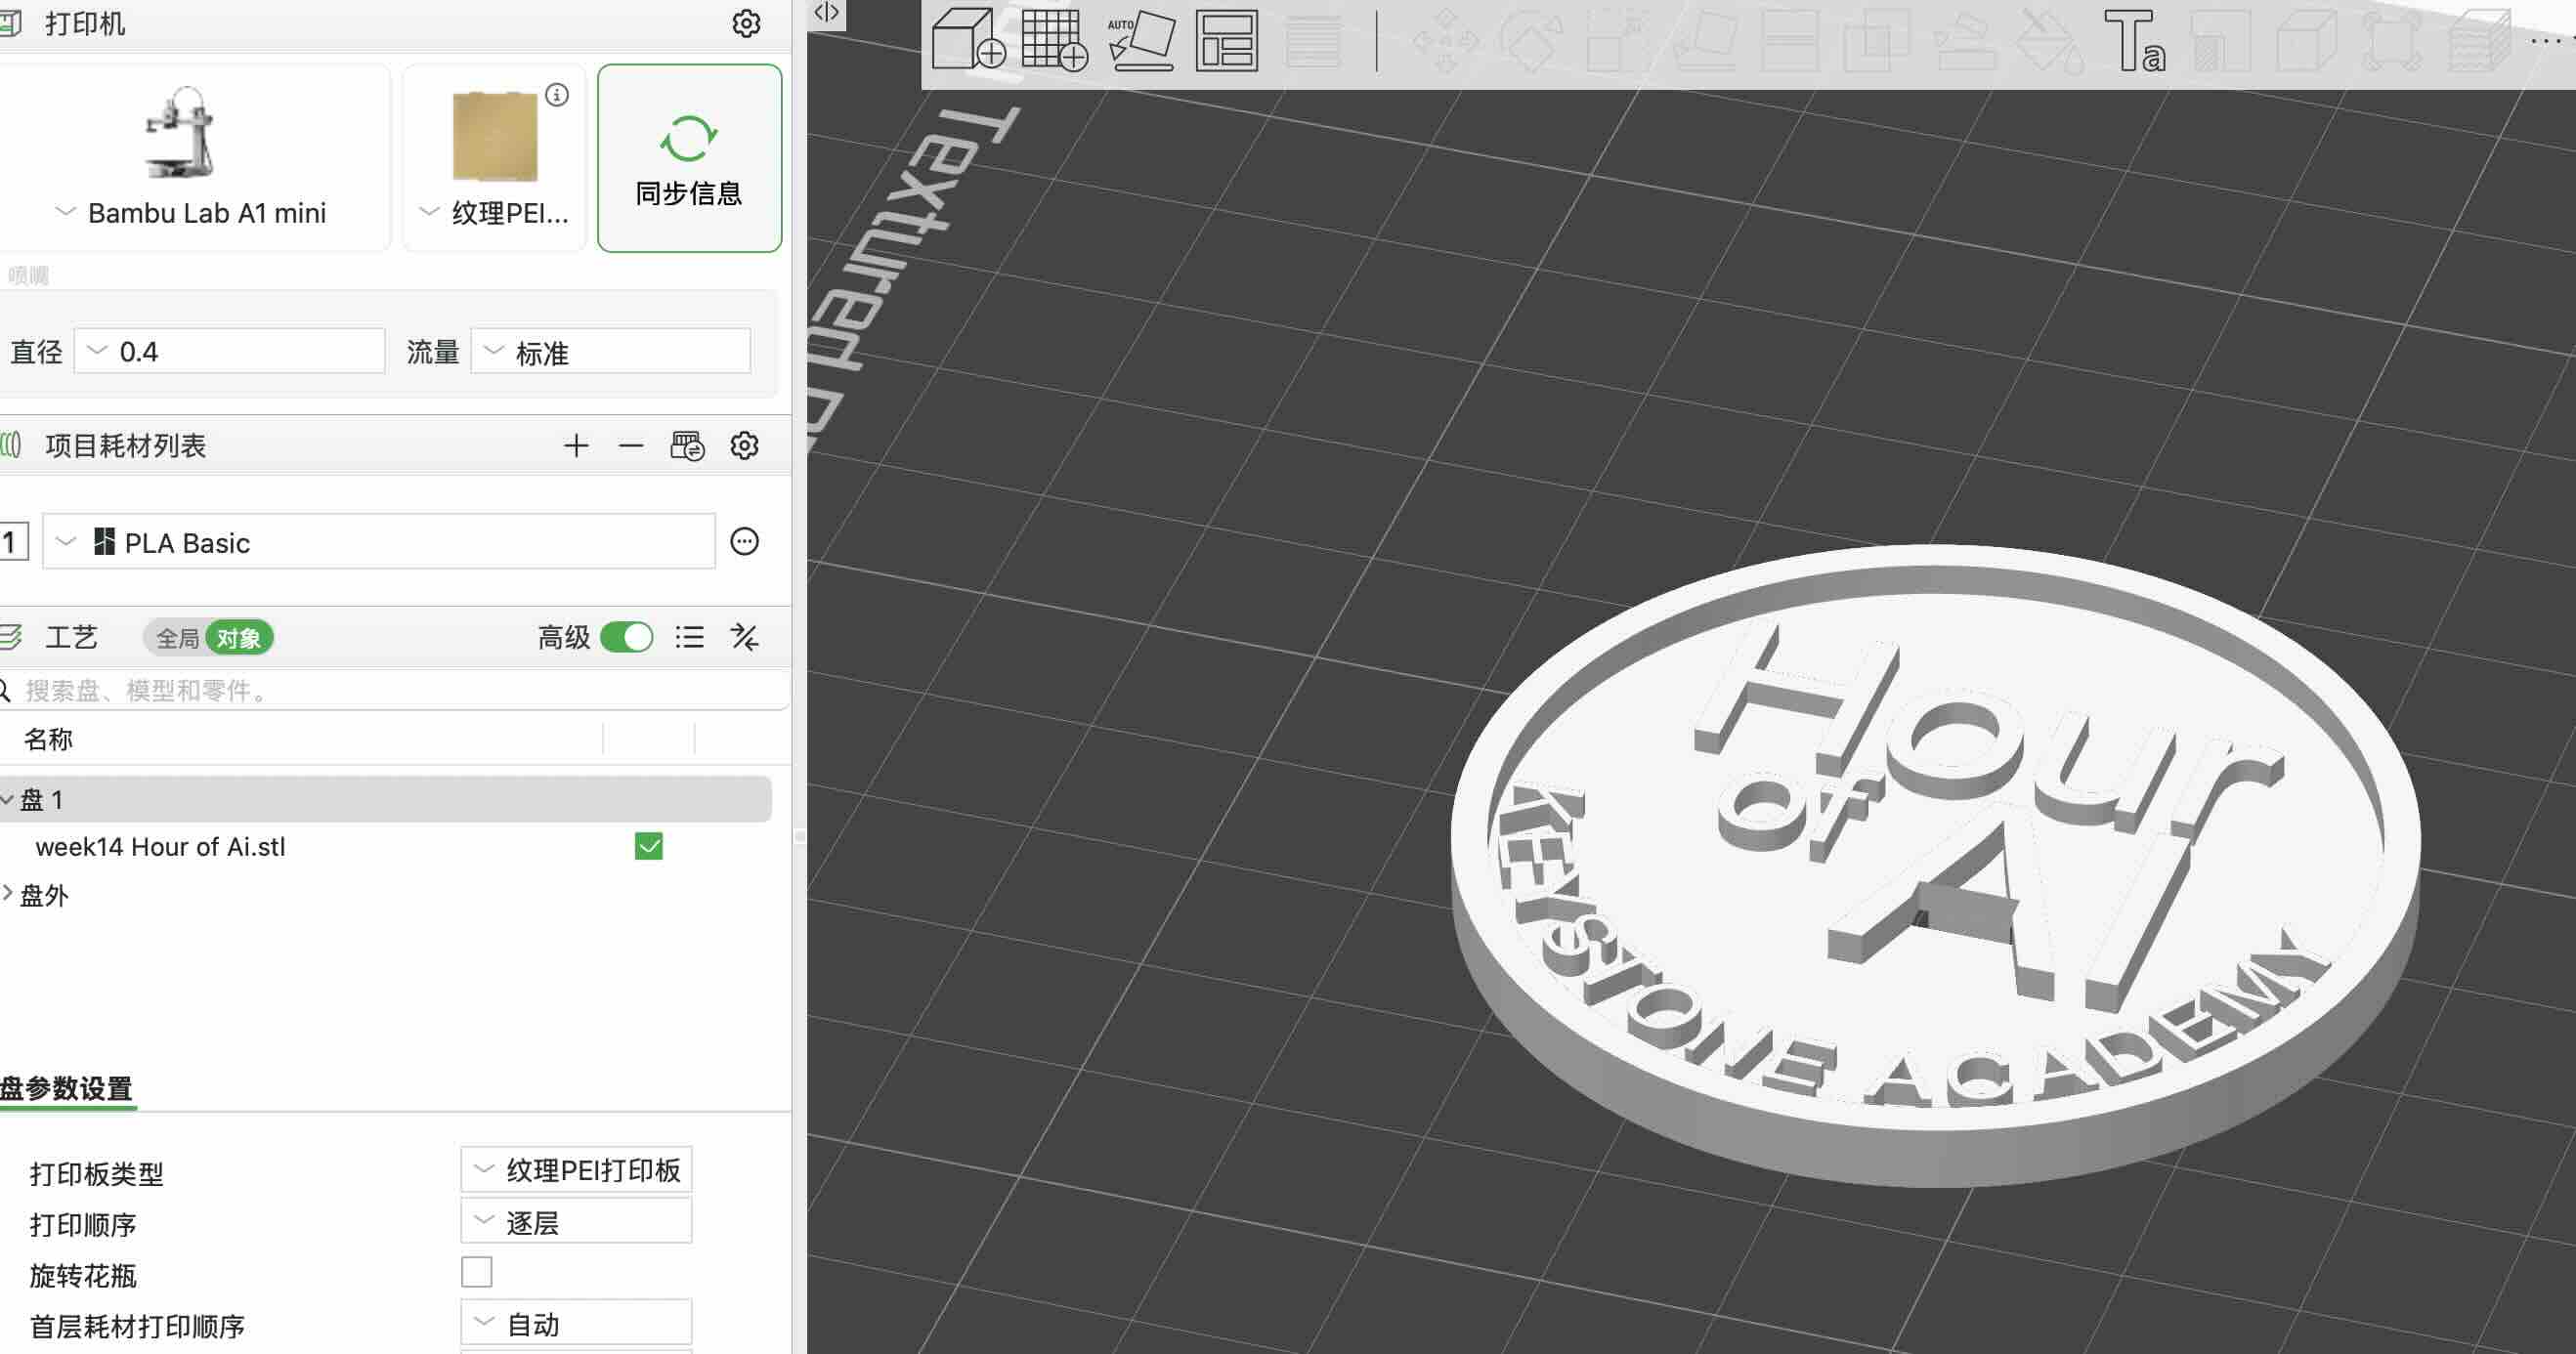
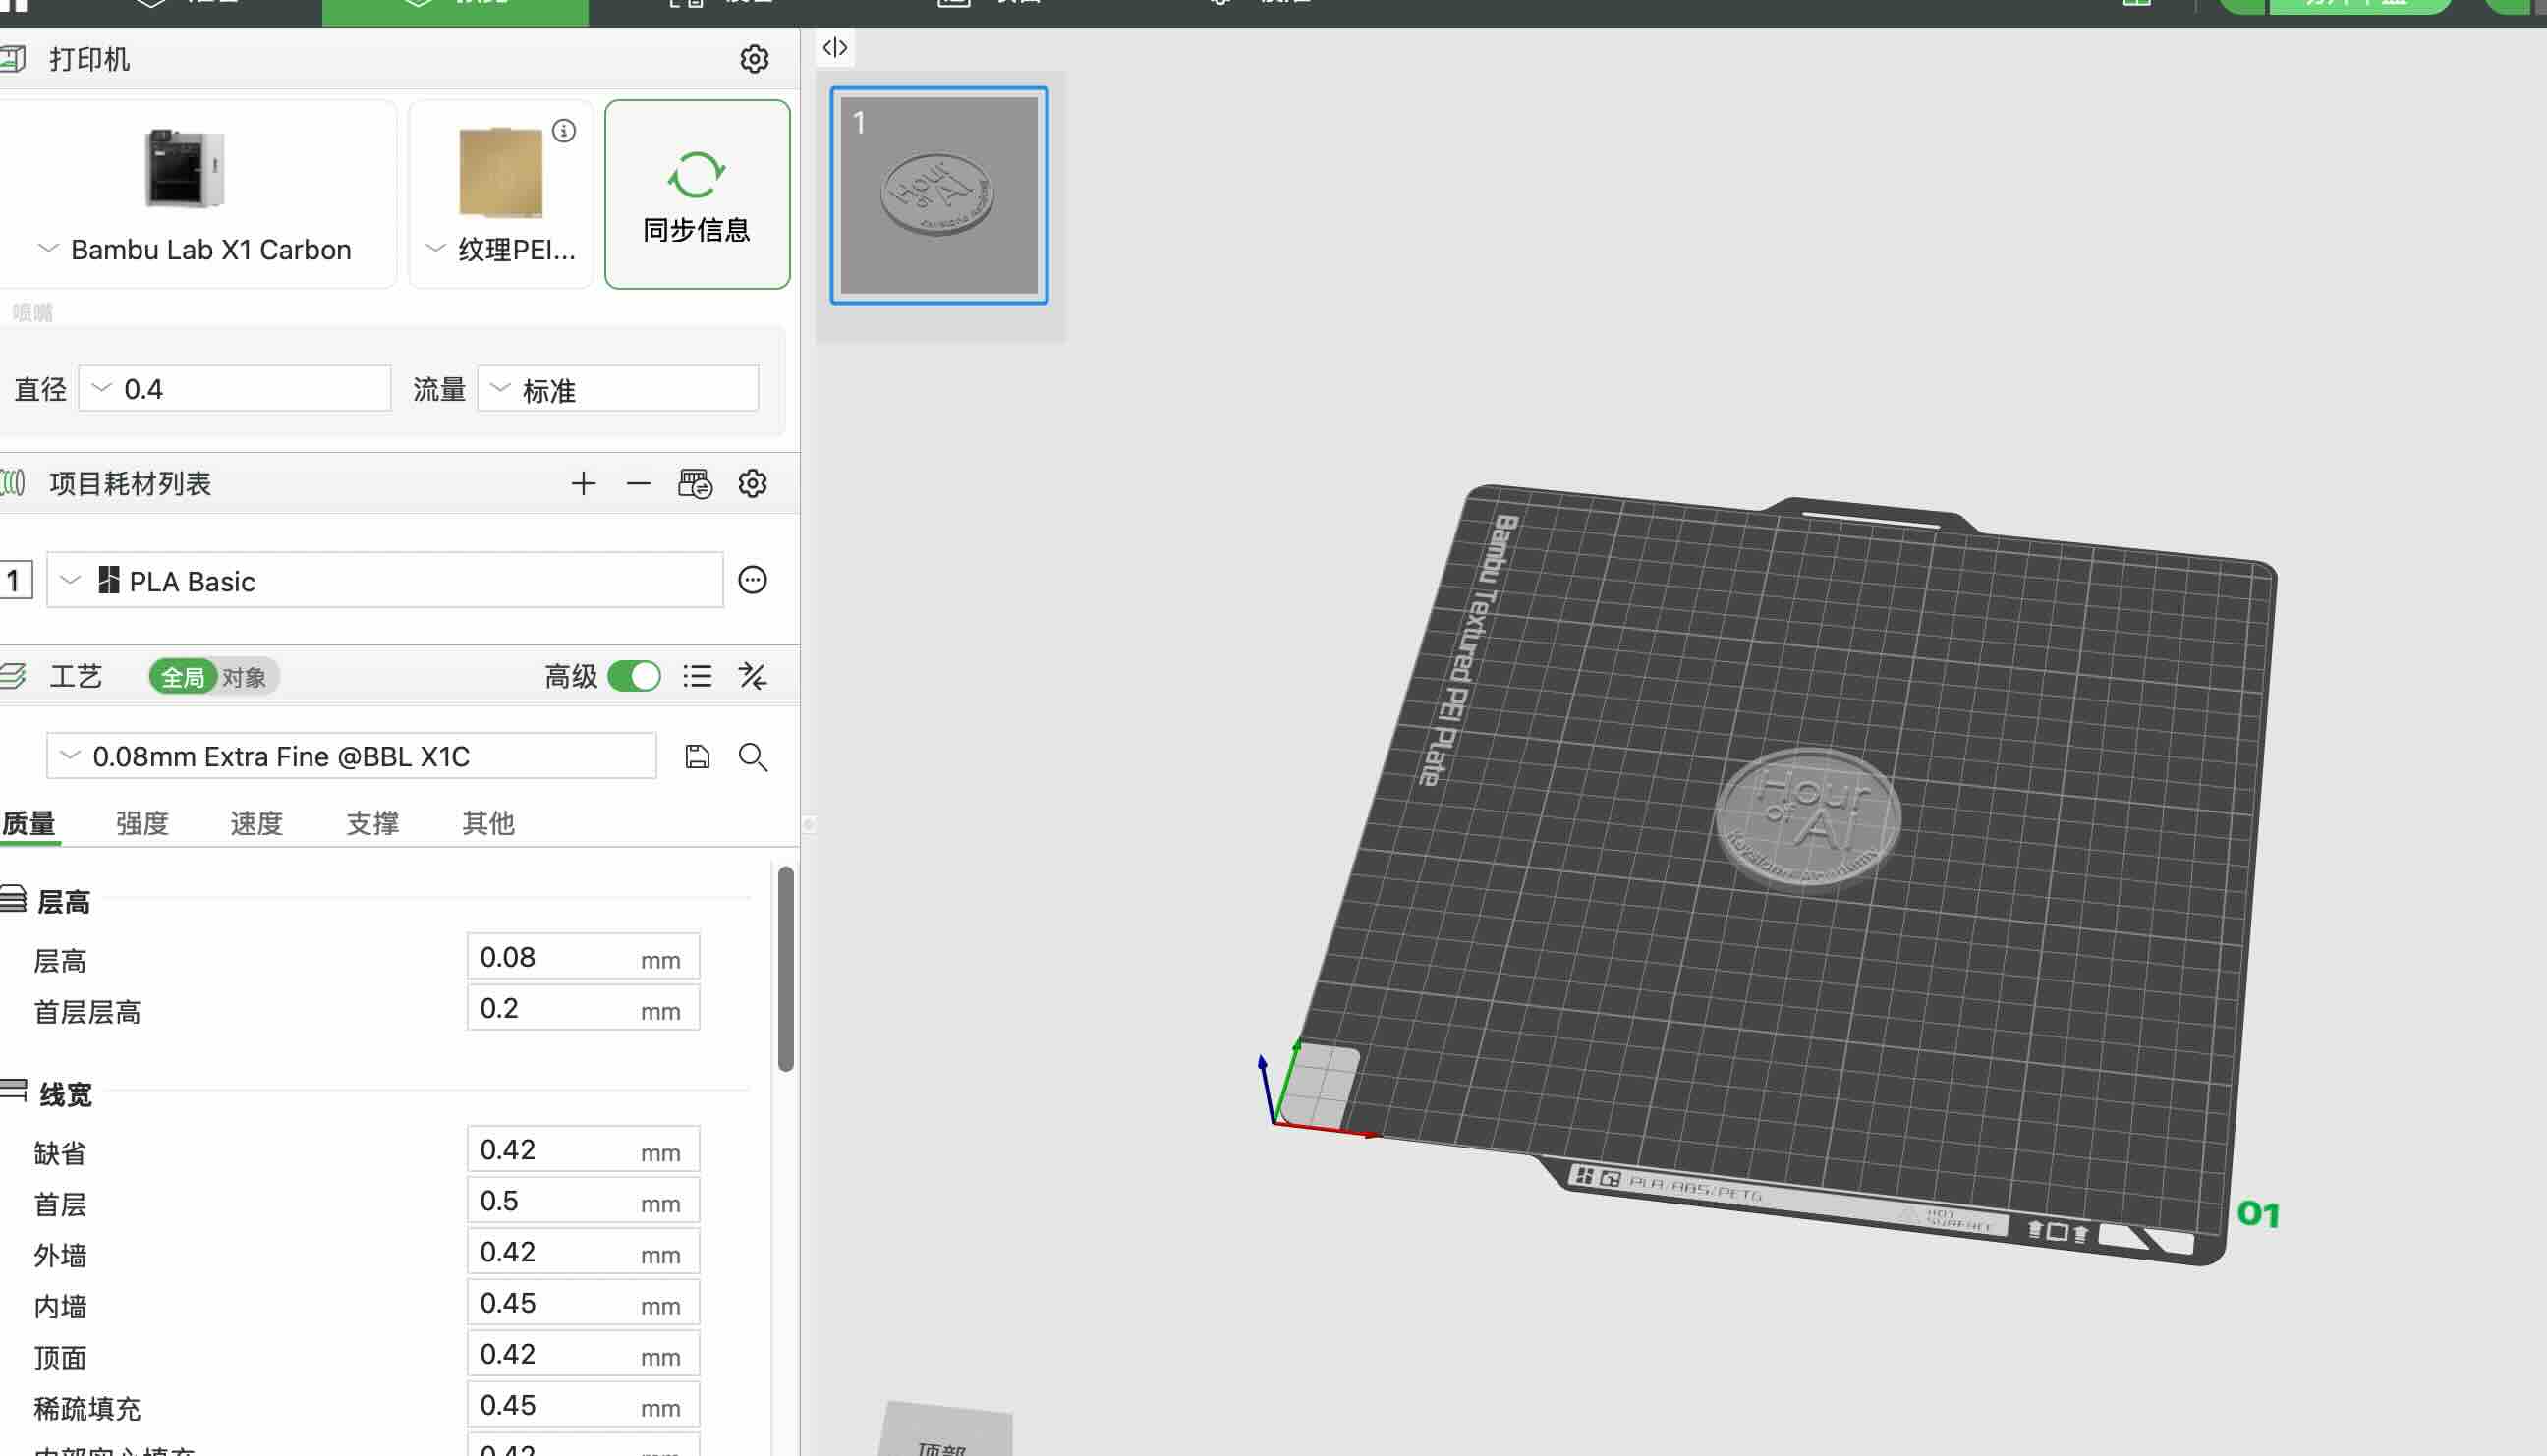
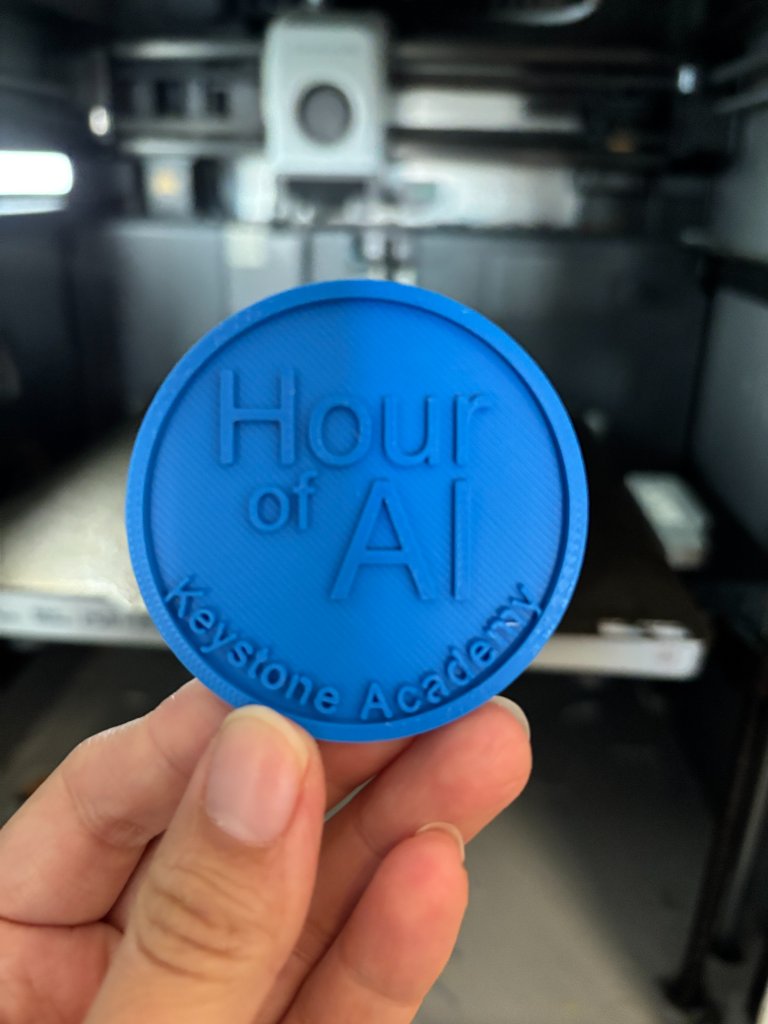
Mold Making and Casting
I use the cardboard and the the axis of 3D print filament as material of mold, use the hotglue gun to glue the them together.
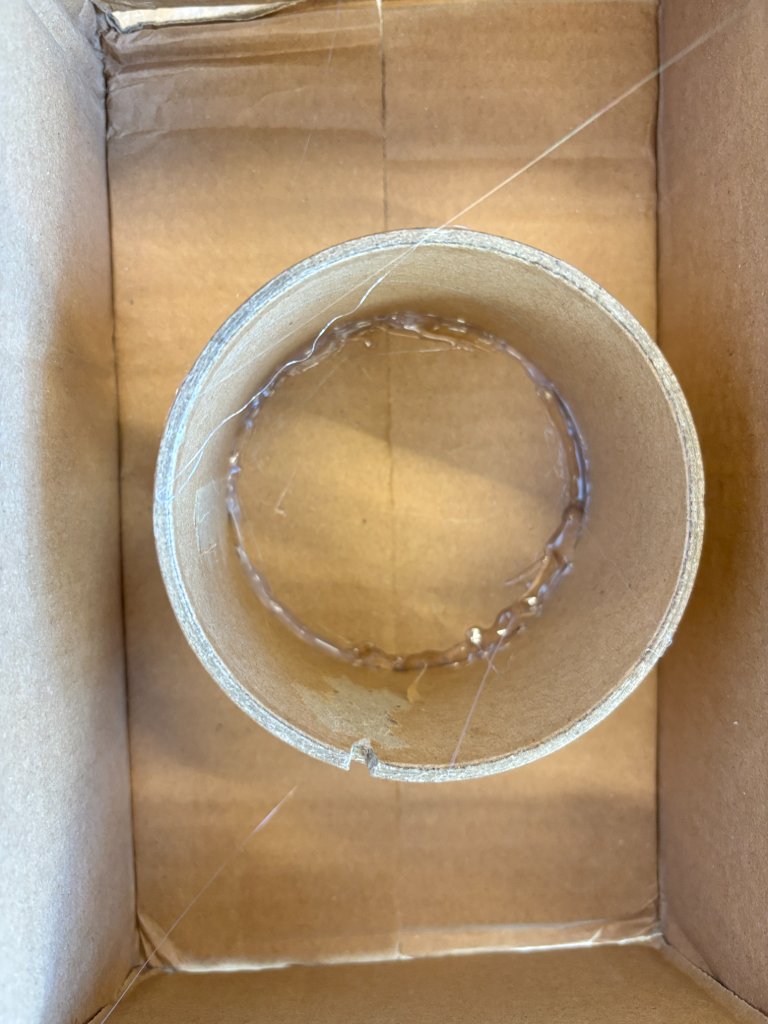
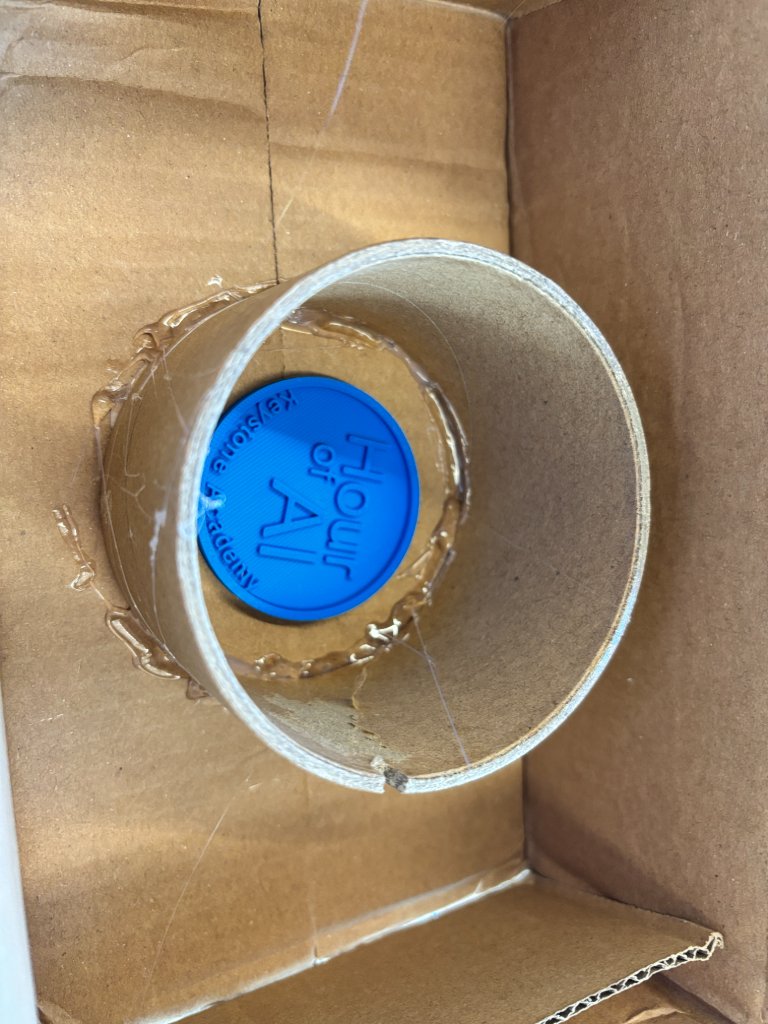
Mix the two materials together, and then pour the mixture into the mold.After that remember to remove the bubbles in the mold by using tooth pick or something sharp and thin. Place the mold for 24 hours to cure.
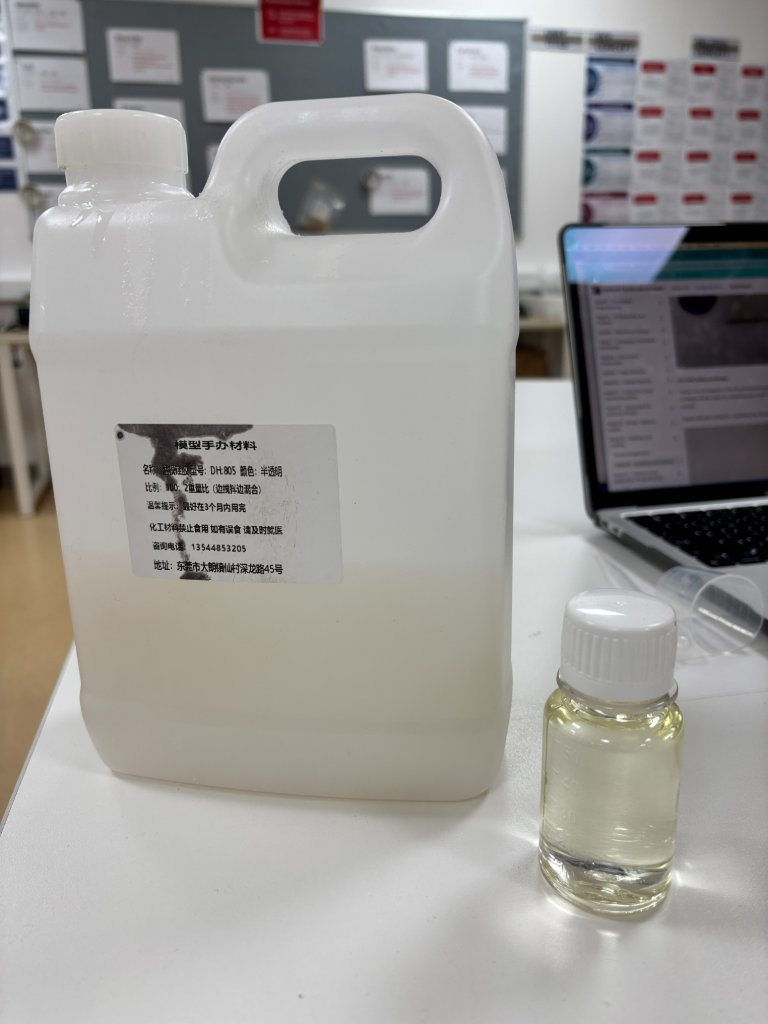
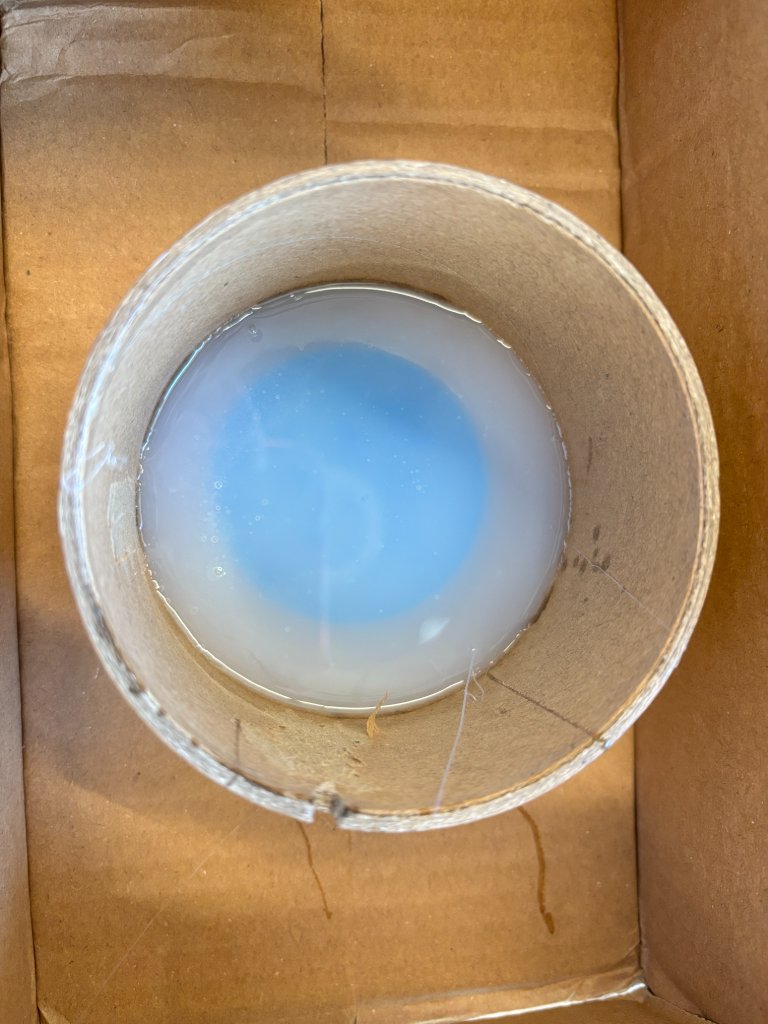
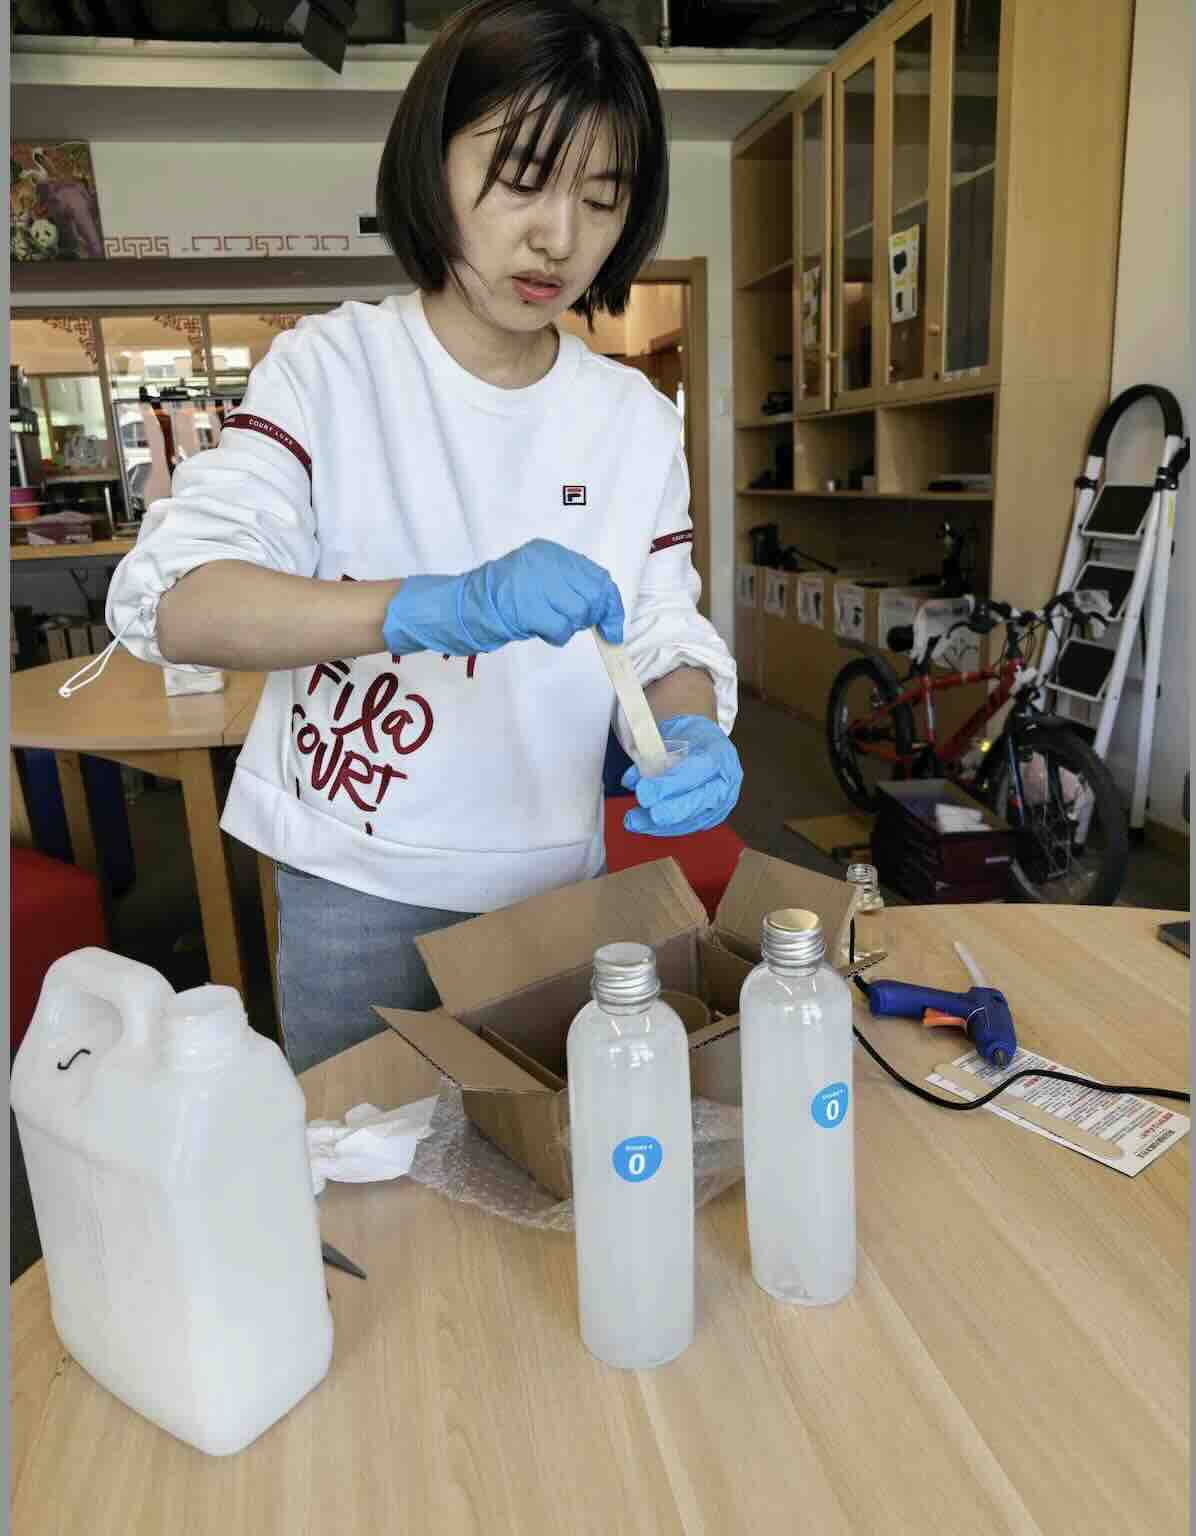
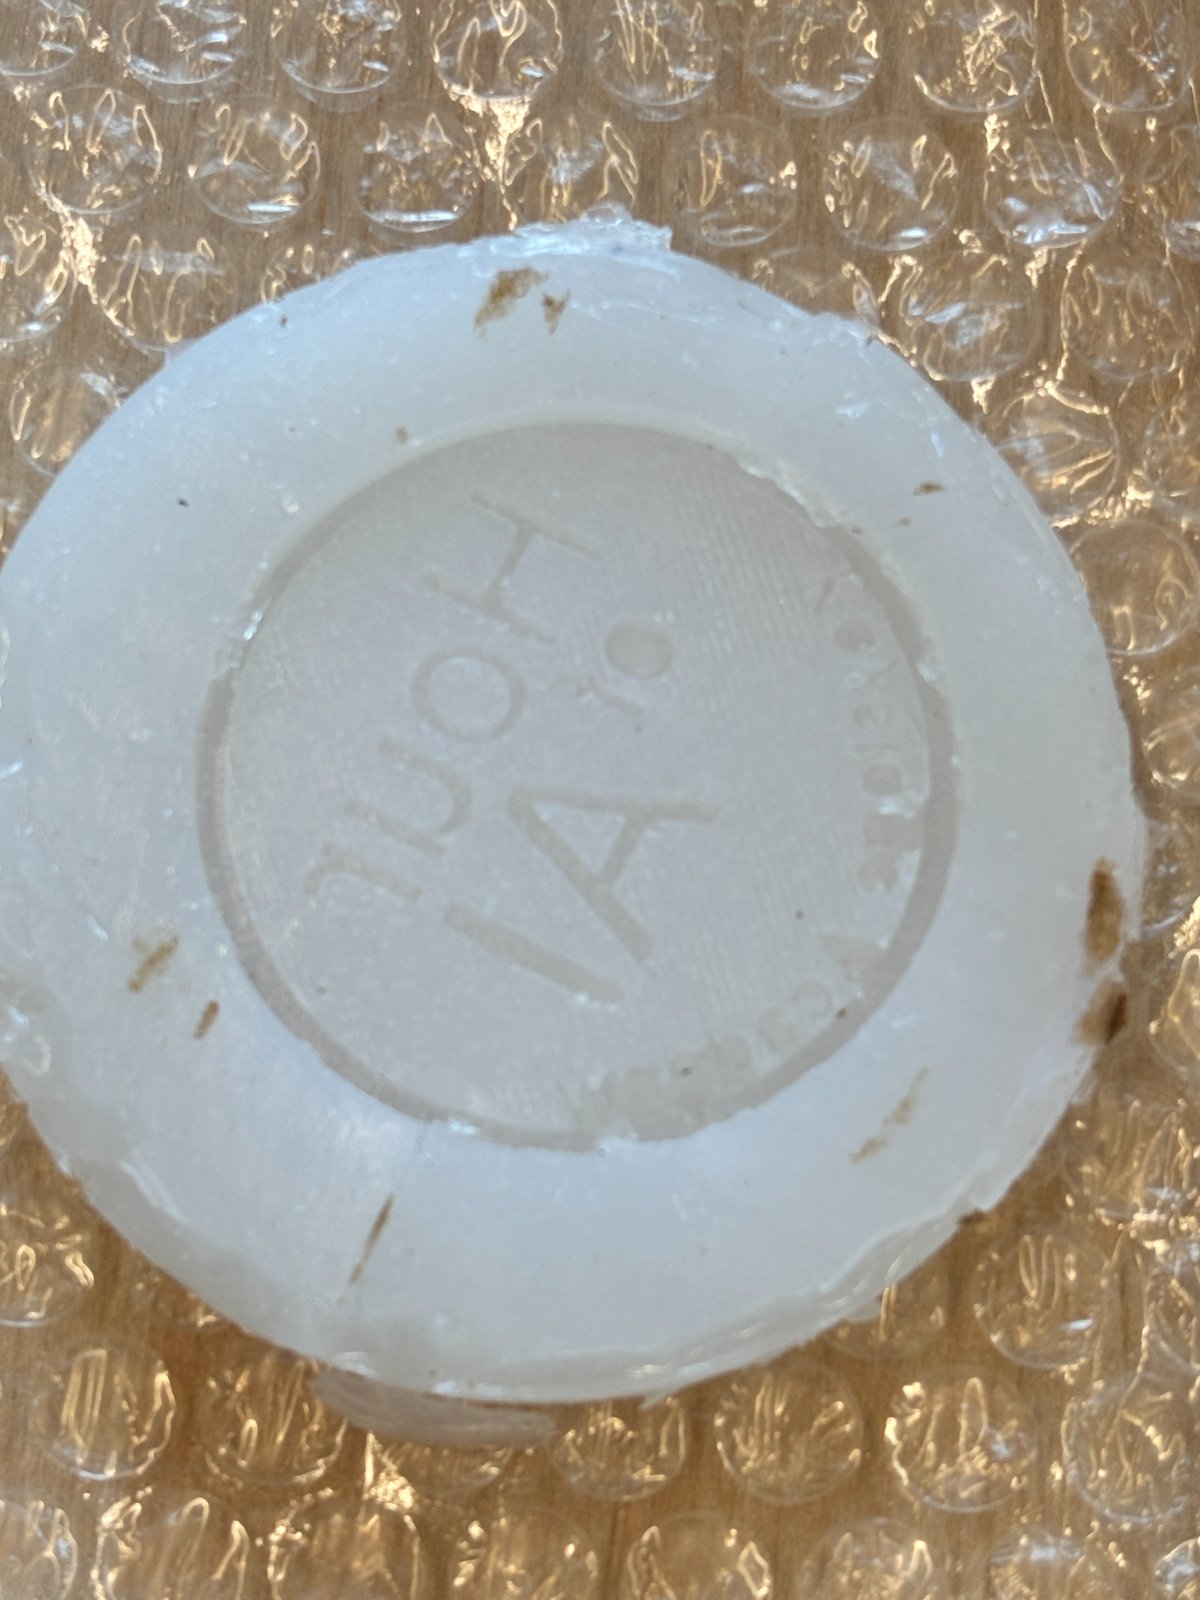
Silicone bubble reduction method
1.Use a toothpick to poke the bubbles in the silicone.
2.Use a syringe to suck the bubbles out of the silicone.
Note:The ratio of curing agent and silicone is not right, the mold will not cure till more than 24 hours.
Solution:Adjust the ratio of curing agent and silicone to 1:50.
Casting: Mixing the AB glue and pouring into the mold
Weigh the AB glue according to the ratio of 3:1 (weight ratio Glue A : Glue B).
- Weigh Glue A. Place a clean cup on the digital scale, tare to zero, and pour Glue A to the target weight.
- Weigh Glue B. Tare the scale again and add Glue B until its weight is one third of Glue A (3:1 by weight).
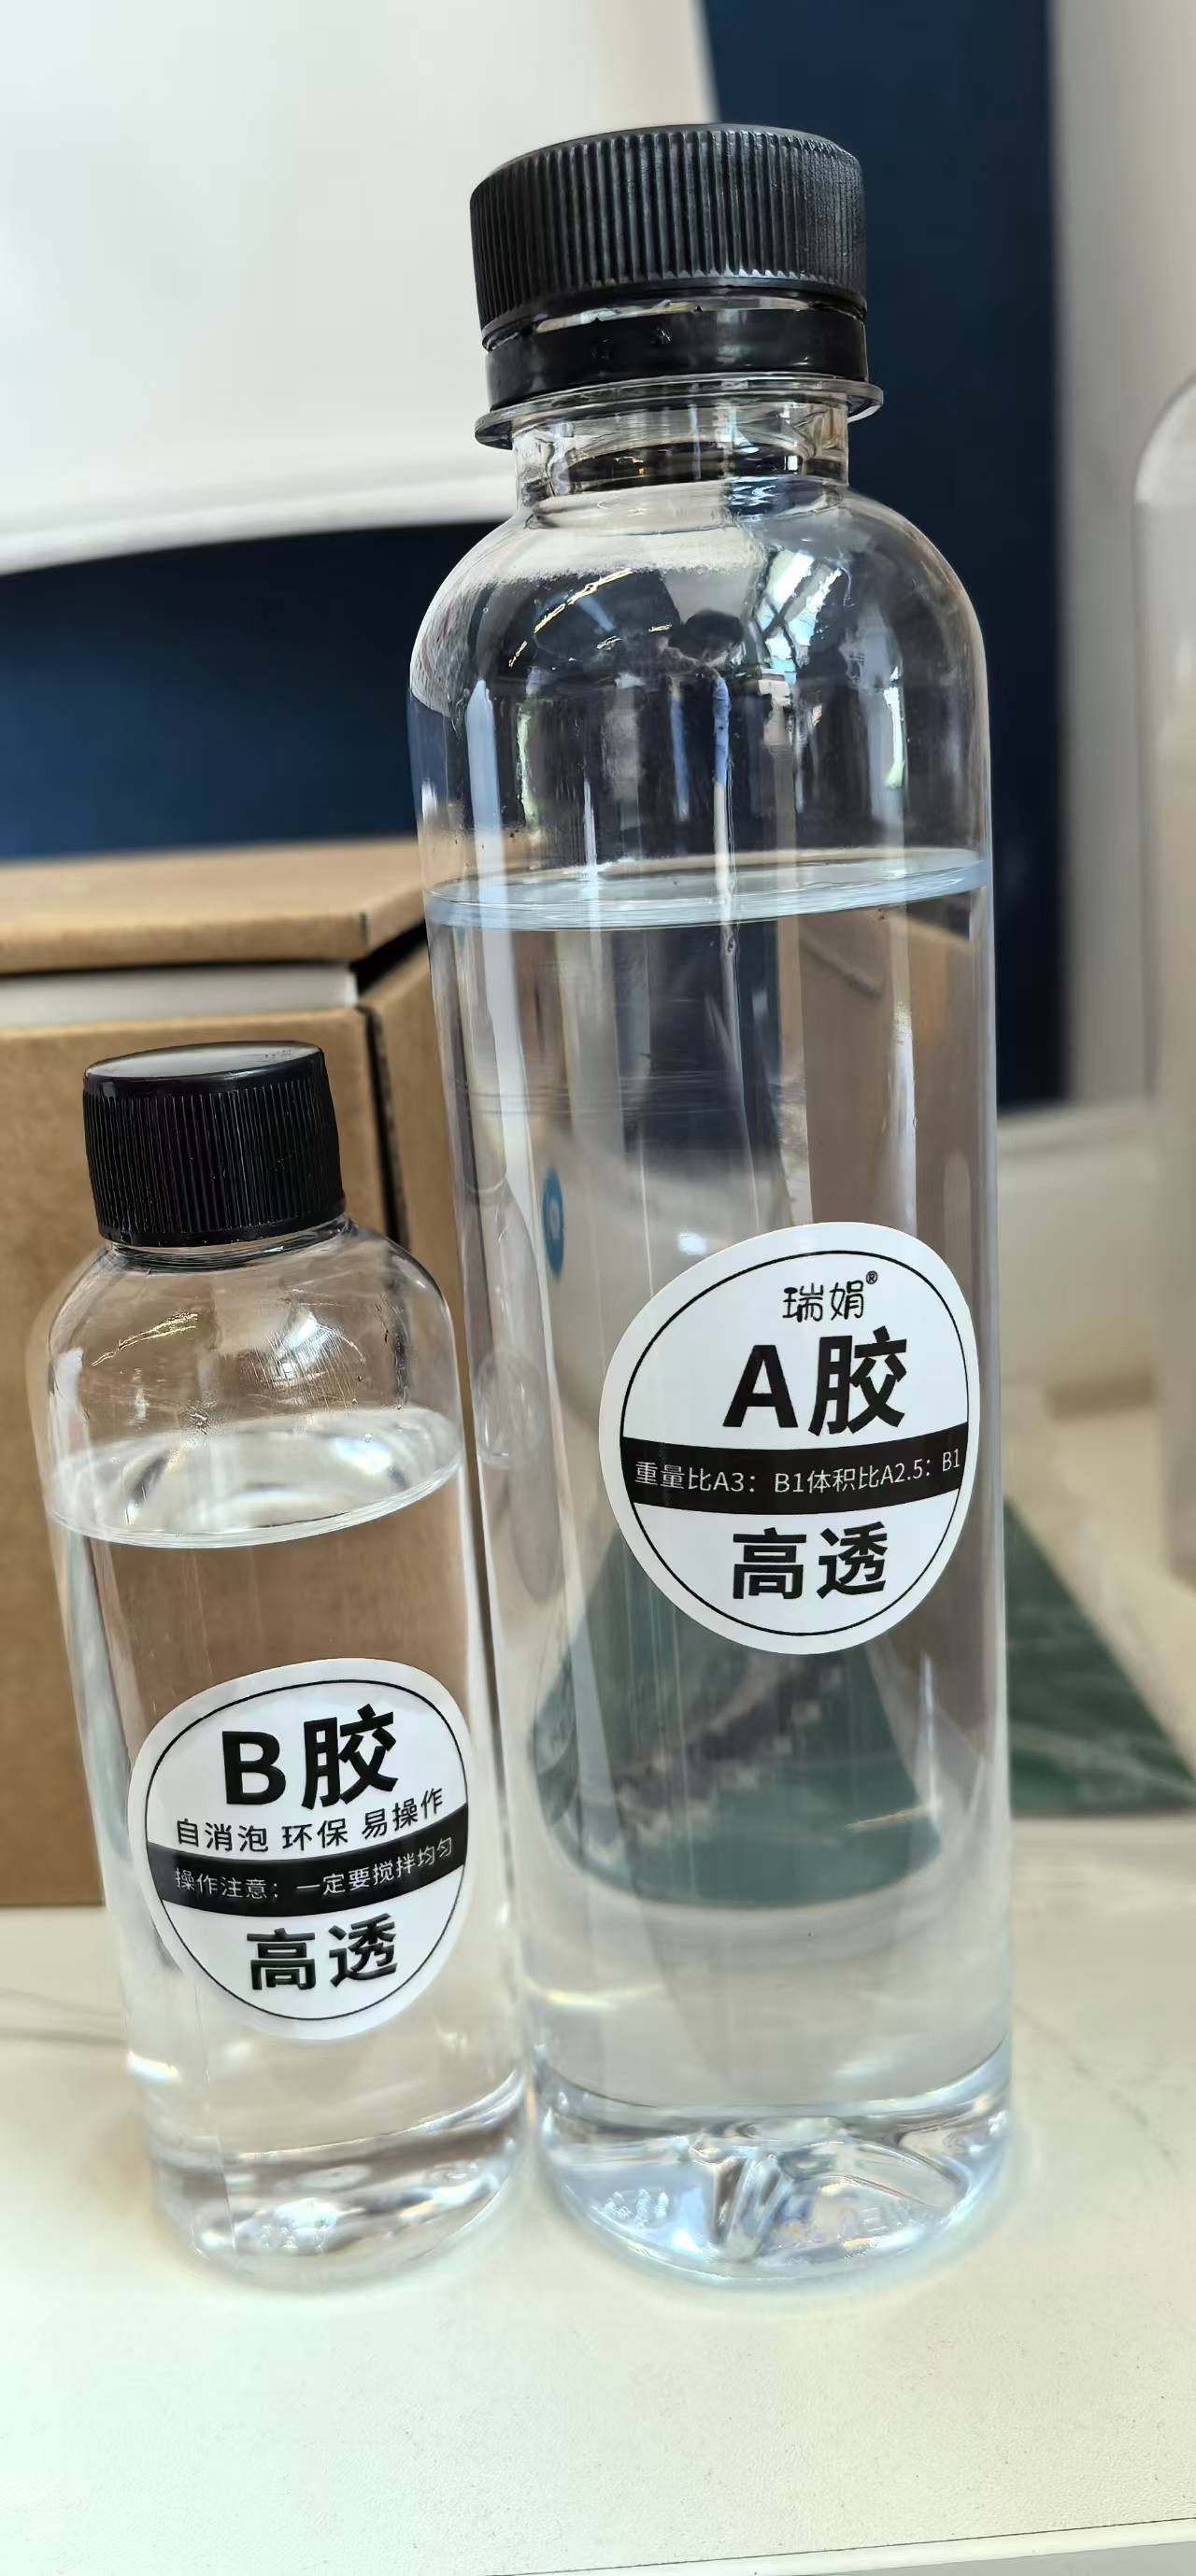
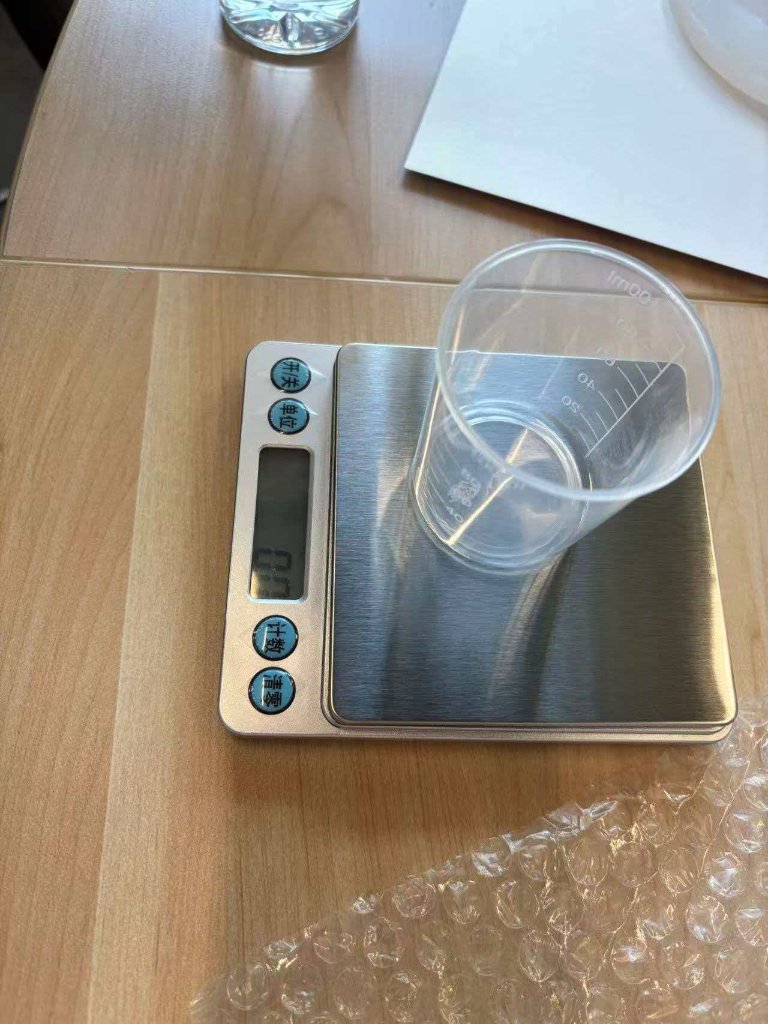
2. Mix the AB glue and stir gently in one direction (clockwise) for 3–5 minutes until the mixture is fully transparent and no visible "silk" streaks remain.
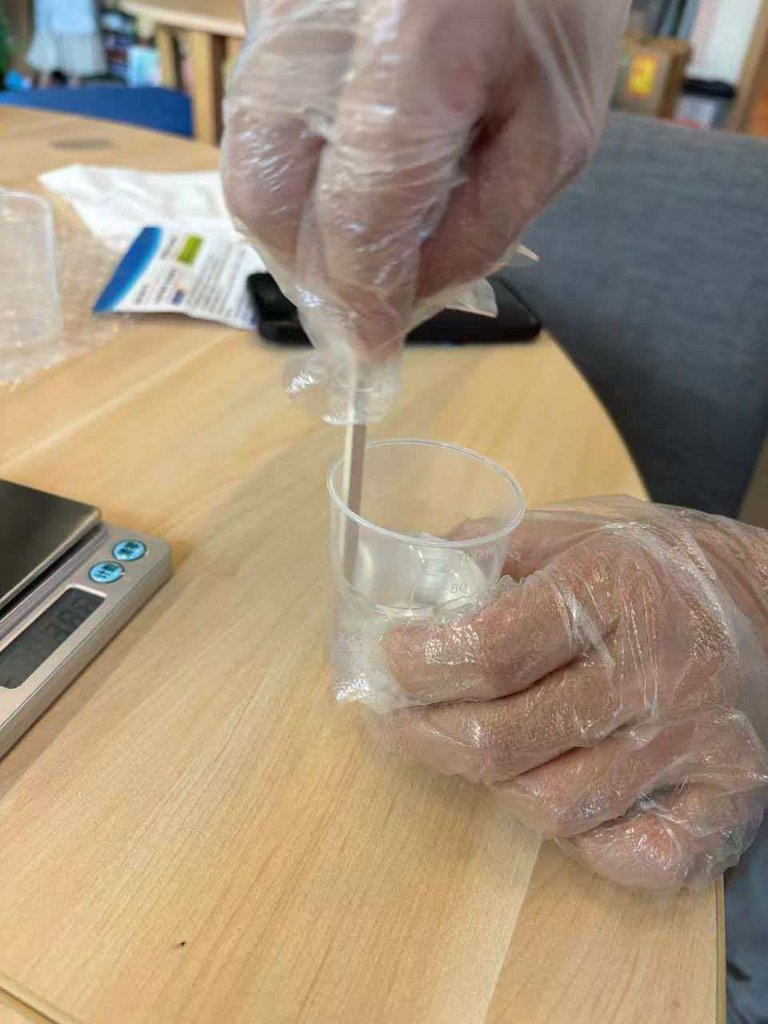
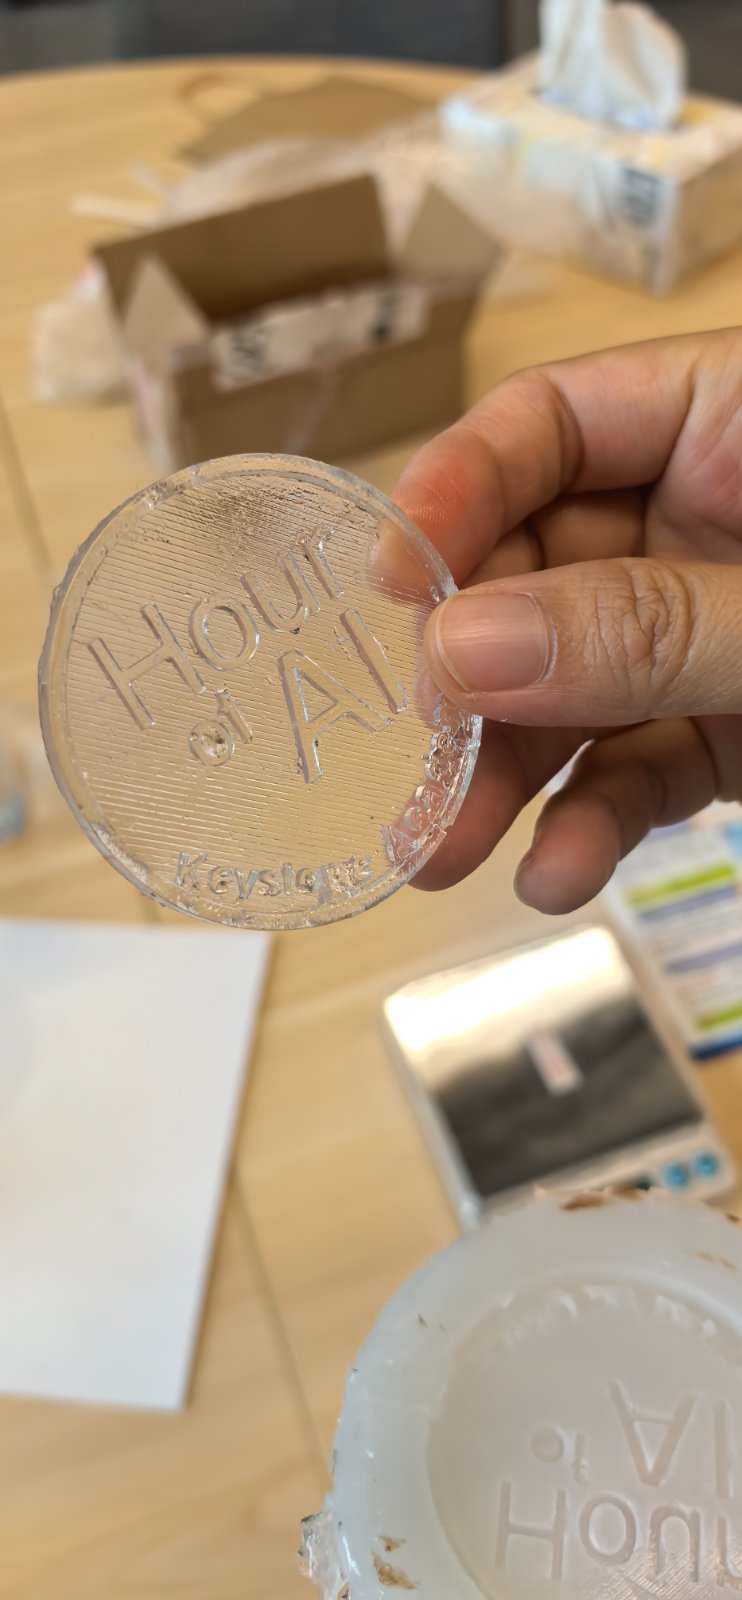
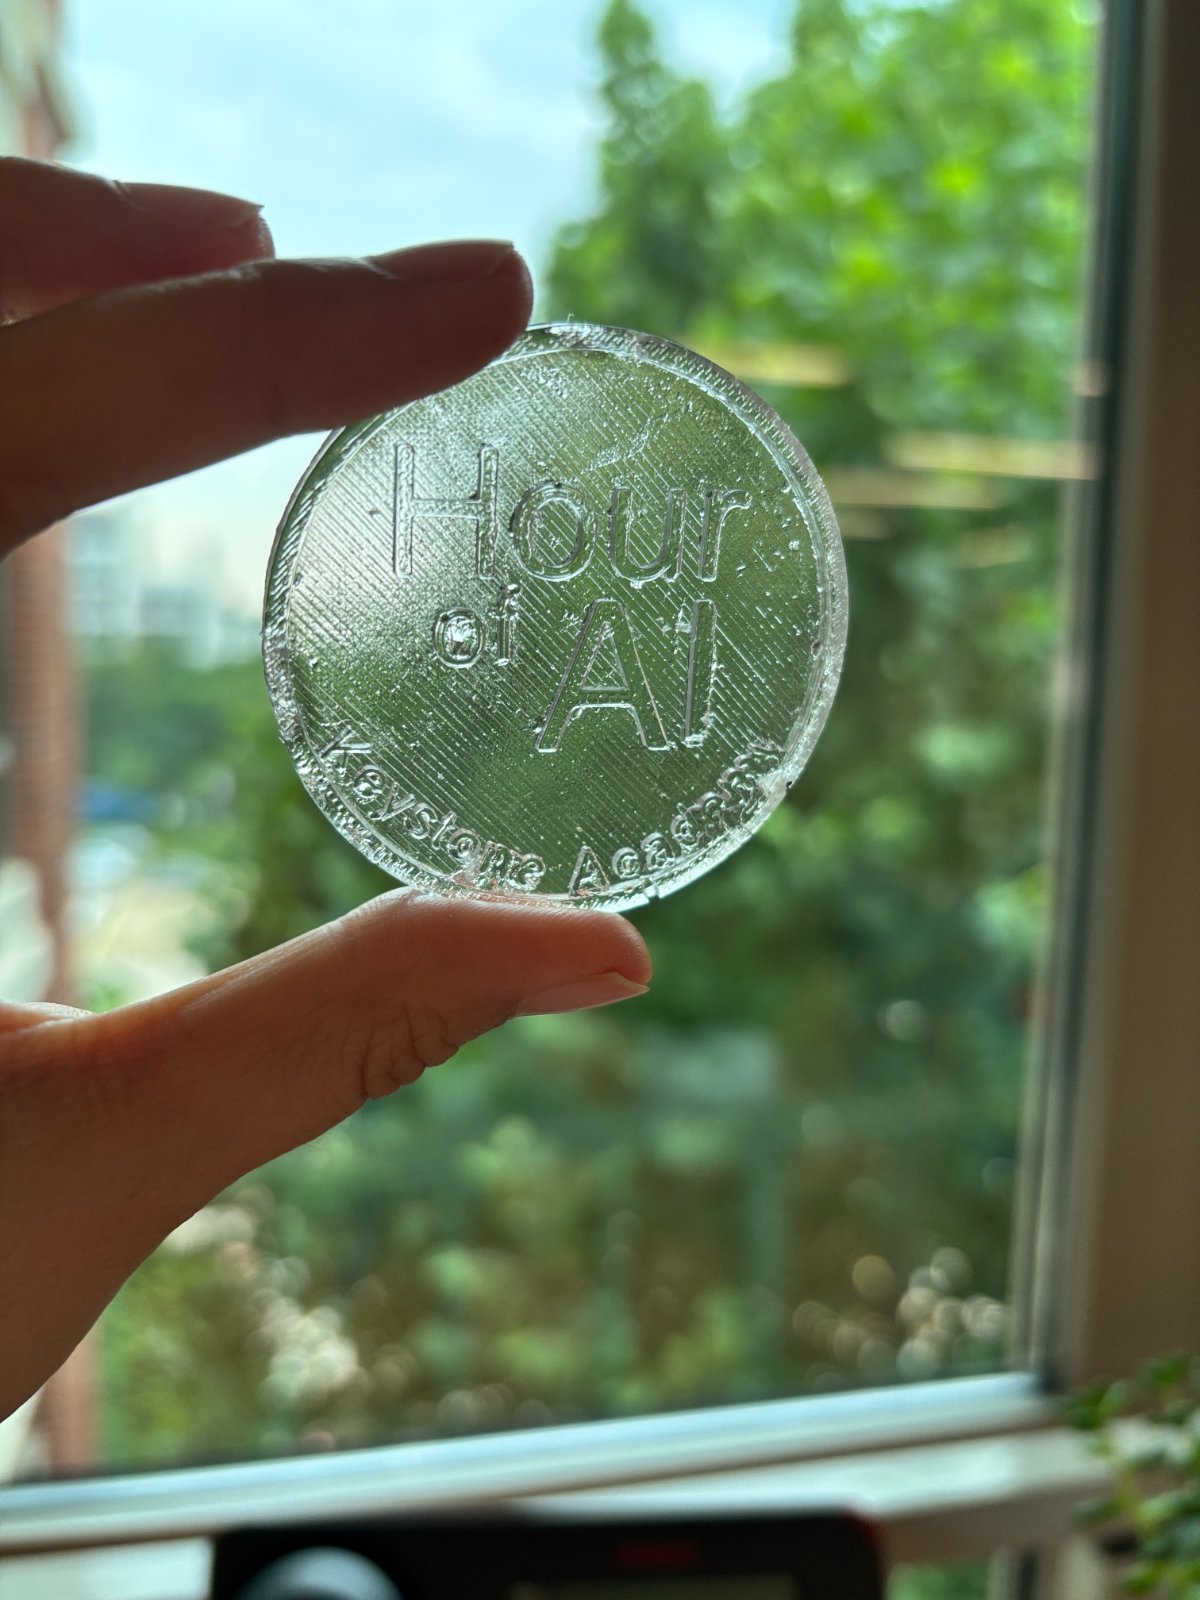
3. Pour the mixture into the mold. Pour slowly into the silicone mold to minimize trapped air. At about 25 °C, wait roughly 15 hours before demolding; lower room temperature requires longer cure time.
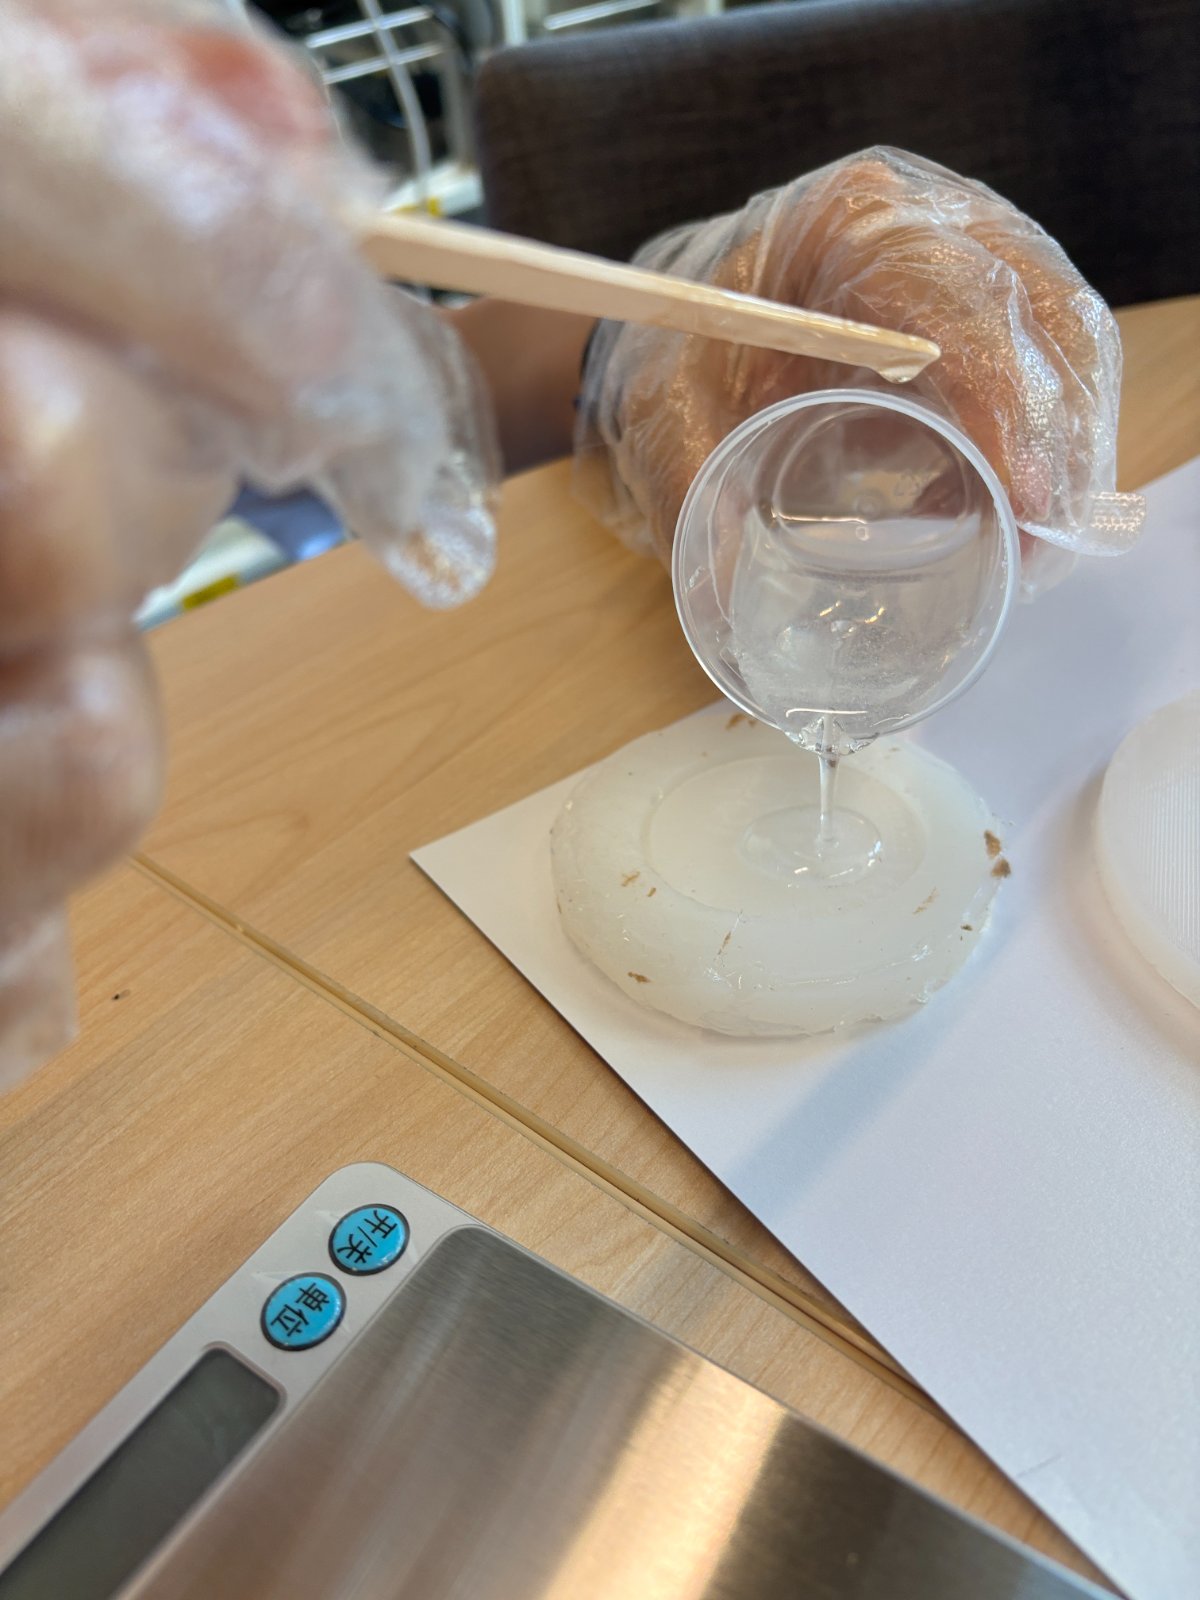
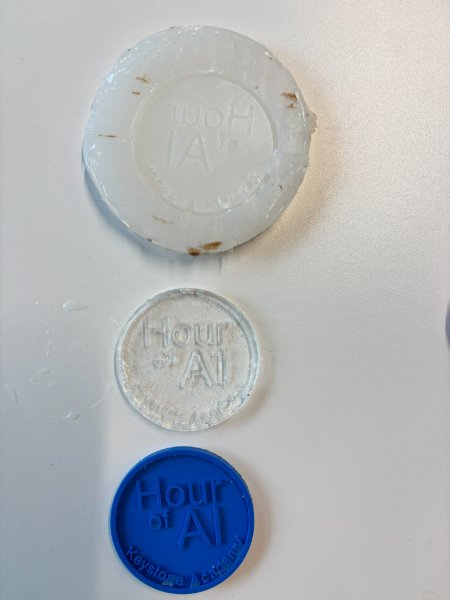
Casting Result
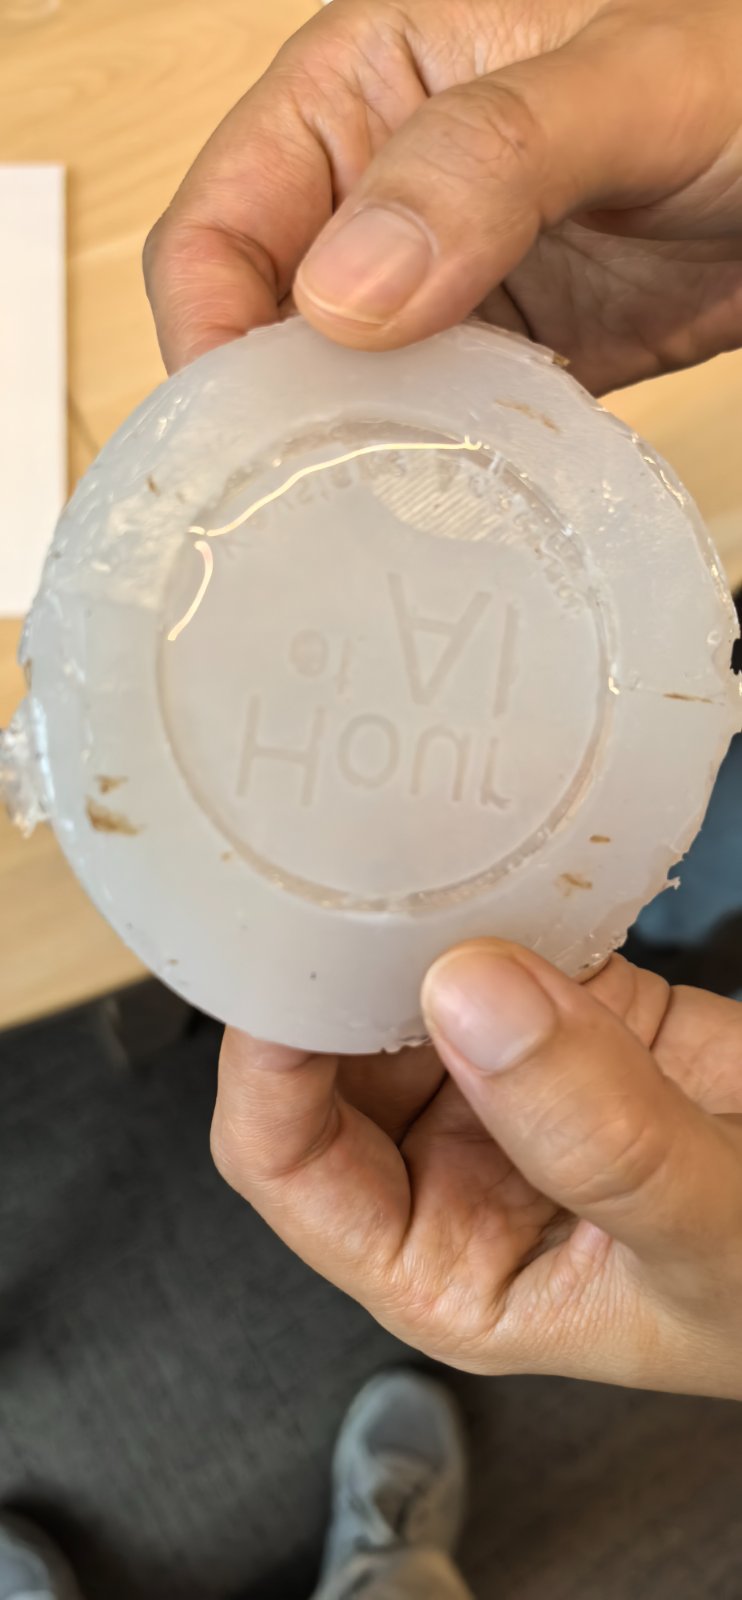
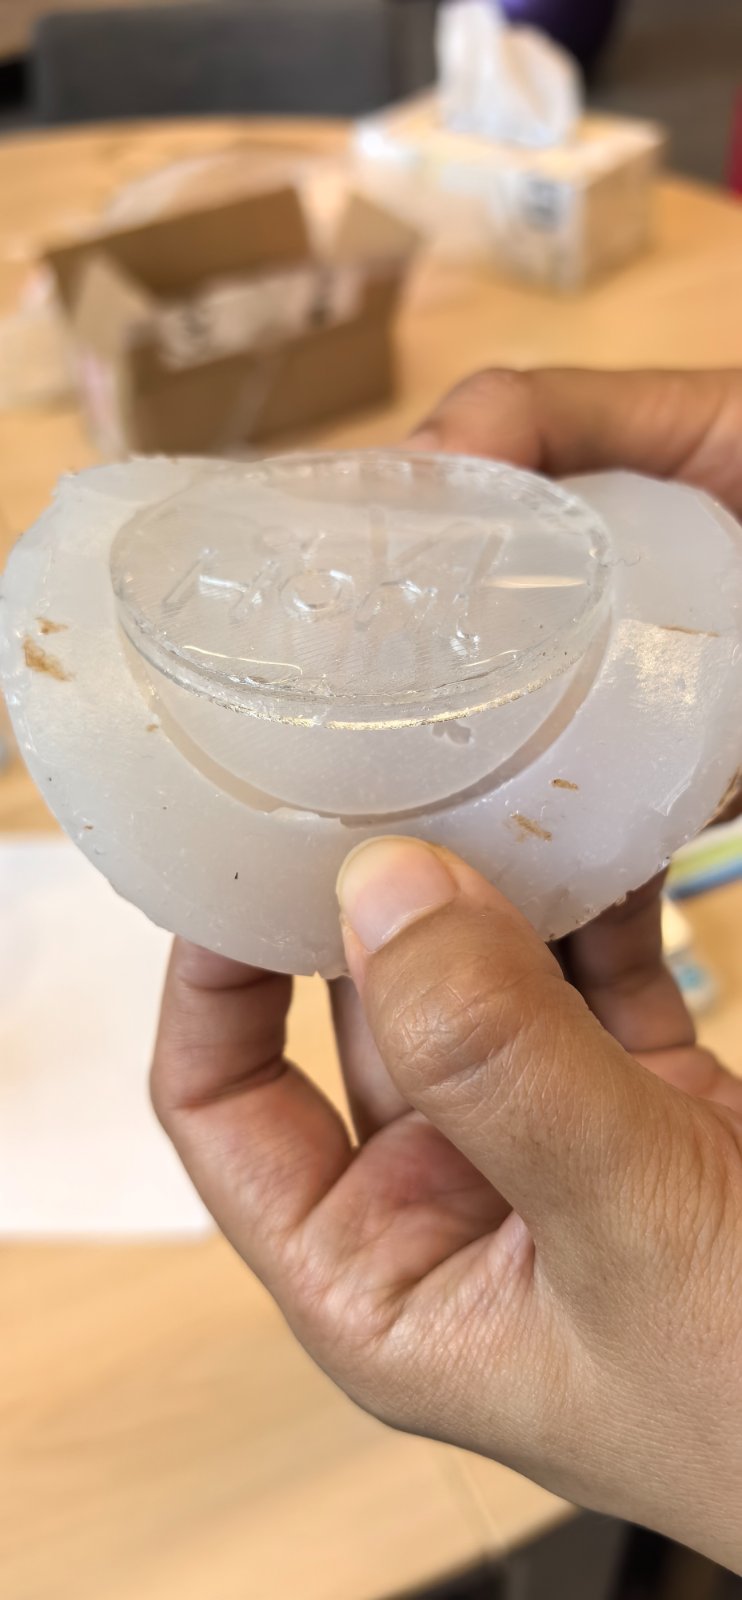
Reflection — what I learned about molding and casting
3D printed vs CNC milled molds comparison
| Criterion | 3D-printed master (FDM / SLA) | CNC-milled master |
|---|---|---|
| Surface finish | SLA (Form 4) gave the smoothest mold surface; FDM showed visible layer lines unless filler, sanding, and primer were applied. | Open faces milled cleanly with a ball-end bit; V-bit pockets were rougher. Tight internal corners are hard to polish after milling. |
| Detail | SLA copied fine coin relief best; FDM lost detail on tight curves (layer stepping). Printed dice pips at 16 mm scale outperformed milled pips. | Detail limited by bit diameter and axis access — small recessed features (e.g. dice pips) were less crisp than a tuned FDM print at our lab scale. |
| Cost | Low material cost (filament or resin); main expense is machine time and occasional post-processing supplies. | Stock (wax/foam) plus tool wear; hybrid workflows (printed body + milled pockets) add setup effort without always improving the result. |
| Time | Slicer setup, then several hours of mostly unattended printing (longer for FDM than SLA). | G-code and fixturing upfront; once at the machine, each feature cuts quickly and parameters can be retuned in minutes. |
Silicone mold making
Mixing and pouring silicone looks simple, but ratios and bubbles dominate the result. When the curing-agent ratio was wrong, the mold did not fully cure even after 24 hours; adjusting to 1:50 (curing agent : silicone) fixed that. I also learned two practical de-airing methods: poking bubbles with a toothpick and pulling them out with a syringe. Skipping this step leaves pits on the cast surface.
- Always wear gloves and goggles when handling uncured silicone.
- Work in a ventilated area — some silicones release fumes while curing.
- Plan cure time realistically: silicone needs about 24 hours before the mold is ready for casting.
Casting with AB resin
Casting taught me to treat resin like a timed chemical process, not instant 3D printing. Weighing parts on a digital scale (Glue A : Glue B = 3:1 by weight) is more reliable than estimating by volume. Stirring slowly in one direction for 3–5 minutes until the mix is clear avoids streaks; pouring slowly into the silicone mold reduces trapped air. At ~25 °C I waited about 15 hours before demolding — colder rooms need longer.
Safety takeaways
- Silicone — skin/eye irritation possible; use gloves, goggles, and ventilation.
- AB resin — wear mask and gloves, keep away from heat/flame, dispose of waste per lab rules.
- Read each material’s safety data sheet before mixing (group assignment requirement).