For this assignment we compared the original Prusa i3 MK3S and the Bambu Lab A1 mini.
We used the Autodesk x Kickstarter FDM 3D Printer Assessment for testing several parameters in a single print.
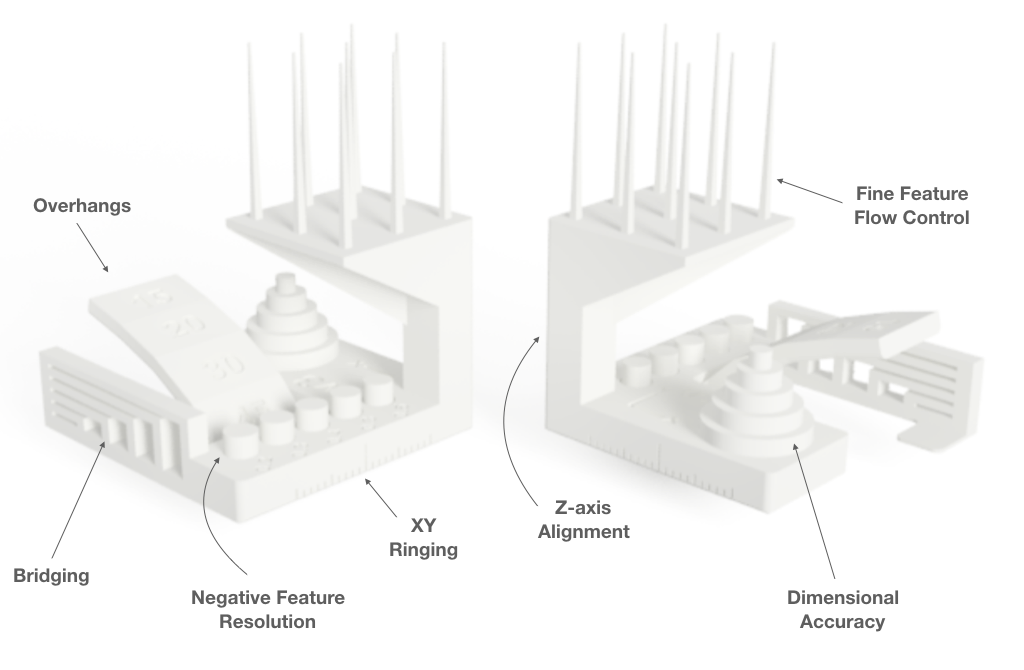
This "tests how well a printer's hardware and software are calibrated to a given material by stressing the system to the point of failure. The failures lead to the creation of witness features that can be used to assess the performance of the slicer, the extruder, and the motion system."
Some of the parameters measured can be seen here:
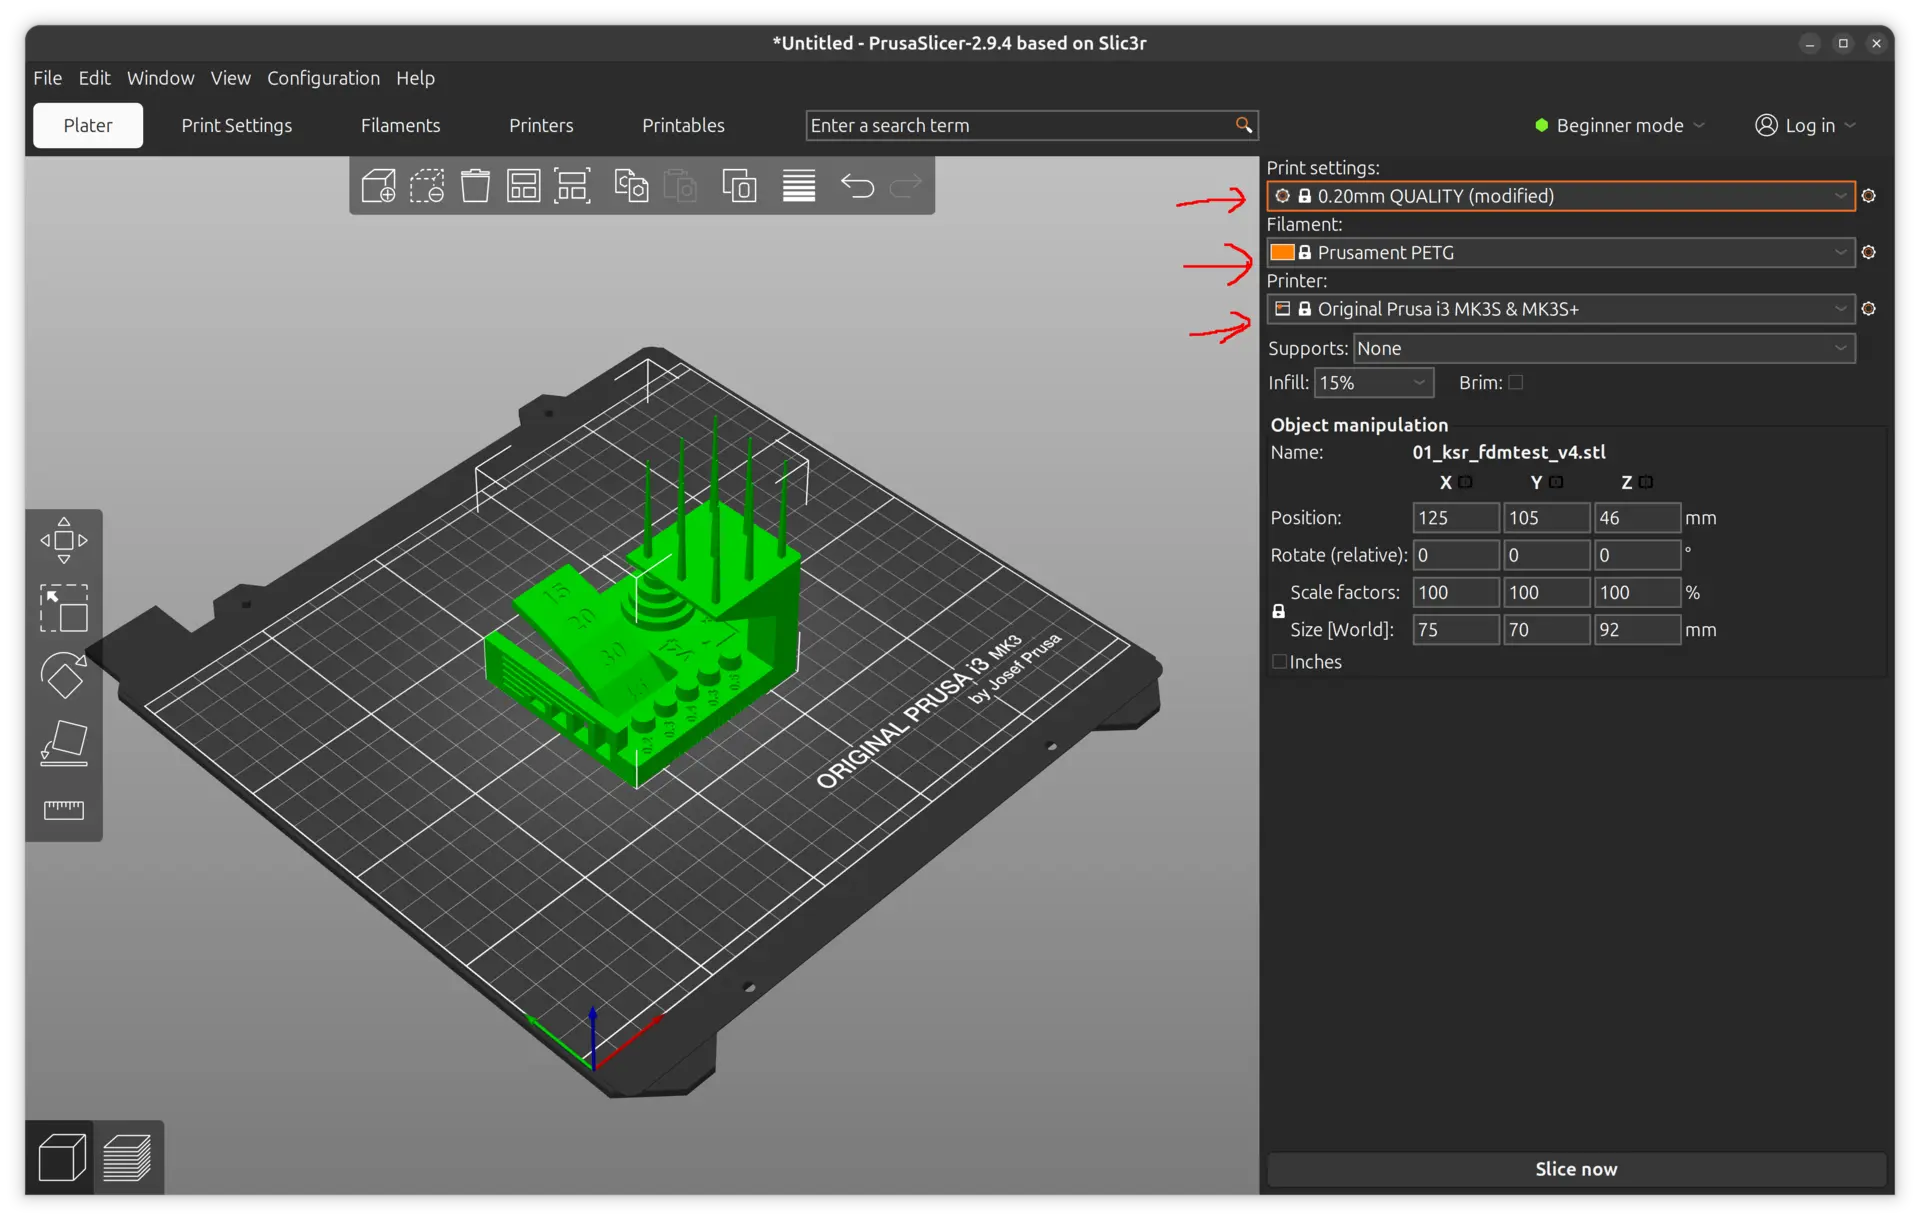
In order to do this we first started with the Prusa and its software, the Prusa Slicer. We changed the default print settings from Speed to Quality, selected the PETG filament, and the correct printer model.
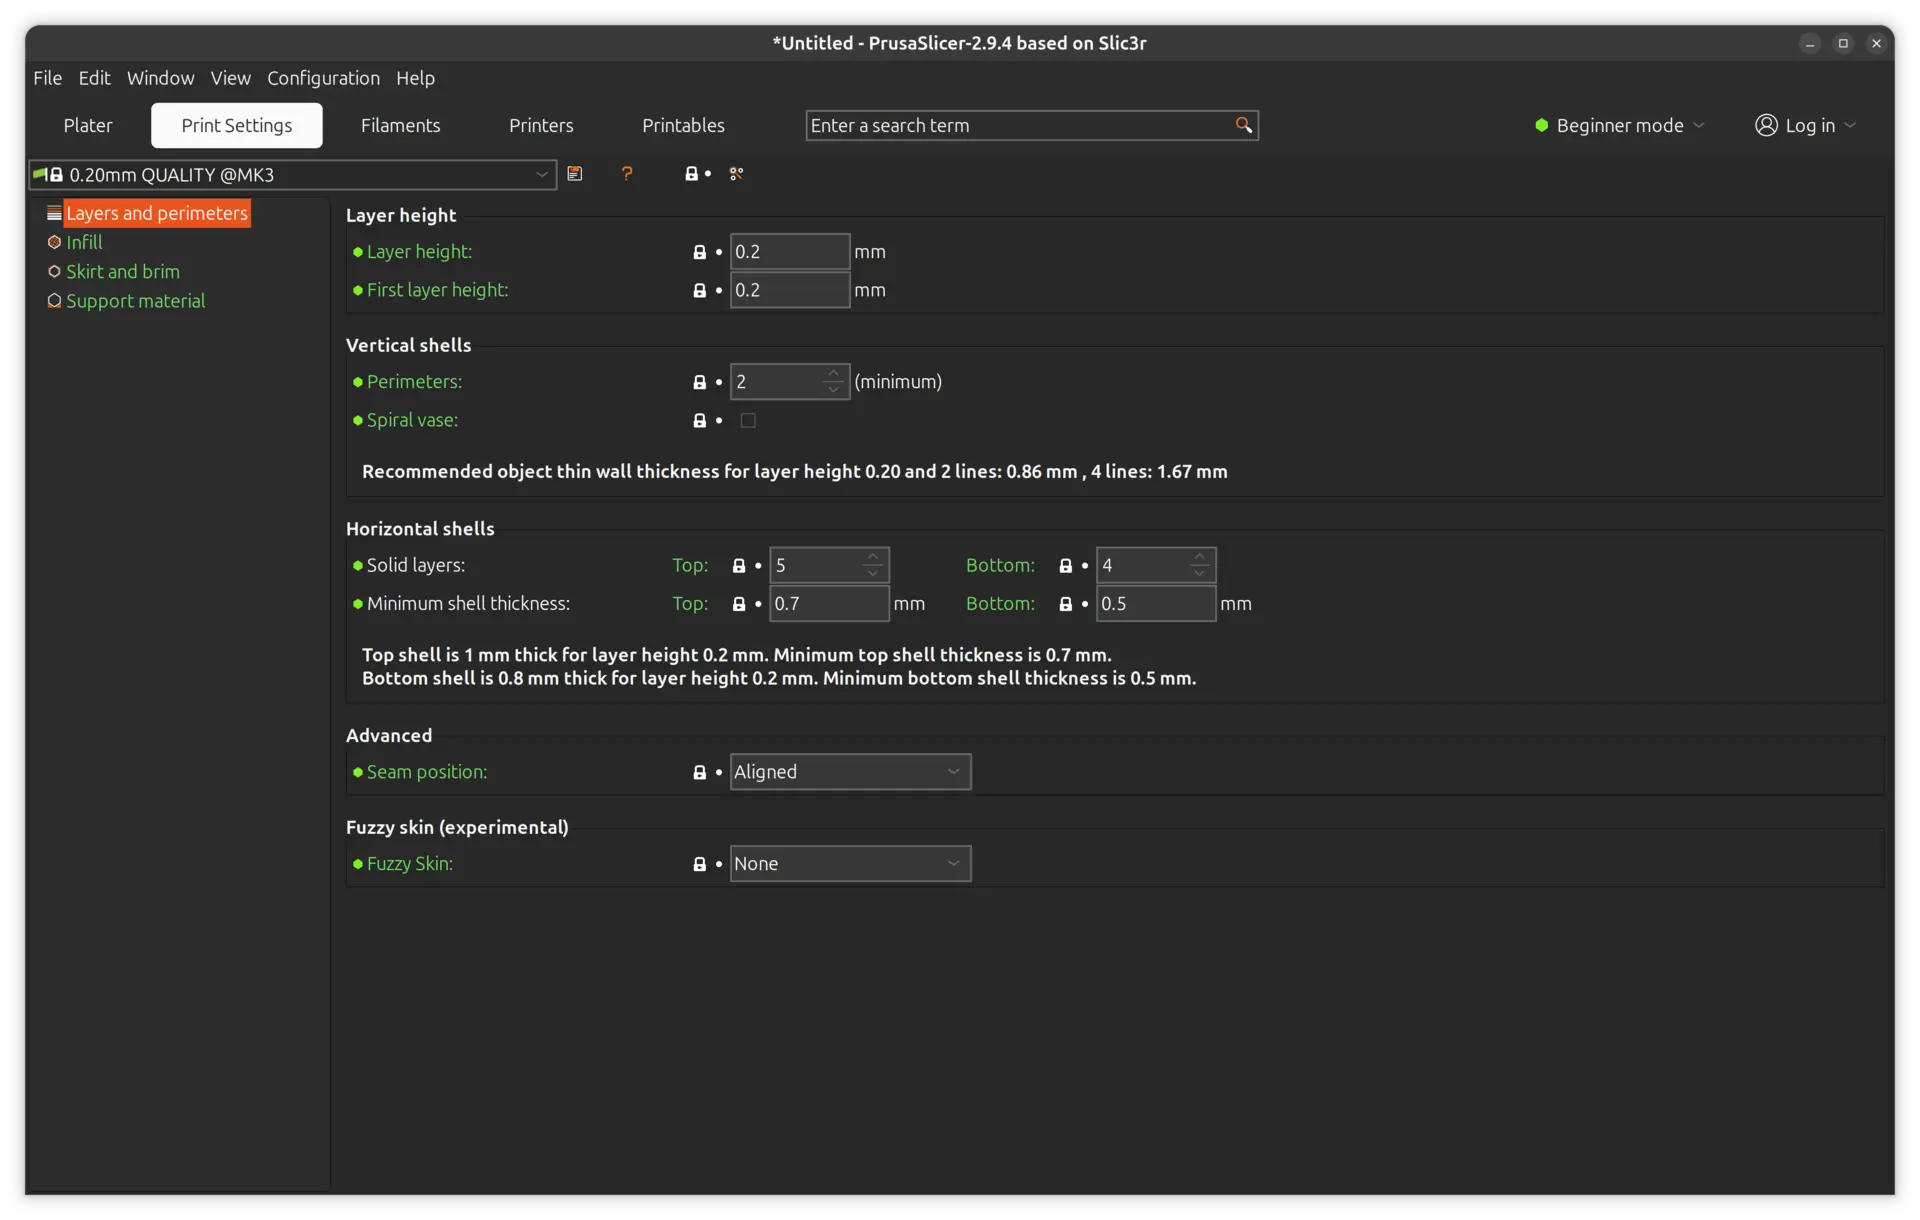
We then switched to the "Printer settings" tab and checked the default parameters, which were left mostly unchanged. Here we can see the "Layers and Perimeters":
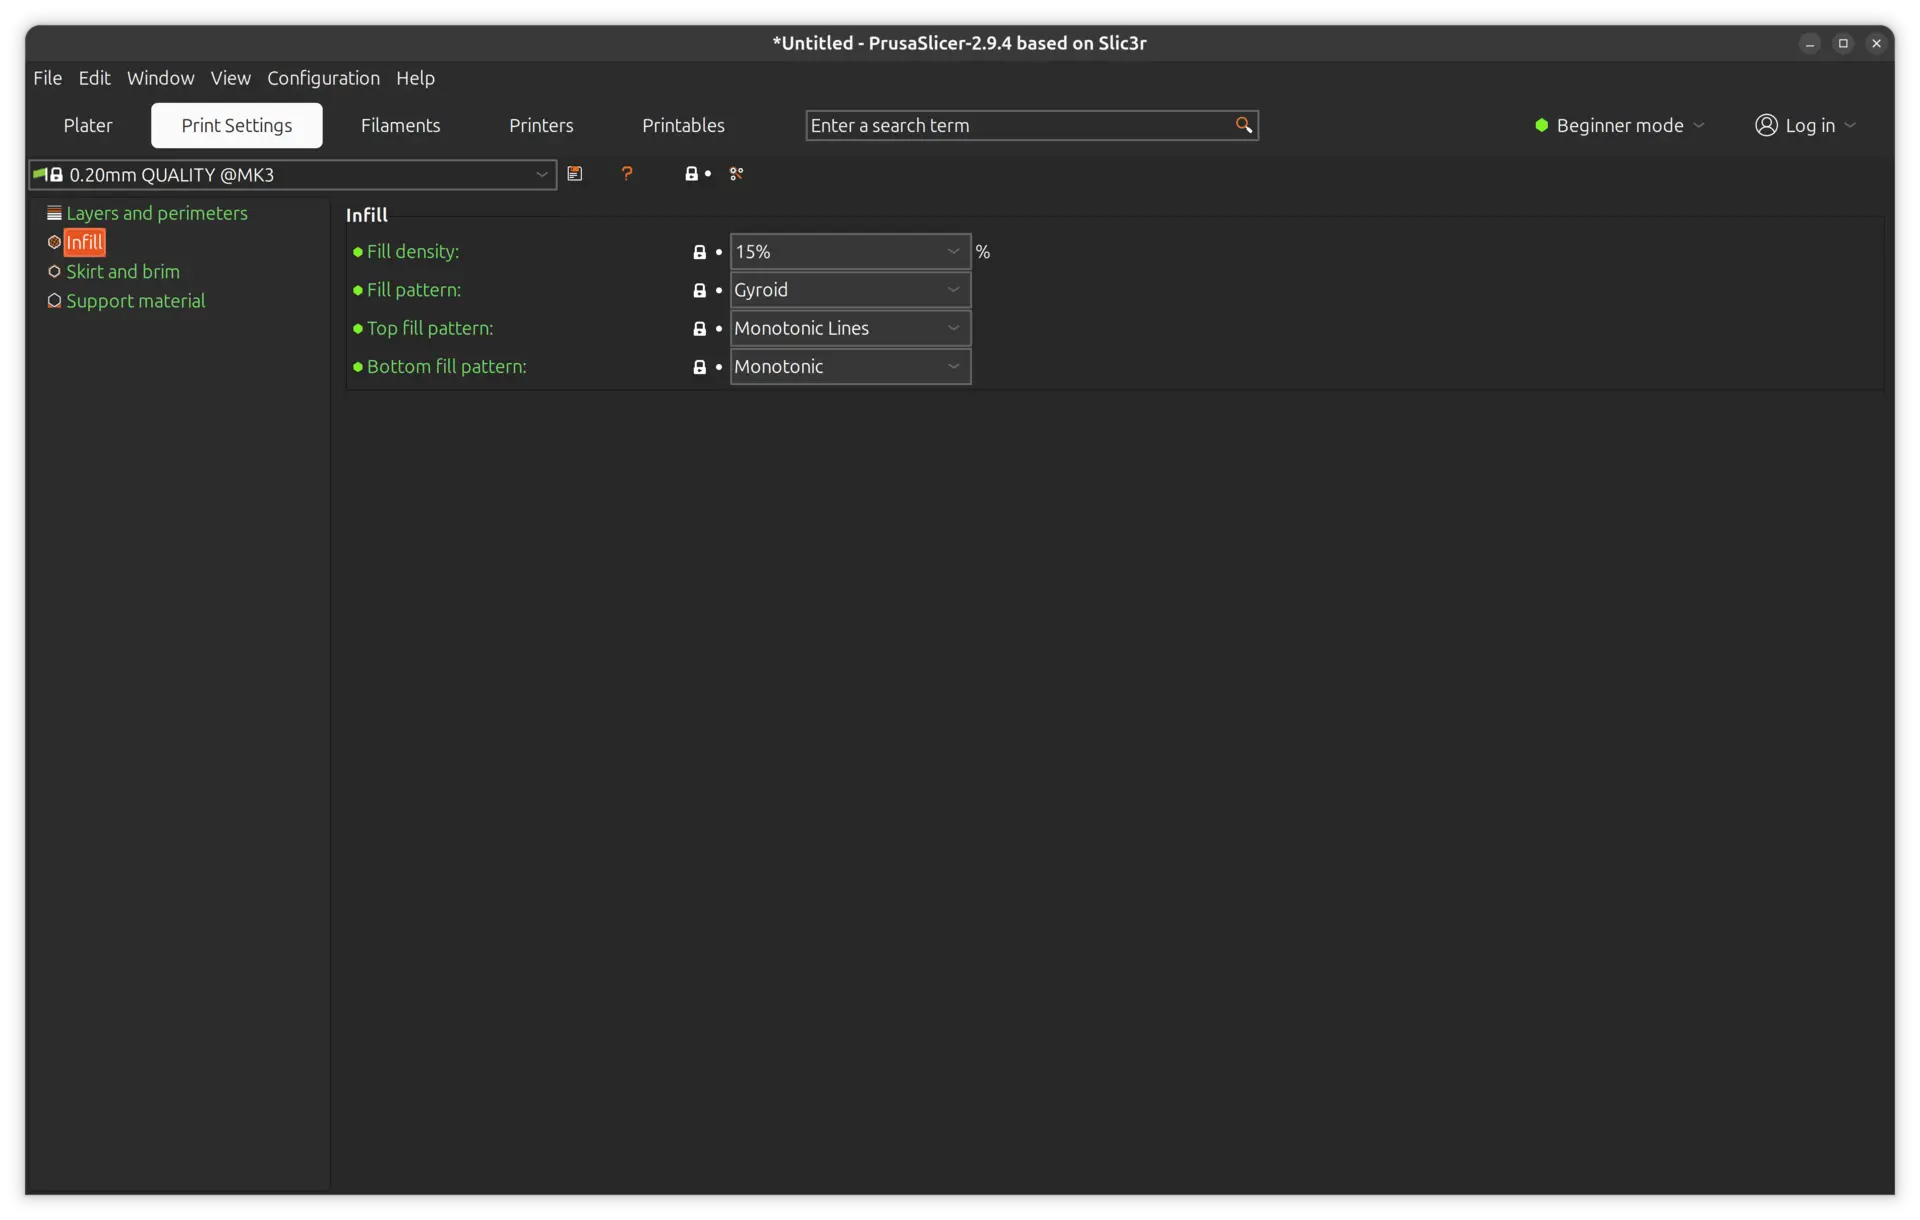
The "Infill":
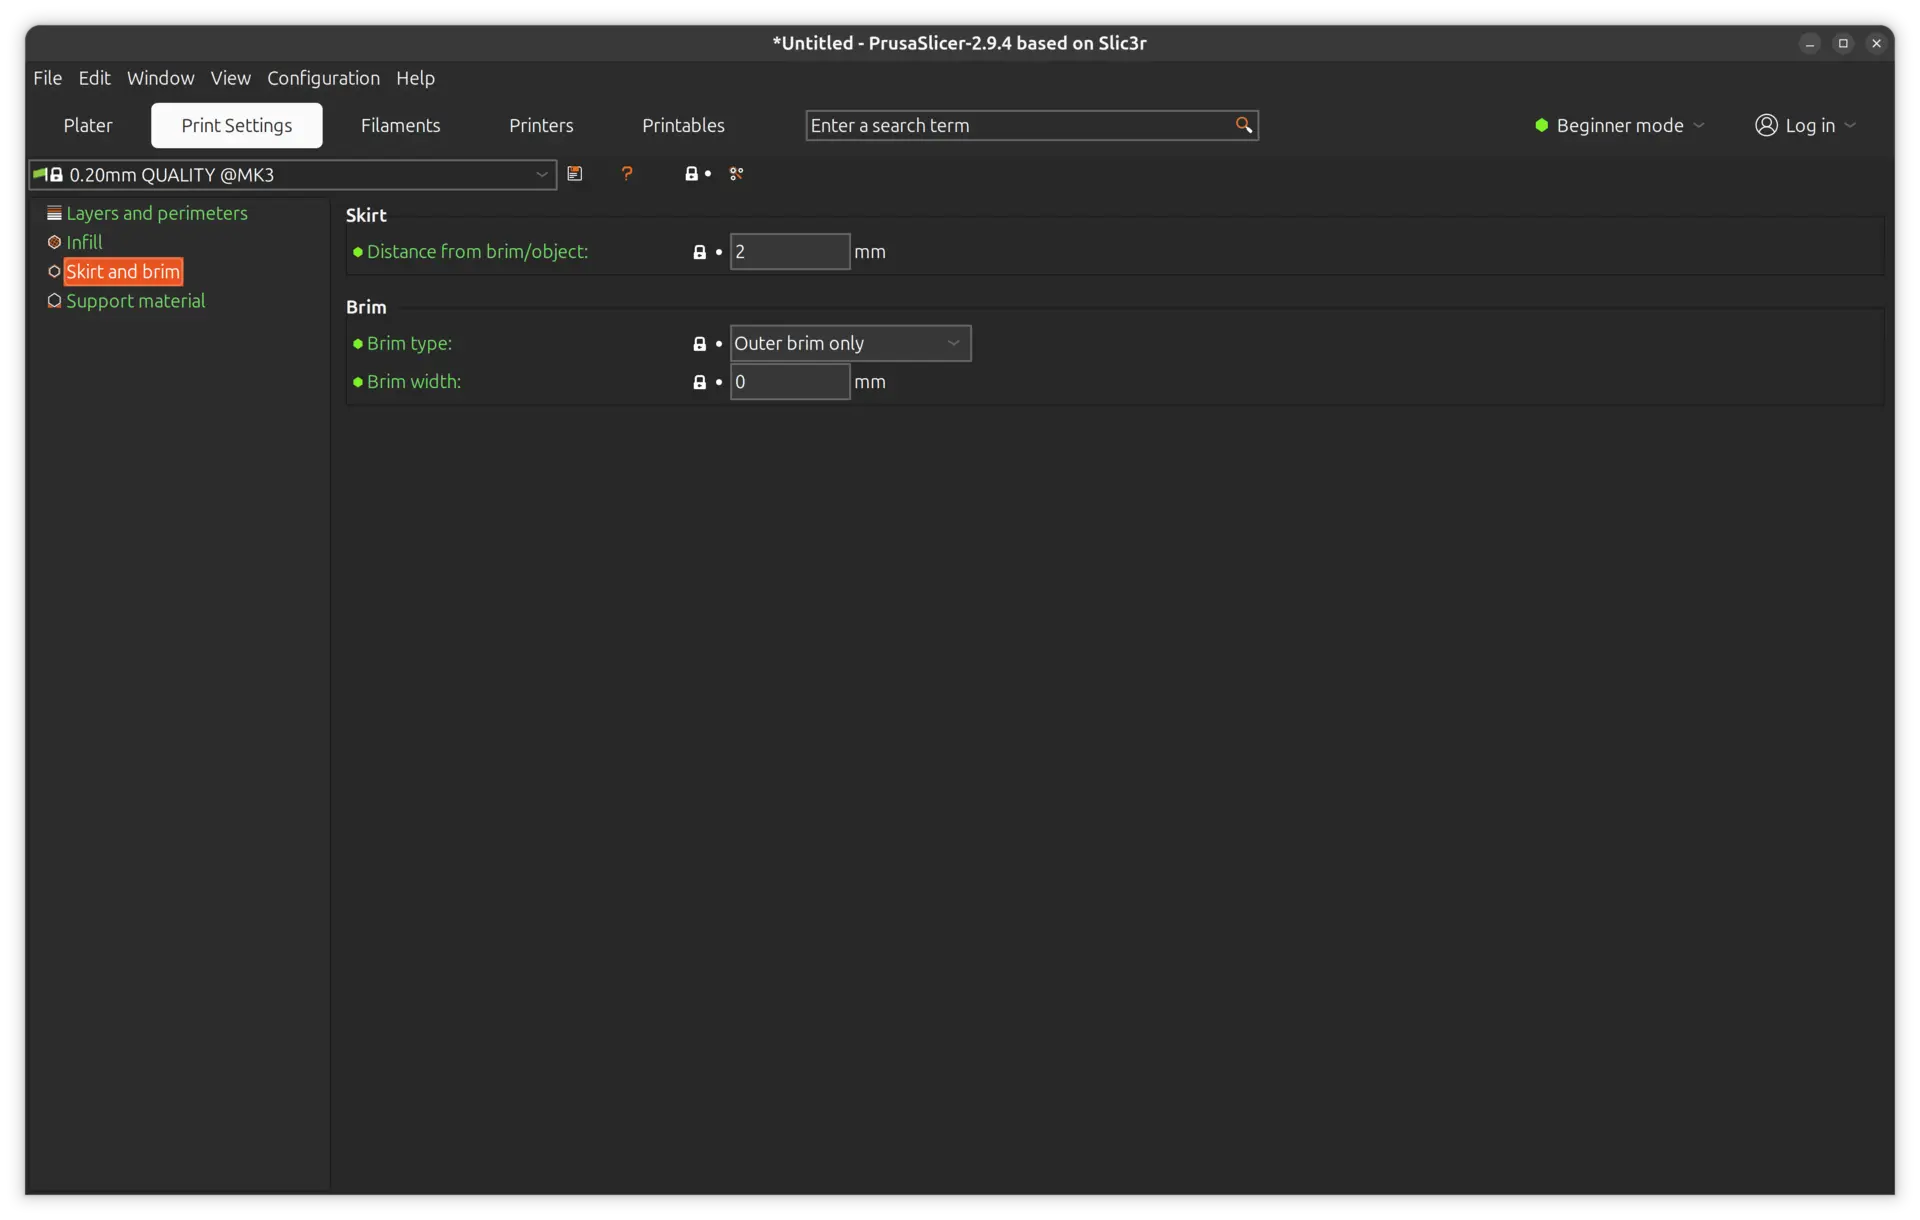
The "Skirt and brim":
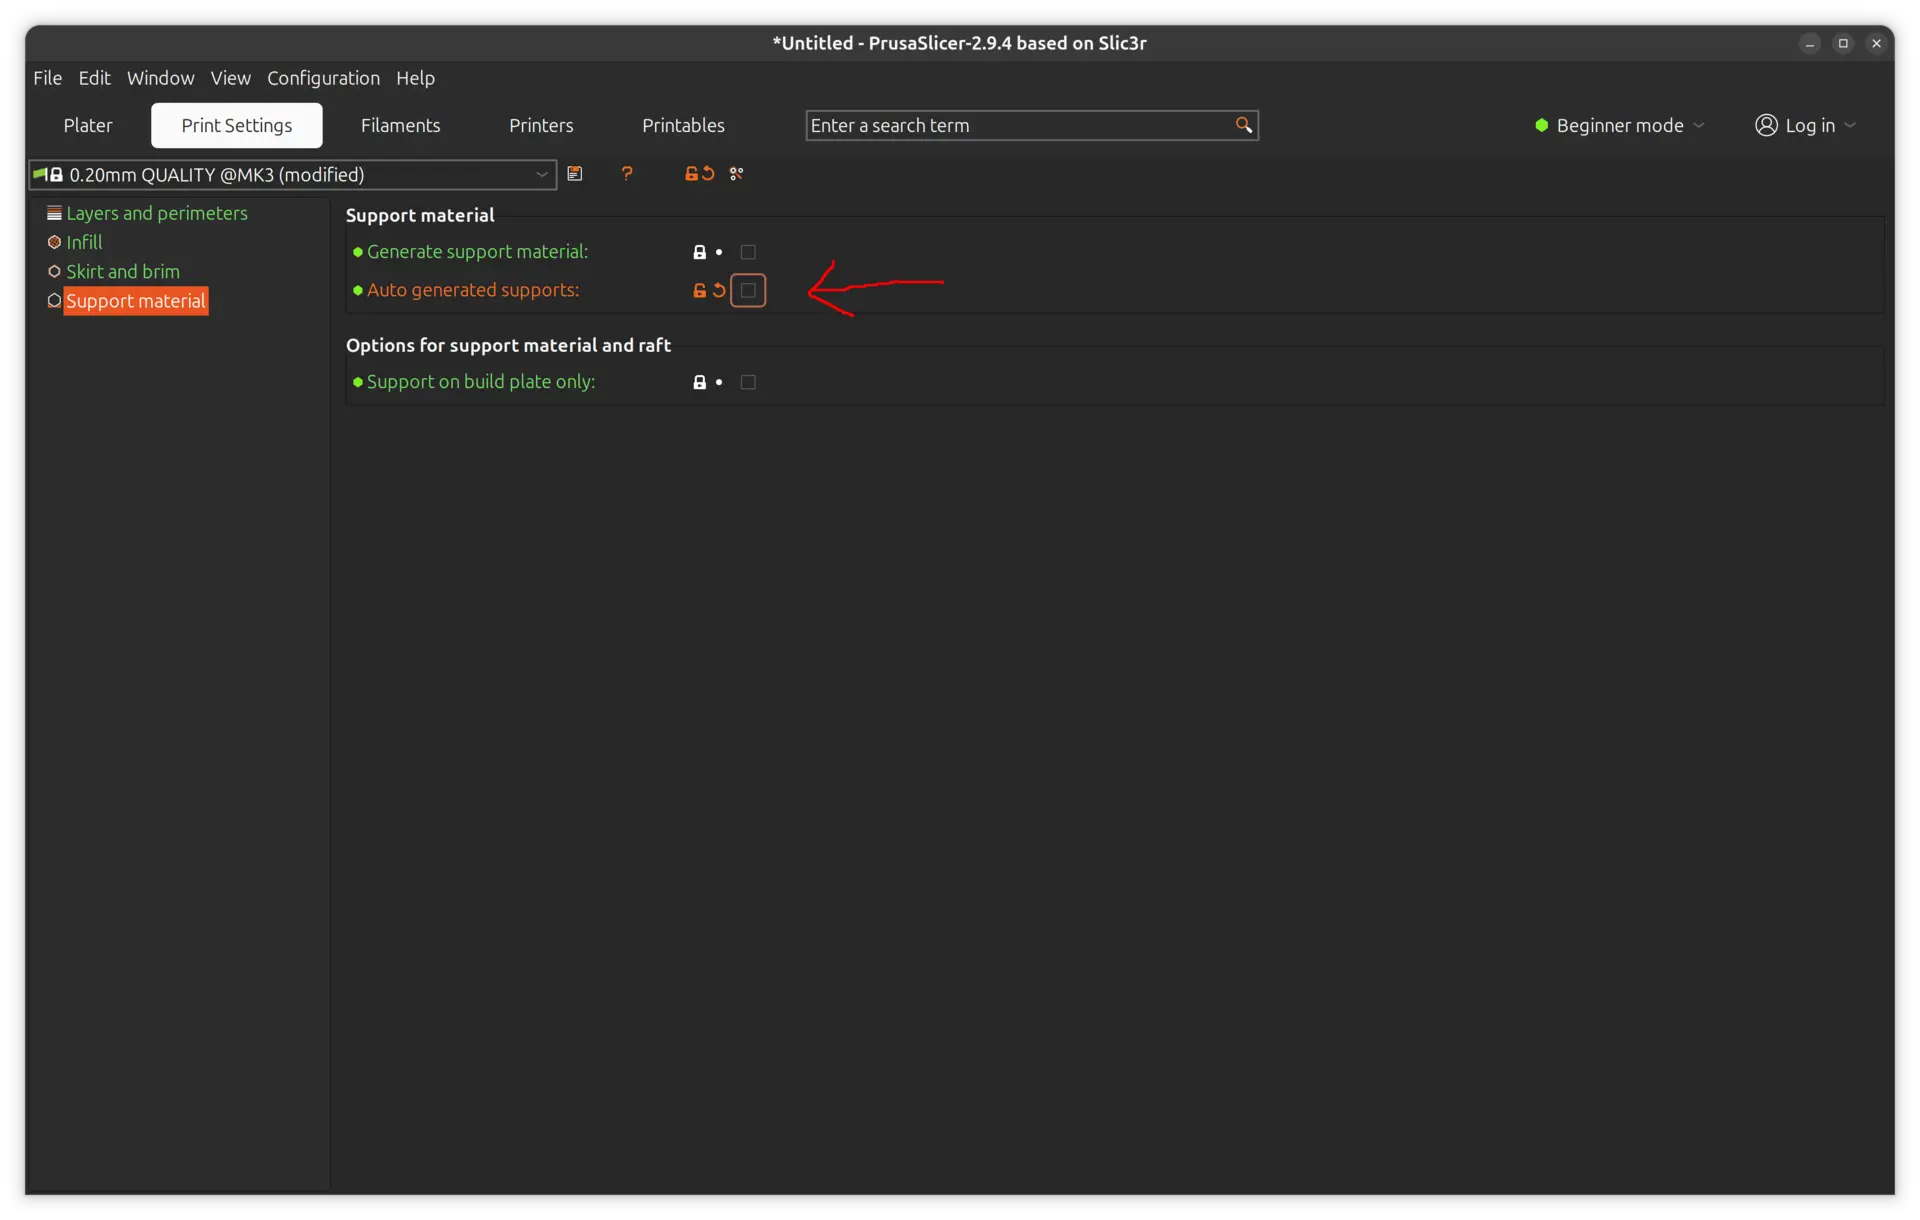
And finally the "Support material". Here we turned off the "auto generated supports" precisely because we want to test the limits of the overhangs:
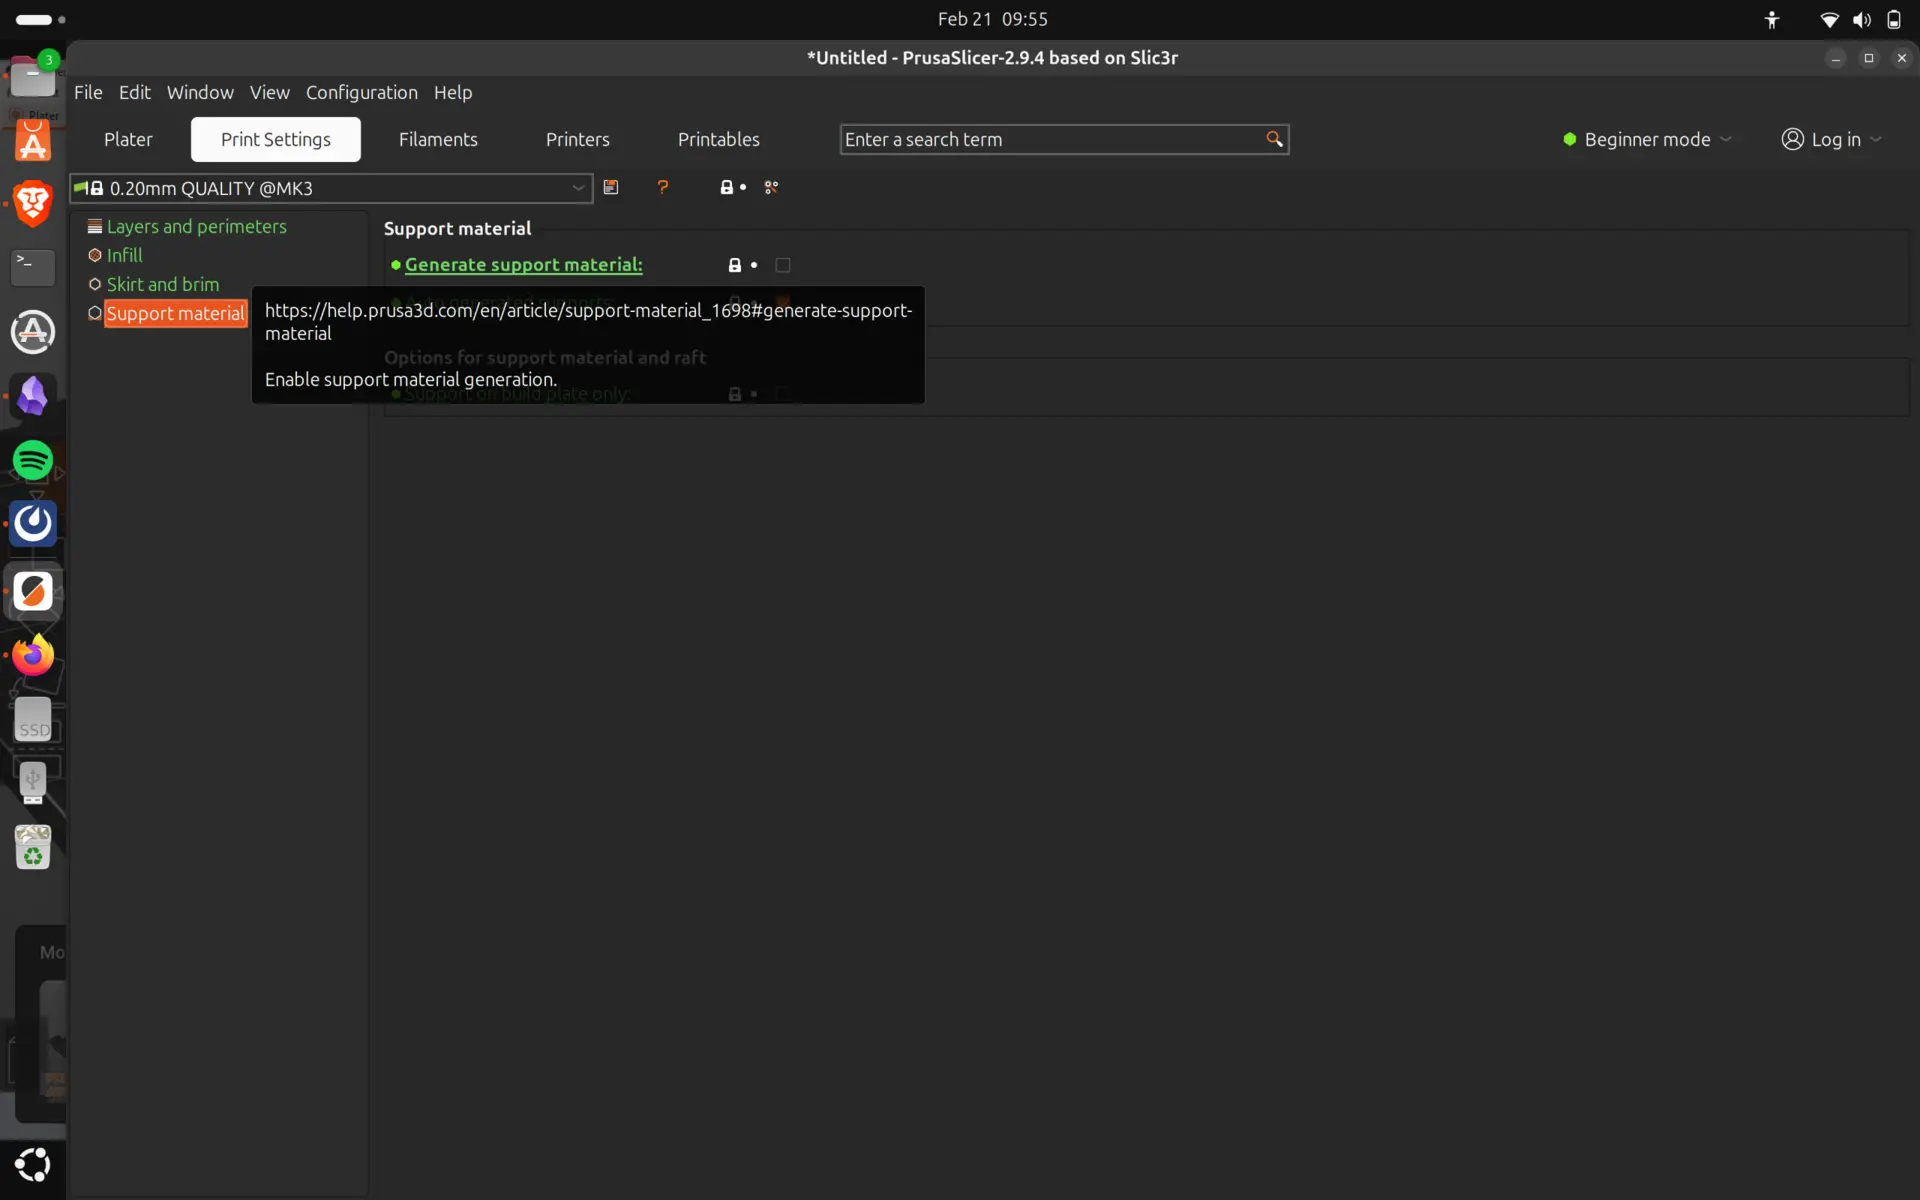
One useful thing is that each option has a link to more help on the web in case you want to know more about it.
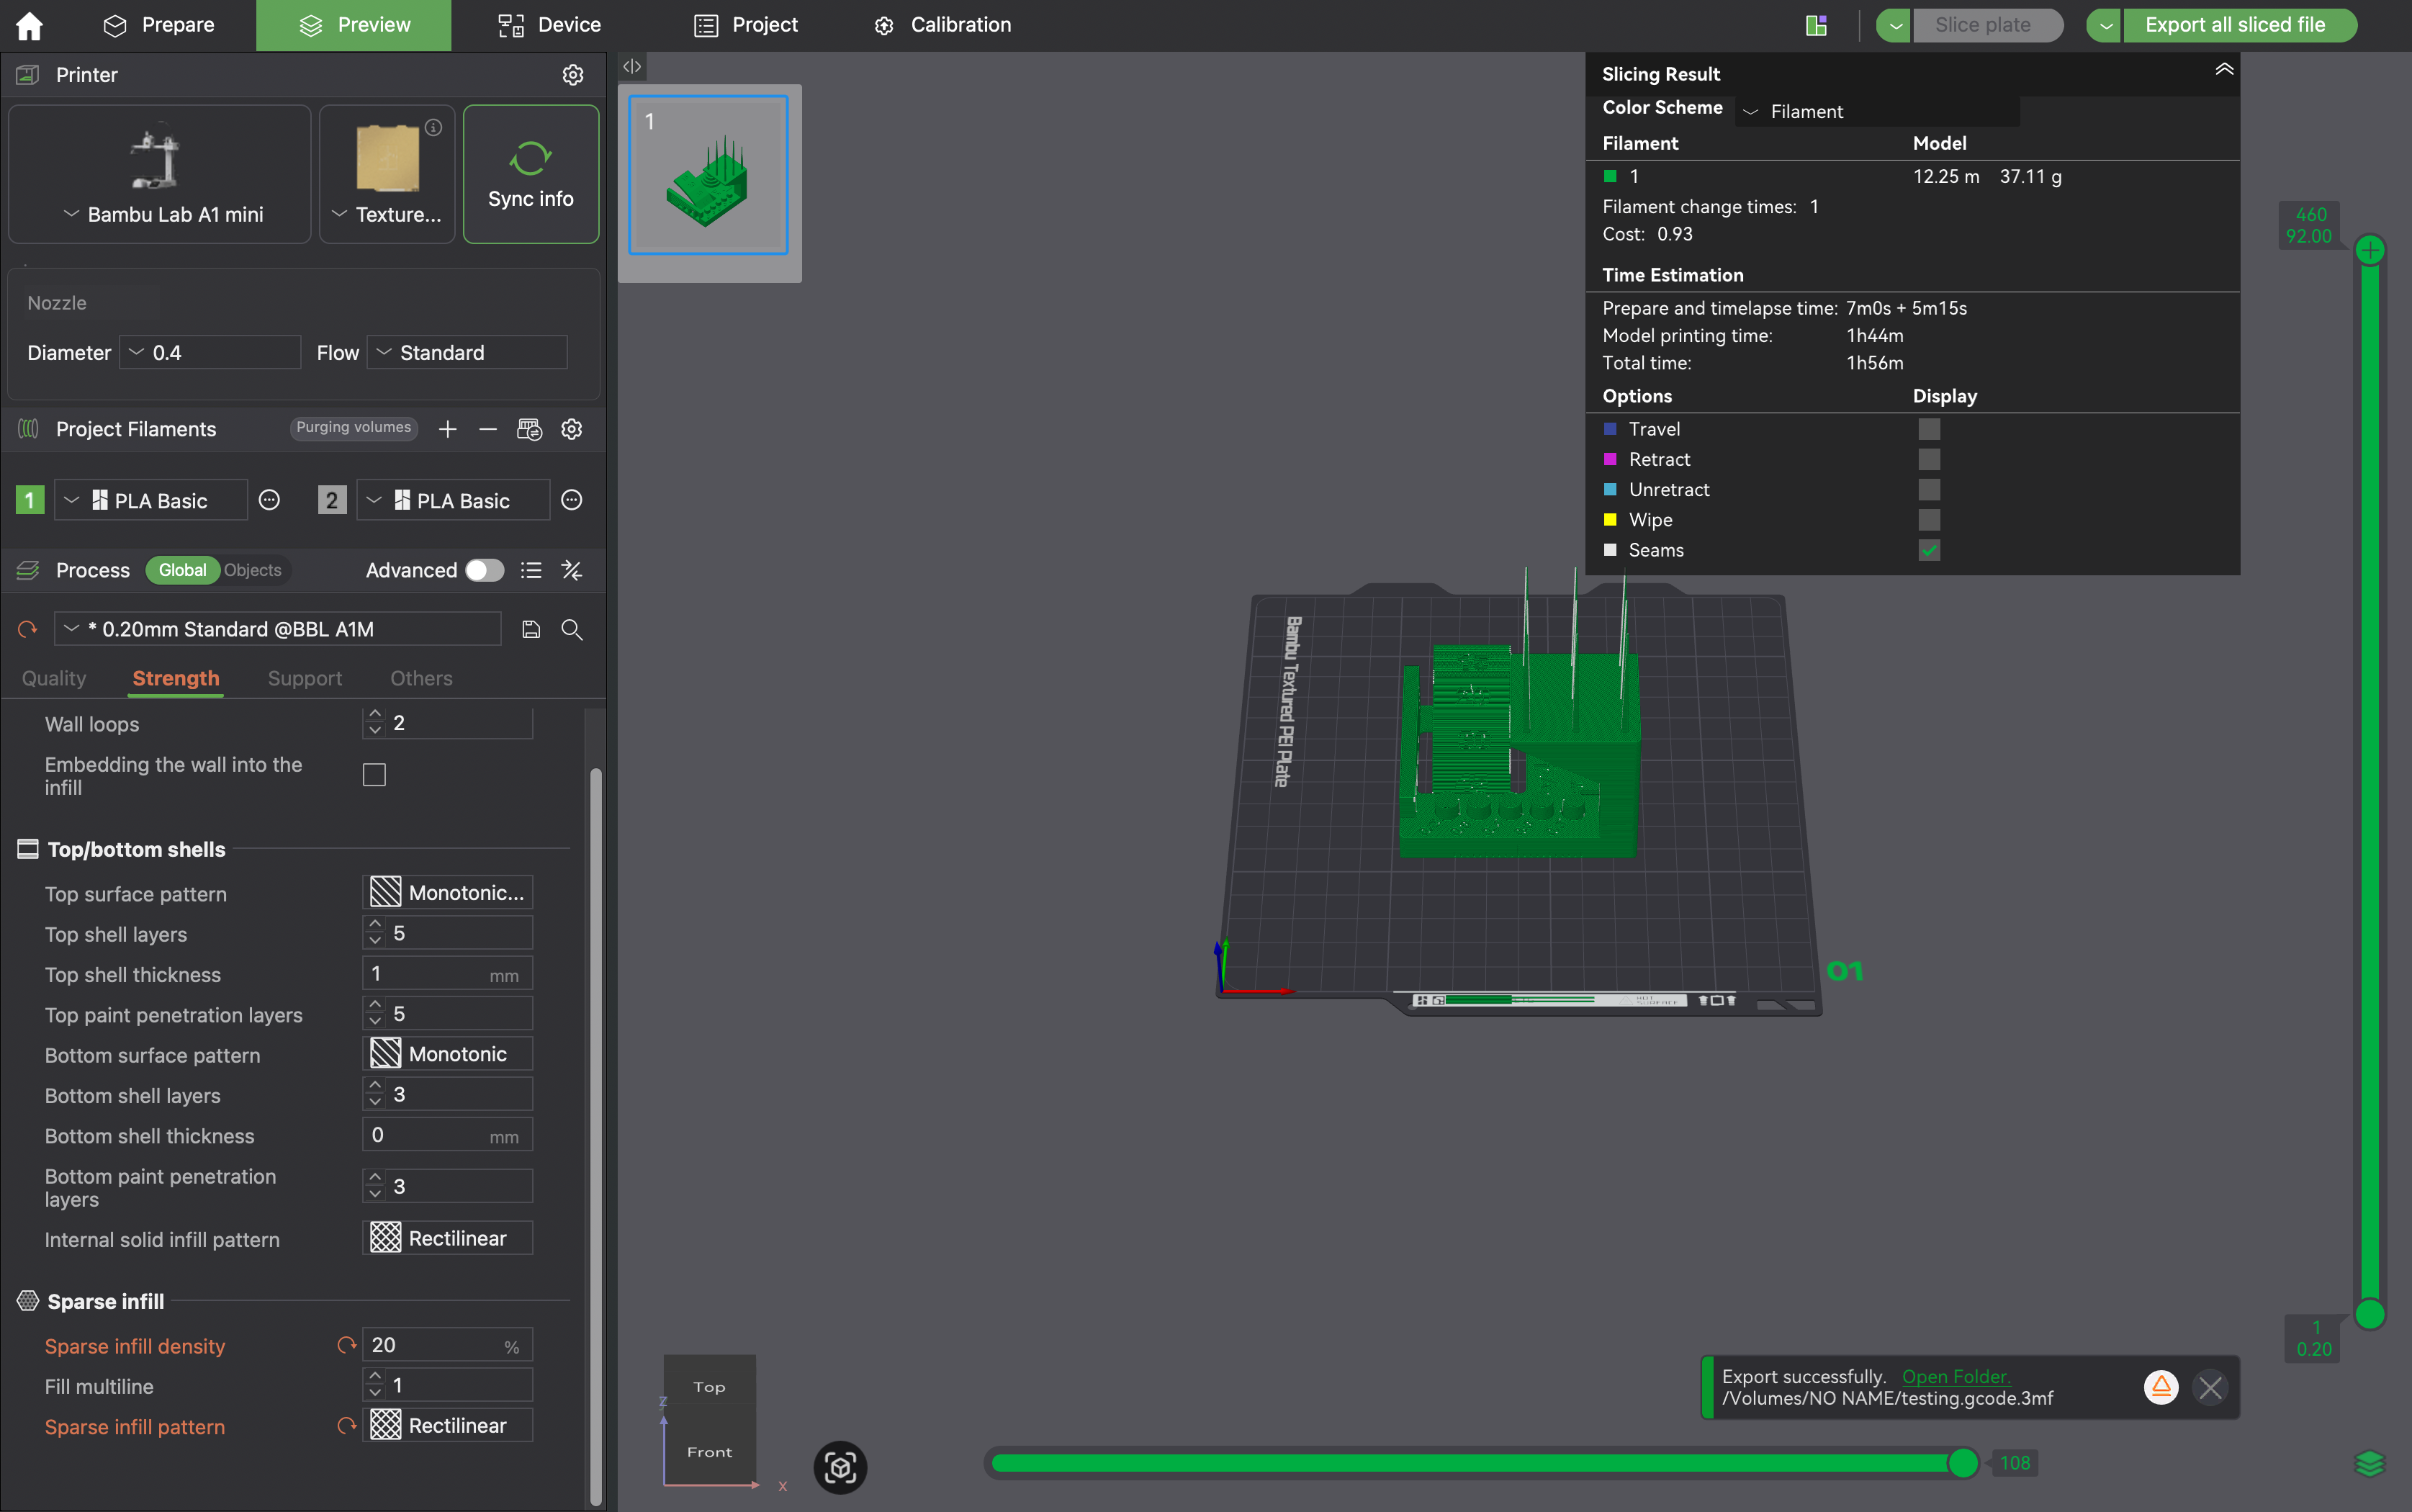
We're now ready to hit the slice option and we can see at the bottom a warning.
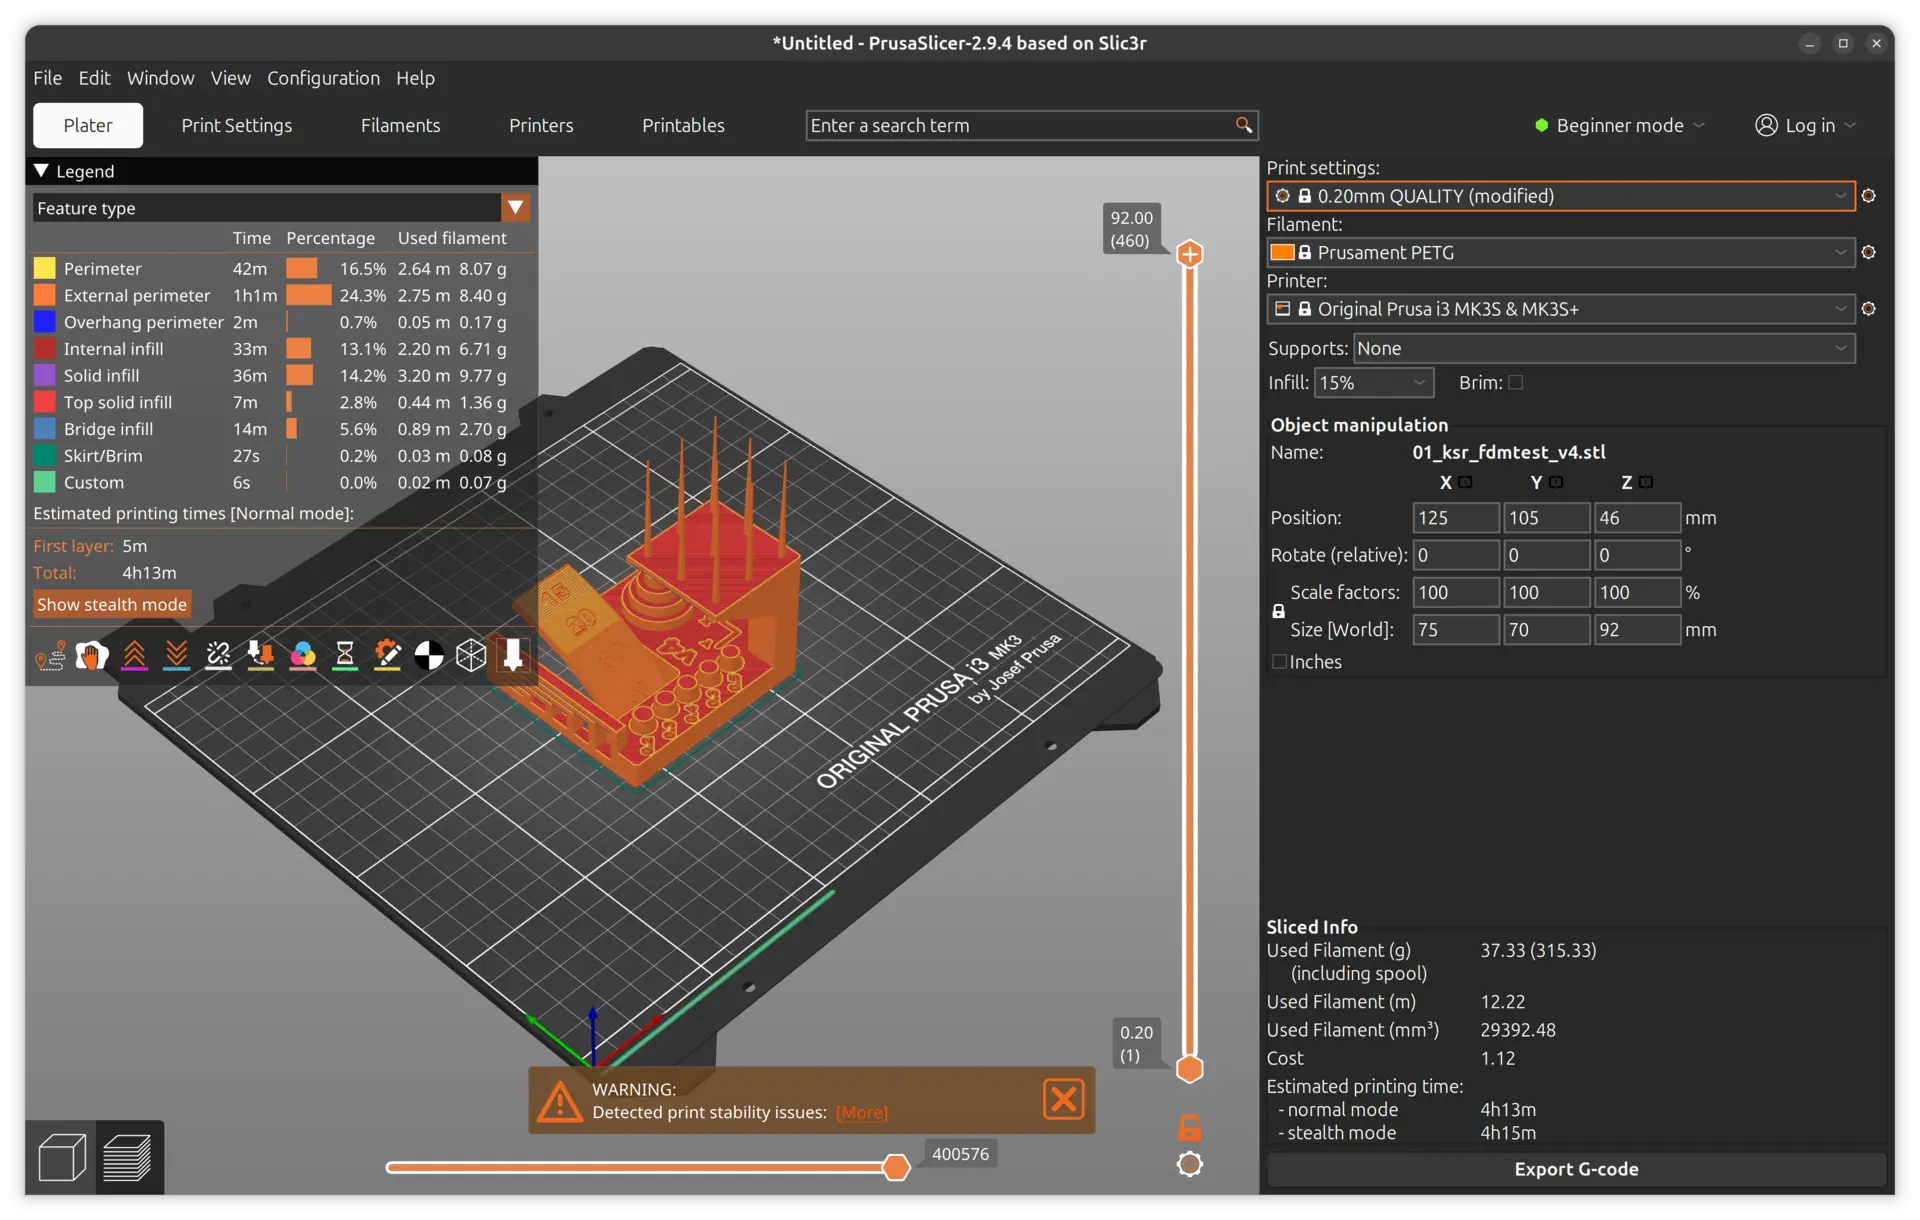
We can expand the warning to see it more completely, but for this print, because we're testing the limits of the printer, this is to be expected. Also at the bottom right, we can see a time estimate for this print.

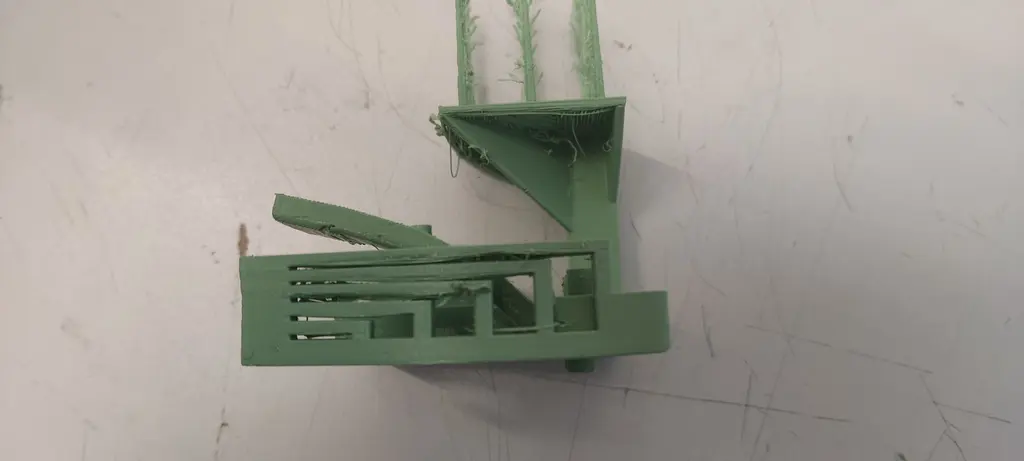
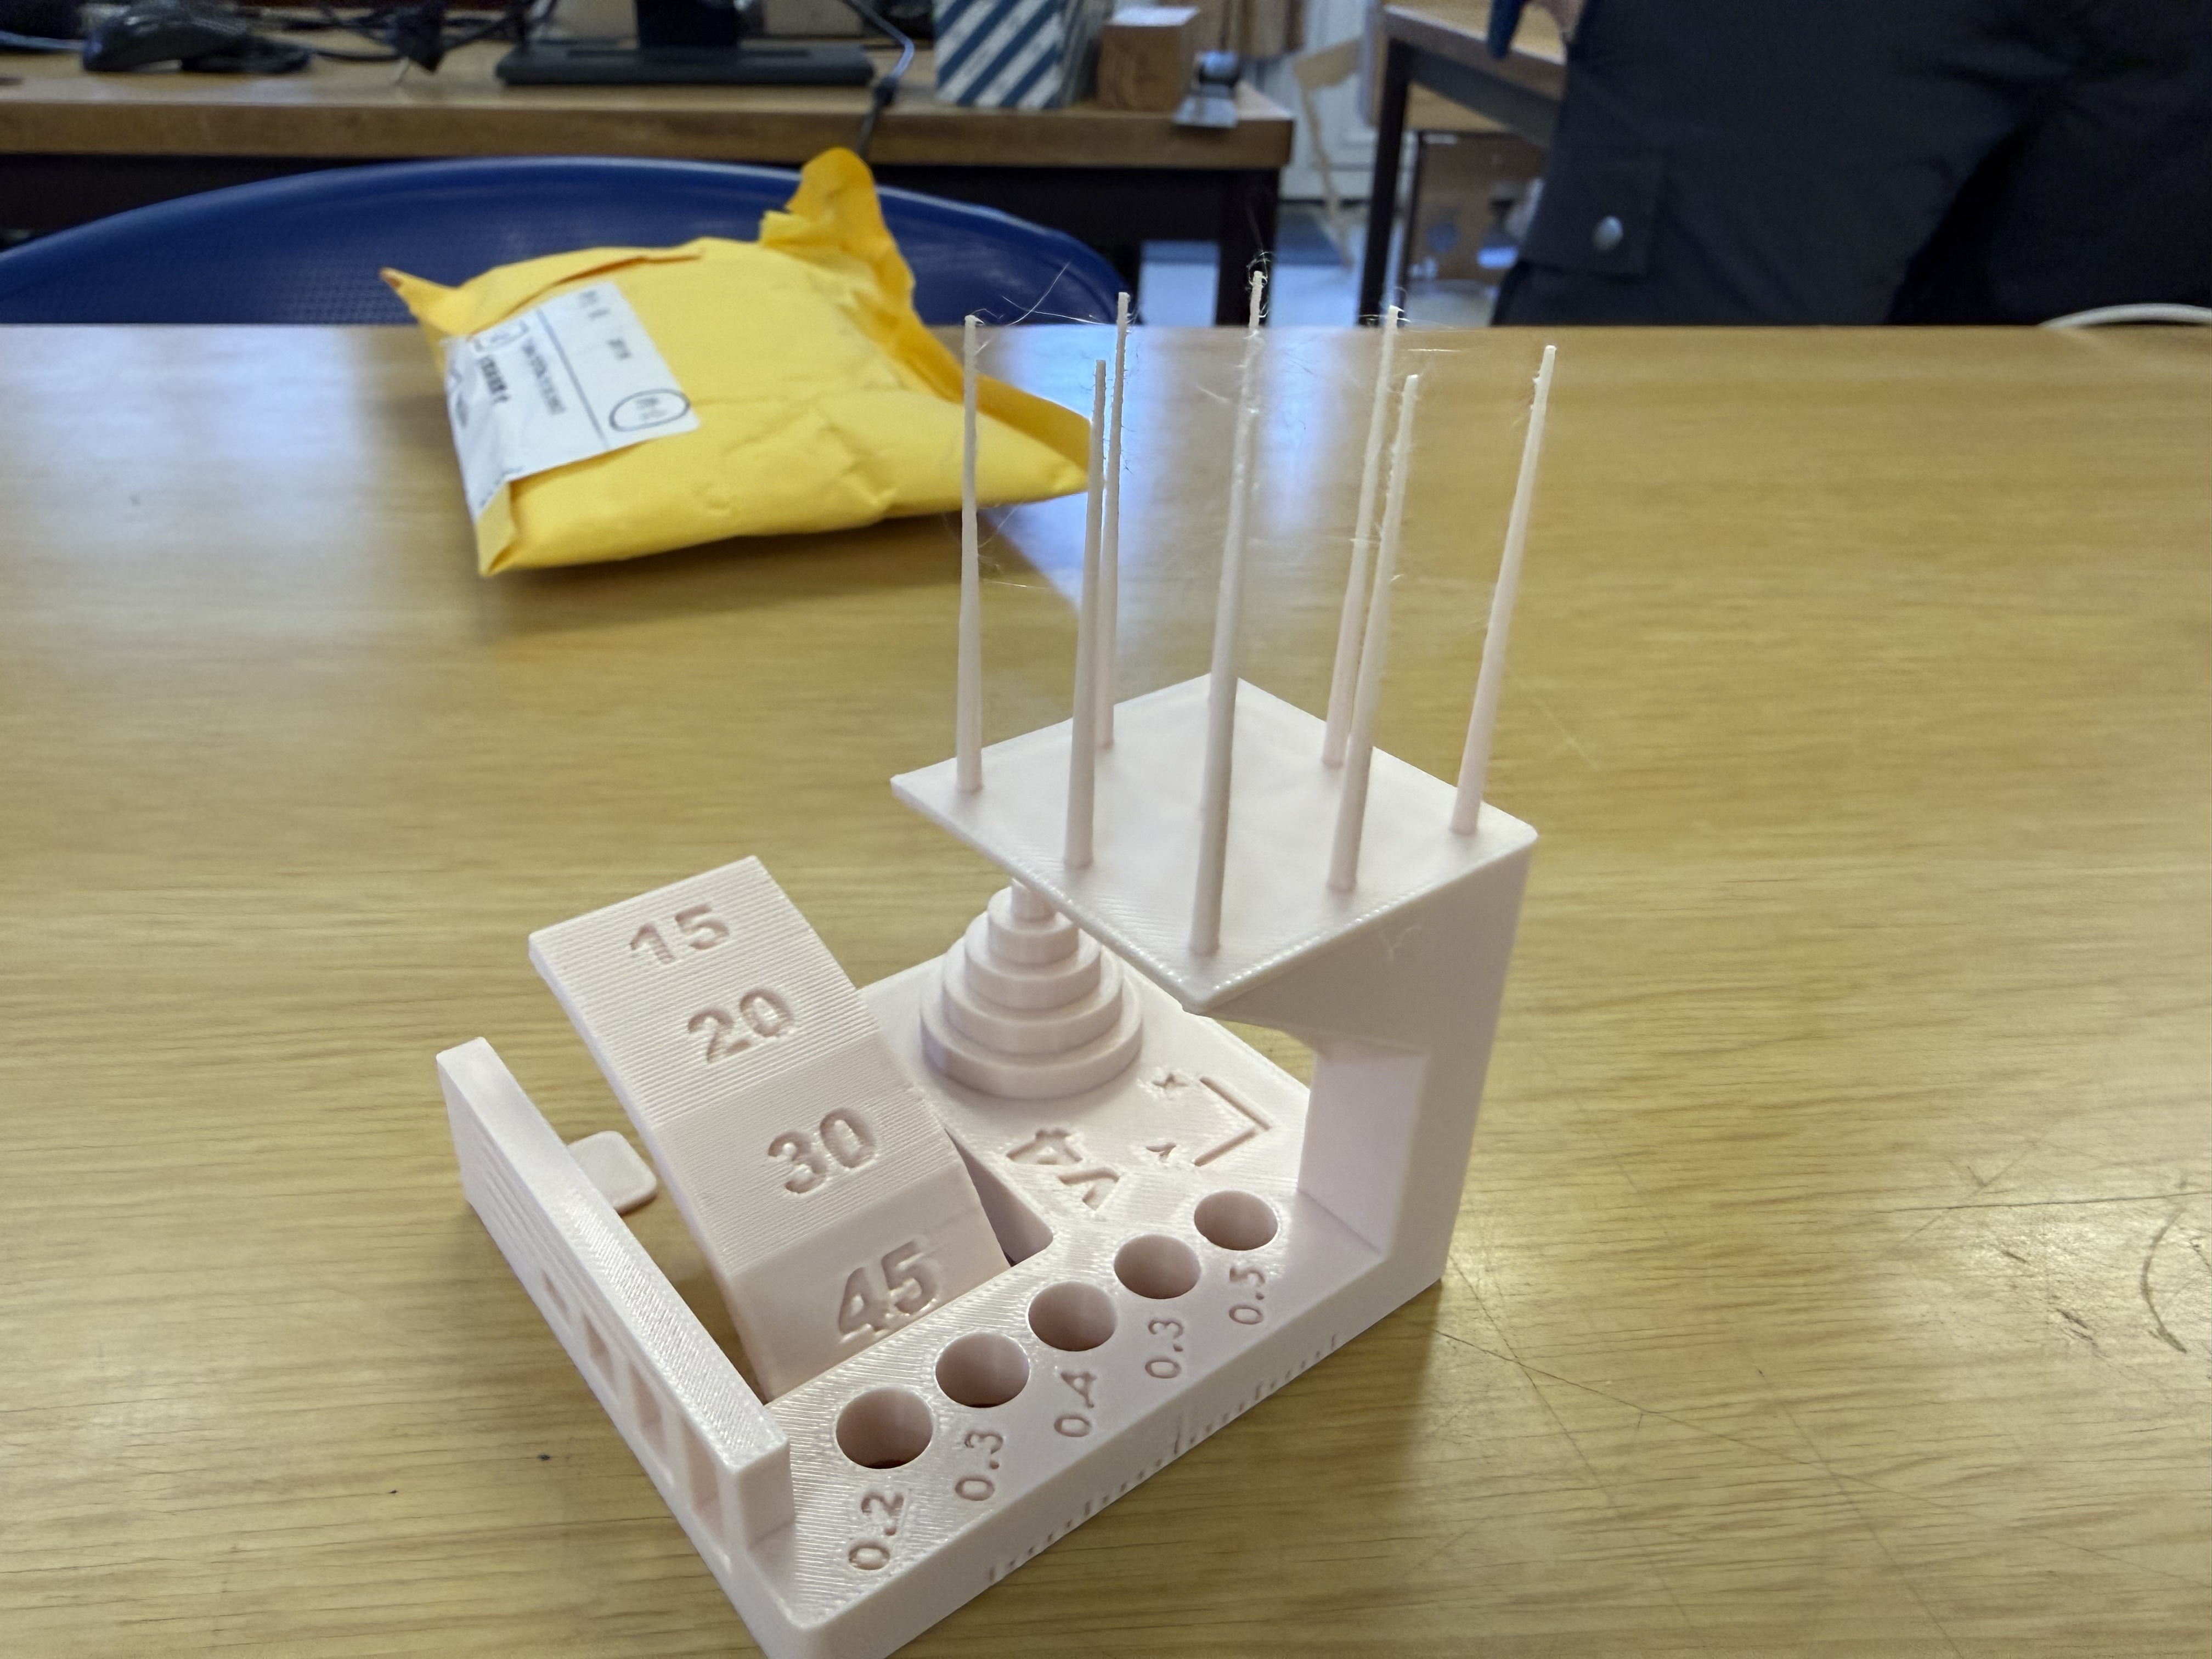
Here are the results. We can see a lot of stringing and the clearance test at the bottom only made 0.4–0.5 pins loose.
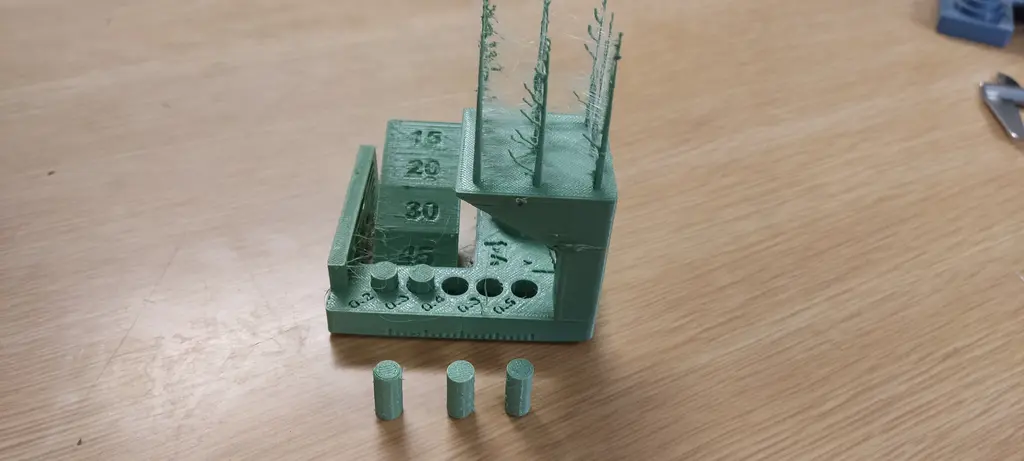
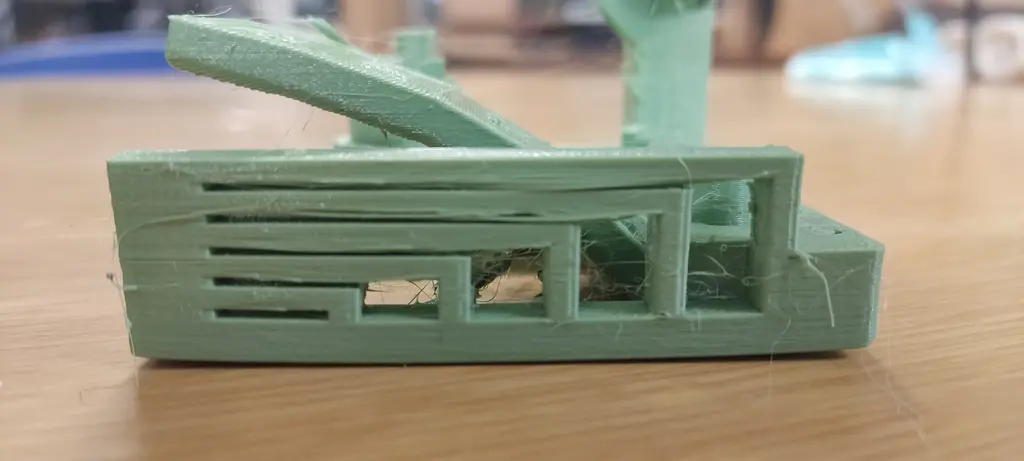
We can also see the resulting bridging test on the side.
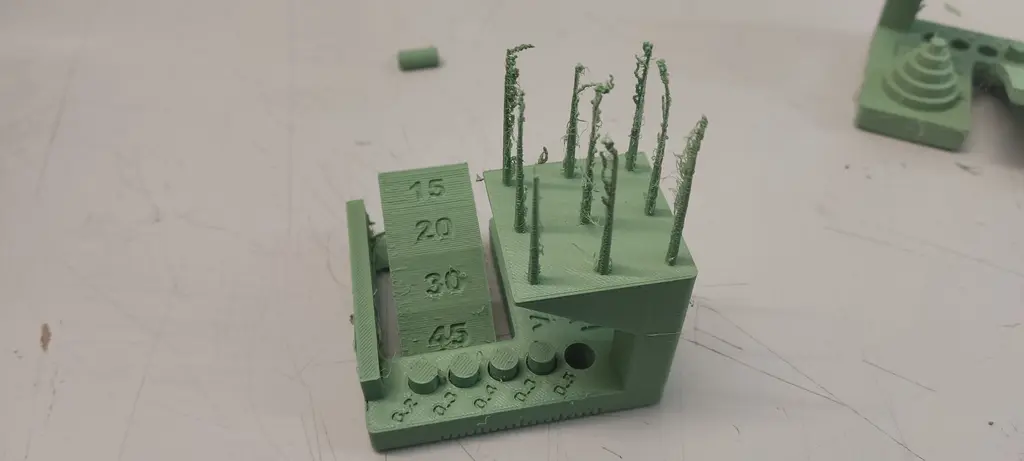
All in all, the results were not that satisfactory. Despite using the presets for both the printer and the filament, André, our local instructor, suggested we dropped the temperature 30 degrees and print again, which we did.
The results were slightly better, but still not great, still showing a lot of stringing.
Since we had multiple printers at the lab, we needed to compare them. Our go-to was the Bambu Lab A1 mini printer.
On the Bambu Studio slicer, we imported the same STL, and set the parameters correctly for the PLA connected to our A1 mini.
We got to printing.
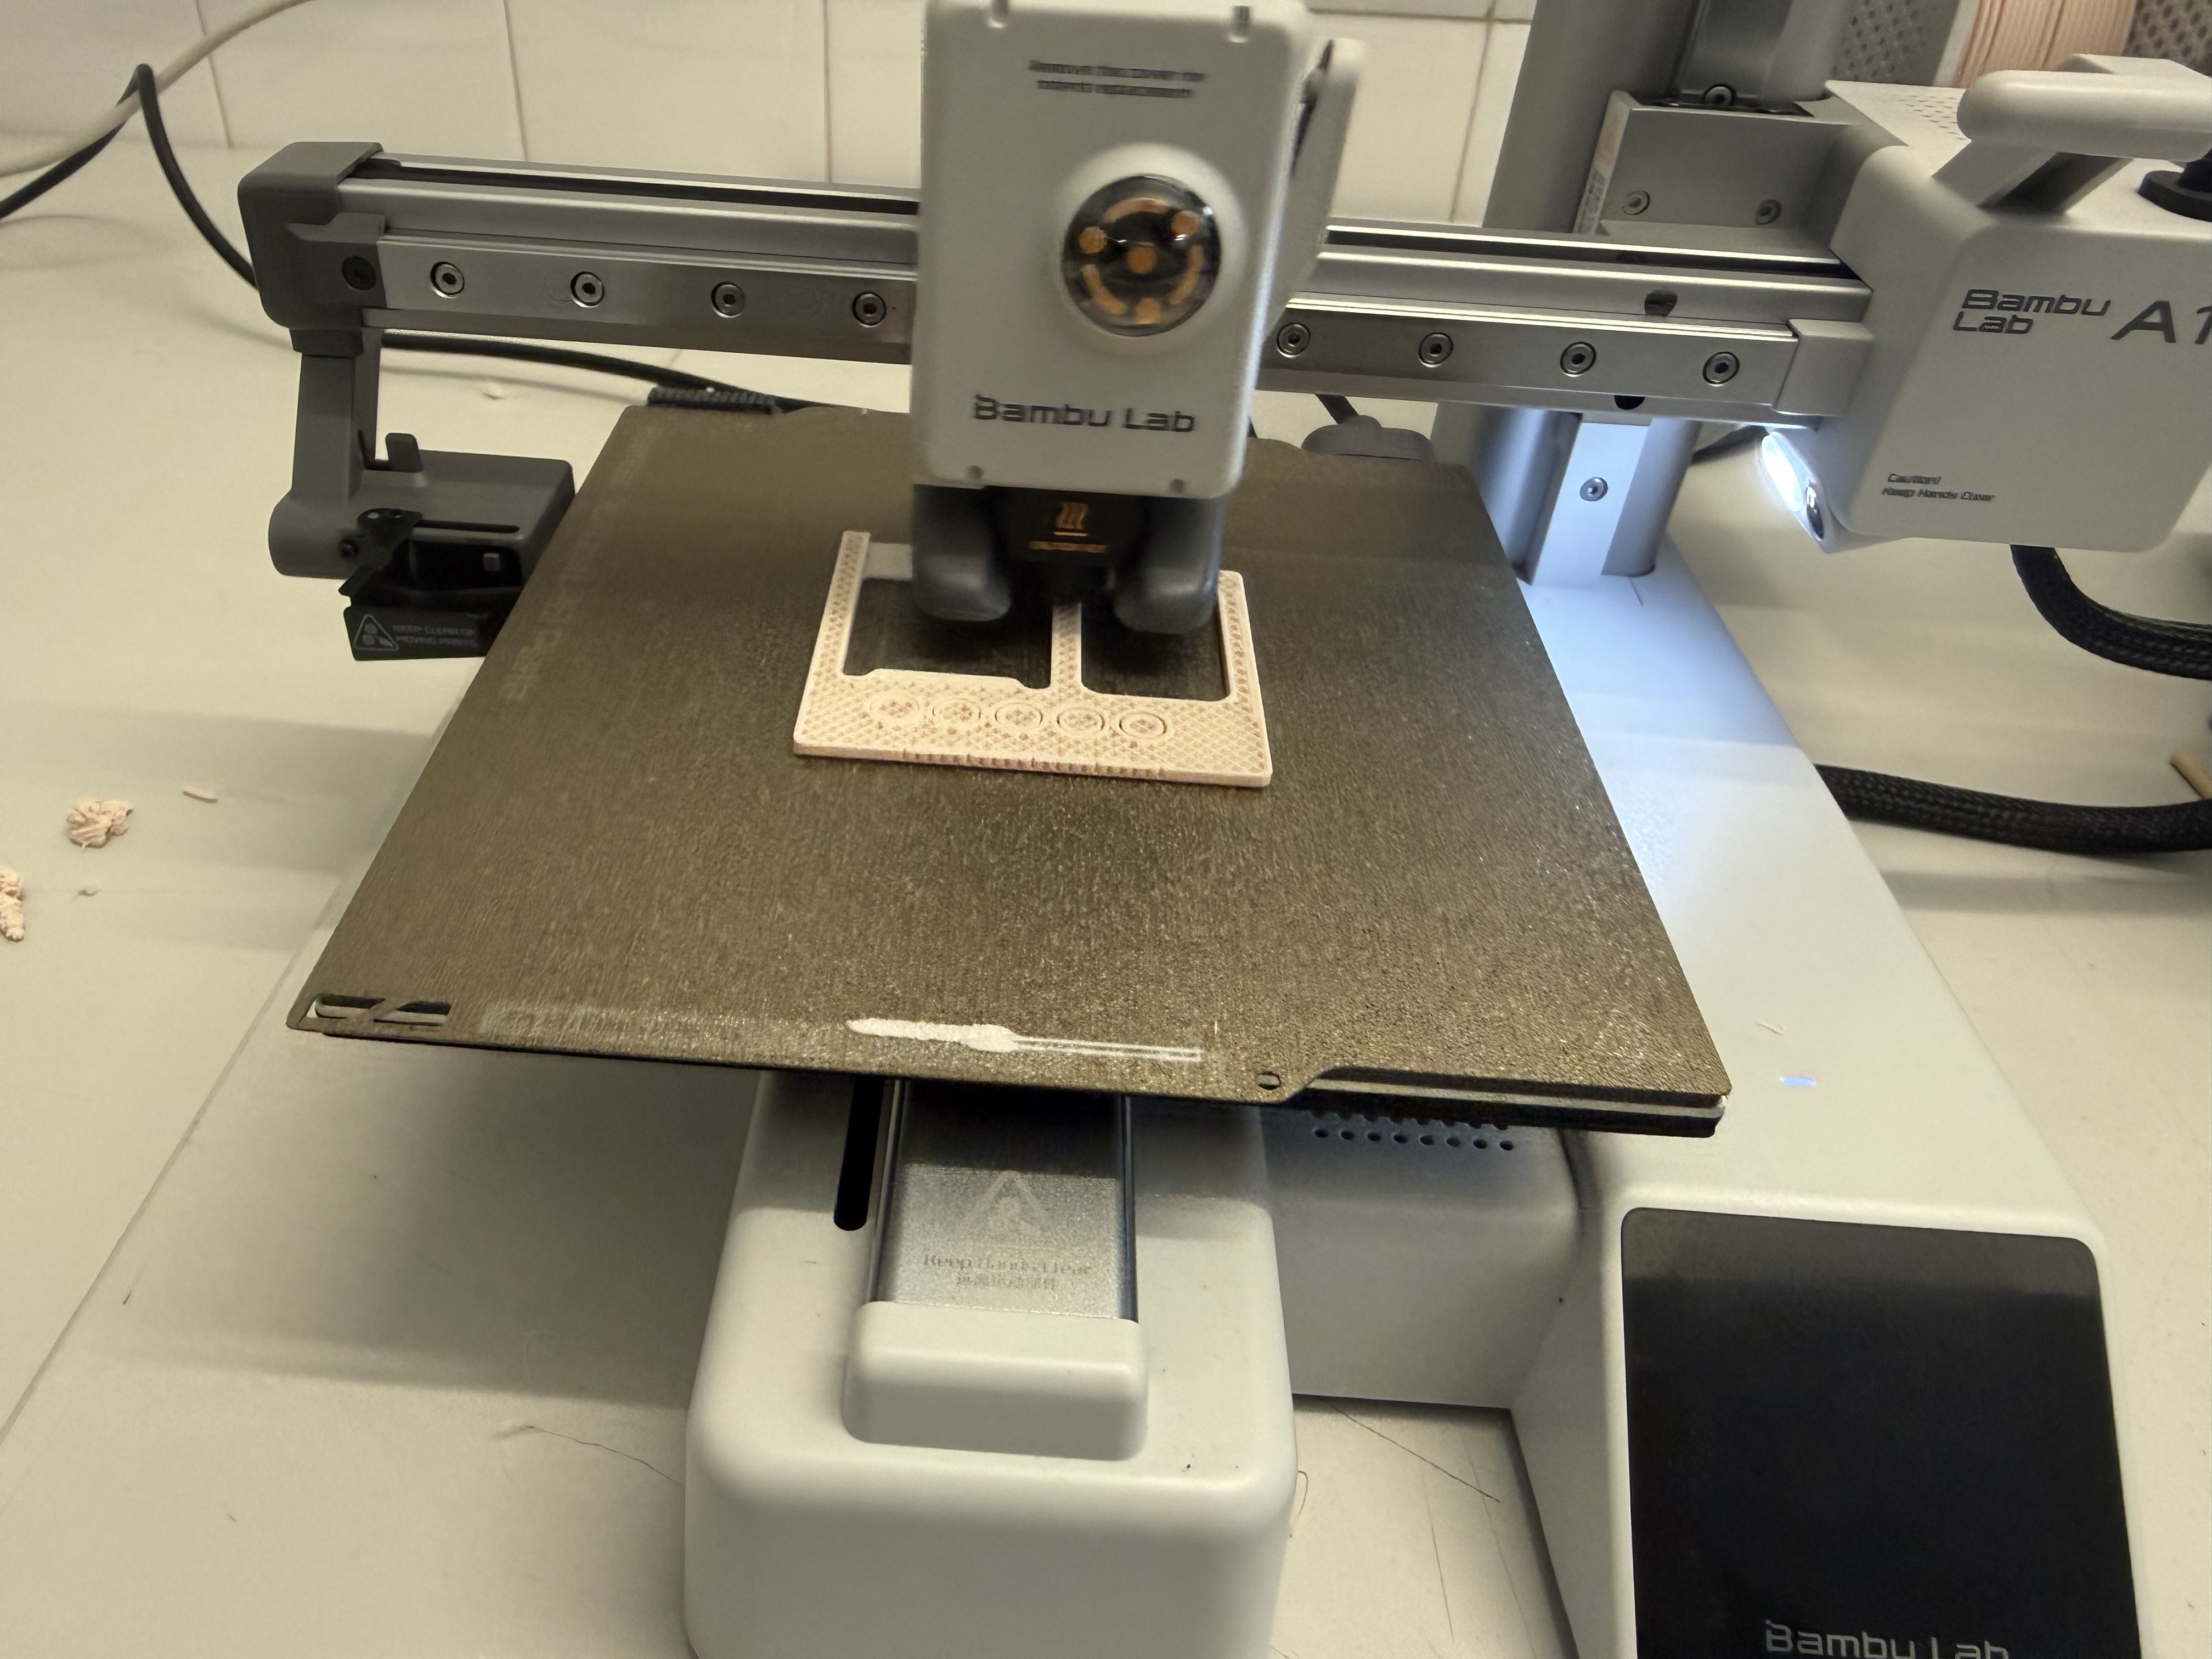
The result as seen below is better across the board, AND IT TOOK HALF THE TIME (4+ hours vs 2 hours).
Honestly, we were really impressed by the Bambu Lab A1 mini printer. It is the go-to now for Youssef, lol...