Week 2
Assignment
model (rastor, vector, 2d, 3d, animate, simulate) a possible final project. document the use of different types of cad.
The CAD softwares I explored are,
- Procreate
- Photoshop
- Rhino
- Twinmotion
- Blender (node-based modeling)
2D
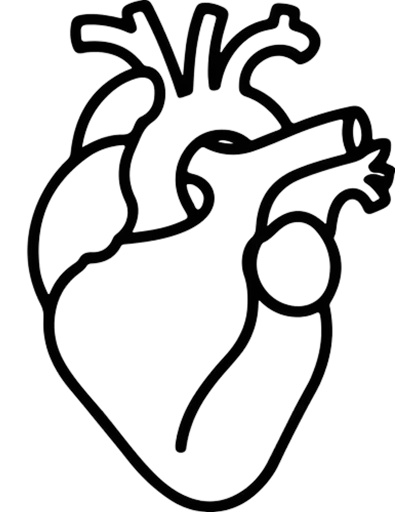
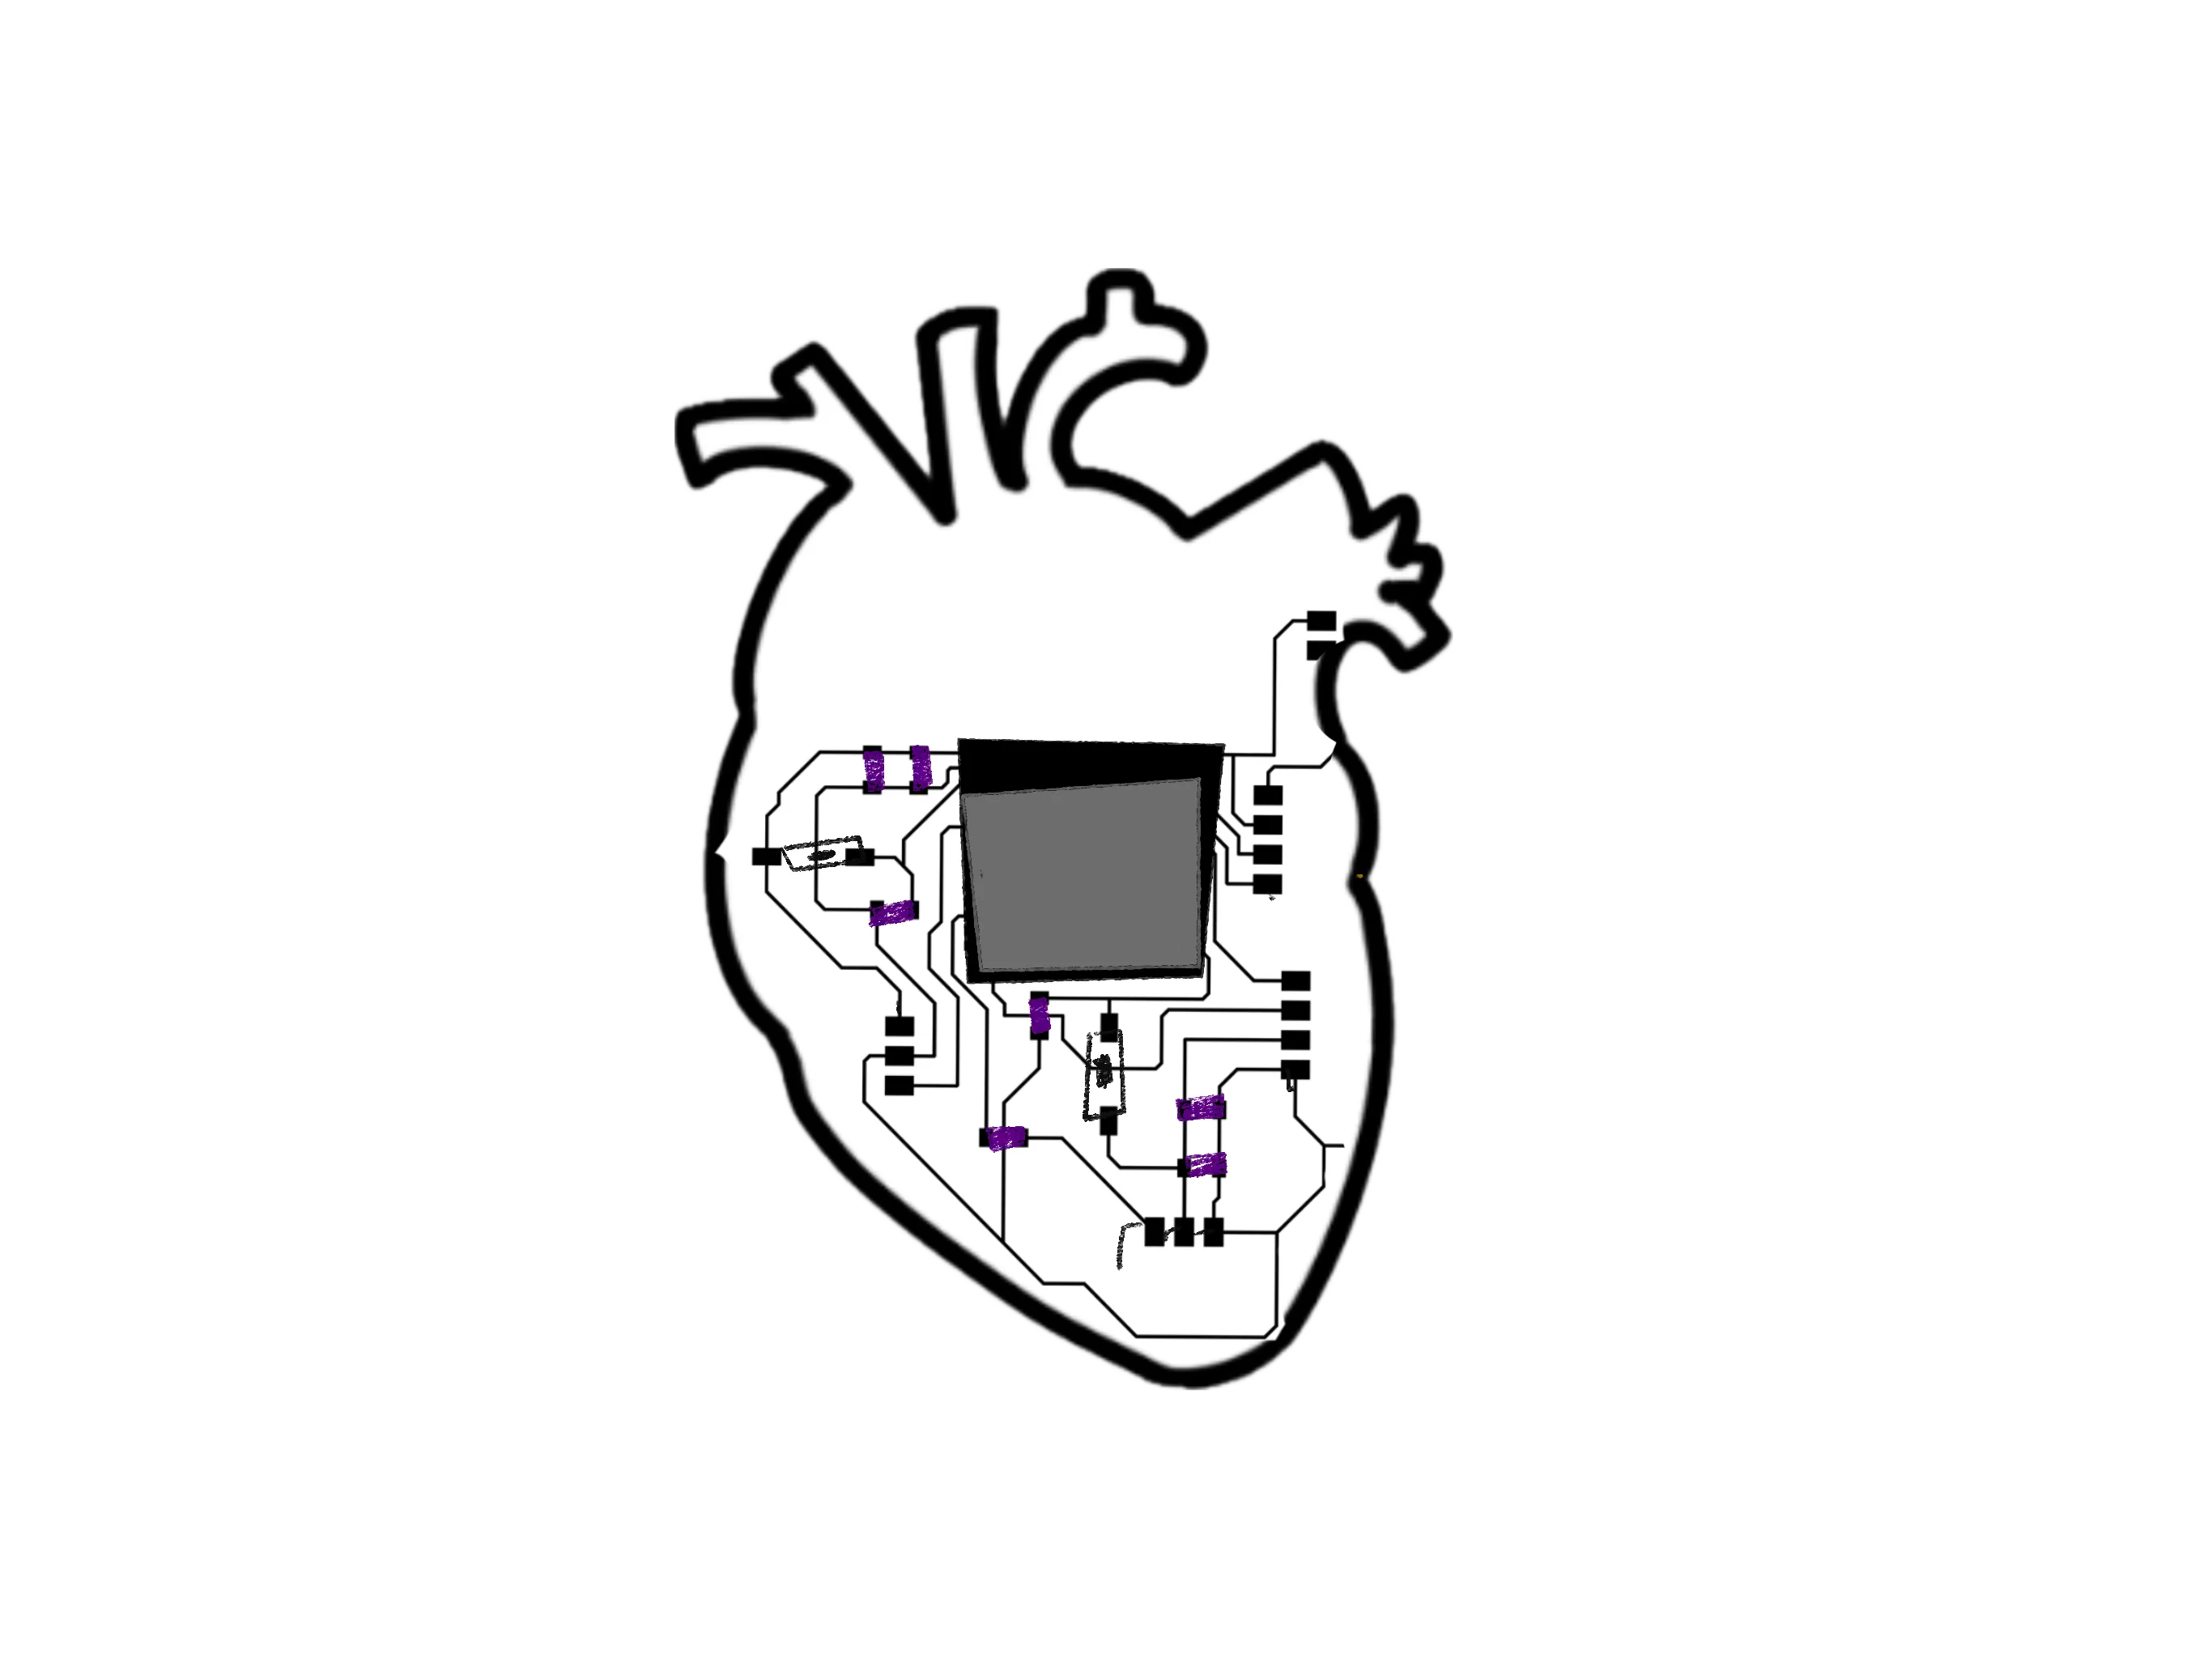
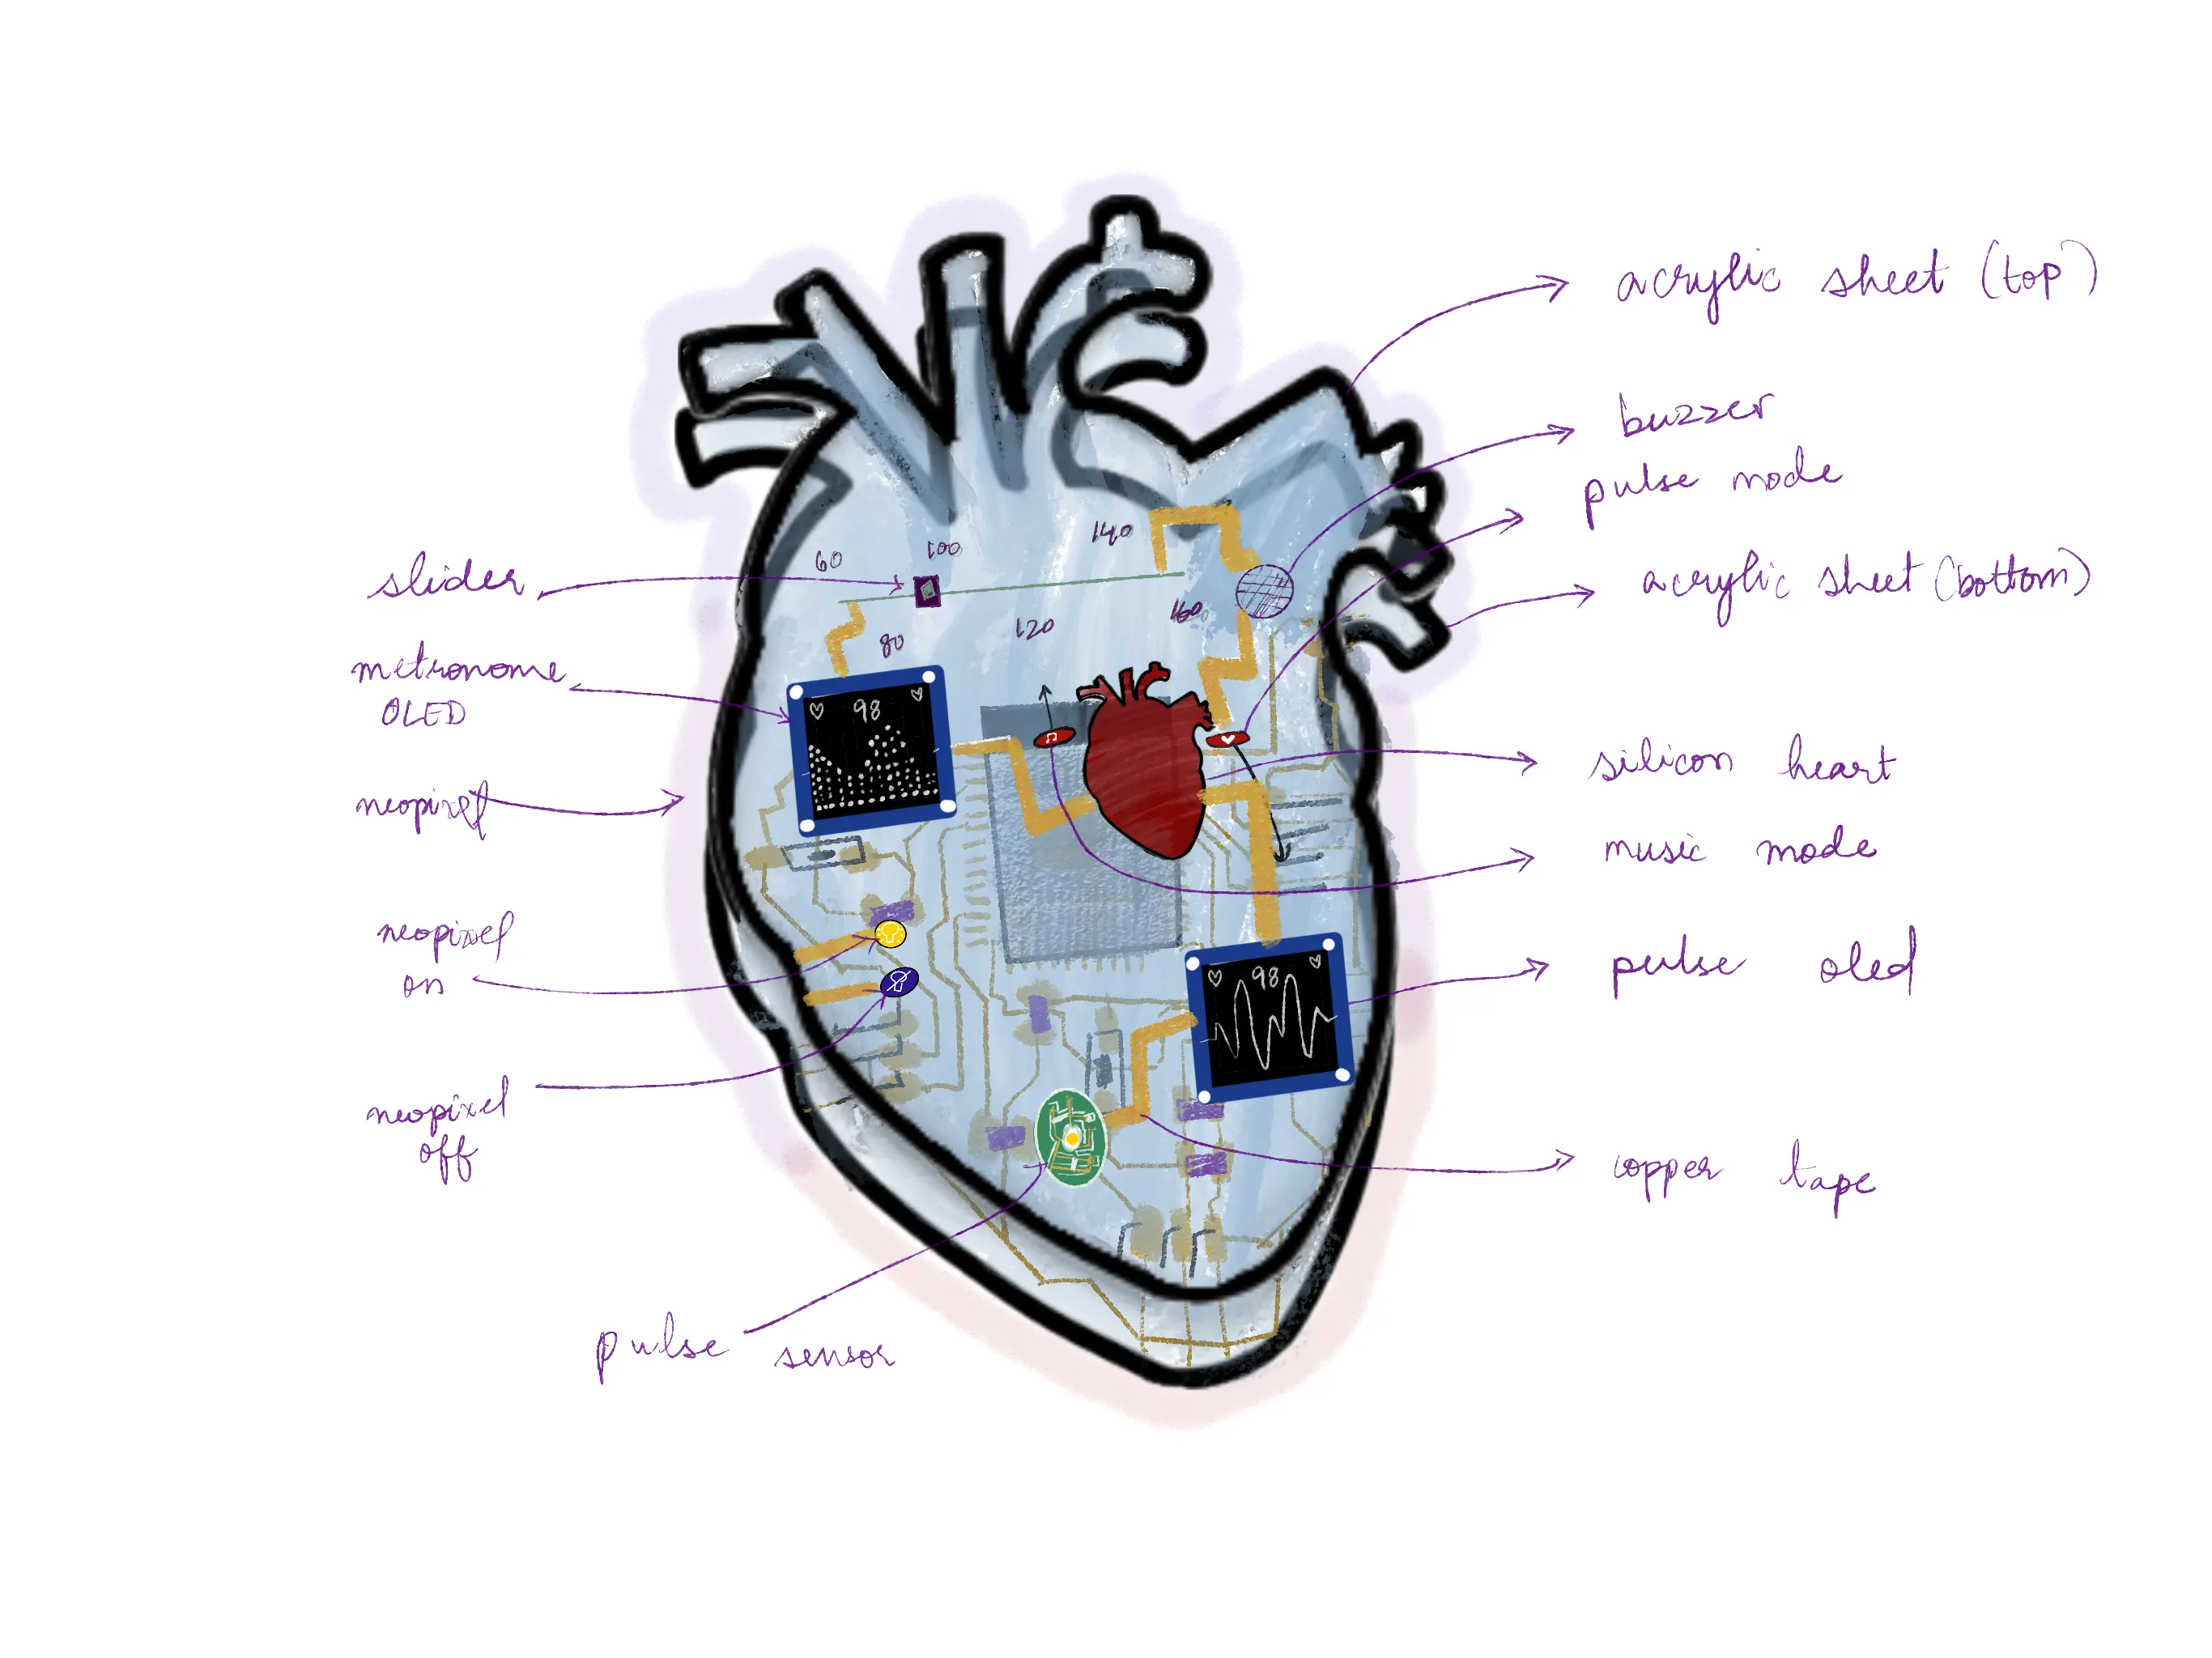
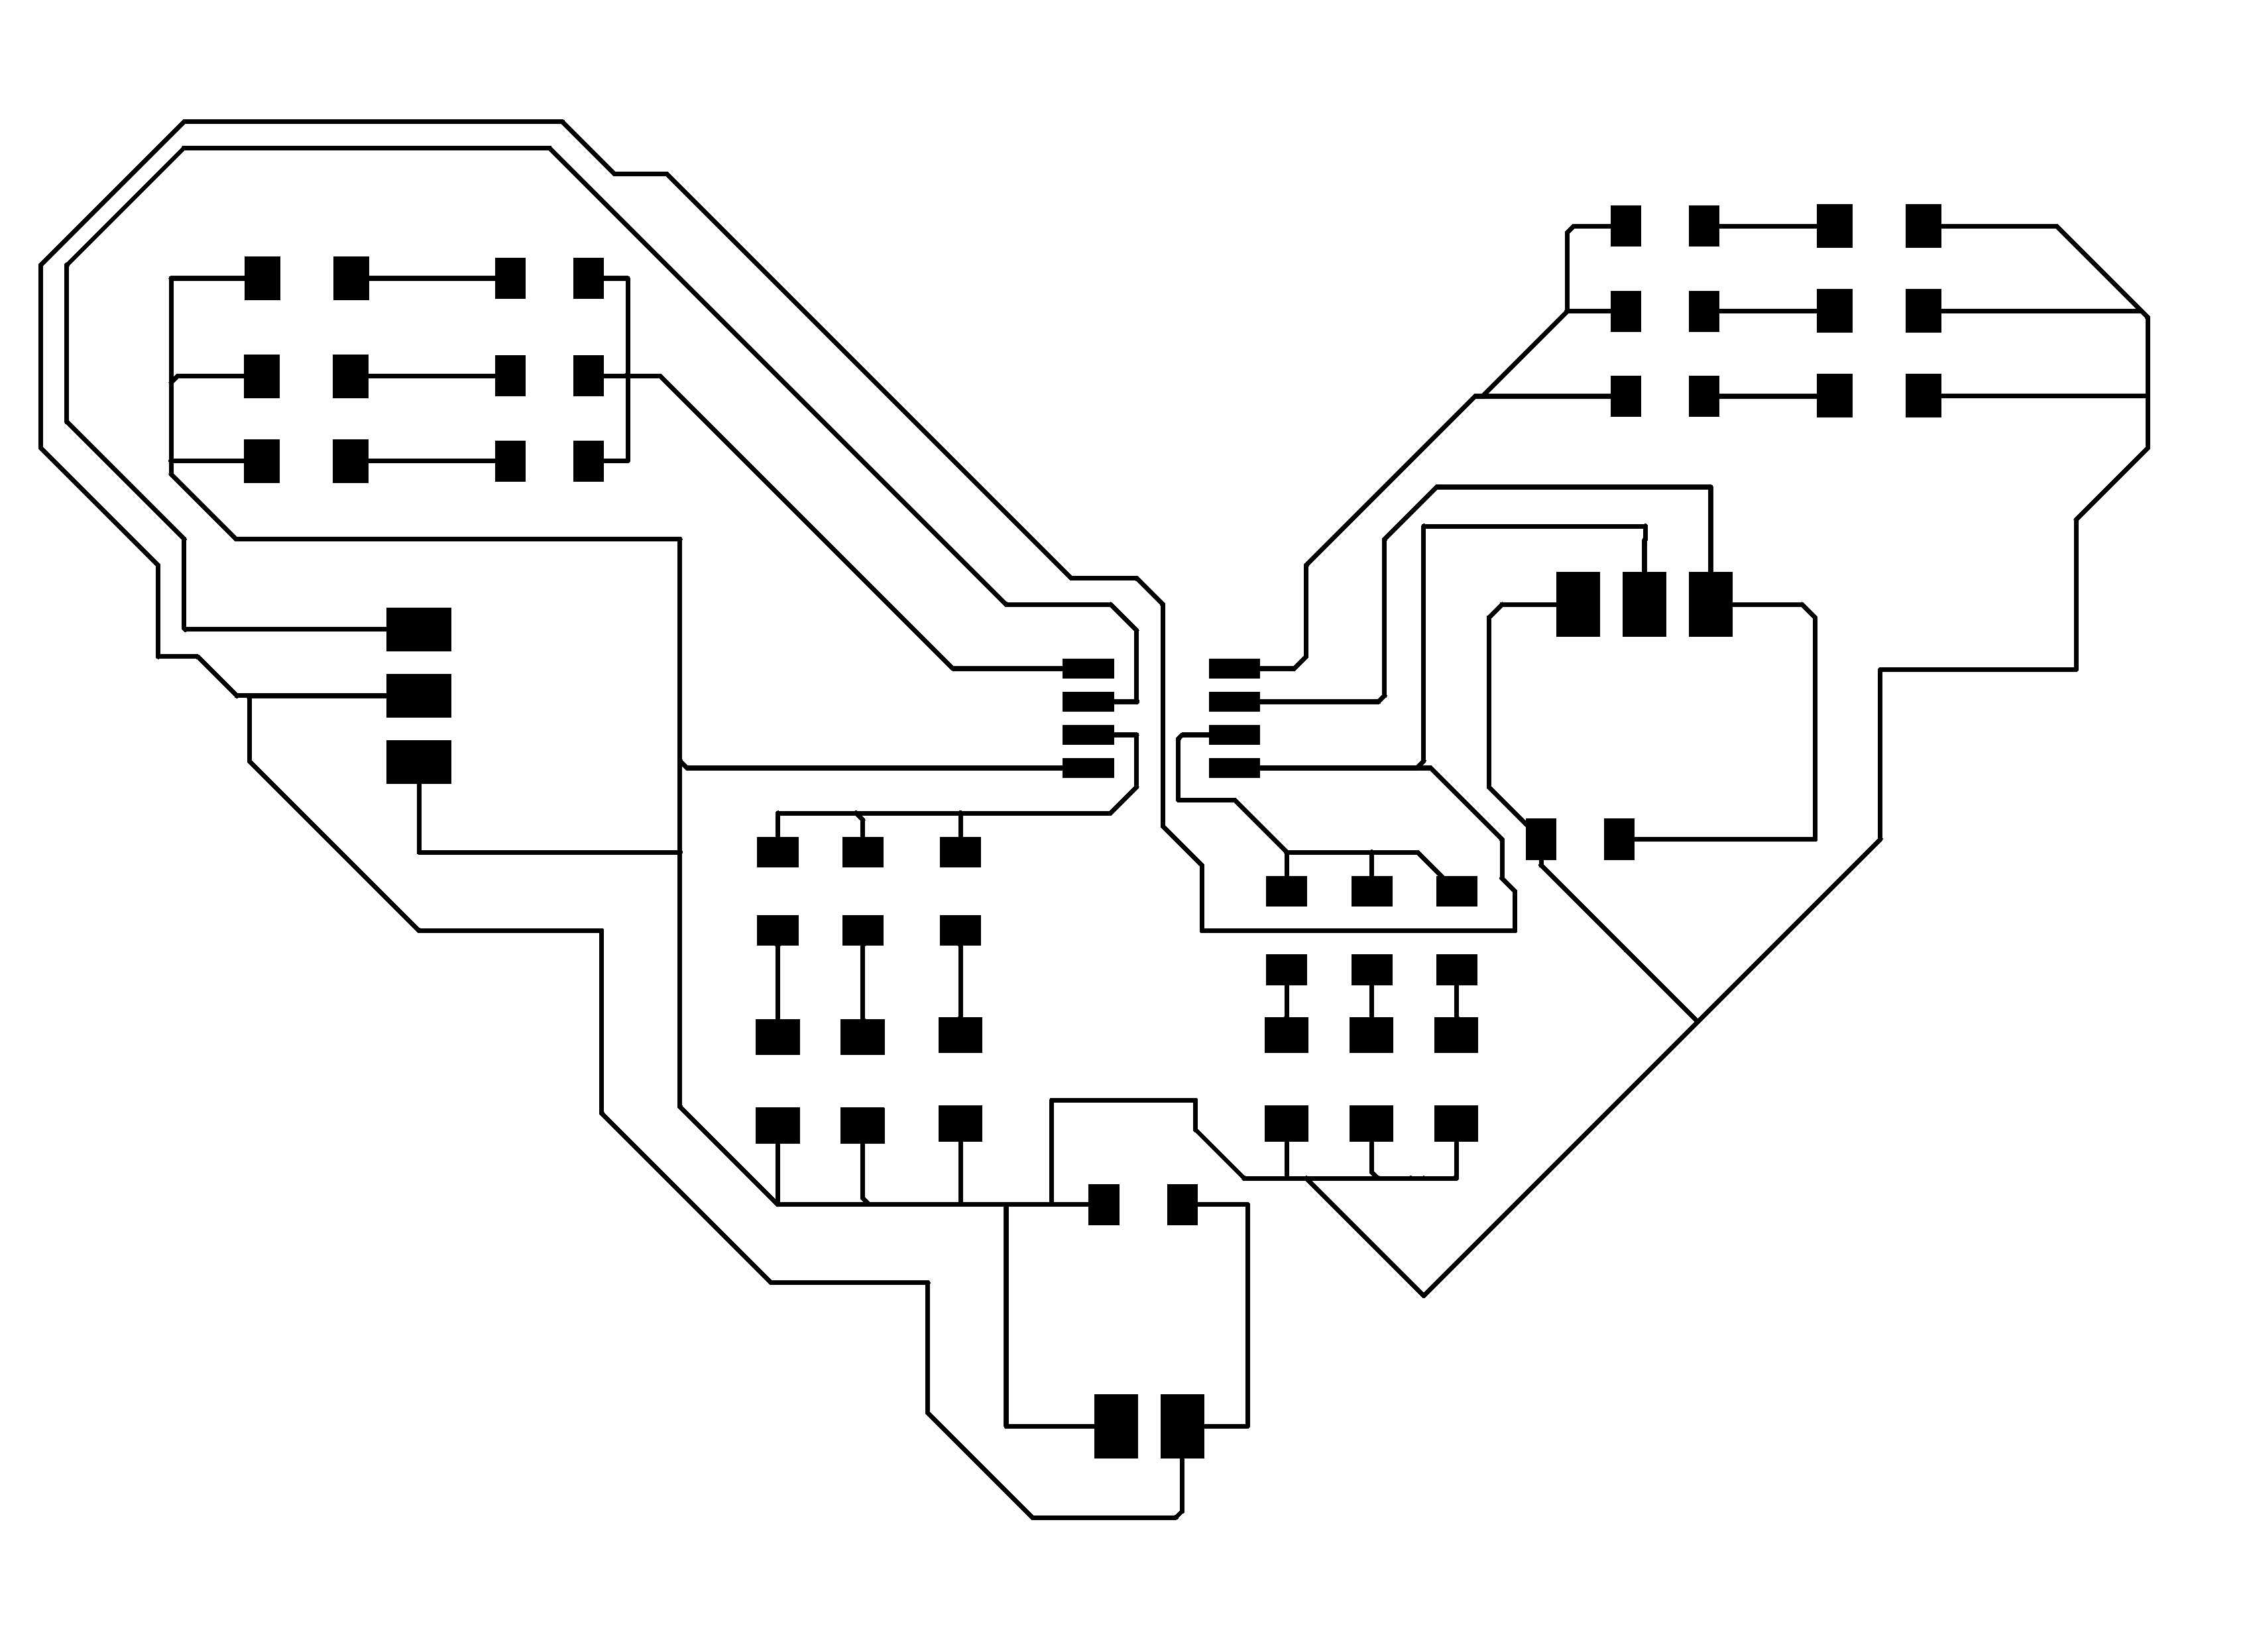
On Procreate, I created this brainstorm of the final project, a heartbeat visualizer shown as a transparent circuit, like a flex circuit. My sketching skills are subpar, and here is the sketch of a version with some labeled parts. I have imported the traces as one of the layers and shown layer by layer the parts of the final project as I imagine it.
when I went to start to explore a 2D vector software, I picked Photoshop. I have practically no experience with it because I am much more accustomed to vector design tools such as Procreate and Illustrator, and sometimes Figma.
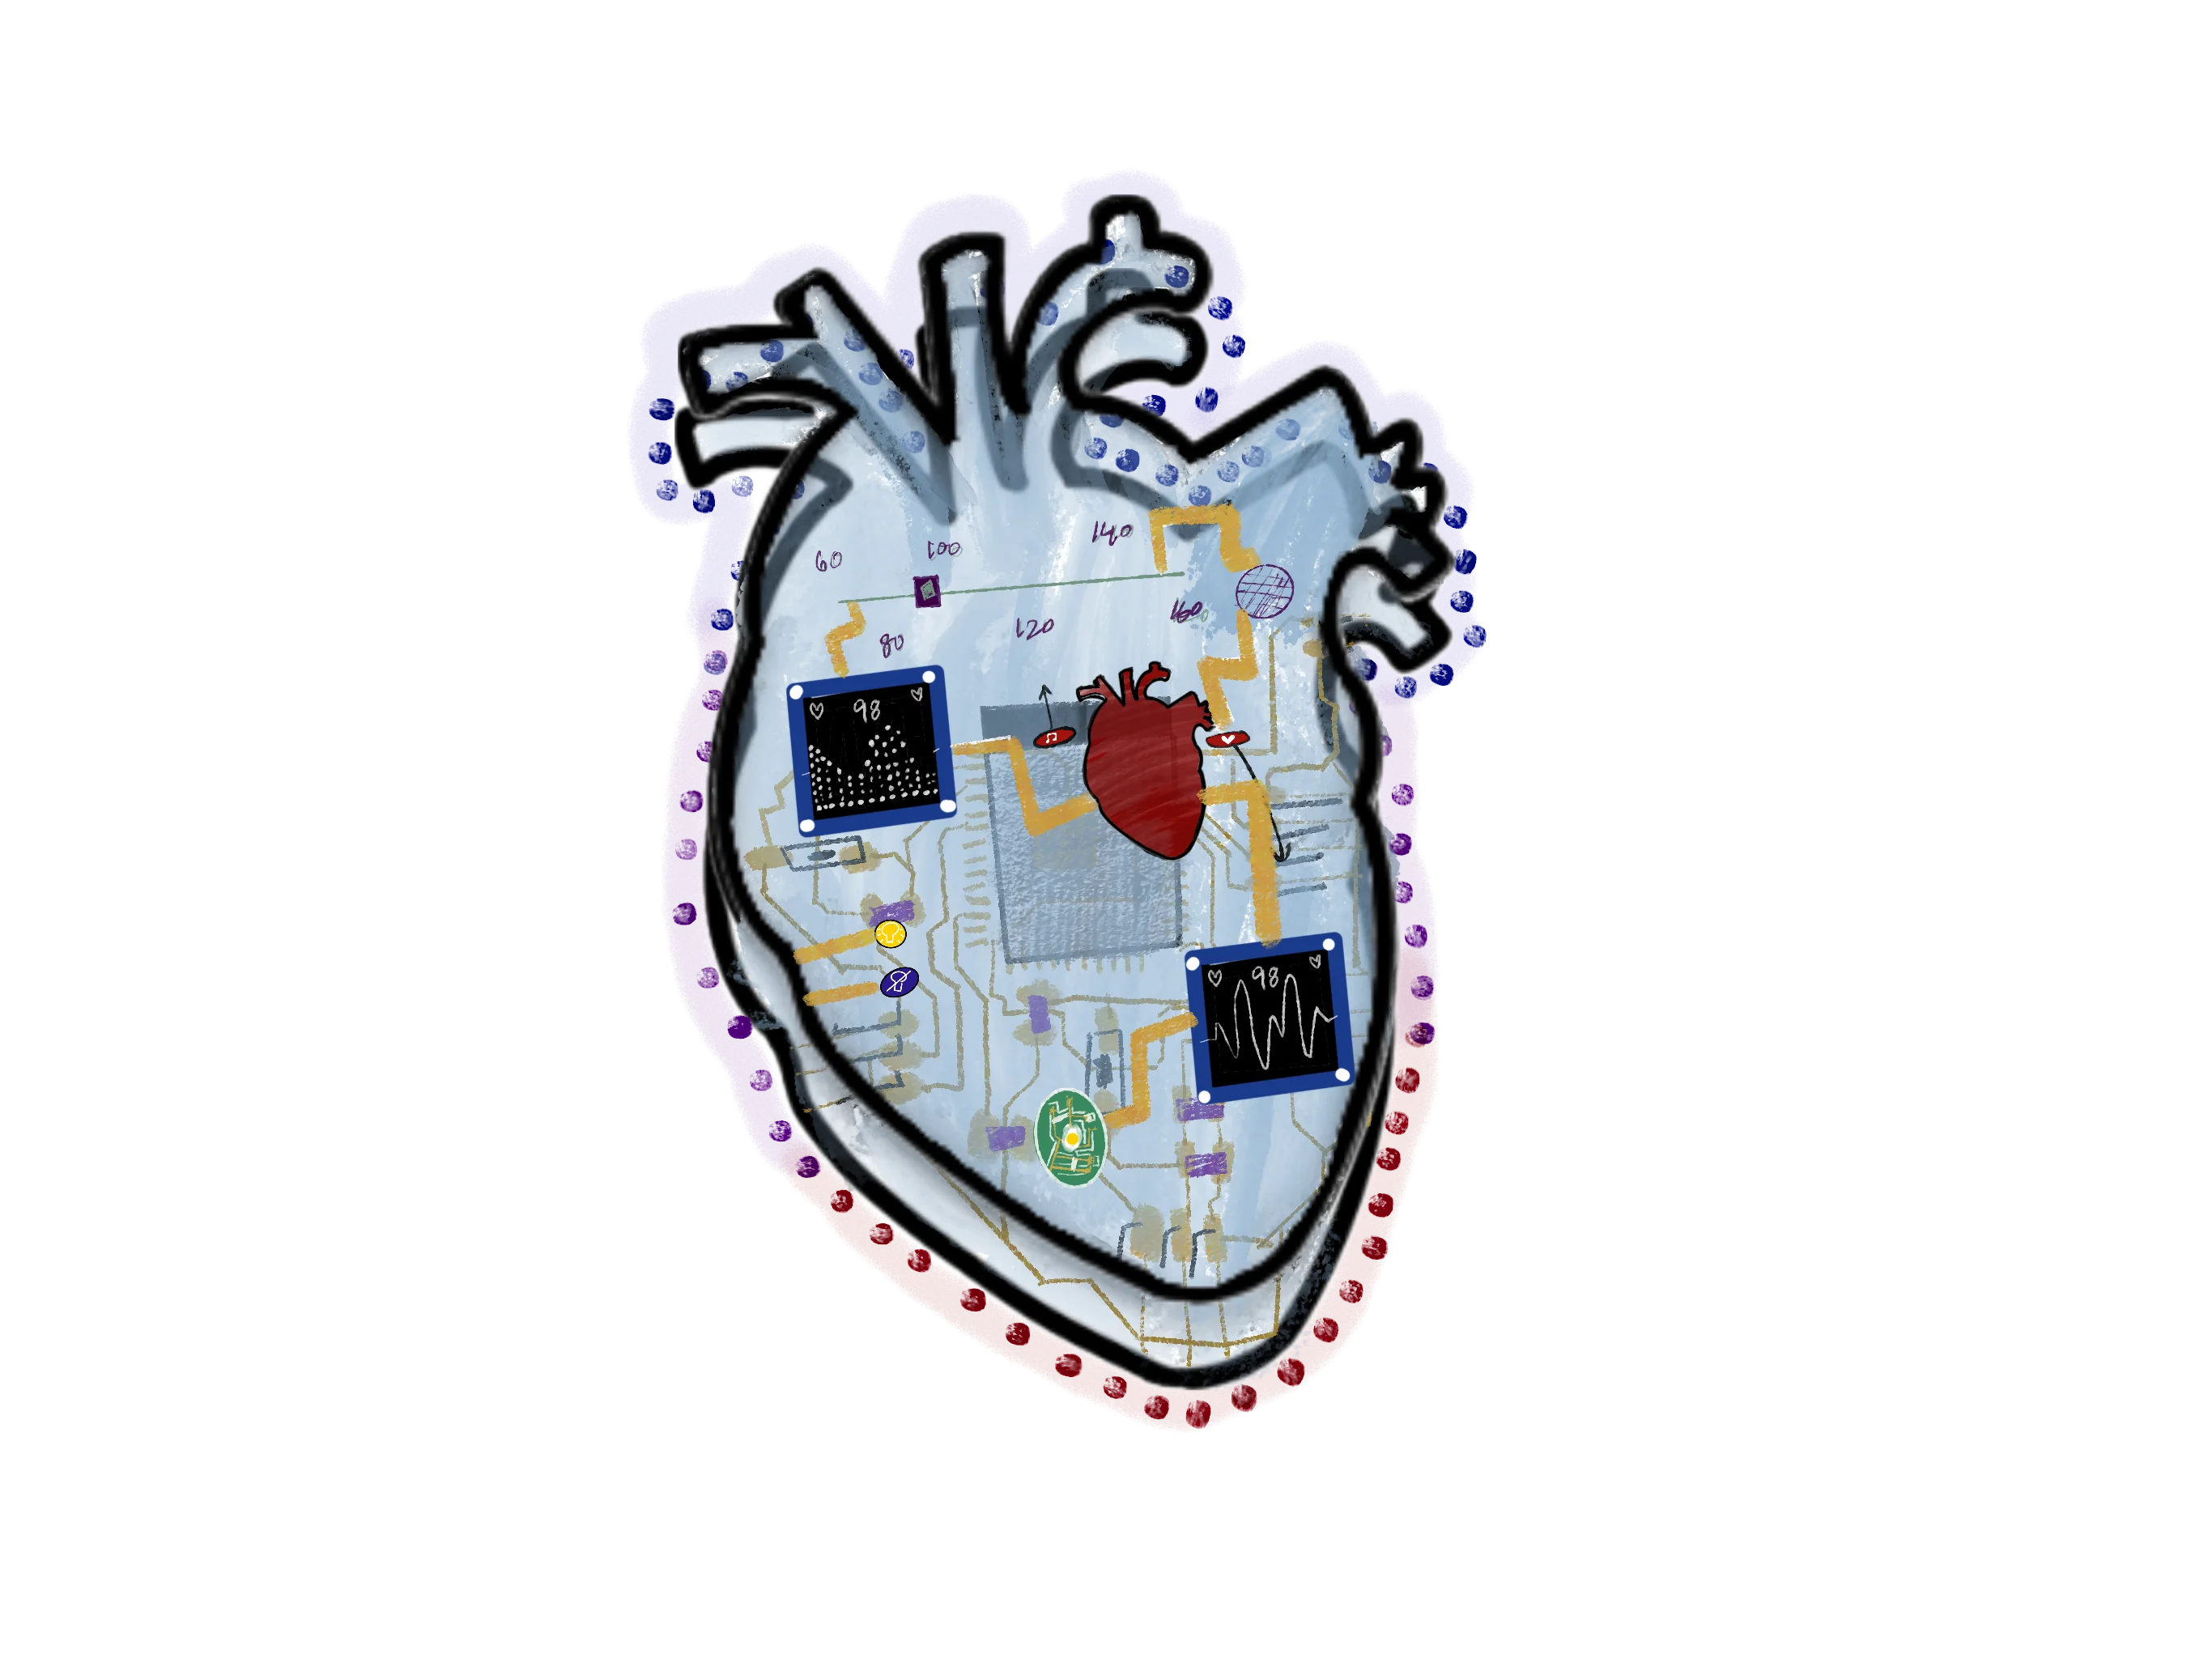
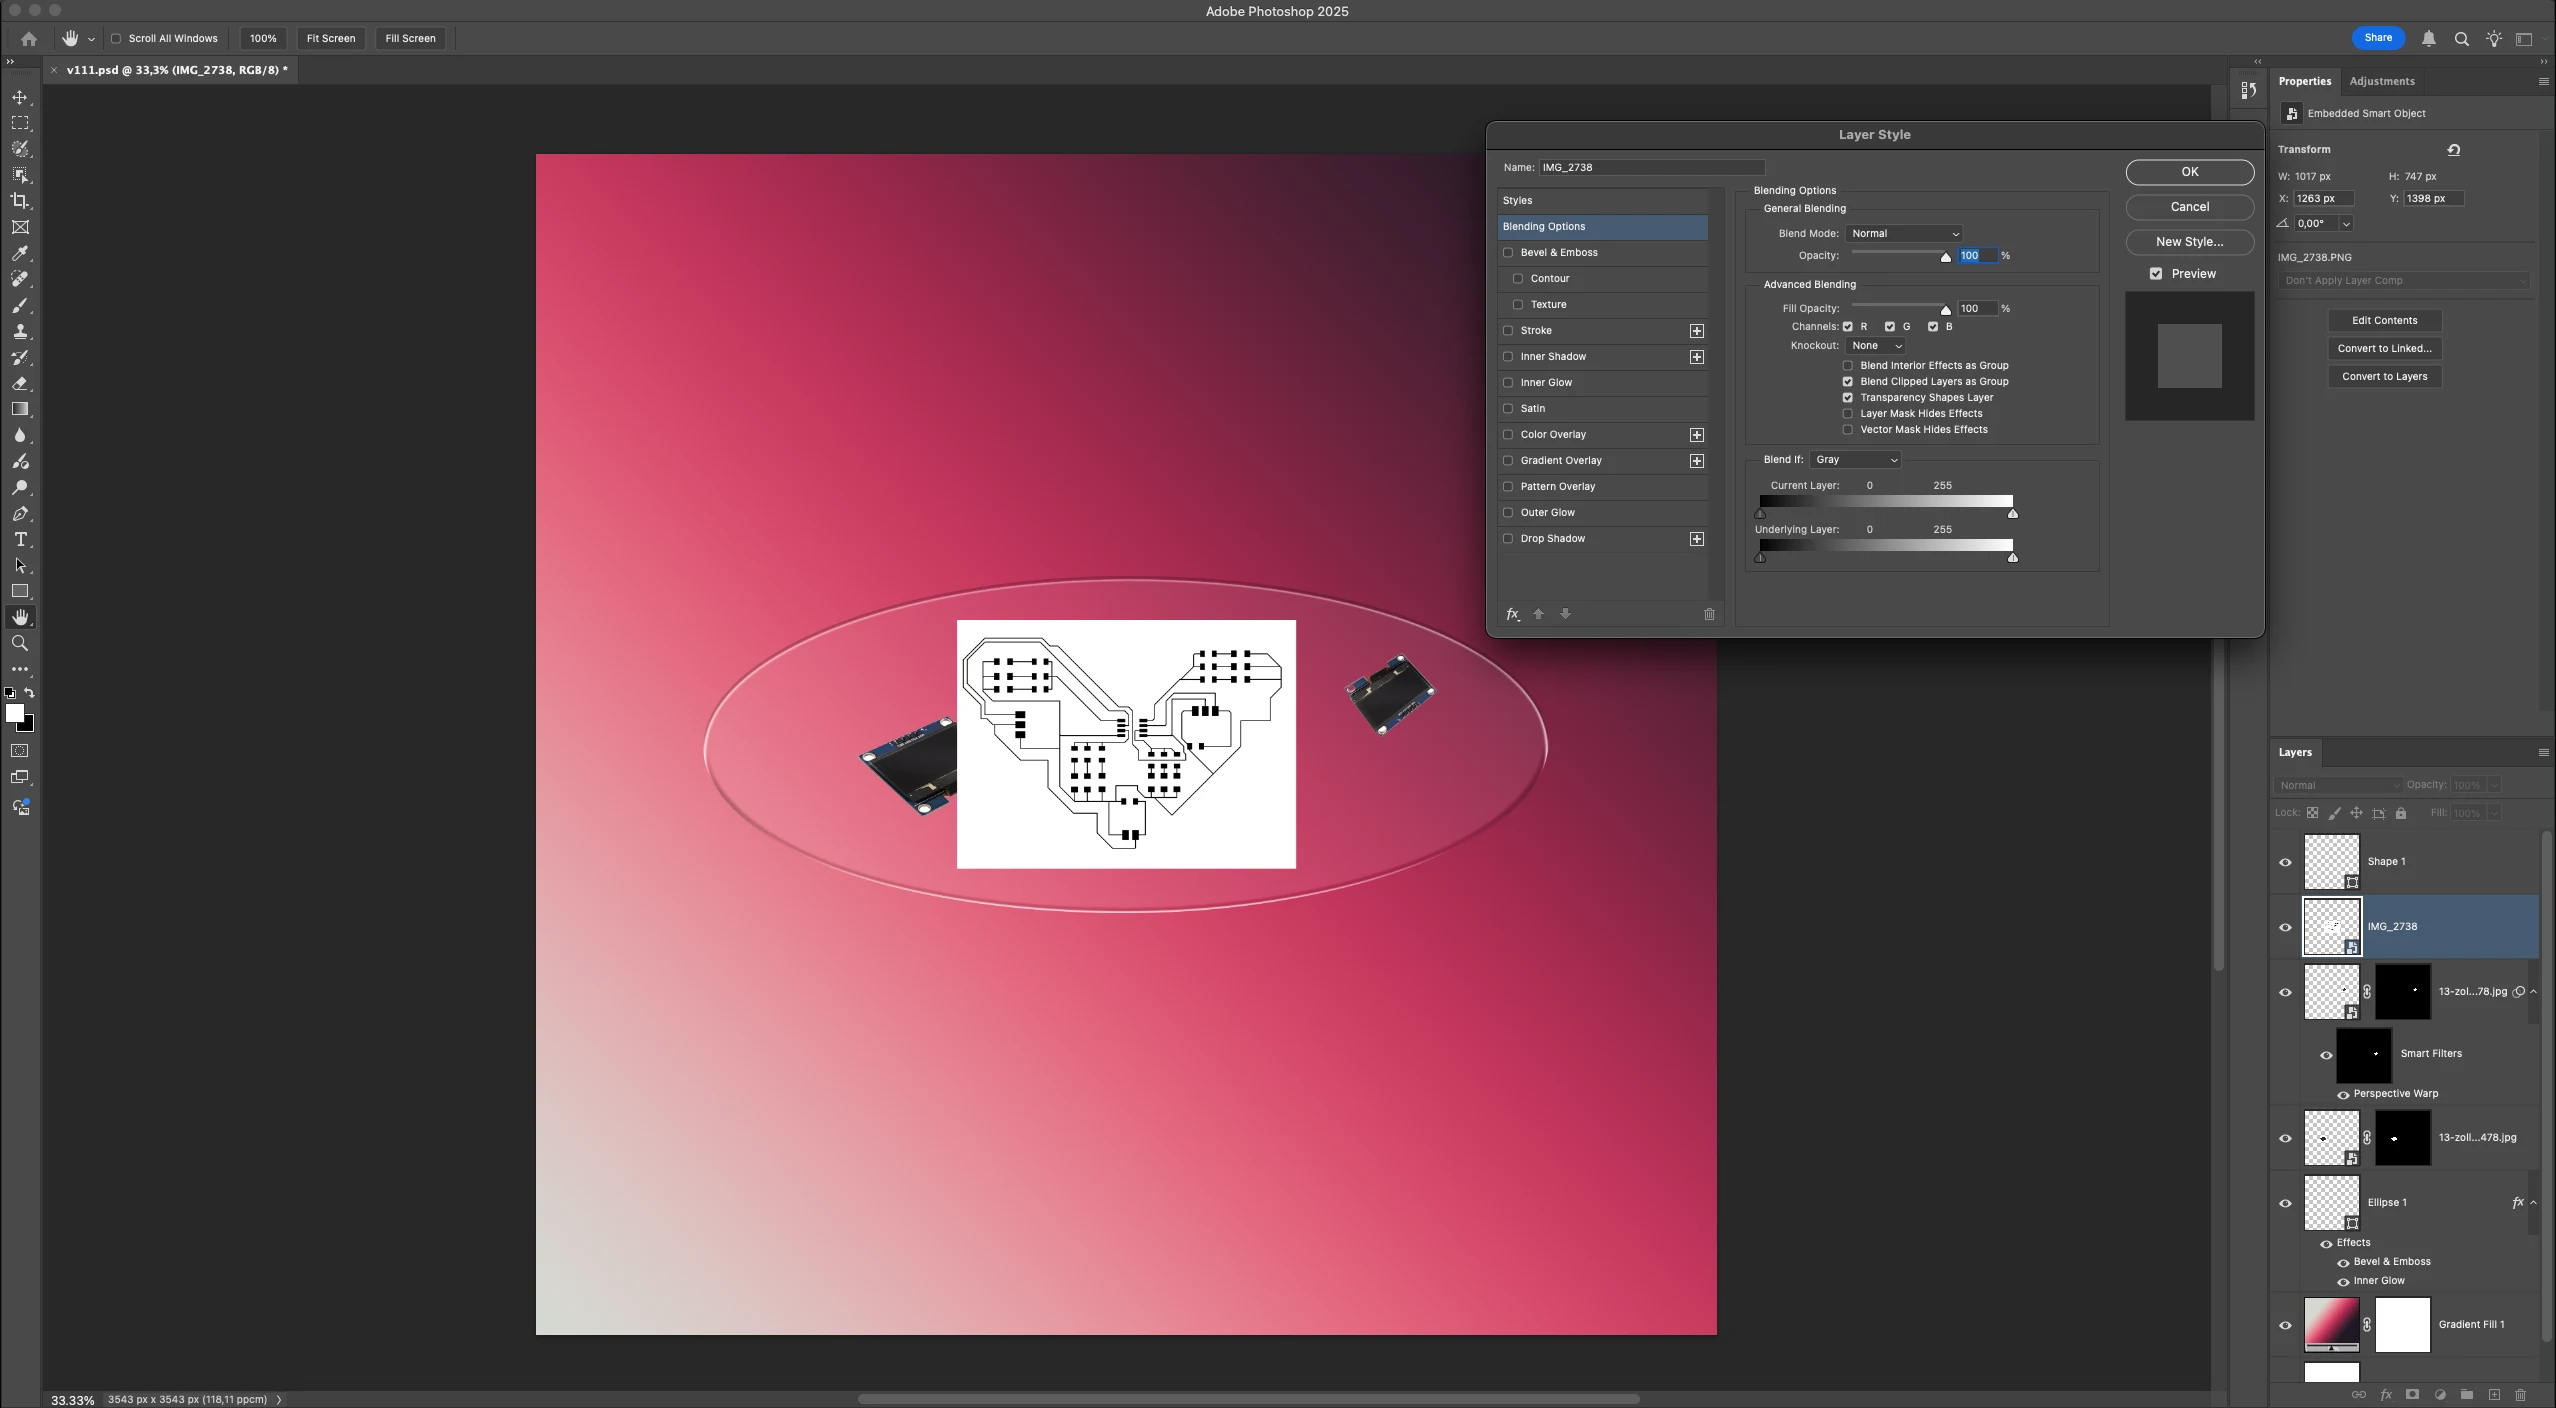
I then started exploring Photoshop and played with creating textures and creating masks. Then I tried to make a version of the final project. I imported some traces and learned to remove backgrounds on Photoshop for the first time ever.
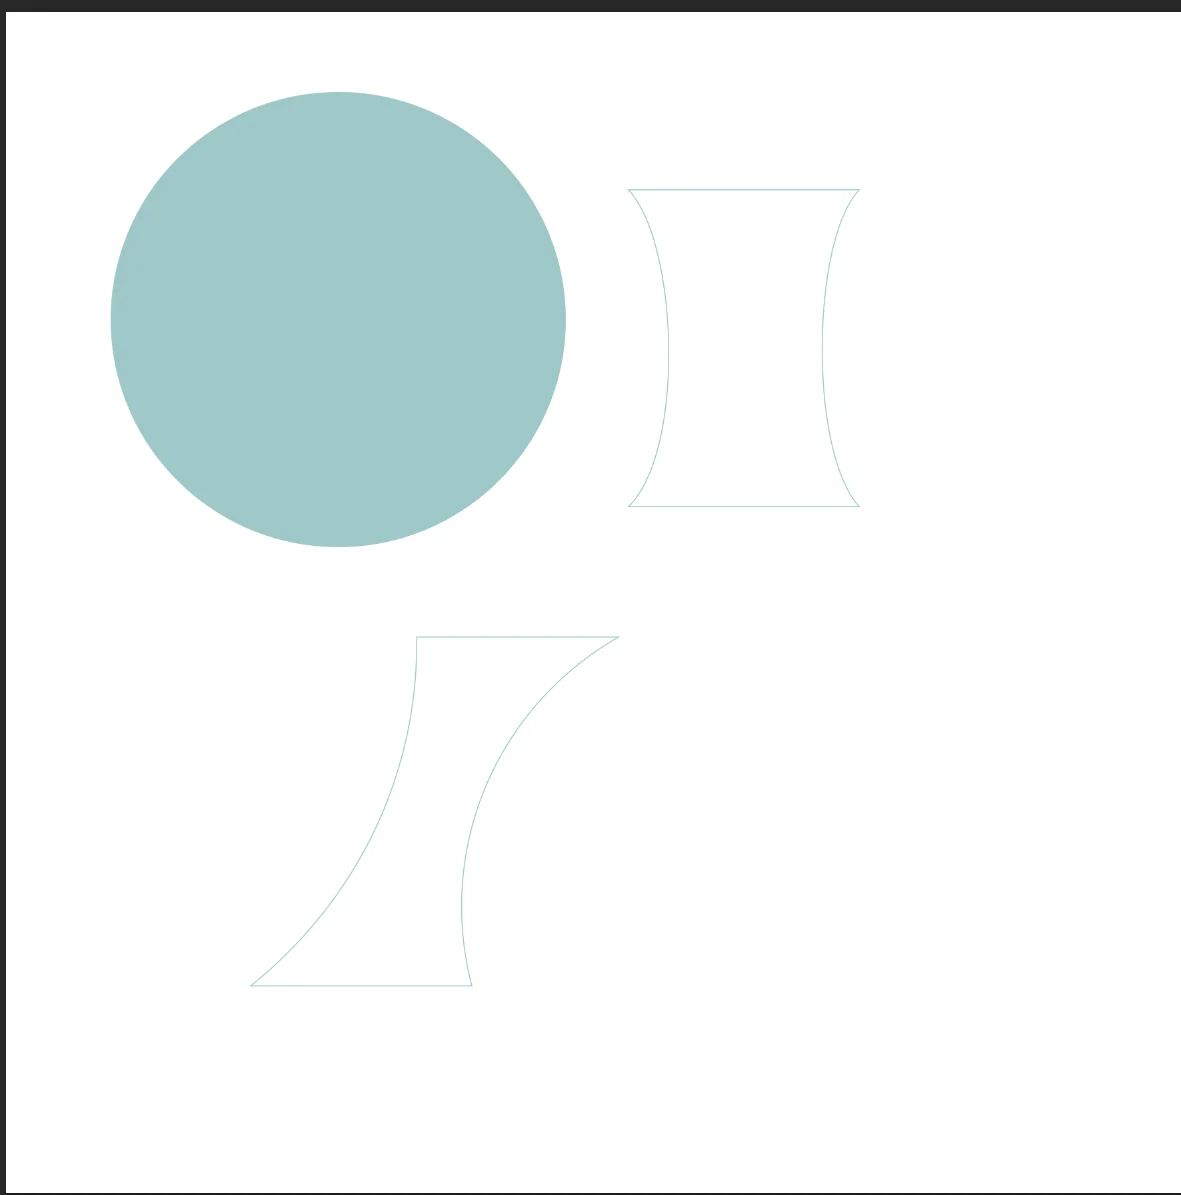
first i created the shapes using the shape tool
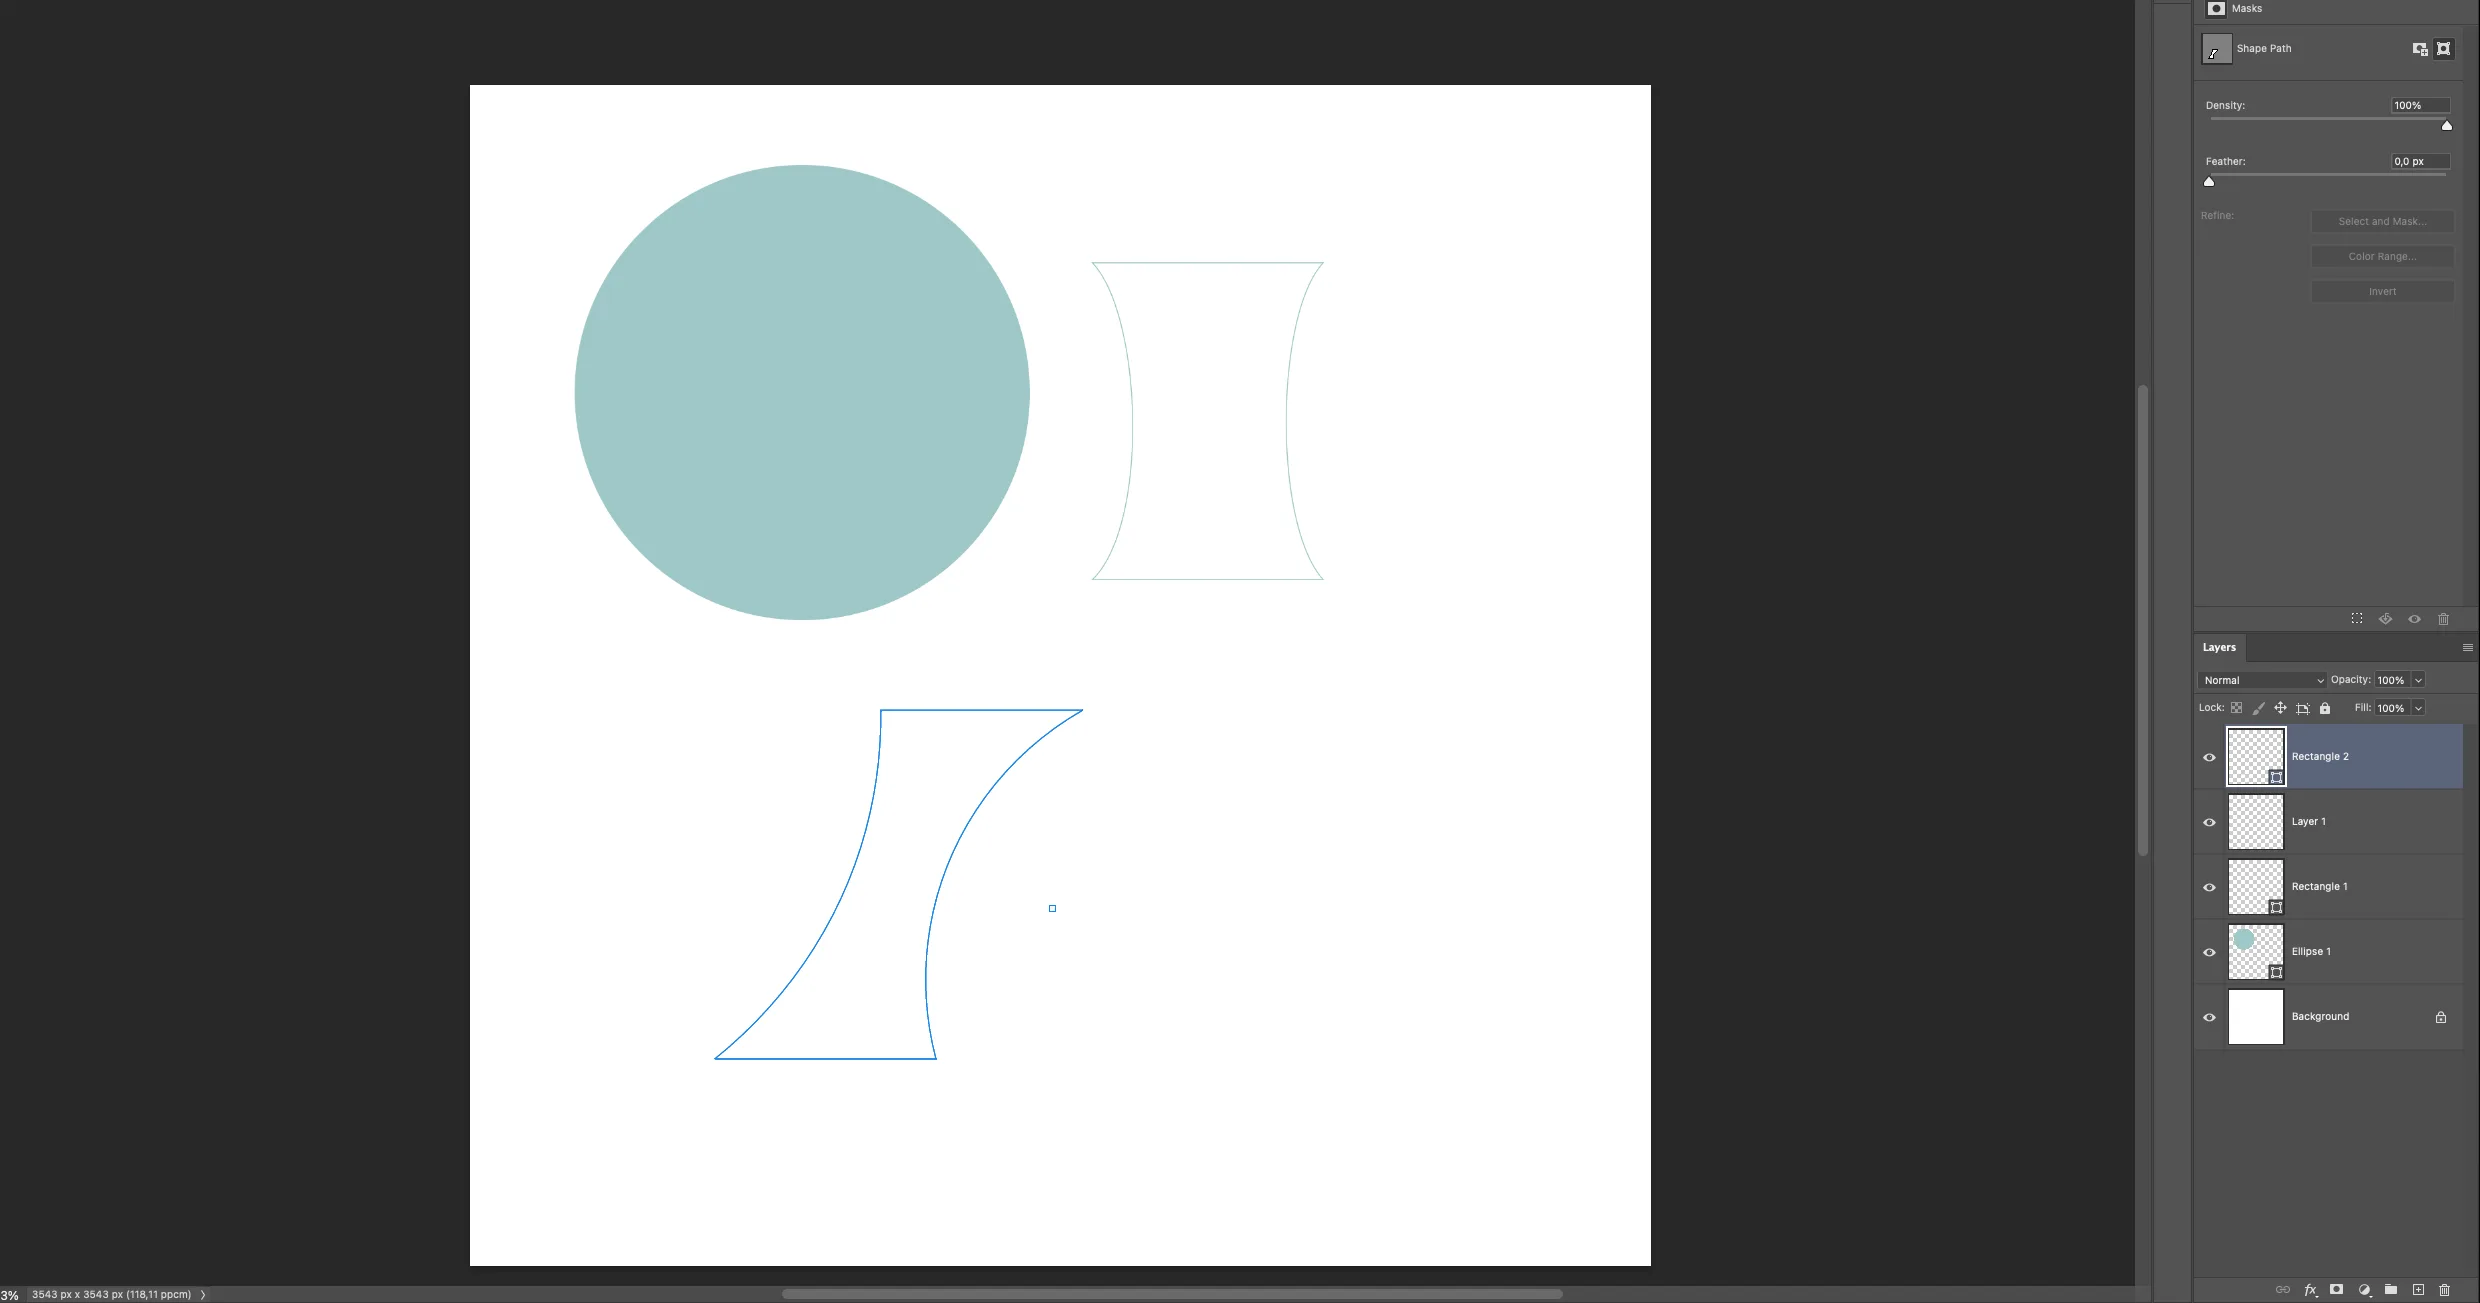
then i import the traces and start transforming it.
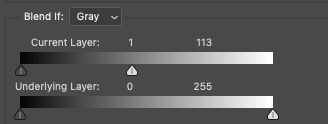
I learned how to remove the background of any image, at least any image with a white background, a very useful skill for life. Usually, I import pictures into Figma and use the removing background plugin, which works well about 90% of the time. So in Photoshop, you go into the blending options of the layer by double-clicking on the layer with the image from the layers panel, and then reduce the blend if value by dragging it from left to right, like the white box dragging it from left to right, just until the background disappears.

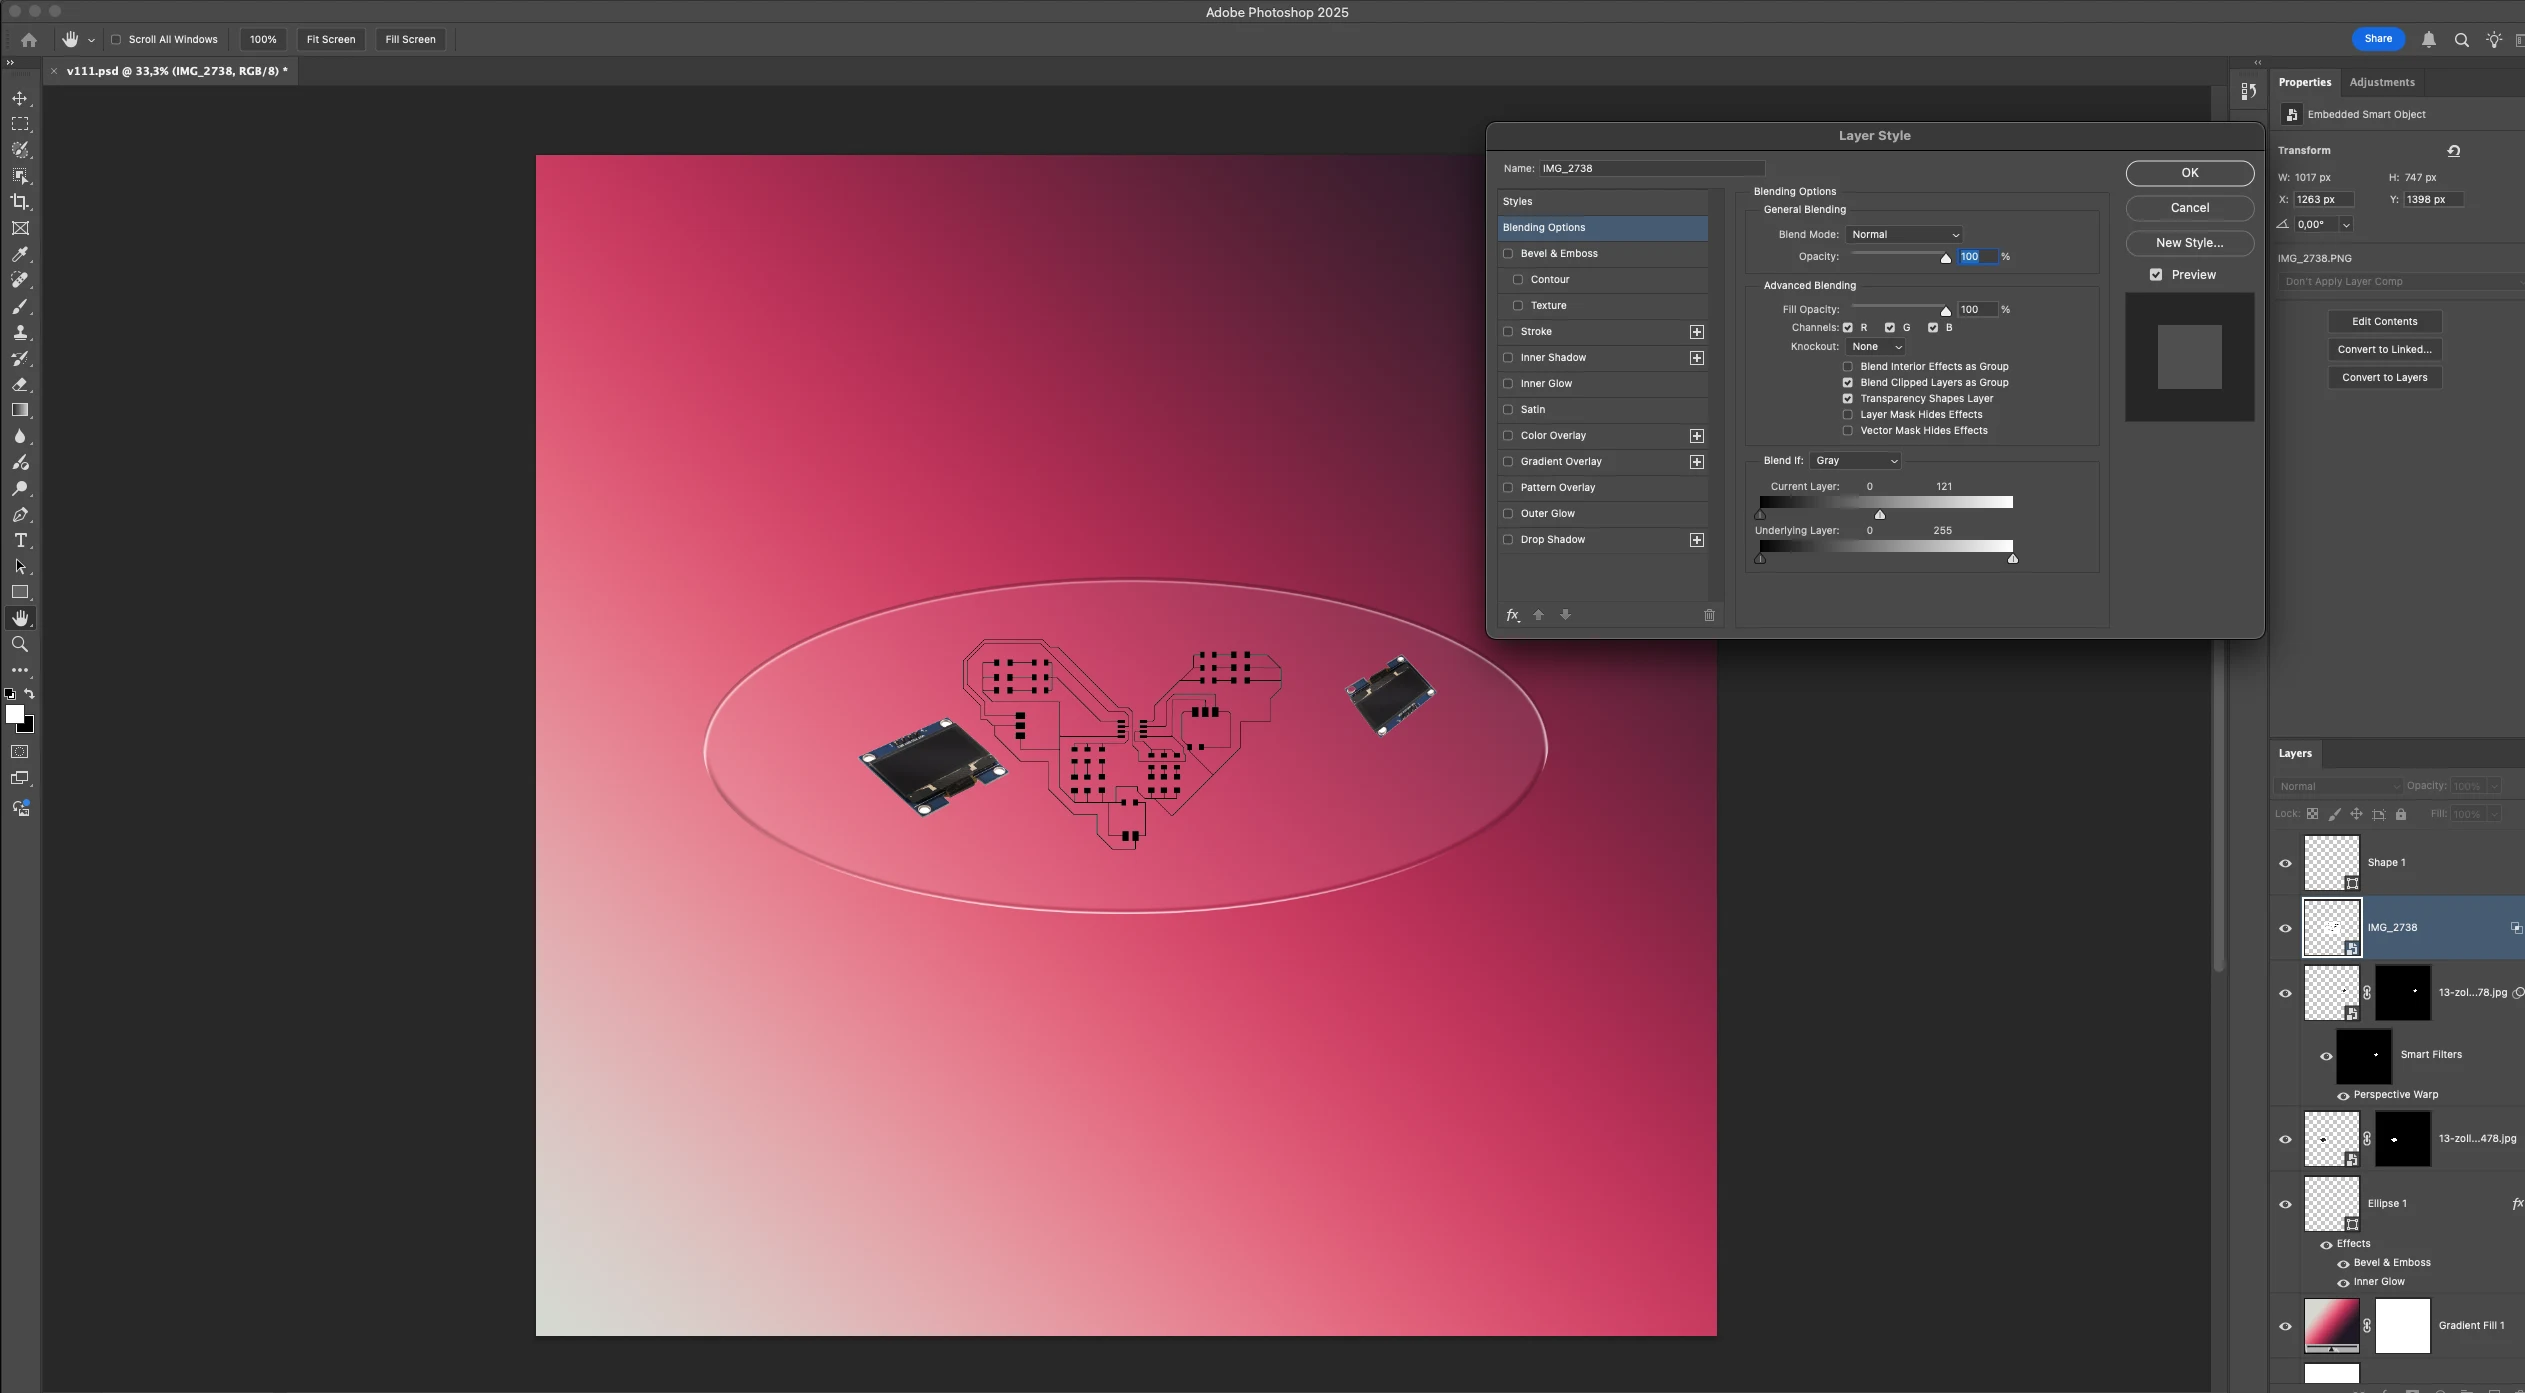
inside the layer style of the traces, i add a colour overlay to make it look like copper

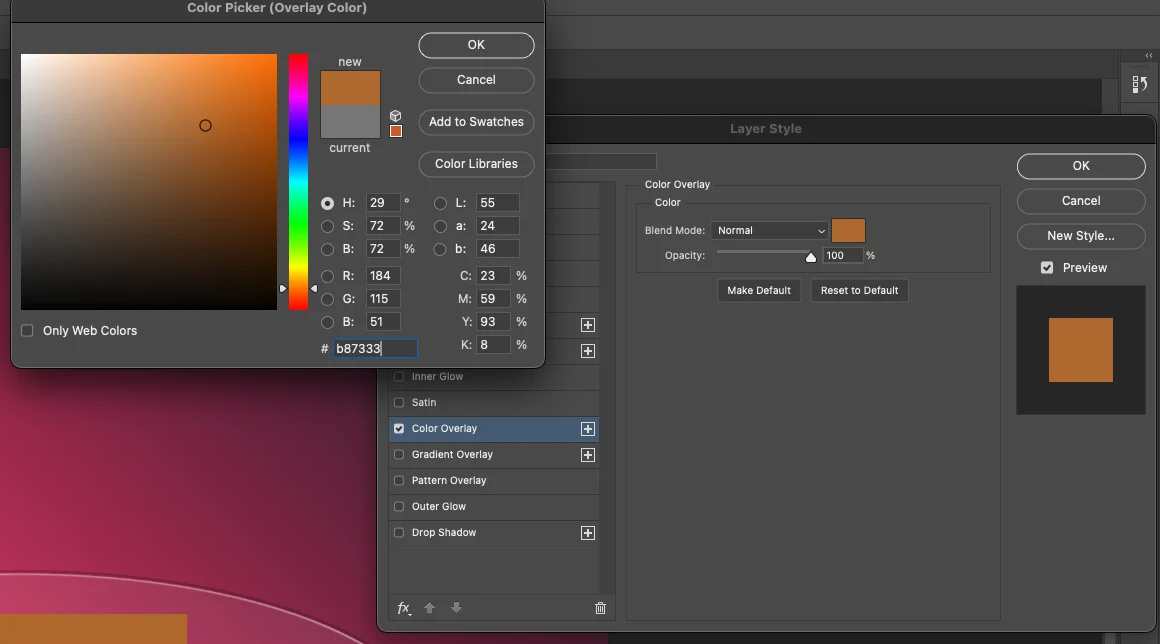
I also played around a lot and explore the transform function warp distort and perspective.
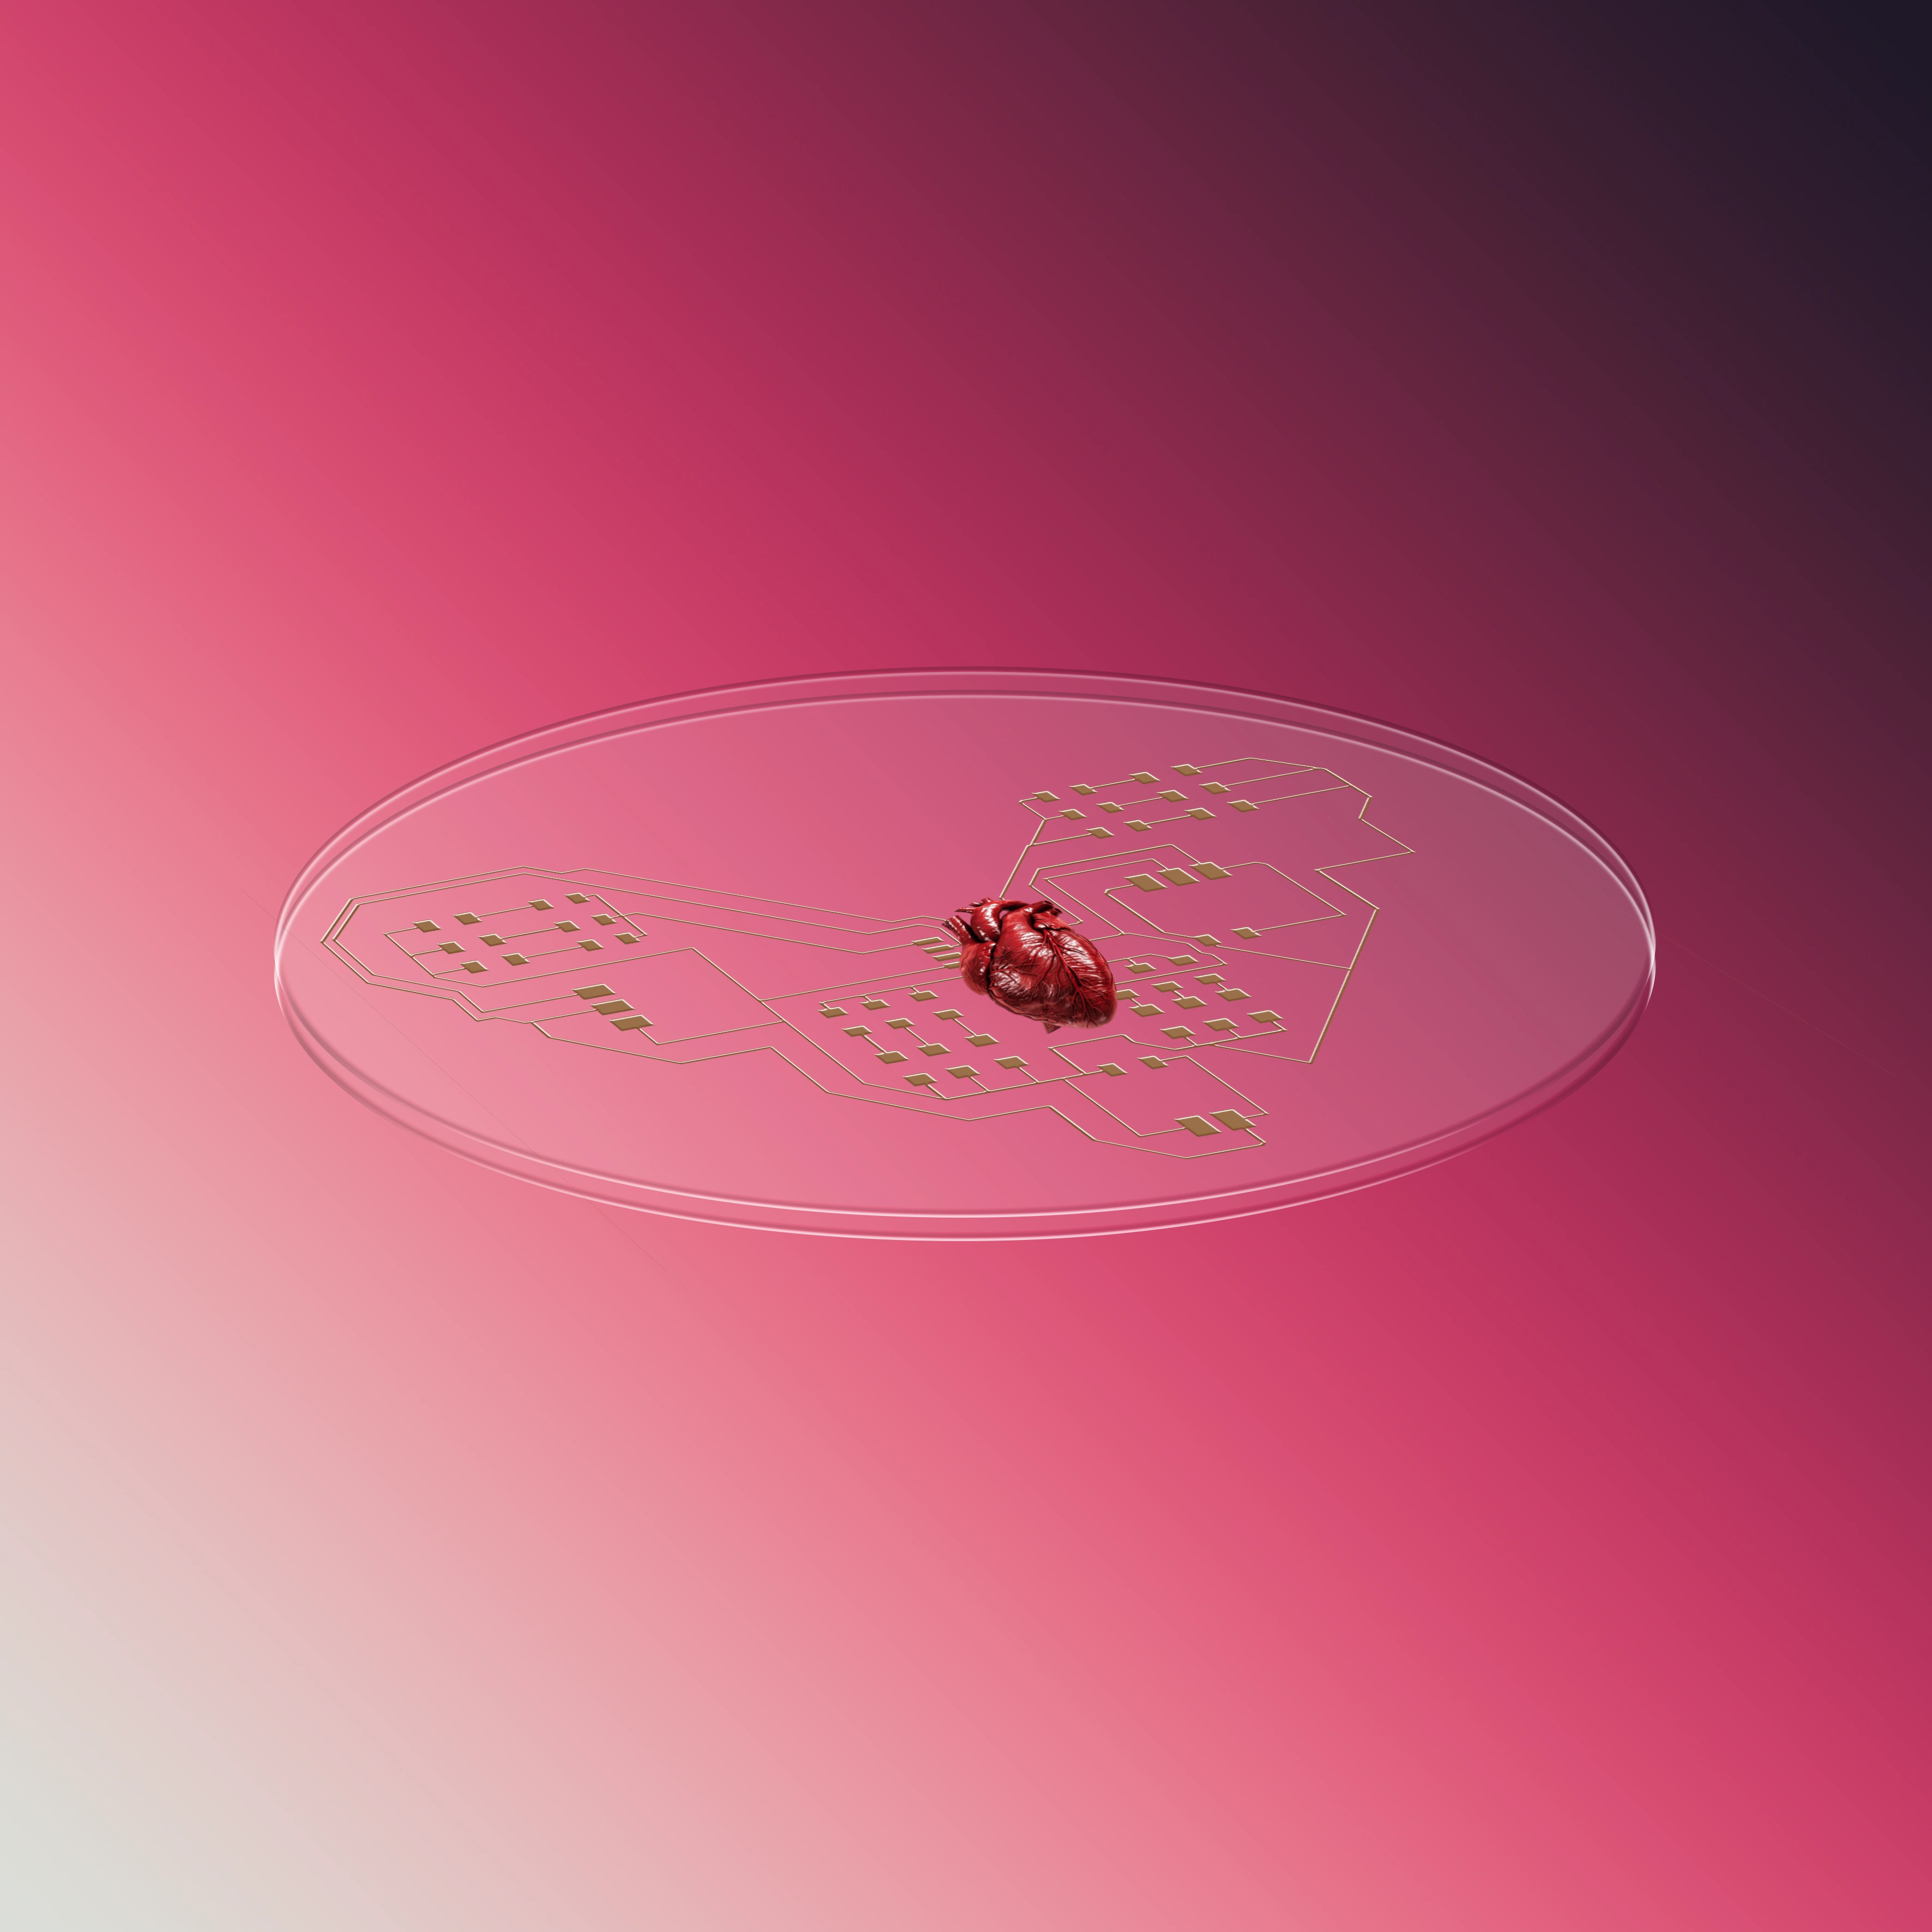
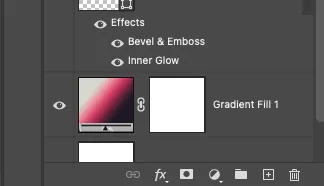
i add a gradient overlay to show the texture of the glass to create a dynamic feel
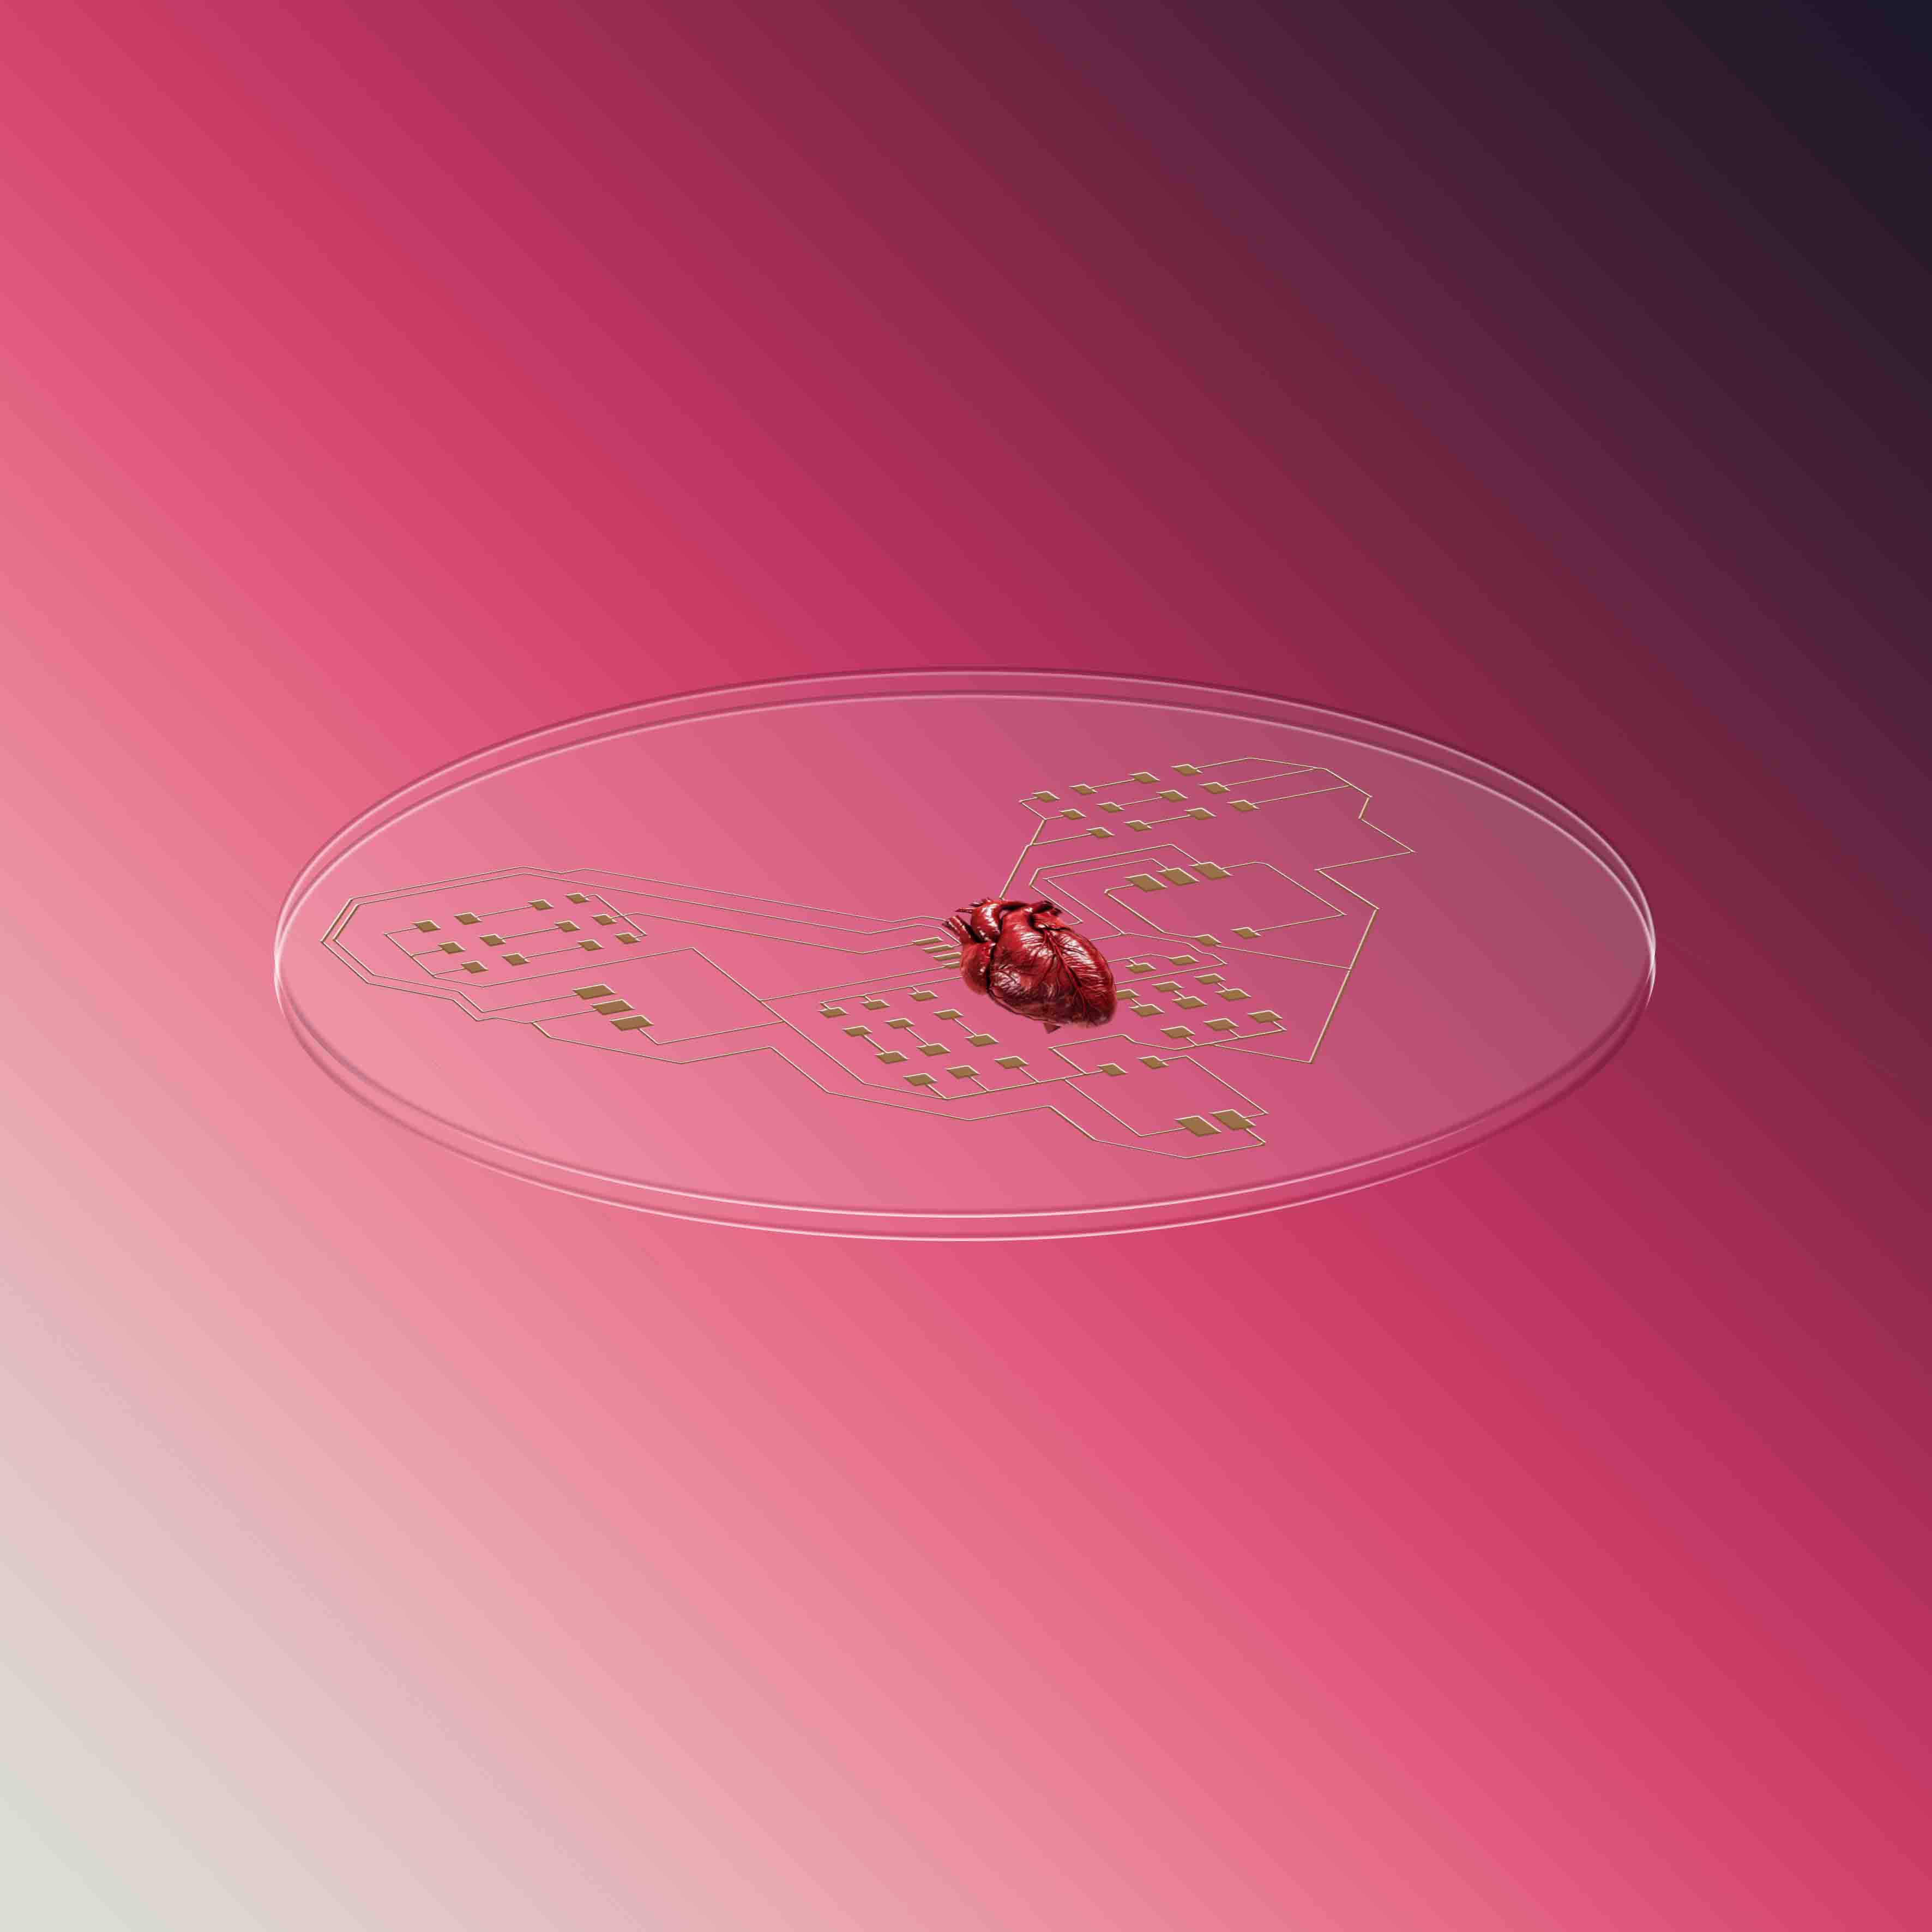
here is the jpg exported in the lowest size. the photoshop file was over 25MB.
3D
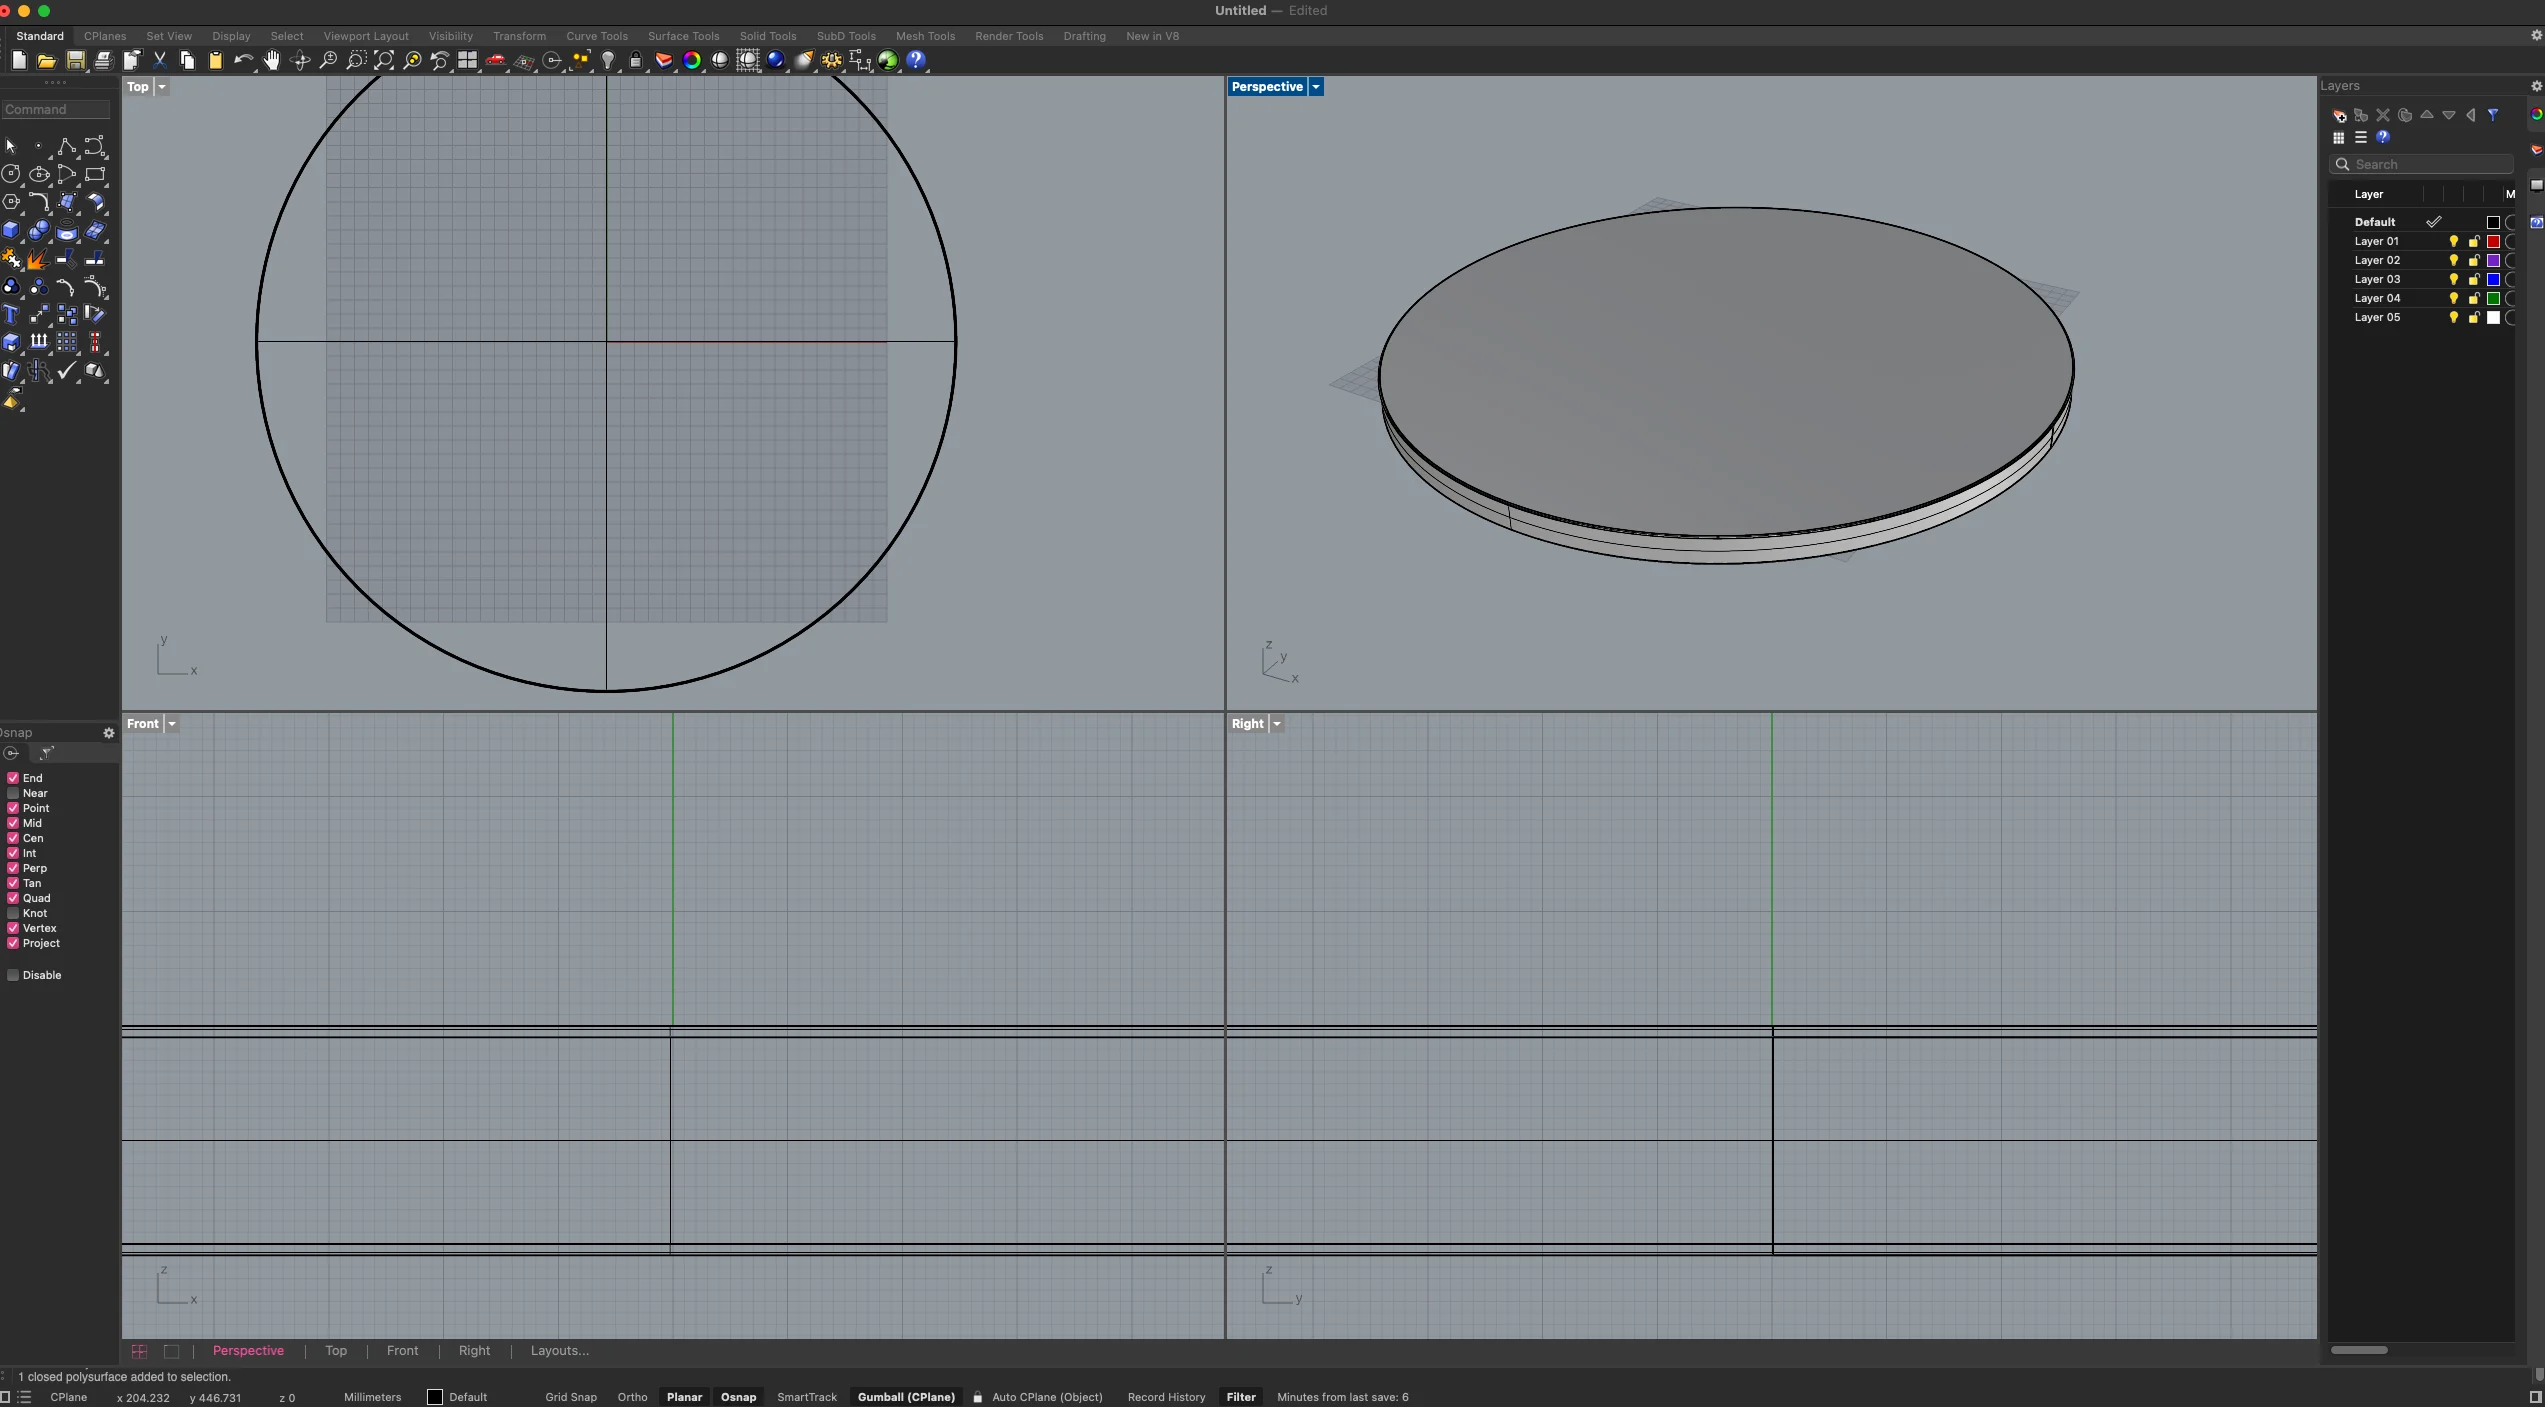
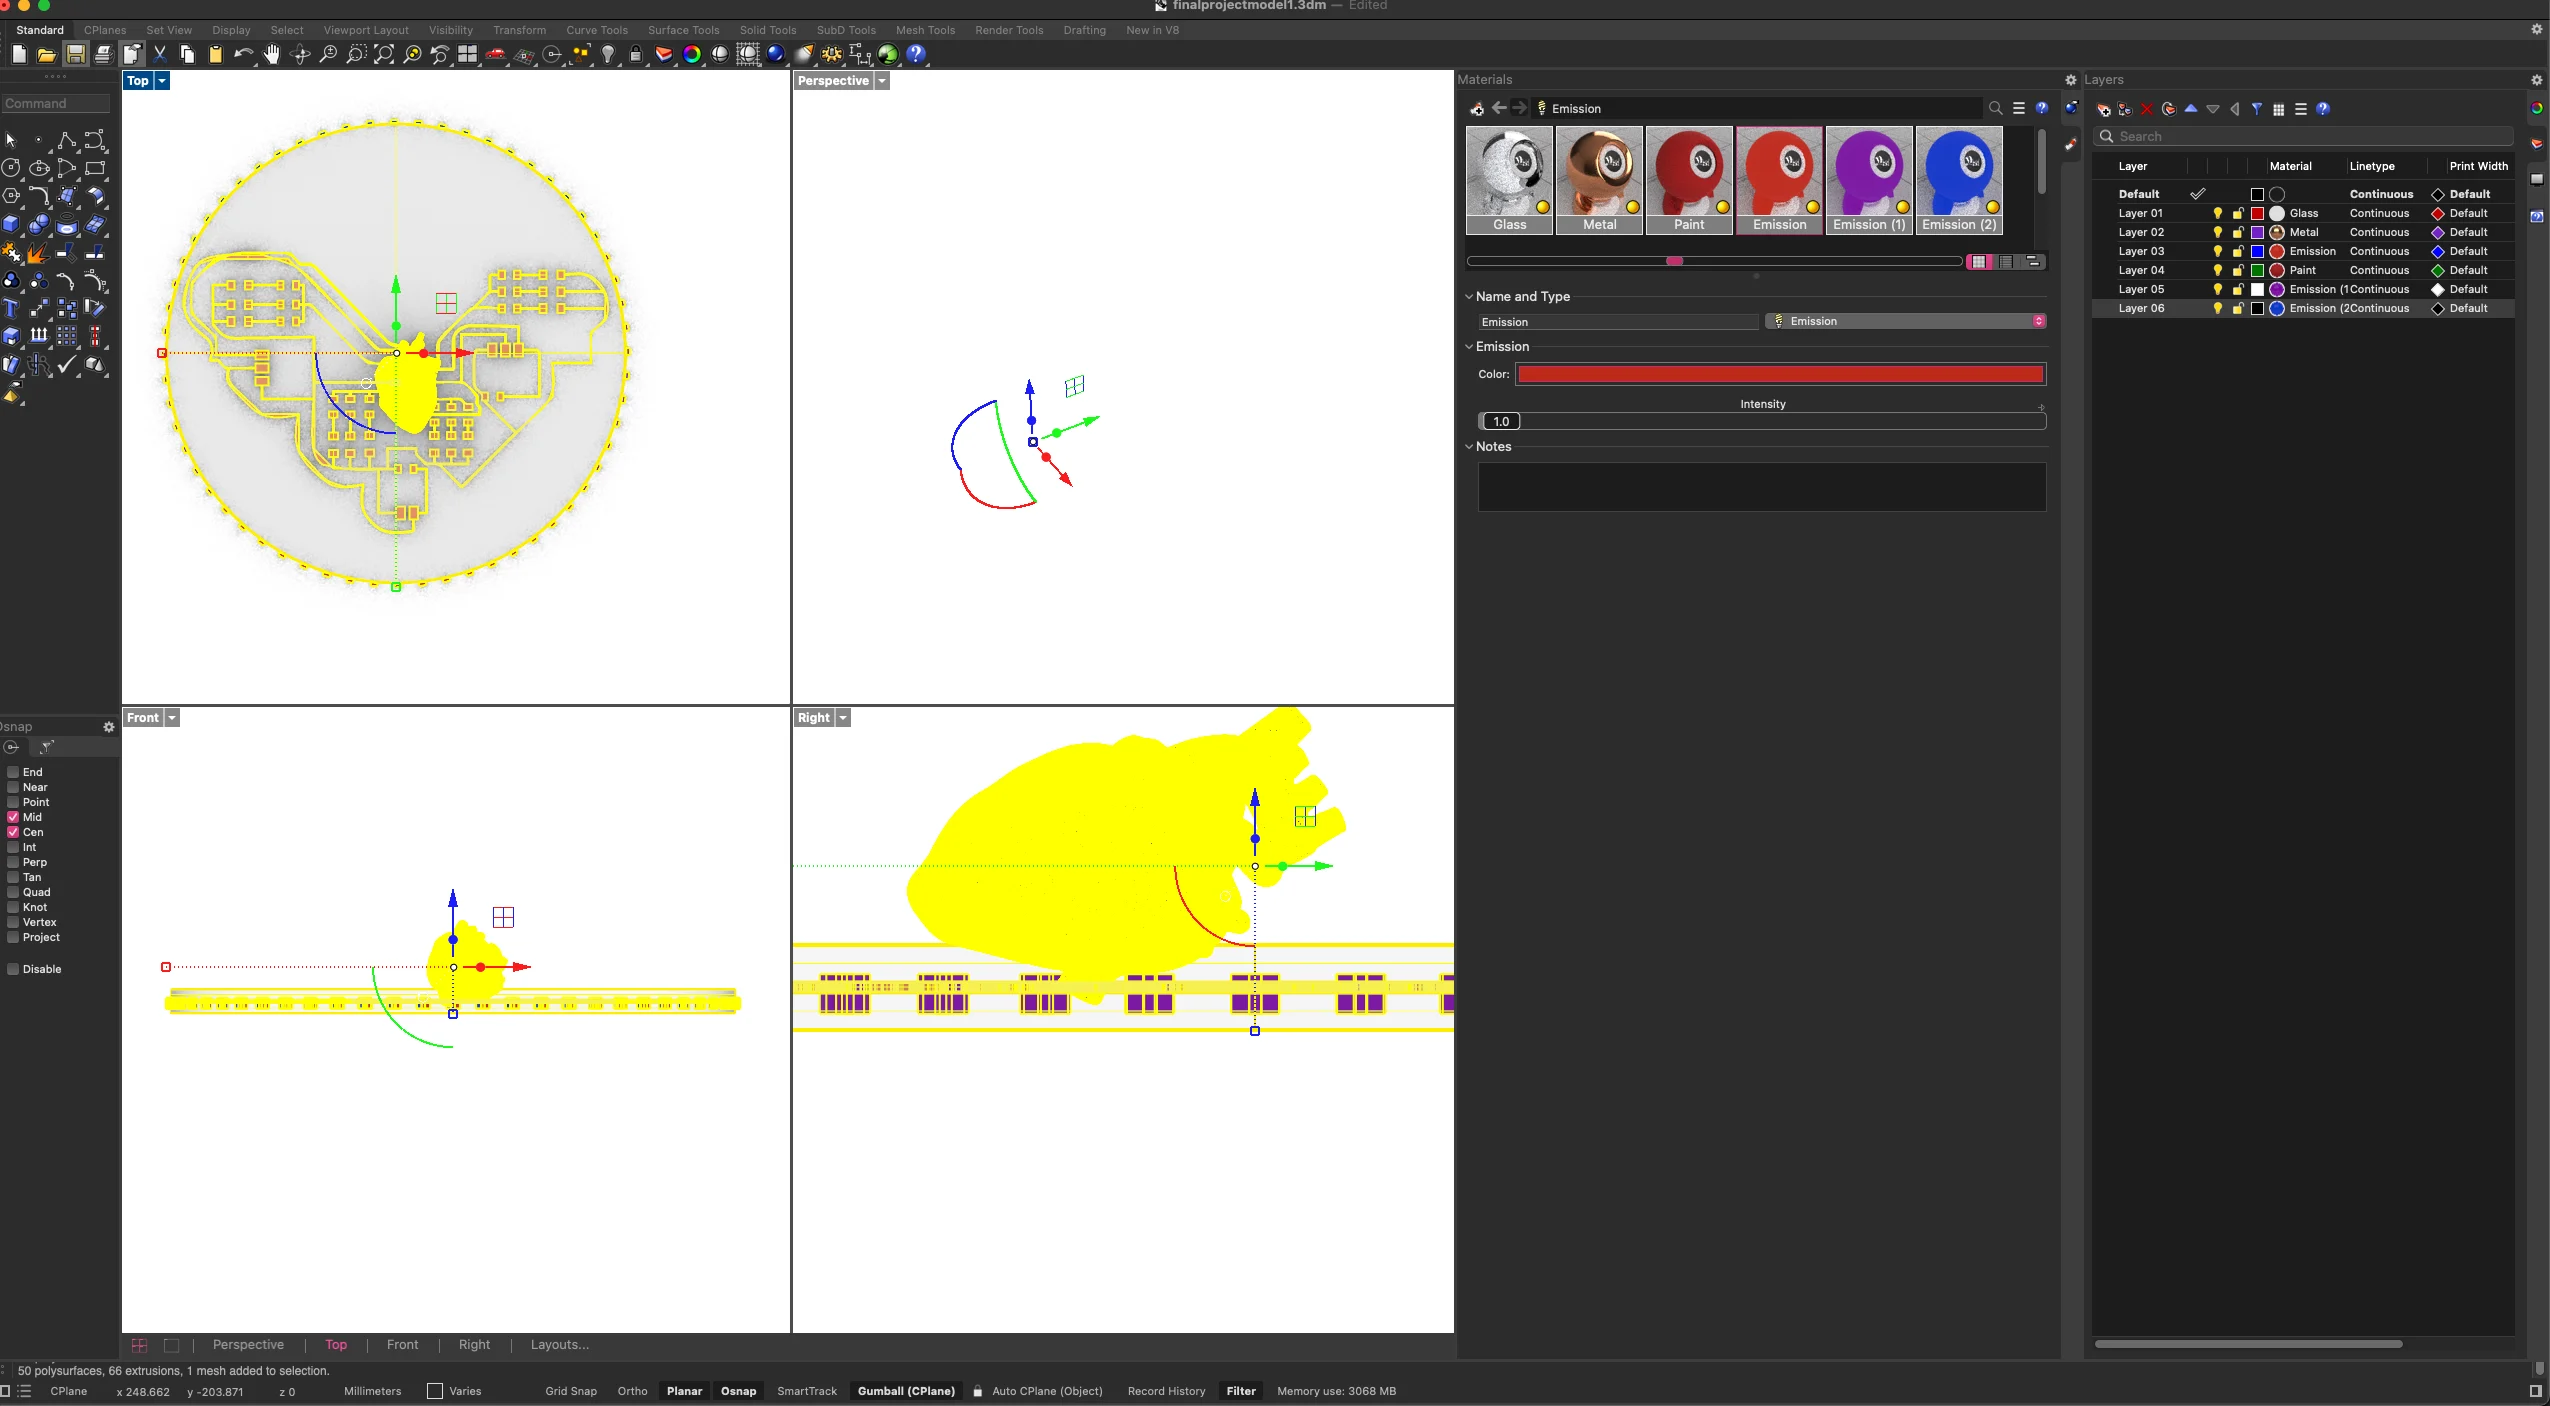
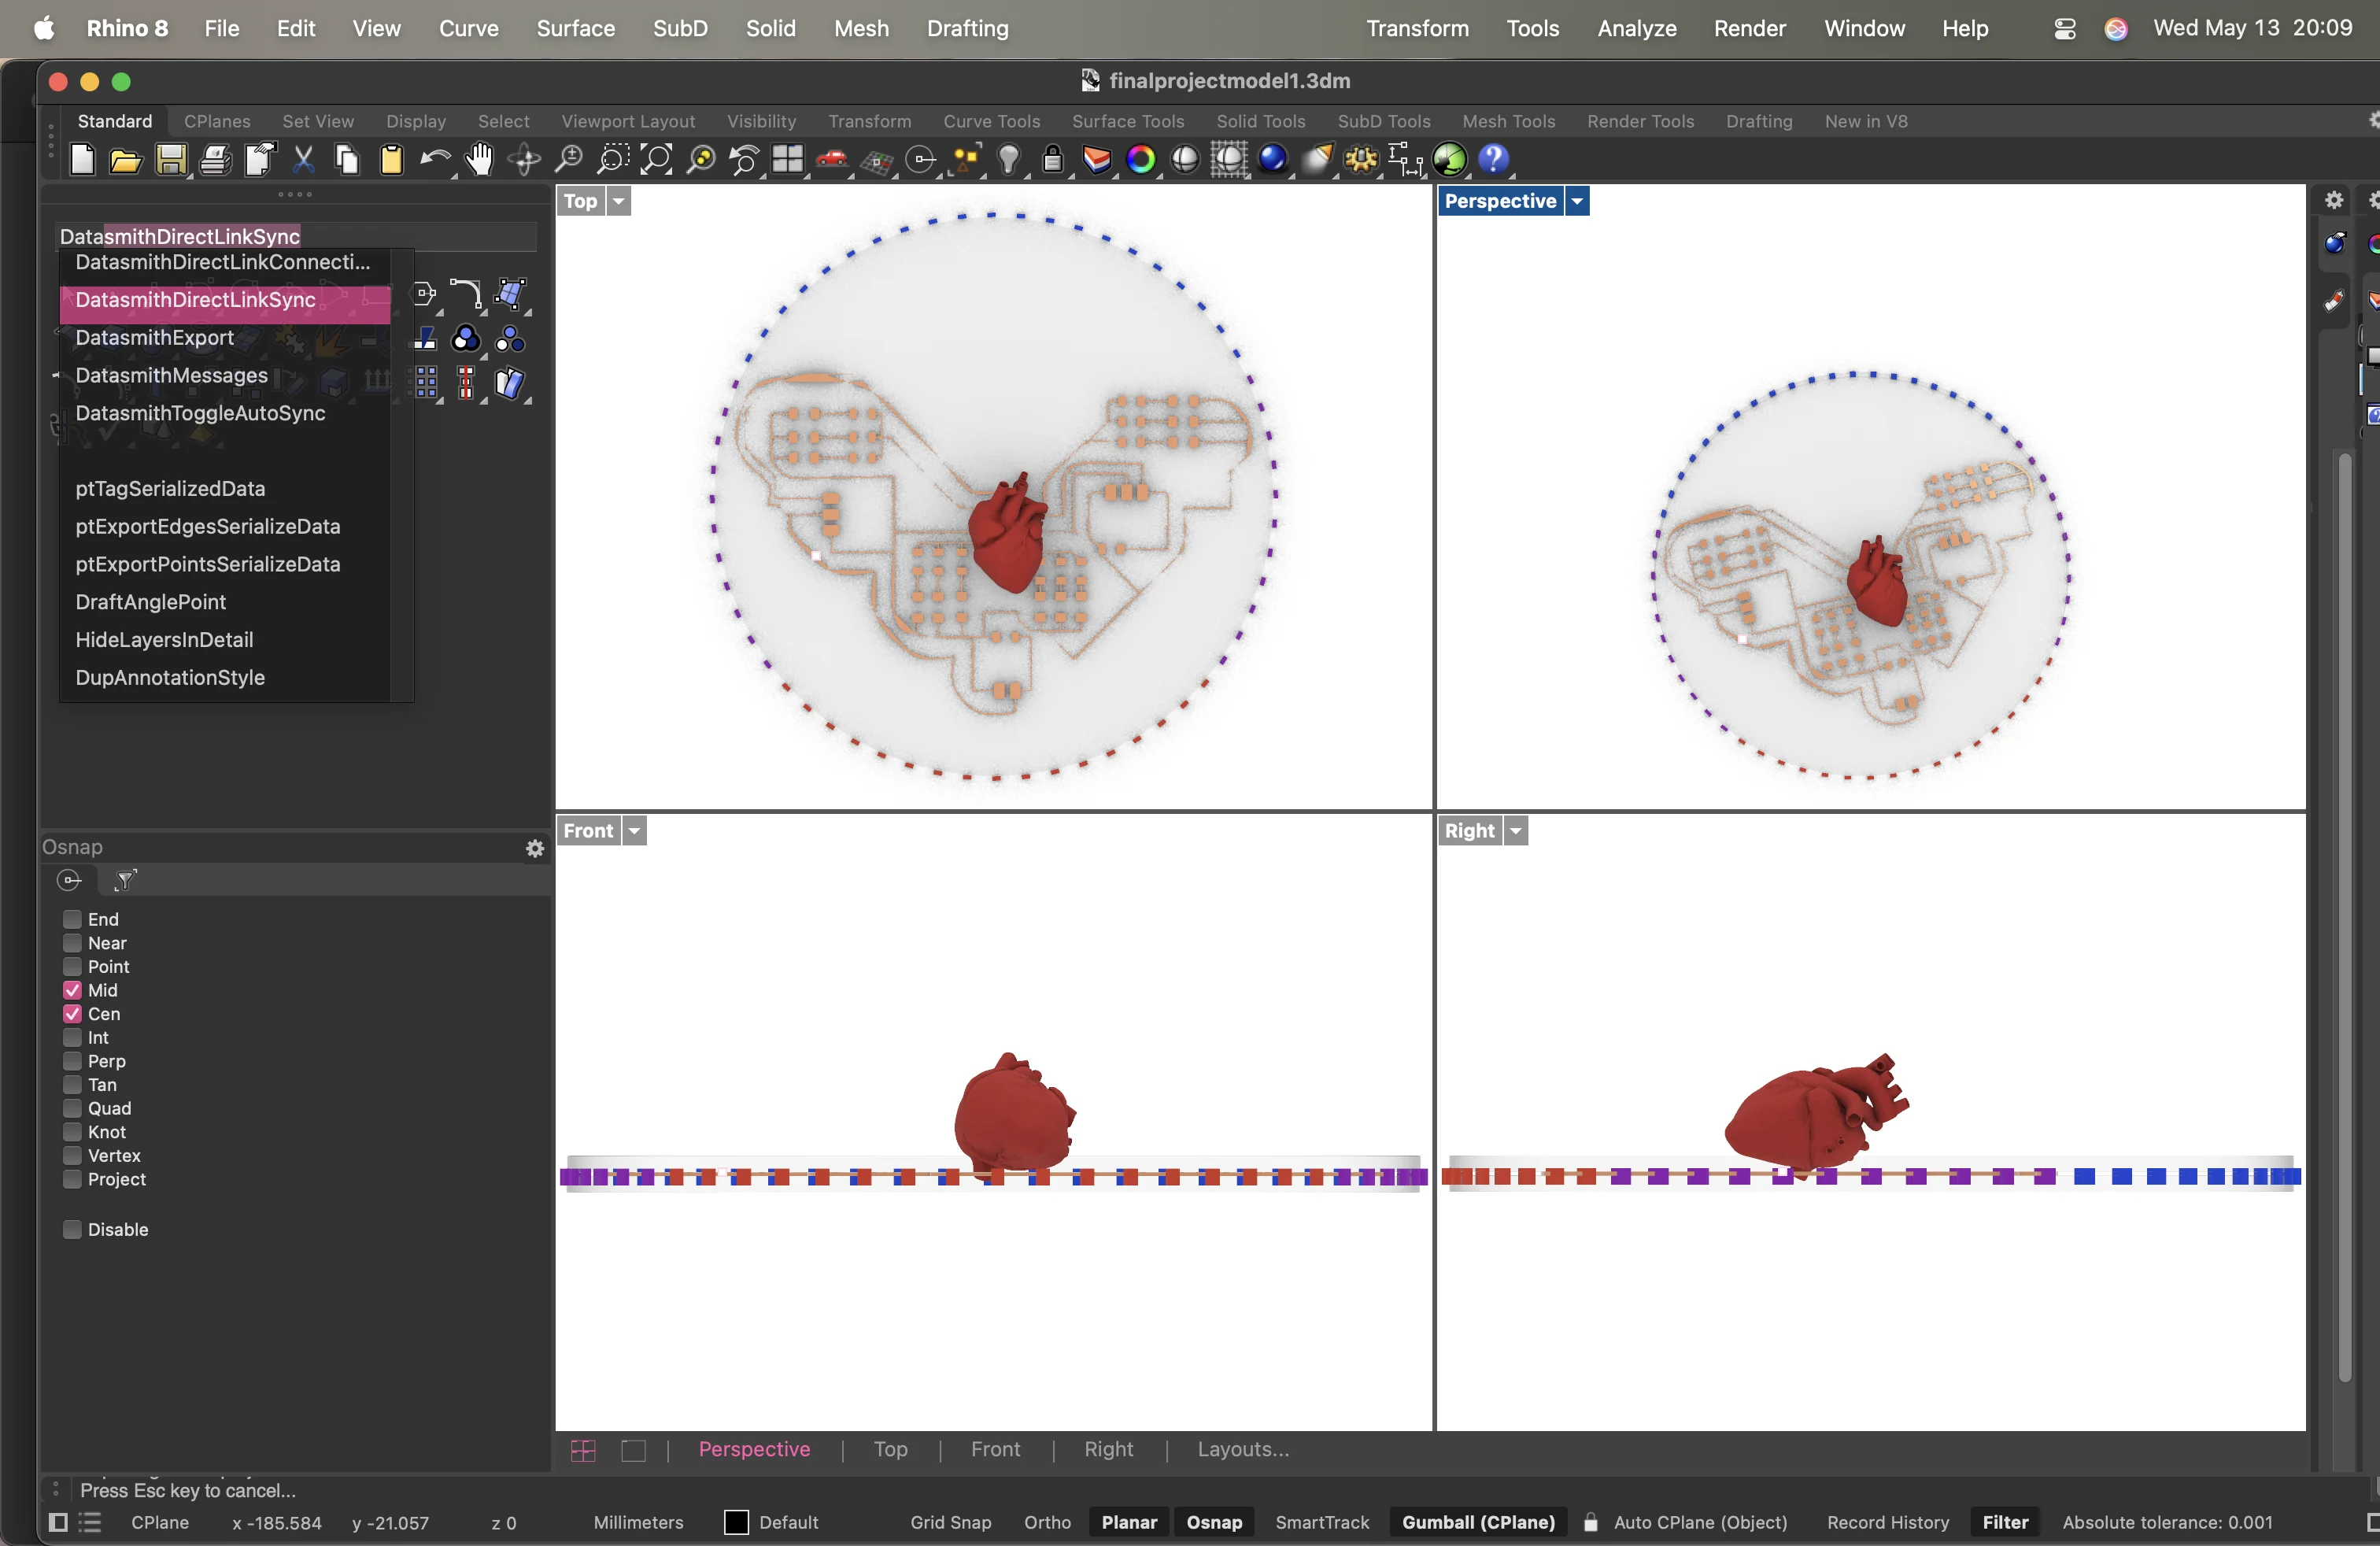
On Rhino, I recreated the model I made on Photoshop and explored the material library. The customization is pretty limited to IOR and roughness, but there is a good range of materials that already exists. The renders were good, but did not have the dramatic effect that I wanted, so I decided to try a real rendering software.
Commands: circle -> extrude curve -> cap (to create the acrylic surface) -> delete curves -> fillet edge.
then I imported the SVG for copper traces and placed it on top of the circle that I made the circular surface, and repeated the extrusion and cap to create a thin surface.

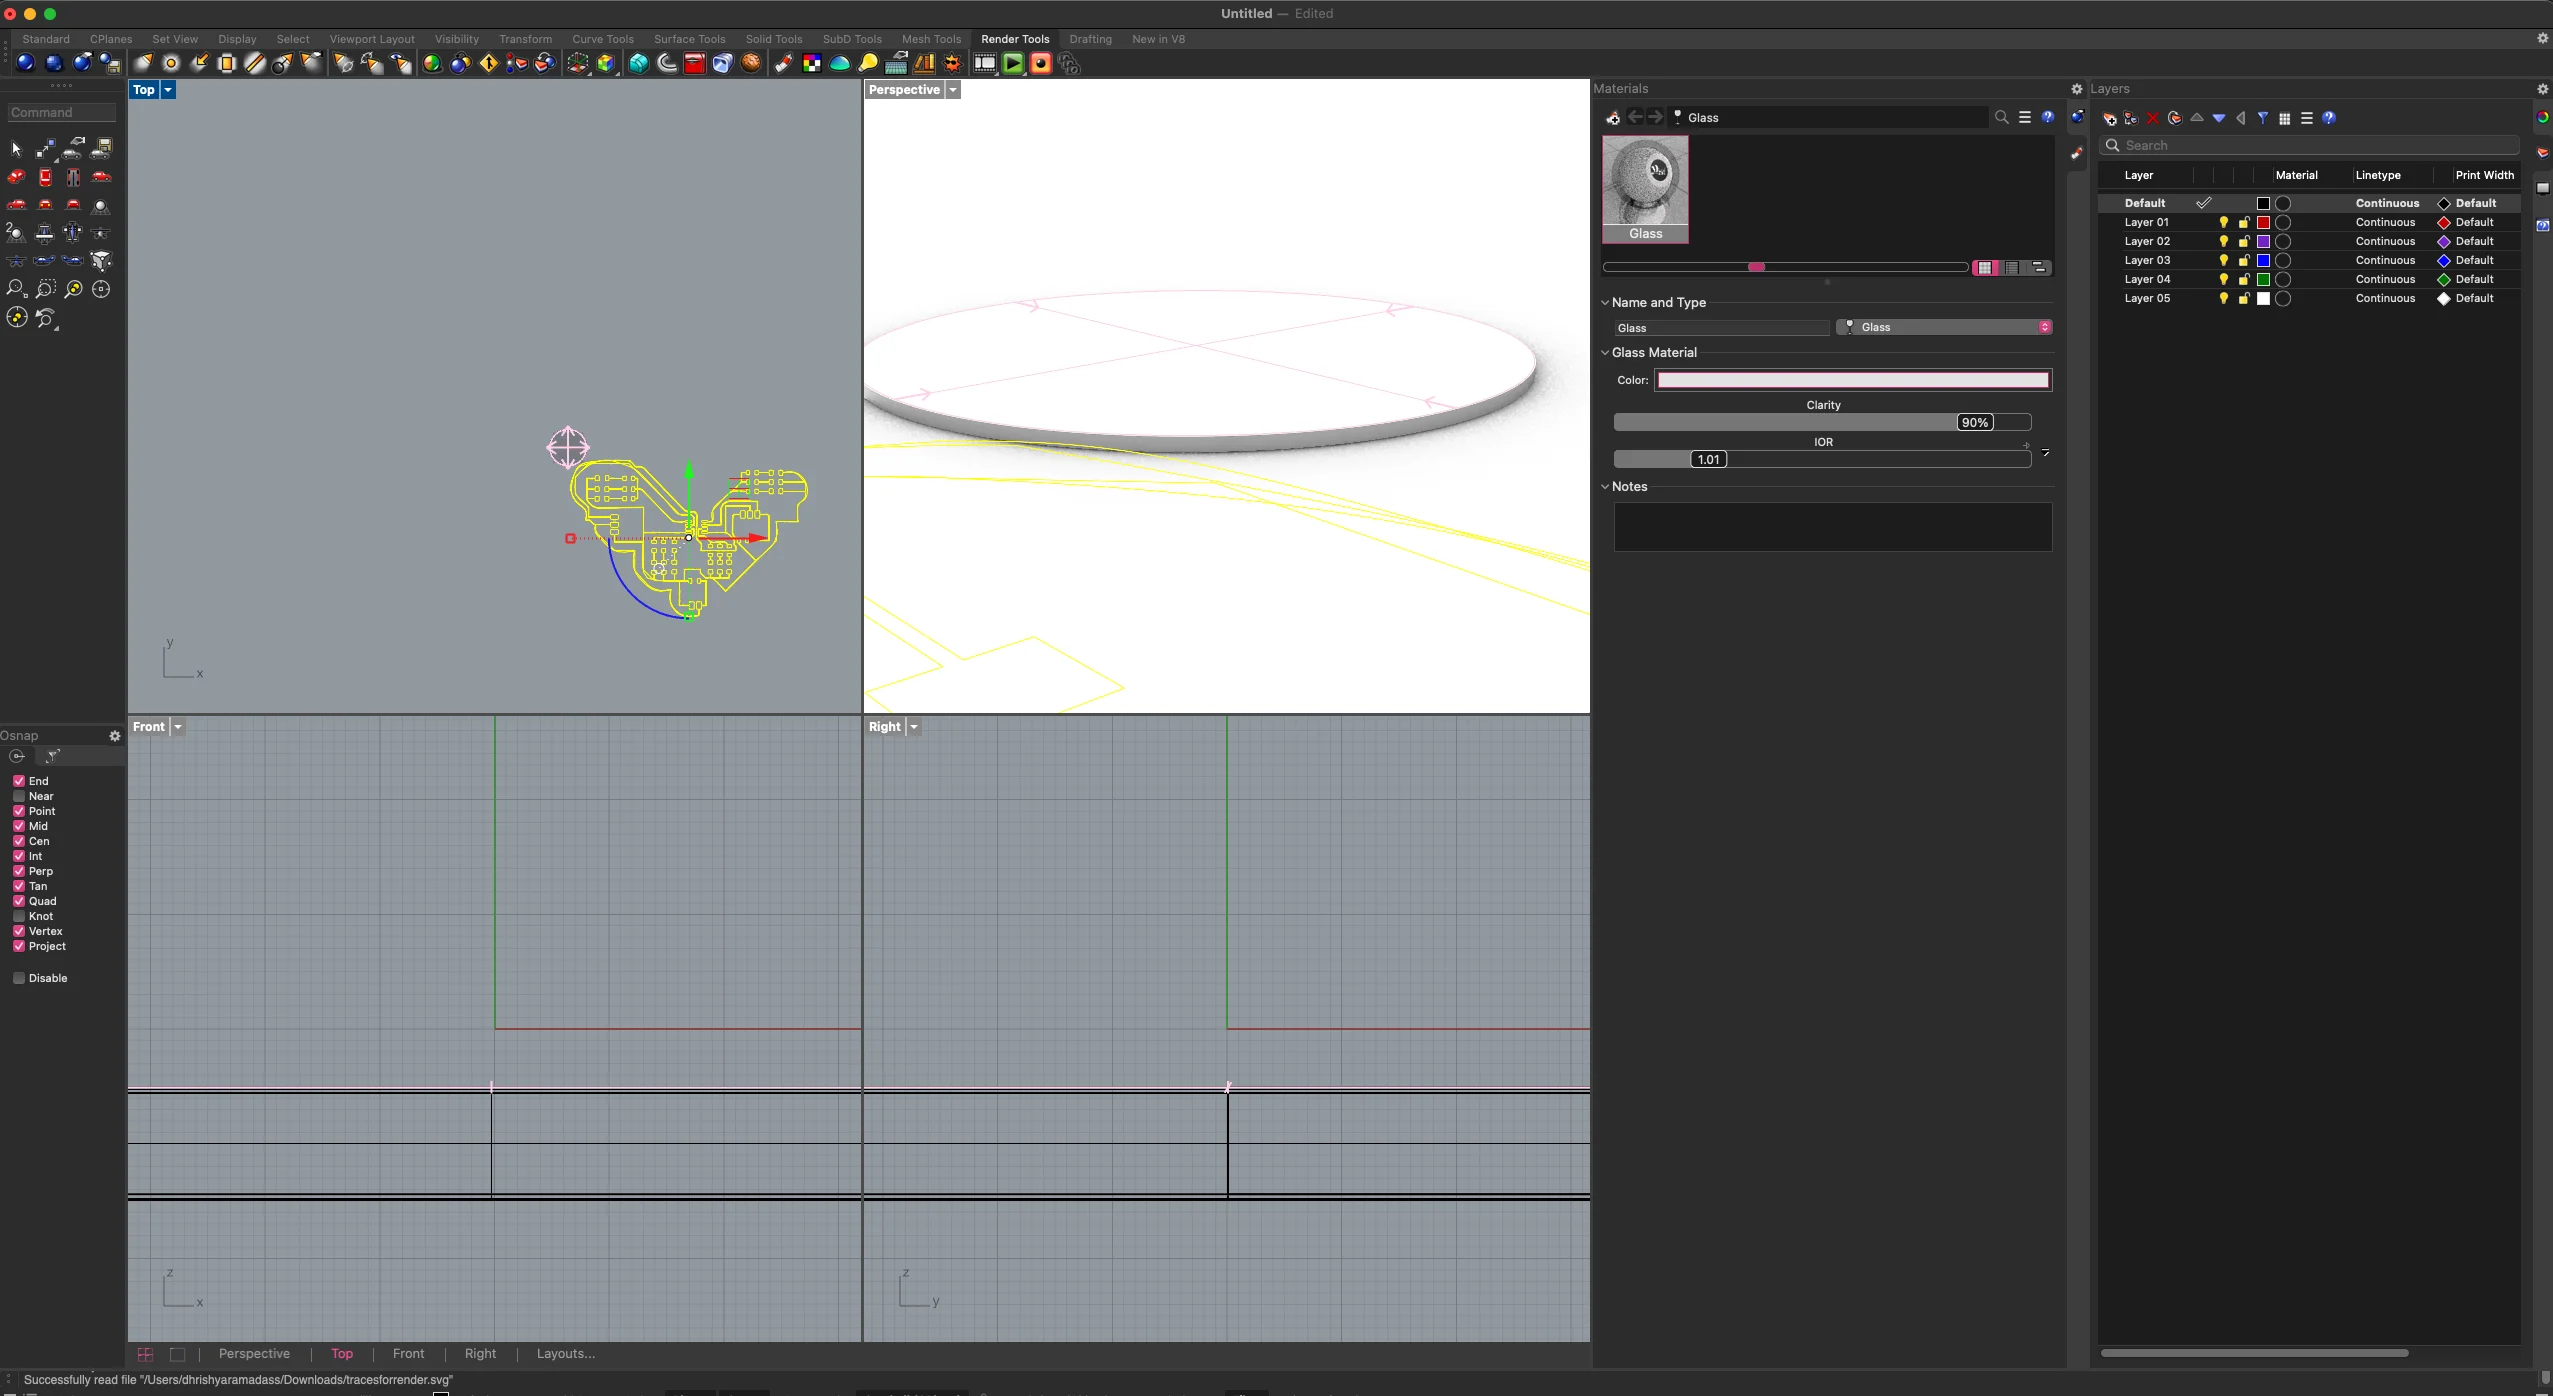
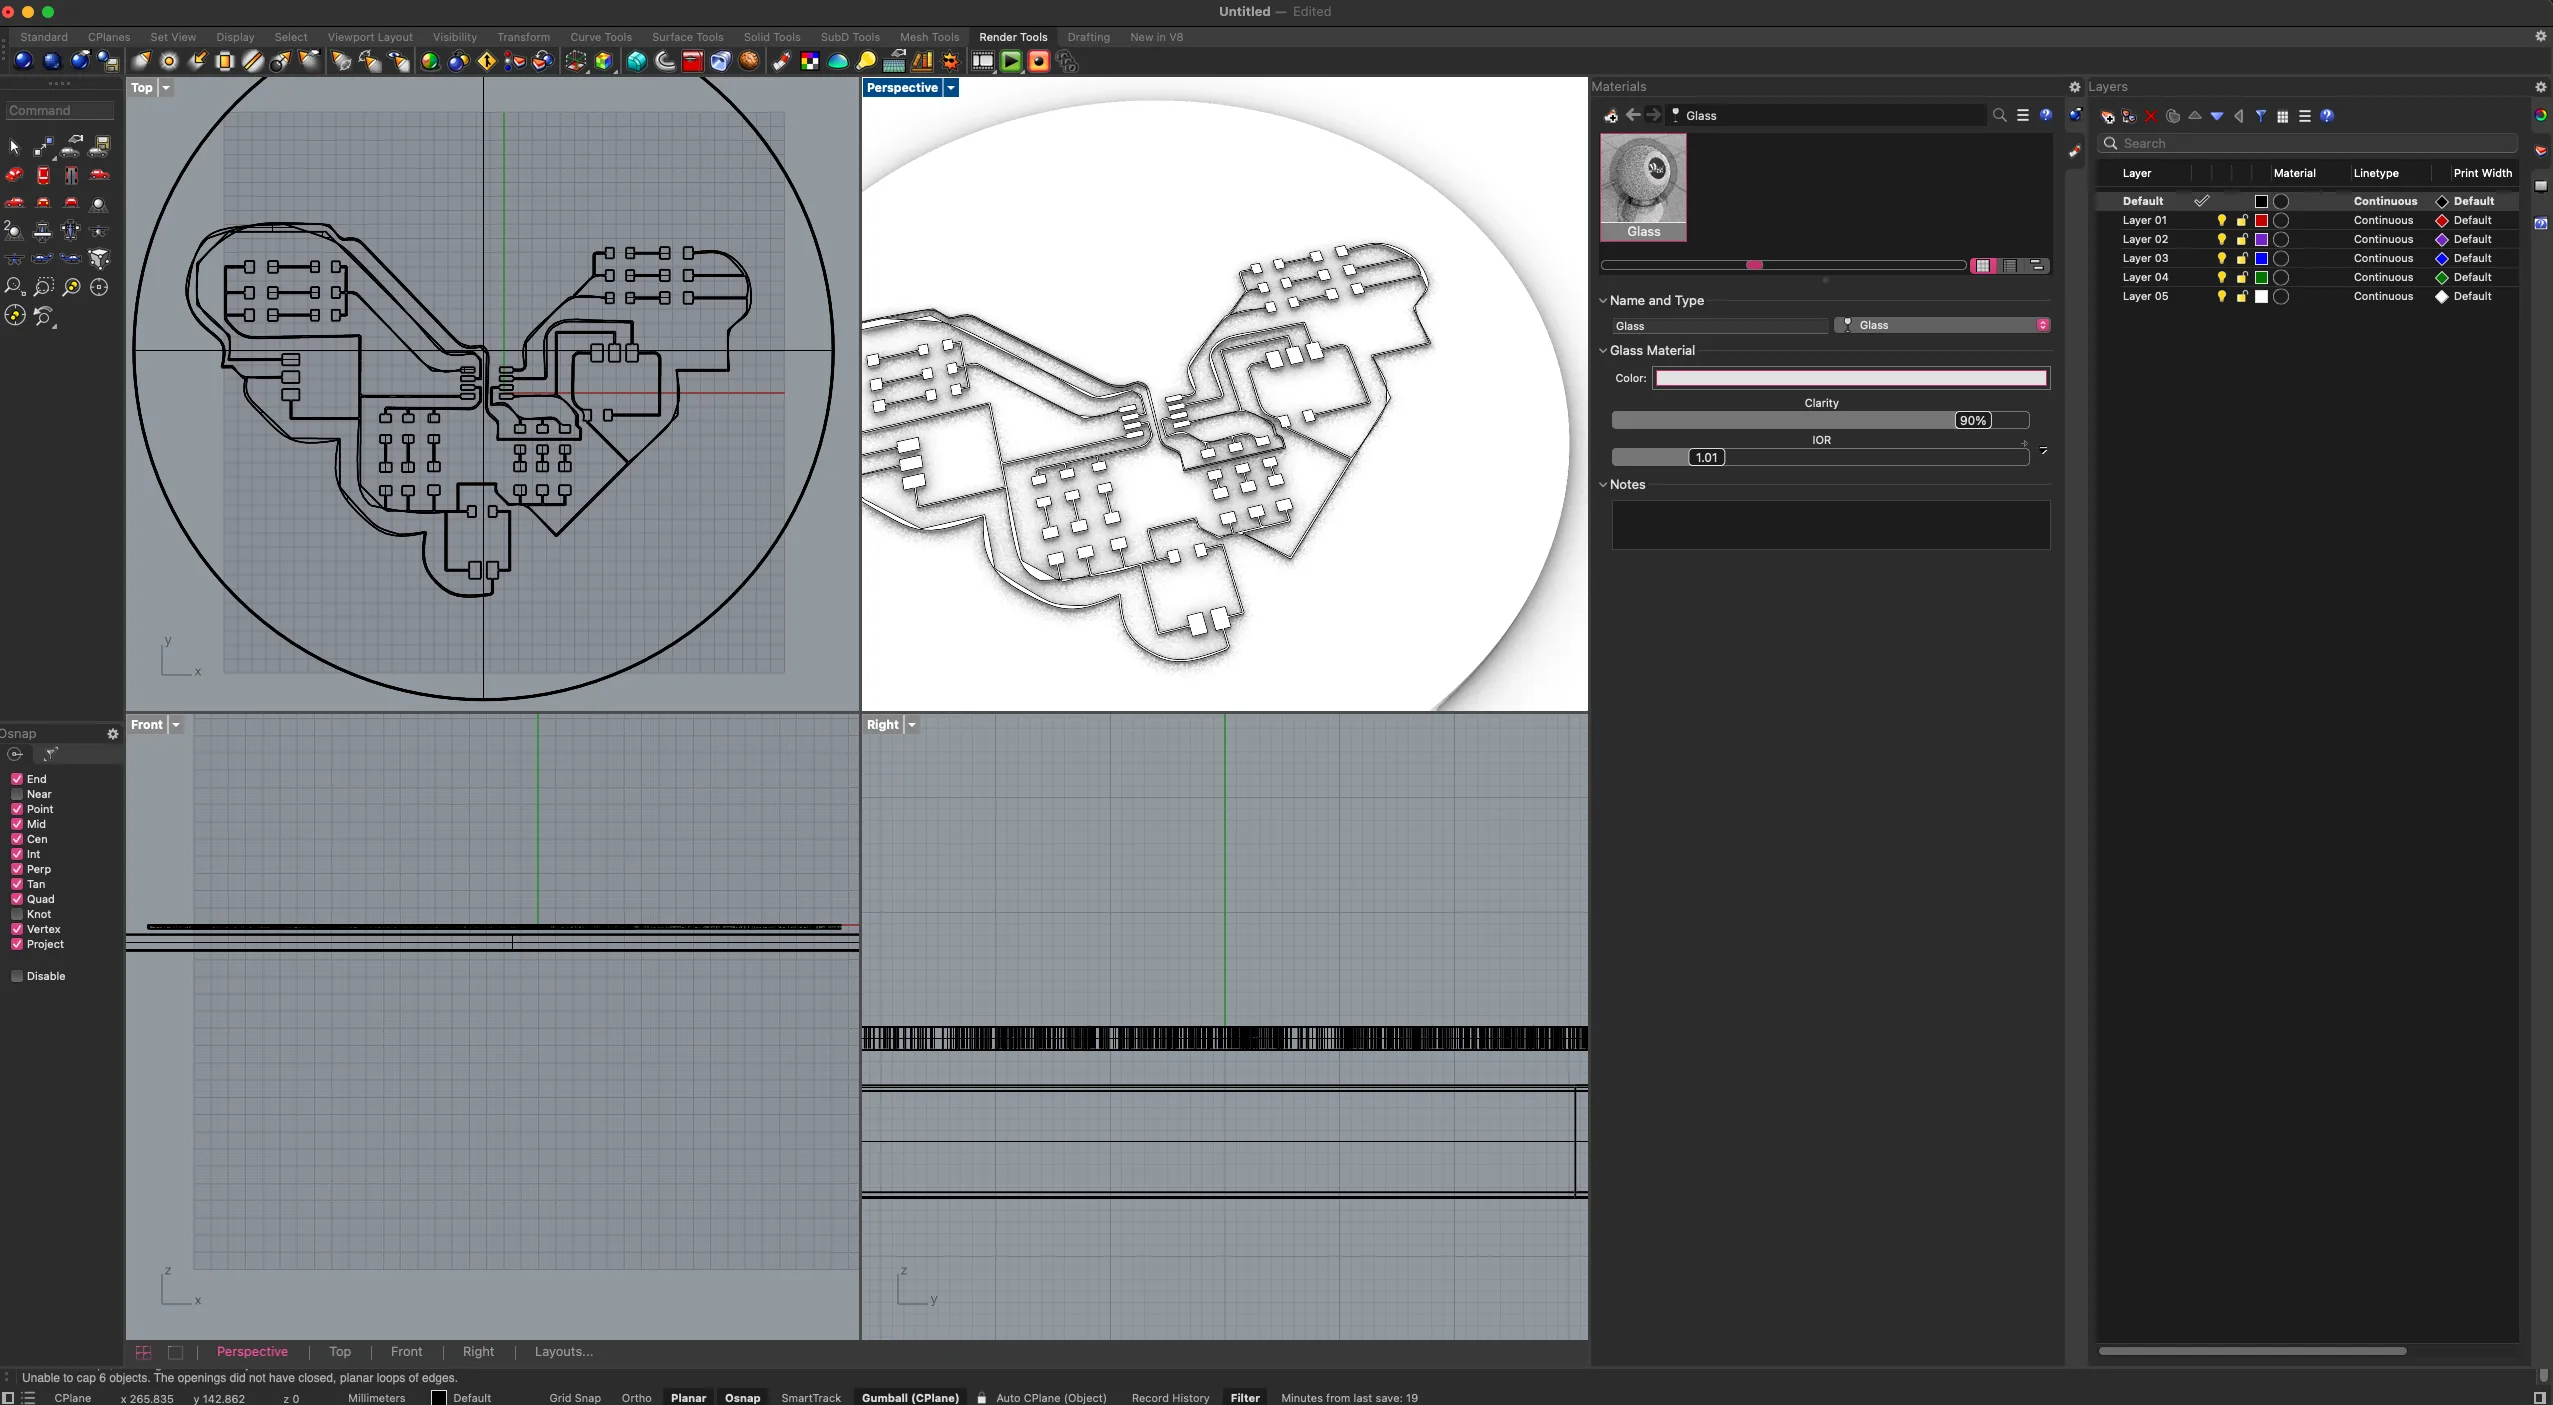
then I made a tiny cube to represent a neopixel on the side, and then I used array polar to create neopixels around it and in the circle.
I imported a 3d model of areal heart and placed it in the middle to create the visual of a bio electronic hybrid machine.
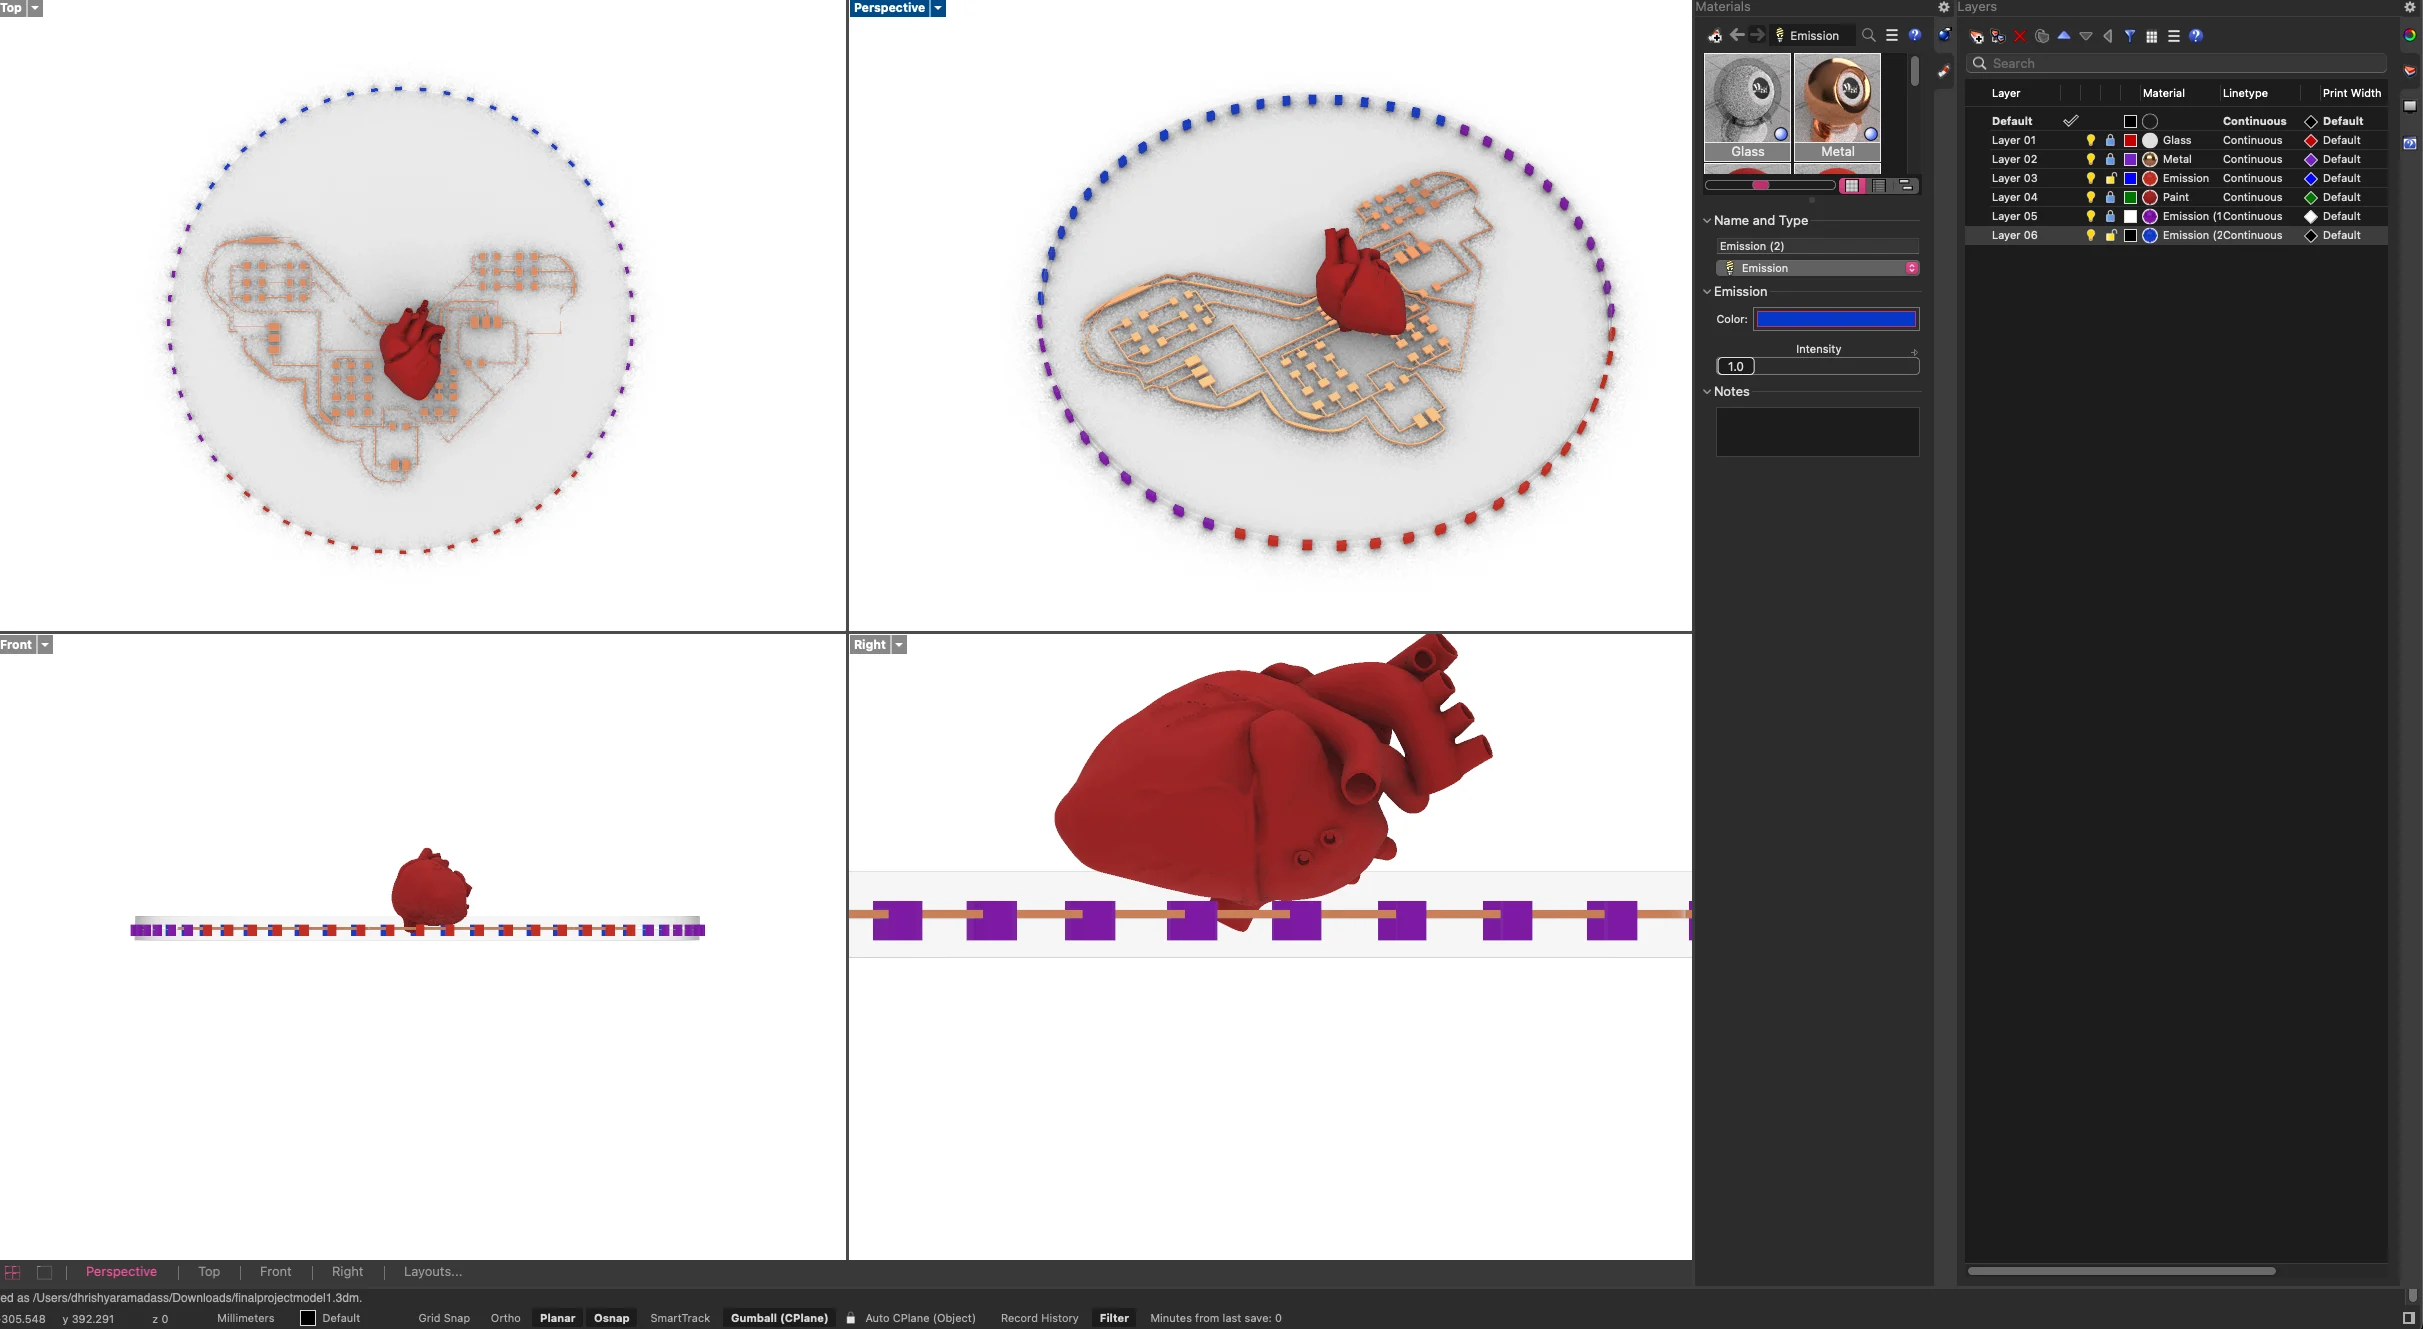
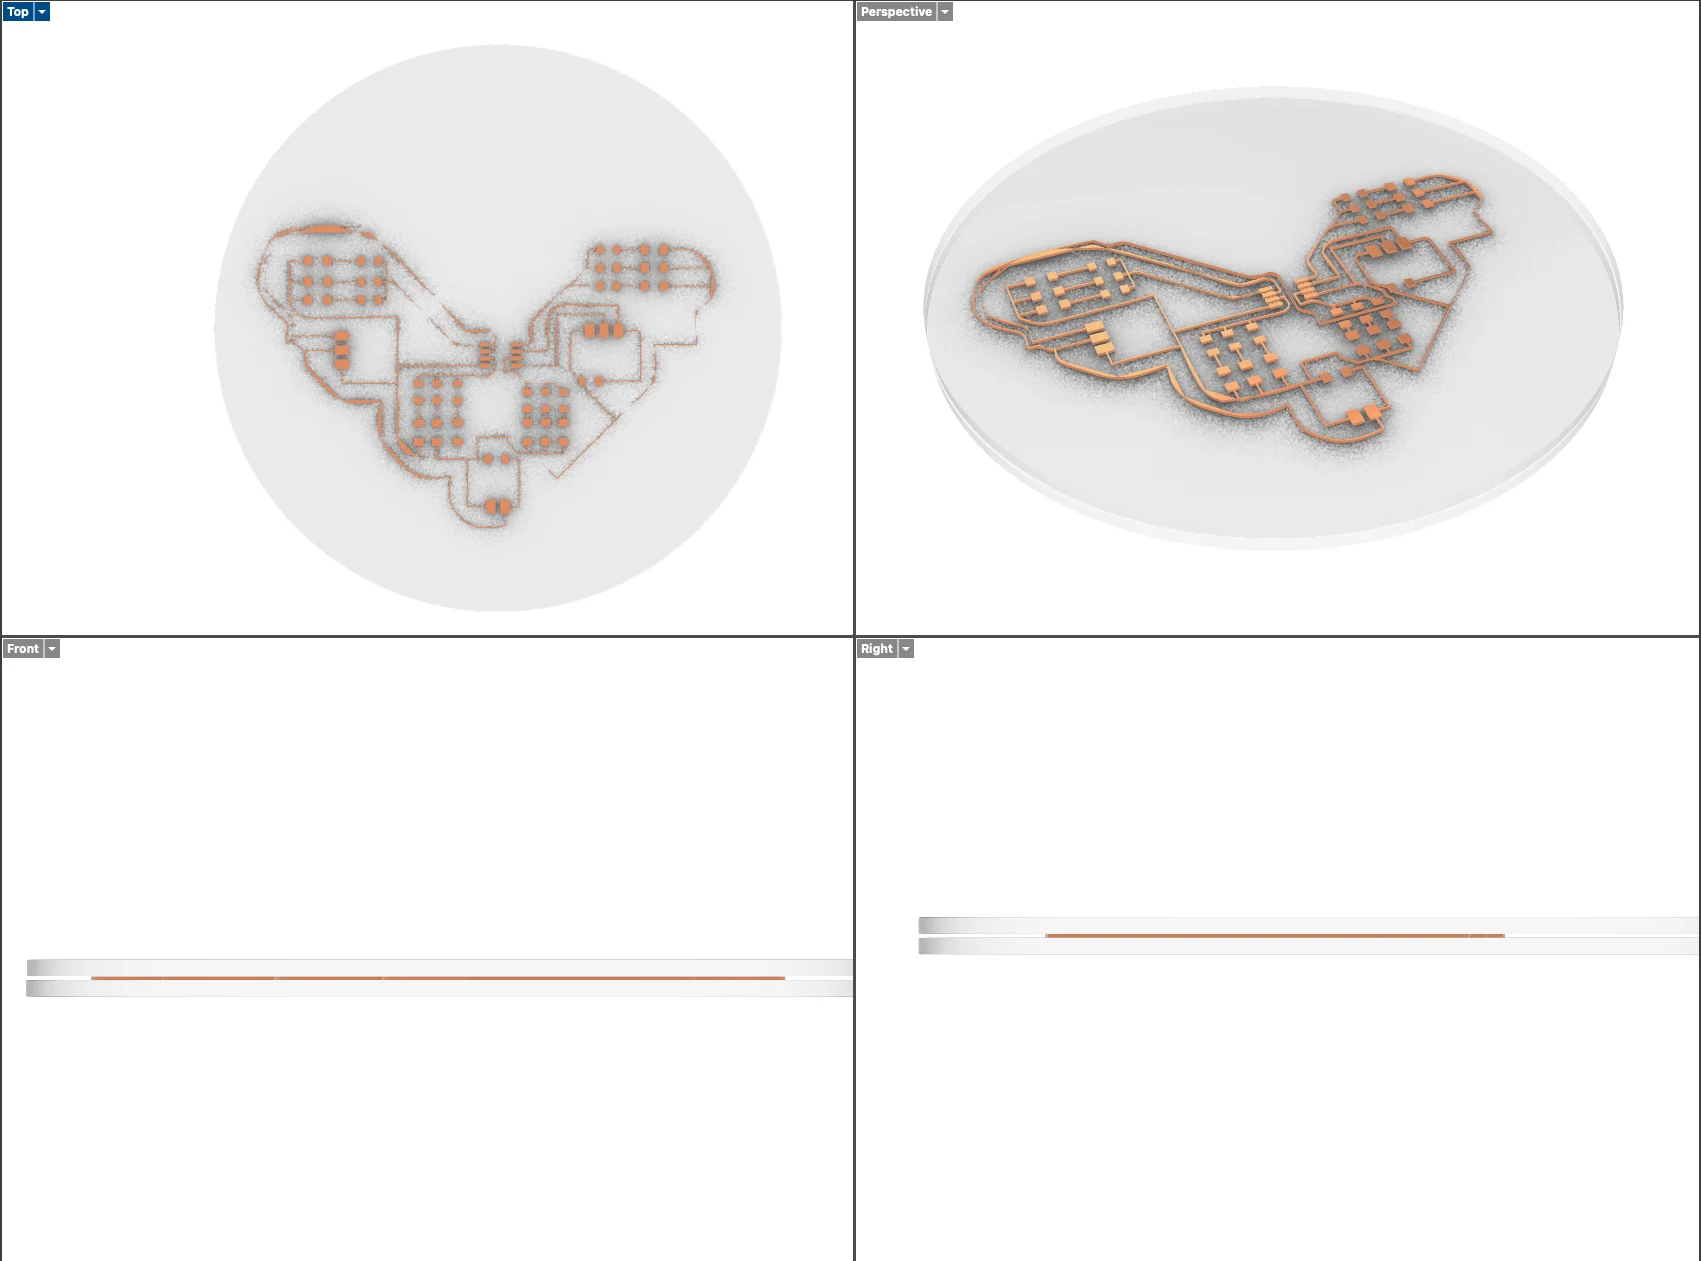
the renders from rhino
exploring the material library
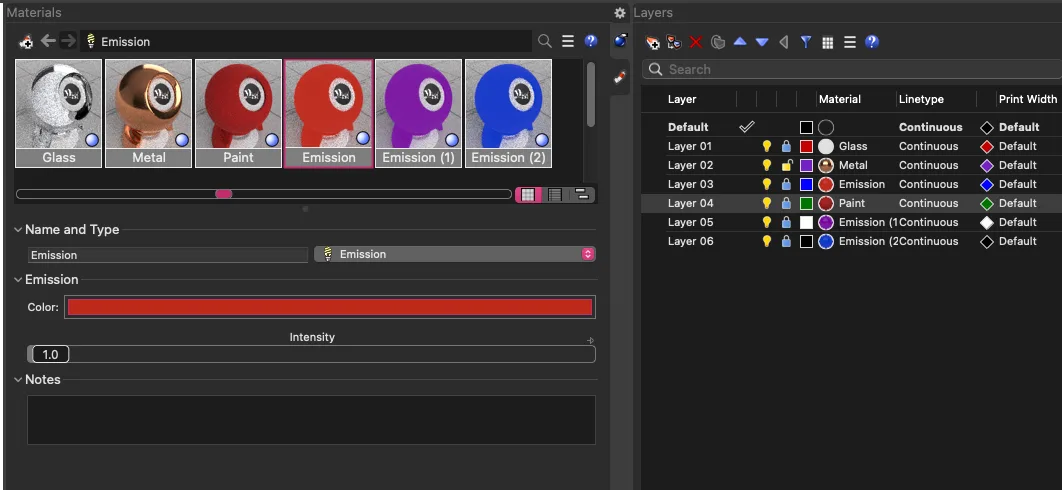
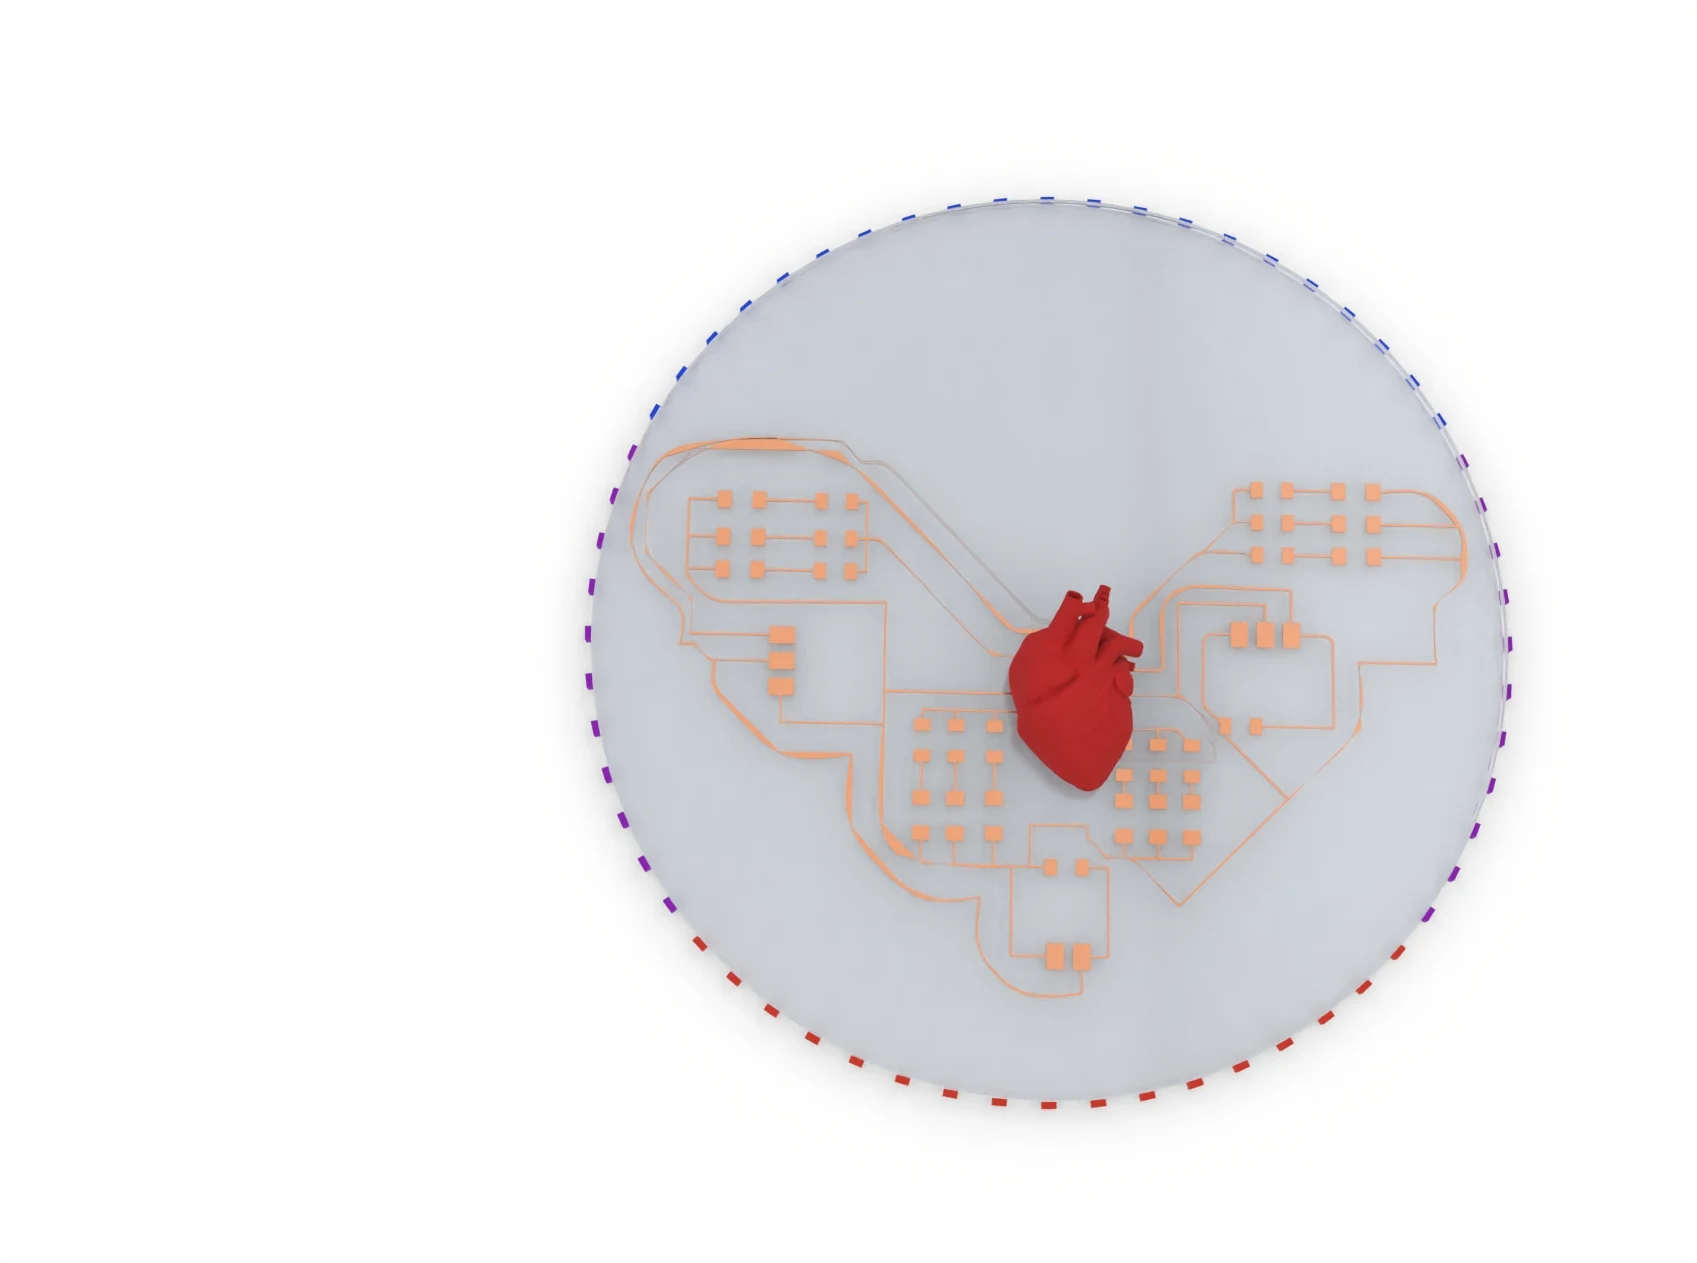
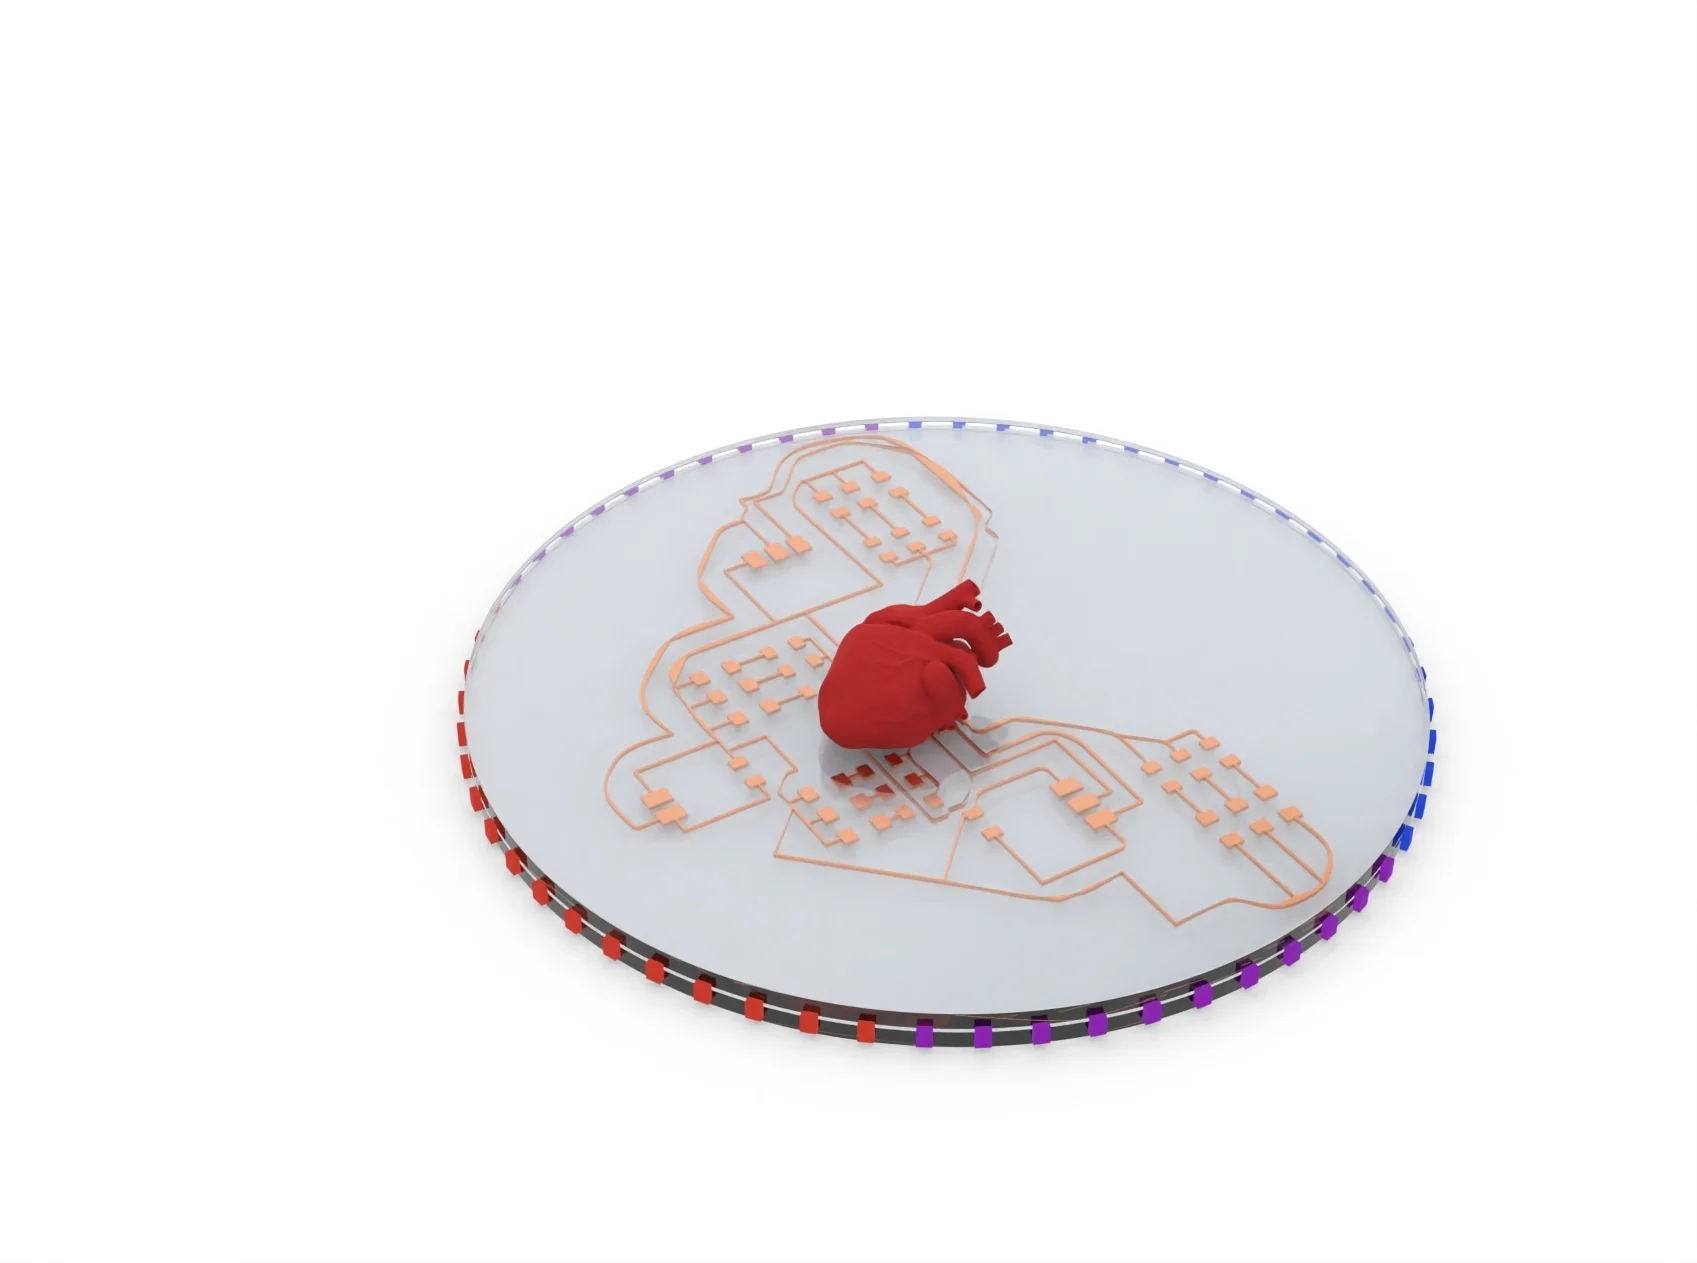
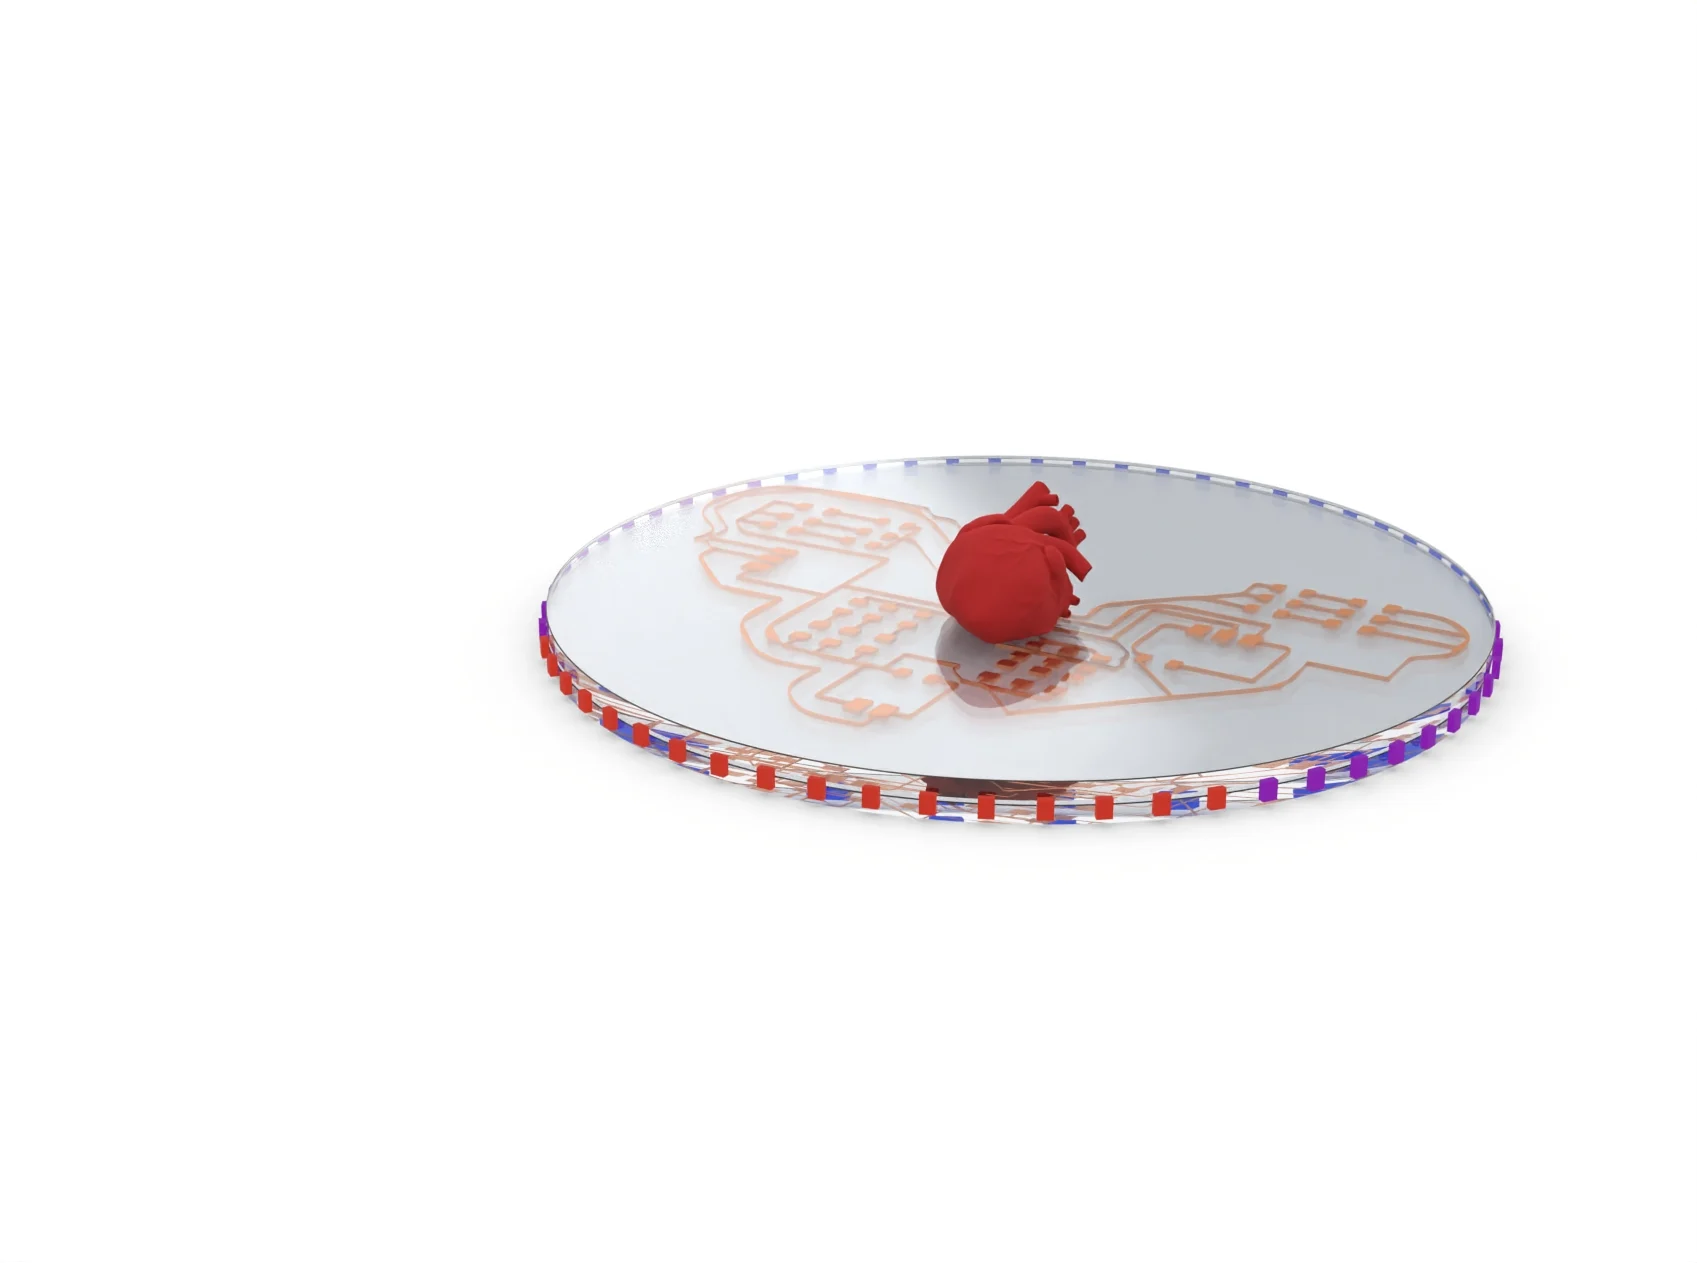
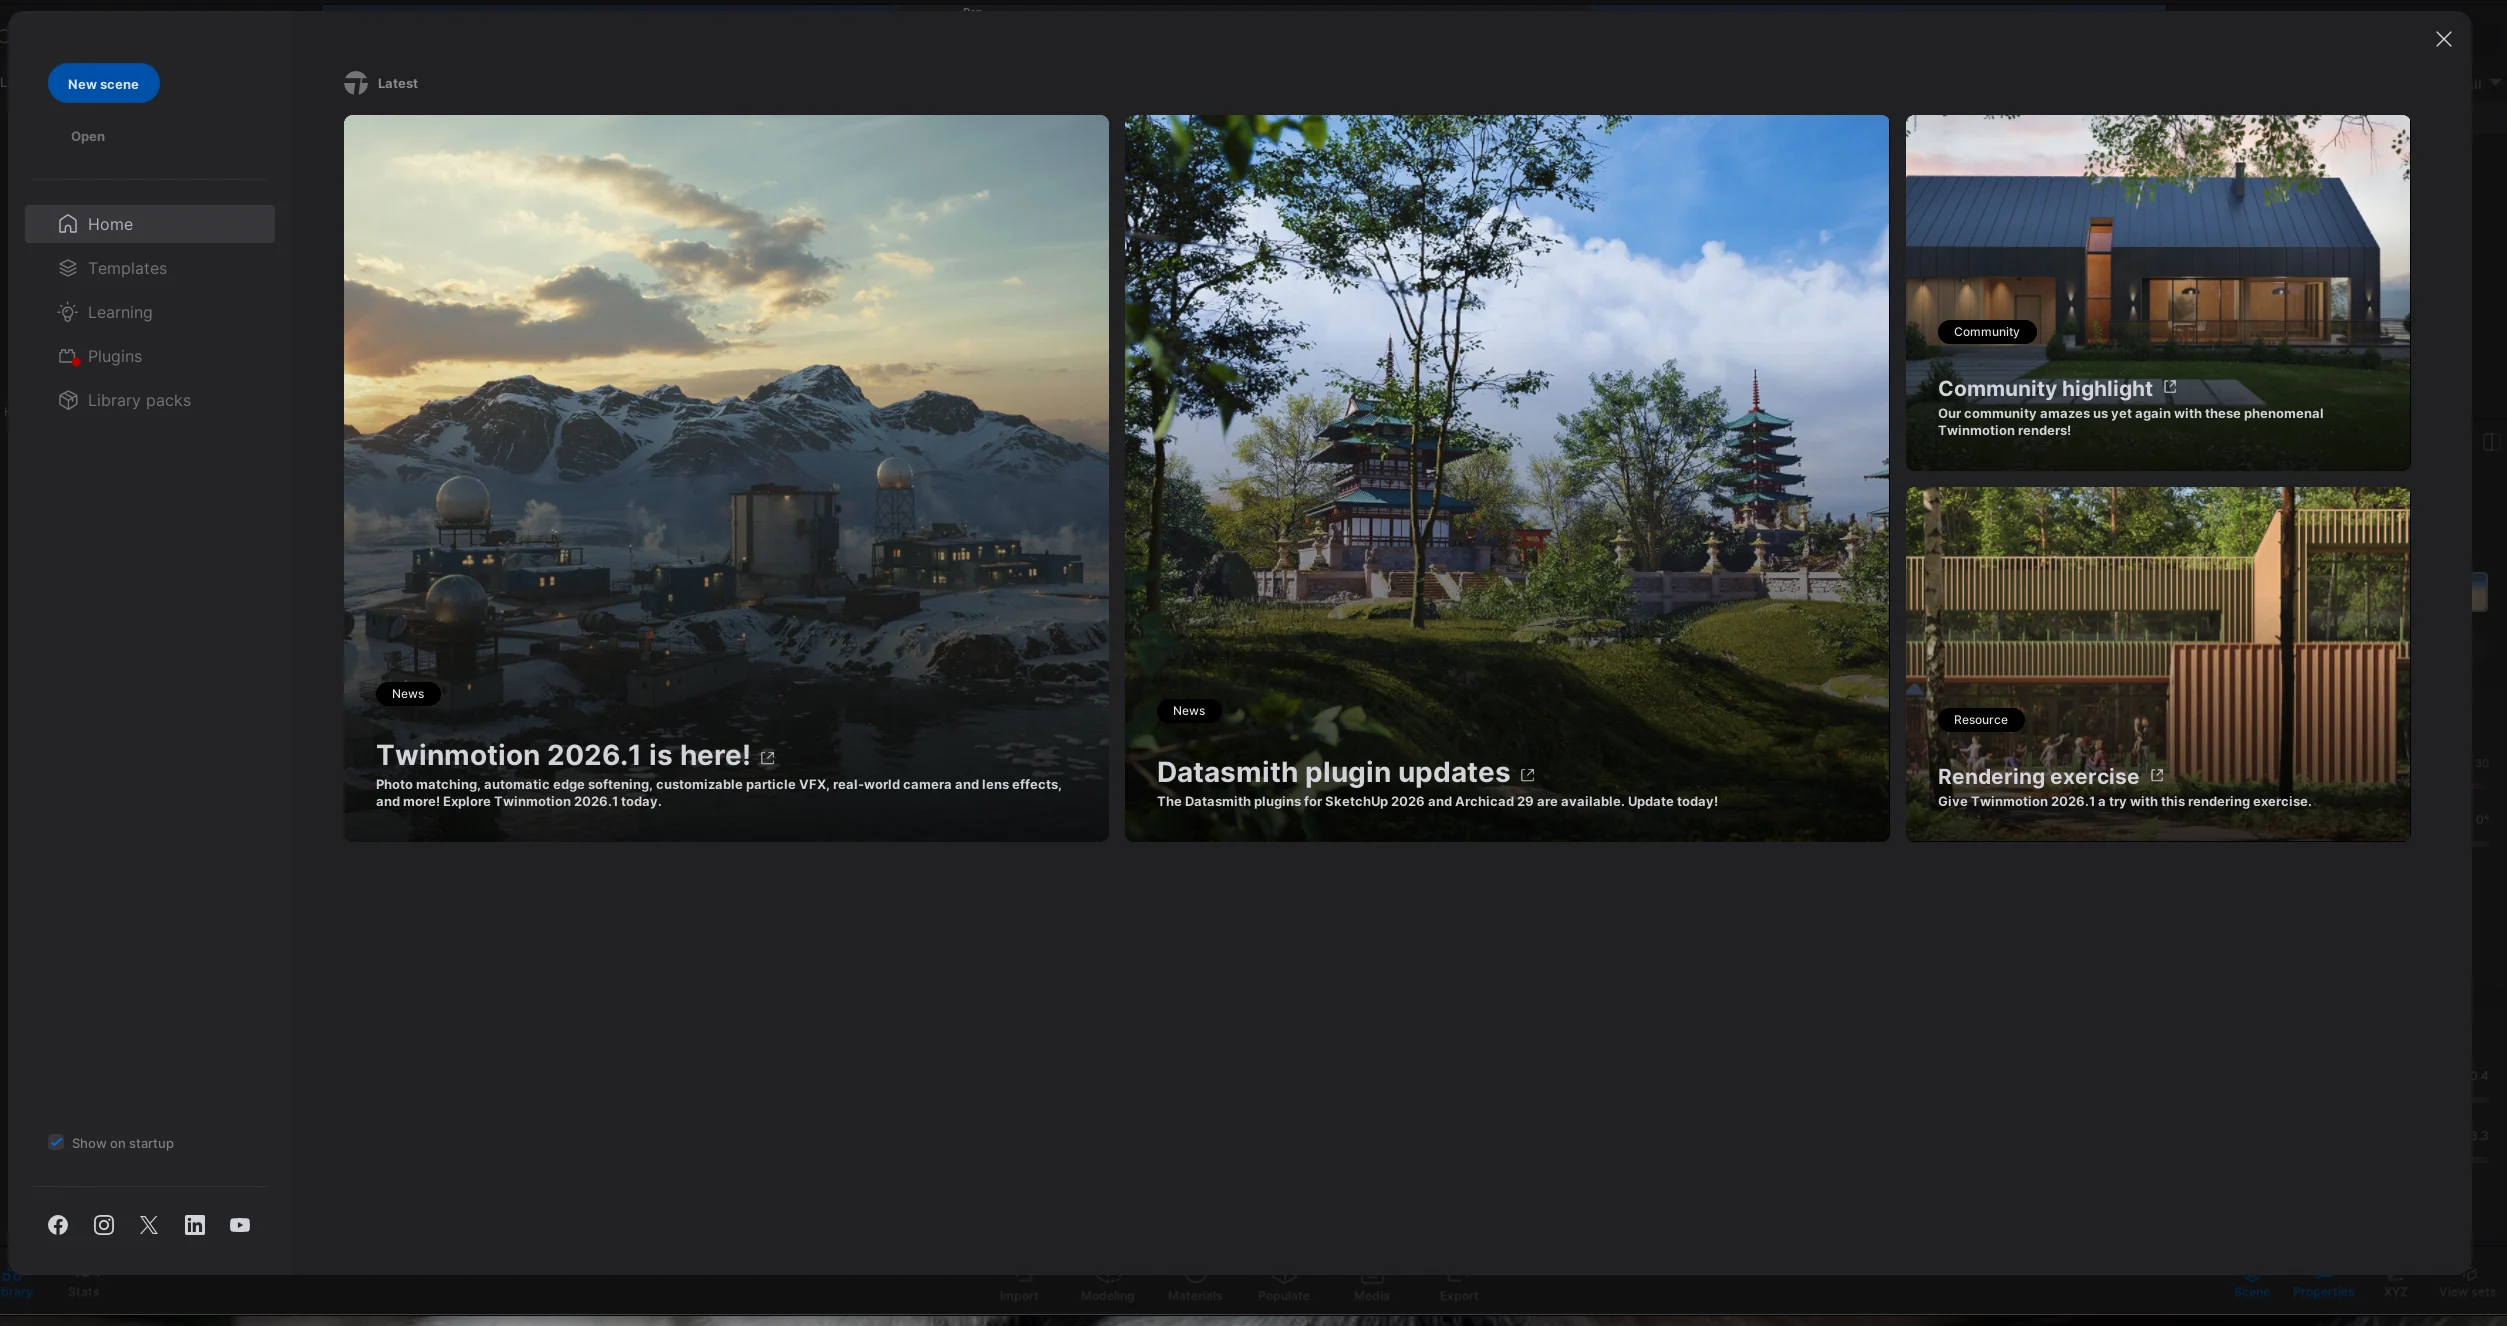
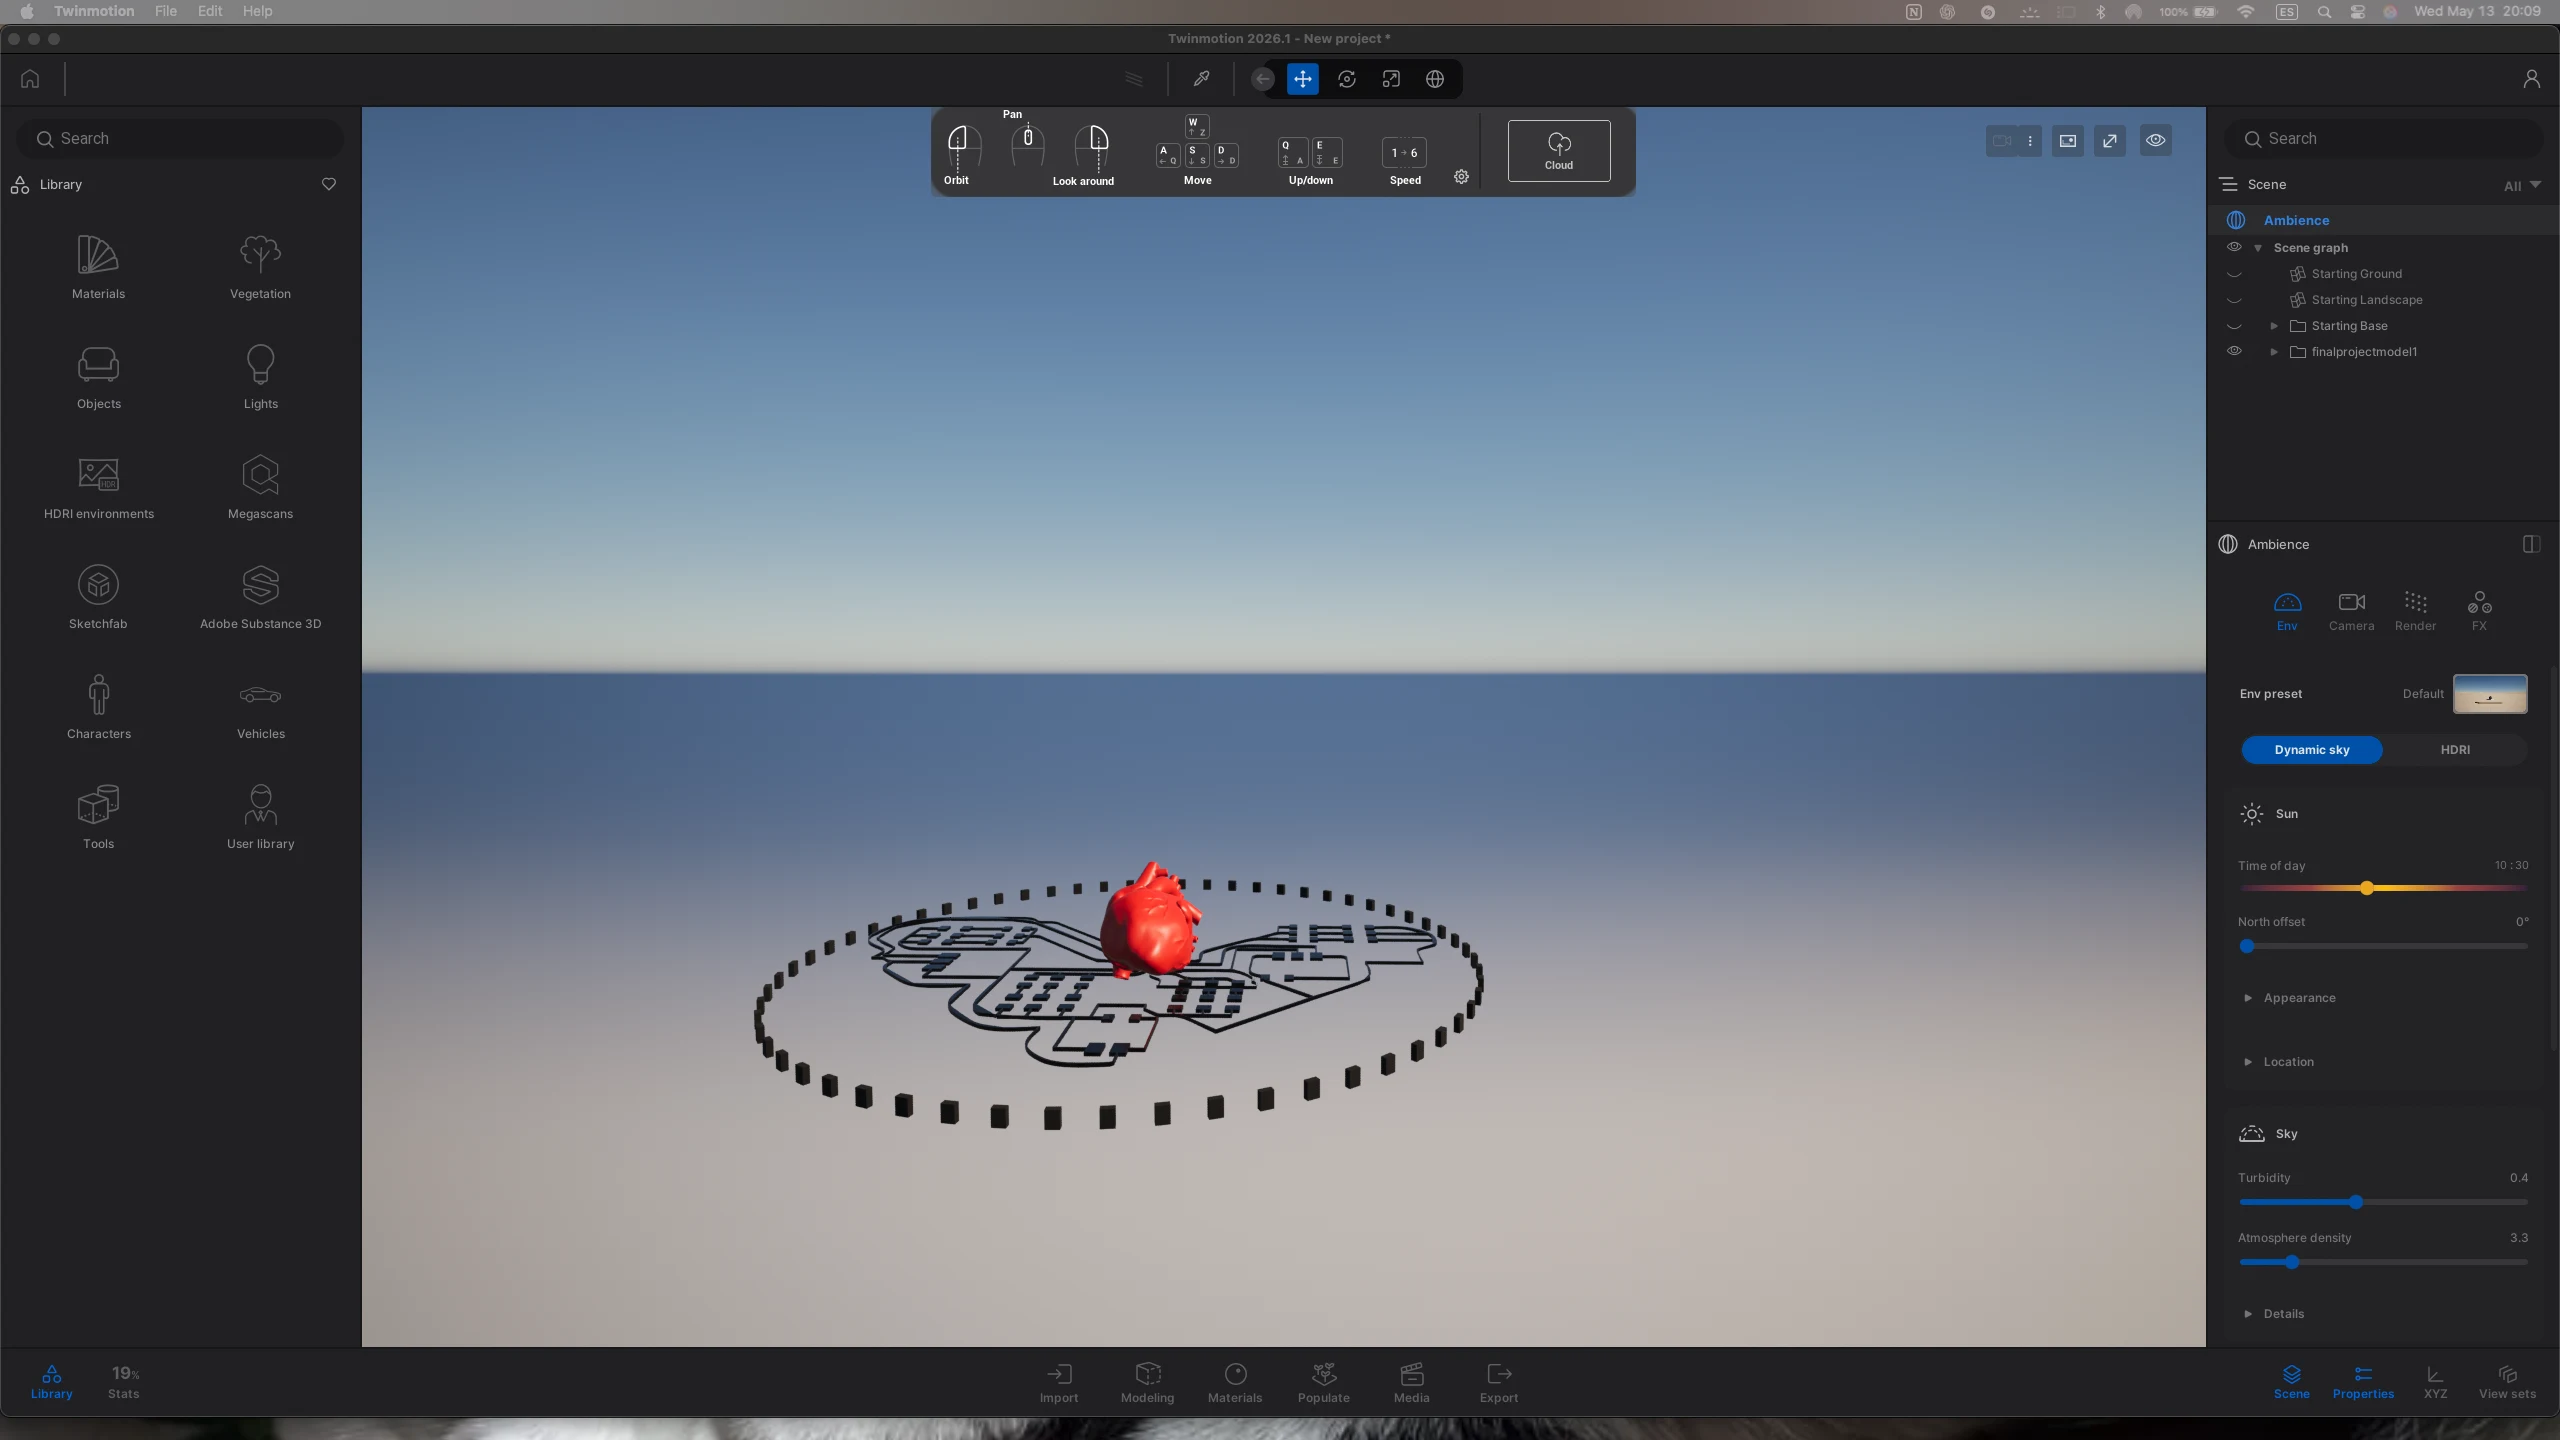
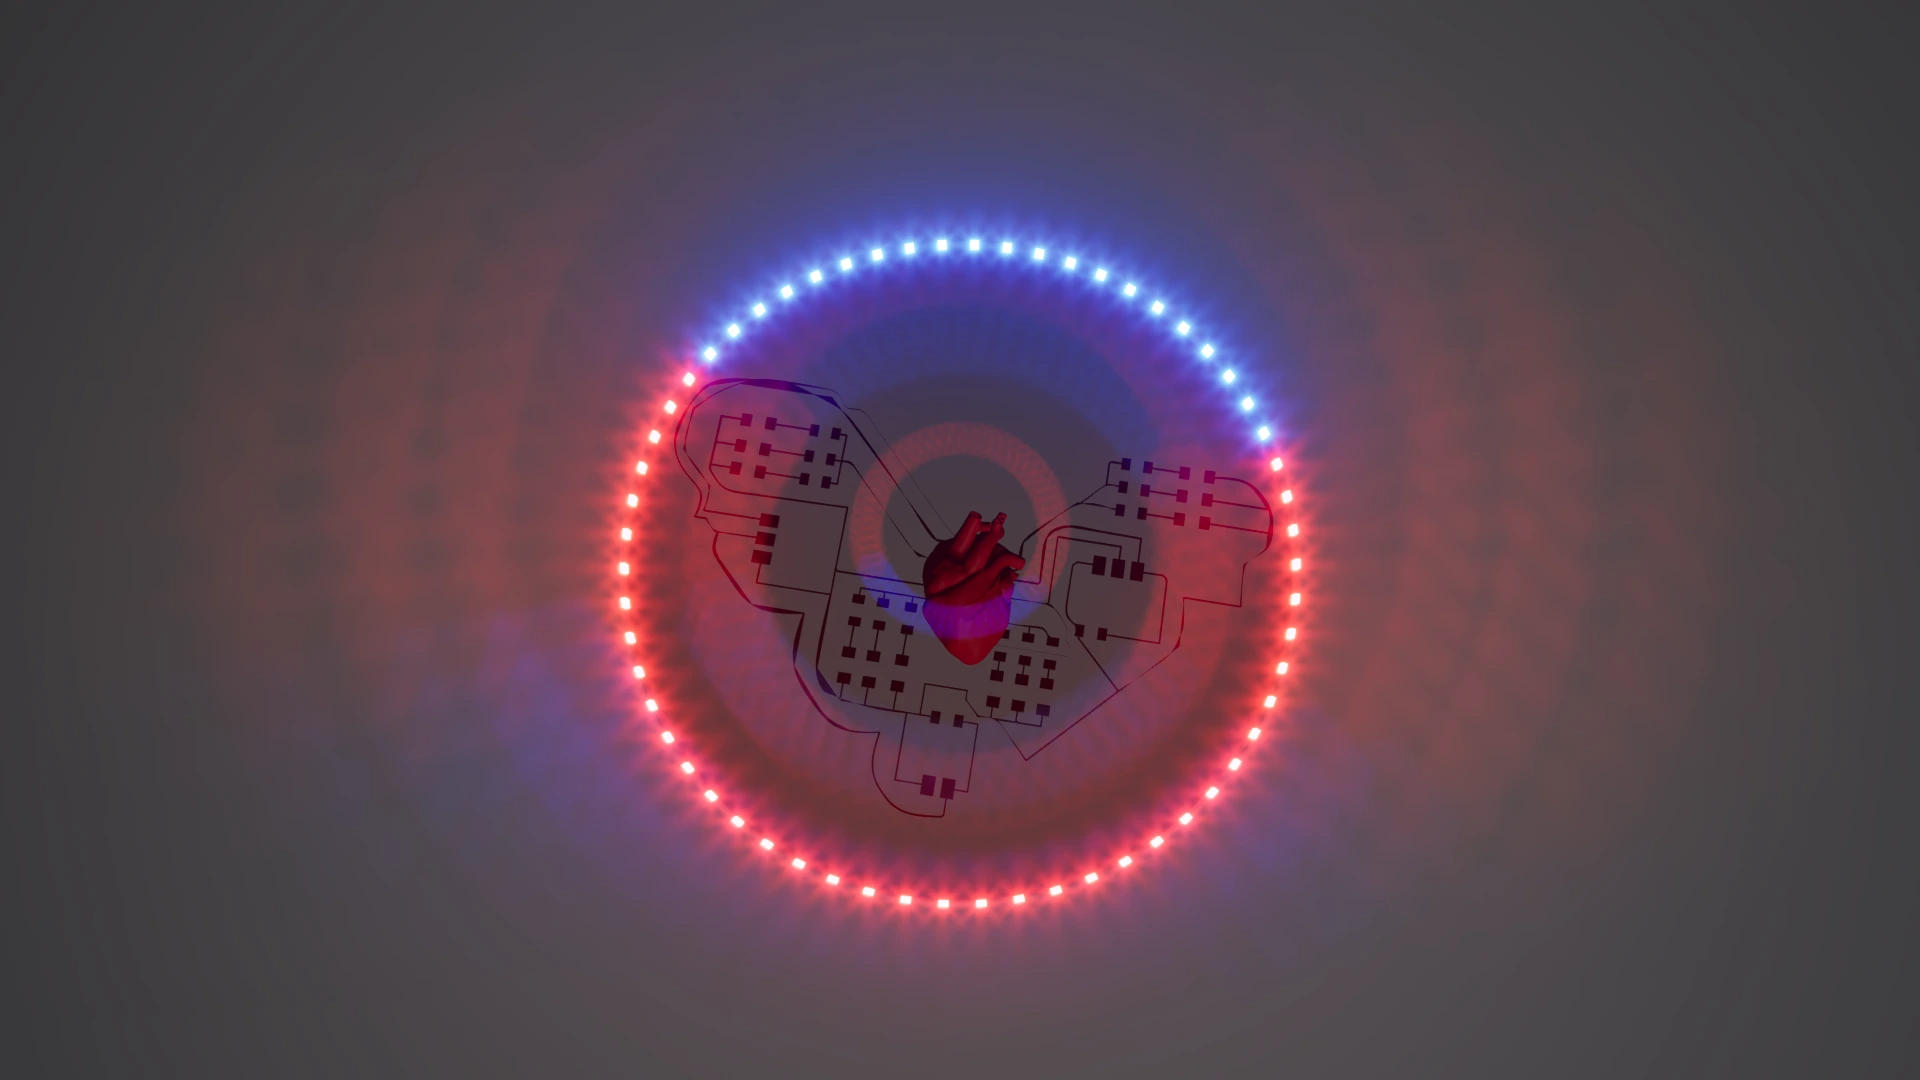
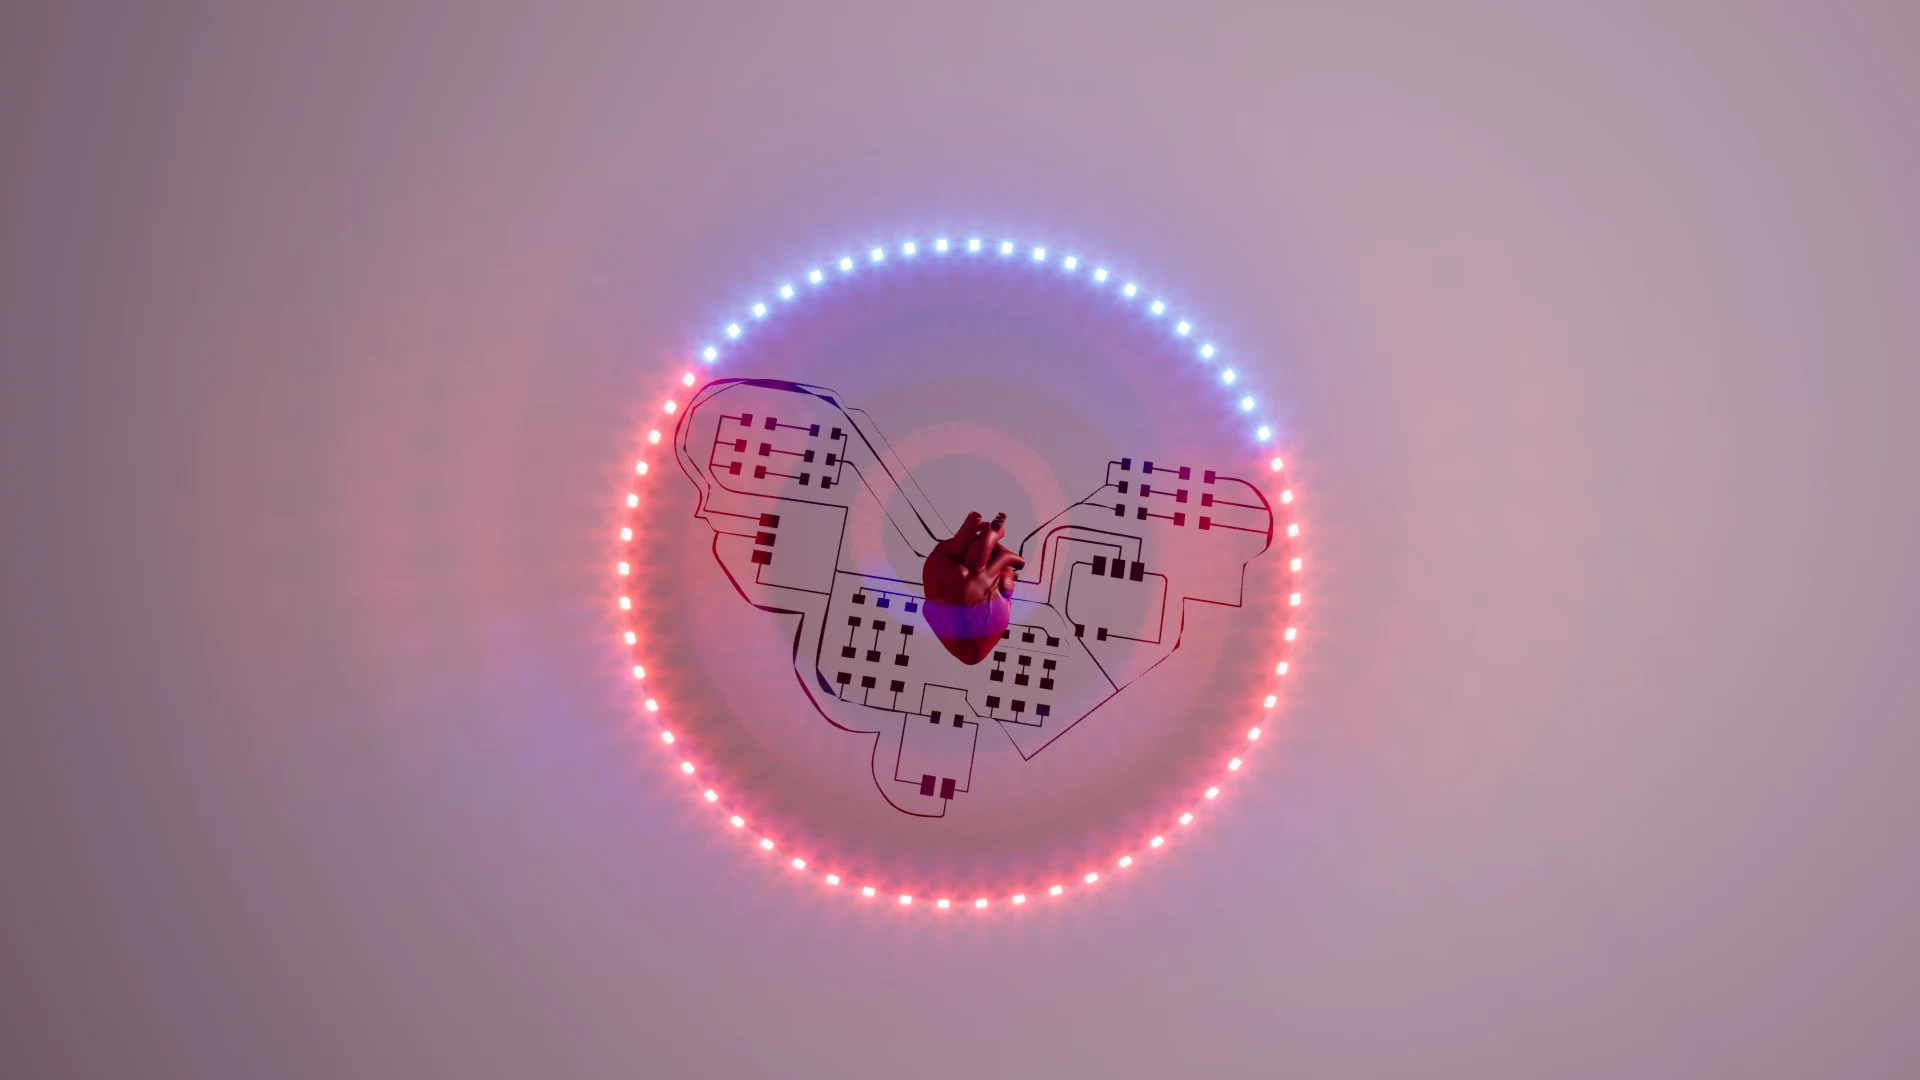
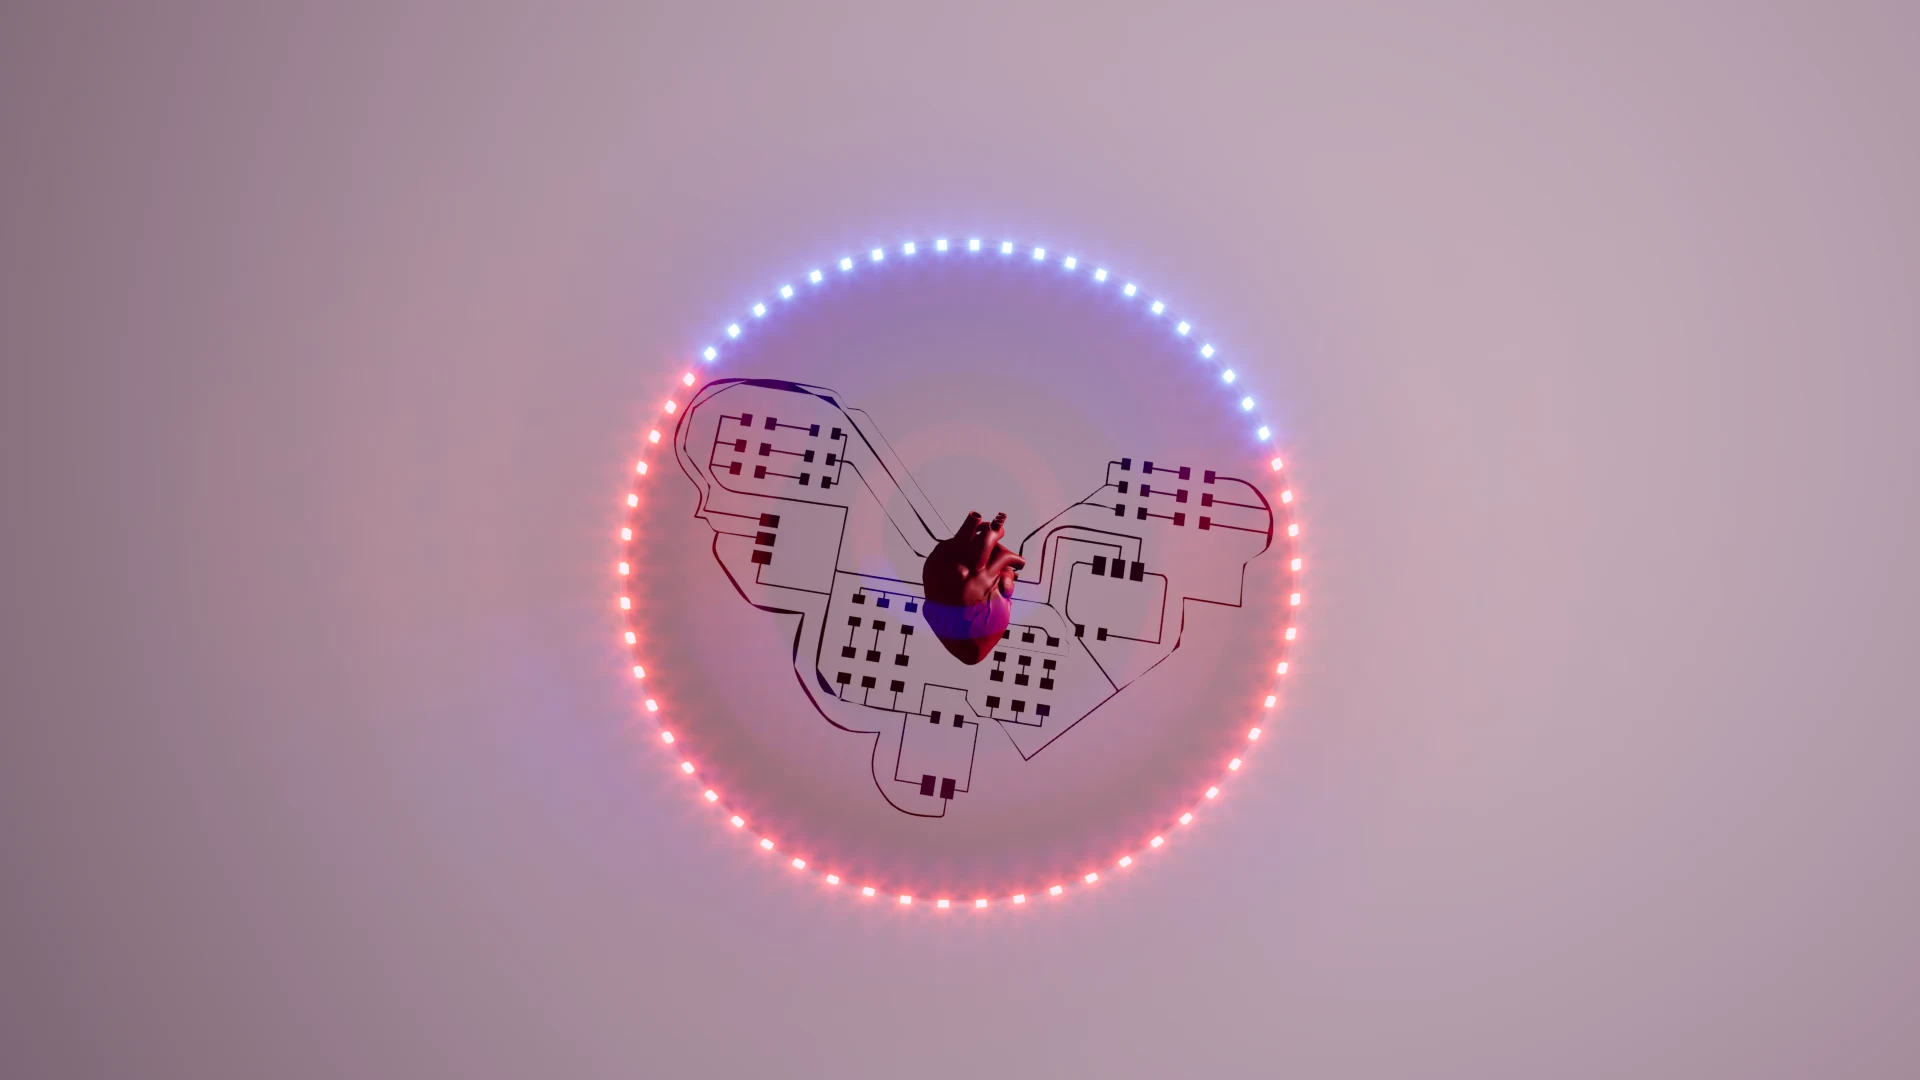
I went to Twinmotion and explored the material library over there. The customization options were way more, and I was able to exaggerate the emissive effects of the new pixels and export much better quality renders.
to import the model, i used the command DatasmithDirectLinkSync in rhino to create a direct link to Twinmotion. This needs to be installed into Twinmotion.
i open a new file and learn the navigation

i make sure that on rhino, every element is in a different layer so the materials are easier to asign on twinmotion.
i place the link, delete the starter assets and start assigning materials from the library and tweaking the values to see what happens
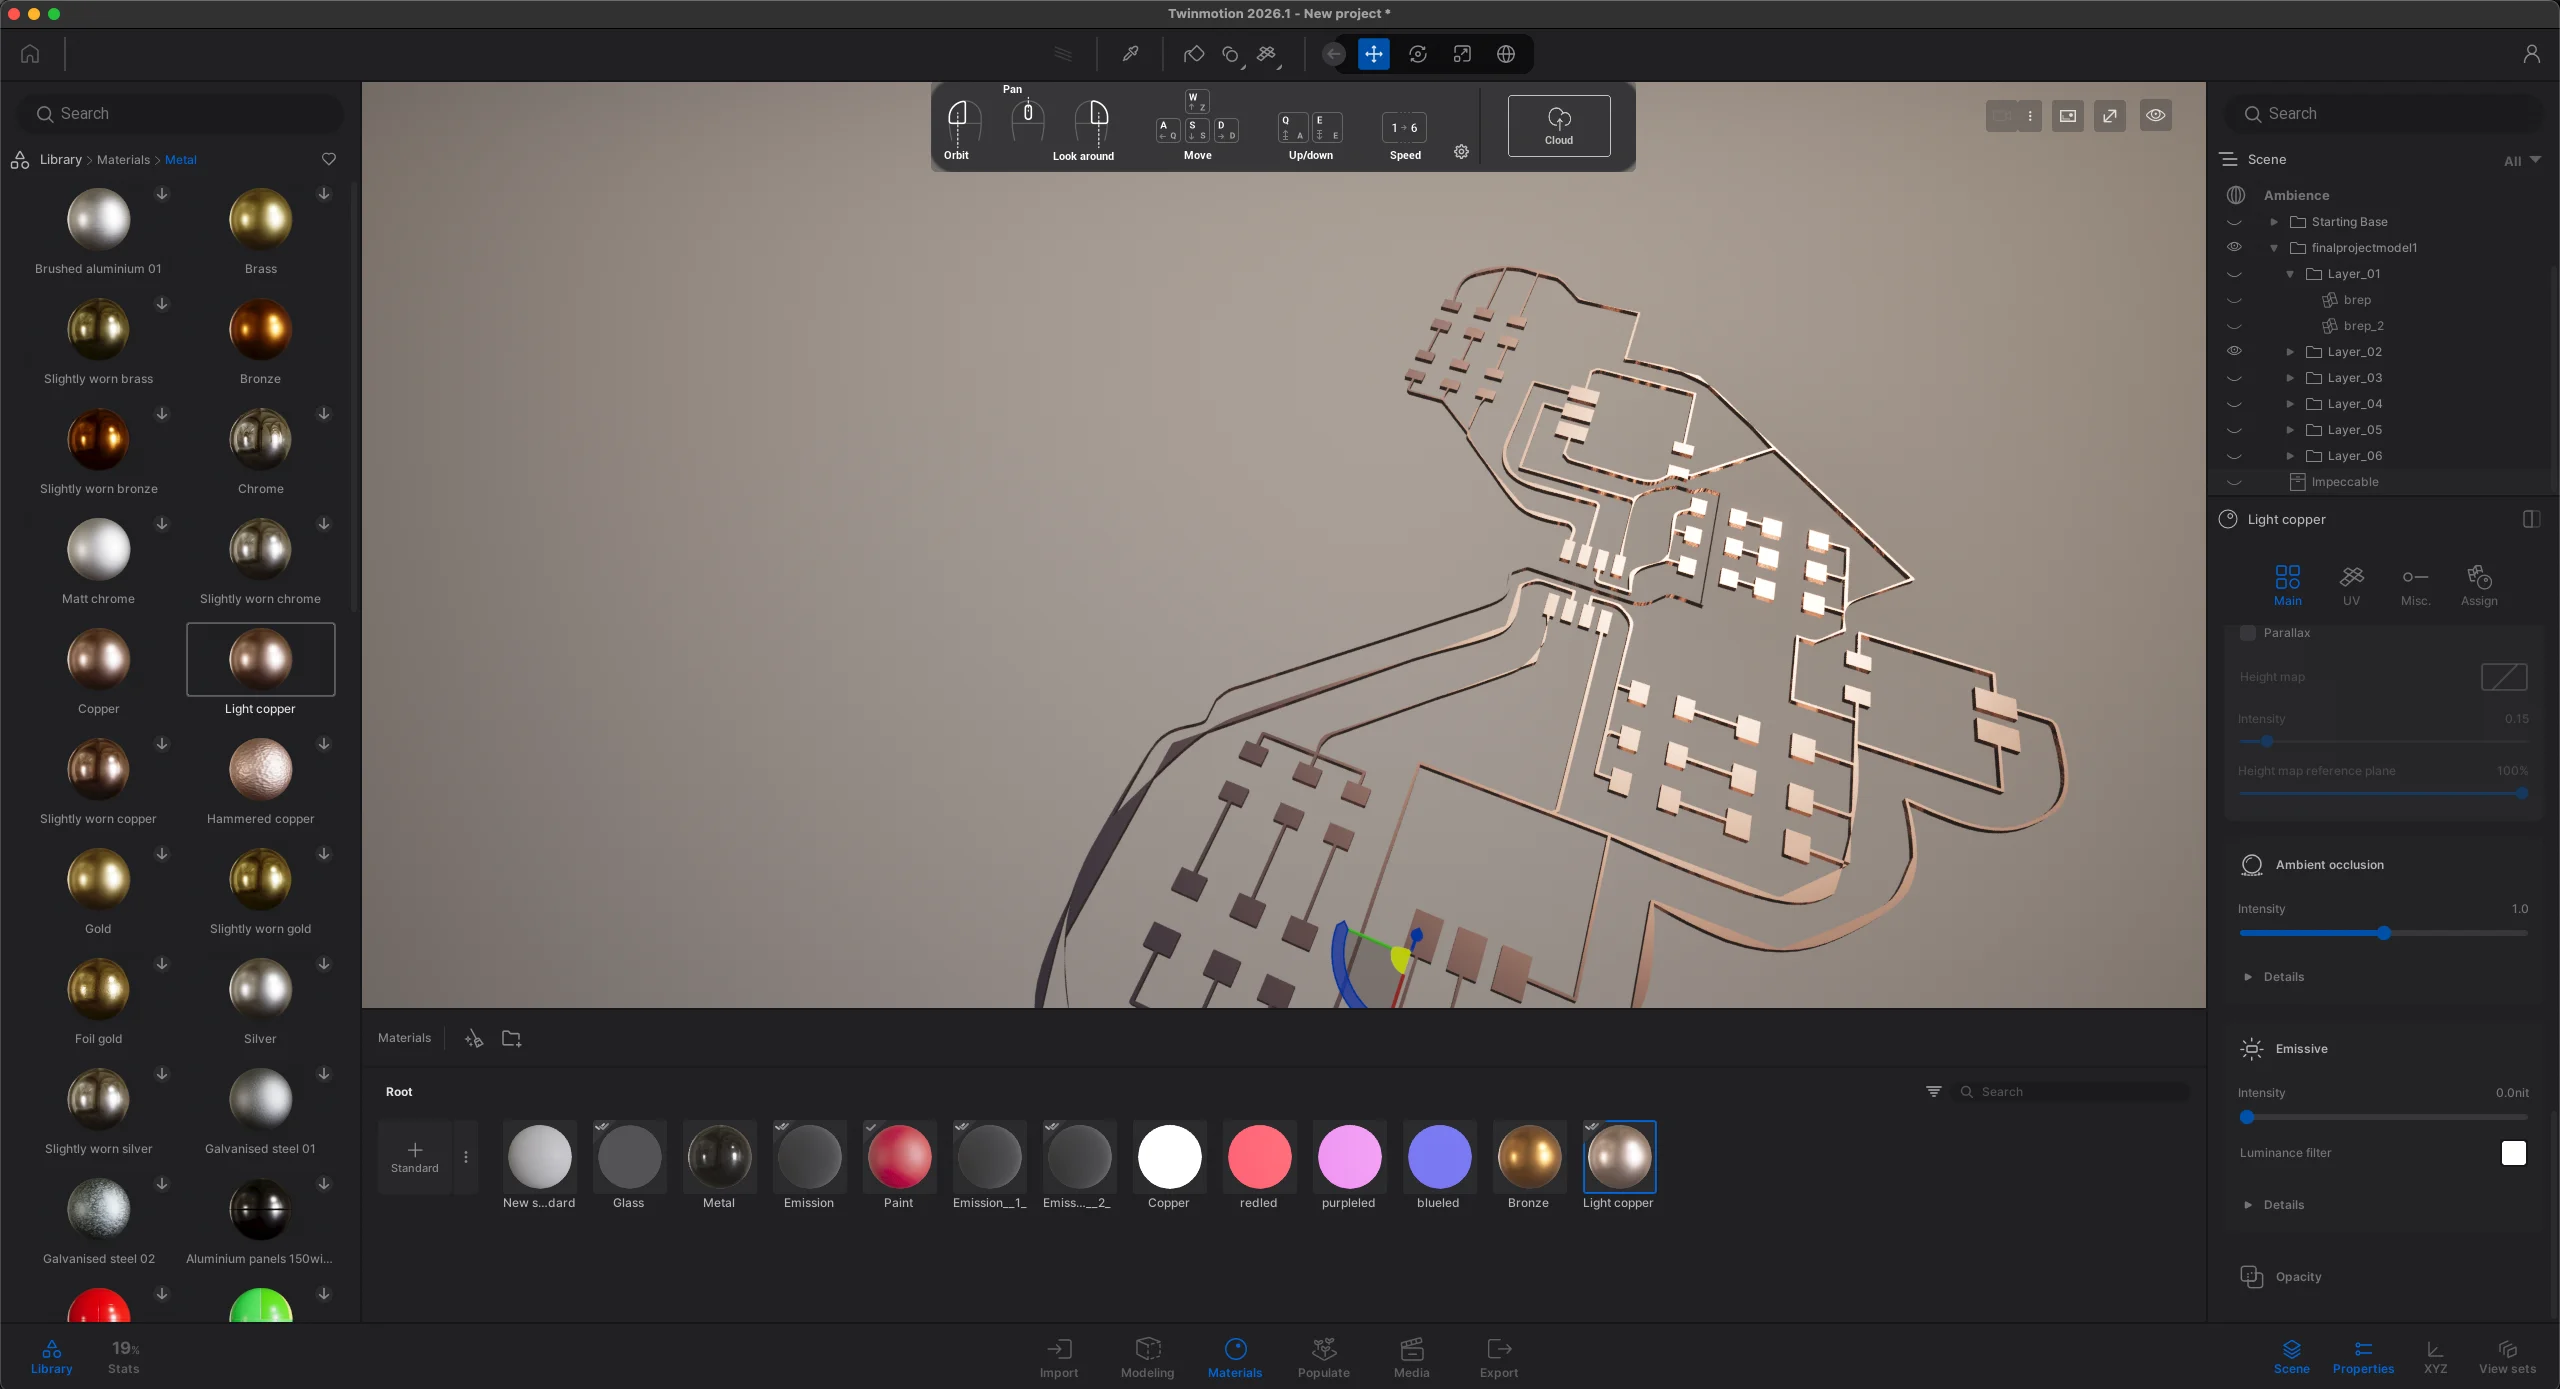
here are some of the final renders
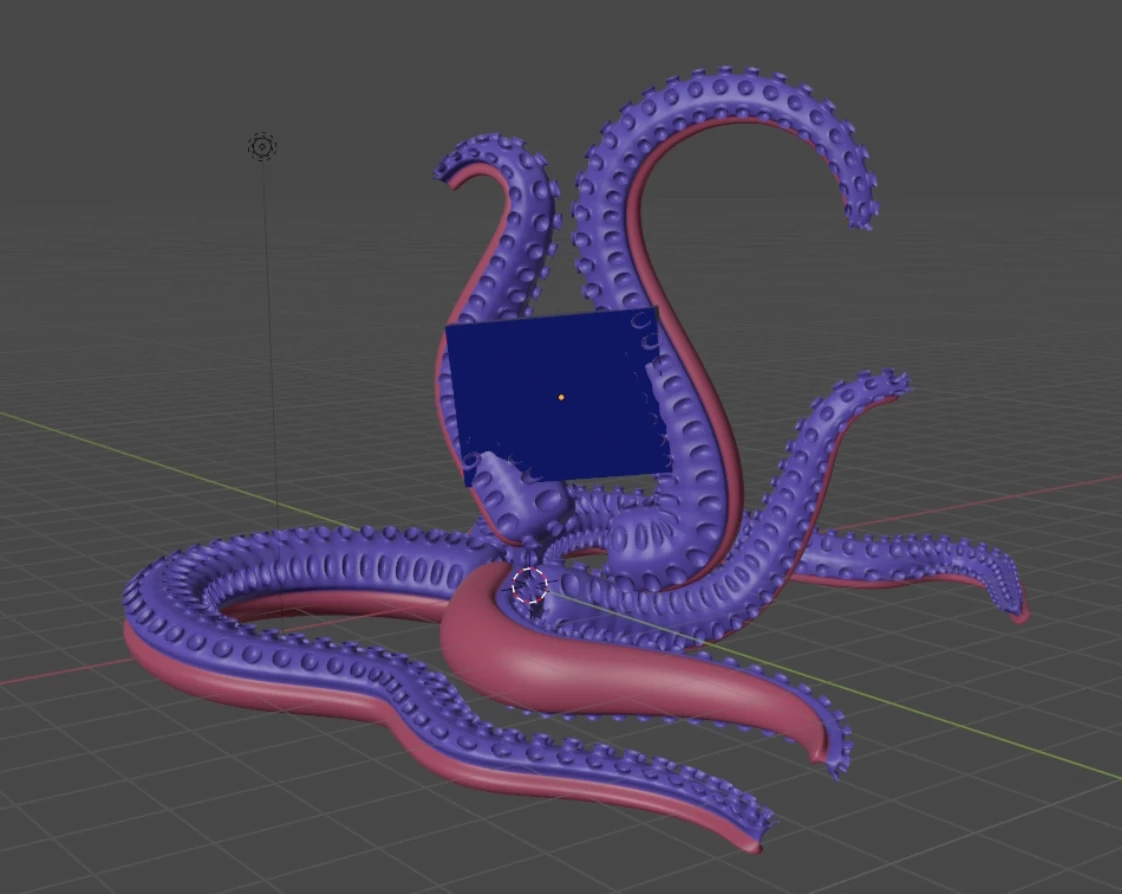
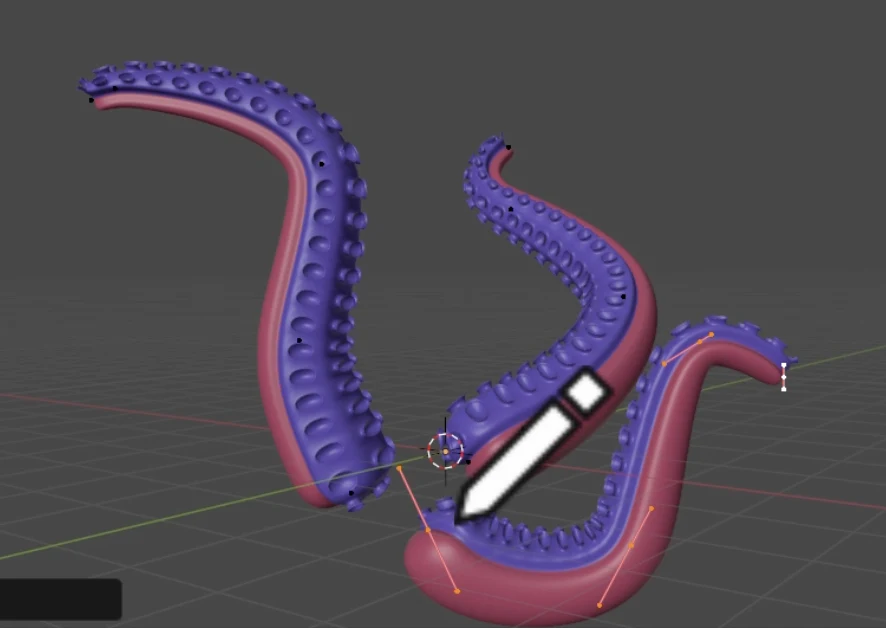
I was also curious to explore node-based modeling on Blender, so I followed this tutorial to create a tentacle of an octopus and set up the nodes so that a tentacle gets created with every line drawn with the pencil tool.
here is the tutorial i followed by Retroshaper on youtube, to use nodes to create one tentacle
https://www.youtube.com/watch?v=tlXEqfXMQLo
here is a screen recording of the whole thing
I added all the modifiers to a bezier curve, so I created 7 more curves to make the rest of the tentacles and added a screen by scaling down a cube.
extra: i used to teach blender basics to people who are freshly new to 3D at my old job and had created a curriculum for it. On staurday I sat with Shiv, Gabriel and Leo; where we went through simple navigation and elements, and some keyboard shortcuts.
compression
2D
for inkscape, .psd and other 2d or raster files i have included direct download links. if the files are too large to push, then i have included screenshorts and compressed versons where possible
for image and video compression, i sent them to myself through whatsapp and downloaded it again, then run it through a converter to make the files .webp"
here are the links to the converters
https://cloudinary.com/tools/jpg-to-webp
https://cloudinary.com/tools/png-to-webp
Video
for video editing, i used imovie on my laptop and exported it in the lowest resolution and quality. then i send them through whatsapp again which compresses all videos to around 10 mb
i have also compressed videos and uploaded them with the video tag but have also kept the vimeo embed in case the quality got too low with compression
for timelapses and process videos shown on the page, i have uploaded them onto my vimeo account and used a viewer code copied from there to display them on the site.
3D
for 3D files, i have uploaded the .blend / .rhino / .stl / .glb files to download and .glb files to view them in the browswe using the model-viewer component in html. if the files are too large to push, then i have included screenshorts and compressed versons where possible
models
original files
personal reflection
this week i learned a lot about photoshop and node-based modeling in blender. I am glad to finally learn some photoshop as I think it's going to be very useful for me for the future. i found it difficult to visualise how exactly i wanted my final project to look. is it more of an installation or a wearable? it is meant to create comfort or discomfort? how many components will it have and how many of them will i create? i hopw i will be able to answer these questions as the weeks progress.
it was good to model some ideas and see how it could look. it helped me see the possibilities and visual effects i could achieve. it was also very challenging to compress models from Rhinoceros. i have uploaded the STL where valid. i very much enjoyed learning node-based modeling in blender. it is complex and requires continuous practice to get it even a little bit. i hope i get to use it more. it reminded me a lot of TouchDesigner and I enjoyed following the tutorial.
i hope to explore Grasshopper more in the future as well since many machines built locally in the lab follow a grasshopper script to use and I would like to explore some custom machine building in the future. This introduction to parametric design was very helpful and will help me achieve more dimensionally accurate models that are not delicately arranged but is created from a robust mathematical formulation.
notes
global class
with Sophia, Kenny and Neil: what is CAD, how to use it, and how to design a 3D model for 3D printing. We also had a tour of the fablab and got to know the different machines and tools available. I was really inspired by Sophia's work found Kenny's projects really innovative and cool.
what is CAD
CAD stands for Computer Aided Design. It is a software that allows you to create 2D and 3D models of objects. It is used in various industries such as architecture, engineering, and product design. CAD software allows you to create precise and detailed models that can be used for manufacturing, prototyping, and visualization. CAD is to use computers to help create, modify, analyse and optimize designs.
CAD is like an artistic medium. This really resonated with me because I am not great great at sketching and becoming good at CAD early in my design career has helped me convey my ideas better. Types of 2D files-Rastor and vector. Vectors can use bullion operations like Union difference intersections Height maps can be made from images to add depth and relational value to 3-D and parametric design Can also just draw on a paper and scan it CAD is often optimised for architects or designers or animators or game developers. Pick the software based on the project needs. 3-D design can be defined as boundary reps which are boundary edges defined by vertices CS G constructive solid geometry is great for fabrication. It starts with primitive forms and uses boolean operations to build. The other form is a mesh-most software export mesh. 2D to 3-D is good process for this. Some functions for 3-D are Extrude Revolve Sweep Loft fillets/chamfers offset Measurement Distance Rendering Animation
Some cad features
Histories and hierarchy
It’s good for parametric designs it uses constraints and assemblies
Parametric design
Can be spreadsheet based and /or not based . Algorithmic thinking to express rules to define relationships between design intent and response. can create general designs with it.
Agent based modelling
Simulation and interactions
Local class 1
2-D modelling
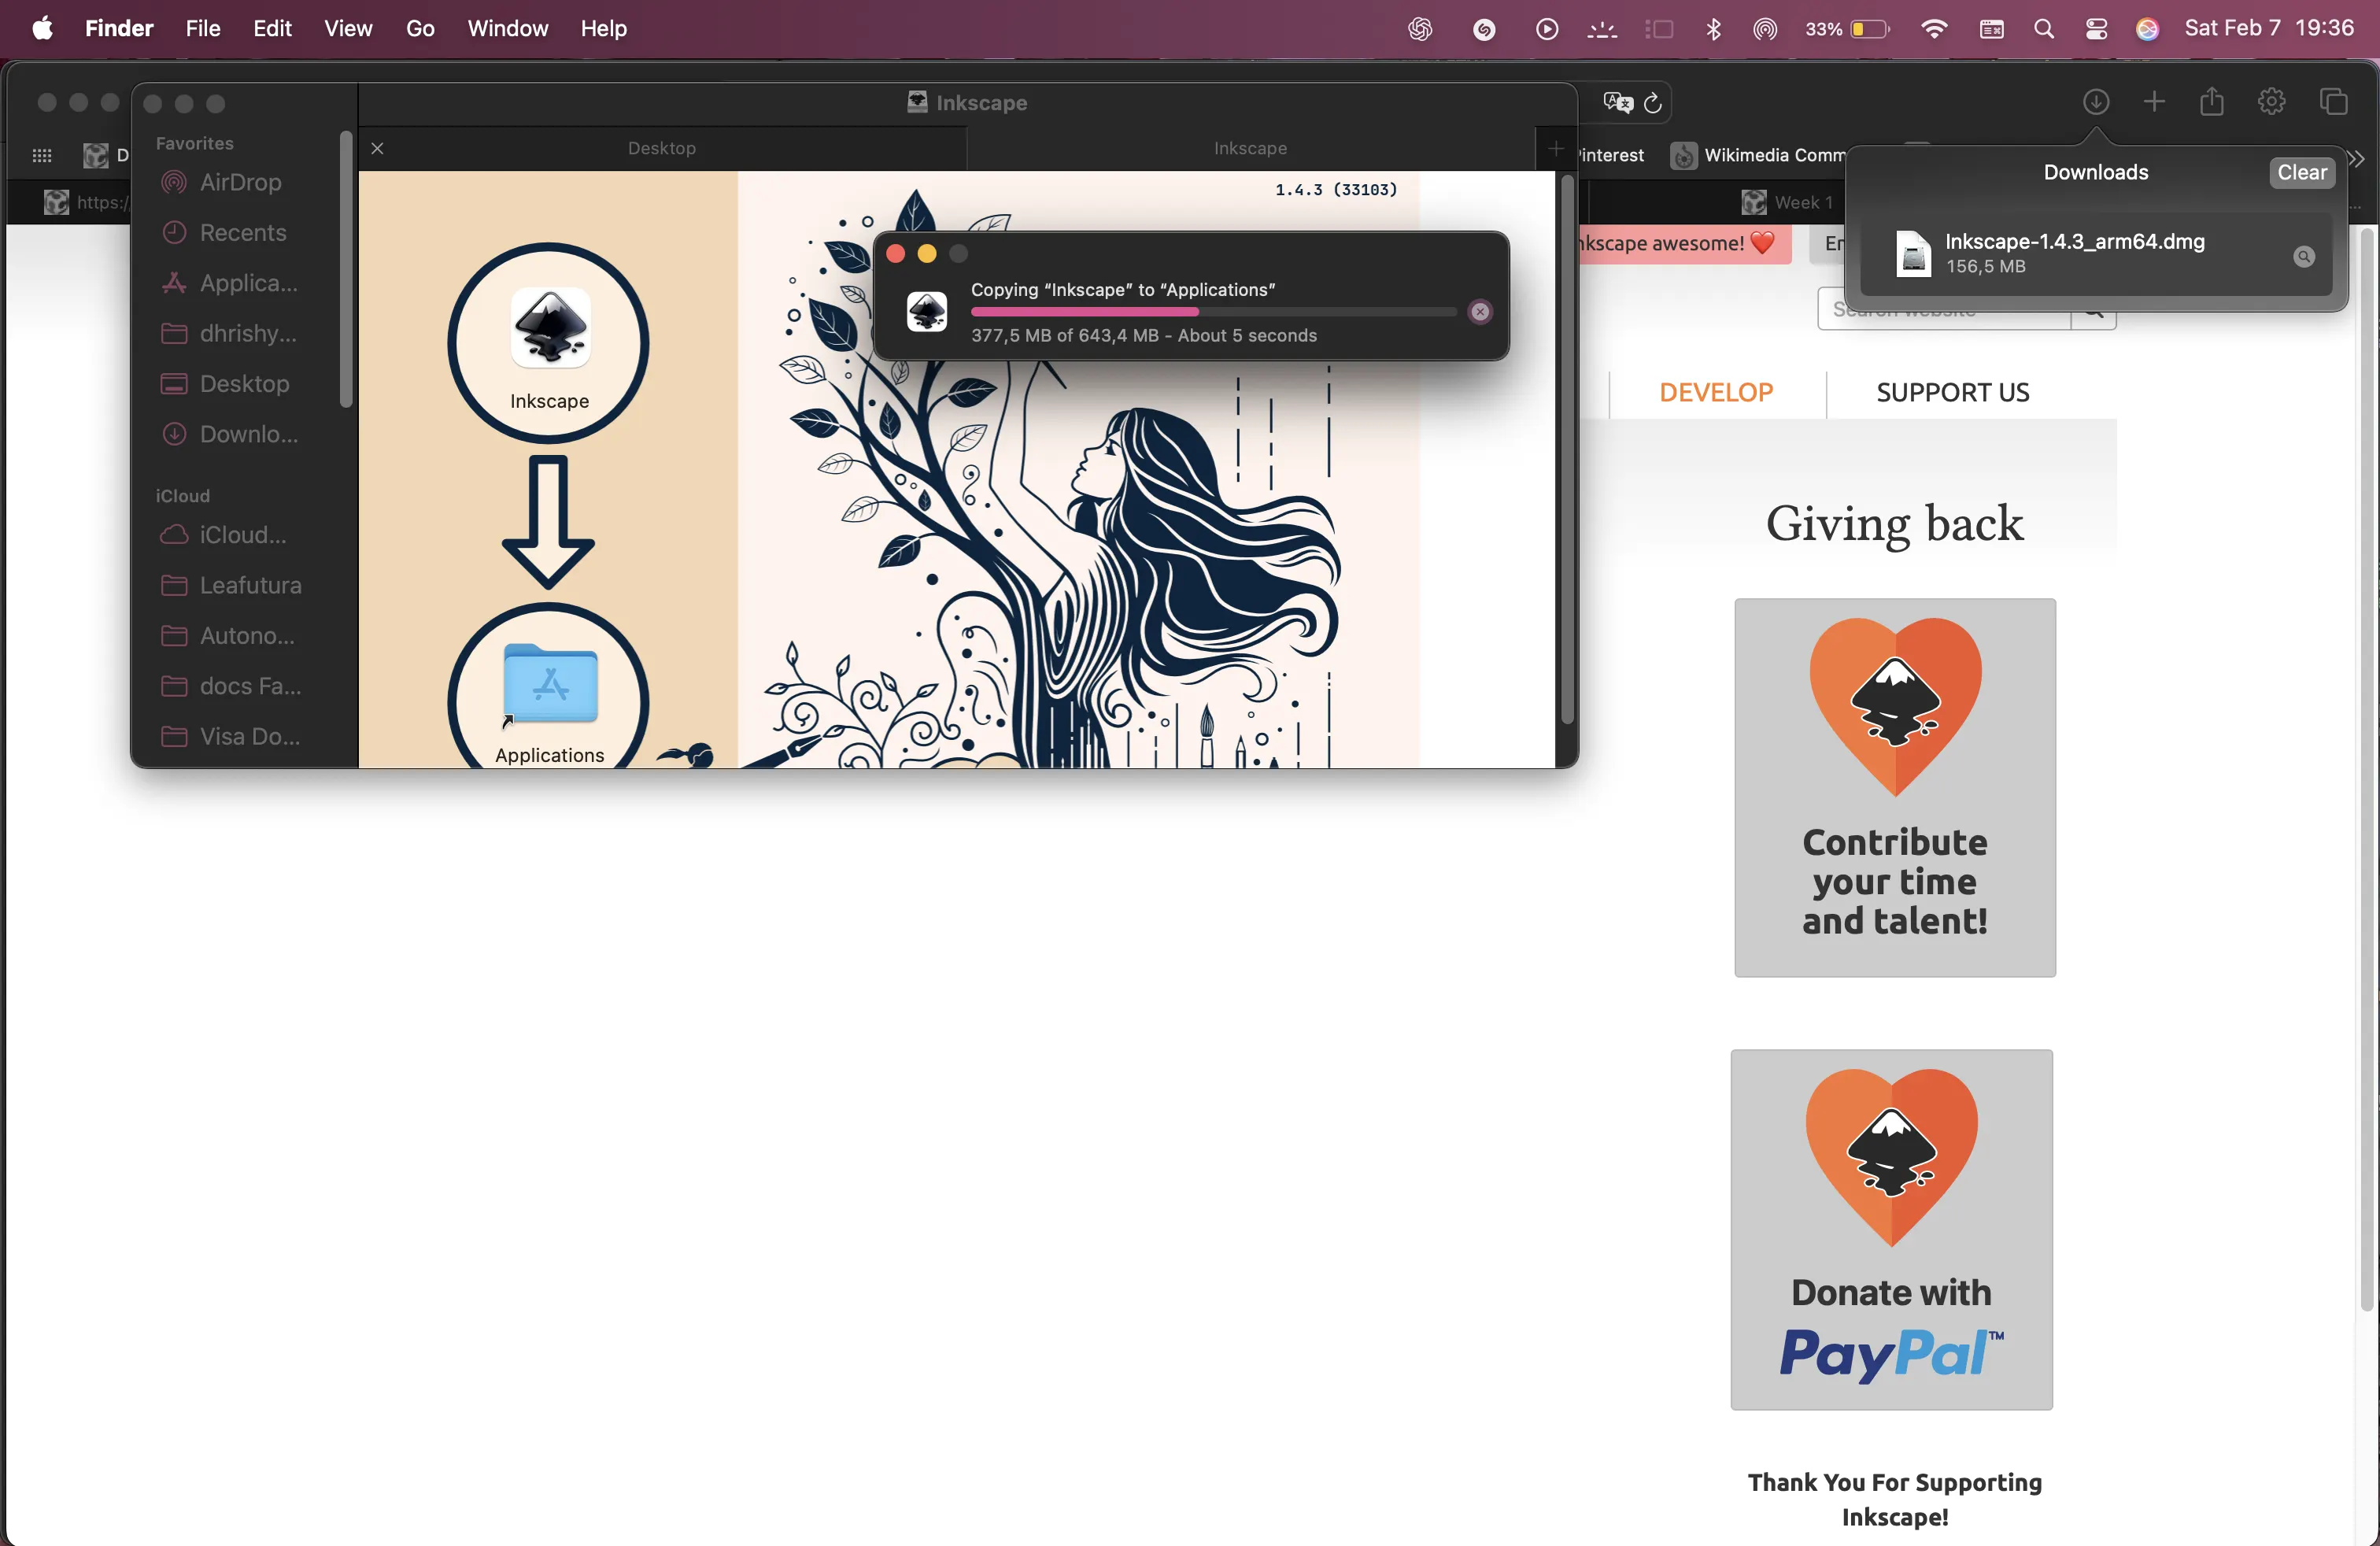
>Installed inscape
Learnt some history of CAD and understood that computers as a design tool evolved because of the evolution of computational power
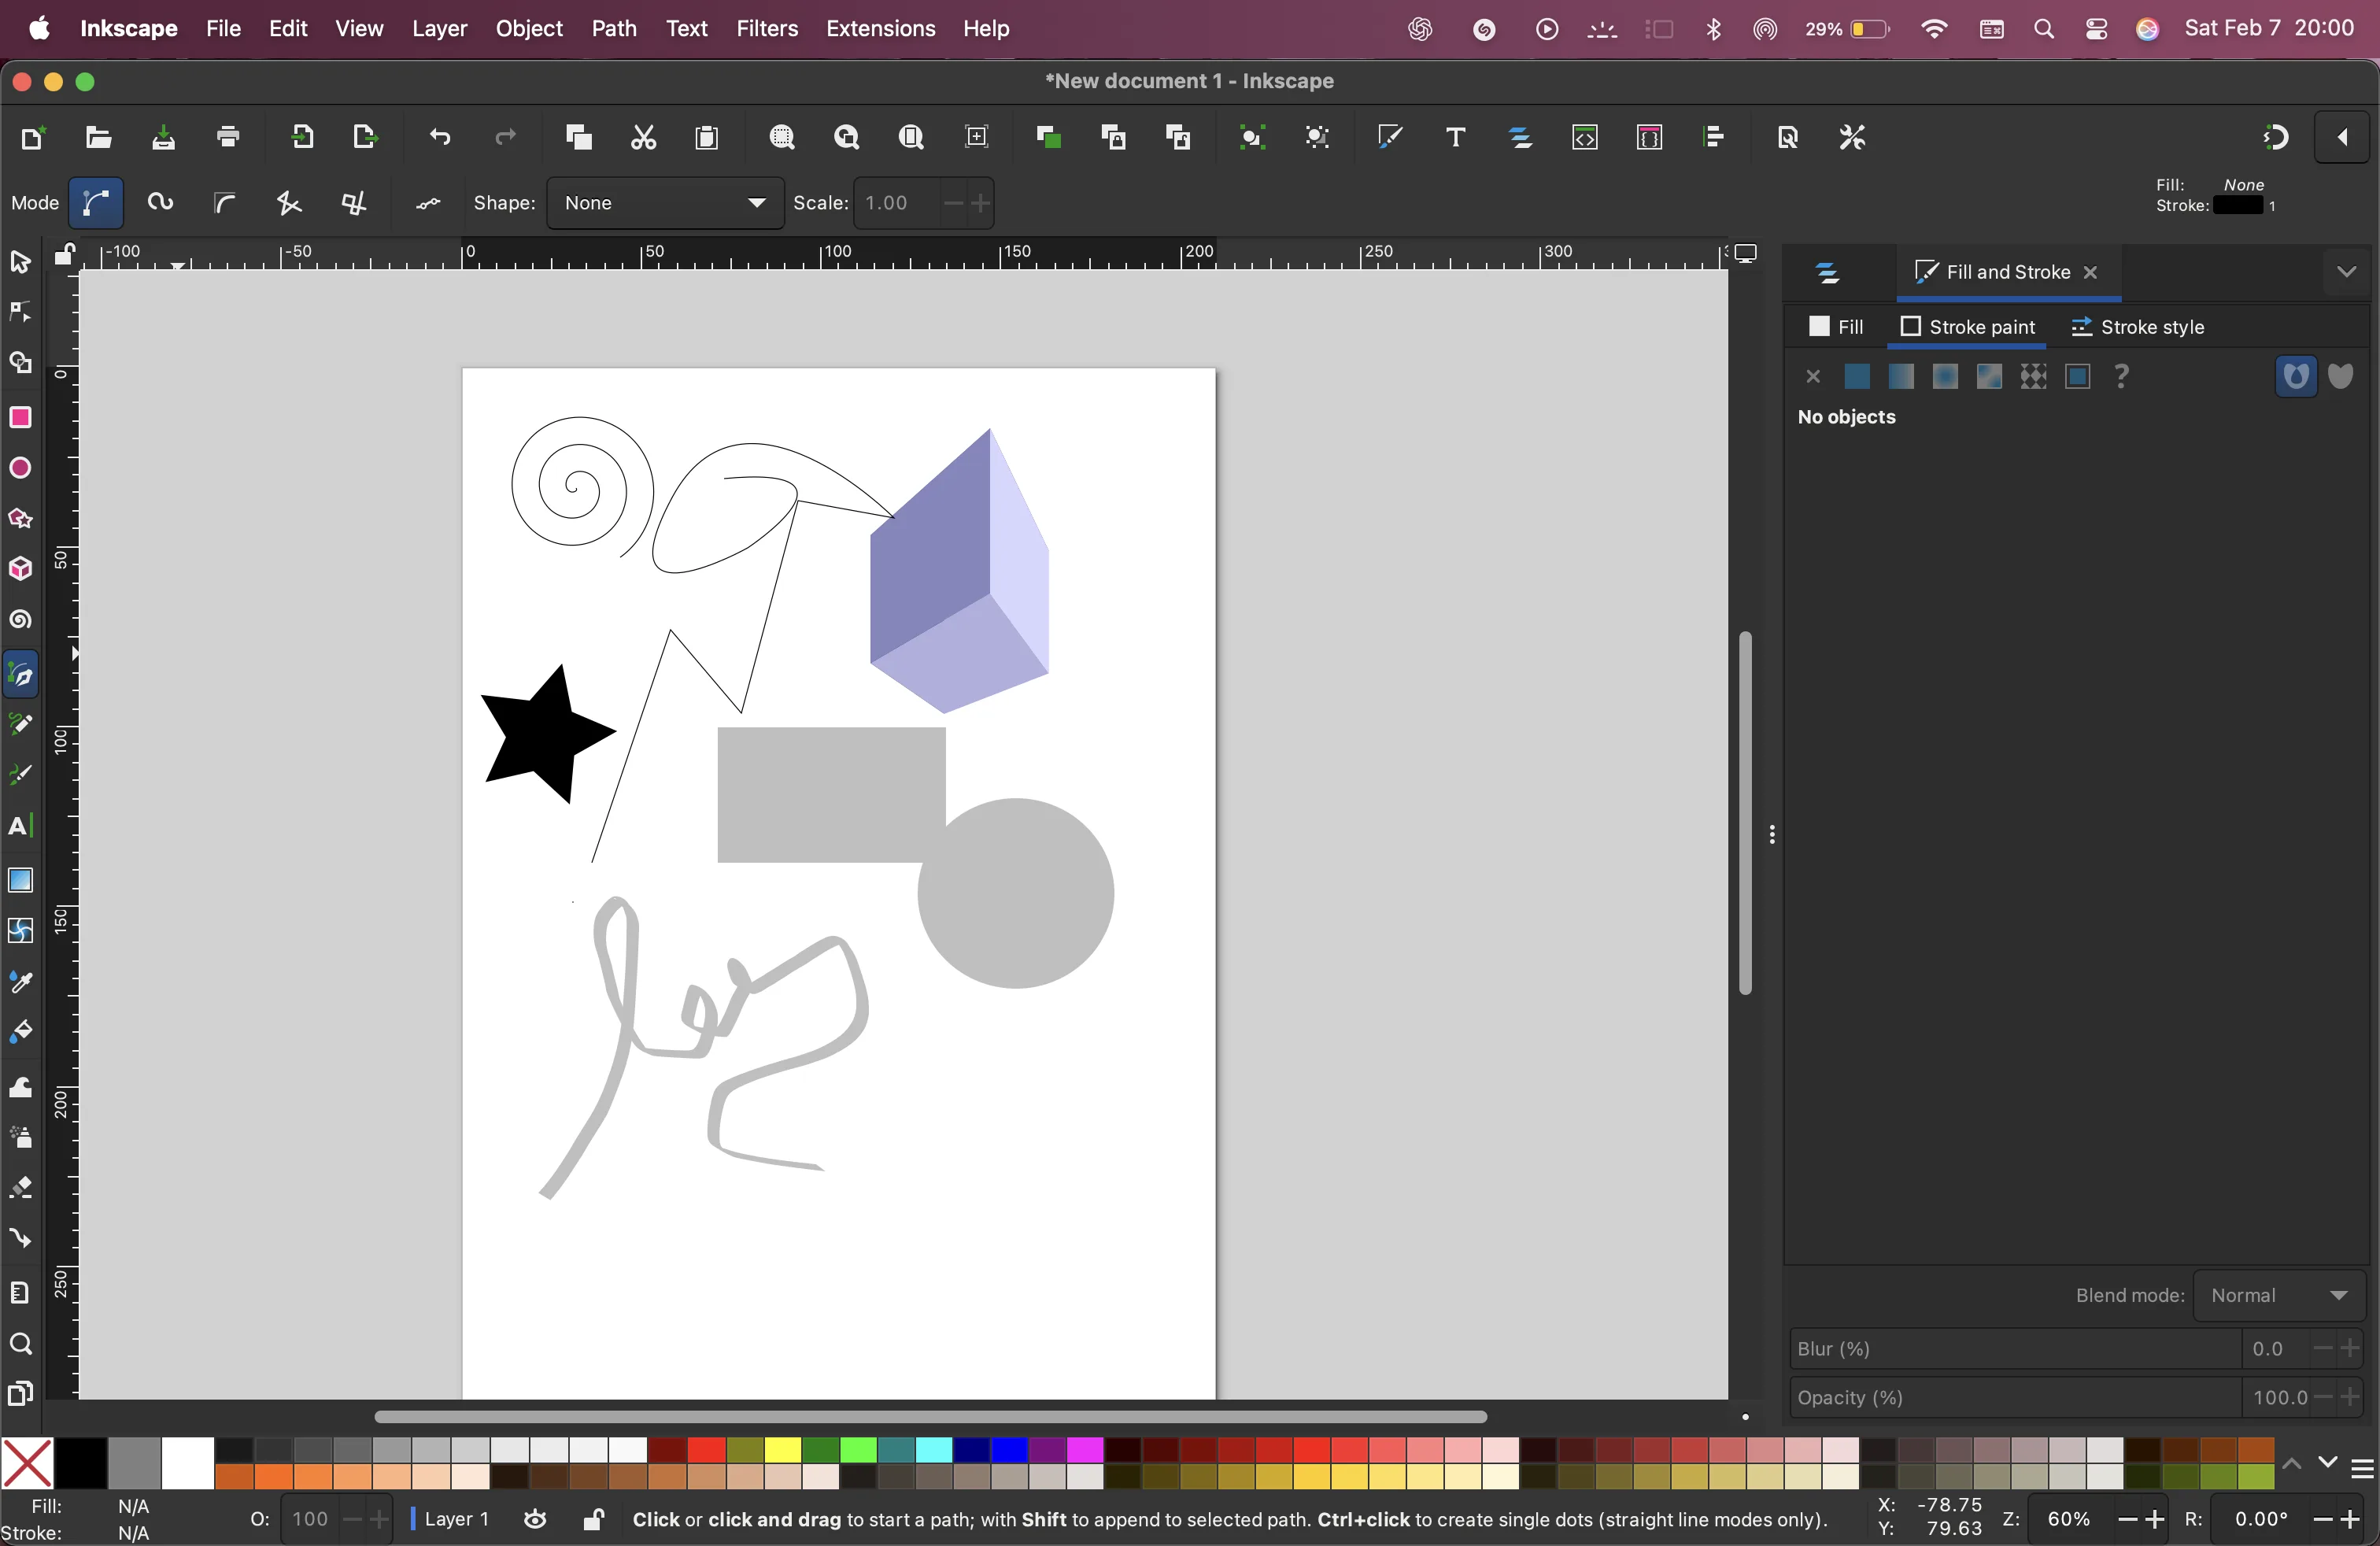 Following inkscape.
It’s really fun it has a lot of mathematical functions that I can use.
Following inkscape.
It’s really fun it has a lot of mathematical functions that I can use.
Raster versus vector
Pixel is the smallest unit of a bitmap/Raster image
A vector is a geometric mathematical description of points lines or polygons of an image
Pros and cons
raster has better control of editing and is better for images
Vector is better for fabrication
We saw some examples of software like inkscape, gimp, photopea, affinity, illustrator, Photoshop, etc
boolean operations
Union, difference, intersections
Different ways to join shape
AND, OR, NOT, XOR
My experience with this is there in my design career. I have used Figma, procreate, illustrator, sketching, etc to design posters websites apps etc. I use procreate to make product idea sketches and exploration. I usually start with sketches in my notebook.
modelling with rhinoceros
Mesh modelling, nurbs- UV surface space
Mesh elements:Face
Edge
vertices
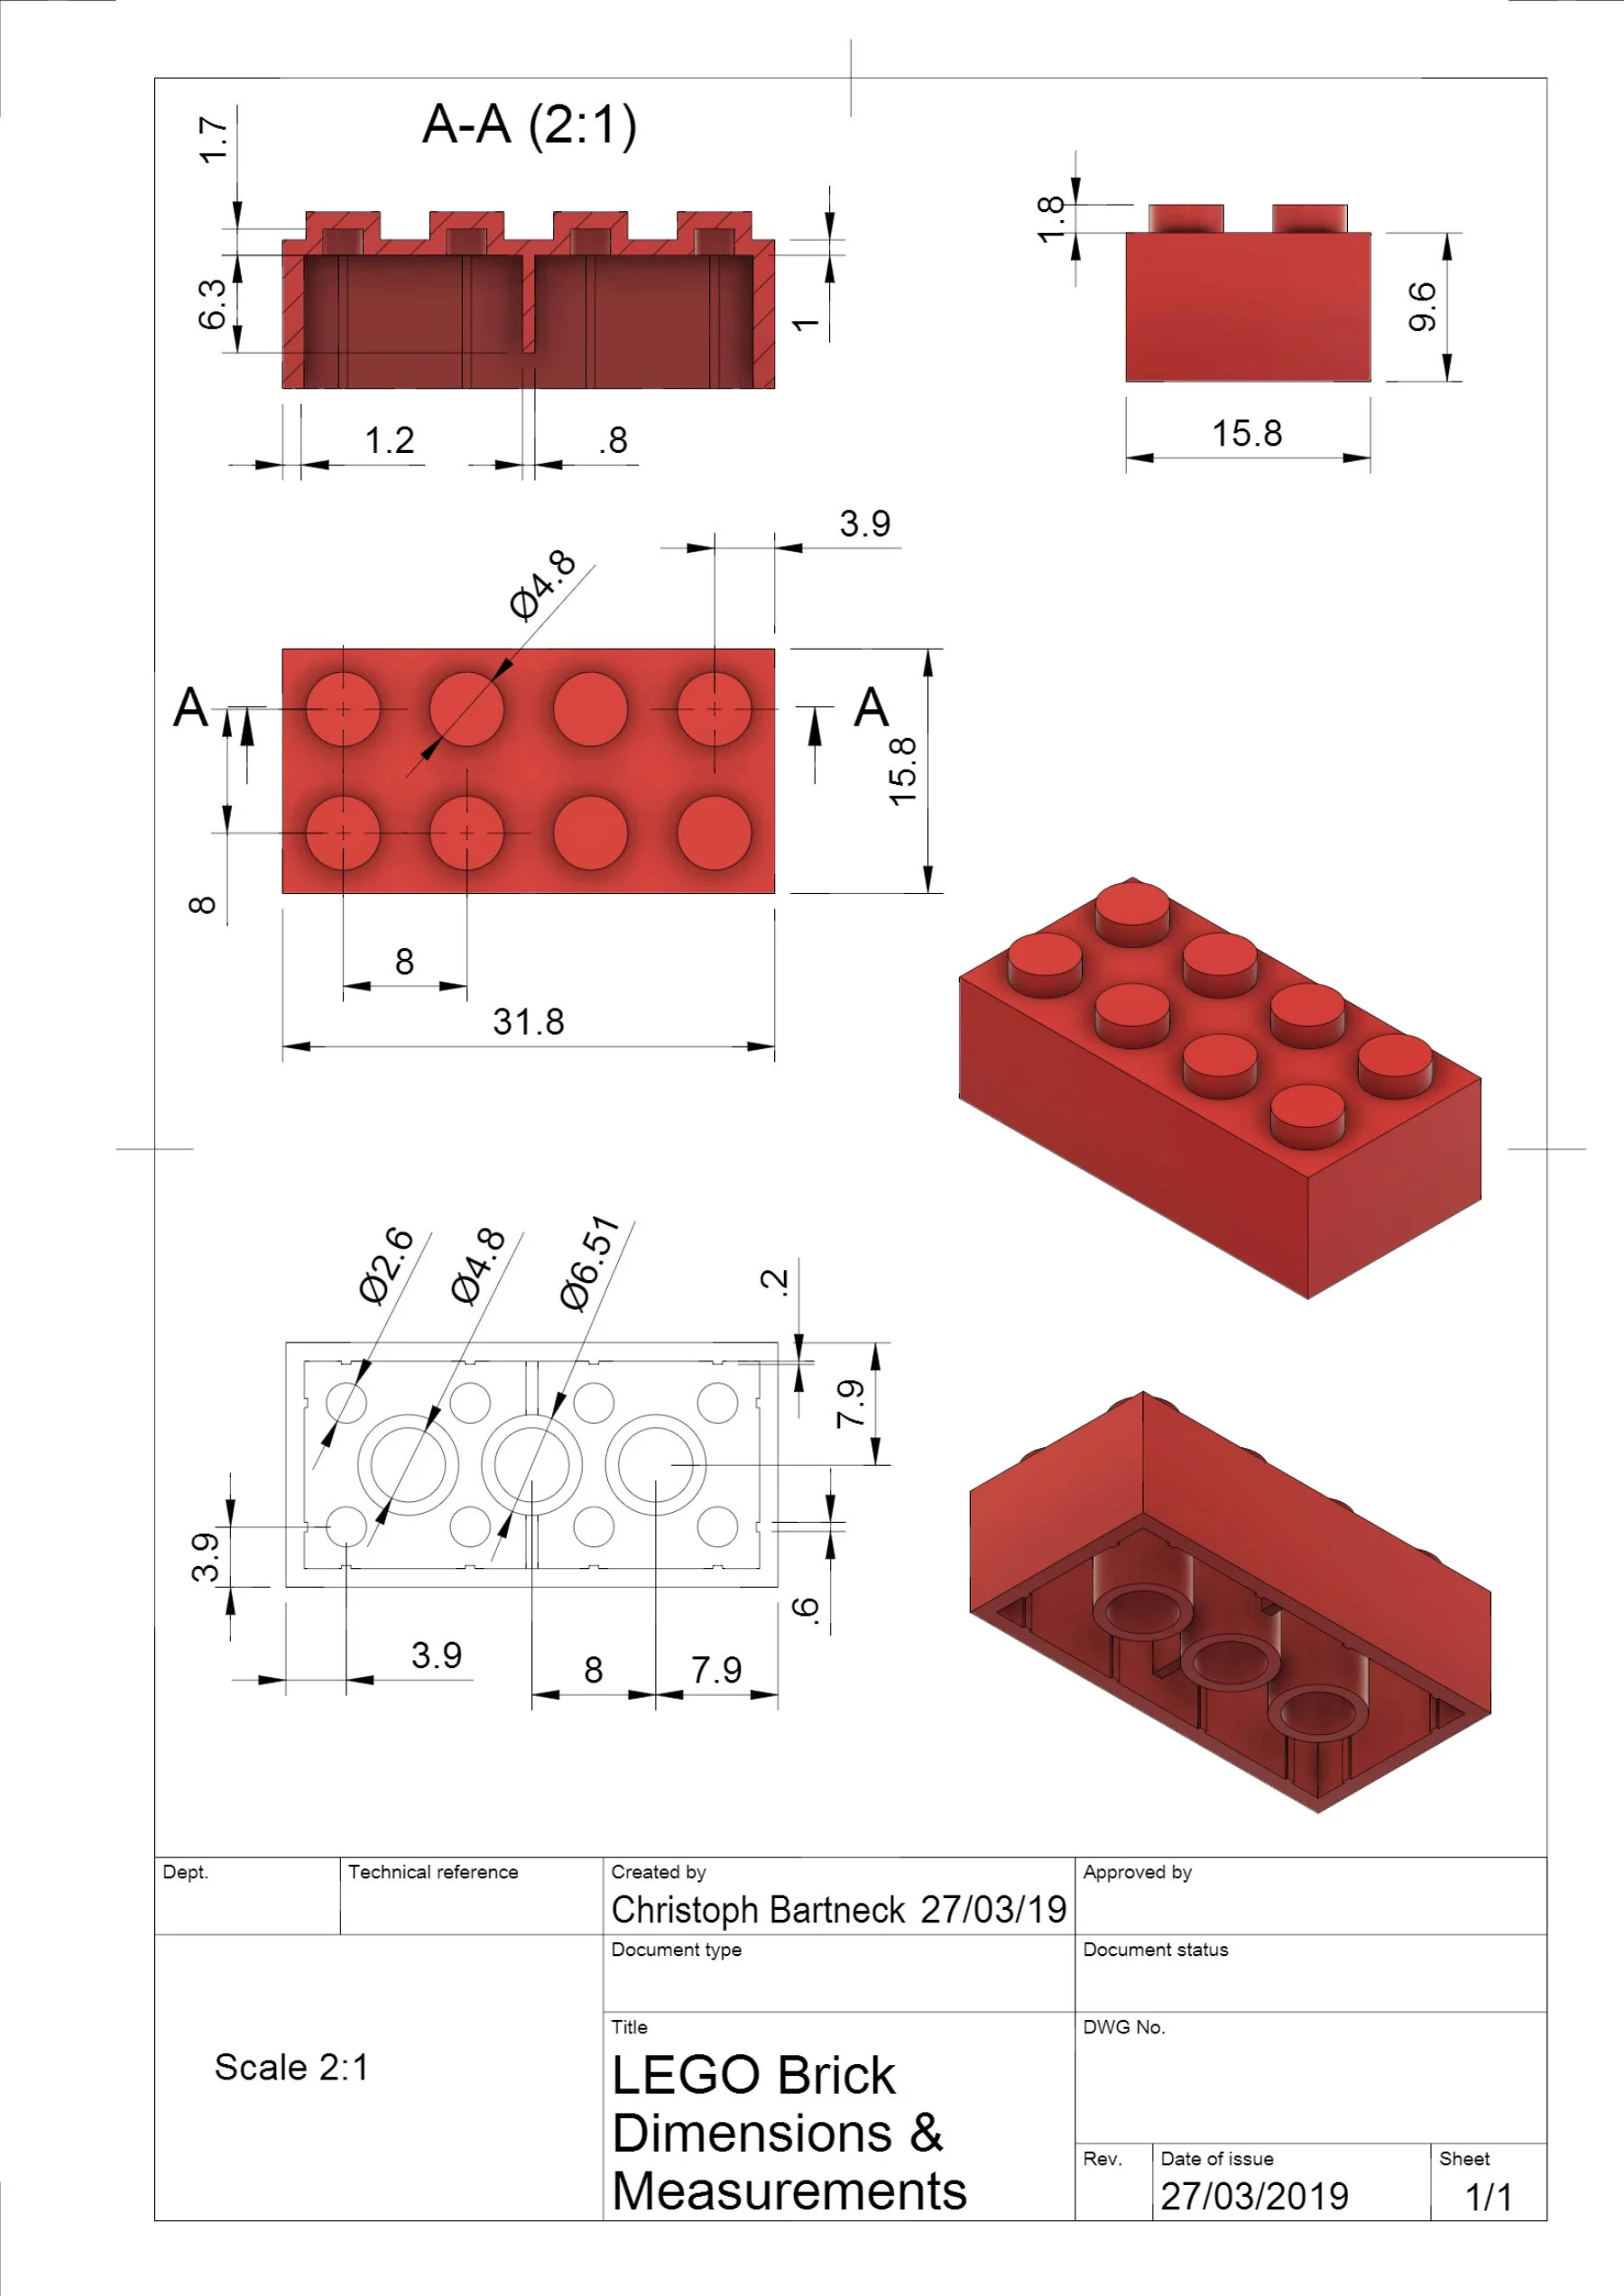
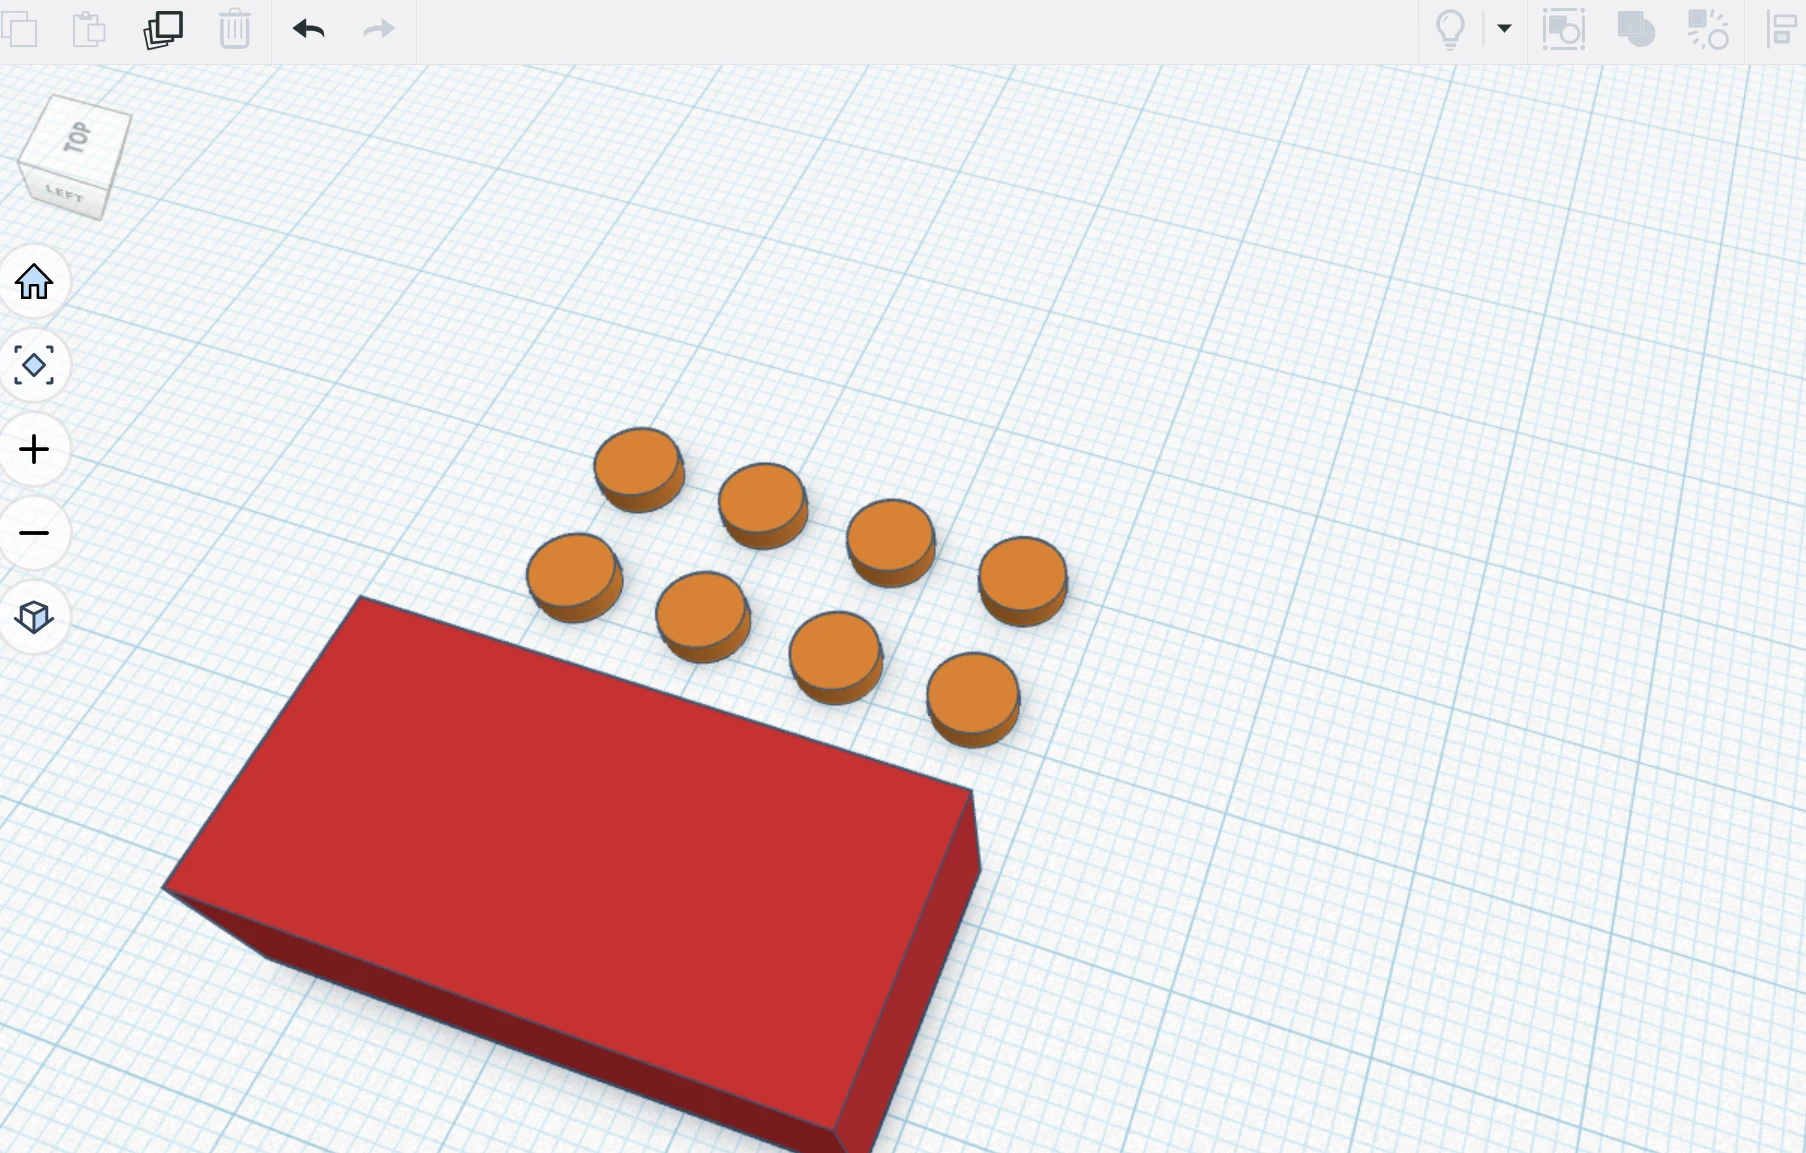
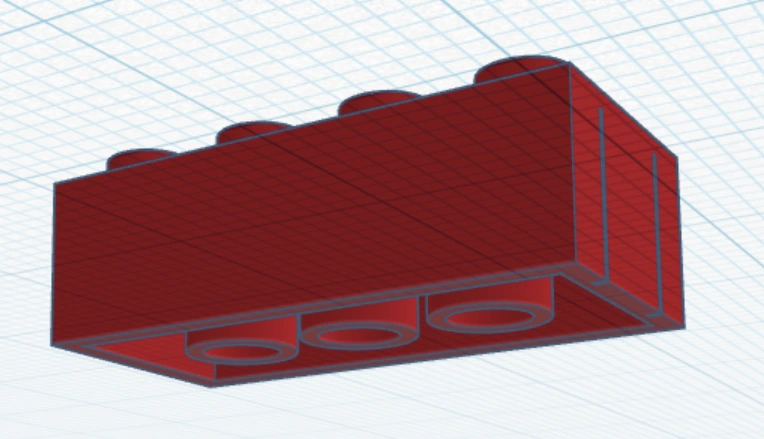
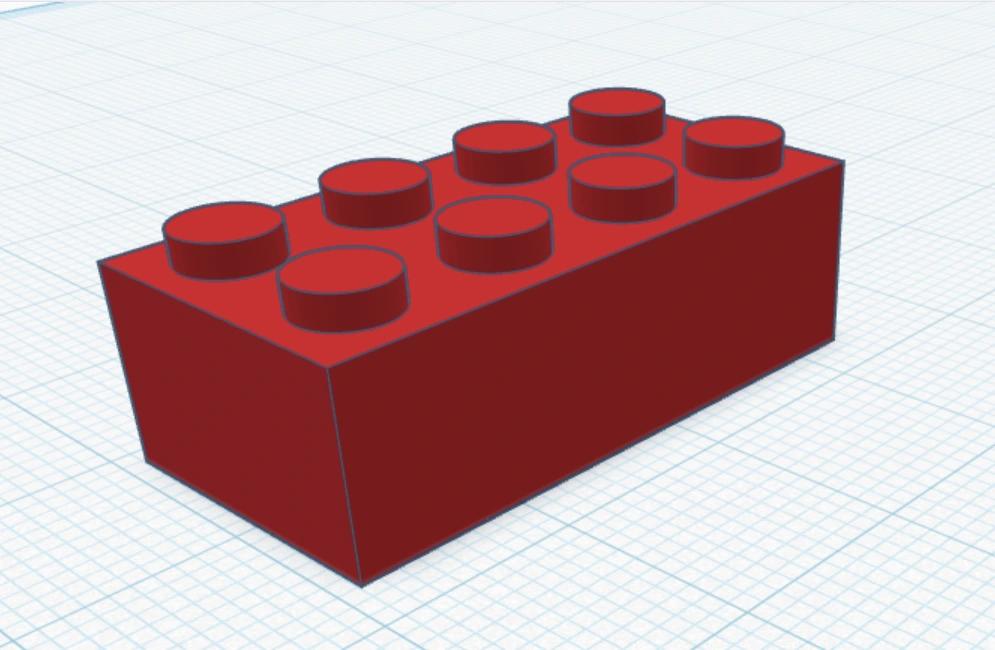
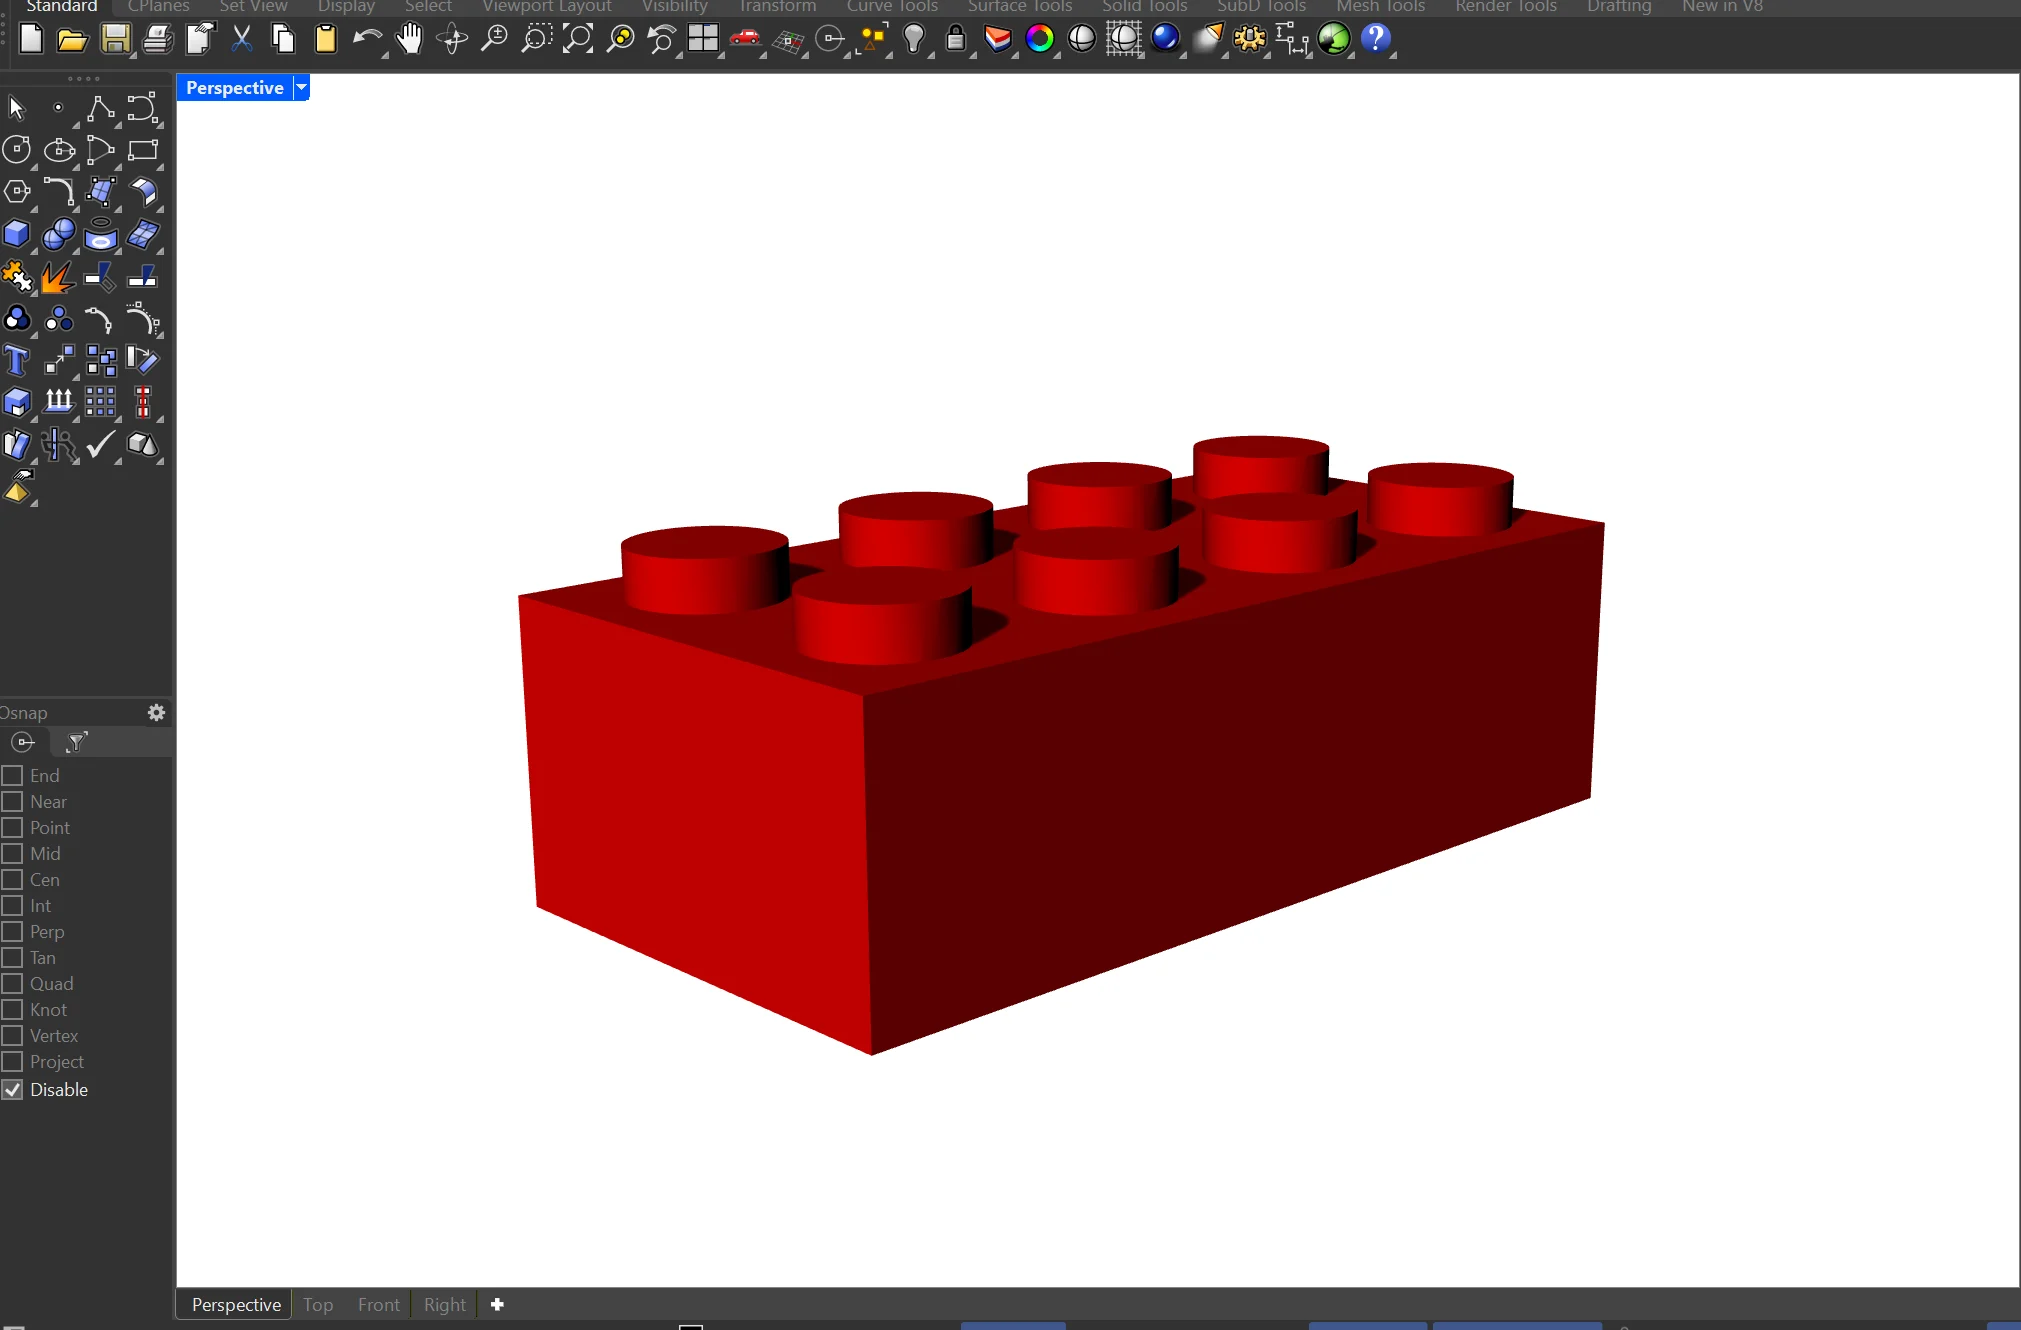
Exploring tinkercad by making a Lego block.