assignments
- Plan & sketch a potential final project
- student agreement to repo
- work through a git tutorial
Setup checklist
- install local program git
- generate SSH key (id ed25519)
- login to fabcloud
- clone personal repo
- make & publish changes
- install markdown (optional)
- explore

              # Replace the text below to customize your site

              site_name: Your name - Fab Academy
              site_description: Fab Academy documentation site for Your Name
              site_author: Your name
              copyright: Copyright 2023 Your name - Creative Commons Attribution Non Commercial

              site_url: http://fibasile.fabcloud.io/fabacademy-student-template/

              extra:
                # Set your own social media below (or remove)
                social:
                  # For other social icons at https://squidfunk.github.io/mkdocs-material/setup/adding-social-links/
                  - icon: fontawesome/brands/instagram
                    link: https://instagram.com/fabacademy
                  - icon: fontawesome/brands/facebook
                    link: https://facebook.com/fabacademy
                  - icon: fontawesome/brands/twitter
                    link: https://twitter.com/fabacademy
                  - icon: fontawesome/brands/linkedin
                    link: "https://linkedin.com/in/academy"

              theme:
                name: material
                palette:
                  # try other colors https://squidfunk.github.io/mkdocs-material/getting-started/#primary-colors
                  primary: deep
                  accent: indigo

                font:
                  # See available fonts at https://fonts.google.com/
                  text: Ubuntu
                  code: Ubuntu Mono

                icon:
                  logo: material/school

                favicon: images/favicon.svg

                features:
                  - navigation.tabs
                  - navigation.instant

              plugins:
                - search
                - git-revision-date-localized:
                    fallback_to_build_date: true
                    # Read more: https://timvink.github.io/mkdocs-git-revision-date-localized-plugin/options/#enabled
                    enabled: !ENV [ENABLED_GIT_REVISION_DATE, false]
Project management
- GIT = version control system
- spiral development / Agile development
- Linear → X bad idea
- escape for disasterless escape
- mvp min viable prototype (works looks like shit)
- git VCS
- see all change made (commits)
- local centralised distributed
- Linus TORVALD Linux + git father
Website to do: 4 pages to design
- landing weekly assignments
- final project
- about me
- template for weekly assignment page
Branches + MkDocs experiment
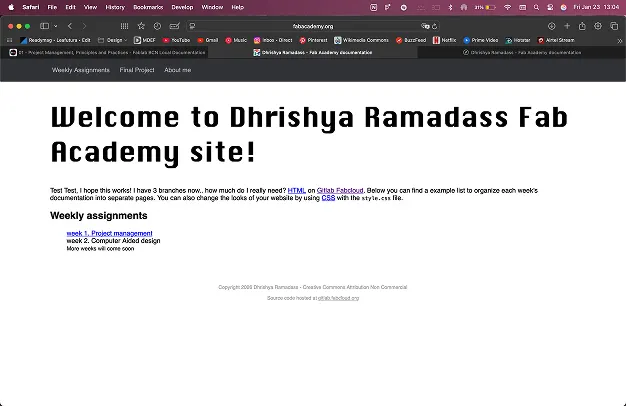
creating a branch to install mkdocs & document it & going back to the original to work on html & css & js
- installed mk docs on branch, deleted everything in the branch & added mk docs files
- edited a bit on VS Code & committed test changes
- I have 3 branches now main handcoded & mkdocs
- tried merging handcoded & main to publish — it worked!!
- I prefer working in main directly and using git history if I need older versions
23rd January: local class - mk docs
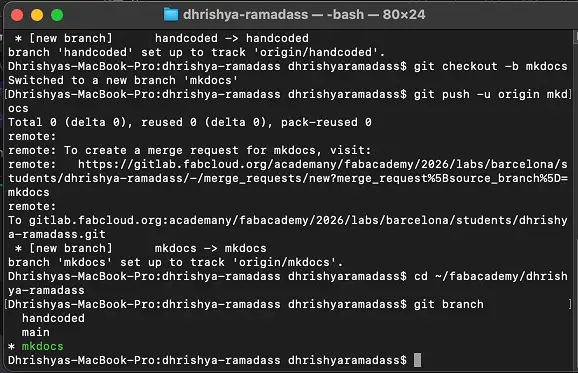
i created a separate branch to run the mkdocs by using git checkout -b mkdocs
and to return to my original branch, I used git checkout main
then I designed the site on figma to visualise the elements and create the backgrounds.
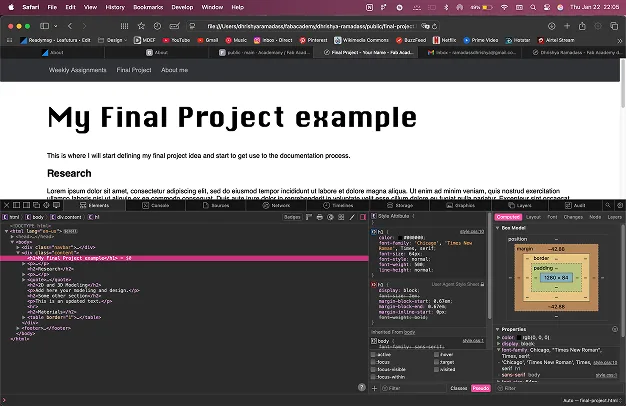
27th, 28th January: coding the website
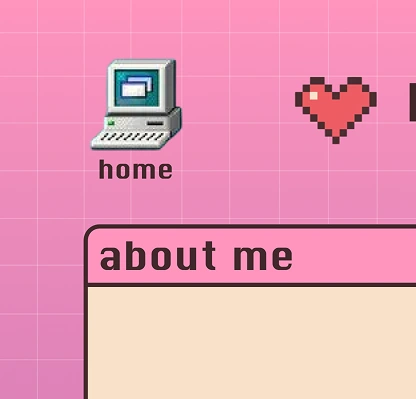
and then coded on VS Code! i used different backgrounds i designed for different pages and coded the hotzones to create a clickable zone with multiple projects. P.s i made the header a part of the background for now, i plan to make it a text part of the code in the next week
the template for the week page
                <header class="page-header">
                    <div class="top-line-title">
                        <div class="title-heart"></div>
                        <h1>Dhrishya Ramadass</h1>
                        <div class="title-heart"></div>
                    </div>

                    <h3>fabacademy at fablab barcelona 2026</h3>
                </header>

                <main>
                    <a class="home-link" href="../index.html">
                        <img src="../images/ui/icon-home.webp" alt="home" />
                        <span>home</span>
                    </a>

                    <div class="window-container">
                        <div class="window-top-bar window-top-bar-documentation">
                            <h3 class="window-top-bar-text">error</h3>
                        </div>

                        <div class="window-content">
                            <section class="week-content">
                                <h2>404-page not found</h2>
                                <h3>please try again later</h3>
                            </section>
                        </div>
                    </div>
                </main>
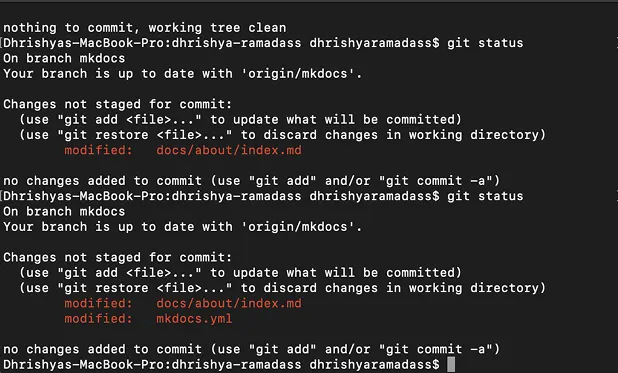
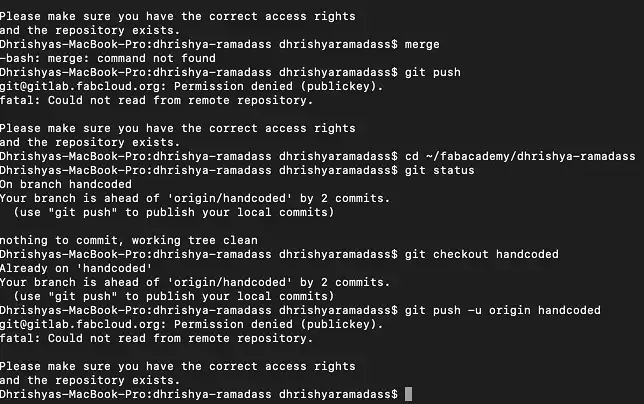
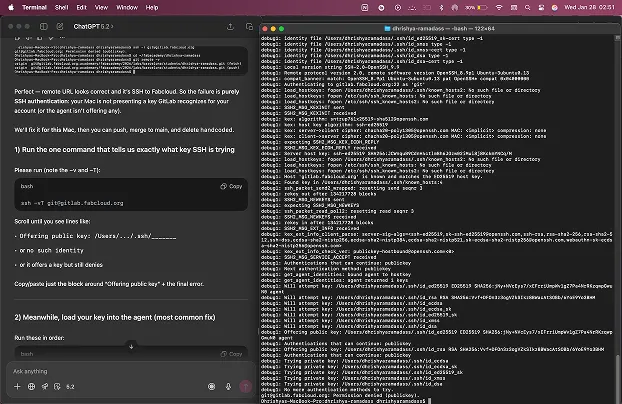
made some folders inside the repo to start coding and got this error on my terminal! after some troubleshooting with chatgpt, we added the SSH key again to gitlab and all was good!!
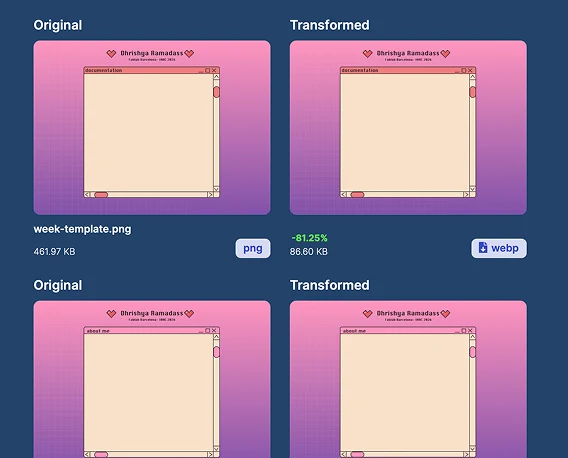
next i downloaded the background as a png and compressed it to a webp format on cloudinary
here is the css:
              .bg-about {
                  background-image: url("images/bg/about.webp");
              }

              .bg-final {
                  background-image: url("images/bg/final.webp");
              }

              .bg-agreement {
                  background-image: url("images/bg/agreement.webp");
              }

              .bg-week {
                  background-image: url("images/bg/week-template.webp");
              }

              .bg-week1 {
                  background-image: url("/images/bg/week-1-bg.webp");
                  background-repeat: no-repeat;
                  background-position: top center;
                  background-size: 100% auto;
                  background-attachment: scroll;

                  /* subtle fallback color while image loads */
                  background-color: #f7efe9;
              }
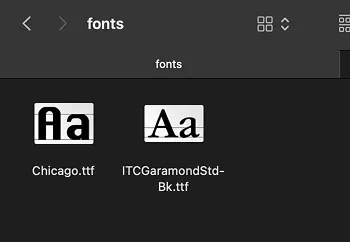
and added my fonts for the folder name and student agreement into the repo as well
              /* small captions keep smaller size */
              .caption {
                  font-size: 14px;
                  opacity: 0.85;
                  margin-top: -8px;
                  margin-bottom: 20px;
              }

              /* fix: agreement-text font-size formatting */
              .agreement-text {
                  font-family: "ITC Garamond Std", serif;
                  font-size: 16px;
                  line-height: 1.208;
                  letter-spacing: 0.003em;
                  color: #2b1d1d;
              }

              .agreement-box {
                  position: absolute;
                  left: 10vw;
                  top: 28vh;
                  width: 72vw;
                  max-width: 1400px;

                  padding: 18px 22px;
              }
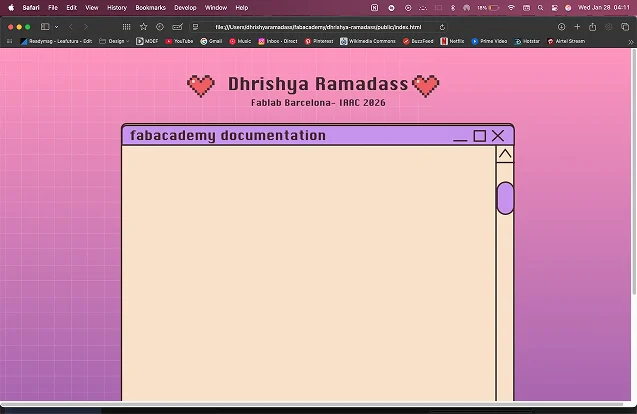
first look! but the bottom got cropped because i made it on figma like i would make a site, and then increased the height as i needed to add more stuff - similar to prototyping for ui/ux design - so i needed to change the resolution again
similar to prototyping for ui/ux design - so i needed to change the resolution again
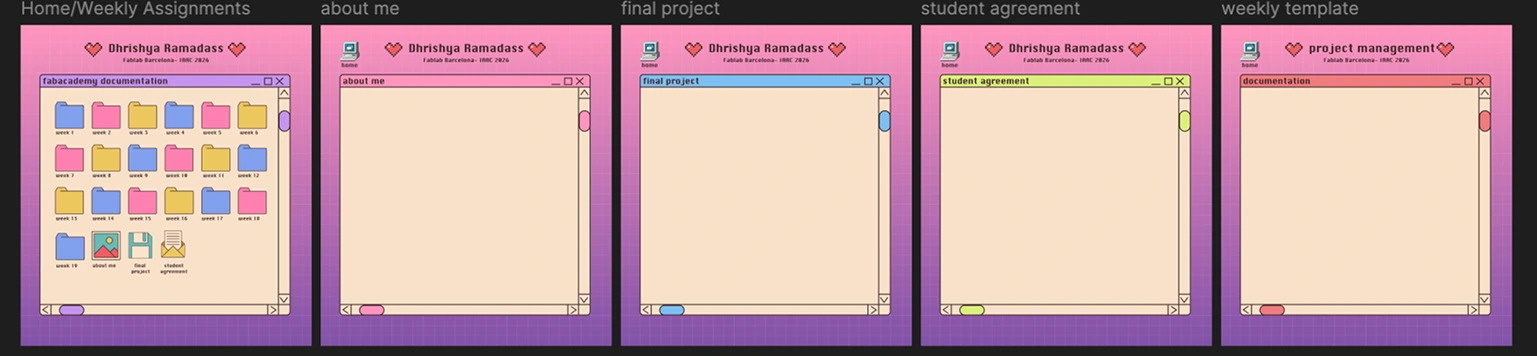
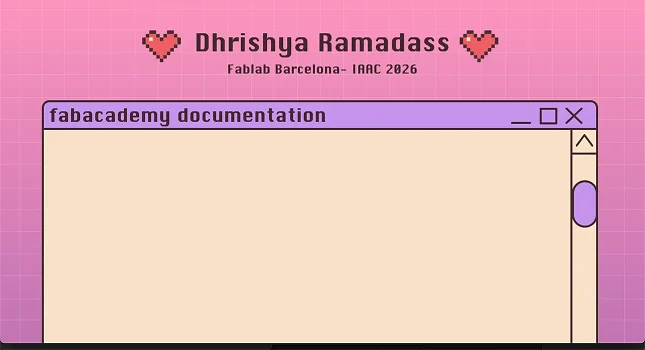
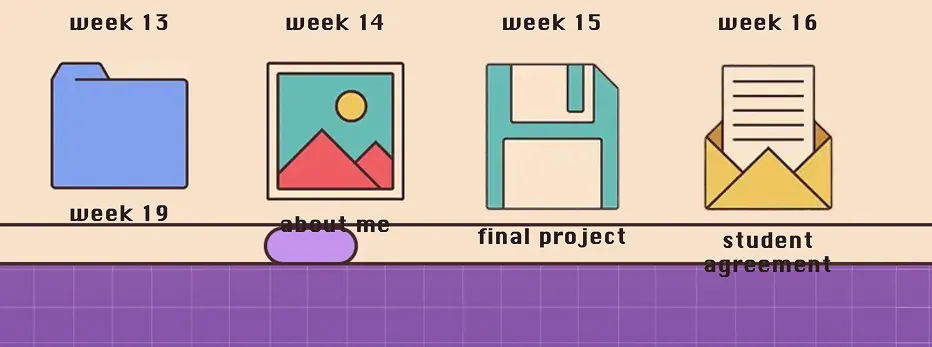
much better! now i want to add the folders in
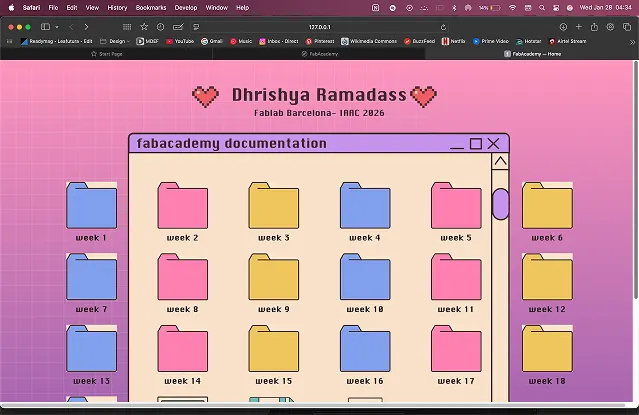
i ended up making the folder in the background bigger to fit the folders

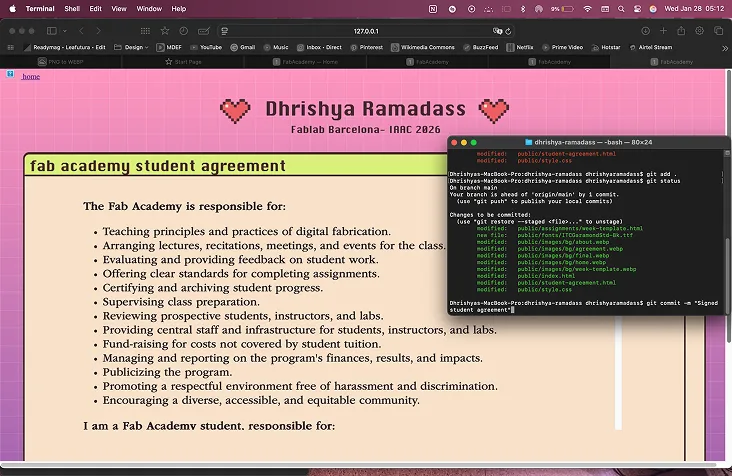
linked the pages with <href> in the html with the hotzones i created earlier and then committed the student agreement to my repo
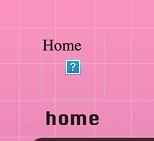
added a home button to make navigation easier on my site but i couldn’t see it. found out it was a pathway issue and i was referencing the wrong folder
icon-home.webp
            <a class="home-link" href="index.html">
                <img src="images/ui/icon-home.webp" alt="Home" />
                <span>home</span>
            </a>
the css:
          .home-link {
              position: fixed;
              top: 24px;
              left: 24px;
              z-index: 1000;
              display: grid;
              justify-items: center;
              gap: 6px;
              text-decoration: none;
              color: inherit;
          }

          .home-link img {
              width: 40px;
              height: auto;
              display: block;
          }
the html:
changed linking
          <a class="home-link" href="../index.html">
              <img src="../images/ui/icon-home.webp" alt="Home" />
              <span>home</span>
          </a>
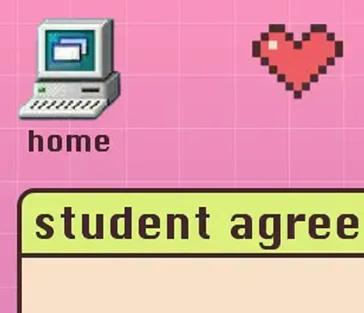
can see it! i fixed these small bugs for now, to focus on finishing the documentation!

Final project idea
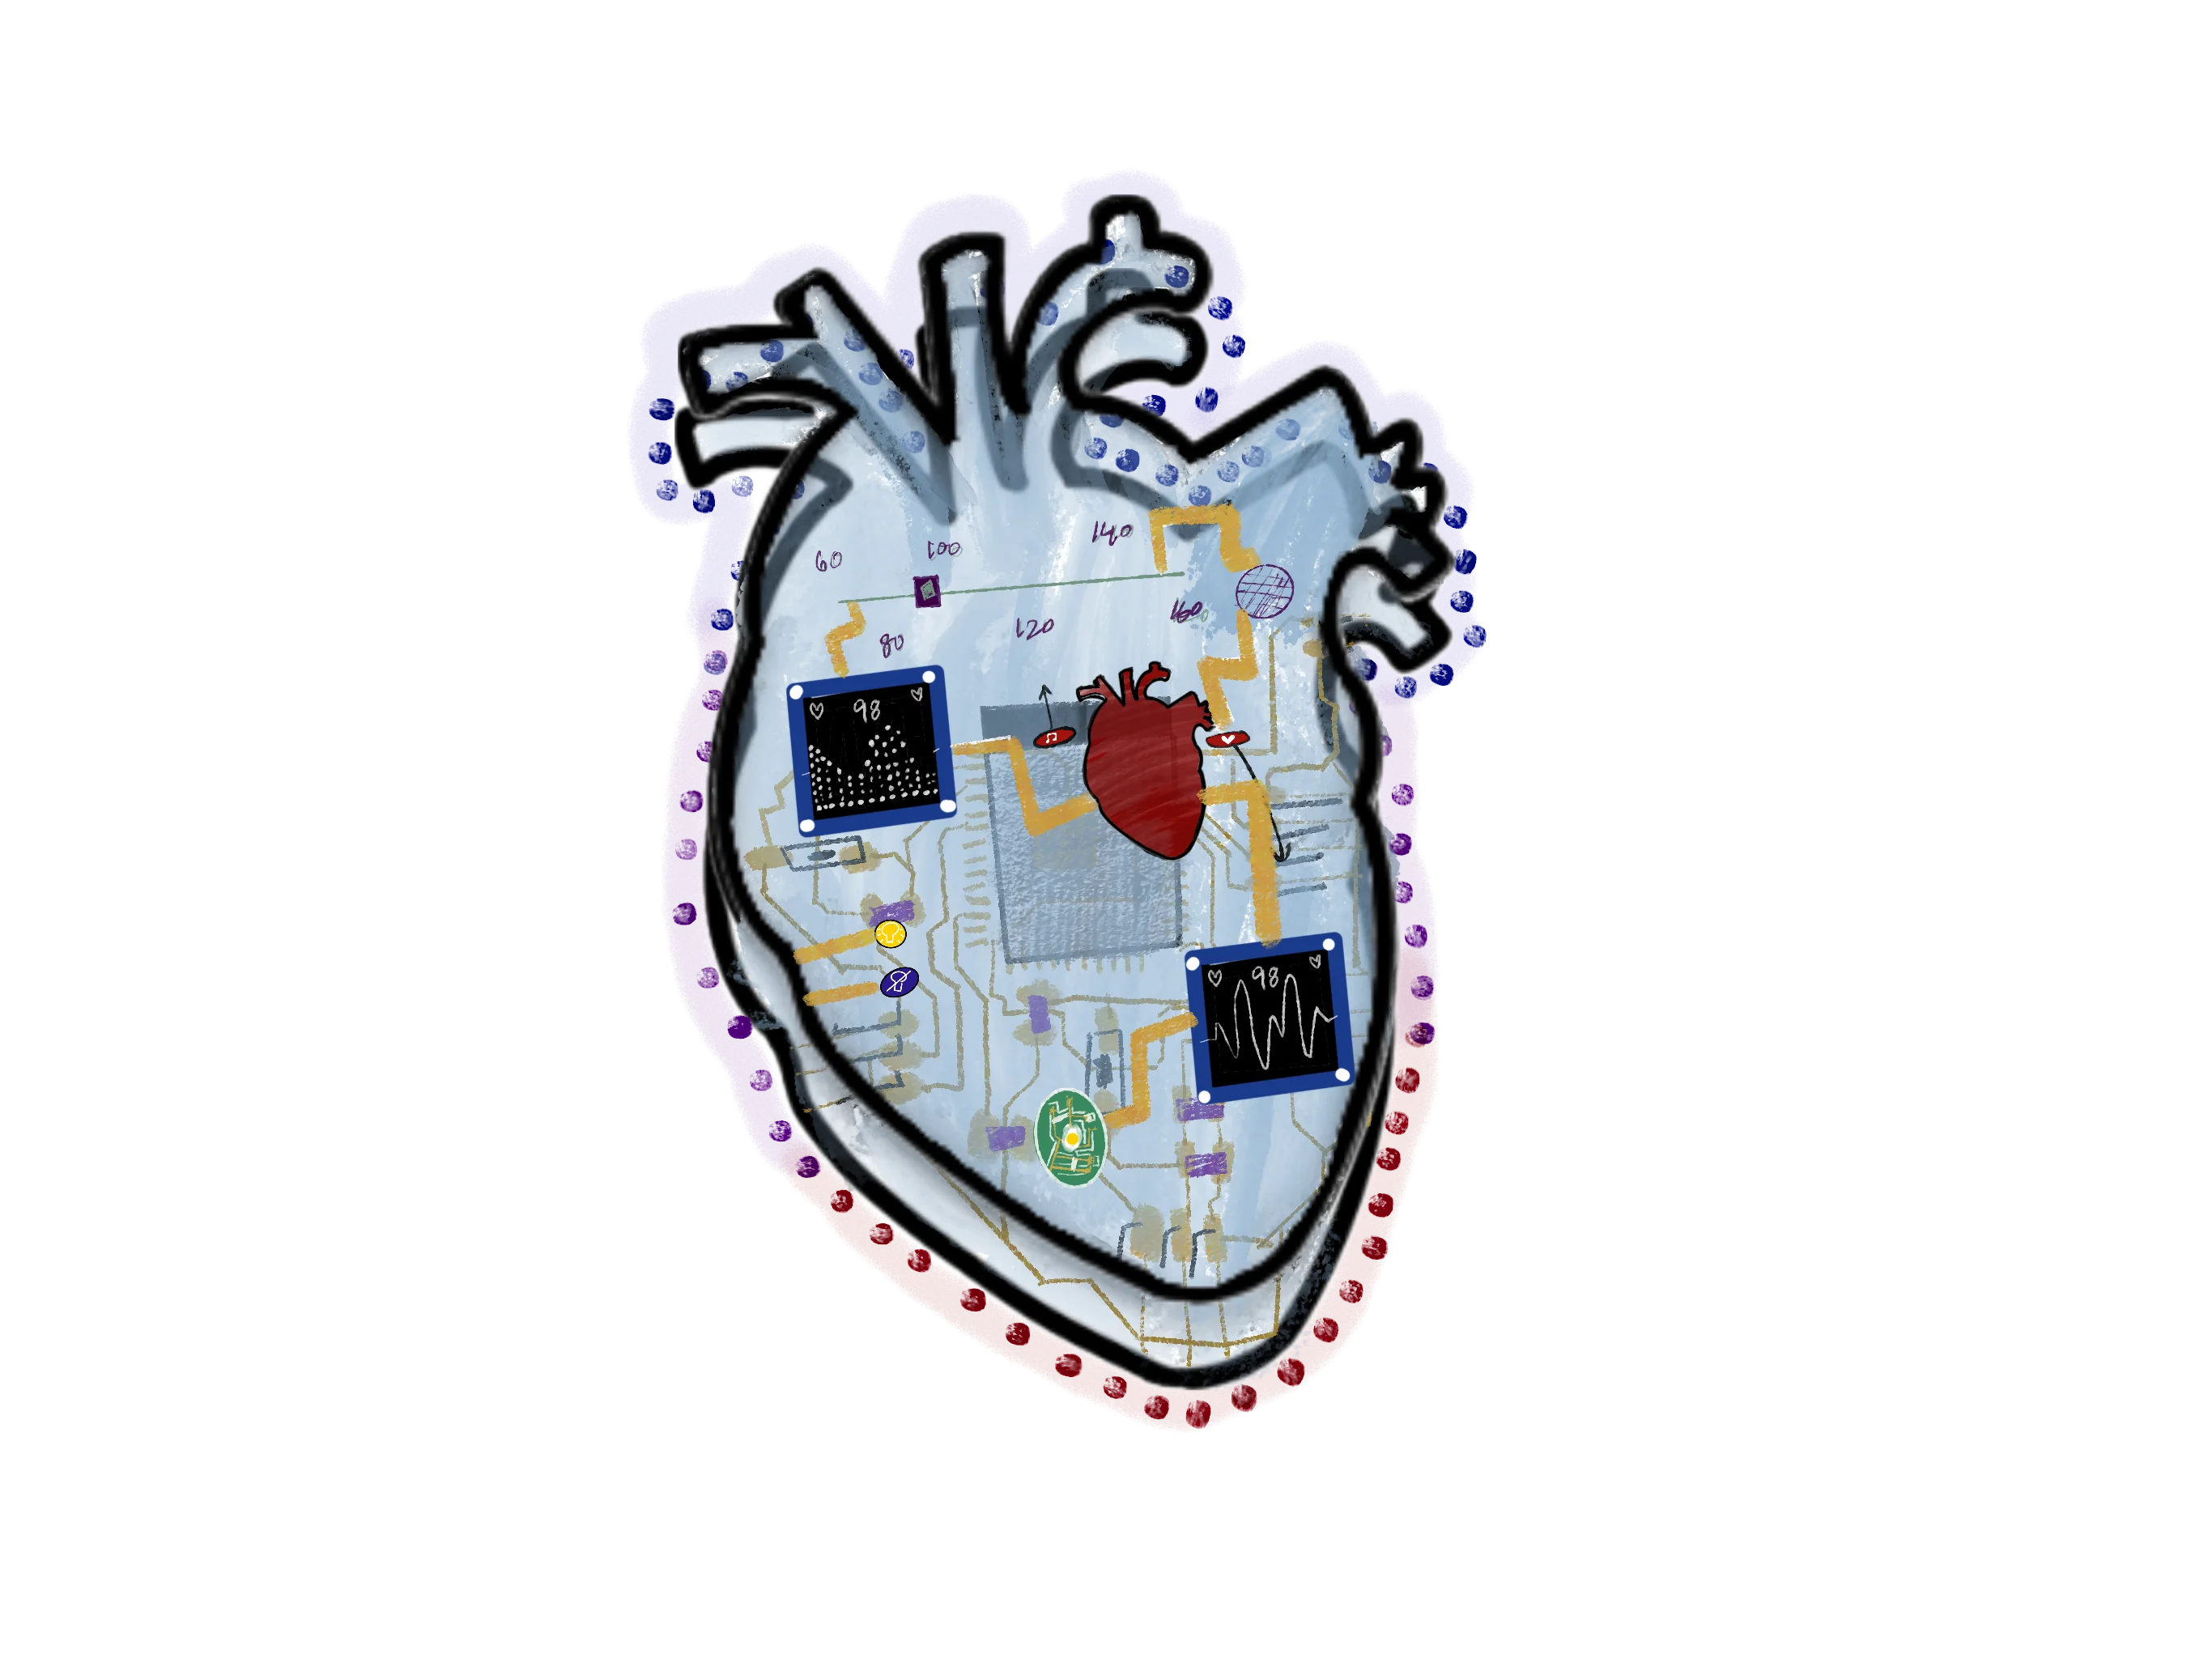
for my final project, I want to make a heartbeat visualiser and stabiliser
- What does the machine do?
- uses pulse sensor input and neopixel output to visualise the heartbeat of the person touching it
- I was inspired to use a metronome from mu experience as a classical dancer and observing how beats influence the body and the speed at which breathing and movement happens.
- it has metronome and a slider with different BPM (beats per minute) values as the input
- the system uses a custom made PCB to control lights, OLEDs, motors and sensors.
- the idea is that the user can see their heartbeat and set a higher or lower BPM on the metronome to increase or decrease the heartbeat
- the oled screen will show the waveform and BPM data
- I imagine this to be used for meditation, grounding, anxiety control or even just as a metronome
to find out
- what materials will i use?
- how will the interface be?
- How can the 2 systems interact? the pulse visualiser and the metronome slider+ output
- what will the output for the metronome be? speaker, vibrations, sound using motor and arm,etc
- which electronic components to use to include
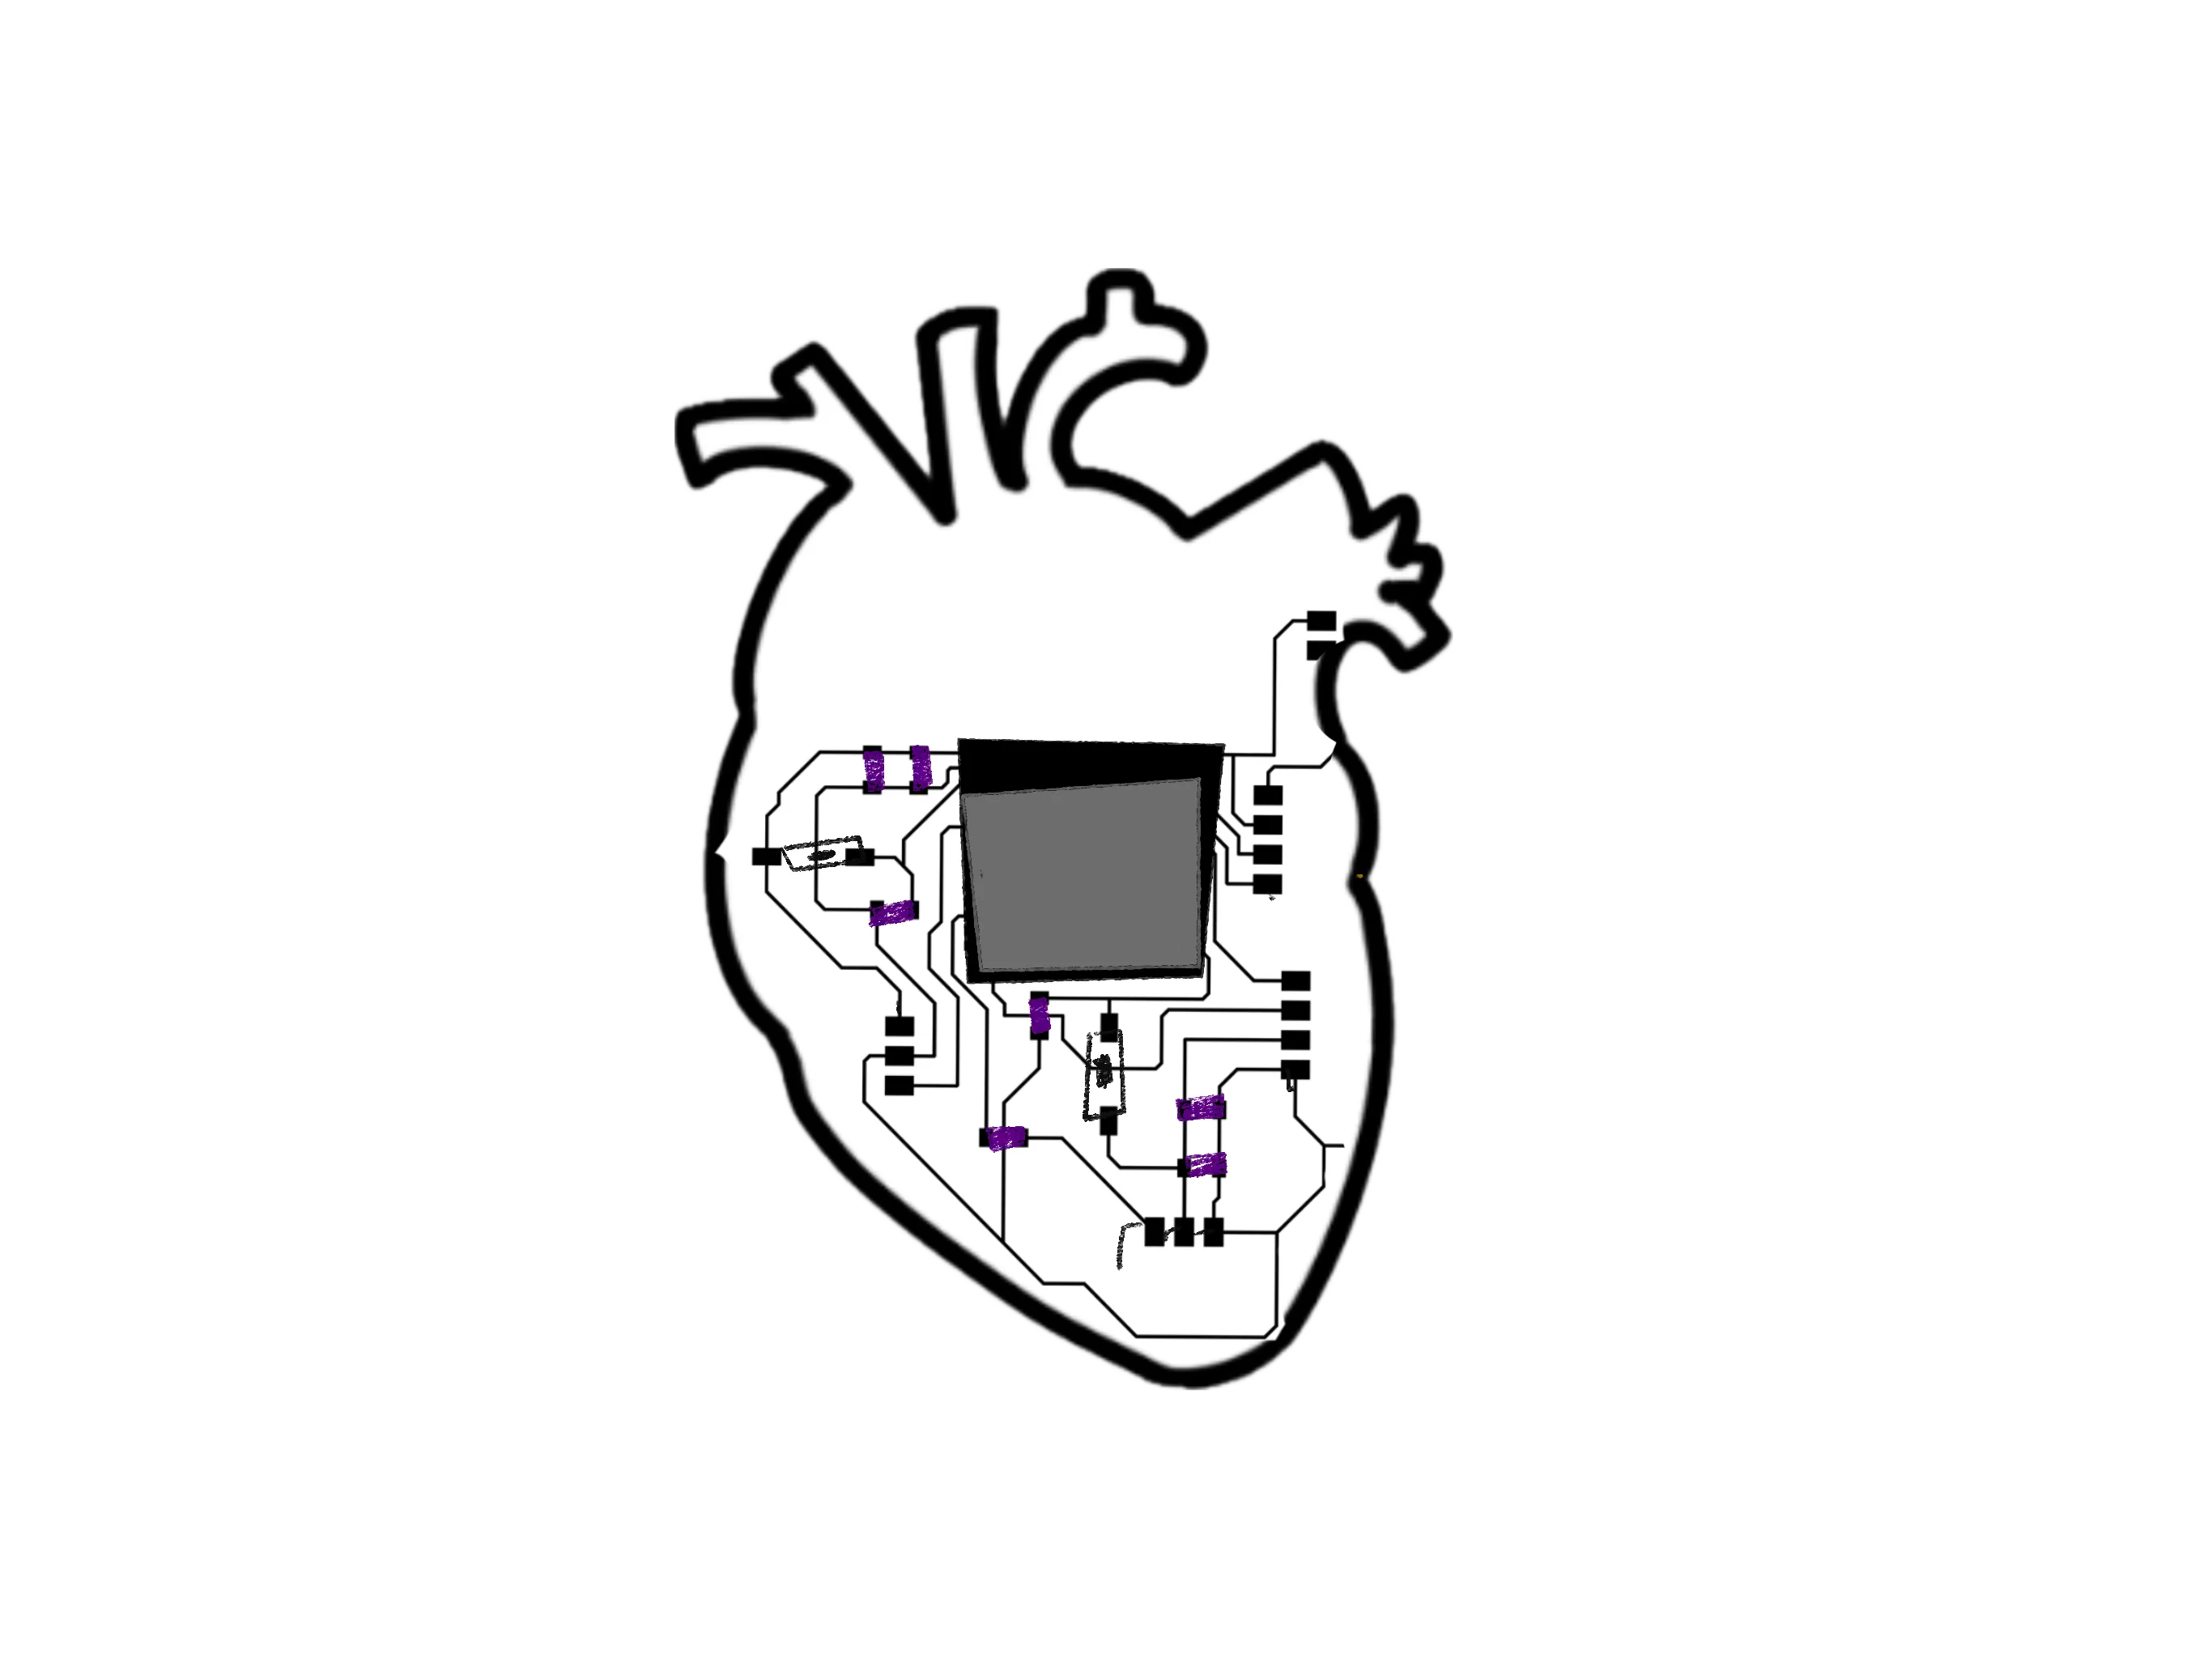
here is my initial idea
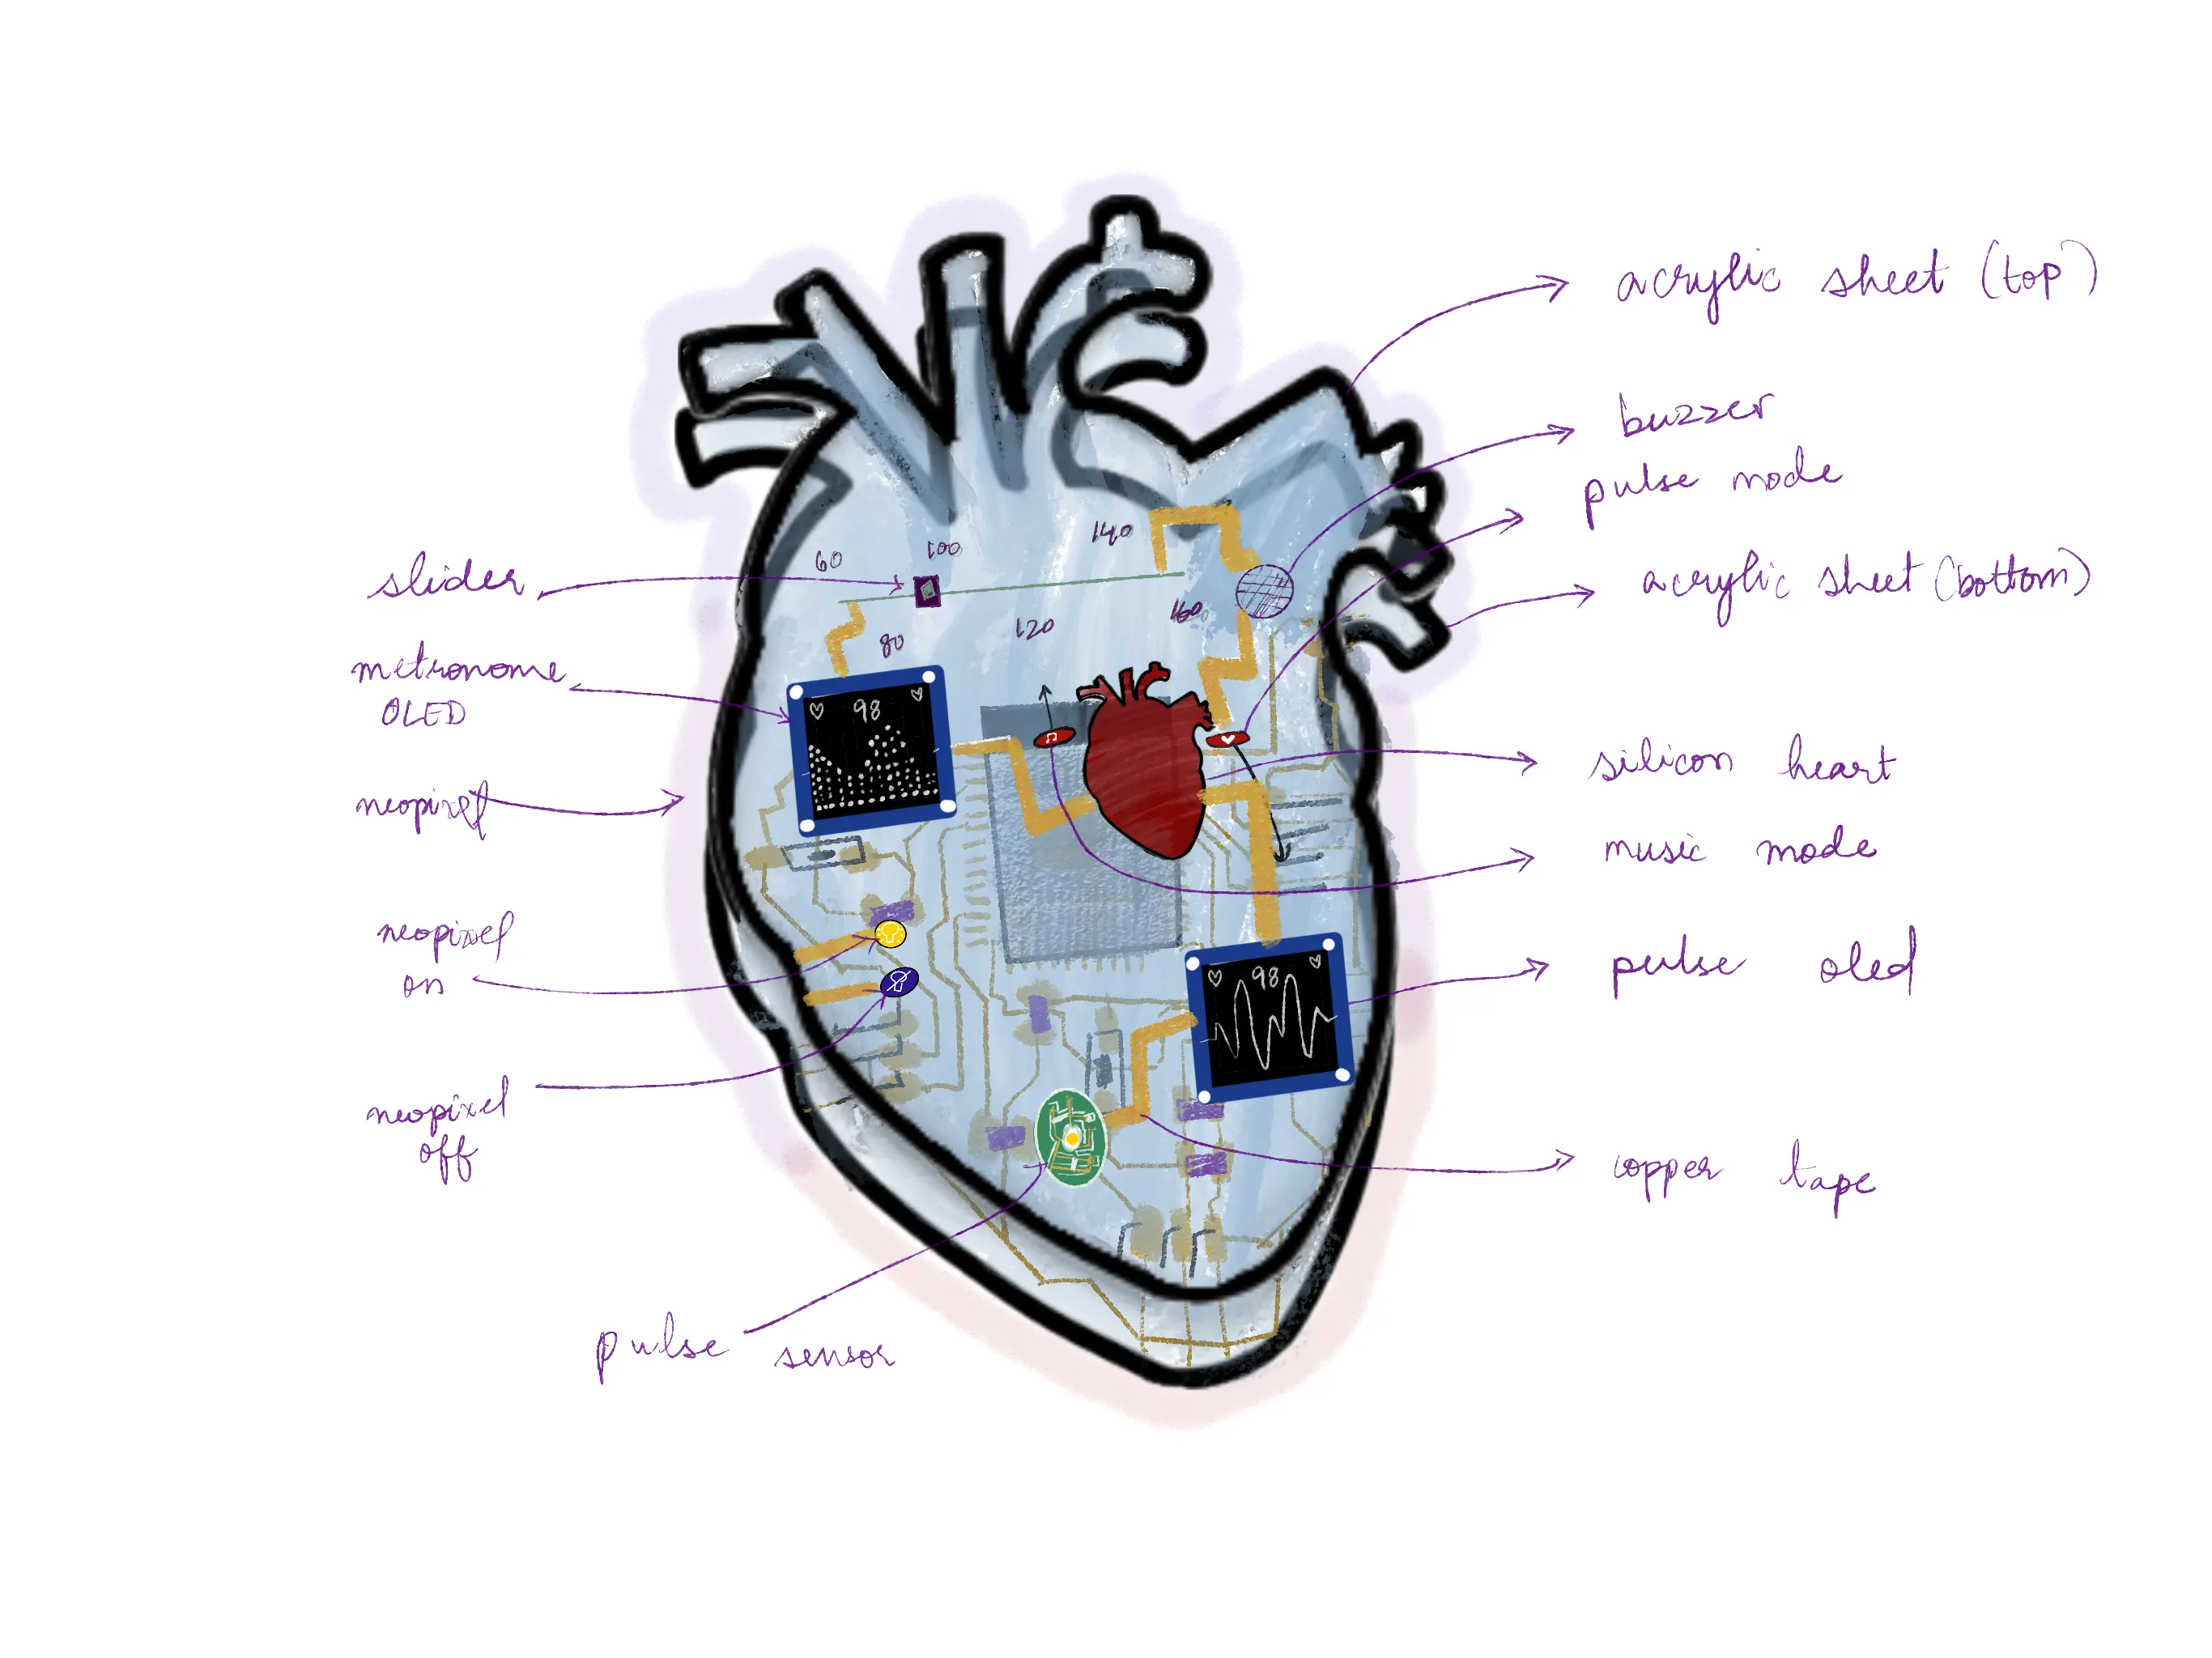
what i need
- barduino
- neopixel lights
- OLED screen
- pulse sensor
- motor
- potentiometer
- buzzer
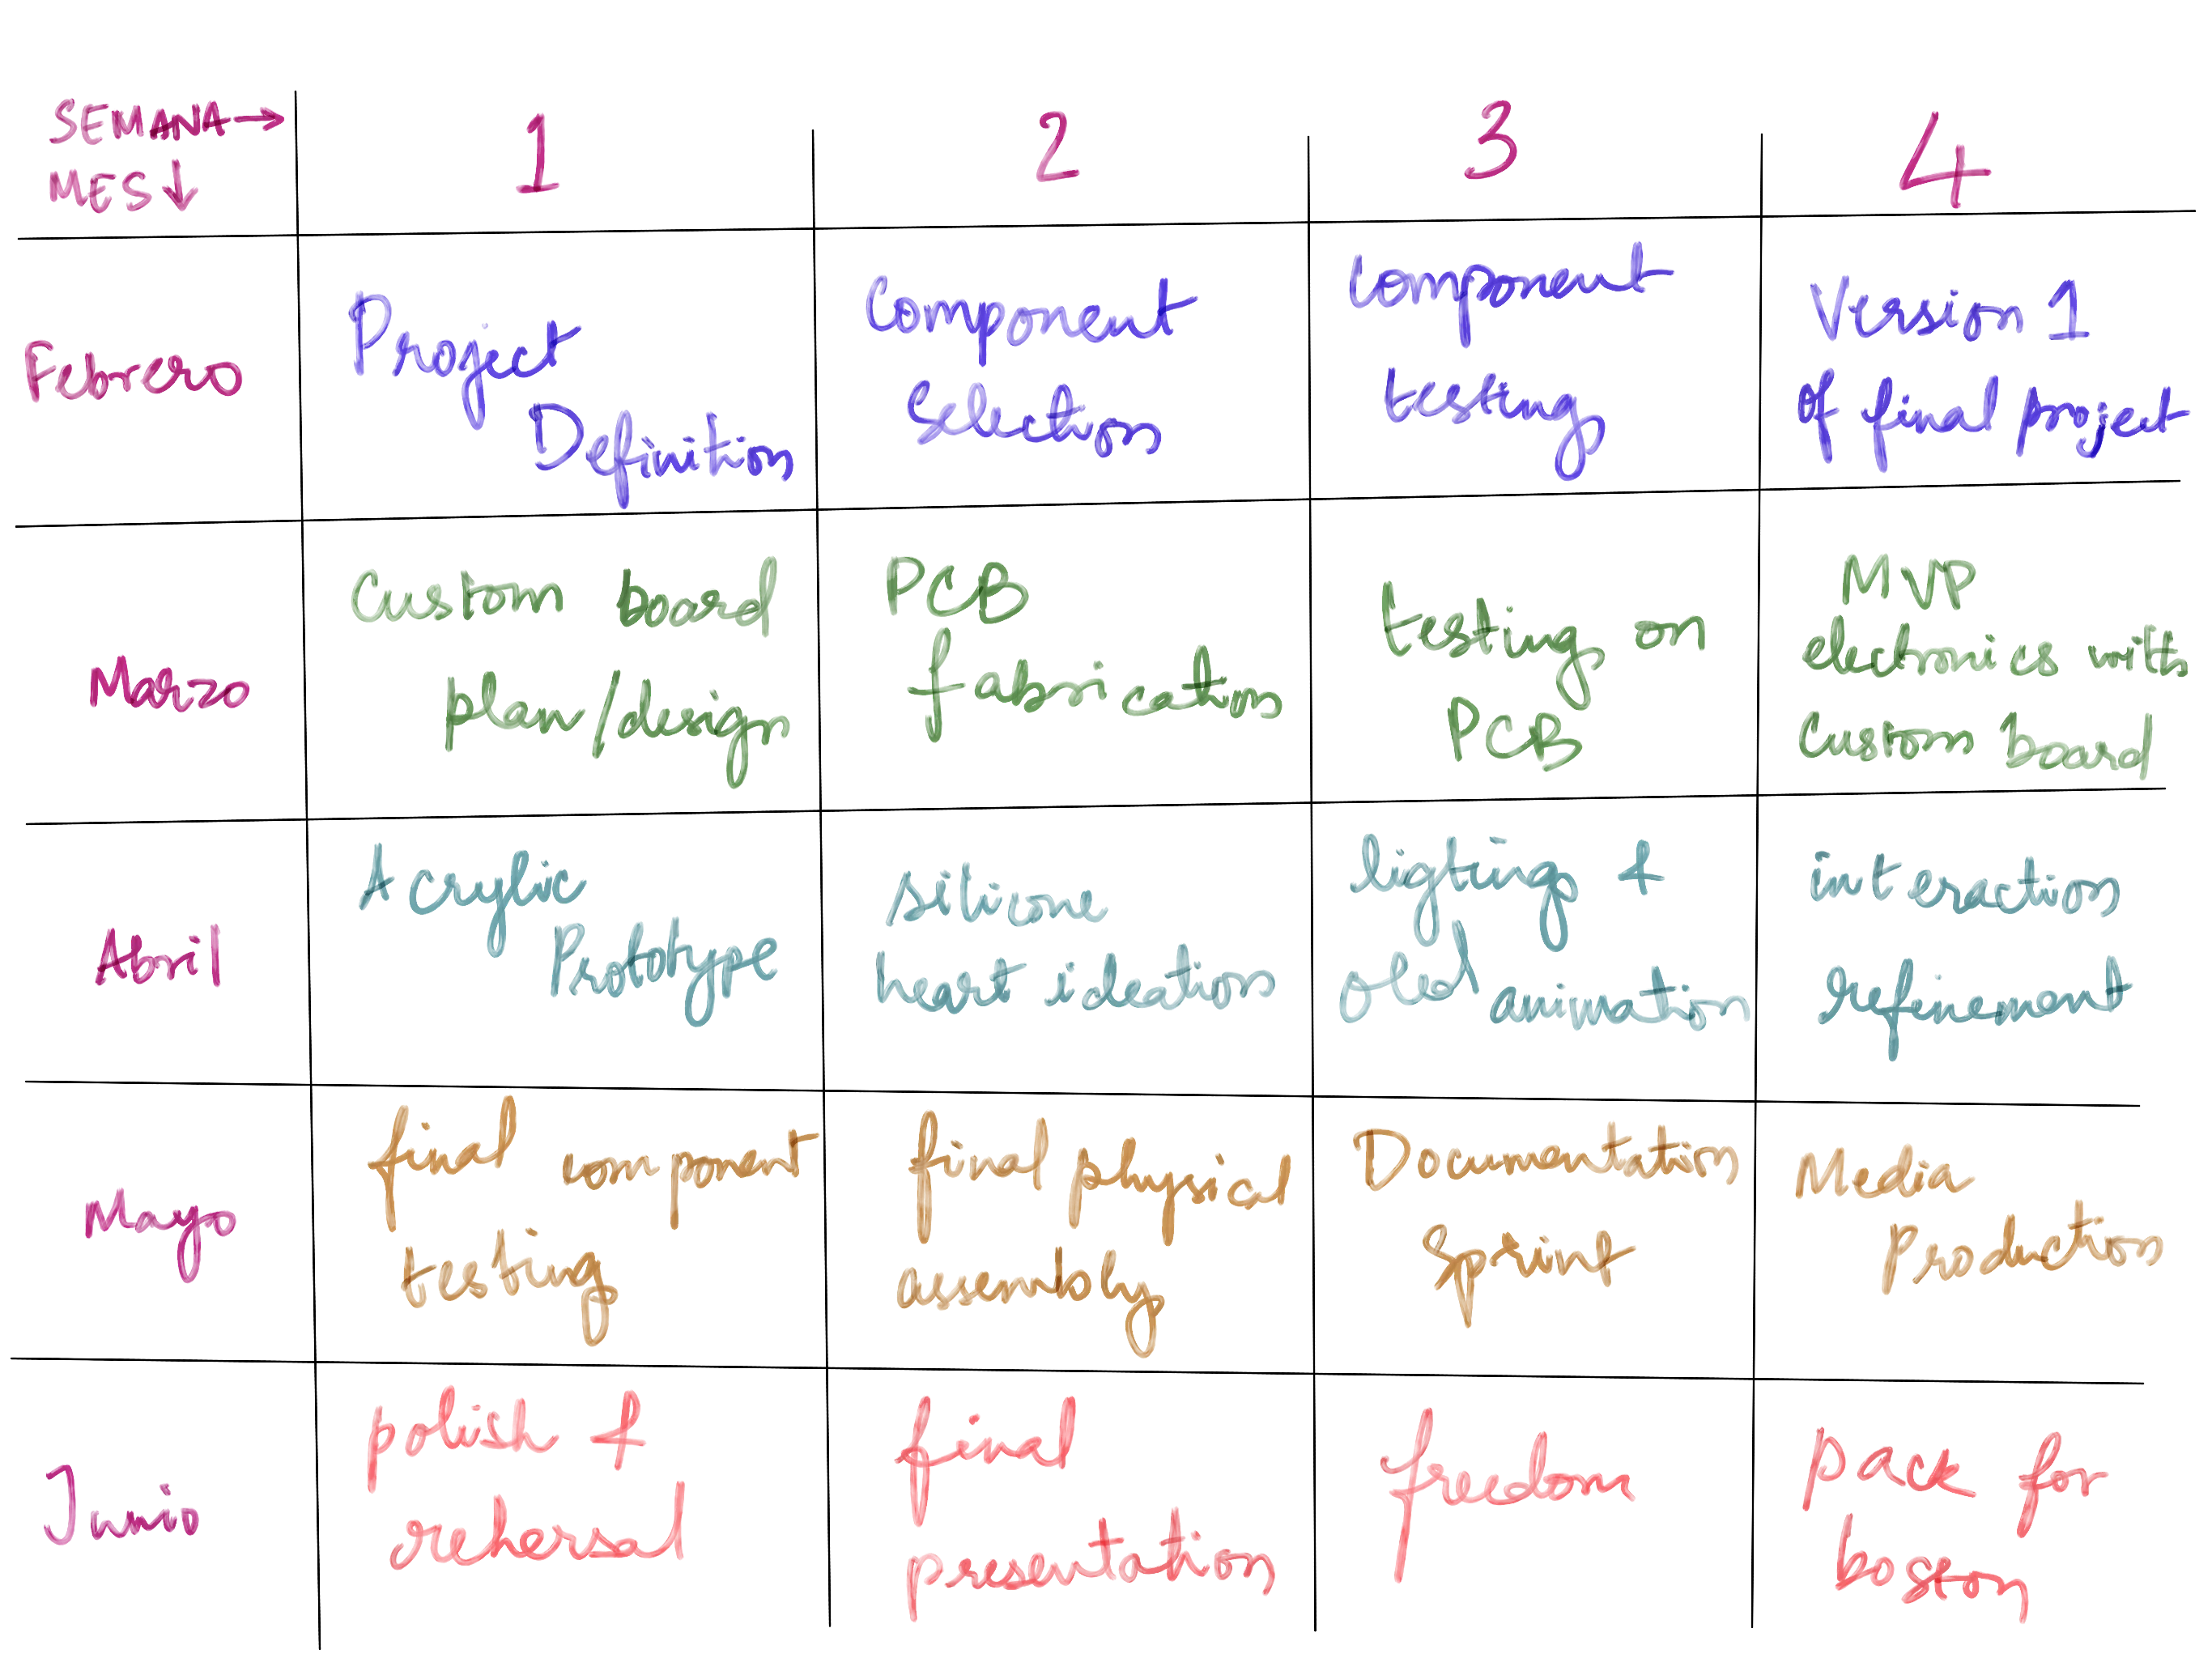
final project execution plan
monthly overview:
- February: Research and planning, understanding technical foundations: understand the components i need and assemble a minimum version with available components and barduino.
- March: Prototyping and custom electronics designing: learn pcb making, circuitry and create a version of the final project
- April: Testing and iteration, the physical experience: transform and tweak the experience to create a realistic and emotional output
- May: Final adjustments, polishing and documentation: make the final version and update documentation on site
- June: Presentations!
here is a more complex breakdown of the project timeline. this one is pretty ambitious but i hope to stick to it
personal reflection
It was an exciting week as we explored the possibilities of technology and design and the potential for creating meaningful work and interactions. I am fairly new to coding so i used A LOT of help from ChatGPT to help me understand git , terminal, vs code, html and css. I considered using markdown to make it easier for myself but then I also made a highly unrealistic design that I plan to achieve with just html, css and javascript to help me learn the basics of these languages. I have always been curious about them so i appreciate the opportunity to explore.
Once the git setup is completed, he most consistent git commands i use are git status, git add ., and git push. During the html coding, i found that it was challenging but good for me to work in reverse where i had the design created and decided to do anything to reach my vision, rather than grow in the language at a realistic pace. i am happy that i am at a point where all the pages are fully coded and the code is handwritten by me and I understand to an extent what's in there.
i predict that i will get faster at coding as i work on the documentation and explore the limits of the cool things i can do with the languages i am learning. my hope is that i keep up regularly and don't forget easily what i learned this week. i learned that it is important to compress files and keep every push less than 2MB (i think? i need to clarify) this might also be complicated as it is difficult to do with 3d models and good quality renders.
over time i have made made modifications to my site such as separate sections in the weekly pages, table of contents, and more customisation of each weekly page. I have also replaced the background images with gradients in css and coded repedentations of the designs i created on figma.
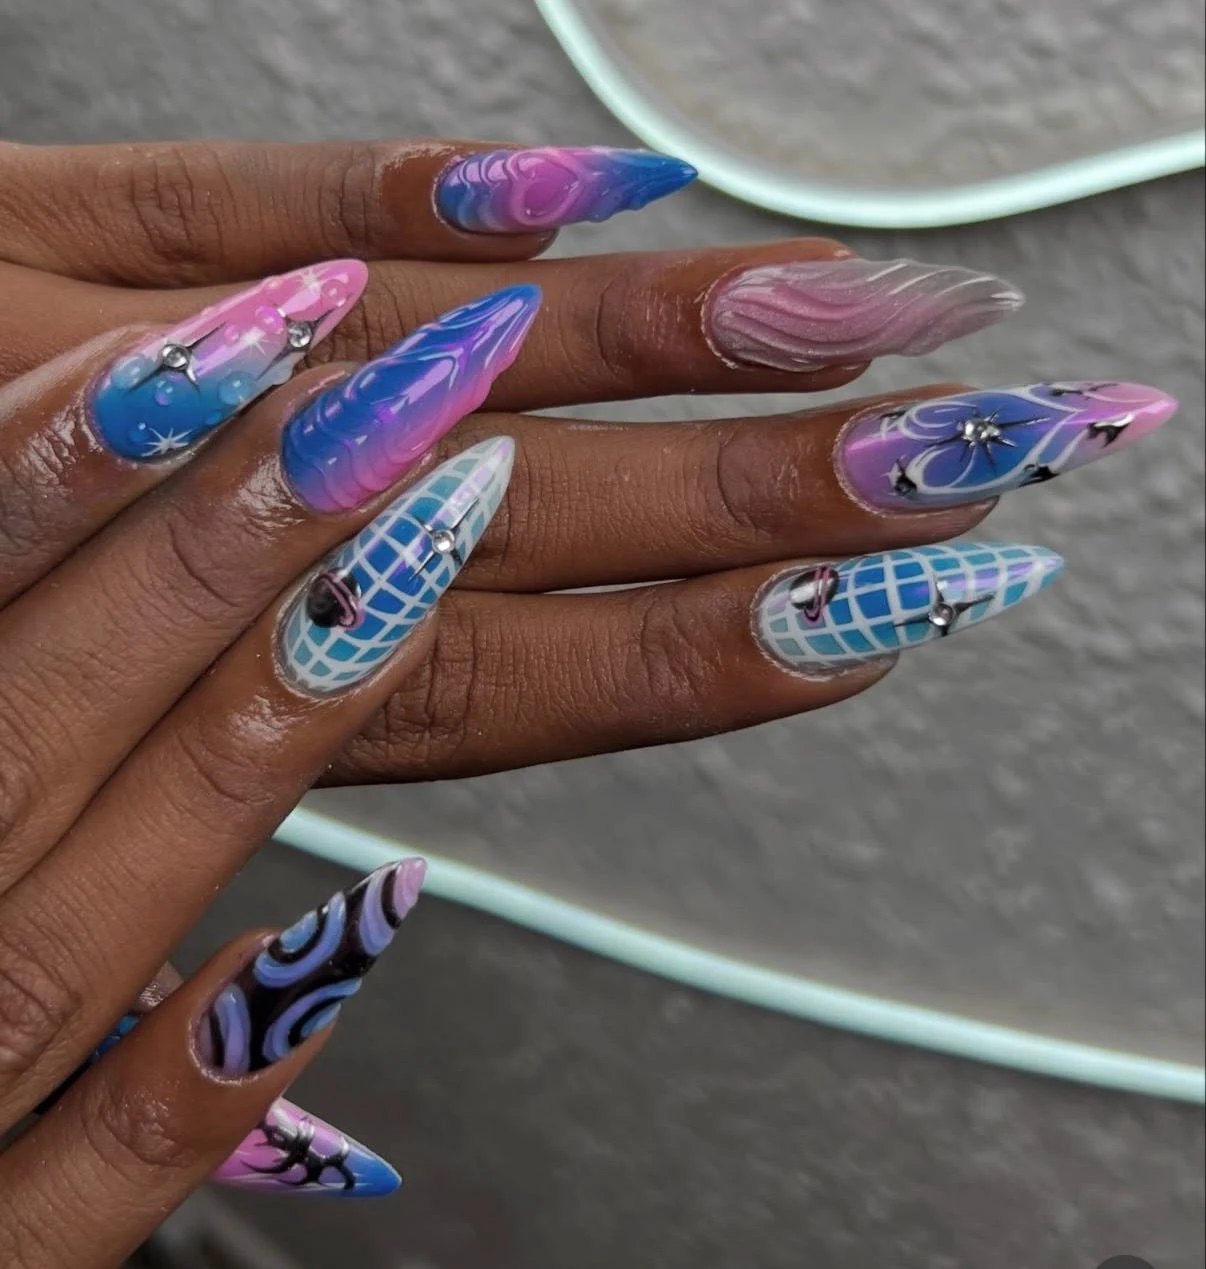
P.s I celebrated this week by getting my nails to match my website design!
notes
19th and 20th January: Bootcamp
Had a great intro to the course, watched presentations on useful things to keep in mind for documentation, opened up Nueval and created accounts on GitLab and Fabacademy. It was good to see some previous students talk about having fun throughout with memes, how to use AI in the best way and see previous projects.
21st January: First global class!
Went to the Fablab and met my classmates! Met up with my teachers from the masters I did in the same university. Met Neil! and he introduced us to the course and walked through the different important websites, and showed us Git, version control systems and how we can benefit from them.
22nd January: First local class!
Dani gave us a great class on the installation and linking with Git!
Some more notes from class:
- Website design
- What is terminal
- Coding on VS Code
- Orientation
26th January: final project idea meeting
modular interactive project
RFID inputs creative ways
modular add and remove parts
clicker
I had an idea for WEBSITE: Retro Windows XP aesthetic in pink girly.
Intro to VS Code / any terminal
Terminal (use) – Basic code:
pwd= print working directory - shows exactly where you arels= listing objects inside directorymancommand –> ls pwd cd - manual help (Q) to closegit init= create git repositorymkdir= make directorycommand --help= more actions
Learning HTML & CSS
- RFC (add comment between code)
- comment out stuff
- Show hide
- / directory folder
- specific directory
Terminal (Git workflow)
git pullgit addgit statusgit commit -m "comment"git push
HTML intro
- static site generator
- sites without html (markdown)
- I plan to use VS Code with html & CSS directly
- No markdown
- I want to practice & be good at code
Starting up
- git github
- every webpage can be in html
<div>add page<a>add link</a>- opening tag / closing tag
- what is the internet + how it is
- network connections
- 0s & 1s files
- URL
- make accessible inside the network of internet
Schedule notes
- Global class: 15:00 - Wednesday
- Local class: 9:30–13:30 – Thursday, Friday
- Mondays → project review monthly (9:30 to 12:30)
- Recitation every other week (15:00)
- general fabacademy schedule
Feedback from Dani:
Start with the minimum viable output so just show information about one machine and it status Use the Barduino to start playing around but eventually have to design my own electronic pcb to make this work gave me a barduino and an e-paper screen to start start experimenting with