17. Wild Card Week - Vacuum Forming & Electroplating
For Wild Card Week we had the option of new manufacturing techniques that we hadn't explored in the past. I chose to learn about Vacuum Forming, Electroplating and technically SLA printing which I hadn't tried before. Below is a brief description of each technique and more detailed information about what was produced.
Vacuum Forming
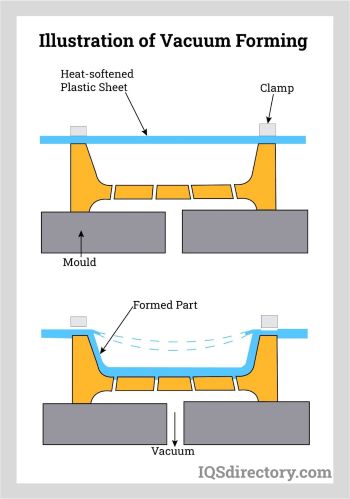
In a previous lab we used wax and silicon to create moulds and castings but this week we tried vacuum forming which is a method of rapidly creating a mold out of plastic. The process involves heating a thin layer of plastic until it is soft enough to drop over the item to be moulded.
SLA Printing
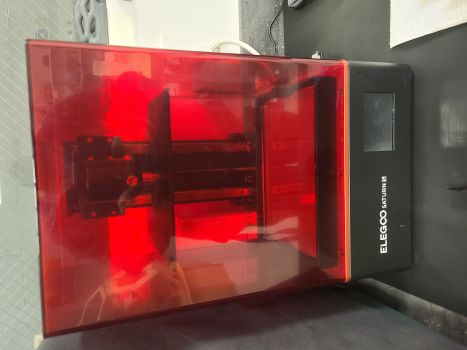
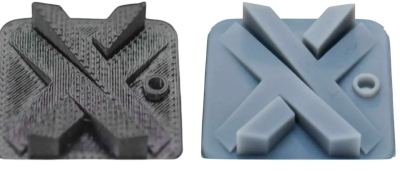
At the beginning of our Fab Academy journey we used Prusa 3D printersprinters that used a plastic PLA filament. This week I had the opportunity to learn to use the SLA Printer as well. The Prusa printers used PLA which is a plastic filament that when heated and distributed layer by layer can very quickly build parts and components. The SLA printers use a liquid resin that requires UV light to harden or cure its layers. In SLA prints the surfaces come out smoother but take much longer to produce. Jewelry, fine art, and objects which require aesthetics are better produced with the SLA printer. Below pictured are the SLA printer on the left, the alcohol bath and curing station on the right, and in the middle a example of the difference between 3D printing with PLA filament and liquid resin. The PLA filament model still shows each pass of the printer nozzle while the resin printed part appears smooth.
Electroplating
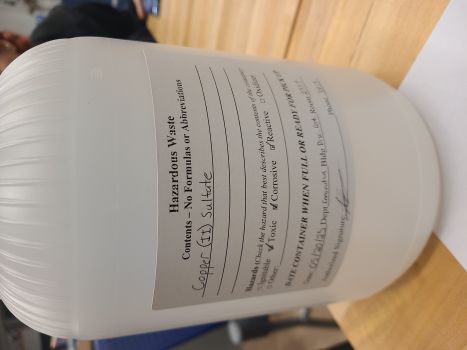
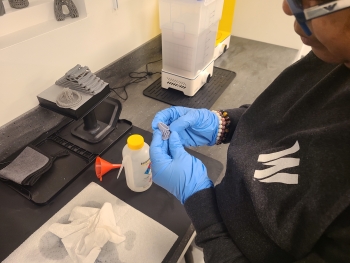
Electroplating a 3D print involves giving the model a thin layer of metal on its surface to improve the appearance and strenthen the model in terms of durability. Electroplating uses electrolysis. First the 3d model must be coated with an electric conductive coating of either graphite or copper. The model is then submerged in a Copper Sulfate bath with the model acting as a cathode. The ions from the copper sulfate bath adhere to the print as a result. It was very important to follow safety protocols when using copper sulfate. We used goggles, protective gloves, and special plastic container for disposal photographed below. The container was then passed off to our campus facilitites department to be disposed of properly as a hazardous waste. Before using the copper sulfate on campus we notified facilitites of the date and time this material would be used in the lab so the department would be prepared to dispose of the waste.

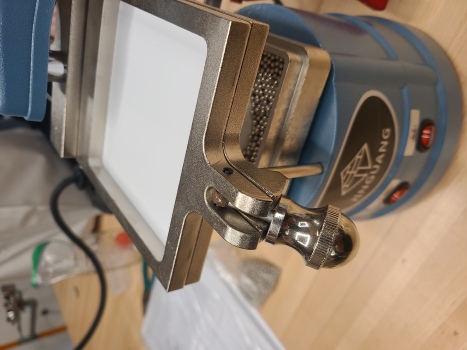
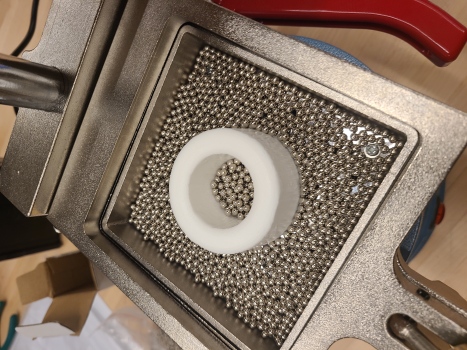
Vacuum Forming on the Jinguang Machine
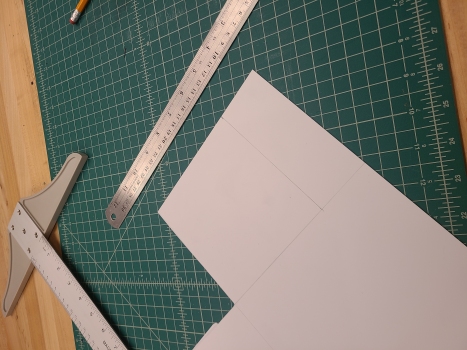
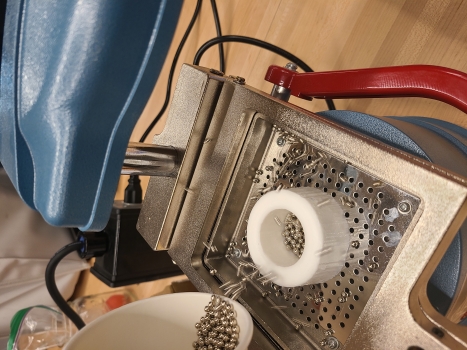
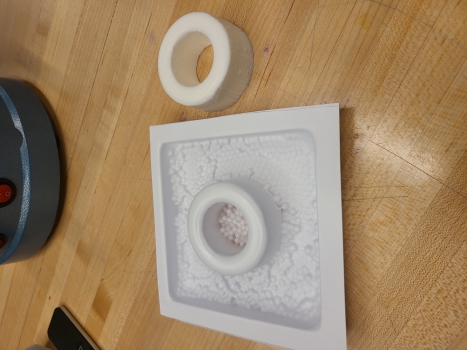
The first step in the vacuum forming process was to cut a 5x5 inch piece of flat PETG plastic to fit our Jinguang vacuum forming machine. I nexted place my 3d moulded object in the tray and around it I poured very small metal ball bearings to keep the ABS from vacuuming itself to the bed of the Jinguang tray and to make the mold easier to remove from the machine afterwards. Once the bottom of the tray was covered in addition to the tray in the middle of mould, I lowered the ABS sheet over the tray and turned on the heat button. This would allow for the ABS plastic to soften enought to drap over the mould. Once it was soft enough to begin to droop, I turned on the "model" button which begins the vacuum process. The vacuum then wrapped the ABS around the donut shaped mold in a matter of seconds.
I can see there would be several different applications for these type of vacuum forms. I believe they can be used for packaging, quick molds for softs materials, packaging foods, etc. It seems relatively easy to do, takes very little time, and after investing in the machine is very inexpensive.
SLA Printing & Electroplating
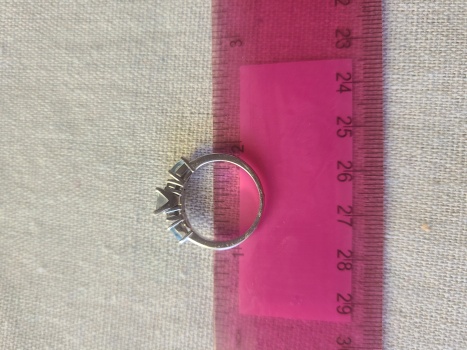
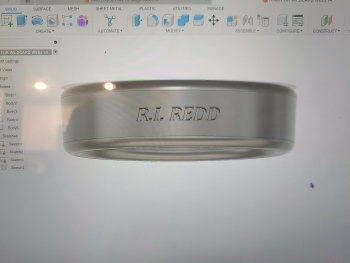
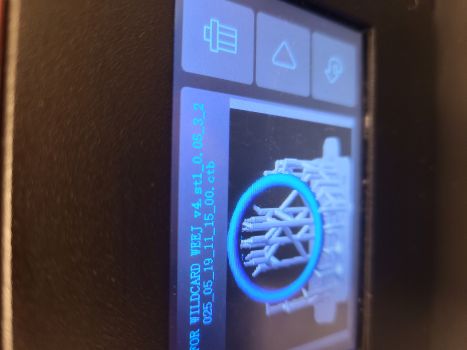
The second technique that I explored this week was electroplating. First I designed a ring on Fusion 360. I measured a ring that I currently wear in order to get dimesnions that would fit my ring finger. I added an inscription on it by using the rending menu in Fusion 360. I wanted to give the inscription the best chance of not filling during the electroplating process so I hollowed the letters using the extrude function. I then moved the model into a software called CHITUBOX v2.3. I used the software to add several tree supports for the ring since its design had curved edges. The supports move the form away from the build plate as the layers of resin build by exposure to UV light.
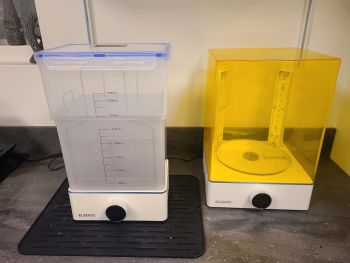
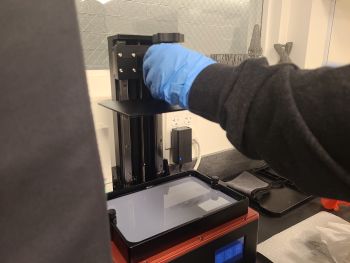
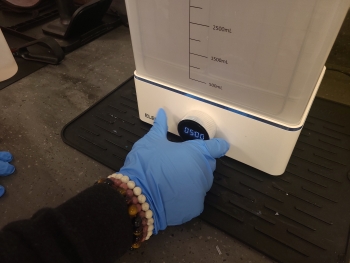
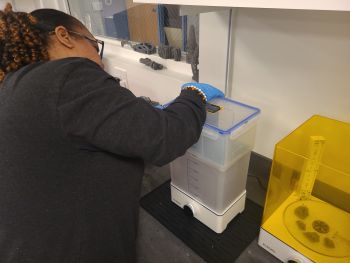
The next step was to remove the cover from the Resin printer and loosen the platform in order to remove it and submerge it into an alcohol bath for 5 minutes while covered with an air tight lid. I then moved the platform back to the resin printer and attached in preparation of submerging it into the resin solution. I added my 3D model's file to a usb stick and made the file accessible on the resin printer. After lowering the platform into the resin solution I chose my file an pressed print on the control panel. The time alotted for this print was 1 hour and 54 minutes. When the time had elapsed and the screen displayed a message that read "print complete" I raised the platform and tightened in the raised position. I then rested the bed on it's side to remove the 3d model from the bed using a small metal pry bar. I rinsed the platform with an alcohol solution after placing the ring in an alcohol bath and dried it before returning it back to its place.
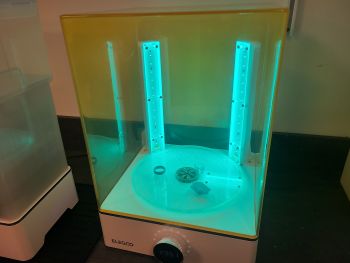
I then removed all the supports that were added during the SLA printing process. The supports were noticeably easier to remove than those created by PLA printers. It seemed to work well to squeeze two supports together in order to get clean break away from the 3d model. There were several supports but it didn't take long to remove them and didn't require any tools as the supports were soft and somewhat flexible. For the next step the ring was exposed to UV light for about 2.5 hours for curing and hardening. The UV machine is pictured below.
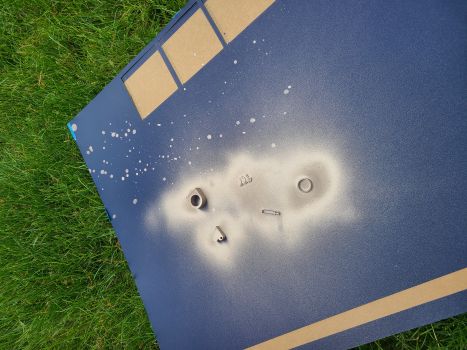
After the curing process it was necessary to sand the surface to eliminate any left over pieces from peeling off the supports. I used 3M brand 220 grit sand paper to create a very smooth surface on the outside of the ring, inside of the ring and to clarify the engraving. I then moved to an open field far away from people buildings or parkinglots and using a large piece of cardboard as shield sprayed the 3D models with electric conductivity copper spray paint. We believe it requires 2 coats of this paint and we left it to dry for more than 24 hours.

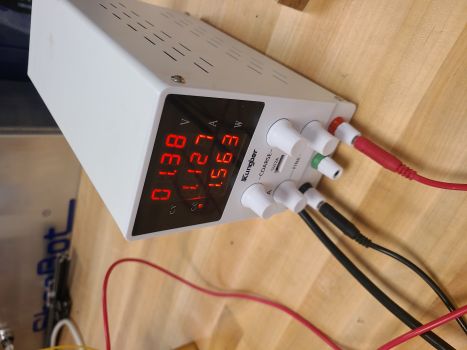
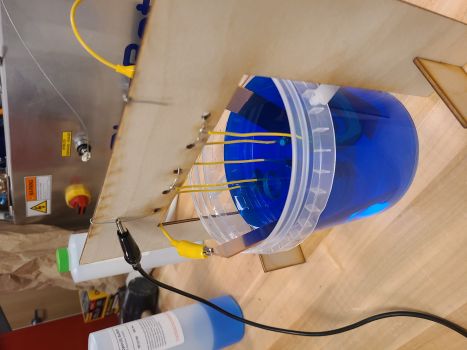
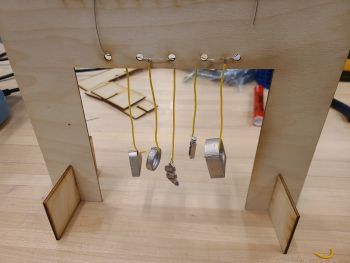
The 3D Models were staged for electoplating by hanging each model from a hanging post manufactured in our fab lab using wood and a laser cutter. Each model was hung from the post using conductive wiring which was connected to wire that was connected to each models wire individually. That main wire was attached to the negative charge from a DC variable power supply. A yellow jumper wire was used to connect 2 copper plates on either end of the copper bath before the blue copper sulfate solution was added. We tested each 3D Model after the copper spray with a digital multimeter and each showed an electrical charge. The staging post was then placed over the copper sulfate bath with the 3d models suspended in the blue solution. This set up allowed the 3D models to act as a cathode with a negative charge which would allow the positively charge copper sulfate solution to attract to the 3D model's negative charge.
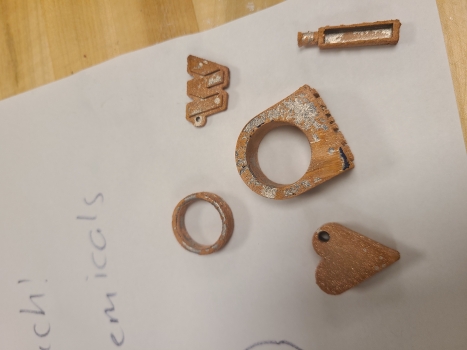
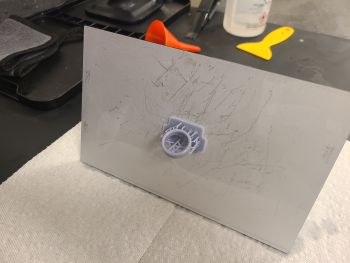
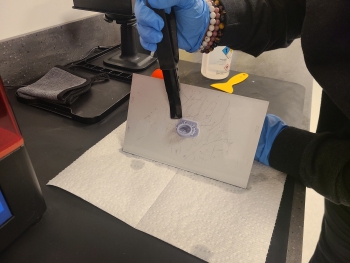
As can be seen in the pictures below our electroplating exploration was unsuccessful. The copper didn't adhere well to the 3D printed models but there are few reasons we can speculate as to why. First we beleive that perhaps we would need more than the 2 coats of copper spray paint as it seems the pieces that worked best for adhering the copper really were those parts that were the smoothest and appeared to be less "grey" before entering the bath. Another possibility that I've seen in some videos online is to use graphite spray instead of the copper conductivity spray. More research can be done to see if the particular copper solution we used would adhere better to graphite painted base.