5. 3D Printing and Scanning
3D Printing with the Prusa MK4
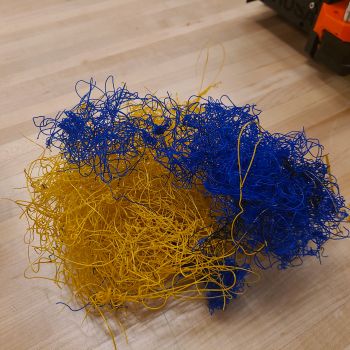
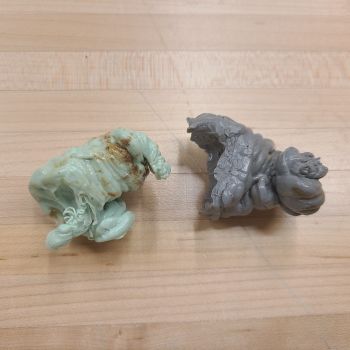
This week we I explored 3D printing. I had previously attended a training in our lab a few months back but never had time to come back and attempt to print a few things. In our class lab we learned about the printers we have in our lab, the Prusa MK4. Along with the machines we are equipped with many different colors of PLA filament, and some hand tools including spatulas, cutting tools, and surface cleaners. We also learned in our lab class the importance of creating supports for 3d printed projects which tend to have overhangs at steep angles. In some cases when the incorrect supports are used or not enough supports are used, it certainly shows so we examined many past projects that had gone wrong to understand how to avoid those challenges in the future. We looked at “cotton candy”, and bumpy or hairy textures. Even worse there were unmonitored projects that resulted in identifiable clumps of plastic and the evidence that the nozzle of the 3d printer had been jammed or completely surrounded by filament.
Group Assignment
In groups we explored new terminology having to do with the 3D world; specifically 3D printing with and without supports. Too see our findings, please visit the following link: Our Group Link
Useful Links
- Library of 3D Printables
- 3D Printing News by Industry
- Prusa Slicer Download
- MK4 Documentation
- Polycam 3d Photography
3D Printing Experiments
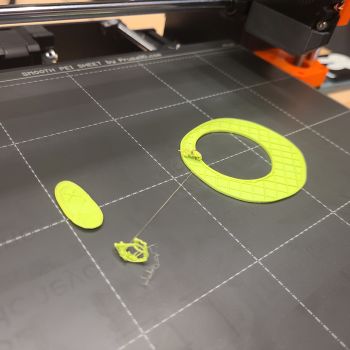
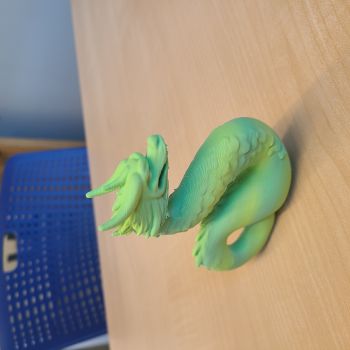
Each student attempted to print one item during our lab for practice and I chose to print a green dragon. It required supports that would later be broken away from the dragon’s structure. We of course tried to first print the dragon without supports and that did not work well. One picture belows shows the disaster that ensued while in the other you can see at the bottom of the project we added the supports along the bottom and these worked out well. Since I chose to arrange the supports in a rectangle at the base of the dragon, the supports did not print under the dragog’s head and chin as the rectanglular support base I had mapped out was not wide enough to go above the dragon’s “waste.” From the waste up there were no supports so you can see in the picture below that the completed dragon had a bit a of beard 😊. I trimmed that away with a pair of scissors.
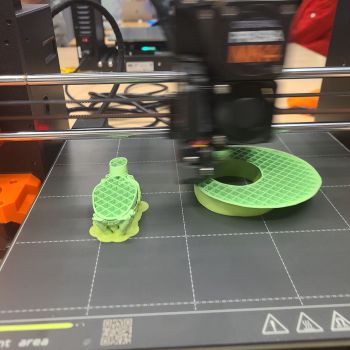
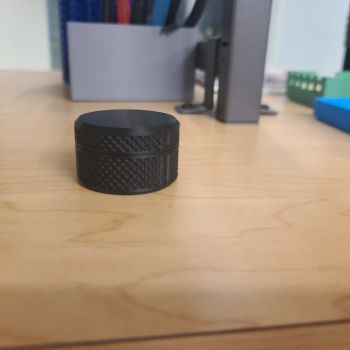
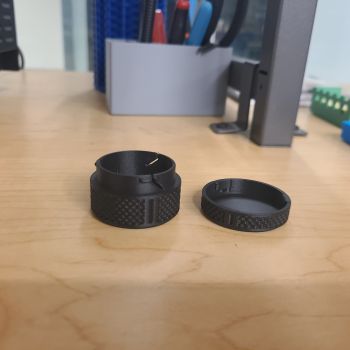
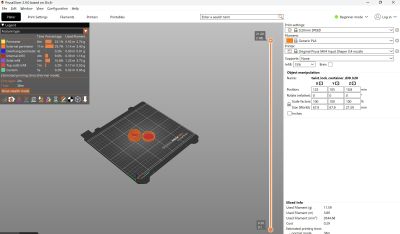
I also wanted to print an item that would be made of two interlocking pieces since I had never experienced that before. To locate a design I visited the free catalog on printables.com and identified a small trinket box with a lid that screws off and on. I downloaded the design from the website as a stl file and opened it using Prusa Slicer as can be seen in the pictures below. No part of this project had overhangs or strange angular pieces so no supports were needed although the project took about 37 minutes to print. There was a brief hiccup at the beginning of the print when the filament detached from the nozzle. The machine recognized the filament detached as quickly as I did and automatically set itself up to receive the filament again. Since this tooka few moments the machine cooled down. I was able to manually pause the machine using the touch screen on the MK4. I then reloaded the filament, allowed the machine to heat up again and then hit the resume button to continue the print job which completed successfully, both pieces interlocking perfectly.
Printing a Non-Subtractive Percussive Doohickey
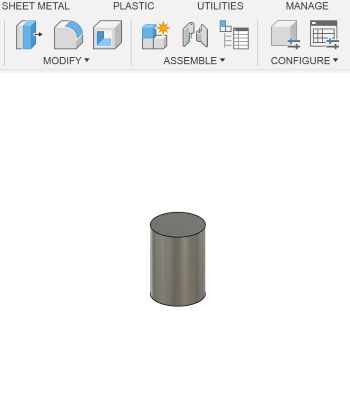
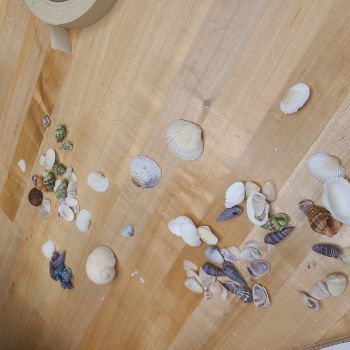
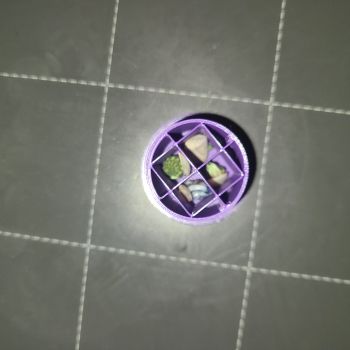
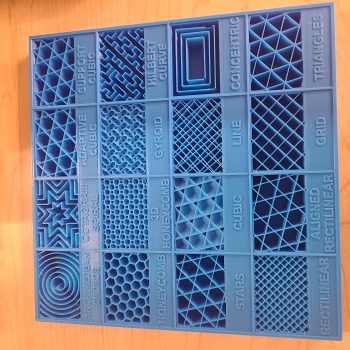
Since I am a percussionist I wanted to build something that would make noise. There is a hand drum that is referred to as a wave drum and it makes a sound similar to that of the ocean. Ironically the drum is filled with hundreds of shells, beads, or chimes. Also ironic is that I disucssed minification and magnification this week in my Entrepreneurship class as an approach to creative idea generation. So, it seemed logical to minify the concept of a wave drum into something that would fit between the pointer and the thumb. I had some small seashells at home so I decided to use those as well. It was also a great opportunity to make something small and use a filament roll that had only a small amount of PLA left. I drew a simple cylinder shape on Fusion 360 exported it as stl file. I was then able to open the file in Prusa Slicer, which is the software that can be used with the Prusa MK4 3d printer. Prusa slicer allows you to scale dimensions, decide how thick the outer layers will be, the type of supports to be used, if any and most importantly it allowed for me to program a pause in the print job before cylinder would be sealed close at the top. This would allow me to poor the sea shells inside mid-print and then resume the print job to close the seashells inside. It is a very tiny little drum and the seashells are also very tiny so even though it make noise, it isn't overly rowdy! For this project I used a 0.2mm speed, the 0.4 shaper nozzle, and a generic brand pla in the color purple. We learned about internal support patterns in our class lab and this project was printed using the grid support system. The grids were thin enough that the seashells could be placed all throughout the grid system without the grid walls hindering the movement of the seashells. I would like to experiement with a much larger hand drum in the near future; perhaps using a specialized filament that would offer a more woody texture which would certainly improve the quality of the sound made by sea shells.
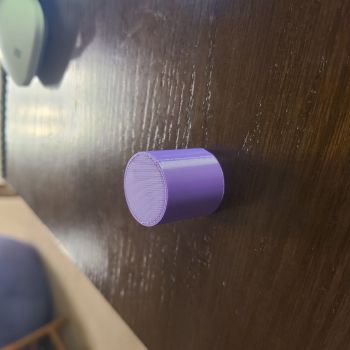
Video of Seashell-Filled Finger Drum
Non-Subtractive Cube with Sphere Inside
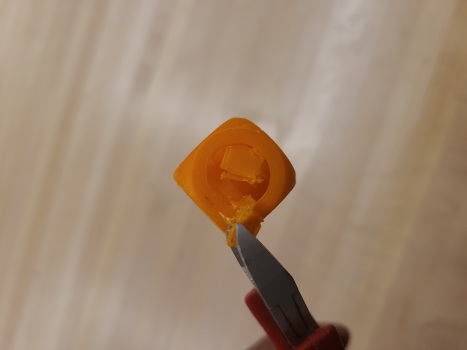
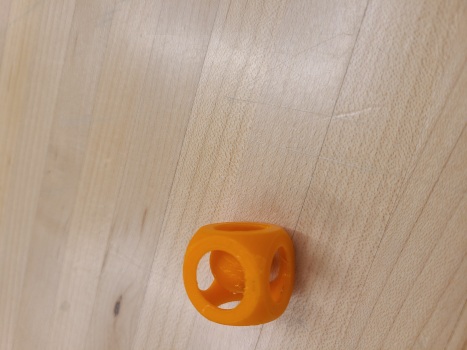
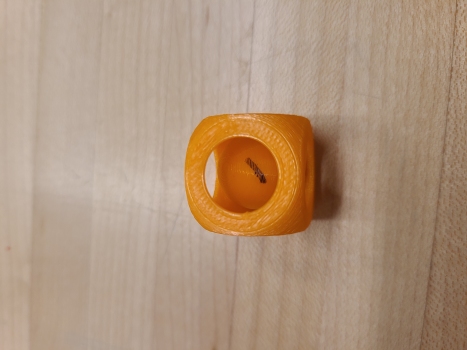
For this exercise I created a square cube with a sphere inside on Fusion 360. I used the fillet feature to round the edges of the cube to make them smooth. This design would allow me to use Prusa Slicer to add supports to the inside of the cube to support the sphere on the inside. The supports were necessary on the build plate below the ball and also along the sides so that the ball would be printed separate from the cube. It took roughly 18 minutes to print and about 5 minutes to remove the supports with a pair of needle nosed pliers.
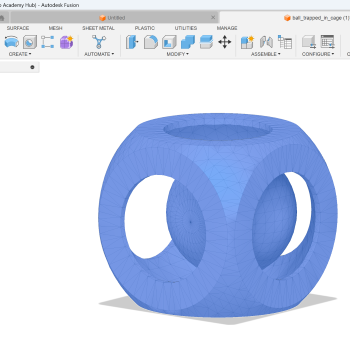
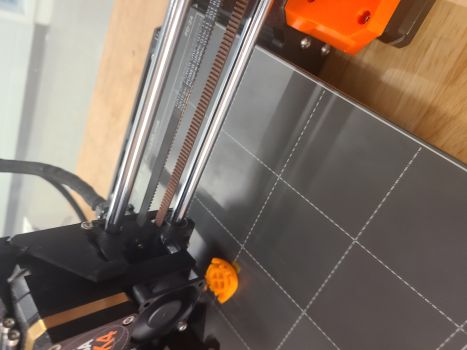
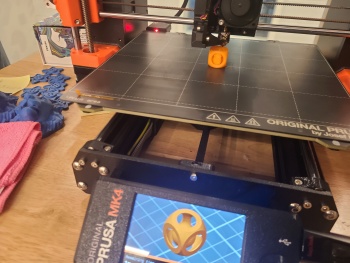
Once I removed all of the supports, I noticed that the cube would work well as a die (dice) so i used my pinky to steady the ball inside and used a marker to add some numbers and it seems this would work well as die. When you toss it a number displays through the top hole in the cube. Having two would allow this to be used for a board game or similar game that requires dice.
For this exercise I created a square cube with a sphere inside on Fusion 360. I used the fillet feature to round the edges of the cube to make them smooth. This design would allow me to use Prusa Slicer to add supports to the inside of the cube to support the sphere on the inside. The supports were necessary on the build plate below the ball and also along the sides so that the ball would be printed separate from the cube. It took roughly 18 minutes to print and about 5 minutes to remove the supports with a pair of needle nosed pliers.
Video of Rolling the Cube
3D Scanning Using Polycam Application
Although I had seen some 3d photography in the past I never knew exactly how it was done. Our Fab Lab does not have a 3D scanner but I was able to explore 3 photography using a telephone app called Polycam. If you visit the website poly.cam you can download the app or it may be easier to download it from your phone's app store. Either way you can access it online from your computer or through the telephone app. It was easiest for me to secure the video and still photographs using my cellphone but then to process them and open them up as video files using my computer. I attempted this experiment first using a video recorded by my cellphone and then since the quality of the rendering, although fascinating, was not as clear as I expected so I then tried it again using still images. In total I took 54 still images of a dwarf jade bonsai plant that I have in my home. I was hoping that having more detailed images would allow for more clarity and higher definition in the 3d rendering. It seems the video approach even though only a few sections and even though it captured very few angles seemed to render a much cleaner 3d image. I am of course new at using the tool and question the quality of the camera in my older-modeled phone. Even with the poor image quality it is quite evident that the application and implications of this type of technology are many. Not only in design and in entertainment such as movies, it can also be used in medicine, architecture and product design. I've also seen it used by furniture retailers on their websites. I also imagine that this technology has been used quite a bit in gaming and of course virtual reality settings. The first photo was taken with the 54 individual shots and the second photo was made with an actual video. With my particular camera, it seems the video rendering is much better quality.